The Pioneer Woman Tasty Kitchen
Profile photo of whatsgabycooking

Chocolate Strawberry Shortcake

Posted by in Baking, Step-by-Step Recipes

Tasty kitchen Blog: Chocolate Strawberry Shortcakes. Guest post by Gaby Dalkin of What's Gaby Cooking, recipe submitted by TK member Jackie Dodd of Domestic Fits.

Please join us in welcoming Gaby Dalkin of What’s Gaby Cooking to the Tasty Kitchen Blog! You probably remember her from all the often-featured mouthwatering recipes in her TK recipe box, including just about every variation of guacamole. (We want to try them all.) She’s here today to share a beautiful Chocolate Strawberry Shortcake from TK member Jackie Dodd. Welcome to the TK Blog, Gaby!


Strawberry Shortcake is one of my all-time favorite desserts. Perfectly moist shortbread or biscuits, freshly whipped cream and juicy flavorful strawberries … I mean, what’s not to love? So when I saw this recipe on Tasty Kitchen for Chocolate Strawberry Shortcake, well, I knew that I had to make it! And let me tell you, I’m so glad I did, because it was amazing. The only mistake was serving this at a dinner party where my guests had the nerve to finish everything off without leaving any for me for breakfast the next day!

This recipe was submitted by TK member Jackie Dodd from Domestic Fits, and I think we all need to give her a big round of applause because it’s a total winner!


Tasty kitchen Blog: Chocolate Strawberry Shortcakes. Guest post by Gaby Dalkin of What's Gaby Cooking, recipe submitted by TK member Jackie Dodd of Domestic Fits.

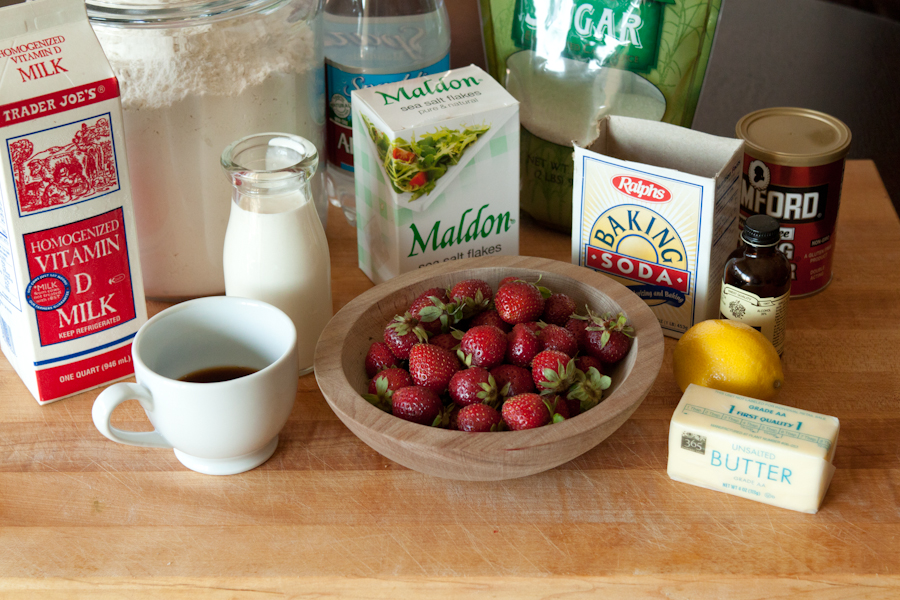
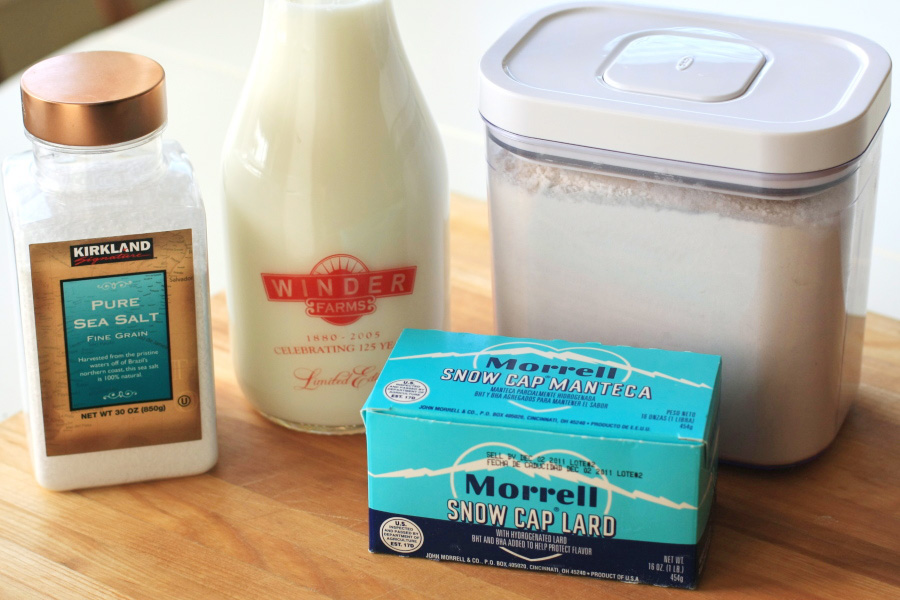
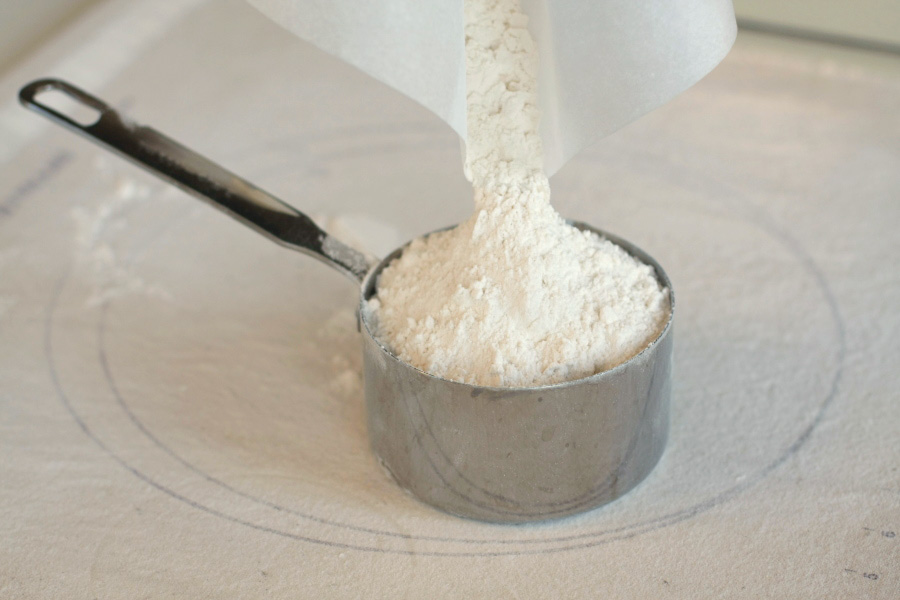
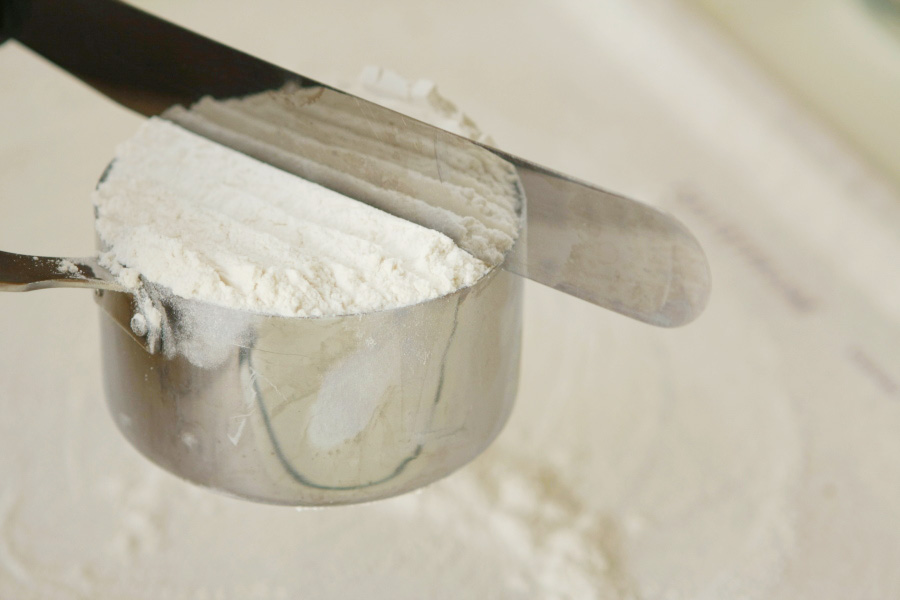
You’ll need some basic pantry ingredients along with some fresh strawberries.


Tasty kitchen Blog: Chocolate Strawberry Shortcakes. Guest post by Gaby Dalkin of What's Gaby Cooking, recipe submitted by TK member Jackie Dodd of Domestic Fits.

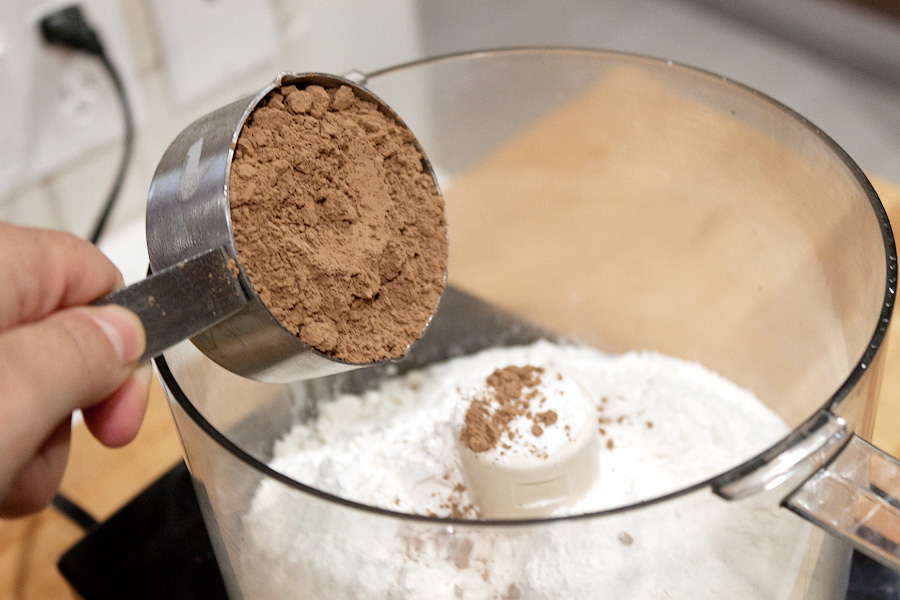
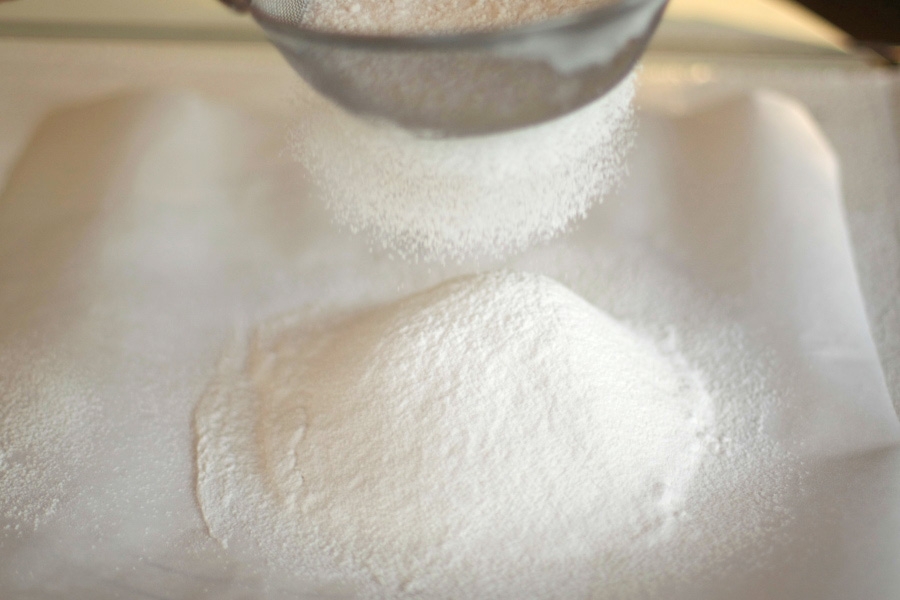
Bring out the food processor and combine the flour and cocoa powder.
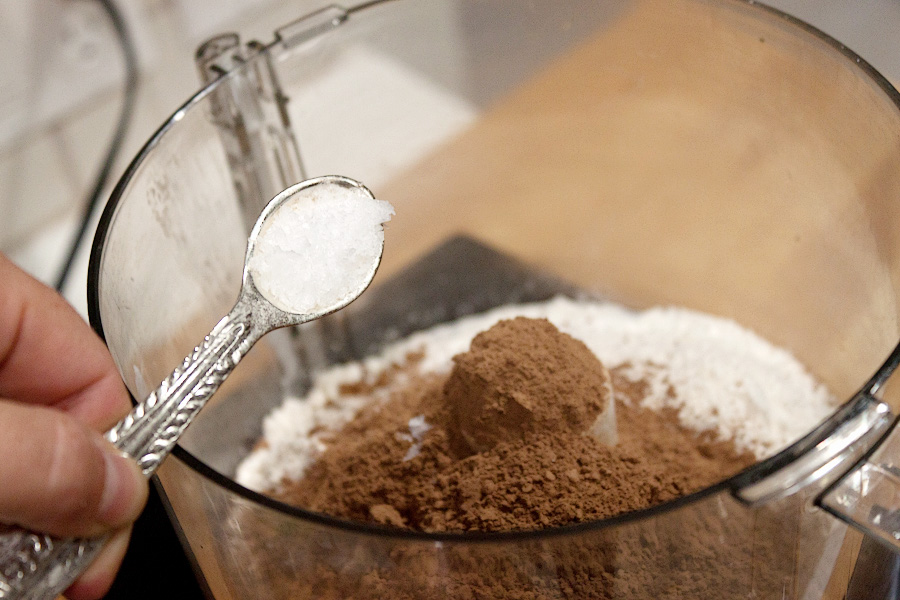


Tasty kitchen Blog: Chocolate Strawberry Shortcakes. Guest post by Gaby Dalkin of What's Gaby Cooking, recipe submitted by TK member Jackie Dodd of Domestic Fits.

Add in some salt.


Tasty kitchen Blog: Chocolate Strawberry Shortcakes. Guest post by Gaby Dalkin of What's Gaby Cooking, recipe submitted by TK member Jackie Dodd of Domestic Fits.

Next comes the baking soda.


Tasty kitchen Blog: Chocolate Strawberry Shortcakes. Guest post by Gaby Dalkin of What's Gaby Cooking, recipe submitted by TK member Jackie Dodd of Domestic Fits.

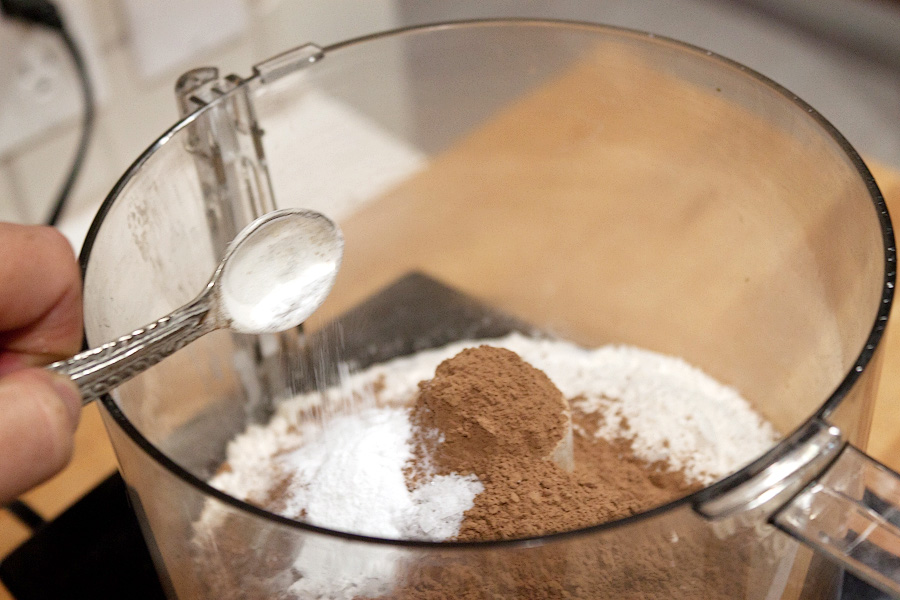
And then the baking powder.


Tasty kitchen Blog: Chocolate Strawberry Shortcakes. Guest post by Gaby Dalkin of What's Gaby Cooking, recipe submitted by TK member Jackie Dodd of Domestic Fits.

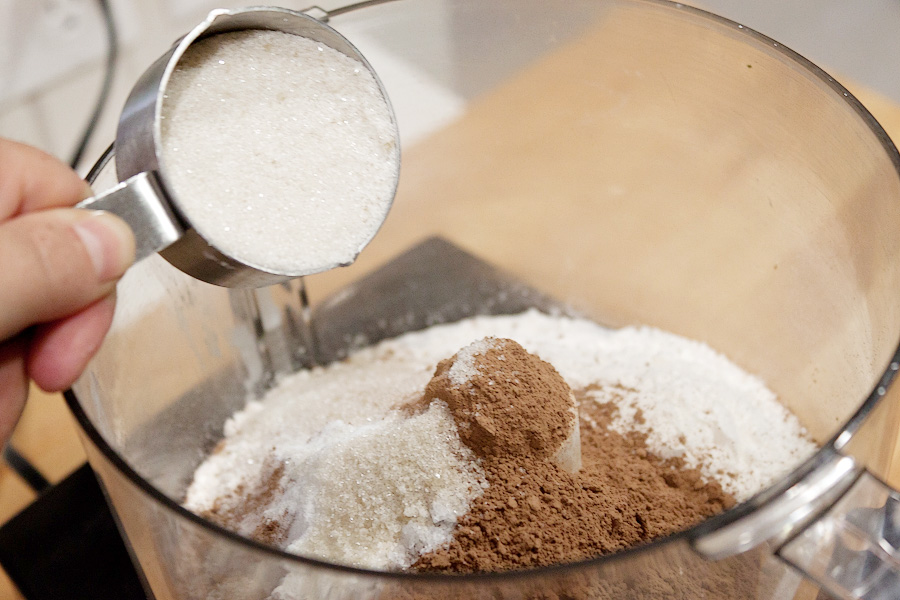
And finally the sugar. Turn on the food processor and give these ingredients a whirl for a few seconds until everything is combined.


Tasty kitchen Blog: Chocolate Strawberry Shortcakes. Guest post by Gaby Dalkin of What's Gaby Cooking, recipe submitted by TK member Jackie Dodd of Domestic Fits.

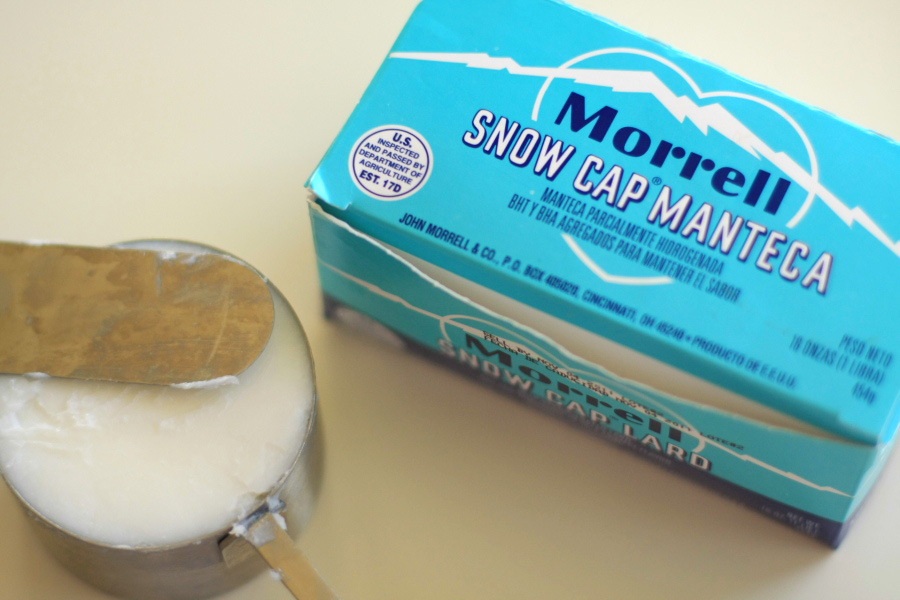
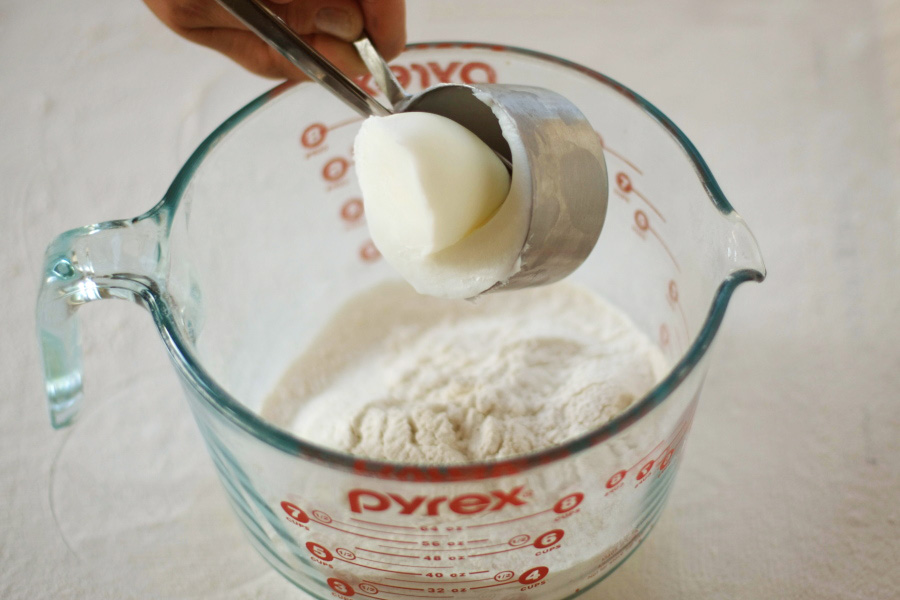
Add in cubes of cold butter.


Tasty kitchen Blog: Chocolate Strawberry Shortcakes. Guest post by Gaby Dalkin of What's Gaby Cooking, recipe submitted by TK member Jackie Dodd of Domestic Fits.

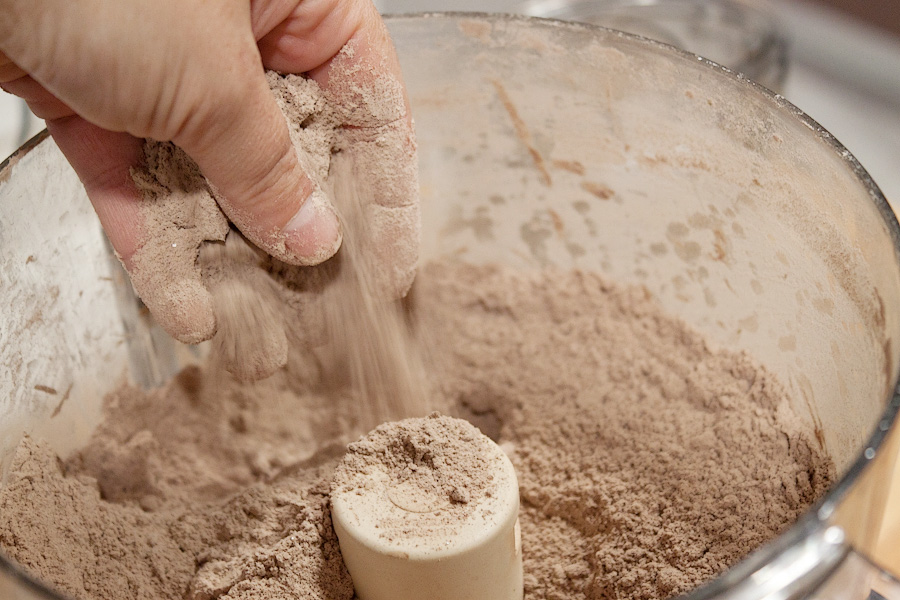
Once the butter is added, turn on the food processor once again and process until the butter is incorporated and you have a mixture that resembles coarse sand.


Tasty kitchen Blog: Chocolate Strawberry Shortcakes. Guest post by Gaby Dalkin of What's Gaby Cooking, recipe submitted by TK member Jackie Dodd of Domestic Fits.

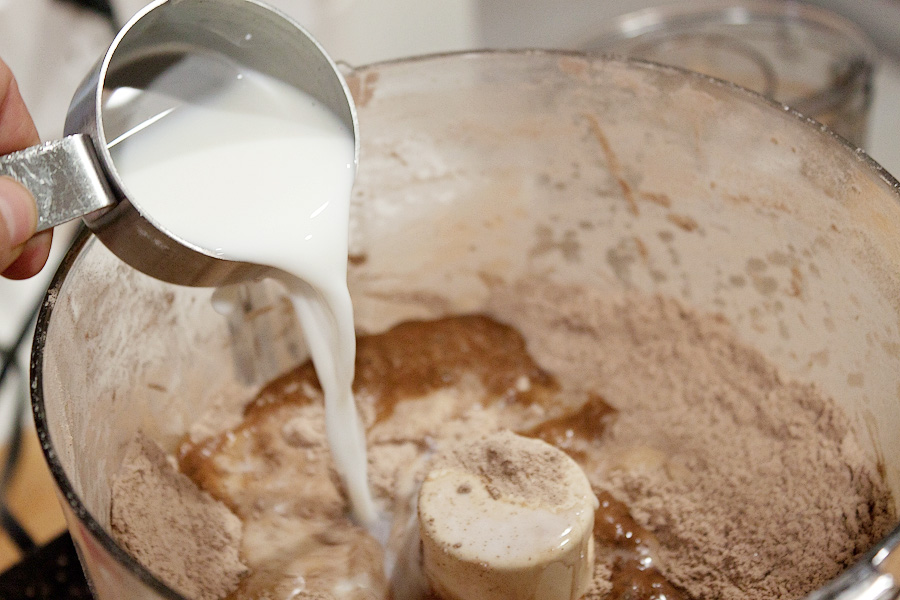
Next add in your liquid ingredients: coffee, carbonated water and milk.


Tasty kitchen Blog: Chocolate Strawberry Shortcakes. Guest post by Gaby Dalkin of What's Gaby Cooking, recipe submitted by TK member Jackie Dodd of Domestic Fits.

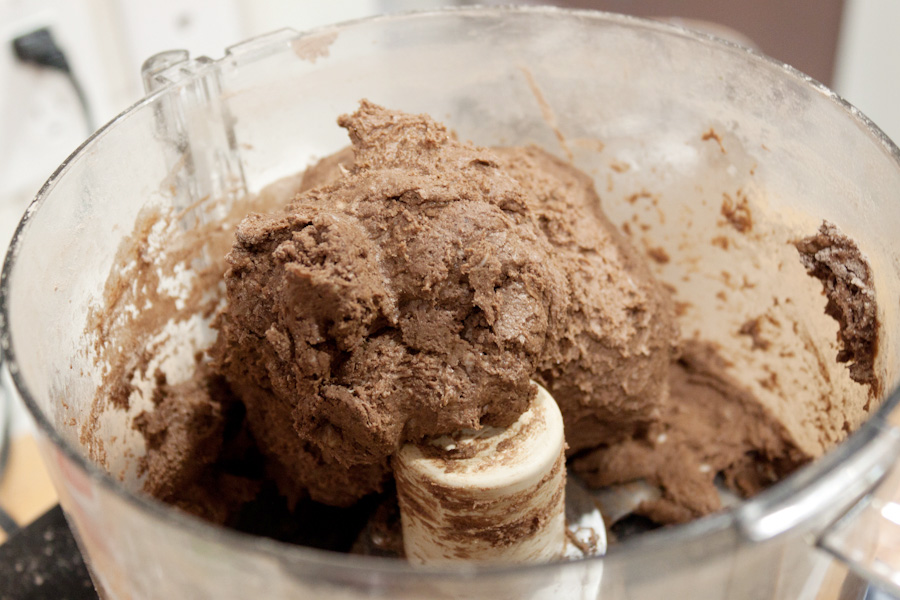
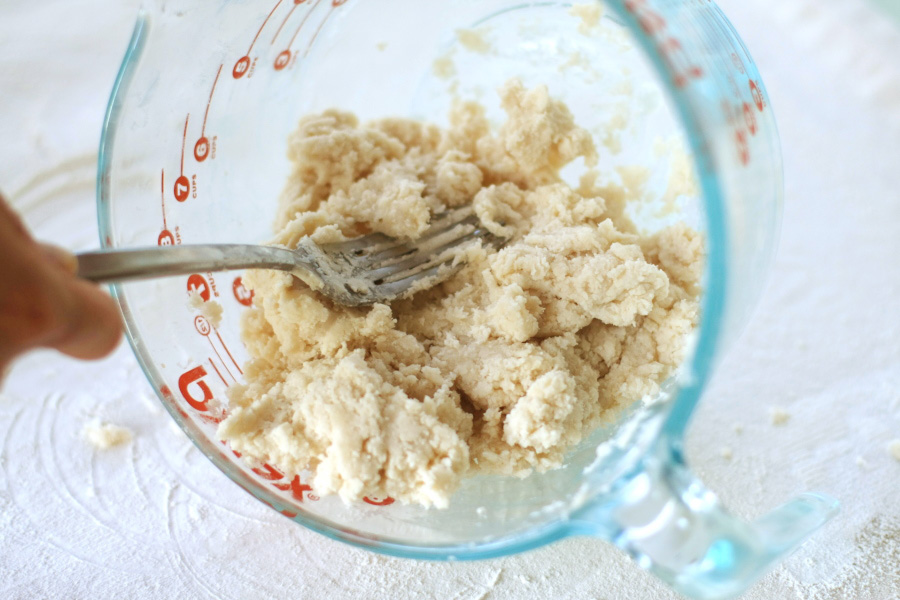
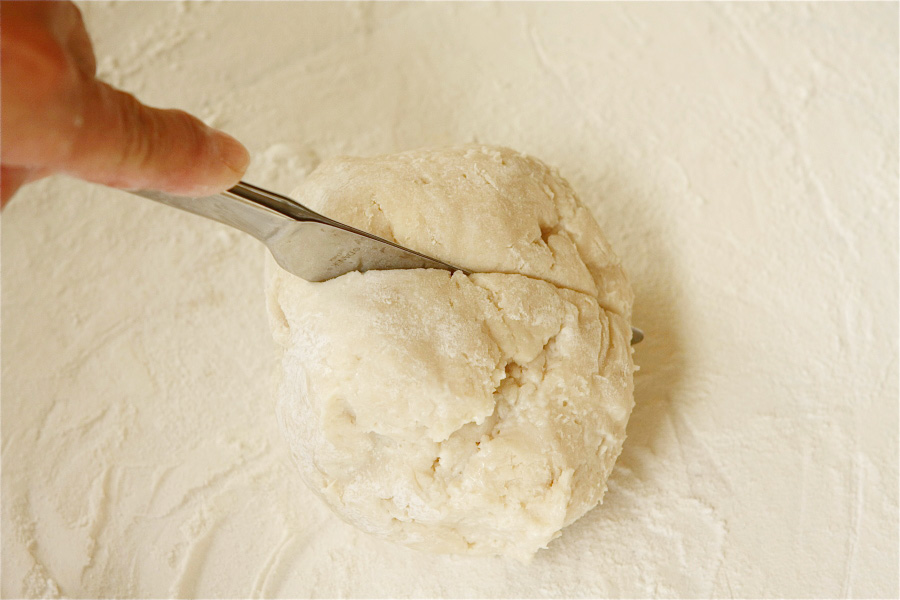
Give the food processor one last whirl until the dough comes together in a ball.


Tasty kitchen Blog: Chocolate Strawberry Shortcakes. Guest post by Gaby Dalkin of What's Gaby Cooking, recipe submitted by TK member Jackie Dodd of Domestic Fits.

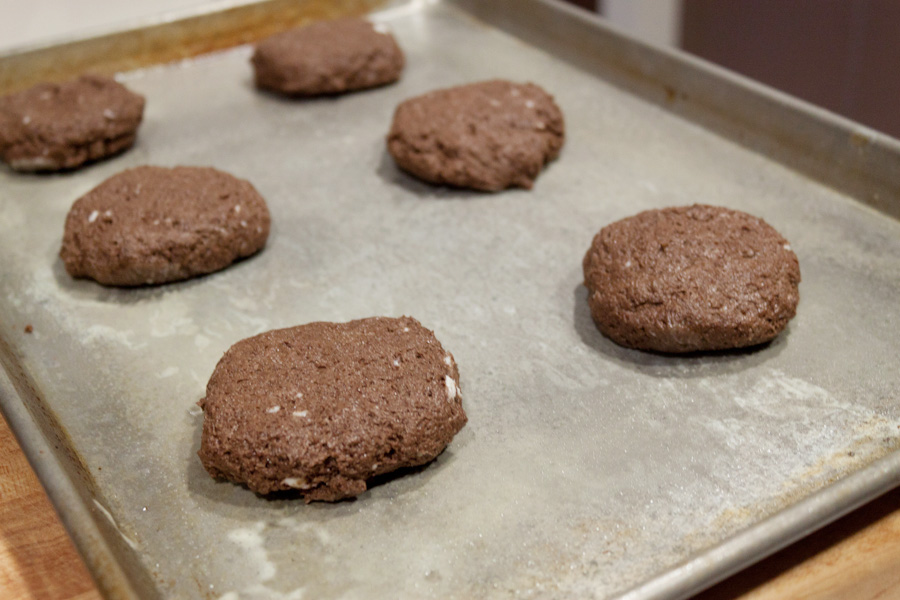
Preheat the oven to 350ºF. Remove the dough from the food processor and make small circular biscuits. You’ll want to use about 1/4 to 1/3 cup of dough per biscuit. Place the biscuits onto a baking sheet, either lined with parchment paper or sprayed with baking spray. Transfer the entire baking sheet to the refrigerator and chill for 30 minutes. Once chilled, remove the baking sheet from the refrigerator and transfer to your preheated oven. Bake the biscuits for about 18-20 minutes. Remove and let cool.


Tasty kitchen Blog: Chocolate Strawberry Shortcakes. Guest post by Gaby Dalkin of What's Gaby Cooking, recipe submitted by TK member Jackie Dodd of Domestic Fits.

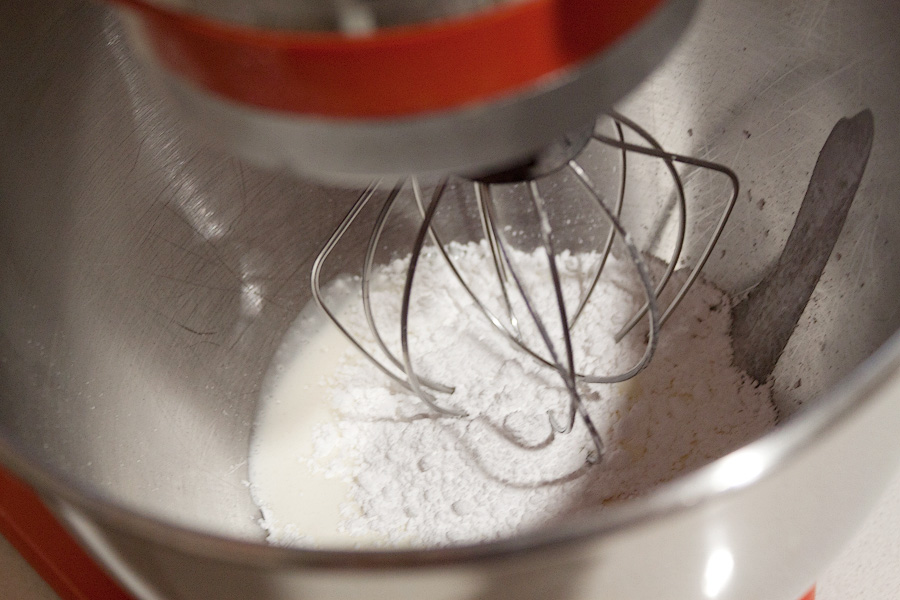
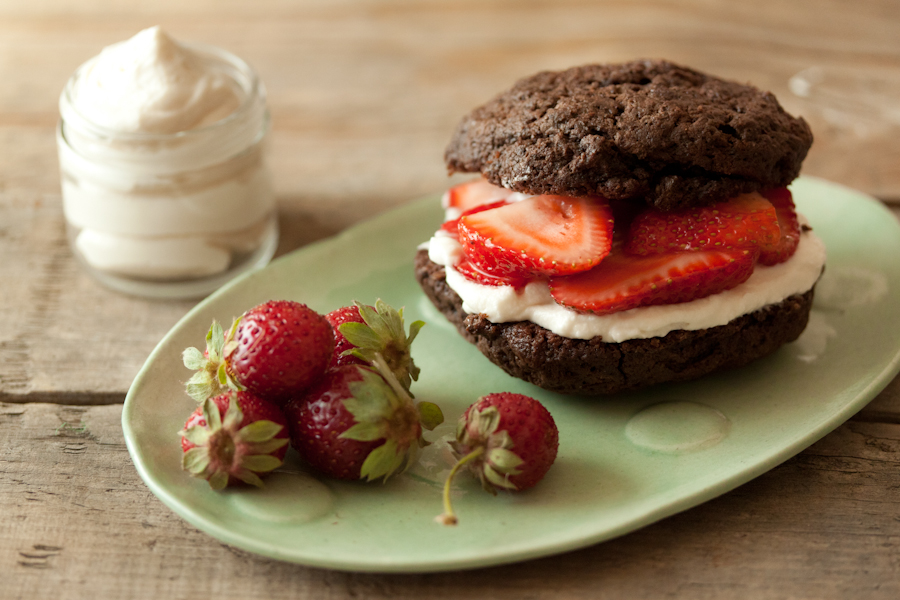
Next, combine the heavy cream, powdered sugar and vanilla extract in a mixer. Turn the mixer on high and whip until the mixture resembles whipped cream.

Note: This might have been the most delicious part of the entire dish. The Chantilly Cream is made with powdered sugar instead of regular sugar and it makes a world of difference.


Tasty kitchen Blog: Chocolate Strawberry Shortcakes. Guest post by Gaby Dalkin of What's Gaby Cooking, recipe submitted by TK member Jackie Dodd of Domestic Fits.

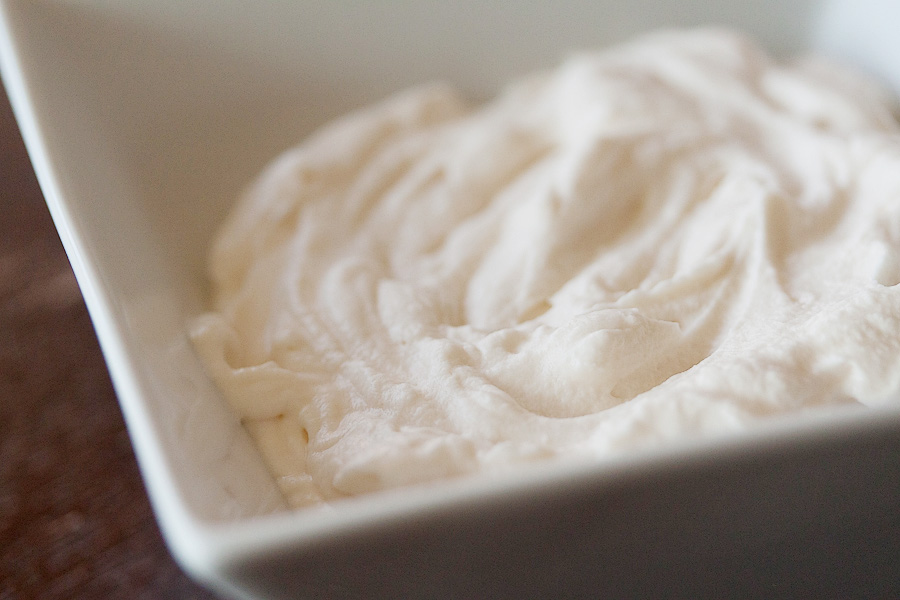
Remove the Chantilly Cream from the mixer and set aside. (If you’re feeling extra decadent, you might want to whip up an extra batch of the Chantilly Cream, because it’s pretty good when smothered over cookies, or brownies or pretty much anything sweet!)


Tasty kitchen Blog: Chocolate Strawberry Shortcakes. Guest post by Gaby Dalkin of What's Gaby Cooking, recipe submitted by TK member Jackie Dodd of Domestic Fits.

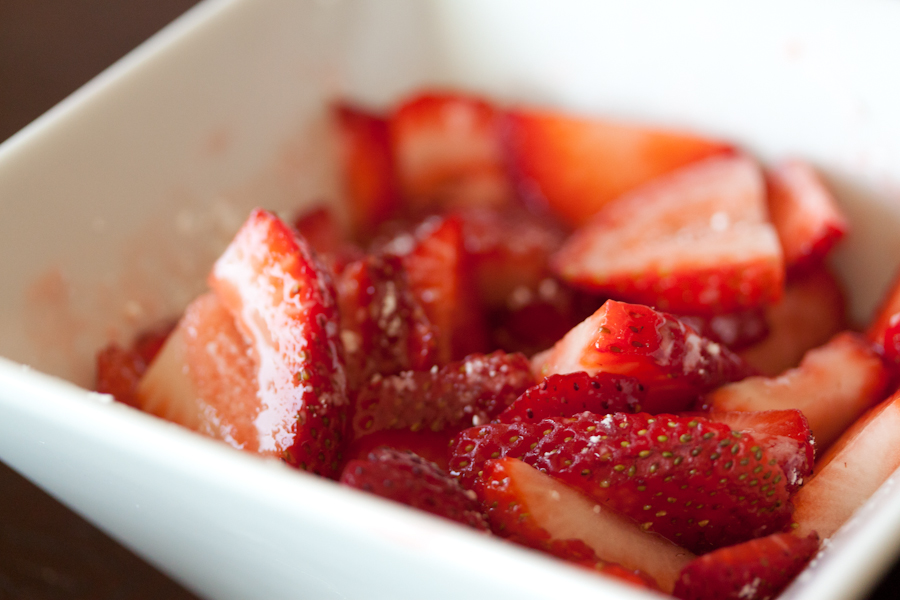
In another bowl, combine the sliced strawberries, remaining powdered sugar and lemon juice. Gently mix together and set aside.


Tasty kitchen Blog: Chocolate Strawberry Shortcakes. Guest post by Gaby Dalkin of What's Gaby Cooking, recipe submitted by TK member Jackie Dodd of Domestic Fits.

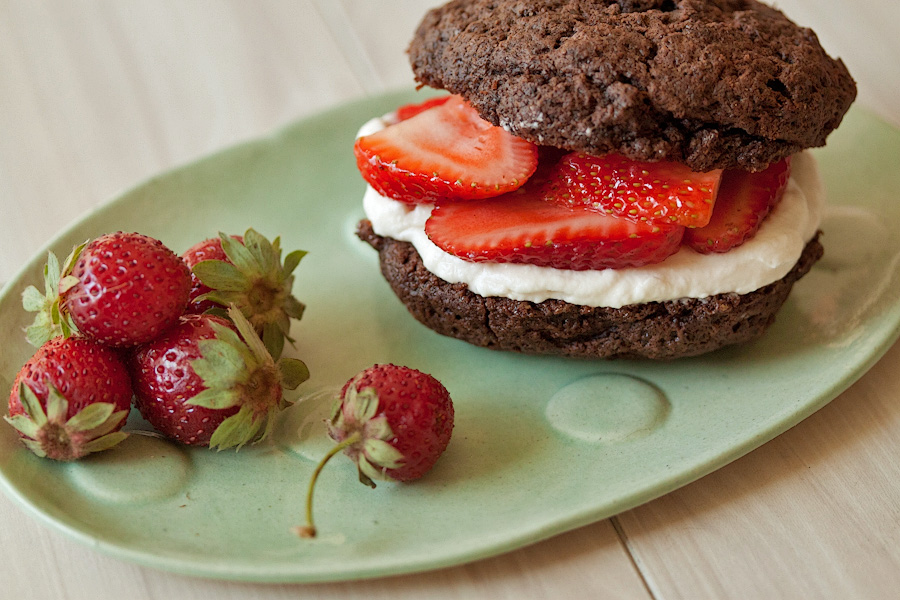
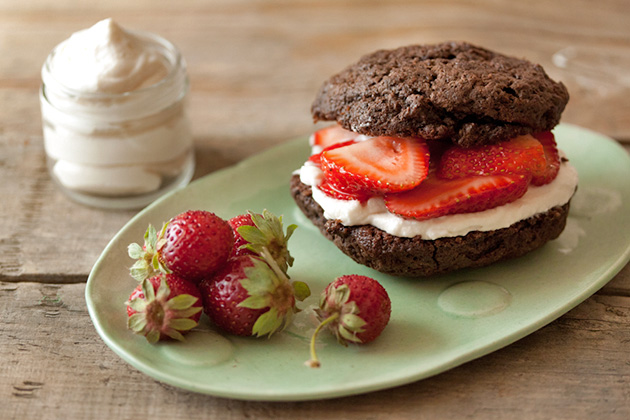
To assemble the Chocolate Strawberry Shortcakes, take 2 cooled chocolate biscuits and place a generous dollop on Chantilly Cream on the inside of one biscuit. Top with a handful of strawberries and then place the remaining chocolate biscuit on top.


Tasty kitchen Blog: Chocolate Strawberry Shortcakes. Guest post by Gaby Dalkin of What's Gaby Cooking, recipe submitted by TK member Jackie Dodd of Domestic Fits.

Then it’s time to devour. Don’t be afraid to get a little messy. Chances are, it’s going to happen. Just embrace the goodness of these Chocolate Strawberry Shortcakes and enjoy!

A big thank you to Jackie Dodd for such a wonderful recipe. Be sure to check out her blog Domestic Fits for more awesome ideas.

Recipe note: I used 1 teaspoon of pure vanilla extract to intensify the flavor of the Chantilly Cream.


Printable Recipe

Chocolate Strawberry Shortcake

See post on Jackie Dodd’s site!
0.00 Mitt(s) 0 Rating(s)0 votes, average: 0.00 out of 50 votes, average: 0.00 out of 50 votes, average: 0.00 out of 50 votes, average: 0.00 out of 50 votes, average: 0.00 out of 5

Prep Time:

Cook Time:

Difficulty: Easy

Servings: 6

6
x

Print Options

Page size Letter 3x5 4x6
Text Size Small Medium Large
Content Include description
Include prep time, etc.
Show image

Description

Strawberry shortcake is classic, and chocolate is a welcome twist on an old favorite.

Ingredients

  • FOR THE SHORTCAKES:
  • 1-½ cup Flour
  • ½ cups Cocoa Powder
  • ½ teaspoons Sea Salt
  • ½ teaspoons Baking Powder
  • ½ teaspoons Baking Soda
  • ¼ cups Sugar
  • 8 Tablespoons Butter, Cut Into Small Cubes
  • ¼ cups Whole Milk
  • ¼ cups Carbonated Water
  • ¼ cups Cold Brewed Coffee (can Use Coffee Made With Instant Coffee Powder)
  • FOR THE STRAWBERRIES:
  • 2-½ cups Chopped Strawberries
  • ½ cups Powdered Sugar
  • 1 teaspoon Lemon Juice
  • FOR THE CHANTILLY CREAM:
  • 1 cup Whipping Cream
  • ½ cups Powdered Sugar
  • ½ teaspoons Real Vanilla Extract

Preparation Instructions

In a food processor combine the flour, cocoa powder, salt, baking powder, baking soda and sugar and pulse until combined. Add the butter and process until it is all incorporated and it resembles coarse meal. Add the milk, water and coffee and process until combined.

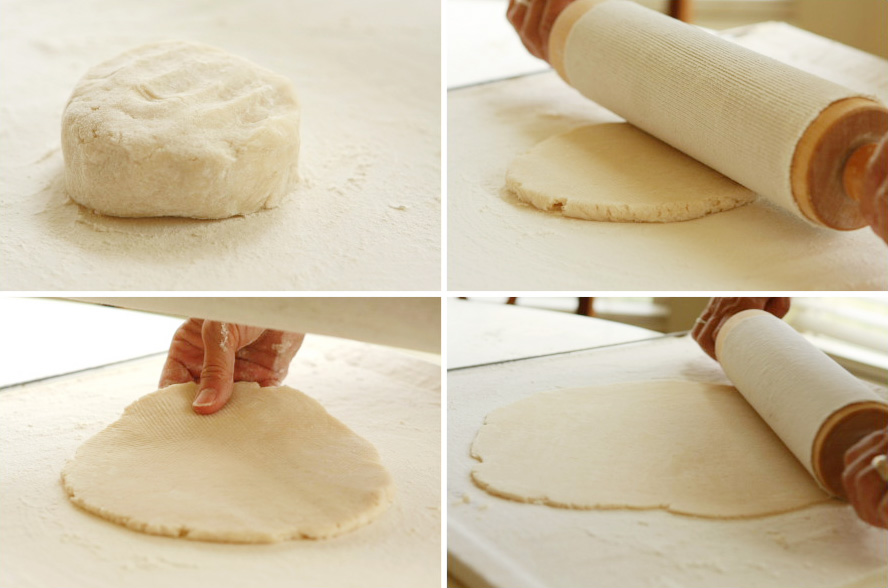
These are more like drop biscuits than roll ‘em out and cut ‘em variety. Take about 1/4 a cup of the dough and form a disk, about one inch high, with your hand and place it on a baking sheet covered with parchment paper.

Put your shortcakes in the fridge and allow to chill for 20 minutes while you preheat your oven to 350F. Bake for about 18-20 minutes. Allow to cool.

In a bowl, combine your strawberries, powdered sugar and lemon juice. Mix until combined and allow to sit for 10 minutes.

Chantilly Cream sounds super fancy, but in reality it’s just whipped cream that you make with powdered sugar instead of granulated sugar. It has a slightly different taste and texture that goes well with this recipe. In the bowl of a stand mixer, combine the cream, powdered sugar (between 1/4 cup and 1/2 cup depending on how sweet you like it) and vanilla extract. Beat on high for 3-5 minutes or until stiff peaks form.

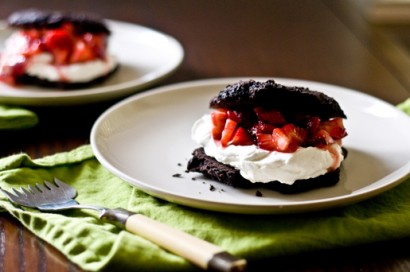
Once your shortcakes have cooled, top with berries and cream and serve immediately.


_______________________________________

Gaby Dalkin is the young lady behind What’s Gaby Cooking, a food blog that’s bursting at the seams with incredible recipes and food photography. She’s a personal chef and professional recipe developer, and if you follow her on Twitter, you’ll soon discover her two-fold obsession: guacamole and cheese. She has small feet, a large heart, and a smile that can light up the whole building. We’re pretty stoked to have her here.


Profile photo of callimakesdo

Pie Crust Tutorial

Posted by in Baking, Kitchen Talk, Step-by-Step Recipes

Tasty Kitchen Blog Pie Crust Tutorial. Guest post and recipe from Calli Taylor of Make It Do.

 
A few weeks ago, I invited my mom to join me in my kitchen for a day of pie making. She’s made hundreds of pies over the years and is known for her tender, flaky crusts. Working beside her brought back memories of making pie with her as a child. I love to watch her hands at work, her touch on the dough is so light and sure. We had a lovely day together and delicious pies to show for our work.

As we worked, my mom and I talked about pie. I told her I know many great cooks who are daunted by pie crust. Her answer was simple: if you want to be good at making pie, practice.

There are lots of tips you can use to improve your crust—how much to cut the fat, how wet the dough should be, and how to roll out and handle your dough. But in the end, there is no substitute for doing.


Tasty Kitchen Blog Pie Crust Tutorial. Guest post and recipe from Calli Taylor of Make It Do.

You don’t need fancy tools to make a good pie crust. The essentials are a mixing bowl, measuring cups and spoons, a pastry cutter, a rolling pin and a pie plate.

I use one more tool that’s not a necessity but is my favorite pie secret, and that’s a pastry frame. A pastry frame is canvas stretched tight over a wood and metal frame. It can be used for pies, pastries and even rolls. They are inexpensive (I paid about $15 for mine) and they roll up compactly to store. They make it incredibly easy to roll out your dough without sticking, and thanks to the canvas, your dough absorbs less flour, making your crust lighter and more tender. My frame even has guides so you know exactly how large to roll your dough.


Tasty Kitchen Blog Pie Crust Tutorial. Guest post and recipe from Calli Taylor of Make It Do.

The ingredients for pie are simple too, no matter which recipe you use. Each recipe has dry ingredients, usually all-purpose flour, salt, sometimes sugar, a liquid (ice water, milk or even vodka), and a fat.

There is great debate in the pie world about which fat is best: butter, shortening, lard, or a combination of those fats. The two best pie makers I’ve known, my mom and my husband’s late grandmother, both use(d) lard. Their crusts speak for themselves—flaky, delicious, out of this world. So lard is what I use, too. Whatever fat you choose, it must be cold, cold, cold. Cold fat makes for flaky crust.

So let’s get baking.


Tasty Kitchen Blog Pie Crust Tutorial. Guest post and recipe from Calli Taylor of Make It Do.

Before anything else, measure the lard and put it in the freezer to get it extra cold. Then prepare the rest of the ingredients.


Tasty Kitchen Blog Pie Crust Tutorial. Guest post and recipe from Calli Taylor of Make It Do.

Measure 2 cups of flour and sift onto a piece of parchment or wax paper.


Tasty Kitchen Blog Pie Crust Tutorial. Guest post and recipe from Calli Taylor of Make It Do.

Re-measure the 2 cups of sifted flour. My mom lifts the parchment like a funnel and pours it back into the measuring cup. She also re-measures over the surface where she will be rolling out the dough. The overspill helps to flour the surface. My mom is all about economy of action.


Tasty Kitchen Blog Pie Crust Tutorial. Guest post and recipe from Calli Taylor of Make It Do.

Tap across and level with a knife.


Tasty Kitchen Blog Pie Crust Tutorial. Guest post and recipe from Calli Taylor of Make It Do.

Add the salt to the flour and sift again, this time into your mixing bowl. Then add the cold lard. Using a pastry cutter, cut the lard into the flour. Some pie makers turn this step over to their food processor. Resist the temptation! It’s too easy to overwork the flour and end up with a tough crust. The pastry cutter, on the other hand, will give you a nice workout. I like to think I’m burning off a few bites of pie.


Tasty Kitchen Blog Pie Crust Tutorial. Guest post and recipe from Calli Taylor of Make It Do.

The motion with the cutter is down and twist your wrist one quarter turn, Daniel-san. Down and twist. Continue this motion until the flour has been worked into the lard and your dough resembles small peas. Don’t overwork the dough at this point.


Tasty Kitchen Blog Pie Crust Tutorial. Guest post and recipe from Calli Taylor of Make It Do.

Next add liquid. My mom uses very cold milk. Grandma Eva used ice water. Both work equally well. Start by adding about half the liquid, which for my mom’s crust recipe is 2 tablespoons. Then slowly add one to two tablespoons more, using a fork until the dough pulls together into a ball. Stop before the dough gets too wet but is nicely pulled together.


Tasty Kitchen Blog Pie Crust Tutorial. Guest post and recipe from Calli Taylor of Make It Do.

Cut your ball in half and lightly work into two disks. Wrap them individually in plastic wrap and put in the refrigerator for half an hour or up to a day.


Tasty Kitchen Blog Pie Crust Tutorial. Guest post and recipe from Calli Taylor of Make It Do.

Remove one ball from the refrigerator at a time and turn onto your nicely floured work surface. Don’t be shy about the flour if you are rolling out on a counter or cutting board. It’s not fun to have your dough stick. This is why I love my pastry frame—the dough never sticks, even with a moderate amount of flour.

Work the dough with your rolling pin, applying gentle pressure. Roll away from you, then turn the dough a half turn and roll away from you again. As you turn the dough, make sure to add more flour underneath as needed.

Continue this until your dough is too large to turn. Roll until your dough is about a 12″ circle for a 9-inch pie plate and about 1/8 inch thick.


Tasty Kitchen Blog Pie Crust Tutorial. Guest post and recipe from Calli Taylor of Make It Do.

Many pie makers will tell you to fold your dough in quarters then gently lift it into your plate. Our method is much simpler and works like a charm. Gently roll the dough over the top of your rolling pin, slip the plate under, center and roll the dough into the plate.

When it comes to pie plates, my mom and I agree: a simple style glass Pyrex is best. It does a wonderful job of evenly cooking your pie crust. We even prefer Pyrex over more expensive ceramic plates.


Tasty Kitchen Blog Pie Crust Tutorial. Guest post and recipe from Calli Taylor of Make It Do.

The next step is important. Working around the pie, lift the edges of the dough and make sure the dough is snugged into the corners of the pie plate without stretching the dough. This will keep your dough from slipping down when baking.

If you are making a double crust pie, roll out the top at this point. I like to cut my vents while my dough is still on the pastry frame and the surface is firm. That way I can use a cute little cookie cutter to cut a small shape in the center of the crust.

Fill the pie with your filling. Wet the edge of the dough in the plate with a little water. Roll the top over the rolling pin, carefully center it over the pie, and roll into place. Trim around the pie using kitchen scissors or a knife, leaving about a 1/2-inch overhang.


Tasty Kitchen Blog Pie Crust Tutorial. Guest post and recipe from Calli Taylor of Make It Do.

If you are making a single crust, trim around the pie, leaving about 1/2 inch overhang.


Tasty Kitchen Blog Pie Crust Tutorial. Guest post and recipe from Calli Taylor of Make It Do.

My mom and I both flute the edge of the pie by using a thumb and two index fingers, folding the edge, crimping and fluting as you go. Follow the same process for a double crust pie.

Finish your double crust pie by brushing the top with milk or egg wash and sprinkling the surface with sugar to make a lovely crisp sheen on your crust. If you didn’t before, make sure to cut vents for steam.

For a single crust pie where the filling needs to be baked in the pie, fill and bake according to your recipe. Trust me on this one: once you fill your pie, bake it immediately.


Tasty Kitchen Blog Pie Crust Tutorial. Guest post and recipe from Calli Taylor of Make It Do.

For a pie requiring a precooked crust, use a fork to pierce evenly around your pie crust. Bake in a 400ºF oven for about 15 minutes until your crust is golden brown.

You may wonder why I don’t mention pie weights. The need for them depends on your recipe. My mom and I have never had trouble with our crusts slipping into the pan, and have never needed or used weights. If you feel you need them, line your pie crust with parchment or foil and use dry beans or rice to fill the pie.


Tasty Kitchen Blog Pie Crust Tutorial. Guest post and recipe from Calli Taylor of Make It Do.

We never throw away our leftover pie scraps. Cinnamon pie scraps are a favorite treat. Place your scraps on a cookie sheet cut in bite-sized pieces. Sprinkle with cinnamon sugar and cook at 400ºF for 8 to 10 minutes or until golden brown.


Tasty Kitchen Blog Pie Crust Tutorial. Guest post and recipe from Calli Taylor of Make It Do.

Just look at that crust, so light and flaky.


Tasty Kitchen Blog Pie Crust Tutorial. Guest post and recipe from Calli Taylor of Make It Do.

The pre-baked pie crust can be made several days ahead until it is ready to be filled with coconut or banana cream …


Tasty Kitchen Blog Pie Crust Tutorial. Guest post and recipe from Calli Taylor of Make It Do.

Or one of my favorites: fresh peaches. That’s the pie we made today. While peaches are in season, it’s a treat not to be missed.

The first few pie crusts I made tasted good but weren’t very pretty. I’ve even had a few epic failures, like the time I filled an apple pie and put it in the refrigerator overnight so I could cook it fresh on Thanksgiving morning. It came out of the oven gorgeous and golden. But when I served the pie, the bottom crust had turned to goo. So awful! I’ve lived and learned and gotten better with every crust. It’s a skill worth working at, and one your family and friends will love you for.

There are many ways to make a great pie crust, this is simply one method. But it’s a good one. It creates a flaky, tender, delicious pie crust every time. This tutorial is mostly about technique and could be applied to other recipes.

You can also find the printable recipe for my Mom’s Fresh Peach Pie here on Tasty Kitchen and a step by step tutorial on my blog. And thanks, Mom, for sharing your skill and wisdom.


Printable Recipe

Perfect Pie Crust

See post on callimakesdo’s site!
5.00 Mitt(s) 1 Rating(s)1 vote, average: 5.00 out of 51 vote, average: 5.00 out of 51 vote, average: 5.00 out of 51 vote, average: 5.00 out of 51 vote, average: 5.00 out of 5

Prep Time:

Cook Time:

Difficulty: Intermediate

Servings: 16

16
x

Print Options

Page size Letter 3x5 4x6
Text Size Small Medium Large
Content Include description
Include prep time, etc.
Show image

Description

This crust is simple, yet tender, flaky and delicious. It works for sweet or savory pie fillings. Makes 2 single or 1 double pie crust.

Ingredients

  • ⅔ cups Cold Lard
  • 2 cups Sifted All-Purpose Flour
  • ½ teaspoons Salt
  • 4 Tablespoons Cold Milk

Preparation Instructions

Measure lard and place in the freezer. Sift flour onto a piece of parchment or wax paper. Re-measure flour and sift again with salt into a mixing bowl. Using a pastry cutter, cut cold lard into the flour mixture until the dough resembles small peas. Do not overwork. Add 2 tablespoons milk and work into the dough using a fork. Add one or two more tablespoons of milk, working with a fork until the dough pulls together into a nice ball. Divide into two equal pieces and lightly work into disks. Wrap disks individually in plastic wrap and refrigerate for 1/2 hour or up to one day. On a floured work surface, roll out into a 12-inch disk about 1/8 inch thick and place into a pie plate.

Fill and bake according to your pie recipe. If a recipe calls for a pre-baked pie crust, pierce evenly around the crust with a fork and bake in a 400ºF oven for about 15 minutes or until golden brown. Makes one double crust or 2 single crusts.


_______________________________________

Calli is truly a woman of many talents, from cooking, sewing, crafts, beautiful photography and gardening. Her blog, Make it Do is a treasure trove of recipes, household tips, crafts projects, sewing patterns … you name it. It’s also peppered with photos of her beautiful kids. Go visit her site, and visit it often. There’s always something new to learn there!


Profile photo of georgiapellegrini

Grilled Corn with Bacon Butter and Cotija Cheese

Posted by in Step-by-Step Recipes

Tasty Kitchen Blog Grilled Corn with Bacon Butter & Cotija Cheese. Guest post by Georgia Pellegrini, recipe submitted by TK member Jessica Merchant of How Sweet It Is.

 
I’ve been trying all summer to grow corn. I planted the seeds in two long rows and waited patiently. Out of one hundred or so seeds, about six sprouted. Then a woodchuck came along and helped himself to about half of those. So I went to the gardening store and bought some corn in containers that had already sprouted. They were hearty little stalks and I spent all day planting them with the help of my brother. They grew for a while and we woodchuck-proofed the fence. But then the little stalks began to disappear, one by one. It was the chipmunks and squirrels this time, and in the end, all that remained were the original three. For some reason those weren’t as tasty to the creatures of the wild. Then one day I went to check on them and guess what? They had vanished, too. Corn growing is decidedly not in my destiny this summer!

Luckily there are some talented farmers down the road. They enabled me to make this mouthwatering recipe by fellow TK contributor Jessica of HowSweetEats that I just couldn’t take my eyes off of: Grilled Corn with Bacon Butter & Cotija Cheese.


Tasty Kitchen Blog Grilled Corn with Bacon Butter & Cotija Cheese. Guest post by Georgia Pellegrini, recipe submitted by TK member Jessica Merchant of How Sweet It Is.

You start by firing up the grill as hot as can be, and shucking your ears of corn. Now you could grill them with the husks on, but it would be a bit messier to peel afterward.


Tasty Kitchen Blog Grilled Corn with Bacon Butter & Cotija Cheese. Guest post by Georgia Pellegrini, recipe submitted by TK member Jessica Merchant of How Sweet It Is.

So if you’re going the clean route, shuck them and lay each piece of corn on a square piece of tin foil.


Tasty Kitchen Blog Grilled Corn with Bacon Butter & Cotija Cheese. Guest post by Georgia Pellegrini, recipe submitted by TK member Jessica Merchant of How Sweet It Is.

Next, brush each ear with a good dose of melted butter. Because it’s the right thing to do.


Tasty Kitchen Blog Grilled Corn with Bacon Butter & Cotija Cheese. Guest post by Georgia Pellegrini, recipe submitted by TK member Jessica Merchant of How Sweet It Is.

Then wrap each ear of corn in some tin foil and twist the ends so you have nice little packages.


Tasty Kitchen Blog Grilled Corn with Bacon Butter & Cotija Cheese. Guest post by Georgia Pellegrini, recipe submitted by TK member Jessica Merchant of How Sweet It Is.

Set ‘em all on a tray and bring them to the grill! Let them sit on the grill covered, turning them every 5 minutes or so.


Tasty Kitchen Blog Grilled Corn with Bacon Butter & Cotija Cheese. Guest post by Georgia Pellegrini, recipe submitted by TK member Jessica Merchant of How Sweet It Is.

Meanwhile, take out a few big thick strips of bacon.


Tasty Kitchen Blog Grilled Corn with Bacon Butter & Cotija Cheese. Guest post by Georgia Pellegrini, recipe submitted by TK member Jessica Merchant of How Sweet It Is.

Render them on gentle heat in a skillet until they are crisp and all of the fat has melted into the pan.


Tasty Kitchen Blog Grilled Corn with Bacon Butter & Cotija Cheese. Guest post by Georgia Pellegrini, recipe submitted by TK member Jessica Merchant of How Sweet It Is.

Dry them on some paper towel so they’re good and crisp.


Tasty Kitchen Blog Grilled Corn with Bacon Butter & Cotija Cheese. Guest post by Georgia Pellegrini, recipe submitted by TK member Jessica Merchant of How Sweet It Is.

Next comes some chopped cilantro. This will be a garnish for flavor and color, because food isn’t any fun without lots of color involved.


Tasty Kitchen Blog Grilled Corn with Bacon Butter & Cotija Cheese. Guest post by Georgia Pellegrini, recipe submitted by TK member Jessica Merchant of How Sweet It Is.

Next crumble the bacon. I do this by wrapping it in paper towel and crushing it with my hands.


Tasty Kitchen Blog Grilled Corn with Bacon Butter & Cotija Cheese. Guest post by Georgia Pellegrini, recipe submitted by TK member Jessica Merchant of How Sweet It Is.

Set out your crumbly cheese along with your cilantro and bacon. If you can’t find cotija cheese at your store, feta or blue cheese are fabulous as well.


Tasty Kitchen Blog Grilled Corn with Bacon Butter & Cotija Cheese. Guest post by Georgia Pellegrini, recipe submitted by TK member Jessica Merchant of How Sweet It Is.

The corn is ready when it has nice grill marks and the kernels look a bit dehydrated. It will have a denser texture, which is nice.


Tasty Kitchen Blog Grilled Corn with Bacon Butter & Cotija Cheese. Guest post by Georgia Pellegrini, recipe submitted by TK member Jessica Merchant of How Sweet It Is.

Drizzle on some melted butter. Now you could combine the bacon bits with the butter here and brush it all on, the way Jessica did.


Tasty Kitchen Blog Grilled Corn with Bacon Butter & Cotija Cheese. Guest post by Georgia Pellegrini, recipe submitted by TK member Jessica Merchant of How Sweet It Is.

Or you could just sprinkle the bacon on afterward.


Tasty Kitchen Blog Grilled Corn with Bacon Butter & Cotija Cheese. Guest post by Georgia Pellegrini, recipe submitted by TK member Jessica Merchant of How Sweet It Is.

Then add lots and lots of cheese …


Tasty Kitchen Blog Grilled Corn with Bacon Butter & Cotija Cheese. Guest post by Georgia Pellegrini, recipe submitted by TK member Jessica Merchant of How Sweet It Is.

And at long last, the cilantro. Then serve ‘er up! It’s a beautiful dish and a definite crowd pleaser.

Thanks to Jessica for the recipe! And check out her blog How Sweet Eats for other crowd pleasing recipes.


Printable Recipe

Grilled Corn with Bacon Butter and Cotija Cheese

See post on HowSweetEats’s site!
4.75 Mitt(s) 4 Rating(s)4 votes, average: 4.75 out of 54 votes, average: 4.75 out of 54 votes, average: 4.75 out of 54 votes, average: 4.75 out of 54 votes, average: 4.75 out of 5

Prep Time:

Cook Time:

Difficulty: Easy

Servings: 6

6
x

Print Options

Page size Letter 3x5 4x6
Text Size Small Medium Large
Content Include description
Include prep time, etc.
Show image

Description

Caramel-y kernels slathered with bacon butter and rolled in cheese crumbles. You can’t say no.

Ingredients

  • 6 ears Corn
  • 1 Tablespoon Olive Oil
  • 1 teaspoon Black Pepper
  • 3 Tablespoons Unsalted Butter, Softened
  • 2 slices Bacon, Fried And Crumbled Into Very Tiny Pieces
  • 4 ounces, weight Cotjia Cheese, Crumbled
  • ¼ cups Fresh Cilantro For Garnish

Preparation Instructions

Preheat your grill to the highest setting. Shuck corn ears and brush each with olive oil and sprinkle with pepper. Wrap each in a square of aluminum foil, just so there is one layer covering the corn. Grill for about 5 minutes each “side”—rotating corn 4-5 times during grilling—for a total of about 25-30 minutes. While grilling corn, combine softened butter with crumbled bacon. Crumble cotija cheese on a large plate.

Once corn is finished, let sit for about 5 minutes to cool a bit before serving. The corn will still be very hot. Serve with a brush for the bacon butter, the plate of cotija to roll the corn in, and a bunch of fresh cilantro for garnish.

Note: there are so many ways to grill corn and this is what we have found to work best for us. Feel free to grill your corn another way if you’d like. Also, if you can’t find cotija cheese I’m sure you could substitute feta or blue cheese—something that crumbles.


_______________________________________

There’s so much to say about Georgia, we don’t know where to start. Leaving Wall Street for the French Culinary Institute, followed by a stint at the Gramercy Tavern and La Chassagnette in France, her passion for food and food traditions are evident and inspiring. Visit her site at Georgia Pellegrini, where you’ll find more recipes, photos, learn all about her wonderful book Food Heroes, and enjoy her latest adventures.


Profile photo of Erika (TK)

The Theme Is… Pancakes!

Posted by in The Theme Is...

Republished from our original Pancakes theme post circa 2010. If you’re thinking we’re doing this to whet your appetite for a possible part deux tomorrow to celebrate National Pancake Week and Shrove Tuesday, you may or may not be right. (Spread the word! You know, just in case you’re right.)

 
Tasty Kitchen: Perfect Pancakes from The Pioneer Woman.

Ready for another new Tasty Kitchen Blog feature? Today, we’re doing Theme Day, where a specific dish, ingredient, cooking method, or even cuisine gets the spotlight. Guess what today’s theme is?

If you’re like me, a quick way to make breakfast instantly special is to whip up a stack of pancakes. I don’t know what it is about fried batter that just makes mornings feel right. I think the whole “ceremony” involved plays a part in it, too. Pancakes are generally not a grab-and-go kind of breakfast. No, you sit down for pancakes. Pancakes demand that you use proper utensils, and when they’re ready, you’d better be sitting at the table. Pancakes wait for no one.

Pancakes rule.

Since pancakes are a special way to start a day, we thought it was only fitting that we start off this new themed series with, well, pancakes. Many of you already know PW’s Perfect Pancakes pictured above. It’s got all the usual suspects in the ingredients, but it’s made with cake flour and a good amount of vanilla. Ree feels strongly about adding vanilla to your pancake batter.

How about you? When it comes to pancakes, what’s your poison? Do you like them with fruit, either mixed in or on top? Nuts? Chocolate chips? Savory rather than sweet? Or are you a straight up pancake purist?

I thought I’d seen my share of pancake variations, but I was blown away by the wonderful creations you clever, clever members have shared with us. Let’s take a look at some of them, shall we?


Tasty Kitchen: Carrot Cake Pancakes, recipe submitted by TK member Heather of Multiply Delicious.

How gorgeous do these Carrot Cake Pancakes by multiplydelicious2 look? I found myself wondering how they might taste with some cream cheese frosting on them. Because carrots are vegetables, right? So they cancel out the cream cheese? Yes?

We’ve also got our own lineup of international pancakes: German Pancakes, Dutch Babies, Swedish Pancakes, French Crepes, and these beauties from down under:


Tasty Kitchen: Yoghurt Pikelets, recipe submitted by TK member Bindi.

These are Yoghurt Pikelets from Bindi. Bindi says they can be eaten warm or cold, although I’m not sure a stack of these would last long enough in my house to get cold.

Or, if you’ve got some leftover ricotta from last night’s lasagna …


Tasty Kitchen: Lemon Poppy Seed Ricotta Pancakes, recipe submitted by TK member A Cozy Kitchen.

… that ricotta can find a home in these Lemon-Poppy Seed Ricotta Pancakes from A Cozy Kitchen.

Because their base is so simple, pancakes are one of the easiest dishes to customize. You can add fruits, nuts, cheese, bacon, sausage, baking chips, different extracts, and with all the possible combinations, they can quickly be made seasonal, too. Or, they can also be turned into something completely different.


Tasty Kitchen: Mini Maple Chocolate Chip Pancake Muffins, recipe submitted by TK member Bakerella.

Have you seen these delightful Mini Maple Chocolate Chip Pancake Muffins from Bakerella? She says they can be served with butter, with a small bowl of maple syrup for dipping. Genius, I’m telling you. Sheer genius.


Tasty Kitchen: Easy Morning Gluten-Free Pancakes, recipe submitted by TK member tallmisto.

And look, we even have gluten-free pancakes. These Easy Morning Gluten Free Pancakes from tallmisto look so good, you can almost taste them.

 
These are only a few of the many wonderful pancake recipes here, and boy do I want to make them all. Check out the Pancakes category and see what strikes your fancy. Or come up with your own special blend, and share it with us!

Oh, and if anyone can get back to me on that whole vegetables-cancel-out-cream-cheese thing, please let me know. But only if the answer is yes.


Profile photo of twopeasandtheirpod

Cinnamon Raisin Almond Butter

Posted by in Step-by-Step Recipes

I am a huge fan of peanut butter, but unfortunately my husband is allergic to nuts. I try not to eat nuts around him because even the smell bothers him. I found this out when we were dating and I made peanut butter cookies. He said it would be fine but he was just being […]

Profile photo of A Cozy Kitchen

When French Toast Met Pancakes

Posted by in Step-by-Step Recipes

  If you ever want me to like you, just make me a light, fluffy stack of pancakes. I’ll blush, I’ll smile a lot, I might propose–it’ll be weird and cute. Promise. Just when I thought pancakes couldn’t get any better, I stumbled upon this recipe by Tasty Kitchen member frecklesandsunshine. The title: When French […]

Profile photo of cookincanuck

Blueberry Streusel Scones

Posted by in Baking, Step-by-Step Recipes

  Up until a few years ago, I didn’t consider myself a scone gal. I don’t want to point any fingers, but my lack of enthusiasm for the traditional breakfast bread likely had something to do with a decidedly dry specimen my 9th-grade friends and I made in our Home Economics class. Of course, that […]

Profile photo of Natalie | Perry's Plate

Breakfast Salad

Posted by in Step-by-Step Recipes

  Salad. For breakfast. Sounds a little weird, but we’ve been making breakfast salads in the Perry house for over a year now. If anyone had told me five years ago that I’d be eating salads for breakfast and keeping things like flaxseed and giant containers of coconut oil in my pantry, I would have […]