The Pioneer Woman Tasty Kitchen
Profile photo of missamy

Cracker Pizza

Posted by in Step-by-Step Recipes

Tasty Kitchen Blog: Cracker Pizza. Guest post by Amy Johnson of She Wears Many Hats, recipe submitted by TK member Mrs. Schwartz of Mrs. Schwartz's Kitchen.

 
Confession time: I’ve never mastered the pizza dough. Nope. It’s always turned out mushy, doughy, and, well, just wrong. I’ll keep working on it, but in the meantime, I found with this recipe for Cracker Pizza, submitted by Tasty Kitchen member, Mrs. Schwartz, I don’t really have to worry about it right now. Plus, I’ve grown quite fond of a crispy, crunchy pizza. It’s good eating if you ask me. And this recipe is as simple as it gets. I’m guessing a quick 15 minutes from start to that first crunchy bite.

This Cracker Pizza recipe would be great to use for a pizza party, especially with teenagers. Prepare a pizza bar with a bunch of toppings and let everyone fix their own favorite combo. Fun!

Let me show you how easy it is.


Tasty Kitchen Blog: Cracker Pizza. Guest post by Amy Johnson of She Wears Many Hats, recipe submitted by TK member Mrs. Schwartz of Mrs. Schwartz's Kitchen.

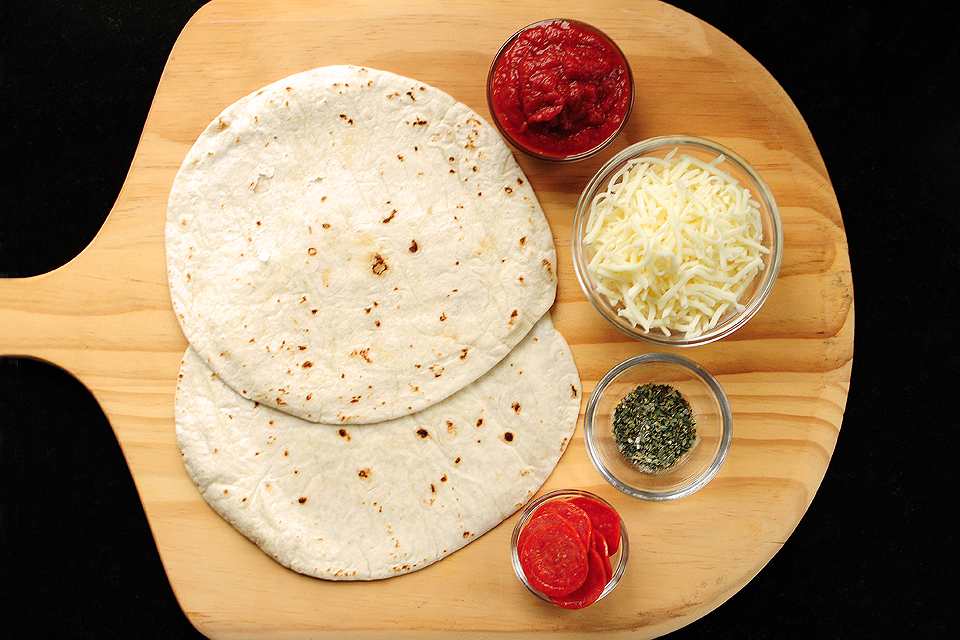
To get started you’ll need: tortillas, pizza sauce, mozzarella cheese, pepperoni or your favorite toppings, and pizza seasoning (or create your own; I used basil, oregano, garlic powder, and black pepper).


Tasty Kitchen Blog: Cracker Pizza. Guest post by Amy Johnson of She Wears Many Hats, recipe submitted by TK member Mrs. Schwartz of Mrs. Schwartz's Kitchen.

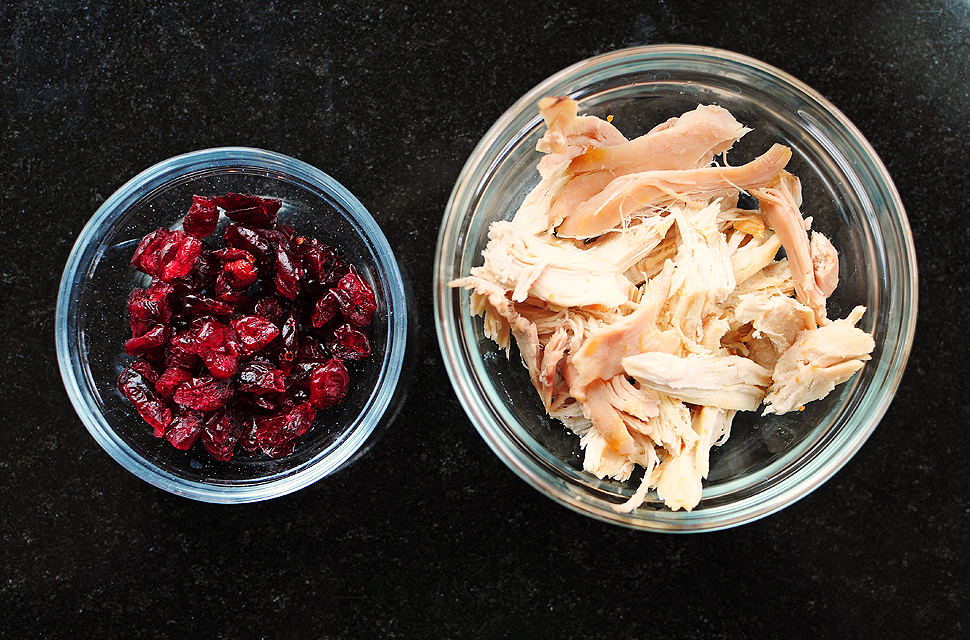
In addition to the pepperoni, I used some leftover chicken with dried cranberries for a holiday-inspired pizza. That leftover turkey would be veddy, veddy good here too.


Tasty Kitchen Blog: Cracker Pizza. Guest post by Amy Johnson of She Wears Many Hats, recipe submitted by TK member Mrs. Schwartz of Mrs. Schwartz's Kitchen.

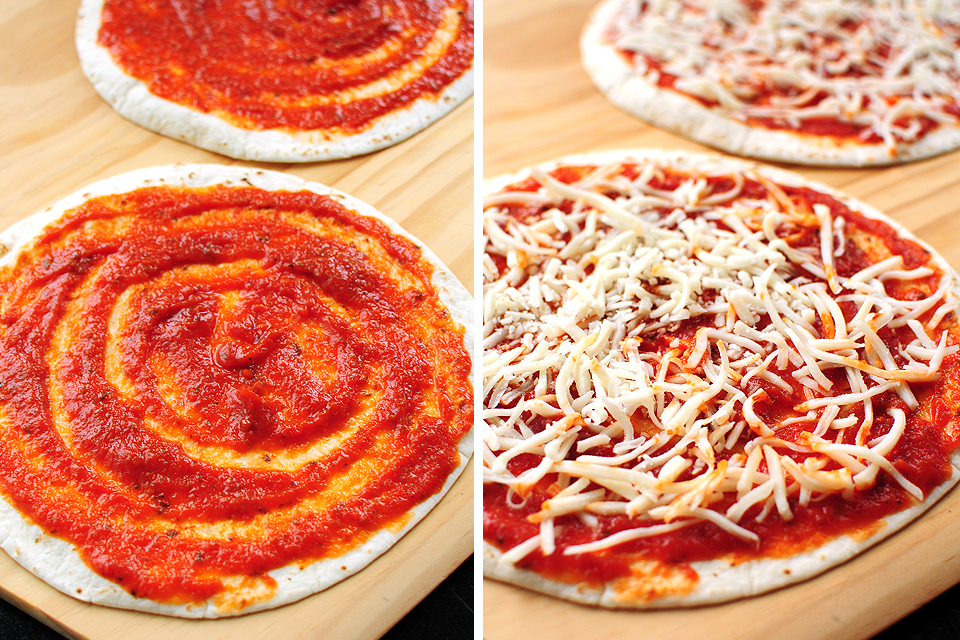
Evenly spread the pizza sauce over the tortilla, and then the cheese, please.


Tasty Kitchen Blog: Cracker Pizza. Guest post by Amy Johnson of She Wears Many Hats, recipe submitted by TK member Mrs. Schwartz of Mrs. Schwartz's Kitchen.

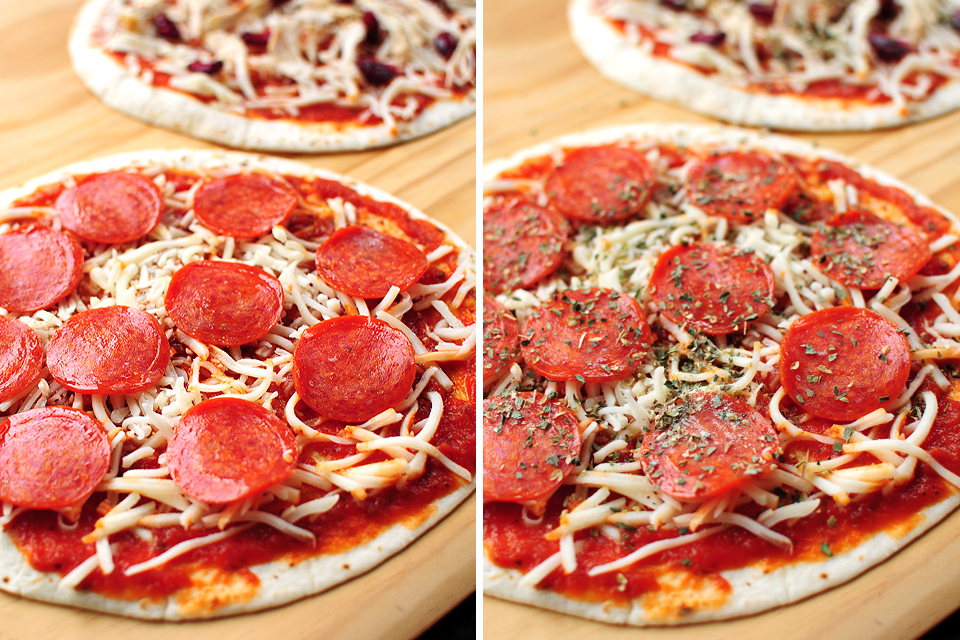
Add your favorite toppings, and evenly sprinkle the pizza with seasonings.
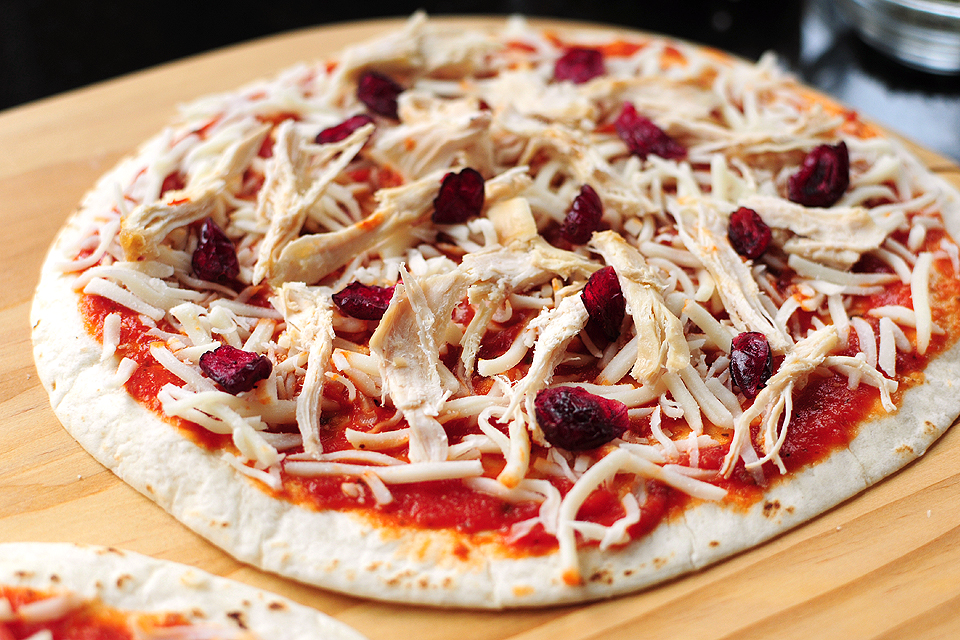


Tasty Kitchen Blog: Cracker Pizza. Guest post by Amy Johnson of She Wears Many Hats, recipe submitted by TK member Mrs. Schwartz of Mrs. Schwartz's Kitchen.

The chicken and cranberry pizza is looking good.

Now it’s time to bake, for about 10 minutes. Be sure to watch carefully to avoid burning the crust.


Tasty Kitchen Blog: Cracker Pizza. Guest post by Amy Johnson of She Wears Many Hats, recipe submitted by TK member Mrs. Schwartz of Mrs. Schwartz's Kitchen.

Yum! Melty cheese on top of a crunchy cracker-style crust.



Tasty Kitchen Blog: Cracker Pizza. Guest post by Amy Johnson of She Wears Many Hats, recipe submitted by TK member Mrs. Schwartz of Mrs. Schwartz's Kitchen.

And the chicken cranberry combo turned out very nice. The crust is so crispy! It’s hard to believe it only takes 10 minutes for a plain, boring flour tortilla to turn into such deliciousness.

I’m thinking I may serve a few different combinations of these for appetizers at our next gathering. So simple, and the ingredients are basic enough to keep on hand for snacks, or last-minute appetizers.

Dear Mrs. Schwartz,

The recipe for Cracker Pizza is most certainly a keeper. And now I can make pizza any time I want even though I’m stinking up the pizza dough.

Thanks for sharing it with all of us!

Sincerely,
Pizza Dough Challenged Mrs. Johnson


Printable Recipe

Cracker Pizza

See post on Krysten Schwartz ’s site!
5.00 Mitt(s) 9 Rating(s)9 votes, average: 5.00 out of 59 votes, average: 5.00 out of 59 votes, average: 5.00 out of 59 votes, average: 5.00 out of 59 votes, average: 5.00 out of 5

Prep Time:

Cook Time:

Difficulty: Easy

Servings: 1

1
x

Print Options

Page size Letter 3x5 4x6
Text Size Small Medium Large
Content Include description
Include prep time, etc.
Show image

Description

Quick, easy and healthy(er) fix to that pizza craving!

Ingredients

  • 1 whole Large Tortilla
  • 3 Tablespoons Pizza Sauce (or Additional Depending On Your Preference)
  • ¼ cups Mozzarella Cheese
  • 10 slices Pepperoni
  • 3 dashes Pizza Seasoning

Preparation Instructions

Preheat your oven to 415ºF. You want it very hot so the “crust” (tortilla) gets nice and crispy.

Spoon the pizza sauce onto the tortilla, spread it out almost to the edges, evenly.

Top with cheese and pepperoni. Sprinkle with pizza seasoning.

Bake for about 10 minutes. This will brown fast so pay close attention while it is in the oven.

You can modify this with any type of pizza toppings you prefer!

Enjoy!


_______________________________________

Amy Johnson is a blogger who writes about food, travel, the home (both inside and out), and various observations and random musings about anything and everything. Visit her blog She Wears Many Hats for a dose of deliciousness, practicality, hilarity, or just plain fun. She lives in South Carolina with her husband and two children.


Profile photo of twopeasandtheirpod

Chocolate Nutella & Sea Salt Fudge

Posted by in Step-by-Step Recipes

Tasty Kitchen Blog: Chocolate Nutella Sea Salt Fudge. Guest post by Maria Lichty of Two Peas and Their Pod, recipe submitted by TK member Dara Michalski of Cookin' Canuck.

 
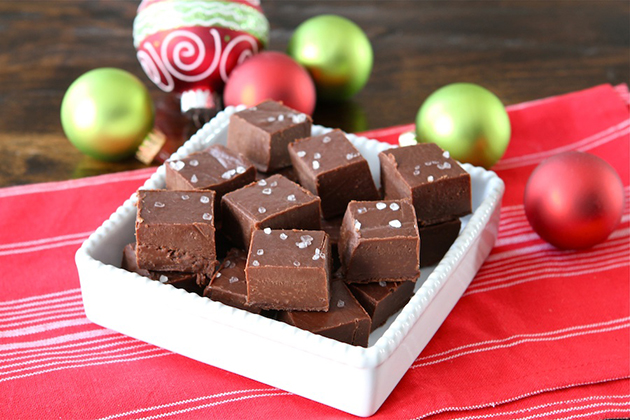
Every December I bake dozens and dozens of holiday cookies to share with family and friends. This year I wanted to add something new to our holiday goodies and was stumped on what to make. So I turned to Tasty Kitchen for help. Warning: do not browse Tasty Kitchen while hungry, you will be bummed when you realize you can only look at the delicious recipes and not taste them. (Just a little FYI.) I bookmarked several recipes to try, but this Chocolate Nutella & Sea Salt Fudge from Dara (Tasty Kitchen member and blog contributor cookincanuck) was at the top of my list. I had all of the ingredients to make the fudge, so I turned on the Christmas tunes and got started. 


Tasty Kitchen Blog: Chocolate Nutella Sea Salt Fudge. Guest post by Maria Lichty of Two Peas and Their Pod, recipe submitted by TK member Dara Michalski of Cookin' Canuck.

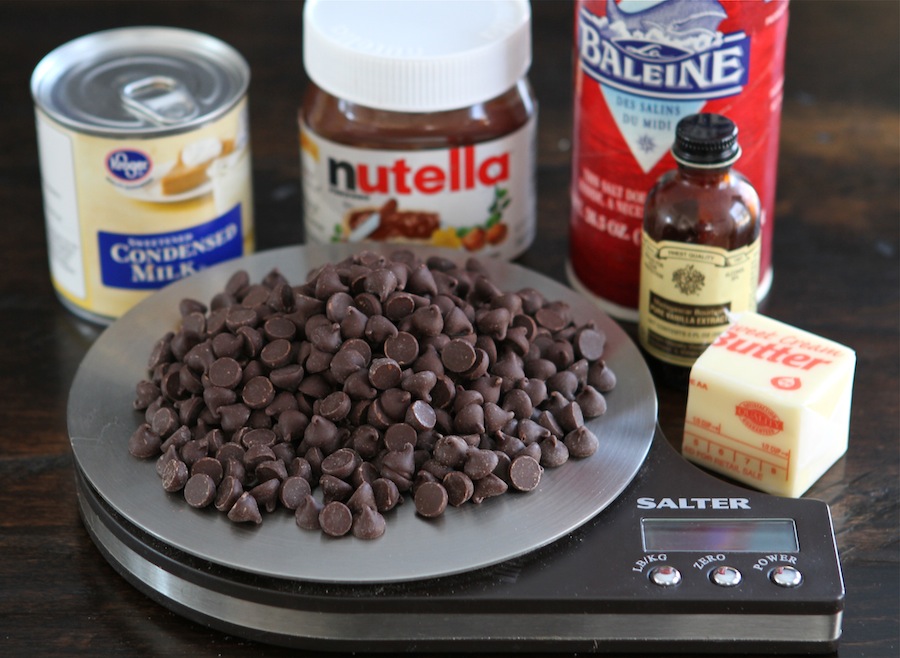
To make this you will need the following ingredients: butter, sweetened condensed milk, vanilla extract, chocolate, Nutella, and sea salt. 


Tasty Kitchen Blog: Chocolate Nutella Sea Salt Fudge. Guest post by Maria Lichty of Two Peas and Their Pod, recipe submitted by TK member Dara Michalski of Cookin' Canuck.

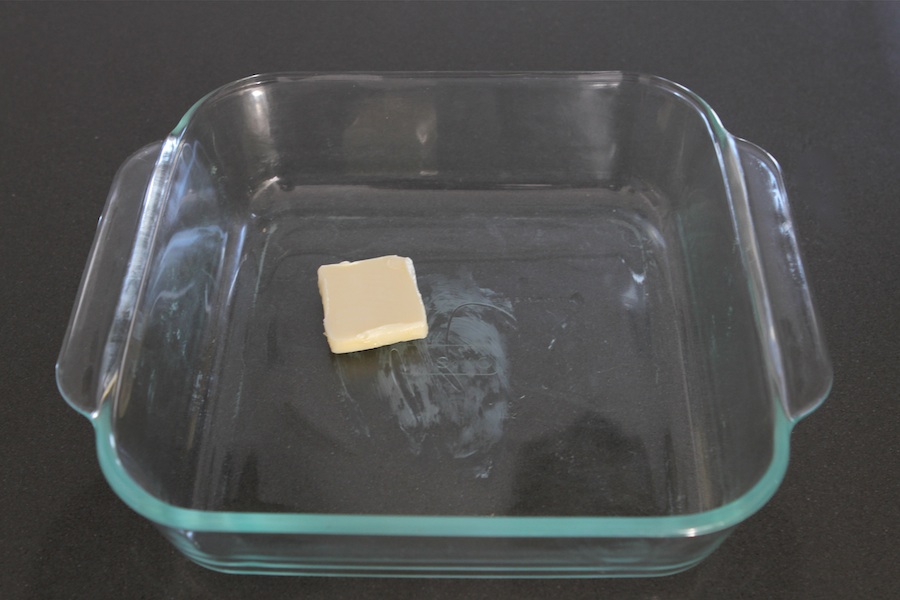
Grease the bottom and sides of an 8- by 8-inch baking pan with butter. 


Tasty Kitchen Blog: Chocolate Nutella Sea Salt Fudge. Guest post by Maria Lichty of Two Peas and Their Pod, recipe submitted by TK member Dara Michalski of Cookin' Canuck.

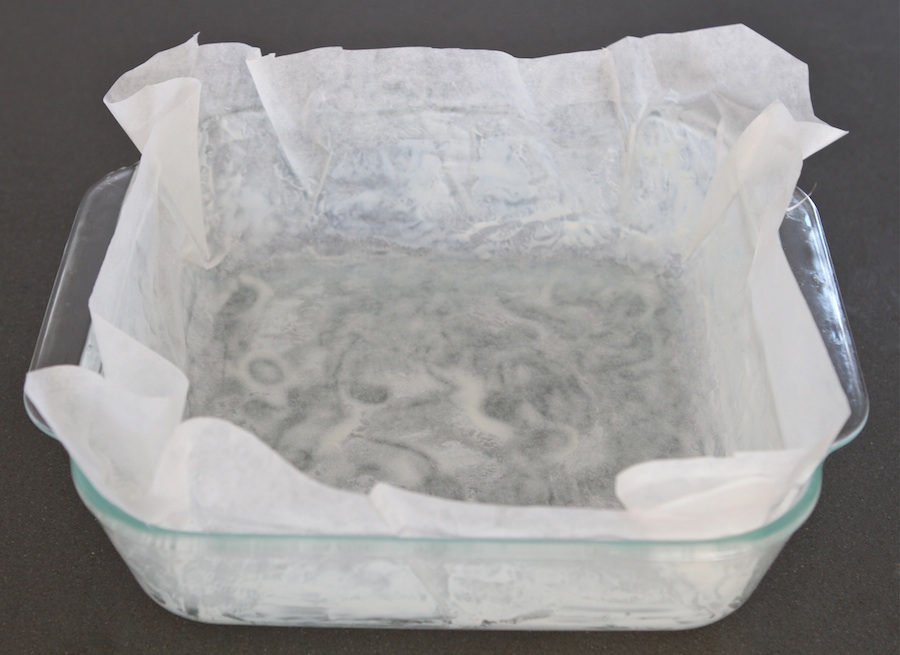
Line the pan with parchment paper, leaving a 2-inch overlap on the sides.


Tasty Kitchen Blog: Chocolate Nutella Sea Salt Fudge. Guest post by Maria Lichty of Two Peas and Their Pod, recipe submitted by TK member Dara Michalski of Cookin' Canuck.

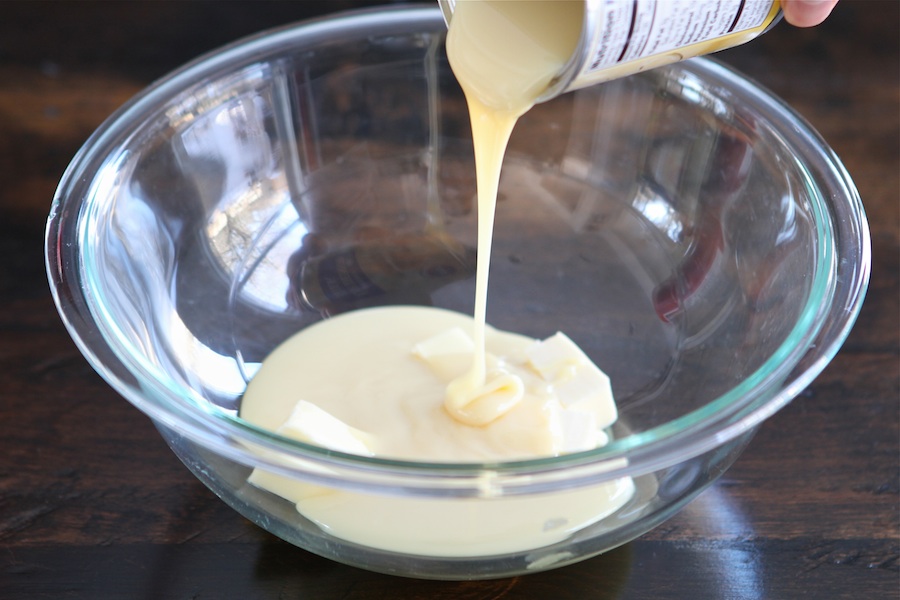
In a medium glass or stainless steel bowl, combine butter and sweetened condensed milk.


Tasty Kitchen Blog: Chocolate Nutella Sea Salt Fudge. Guest post by Maria Lichty of Two Peas and Their Pod, recipe submitted by TK member Dara Michalski of Cookin' Canuck.

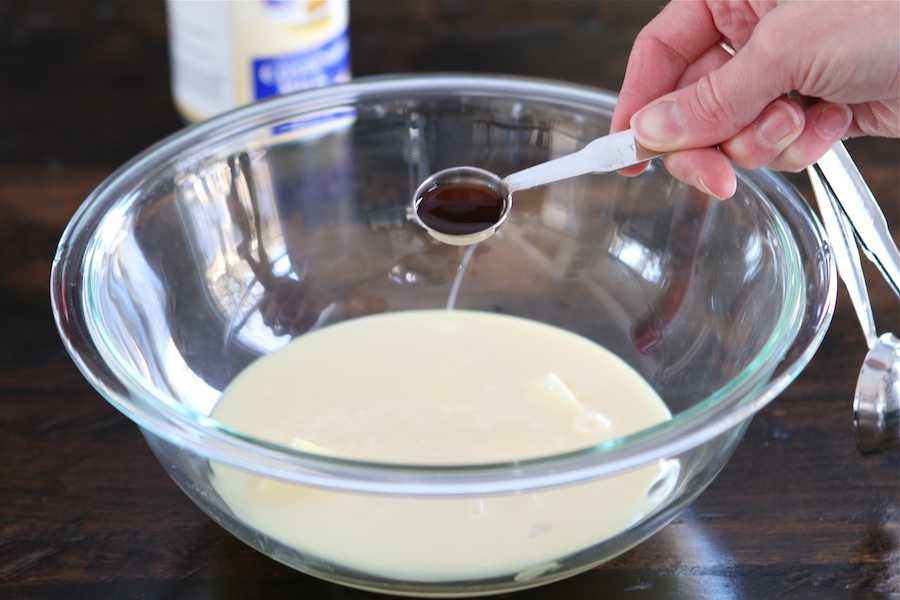
Add the vanilla extract. 


Tasty Kitchen Blog: Chocolate Nutella Sea Salt Fudge. Guest post by Maria Lichty of Two Peas and Their Pod, recipe submitted by TK member Dara Michalski of Cookin' Canuck.

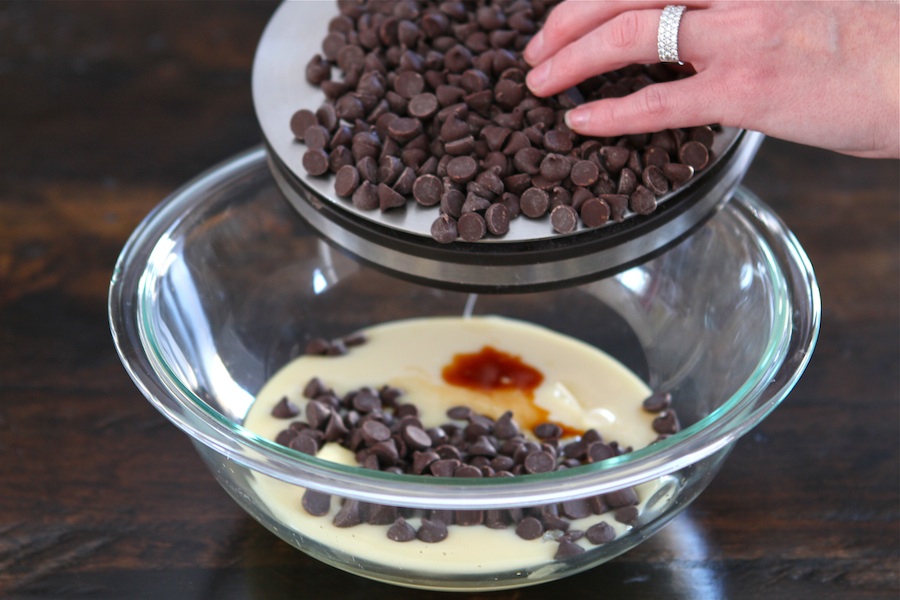
Add the chocolate chips. 


Tasty Kitchen Blog: Chocolate Nutella Sea Salt Fudge. Guest post by Maria Lichty of Two Peas and Their Pod, recipe submitted by TK member Dara Michalski of Cookin' Canuck.

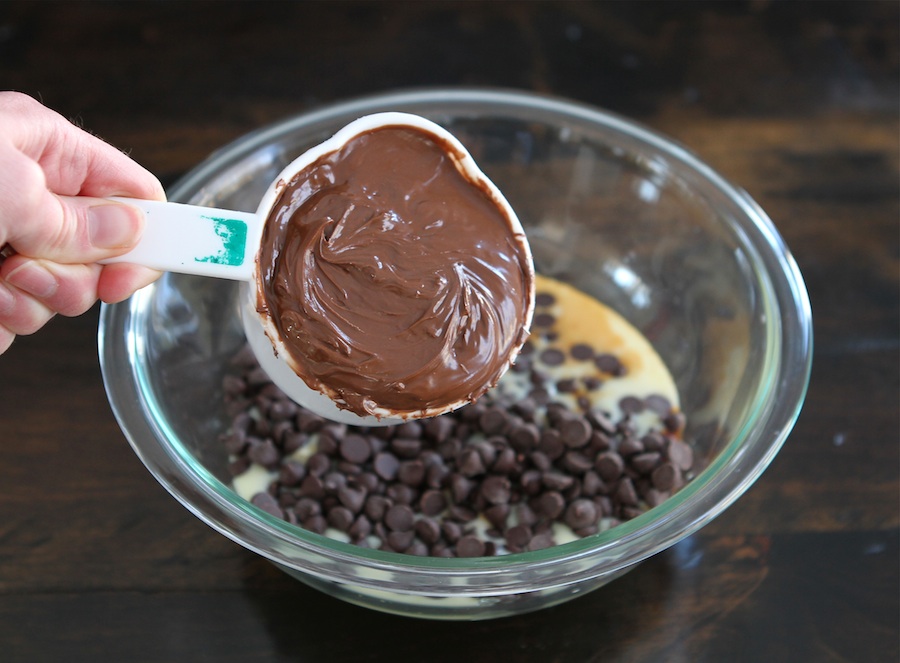
And finally, the Nutella. 


Tasty Kitchen Blog: Chocolate Nutella Sea Salt Fudge. Guest post by Maria Lichty of Two Peas and Their Pod, recipe submitted by TK member Dara Michalski of Cookin' Canuck.

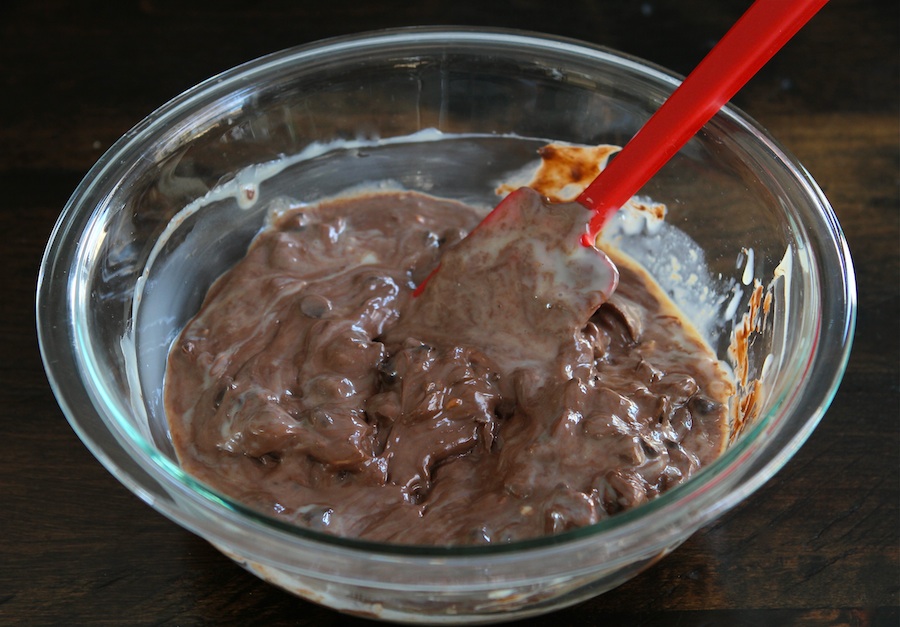
Stir all of the ingredients together. The mixture will be very thick. 


Tasty Kitchen Blog: Chocolate Nutella Sea Salt Fudge. Guest post by Maria Lichty of Two Peas and Their Pod, recipe submitted by TK member Dara Michalski of Cookin' Canuck.

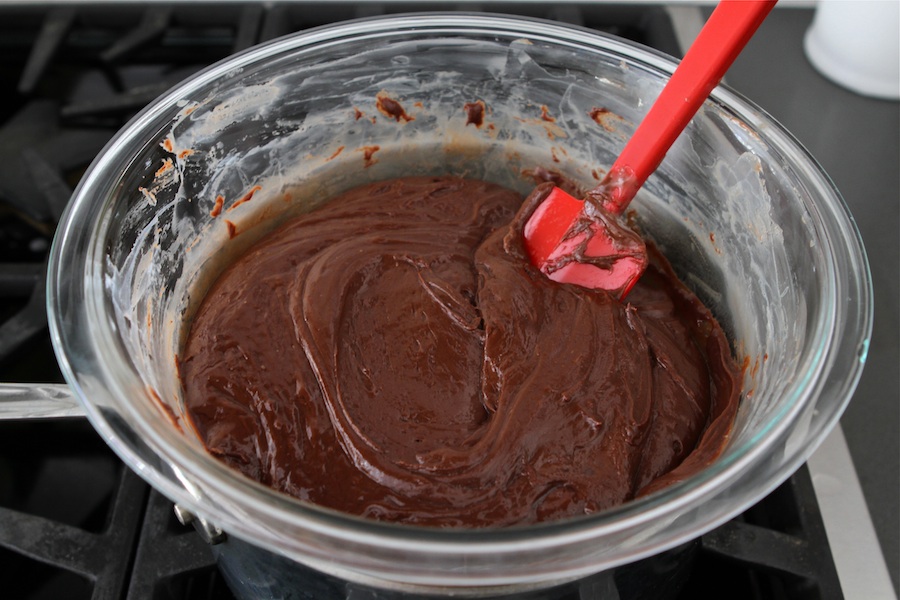
Create a double-broiler by setting the bowl over a medium pot of simmering water. Stir until the chocolate chips are melted and the mixture is smooth, about 5 to 7 minutes.


Tasty Kitchen Blog: Chocolate Nutella Sea Salt Fudge. Guest post by Maria Lichty of Two Peas and Their Pod, recipe submitted by TK member Dara Michalski of Cookin' Canuck.

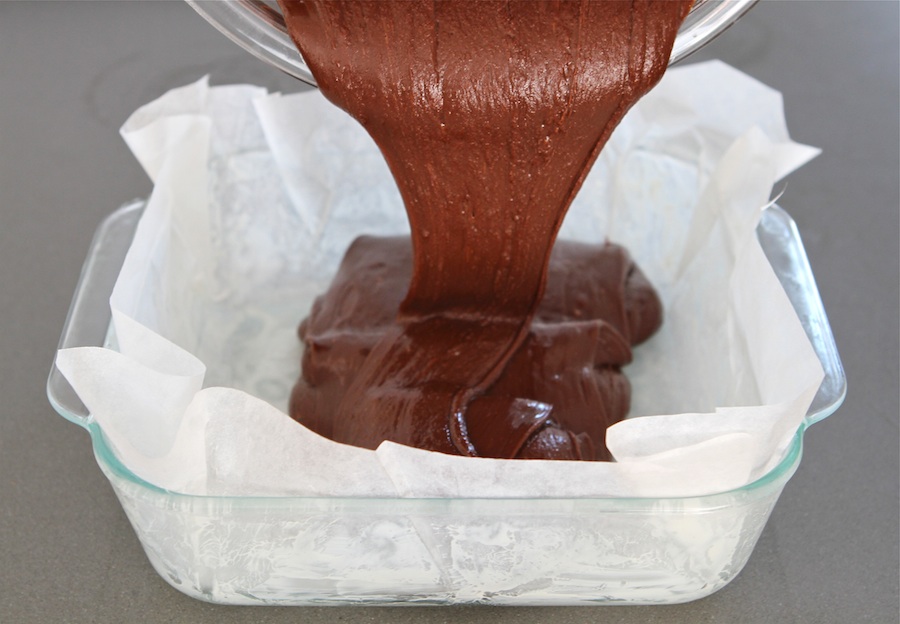
Scrape the mixture into the prepared pan and spread the top smooth with a spatula.


Tasty Kitchen Blog: Chocolate Nutella Sea Salt Fudge. Guest post by Maria Lichty of Two Peas and Their Pod, recipe submitted by TK member Dara Michalski of Cookin' Canuck.

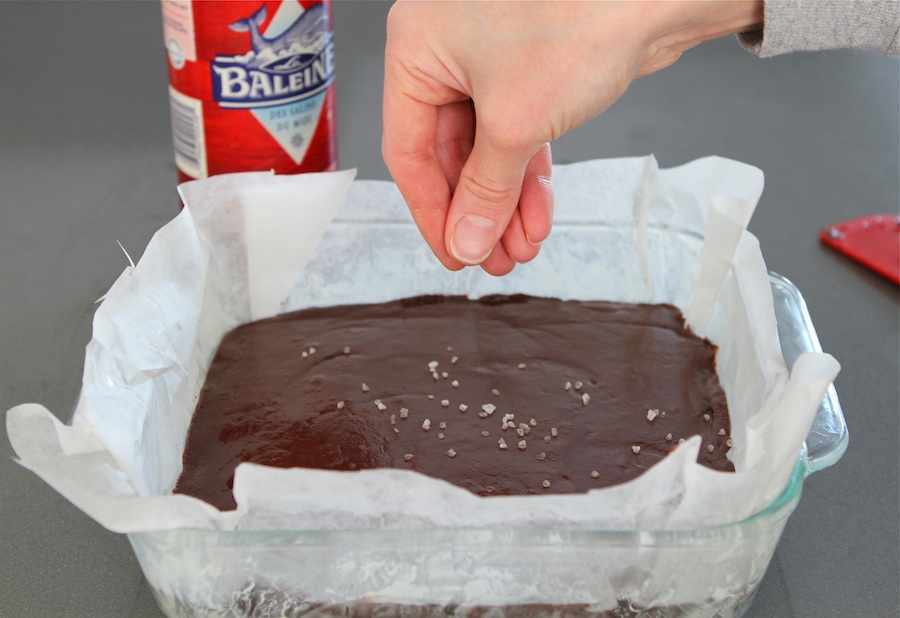
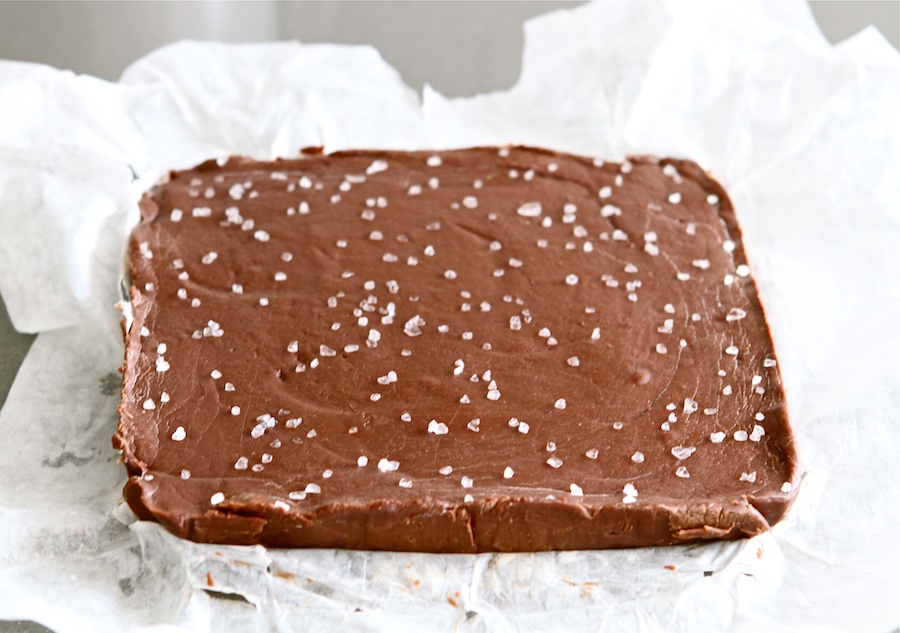
Sprinkle the fudge with sea salt. Refrigerate until the fudge is firm, at least 2 hours.


Tasty Kitchen Blog: Chocolate Nutella Sea Salt Fudge. Guest post by Maria Lichty of Two Peas and Their Pod, recipe submitted by TK member Dara Michalski of Cookin' Canuck.

Once the fudge is chilled, run a knife under hot water, dry it off, and run it around the edges of the pan to loosen the fudge. Using the overhanging parchment paper, lift the fudge out. Peel off the parchment paper. 


Tasty Kitchen Blog: Chocolate Nutella Sea Salt Fudge. Guest post by Maria Lichty of Two Peas and Their Pod, recipe submitted by TK member Dara Michalski of Cookin' Canuck.

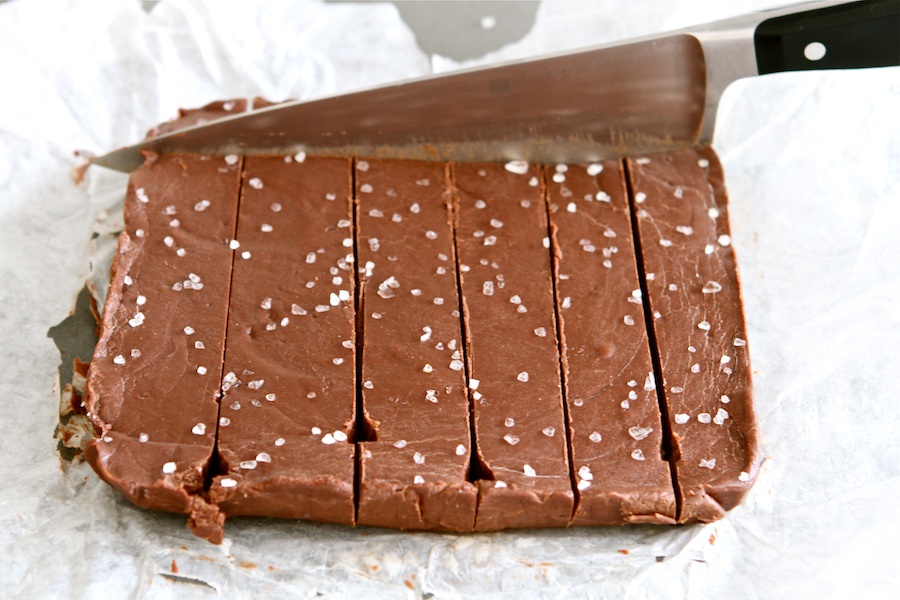
Cut the fudge into 3/4-inch squares. Store in the refrigerator in an airtight container or wrapped well in plastic wrap and foil.


Tasty Kitchen Blog: Chocolate Nutella Sea Salt Fudge. Guest post by Maria Lichty of Two Peas and Their Pod, recipe submitted by TK member Dara Michalski of Cookin' Canuck.

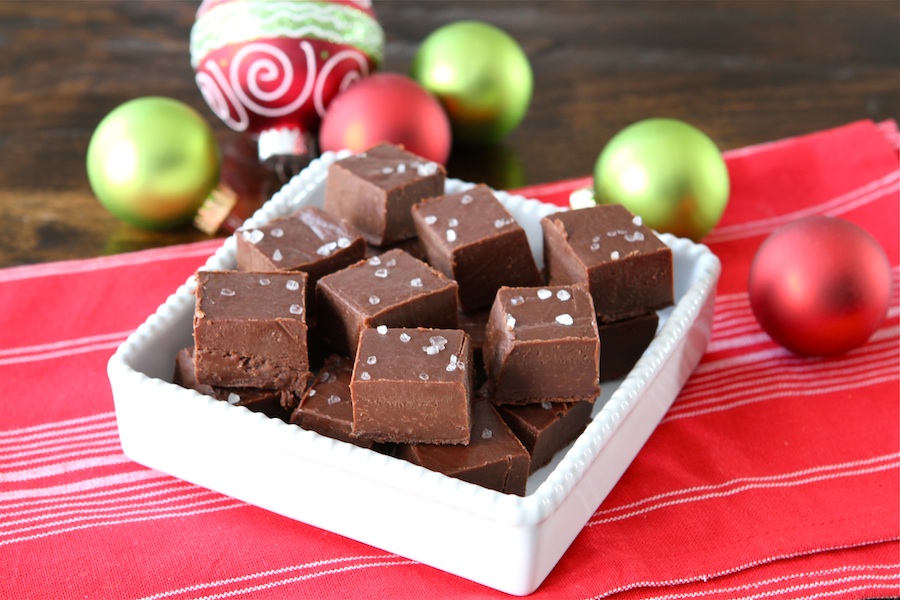
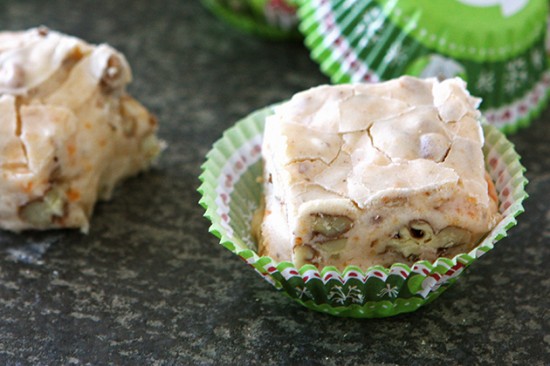
I am obsessed with this fudge! It is super easy to make and is perfect for gift giving. Luckily, it is the holiday season and I am feeling generous to share or I would hide with a tin of this fudge and eat it all by myself. The fudge is rich and creamy with a slightly nutty flavor from the Nutella. And I love, love, love the kick of sea salt. If you are looking for a new holiday treat to make this year, make this Chocolate Nutella & Sea Salt Fudge. It is divine. Thanks Dara for sharing your recipe! I know I will be making your fudge every holiday season. Visit Dara’s food blog, Cookin Canuck, for other tasty recipes, fabulous food photography, and wonderful writing. Happy Holidays! 


Printable Recipe

Chocolate Nutella & Sea Salt Fudge

See post on cookincanuck’s site!
4.98 Mitt(s) 45 Rating(s)45 votes, average: 4.98 out of 545 votes, average: 4.98 out of 545 votes, average: 4.98 out of 545 votes, average: 4.98 out of 545 votes, average: 4.98 out of 5

Prep Time:

Cook Time:

Difficulty: Easy

Servings: 36

36
x

Print Options

Page size Letter 3x5 4x6
Text Size Small Medium Large
Content Include description
Include prep time, etc.
Show image

Description

This is the fudge that you will dream about as you plunge into your New Year’s resolution salads. Chocolate, Nutella and sea salt come together to form a treat that is creamy, sweet, and slightly nutty. Better yet, this recipe comes together in a flash, perfect for the hustle and bustle of the season.

Ingredients

  • 1 Tablespoon Butter, For Greasing Pan
  • 1 can (14 Oz) Sweetened Condensed Milk
  • 1 teaspoon Vanilla Extract
  • 8 ounces, weight High-quality Bittersweet (60%) Chocolate Chips
  • 1 cup Nutella (chocolate-hazelnut Spread), Room Temperature
  • 3 Tablespoons Unsalted Butter, Room Temperature, Cut Into 1/2-inch Pieces
  • ½ teaspoons (approximately) Sea Salt

Preparation Instructions

Grease the bottom and sides of an 8- by 8-inch baking pan with butter. Line the pan with parchment paper, leaving a 2-inch overlap on the sides.

In a medium glass or stainless steel bowl, stir together sweetened condensed milk, vanilla, bittersweet chocolate chips, Nutella, and butter.

Form a double-boiler by setting the bowl over a medium pot of gently simmering water. The water level should be low enough that the bottom of the bowl does not touch the water. Stir until the chocolate chips are melted and the mixture is smooth, 5 to 7 minutes.

Scrape the mixture into the prepared pan, spread the top smooth with a spatula, and sprinkle with sea salt. Refrigerate until the fudge is firm, at least 2 hours.

Once the fudge is chilled, run a knife under hot water, dry it off, and run it around the edges of the pan to loosen the fudge. Using the overhanging parchment paper, lift the fudge out. Peel off the parchment paper. Cut the fudge into 3/4-inch squares. Store in the refrigerator in an airtight container or wrapped well in plastic wrap and foil.


_______________________________________

Maria and her husband Josh (who she affectionately refers to as her “dough boy”) blog at Two Peas and Their Pod. They’ve been featured on Saveur, Eatocracy, Gourmet Live, Glamour, and the Los Angeles Times, to name just a few. They’d also just recently added a little pea to their pod. We’re so glad to have them here!


Profile photo of whatsgabycooking

Fiery Roasted Garlic and Tomato Soup

Posted by in Step-by-Step Recipes

Tasty Kitchen Blog: Fiery Roasted Garlic and Tomato Soup. Guest post by Gaby Dalkin of What's Gaby Cooking, recipe submitted by TK member Ingrid Beer of The Cozy Apron.

 
Tomato soup is something that is near and dear to my soul. I grew up eating it with the classic grilled cheese sandwich. Oh, what am I talking about, I still make tomato soup and eat it with a grilled cheese sandwich! Is there really anything better? Well, this recipe has me thinking that I can skip the grilled cheese, make this amazing soup and cheese crusted crouton (kind of a fancy grilled cheese) and call it a day!

This fabulous recipe was submitted The Cozy Apron. Here’s how to do it.


Tasty Kitchen Blog: Fiery Roasted Garlic and Tomato Soup. Guest post by Gaby Dalkin of What's Gaby Cooking, recipe submitted by TK member Ingrid Beer of The Cozy Apron.

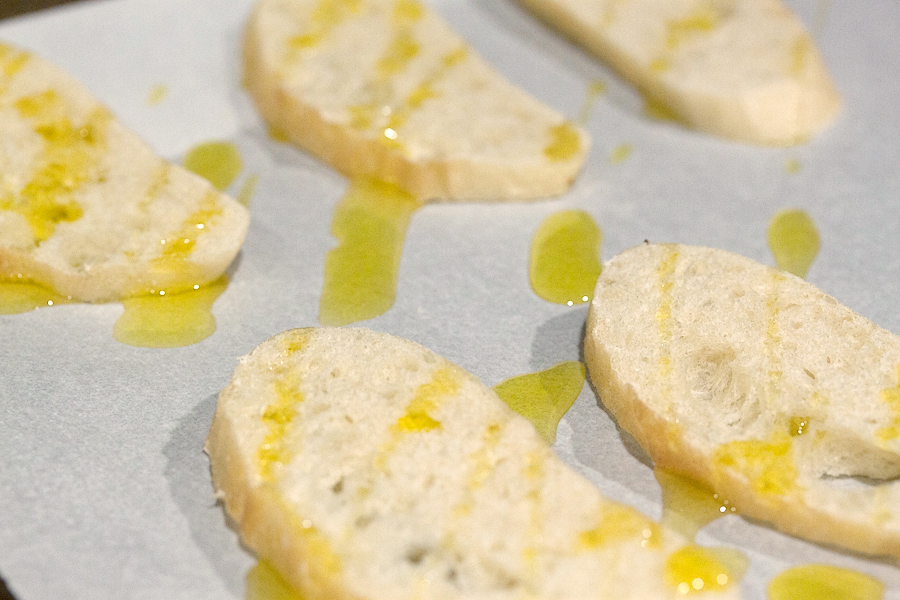
First you’re going to start with some thinly sliced bread. Give it a drizzle of olive oil and then pop it into the oven for a few minutes until it turns golden brown.


Tasty Kitchen Blog: Fiery Roasted Garlic and Tomato Soup. Guest post by Gaby Dalkin of What's Gaby Cooking, recipe submitted by TK member Ingrid Beer of The Cozy Apron.

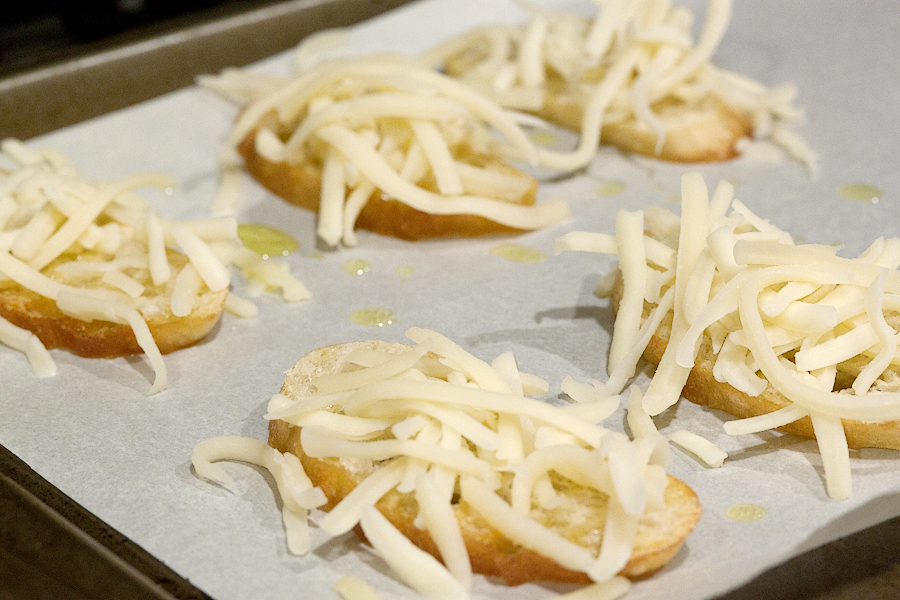
Once the slices of bread have toasted, sprinkle them with some cheese. Don’t be shy with the cheese—the more the merrier! Then pop the bread back into the oven.


Tasty Kitchen Blog: Fiery Roasted Garlic and Tomato Soup. Guest post by Gaby Dalkin of What's Gaby Cooking, recipe submitted by TK member Ingrid Beer of The Cozy Apron.
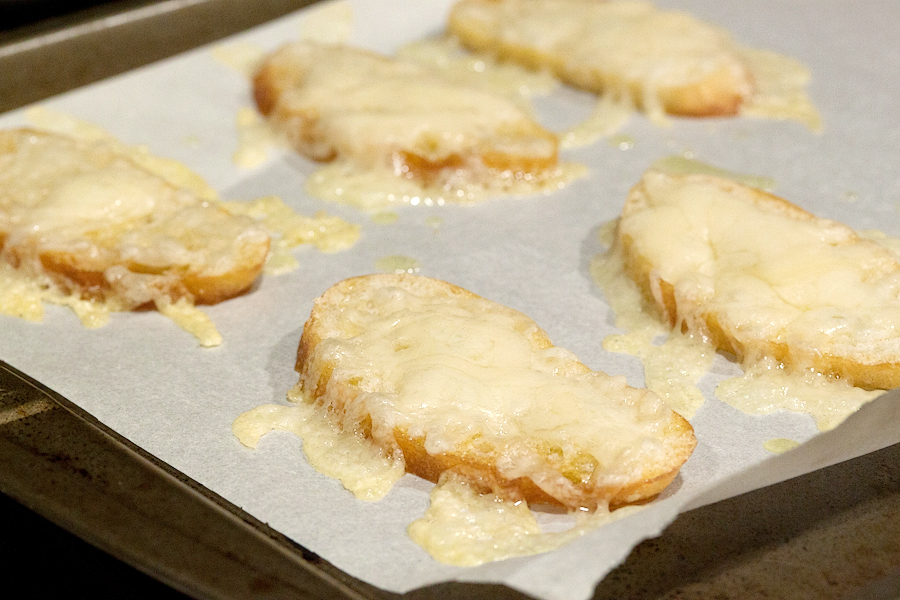
Once the cheese has melted, remove the baking sheet from the oven and set it aside.


Tasty Kitchen Blog: Fiery Roasted Garlic and Tomato Soup. Guest post by Gaby Dalkin of What's Gaby Cooking, recipe submitted by TK member Ingrid Beer of The Cozy Apron.

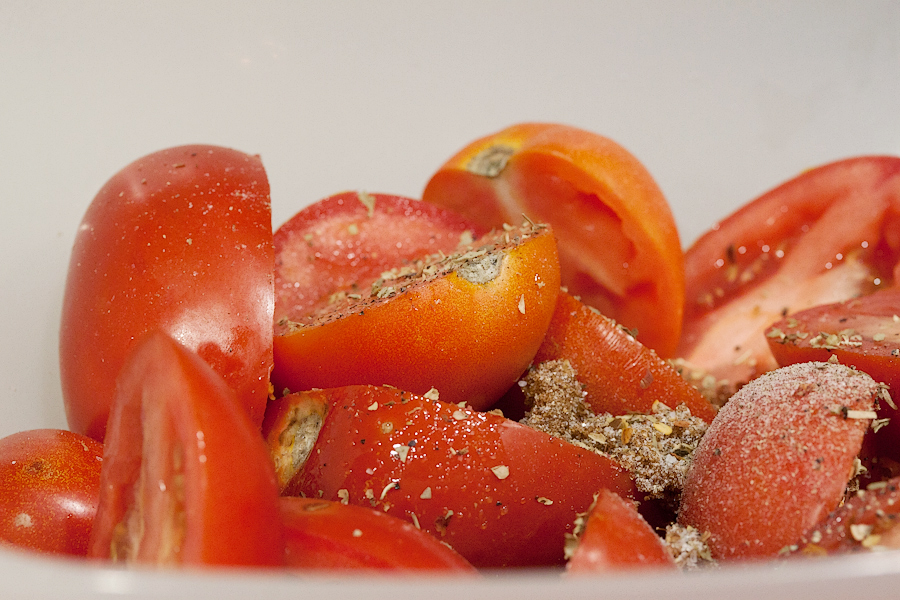
Next you’re going to place some halved tomatoes in a large bowl. Give them a drizzle of olive oil, a sprinkle of brown sugar, then throw in the balsamic vinegar, salt, pepper, red chili flakes and Italian seasoning. Give the tomatoes a good toss so that the seasoning is evenly distributed.


Tasty Kitchen Blog: Fiery Roasted Garlic and Tomato Soup. Guest post by Gaby Dalkin of What's Gaby Cooking, recipe submitted by TK member Ingrid Beer of The Cozy Apron.

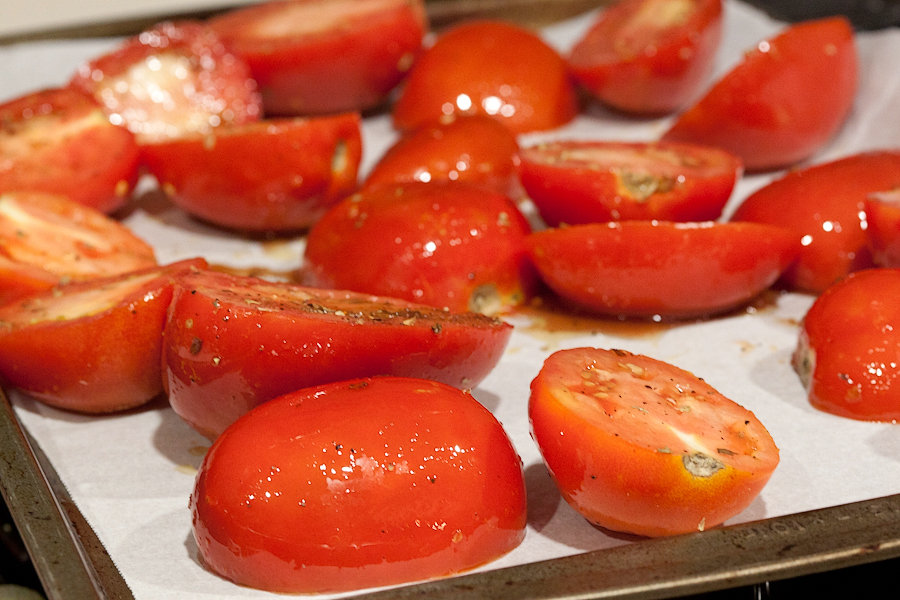
Place the tomatoes on a parchment-lined baking sheet and pop them into the oven for 45 minutes.


Tasty Kitchen Blog: Fiery Roasted Garlic and Tomato Soup. Guest post by Gaby Dalkin of What's Gaby Cooking, recipe submitted by TK member Ingrid Beer of The Cozy Apron.

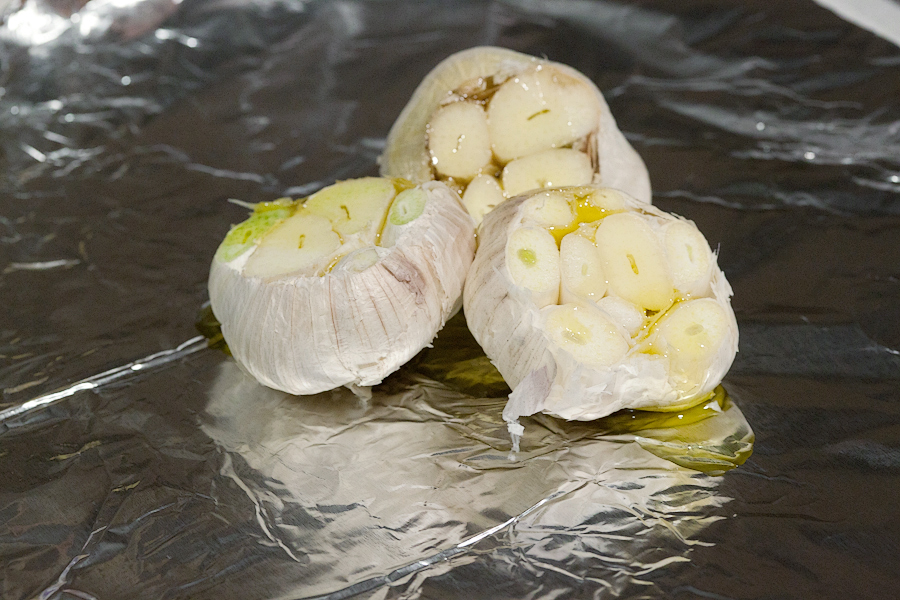
Cut the tops off of a few heads of garlic and drizzle some olive oil over the garlic.


Tasty Kitchen Blog: Fiery Roasted Garlic and Tomato Soup. Guest post by Gaby Dalkin of What's Gaby Cooking, recipe submitted by TK member Ingrid Beer of The Cozy Apron.

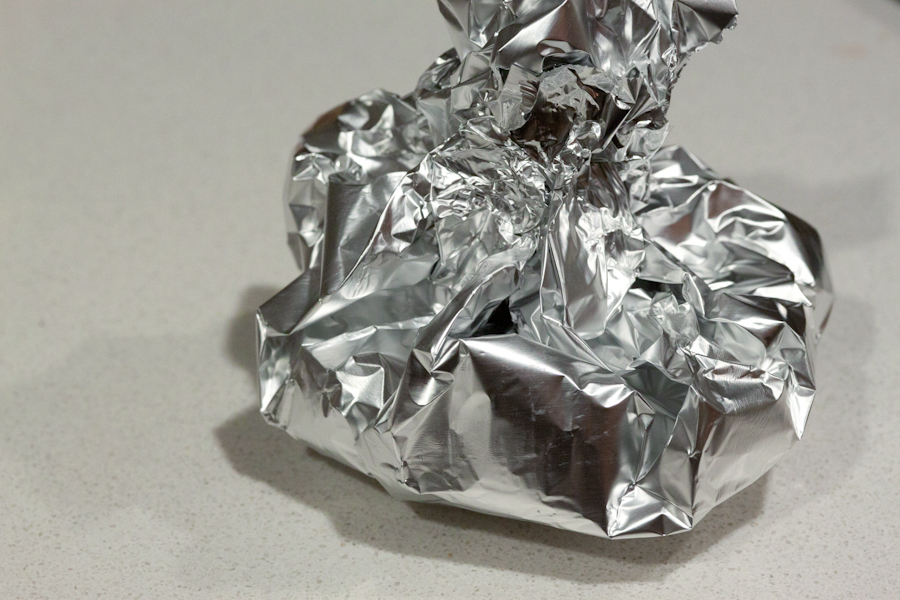
And then wrap it up in some foil. Pop it into the oven next to the tomatoes and let it bake for about 40 minutes. Now sit back, relax, perhaps watch some Real Housewives of Beverly Hills, and wait for the tomatoes and garlic to finish up in the oven.


Tasty Kitchen Blog: Fiery Roasted Garlic and Tomato Soup. Guest post by Gaby Dalkin of What's Gaby Cooking, recipe submitted by TK member Ingrid Beer of The Cozy Apron.

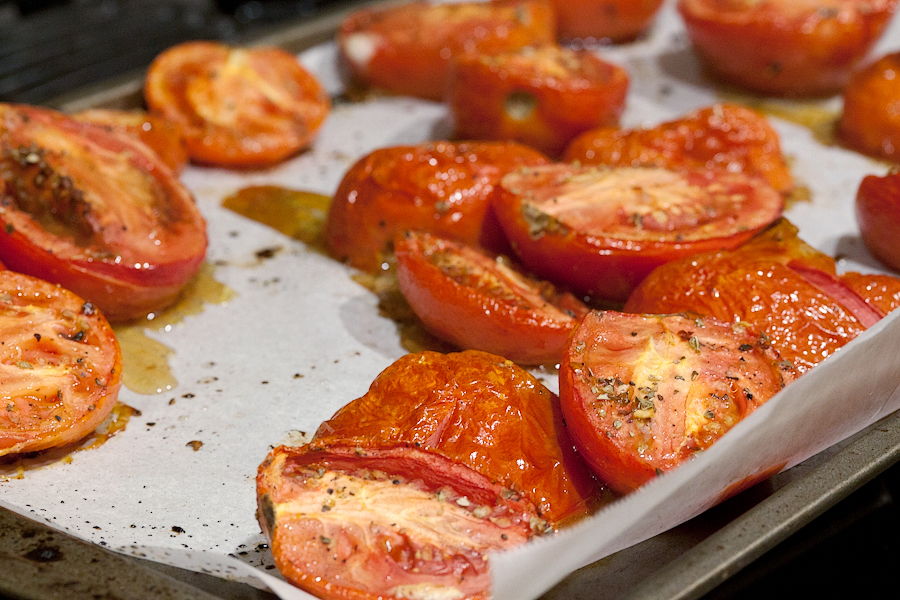
Once the tomatoes are done, they will look like this. Just let them hang out in their juices for a bit and set them aside.


Tasty Kitchen Blog: Fiery Roasted Garlic and Tomato Soup. Guest post by Gaby Dalkin of What's Gaby Cooking, recipe submitted by TK member Ingrid Beer of The Cozy Apron.

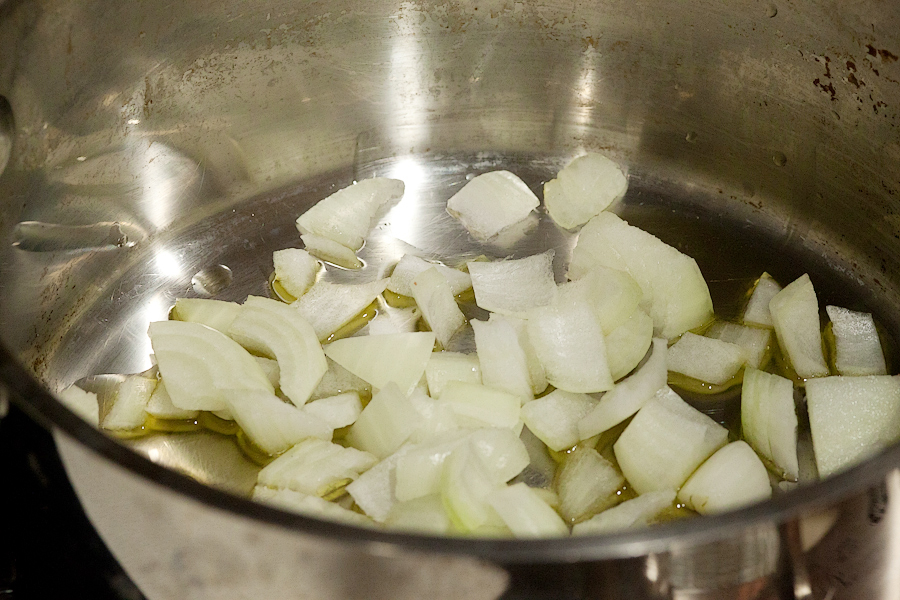
Meanwhile, in a large pot, sauté some onions.


Tasty Kitchen Blog: Fiery Roasted Garlic and Tomato Soup. Guest post by Gaby Dalkin of What's Gaby Cooking, recipe submitted by TK member Ingrid Beer of The Cozy Apron.

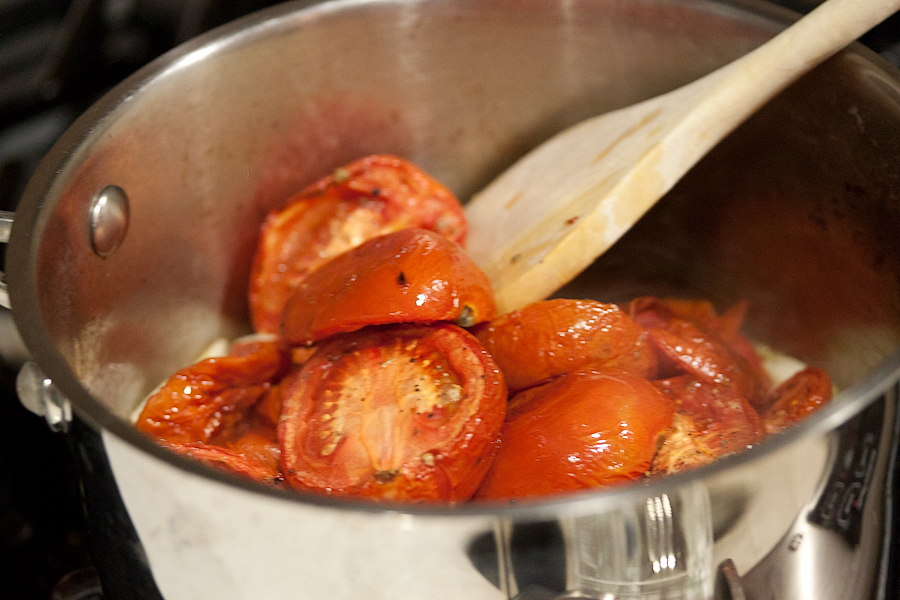
Add the roasted tomatoes along with all of their juices.


Tasty Kitchen Blog: Fiery Roasted Garlic and Tomato Soup. Guest post by Gaby Dalkin of What's Gaby Cooking, recipe submitted by TK member Ingrid Beer of The Cozy Apron.

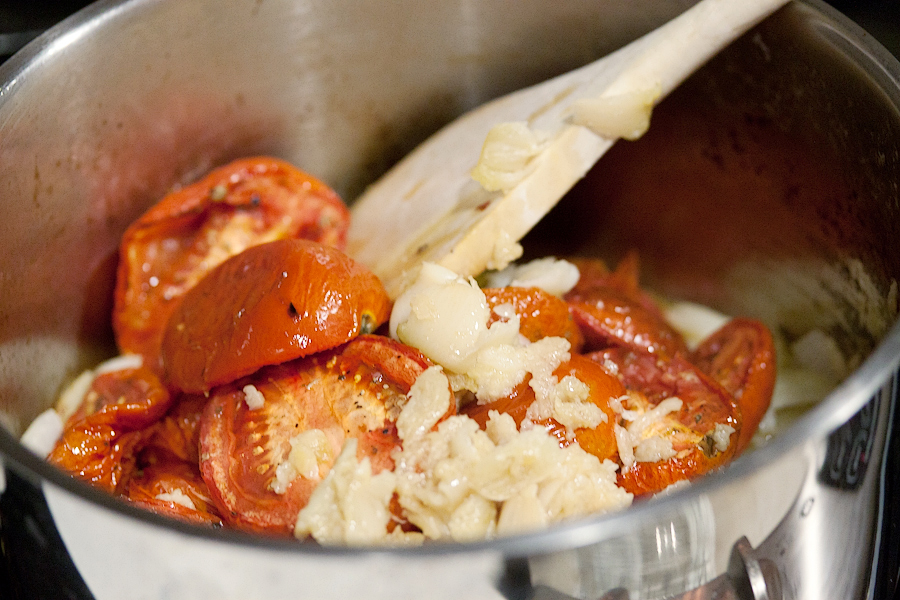
Next, squeeze out all the garlic from the paper and add it into the pot.


Tasty Kitchen Blog: Fiery Roasted Garlic and Tomato Soup. Guest post by Gaby Dalkin of What's Gaby Cooking, recipe submitted by TK member Ingrid Beer of The Cozy Apron.

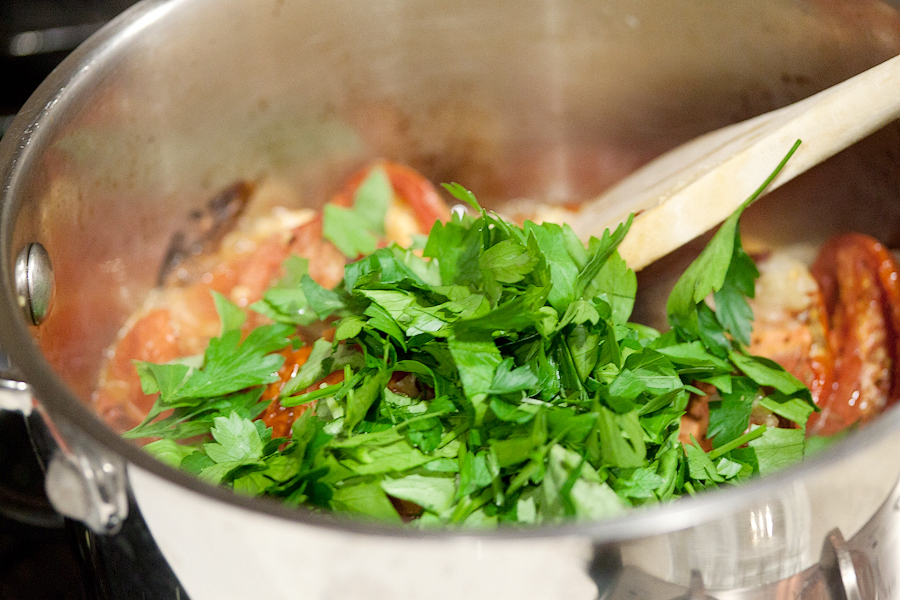
Throw in the basil, and then the parsley.


Tasty Kitchen Blog: Fiery Roasted Garlic and Tomato Soup. Guest post by Gaby Dalkin of What's Gaby Cooking, recipe submitted by TK member Ingrid Beer of The Cozy Apron.

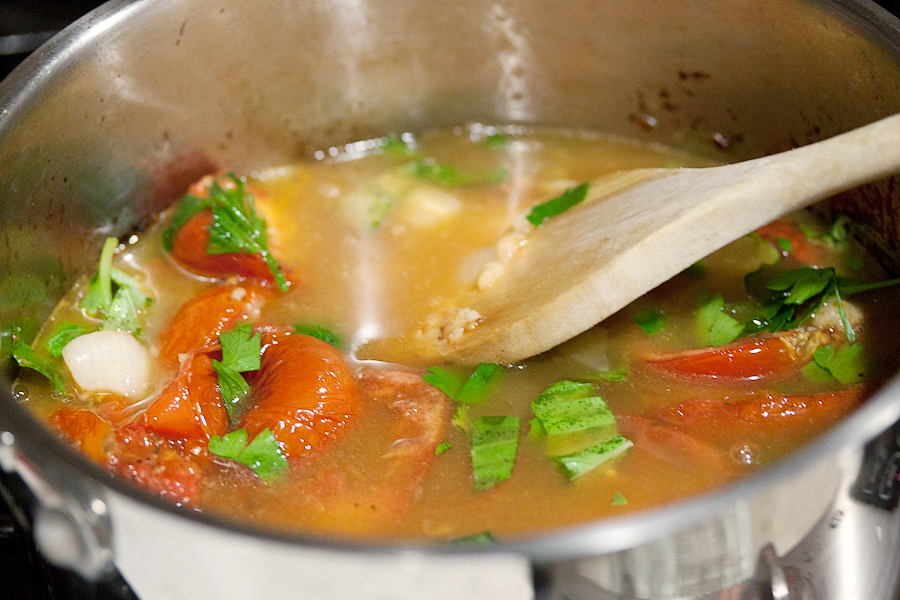
Next goes the chicken stock.


Tasty Kitchen Blog: Fiery Roasted Garlic and Tomato Soup. Guest post by Gaby Dalkin of What's Gaby Cooking, recipe submitted by TK member Ingrid Beer of The Cozy Apron.

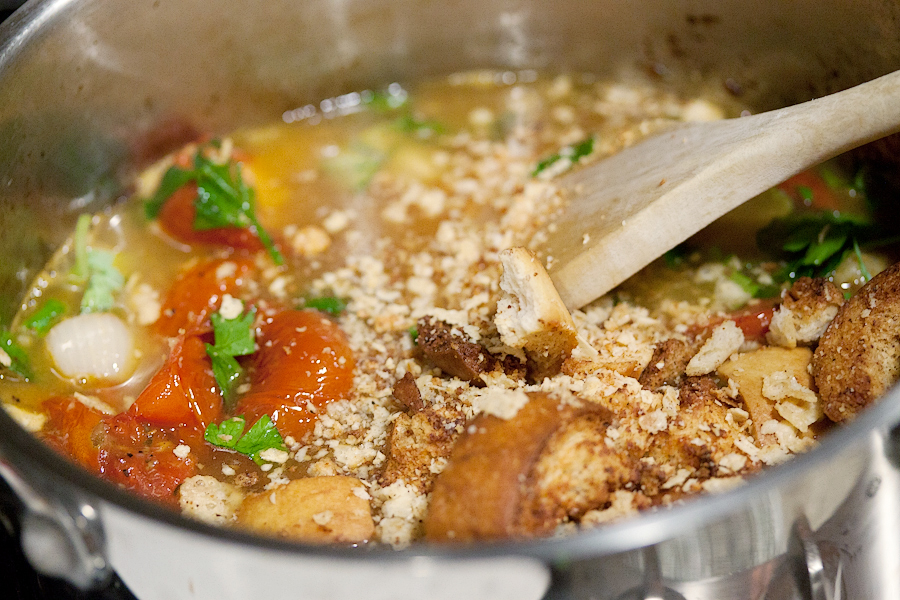
And then some croutons. (I know, sounds a little odd, right? Trust me, it’ll blow you away!) Let this boil for a little bit.


Tasty Kitchen Blog: Fiery Roasted Garlic and Tomato Soup. Guest post by Gaby Dalkin of What's Gaby Cooking, recipe submitted by TK member Ingrid Beer of The Cozy Apron.

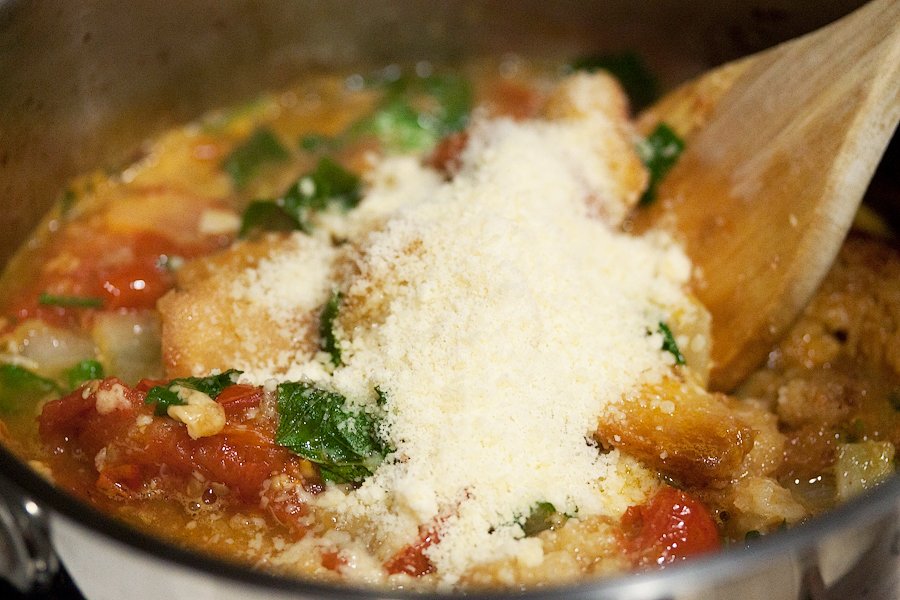
Then add some Parmesan cheese.


Tasty Kitchen Blog: Fiery Roasted Garlic and Tomato Soup. Guest post by Gaby Dalkin of What's Gaby Cooking, recipe submitted by TK member Ingrid Beer of The Cozy Apron.

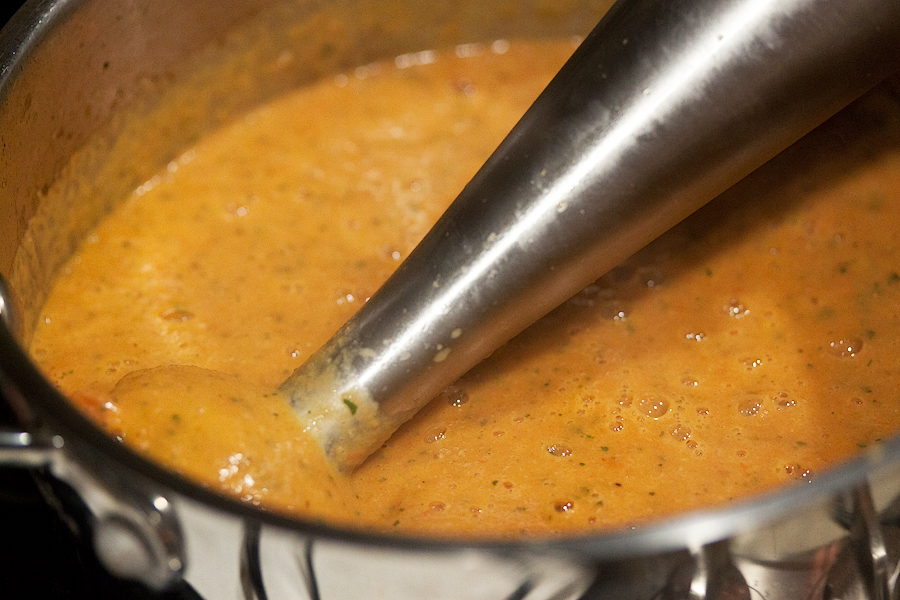
Give the mixture a blend with an immersion blender until it’s nice and smooth.


Tasty Kitchen Blog: Fiery Roasted Garlic and Tomato Soup. Guest post by Gaby Dalkin of What's Gaby Cooking, recipe submitted by TK member Ingrid Beer of The Cozy Apron.

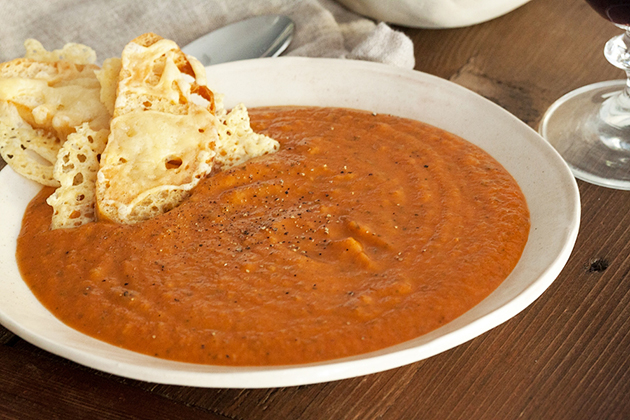
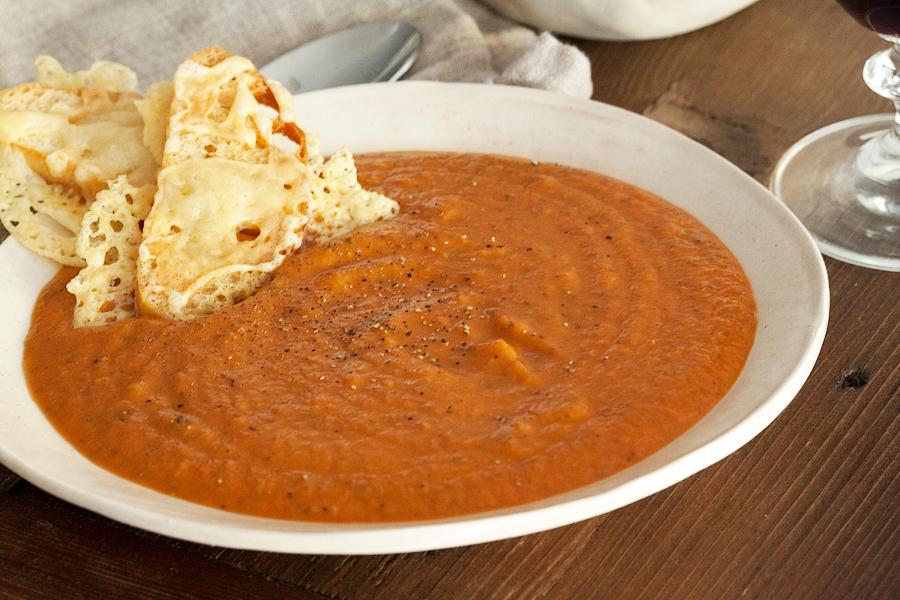
Serve the soup immediately with some of the cheesy garlic toasts!

A big thank you to Ingrid for creating the best tomato soup recipe I’ve ever tasted! I’ll be making this one for years to come. Visit her blog, The Cozy Apron, for more of her recipes and beautiful food photography!


Printable Recipe

Fiery Roasted Garlic & Tomato Soup

See post on The Cozy Apron’s site!
5.00 Mitt(s) 7 Rating(s)7 votes, average: 5.00 out of 57 votes, average: 5.00 out of 57 votes, average: 5.00 out of 57 votes, average: 5.00 out of 57 votes, average: 5.00 out of 5

Prep Time:

Cook Time:

Difficulty: Easy

Servings: 6

6
x

Print Options

Page size Letter 3x5 4x6
Text Size Small Medium Large
Content Include description
Include prep time, etc.
Show image

Description

If spicy foods tickle your tongue, then this warming and rich soup is sure to please. Roasted garlic and Roma tomatoes are the sweet, deep base for this soup, while fresh herbs and parmesan round out the heat. Cozy up with a big bowl of this soup to melt away the cold!

Ingredients

  • 1 loaf Ciabatta Bread
  • 7 Tablespoons Olive Oil, Divided
  • 6 Tablespoons Gruyere Cheese, Shredded, Divided Use
  • 15 whole Roma Tomatoes
  • 1-½ Tablespoon Balsamic Vinegar
  • 3 Tablespoons Brown Sugar
  • 1 Tablespoon Salt
  • 1 teaspoon Fresh Cracked Black Pepper
  • 1 Tablespoon Red Chili Pepper Flakes
  • 2 teaspoons Italian Seasoning
  • 3 whole Heads Of Garlic (Peels Left On) Plus 2 Cloves, Chopped, Divided Use
  • 1 whole Onion, Chopped
  • 1 bunch Lemon Basil (or Regular Basil), Stems Removed And Chopped
  • ¼ cups Flat-leaf Parsley, Chopped
  • 3 cups Chicken Stock
  • 1 cup Croutons (packaged)
  • ½ cups Grated Parmesan Cheese

Preparation Instructions

Preheat oven to 400 degrees F and line 2 baking sheets with foil.

1. Cut the ciabatta bread into six 1/2″ slices, drizzle with 1 Tablespoon of olive oil, and place on baking sheet; toast until golden. Remove bread from oven, top each with 1 Tablespoon of the gruyere cheese and place in oven once again, just until cheese is melted. Remove bread from oven, cut each slice on the bias (making 12 pieces), and keep warm.
2. Cut the Roma tomatoes in half and place in a large bowl; add the 2 Tablespoons of olive oil as well as the balsamic vinegar and other ingredients down through the Italian seasoning to the tomatoes, and toss to coat. Add this to the second baking sheet and roast in the preheated oven for 45 minutes.
3. Cut the tops off of the 3 heads of garlic and add 2 Tablespoons of the olive oil. Wrap the heads tightly in foil; place them next to the tomatoes to roast for 40 minutes.
4. Once tomatoes and garlic are roasted, set aside to cool slightly, until they can be handled. Squeeze the roasted garlic cloves out of their papers, discard papers and set aside the roasted garlic aside.
5. In the meantime, in a large pot over medium heat, add the remaining 2 Tablespoons of olive oil, the chopped onion and 2 fresh, chopped garlic cloves. Allow them to become aromatic and translucent. Then add the roasted tomatoes (and all of their juice from the baking sheet), and the roasted garlic. Add the lemon basil and parsley and stir to combine. Add the hot chicken stock and the croutons, and allow to simmer without lid, for about 20 minutes.
6. Add the grated parmesan cheese, and stir. Using a hand immersion blender, puree the soup until smooth and all tomatoes are completely pureed (if using a blender, work in small batches to puree. Be careful to not overfill the blender, as hot soup can splatter). Check the salt/pepper, and adjust to taste, if necessary.
7. Ladle into serving bowls, and garnish with 2 pieces of the ciabatta cheese toasts. Enjoy!


_______________________________________

Gaby Dalkin is the young lady behind What’s Gaby Cooking, a food blog that’s bursting at the seams with incredible recipes and food photography. She’s a personal chef and professional recipe developer, and if you follow her on Twitter, you’ll soon discover her two-fold obsession: guacamole and cheese. She has small feet, a large heart, and a smile that can light up the whole building. We’re pretty stoked to have her here.


Profile photo of georgiapellegrini

Scottish Oat Cakes

Posted by in Baking, Step-by-Step Recipes

Tasty Kitchen Blog: Scottish Oat Cakes. Guest post by Georgia Pellegrini, recipe submitted by TK member Movita Beaucoup.

 
This is my second recipe post here inspired by someone’s grandmother. I just love it, I could cook this way all day long. Before I realized these Scottish Oat Cakes were from Movita’s grammie, I thought to myself, “These remind me so much of my great-aunt’s cookies.” It is simple rolled oats combined with that very simple texture and crunch—the pure, understated oat cookie of that generation. I was so excited to make these.


Tasty Kitchen Blog: Scottish Oat Cakes. Guest post by Georgia Pellegrini, recipe submitted by TK member Movita Beaucoup.

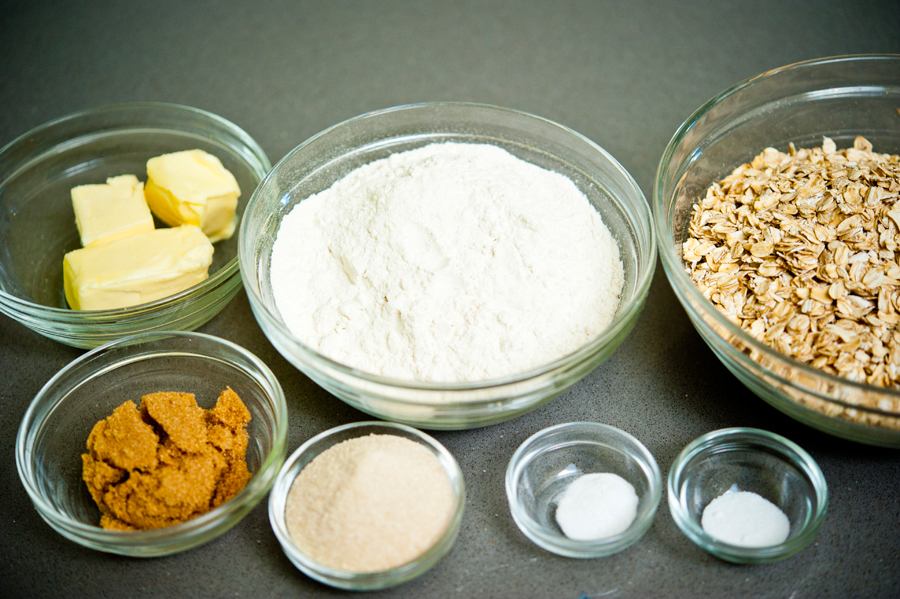
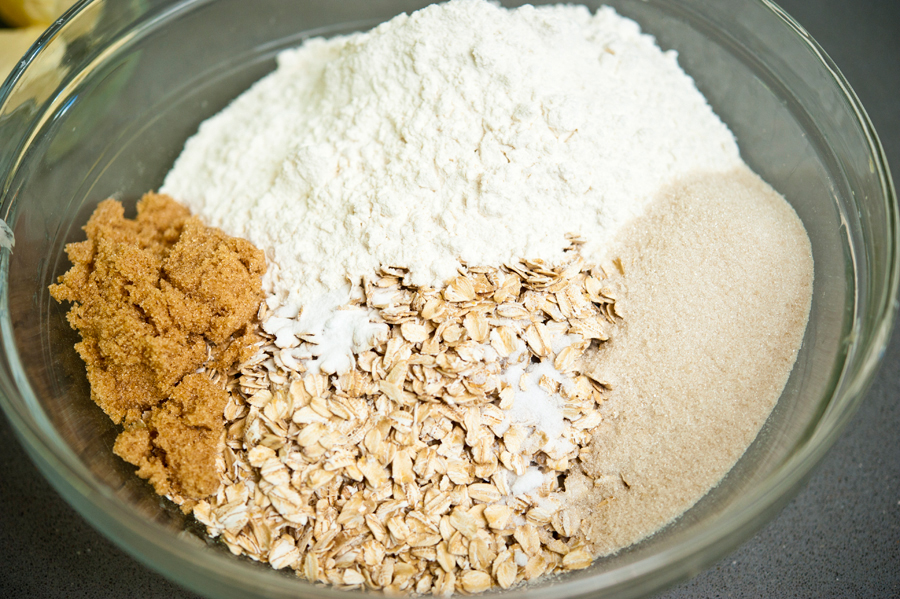
To make these yourself, you’ll need: flour, rolled oats, baking soda, salt, white sugar, brown sugar, and cold butter (or lard! Mmm).


Tasty Kitchen Blog: Scottish Oat Cakes. Guest post by Georgia Pellegrini, recipe submitted by TK member Movita Beaucoup.

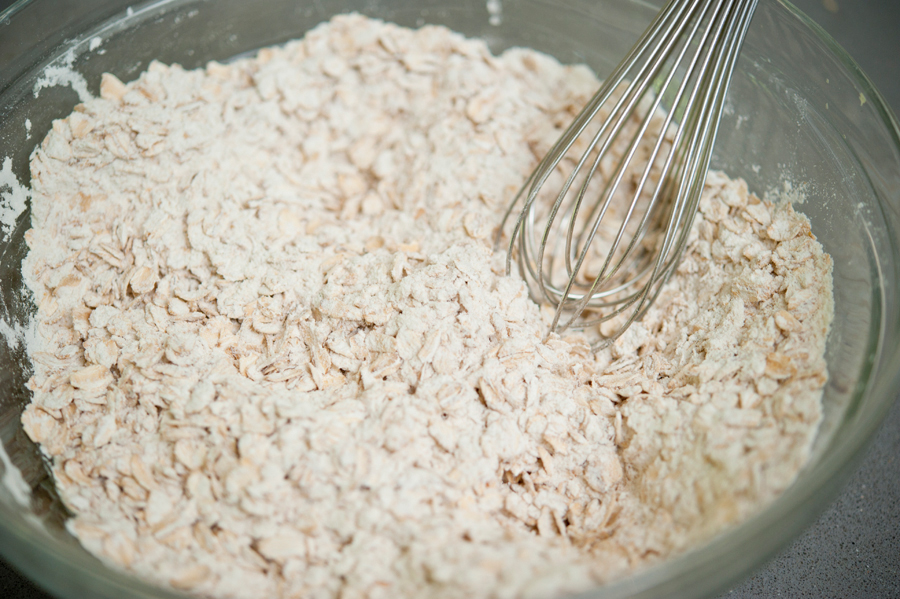
Start by combining all of the dry ingredients in a bowl, everything but the butter.


Tasty Kitchen Blog: Scottish Oat Cakes. Guest post by Georgia Pellegrini, recipe submitted by TK member Movita Beaucoup.

Mix it thoroughly with a whisk, or my favorite tool: your hands!


Tasty Kitchen Blog: Scottish Oat Cakes. Guest post by Georgia Pellegrini, recipe submitted by TK member Movita Beaucoup.

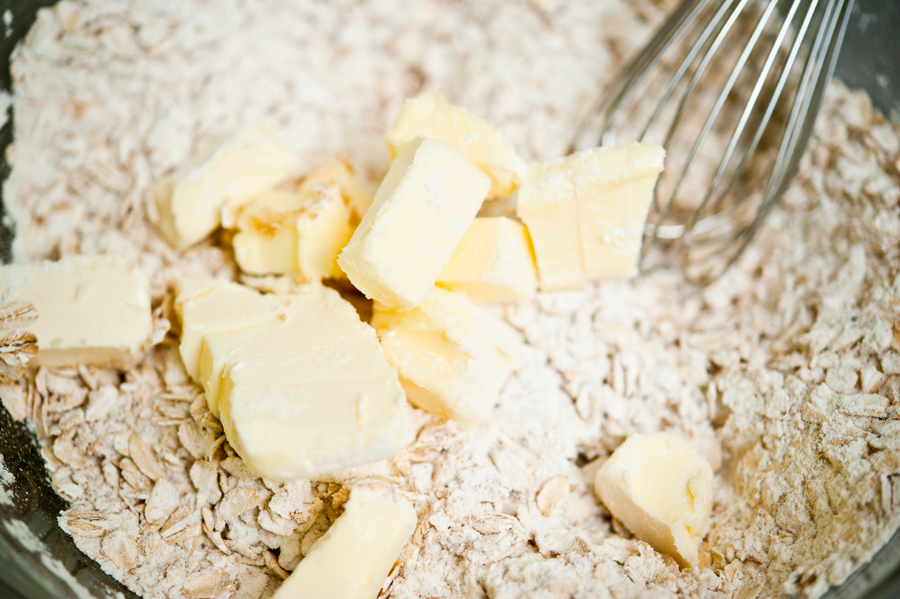
Add the butter and incorporate that as well.


Tasty Kitchen Blog: Scottish Oat Cakes. Guest post by Georgia Pellegrini, recipe submitted by TK member Movita Beaucoup.

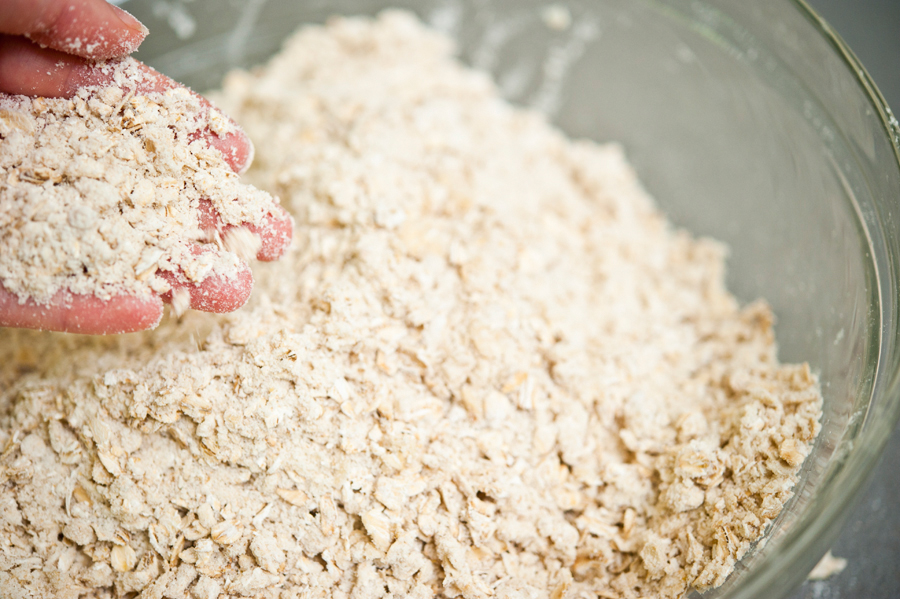
This is where your hands are especially useful because you want to mix this butter in quickly and create a sandy texture.


Tasty Kitchen Blog: Scottish Oat Cakes. Guest post by Georgia Pellegrini, recipe submitted by TK member Movita Beaucoup.

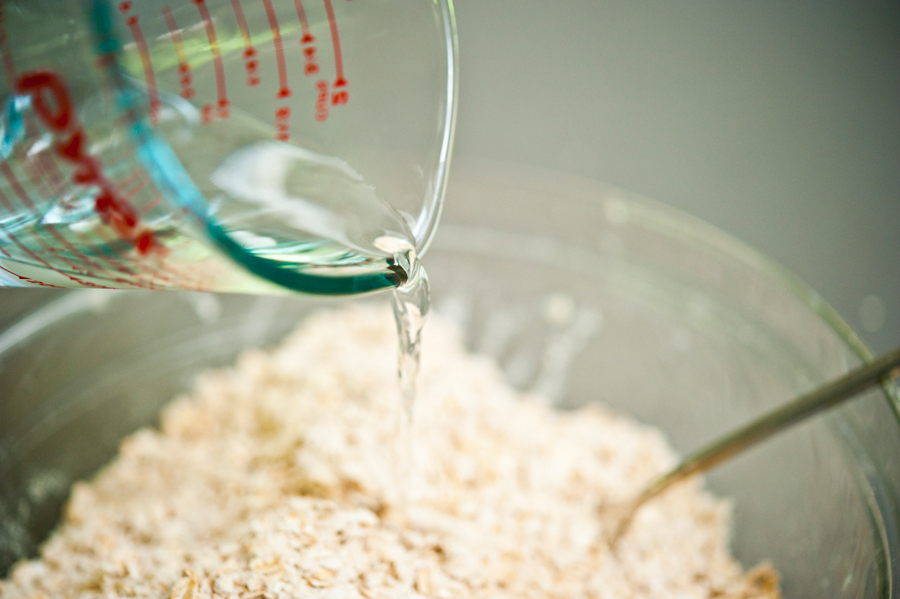
Once that is nice and sandy, pour in water a little at a time, about 1/2 cup.


Tasty Kitchen Blog: Scottish Oat Cakes. Guest post by Georgia Pellegrini, recipe submitted by TK member Movita Beaucoup.

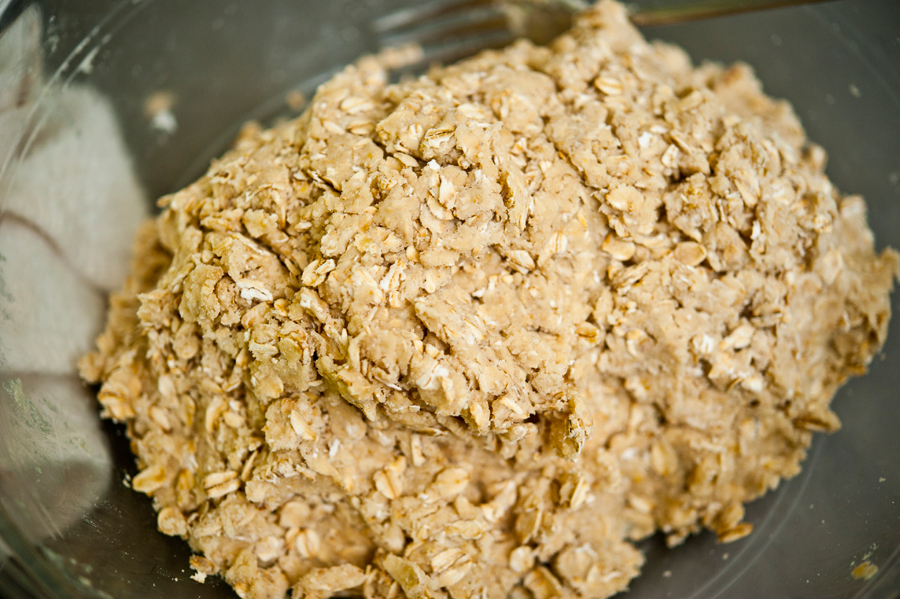
You just want to moisten it enough until it gathers together and there isn’t any dry matter on the bottom of the bowl straggling behind.


Tasty Kitchen Blog: Scottish Oat Cakes. Guest post by Georgia Pellegrini, recipe submitted by TK member Movita Beaucoup.

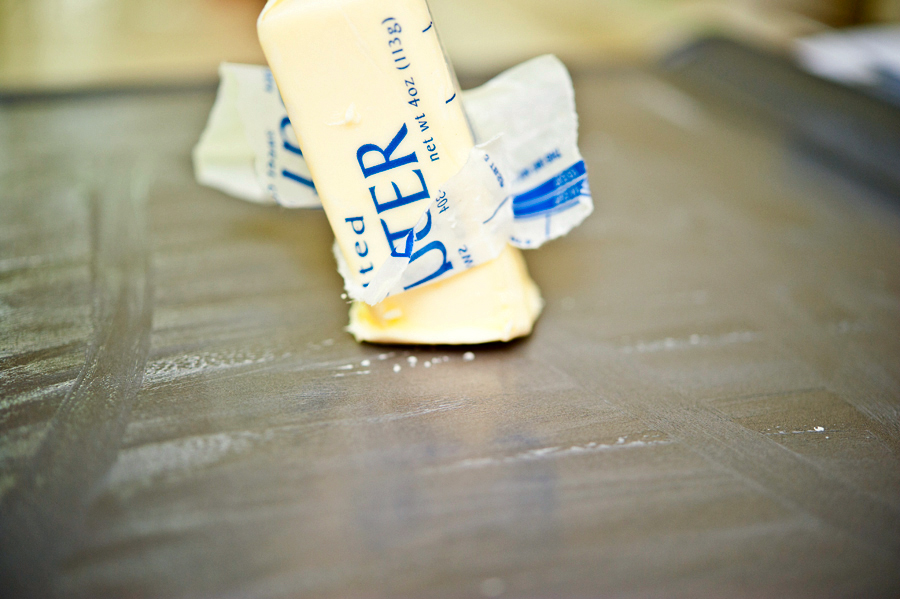
Grease a baking sheet with spray or be like me—smear around a big stick of butter. I’m very precise that way.


Tasty Kitchen Blog: Scottish Oat Cakes. Guest post by Georgia Pellegrini, recipe submitted by TK member Movita Beaucoup.

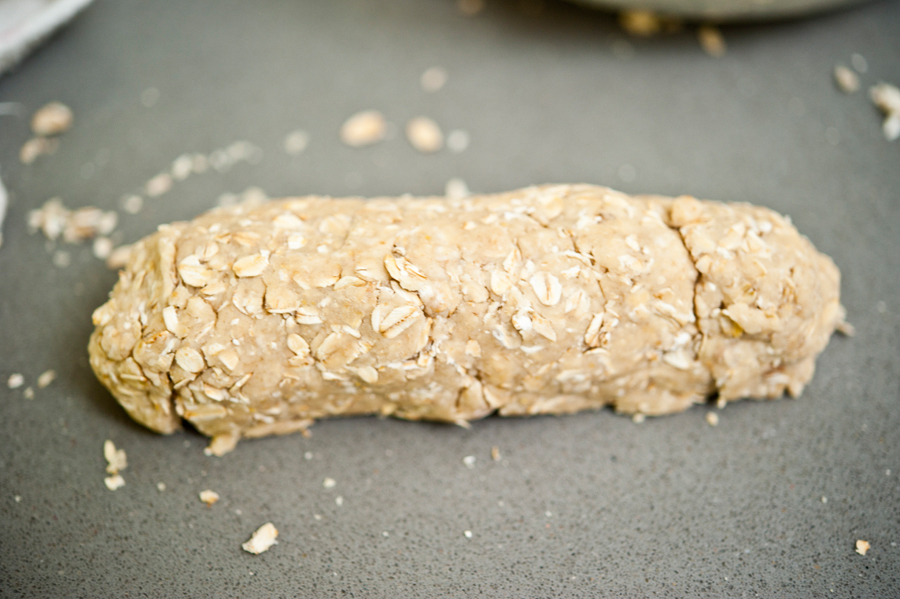
Then on a clean, lightly floured surface, separate the dough into smaller batches.


Tasty Kitchen Blog: Scottish Oat Cakes. Guest post by Georgia Pellegrini, recipe submitted by TK member Movita Beaucoup.

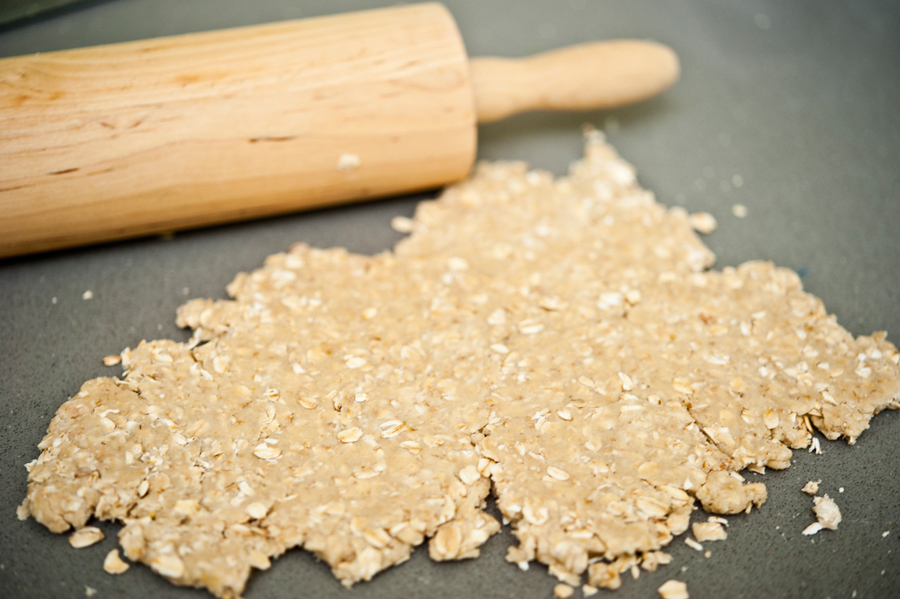
Roll out the dough.


Tasty Kitchen Blog: Scottish Oat Cakes. Guest post by Georgia Pellegrini, recipe submitted by TK member Movita Beaucoup.

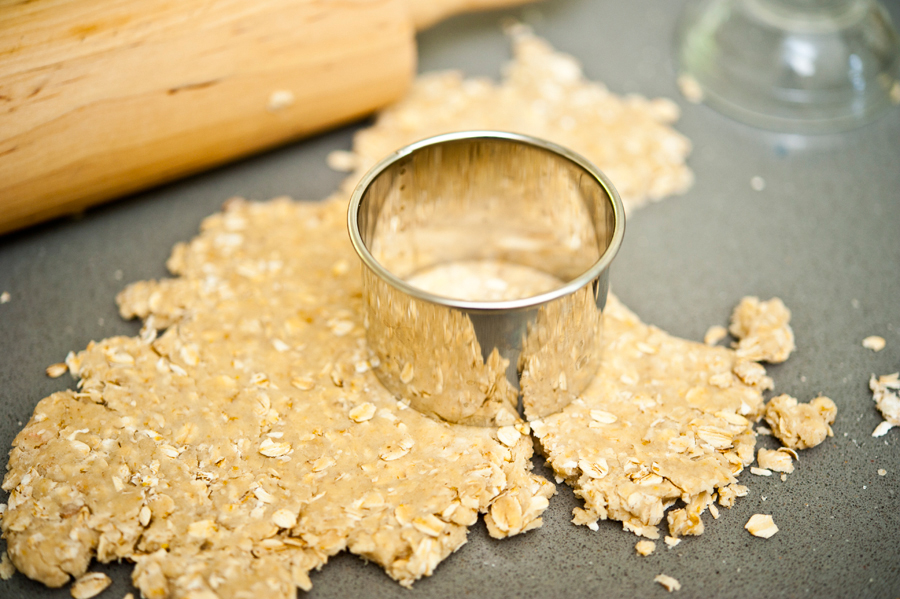
Use a ring cutter or the rim of a glass to cut ¼ inch thick circles.


Tasty Kitchen Blog: Scottish Oat Cakes. Guest post by Georgia Pellegrini, recipe submitted by TK member Movita Beaucoup.

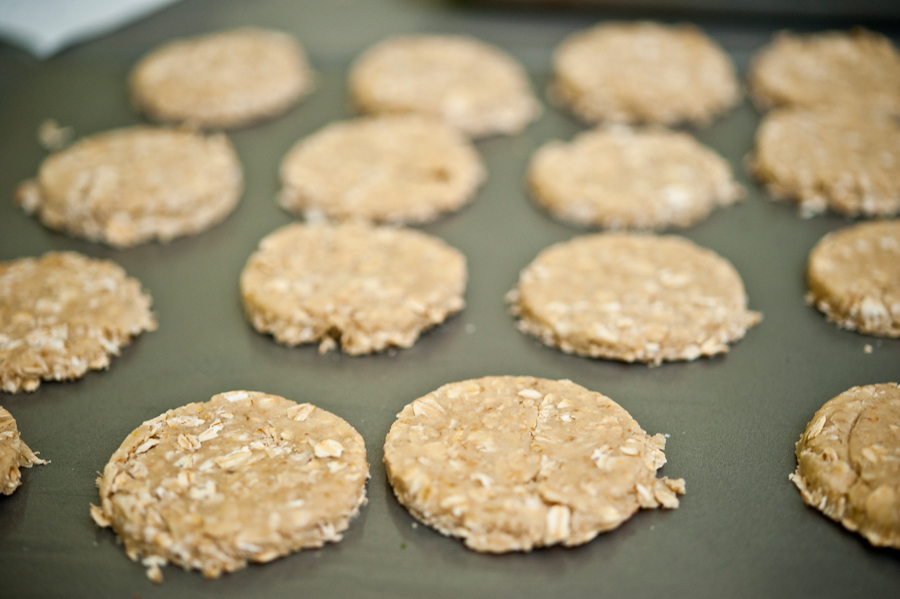
Lay them in rows on a baking sheet and pop them in the oven!


Tasty Kitchen Blog: Scottish Oat Cakes. Guest post by Georgia Pellegrini, recipe submitted by TK member Movita Beaucoup.

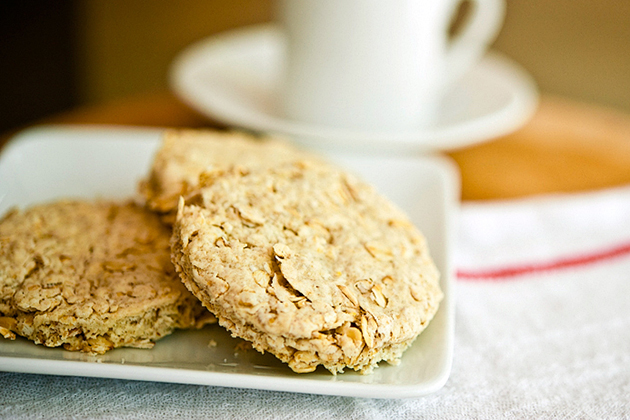
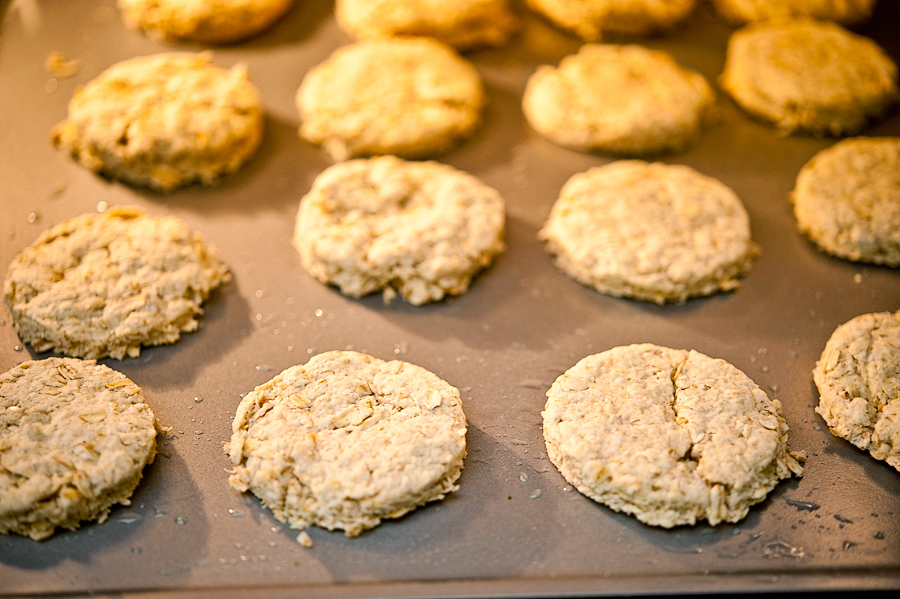
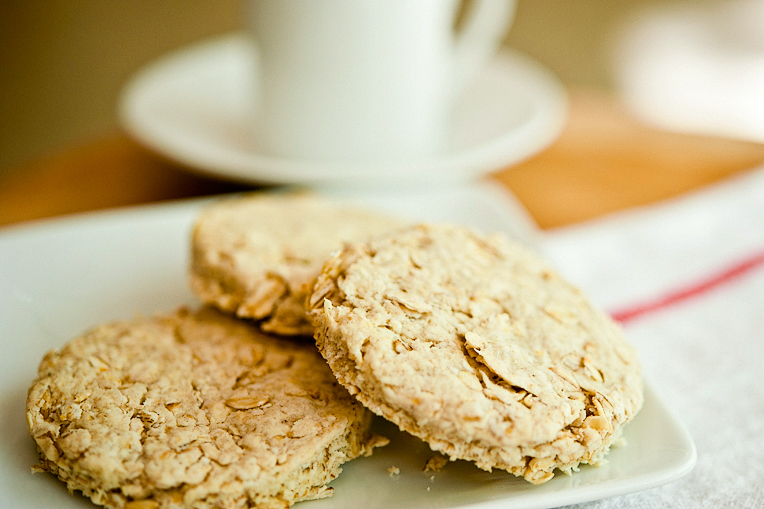
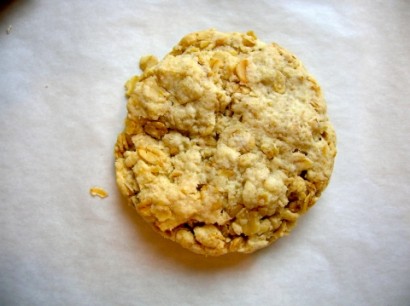
What is interesting about these is that they don’t change their shape much. They just simply firm up a bit. It’s a fun combination between a true cookie and a scone.


Tasty Kitchen Blog: Scottish Oat Cakes. Guest post by Georgia Pellegrini, recipe submitted by TK member Movita Beaucoup.

In fact, they seemed very British to me … or Scottish. They would be so perfect for a traditional afternoon tea. And they made me want to have a tea party instantly. Thank you to Movita for this wonderful recipe and for making me want to have a tea party! Be sure to check out her website Movita Beaucoup for more inspiration.


Printable Recipe

Elsa’s Scottish Oat Cakes

See post on movita beaucoup’s site!
5.00 Mitt(s) 1 Rating(s)1 vote, average: 5.00 out of 51 vote, average: 5.00 out of 51 vote, average: 5.00 out of 51 vote, average: 5.00 out of 51 vote, average: 5.00 out of 5

Prep Time:

Cook Time:

Difficulty: Easy

Servings: 24

24
x

Print Options

Page size Letter 3x5 4x6
Text Size Small Medium Large
Content Include description
Include prep time, etc.
Show image

Description

A yummy family favourite.

Ingredients

  • 2 cups Flour, All Purpose
  • 3 cups Rolled Oats
  • ¼ cups Brown Sugar
  • ¼ cups White Sugar
  • ½ teaspoons Salt
  • ½ teaspoons Baking Soda
  • ½ cups Lard Or Butter
  • ½ cups Ice Cold Water

Preparation Instructions

Combine dry ingredients in large bowl. Cut in butter with a knife or pastry cutter until coarse, mealy crumbs form. Add the ice cold water and stir vigorously with a fork until dough comes together. (The process is very similar to making biscuits, shortcakes and the like—don’t overwork the dough.) Transfer to a lightly floured surface, and shape dough into a ball. Take about a quarter of the dough from the ball, and roll it out to be 1/4 to 1/2 inch thick. (Grammie emphasized that you don’t want to over-handle the dough, thus she only rolled and cut a quarter of the dough at a time.) Cut into circles with a biscuit/cookie cutter or inverted drinking glass, or cut into strips with a pizza cutter. Place on parchment-lined baking sheets for baking. Repeat with remaining dough.

Bake at 350°F until golden (check at 8 minutes). Makes about 2 dozen.

Adapted from a family recipe handed down to me by Elsa and Christy Hodder.


_______________________________________

There’s so much to say about Georgia, we don’t know where to start. Leaving Wall Street for the French Culinary Institute, followed by a stint at the Gramercy Tavern and La Chassagnette in France, her passion for food and food traditions are evident and inspiring. Visit her site at Georgia Pellegrini, where you’ll find more recipes, photos, learn all about her wonderful book Food Heroes, and enjoy her latest adventures.


Profile photo of cookincanuck

Sweet Potato Fudge

Posted by in Step-by-Step Recipes

  When I hear “fudge,” I immediately think of the holidays. When cut into bite-sized pieces, it makes the perfect gift to hand out to neighbors or a lovely welcome hostess gift when you arrive at a cocktail or dinner party. It also makes for an addictive little treat that you want to pop into […]

Profile photo of A Cozy Kitchen

Jalapeno Bacon Stuffed Mushrooms

Posted by in Step-by-Step Recipes

  The holiday season is upon us, my friends. Parties, gatherings and festivities galore! I love a good party, and I love a potluck party even more. Stuffed mushrooms are one of my favorite dishes to bring to gatherings. They’re easy to assemble, their bite size shape makes them perfect for guests to eat as […]

Profile photo of HowSweetEats

Thai Chicken Pizza

Posted by in Step-by-Step Recipes

To make the pizza, you need one batch of your favorite pizza dough, peanuts, fresh cilantro and basil, zucchini, one shallot, mozzarella cheese, sweet chili sauce, shredded chicken and crushed red pepper. Spicy spicy. And a little sweet.       Slice your zucchini and your shallot. A mandolin would probably work best here for […]

Profile photo of Laurie - Simply Scratch

Citrus Spicy Wings with Cilantro Dipping Sauce

Posted by in Step-by-Step Recipes

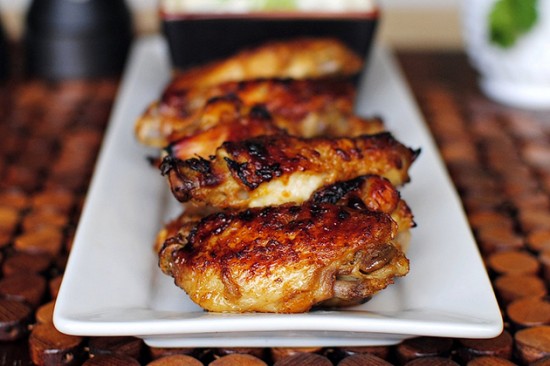
  Chicken wings are the quintessential football party food. They go well with just about any salty snack food, icy cold beer and they don’t require a fork (bonus!). Although I’m not an avid football fan, I am a huge wing fan! Whether it’s slathered in a spicy sauce or dunked into a cool and creamy dip, […]