The Pioneer Woman Tasty Kitchen
Profile photo of ThreeManyCooks

Chocolate Hazelnut Milk

Posted by in Step-by-Step Recipes

Tasty Kitchen Blog: Chocolate Hazelnut Milk. Guest post by Maggy Keet of Three Many Cooks, recipe by Three Many Cooks.

 
At the risk of sounding like Mugatu in the film Zoolander: nut milks are “so hot right now.” I’m seeing them everywhere. I think they’ve hit the mainstream, not only because they are non-dairy and vegan (and in most cases raw), but also because they are delicious. Nut milks have a wonderful depth of flavor and a delicious richness to them that I didn’t expect. And they’re healthy too!

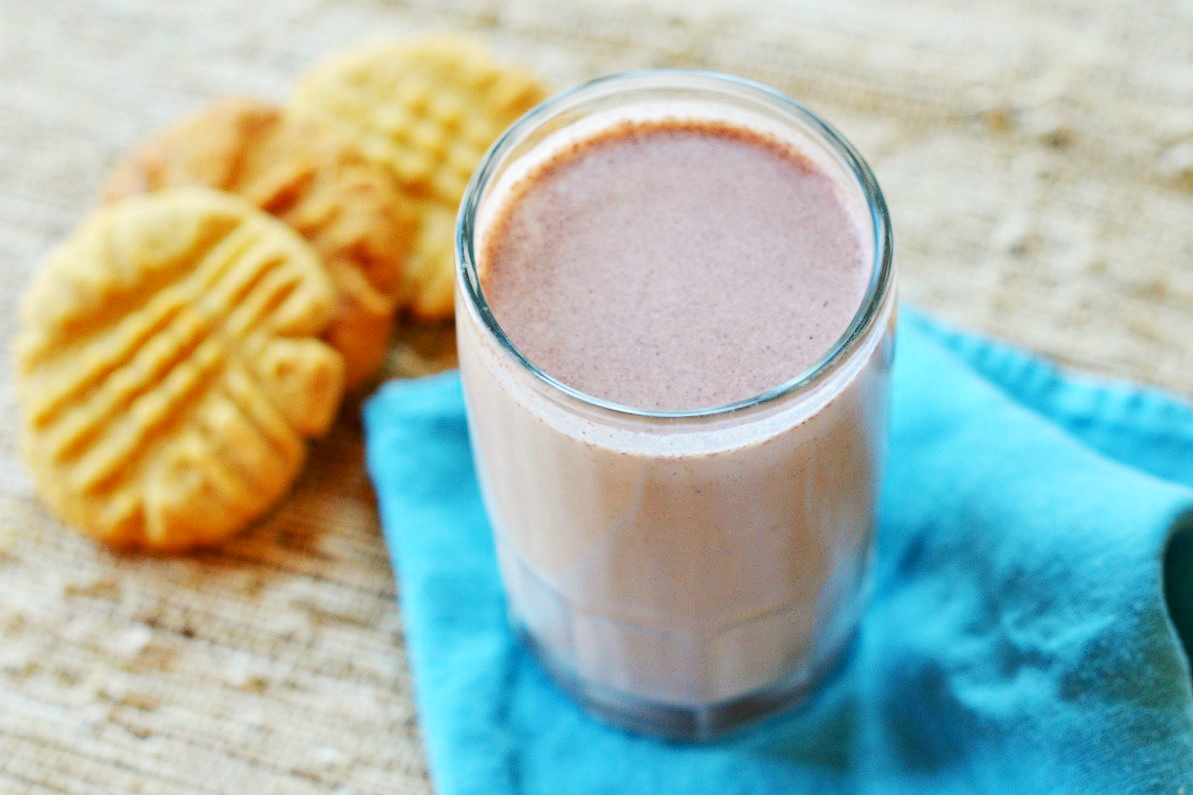
But just because you’re trying to be a little better to your body doesn’t mean you don’t want a treat every now and again. That’s why I love this Chocolate Hazelnut Milk, which tastes like liquid Nutella! I store it in a mason jar in the fridge (it keeps for 48-72 hours) and have a small glass in the afternoon if I’m feeling hungry or in need of a sweet treat.

This nut milk recipe is not raw. We tested it a few times and definitely tasted much more of the nutty flavor when toasting the hazelnuts. We also found that this eliminated the need for soaking the nuts before blending. If you can’t find cocoa nibs in your store, feel free to substitute 2 tablespoons of cocoa powder. Give this recipe a try and then make your own combinations. You can also use other nuts like cashews and almonds!


Tasty Kitchen Blog: Chocolate Hazelnut Milk. Guest post by Maggy Keet of Three Many Cooks, recipe by Three Many Cooks.

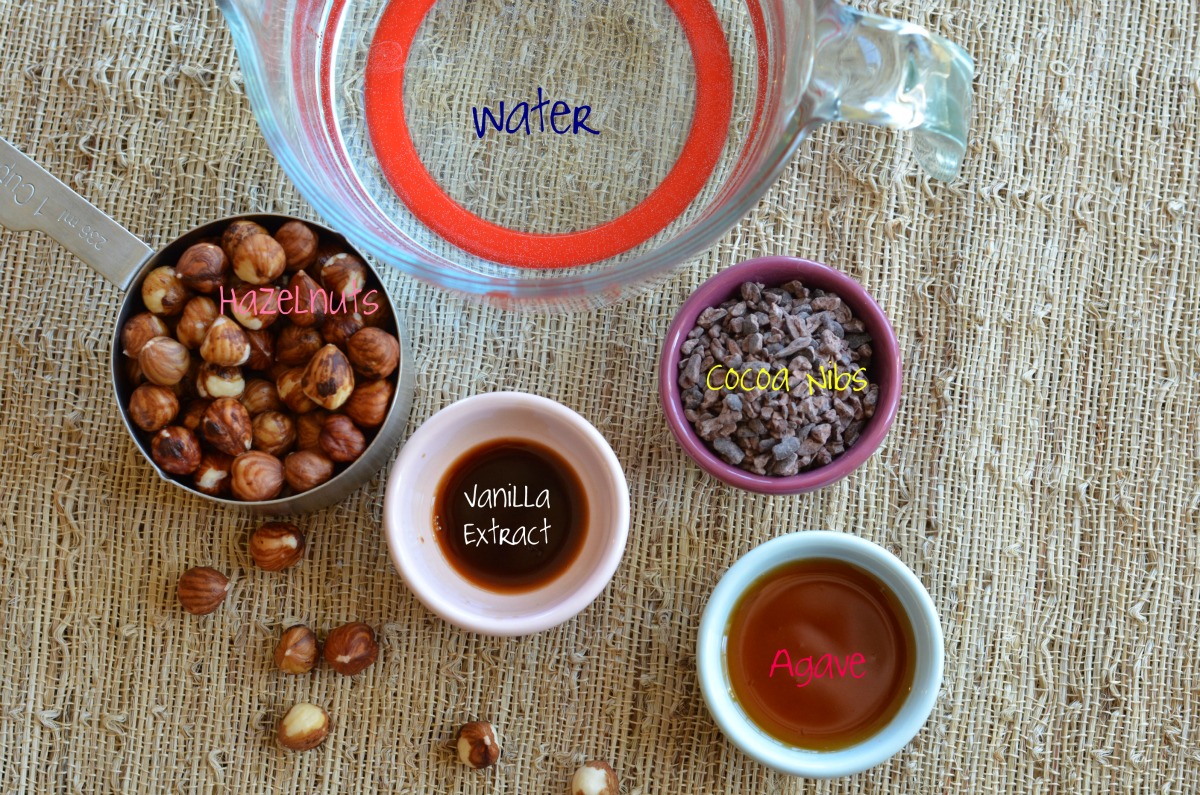
This is all you need to make delicious chocolate hazelnut milk: water, raw hazelnuts, agave, cocoa nibs (or cocoa powder), and vanilla extract.


Tasty Kitchen Blog: Chocolate Hazelnut Milk. Guest post by Maggy Keet of Three Many Cooks, recipe by Three Many Cooks.

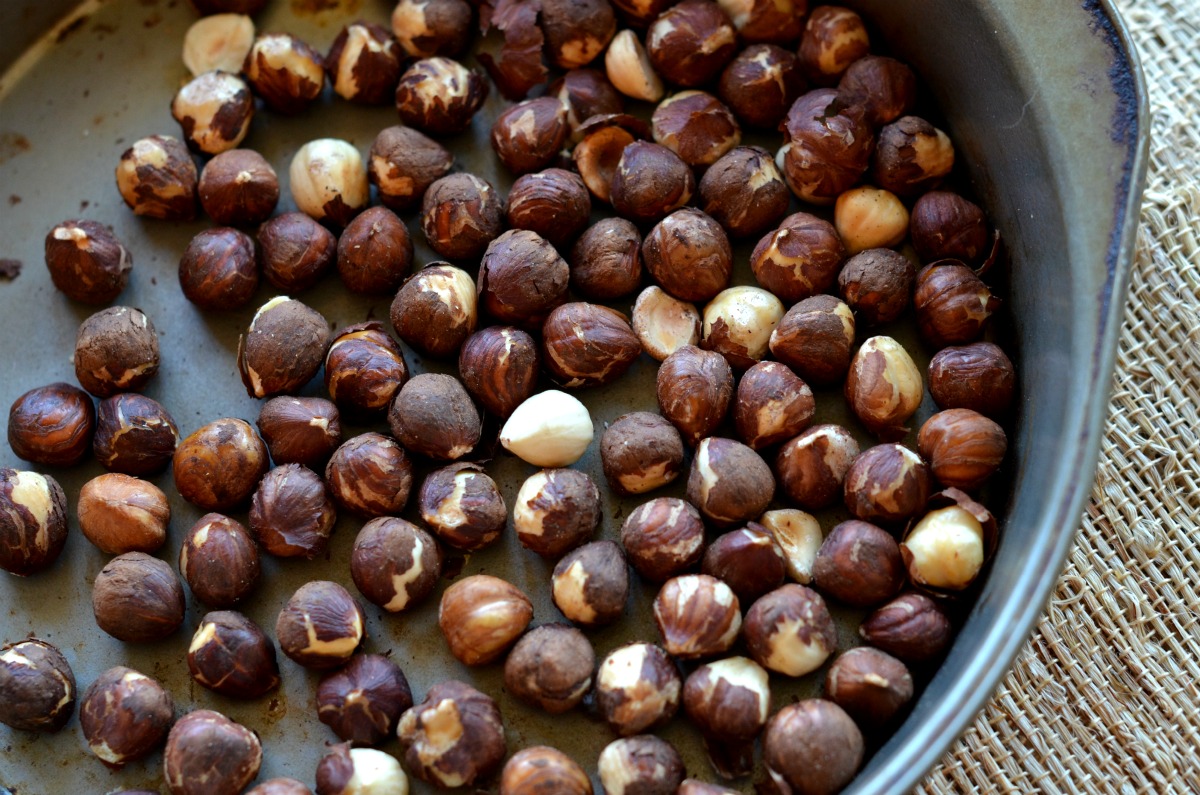
The first thing you need to do is to toast your hazelnuts. It doesn’t take long, just 12-15 minutes. Meanwhile, get your blender set up and all your other ingredients measured out.


Tasty Kitchen Blog: Chocolate Hazelnut Milk. Guest post by Maggy Keet of Three Many Cooks, recipe by Three Many Cooks.

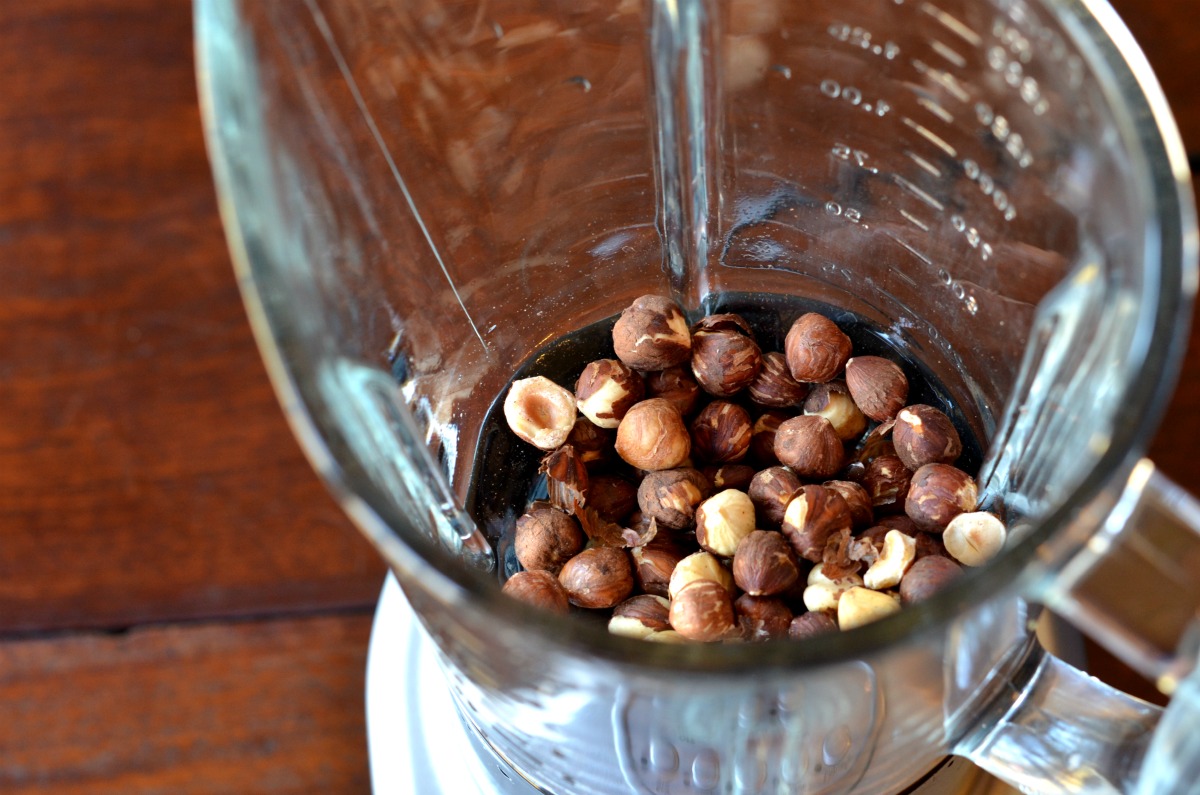
Once the hazelnuts are toasted, put them in the blender.


Tasty Kitchen Blog: Chocolate Hazelnut Milk. Guest post by Maggy Keet of Three Many Cooks, recipe by Three Many Cooks.

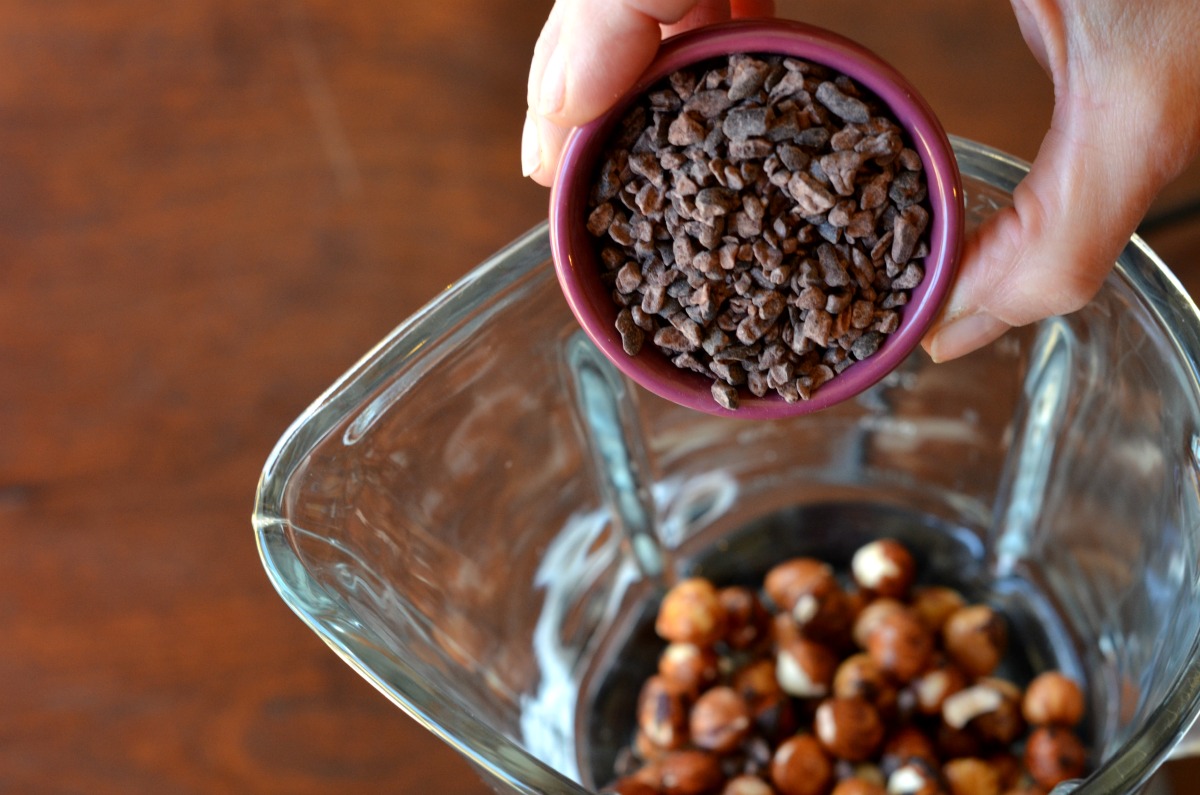
Then it’s as simple as adding the cocoa nibs …


Tasty Kitchen Blog: Chocolate Hazelnut Milk. Guest post by Maggy Keet of Three Many Cooks, recipe by Three Many Cooks.

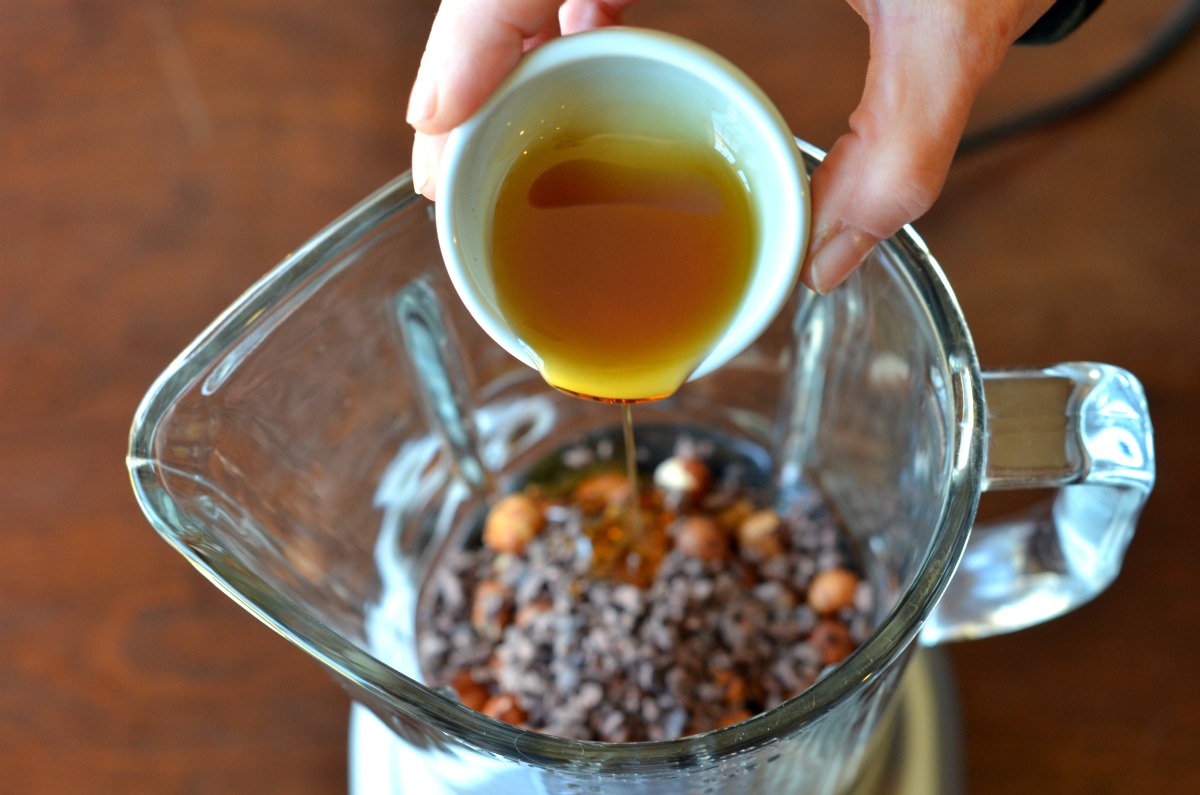
Agave …


Tasty Kitchen Blog: Chocolate Hazelnut Milk. Guest post by Maggy Keet of Three Many Cooks, recipe by Three Many Cooks.

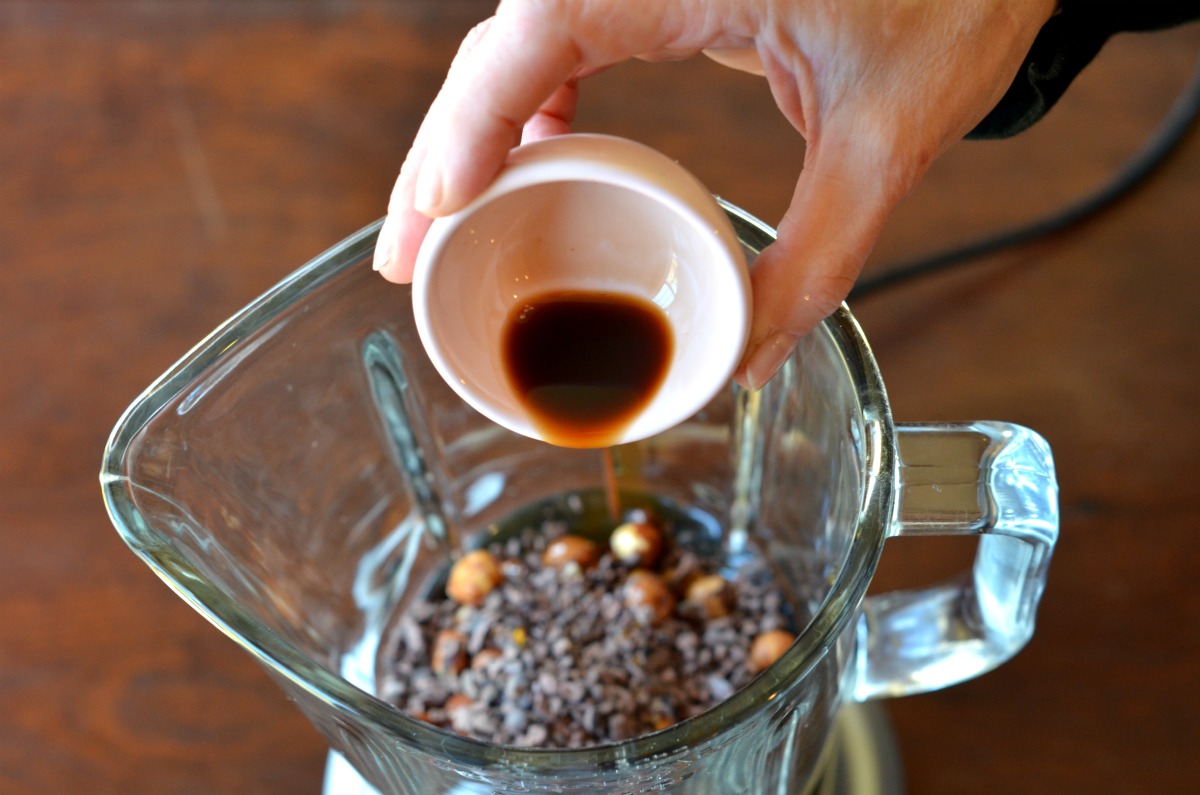
Vanilla …


Tasty Kitchen Blog: Chocolate Hazelnut Milk. Guest post by Maggy Keet of Three Many Cooks, recipe by Three Many Cooks.

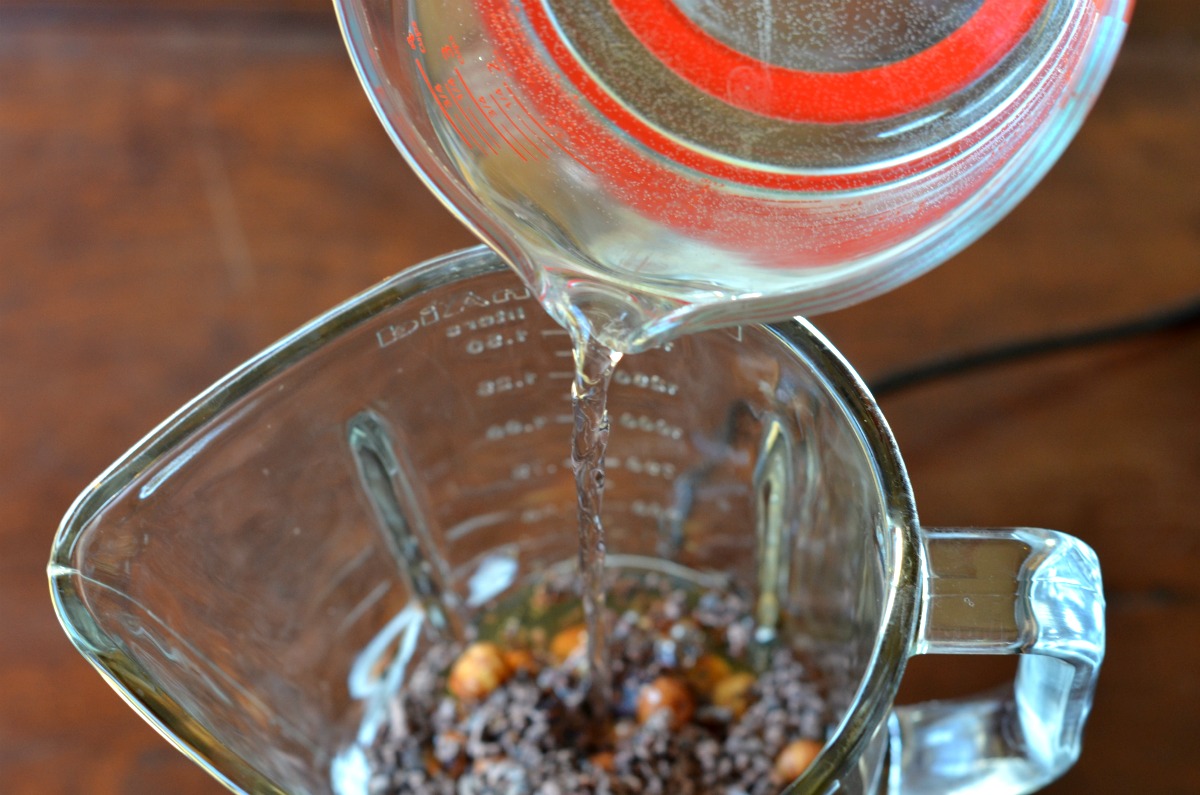
… and finally the water. Then blitz it for a good bit, about one minute. Once blended, I like to let the milk rest for five to ten minutes to let all those flavors marry.


Tasty Kitchen Blog: Chocolate Hazelnut Milk. Guest post by Maggy Keet of Three Many Cooks, recipe by Three Many Cooks.

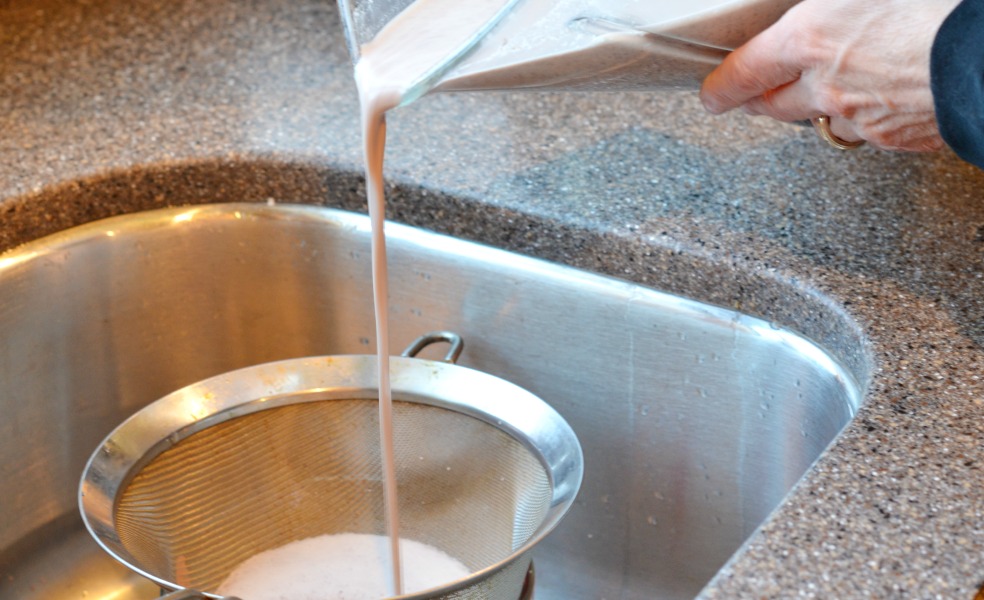
At this point you can drink the milk as is or pour it through a fine mesh strainer to remove all the blended nut and nibs.


Tasty Kitchen Blog: Chocolate Hazelnut Milk. Guest post by Maggy Keet of Three Many Cooks, recipe by Three Many Cooks.

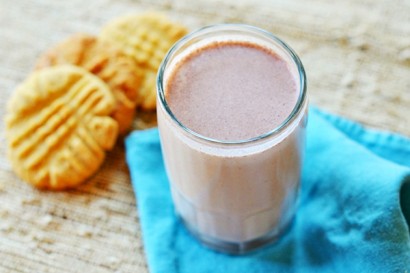
Enjoy warmed in a mug or cold in a glass. Either way, you will love this Chocolate Hazelnut Milk.


Printable Recipe
Chocolate Hazelnut Milk

5.00 Mitt(s) 1 Rating(s)1 vote, average: 5.00 out of 51 vote, average: 5.00 out of 51 vote, average: 5.00 out of 51 vote, average: 5.00 out of 51 vote, average: 5.00 out of 5

Prep Time:

Cook Time:

Difficulty: Easy

Servings: 4

4
x

Print Options

Page size Letter 3x5 4x6
Text Size Small Medium Large
Content Include description
Include prep time, etc.
Show image

Description

This Chocolate Hazelnut Milk is delicious—tastes like drinkable Nutella!

Ingredients

  • 1 cup Raw Hazelnuts
  • 3 cups Water
  • ¼ cups Agave
  • 1 teaspoon Vanilla Extract
  • 6 Tablespoons Cocoa Nibs OR 2 Tablespoons Unsweetened Cocoa Powder

Preparation Instructions

Headnote: We tried this recipe with both toasted and soaked hazelnuts and found that toasting really brought out the nutty flavor. If you prefer raw milk, simply soak the hazelnuts overnight (or for 4 to 6 hours) and skip the toasting step. Also, if you can’t find cocoa nibs, substitute 2 tablespoons unsweetened cocoa powder, it’s delicious!

Adjust oven rack to lower-middle position and heat oven to 325ºF. Place hazelnuts in a small baking pan and toast until fragrant and slightly darkened in color, 12 to 15 minutes. Place all ingredients in a blender and puree until very well processed, about a minute. Let stand to blend flavors, 5 to 10 minutes. Strain through a fine mesh sieve and serve warm or chilled.


_______________________________________

Three Many Cooks is the always-entertaining food blog of Pam Anderson and her two daughters, Maggy and Sharon. Pam is a well-known and much-respected food writer and author, Maggy is a “hippy adventurer meets 1950s housewife,” and Sharon refers to herself as a recovering food snob learning to survive on a graduate student’s budget. Theirs is a strong relationship both inside and outside the kitchen, and it shows in the food they create and the stories they tell.


Profile photo of twopeasandtheirpod

Lemon Cornmeal Pancakes

Posted by in Step-by-Step Recipes

Tasty Kitchen Blog: Lemon Cornmeal Pancakes. Guest post by Maria Lichty of Two Peas and Their Pod, recipe submitted by TK member Jenna Weber of Eat, Live, Run.

 
Weekends are made for sleeping in and for pancakes. Ok, let’s be honest, we have a baby, so we are not sleeping in anymore, but we are still making pancakes. My husband, Josh, would be fine eating our Cinnamon Streusel Pancakes every weekend, but I like to try new pancake recipes. I spotted Jenna’s (Tasty Kitchen member and fellow Tasty Kitchen Blog contributor Eat, Live, Run) recipe for Lemon Cornmeal Pancakes on Tasty Kitchen and added them to our weekend breakfast menu. They looked so fluffy and delicious, I had a hard time waiting until the weekend to make them. 


Tasty Kitchen Blog: Lemon Cornmeal Pancakes. Guest post by Maria Lichty of Two Peas and Their Pod, recipe submitted by TK member Jenna Weber of Eat, Live, Run.

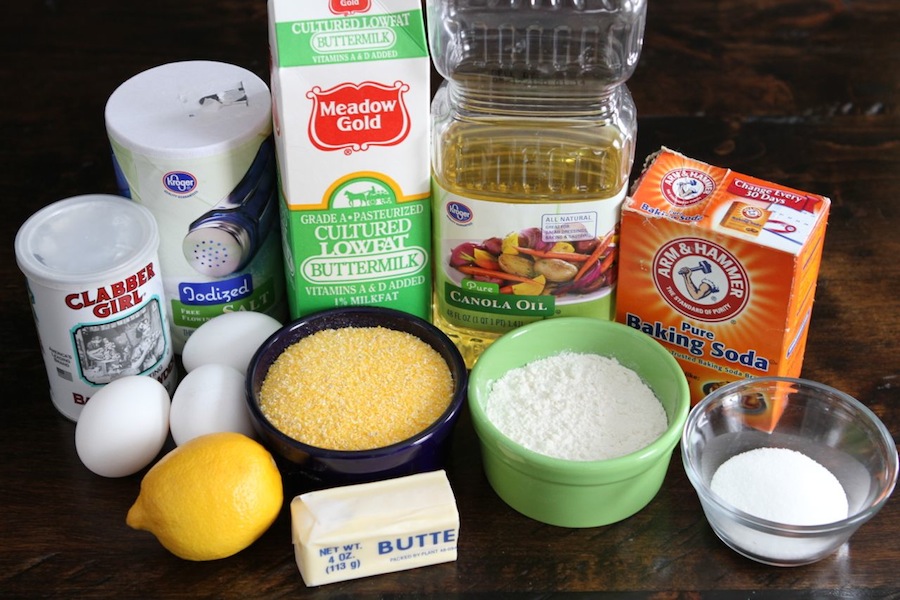
To make the pancakes you need the following ingredients: eggs, buttermilk, cooking oil, flour, sugar, cornmeal, a lemon, baking powder, baking soda, salt, and butter. I bet you have all of the ingredients in your kitchen right now. We did! 


Tasty Kitchen Blog: Lemon Cornmeal Pancakes. Guest post by Maria Lichty of Two Peas and Their Pod, recipe submitted by TK member Jenna Weber of Eat, Live, Run.

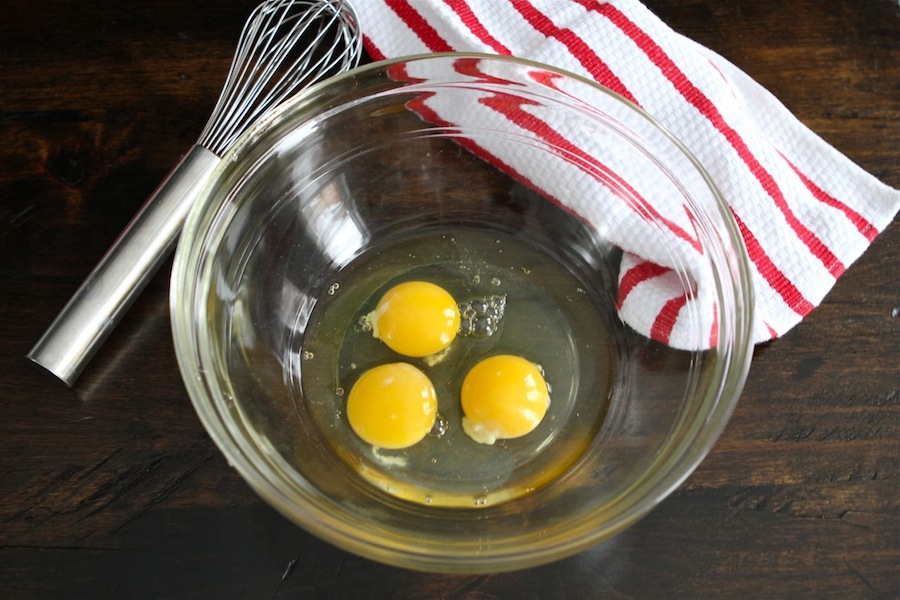
In a large bowl, add the 3 eggs. 


Tasty Kitchen Blog: Lemon Cornmeal Pancakes. Guest post by Maria Lichty of Two Peas and Their Pod, recipe submitted by TK member Jenna Weber of Eat, Live, Run.

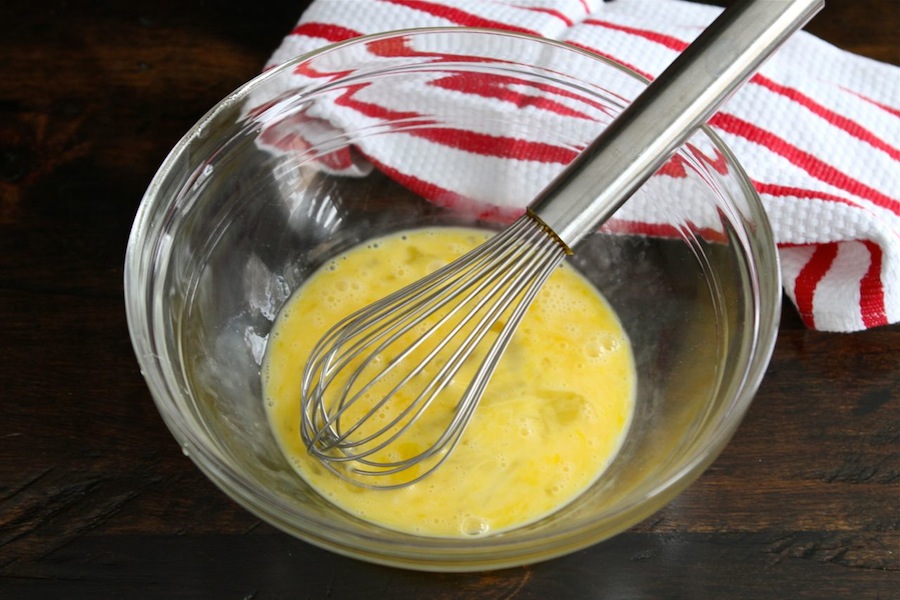
Beat the eggs with a whisk, until smooth. 


Tasty Kitchen Blog: Lemon Cornmeal Pancakes. Guest post by Maria Lichty of Two Peas and Their Pod, recipe submitted by TK member Jenna Weber of Eat, Live, Run.

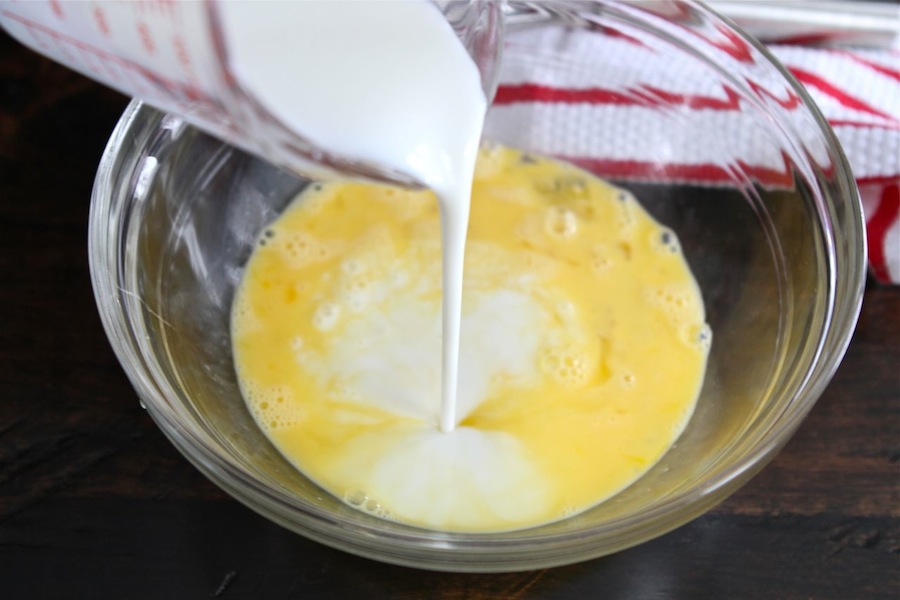
Pour in the buttermilk.


Tasty Kitchen Blog: Lemon Cornmeal Pancakes. Guest post by Maria Lichty of Two Peas and Their Pod, recipe submitted by TK member Jenna Weber of Eat, Live, Run.

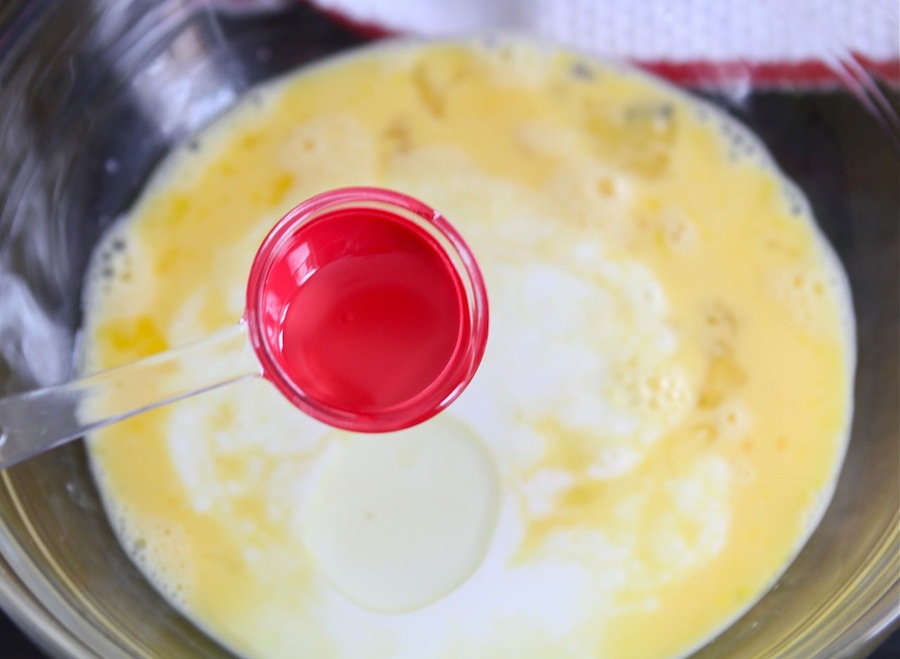
Add the cooking oil and whisk until smooth. 


Tasty Kitchen Blog: Lemon Cornmeal Pancakes. Guest post by Maria Lichty of Two Peas and Their Pod, recipe submitted by TK member Jenna Weber of Eat, Live, Run.

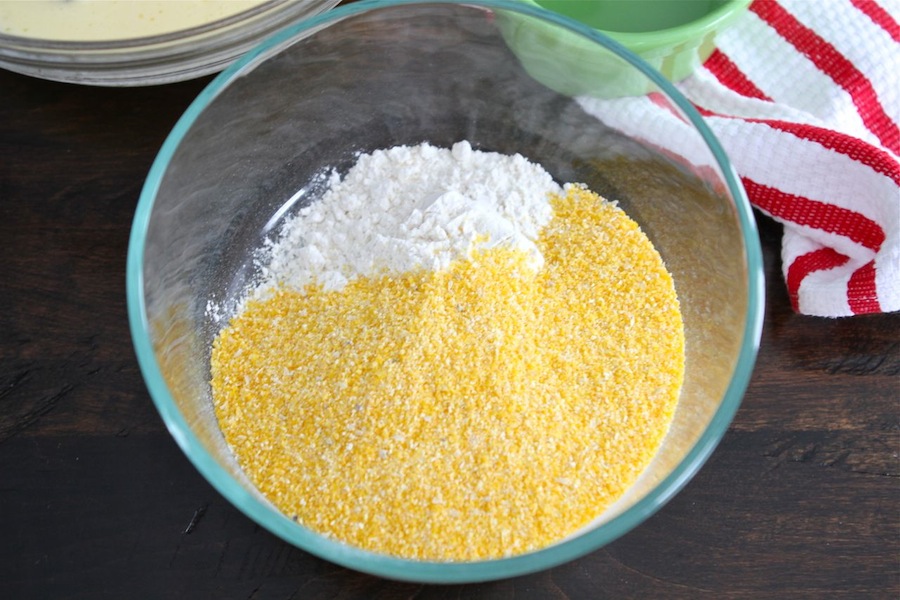
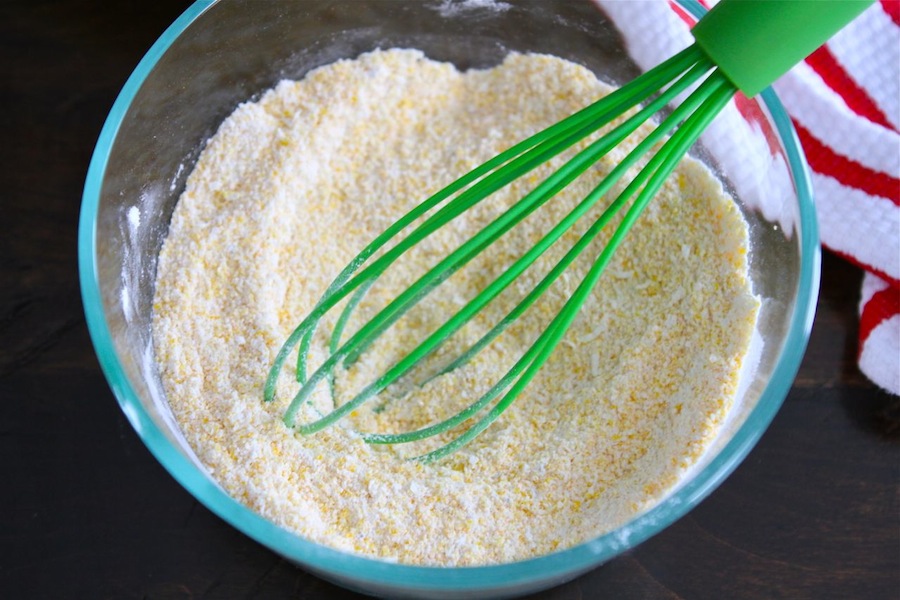
In a separate bowl, combine the flour and cornmeal. 


Tasty Kitchen Blog: Lemon Cornmeal Pancakes. Guest post by Maria Lichty of Two Peas and Their Pod, recipe submitted by TK member Jenna Weber of Eat, Live, Run.

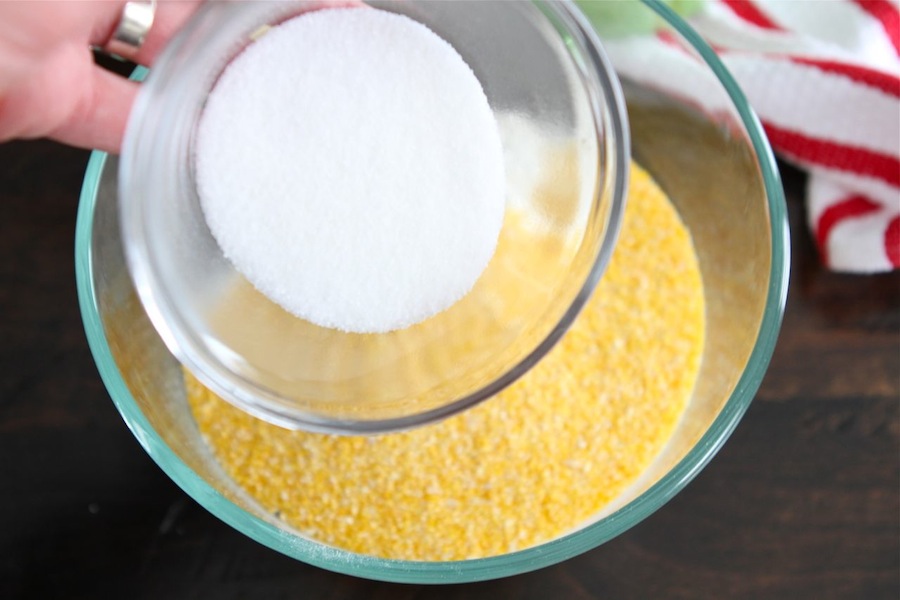
Add in the sugar. 


Tasty Kitchen Blog: Lemon Cornmeal Pancakes. Guest post by Maria Lichty of Two Peas and Their Pod, recipe submitted by TK member Jenna Weber of Eat, Live, Run.

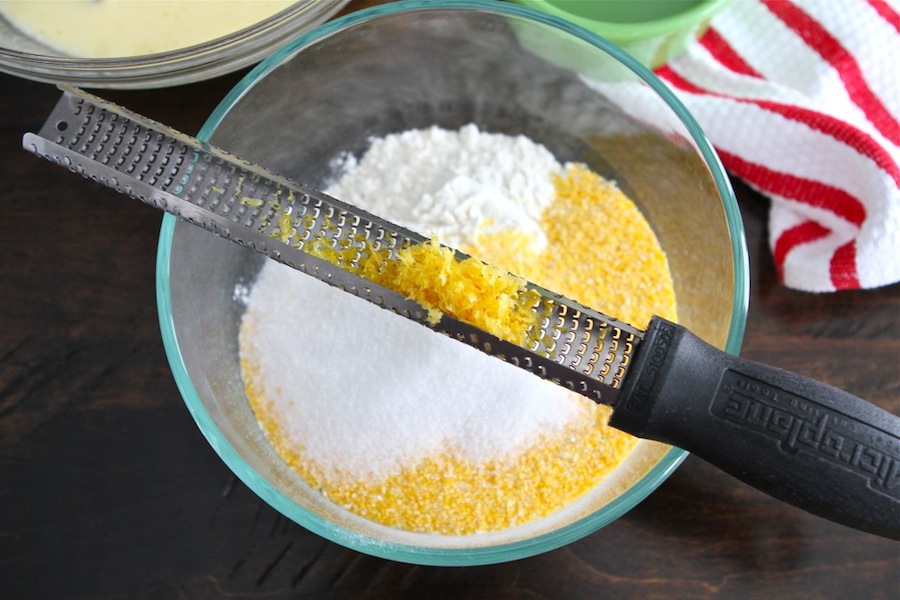
Add in the lemon zest. 


Tasty Kitchen Blog: Lemon Cornmeal Pancakes. Guest post by Maria Lichty of Two Peas and Their Pod, recipe submitted by TK member Jenna Weber of Eat, Live, Run.

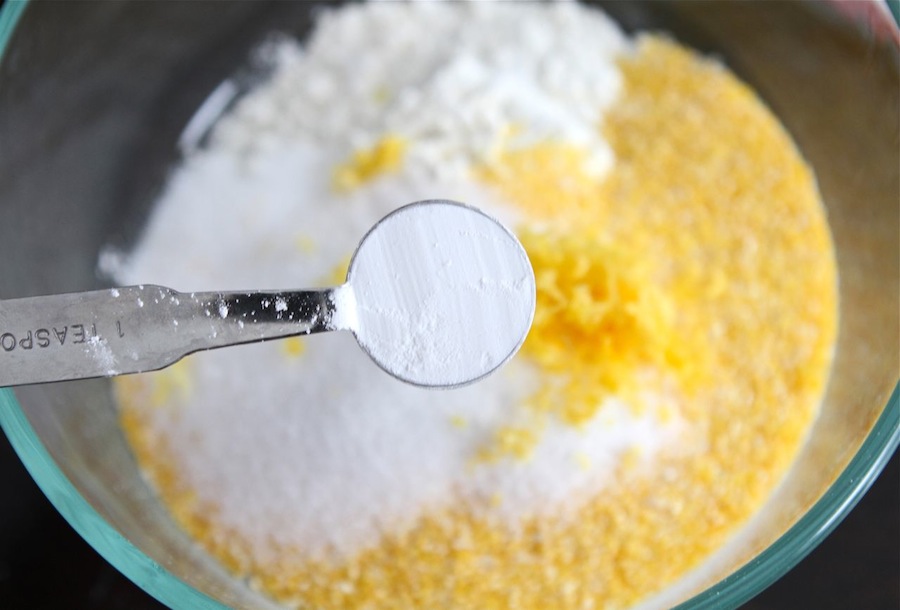
Add in the baking powder, baking soda, and salt. 


Tasty Kitchen Blog: Lemon Cornmeal Pancakes. Guest post by Maria Lichty of Two Peas and Their Pod, recipe submitted by TK member Jenna Weber of Eat, Live, Run.

Whisk the dry ingredients together. 


Tasty Kitchen Blog: Lemon Cornmeal Pancakes. Guest post by Maria Lichty of Two Peas and Their Pod, recipe submitted by TK member Jenna Weber of Eat, Live, Run.

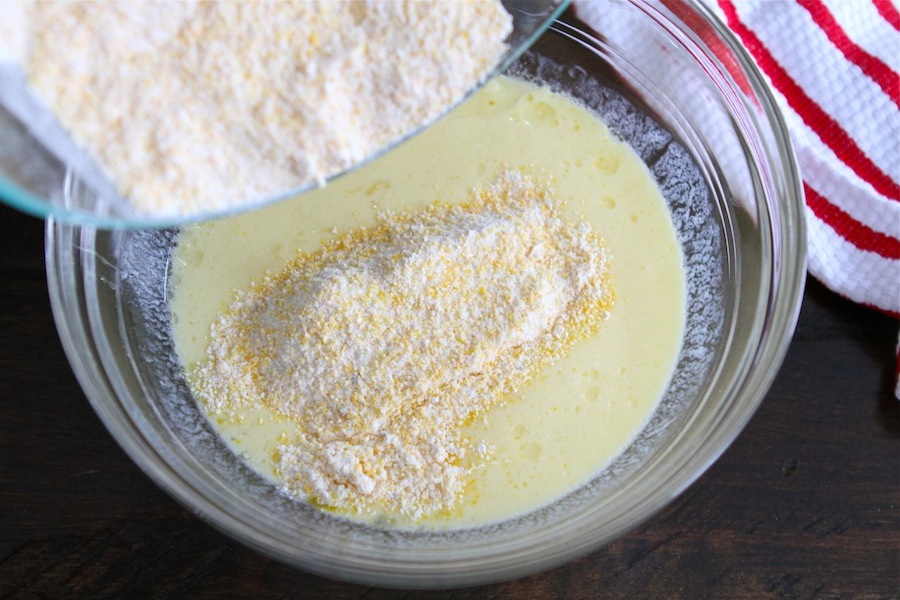
Add the dry ingredients to the wet ingredients. 


Tasty Kitchen Blog: Lemon Cornmeal Pancakes. Guest post by Maria Lichty of Two Peas and Their Pod, recipe submitted by TK member Jenna Weber of Eat, Live, Run.

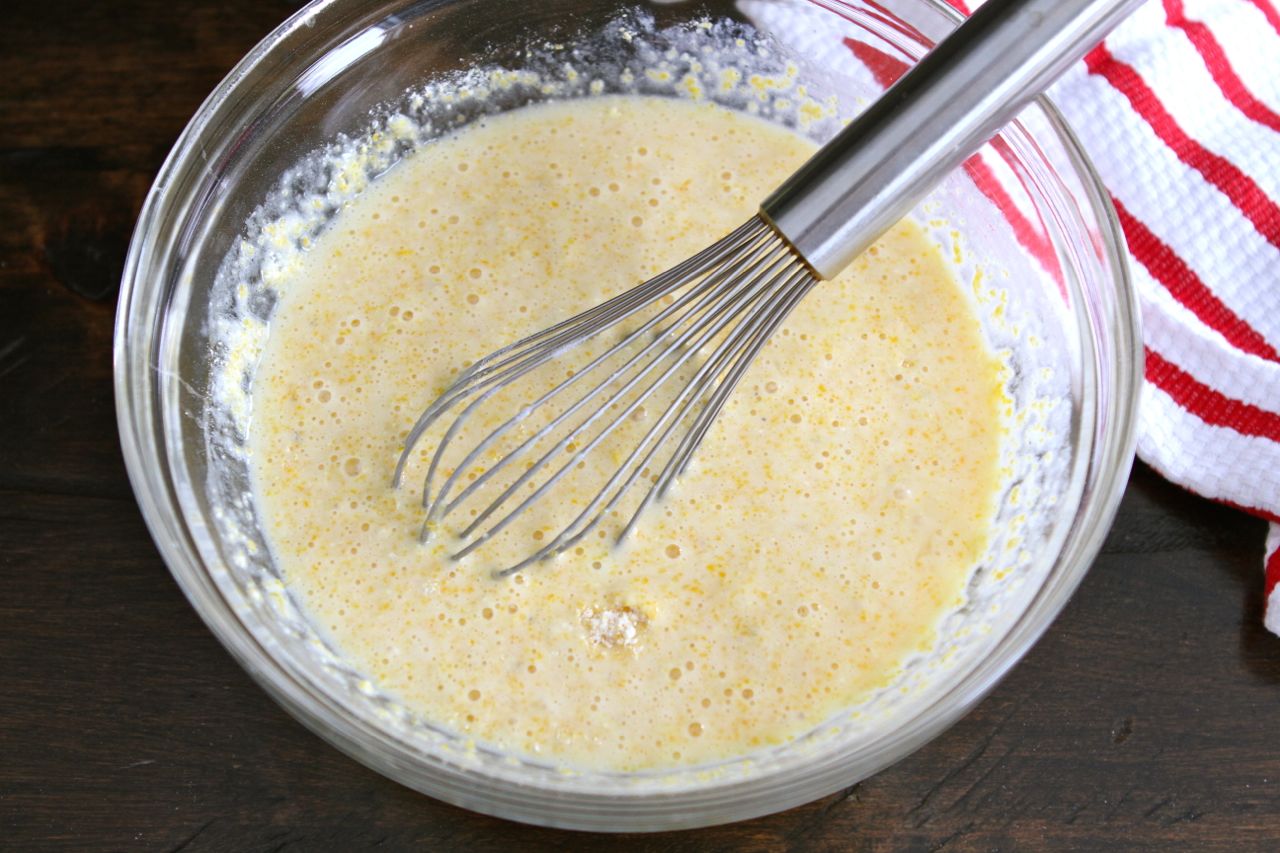
Stir until just combined; don’t over mix. 


Tasty Kitchen Blog: Lemon Cornmeal Pancakes. Guest post by Maria Lichty of Two Peas and Their Pod, recipe submitted by TK member Jenna Weber of Eat, Live, Run.

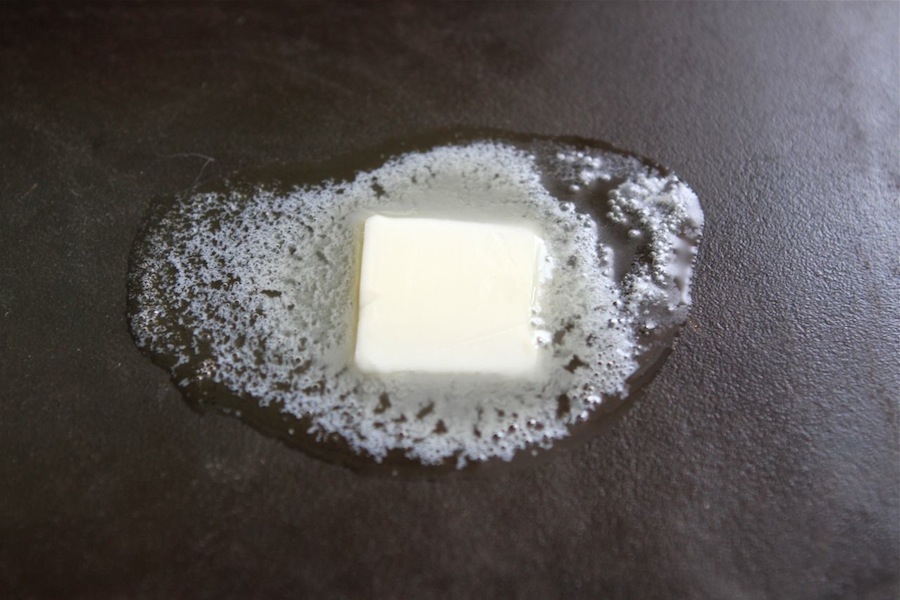
Melt butter over a hot skillet or griddle. 


Tasty Kitchen Blog: Lemon Cornmeal Pancakes. Guest post by Maria Lichty of Two Peas and Their Pod, recipe submitted by TK member Jenna Weber of Eat, Live, Run.

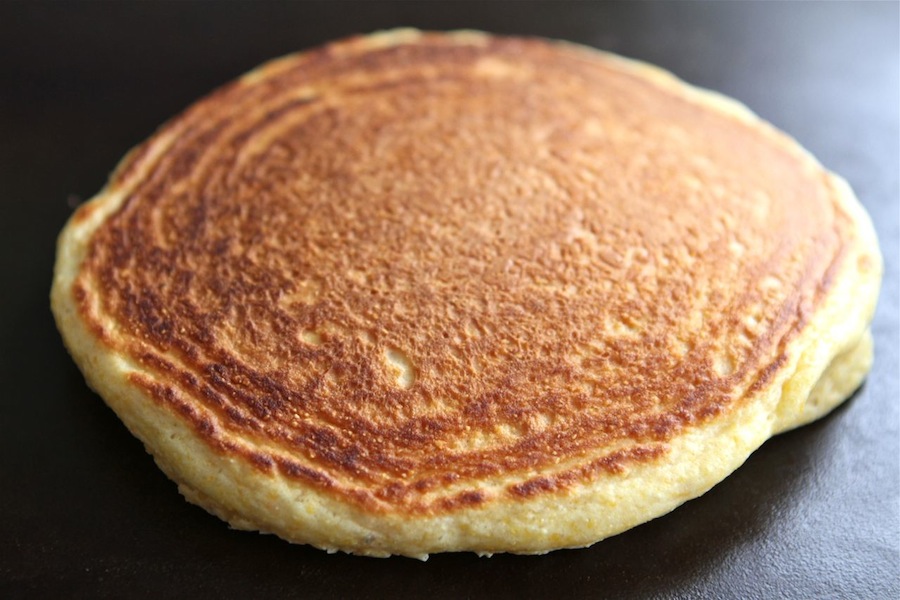
Cook pancakes for 30 seconds on each side. Be careful—they brown quickly. 


Tasty Kitchen Blog: Lemon Cornmeal Pancakes. Guest post by Maria Lichty of Two Peas and Their Pod, recipe submitted by TK member Jenna Weber of Eat, Live, Run.

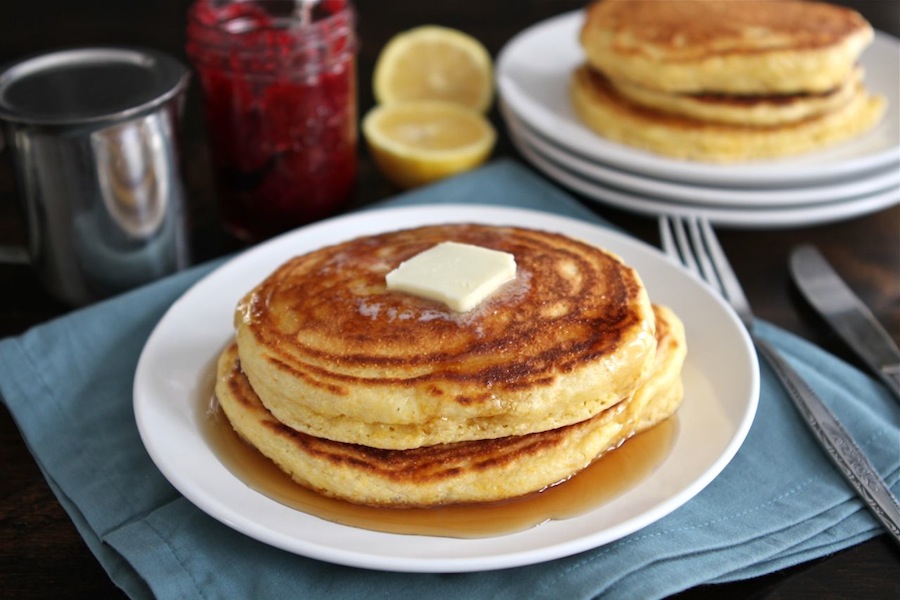
Serve pancakes warm with topping of your choice! 


Tasty Kitchen Blog: Lemon Cornmeal Pancakes. Guest post by Maria Lichty of Two Peas and Their Pod, recipe submitted by TK member Jenna Weber of Eat, Live, Run.

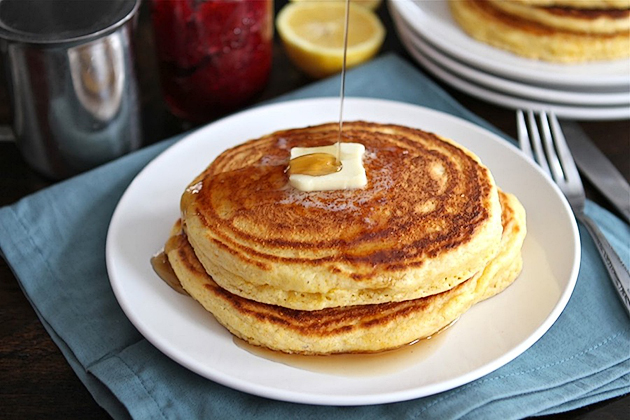
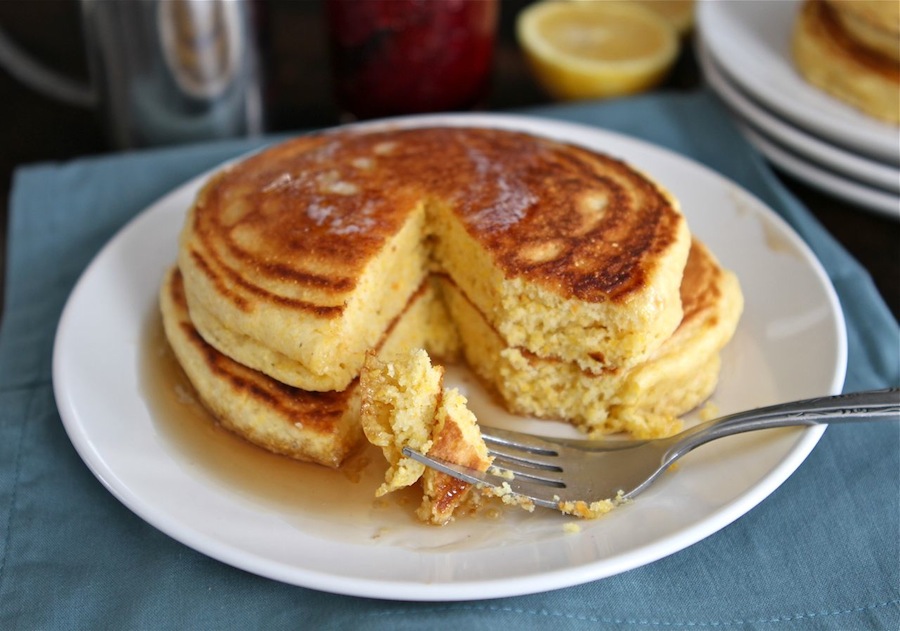
My oh my, are these pancakes good! They are thick, hearty, and have a refreshing hint of lemon, which makes them perfect for spring. We served them with butter and maple syrup, but I am sure they would be great with fresh fruit as well. I think I will try strawberries or blueberries next time. The pancakes are very filling. I wanted to eat a huge stack because they are so tasty, but I could only tackle one. We saved the leftover pancakes and had them for breakfast the next day. They were just as good reheated. 

Thanks Jenna for a wonderful pancake recipe. These Lemon Cornmeal Pancakes are definitely going to make a regular appearance at our house. They are the perfect weekend breakfast treat. Make sure you visit Jenna’s blog, Eat, Live, Run, for other fantastic recipes. Be prepared to stay awhile, her site is filled with deliciousness! 


Printable Recipe

Lemon Cornmeal Pancakes

See post on EatLiveRun’s site!
5.00 Mitt(s) 5 Rating(s)5 votes, average: 5.00 out of 55 votes, average: 5.00 out of 55 votes, average: 5.00 out of 55 votes, average: 5.00 out of 55 votes, average: 5.00 out of 5

Prep Time:

Cook Time:

Difficulty: Easy

Servings: 4

4
x

Print Options

Page size Letter 3x5 4x6
Text Size Small Medium Large
Content Include description
Include prep time, etc.
Show image

Description

These pancakes are the true breakfast of champions.

Ingredients

  • 3 whole Eggs
  • 1 cup Buttermilk
  • 2 Tablespoons Cooking Oil
  • ½ cups Flour
  • 2 Tablespoons Sugar
  • 1 cup Cornmeal
  • 1 whole Lemon, Zested
  • 1-½ teaspoon Baking Powder
  • ½ teaspoons Baking Soda
  • ¼ teaspoons Salt
  • Butter, For Cooking Pancakes

Preparation Instructions

Beat the eggs in a large bowl. Add the buttermilk and oil and beat until well blended.

In another bowl, combine the flour, sugar, cornmeal, lemon zest, baking powder, baking soda and salt. Whisk together well then add dry ingredients to wet ingredients and mix only until just combined.

Melt butter on a hot skillet then cook pancakes for about 30 seconds each side. Be careful—they brown quickly!


_______________________________________

Maria and her husband Josh (who she affectionately refers to as her “dough boy”) blog at Two Peas and Their Pod. They’ve been featured on Saveur, Eatocracy, Gourmet Live, Glamour, and the Los Angeles Times, to name just a few. They’d also just recently added a little pea to their pod. We’re so glad to have them here!


Profile photo of cookincanuck

Shrimp Martini Appetizers

Posted by in Step-by-Step Recipes

Tasty Kitchen Blog Shrimp Martini Appetizers

 
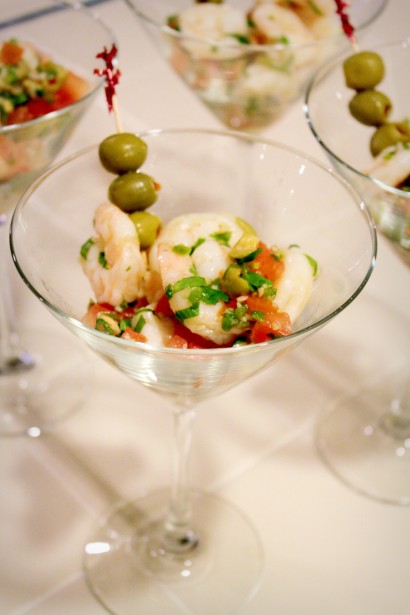
You know when you make a recipe that immediately makes you say, “I have to make this at least once a week”? Well, this is one of those recipes. If you are a fan of shrimp, then this simple Shrimp Martini Appetizer recipe by Tasty Kitchen member 4littlefergusons is a must-try. Not only does it taste good and look pretty (who doesn’t love appetizers presented in martini glasses?), but it’s really easy to put together. Toss the shrimp with cilantro, stuffed olives, tomatoes, garlic, jalapeno and lemon juice, and you’re done. Ba-da-bing, ba-da-boom (I like to pretend I still live in New York).

Now, let’s get started.


Tasty Kitchen Blog Shrimp Martini Appetizers

Here’s everything you will need for this recipe: shrimp, cilantro, tomatoes, pimento-stuffed olives (the little guys), a jalapeno pepper, garlic, salt and lemon juice.


Tasty Kitchen Blog Shrimp Martini Appetizers

Set a medium saucepan of water over high heat and bring the water to a boil. Add shrimp and cook until shrimp is cooked through, about 1 minute.

Do everything in your power to avoid overcooking the shrimp. Overcooking + shrimp = rubbery mess. Not good.


Tasty Kitchen Blog Shrimp Martini Appetizers

Drain the shrimp.


Tasty Kitchen Blog Shrimp Martini Appetizers

Immediately plunge the shrimp into ice water to stop it from cooking. Aren’t they pretty in pink?


Tasty Kitchen Blog Shrimp Martini Appetizers

In a medium-sized bowl, combine chopped cilantro …


Tasty Kitchen Blog Shrimp Martini Appetizers

Seeded and diced tomatoes …


Tasty Kitchen Blog Shrimp Martini Appetizers

Chopped stuffed olives (the little ones) …


Tasty Kitchen Blog Shrimp Martini Appetizers

Seeded and chopped jalapeno pepper …


Tasty Kitchen Blog Shrimp Martini Appetizers

Garlic and salt.


Tasty Kitchen Blog Shrimp Martini Appetizers

Squeeze in fresh lemon juice. You’re almost there.


Tasty Kitchen Blog Shrimp Martini Appetizers

Add the cooked shrimp and give everything a gentle stir.


Tasty Kitchen Blog Shrimp Martini Appetizers

Garnish with extra olives, serve and dive in.

Thanks so much to 4littlefergusons for this great recipe. I will be making this for a quick lunch or serving it to guests as an impressive but easy appetizer. Be sure to check out the blog 4 Little Fergusons, where adorable Tonya talks about her life with four little ones and posts recipes as tempting as this one.


Printable Recipe

Shrimp Martini Appetizers

0.00 Mitt(s) 0 Rating(s)0 votes, average: 0.00 out of 50 votes, average: 0.00 out of 50 votes, average: 0.00 out of 50 votes, average: 0.00 out of 50 votes, average: 0.00 out of 5

Prep Time:

Cook Time:

Difficulty: Easy

Servings: 4

4
x

Print Options

Page size Letter 3x5 4x6
Text Size Small Medium Large
Content Include description
Include prep time, etc.
Show image

Description

These appetizers are DIVINE and just gorgeous to look at!

Ingredients

  • ½ pounds Shrimp, Peeled
  • 1 Tablespoon Chopped Fresh Cilantro
  • 2 whole Plum Tomatoes, Seeded And Chopped
  • 8 whole Pimento-stuffed Spanish Olives, Coarsely Chopped, Plus More Left Whole For Garnish
  • 1 whole Jalapeno Pepper, Seeded And Minced
  • 1 clove Garlic, Minced
  • ¼ teaspoons Salt
  • 1 Tablespoon Fresh Lemon Juice (from About 1/2 Lemon)

Preparation Instructions

Cook shrimp in boiling water until it turns pink. Drain. Place shrimp in ice water until chilled; drain again.

In a small bowl combine cilantro, tomatoes, olives, jalapeno, garlic and salt. Squeeze lemon juice over all and stir.

Add shrimp and toss gently. Serve immediately or refrigerate until serving time. Spoon shrimp mixture into 4 martini glasses, garnish with a toothpick of Spanish olives.


_______________________________________

Dara Michalski is a doll and a sweetheart who clearly knows her way around the kitchen. She blogs at Cookin’ Canuck, where she shares her flavor-packed recipes and fun, engaging writing. The photography’s pretty incredible, too.


Profile photo of ThreeManyCooks

Shamrock Blizzard

Posted by in Step-by-Step Recipes

Tasty Kitchen Blog: Shamrock Blizzard. Guest post by Maggy Keet of Three Many Cooks, recipe by Three Many Cooks.

 
Since its debut in the 1970s, McDonald’s Shamrock Shake has garnered something of a cult following. I’m certain part of its popularity stems from very limited availability. You might be interested to know the Shamrock Shake has its own website pointing devoted fans to selected serving locations. I love a good milkshake, but this seems a little crazy. Me? I prefer a blizzard. It’s got all the goodness of a milkshake with something delicious stirred in.

In honor of St. Patrick’s Day, we created a Shamrock Blizzard you can make in your own kitchen without having to track down the elusive green drink. To make it even more fun and festive, we’ve added Irish whiskey to the mix (McDonald’s can’t do that!). If you’d like a “potent” blizzard, make it with straight whiskey. But if you want to serve these to a gaggle of kids, make sure to use milk instead! For something in between, use half whiskey, half milk.

Happy St. Patrick’s Day!


Tasty Kitchen Blog: Shamrock Blizzard. Guest post by Maggy Keet of Three Many Cooks, recipe by Three Many Cooks.

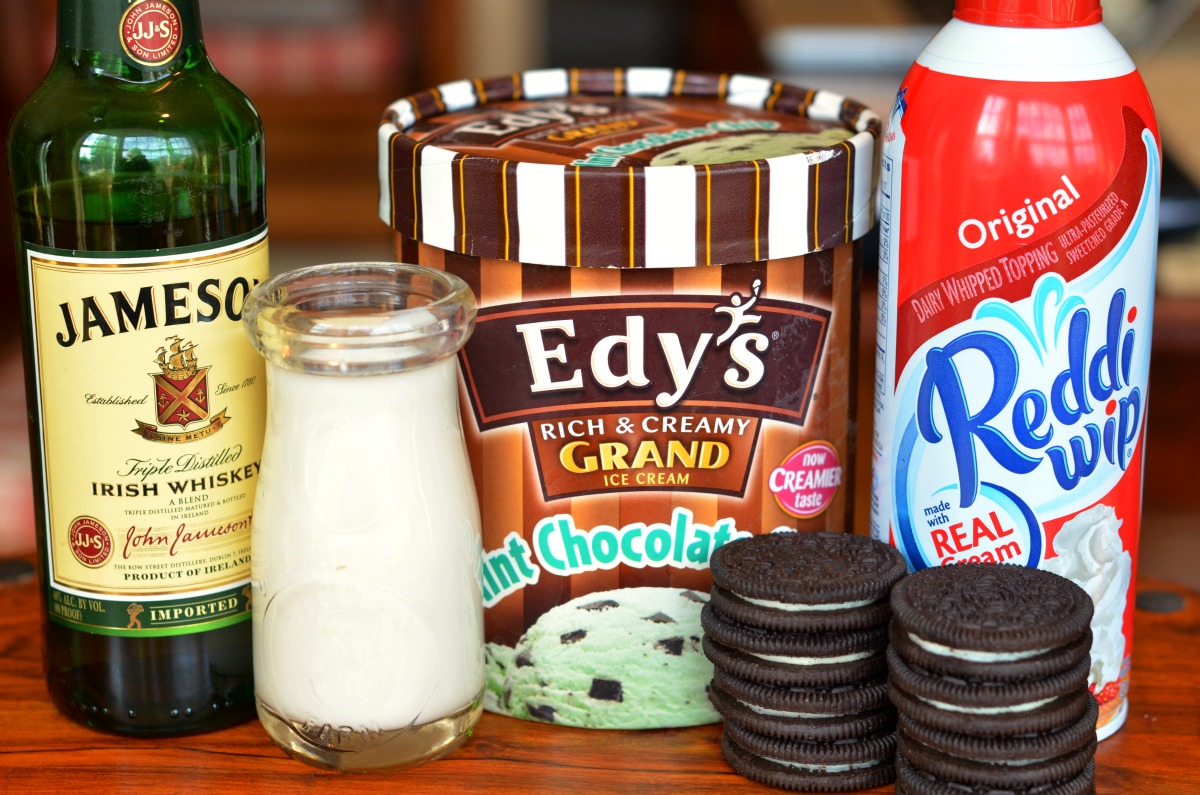
For this recipe, you need these delicious ingredients: mint chocolate chip ice cream, whole milk, Irish whiskey (optional), chocolate cookies (such as Oreos or Famous Chocolate Wafers), and whipped cream.


Tasty Kitchen Blog: Shamrock Blizzard. Guest post by Maggy Keet of Three Many Cooks, recipe by Three Many Cooks.

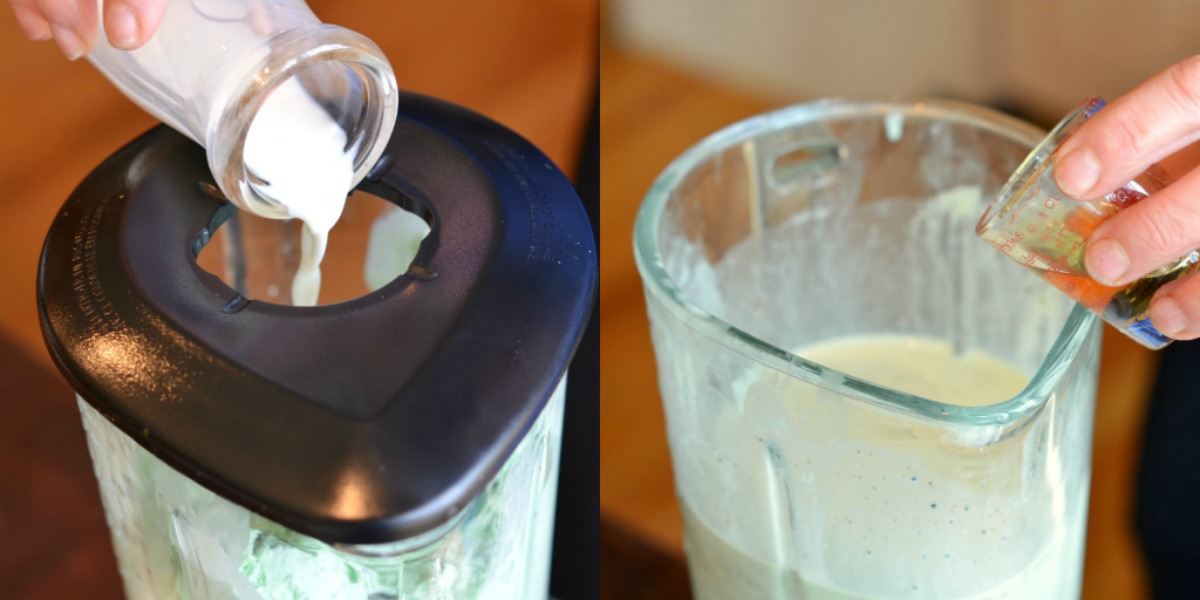
Start by putting the entire container of ice cream in the blender. Yes, the entire container. Hey, I never said this was a diet recipe.


Tasty Kitchen Blog: Shamrock Blizzard. Guest post by Maggy Keet of Three Many Cooks, recipe by Three Many Cooks.

Add the milk and/or whiskey.


Tasty Kitchen Blog: Shamrock Blizzard. Guest post by Maggy Keet of Three Many Cooks, recipe by Three Many Cooks.

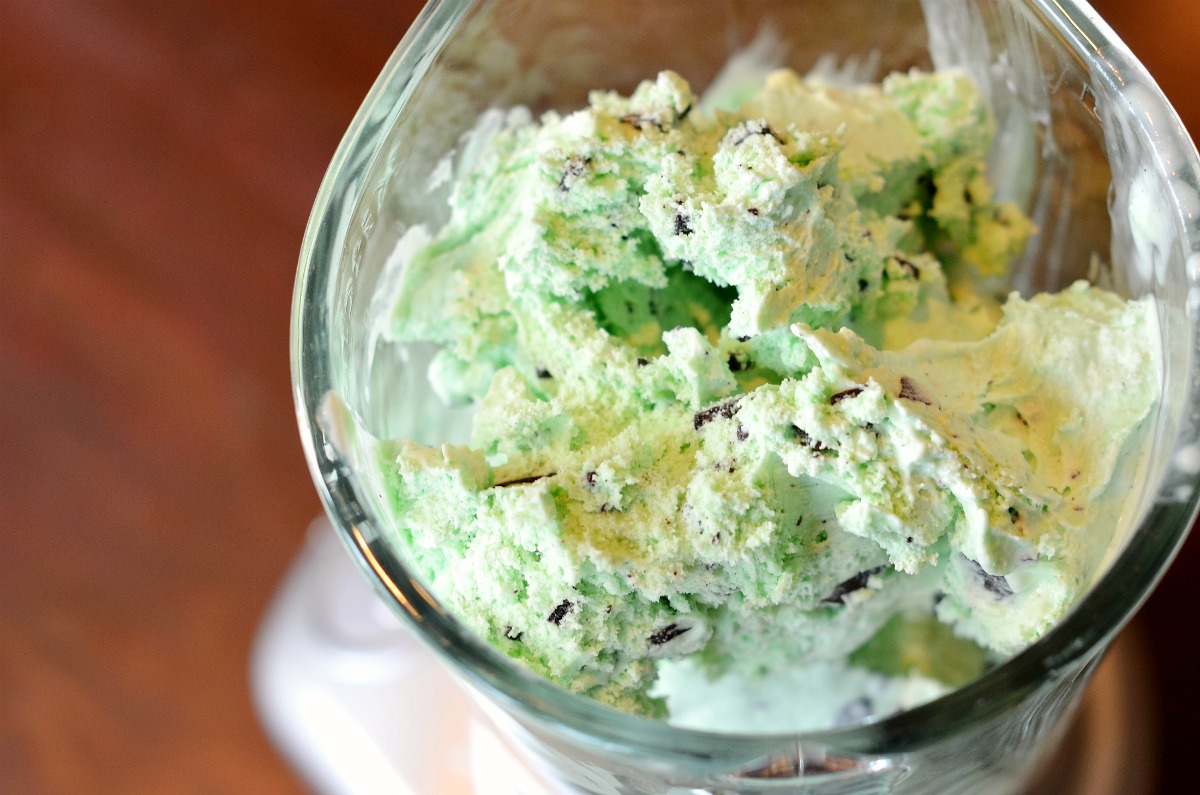
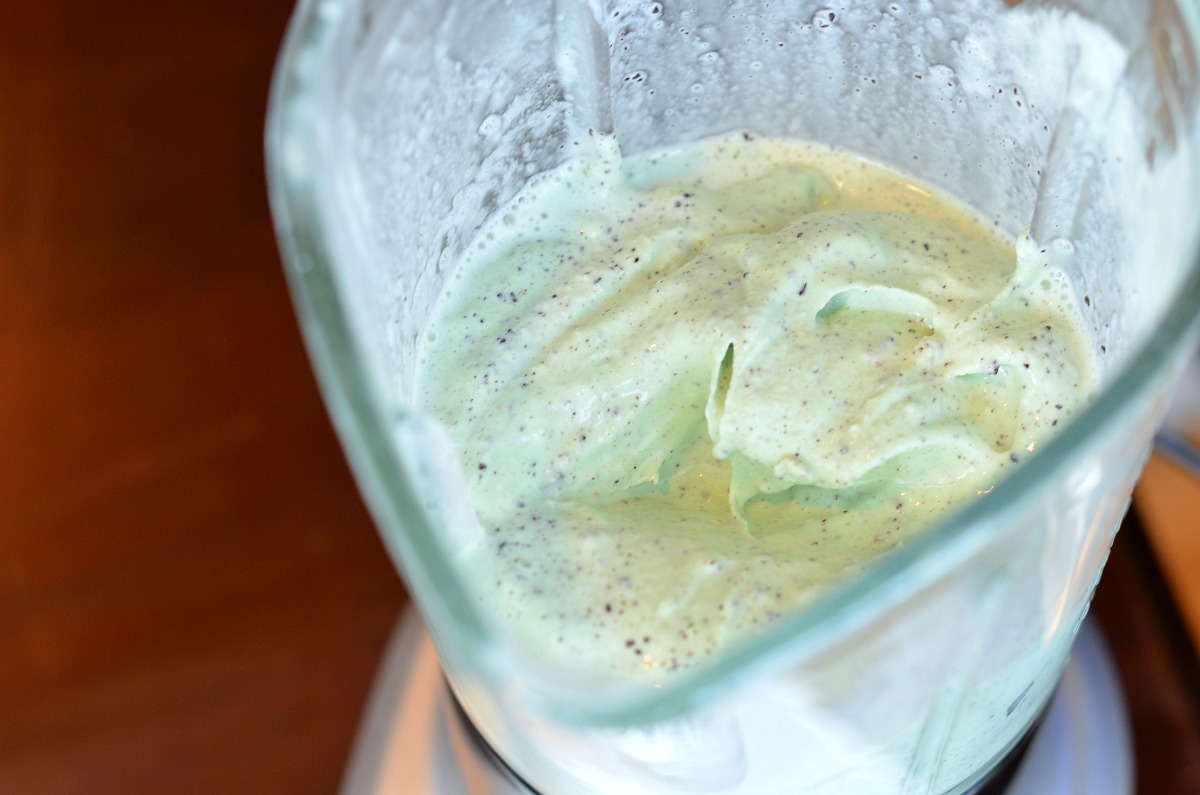
Blend until the ice cream takes on this consistency.


Tasty Kitchen Blog: Shamrock Blizzard. Guest post by Maggy Keet of Three Many Cooks, recipe by Three Many Cooks.

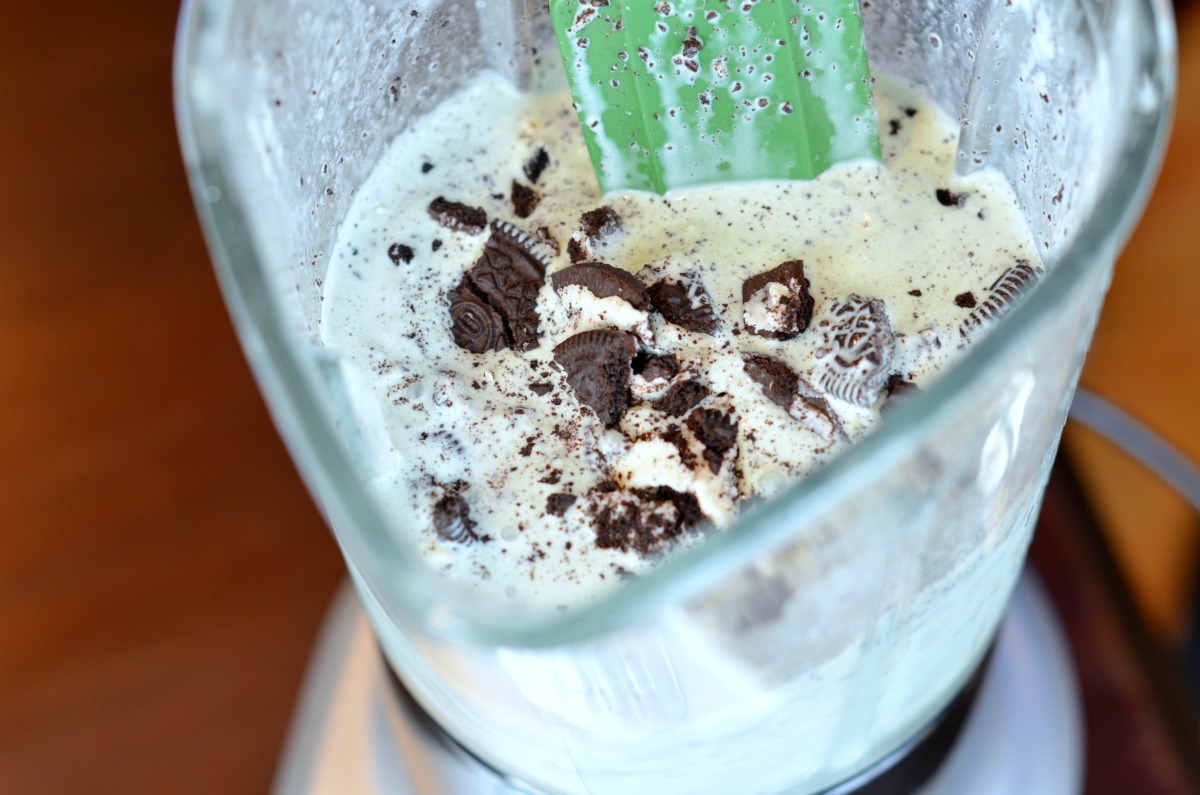
Crumble 7 of the chocolate cookies with your hands and stir them into the blizzard. I’m always guilty of digging around in the ice cream to find the big chunks of cookie dough or brownie, so I prefer to leave my cookie bits big (and easy to find!).


Tasty Kitchen Blog: Shamrock Blizzard. Guest post by Maggy Keet of Three Many Cooks, recipe by Three Many Cooks.

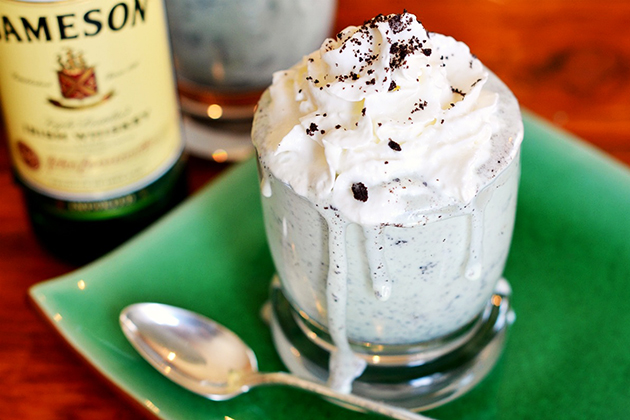
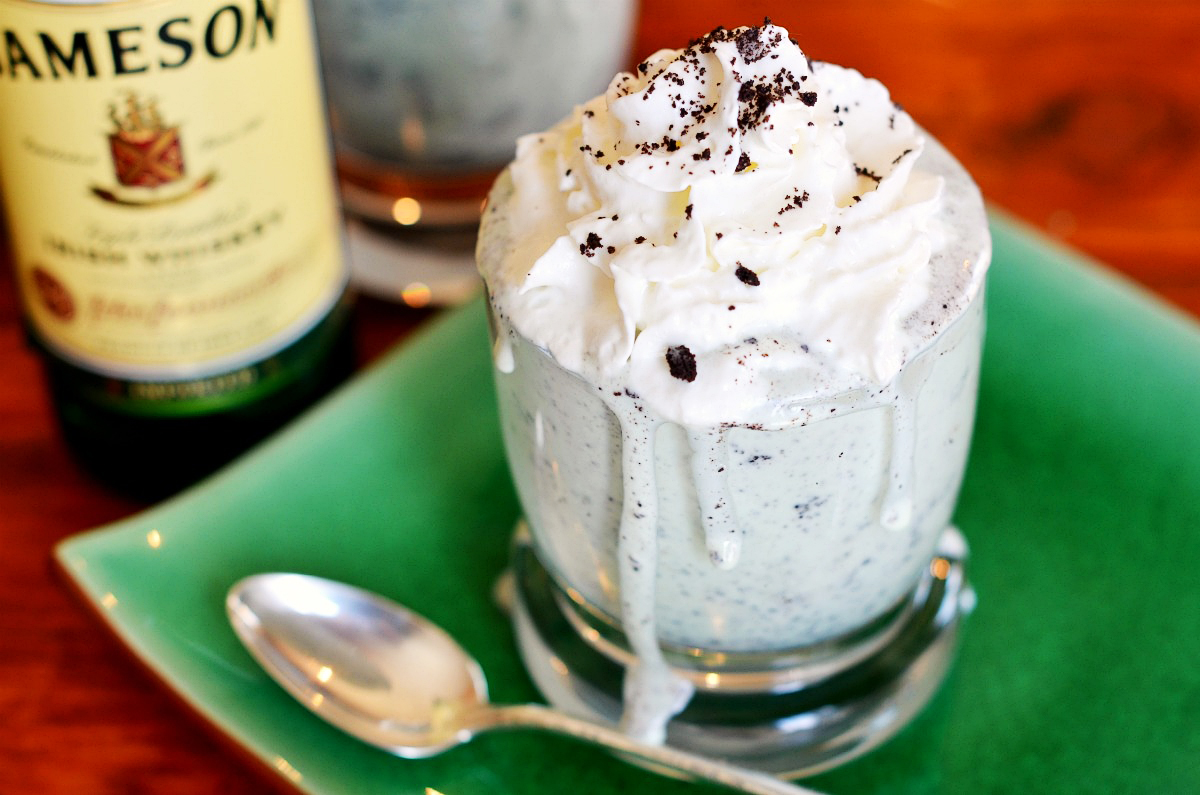
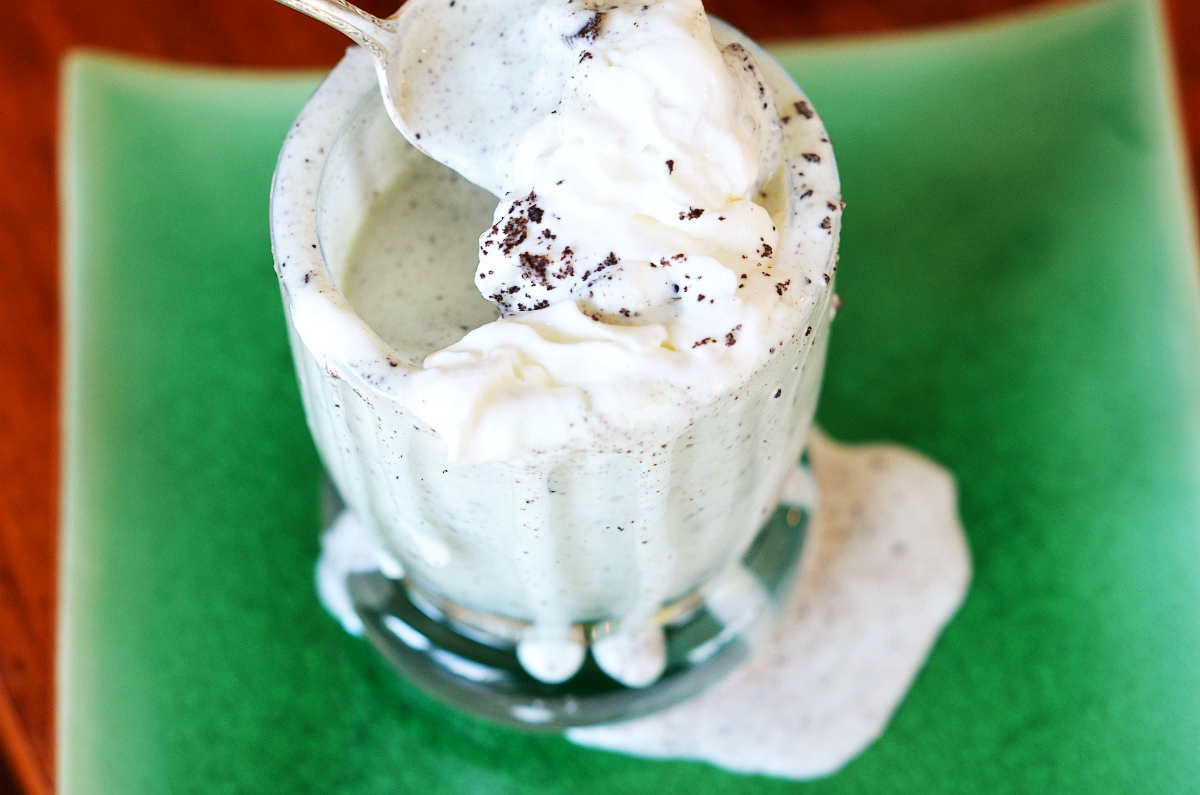
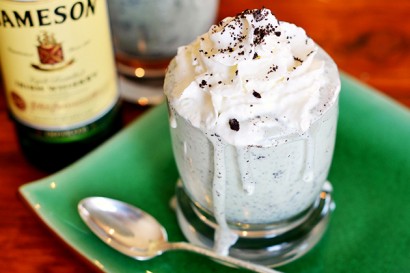
Pour a portion of the blizzard into 6 glasses, top with whipped cream, and sprinkle with crumbs from the remaining cookie.


Tasty Kitchen Blog: Shamrock Blizzard. Guest post by Maggy Keet of Three Many Cooks, recipe by Three Many Cooks.

These blizzards are so good they’ll be gone in seconds.


Printable Recipe

Shamrock Blizzard

5.00 Mitt(s) 3 Rating(s)3 votes, average: 5.00 out of 53 votes, average: 5.00 out of 53 votes, average: 5.00 out of 53 votes, average: 5.00 out of 53 votes, average: 5.00 out of 5

Prep Time:

Cook Time:

Difficulty: Easy

Servings: 6

6
x

Print Options

Page size Letter 3x5 4x6
Text Size Small Medium Large
Content Include description
Include prep time, etc.
Show image

Description

Like the Shamrock Shake? You’re going to love this Shamrock Blizzard!

Ingredients

  • 1 container (48 Oz. Size) Mint Chocolate Chip Ice Cream, Softened (We Used Edy's Brand)
  • ½ cups Irish Whiskey Or Milk
  • 8 whole Chocolate Sandwich Cookies, Such As Oreos, Crumbled, Divided
  • 1 can (6.5 Oz. Size) Whipped Cream

Preparation Instructions

Headnote: For a potent shake, use all whiskey. For a virgin version, use the milk. For something in between, use 1/4 cup each: milk and whiskey.

In a blender, process ice cream and whiskey until smooth. Stir in 7 of the crumbled cookies. Pour into tumblers, top with whipped cream, and sprinkle with remaining crumbled cookie.


_______________________________________

Three Many Cooks is the always-entertaining food blog of Pam Anderson and her two daughters, Maggy and Sharon. Pam is a well-known and much-respected food writer and author, Maggy is a “hippy adventurer meets 1950s housewife,” and Sharon refers to herself as a recovering food snob learning to survive on a graduate student’s budget. Theirs is a strong relationship both inside and outside the kitchen, and it shows in the food they create and the stories they tell.


Profile photo of Laurie - Simply Scratch

Mayan Chocolate Truffles

Posted by in Step-by-Step Recipes

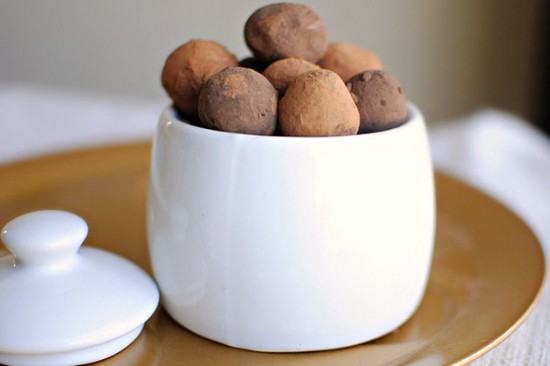
  Mayan Chocolate Truffles. Oh my heavens. Just the name alone gets me excited all over again. These chocolaty delights have a little sweet, a little spice and a whole lot of sass. When I saw Kari’s recipe, I found myself suddenly craving chocolate in truffle form.     Kari a.k.a. Craftinomicon probably doesn’t realize the phenomenon her […]

Profile photo of HowSweetEats

Smoky White Bean Chicken Chili

Posted by in Step-by-Step Recipes

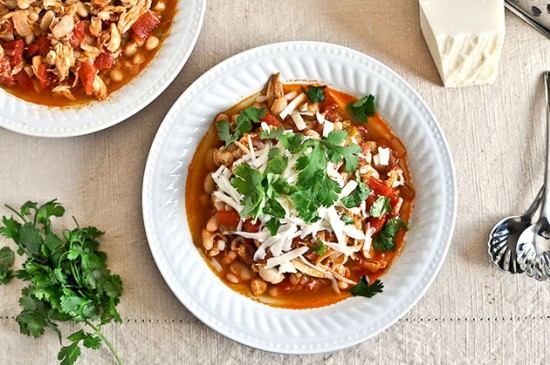
  With spring quickly approaching in the next few weeks, I fear my warm and comforting soups may be on their way out. I easily love a bowl of soup no matter the season, but sometimes the thought of standing over a large stock pot for a few hours just isn’t as appealing as laying […]

Profile photo of Natalie | Perry's Plate

Buffalo Chicken Wraps

Posted by in Step-by-Step Recipes

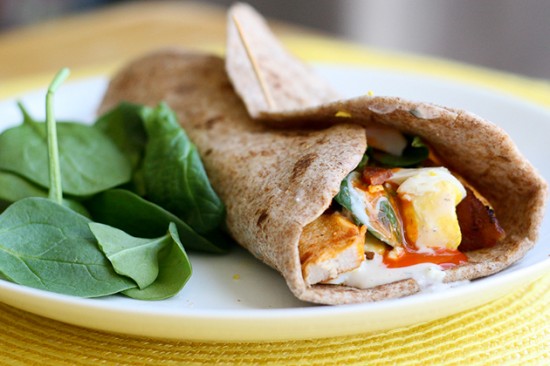
  Although I’m not a hot wing person, I like “Buffalo” flavored things. So, when I saw these Buffalo Chicken Wraps from the lovely and hilarious Bev Weidner, I about fell out of my chair. Not only are there Buffalo-flavored chicken tenders (much easier to eat than wings) in these wraps, but some of my […]

Profile photo of ThreeManyCooks

Homemade Tortillas

Posted by in Step-by-Step Recipes

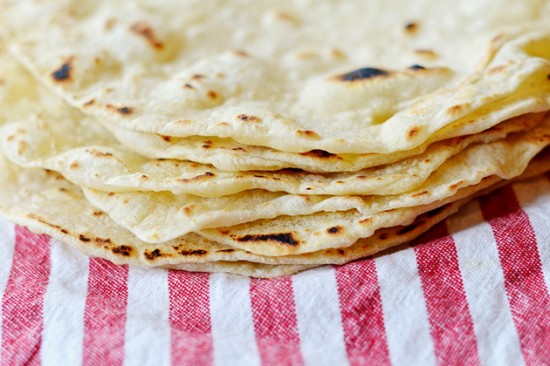
  I know what you’re thinking, and I’m going to answer your question right up front. Yes, making flour tortillas from scratch is worth it. It was certainly my question before making them the first time. But here’s why it’s worth it: the ones at the store are uniform, bland, and blonde. The ones you […]