There’s something so wonderfully addictive about Nutella. I’m not sure what it is, really, maybe the aroma of the hazelnuts mixed with the soft texture of the chocolate, and the knowledge that you can spread it on your favorite foods and call it breakfast the way the Europeans do. Clearly, the Europeans are very intelligent when it comes to breakfast.
When I saw this recipe for homemade Nutella from Elana’s Pantry, I loved the simplicity of the ingredients that she used. It also, quite honestly, looked good for you!
She uses agave instead of refined sugar, simple unsweetened cocoa powder and protein rich nuts. So I thought I would give it a whirl. Literally.
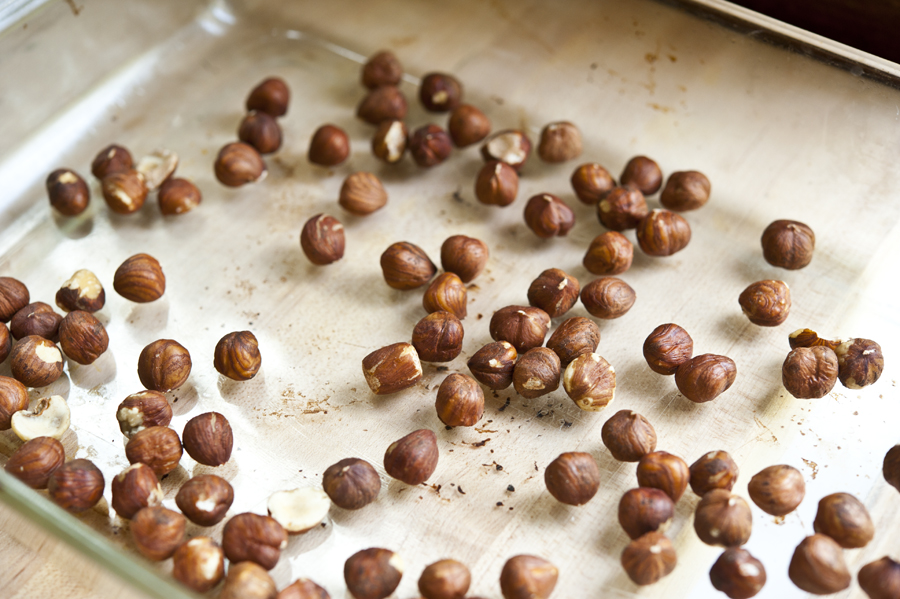
You begin by laying the hazelnuts out on a sheet tray or roasting pan and roasting them in the oven for 8-10 minutes. The idea is that you want to accentuate their nuttiness but not make them so dark that they become bitter.

When they are ready they will be slightly darker and their skins will crack.
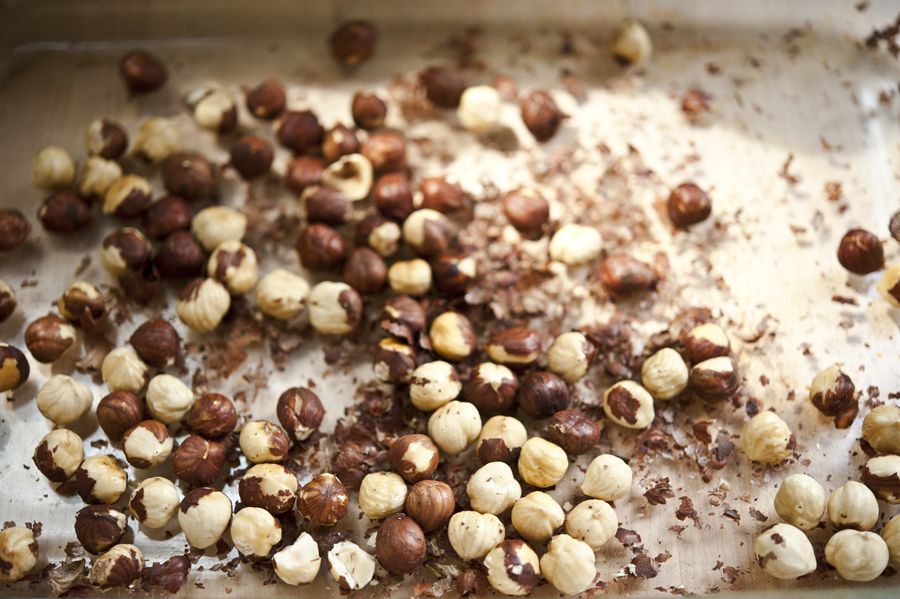
This is good because you now will need to rub the skins off with a paper towel. This isn’t the easiest thing to do, but just do your best. Some skins just want to stay on. If most of the skins are off, that works, since you’re just trying to take away any extra bitterness that the skins add.
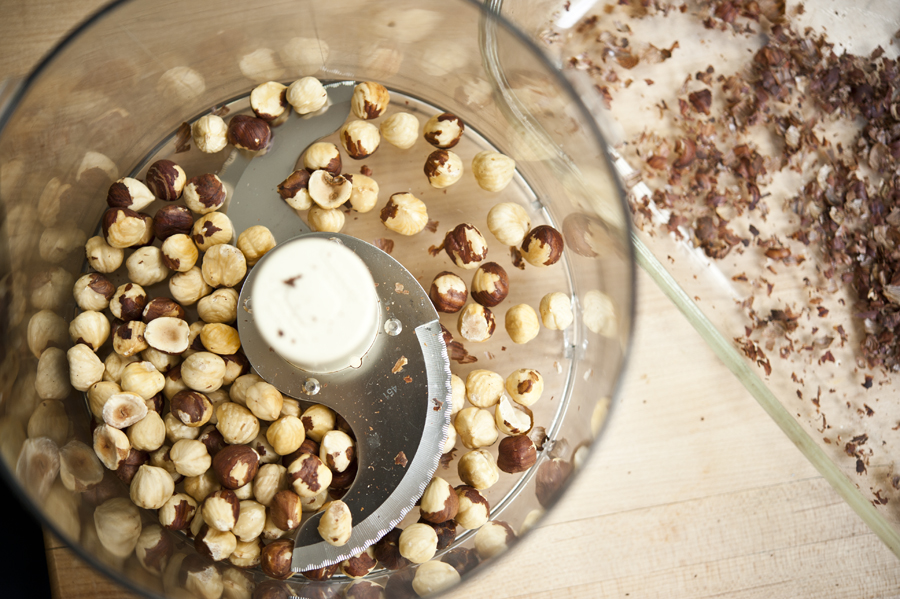
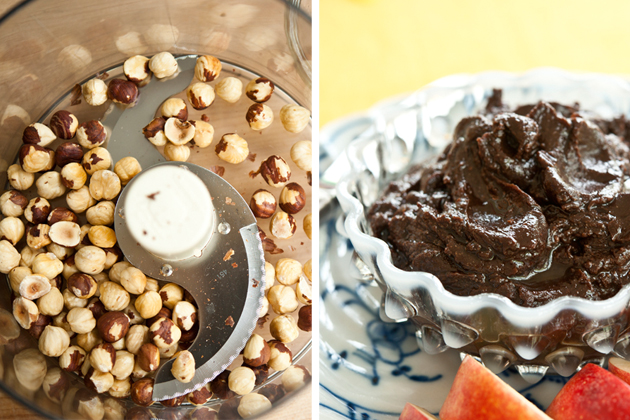
Then transfer the nuts to a food processor …
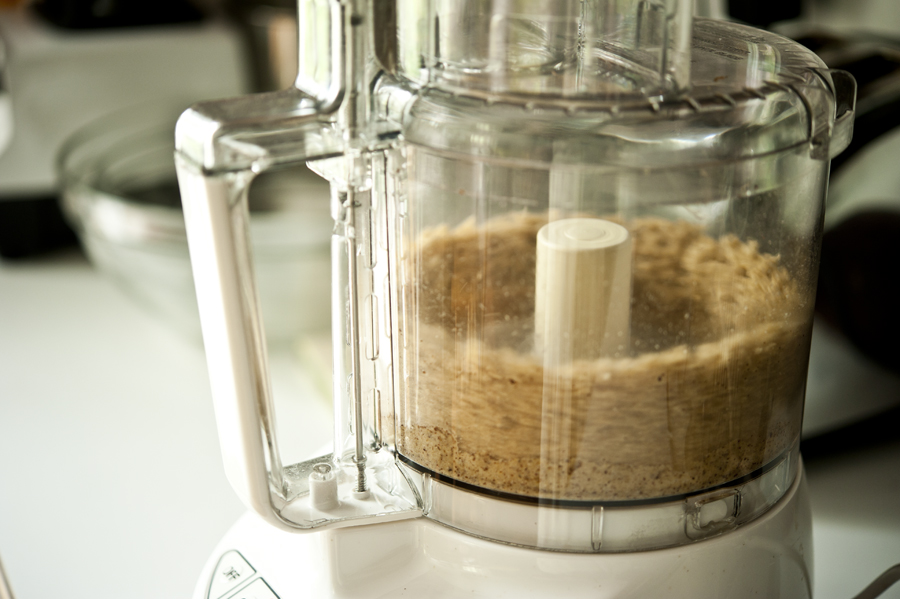
And blend away. You are going to begin to make a nut butter and as it blends it will start to become creamy.

This is what it looks like when it is halfway there.
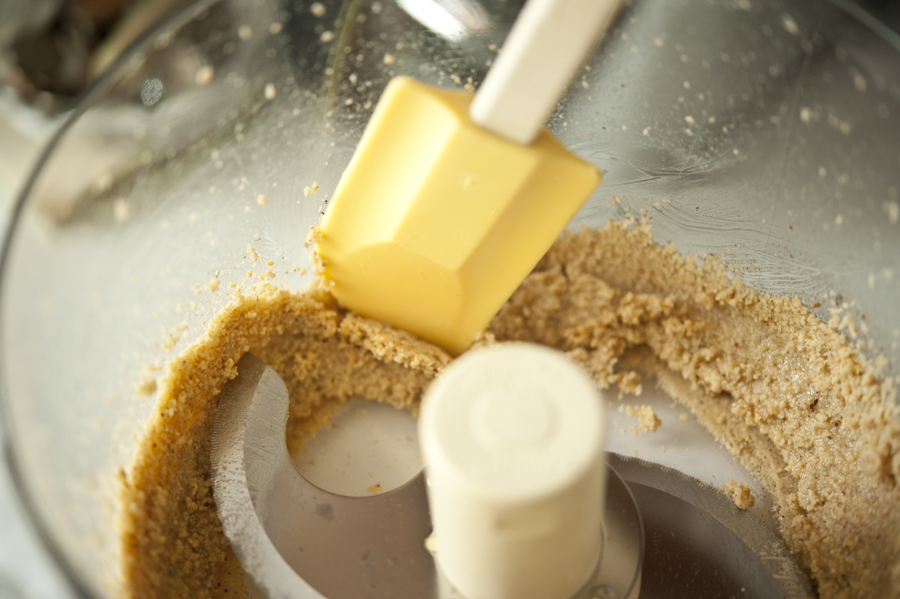
You’ll want to scrape down the sides several times along the way so that it blends well.
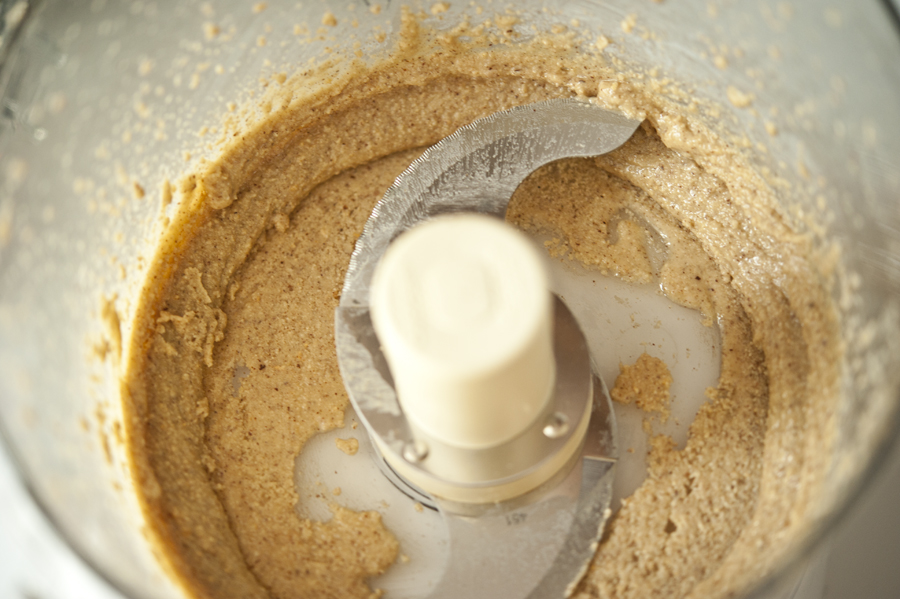
It will look something like this when it is ready. You can see the oil from the nuts have begun to release.
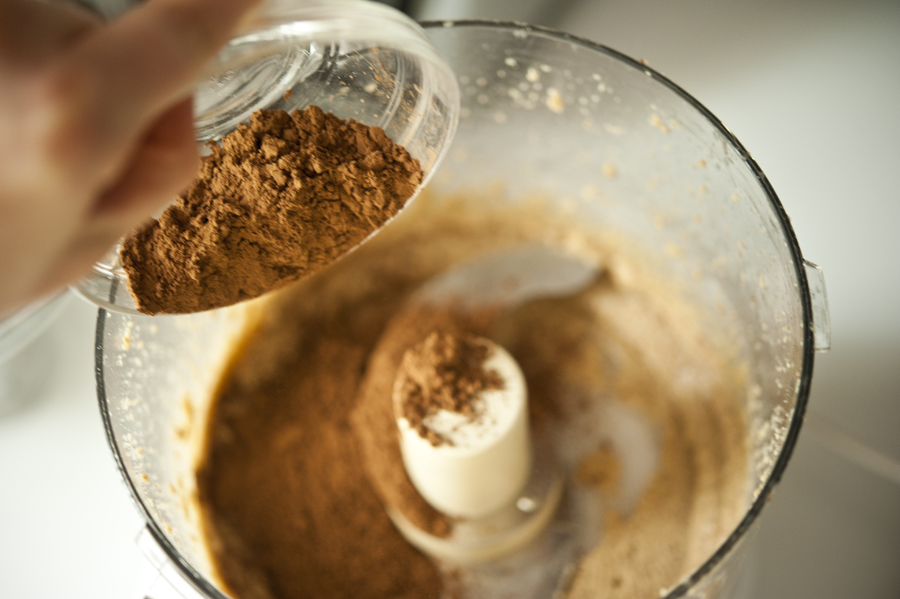
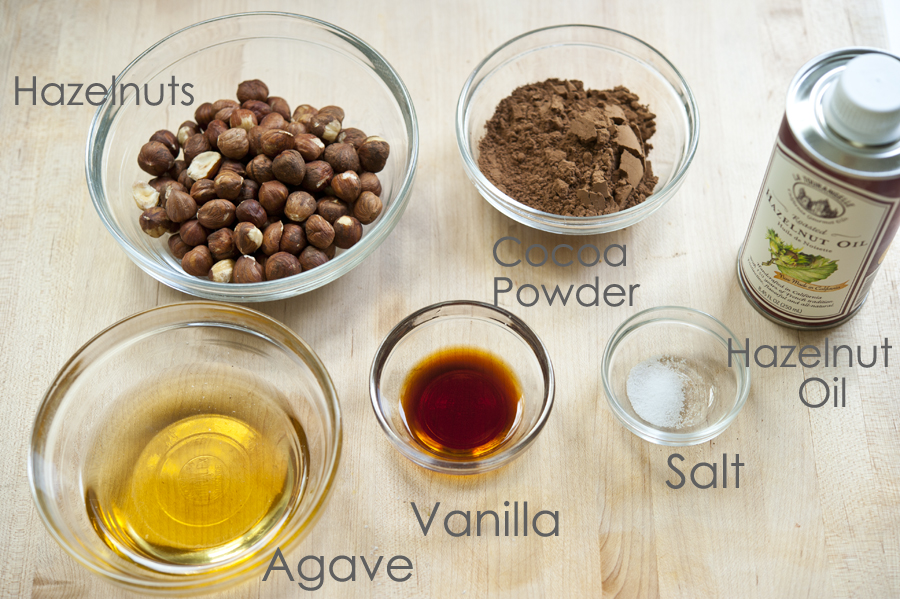
Now you add the cocoa …
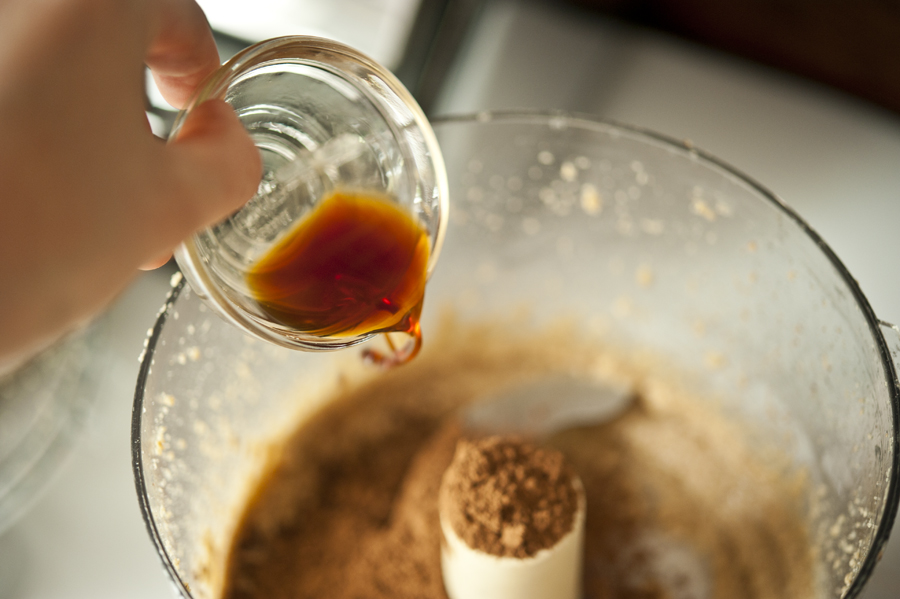
The vanilla …
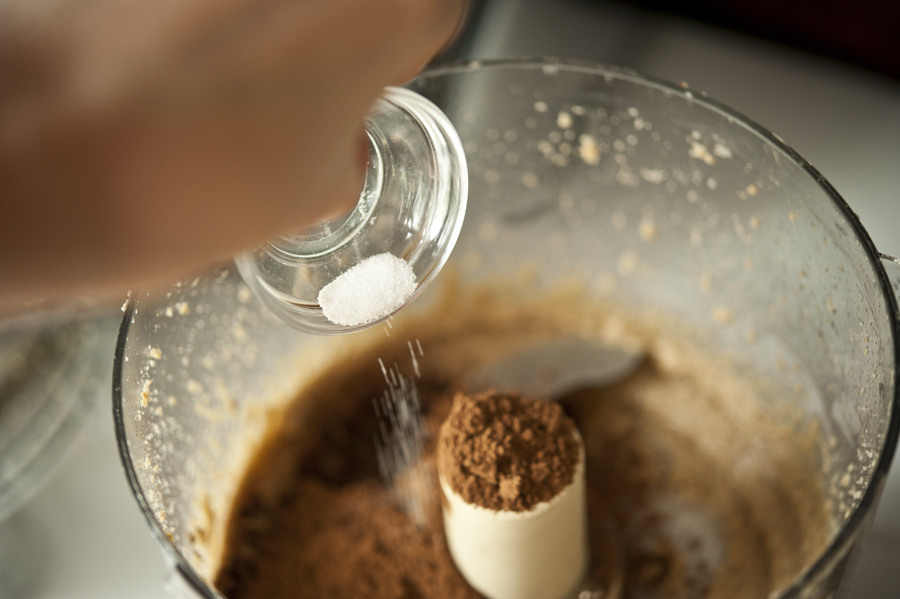
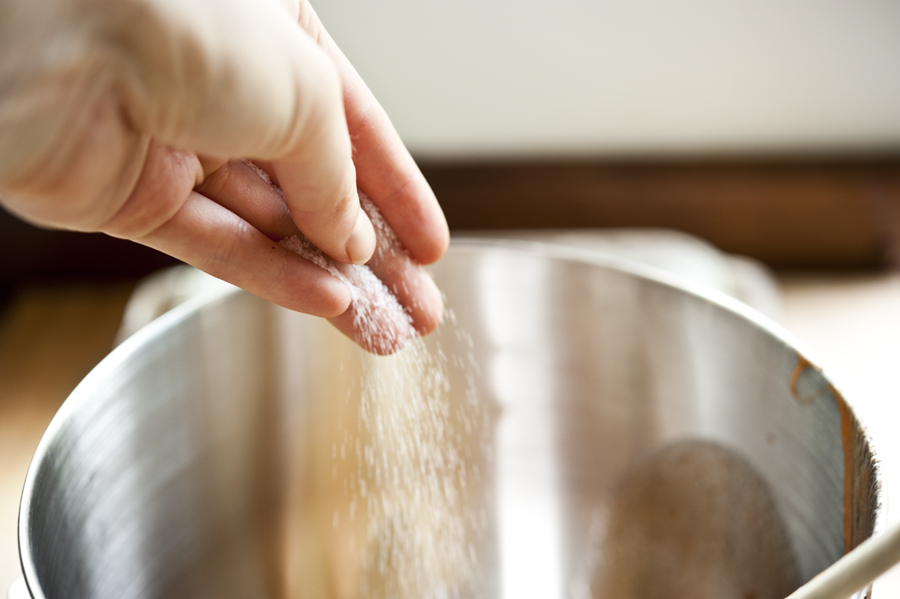
The salt …
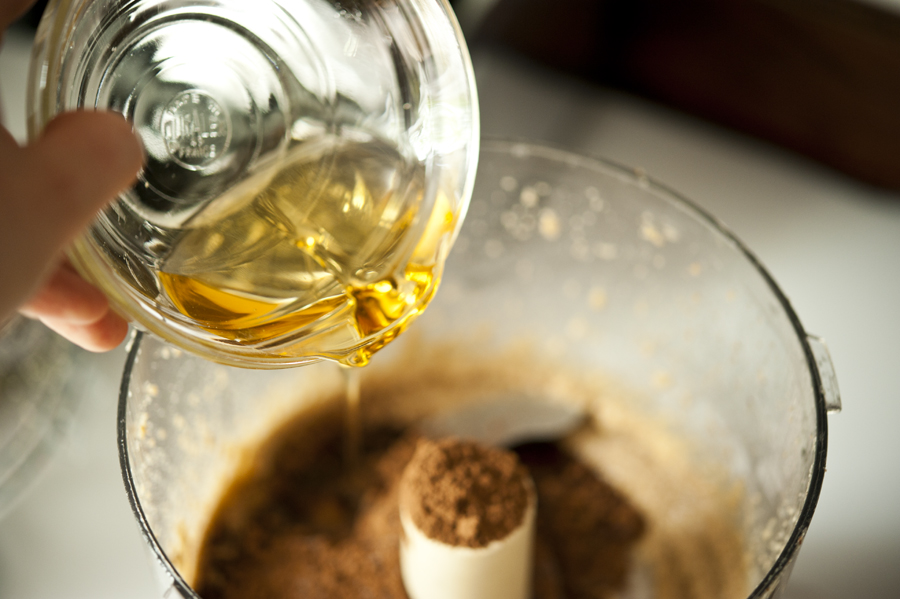
The agave …
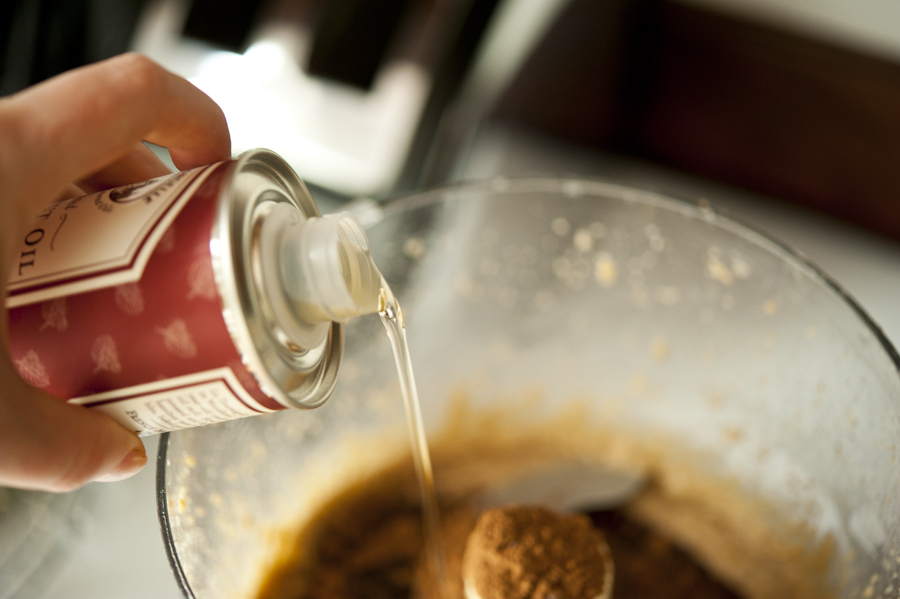
And the hazelnut oil. Hazelnut oil is a bit tricky to find in some places. I found this at a health food store, but you would be fine without it if it’s not something you have available.
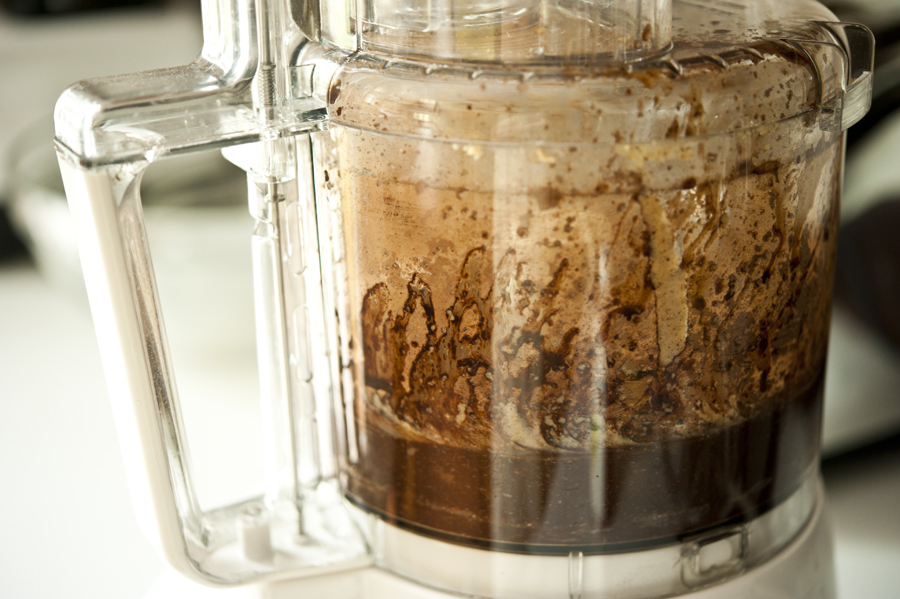
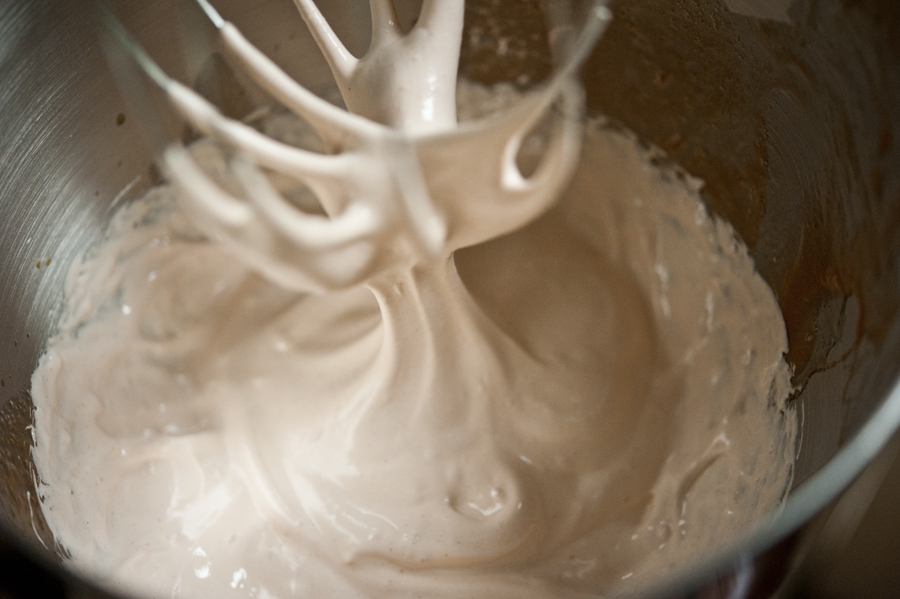
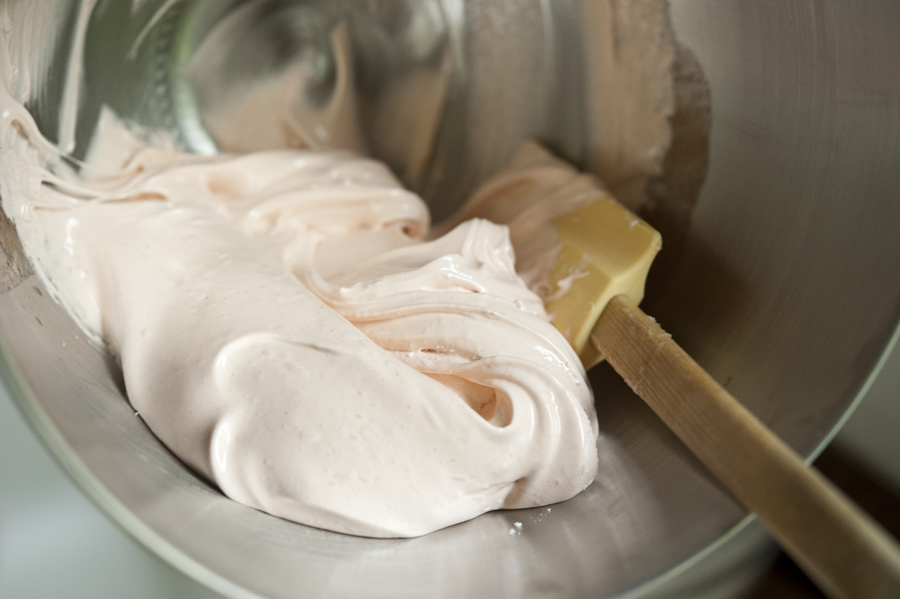
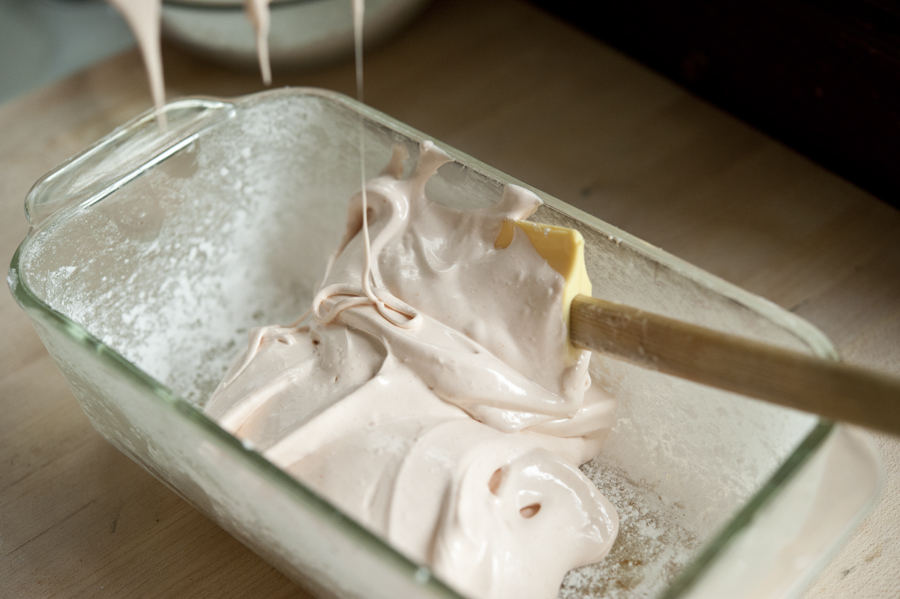
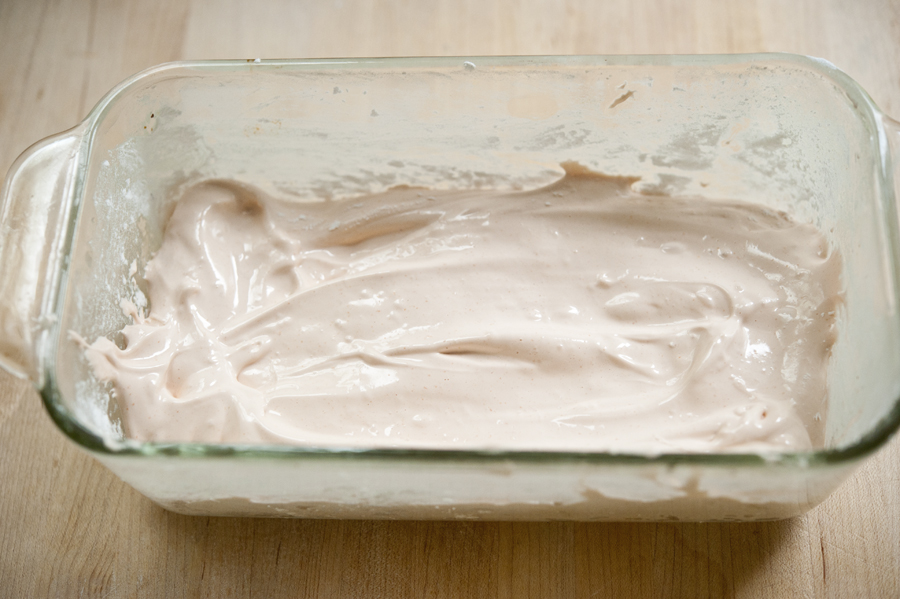
After another good blend you’ll have a nice chocolaty mixture. It will be a bit denser than the store-bought Nutella, but still chocolaty, nutty and delicious.
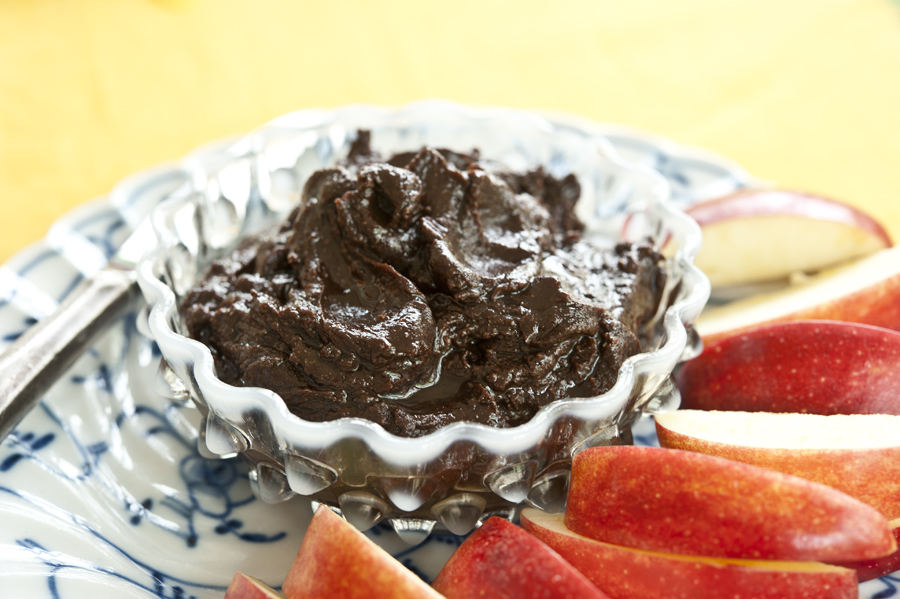
You can serve it with so many things, for breakfast, dessert, or an afternoon snack. It’s so versatile. And this version is pretty guilt-free, too.
Thank you to Elana for the tasty and healthy recipe! Check out her wonderful blog Elana’s Pantry—she has a new book out as well featuring delectable cupcakes!
Printable Recipe


Print Options
Description
I haven’t had Nutella since I was a student traveling in Europe decades ago with a EuroRail pass, sleeping in youth hostels. Back then, we used to eat the chocolate stuff for breakfast. These days, I find the real thing a little too sweet for my taste. So I was happy to see Amy’s Scattergood’s Homemade Nutella recipe in the Los Angeles Times—what a great idea! And the perfect starting point for a version of my own.
Ingredients
- 1 cup Hazelnuts
- ¼ cups Cocoa Powder
- 5 Tablespoons Agave Nectar
- 1 Tablespoon Vanilla Extract
- 1 Tablespoon Hazelnut Oil
- 1 pinch Celtic Sea Salt
Preparation Instructions
Roast the hazelnuts at 350° for 8-10 minutes until they darken a bit and smell fragrant.
Transfer the hazelnuts to a towel and rub off the skins if you can (I didn’t have a lot of luck with this).
In a food processor, grind the hazelnuts to a smooth butter, about 5 minutes, scraping the sides as needed.
Add the cocoa, agave, vanilla, oil and salt and process until well blended, about a minute.
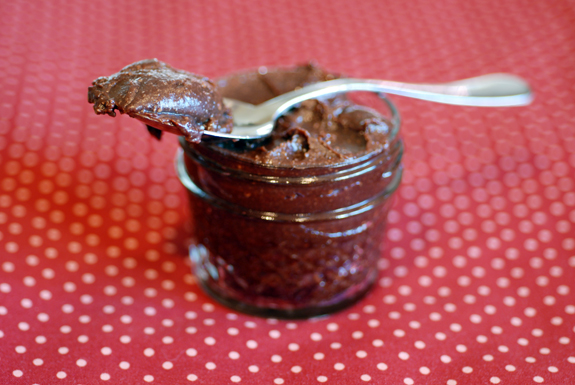
Store in a glass mason jar in the refrigerator.
Bring to room temperature prior to serving.
_______________________________________
There’s so much to say about Georgia, we don’t know where to start. Leaving Wall Street for the French Culinary Institute, followed by a stint at the Gramercy Tavern and La Chassagnette in France, her passion for food and food traditions are evident and inspiring. Visit her site at Georgia Pellegrini, where you’ll find more recipes, photos, learn all about her wonderful book Food Heroes, and enjoy her latest adventures.