This recipe for the Best Ever Oatmeal Bars was found by TK member Jessie Jane on a piece of paper at an antique shop! It doesn’t get more intriguing than that. I love old recipes passed down from one generation to the next, so I knew I had to try it, and I’m so glad I did.
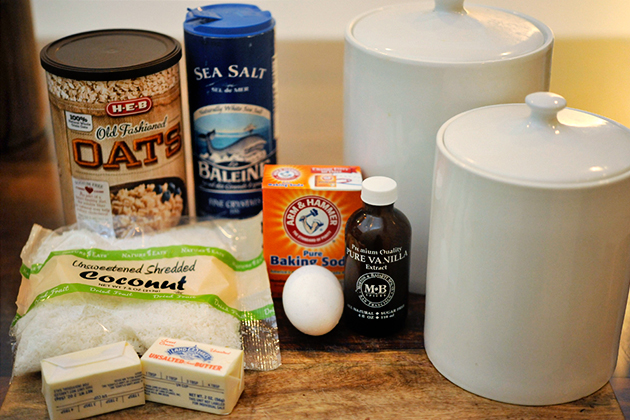
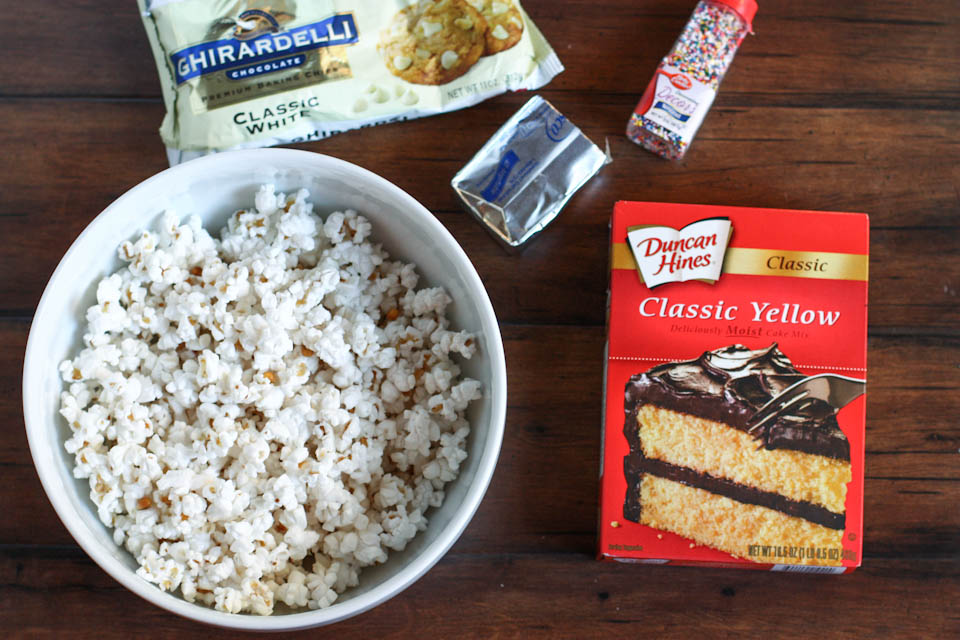
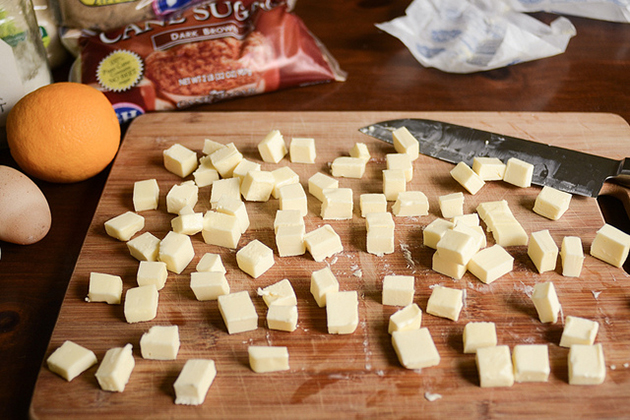
Here’s what you’ll need: brown sugar, white sugar, butter, vanilla extract, an egg, baking soda, salt, flour, shredded coconut, and old-fashioned oats.
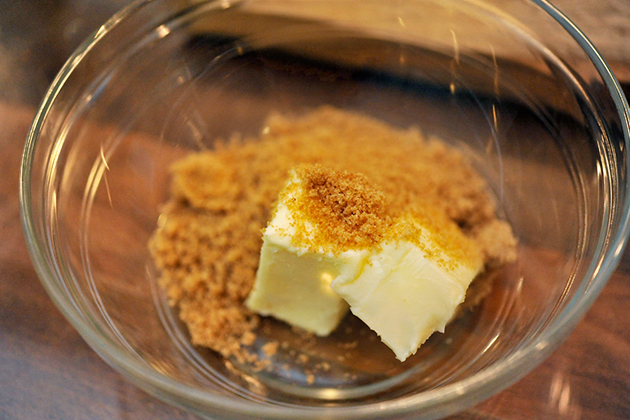
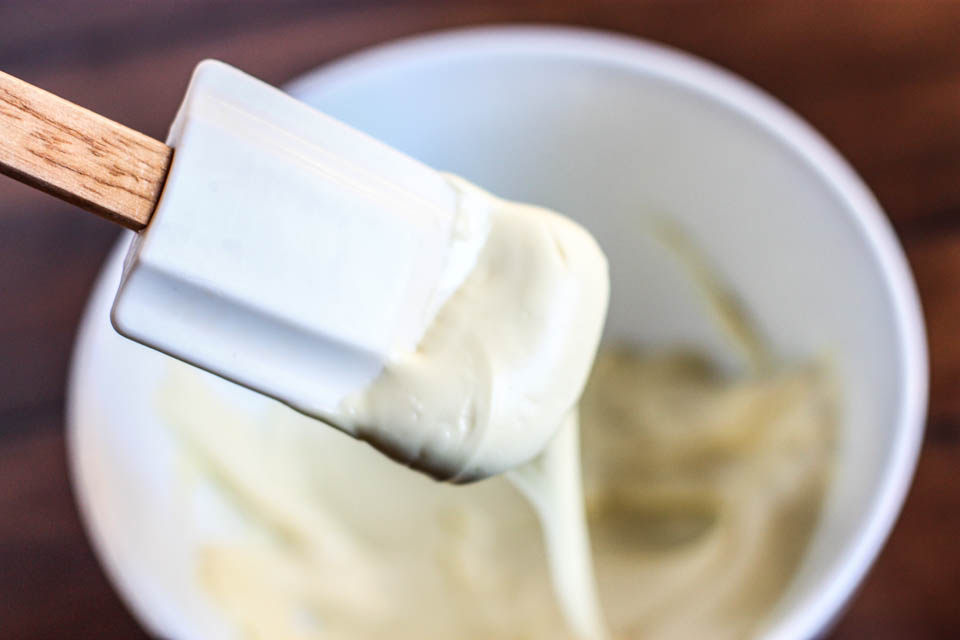
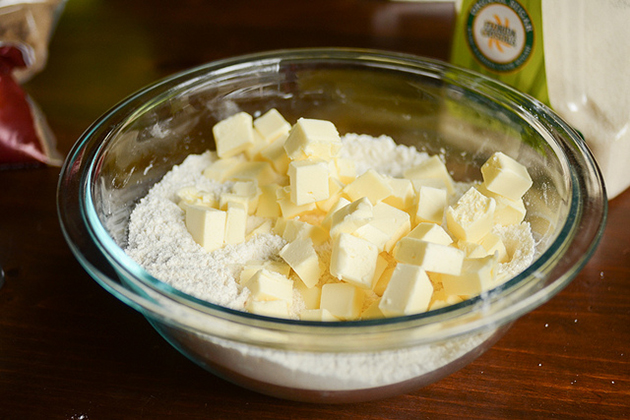
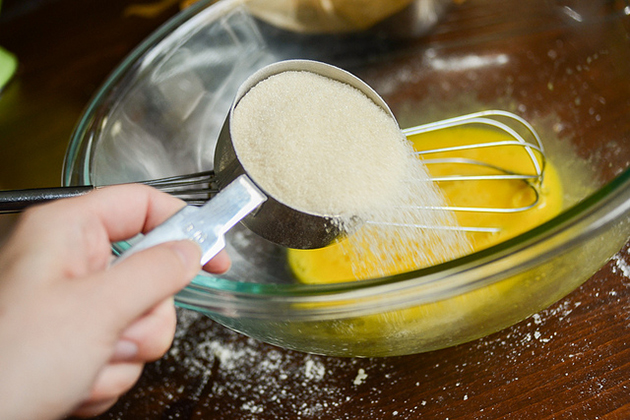
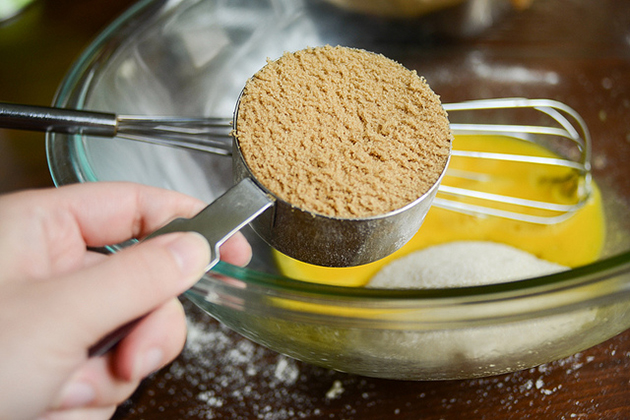
Add the brown sugar and butter into a mixing bowl.
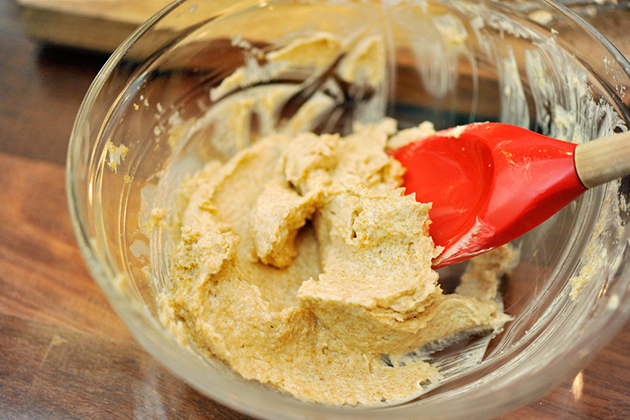
You can use a stand mixer but if the butter is soft enough you can do it by hand and mix until well blended.
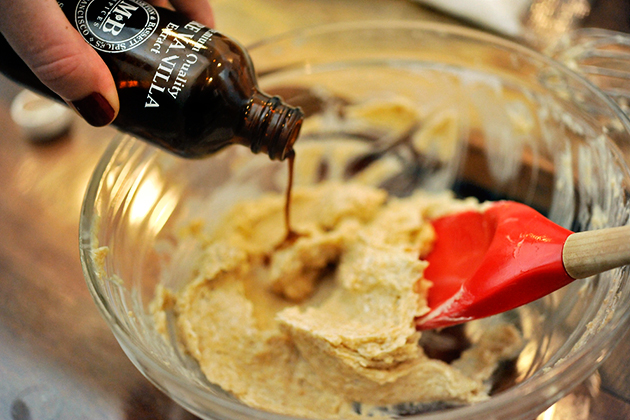
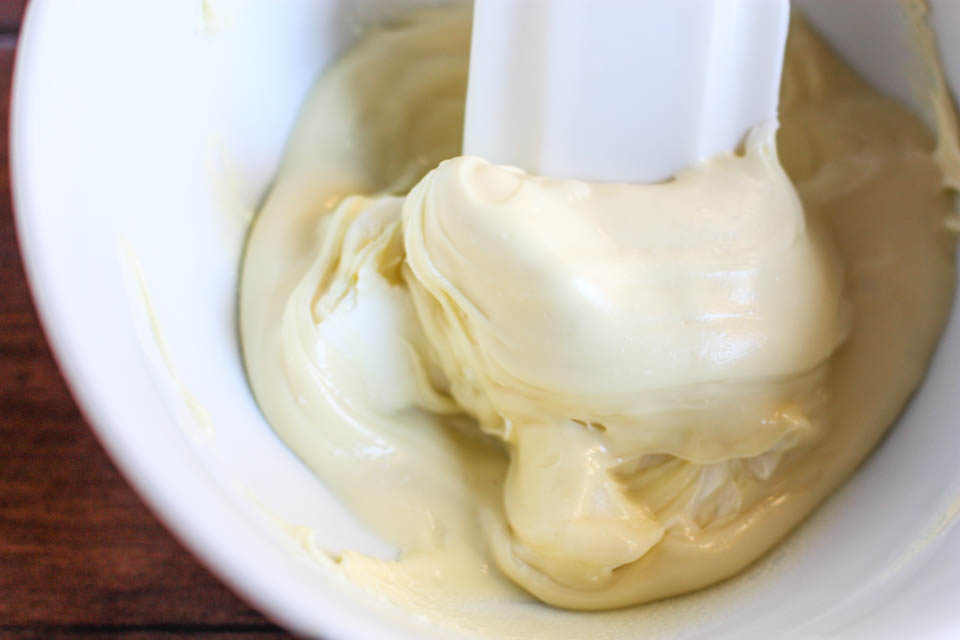
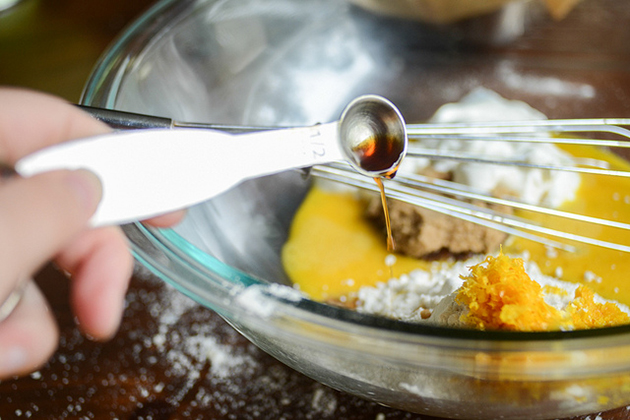
Add the vanilla extract.
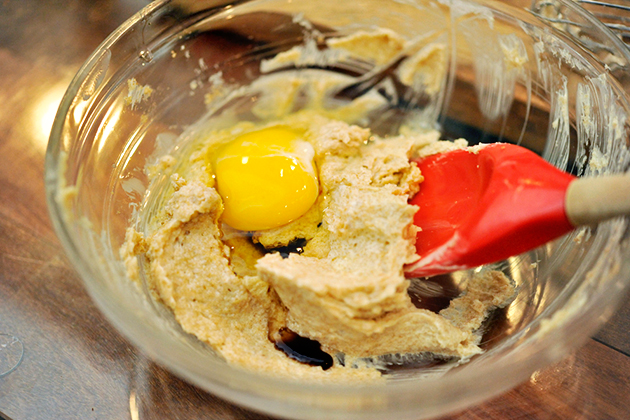
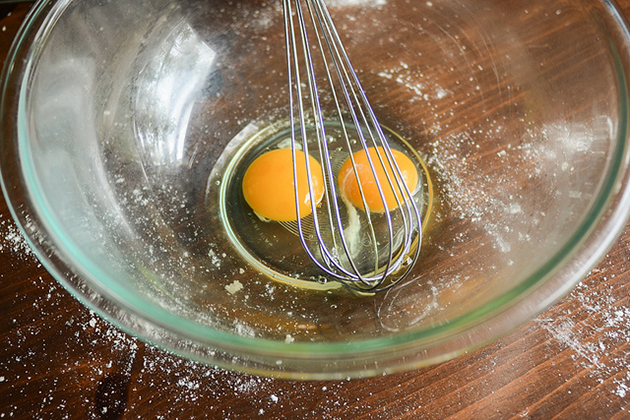
Mix in the egg.
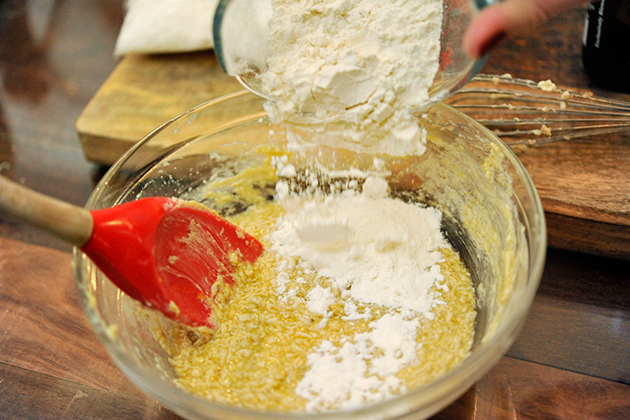
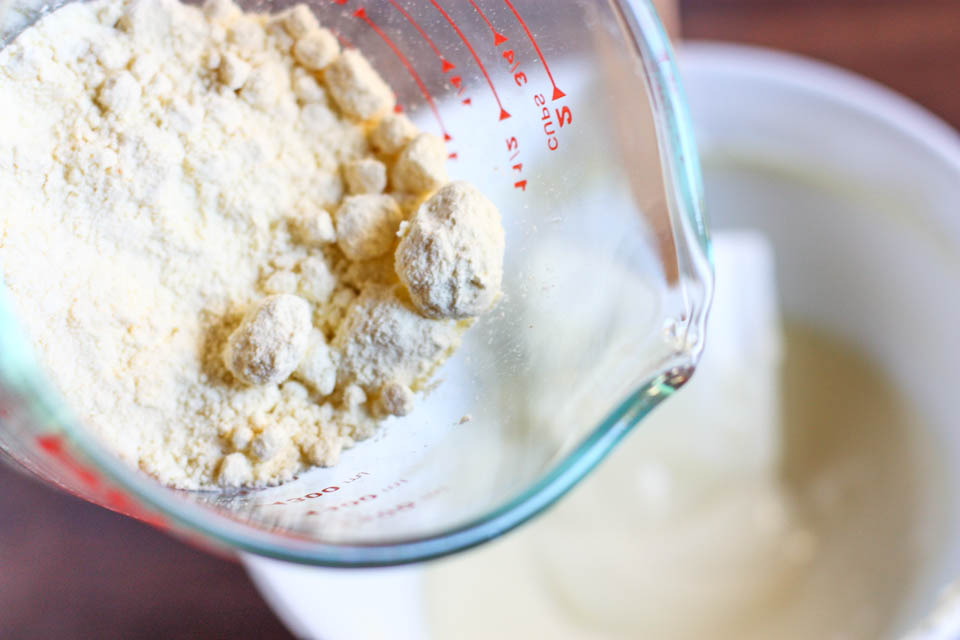
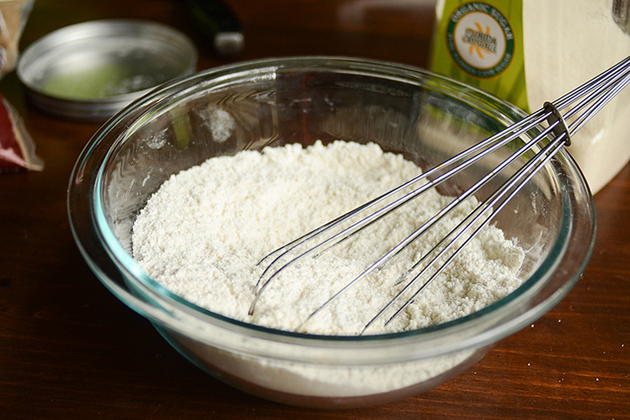
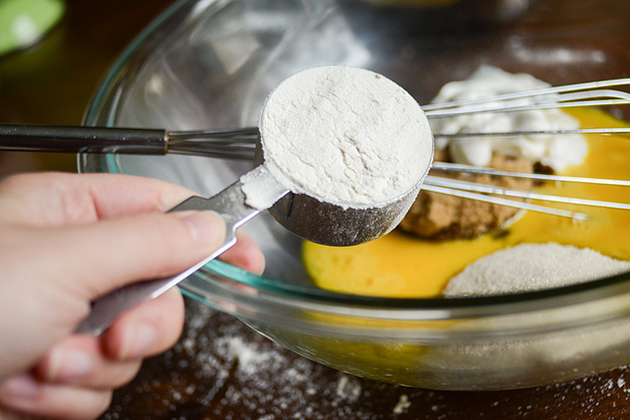
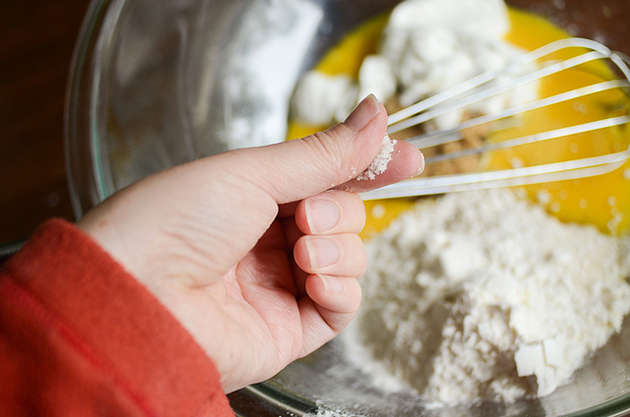
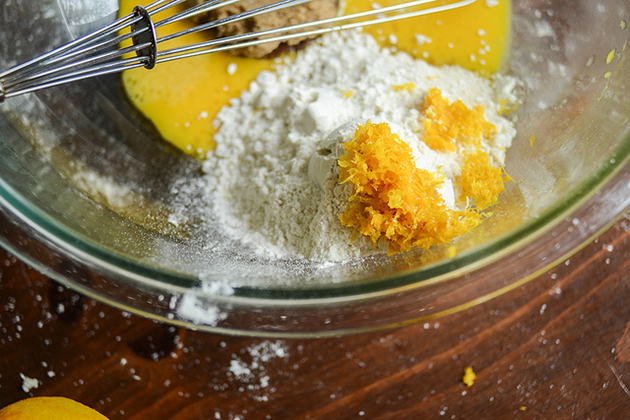
Add baking soda, salt, and flour.
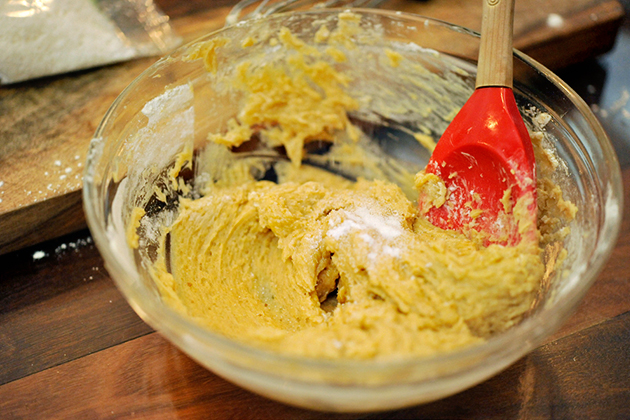
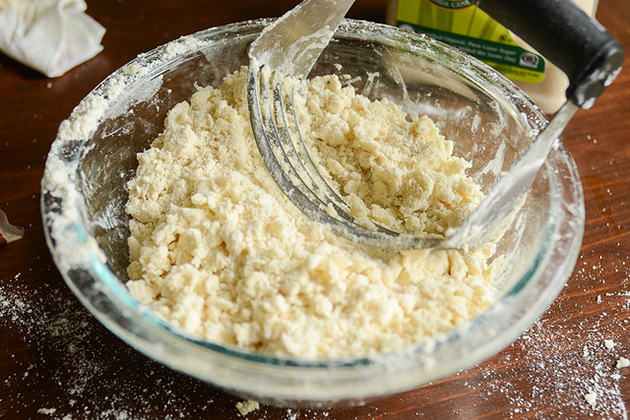
Mix until fully combined.
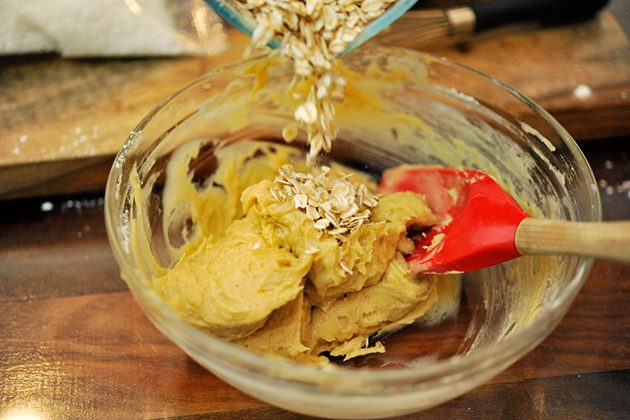
Add the oats.
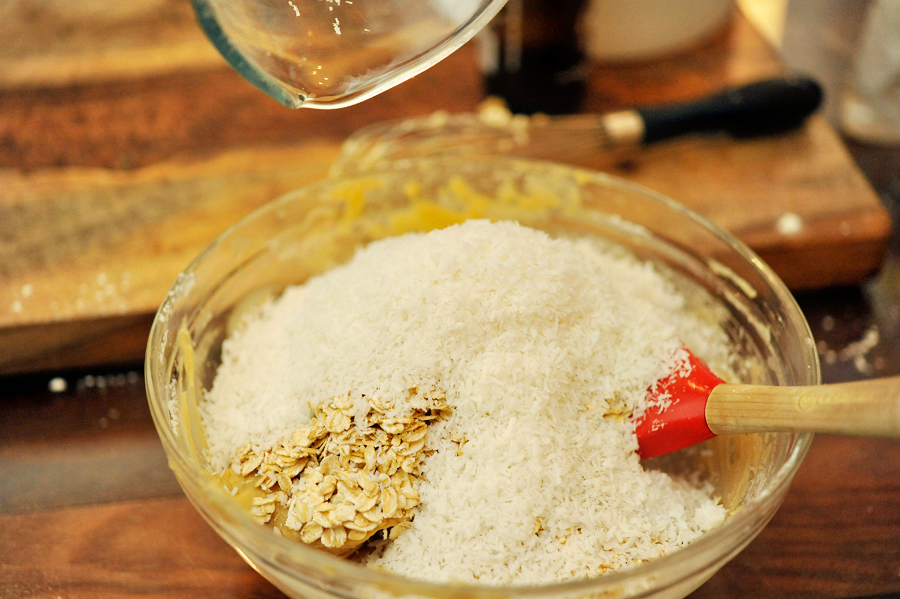
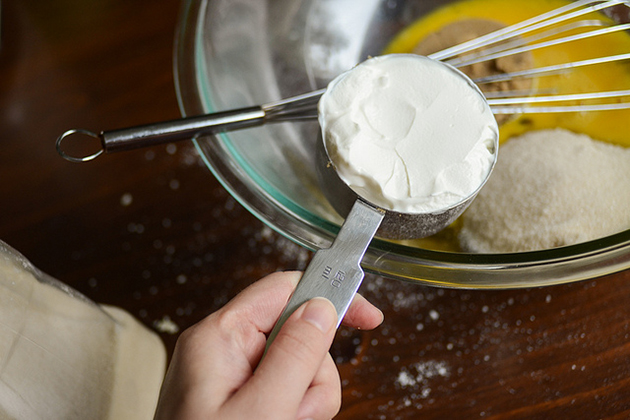
Add the coconut.
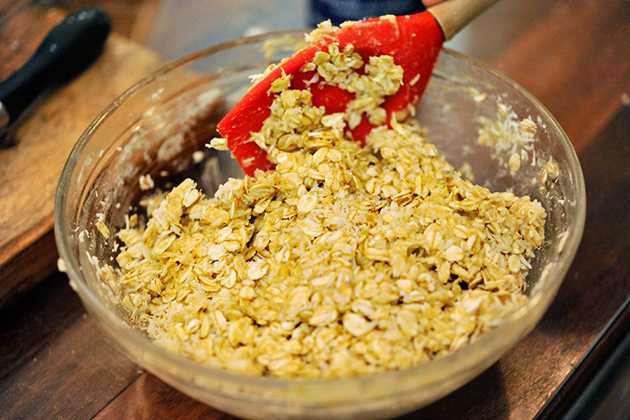
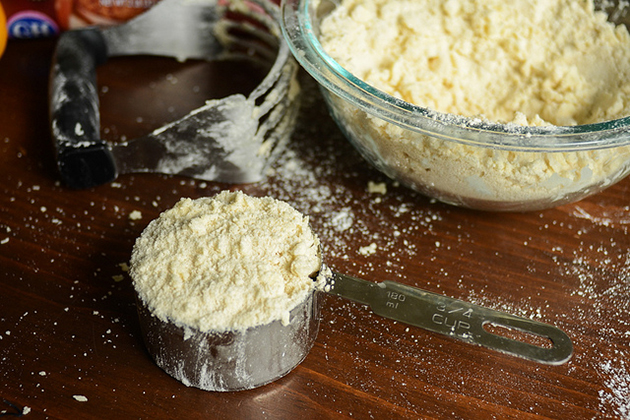
Combine well until uniform in texture.
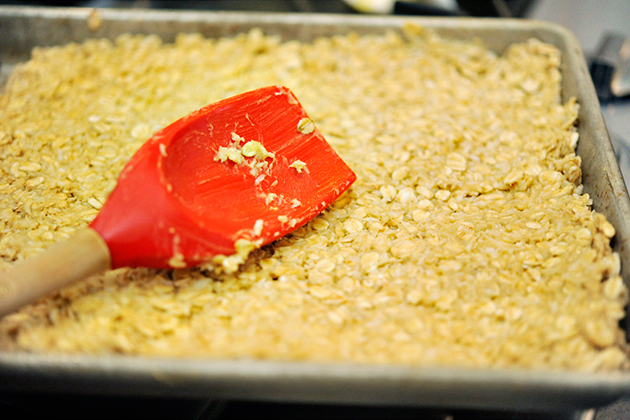
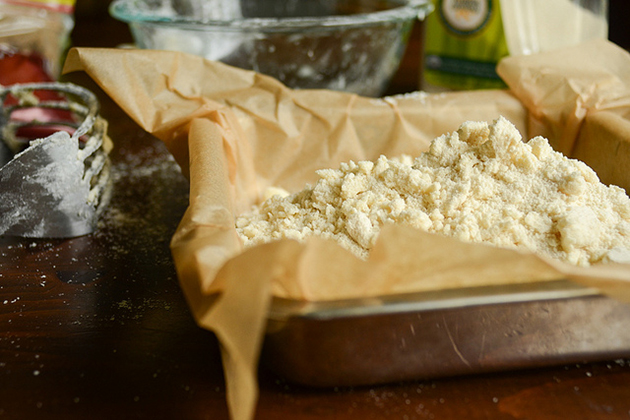
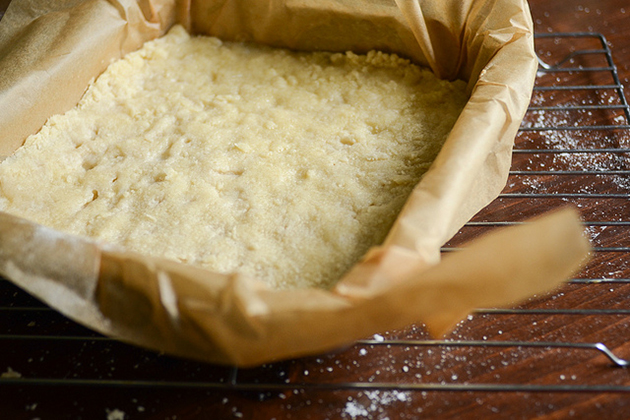
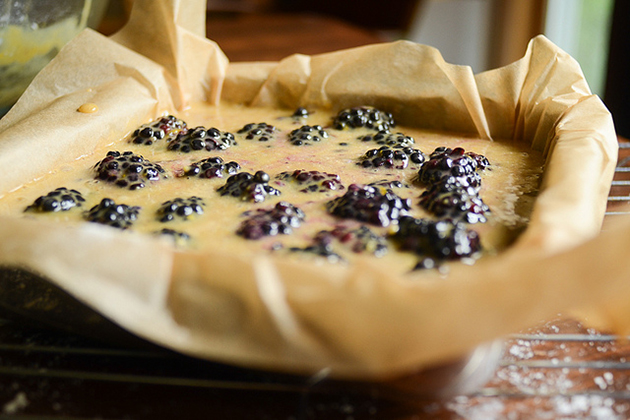
Pour into a buttered 8×8 pan and spread with the back of a spatula.
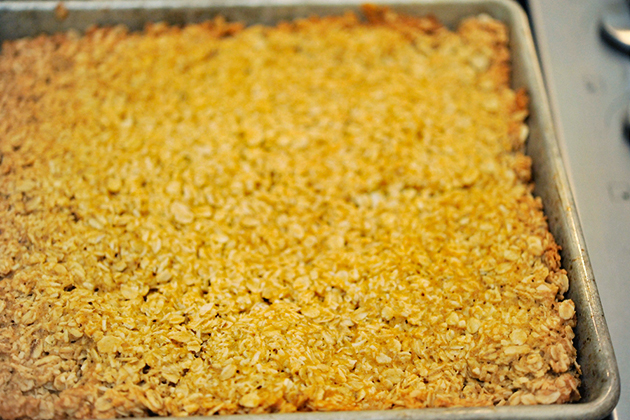
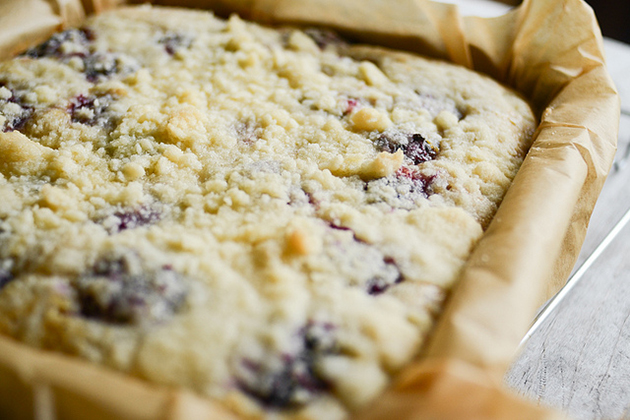
Bake for 18-20 minutes until golden brown.
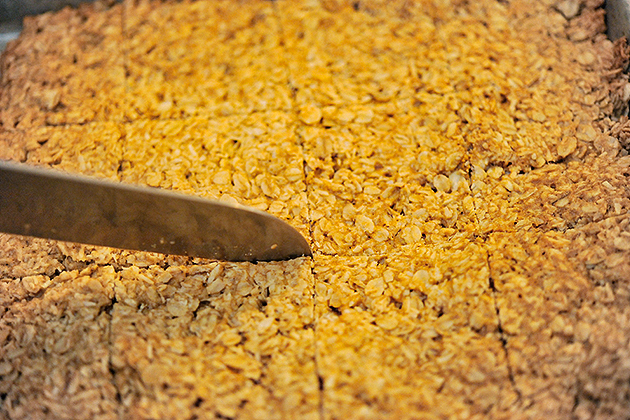
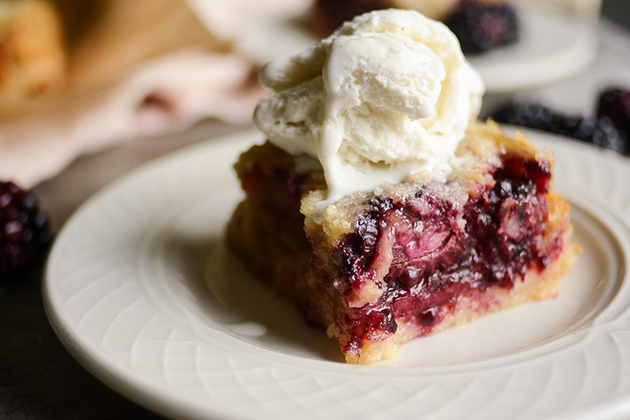
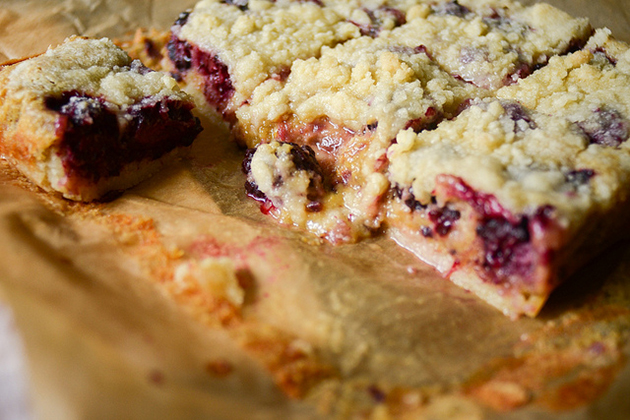
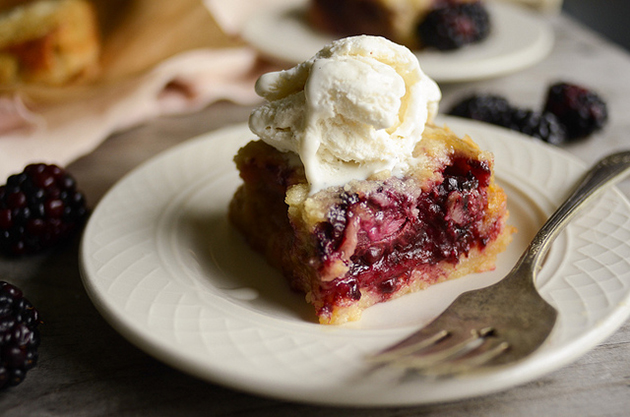
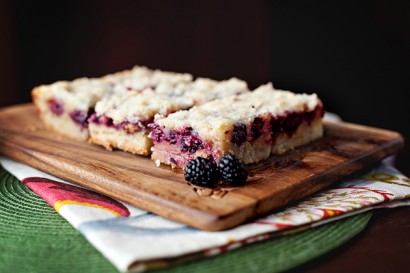
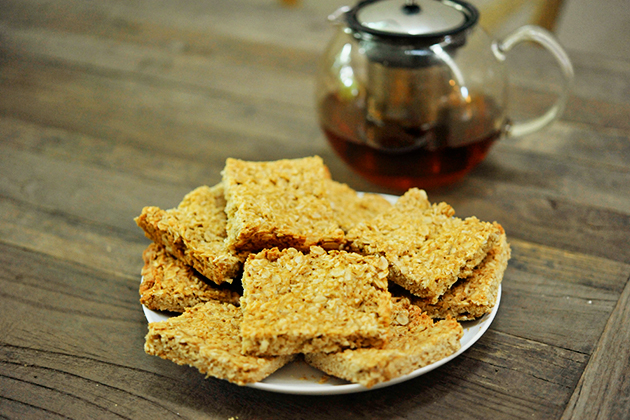
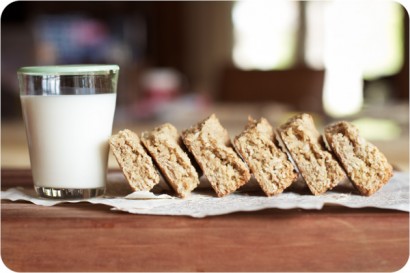
Allow the baked oatmeal to cool before cutting into bars of any shape you please.
You can taste the history and love put into this recipe. It’s sure to be something you’ll want to continue to pass along throughout the generations. Visit Jessie Jane at Lilyshop for more recipes!
Printable Recipe


Print Options
Description
This oatmeal bar recipe was taken from a sheet of paper I found at my antique store. Someone took the time to write this recipe down and detail every ingredient. Someone probably loved this recipe and now it has a new home. My home! And hopefully your home. I changed the recipe slightly as I didn’t want to add all the dried fruit and the original recipe made a crazy amount of bars. I also doubled the coconut. My Aunt Kelly swears by these. Enjoy!
Ingredients
- ½ cups Brown Sugar
- ½ cups White Sugar
- ½ cups Butter
- ½ teaspoons Vanilla Extract
- 1 whole Egg
- ½ teaspoons Baking Soda
- ½ teaspoons Salt
- ½ cups Flour
- 1 cup Shredded Coconut
- 2 cups Old Fashioned Oats
Preparation Instructions
1. Preheat oven to 325 F. In the bowl of a stand mixer blend sugars and butter on medium until combined.
2. Add vanilla and egg. Mix well.
3. Add baking soda, salt, and flour. Mix until well combined.
4. By hand add coconut and oats. Combine everything and pour into a buttered 8×8 pan.
5. Bake at 325 F for 18-20 minutes.
6. Remove from oven. Let them cool. Cut into bars.
_______________________________________
There’s so much to say about Georgia, we don’t know where to start. Leaving Wall Street for the French Culinary Institute, followed by a stint at the Gramercy Tavern and La Chassagnette in France, her passion for food and food traditions are evident and inspiring. Visit her site at Georgia Pellegrini, where you’ll find more recipes, photos, learn all about her wonderful books Girl Hunter and Food Heroes, and enjoy her latest adventures.