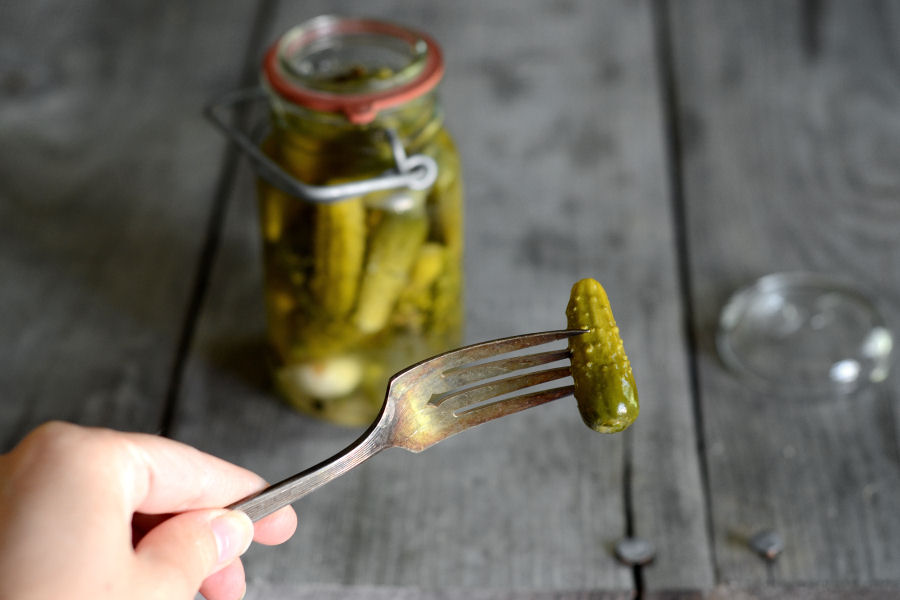
When it comes to pickles, I’m just a tad finicky. Sorry to all you sweet pickle lovers, but when talking about cucumbers, I like them dilly, salty and sour. Hold the yellow 5 and polysorbate 80.
Rebecca’s recipe for Homemade Claussen Knock-Off Pickles seemed perfect to me: natural ingredients and (best of all) no canning required. You simply pour a brine over your cucumbers and let sit until soured.
Sounds too easy, eh? Let me show you how it’s done.
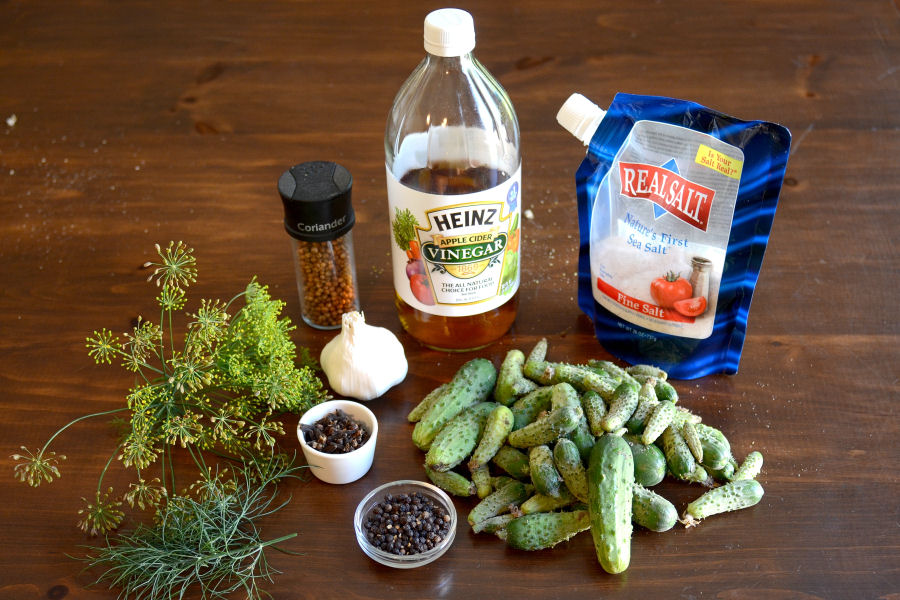
Start with some awesome ingredients: pickling cucumbers (I grew them myself. *proud moment*), fresh dill heads or dried dill seeds, garlic, cold water (not shown), cider vinegar, canning or kosher salt (I used sea salt—don’t use iodized salt!) and mixed pickling spices.
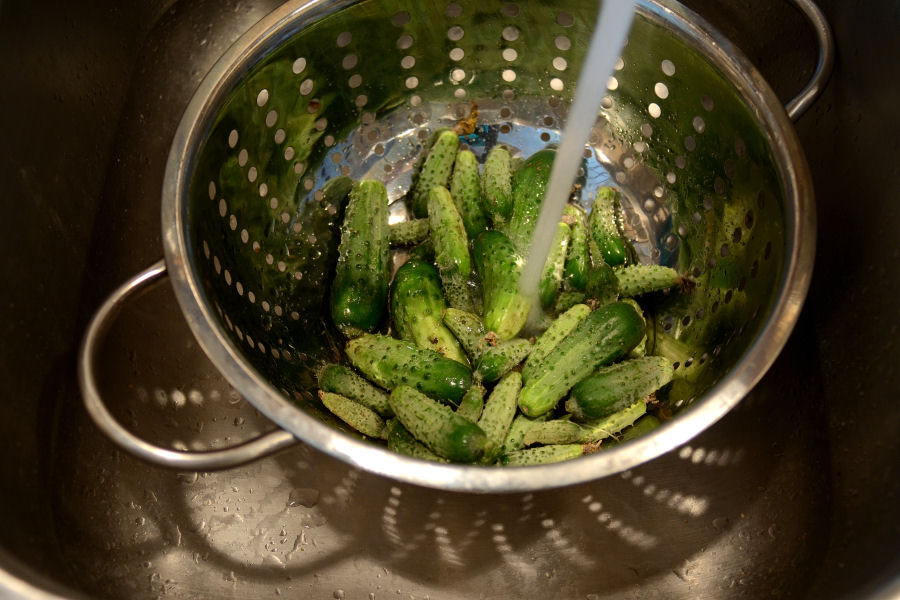
Wash your cucumbers—I like crunchy pickles, but not crunchy with dirt.
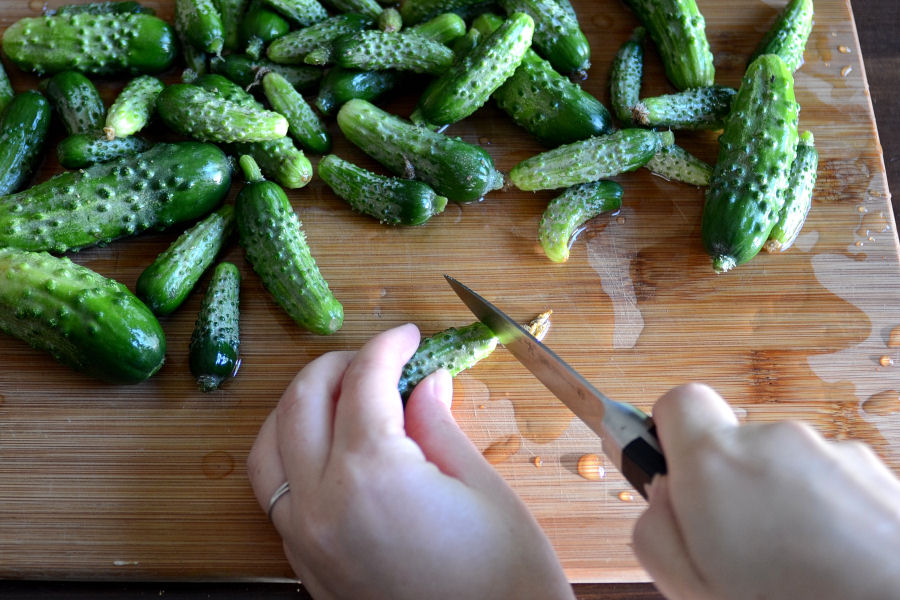
Cut a bit off of the blossom end.
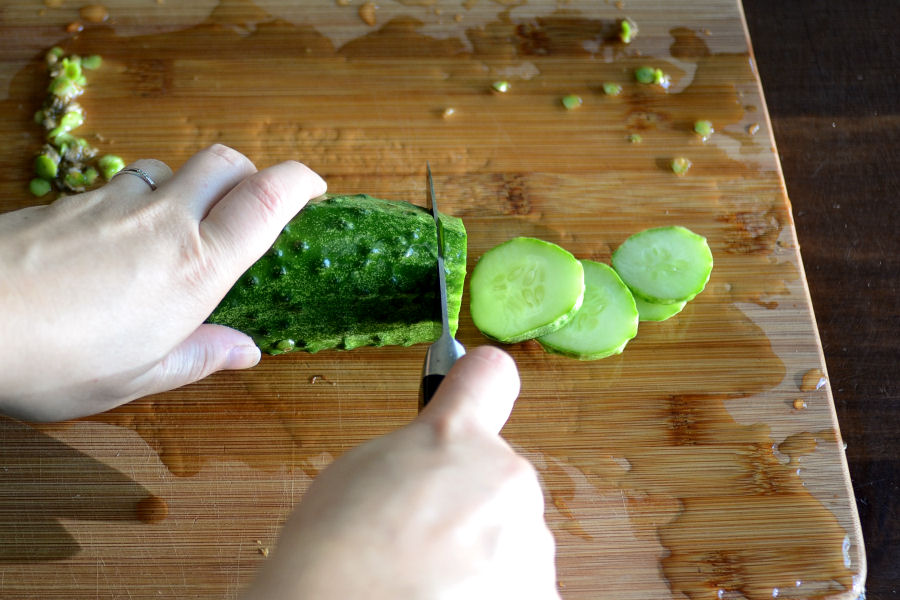
If you let some of your cucumbers grow too long, no worries. Simply slice them crosswise—perfect for sandwiches!
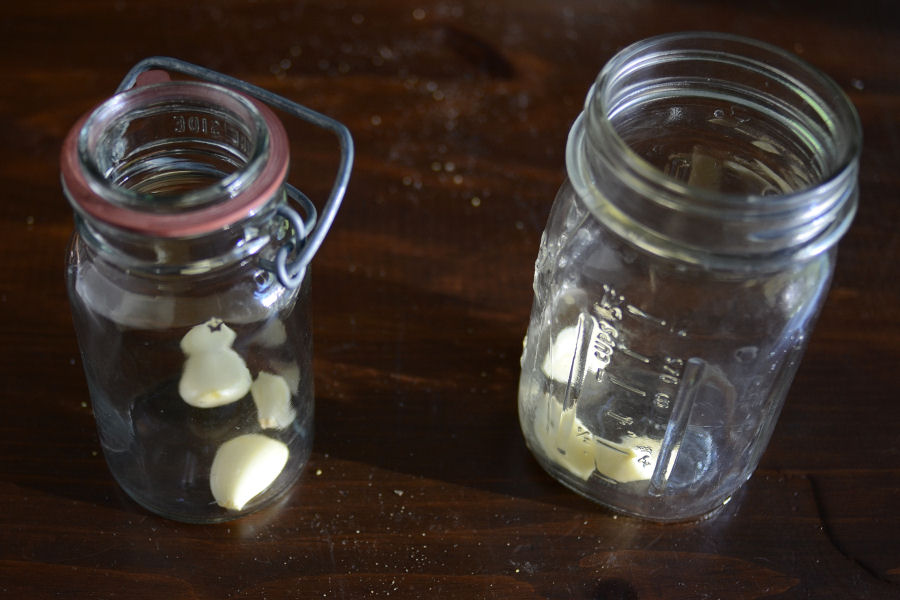
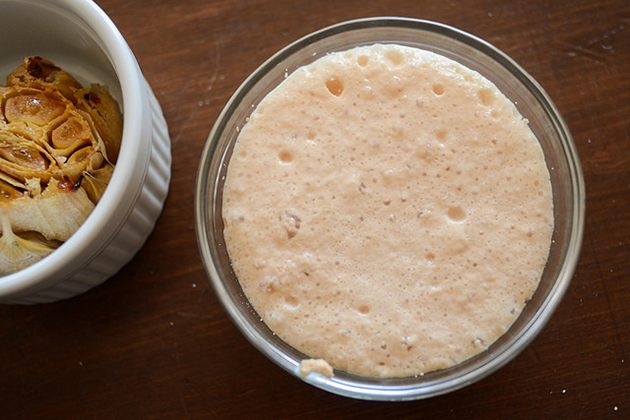
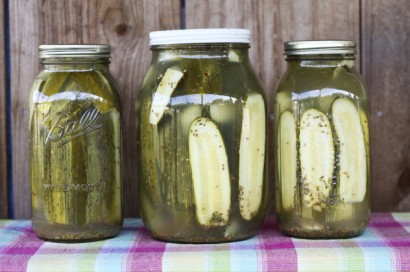
Layer the garlic …
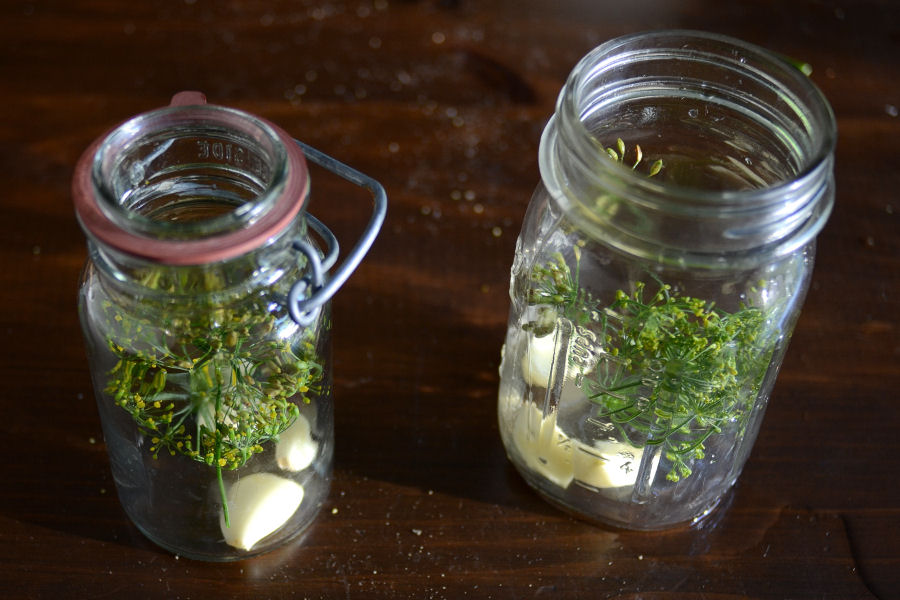
Dill heads …
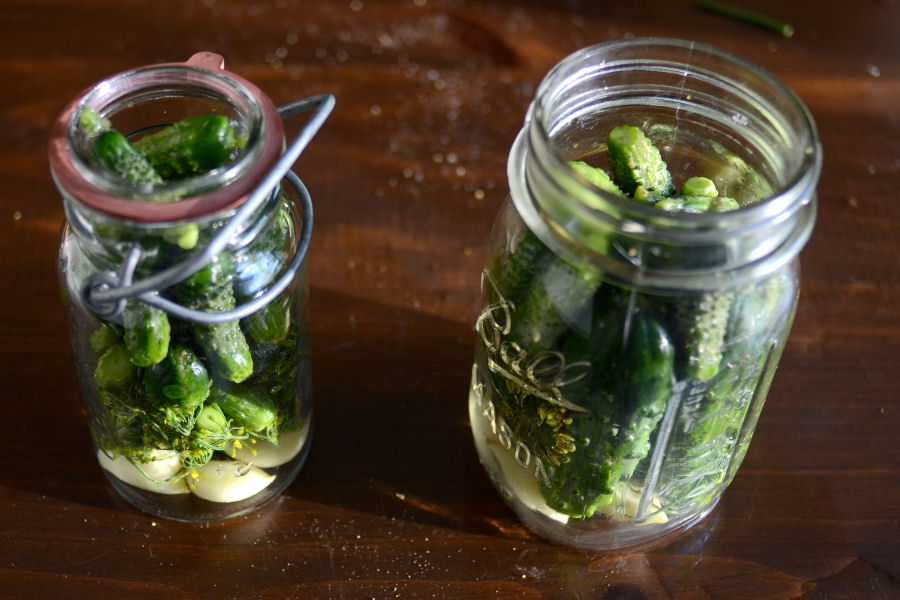
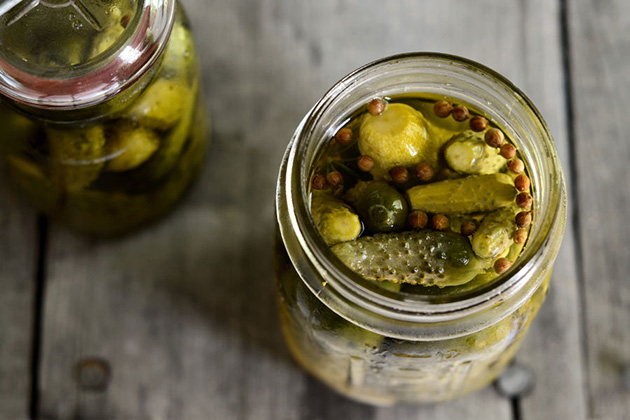
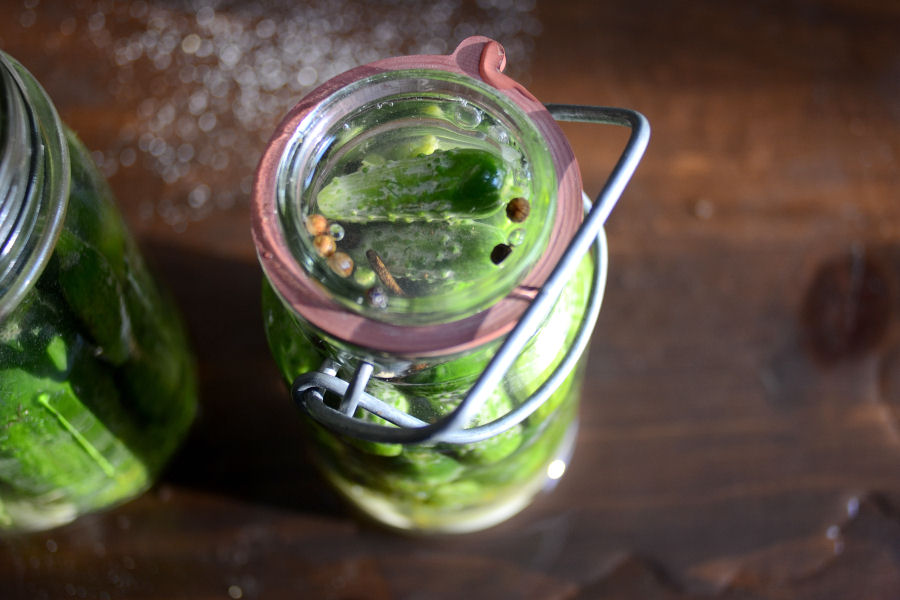
And cucumbers in jars.
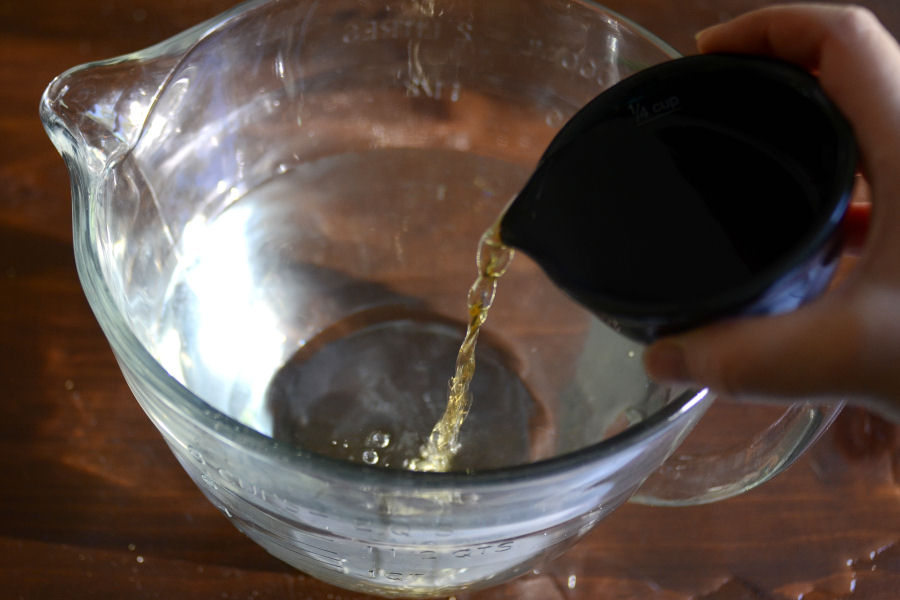
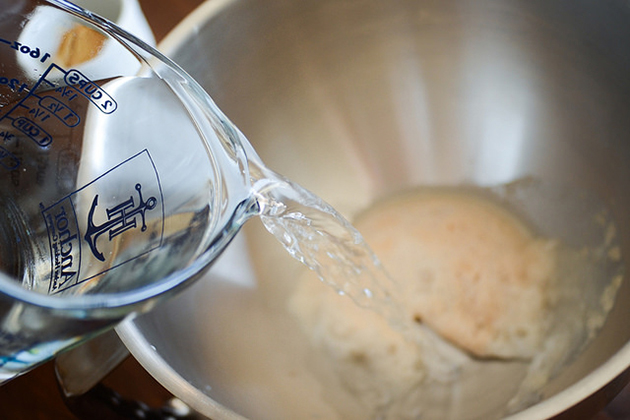
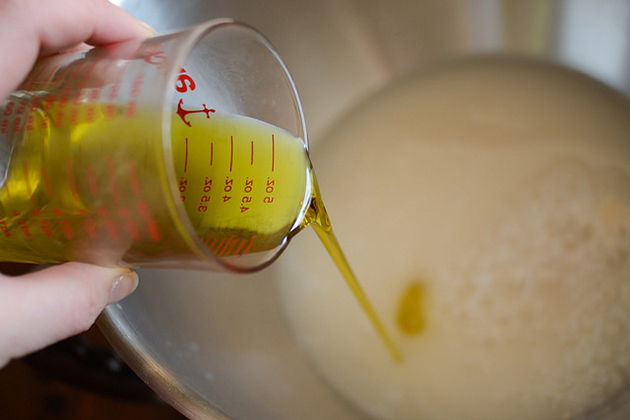
Now make your brine: pour your water into a big measuring cup. Add the vinegar …
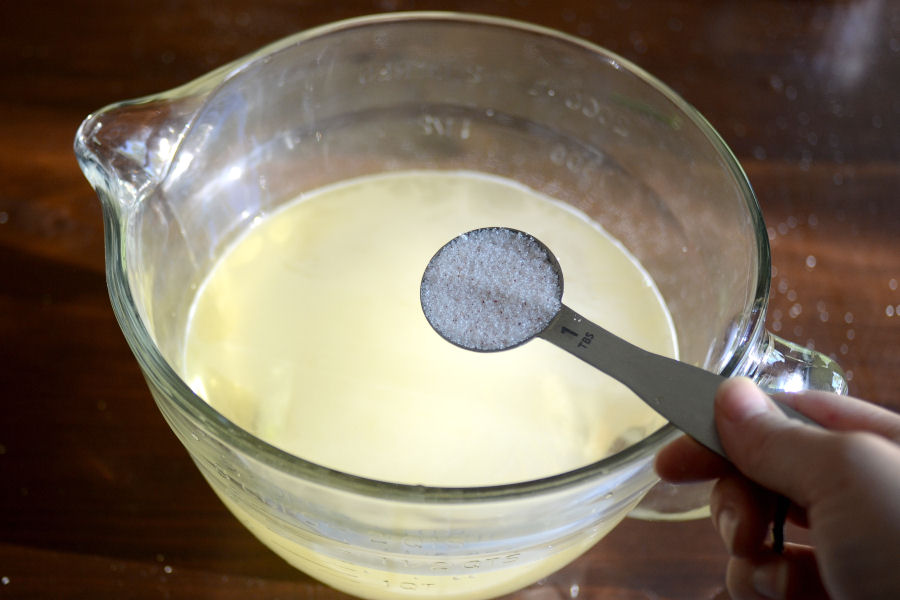
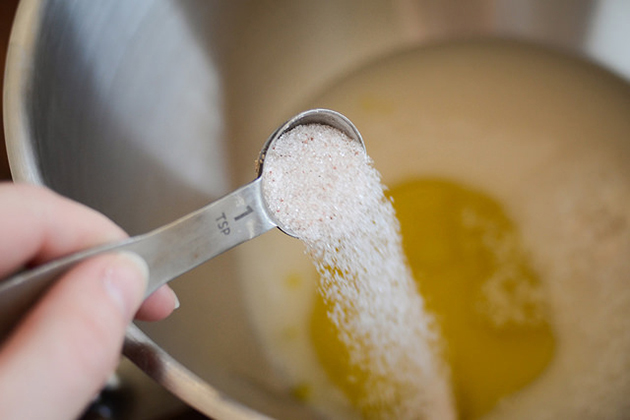
Salt …
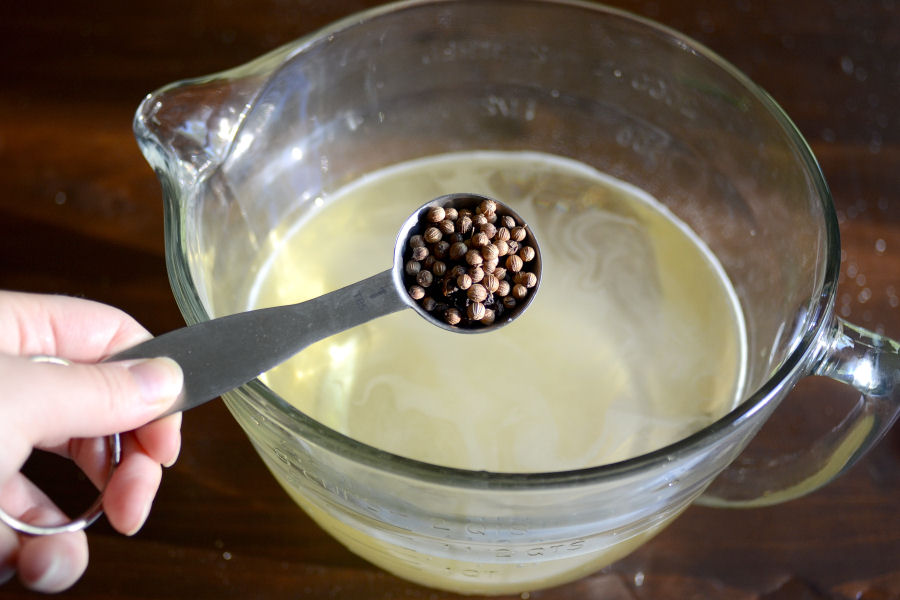
And pickling spices.
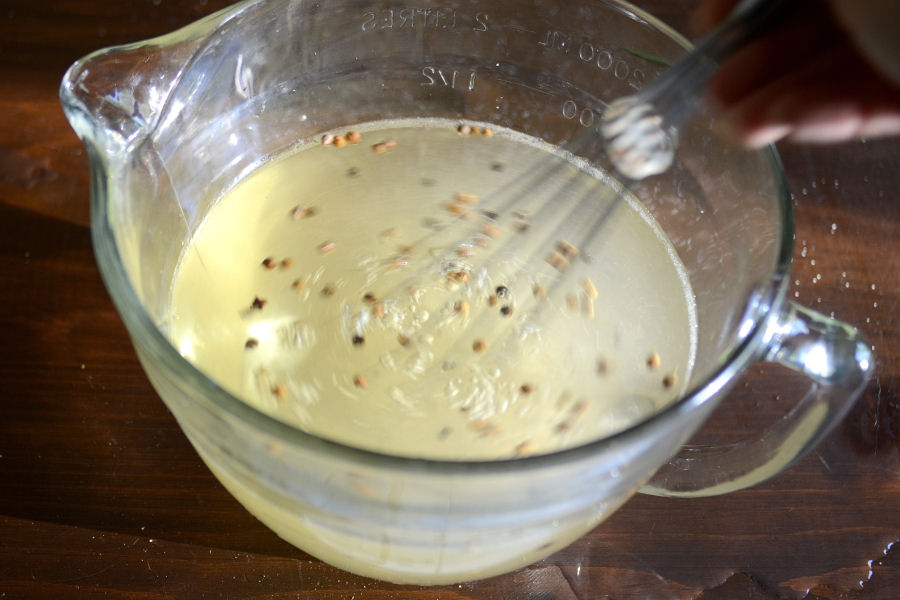
Whisk until the salt is dissolved.
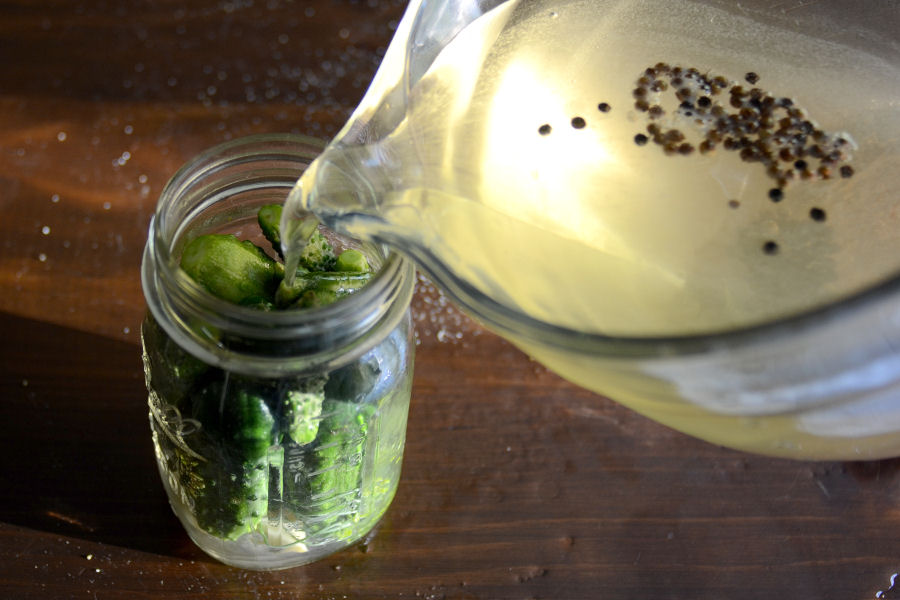
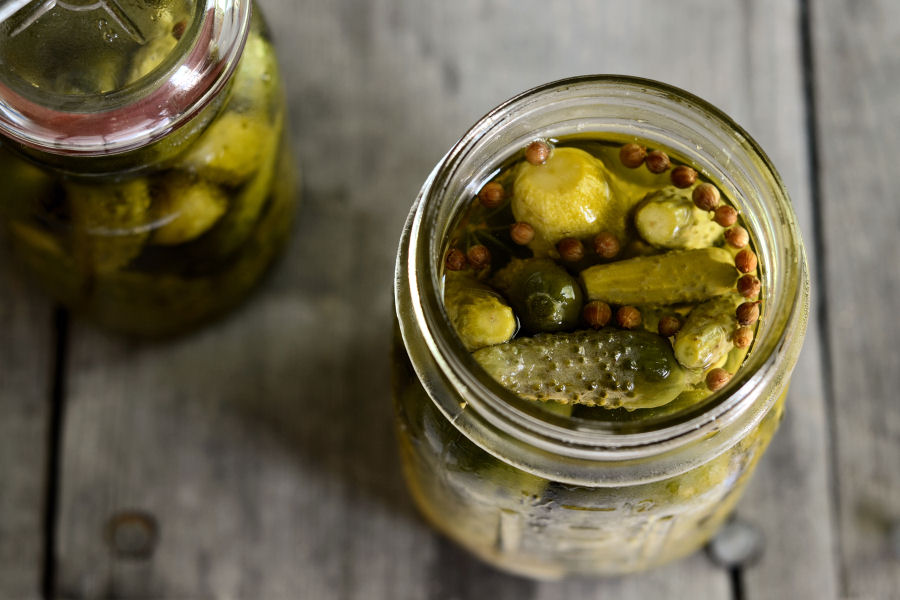
Pour the brine over the cucumbers. Make sure you get some of the pickling spices in each jar!
Cover lightly with the jar lid and place a piece of cheesecloth over the top (secured with a rubber band) so no pesky fruit flies can get to your precious pickles.
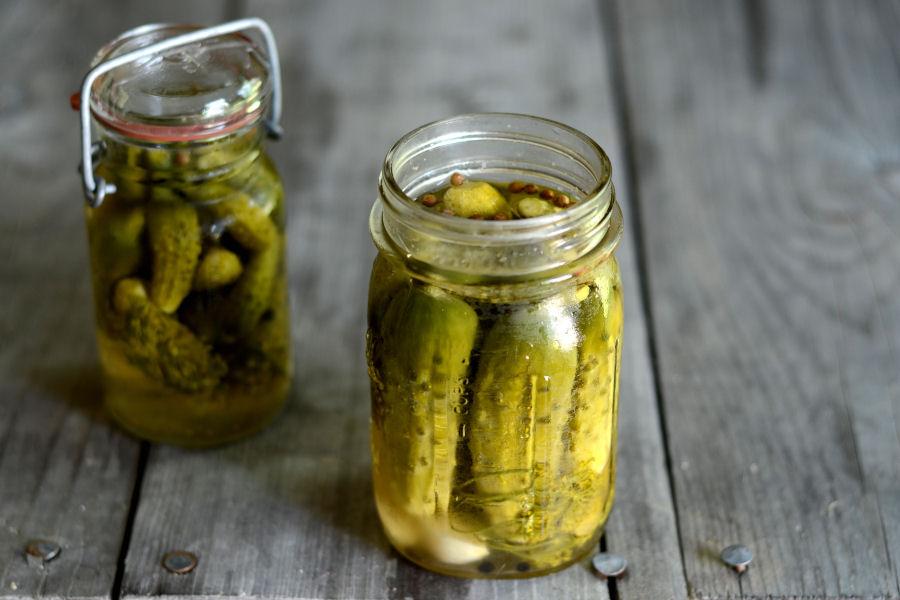
Leave on the counter, out of direct sunlight, for 2-4 days, or until the cucumbers taste like pickles!
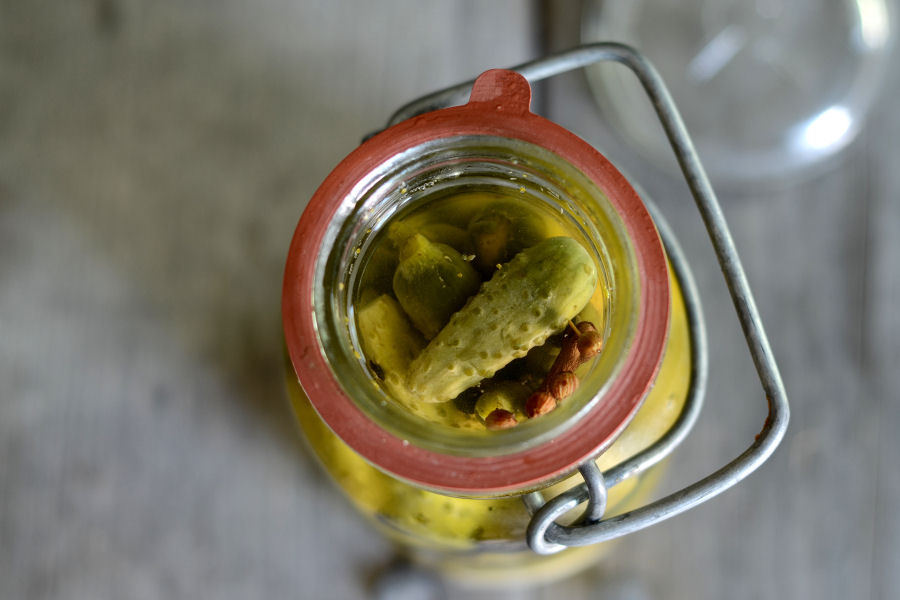
Cover tightly with lids and refrigerate. These will keep, chilled, for up to six months.
Recipe Notes:
1. I love these pickles – so much more fresh tasting than canned! And way more affordable than those yummy ones you get at the healthfood store.
2. Reuben thinks these are great, but when my brother-in-law tasted them, he didn’t like them at all. Refrigerator pickles should be sweet, in his book. To each his own.
3. Don’t worry if your pickles develop “fuzz”—simply scoop any fuzz off of the brine and get rid of any pickles that are affected. No need to throw out the whole jar!
Thanks so much to Rebecca for sharing these tasty little treats with us. You should also check out her blog, Foodie with Family, where she shares many more awesome recipes. These Grilled Spare Ribs look ah-mazing.
Printable Recipe

Print Options
Description
Always crunchy and garlicky, this perfect homemade pickle requires no special equipment, no canning experience and tastes just like Claussen’s refrigerated kosher dill pickles.
Ingredients
- 35 whole To 45 Whole Small To Medium Sized Pickling Cucumbers
- 4 heads Fresh Dill Or 4 Tablespoons Dried Dill Seed (not Weed!)
- 4 cloves Garlic, Or More To Taste (I Usually Use Double The Amount)
- 1 gallon Cold Water
- 1 cup Cider Vinegar
- ⅔ cups Canning Or Kosher Salt (do Not Use Iodized Salt!)
- 2 Tablespoons Mixed Pickling Spices
Preparation Instructions
Wash cucumbers but do not scrub them. Trim 1/8-inch from the blossom end of each cucumber and slice in half lengthwise or into quarters, depending on how large your cucumbers are and how big you want them to be when they’re done.
In a gallon jar (or large, wide-mouth, food-safe container) layer the dill heads or seed, garlic cloves and sliced cucumbers.
In a separate pitcher or bowl, stir together the remaining ingredients until the salt is dissolved.
Pour the brine over the cucumbers, taking care to make sure all of them are fully submerged. If needed, place a plate or mug or other non-reactive heavy item on top of the cucumbers to weigh them down and keep them under the brine!
Cover lightly with a lid just perched on top or secure a piece of cheesecloth over the jar with a rubber band to keep fruit flies away.
Leave out of direct sunlight on the counter for two to four days*, or until the cucumbers taste like pickles throughout.
Then, fix your lid onto your jar or container and chill the pickles. These can be stored in the refrigerator for up to six months provided you keep them covered with brine.
Note: If at any point in the proceedings “fuzz” or “foam” develops on top of the brine, use a spoon to remove it. If there is “fuzz” attached to any of the cucumbers, remove the ones affected and be sure the others are still fully submerged.
Cover the jar lightly but do not screw a lid into place!
_______________________________________
Newly-married Erica Kastner shares her wonderful recipes and amazing food photography on her blog, Cooking for Seven. She also writes about crafts and posts more of her beautiful photography in her personal blog, EricaLea.com. There really isn’t much that this amazing young lady can’t do, and we’re thrilled she does some of it here.