


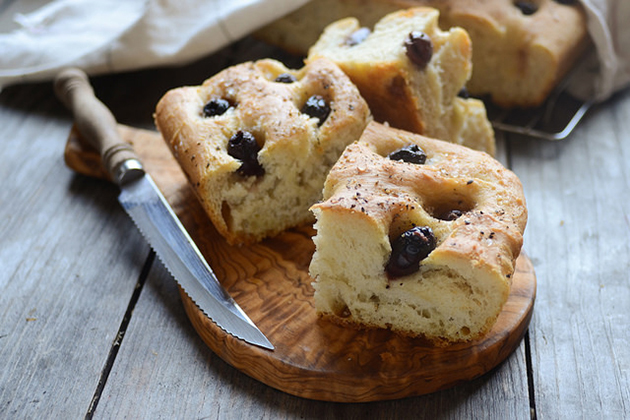
Is it weird that I get excited at the thought of this focaccia (please say it isn’t)? This Roasted Garlic and Olive Focaccia, brought to us by Sommer, is one that I’ll definitely be making again.
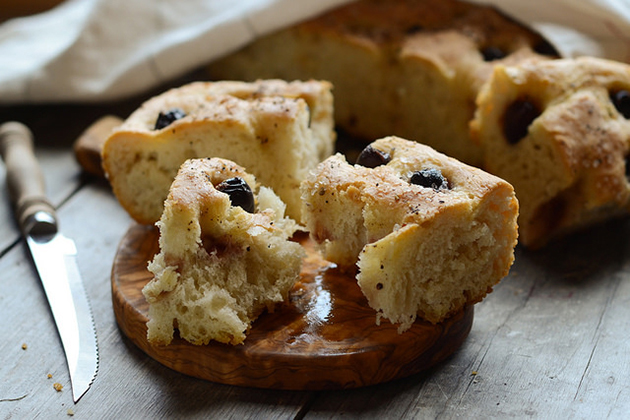
The beautifully light crumb is surrounded by a rich, almost buttery olive oil-soaked crust. And the tartness added by the Kalamata olives is brilliant. The roasted garlic is by no means overwhelming—it simply imparts a mellow hint of the flavor.
If you don’t care for extra virgin olive oil, this focaccia is definitely not for you. Because, let me tell you right now, there’s a LOT of olive oil in it. Excuse an evil chuckle.

The amazing ingredients: honey (I used natural sugar), yeast, olive oil, salt, roasted garlic, flour, pitted Kalamata olives, and coarse salt and pepper to taste.
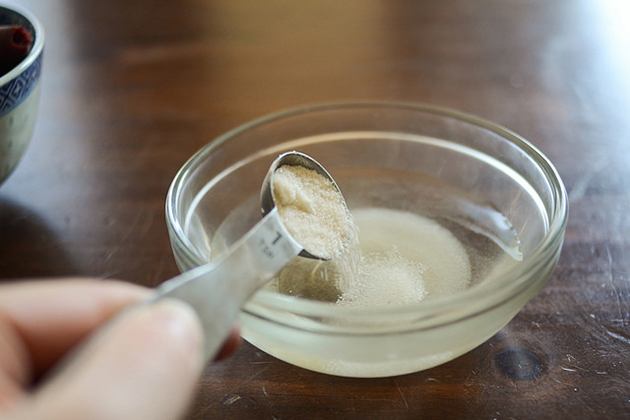
First, we want to activate the yeast. Add a couple teaspoons of your favorite sweetener to 1/4 cup of hot water. Swirl it around to dissolve.
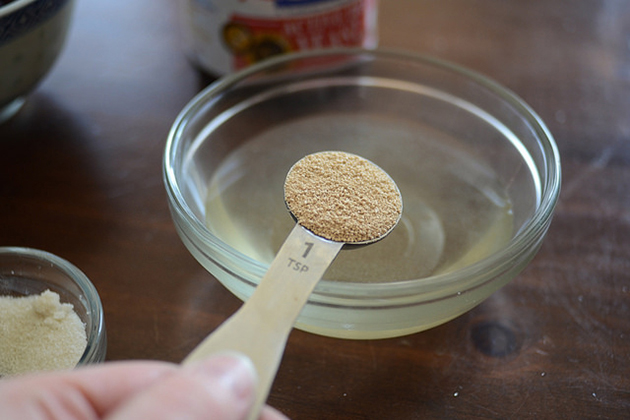
Add 2 teaspoons of active dry yeast and stir to combine.
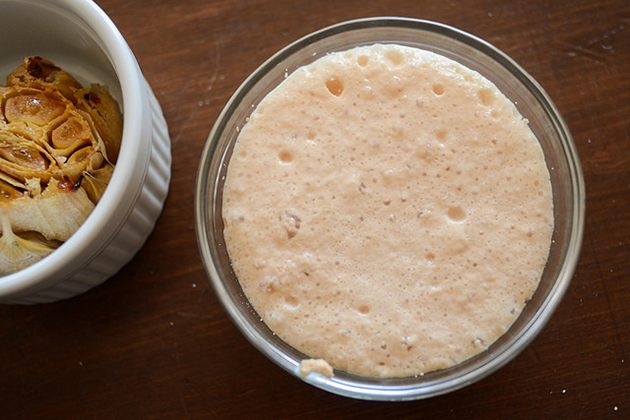
Let the yeast activate. This should take about 10 minutes.
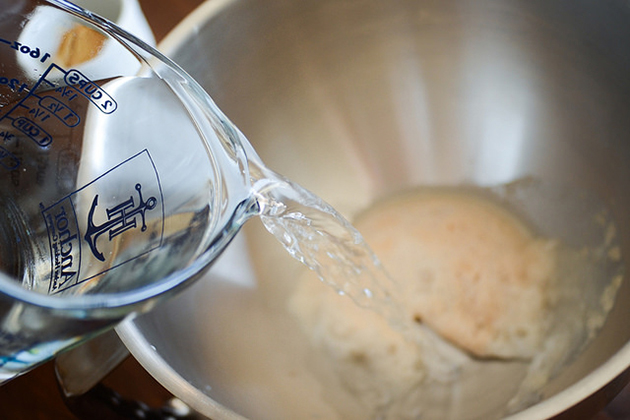
Pour the yeast mixture into the bowl of a stand mixer. Add 1 1/2 cups of cold water …
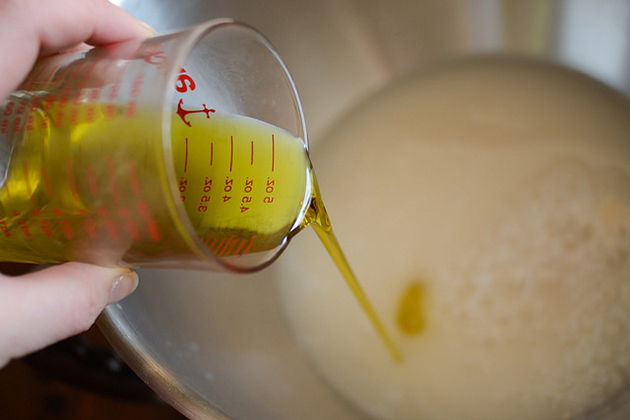
3 tablespoons of extra virgin olive oil …
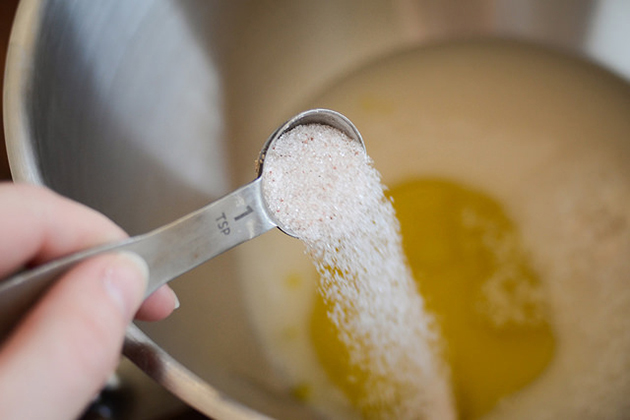
… and 1 1/2 teaspoons of salt.
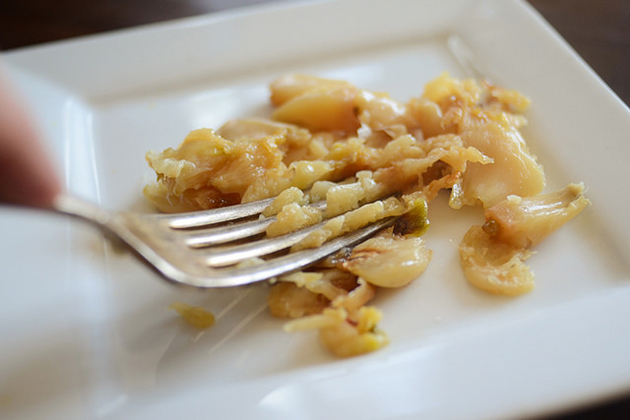
Mash up the roasted garlic with a fork and add it to the mixing bowl.
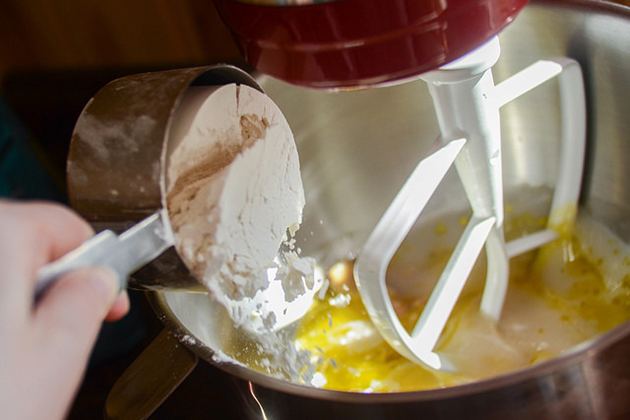
Turn your mixer on low and gradually add the flour. I like to use the paddle attachment to initially mix everything together.
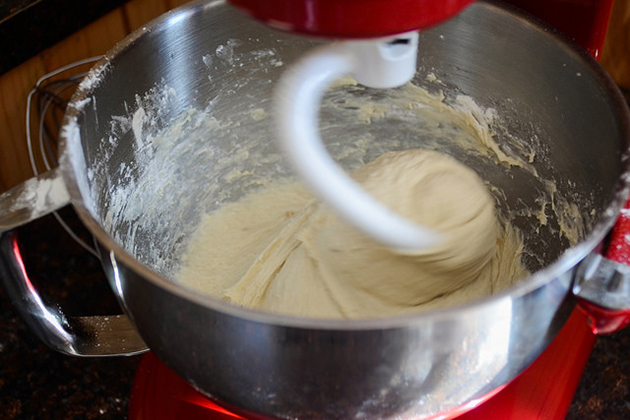
Switch to the dough hook and knead the dough for about 10 minutes. It will be quite sticky. Oil the sides of the bowl and cover with plastic wrap.
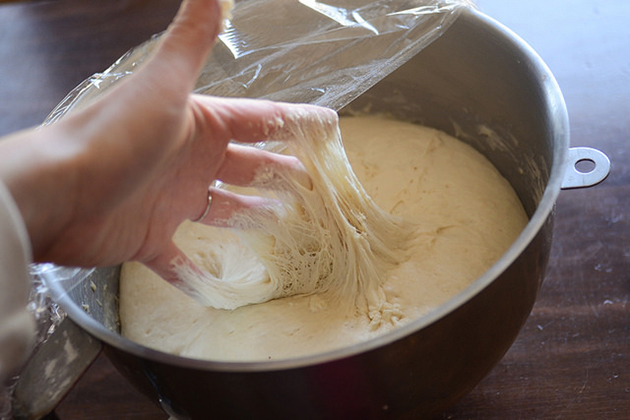
Let the dough rise until quite puffy, about 1 1/2 to 2 hours. Make sure to oil your hand before punching the dough down, or you’ll get a sticky mess like I did. You can also just stick the bowl back on the mixer base and turn the machine on for a bit.
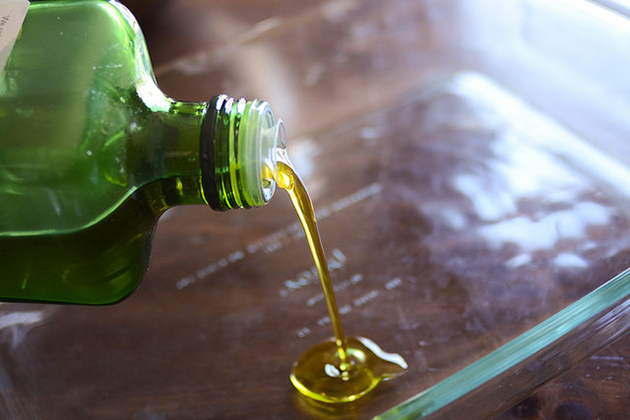
Pour a GENEROUS amount of olive oil into the bottom of a pan. I used a 9×13-inch pan. If you prefer a thinner focaccia, you can use a larger pan.
Plop the dough into the pan. At this point you’ll be thinking, “Wow, I used WAY too much olive oil.” Nope. You didn’t.
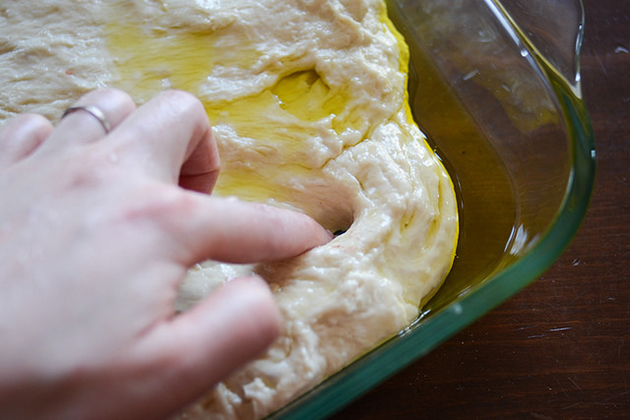
Push the dough out to the edges of the pan. Use your fingers to poke holes all the way through the dough.
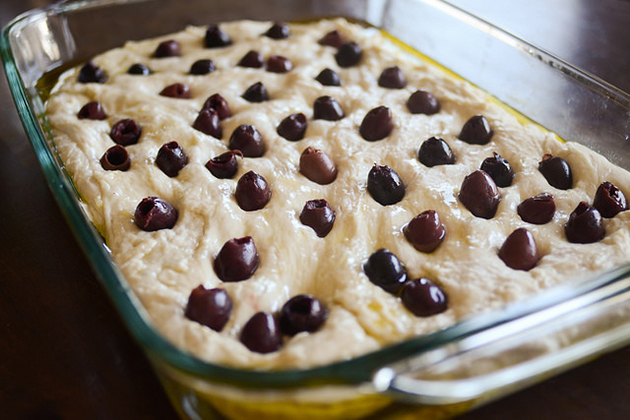
Push the olives deep into the holes.
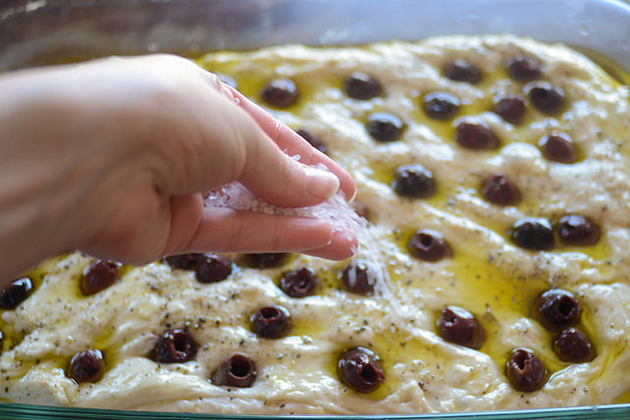
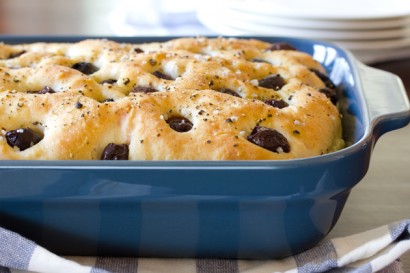
Sprinkle with coarse sea salt and freshly ground pepper.
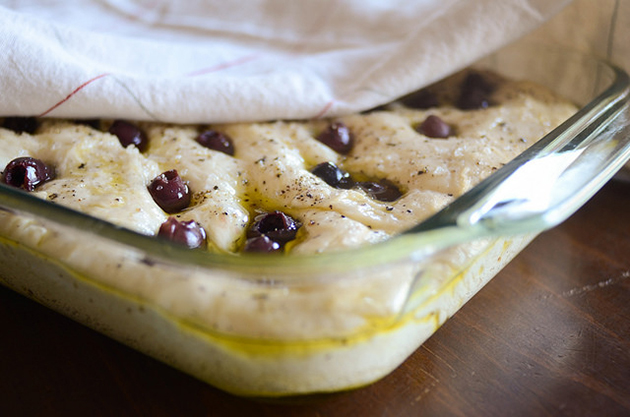
Cover and let the dough get puffy again, about another hour. In the last 20 minutes of raising time, preheat your oven to 400 degrees F (205 degrees C).
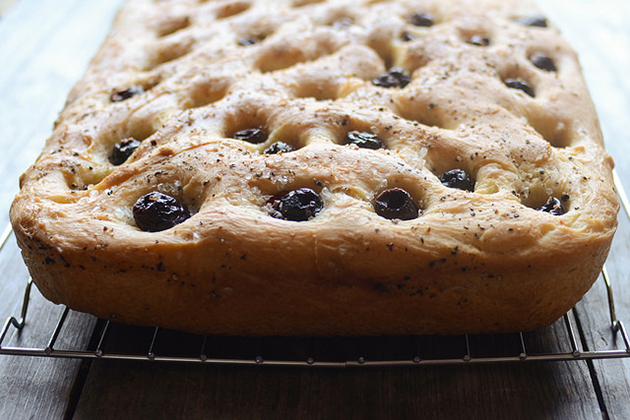
Bake the focaccia until nice and golden on top, about 35-45 minutes. If you decided to use a larger, more shallow pan, you should check the bread at the 30 minute mark.
Turn the dough out onto a wire rack to cool, or just let it cool in the pan. Slice and enjoy. Make sure to spread with butter. It’s the best.
Notes:
1. The focaccia was quite thick baked in the 9×13-inch pan. It was still lovely, just a bit different from what I am used to. I’ll probably bake it in a larger pan next time.
2. My husband didn’t care for the olives, but I adored them. If you’re not a Kalamata olive fan, you can always substitute your favorite olives, or just leave them out!
3. I think this would be lovely as a sandwich bread. I’m envisioning a chicken pesto panini …
4. Make sure you have a head of roasted garlic on hand before you start this recipe!
Thanks so much to Sommer to sharing her recipe with us. Make sure to stop by her blog, A Spicy Perspective, to discover more of her delicious recipes.
Printable Recipe

Print Options
Description
Easy to make and oh so delicious!
Ingredients
- ¼ cups Hot Water
- 2 teaspoons Honey
- 1 package Dry Active Yeast (2 Tsp Packet Size)
- 1-½ cup Cold Water
- 3 Tablespoons Olive Oil + Extra For Bowl And Dish
- 1-½ teaspoon Sea Salt
- 2 Tablespoons Roasted Garlic, Smashed
- 4 cups All-purpose Flour
- ⅔ cups Pitted Kalamata Olives
- Salt And Pepper
Preparation Instructions
Pour the hot water and honey into the bowl of your electric mixer. Swirl the bowl around until the honey has dissolved and the water is just luke-warm. Add one package of dry active yeast and swirl around. Allow the yeast to foam for 10 minutes or so. Then add the cold water, 3 tablespoons oil, salt, and smashed roasted garlic. Using the bread hook attachment, turn the mixer on low and slowly add the flour. “Knead” on low for about 10 minutes.
Pull the dough away from the sides and rub the bowl down with oil. Cover the bowl with plastic wrap and allow the dough to rise for 1 ½ to 2 hours. Remove the plastic wrap and turn the mixer back on for 30 seconds.
Thoroughly oil a 9×13 or 11×15 rimmed baking dish. Press to dough to the edges, don’t be afraid to let your fingers puncture the dough—this will created the bumpy, rustic texture of traditional focaccia bread.
Once the dough is spread out, poke deep cavities in the dough and place an olive in each hole. Push the olives down far, otherwise they might pop out when the dough rises. Drizzle the top with more olive oil and sprinkle with sea salt and pepper. Cover the dough with a clean damp towel. Allow the dough to rise again for at least 1 hour.
Preheat the oven to 400ºF. Bake for 35-45 minutes, until the top is golden-brown. (If you used a 11×15 dish, it might be more like 30-35 minutes.)
You can leave the focaccia in the baking dish or turn it out for easy cutting.
_______________________________________
Erica Kastner has always been one of our most cherished members of the Tasty Kitchen community. She shares her wonderful recipes and amazing food photography on her blog, Buttered Side Up, and she also writes about crafts and posts more of her beautiful photography in her personal blog, Simple Days. There really isn’t much that this amazing young wife and mother can’t do, and we’re thrilled she does some of it here.

2 Comments
Comments are closed for this recipe.
Erica Lea on 6.16.2014
Allyn: Do it! Fresh focaccia is so so good.
Allyn on 6.16.2014
I’ve been trying to get over my fear of yeast all summer (http://girlnamedallyn.wordpress.com/category/baking/yeast-project/), but I haven’t made a focaccia yet. Put roasted garlic in anything though and I’m so there.