The Pioneer Woman Tasty Kitchen
Profile photo of georgiapellegrini

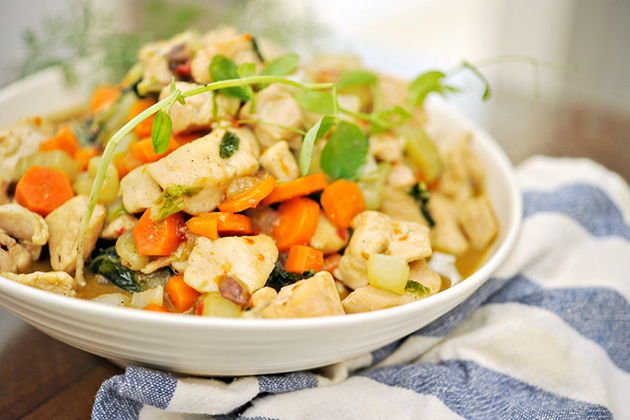
Kung Pao Chicken

Posted by in Step-by-Step Recipes

Tasty Kitchen Blog: Authentic Kung Pao Chicken. Guest post by Georgia Pellegrini, recipe submitted by TK member Becky of The Vintage Mixer.

 
I never imagined myself making Authentic Kung Pao Chicken with such ease in my home kitchen. But I did, thanks to Becky (The Vintage Mixer) and this delicious yet easy recipe.


Tasty Kitchen Blog: Authentic Kung Pao Chicken. Guest post by Georgia Pellegrini, recipe submitted by TK member Becky of The Vintage Mixer.

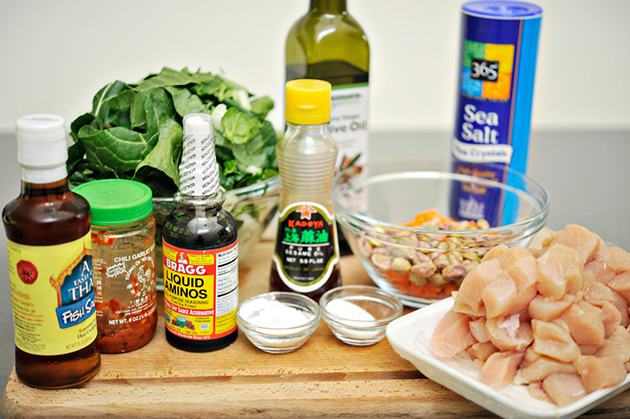
To stir this up, you will need: chicken breasts, salt, cornstarch, soy sauce (I used liquid aminos), peanuts, cooking oil, carrot, Chinese lettuce root or celery (I used bok choy), Chinese oyster sauce or fish sauce, sugar, sesame oil, and Sichuan hot pepper paste.


Tasty Kitchen Blog: Authentic Kung Pao Chicken. Guest post by Georgia Pellegrini, recipe submitted by TK member Becky of The Vintage Mixer.

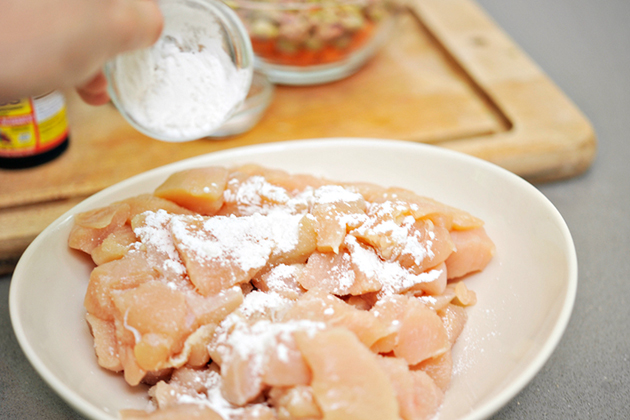
Once the chicken has been diced, sprinkle it with a bit of cornstarch or flour, which will help it brown and thicken the sauce.


Tasty Kitchen Blog: Authentic Kung Pao Chicken. Guest post by Georgia Pellegrini, recipe submitted by TK member Becky of The Vintage Mixer.

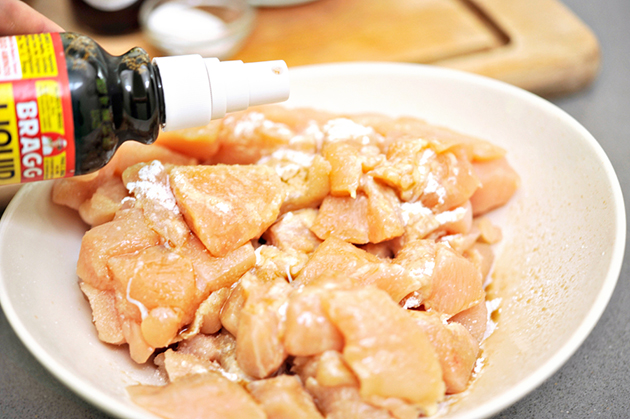
Add the soy sauce next to give it some flavor.


Tasty Kitchen Blog: Authentic Kung Pao Chicken. Guest post by Georgia Pellegrini, recipe submitted by TK member Becky of The Vintage Mixer.

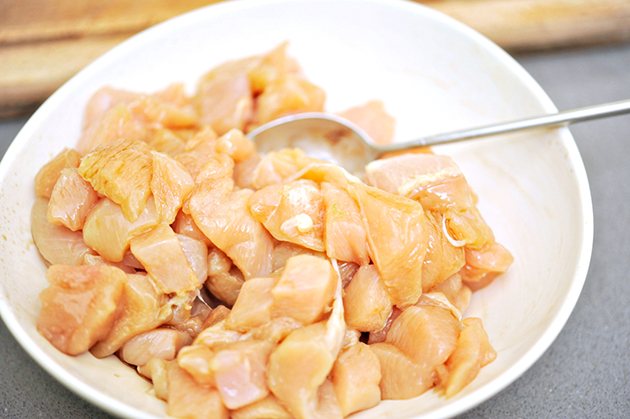
Stir it and let it marinate.


Tasty Kitchen Blog: Authentic Kung Pao Chicken. Guest post by Georgia Pellegrini, recipe submitted by TK member Becky of The Vintage Mixer.

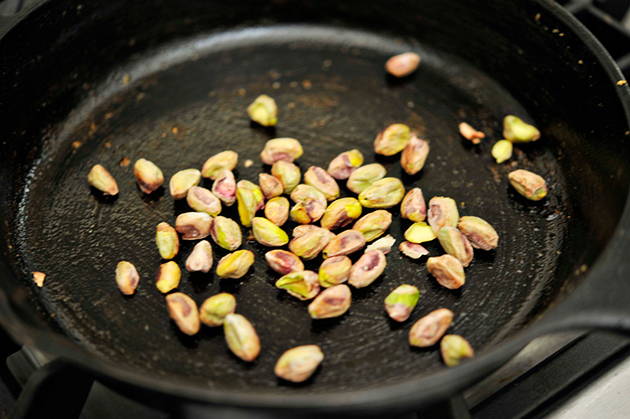
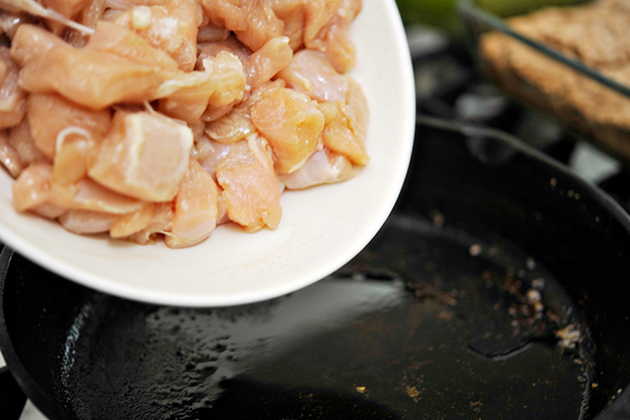
Meanwhile, toast your peanuts, or in my case, pistachios! That’s what I had on hand and I love ‘em so I went for it.


Tasty Kitchen Blog: Authentic Kung Pao Chicken. Guest post by Georgia Pellegrini, recipe submitted by TK member Becky of The Vintage Mixer.

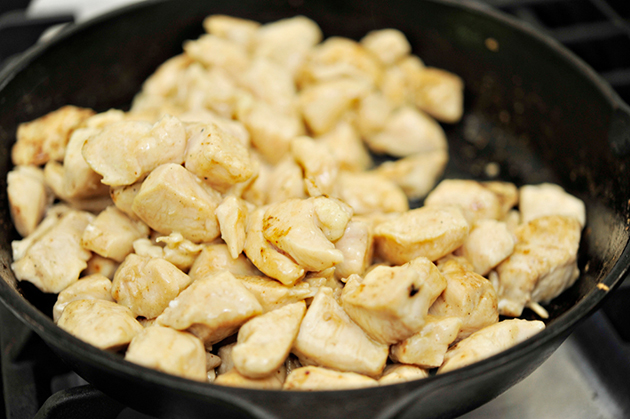
Once the nuts have been browned, remove them from the heat and brown the chicken in the skillet.


Tasty Kitchen Blog: Authentic Kung Pao Chicken. Guest post by Georgia Pellegrini, recipe submitted by TK member Becky of The Vintage Mixer.

Cook and turn until browned on all sides, then remove to a plate with a slotted spoon.


Tasty Kitchen Blog: Authentic Kung Pao Chicken. Guest post by Georgia Pellegrini, recipe submitted by TK member Becky of The Vintage Mixer.

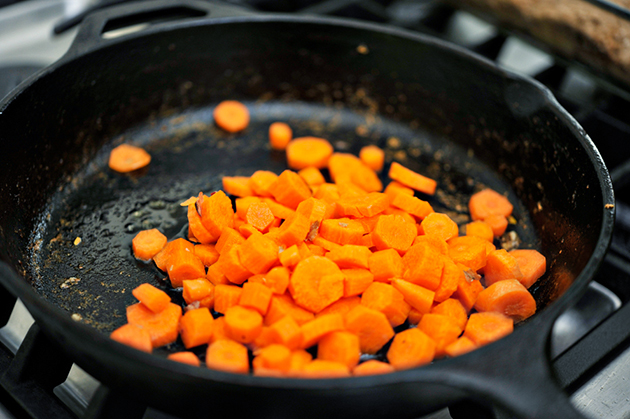
Next add the carrots until they are browned.


Tasty Kitchen Blog: Authentic Kung Pao Chicken. Guest post by Georgia Pellegrini, recipe submitted by TK member Becky of The Vintage Mixer.

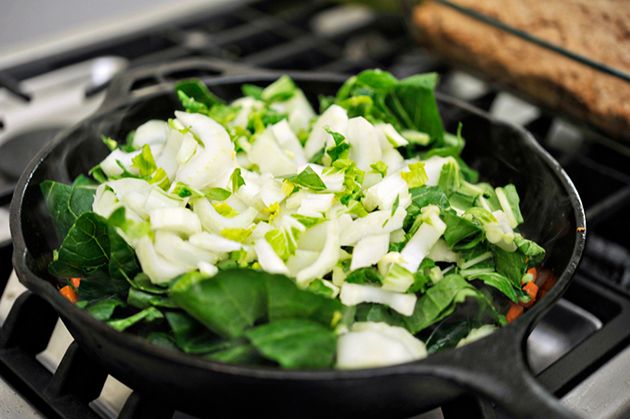
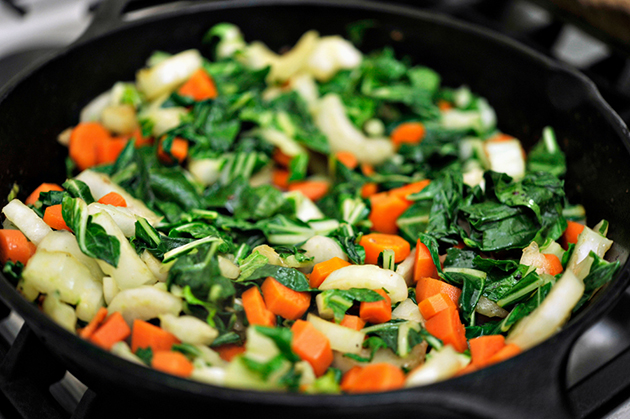
Then toss in your celery, lettuce root, or in my case, sliced bok choy!


Tasty Kitchen Blog: Authentic Kung Pao Chicken. Guest post by Georgia Pellegrini, recipe submitted by TK member Becky of The Vintage Mixer.

Saute them well on high heat.


Tasty Kitchen Blog: Authentic Kung Pao Chicken. Guest post by Georgia Pellegrini, recipe submitted by TK member Becky of The Vintage Mixer.

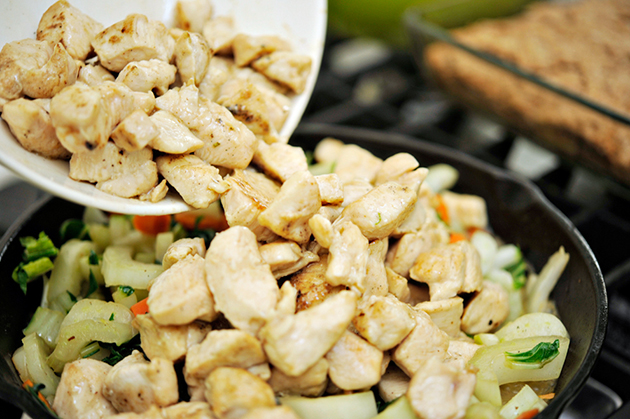
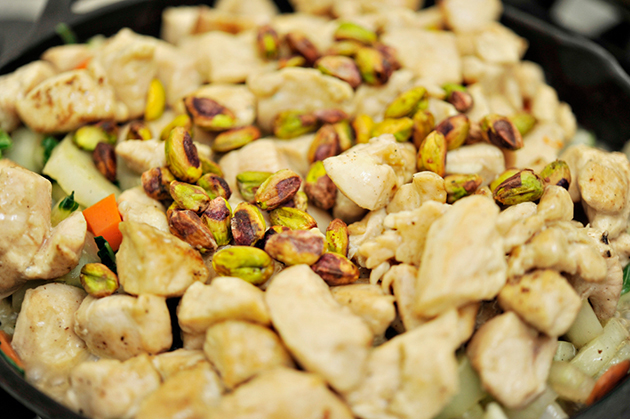
Return the chicken to the pan and stir it together.


Tasty Kitchen Blog: Authentic Kung Pao Chicken. Guest post by Georgia Pellegrini, recipe submitted by TK member Becky of The Vintage Mixer.

Add the pistachios and stir them in as well.


Tasty Kitchen Blog: Authentic Kung Pao Chicken. Guest post by Georgia Pellegrini, recipe submitted by TK member Becky of The Vintage Mixer.

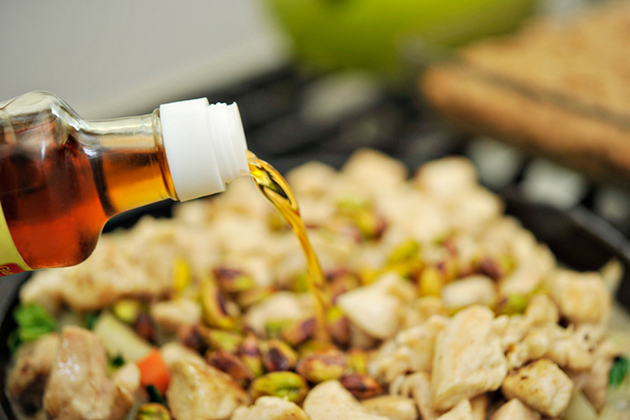
Then add the flavorings: oyster or fish sauce …


Tasty Kitchen Blog: Authentic Kung Pao Chicken. Guest post by Georgia Pellegrini, recipe submitted by TK member Becky of The Vintage Mixer.

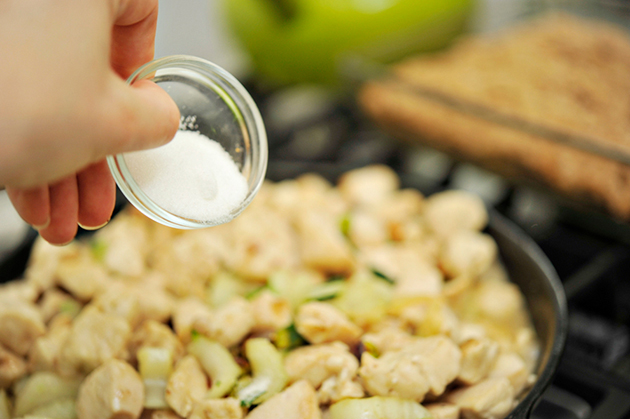
A dash of sugar …


Tasty Kitchen Blog: Authentic Kung Pao Chicken. Guest post by Georgia Pellegrini, recipe submitted by TK member Becky of The Vintage Mixer.

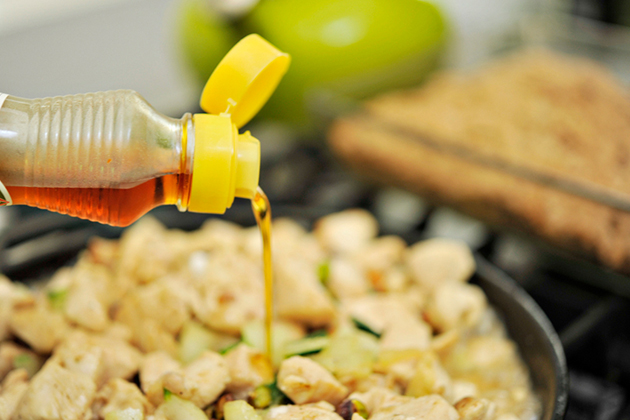
Sesame oil …


Tasty Kitchen Blog: Authentic Kung Pao Chicken. Guest post by Georgia Pellegrini, recipe submitted by TK member Becky of The Vintage Mixer.

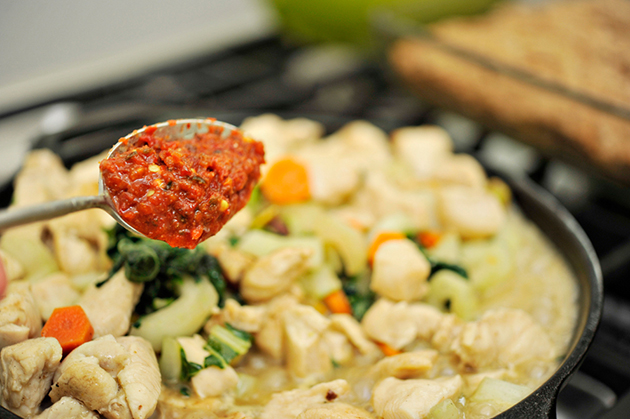
Garlic chili paste …


Tasty Kitchen Blog: Authentic Kung Pao Chicken. Guest post by Georgia Pellegrini, recipe submitted by TK member Becky of The Vintage Mixer.

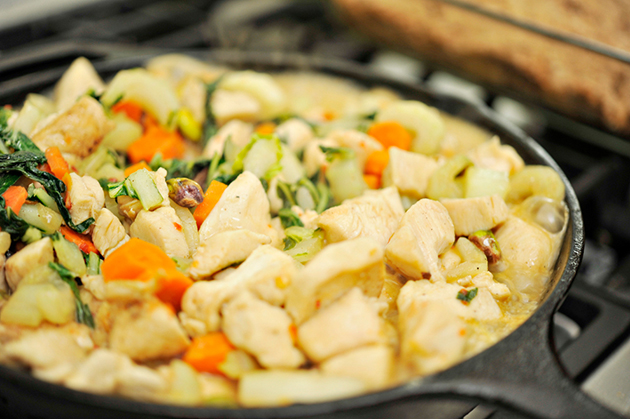
And let it all simmer so that the flavors combine.


Tasty Kitchen Blog: Authentic Kung Pao Chicken. Guest post by Georgia Pellegrini, recipe submitted by TK member Becky of The Vintage Mixer.

You will love this dish! It was just as tasty as takeout.

Thank you Becky for this glorious dish! Be sure to check out her website Vintage Mixer for some more beautiful looking recipes.


Printable Recipe
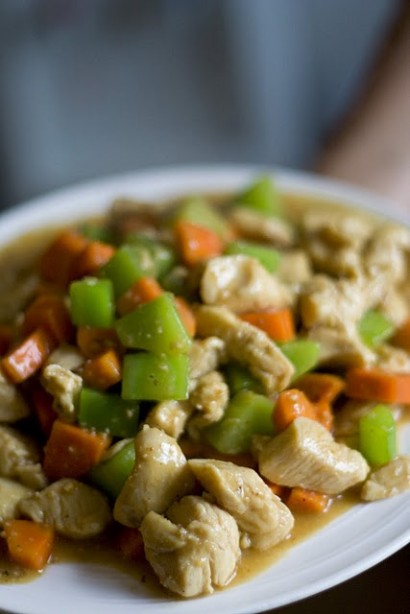
Authentic Kung Pao Chicken

See post on The Vintage Mixer’s site!
4.00 Mitt(s) 2 Rating(s)2 votes, average: 4.00 out of 52 votes, average: 4.00 out of 52 votes, average: 4.00 out of 52 votes, average: 4.00 out of 52 votes, average: 4.00 out of 5

Prep Time:

Cook Time:

Difficulty: Easy

Servings: 4

4
x

Print Options

Page size Letter 3x5 4x6
Text Size Small Medium Large
Content Include description
Include prep time, etc.
Show image

Description

After my recent adventure traveling to China, I brought back one of America’s favorite Chinese recipes that I’m excited to share with you. It was taught to me by a local Chinese chef in the city of Kunming.

Ingredients

  • 3 whole Chicken Breasts, Diced
  • 1 teaspoon Salt
  • 1 teaspoon Cornstarch
  • 1 dash Soy Sauce
  • ½ cups Peanuts
  • 1 whole Carrot
  • ¼ cups Cooking Oil
  • 1 whole Carrot, Diced
  • 1 stalk Chinese Lettuce Root Or Celery
  • 3 Tablespoons Chinese Oyster Sauce
  • 1 Tablespoon Sugar
  • ½ teaspoons Sesame Oil
  • 1 teaspoon Sichuan Hot Pepper Paste

Preparation Instructions

In a small bowl, combine diced chicken, salt, cornstarch, and soy sauce. Mix thoroughly and let sit a few minutes. Meanwhile, dry-roast the peanuts. Heat a wok or skillet to medium high heat and add peanuts, tossing occasionally till peanuts begin to “pop.” Reduce heat to medium/low and continue to roast 3-4 more minutes. These peanuts can be crushed or added whole to the stir-fry (later).

Heat cooking oil in the wok or skillet over medium/ high heat till oil begins to ripple or shimmer. Add chicken and stir-fry 2-3 minutes, then remove chicken only using a slotted spoon so the oil stays in wok. Add carrots and lettuce root and stir-fry 1-2 minutes till just beginning to turn tender-crisp. Return chicken to the pot and add peanuts (crushed or whole), oyster sauce, sugar, sesame oil, and hot pepper paste if you want the dish to be spicy. Add a little water to thin the sauce if desired. Stir to mix, then allow sauce to come to a boil. Stir again and serve.


_______________________________________

There’s so much to say about Georgia, we don’t know where to start. Leaving Wall Street for the French Culinary Institute, followed by a stint at the Gramercy Tavern and La Chassagnette in France, her passion for food and food traditions are evident and inspiring. Visit her site at Georgia Pellegrini, where you’ll find more recipes, photos, learn all about her wonderful books Girl Hunter and Food Heroes, and enjoy her latest adventures.


Profile photo of Amber {Sprinkled With Flour}

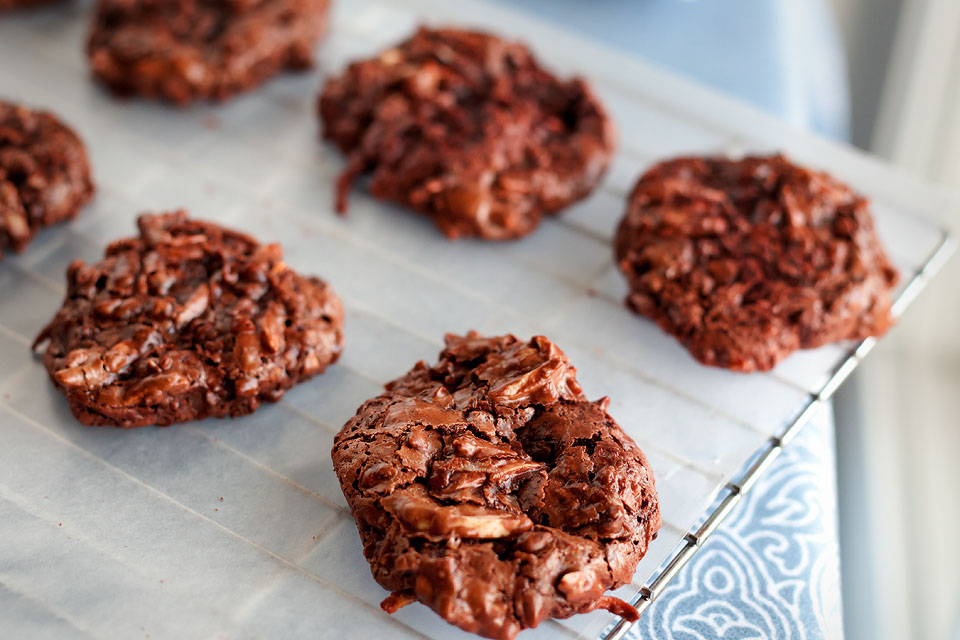
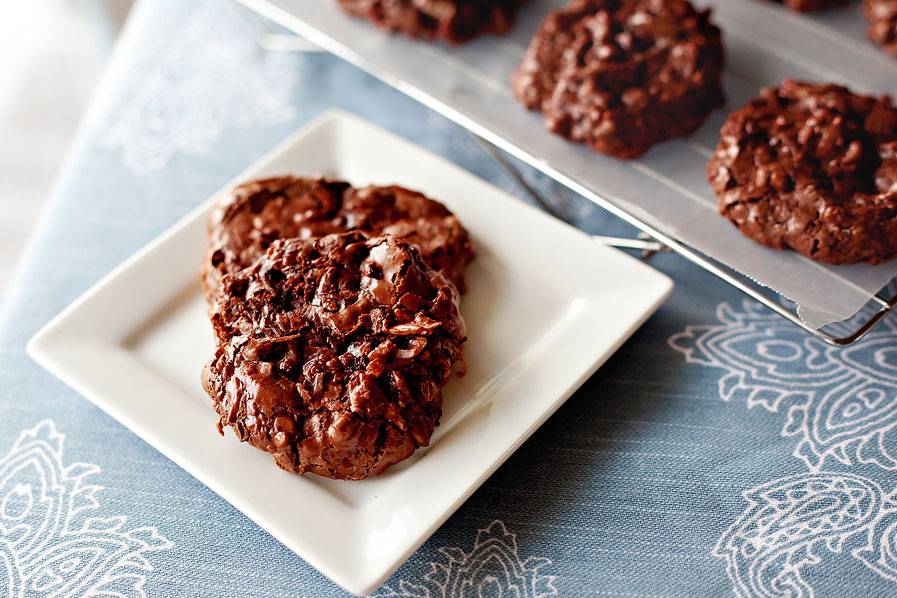
Flourless Chocolate, Almond and Coconut Cookies

Posted by in Baking, Step-by-Step Recipes

Tasty Kitchen Blog: Flourless Chocolate Almond and Coconut Cookies. Guest post by Amber Potter of Sprinkled with Flour, recipe submitted by TK member Courtney of Bake. Eat. Repeat.
 
How you do judge a cookie’s success? Mine get tested and approved by a very persnickety five-year-old, who likes to throw around words like “bestest”, and “goodest”, and “totally awesome.”

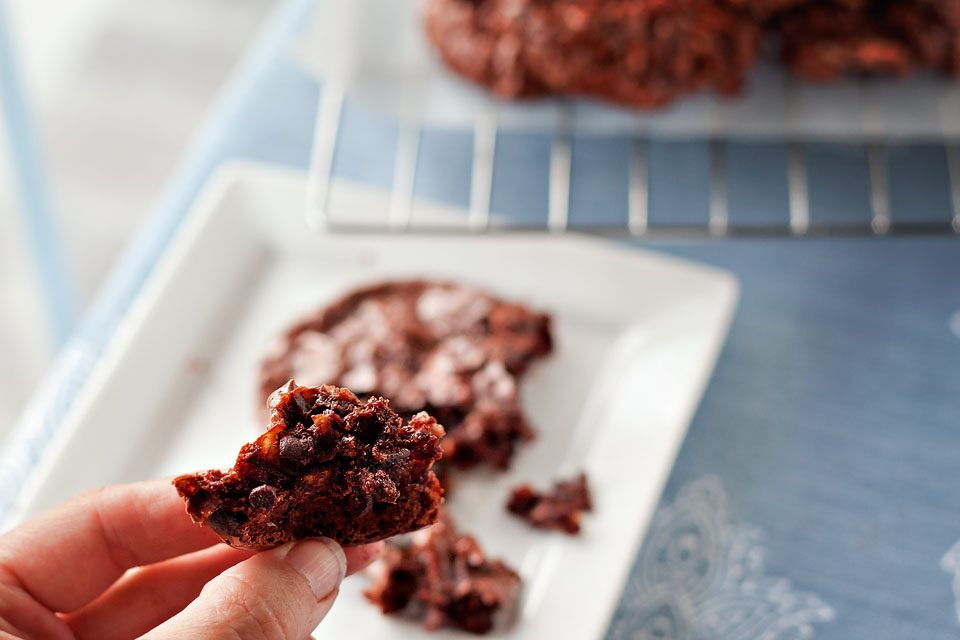
A new one got thrown into the mix today when I tried these Flourless Chocolate, Almond and Coconut Cookies shared by Courtney. A declaration so emphatic, I would say this cookie recipe hit it out of the park … at least to a sticky-fingered 5-year-old. Who looks like he’s been eating mud pies right about now.

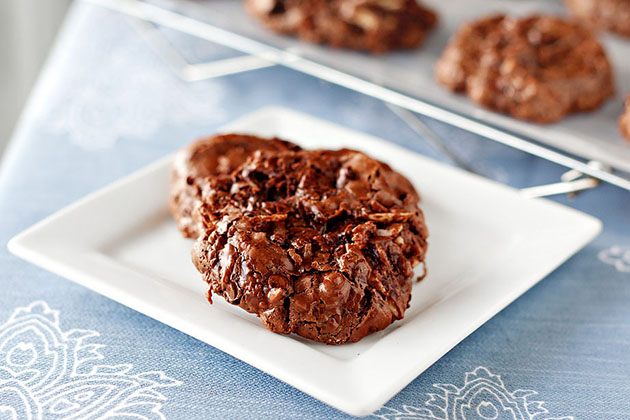
After one bite of this cookie, they were declared the best thing I’ve ever made. So good, in fact, they should have the honor of being left out for Santa Claus this year. High praise indeed. I loved how easy these were to make, and the toasted almonds and coconut really did it for me.


Tasty Kitchen Blog: Flourless Chocolate Almond and Coconut Cookies. Guest post by Amber Potter of Sprinkled with Flour, recipe submitted by TK member Courtney of Bake. Eat. Repeat.
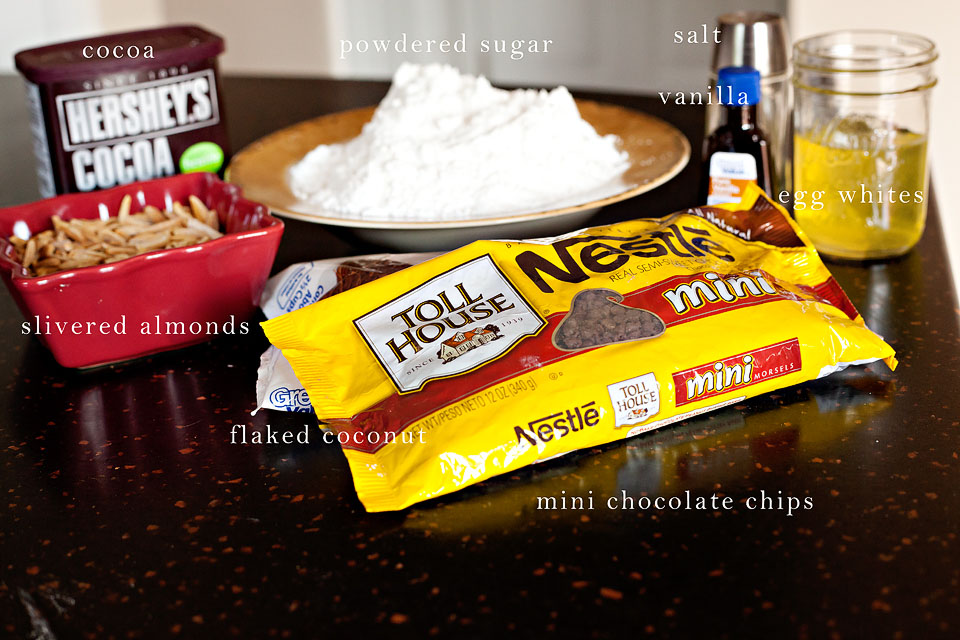
You will need: slivered almonds, flaked coconut, cocoa, powdered sugar, kosher salt, egg whites, vanilla, and mini chocolate chips.


Tasty Kitchen Blog: Flourless Chocolate Almond and Coconut Cookies. Guest post by Amber Potter of Sprinkled with Flour, recipe submitted by TK member Courtney of Bake. Eat. Repeat.

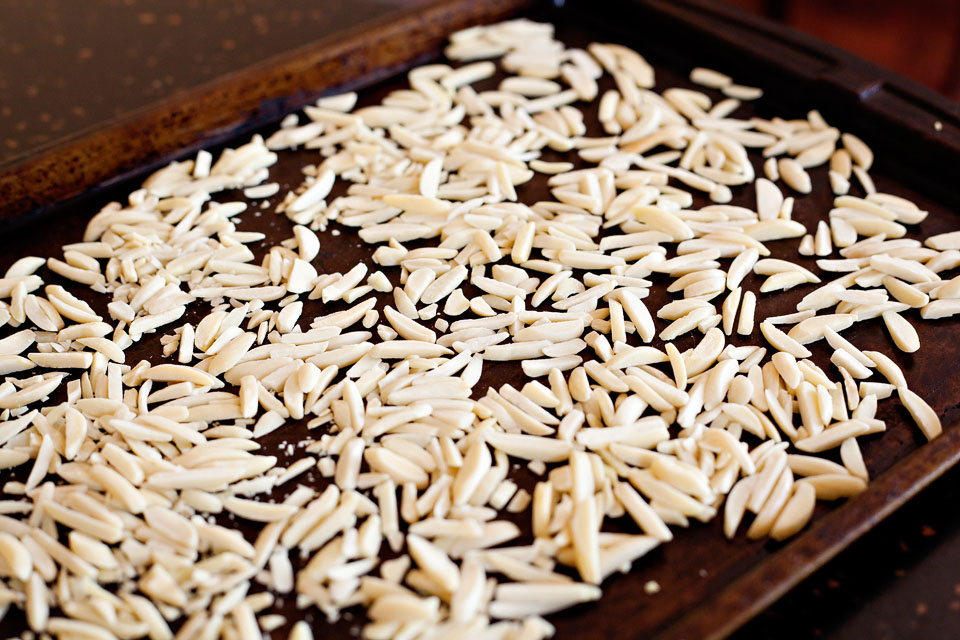
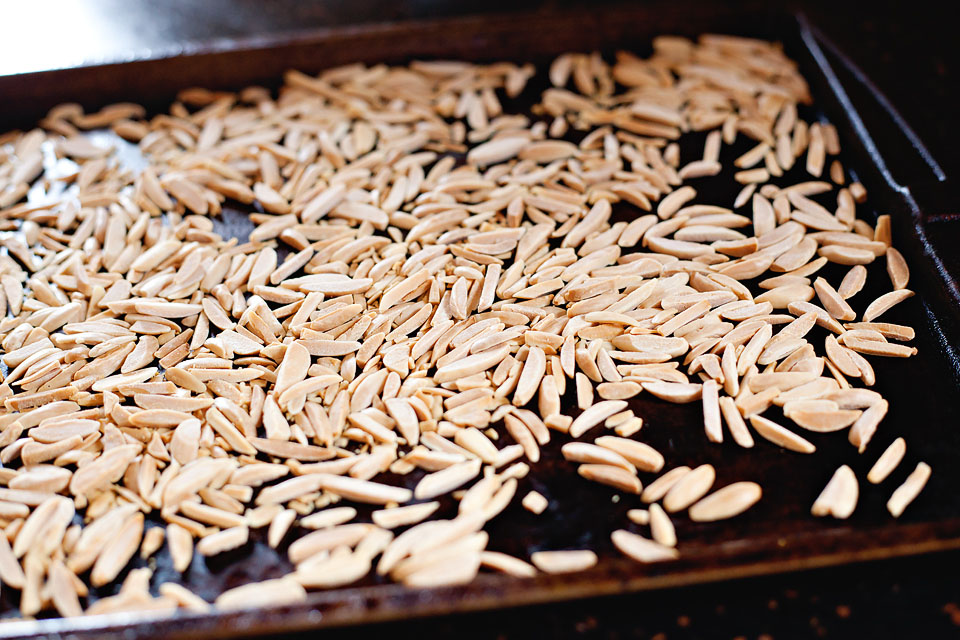
Preheat oven to 350ºF. Spread almond slivers evenly on a large rimmed baking pan.


Tasty Kitchen Blog: Flourless Chocolate Almond and Coconut Cookies. Guest post by Amber Potter of Sprinkled with Flour, recipe submitted by TK member Courtney of Bake. Eat. Repeat.

Place in the oven and toast for about 7-8 minutes, turning once halfway through, until golden brown and fragrant. Reduce heat to 325ºF.


Tasty Kitchen Blog: Flourless Chocolate Almond and Coconut Cookies. Guest post by Amber Potter of Sprinkled with Flour, recipe submitted by TK member Courtney of Bake. Eat. Repeat.

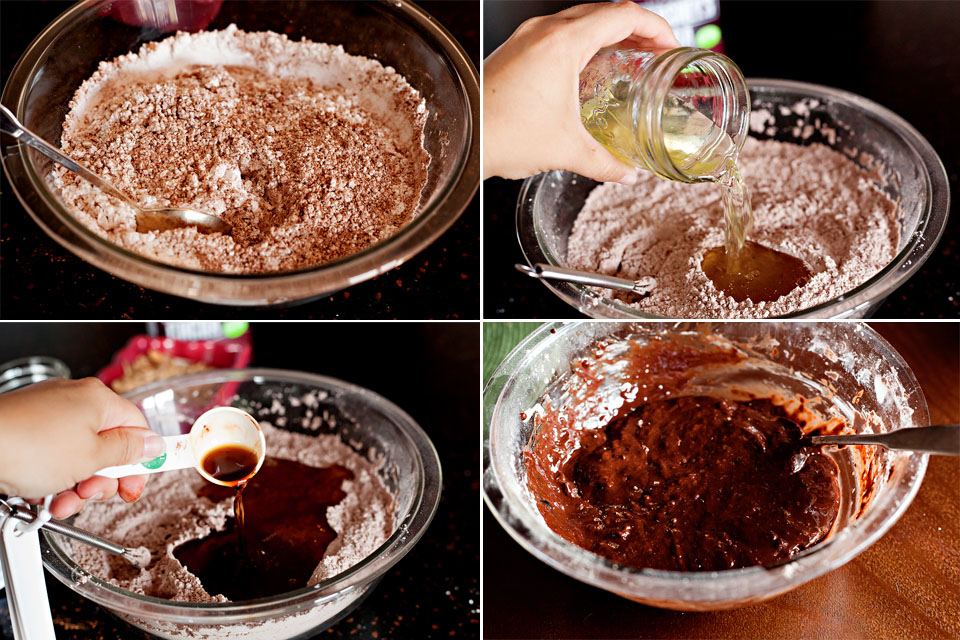
In a large bowl whisk together cocoa, powdered sugar, and salt. Continue whisking while adding egg whites and vanilla extract, mixing until just moistened. Don’t overwhisk or the eggs will stiffen. 


Tasty Kitchen Blog: Flourless Chocolate Almond and Coconut Cookies. Guest post by Amber Potter of Sprinkled with Flour, recipe submitted by TK member Courtney of Bake. Eat. Repeat.

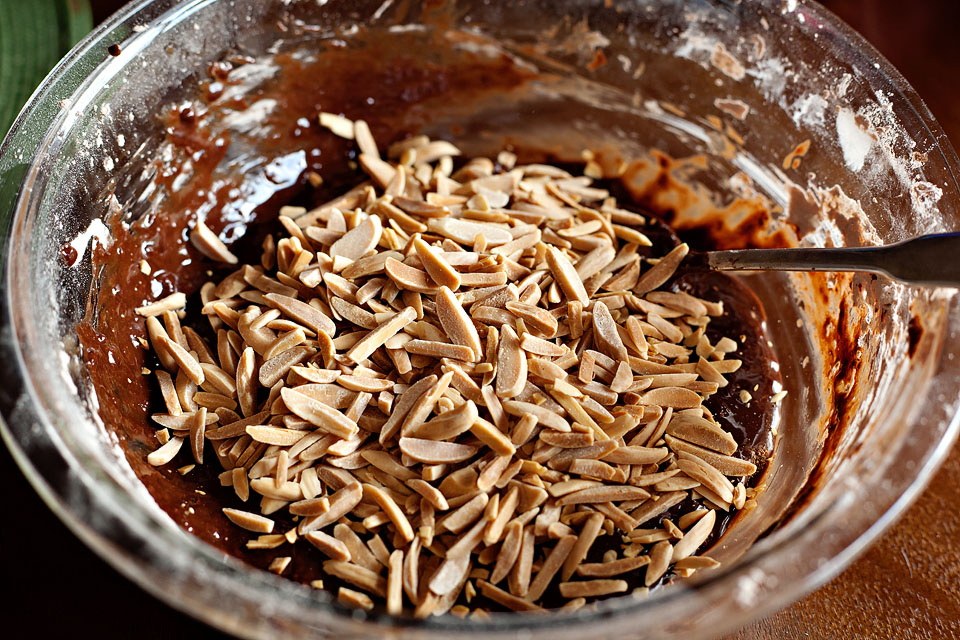
Stir in almonds …


Tasty Kitchen Blog: Flourless Chocolate Almond and Coconut Cookies. Guest post by Amber Potter of Sprinkled with Flour, recipe submitted by TK member Courtney of Bake. Eat. Repeat.

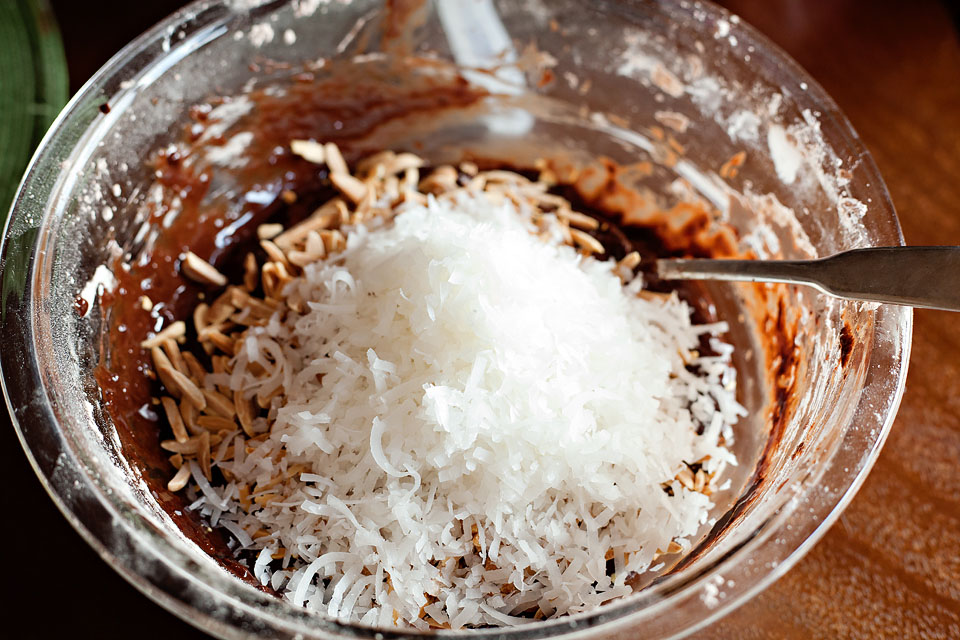
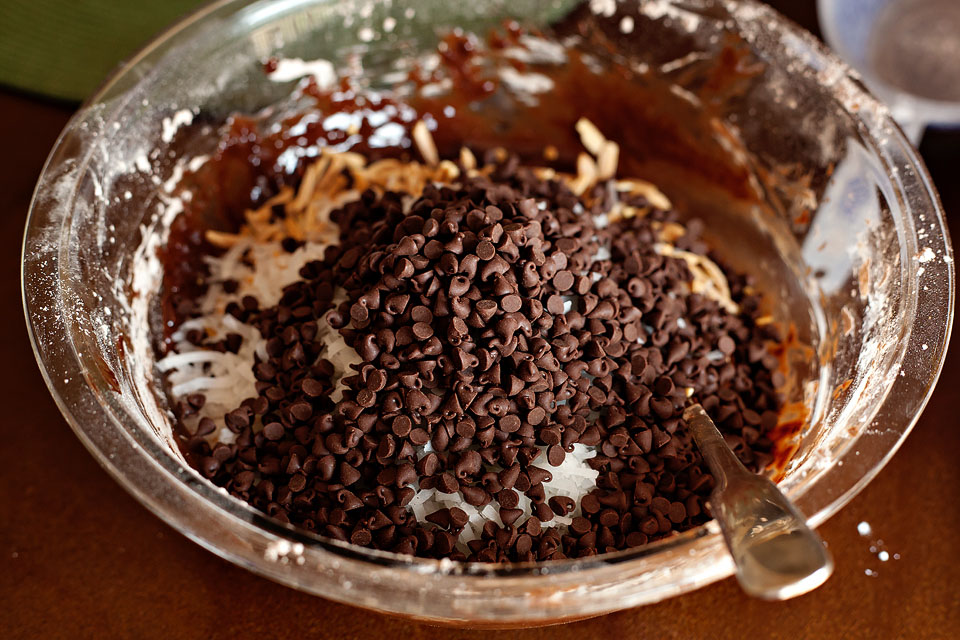
Coconut …


Tasty Kitchen Blog: Flourless Chocolate Almond and Coconut Cookies. Guest post by Amber Potter of Sprinkled with Flour, recipe submitted by TK member Courtney of Bake. Eat. Repeat.

And chocolate chips …


Tasty Kitchen Blog: Flourless Chocolate Almond and Coconut Cookies. Guest post by Amber Potter of Sprinkled with Flour, recipe submitted by TK member Courtney of Bake. Eat. Repeat.

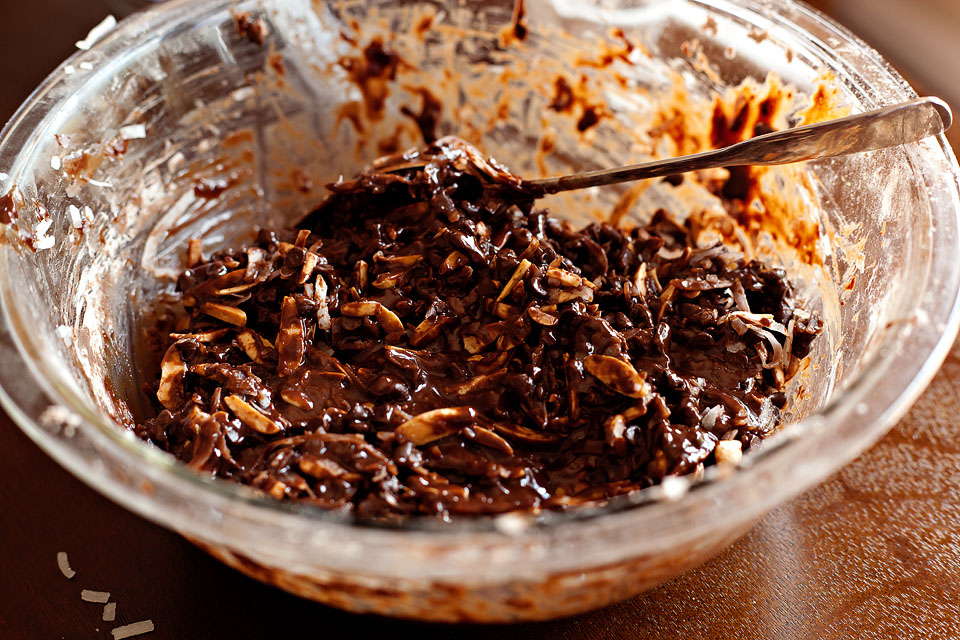
Gently stirring until combined.


Tasty Kitchen Blog: Flourless Chocolate Almond and Coconut Cookies. Guest post by Amber Potter of Sprinkled with Flour, recipe submitted by TK member Courtney of Bake. Eat. Repeat.

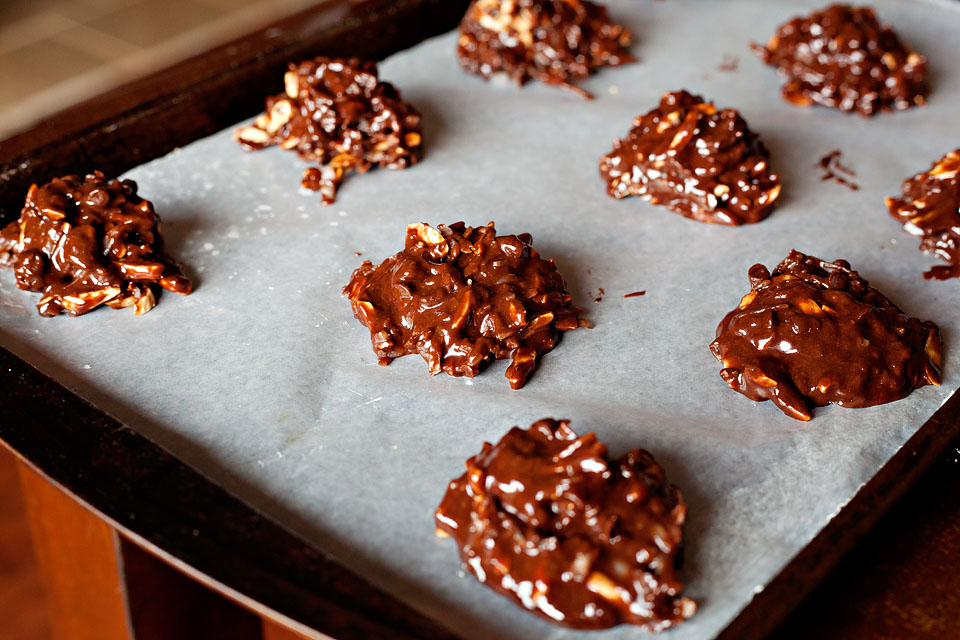
Line 2 large baking sheets with parchment paper. Spoon batter by the tablespoon onto the baking sheet (this makes 24) or by heaping tablespoons (this makes 18 large cookies). Bake for 14-16 minutes, turning pans and moving the top to bottom rack halfway through.


Tasty Kitchen Blog: Flourless Chocolate Almond and Coconut Cookies. Guest post by Amber Potter of Sprinkled with Flour, recipe submitted by TK member Courtney of Bake. Eat. Repeat.

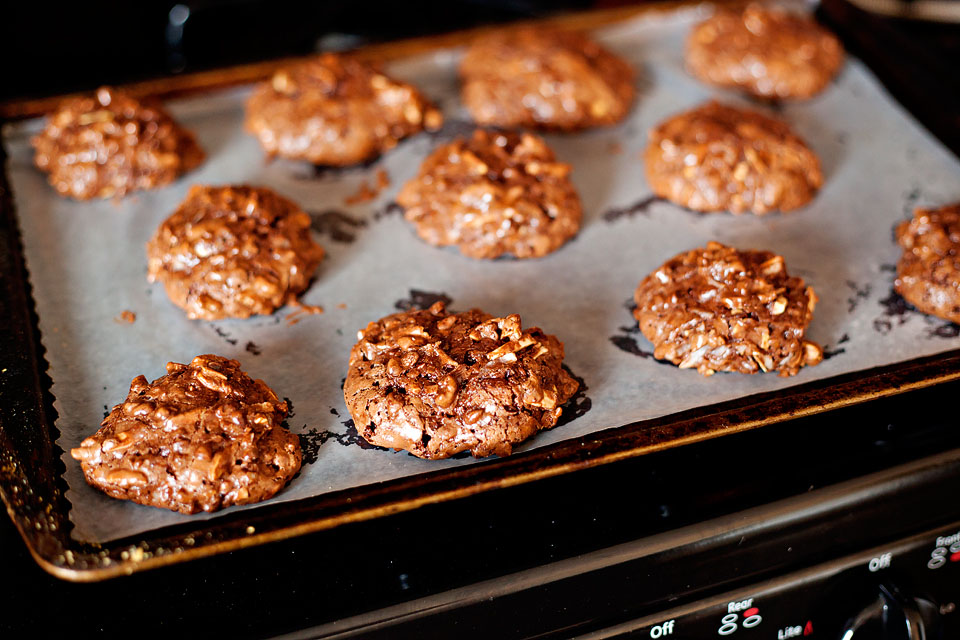
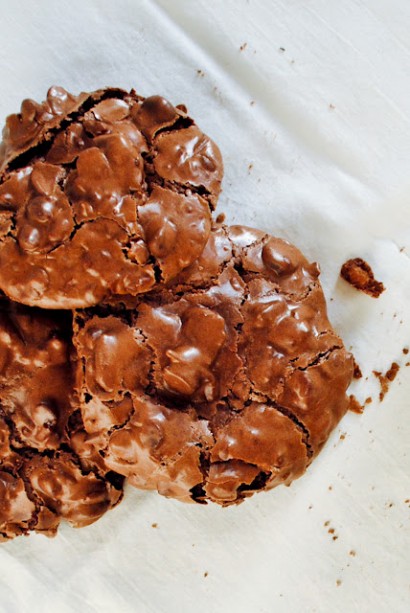
Cookies are finished when the tops are shiny and cracked. 


Tasty Kitchen Blog: Flourless Chocolate Almond and Coconut Cookies. Guest post by Amber Potter of Sprinkled with Flour, recipe submitted by TK member Courtney of Bake. Eat. Repeat.

Slide the cookies off the pans and allow to cool completely before removing.


Tasty Kitchen Blog: Flourless Chocolate Almond and Coconut Cookies. Guest post by Amber Potter of Sprinkled with Flour, recipe submitted by TK member Courtney of Bake. Eat. Repeat.

A big thanks to Courtney for sharing her recipe and giving us our new “Santa Clause Cookie.” Be sure to visit her blog, Bake. Eat. Repeat, where she focuses on hearty, home-cooked meals made with fresh ingredients … and even gets her husband to help!

Recipe notes: If you don’t have kosher salt, you can substitute half the amount of regular salt.


Tasty Kitchen Blog: Flourless Chocolate Almond and Coconut Cookies. Guest post by Amber Potter of Sprinkled with Flour, recipe submitted by TK member Courtney of Bake. Eat. Repeat.


Printable Recipe

Flourless Chocolate, Almond, and Coconut Cookies

See post on Courtney’s site!
4.14 Mitt(s) 7 Rating(s)7 votes, average: 4.14 out of 57 votes, average: 4.14 out of 57 votes, average: 4.14 out of 57 votes, average: 4.14 out of 57 votes, average: 4.14 out of 5

Prep Time:

Cook Time:

Difficulty: Easy

Servings: 18

18
x

Print Options

Page size Letter 3x5 4x6
Text Size Small Medium Large
Content Include description
Include prep time, etc.
Show image

Description

Dark chocolate cookies studded with almonds and coconut. The goodness of an Almond Joy and the crackly top of a brownie in cookie form. Gluten-free and low fat so you can have your cookie and a waist line, too!

Ingredients

  • 1 cup Unsalted Slivered Or Sliced Almonds
  • 1 cup Sweetened Shredded Coconut
  • ½ cups Plus 3 Tablespoons Unsweetened Cocoa
  • 3 cups Powdered Sugar
  • ½ teaspoons Kosher Salt
  • 4 whole Egg Whites, At Room Temperature
  • 1 Tablespoon Vanilla Extract
  • ¾ cups Mini Chocolate Chips

Preparation Instructions

1. Preheat the oven to 350ºF. Spread almond slivers and shredded coconut evenly on a large rimmed baking pan. Place in the oven and toast for about 7-8 minutes, turning/tossing once halfway through, until golden brown and fragrant. Reduce heat to 325ºF.

2. Meanwhile, in a large bowl whisk together cocoa (1/2 cup plus 3 tablespoons total), powdered sugar, and salt. Continue whisking while adding egg whites and vanilla extract, mixing until just moistened. Don’t overwhisk or the eggs will stiffen. Stir in almonds, coconut, and chocolate chips.

3. Line 2 large baking sheets with parchment paper. (I highly suggest using parchment paper. I had one cookie that wouldn’t fit and baked straight on the pan and I couldn’t get it off later!) Spoon batter by the tablespoon onto the baking sheet (this makes 24) or by heaping tablespoons (this makes 18 large cookies).

4. Bake for 14-16 minutes, turning pans and shifting the top to bottom rack halfway through. Cookies are finished when tops are shiny and cracked. Slide the cookies off the pans and allow to cool completely before removing.


_______________________________________

Amber is a stay at home mom who lives in the heart of the Missouri Ozarks. It’s a long way from where she grew up, in Wales (yes, way over in the U.K.). The recipes in her blog Sprinkled with Flour include her original creations as well as her family recipes. Go check them out!


Profile photo of missamy

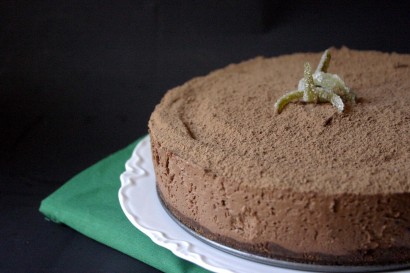
No-Bake Chocolate Cheesecake

Posted by in Step-by-Step Recipes

Tasty Kitchen Blog: No-Bake Chocolate Cheesecake. Guest post by Amy Johnson of She Wears Many Hats, recipe submitted by TK member Anna of Crunchy Creamy Sweet.

 
Can I tell you a secret? I’ve only made a real cheesecake once before. I was a nervous wreck waiting to see if it would crack, and wondering if I’d be able to loosen it from the pan without a total mess. It turned out just fine, but I’ve yet to make another since. I know, I’m silly. But I have been seeing a bunch of no-bake cheesecakes lately, served up in cute individual dishes. Up until last week I had yet to try a recipe for one myself, but then I discovered this recipe from Tasty Kitchen member, Anna, for a No-Bake Chocolate Cheesecake. This recipe has a little sumpin’ sumpin’ that tempted me to give it a go: a Biscoff cookie crust. Yes indeedy. Biscoff + chocolate? It had my name written all over it.

Fair warning: This is one rich and indulgent cheesecake. A small piece (about 1/12 of the whole) is the perfect serving size. My daughter said she wanted some whipped cream to top it with, but I think she’s lost her marbles. It was quite satisfying enough with a light dusting of cocoa powder. And the crust? Wow. Totally a crust that will be used for other desserts in the future.

Want to see how it goes together?


Tasty Kitchen Blog: No-Bake Chocolate Cheesecake. Guest post by Amy Johnson of She Wears Many Hats, recipe submitted by TK member Anna of Crunchy Creamy Sweet.

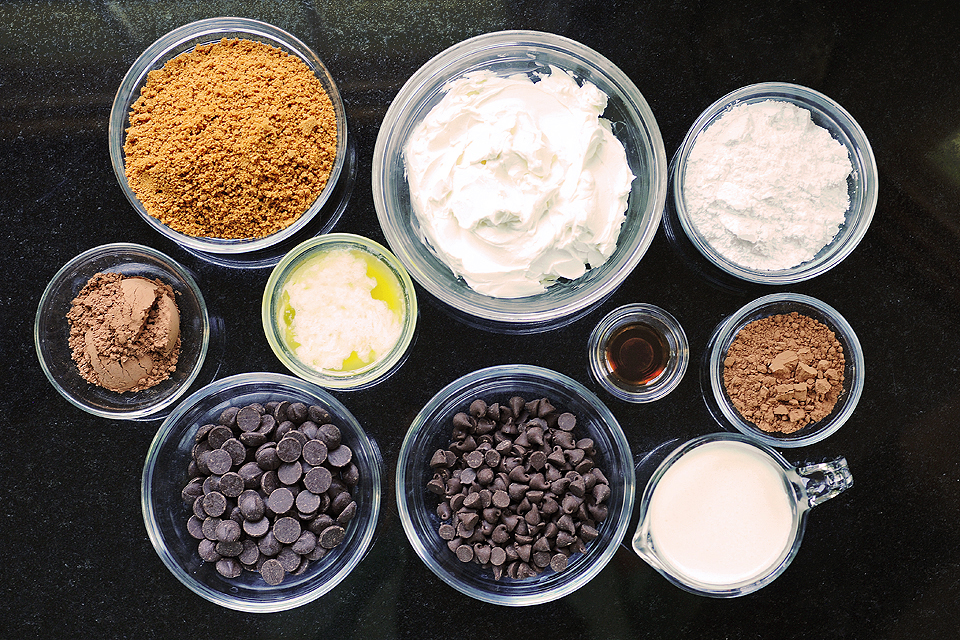
You’ll need: Biscoff cookies, cocoa powder, melted butter, cream cheese, powdered sugar, vanilla, bittersweet chocolate, semisweet chocolate, whipping cream, and more cocoa powder for dusting. (The recipe calls for chopped chocolate, but I used a combo of both bittersweet chocolate chips and semisweet chocolate chips, which worked quite nicely.)


Tasty Kitchen Blog: No-Bake Chocolate Cheesecake. Guest post by Amy Johnson of She Wears Many Hats, recipe submitted by TK member Anna of Crunchy Creamy Sweet.

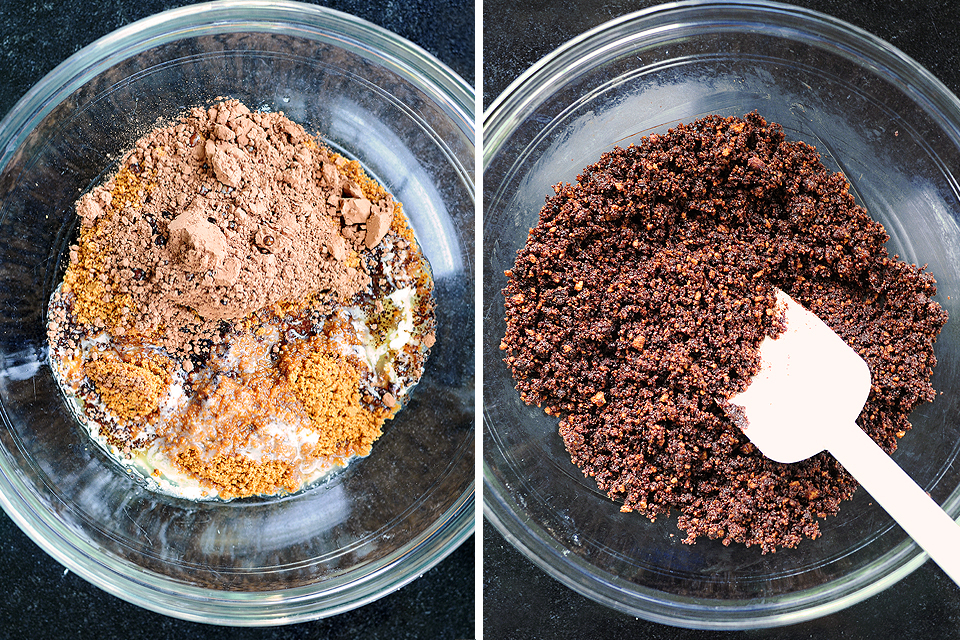
For the crust, combine the cookie crumbs, 4 tablespoons cocoa powder, and butter.


Tasty Kitchen Blog: No-Bake Chocolate Cheesecake. Guest post by Amy Johnson of She Wears Many Hats, recipe submitted by TK member Anna of Crunchy Creamy Sweet.

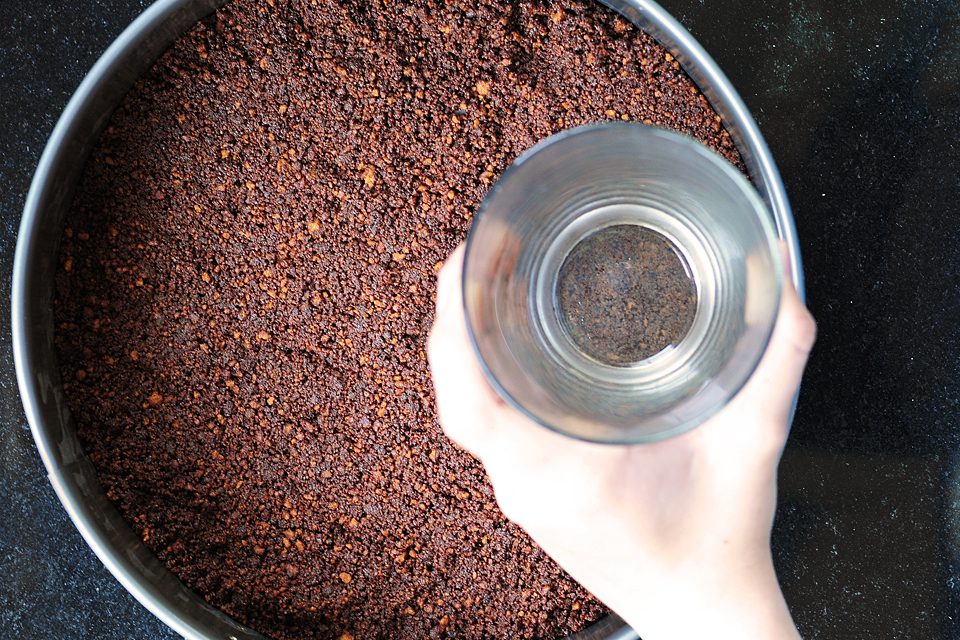
Firmly press in bottom of a springform pan. I like to use a flat-bottomed glass to evenly press the crust out. Once the crust is ready, set aside.

I almost decided on individual serving dishes to avoid the worry of whether or not it would loosen from the pan, but opted for the whole cheesecake route with no trouble whatsoever. This recipe could easily be prepared using individual servings, but just remember, it’s very rich, so you may want to make the servings on the small side.


Tasty Kitchen Blog: No-Bake Chocolate Cheesecake. Guest post by Amy Johnson of She Wears Many Hats, recipe submitted by TK member Anna of Crunchy Creamy Sweet.

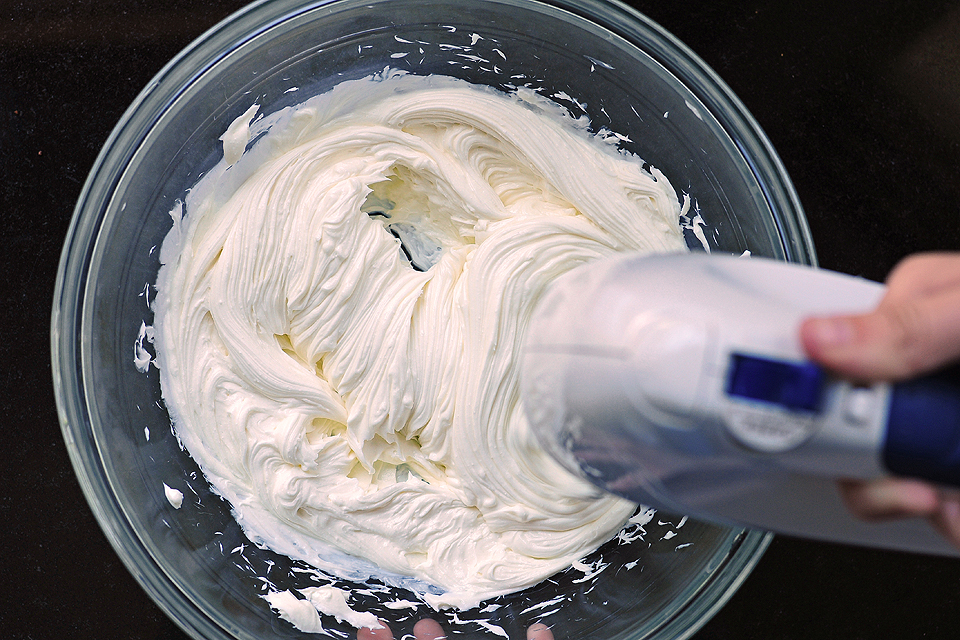
Now for the chocolate cream cheese goodness. Begin by beating the cream cheese until smooth.


Tasty Kitchen Blog: No-Bake Chocolate Cheesecake. Guest post by Amy Johnson of She Wears Many Hats, recipe submitted by TK member Anna of Crunchy Creamy Sweet.

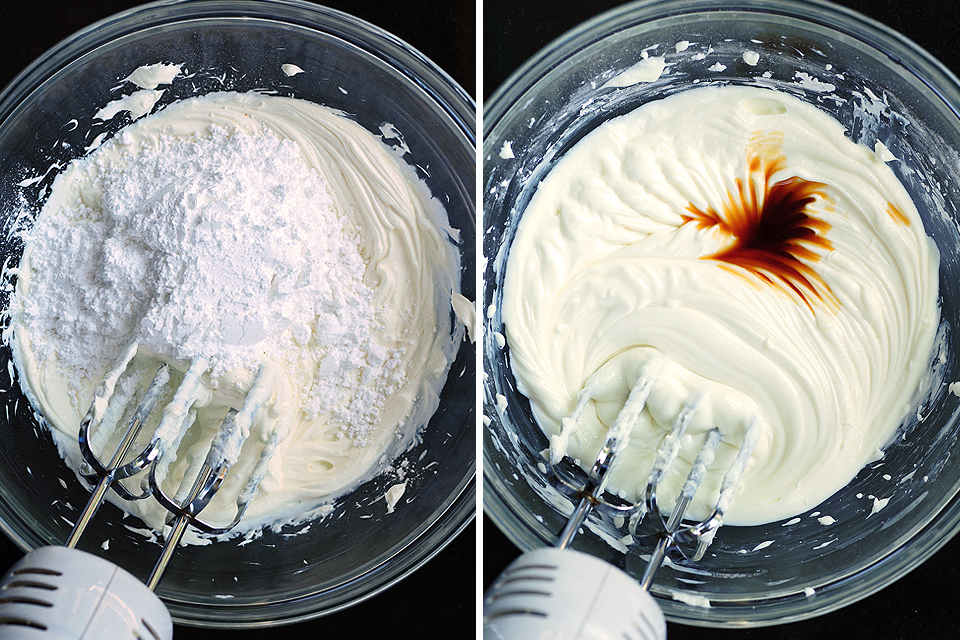
Next add the powdered sugar, beat well, and then the vanilla.


Tasty Kitchen Blog: No-Bake Chocolate Cheesecake. Guest post by Amy Johnson of She Wears Many Hats, recipe submitted by TK member Anna of Crunchy Creamy Sweet.

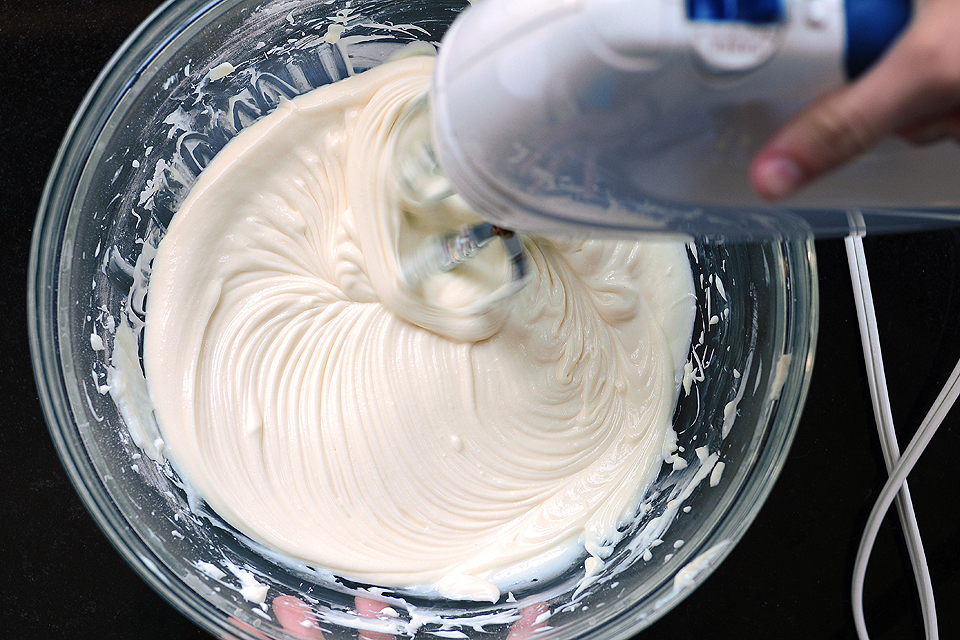
Combine all well until smooth.


Tasty Kitchen Blog: No-Bake Chocolate Cheesecake. Guest post by Amy Johnson of She Wears Many Hats, recipe submitted by TK member Anna of Crunchy Creamy Sweet.

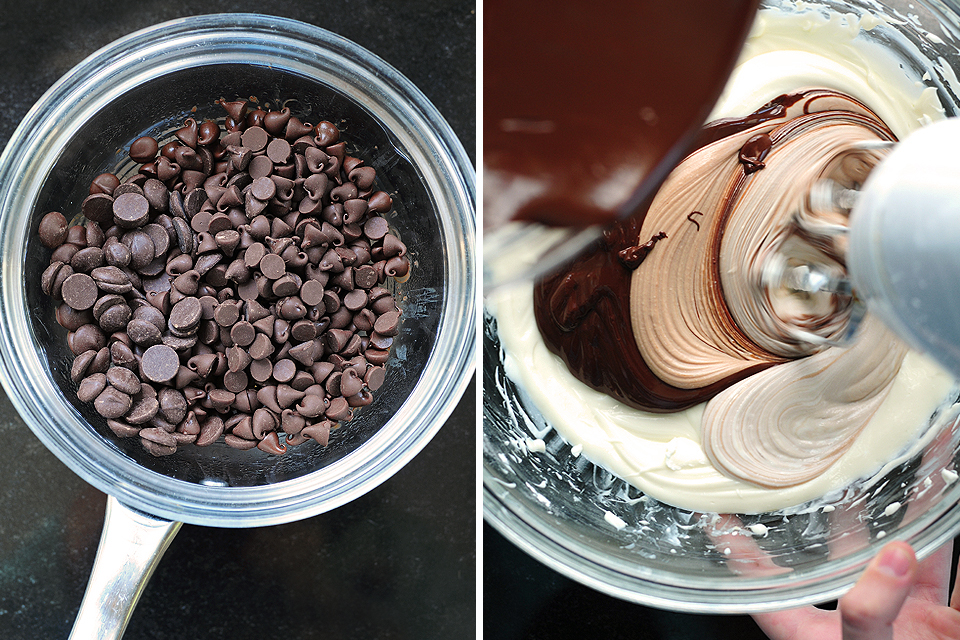
Over a double boiler (or like me, use a glass bowl that sits nicely over a pot), melt the chopped chocolate. Once the chocolate is melted (sorry, no melty chocolate picture) let it cool slightly. Once cooled, gradually stream the melted chocolate into the cream cheese mixture.


Tasty Kitchen Blog: No-Bake Chocolate Cheesecake. Guest post by Amy Johnson of She Wears Many Hats, recipe submitted by TK member Anna of Crunchy Creamy Sweet.

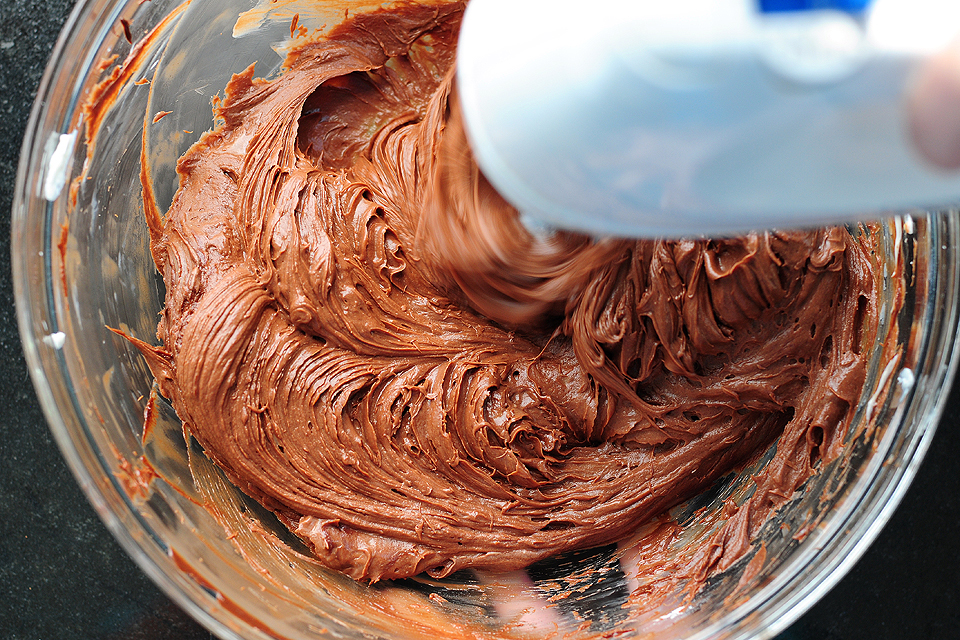
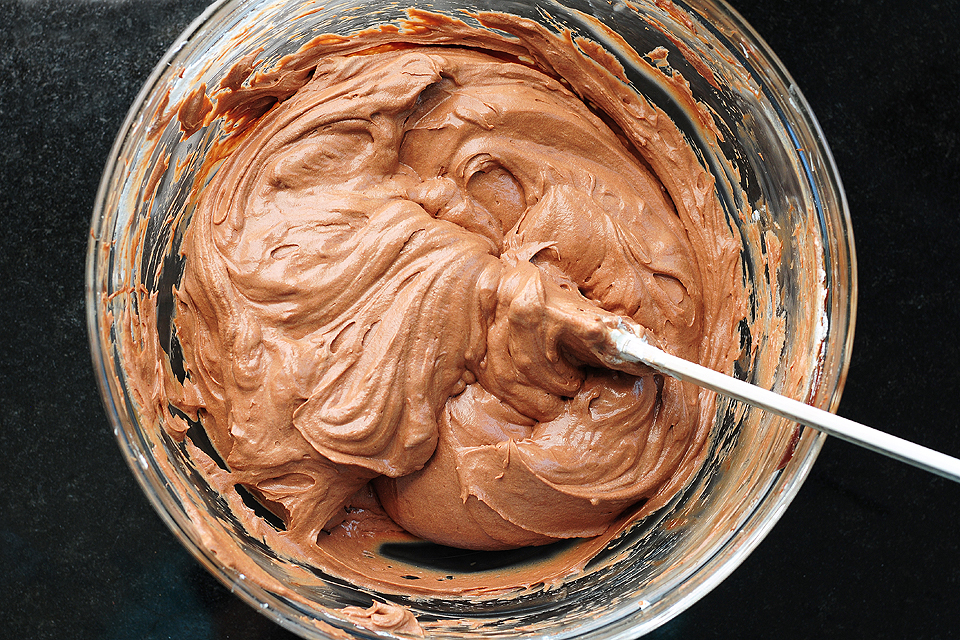
Mix slowly until combined well. Try not to eat it all with a spoon at this point. Restraint is a good thing.


Tasty Kitchen Blog: No-Bake Chocolate Cheesecake. Guest post by Amy Johnson of She Wears Many Hats, recipe submitted by TK member Anna of Crunchy Creamy Sweet.

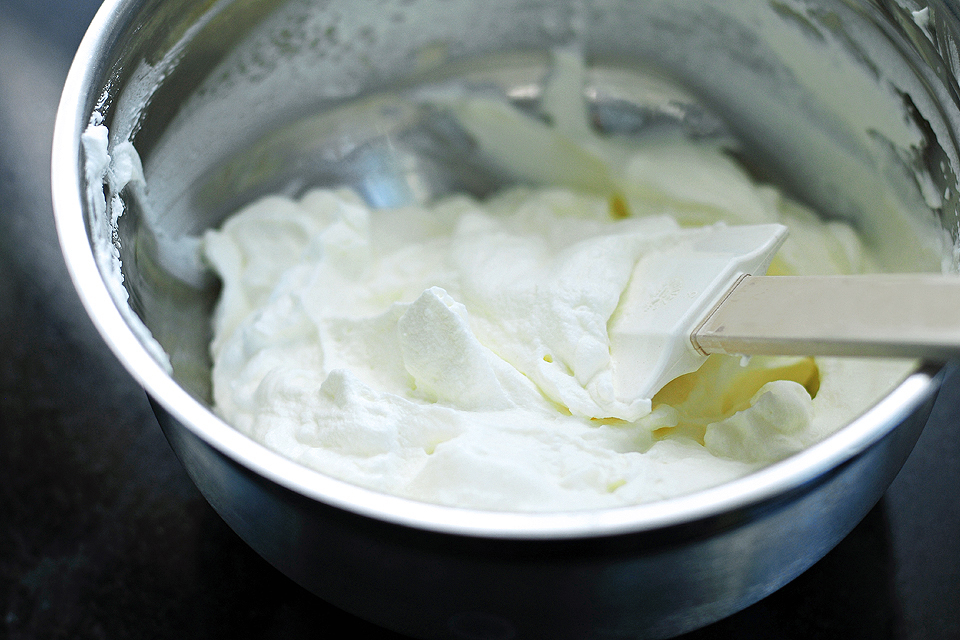
In a separate bowl, whip the cream until soft peaks form.


Tasty Kitchen Blog: No-Bake Chocolate Cheesecake. Guest post by Amy Johnson of She Wears Many Hats, recipe submitted by TK member Anna of Crunchy Creamy Sweet.

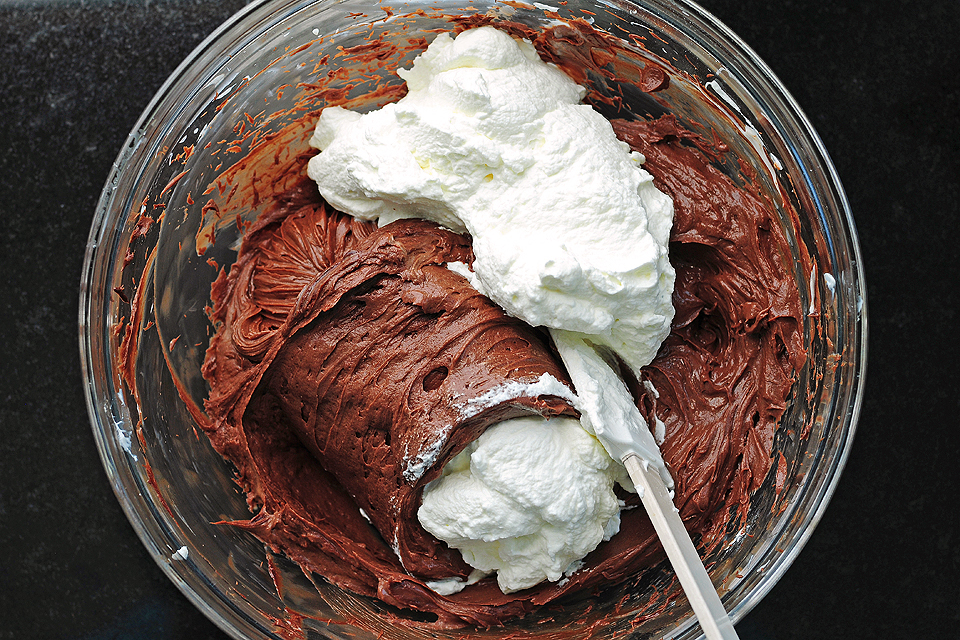
Gently fold the whipped cream into the chocolate cream cheese mixture.


Tasty Kitchen Blog: No-Bake Chocolate Cheesecake. Guest post by Amy Johnson of She Wears Many Hats, recipe submitted by TK member Anna of Crunchy Creamy Sweet.

Take your time mixing the whipped cream into the chocolate cream cheese mixture until combined. You don’t want to overbeat the mixture or the whipped cream won’t be whippy any more.


Tasty Kitchen Blog: No-Bake Chocolate Cheesecake. Guest post by Amy Johnson of She Wears Many Hats, recipe submitted by TK member Anna of Crunchy Creamy Sweet.

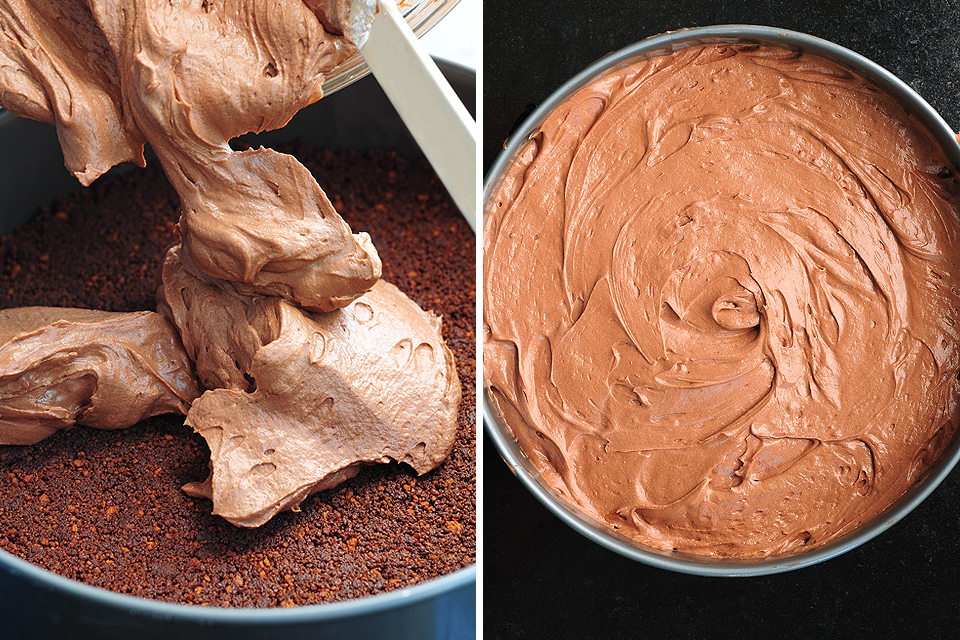
Now you’re ready to fill the springform pan. Add the chocolate cream cheese mixture to the prepared Biscoff crust and spread until smooth and even. Chill covered at least 8 hours in a refrigerator until set.


Tasty Kitchen Blog: No-Bake Chocolate Cheesecake. Guest post by Amy Johnson of She Wears Many Hats, recipe submitted by TK member Anna of Crunchy Creamy Sweet.

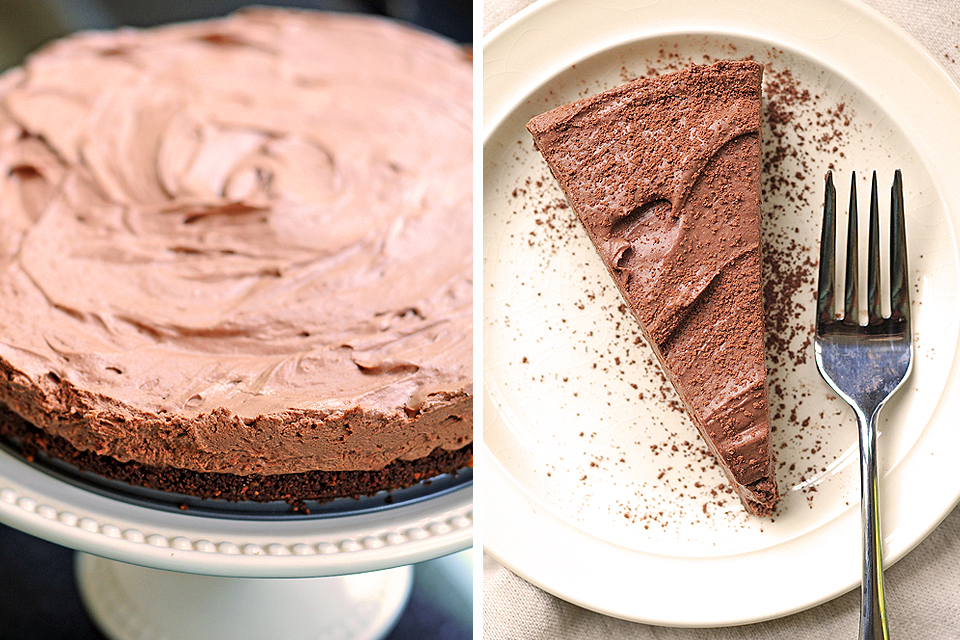
Once set, carefully loosen the springform pan to release the cake.


Tasty Kitchen Blog: No-Bake Chocolate Cheesecake. Guest post by Amy Johnson of She Wears Many Hats, recipe submitted by TK member Anna of Crunchy Creamy Sweet.

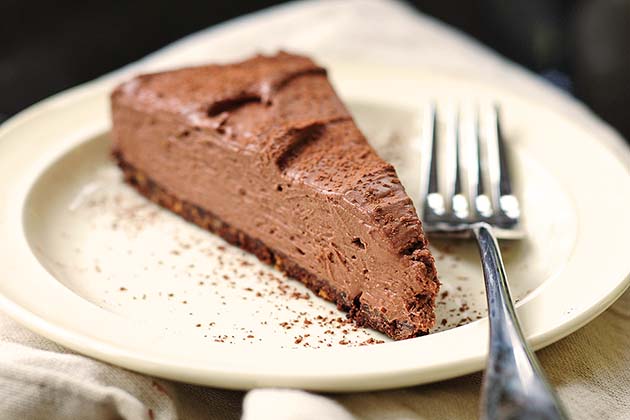
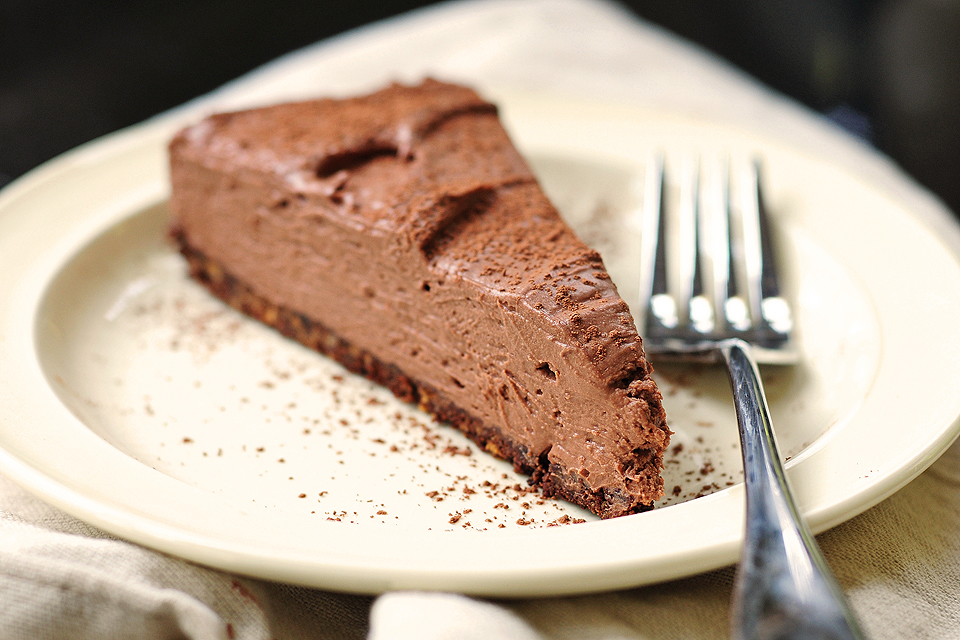
Serve, dusted lightly with remaining cocoa powder, and enjoy! And if you like Biscoff cookies and chocolate, you will most definitely enjoy.

A big thanks to Anna for introducing me to this no-bake cheesecake option. You can check out Anna’s other creations at her site, Crunchy Creamy Sweet.


Printable Recipe

No-Bake Chocolate Cheesecake

See post on Anna’s site!
5.00 Mitt(s) 4 Rating(s)4 votes, average: 5.00 out of 54 votes, average: 5.00 out of 54 votes, average: 5.00 out of 54 votes, average: 5.00 out of 54 votes, average: 5.00 out of 5

Prep Time:

Cook Time:

Difficulty: Easy

Servings: 12

12
x

Print Options

Page size Letter 3x5 4x6
Text Size Small Medium Large
Content Include description
Include prep time, etc.
Show image

Description

Biscoff cookies crust and creamy chocolate filling make this decadent dessert. No oven required, which makes it perfect for summer!

Ingredients

  • 7 ounces, weight Crushed Biscoff Cookies
  • 4 Tablespoons Unsweetened Cocoa Powder
  • ¼ cups Butter, Melted
  • 16 ounces, weight Cream Cheese, Softened
  • 3-¾ ounces, weight Powdered Sugar
  • 1 teaspoon Vanilla Extract
  • 5-¼ ounces, weight Bittersweet Chocolate, Chopped
  • 5-¼ ounces, weight Semisweet Chocolate, Chopped
  • ½ pints Whipping Cream
  • ¼ cups Unsweetened Cocoa Powder, For Dusting

Preparation Instructions

In a medium mixing bowl, stir together cookie crumbs, cocoa powder and butter. Stir until all combined. Press firmly onto the bottom of a springform pan. Set aside.

In a large mixing bowl, beat cream cheese for 1 minute, until smooth. Add powdered sugar and beat again. Add vanilla extract and mix again.

Melt chocolate over a double boiler. Let cool slightly. With your mixer on slow speed, add the chocolate into the cream cheese mixture, pouring slowly.

Whip the cream until stiff peaks form. Fold in gently to chocolate and cheese mixture.

Pour the filling over the crust. Refrigerate for at least 8 hours, preferably overnight.

When the cheesecake is set, run a sharp knife around the edge to loosen from the pan. Gently open the latch and release the cheesecake.

Before serving, dust with cocoa powder and garnish.


_______________________________________

Amy Johnson is a blogger who writes about food, travel, the home (both inside and out), and various observations and random musings about anything and everything. Visit her blog She Wears Many Hats for a dose of deliciousness, practicality, hilarity, or just plain fun. She lives in South Carolina with her husband and two children.


Profile photo of Erica Lea

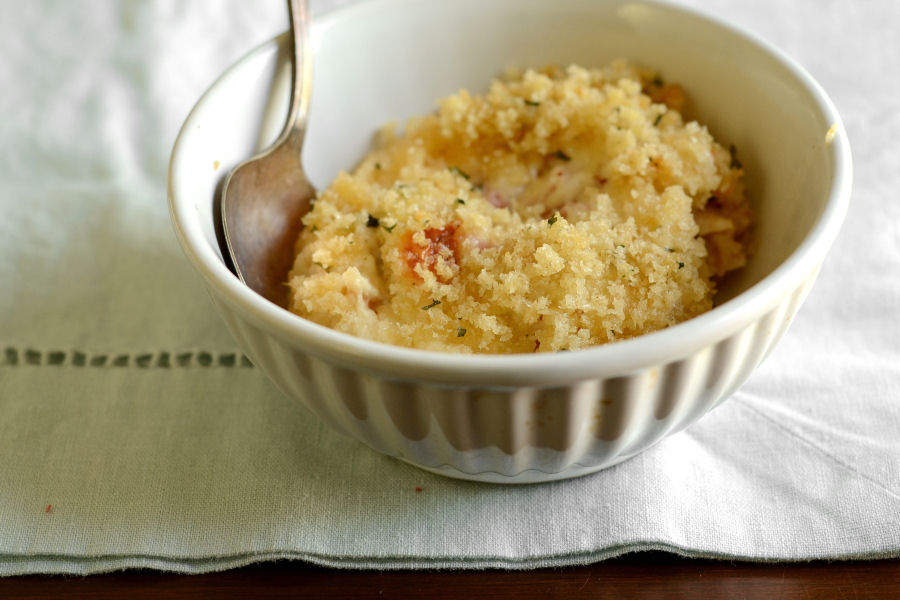
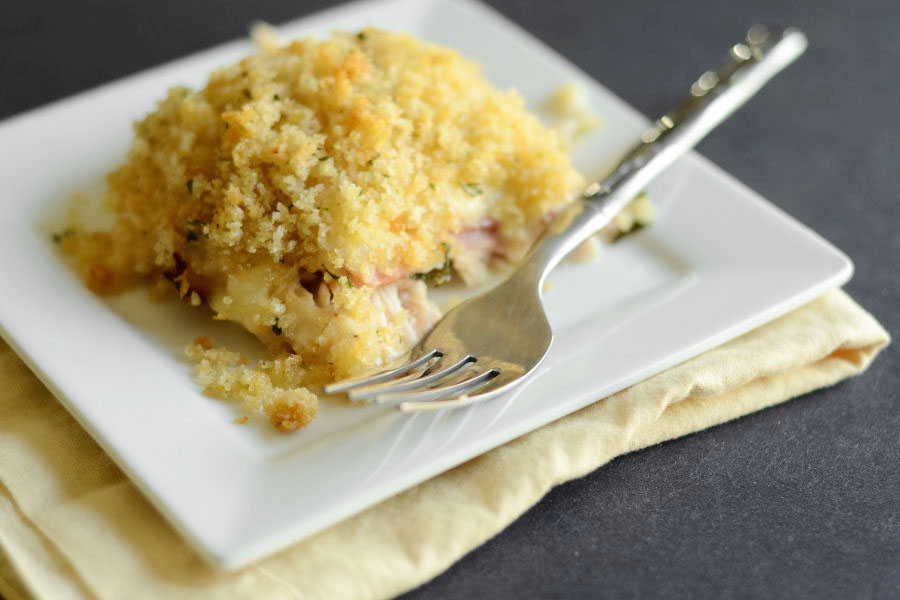
Chicken Cordon Bleu Casserole

Posted by in Step-by-Step Recipes

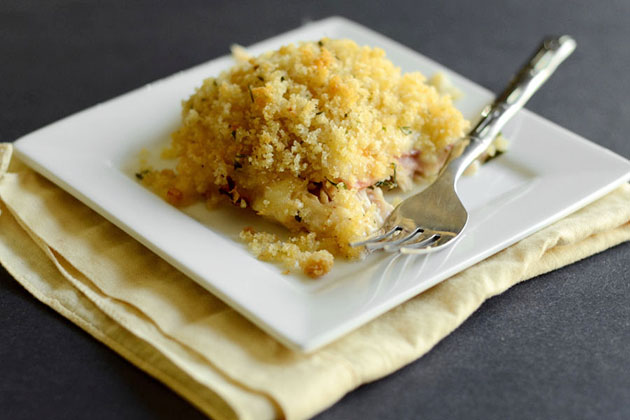
Tasty Kitchen Blog: Chicken Cordon Bleu Casserole. Guest post by Erica Kastner of Cooking for Seven, recipe submitted by Terri of That's Some Good Cookin'.

 
Sometimes, you just need a warm, comforting supper; something that will fill your belly and keep you satisfied.

This casserole (or, as I like to call it, hotdish) is admittedly not the most healthy on earth. But, trust me, Terri’s recipe is worth the extra calories.

Let me show you how it goes together.


Tasty Kitchen Blog: Chicken Cordon Bleu Casserole. Guest post by Erica Kastner of Cooking for Seven, recipe submitted by Terri of That's Some Good Cookin'.

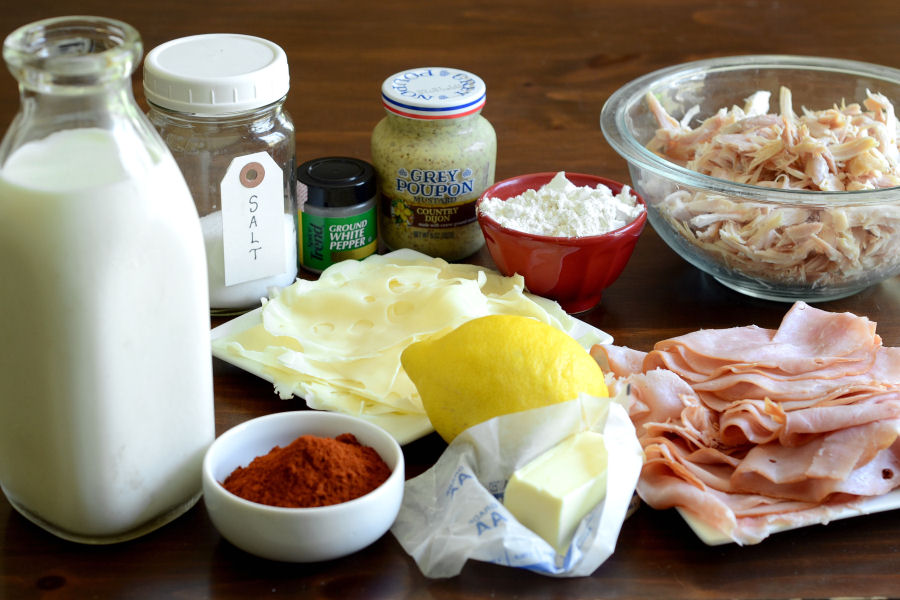
Here’s what you’ll need: 1 whole chicken (I used a rotisserie chicken), thinly sliced honey ham, thinly sliced baby Swiss cheese, butter, flour, milk, lemon, Dijon mustard, salt, smoked paprika and white pepper.


Tasty Kitchen Blog: Chicken Cordon Bleu Casserole. Guest post by Erica Kastner of Cooking for Seven, recipe submitted by Terri of That's Some Good Cookin'.

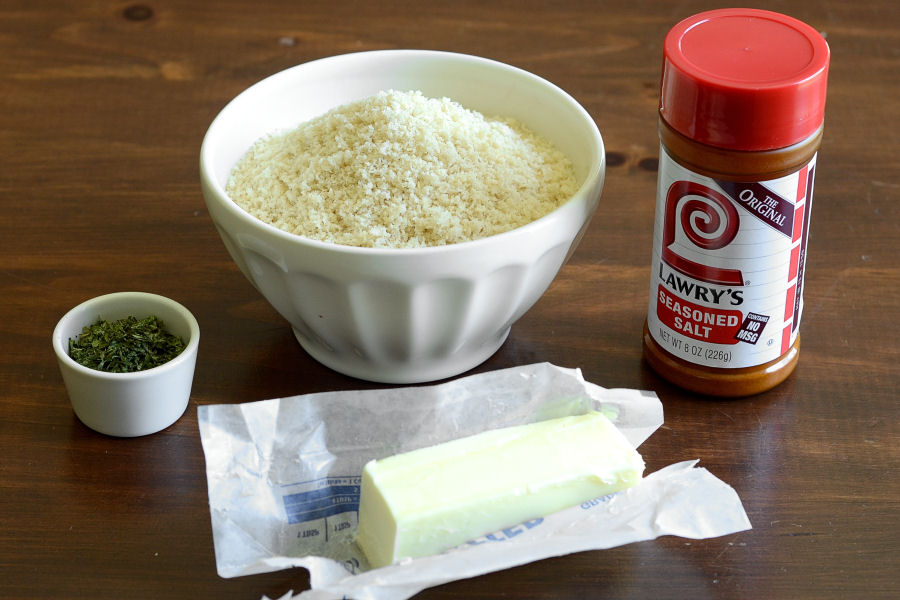
For the topping you will need: more butter (duh!), panko bread crumbs, seasoning salt and parsley.


Tasty Kitchen Blog: Chicken Cordon Bleu Casserole. Guest post by Erica Kastner of Cooking for Seven, recipe submitted by Terri of That's Some Good Cookin'.

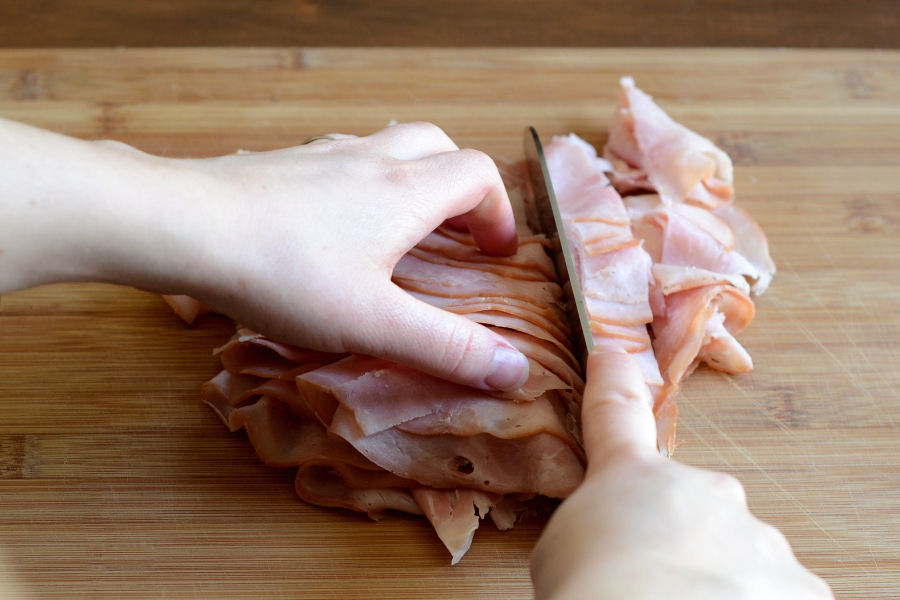
Roughly chop the ham.


Tasty Kitchen Blog: Chicken Cordon Bleu Casserole. Guest post by Erica Kastner of Cooking for Seven, recipe submitted by Terri of That's Some Good Cookin'.

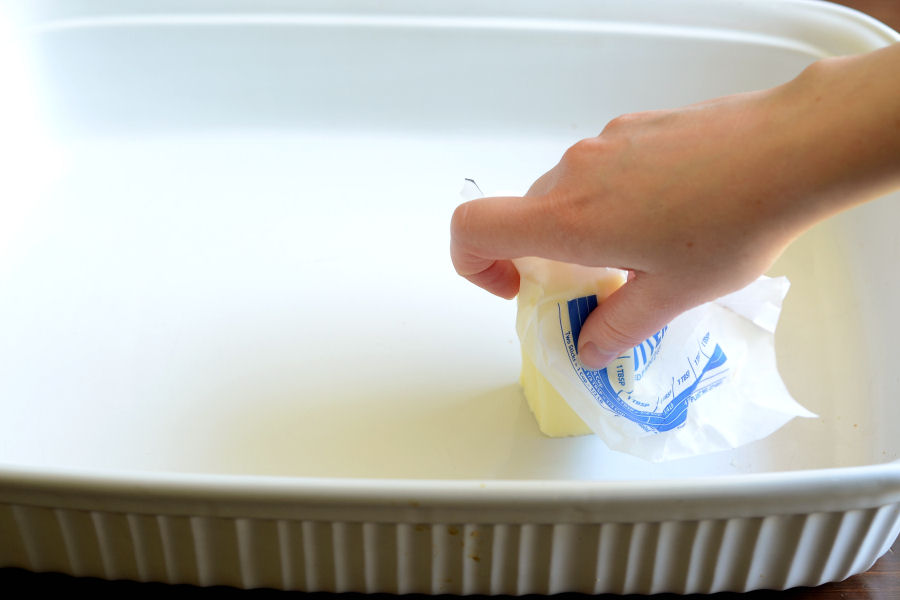
Butter a baking dish. I like to hold onto a stick of butter with the wrapper, but if you like to get your hands greasy, that’s alright, too.


Tasty Kitchen Blog: Chicken Cordon Bleu Casserole. Guest post by Erica Kastner of Cooking for Seven, recipe submitted by Terri of That's Some Good Cookin'.

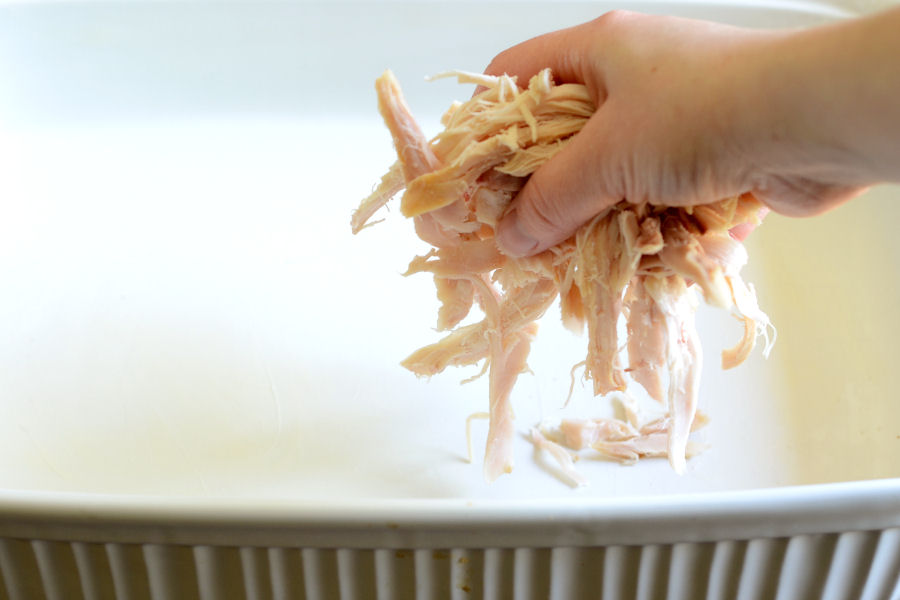
Place the shredded or diced chicken in the bottom of the pan.


Tasty Kitchen Blog: Chicken Cordon Bleu Casserole. Guest post by Erica Kastner of Cooking for Seven, recipe submitted by Terri of That's Some Good Cookin'.

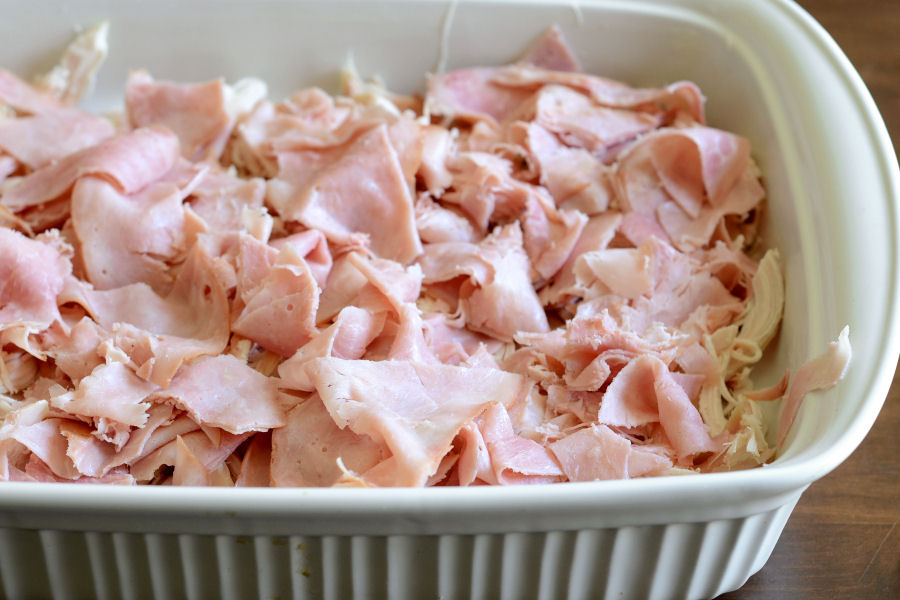
Put the chopped ham on top.


Tasty Kitchen Blog: Chicken Cordon Bleu Casserole. Guest post by Erica Kastner of Cooking for Seven, recipe submitted by Terri of That's Some Good Cookin'.

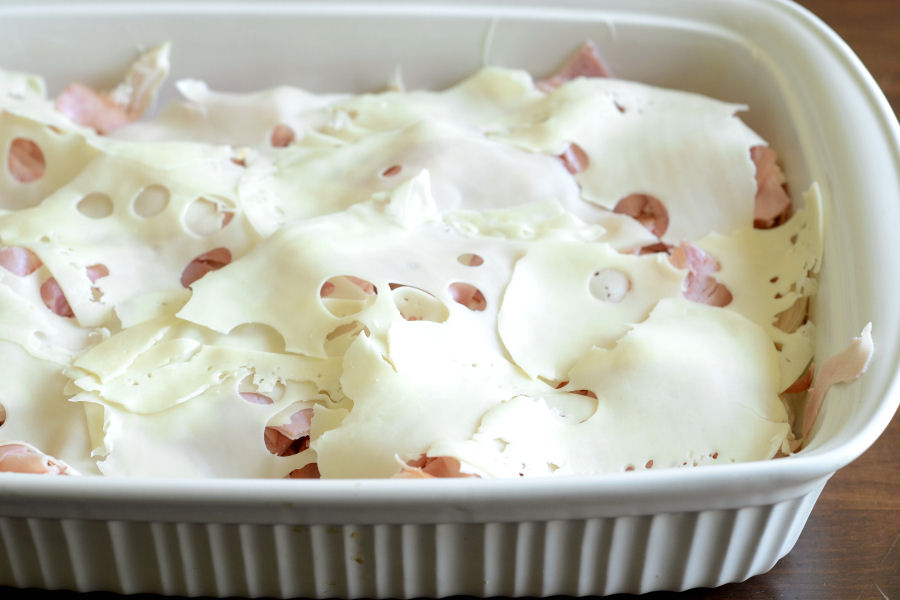
Place the sliced cheese on top of the ham.


Tasty Kitchen Blog: Chicken Cordon Bleu Casserole. Guest post by Erica Kastner of Cooking for Seven, recipe submitted by Terri of That's Some Good Cookin'.

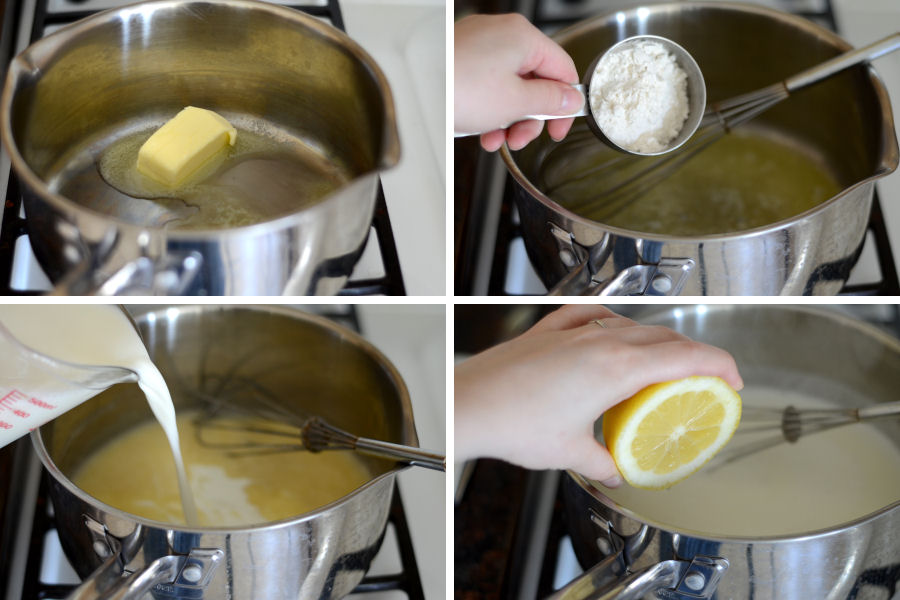
Now make the white sauce: Melt the butter in a saucepan over medium heat. Whisk in the flour and cook until bubbly and smooth. Slowly add the milk. Cook until thickened. Add the lemon juice …


Tasty Kitchen Blog: Chicken Cordon Bleu Casserole. Guest post by Erica Kastner of Cooking for Seven, recipe submitted by Terri of That's Some Good Cookin'.

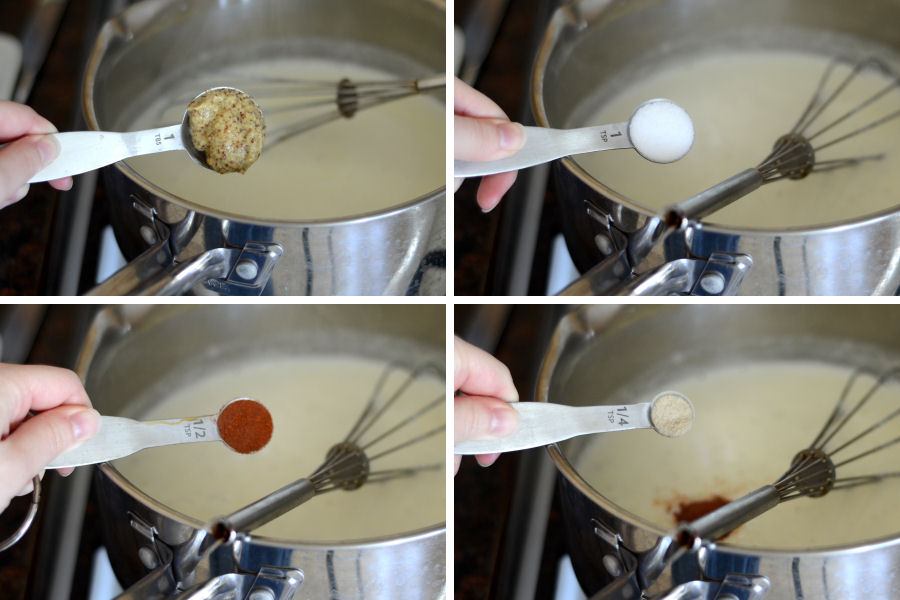
… mustard, salt, paprika and white pepper. Bring up to a boil and remove from heat.


Tasty Kitchen Blog: Chicken Cordon Bleu Casserole. Guest post by Erica Kastner of Cooking for Seven, recipe submitted by Terri of That's Some Good Cookin'.

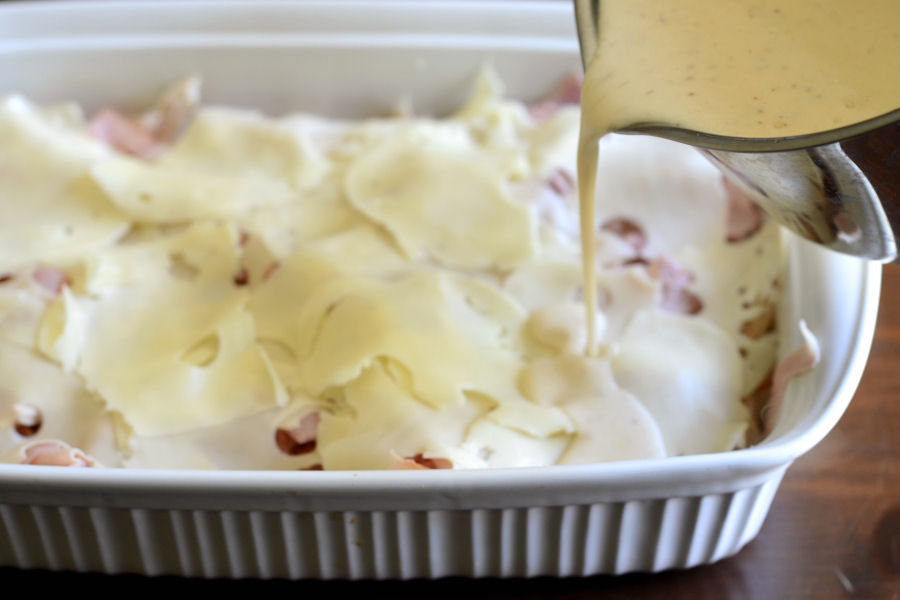
Pour the sauce over the chicken/ham/cheese in the pan.


Tasty Kitchen Blog: Chicken Cordon Bleu Casserole. Guest post by Erica Kastner of Cooking for Seven, recipe submitted by Terri of That's Some Good Cookin'.

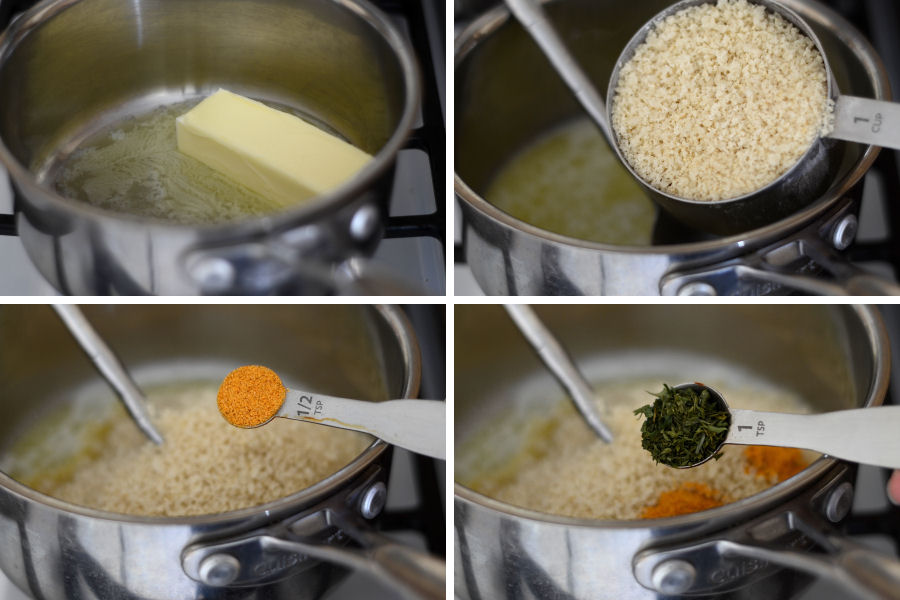
Time to make the topping: Melt the butter. Stir in the breadcrumbs, seasoning salt and parsley.


Tasty Kitchen Blog: Chicken Cordon Bleu Casserole. Guest post by Erica Kastner of Cooking for Seven, recipe submitted by Terri of That's Some Good Cookin'.

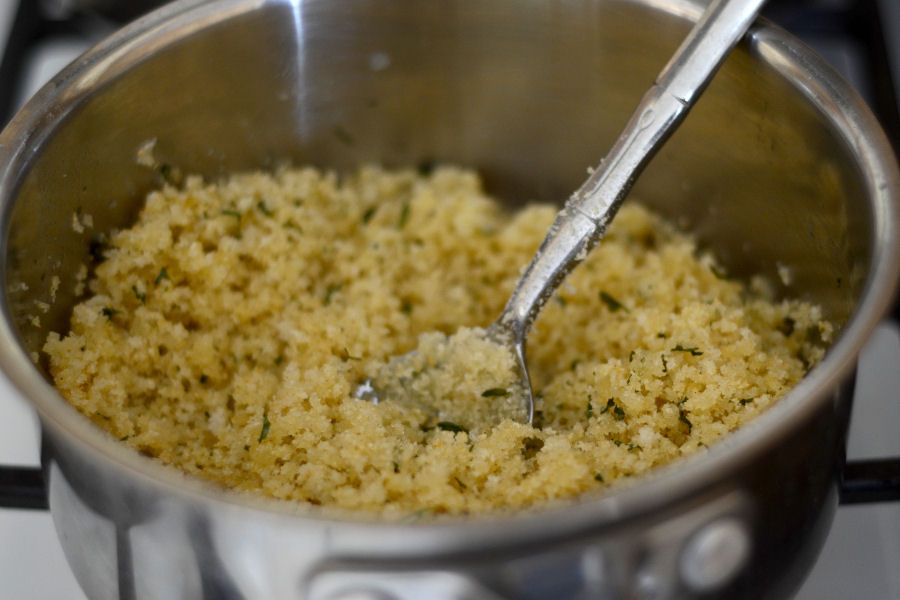
Just look at that buttery goodness. Mmhmm.


Tasty Kitchen Blog: Chicken Cordon Bleu Casserole. Guest post by Erica Kastner of Cooking for Seven, recipe submitted by Terri of That's Some Good Cookin'.

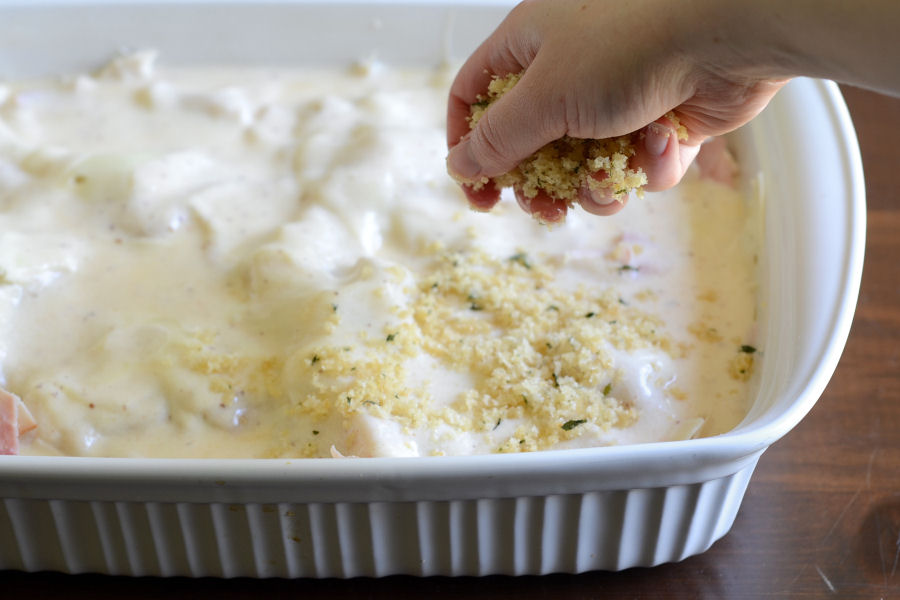
Sprinkle the topping over the sauce-laden chicken/ham/cheese. Oh yeah.


Tasty Kitchen Blog: Chicken Cordon Bleu Casserole. Guest post by Erica Kastner of Cooking for Seven, recipe submitted by Terri of That's Some Good Cookin'.

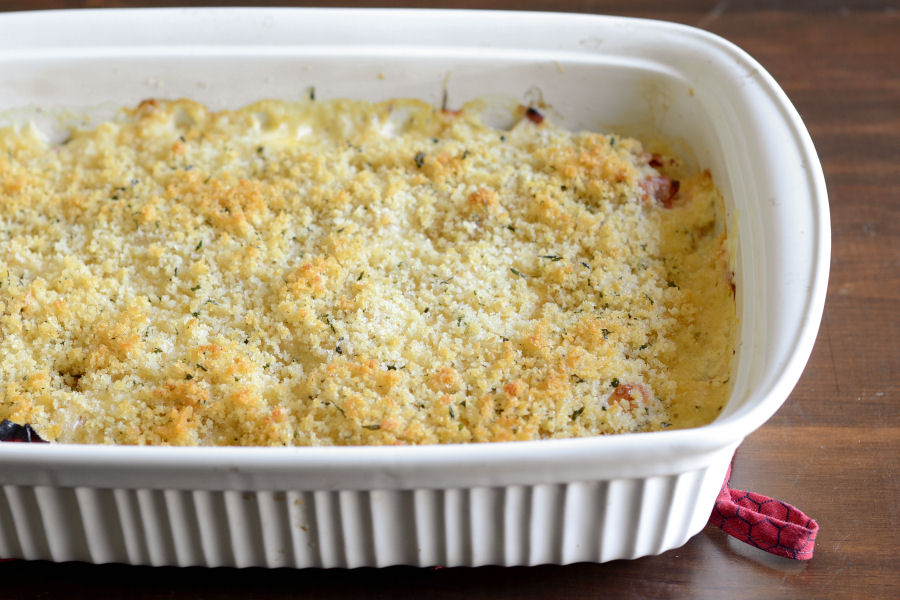
Bake at 350ºF until bubbly and the topping is lightly browned.


Tasty Kitchen Blog: Chicken Cordon Bleu Casserole. Guest post by Erica Kastner of Cooking for Seven, recipe submitted by Terri of That's Some Good Cookin'.

Allow to cool for 5-10 minutes before serving. Then, dig in!


Tasty Kitchen Blog: Chicken Cordon Bleu Casserole. Guest post by Erica Kastner of Cooking for Seven, recipe submitted by Terri of That's Some Good Cookin'.

Recipe Notes:

1. I thought this was brilliant. It tasted a lot like Chicken Cordon Bleu, only richer and creamier. Which is always good, in my book.
2. The sauce didn’t seem to want to thicken up too well for me. Next time I might add a bit more flour.
3. The lemon in the sauce was brilliant. It added just the right amount of tang.

 
Thanks so much to Terri for sharing this delicious recipe! Make sure to check out her blog, That’s Some Good Cookin’, for more lip-smacking recipes. This Cinnamon Roll Cake looks insane. And this Browned Butter Banana Bread sounds scrumptious.


Printable Recipe

Chicken Cordon Bleu Casserole

See post on Terri @ that's some good cookin'’s site!
4.52 Mitt(s) 54 Rating(s)54 votes, average: 4.52 out of 554 votes, average: 4.52 out of 554 votes, average: 4.52 out of 554 votes, average: 4.52 out of 554 votes, average: 4.52 out of 5

Prep Time:

Cook Time:

Difficulty: Easy

Servings: 8

8
x

Print Options

Page size Letter 3x5 4x6
Text Size Small Medium Large
Content Include description
Include prep time, etc.
Show image

Description

Classic flavor, homespun ease.

Please note: due to comments about the salt content of this recipe, the amount of salt has been reduced.

Ingredients

  • FOR THE CASSEROLE:
  • 1 whole Cooked Chicken, Bones Removed, Meat Diced Or Shredded (rotisserie Chicken Is Excellent, Should Be 5-6 Cups Of Chicken
  • ½ pounds Very Thinly Sliced Deli-style Honey Ham, Rough Chopped
  • ¼ pounds Thin Sliced Baby Swiss Cheese
  • FOR THE SAUCE:
  • 4 Tablespoons Butter
  • 4 Tablespoons Flour
  • 3 cups Whole Milk (or A Bit More If Needed; Whole Milk Is Required)
  • 2 Tablespoons Fresh Squeezed Lemon Juice
  • 1 Tablespoon Dijon Mustard
  • ¾ teaspoons Salt
  • ½ teaspoons Smoked Paprika
  • ¼ teaspoons White Pepper
  • FOR THE TOPPING:
  • 1-½ cup Panko Breadcrumbs
  • 4 Tablespoons Butter, Melted
  • ½ teaspoons Seasoning Salt
  • 1-½ teaspoon Crushed Dried Parsley

Preparation Instructions

(2/19/2015—Please note: due to comments about the salt content of this recipe, the amount of salt has been reduced.)

Preheat oven to 350 F. Butter a 9×13-inch baking dish. Set aside.

Put cooked shredded or diced chicken on the bottom of the baking dish. Rough chop the ham and scatter it over the top of the chicken. Lay the Swiss cheese on top of the ham.

For the sauce:

Melt the butter in a large sauce pot over medium heat. When butter is melted, quickly stir in the flour to form a smooth roux. Do not brown! Once the roux is smooth and bubbly, slowly pour in the cold milk while stirring briskly to make a smooth sauce. Cook over medium heat, stirring constantly until the sauce thickens. Stir in the lemon juice, Dijon mustard, salt, smoked paprika and white pepper. Bring sauce just back to a low boil and turn off heat. Pour sauce evenly over the casserole, being certain to get some of the sauce around the edges of the pan.

For the topping:

Melt the butter in the microwave in a medium sized microwaveable bowl. Heat it for 30 seconds at a time and stop once it’s melted. Take the bowl out of the microwave and stir in the panko bread crumbs, crushed dried parsley. Sprinkle over the top of the casserole.

Bake casserole uncovered for 45 minutes until hot and bubbly throughout and topping has turned a light golden brown. Remove from oven and allow to cool for 5-10 minutes prior to serving.


_______________________________________

Newly-married Erica Kastner shares her wonderful recipes and amazing food photography on her blog, Cooking for Seven. She also writes about crafts and posts more of her beautiful photography in her personal blog, EricaLea.com. There really isn’t much that this amazing young lady can’t do, and we’re thrilled she does some of it here.


Profile photo of cookincanuck

Chipotle Shrimp Salad Bowls

Posted by in Step-by-Step Recipes

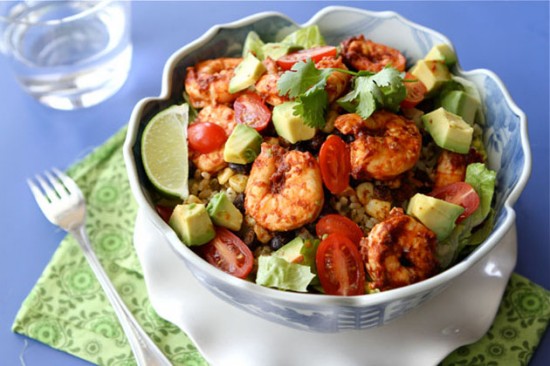
  Are you ready for some smoky heat? Well, you have definitely come to the right place. This salad is filled with the flavors of summer: fresh lettuce, ripe avocado and tomatoes. Top that with herb and spice-infused rice, black beans and corn, plus some chipotle shrimp and you have one very satisfying meal. These […]

Profile photo of georgiapellegrini

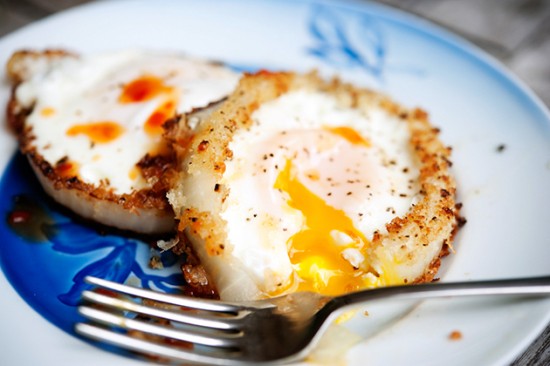
Onion Ring Eggs

Posted by in Step-by-Step Recipes

  Seeing as I grew up with chickens roaming around the back yard, I eat eggs most mornings for breakfast. It’s just what I enjoy and I’m a creature of habit. So I’m always seeking new ways to prepare them in the mornings and these Onion Ring Eggs shared by kissmywhisk was one that I […]

Profile photo of twopeasandtheirpod

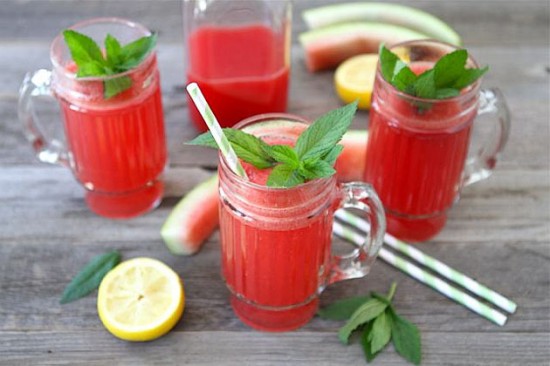
Watermelon Spritzers

Posted by in Step-by-Step Recipes

  I love a lot of things about summer: vacations, swimming, picnics in the park, going to the farmers market, etc. But my absolute favorite thing has to be watermelon. I love watermelon. I eat it almost every day during the summer and I never get sick of it. There is nothing better than cutting […]

Profile photo of whatsgabycooking

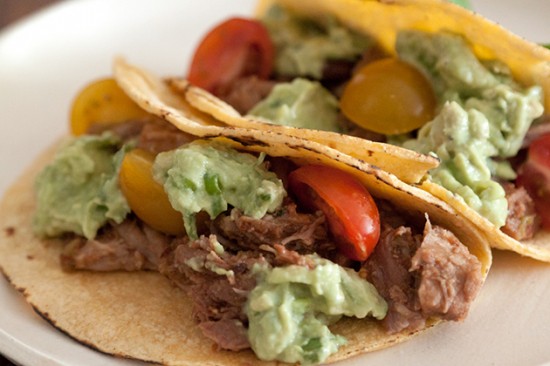
Sweet Pulled Pork Tacos

Posted by in Step-by-Step Recipes

  I’m a sucker for anything with pulled pork. When I first stumbled onto this recipe for Sweet Pulled Pork Tacos with Avocado Cream Sauce from TK member 4littlefergusons, my heart literally skipped a beat. Pulled pork tacos with an avocado cream sauce? Heck yes! As the self-proclaimed queen of all things avocado I knew […]