The Pioneer Woman Tasty Kitchen
Profile photo of EatLiveRun

Salted Fudge Brownies

Posted by in Baking, Step-by-Step Recipes

I’m so excited to introduce Jenna of Eat, Live, Run as our newest contributor here at the Tasty Kitchen Blog. She’s a doll who dearly loves the TK community. She also has quite the recipe box and it just keeps growing every day. We’re absolutely thrilled to have her! –Ree
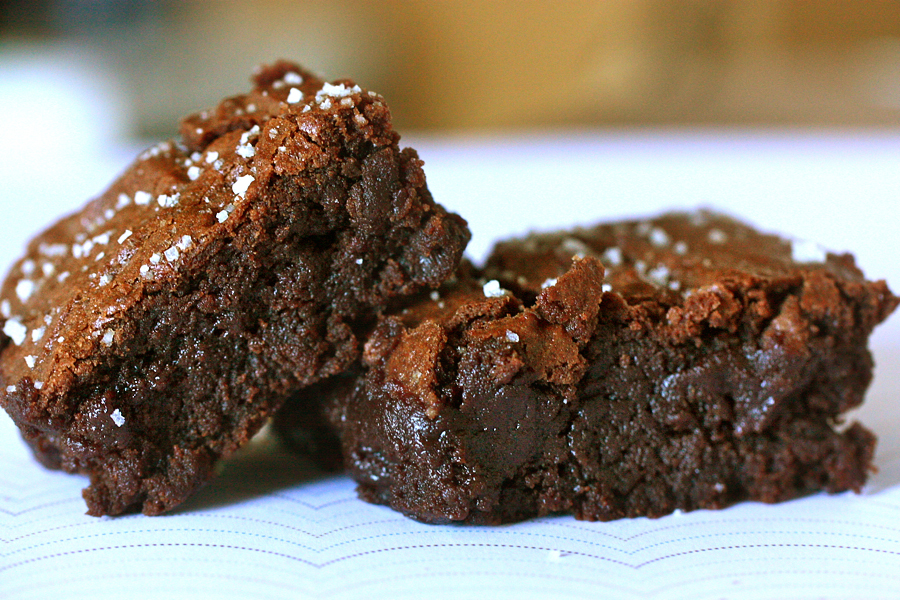
 
Tasty Kitchen Blog: Salted Fudge Brownies. Guest post by Jenna Weber of Eat, Live, Run; recipe submitted by TK member Jennifer (janedeere) of Jennifer Cooks.

 
The first moment I saw Jennifer’s recipe for Salted Fudge Brownies, I knew I had to bake them as soon as possible. As a self-professed (dark) chocoholic with an affinity towards anything sprinkled with sea salt, these brownies were made for me.

My absolute favorite sweet treat and guilty pleasure is a Lindt Dark Chocolate with a Touch of Sea Salt bar, and I’ve been known to hide four or five of them in my secret “chocolate drawer” at any one time. I go crazy for that sweet/savory combination and, of course, you can never have too much chocolate.

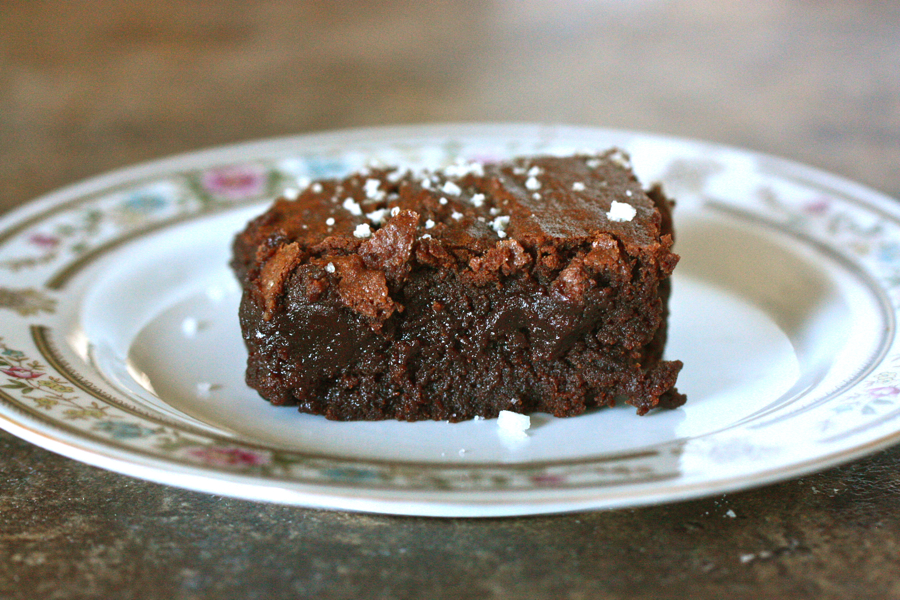
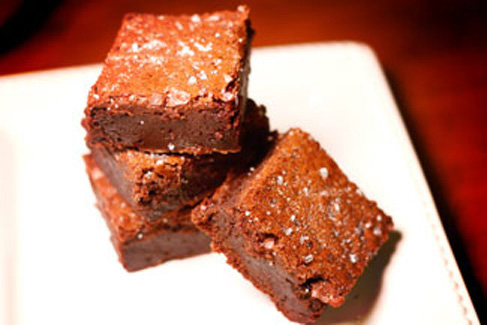
To say that Jennifer’s brownies are delicious and fudge-like is an understatement. They positively melt in your mouth with a rich, creamy texture and intense flavor that is only heightened by the addition of salt. After baking them, I brought them to a church function where they were promptly deemed “the best brownies ever.”

Do yourself a favor and bake these today. You won’t be sorry.
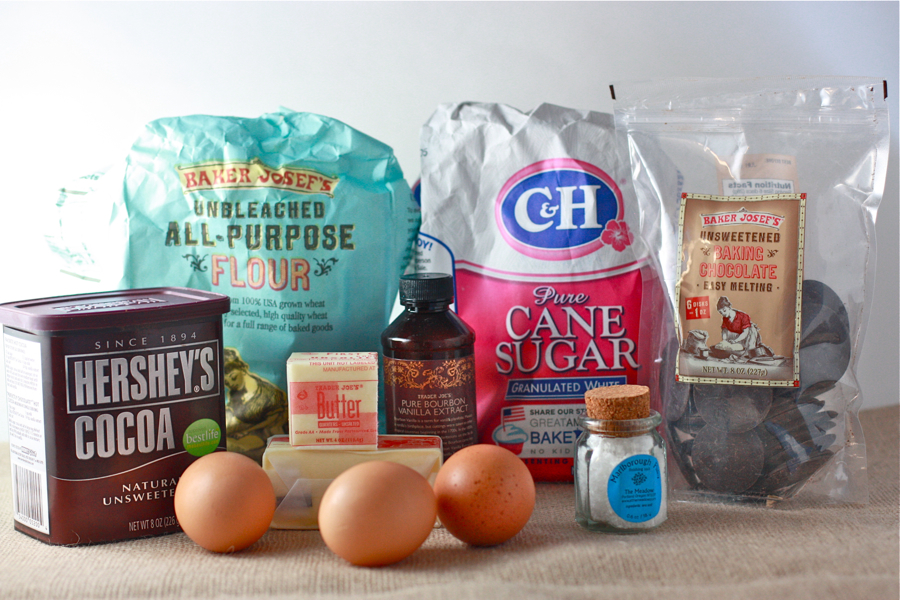


Tasty Kitchen Blog: Salted Fudge Brownies. Guest post by Jenna Weber of Eat, Live, Run; recipe submitted by TK member Jennifer (janedeere) of Jennifer Cooks.

The ingredients are simple and pretty standard. Nothing you probably don’t have in your kitchen already! I love that. Because I don’t know about you, but when I need a brownie, I need a brownie fast.

So, first things first. Preheat your oven to 350 degrees.
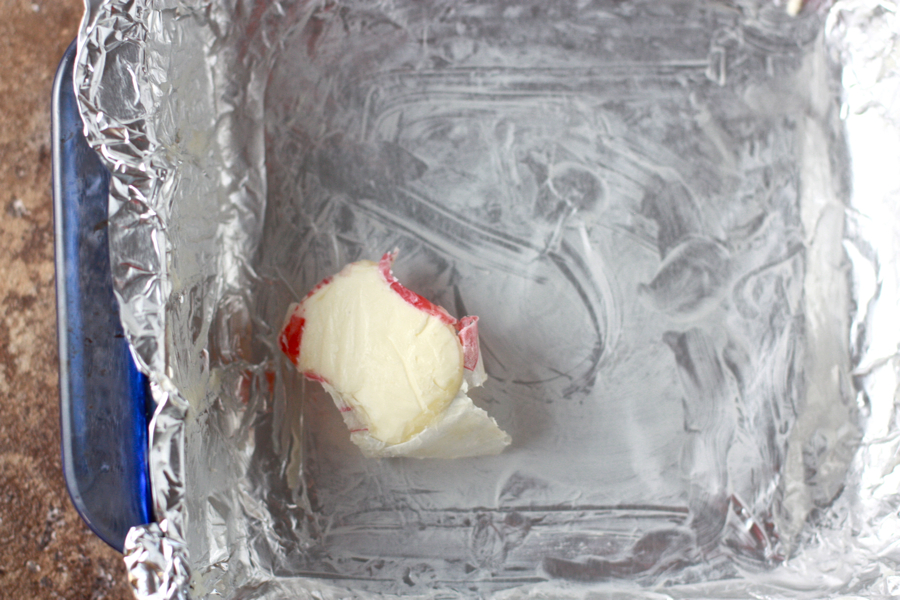


Tasty Kitchen Blog: Salted Fudge Brownies. Guest post by Jenna Weber of Eat, Live, Run; recipe submitted by TK member Jennifer (janedeere) of Jennifer Cooks.

Butter and foil an eight-inch square pan. It’s a good idea to leave the foil hanging over the sides a bit so you can easily lift the brownies out later!
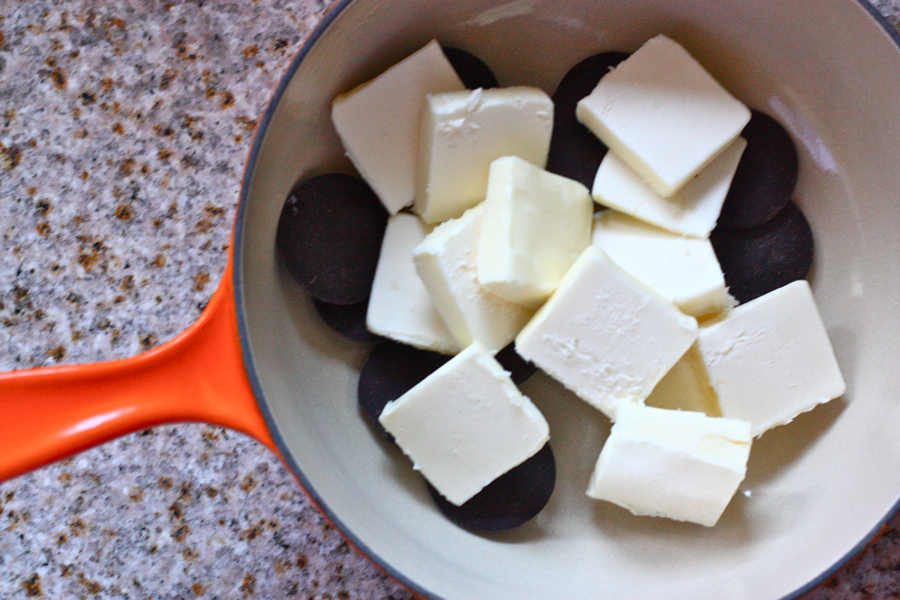


Tasty Kitchen Blog: Salted Fudge Brownies. Guest post by Jenna Weber of Eat, Live, Run; recipe submitted by TK member Jennifer (janedeere) of Jennifer Cooks.

Next, melt together the unsweetened chocolate and butter in a saucepan over very low heat. Be careful here, you don’t want the chocolate to burn!

Once the chocolate and butter have melted together and are smooth, take the pan off the heat and transfer to a bowl.


Tasty Kitchen Blog: Salted Fudge Brownies. Guest post by Jenna Weber of Eat, Live, Run; recipe submitted by TK member Jennifer (janedeere) of Jennifer Cooks.

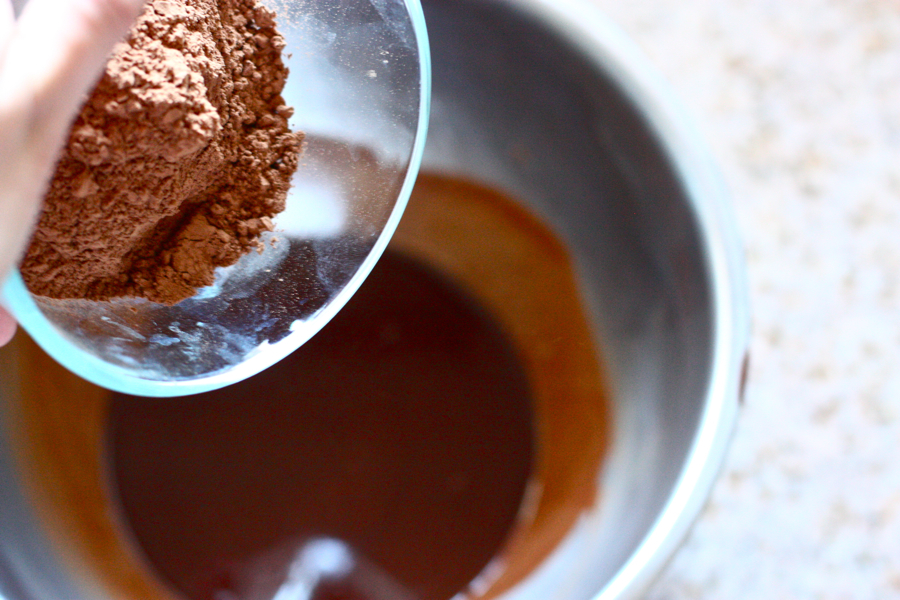
Then, add cocoa powder …


Tasty Kitchen Blog: Salted Fudge Brownies. Guest post by Jenna Weber of Eat, Live, Run; recipe submitted by TK member Jennifer (janedeere) of Jennifer Cooks.

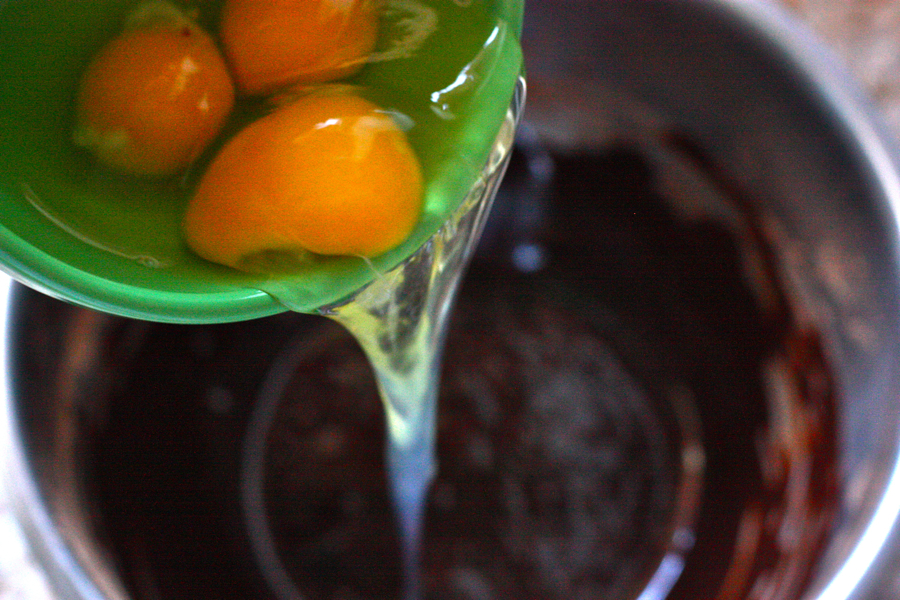
Three eggs …


Tasty Kitchen Blog: Salted Fudge Brownies. Guest post by Jenna Weber of Eat, Live, Run; recipe submitted by TK member Jennifer (janedeere) of Jennifer Cooks.

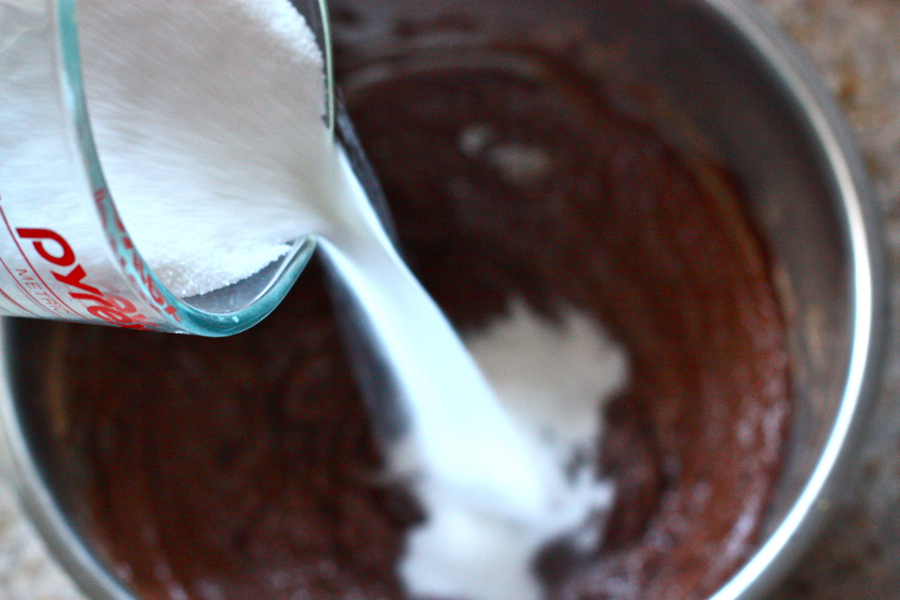
Two cups sugar …


Tasty Kitchen Blog: Salted Fudge Brownies. Guest post by Jenna Weber of Eat, Live, Run; recipe submitted by TK member Jennifer (janedeere) of Jennifer Cooks.

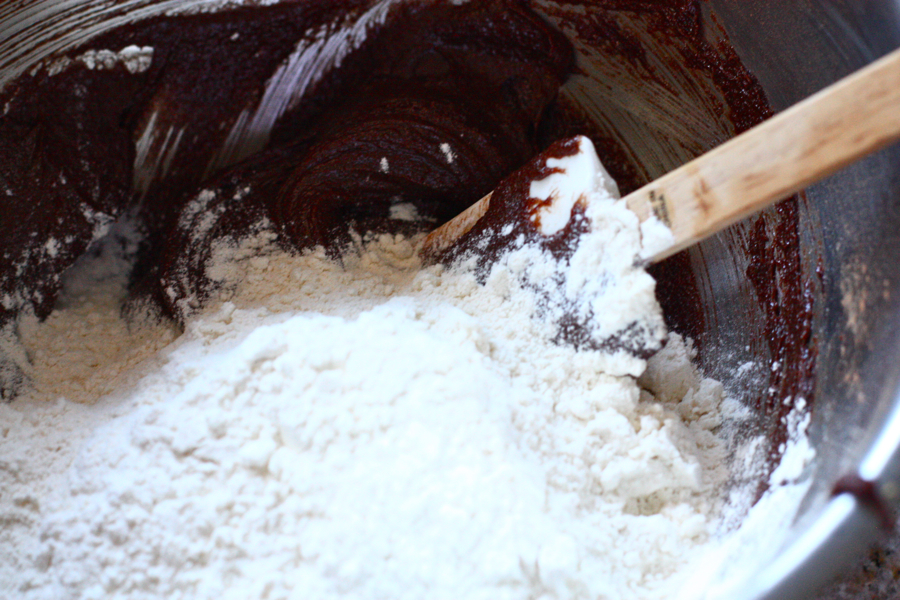
And the flour and vanilla.

Mix until smooth (batter will be thick!) and then pour all that deliciousness into your already greased and lined pan. It’s pretty much mandatory to lick the spoon here—no chocolate should ever go to waste!


Tasty Kitchen Blog: Salted Fudge Brownies. Guest post by Jenna Weber of Eat, Live, Run; recipe submitted by TK member Jennifer (janedeere) of Jennifer Cooks.

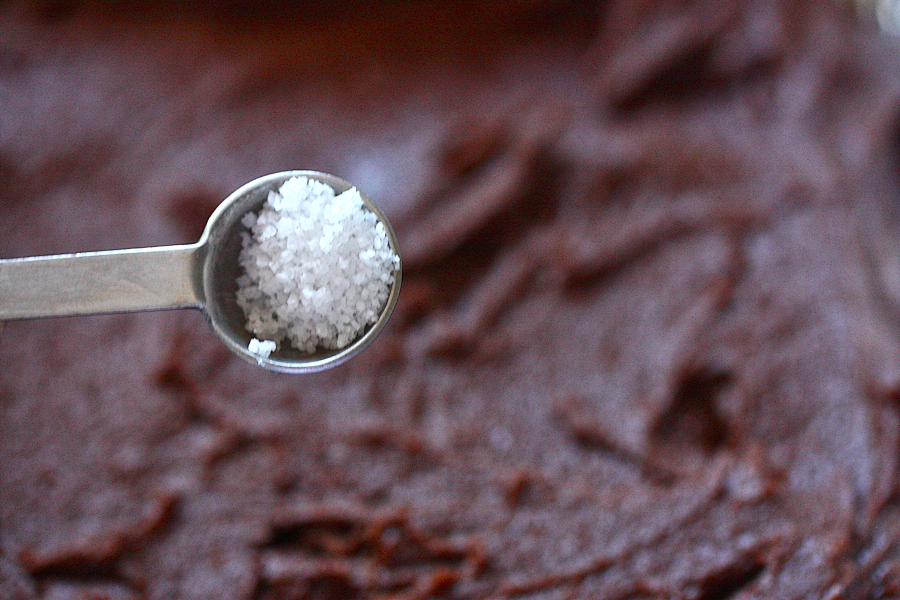
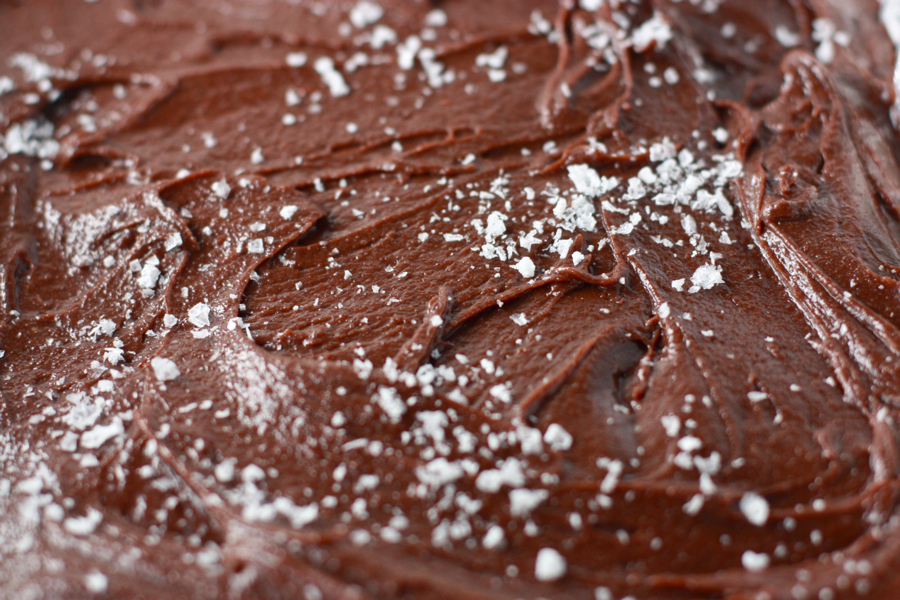
Finally, sprinkle sea salt all over the top.


Tasty Kitchen Blog: Salted Fudge Brownies. Guest post by Jenna Weber of Eat, Live, Run; recipe submitted by TK member Jennifer (janedeere) of Jennifer Cooks.

Don’t hesitate: just do it.


Tasty Kitchen Blog: Salted Fudge Brownies. Guest post by Jenna Weber of Eat, Live, Run; recipe submitted by TK member Jennifer (janedeere) of Jennifer Cooks.

Jennifer says to bake for about 35 minutes, but I ended up baking for 40 minutes because they weren’t quite done. You want the center to still be slightly gooey but the edges to pull away from the sides of the pan. When you insert a toothpick in the center, it still should have some of that yummy brownie batter on it.

Now comes the hard part! Let your brownies cool for ten minutes on the counter and then stick them in the fridge for an hour. I know, I know … use this time to wash your dishes and walk the dog.


Tasty Kitchen Blog: Salted Fudge Brownies. Guest post by Jenna Weber of Eat, Live, Run; recipe submitted by TK member Jennifer (janedeere) of Jennifer Cooks.

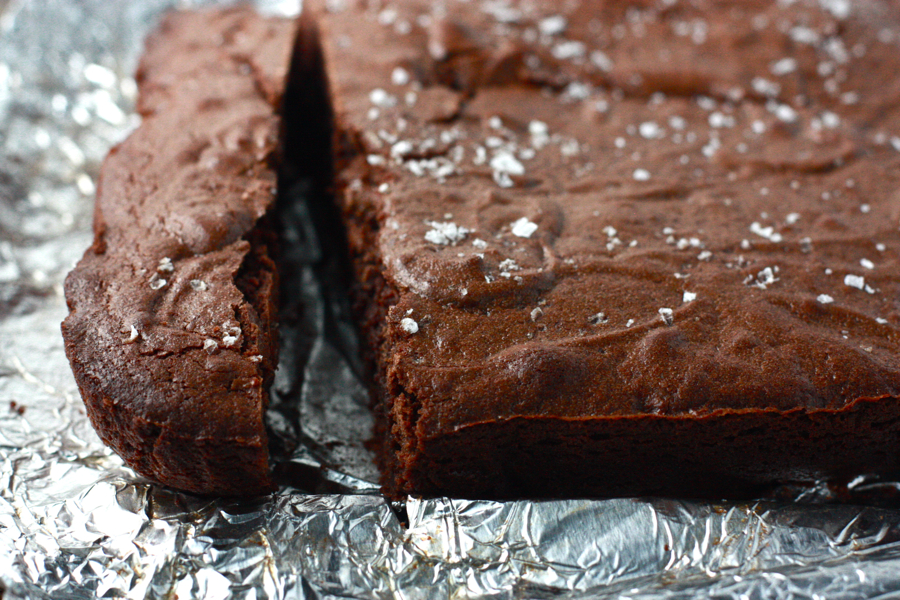
It’s hard to wait, but the end result is definitely worth it!


Tasty Kitchen Blog: Salted Fudge Brownies. Guest post by Jenna Weber of Eat, Live, Run; recipe submitted by TK member Jennifer (janedeere) of Jennifer Cooks.

 
They really are the best brownies I’ve ever had, and that’s saying something! A huge thank you to Jennifer for submitting such a winner! (And another thank you to Food & Wine, where Jennifer discovered this recipe.) Visit her blog, Jennifer Cooks, for more of her recipes and beautiful food photography.


Printable Recipe
Salted Fudge Brownies

See post on Jennifer | JenniferCooks.com’s site!
4.89 Mitt(s) 19 Rating(s)19 votes, average: 4.89 out of 519 votes, average: 4.89 out of 519 votes, average: 4.89 out of 519 votes, average: 4.89 out of 519 votes, average: 4.89 out of 5

Prep Time:

Cook Time:

Difficulty: Easy

Servings: 8

8
x

Print Options

Page size Letter 3x5 4x6
Text Size Small Medium Large
Content Include description
Include prep time, etc.
Show image

Description

Salty and sweet … mmm.

I found this recipe on the Food & Wine website and it has now become my all-time favorite brownie recipe!

Ingredients

  • 1-½ stick Butter
  • 2 ounces, weight Unsweetened Chocolate, Finely Chopped
  • ¼ cups Plus 2 Tablespoons Unsweetened Cocoa Powder
  • 2 cups Sugar
  • 3 whole Eggs
  • 1-½ teaspoon Pure Vanilla Extract
  • 1 cup All-purpose Flour
  • ½ teaspoons Maldon Sea Salt

Preparation Instructions

1. Preheat the oven to 350°. Place two large pieces of foil in a 9-inch square metal cake pan with foil, draping the foil over the edges. Spray foil with cooking spray.

2. Melt the butter with the unsweetened chocolate over very low heat, stirring occasionally. Remove from the heat. Whisk to combine. Add the cocoa, sugar, eggs, vanilla and flour. Pour the batter into the prepared pan and smooth the surface with a rubber spatula. Grind sea salt evenly over the batter. Using a butter knife, swirl the salt into the batter. Grind a little extra on top, making sure to sprinkle it evenly and leave it setting on top of the batter.

3. Bake for about 35 minutes, until the edge is set but the center is still a bit soft and a toothpick inserted into the center comes out coated with a little of the batter. Cool at room temperature in the pan for about an hour, then refrigerate just until they are firm. Lift the brownies from the pan and remove foil. Cut the brownies into 12 or 16 squares.


_______________________________________

Jenna is a food writer who has worked as a pastry chef and bread baker. She’s every bit as sweet and lovely inside as she is outside. Her blog Eat, Live, Run has great recipes, travel stories, and the perfect slogan: “Celebrating life, one crumb at a time.”


Profile photo of Erica Lea

Glorious Stuffed Portobello Mushrooms

Posted by in Step-by-Step Recipes

Tasty Kitchen Blog: Glorious Stuffed Portobello Mushrooms. Guest post by Erica Kastner of Cooking for Seven, recipe submitted by TK member Acher.

 
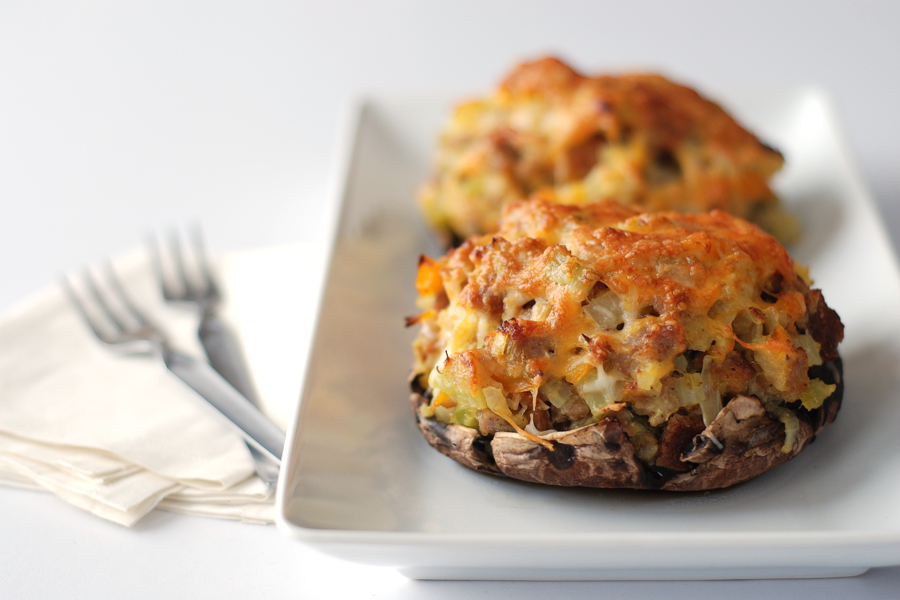
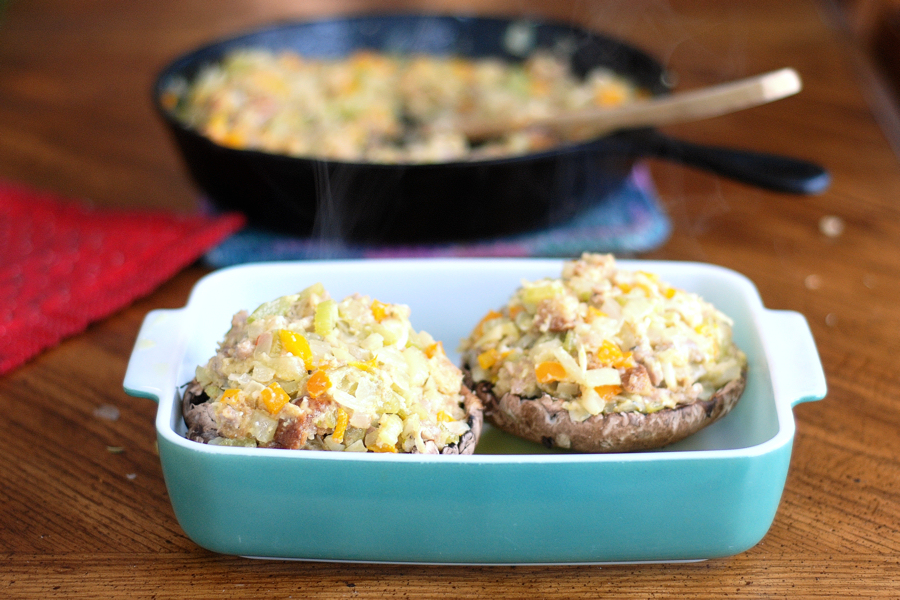
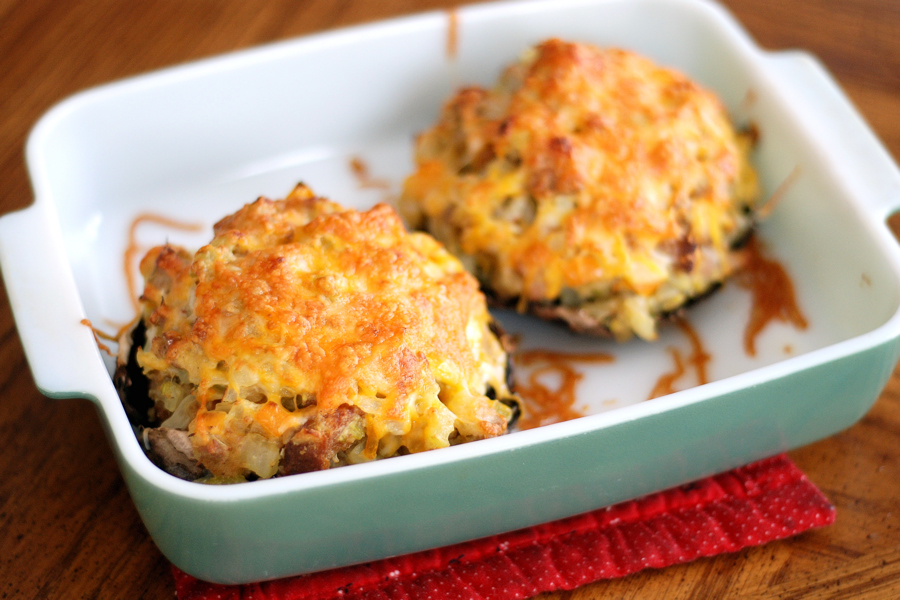
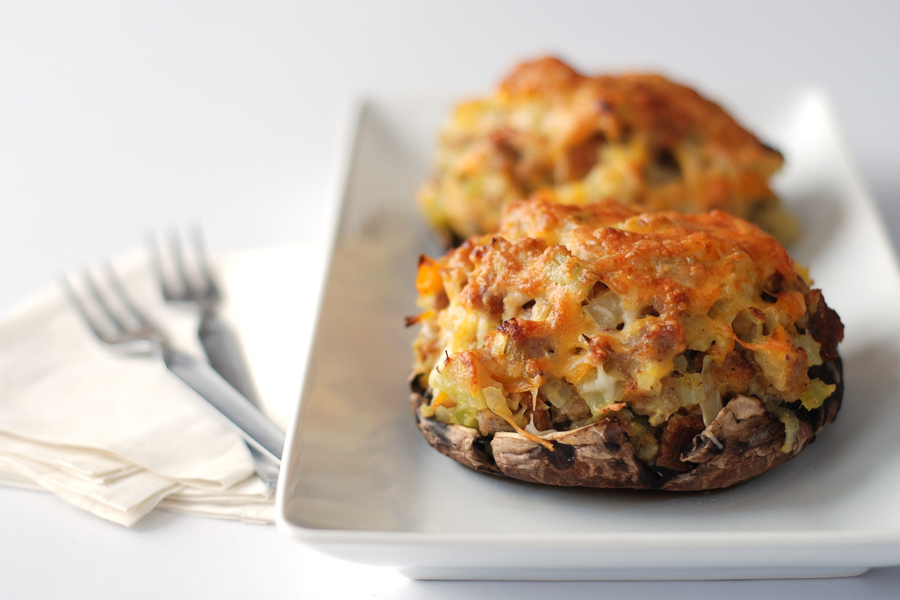
Tender, tasty portobello mushrooms stuffed with flavorful vegetables and spices and sprinkled with cheese. Baked until golden. Hungry yet?

Today’s recipe, brought to us by acher, would be a splendid starter for a dinner or a full course at lunch. The stuffing is hearty and filling, but has a complexity of flavors. White wine, fresh fennel, and Italian sausage all lend lovely notes.

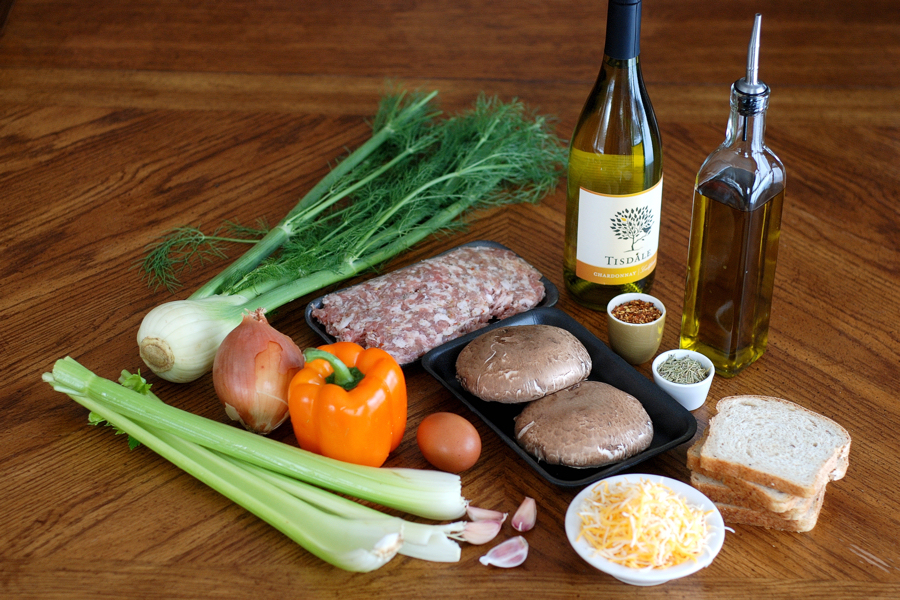
All you need is a few ingredients from the market.


Tasty Kitchen Blog: Glorious Stuffed Portobello Mushrooms. Guest post by Erica Kastner of Cooking for Seven, recipe submitted by TK member Acher.

Portobello mushroom caps, olive oil, white wine or broth, Italian sausage, fennel, onion, bell pepper, celery, garlic, egg, cheese (I used marble jack), sandwich bread (I used homemade), rosemary (I used dried, but you can use fresh), and crushed red pepper flakes.


Tasty Kitchen Blog: Glorious Stuffed Portobello Mushrooms. Guest post by Erica Kastner of Cooking for Seven, recipe submitted by TK member Acher.

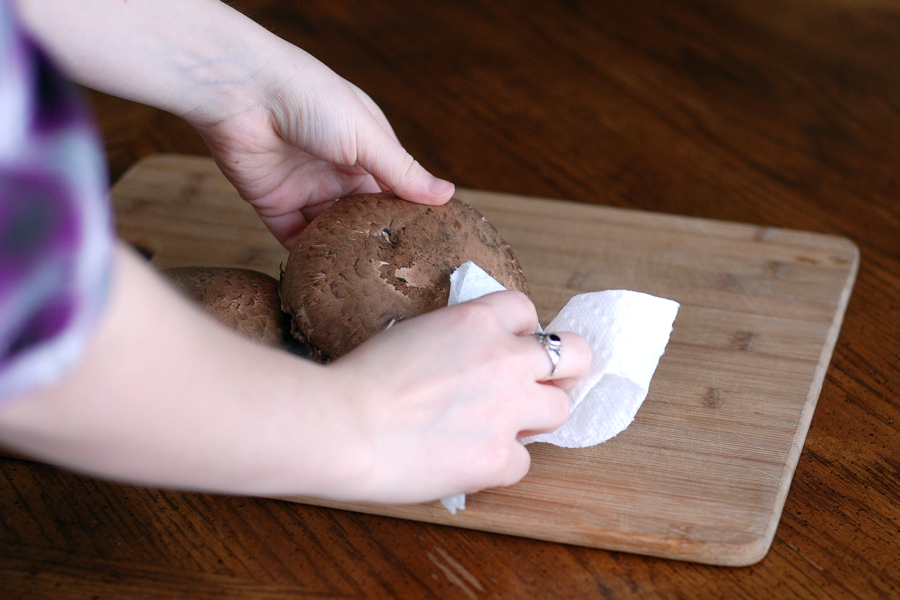
Preheat your oven to 450° F. Wipe the mushrooms with a paper towel to remove any dirt.


Tasty Kitchen Blog: Glorious Stuffed Portobello Mushrooms. Guest post by Erica Kastner of Cooking for Seven, recipe submitted by TK member Acher.

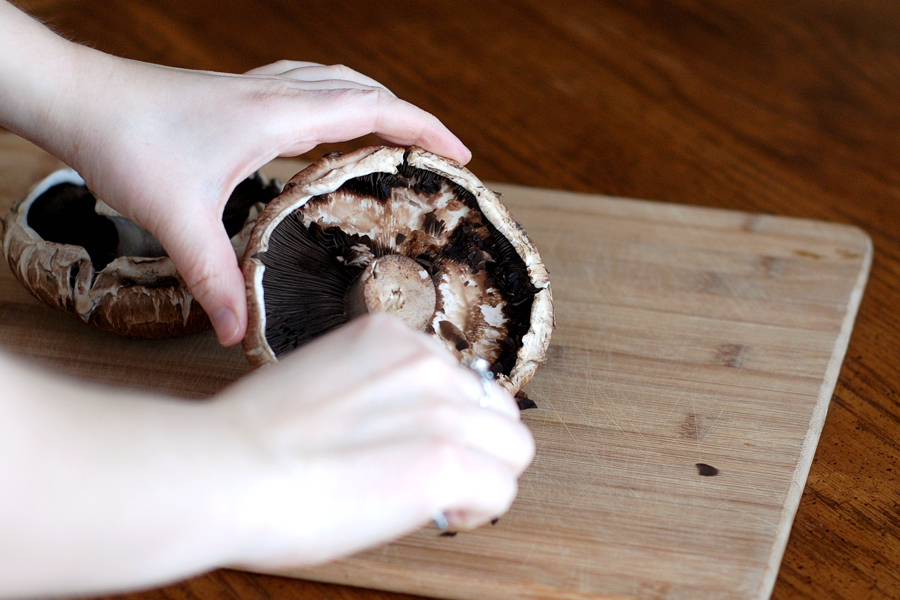
Scrape out the gills with a spoon.


Tasty Kitchen Blog: Glorious Stuffed Portobello Mushrooms. Guest post by Erica Kastner of Cooking for Seven, recipe submitted by TK member Acher.

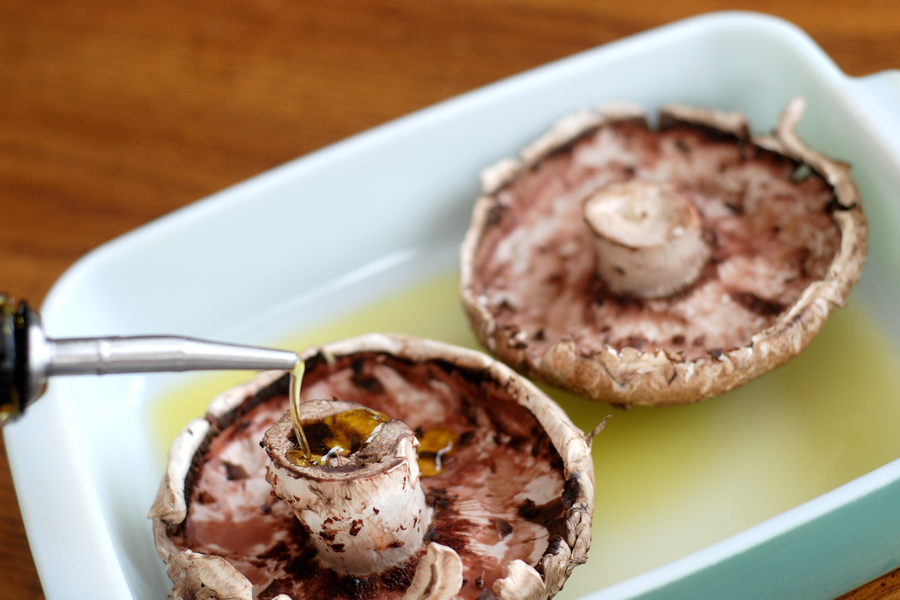
Drizzle some oil in the bottom of a baking dish and place the mushrooms on top. Drizzle a bit of oil on top of the mushrooms. Set aside.


Tasty Kitchen Blog: Glorious Stuffed Portobello Mushrooms. Guest post by Erica Kastner of Cooking for Seven, recipe submitted by TK member Acher.

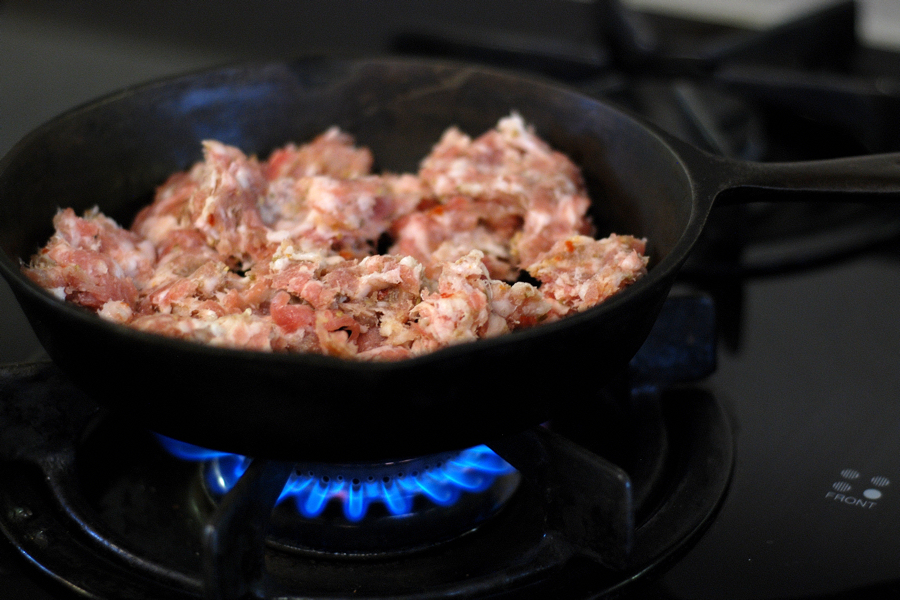
Brown the sausage over medium-high heat.


Tasty Kitchen Blog: Glorious Stuffed Portobello Mushrooms. Guest post by Erica Kastner of Cooking for Seven, recipe submitted by TK member Acher.

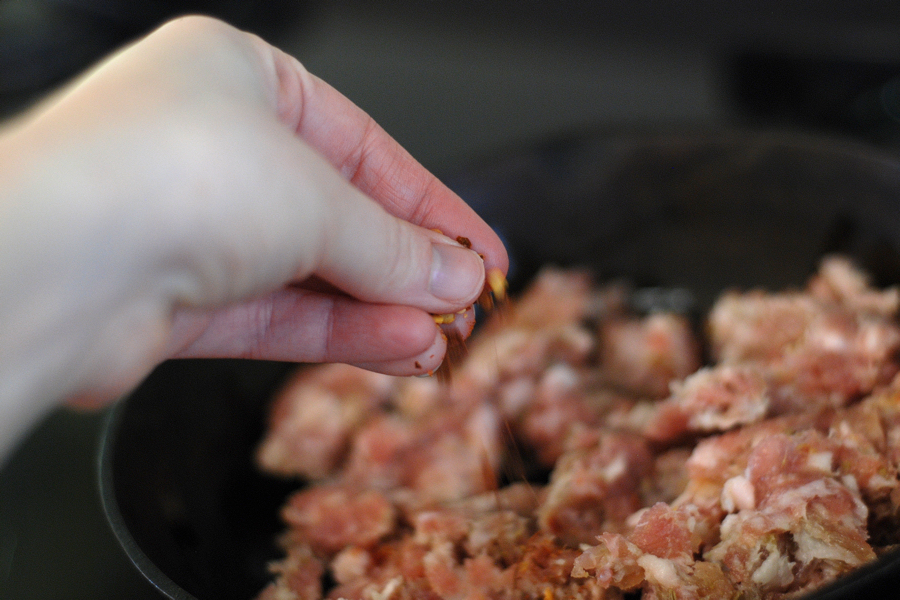
Add a sprinkling of crushed red pepper flakes.


Tasty Kitchen Blog: Glorious Stuffed Portobello Mushrooms. Guest post by Erica Kastner of Cooking for Seven, recipe submitted by TK member Acher.

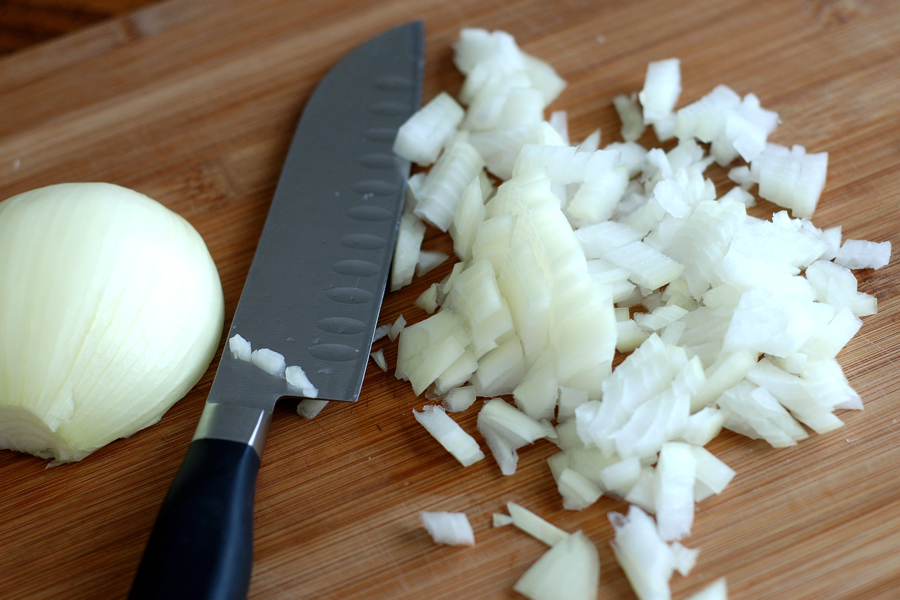
As the meat is browning, chop up the vegetables: onions …


Tasty Kitchen Blog: Glorious Stuffed Portobello Mushrooms. Guest post by Erica Kastner of Cooking for Seven, recipe submitted by TK member Acher.

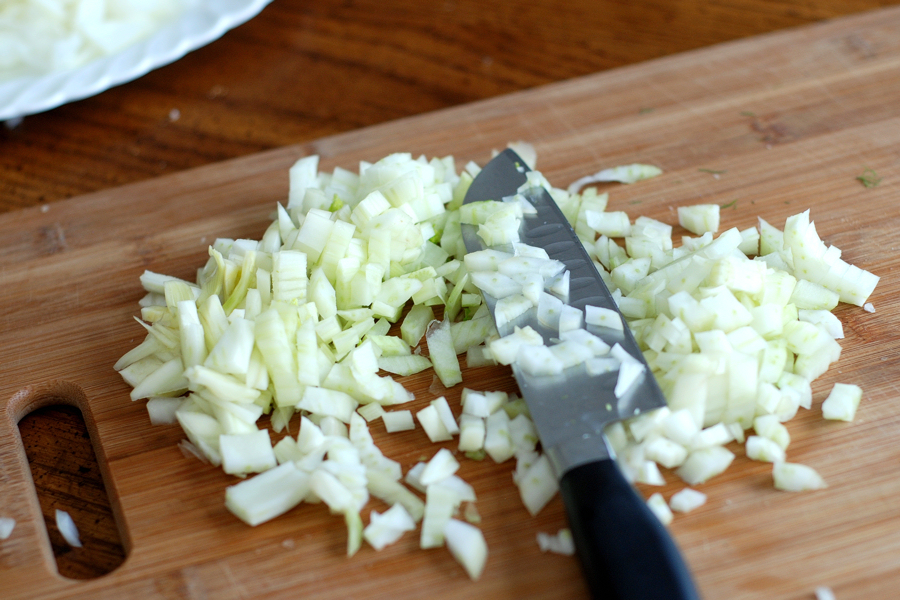
Fennel …


Tasty Kitchen Blog: Glorious Stuffed Portobello Mushrooms. Guest post by Erica Kastner of Cooking for Seven, recipe submitted by TK member Acher.

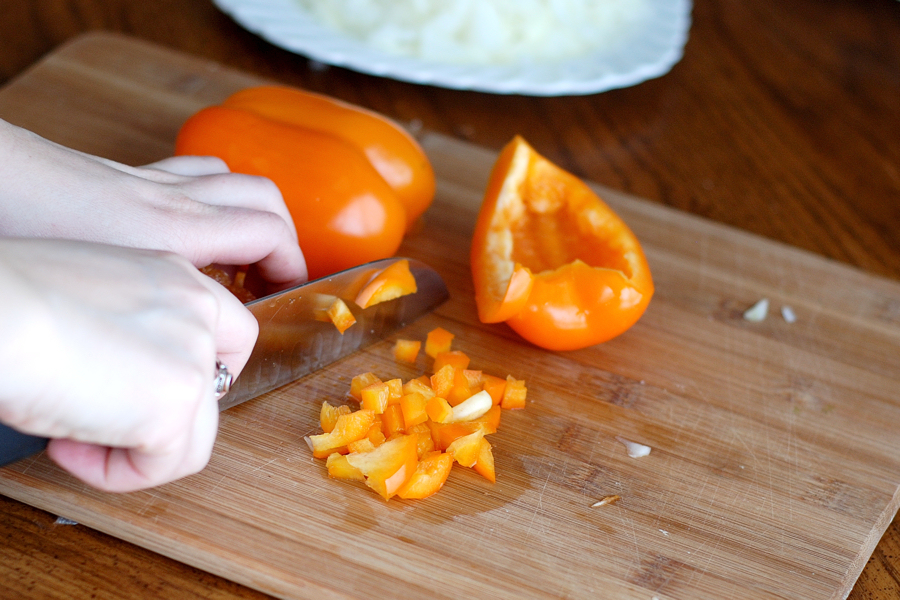
Bell pepper …


Tasty Kitchen Blog: Glorious Stuffed Portobello Mushrooms. Guest post by Erica Kastner of Cooking for Seven, recipe submitted by TK member Acher.

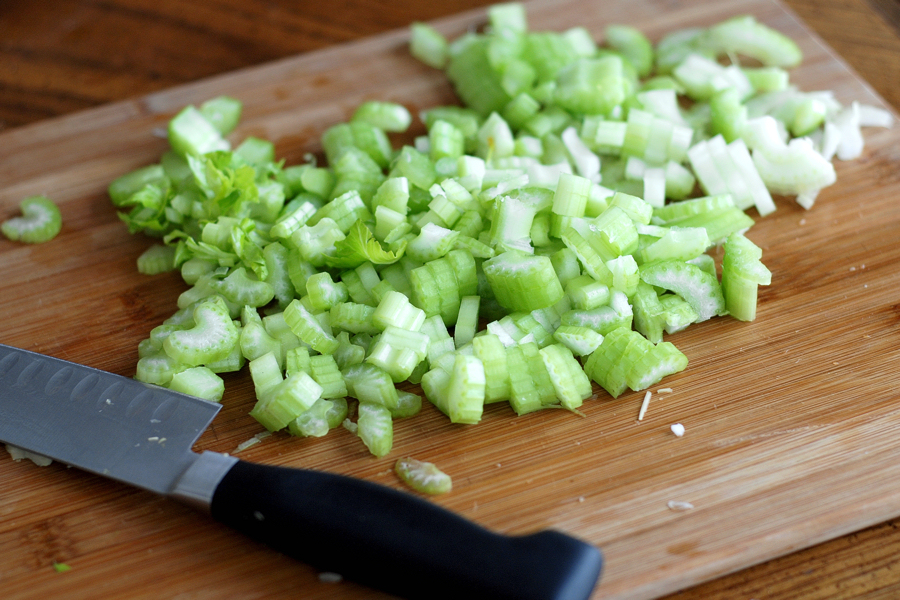
And celery. Whew!


Tasty Kitchen Blog: Glorious Stuffed Portobello Mushrooms. Guest post by Erica Kastner of Cooking for Seven, recipe submitted by TK member Acher.

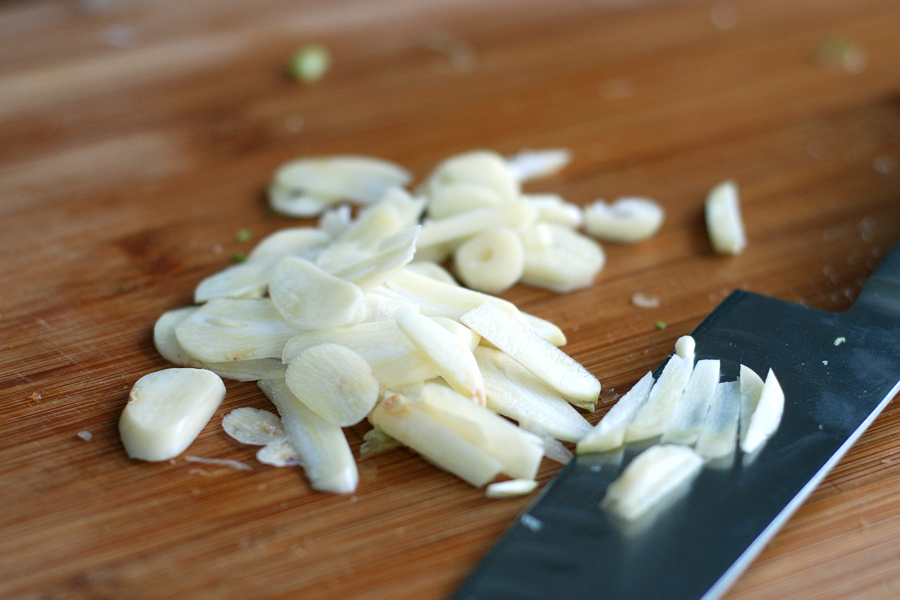
Slice the garlic very thinly.


Tasty Kitchen Blog: Glorious Stuffed Portobello Mushrooms. Guest post by Erica Kastner of Cooking for Seven, recipe submitted by TK member Acher.

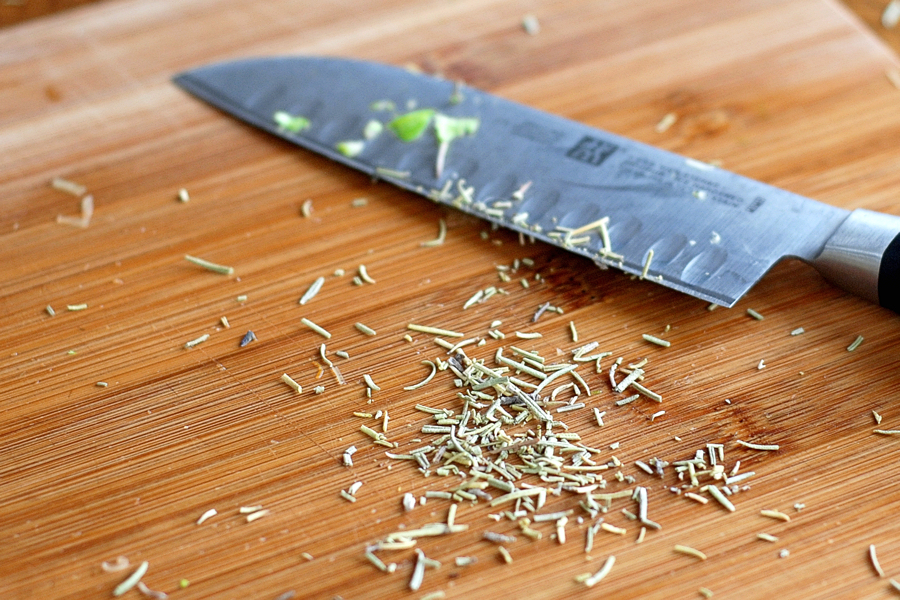
Chop the rosemary finely.


Tasty Kitchen Blog: Glorious Stuffed Portobello Mushrooms. Guest post by Erica Kastner of Cooking for Seven, recipe submitted by TK member Acher.

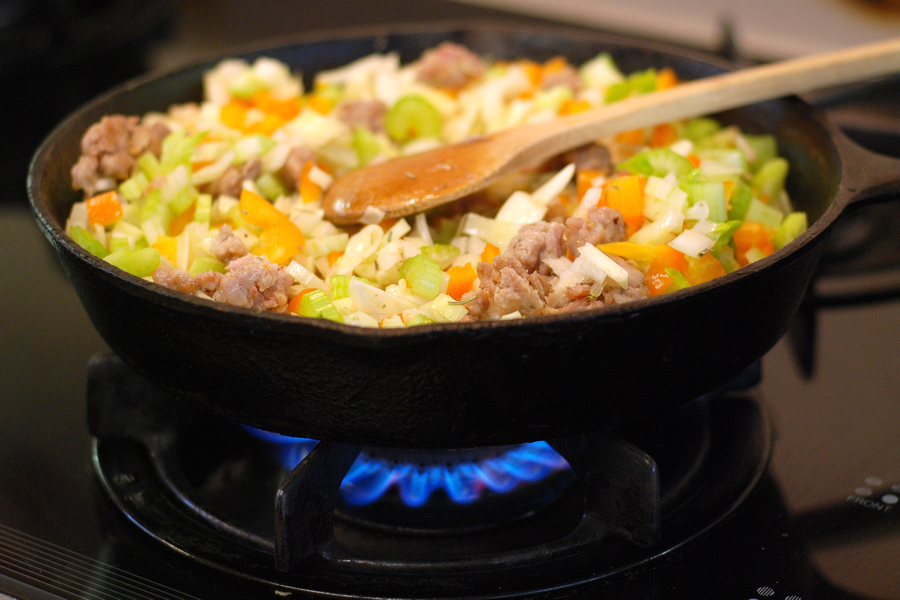
Add the vegetables and rosemary to the sausage and saute until crisp-tender, about 5-10 minutes.


Tasty Kitchen Blog: Glorious Stuffed Portobello Mushrooms. Guest post by Erica Kastner of Cooking for Seven, recipe submitted by TK member Acher.

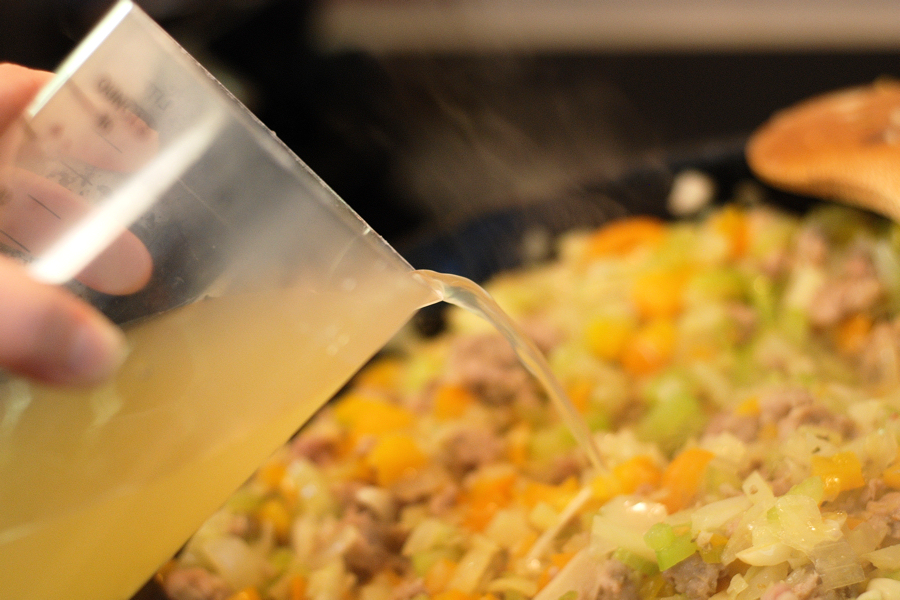
Add the wine or broth to deglaze the pan. Cook for about 5 minutes.


Tasty Kitchen Blog: Glorious Stuffed Portobello Mushrooms. Guest post by Erica Kastner of Cooking for Seven, recipe submitted by TK member Acher.

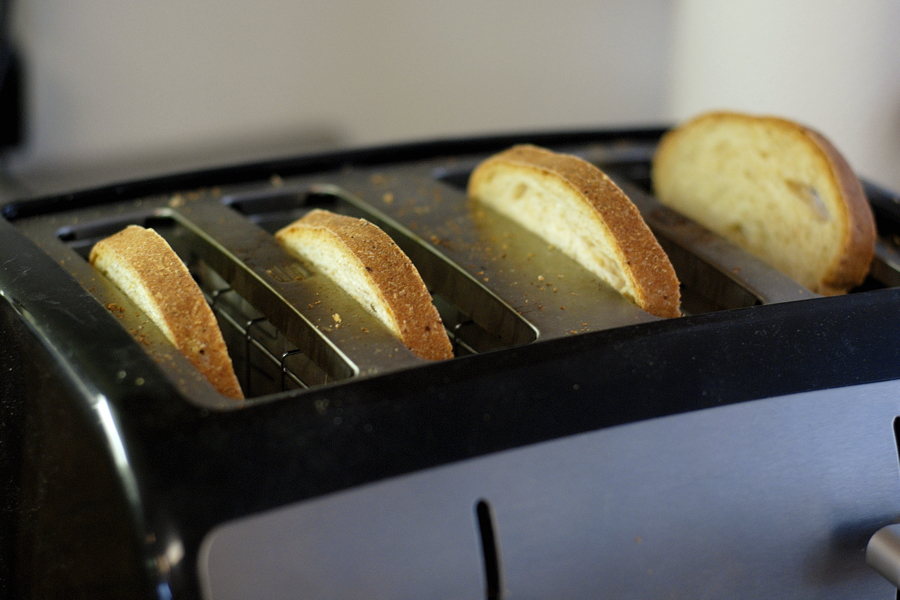
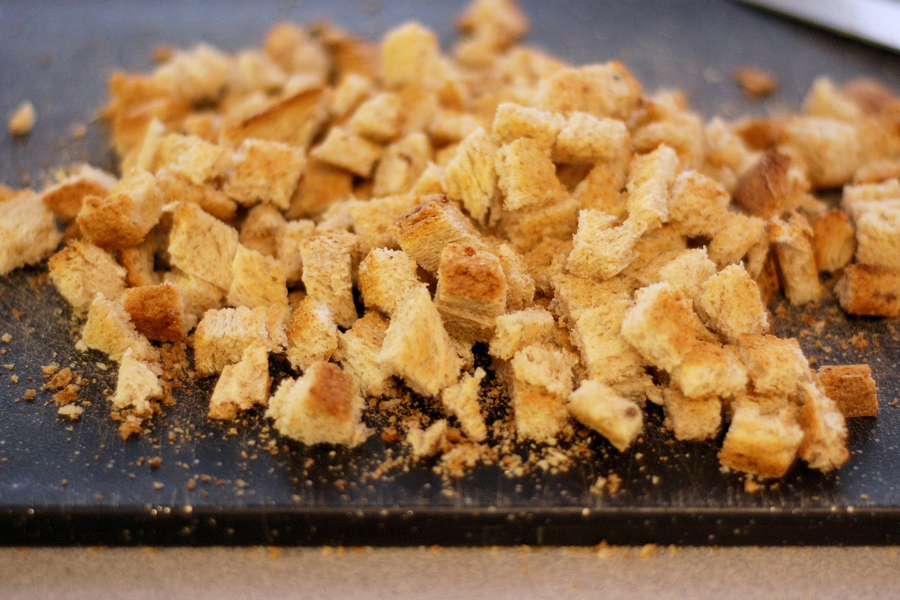
Meanwhile, toast the bread.


Tasty Kitchen Blog: Glorious Stuffed Portobello Mushrooms. Guest post by Erica Kastner of Cooking for Seven, recipe submitted by TK member Acher.

Cut the toasted bread into cubes.


Tasty Kitchen Blog: Glorious Stuffed Portobello Mushrooms. Guest post by Erica Kastner of Cooking for Seven, recipe submitted by TK member Acher.

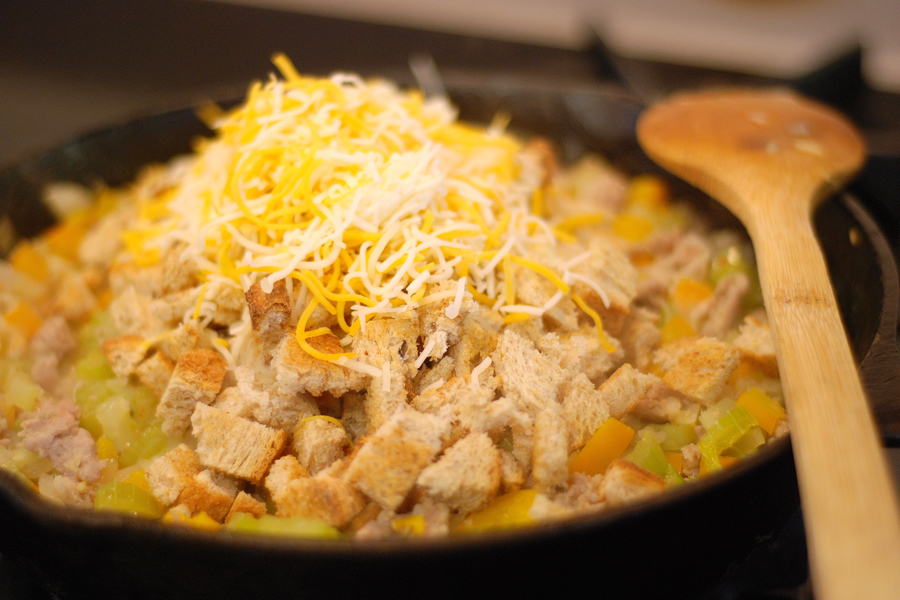
Stir the bread cubes and cheese into the sausage/veggie mix. The bread will soak up the wine/broth. Taste and add salt and pepper if needed.


Tasty Kitchen Blog: Glorious Stuffed Portobello Mushrooms. Guest post by Erica Kastner of Cooking for Seven, recipe submitted by TK member Acher.

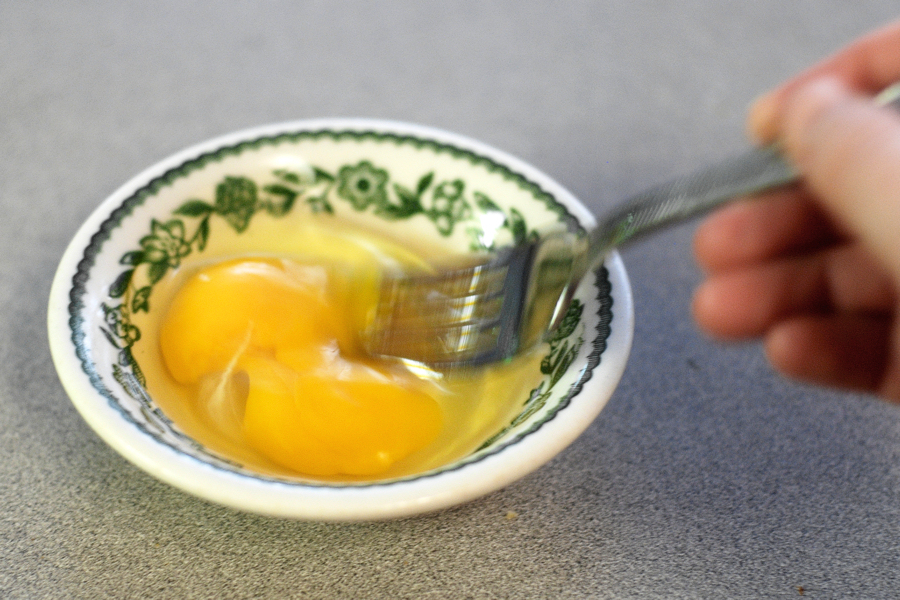
Lightly beat the egg.


Tasty Kitchen Blog: Glorious Stuffed Portobello Mushrooms. Guest post by Erica Kastner of Cooking for Seven, recipe submitted by TK member Acher.

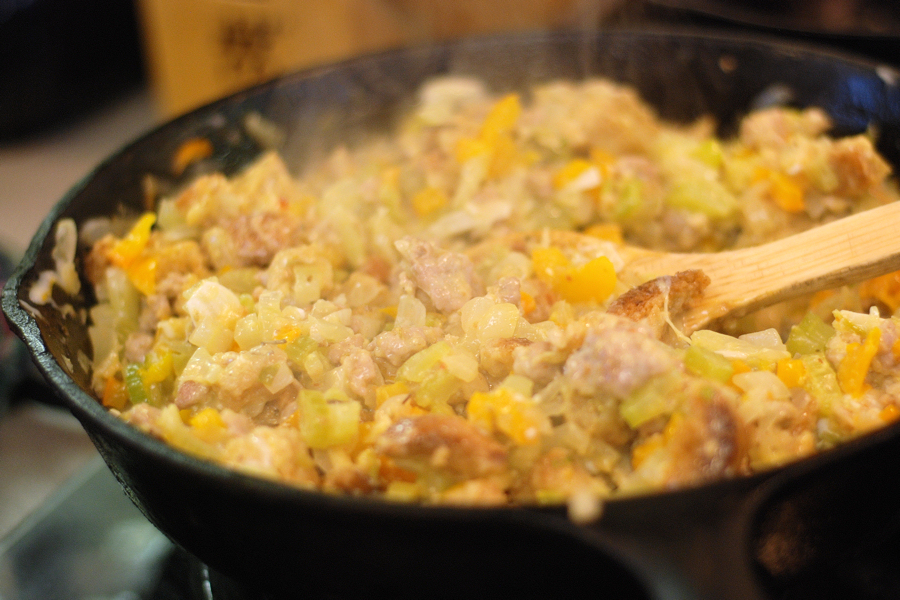
Remove pan from heat and stir in the egg.


Tasty Kitchen Blog: Glorious Stuffed Portobello Mushrooms. Guest post by Erica Kastner of Cooking for Seven, recipe submitted by TK member Acher.

Mound the stuffing mixture into the mushroom caps.


Tasty Kitchen Blog: Glorious Stuffed Portobello Mushrooms. Guest post by Erica Kastner of Cooking for Seven, recipe submitted by TK member Acher.

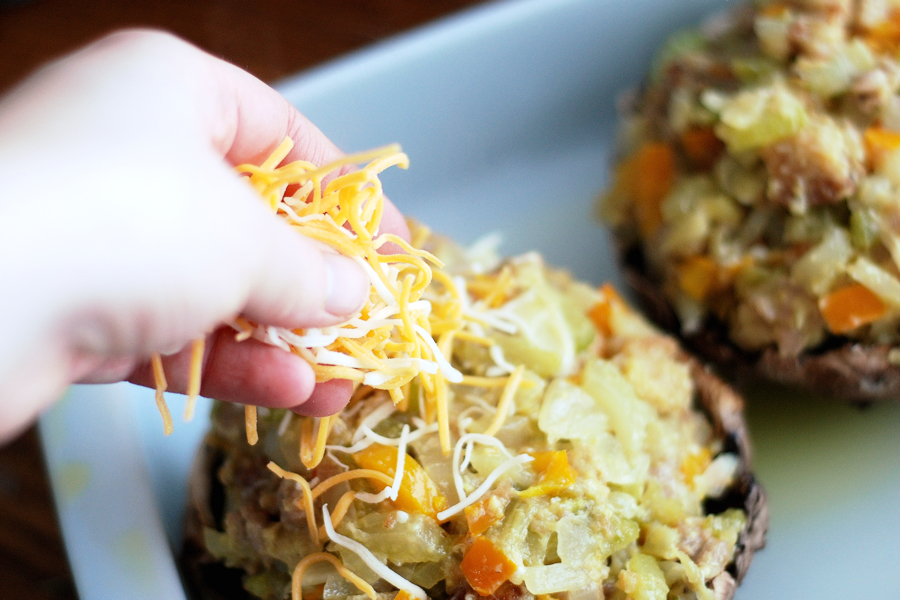
Sprinkle with a bit of extra cheese.


Tasty Kitchen Blog: Glorious Stuffed Portobello Mushrooms. Guest post by Erica Kastner of Cooking for Seven, recipe submitted by TK member Acher.

Bake in preheated oven for 30-40 minutes or until the mushrooms are tender and the stuffing is browned.


Tasty Kitchen Blog: Glorious Stuffed Portobello Mushrooms. Guest post by Erica Kastner of Cooking for Seven, recipe submitted by TK member Acher.

Glorious.

Notes:

1. There was much more stuffing than could fill two mushroom caps. Thankfully I had some baby bellas on hand to fill.
2. I found that I only needed to cook the mushrooms for around 25 minutes. You should set your timer to 15 minutes and check the mushrooms every so often so they don’t burn.

 
Thank you, acher, for sharing this delicious recipe with us!


Printable Recipe

Glorious Stuffed Portobello Mushrooms

5.00 Mitt(s) 3 Rating(s)3 votes, average: 5.00 out of 53 votes, average: 5.00 out of 53 votes, average: 5.00 out of 53 votes, average: 5.00 out of 53 votes, average: 5.00 out of 5

Prep Time:

Cook Time:

Difficulty: Easy

Servings: 4

4
x

Print Options

Page size Letter 3x5 4x6
Text Size Small Medium Large
Content Include description
Include prep time, etc.
Show image

Description

What to do when you have odds and ends of veggies and two beautiful portobello caps? Make stuffed mushrooms of course! The amount of filling in this recipe will stuff two large portobello caps, and easily feeds 4 with a loaf of crusty bread and a salad.

Ingredients

  • 2 whole Portobello Mushroom Caps
  • Olive Oil
  • ½ pounds Bulk Italian Sausage, Or Links With Casings Removed
  • 2 teaspoons Crushed Red Pepper Flakes
  • 1 whole Onion
  • 1 bulb Fresh Fennel
  • 1 whole Bell Pepper, Any Color
  • 3 stalks Celery, With Leaves
  • 4 cloves Garlic
  • 3 sprigs Rosemary
  • ¾ cups White Wine (can Substitute Stock/broth)
  • ½ cups Shredded Monterey Jack, Plus Extra For Sprinkling
  • 4 slices Good Sandwich Bread, Toasted And Cubed
  • 1 whole Egg, Lightly Beaten

Preparation Instructions

Preheat oven to 450F.

Wipe the portobellos clean with a paper towel and scrape out the gills with a spoon. Drizzle enough olive oil in the bottom of a glass baking dish to coat. Place portobello caps in the baking dish, top down, drizzle with oil, and set aside.

Brown sausage in a large skillet with a little bit of olive oil and the crushed red pepper over medium high heat.

While the sausage is browning, dice the onion, fennel, and bell pepper, chop the celery, and slice the garlic as thin as you can get it.

Remove the rosemary leaves from the stems and finely chop. Add the veggies and garlic and rosemary to the skillet and saute with the sausage until crisp-tender, about 5-7 minutes.

Add the wine to deglaze the pan and allow to cook for another 5 minutes or so.

Stir in the shredded cheese and bread cubes. The bread cubes should soak up whatever wine remains in the pan.

Taste it at this point, and add salt and freshly ground black pepper to taste (or more red pepper!). Stir in the beaten egg. The stuffing mixture should seem a little wet.

Mound stuffing mixture into portobello caps. It’s ok to pack it down a little bit to make sure that it stays in place.

Sprinkle with a little extra shredded cheese. Bake at 450F for 35-40 minutes, or until the portobello is tender and the stuffing is golden brown.


_______________________________________

Erica Berge shares her wonderful recipes and amazing food photography on her blog, Cooking for Seven. She also writes about crafts and posts more of her beautiful photography in her personal blog, EricaLea.com. There really isn’t much that this amazing young lady can’t do, and we’re thrilled she does some of it here.


Profile photo of georgiapellegrini

Homemade English Muffins

Posted by in Step-by-Step Recipes

I love Georgia Pellegrini. She’s as beautiful on the inside as she is on the outside, and her passion for food writing is infectious. She’s also an active Tasty Kitchen member, and I’m so excited to welcome her as a contributor. Take it away, Georgia! –Ree

 
Tasty Kitchen Blog: Homemade English Muffins. Guest post by Georgia Pellegrini, recipe submitted by TK member Sarah Fowler.

 
Sarah Fowler had me at skillet. In life, you need few things. Everyone has their list. Mine includes a bedroll and a skillet. Entire meals can be cooked in a single skillet. And the best part? You don’t really have to wash a skillet. You just wipe it out, stick it back on the stove, and move on with your day! It is God’s antidote to dirty dishes.

When I saw Sarah’s recipe for homemade English Muffins, I was intrigued. When I saw it required little more than your hands and a skillet, I was sold. And so I channeled Thomas and gave them a try. They are a fun breakfast treat and not nearly as daunting as they may sound.


Tasty Kitchen Blog: Homemade English Muffins. Guest post by Georgia Pellegrini, recipe submitted by TK member Sarah Fowler.

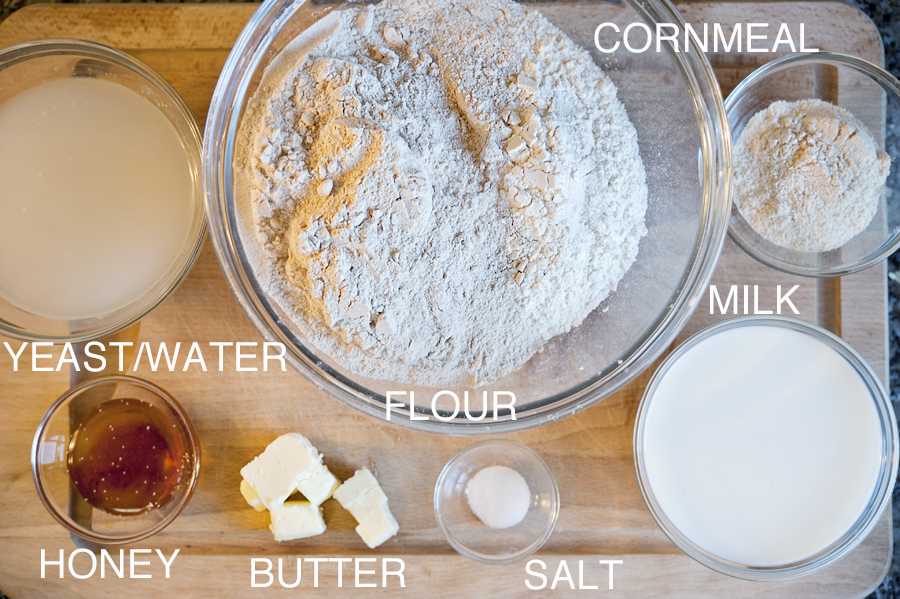
I also liked how simple the ingredients are—all things people often have sitting in their kitchen ready to go.


Tasty Kitchen Blog: Homemade English Muffins. Guest post by Georgia Pellegrini, recipe submitted by TK member Sarah Fowler.

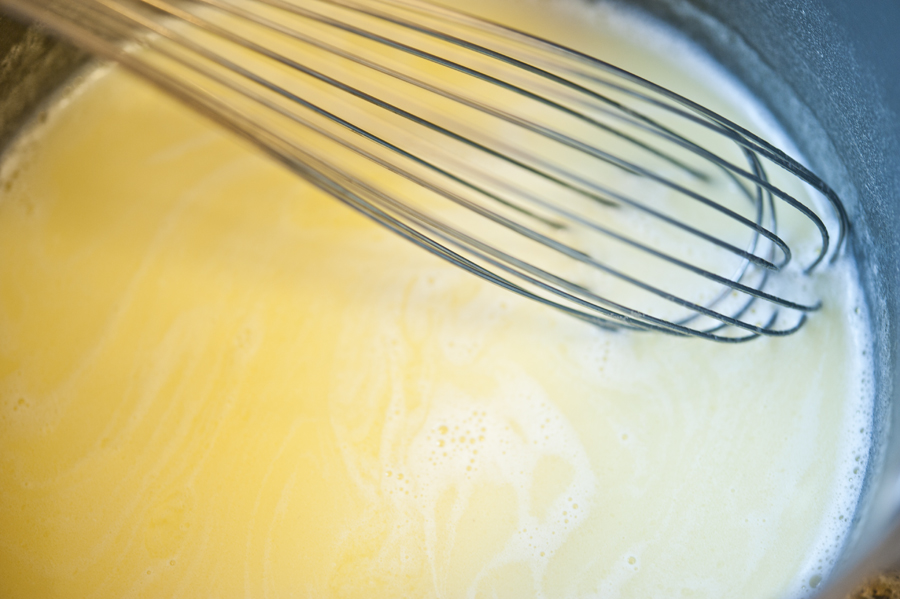
You begin by whisking together the honey, butter, and milk until it begins to bubble slightly. Then you set it aside to cool.


Tasty Kitchen Blog: Homemade English Muffins. Guest post by Georgia Pellegrini, recipe submitted by TK member Sarah Fowler.

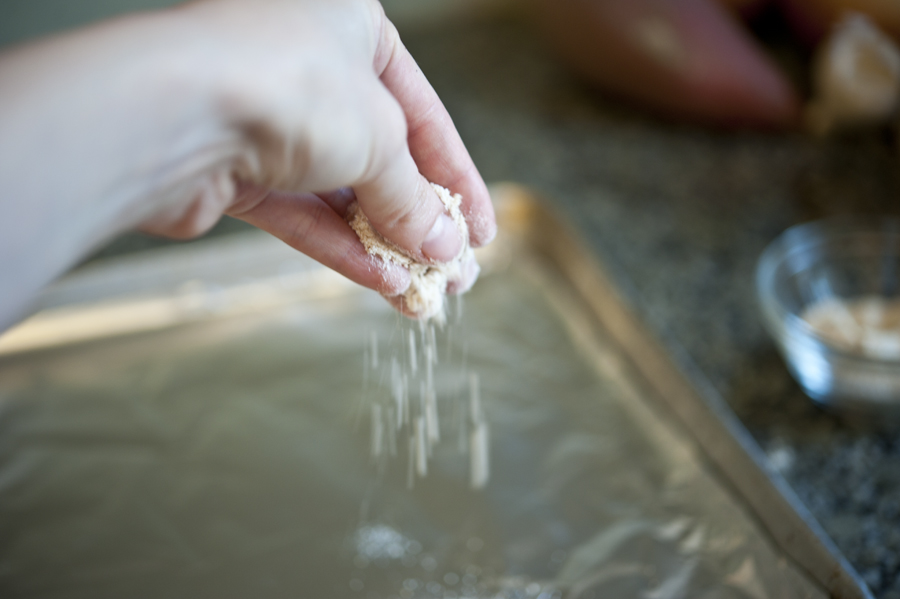
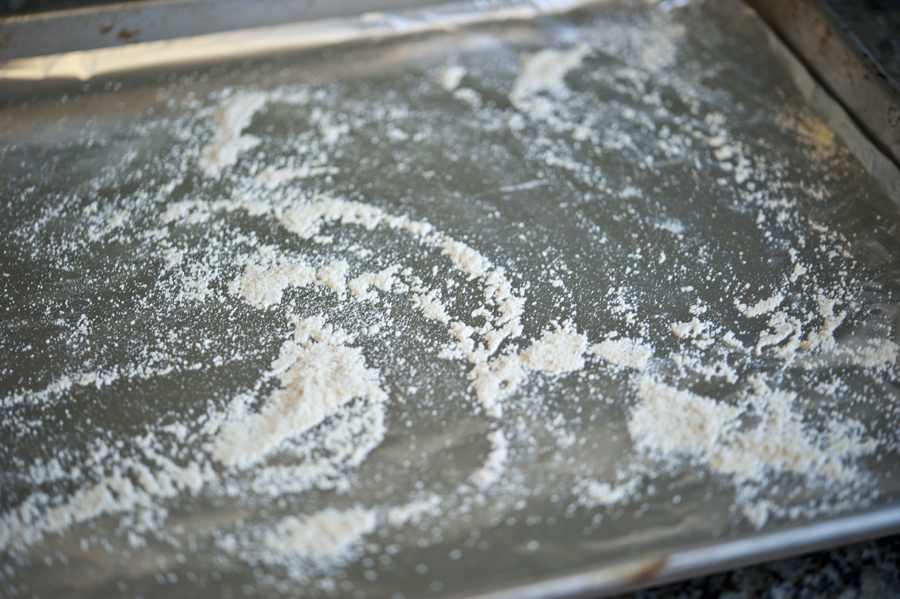
Meanwhile, you line a sheet tray with foil or wax paper and sprinkle it generously with cornmeal.


Tasty Kitchen Blog: Homemade English Muffins. Guest post by Georgia Pellegrini, recipe submitted by TK member Sarah Fowler.

Since you don’t use any butter to cook the muffins, I found it was important to be very generous with the cornmeal. That’s why Thomas has that dusting of cornmeal on his muffins. It feels authentic.


Tasty Kitchen Blog: Homemade English Muffins. Guest post by Georgia Pellegrini, recipe submitted by TK member Sarah Fowler.

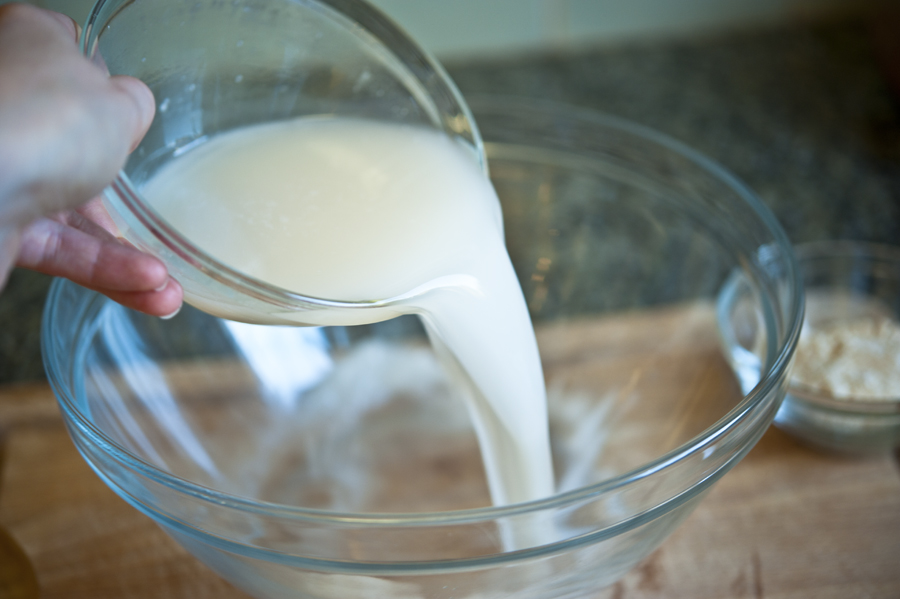
Next pour the yeast dissolved in water into a bowl.


Tasty Kitchen Blog: Homemade English Muffins. Guest post by Georgia Pellegrini, recipe submitted by TK member Sarah Fowler.

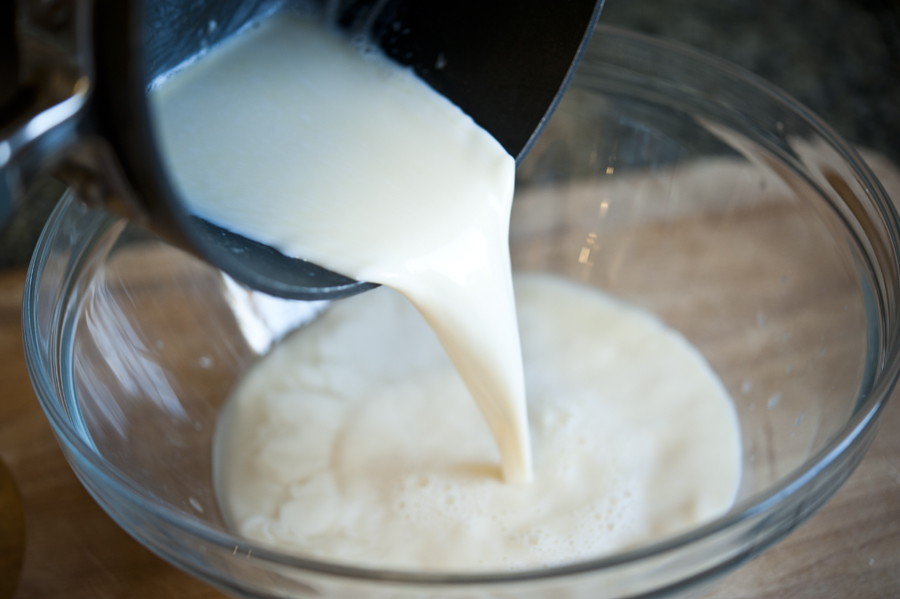
Add the butter, honey, and milk mixture, and give it a stir.


Tasty Kitchen Blog: Homemade English Muffins. Guest post by Georgia Pellegrini, recipe submitted by TK member Sarah Fowler.

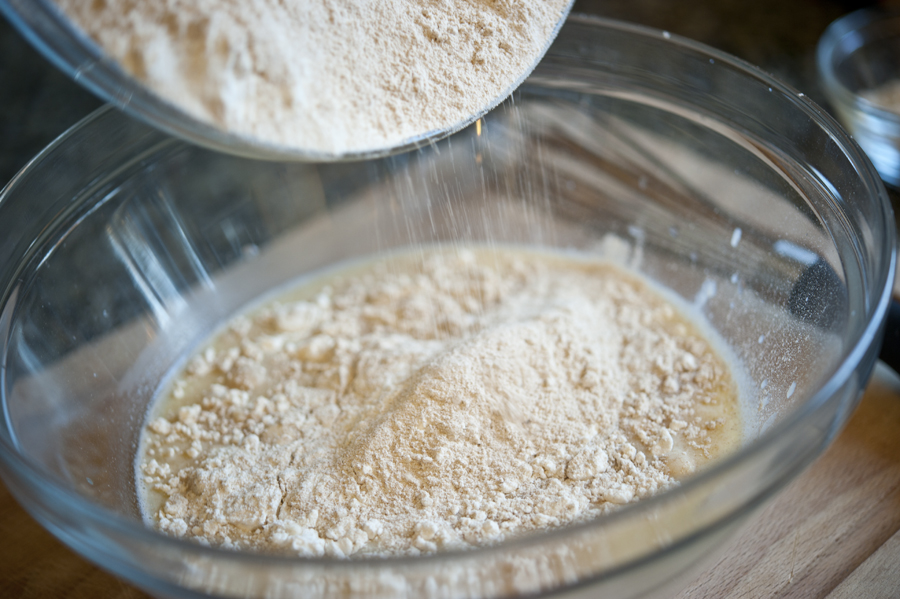
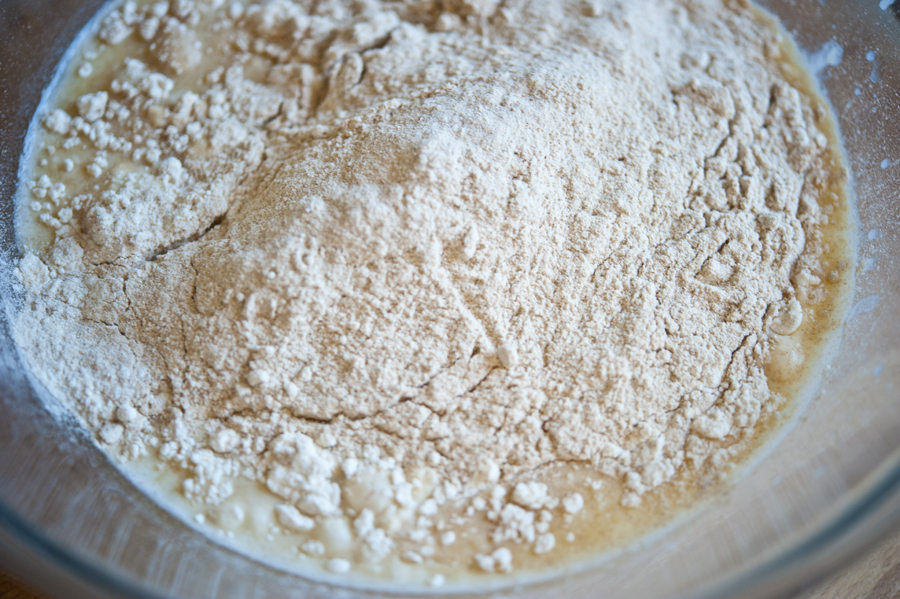
Combine half of the flour into the mixture.


Tasty Kitchen Blog: Homemade English Muffins. Guest post by Georgia Pellegrini, recipe submitted by TK member Sarah Fowler.

I was feeling rebellious so I added some whole-wheat flour to the mix instead of all white flour. Whatever suits your mood.


Tasty Kitchen Blog: Homemade English Muffins. Guest post by Georgia Pellegrini, recipe submitted by TK member Sarah Fowler.

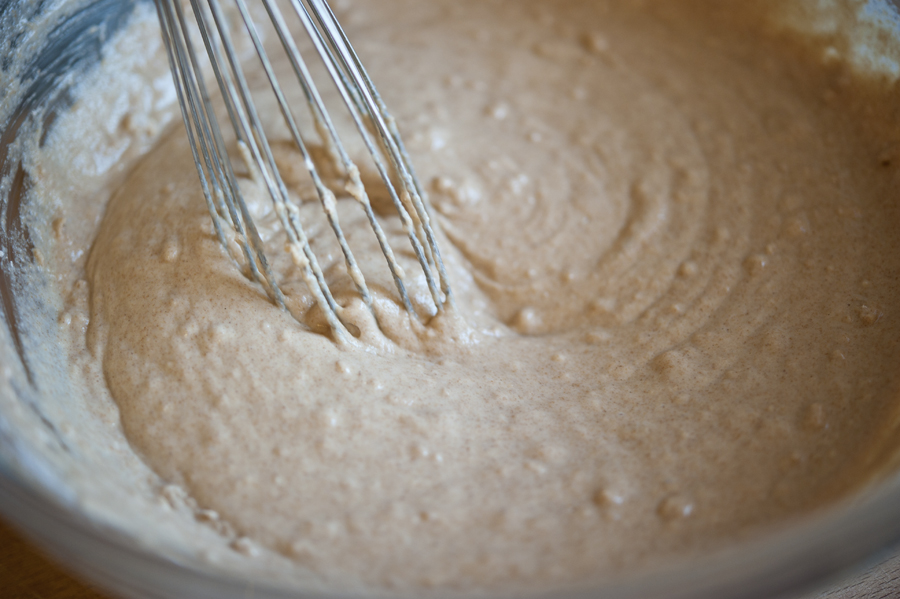
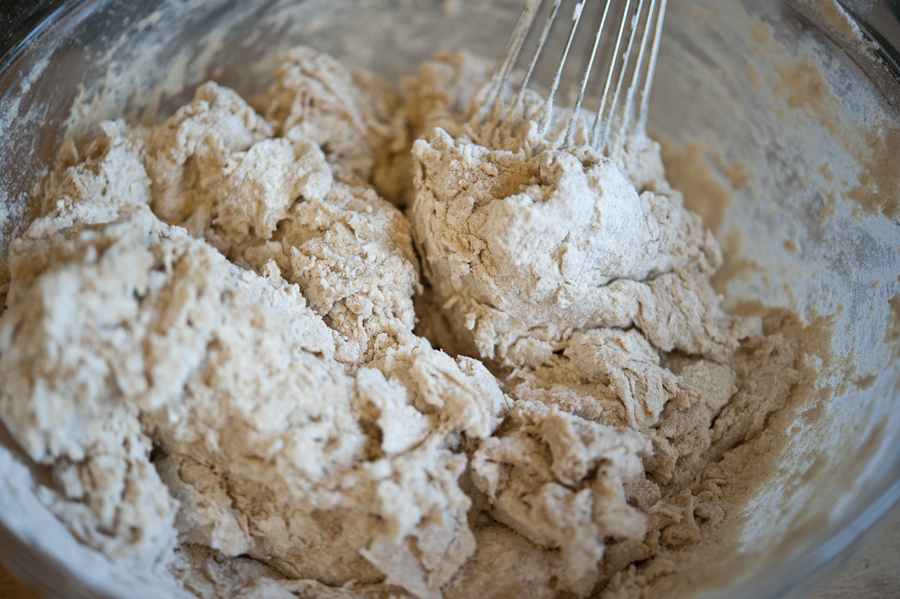
Mix it together well to remove the large lumps.


Tasty Kitchen Blog: Homemade English Muffins. Guest post by Georgia Pellegrini, recipe submitted by TK member Sarah Fowler.

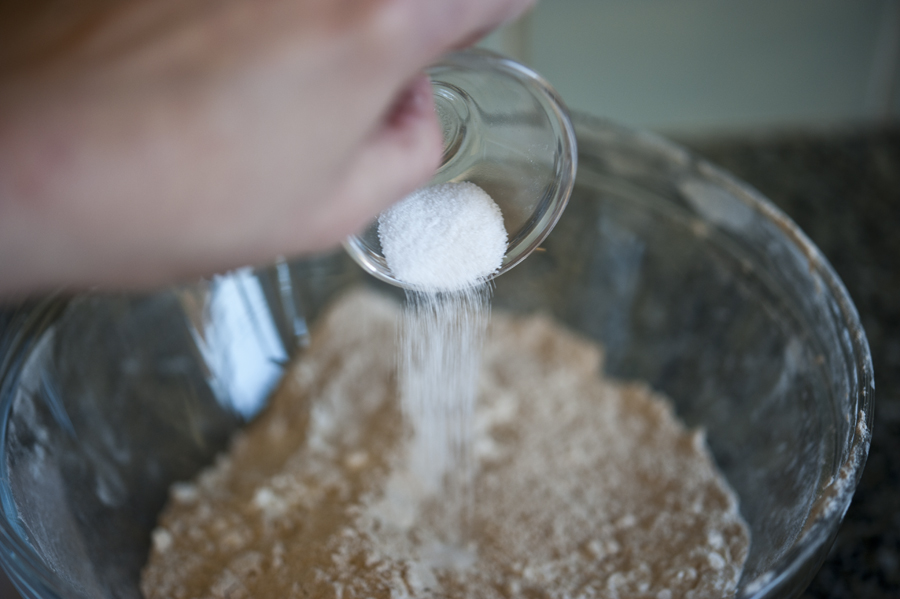
Add the salt to the remaining flour.


Tasty Kitchen Blog: Homemade English Muffins. Guest post by Georgia Pellegrini, recipe submitted by TK member Sarah Fowler.

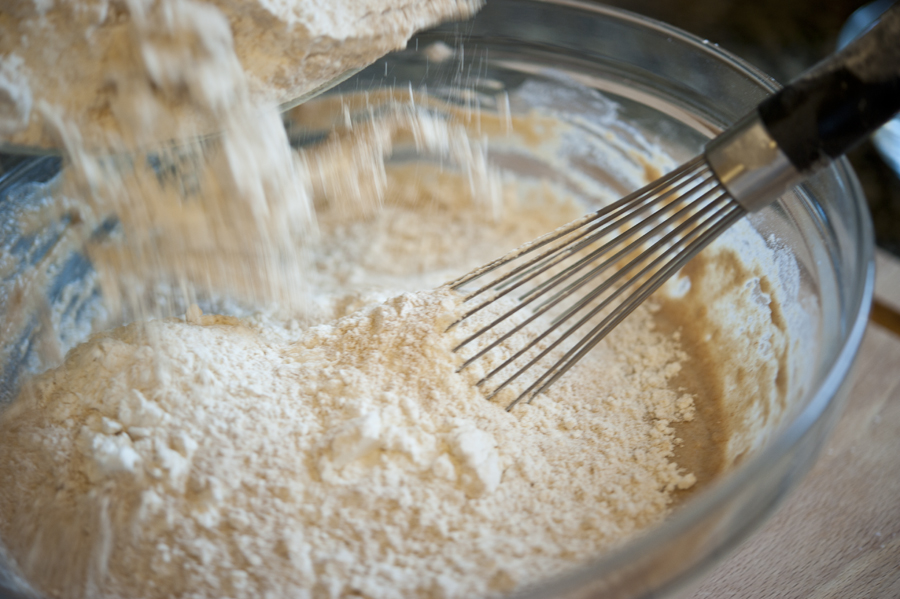
Then add the rest of the flour to the wet ingredients.


Tasty Kitchen Blog: Homemade English Muffins. Guest post by Georgia Pellegrini, recipe submitted by TK member Sarah Fowler.

Mix it together well. Now might be the time to get your hands in there. That is your best kitchen tool, after all.


Tasty Kitchen Blog: Homemade English Muffins. Guest post by Georgia Pellegrini, recipe submitted by TK member Sarah Fowler.

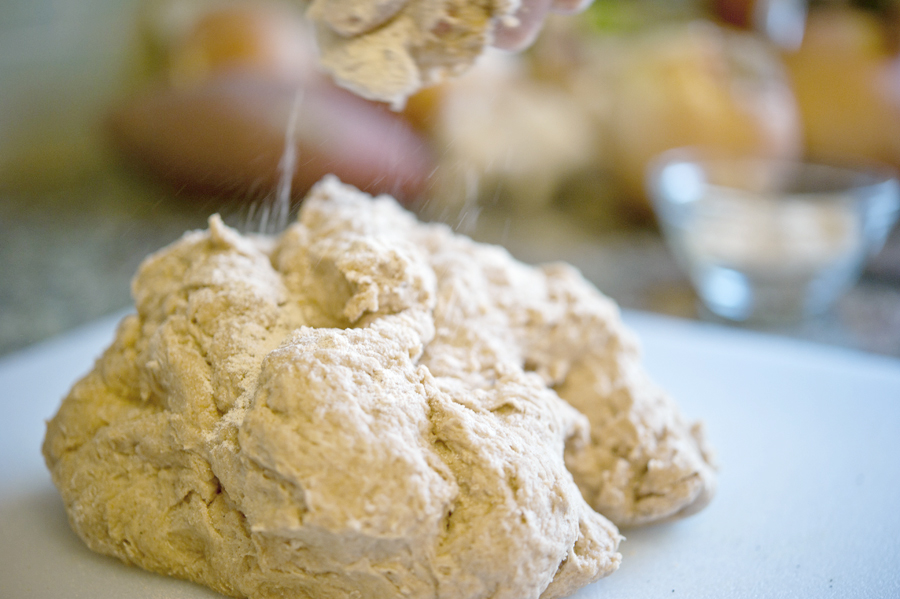
Lay the dough on a clean, floured surface and sprinkle it with some more flour.


Tasty Kitchen Blog: Homemade English Muffins. Guest post by Georgia Pellegrini, recipe submitted by TK member Sarah Fowler.

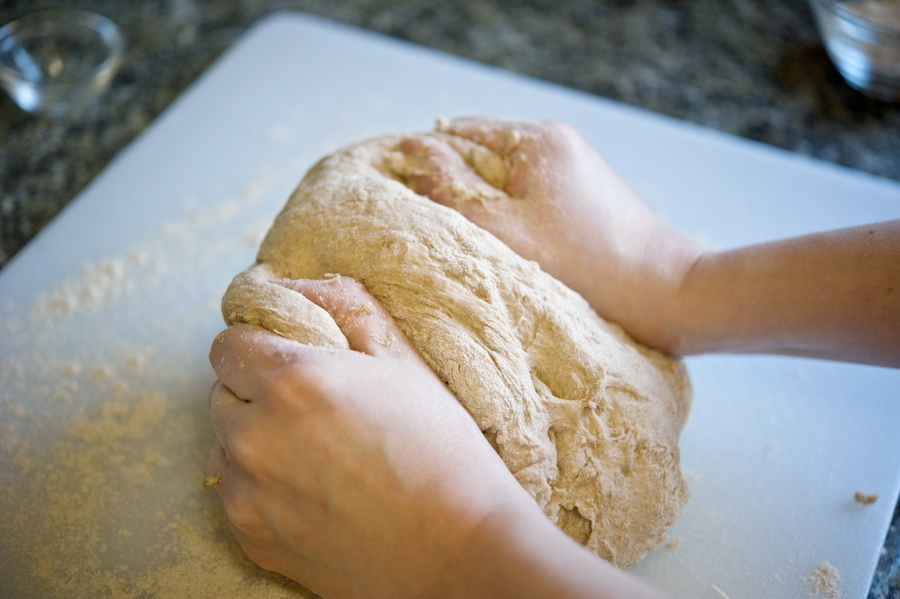
Begin to work the dough with your hands, and knead it for 3-4 minutes. Then let it rest for 5 minutes to help the gluten relax.


Tasty Kitchen Blog: Homemade English Muffins. Guest post by Georgia Pellegrini, recipe submitted by TK member Sarah Fowler.

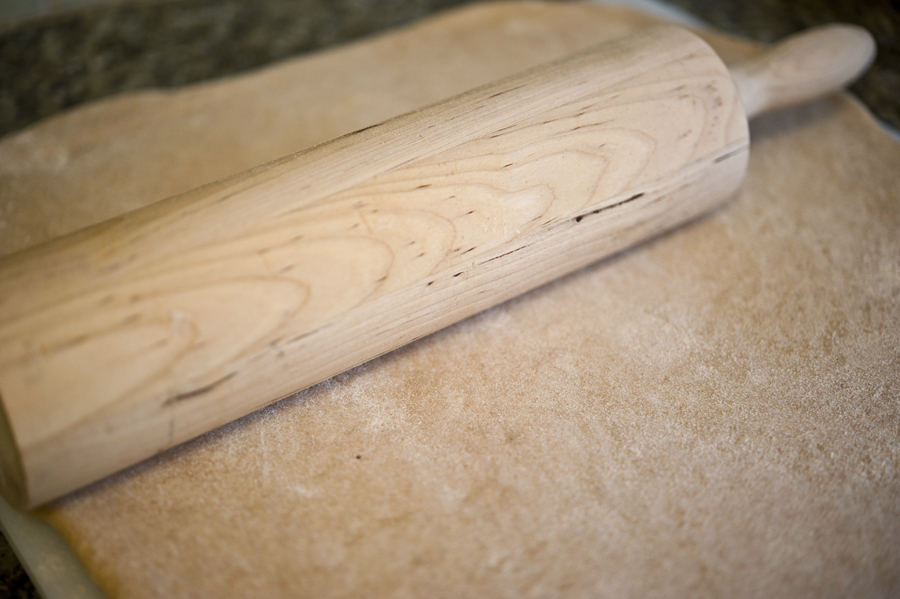
Next you get out the rolling pin. Add more flour to the surface and the rolling pin, and roll it to ¼ – ½ inch thickness. I was a little overzealous with the rolling pin and if I were to do it again, I would err on the thicker side for a thicker muffin.


Tasty Kitchen Blog: Homemade English Muffins. Guest post by Georgia Pellegrini, recipe submitted by TK member Sarah Fowler.

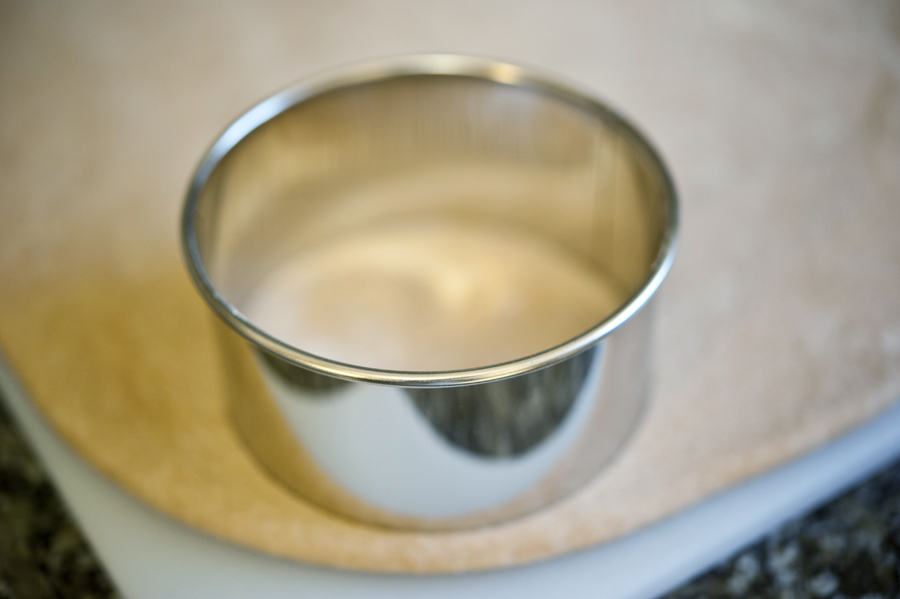
Then with a cutter, or as Sarah wisely pointed out, the top of a mason jar, cut circles from the dough.


Tasty Kitchen Blog: Homemade English Muffins. Guest post by Georgia Pellegrini, recipe submitted by TK member Sarah Fowler.

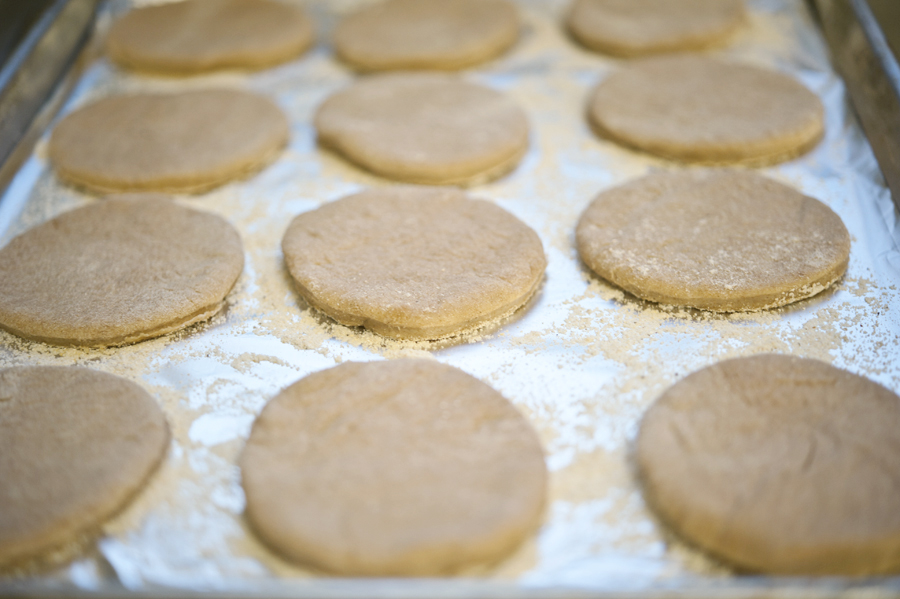
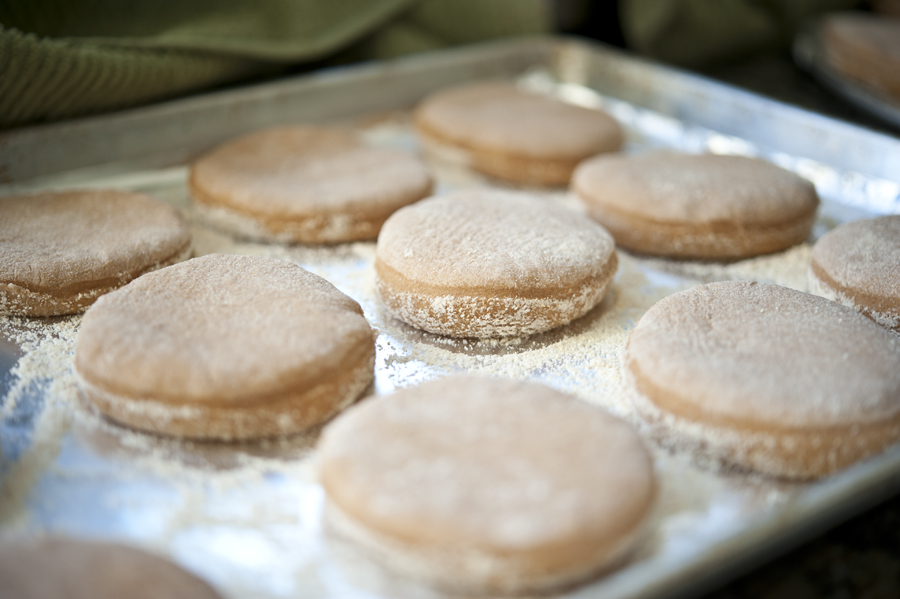
Place them on the prepared sheet tray, cover with a clean dry towel, and let them rise.

Since I made these later in the day, I let them rise overnight so that they were ready to finish for breakfast the next morning. However you do it, they may need more time to rise than the recipe suggests, depending on your environment. The key is to wait until they look plump and have about doubled.


Tasty Kitchen Blog: Homemade English Muffins. Guest post by Georgia Pellegrini, recipe submitted by TK member Sarah Fowler.

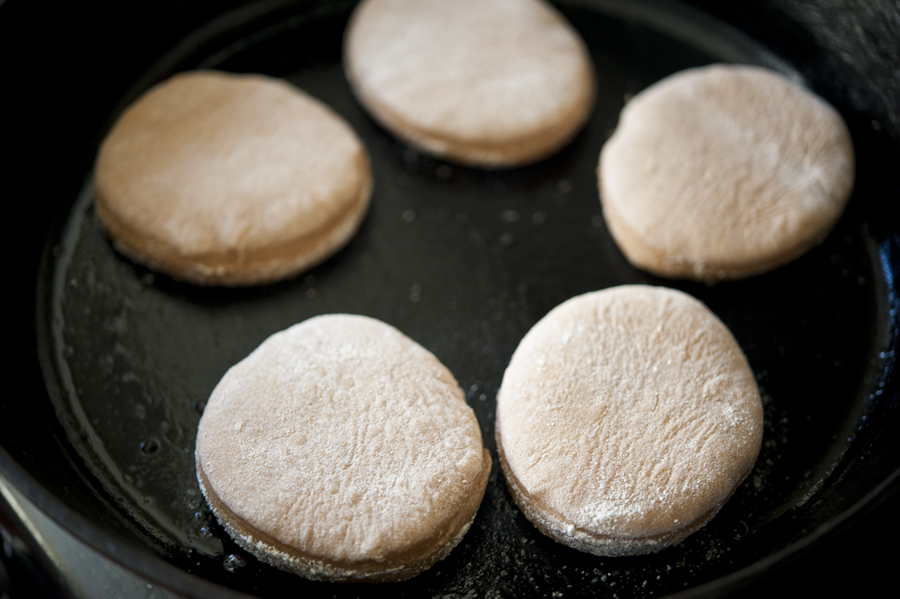
Next you remove the towel and heat an ungreased skillet.


Tasty Kitchen Blog: Homemade English Muffins. Guest post by Georgia Pellegrini, recipe submitted by TK member Sarah Fowler.

Dust off any excess cornmeal so that it doesn’t burn in the pan, and place a few muffins at a time into the skillet.


Tasty Kitchen Blog: Homemade English Muffins. Guest post by Georgia Pellegrini, recipe submitted by TK member Sarah Fowler.

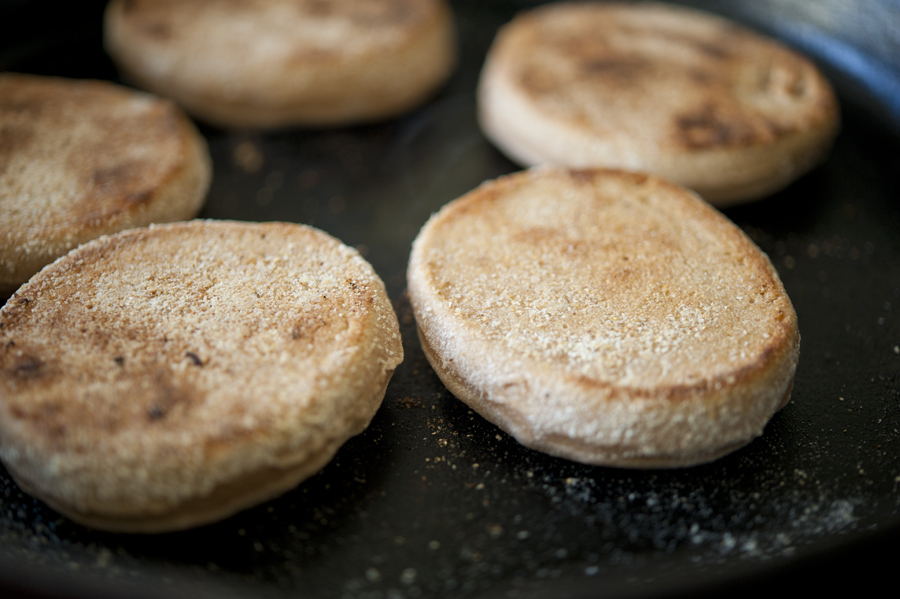
I cooked mine for about 7 minutes on each side, on medium low heat. You just want them to brown, not cook through.

Once they look browned, remove them to a rack to cool. Then, with a fork, split them open and toast them. Whatever you’re not ready to eat now can be refrigerated or even frozen for another day.


Tasty Kitchen Blog: Homemade English Muffins. Guest post by Georgia Pellegrini, recipe submitted by TK member Sarah Fowler.

Thomas would be proud.


Tasty Kitchen Blog: Homemade English Muffins. Guest post by Georgia Pellegrini, recipe submitted by TK member Sarah Fowler.

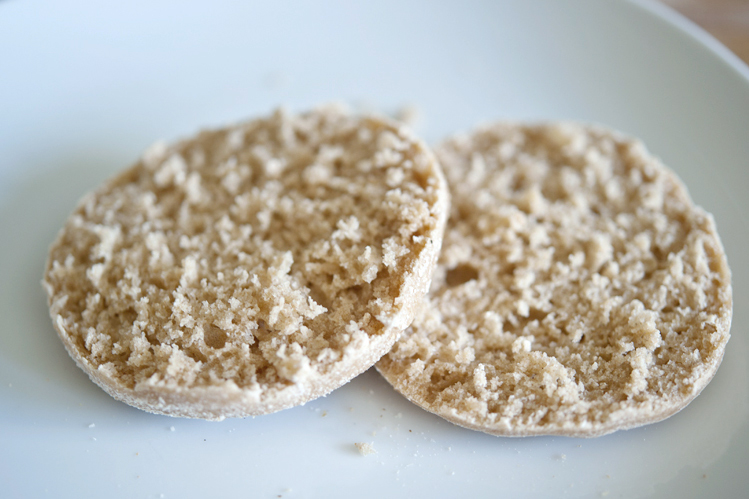
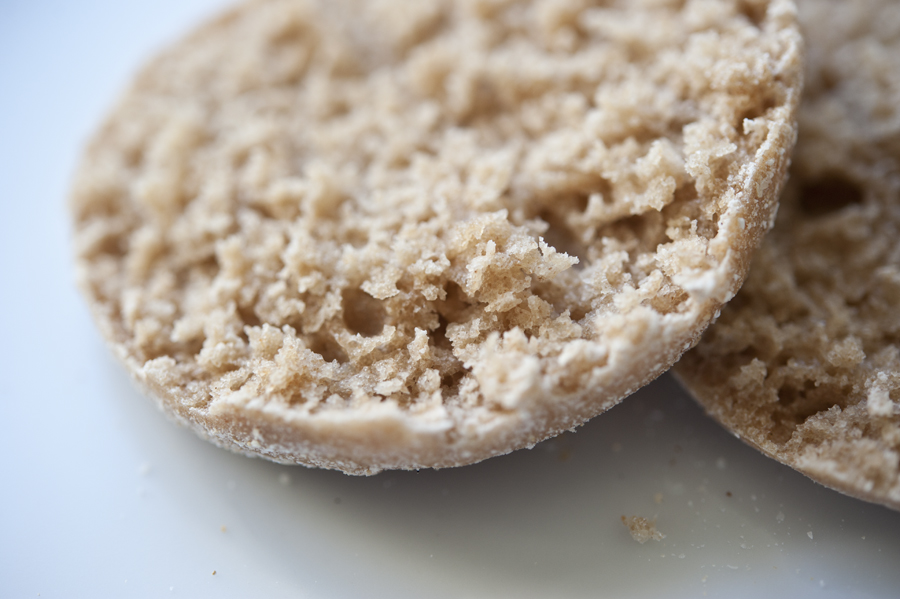
They are full of all of those signature nooks and crannies.


Tasty Kitchen Blog: Homemade English Muffins. Guest post by Georgia Pellegrini, recipe submitted by TK member Sarah Fowler.

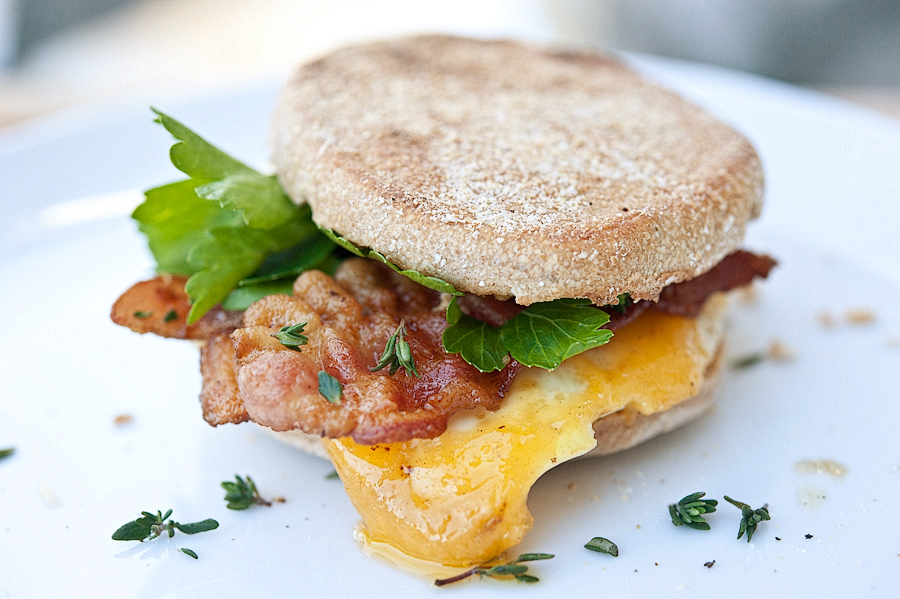
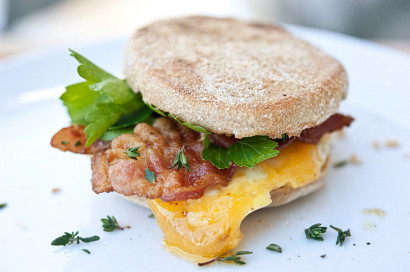
And then you can do all sorts of fun things with them. Add some lemon curd or a bit of butter and jam. Or make a truly homemade bacon, egg, and cheese sandwich.

Give these a try sometime!

And thanks again to Tasty Kitchen member Sarah Fowler for this fun homespun recipe.


Printable Recipe

English Muffins

See post on Sarah Fowler’s site!
4.33 Mitt(s) 12 Rating(s)12 votes, average: 4.33 out of 512 votes, average: 4.33 out of 512 votes, average: 4.33 out of 512 votes, average: 4.33 out of 512 votes, average: 4.33 out of 5

Prep Time:

Cook Time:

Difficulty: Intermediate

Servings: 20

20
x

Print Options

Page size Letter 3x5 4x6
Text Size Small Medium Large
Content Include description
Include prep time, etc.
Show image

Description

Homemade English muffins. A lot of work, but worth it!

Ingredients

  • 1 cup Milk
  • 3 Tablespoons Butter
  • 2 Tablespoons Honey
  • 1 cup Warm Water
  • ¼ ounces, weight Yeast
  • ¼ cups Cornmeal
  • 5-½ cups Flour
  • 1 teaspoon Salt

Preparation Instructions

Combine milk, butter, and honey in a saucepan over medium heat. Warm until butter starts to melt, then whisk briefly. Remove pan from heat and allow liquid to cool to lukewarm.

Pour water into a mixing bowl and sprinkle with yeast. Stir gently with a fork. Set bowl aside for 10 minutes, or until yeast has dissolved.

Line baking sheets with waxed paper and sprinkle with a generous amount of cornmeal.

Pour cooled milk mixture into yeast mixture and gently stir until well blended. Add 3 cups flour and beat vigorously with a wooden spoon until smooth. Beat in remaining flour and salt until the dough is no longer sticky. Scrape the dough onto a floured surface and dust with flour. Flour hands and knead dough for 3-4 minutes. Let rest 5 minutes.

Roll out dough with rolling pin to about 1/2 inch thick. Cut the dough into circles (a tumbler or mason jar does well). Transfer muffins to prepared baking sheets and sprinkle with cornmeal. Cover with a dry, lightweight towel and let rise until doubled in height, 35-45 minutes.

When muffins have risen, heat a skillet over medium heat. Carefully lift muffins from the pan and place on the ungreased skillet. Cook about 10 minutes on each side, using a spatula to flip them. Transfer to a wire rack to cool before splitting (with a fork) and toasting them.


_______________________________________

There’s so much to say about Georgia, we don’t know where to start. Leaving Wall Street for the French Culinary Institute, followed by a stint at the Gramercy Tavern and La Chassagnette in France, her passion for food and food traditions are evident and inspiring. Visit her site at Georgia Pellegrini, where you’ll find more recipes, photos, learn all about her wonderful book Food Heroes, and enjoy her latest adventures.


Profile photo of Natalie | Perry's Plate

Grandma Inez’s Pineapple Pie

Posted by in Baking, Step-by-Step Recipes

Tasty Kitchen Blog: Pineapple Pie. Guest post and recipe from Natalie Perry of Perry's Plate.

 
I’m excited to share a recipe from my own box today because it’s one that’s close to my heart. I have a southern grandmother who cooks the best desserts. (I’m guessing many of you are nodding your heads and smiling. You know what I’m talking about, right?) Grandma Inez’s Pineapple Pie is my most favorite pie in the whole world and one of my favorites in her repertoire.

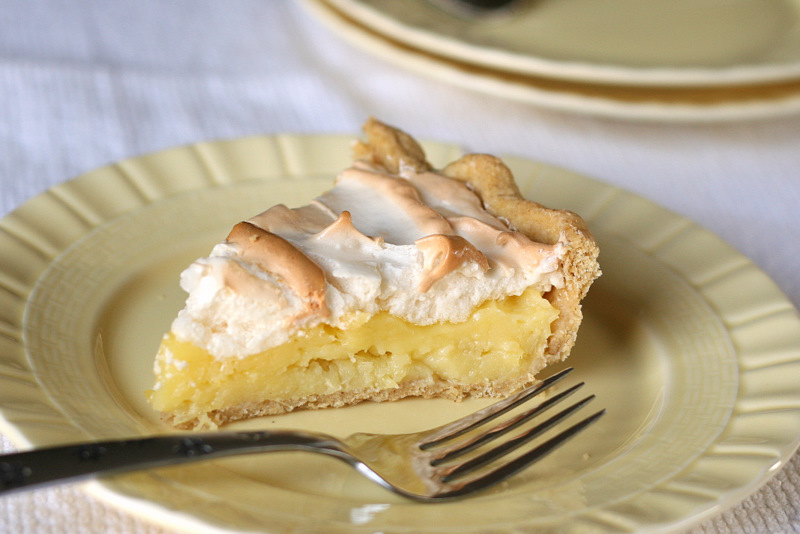
When I tell people my favorite pie is pineapple, I always wonder what kind of images their mind conjures up. A flaky pie crust filled with steaming pineapple rings? Ugh. No wonder they make faces at me. No steaming pineapple rings here. Think of this pie as a pineapple version of lemon meringue. Better now?

Let’s get started!


Tasty Kitchen Blog: Pineapple Pie. Guest post and recipe from Natalie Perry of Perry's Plate.

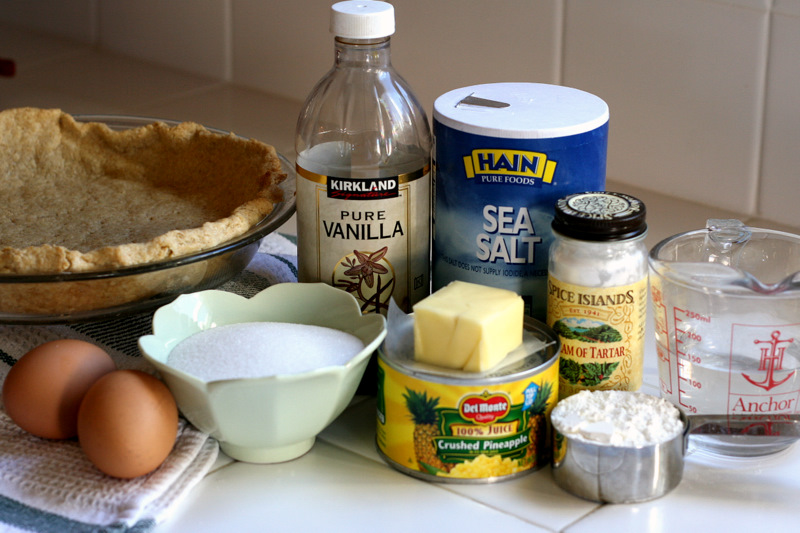
One of the things I love about this pie is that the ingredients are simple and the technique isn’t fussy. You’ll need eggs, sugar, butter, vanilla, salt, cream of tartar, corn starch, water, a can of crushed pineapple, and pre-baked pie crust. A pie crust from scratch is best, especially if it looks like it was made by a three-year-old. (Grandma, don’t look at my crust, please.)


Tasty Kitchen Blog: Pineapple Pie. Guest post and recipe from Natalie Perry of Perry's Plate.

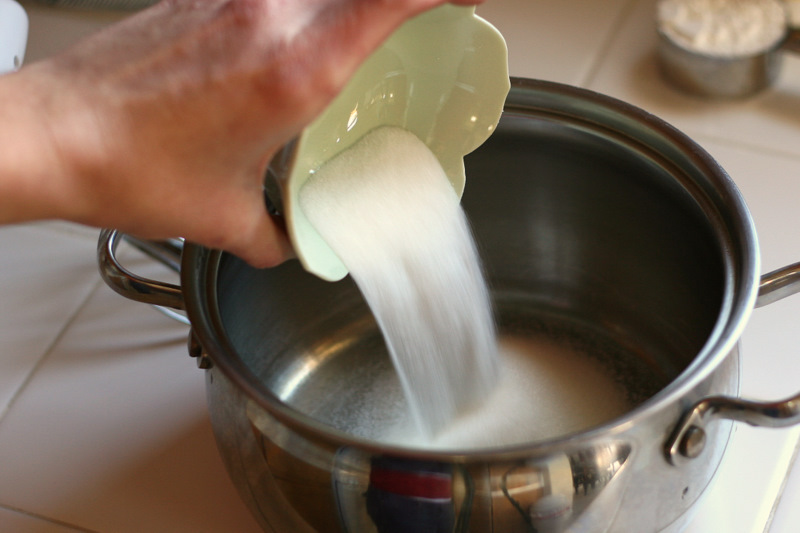
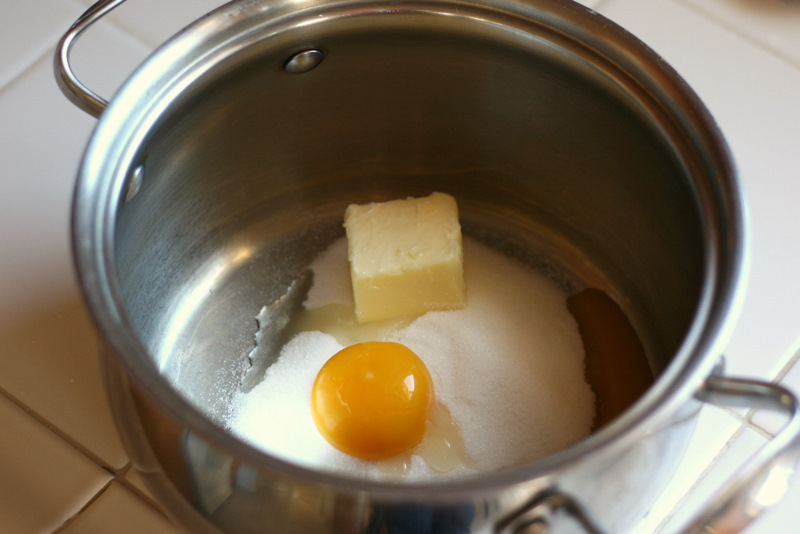
Get a medium saucepan and dump in 3/4 cup sugar …


Tasty Kitchen Blog: Pineapple Pie. Guest post and recipe from Natalie Perry of Perry's Plate.

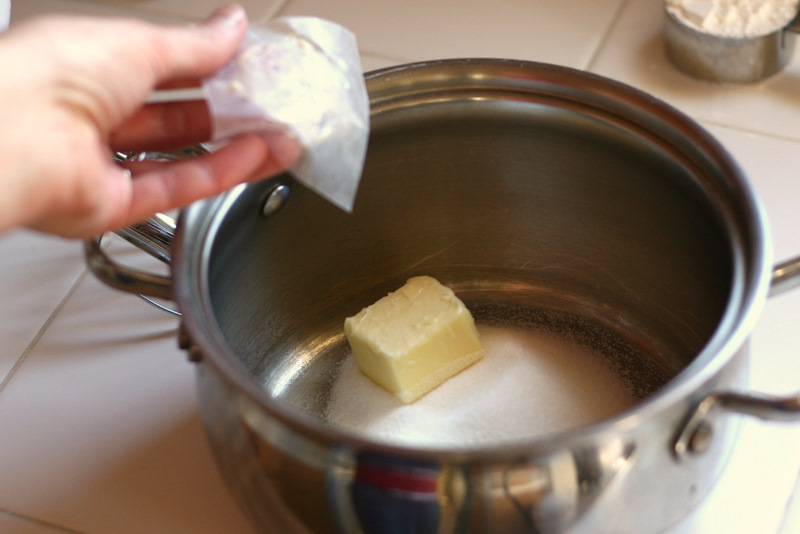
And the butter. Two tablespoons? I know. Pretty weak for a southern recipe, but I’m not going to argue with my grandma.


Tasty Kitchen Blog: Pineapple Pie. Guest post and recipe from Natalie Perry of Perry's Plate.

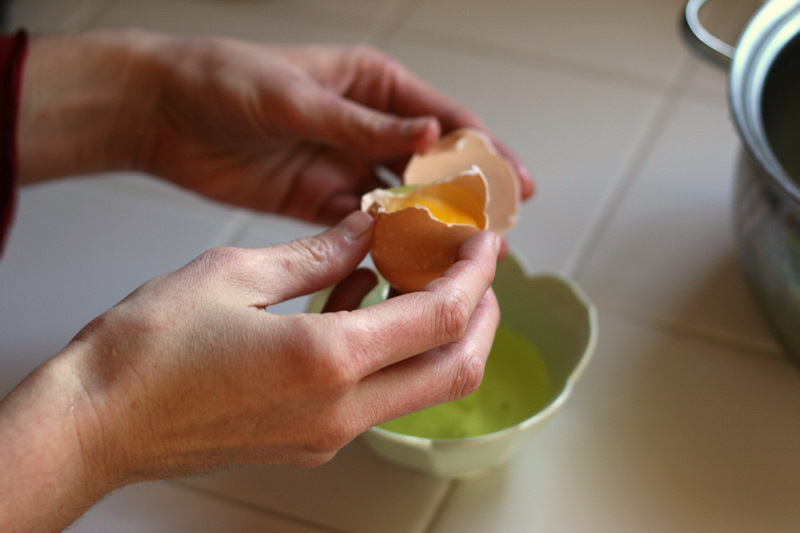
At this point you’ll need to separate the eggs if you haven’t already. Reserve the whites in a small bowl and set aside.


Tasty Kitchen Blog: Pineapple Pie. Guest post and recipe from Natalie Perry of Perry's Plate.

Place the yolks in the saucepan with the sugar and butter.


Tasty Kitchen Blog: Pineapple Pie. Guest post and recipe from Natalie Perry of Perry's Plate.

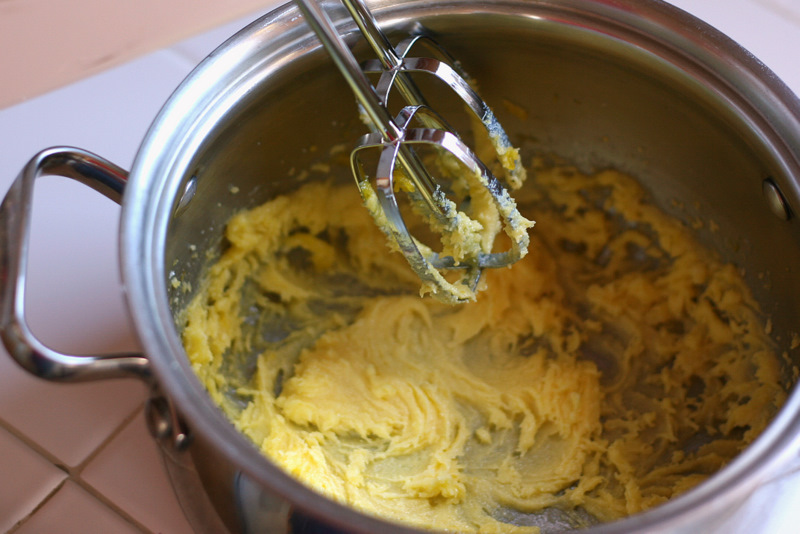
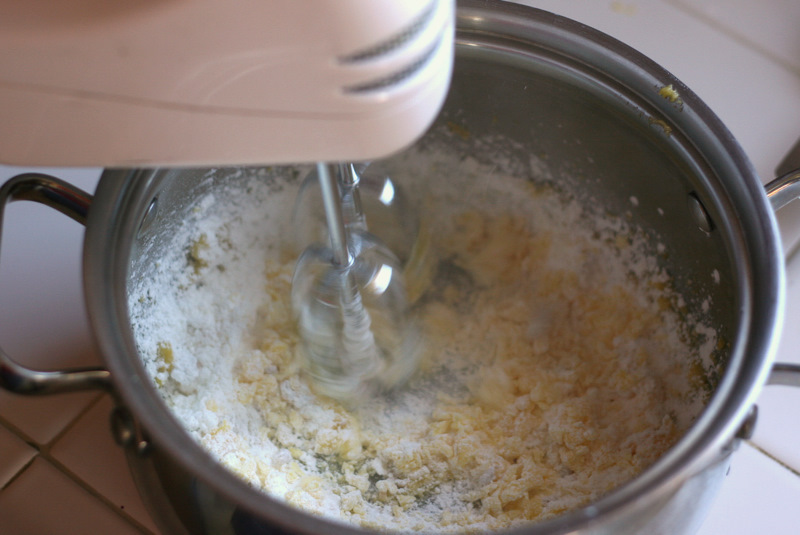
Get out your electric hand-held mixer and beat until everything’s mixed up nicely.


Tasty Kitchen Blog: Pineapple Pie. Guest post and recipe from Natalie Perry of Perry's Plate.

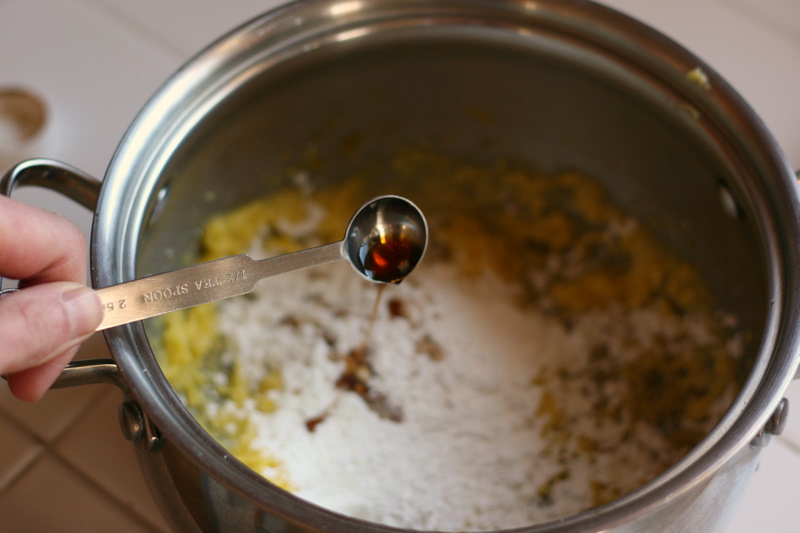
Add the cornstarch and vanilla.


Tasty Kitchen Blog: Pineapple Pie. Guest post and recipe from Natalie Perry of Perry's Plate.

Give it another mix.


Tasty Kitchen Blog: Pineapple Pie. Guest post and recipe from Natalie Perry of Perry's Plate.

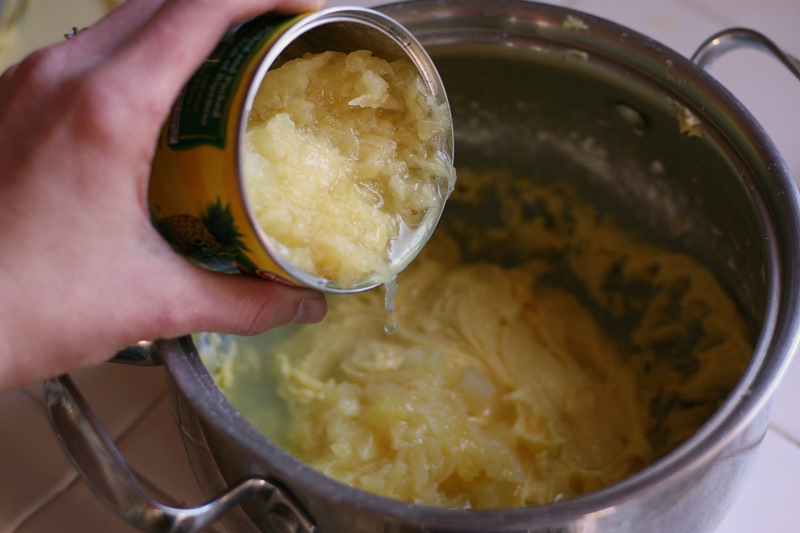
Then add the water and the crushed pineapple, juice and all.


Tasty Kitchen Blog: Pineapple Pie. Guest post and recipe from Natalie Perry of Perry's Plate.

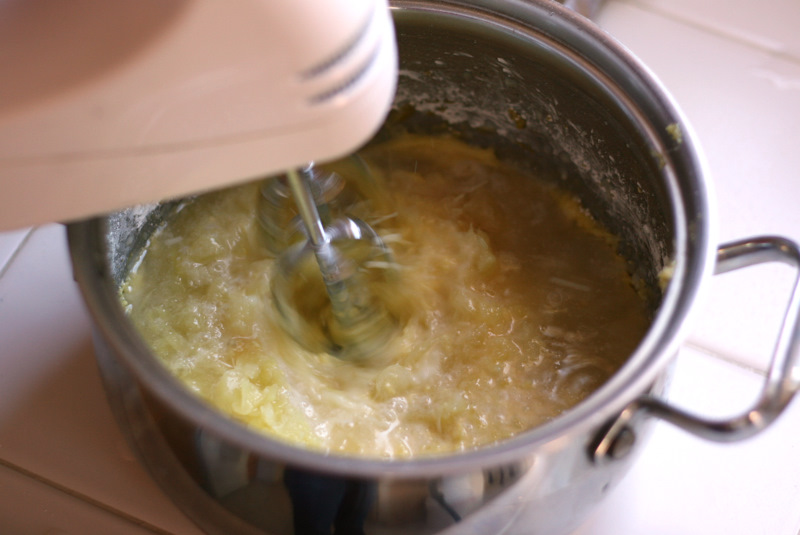
Mix it again. (You could even use a spoon if you want.)


Tasty Kitchen Blog: Pineapple Pie. Guest post and recipe from Natalie Perry of Perry's Plate.

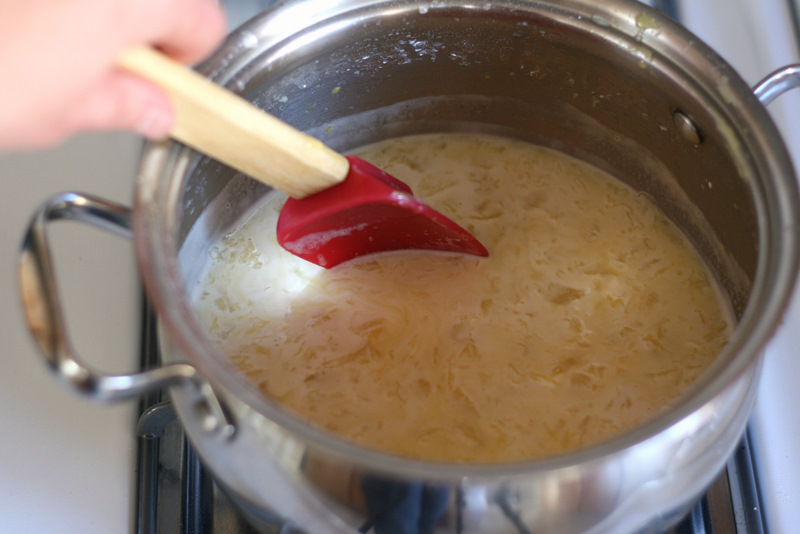
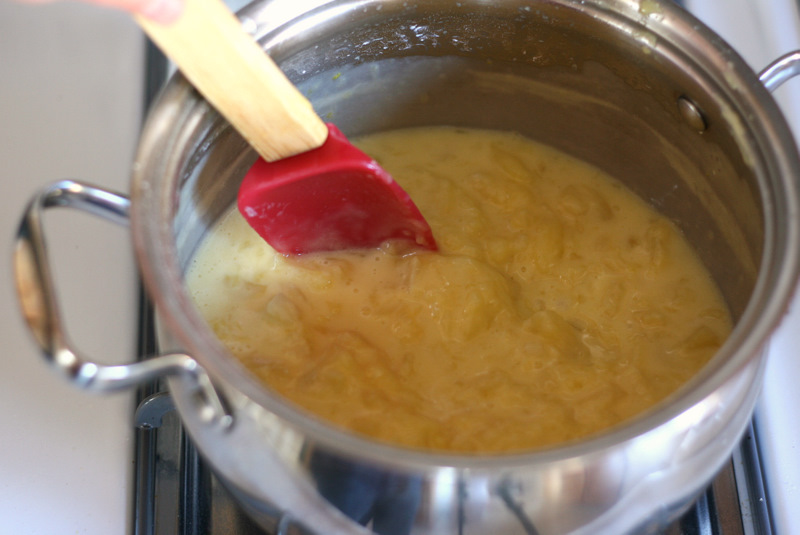
Move the saucepan over to the stove and place it over medium heat. You want it to heat up, but don’t let it boil. If it starts to bubble a lot, turn the heat down. Stir constantly for a few minutes until it starts to thicken.


Tasty Kitchen Blog: Pineapple Pie. Guest post and recipe from Natalie Perry of Perry's Plate.

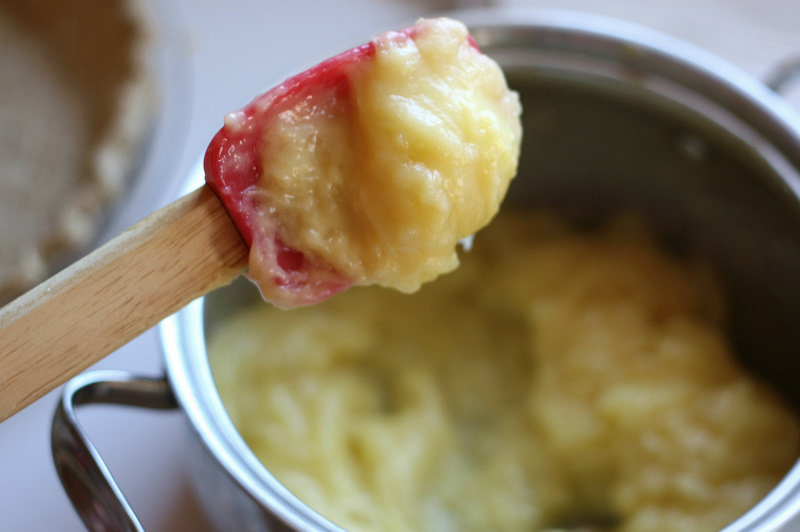
It’ll seem like nothing is happening, and then BAM it’ll thicken up really quickly. When it starts to get clumpy like this, remove it from the heat. Keep stirring.


Tasty Kitchen Blog: Pineapple Pie. Guest post and recipe from Natalie Perry of Perry's Plate.

The filling should be really thick. Like this.


Tasty Kitchen Blog: Pineapple Pie. Guest post and recipe from Natalie Perry of Perry's Plate.

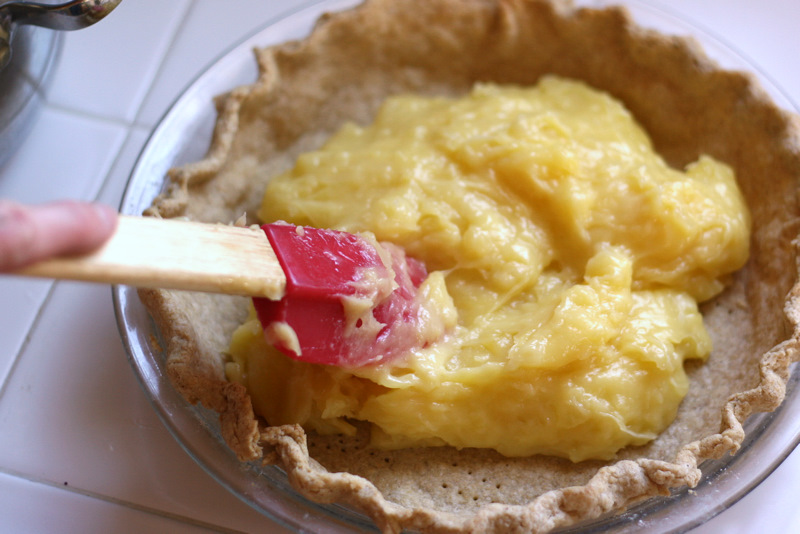
Bring out your perfectly fluted pie crust and dump all of the pineapple filling into it.


Tasty Kitchen Blog: Pineapple Pie. Guest post and recipe from Natalie Perry of Perry's Plate.

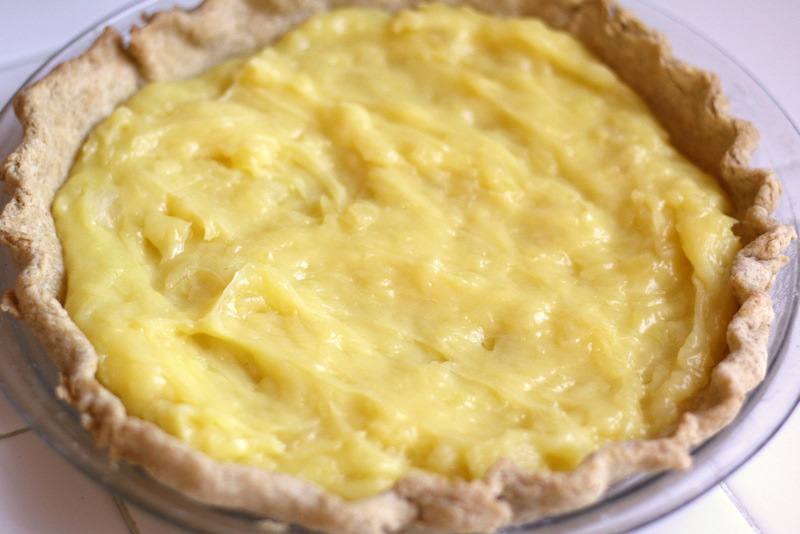
Spread it around evenly and set it aside. If you’re not going to make the meringue right away, you’ll need to cover this with some plastic wrap and put it in the refrigerator.


Tasty Kitchen Blog: Pineapple Pie. Guest post and recipe from Natalie Perry of Perry's Plate.

Preheat your oven to 400 degrees F.

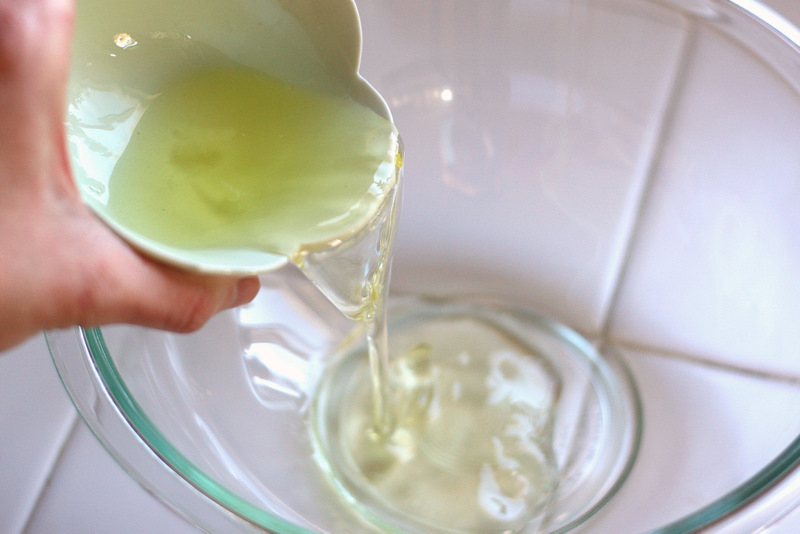
Now for the meringue. Grab a clean, medium-sized mixing bowl and add the egg whites.


Tasty Kitchen Blog: Pineapple Pie. Guest post and recipe from Natalie Perry of Perry's Plate.

Okay, y’all, I have a confession to make. (I like saying “y’all”. And I like people who say “y’all”. But that’s not my confession.)

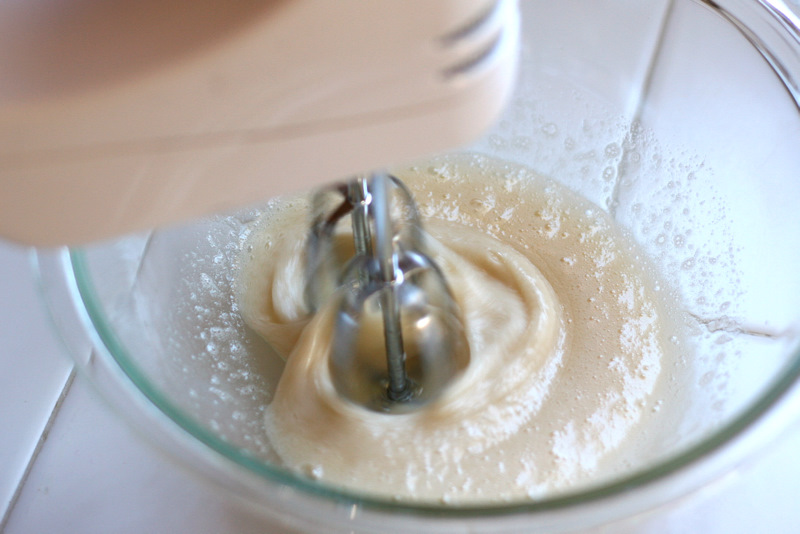
When I made this meringue for this blog post, I was following my recipe card that I copied from my grandma. She says to put all the meringue ingredients into the bowl at once and beat them. Other meringue recipes will tell you to beat the egg whites for a minute or two before adding in anything else, which is how I wrote the directions when I submitted this recipe to Tasty Kitchen.

Is there a difference? I think so. I think it takes a lot longer for the whites to whip up if you add everything at the beginning. I swore I’d lost my meringue mojo while I was standing there whipping this. It took FOREVER (forever = about 7 minutes) and there were a few times I was tempted to toss the whole thing and start over.

But …


Tasty Kitchen Blog: Pineapple Pie. Guest post and recipe from Natalie Perry of Perry's Plate.

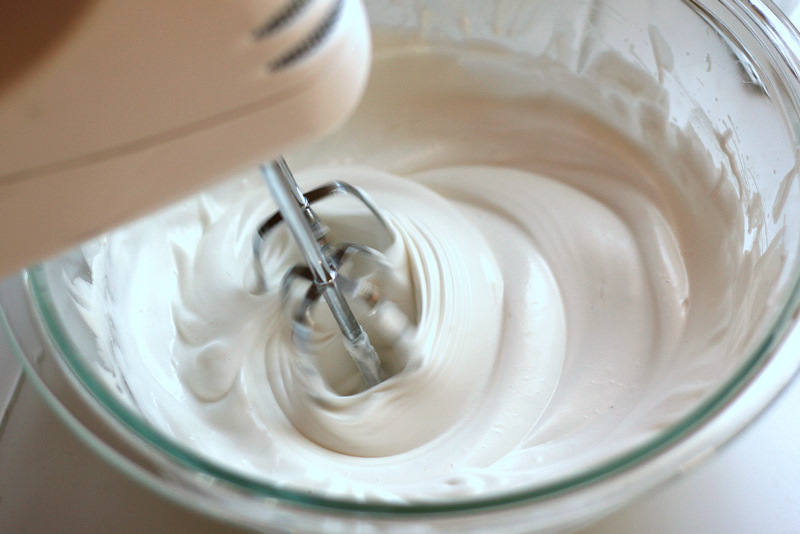
It worked anyway.


Tasty Kitchen Blog: Pineapple Pie. Guest post and recipe from Natalie Perry of Perry's Plate.

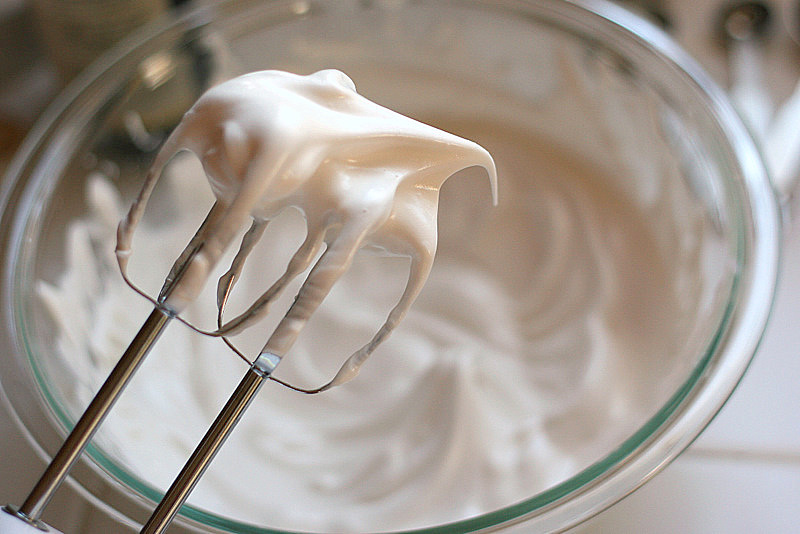
And I ended up with smooth, fluffy, glossy meringue. You can whip this until it reaches stiff peaks (peaks standing straight up), but I like it when they sort of flop over. I think it’s cute.


Tasty Kitchen Blog: Pineapple Pie. Guest post and recipe from Natalie Perry of Perry's Plate.

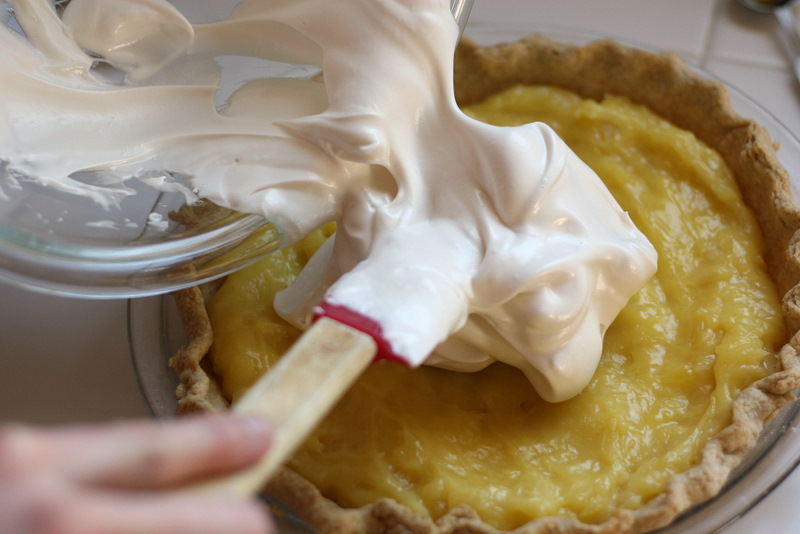
Spread all the meringue over the pineapple filling.


Tasty Kitchen Blog: Pineapple Pie. Guest post and recipe from Natalie Perry of Perry's Plate.

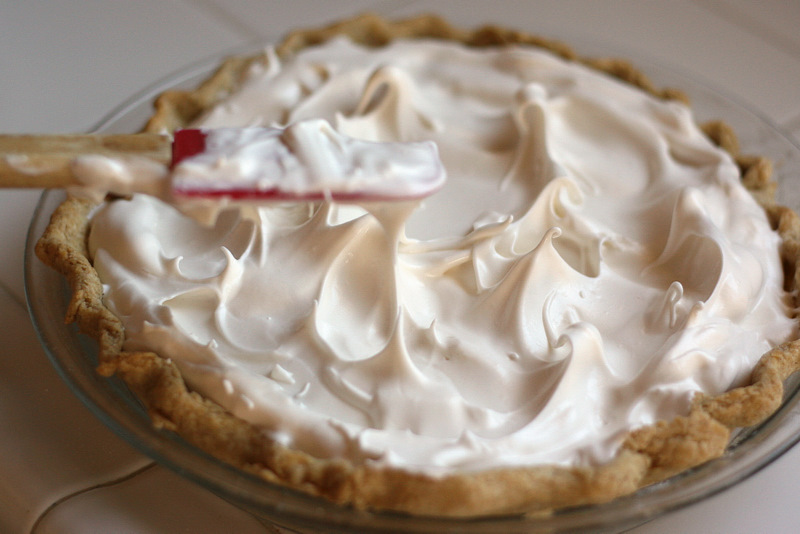
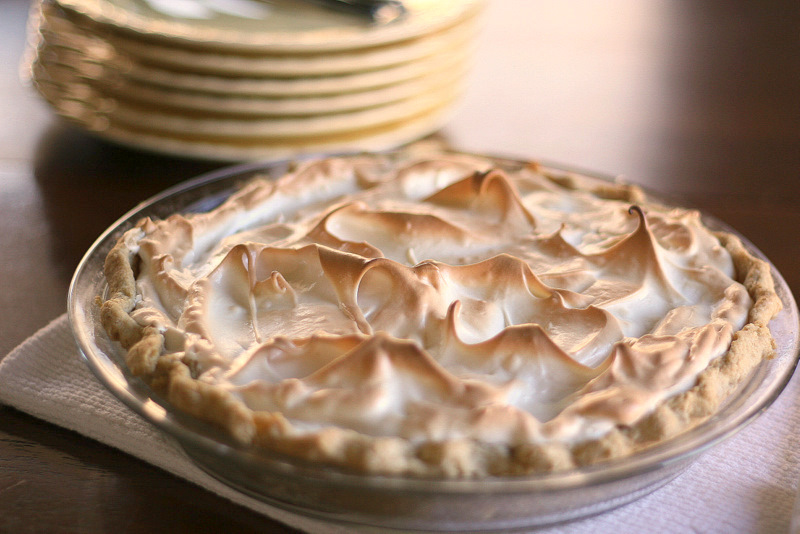
If you want to, make a few little peaks to give the pie some texture. Then put it in your preheated oven for 5-8 minutes or so until it’s golden brown. Keep an eye on it so it doesn’t burn!


Tasty Kitchen Blog: Pineapple Pie. Guest post and recipe from Natalie Perry of Perry's Plate.

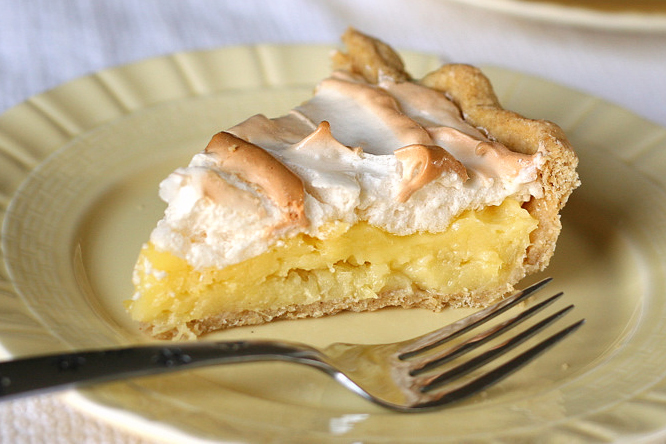
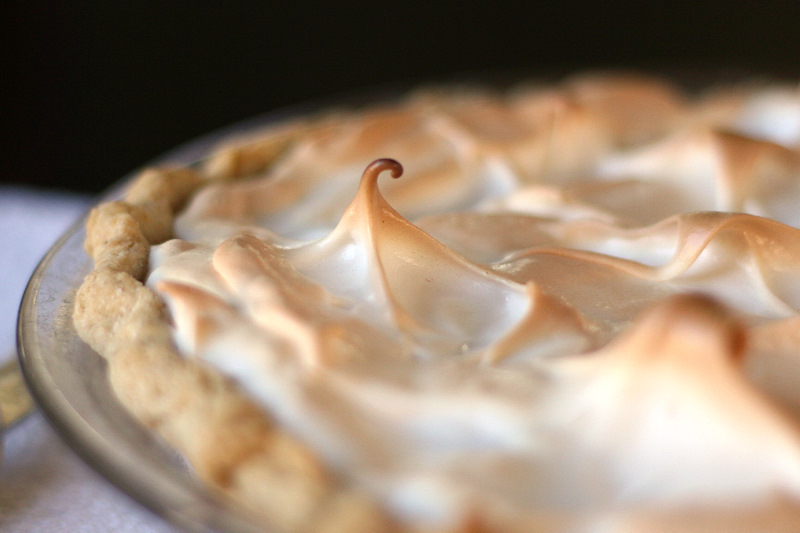
See why I like to make little swirlies on the top? How gorgeous is that?


Tasty Kitchen Blog: Pineapple Pie. Guest post and recipe from Natalie Perry of Perry's Plate.

My favorite was this little guy right here. My three-year-old called dibs on him when I was slicing it up.


Tasty Kitchen Blog: Pineapple Pie. Guest post and recipe from Natalie Perry of Perry's Plate.

 
And that, my friends, is a pineapple pie. It’s delicious when it’s still a bit warm from the oven. Or when it’s ice cold. Or when it’s 4 AM. The recipe easily doubles, and making more than one is definitely a good idea. I hope you enjoy this as much as I do!

(And thanks, Grandma! This pie rules.)


Printable Recipe

Grandma Inez’s Pineapple Pie

See post on Natalie | Perry's Plate’s site!
4.75 Mitt(s) 20 Rating(s)20 votes, average: 4.75 out of 520 votes, average: 4.75 out of 520 votes, average: 4.75 out of 520 votes, average: 4.75 out of 520 votes, average: 4.75 out of 5

Prep Time:

Cook Time:

Difficulty: Easy

Servings: 6

6
x

Print Options

Page size Letter 3x5 4x6
Text Size Small Medium Large
Content Include description
Include prep time, etc.
Show image

Description

Similar to lemon meringue, this unique pie features a creamy pineapple filling. It’s also my favorite pie in the whole world. My grandma quit asking me what dessert I want her to make when we visit. She just makes one of these. Sometimes two. One for me and my grandpa and the other one for everyone else.

Ingredients

  • FOR THE PIE:
  • ¾ cups Sugar
  • 2 Tablespoons Butter
  • 2 whole Eggs, Separated
  • ⅓ cups Cornstarch
  • ½ teaspoons Vanilla Extract
  • ½ cups Plus 2 Tablespoons Of Water
  • 8 ounces, weight Canned Crushed Pineapple
  • 1 whole 9-inch Pre-baked Pie Crust
  • _____
  • FOR THE MERINGUE:
  • 2 whole Egg Whites (From Separated Eggs Above)
  • ⅛ teaspoons Salt
  • ¼ teaspoons Cream Of Tartar
  • 6 Tablespoons Sugar
  • 1 teaspoon Vanilla

Preparation Instructions

For the pie, cream sugar, butter, and egg yolks in a saucepan. Add cornstarch and vanilla. Add water and crushed pineapple. Cook over medium heat, stirring constantly until thick. Pour into a 9″ baked pastry.

For the meringue, whip egg whites until they begin to get foamy. Add the remaining ingredients and continue to whip until the meringue has reached soft peak stage and is smooth and glossy. Place the meringue over the cooled pie. Brown at 400ºF for just a few minutes. Store in the fridge until ready to serve. Tastes great warm or cold.


_______________________________________

Be sure to check out Natalie’s own beautiful food blog, Perrys’ Plate, where you can see her growing collection of lovely recipes. There’s always something new to see there. Go visit now!


Profile photo of Erika (TK)

Soup Sidekicks

Posted by in The Theme Is...

  This has been some kind of winter for many of us. A snow day here and there is nice and pretty but lately, I’ve been noticing the first signs of cabin fever setting in. Soup is often the most welcoming, soothing quick meal option on a cold day. You typically have enough ingredients in […]

Profile photo of missamy

Honey Caramel Sauce

Posted by in Step-by-Step Recipes

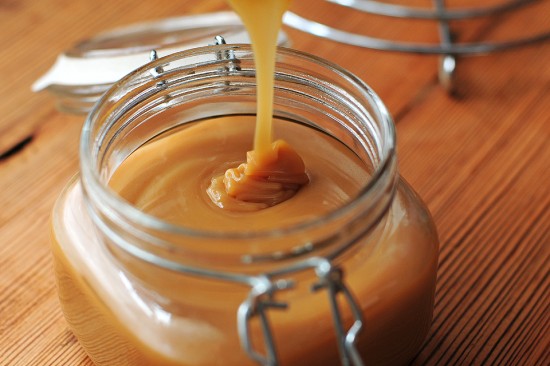
  Lately I’ve been doing a little reading about honey. It truly is an amazing food, straight from the hive, with no added ingredients or preservatives. There’s a slew of possible health benefits from eating honey, but I just enjoy the taste, one that you just can’t find with other sweeteners. And depending on the […]

Profile photo of twopeasandtheirpod

Tortellini Soup

Posted by in Step-by-Step Recipes

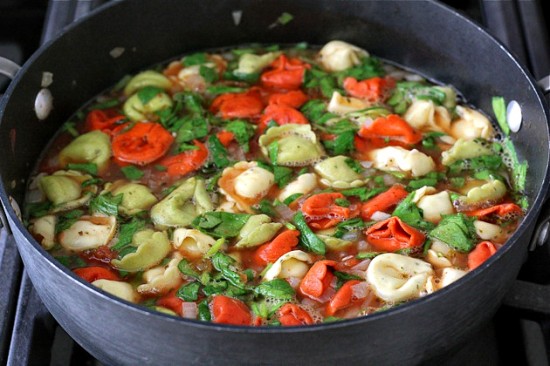
  January is not my favorite month. It is hard getting back to “normal” life after the holidays. It is also long, cold, and COLD! I dress in layers, live under my electric blanket, and eat comforting foods to try and stay warm. My favorite comfort foods are soup and pasta dishes. When I saw […]
Profile photo of HowSweetEats

Gooey Butter Cake

Posted by in Baking, Step-by-Step Recipes

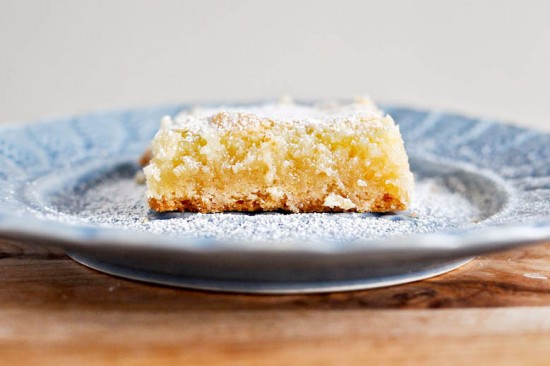
Note from Ree: I’m so excited to welcome Jessica from HowSweetEats as a new contributor here on Tasty Kitchen. Jessica’s bulging recipe box (149 recipes, anyone?) is a goldmine of deliciousness, and a testament to Jessica’s love for cooking and baking. For her inaugural post, Jessica brings us the step-by-step instructions for this Gooey Butter…