The Pioneer Woman Tasty Kitchen
Profile photo of Natalie | Perry's Plate

Shaved Asparagus Pizza

Posted by in Step-by-Step Recipes

Tasty Kitchen Blog: Shaved Asparagus Pizza. Guest post by Natalie Perry of Perry's Plate, recipe submitted by TK member keeperrox.

 
Asparagus and I haven’t had the best relationship over the years. I think it was mostly a misunderstanding on my part. Because I really wanted to like asparagus, I did what I usually do with foods I’m trying to get used to: combine it with a food that I absolutely adore. In this case, I buried it in a pizza.

Peaches are also on my list, but I think I’ll have to take a different approach with that one.

When I saw this Shaved Asparagus Pizza submitted by TK member keeperrox, I hoped it would be my entrance into the asparagus-lover’s club. And I believe it was.


Tasty Kitchen Blog: Shaved Asparagus Pizza. Guest post by Natalie Perry of Perry's Plate, recipe submitted by TK member keeperrox.

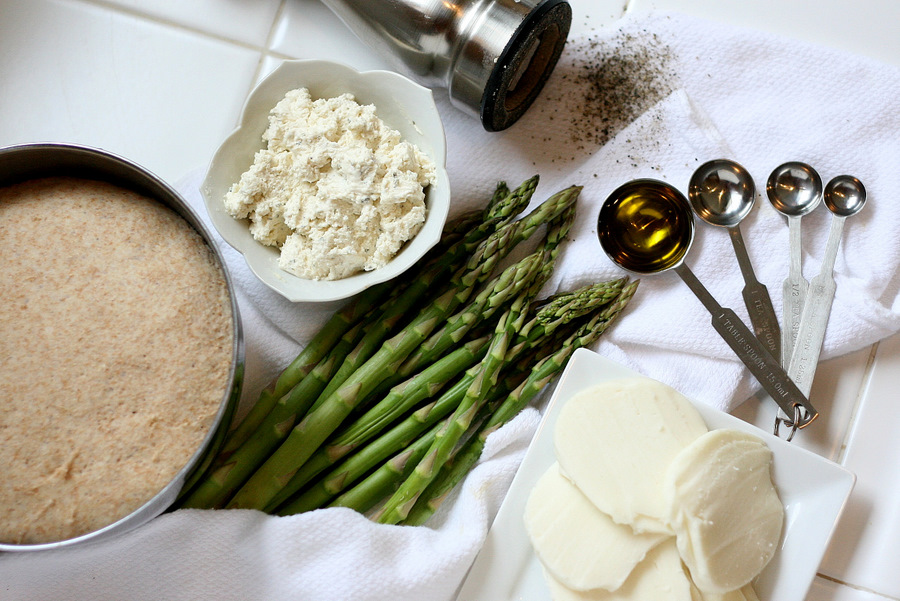
You only need six ingredients for this recipe: enough pizza dough for one 12-16 inch pizza, one bunch of asparagus, some fresh mozzarella (although regular, grated mozzarella would be just fine), olive oil, freshly ground black pepper, and some garlic and herb cheese spread. The recipe specified Boursin cheese, but any brand would do. You could even use garlic and herb flavored cream cheese.


Tasty Kitchen Blog: Shaved Asparagus Pizza. Guest post by Natalie Perry of Perry's Plate, recipe submitted by TK member keeperrox.

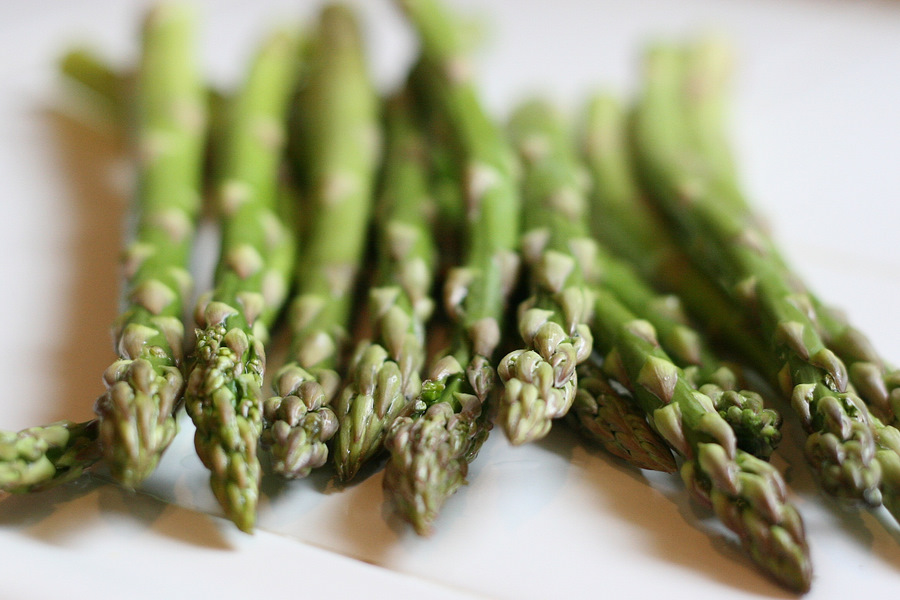
I learned a lot about asparagus lately. Look for stalks that are thinner, no bigger than a dime’s width. Treat them like flowers when you get them home, cutting off a 1/2-inch from the bottom and putting them upright in an inch or so of water. And as with any vegetable, make sure they aren’t bruised, wrinkled, or limp.


Tasty Kitchen Blog: Shaved Asparagus Pizza. Guest post by Natalie Perry of Perry's Plate, recipe submitted by TK member keeperrox.

When you’re ready to prep the stalks, bend each one until it breaks. Discard the bottom part that breaks off. That’s the stalk’s way of telling you where the tender section ends and the woody, tough section begins. Pretty smart vegetable.

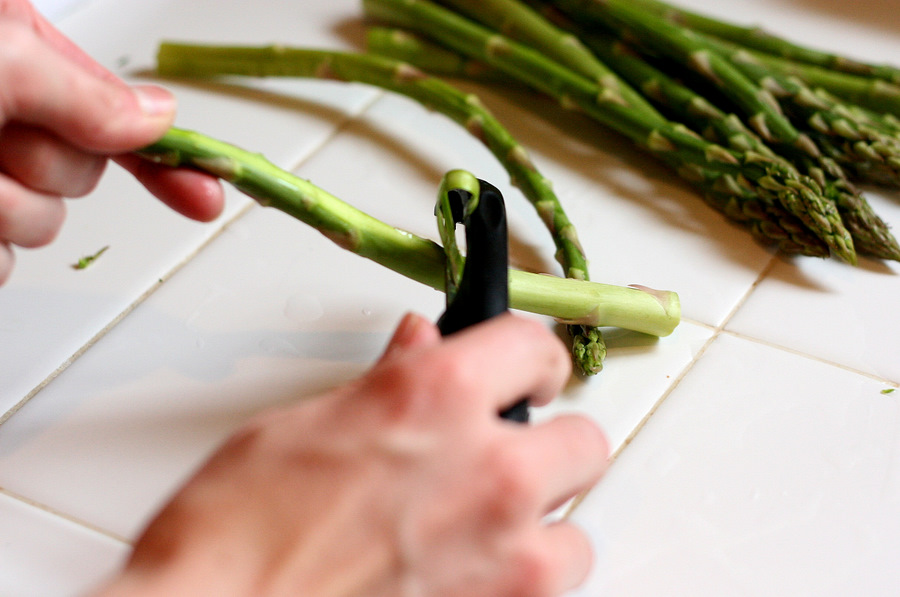
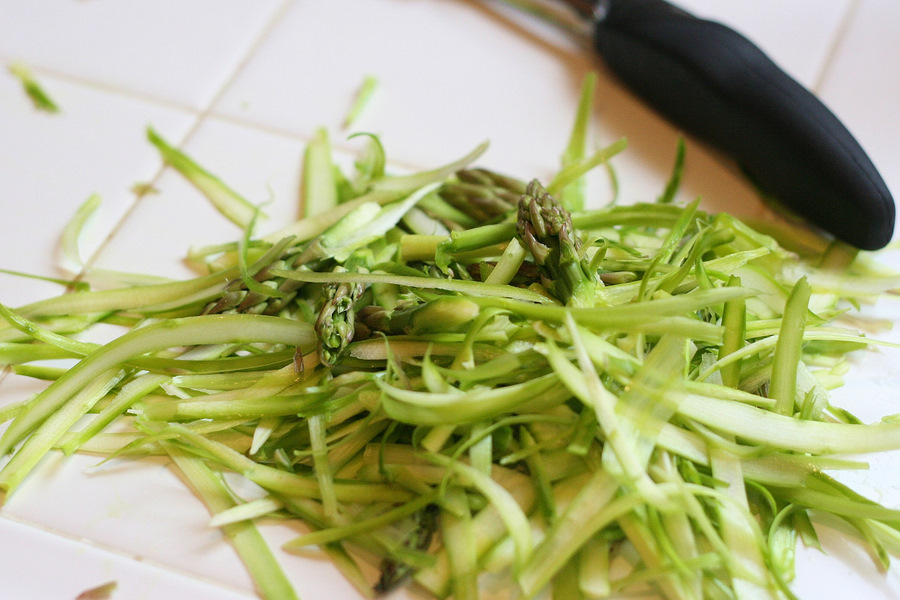
Then take a vegetable peeler and peel off the outer-most edges and leaves. Discard those. Then keep peeling until you have nothing left but the tip.


Tasty Kitchen Blog: Shaved Asparagus Pizza. Guest post by Natalie Perry of Perry's Plate, recipe submitted by TK member keeperrox.

Put the shavings and tips together in a pile and set them aside.


Tasty Kitchen Blog: Shaved Asparagus Pizza. Guest post by Natalie Perry of Perry's Plate, recipe submitted by TK member keeperrox.

Time to get the pizza dough dressed! As far as pizza baking is concerned, if you have a favorite pan, stone, or method that works for you, by all means, carry on. I’ll show you the way I like to do it. I used to have a pizza stone, but it tragically broke a few weeks ago. (Moment of silence.) I’ve tweaked my method a bit and it seems to do a great job.

First preheat your oven to 450 degrees F and place an upside down rimmed baking sheet (or a flat one) inside.

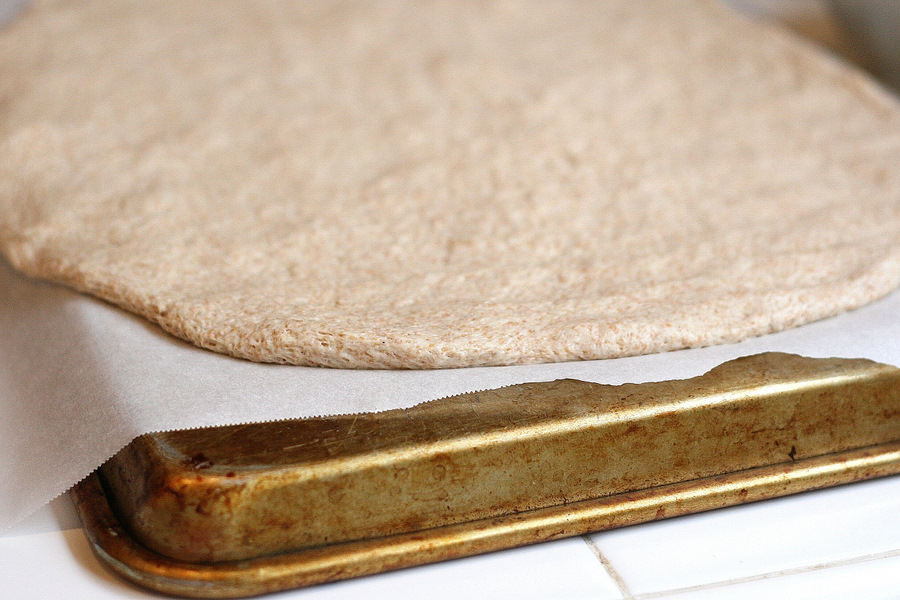
Turn another rimmed cookie sheet upside down (or use a flat one if you have it) on the countertop or workspace . Place a piece of parchment on top, just large enough to cover the surface without a lot of extra hanging over. Wouldn’t want to start a fire in that screaming hot oven. Stretch out the dough and place it on the paper.


Tasty Kitchen Blog: Shaved Asparagus Pizza. Guest post by Natalie Perry of Perry's Plate, recipe submitted by TK member keeperrox.

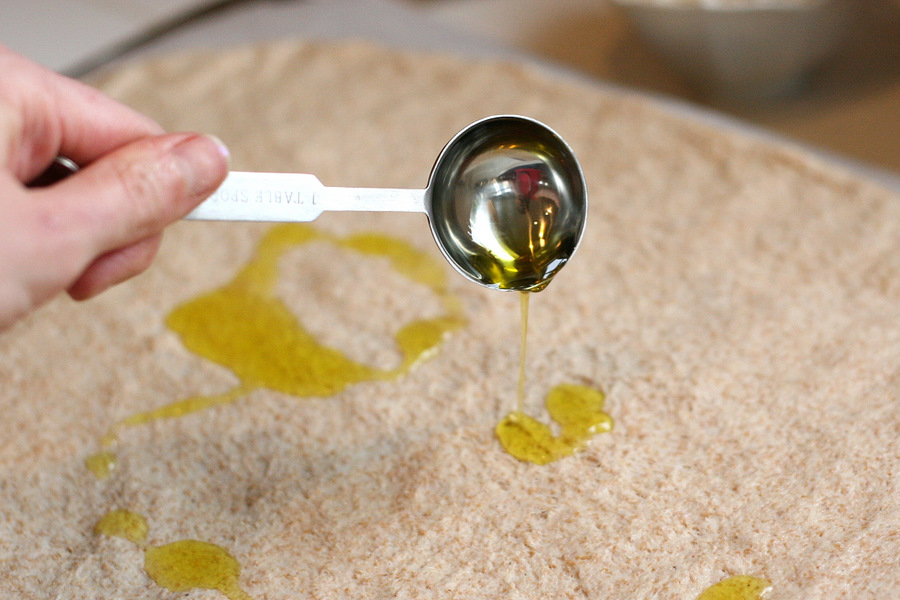
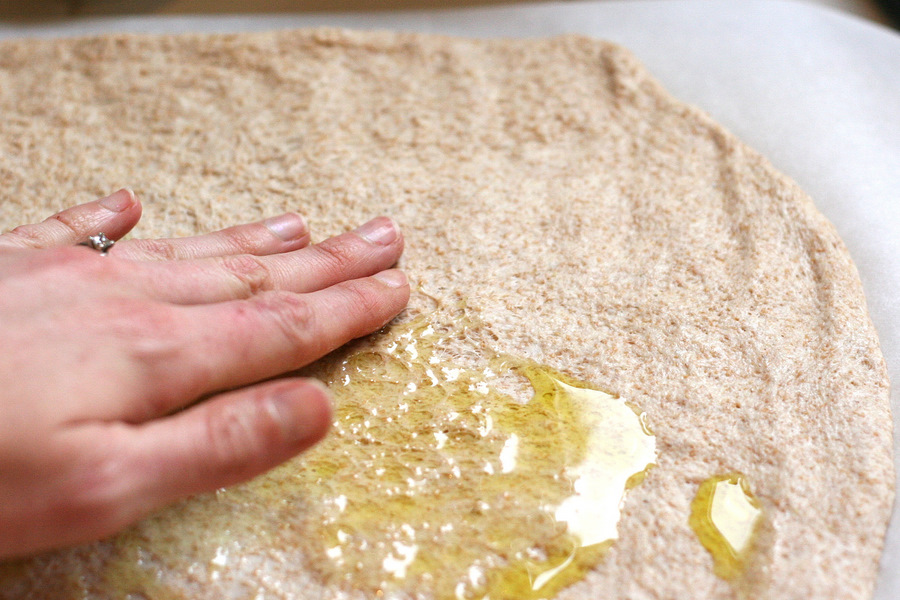
Drizzle a tablespoonful of olive oil over the dough.


Tasty Kitchen Blog: Shaved Asparagus Pizza. Guest post by Natalie Perry of Perry's Plate, recipe submitted by TK member keeperrox.

Smear it around with your hands. Enjoy soft cuticles for the next few hours.


Tasty Kitchen Blog: Shaved Asparagus Pizza. Guest post by Natalie Perry of Perry's Plate, recipe submitted by TK member keeperrox.

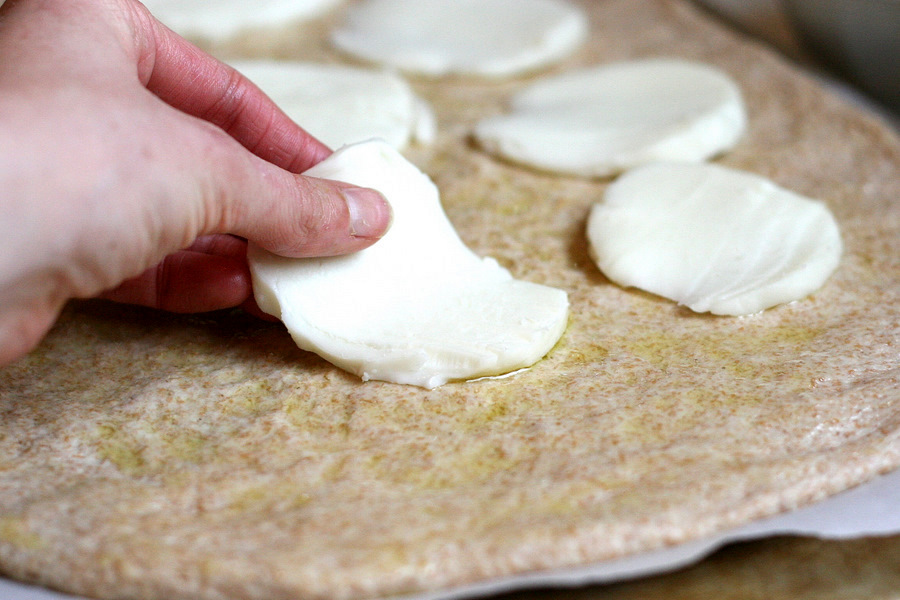
Take the sliced, fresh mozzarella and spread them around evenly on the dough. I obviously didn’t slice mine thin enough, but it melted well and turned out all right in the end.


Tasty Kitchen Blog: Shaved Asparagus Pizza. Guest post by Natalie Perry of Perry's Plate, recipe submitted by TK member keeperrox.

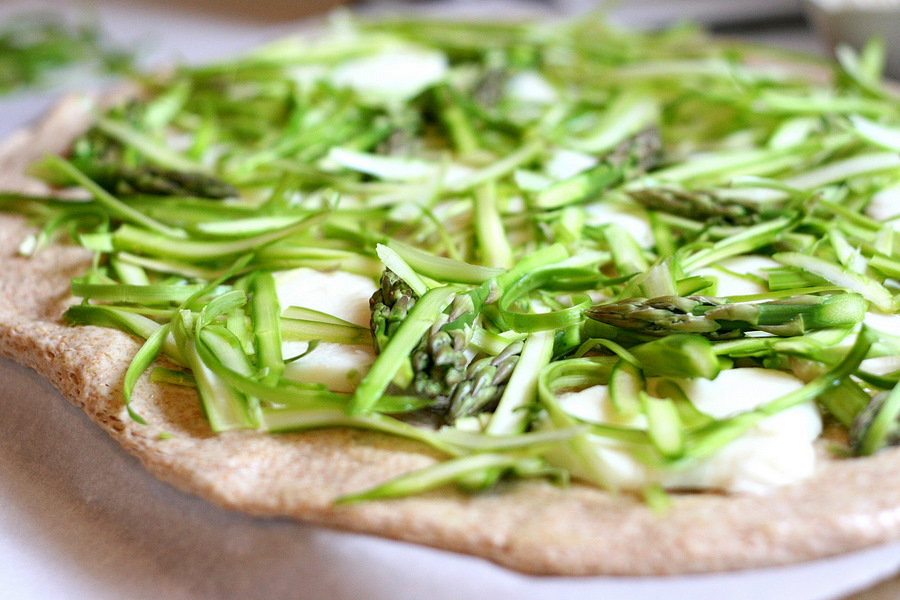
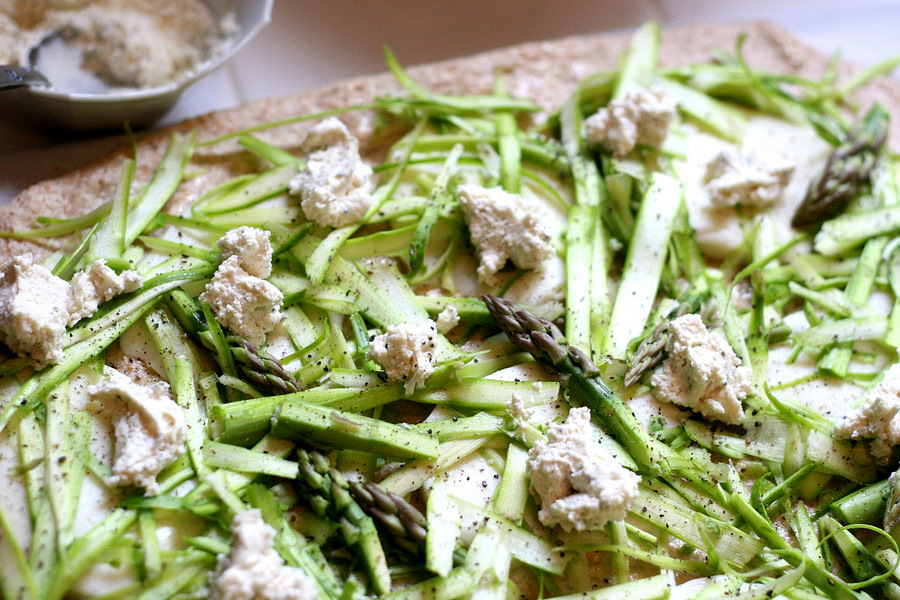
Spread the asparagus shavings evenly over the cheese.


Tasty Kitchen Blog: Shaved Asparagus Pizza. Guest post by Natalie Perry of Perry's Plate, recipe submitted by TK member keeperrox.

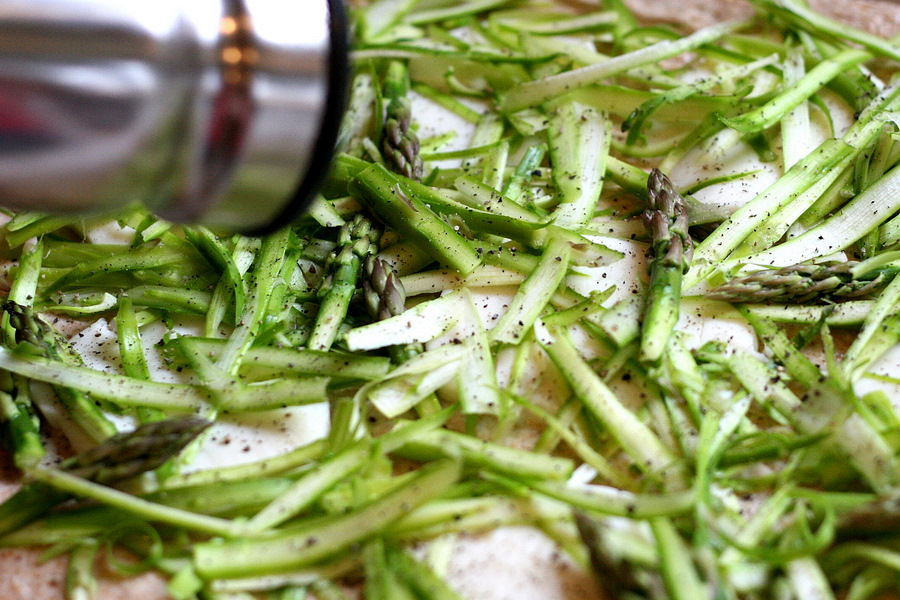
Crank a generous amount of black pepper over the shavings. You’ll love it in the end.


Tasty Kitchen Blog: Shaved Asparagus Pizza. Guest post by Natalie Perry of Perry's Plate, recipe submitted by TK member keeperrox.

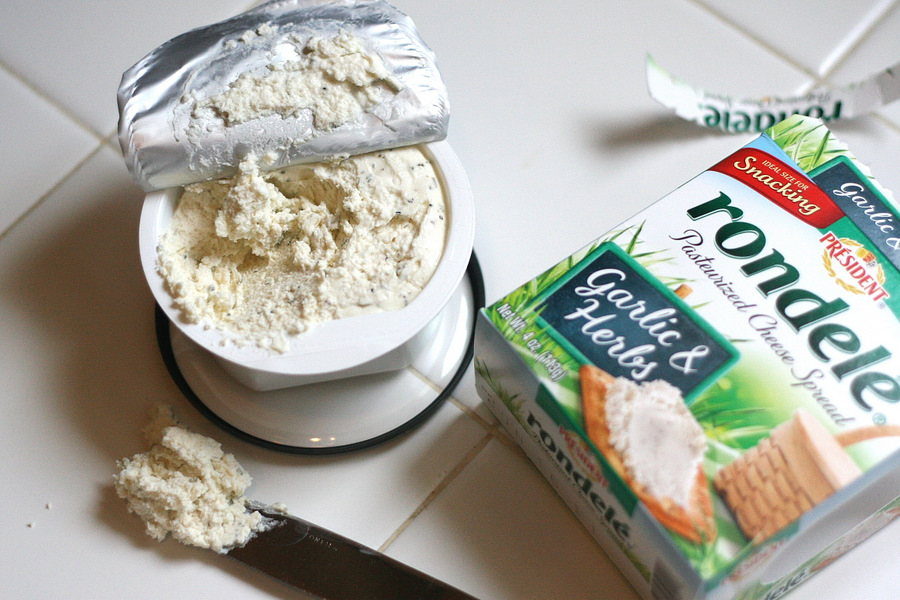
Now for the garlic and herb cheese spread. Here’s the brand I used. I thought it might help for you to see the packaging in case you weren’t sure what it was. This stuff is so packed with flavor. It was all I could do to keep my fingers out of it.


Tasty Kitchen Blog: Shaved Asparagus Pizza. Guest post by Natalie Perry of Perry's Plate, recipe submitted by TK member keeperrox.

Dot the pizza with the cheese. My cheese came in a 4-ounce package, and I used almost all of it.

Take the pan holding the pizza over to the oven and slide the pizza (with the parchment) onto the preheated pan inside the oven. Bake for around 15–20 minutes until the cheese is melted and the crust is as browned as you like. To get the bottom crispier, remove the parchment about 5 minutes before the pizza is done.



Tasty Kitchen Blog: Shaved Asparagus Pizza. Guest post by Natalie Perry of Perry's Plate, recipe submitted by TK member keeperrox.

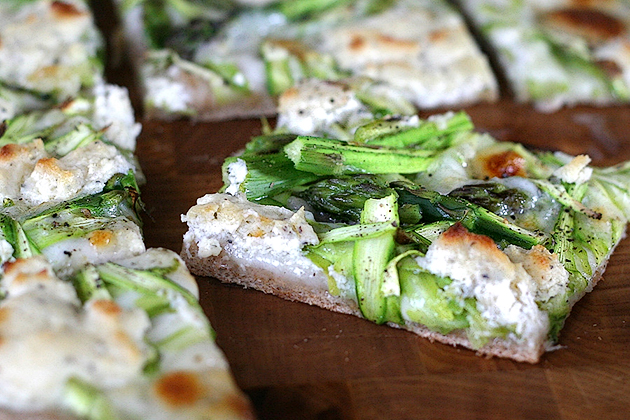
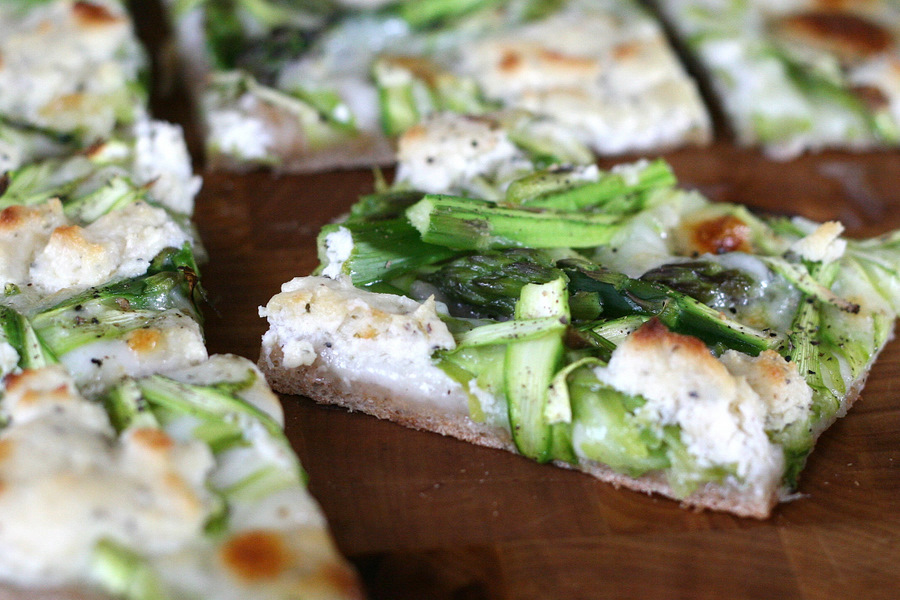
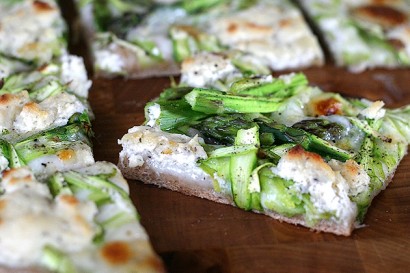
Gorgeous, isn’t it? I love the browned spots on the cheese and the singed edges of the asparagus.


Tasty Kitchen Blog: Shaved Asparagus Pizza. Guest post by Natalie Perry of Perry's Plate, recipe submitted by TK member keeperrox.

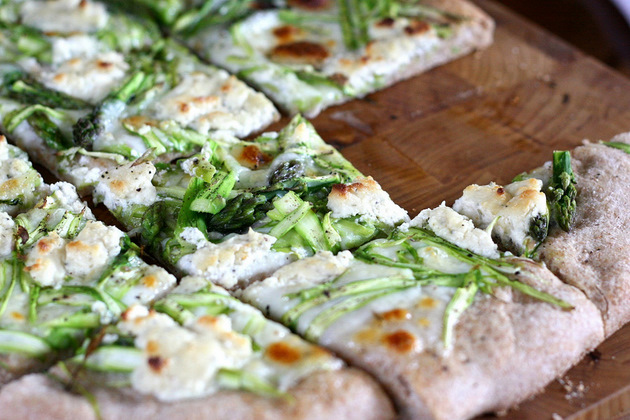
Once you cut it, it will begin to disappear. In my case, the culprits had extremely small hands.


Tasty Kitchen Blog: Shaved Asparagus Pizza. Guest post by Natalie Perry of Perry's Plate, recipe submitted by TK member keeperrox.

My two little girls and I nearly ate this whole pizza ourselves—greens and all. Although the asparagus was encased in bread and cheese, its taste was still distinct and fresh. The tingly bite from the black pepper and that garlic and herb cheese? Swoon.

Asparagus and I have been reconciled.

Thanks so much keeperrox for an easy and delicious pizza recipe! Her recipe box is loaded with unique recipes. Go check it out!


Printable Recipe
Shaved Asparagus Pizza

4.87 Mitt(s) 8 Rating(s)8 votes, average: 4.87 out of 58 votes, average: 4.87 out of 58 votes, average: 4.87 out of 58 votes, average: 4.87 out of 58 votes, average: 4.87 out of 5

Prep Time:

Cook Time:

Difficulty: Easy

Servings: 8

8
x

Print Options

Page size Letter 3x5 4x6
Text Size Small Medium Large
Content Include description
Include prep time, etc.
Show image

Description

This was born out of necessity. I needed something to eat and I used what was in my fridge: some no-knead dough, some asparagus, some fresh mozzarella, and Boursin cheese (it was on sale). The result? Deliciousness.

Ingredients

  • 1 whole Batch Of Pizza Dough - Enough For 1 12-16 Inch Pizza
  • Extra Virgin Olive Oil, For Drizzling The Dough
  • 8 ounces, weight Fresh Mozzarella
  • 1 bunch Asparagus
  • 5-¼ ounces, weight Boursin Cheese (or Similar Herb And Garlic Spreadable Cheese)
  • Fresh Cracked Black Pepper

Preparation Instructions

Preheat oven to 450 F.

If not already shaped, stretch your pizza dough into a large circle 12-16 inches in diameter and place on your pizza pan or stone. Drizzle dough with a thin stream of olive oil.

Slice fresh mozzarella as thinly as possible and arrange in a single layer over dough.

Using a vegetable peeler shave your asparagus into thin ribbons. Use the entire bunch, as you might only get 3 or 4 good ribbons from each spear. Pile asparagus shavings on top of the mozzarella. The asparagus WILL cook down so you want to use more than you think is necessary.

Top asparagus with several cranks of black pepper and dot generously with Boursin cheese. (I tend to use 1/4-1/2 a package per pizza.)

Bake on pizza stone or baking sheet for 15-20 minutes or until crust is golden brown. Let cool for 2-3 minutes before slicing and serving.


_______________________________________

Be sure to check out Natalie’s own beautiful food blog, Perrys’ Plate, where you can see her growing collection of lovely recipes. There’s always something new to see there. Go visit now!


Profile photo of twopeasandtheirpod

Lemon Cream Bars

Posted by in Baking, Step-by-Step Recipes

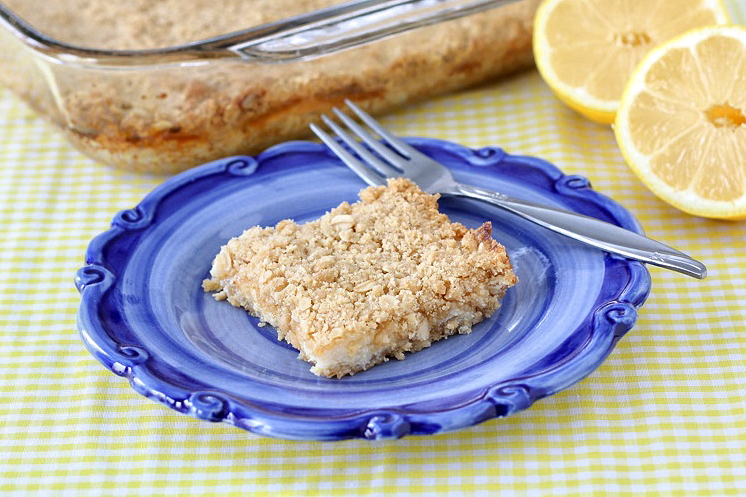
Tasty Kitchen Blog: Lemon Cream Bars. Guest post by Maria Lichty of Two Peas and Their Pod, recipe submitted by TK member Muriel of Cook, Bake and Decorate.

 
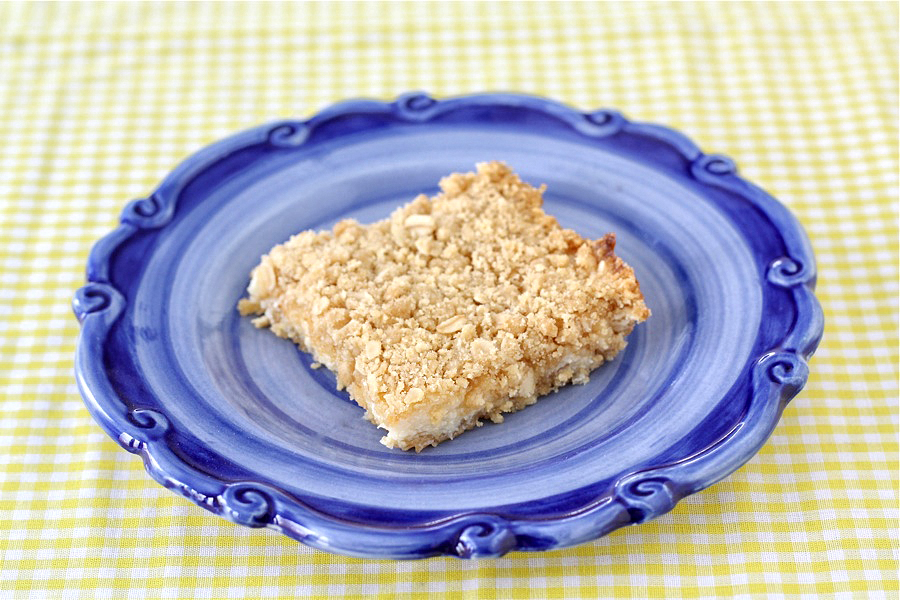
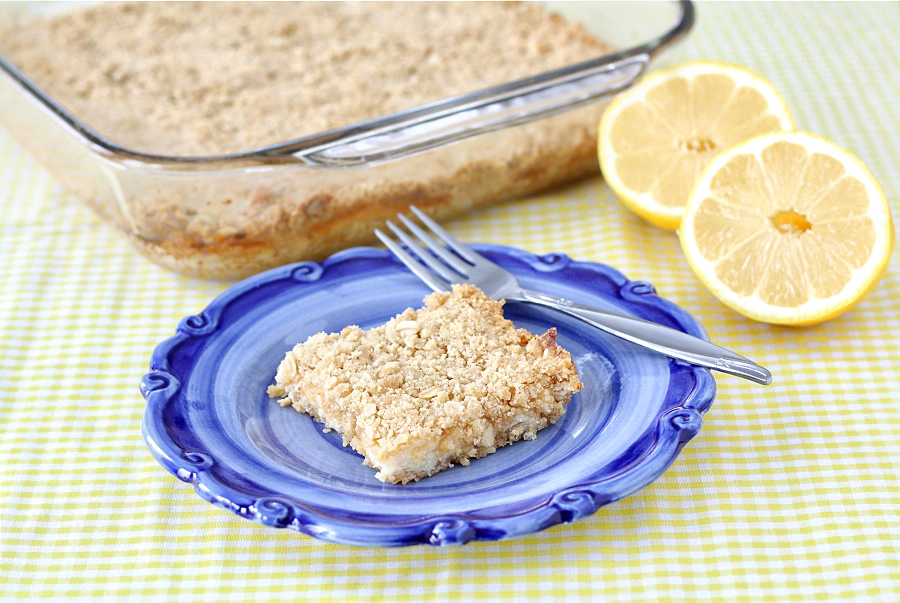
Our friends gave us a huge bag of lemons from Arizona. The lemons are beautiful and the size of oranges. I didn’t want them to go to waste so I started looking for lemon recipes on Tasty Kitchen. I found a recipe for Lemon Cream Bars from Tasty Kitchen member CookBakeandDecorate (Muriel). Lemon bars are one of my favorite treats. I love that these bars are creamy with an oat streusel crust and topping. Plus, they are incredibly easy to make. I had all of the ingredients, so I got started.


Tasty Kitchen Blog: Lemon Cream Bars. Guest post by Maria Lichty of Two Peas and Their Pod, recipe submitted by TK member Muriel of Cook, Bake and Decorate.

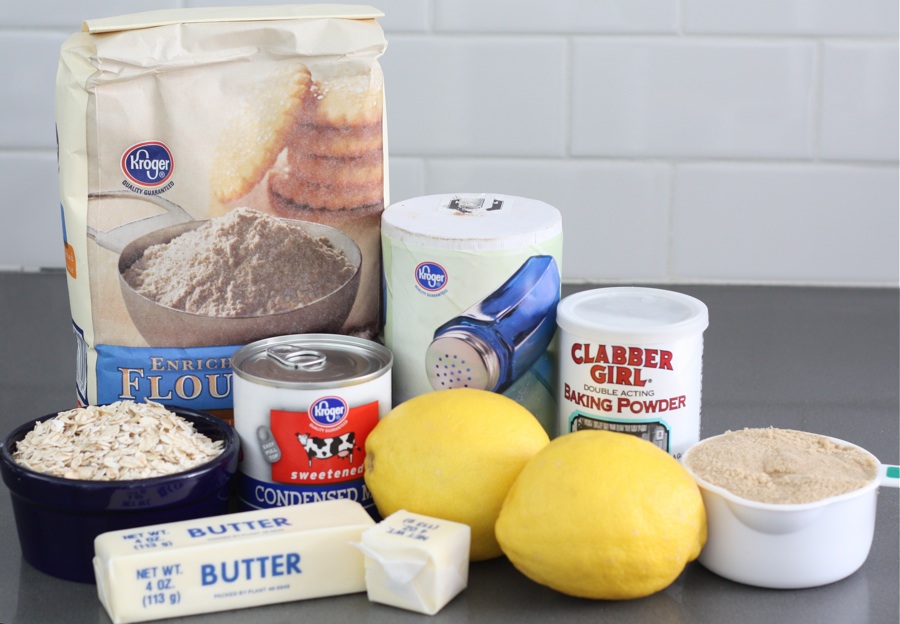
To make the lemon cream bars, you will need: sweetened condensed milk, fresh lemon juice, flour, oatmeal, brown sugar, butter, baking powder, and salt.


Tasty Kitchen Blog: Lemon Cream Bars. Guest post by Maria Lichty of Two Peas and Their Pod, recipe submitted by TK member Muriel of Cook, Bake and Decorate.

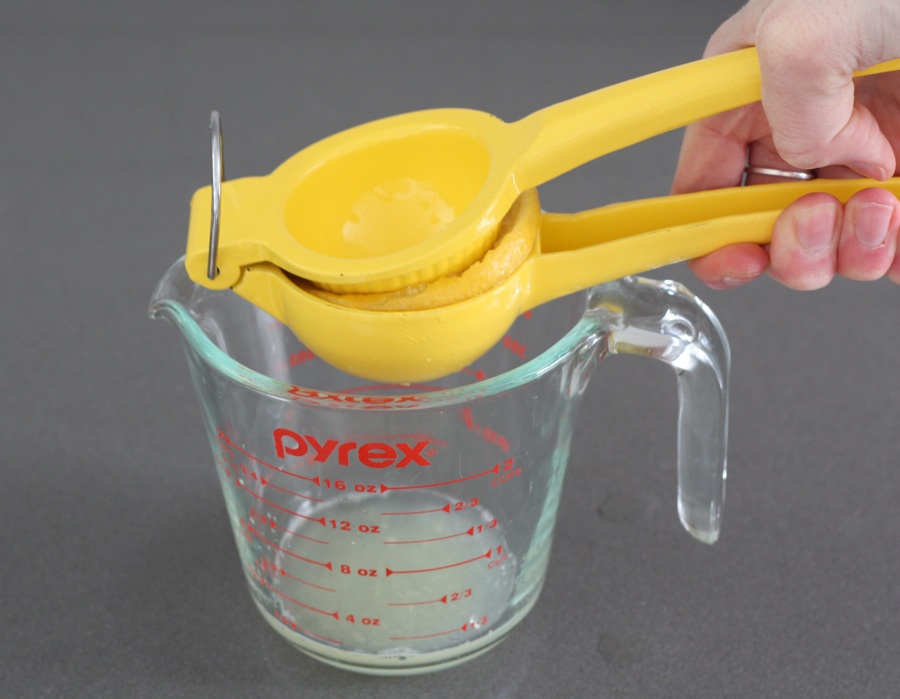
Juice the lemons. You will need 1/2 cup of lemon juice. I used two large lemons.


Tasty Kitchen Blog: Lemon Cream Bars. Guest post by Maria Lichty of Two Peas and Their Pod, recipe submitted by TK member Muriel of Cook, Bake and Decorate.

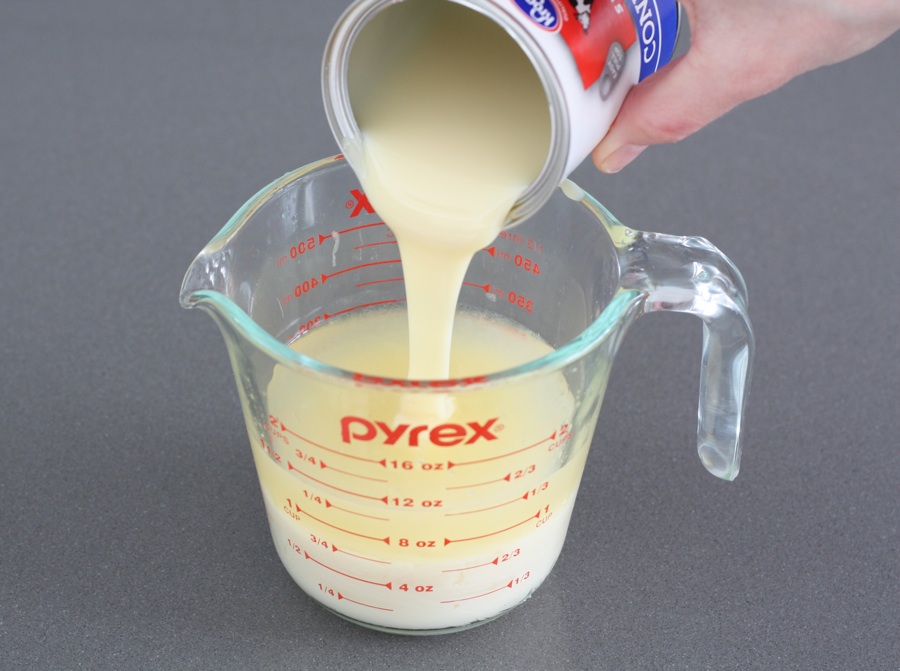
Combine the lemon juice and the sweetened condensed milk. Mix well and set aside.


Tasty Kitchen Blog: Lemon Cream Bars. Guest post by Maria Lichty of Two Peas and Their Pod, recipe submitted by TK member Muriel of Cook, Bake and Decorate.

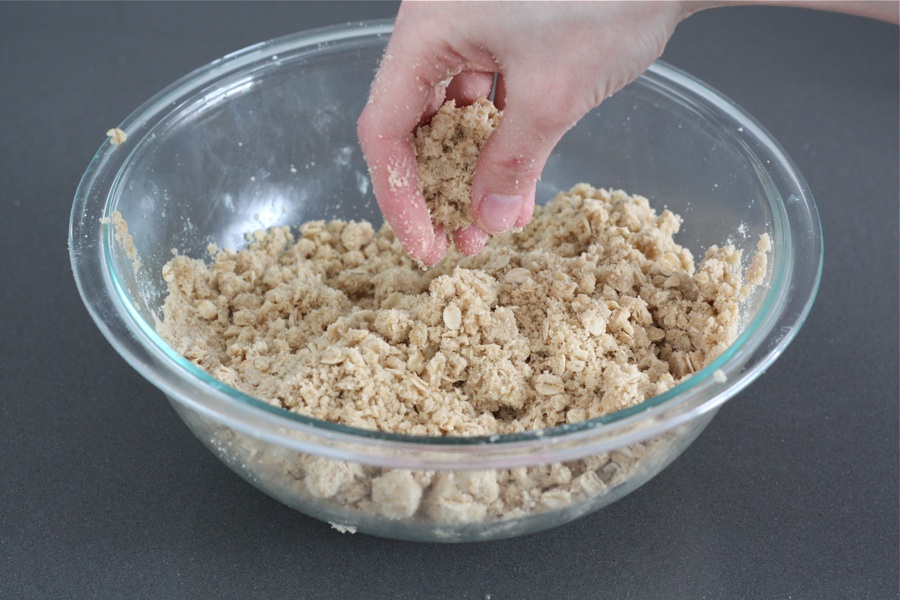
In a large bowl, mix remaining ingredients together until crumbly.


Tasty Kitchen Blog: Lemon Cream Bars. Guest post by Maria Lichty of Two Peas and Their Pod, recipe submitted by TK member Muriel of Cook, Bake and Decorate.

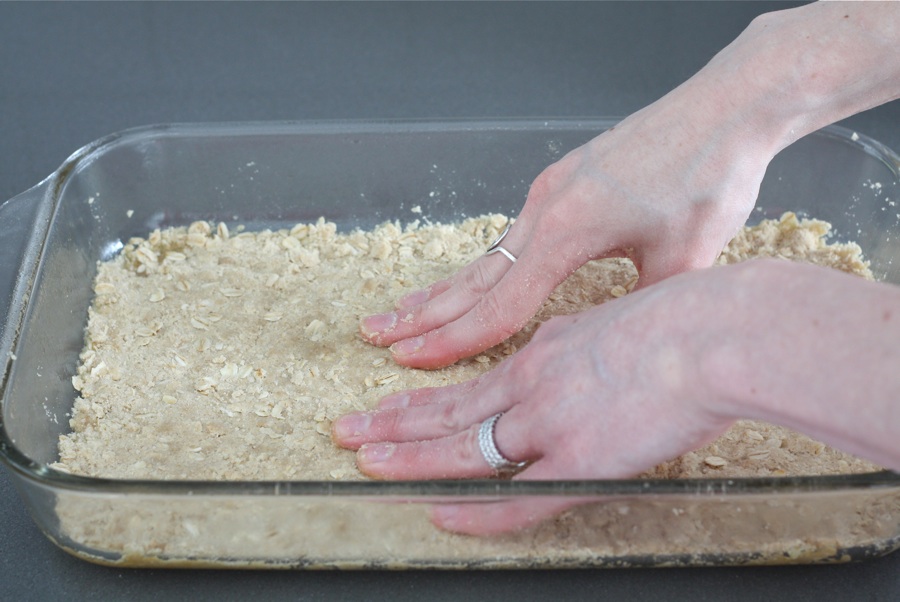
Press half of the streusel mixture into a greased 9 by 13 baking dish.


Tasty Kitchen Blog: Lemon Cream Bars. Guest post by Maria Lichty of Two Peas and Their Pod, recipe submitted by TK member Muriel of Cook, Bake and Decorate.

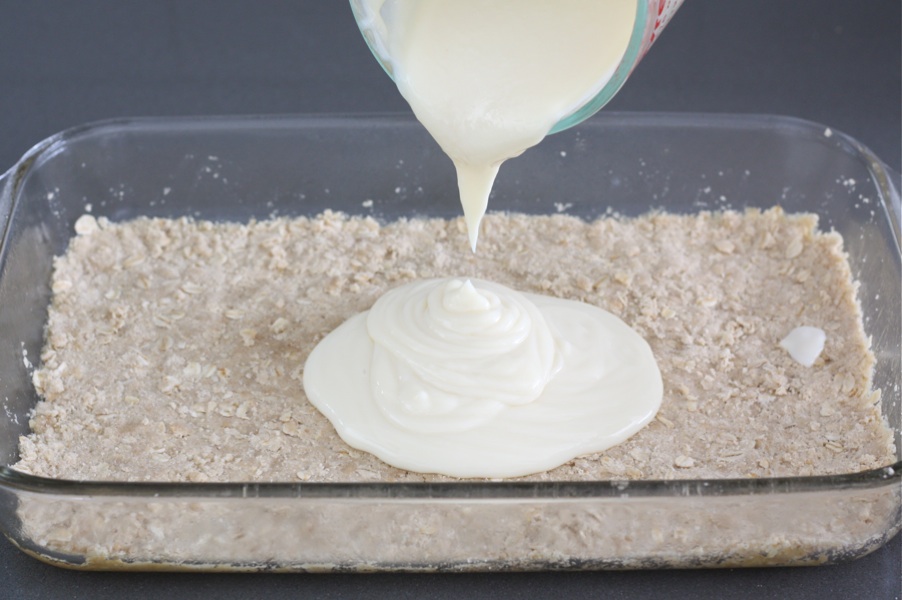
Pour the lemon mixture over the streusel crust.


Tasty Kitchen Blog: Lemon Cream Bars. Guest post by Maria Lichty of Two Peas and Their Pod, recipe submitted by TK member Muriel of Cook, Bake and Decorate.

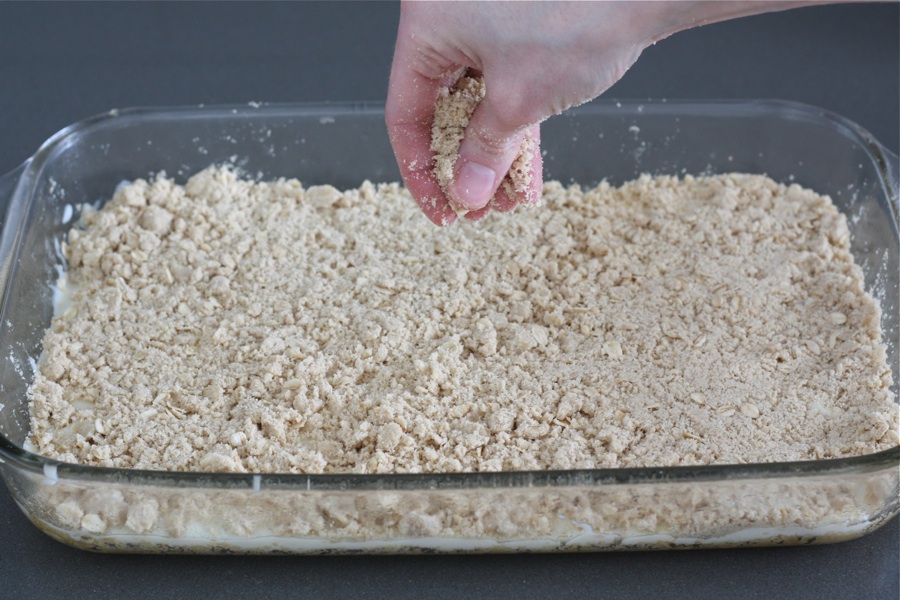
Sprinkle remaining streusel over the top of the lemon bars. Pat gently.


Tasty Kitchen Blog: Lemon Cream Bars. Guest post by Maria Lichty of Two Peas and Their Pod, recipe submitted by TK member Muriel of Cook, Bake and Decorate.

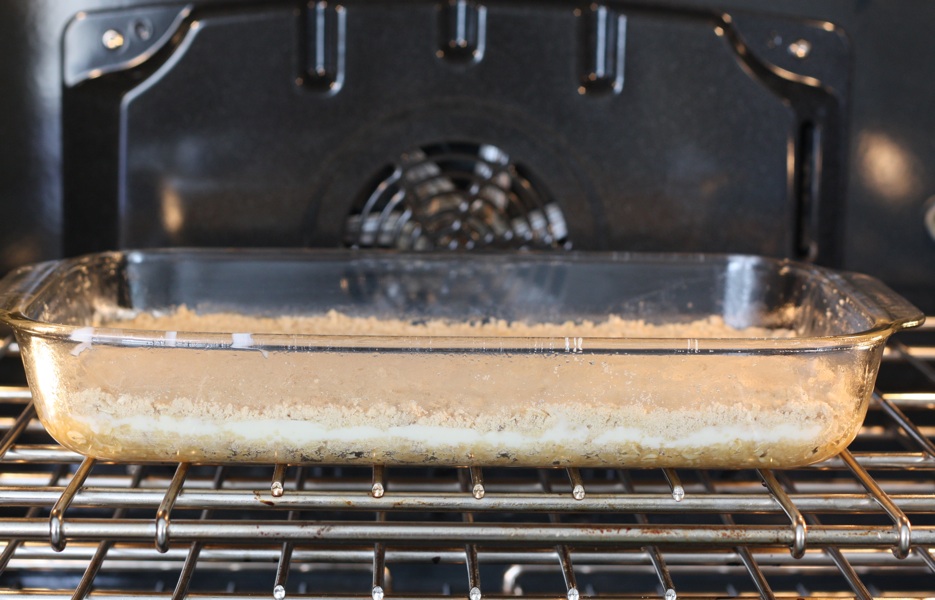
Bake for 20–25 minutes at 350 degrees F.


Tasty Kitchen Blog: Lemon Cream Bars. Guest post by Maria Lichty of Two Peas and Their Pod, recipe submitted by TK member Muriel of Cook, Bake and Decorate.

Let cool completely and enjoy! Store bars in the refrigerator.


Tasty Kitchen Blog: Lemon Cream Bars. Guest post by Maria Lichty of Two Peas and Their Pod, recipe submitted by TK member Muriel of Cook, Bake and Decorate.

If you are a lemon lover, make Lemon Cream Bars. They are creamy, dreamy, and the perfect sweet treat for spring. We enjoyed them right out of the oven and chilled from the refrigerator. They are delicious both ways. Thanks, Muriel, for a fantastic recipe! Check out the Cook, Bake and Decorate blog for other delicious recipes.


Printable Recipe

Lemon Cream Bars

4.80 Mitt(s) 25 Rating(s)25 votes, average: 4.80 out of 525 votes, average: 4.80 out of 525 votes, average: 4.80 out of 525 votes, average: 4.80 out of 525 votes, average: 4.80 out of 5

Prep Time:

Cook Time:

Difficulty: Easy

Servings: 15

15
x

Print Options

Page size Letter 3x5 4x6
Text Size Small Medium Large
Content Include description
Include prep time, etc.
Show image

Description

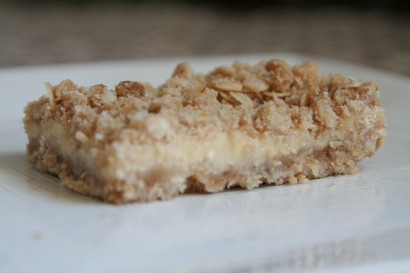
To be honest, I can’t quite remember where I got this recipe and I feel horrible that I can’t personally thank this person because these bars are just divine! Now, I love me some good ole lemon bars and these are lemon bars taken up a notch! These bars have a delicious streusel bottom with a lemon cream filling, then more delicious streusel on top. Seriously, you can’t go wrong with these little babies!

Ingredients

  • 1 can Sweetened, Condensed Milk - 14-ounce Can
  • ½ cups Lemon Juice
  • 1-½ cup Flour
  • 1 cup Oatmeal
  • 1 cup Brown Sugar
  • ⅔ cups Butter, Melted
  • 1 teaspoon Baking Powder
  • 1 pinch Salt

Preparation Instructions

Preheat the oven to 350F.

Combine milk and lemon juice. Mix well and set aside for a moment.

Mix remaining ingredients until crumbly.

Press half of the streusel (dry) mixture into a lightly greased 9×13 baking dish. Pour the lemon mixture over top. Finish by sprinkling remaining streusel over the top of the lemon filling. Bake for 25-30 minutes. Cool completely then store in the refrigerator.


_______________________________________

Maria and her husband Josh (who she affectionately refers to as her “dough boy”) blog at Two Peas and Their Pod. They’ve been featured on Saveur, Eatocracy, Gourmet Live, Glamour, and the Los Angeles Times, to name just a few. We’re so glad to have them here!


Profile photo of georgiapellegrini

Homemade Bagels

Posted by in Baking, Step-by-Step Recipes

Tasty Kitchen Blog: Homemade Bagels. Guest post by Georgia Pellegrini, recipe submitted by TK member Meredith of An Epic Change.

 
I was visiting a friend recently and she casually offered me bagels for breakfast—she just had to finish baking them, she said.

Baking them? You see, she let them rise overnight, then finished them off in the morning so they’d be warm and crusty for breakfast. She made them from scratch.

If that isn’t impressive, I don’t know what is. I asked her to move in with me. She said she’d have to ask her husband first.

But it got me to wondering. I’m a New Yorker. Shouldn’t bagel-making abilities be part of my DNA?


Tasty Kitchen Blog: Homemade Bagels. Guest post by Georgia Pellegrini, recipe submitted by TK member Meredith of An Epic Change.

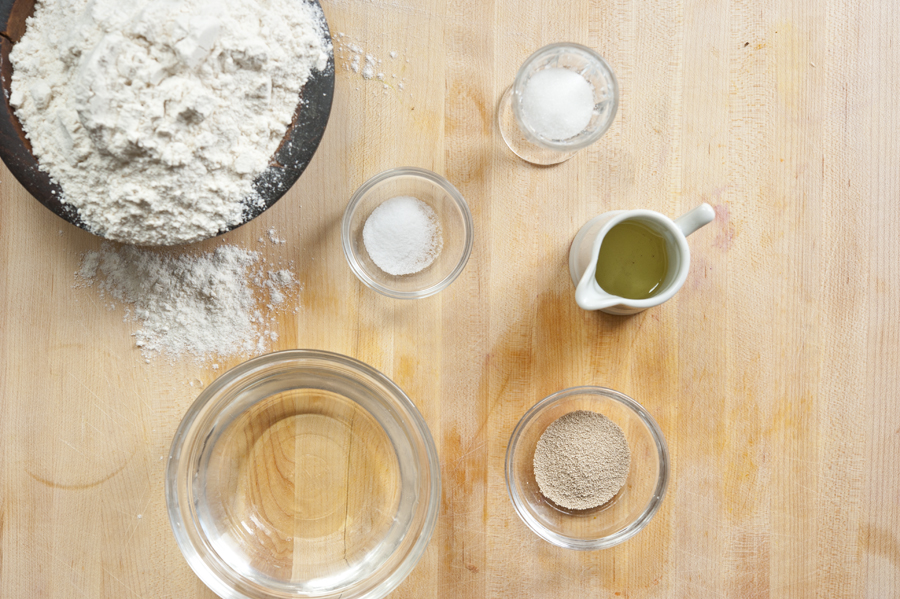
When I saw Meredith’s recipe for homemade bagels, I was inspired to give it a try. It only has these simple ingredients after all: flour, water, sugar, salt, yeast, and oil.


Tasty Kitchen Blog: Homemade Bagels. Guest post by Georgia Pellegrini, recipe submitted by TK member Meredith of An Epic Change.

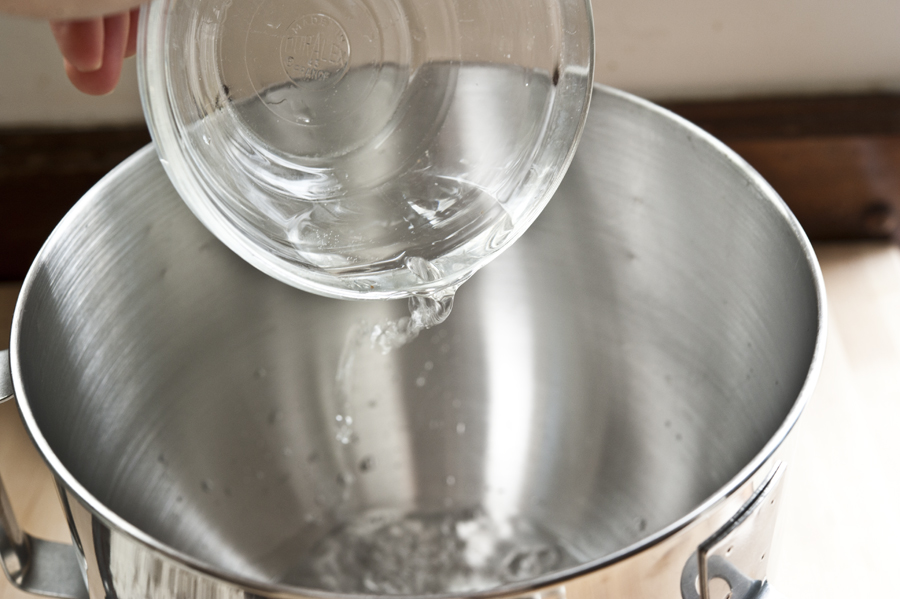
You start by adding warm water to a mixing bowl. The bowl from a stand mixer works best if you have one, so that you can mix it with the paddle attachment.


Tasty Kitchen Blog: Homemade Bagels. Guest post by Georgia Pellegrini, recipe submitted by TK member Meredith of An Epic Change.

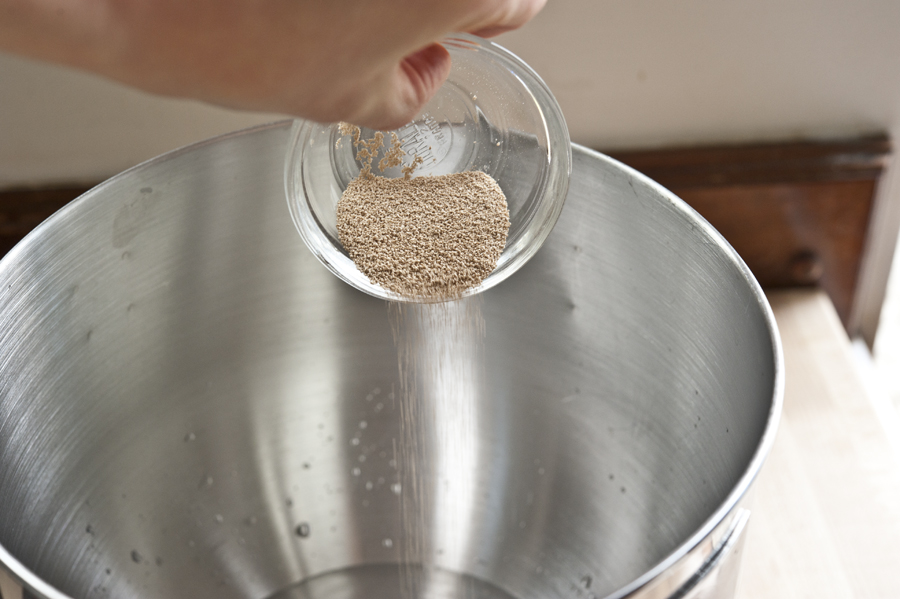
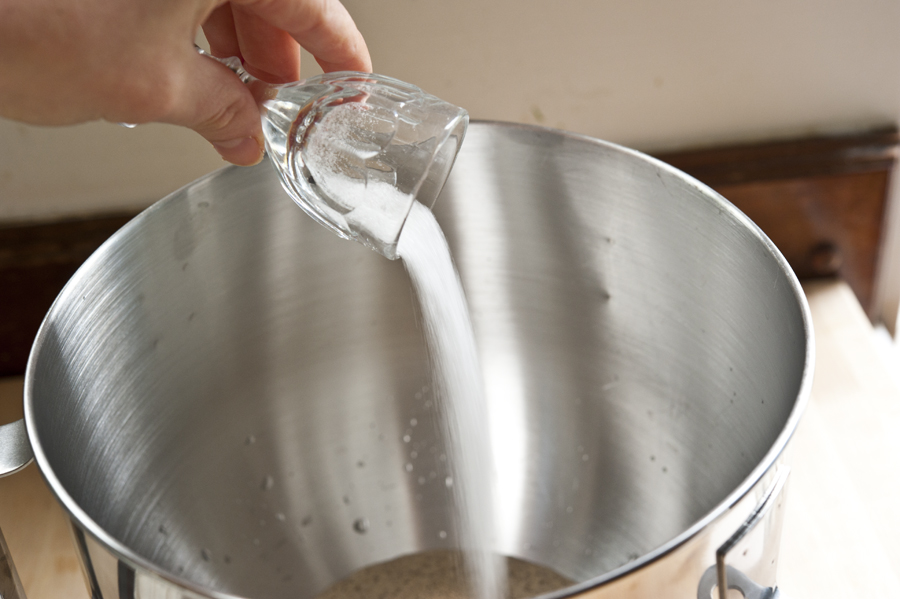
You add the yeast to the warm water…


Tasty Kitchen Blog: Homemade Bagels. Guest post by Georgia Pellegrini, recipe submitted by TK member Meredith of An Epic Change.

…along with the sugar. Sugar and warm water are the best things to activate yeast quickly. Mix those together and let the yeast begin to bubble.


Tasty Kitchen Blog: Homemade Bagels. Guest post by Georgia Pellegrini, recipe submitted by TK member Meredith of An Epic Change.

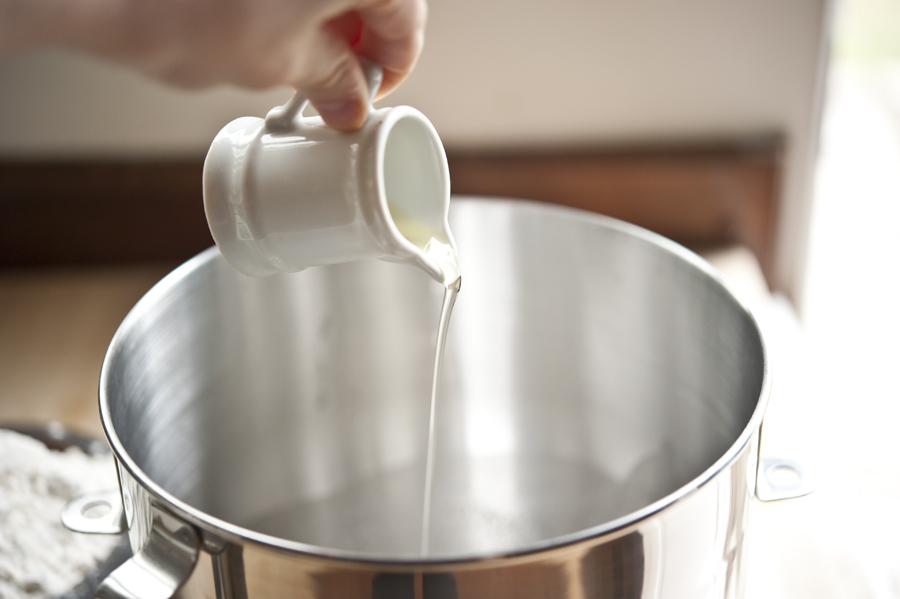
Once the yeast doubles, you add the oil.


Tasty Kitchen Blog: Homemade Bagels. Guest post by Georgia Pellegrini, recipe submitted by TK member Meredith of An Epic Change.

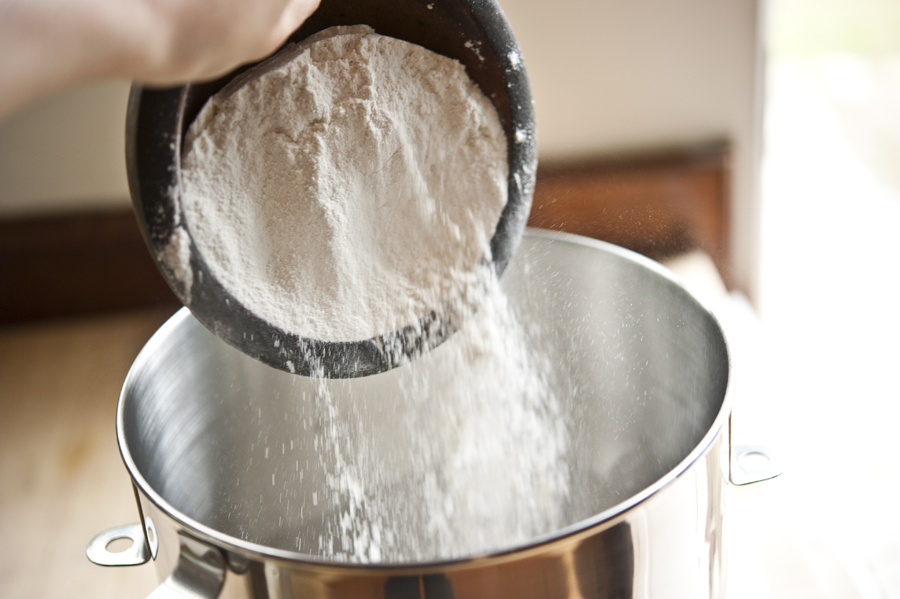
Then comes the flour and salt and the whole thing gets placed into the mixer with the paddle attachment.

You could also simply do this in a heavy glass bowl and use your hands to mix. They are the best tools in the kitchen, after all.


Tasty Kitchen Blog: Homemade Bagels. Guest post by Georgia Pellegrini, recipe submitted by TK member Meredith of An Epic Change.

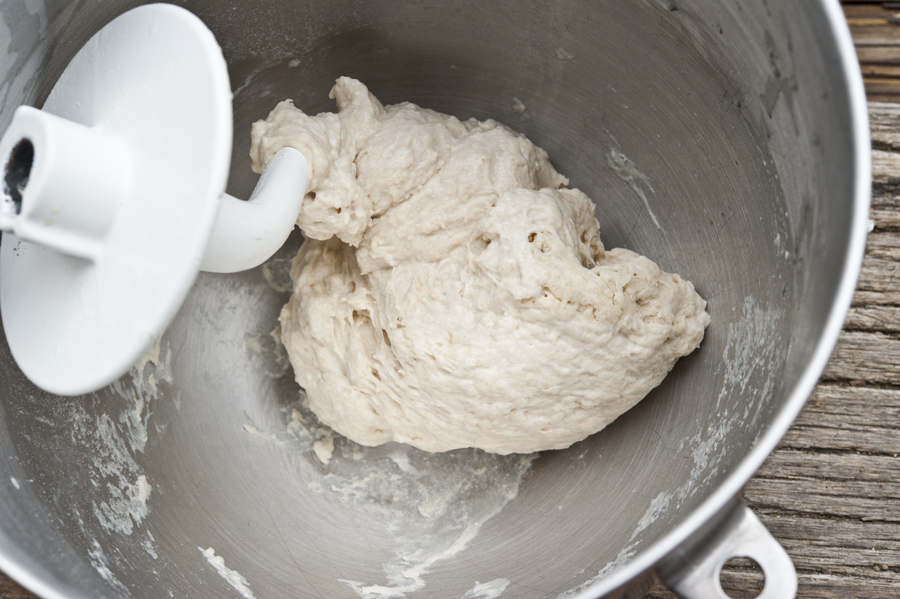
But if you have a mixer, you use the paddle attachment until it all comes together. (I know. That’s not my paddle attachment. Don’t be like me.) Like Meredith recommended, I used a sprinkling of water along the way and scraped down the sides of the bowl a few times.


Tasty Kitchen Blog: Homemade Bagels. Guest post by Georgia Pellegrini, recipe submitted by TK member Meredith of An Epic Change.

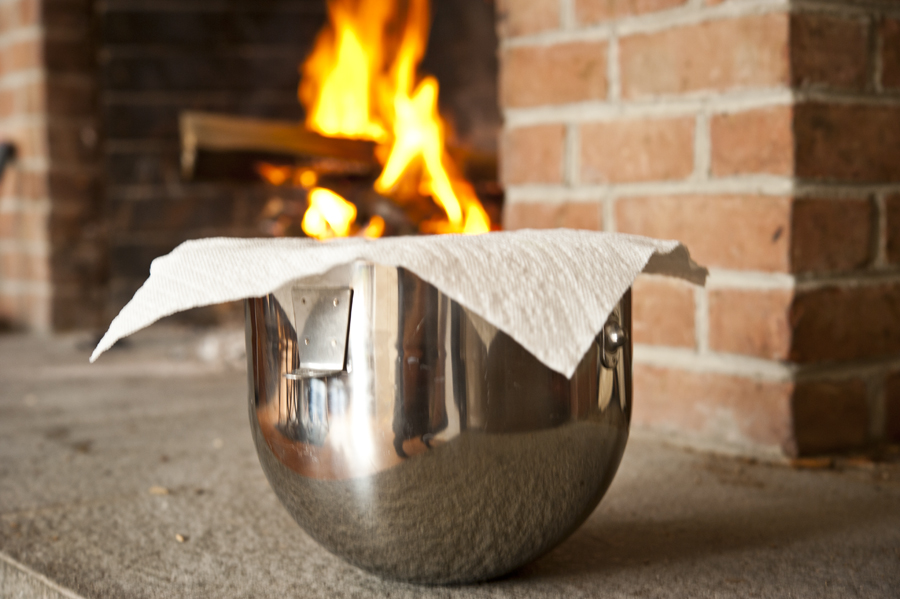
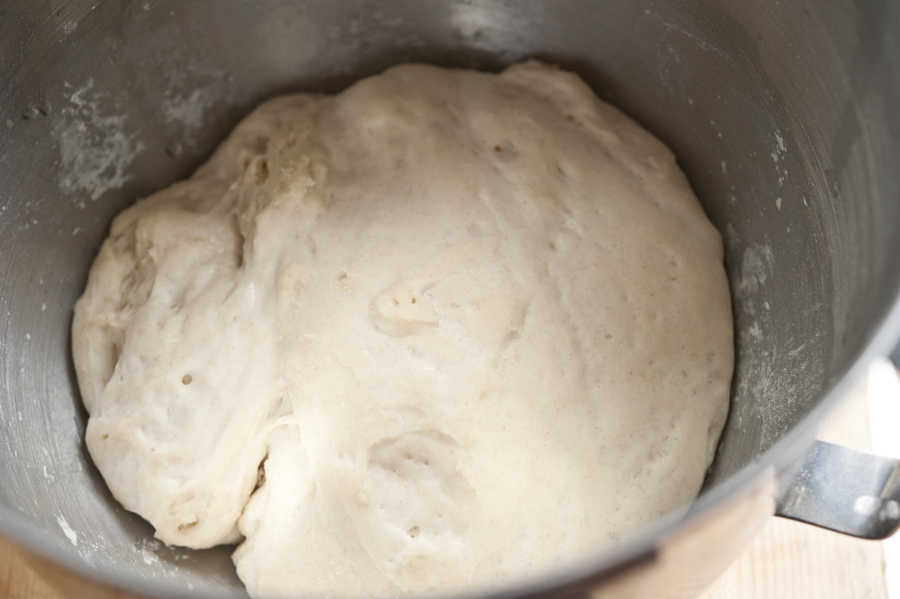
Then you cover the bowl and put it in a warm place to help it rise.

Now at this time of year, it can be hard to find a warm place, depending on which part of the country or world you are in. Where I am in New York, it’s still snowing, so I opted for a spot near the fireplace. You could also put it near the stove or a heater.


Tasty Kitchen Blog: Homemade Bagels. Guest post by Georgia Pellegrini, recipe submitted by TK member Meredith of An Epic Change.

The varying conditions will affect how long it takes the dough to double. For me, it was about an hour.


Tasty Kitchen Blog: Homemade Bagels. Guest post by Georgia Pellegrini, recipe submitted by TK member Meredith of An Epic Change.

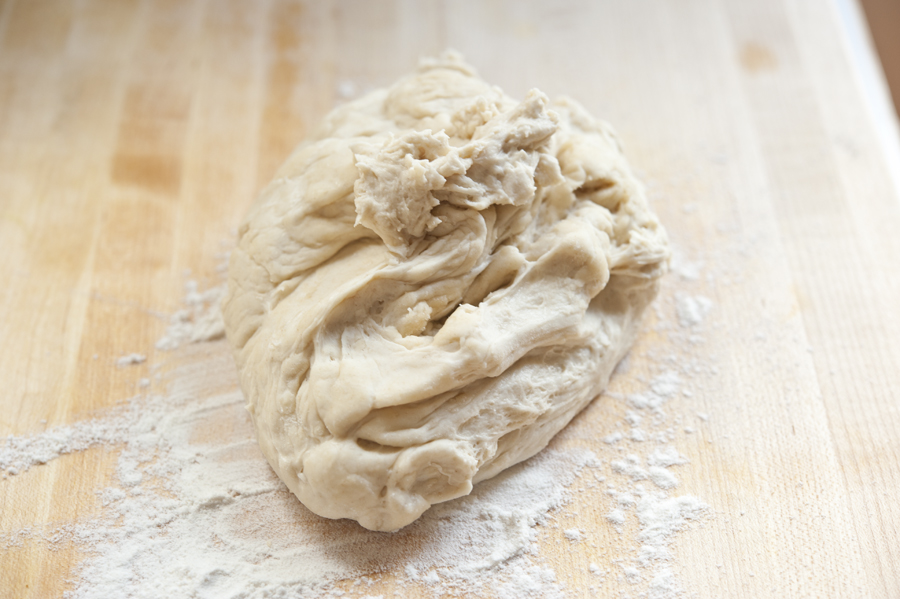
Once it has doubled, you punch it down and put it on a floured surface.


Tasty Kitchen Blog: Homemade Bagels. Guest post by Georgia Pellegrini, recipe submitted by TK member Meredith of An Epic Change.

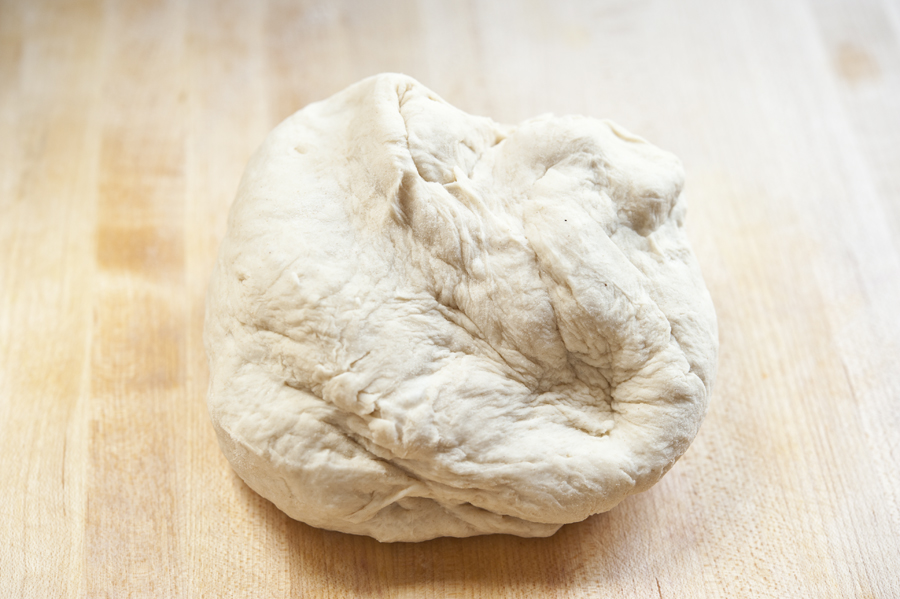
Then you knead it for a few minutes.


Tasty Kitchen Blog: Homemade Bagels. Guest post by Georgia Pellegrini, recipe submitted by TK member Meredith of An Epic Change.

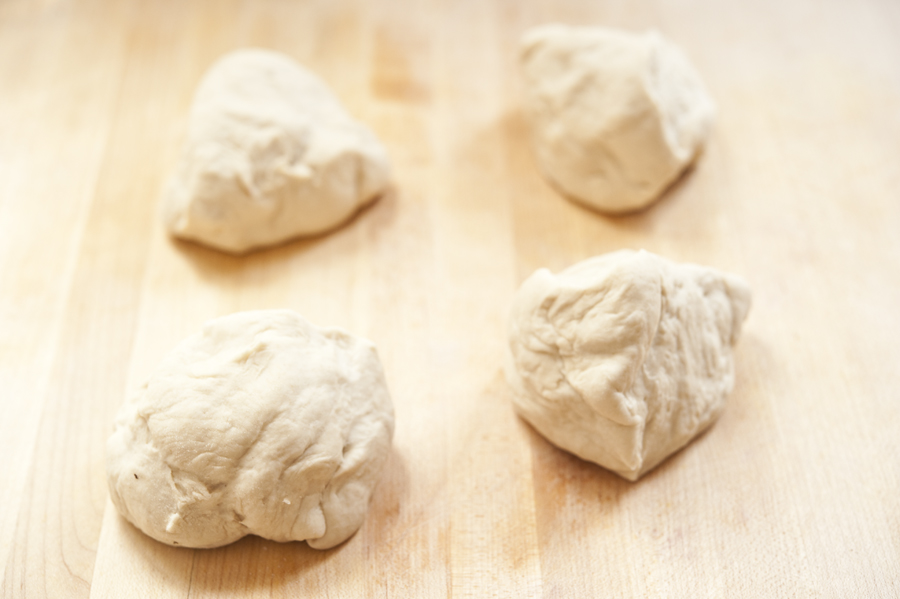
Then you cut it into portions. I cut mine into four since I wanted a bigger bagel, but you can also do six portions and it will work well.


Tasty Kitchen Blog: Homemade Bagels. Guest post by Georgia Pellegrini, recipe submitted by TK member Meredith of An Epic Change.

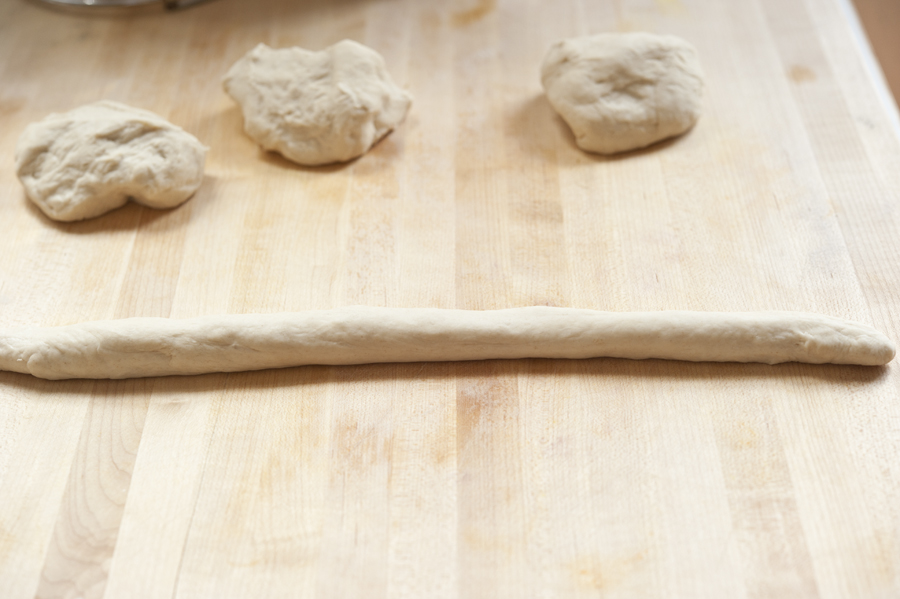
Roll each ball of dough into a long rope, long enough so that when you bring the edges together you have a nice circle in the center. Remember that the dough is still going to puff up again so the circle will become smaller!


Tasty Kitchen Blog: Homemade Bagels. Guest post by Georgia Pellegrini, recipe submitted by TK member Meredith of An Epic Change.

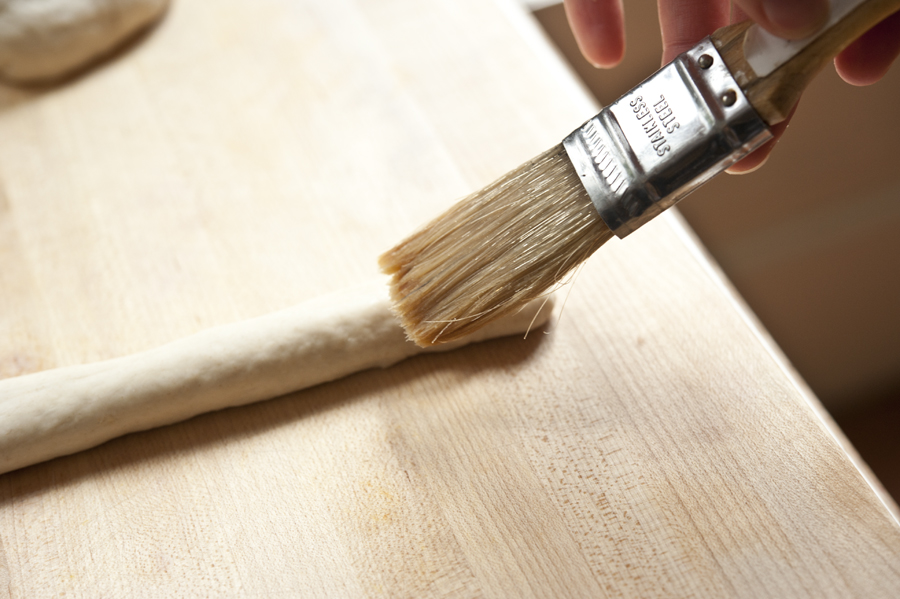
When you have it as long as you need, wet the edges a bit to make it easier to join them together.


Tasty Kitchen Blog: Homemade Bagels. Guest post by Georgia Pellegrini, recipe submitted by TK member Meredith of An Epic Change.

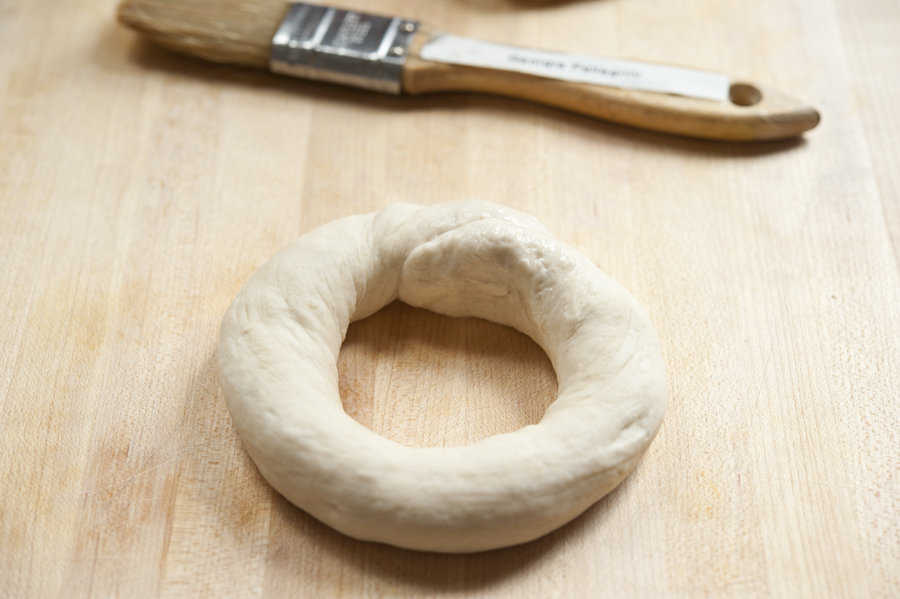
Your bagel will look something like this—skinny now, but with enough room so that it can puff up and still maintain its hole in the middle.

Now is also when you get to make fun of me for labeling my pastry brush with my name. Everyone in culinary school made fun of me for it but hey, look who still has her pastry brush from culinary school!


Tasty Kitchen Blog: Homemade Bagels. Guest post by Georgia Pellegrini, recipe submitted by TK member Meredith of An Epic Change.

Now you lay the dough rings on a floured surface, cover them and let them rise and puff until they look as thick as a normal bagel.


Tasty Kitchen Blog: Homemade Bagels. Guest post by Georgia Pellegrini, recipe submitted by TK member Meredith of An Epic Change.

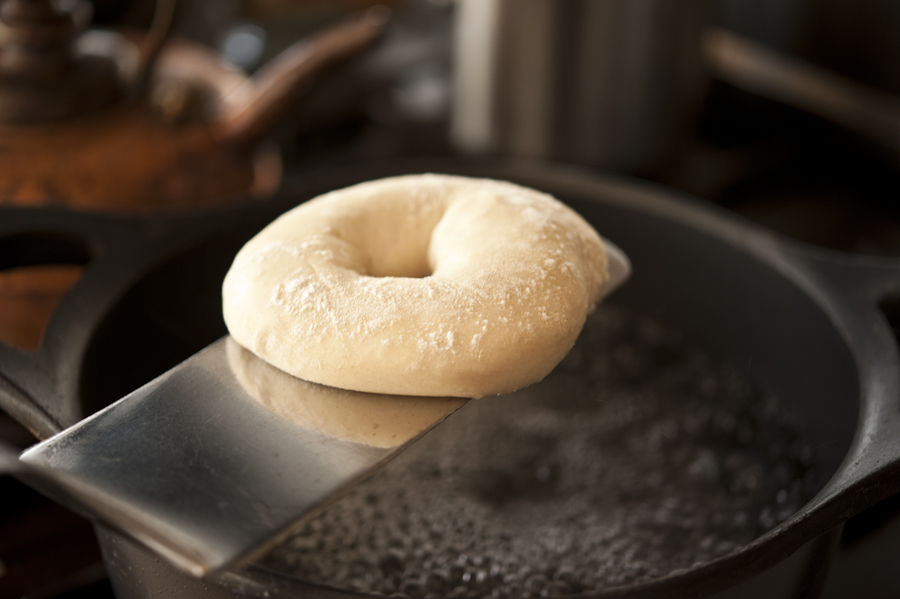
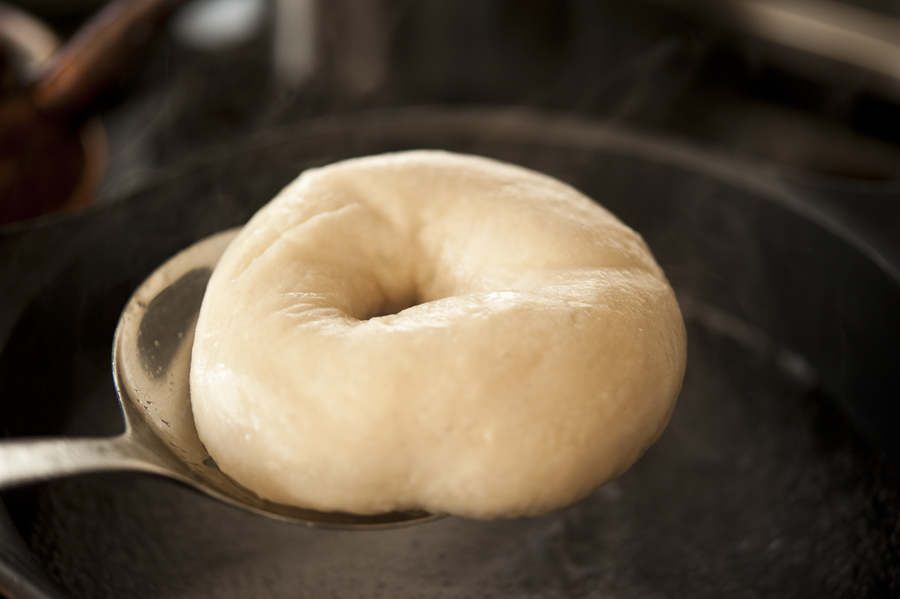
Get some water boiling and once the bagels are puffy, carefully lift them with a spatula and drop them in two at a time.


Tasty Kitchen Blog: Homemade Bagels. Guest post by Georgia Pellegrini, recipe submitted by TK member Meredith of An Epic Change.

You’ll turn them over once to get both sides par boiled.


Tasty Kitchen Blog: Homemade Bagels. Guest post by Georgia Pellegrini, recipe submitted by TK member Meredith of An Epic Change.

Then remove each one with a slotted spoon…


Tasty Kitchen Blog: Homemade Bagels. Guest post by Georgia Pellegrini, recipe submitted by TK member Meredith of An Epic Change.

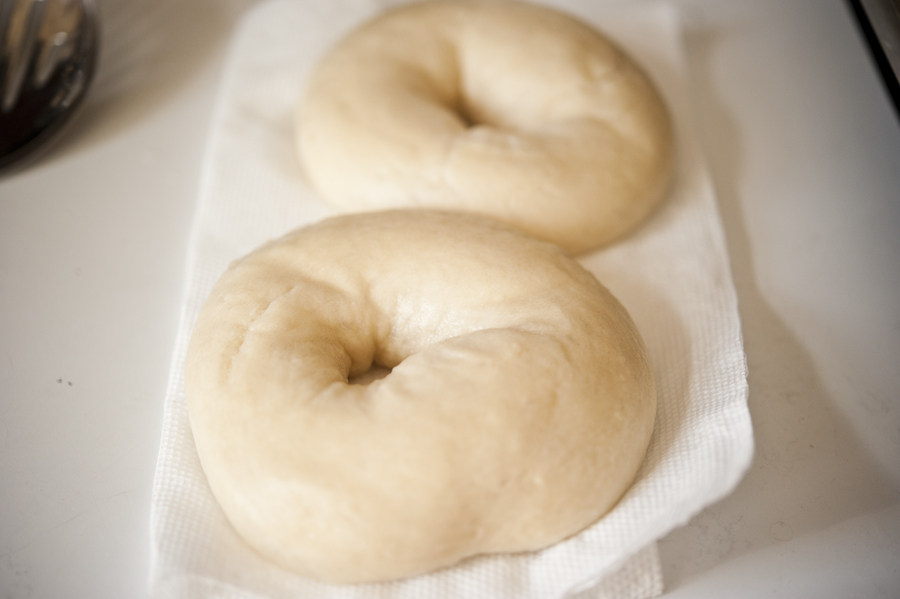
Transfer to a paper towel for just a few seconds to soak up the moisture…


Tasty Kitchen Blog: Homemade Bagels. Guest post by Georgia Pellegrini, recipe submitted by TK member Meredith of An Epic Change.

Then transfer them to a greased sheet tray.


Tasty Kitchen Blog: Homemade Bagels. Guest post by Georgia Pellegrini, recipe submitted by TK member Meredith of An Epic Change.

Now there is the option to get fancy along the way. You could sprinkle on some sesame seeds for example…


Tasty Kitchen Blog: Homemade Bagels. Guest post by Georgia Pellegrini, recipe submitted by TK member Meredith of An Epic Change.

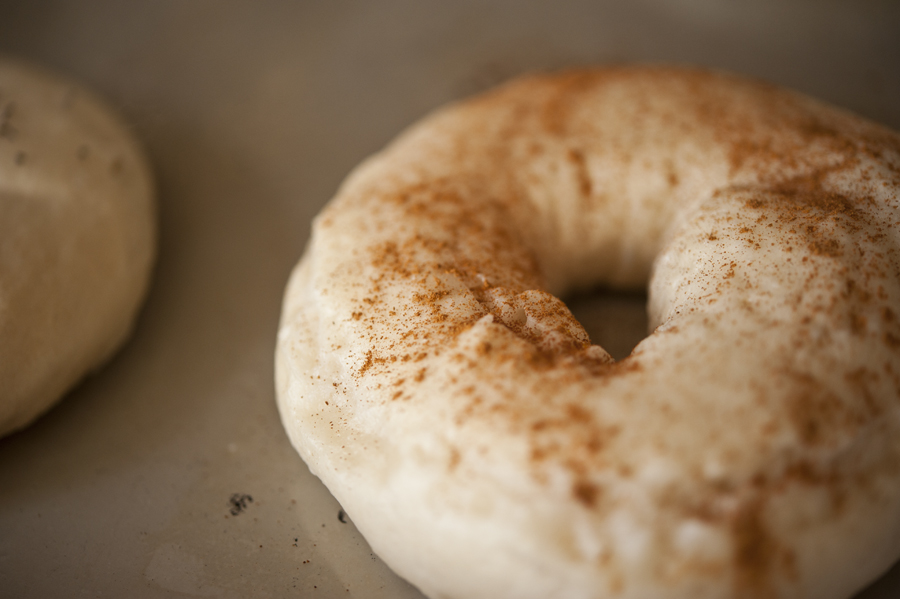
Or add some cinnamon on top…

Or, you could mix flavorings into the dough when you knead it. How about dried blueberries? Or sun-dried tomatoes and basil? Chocolate chips? The possibilities are exciting and endless.


Tasty Kitchen Blog: Homemade Bagels. Guest post by Georgia Pellegrini, recipe submitted by TK member Meredith of An Epic Change.

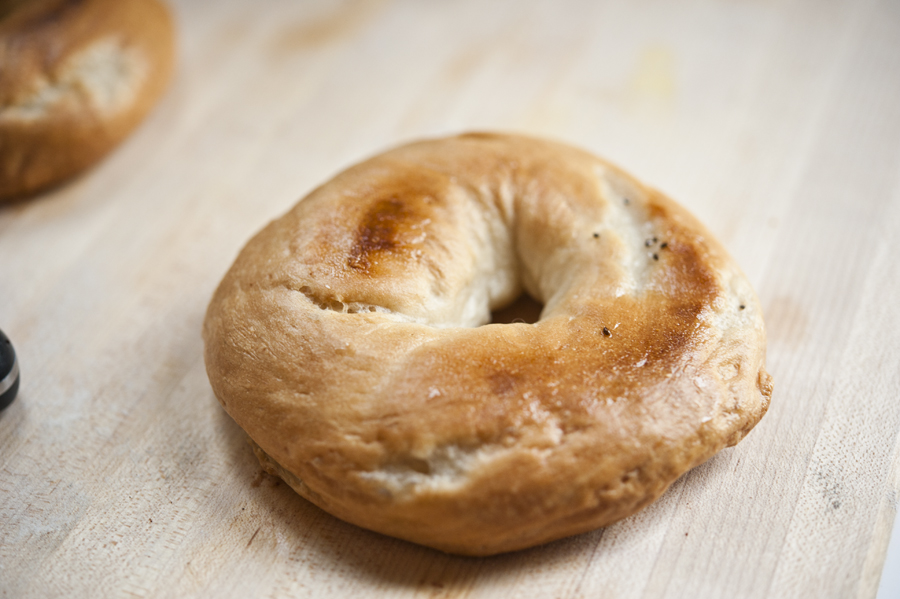
Once they have spent about 18 minutes in the oven and have been turned over once, this is what you will have.


Tasty Kitchen Blog: Homemade Bagels. Guest post by Georgia Pellegrini, recipe submitted by TK member Meredith of An Epic Change.

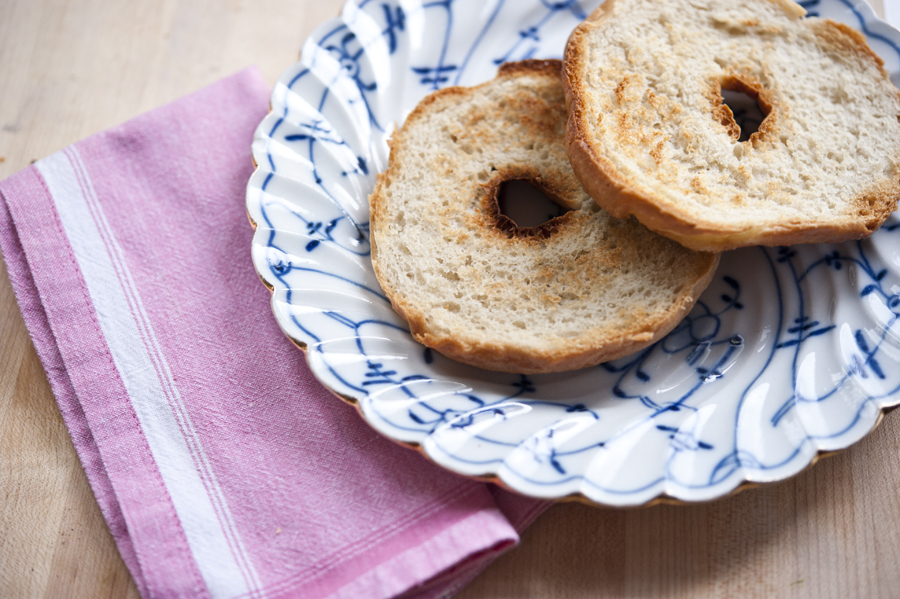
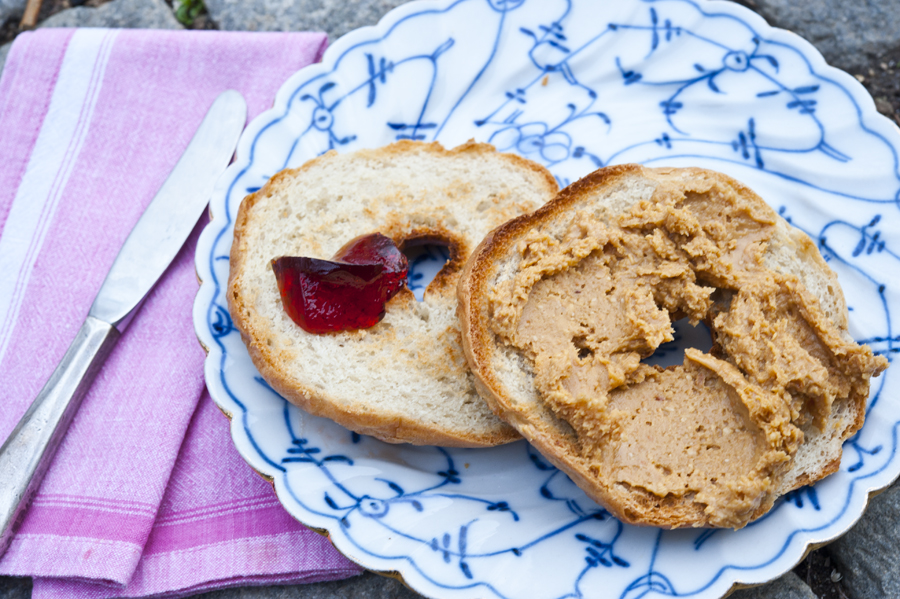
Slice it in half and drop it in the toaster if you’d like, or just eat it warm and fresh out of the oven.


Tasty Kitchen Blog: Homemade Bagels. Guest post by Georgia Pellegrini, recipe submitted by TK member Meredith of An Epic Change.

Then of course, add your favorite spreads on top. Enjoy!

And thanks to Meredith for this fun recipe. Check out her blog, An Epic Change, for more!

 
Also check out these other bagel recipes here on TK:

Homemade Everything Bagels by Heather Christo

Bread Machine Bagels by ThoroughlyModernHousewife

Bagels by CookingDunkinStyle

Multigrain Bagels by PuzzleHouse


Printable Recipe

Plain Bagels

See post on Meredith @ An Epic Change’s site!
4.83 Mitt(s) 12 Rating(s)12 votes, average: 4.83 out of 512 votes, average: 4.83 out of 512 votes, average: 4.83 out of 512 votes, average: 4.83 out of 512 votes, average: 4.83 out of 5

Prep Time:

Cook Time:

Difficulty: Intermediate

Servings: 6

6
x

Print Options

Page size Letter 3x5 4x6
Text Size Small Medium Large
Content Include description
Include prep time, etc.
Show image

Description

Perfectly chewy yet soft plain bagels, from an East Coaster who knows her bagels.

Ingredients

  • ⅔ cups Warm Water
  • ½ Tablespoons Sugar
  • 1-½ teaspoon Yeast
  • 2 cups All-purpose Flour
  • ½ Tablespoons Vegetable Oil
  • ¾ teaspoons Salt

Preparation Instructions

In the bottom of your mixer bowl, combine the water, sugar, and yeast and let the yeast develop for about 5 minutes. Add in flour, vegetable oil, and salt and mix with a dough hook (or by hand) until the dough is elastic and tough. You may need to add in a bit of extra water, but do it little by little. Let the dough sit and rise in a warm place for 20-30 minutes.

Turn dough out onto a floured surface and knead. Cut into 6 equal pieces. Roll each individual piece into a “snake” long enough to wrap around your palm. Dip each end of the dough in water and press together in your palm, forming a circle. Place the formed bagels on a floured board and allow to rise another 20-30 minutes.

Bring 6 cups of water to a boil in a heavy-bottomed pot. When the water is gently boiling, place 2-3 bagels into the water for 1 minute and then flip to boil on the other side for another minute. Remove the bagels, place them on paper towels to take off excess moisture, then place on a baking sheet. Repeat with the remaining bagels. Bake in the oven on 425ºF for 18 minutes, turning them over after 10 minutes. Enjoy!

Note: Substitute 1/2 cup wheat flour and 1 1/2 cup all-purpose flour for a wheat variation.


_______________________________________

There’s so much to say about Georgia, we don’t know where to start. Leaving Wall Street for the French Culinary Institute, followed by a stint at the Gramercy Tavern and La Chassagnette in France, her passion for food and food traditions are evident and inspiring. Visit her site at Georgia Pellegrini, where you’ll find more recipes, photos, learn all about her wonderful book Food Heroes, and enjoy her latest adventures.


Profile photo of Erika (TK)

Looks Delicious! Light and Creamy Asparagus Soup

Posted by in Looks Delicious!

Tasty Kitchen Blog: Looks Delicious! (Light and Creamy Asparagus Soup, submitted by TK member Sommer of A Spicy Perspective)

 
This Light and Creamy Asparagus Soup from aspicyperspective has so much going for it: asparagus for spring, warm comforting soup for the lingering chill, and crispy bacon bits for happiness.

Sommer is a cooking instructor and food writer who blogs at A Spicy Perspective. She’s based in Asheville, North Carolina, and if you check out her original blog post, you’ll find some interesting tidbits about asparagus. (No, Sommer, I did not know asparagus can grow up to a foot in a single day. That’s crazy!)

Best of all, it’s a guilt-free kind of creamy soup, courtesy of the white beans.

Thanks for sharing this delicious-looking recipe, Sommer!


Profile photo of EatLiveRun

Salted Chocolate and Pecan Cake Bars

Posted by in Baking, Step-by-Step Recipes

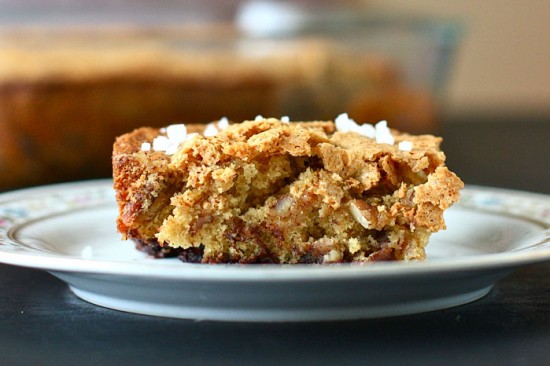
  If you haven’t noticed yet, I really have a thing for sweet and savory baked goods. I’m of the firm belief that a little sea salt sprinkled on top of a piece of cake or a brownie makes everything better, and for that reason, was incredibly excited when I found these Salted Chocolate and […]

Profile photo of missamy

Chicken Souvlaki Pita with Tzatziki

Posted by in Step-by-Step Recipes

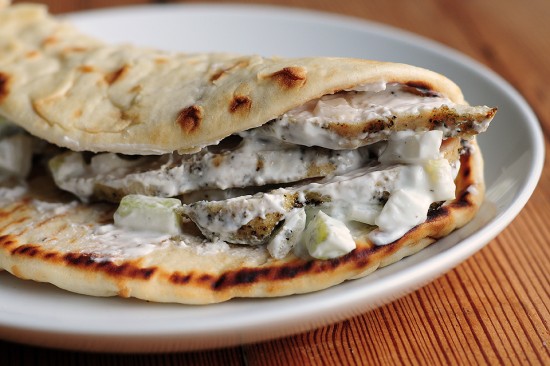
Years ago we lived in Winston-Salem, NC and frequented a small, local Greek owned restaurant where we enjoyed souvlaki on a regular basis. It became a regular craving for us. What was always surprising was how the simple tzatziki sauce impressed the taste buds. Fresh and tangy. It never failed to hit the spot. While […]

Profile photo of callimakesdo

Grilled Salad with Strawberry Balsamic Reduction

Posted by in Step-by-Step Recipes

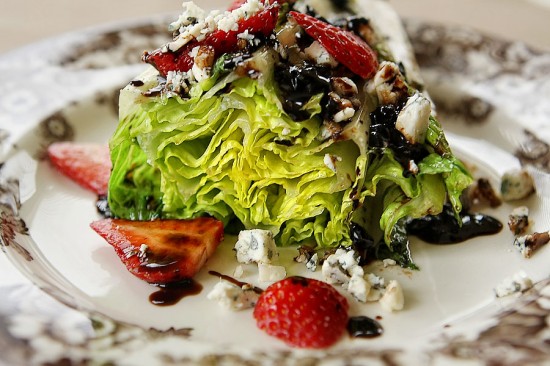
We’re so happy to welcome Calli to the Tasty Kitchen Blog. We love her and her blog Make it Do. It’s pretty, it’s yummy, and it has so many handy tips for making things around the house a little bit easier. (I’m waiting for her to invent automated laundry.) And what a gorgeous salad to […]

Profile photo of Erika (TK)

Looks Delicious! Blueberry-Pomegranate Granita

Posted by in Looks Delicious!

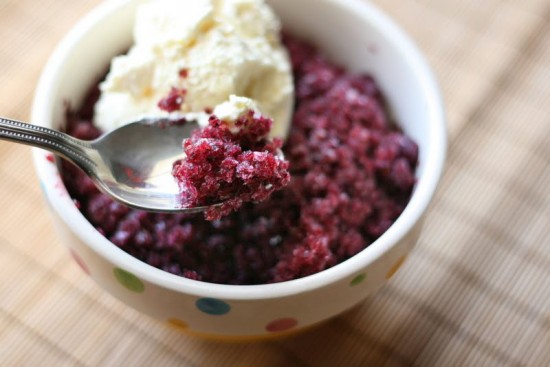
  This Blueberry-Pomegranate Granita from our dear friend Natalie (she of the wonderful Perrys’ Plate blog) has a fresh and tart flavor that’s perfect at the end of a hearty meal. Or as a quick, guilt-free snack. And look at that color! You only need 5 or 6 ingredients, a blender, and a container in […]