The Pioneer Woman Tasty Kitchen
Profile photo of A Cozy Kitchen

Broccoli Cheddar Soup

Posted by in Step-by-Step Recipes

Tasty Kitchen Blog: Broccoli Cheddar Soup. Guest post by Adrianna Adarme of A Cozy Kitchen, recipe submitted by TK member Crystal (uumom2many).

 
Broccoli cheddar soup will forever make me think of those cold college nights when my friends and I would head to Panera to eat copious amounts of soup in bread bowls. It was one of those college activities we did since Panera was super inexpensive, pretty delicious and one of the only restaurants open past 8pm in our teeny-tiny college town. I’ve been wanting to recreate one of my favorite college memories for as long as I can remember, so when I came across this Broccoli Cheddar Soup recipe from TK member Crystal, I knew it was mine for the taking.  

Let’s get started, shall we?


Tasty Kitchen Blog: Broccoli Cheddar Soup. Guest post by Adrianna Adarme of A Cozy Kitchen, recipe submitted by TK member Crystal (uumom2many).

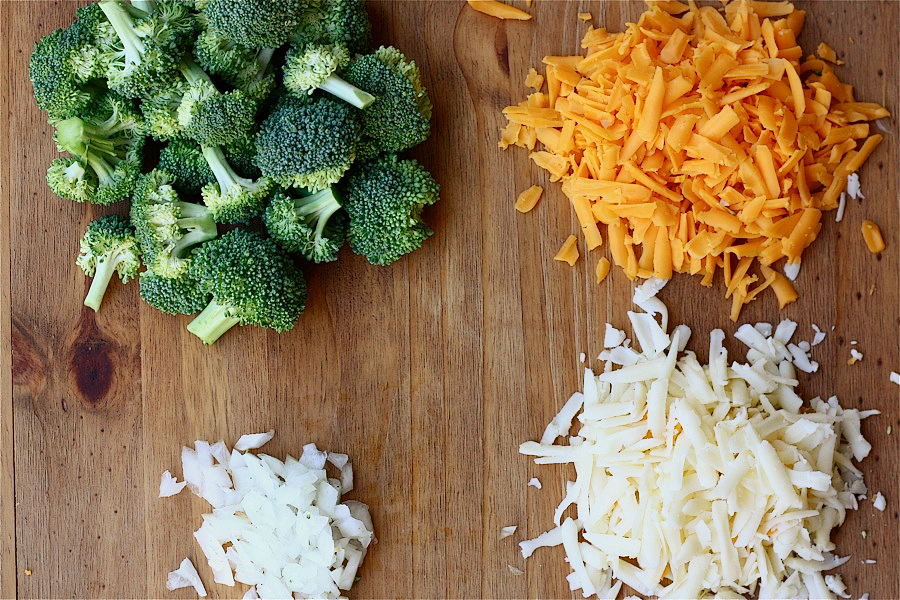
You’ll need to steam some broccoli (I’ll admit I totally forgot this step and it turned out great!), finely dice some onions, and shred two different types of cheeses: extra sharp white cheddar and extra sharp yellow cheddar.  


Tasty Kitchen Blog: Broccoli Cheddar Soup. Guest post by Adrianna Adarme of A Cozy Kitchen, recipe submitted by TK member Crystal (uumom2many).

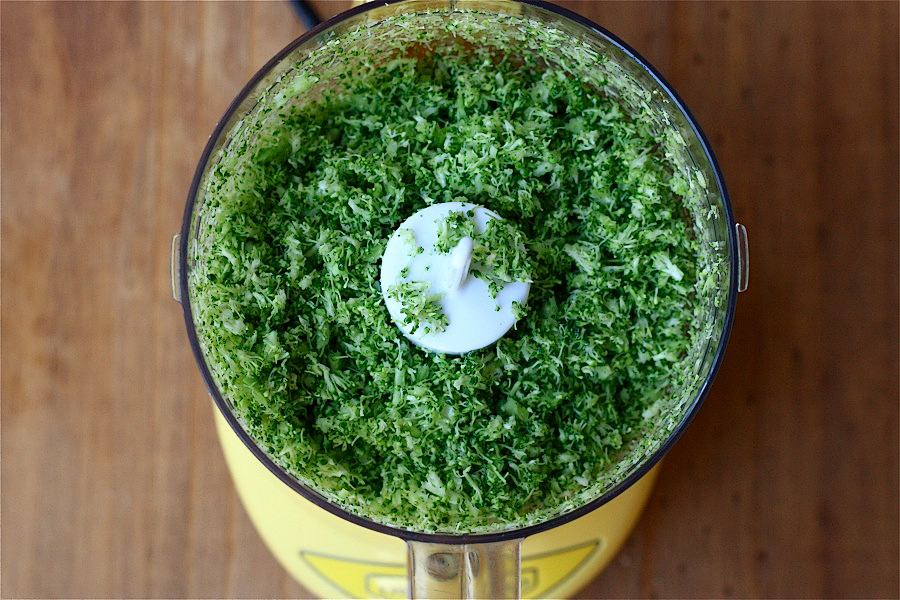
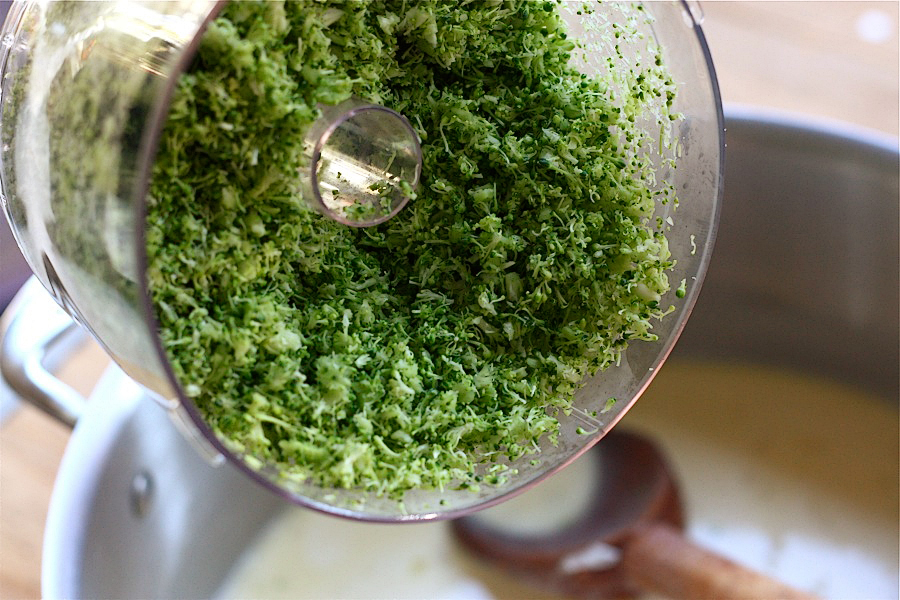
Next you’re going to add the broccoli to a food processor and pulse until it’s the consistency of a meal. 

In a large stock pot, melt the butter and add the onion. You’ll want to cook them until they’re translucent. Mine took 5 minutes or so. 


Tasty Kitchen Blog: Broccoli Cheddar Soup. Guest post by Adrianna Adarme of A Cozy Kitchen, recipe submitted by TK member Crystal (uumom2many).

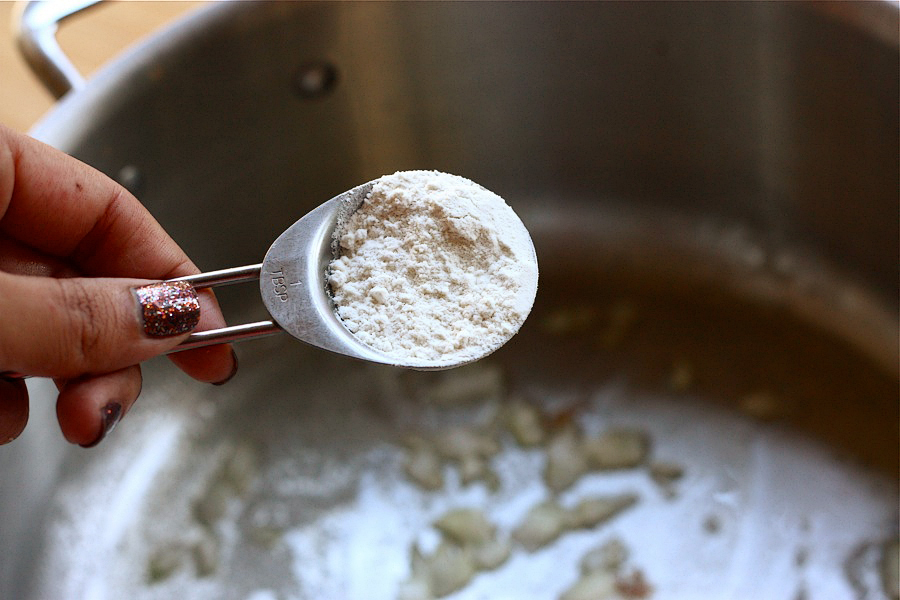
Then add the 2 tablespoons of flour and mix with the butter and onion mixture. You’ll create a bit of a roux. 


Tasty Kitchen Blog: Broccoli Cheddar Soup. Guest post by Adrianna Adarme of A Cozy Kitchen, recipe submitted by TK member Crystal (uumom2many).

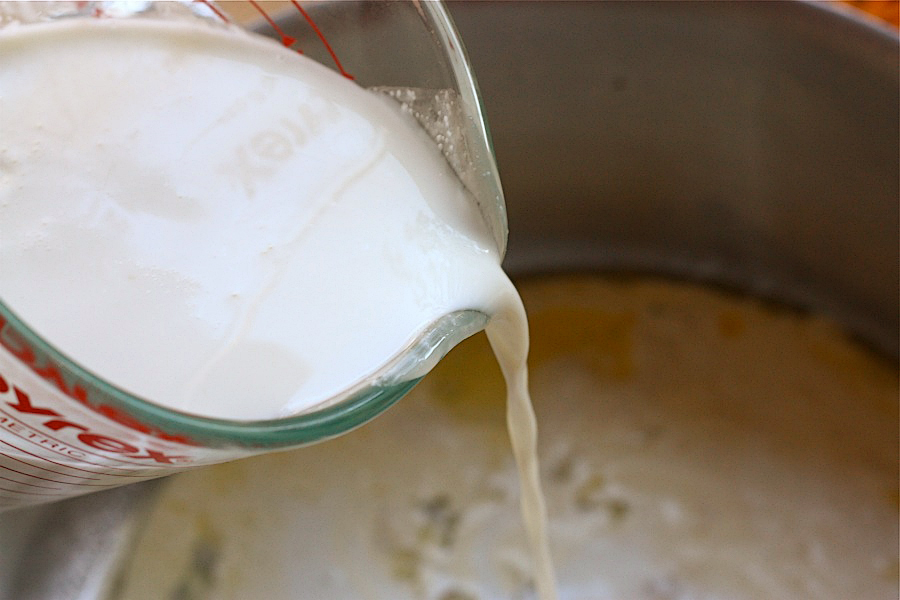
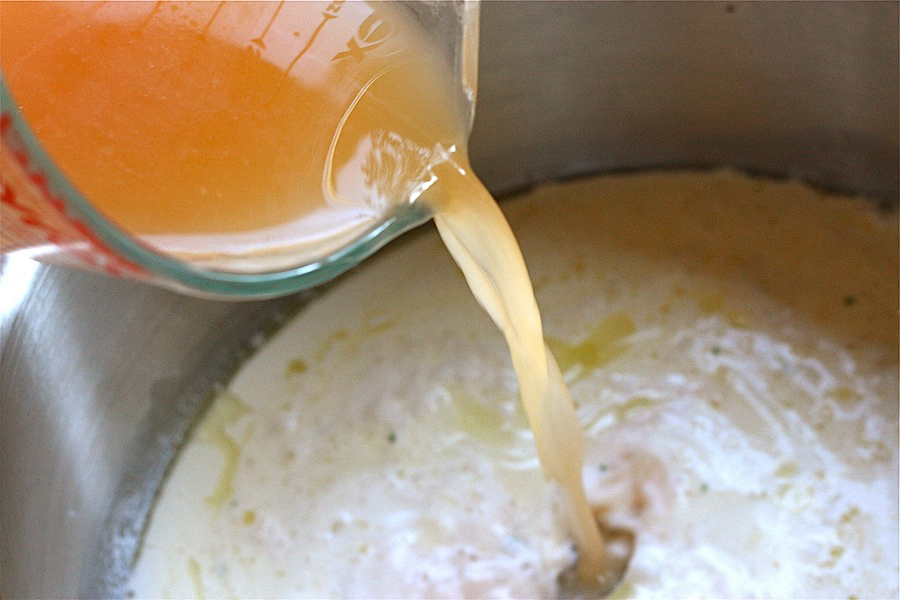
Next up, add the cream and milk, being sure to stir constantly. 


Tasty Kitchen Blog: Broccoli Cheddar Soup. Guest post by Adrianna Adarme of A Cozy Kitchen, recipe submitted by TK member Crystal (uumom2many).

Then the beef stock. 

I had some vegetarian friends coming over so I opted for vegetarian stock; it worked wonderfully. 


Tasty Kitchen Blog: Broccoli Cheddar Soup. Guest post by Adrianna Adarme of A Cozy Kitchen, recipe submitted by TK member Crystal (uumom2many).

After you’re done mixing in the milks and broth, gently stir in the pulsed broccoli 


Tasty Kitchen Blog: Broccoli Cheddar Soup. Guest post by Adrianna Adarme of A Cozy Kitchen, recipe submitted by TK member Crystal (uumom2many).

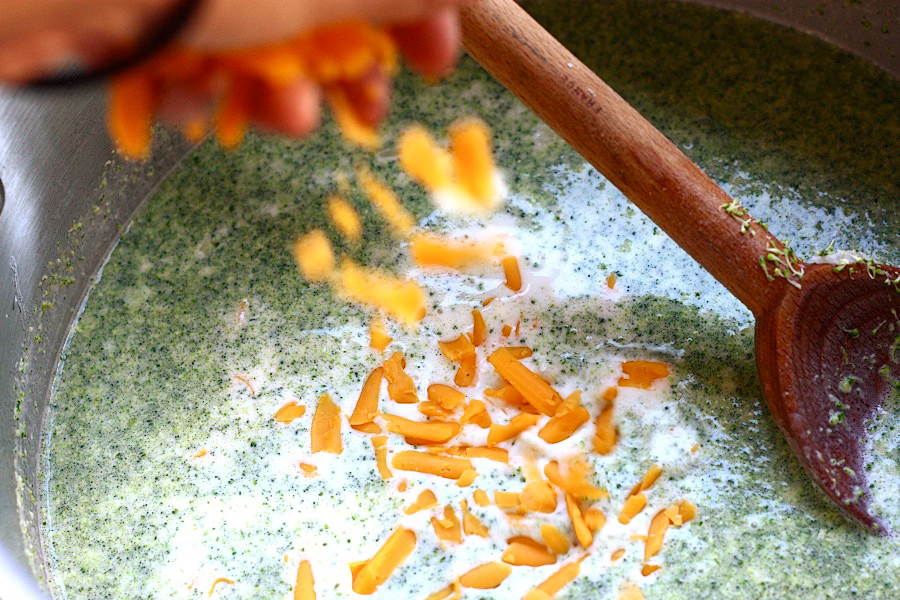
And then the yellow cheddar …


Tasty Kitchen Blog: Broccoli Cheddar Soup. Guest post by Adrianna Adarme of A Cozy Kitchen, recipe submitted by TK member Crystal (uumom2many).

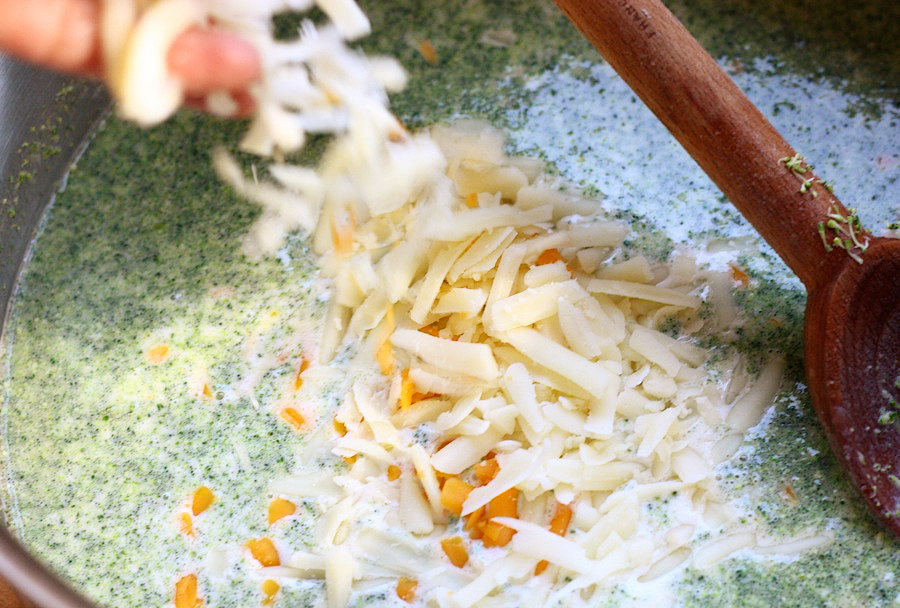
And then the white cheddar …

Are you getting excited yet? 


Tasty Kitchen Blog: Broccoli Cheddar Soup. Guest post by Adrianna Adarme of A Cozy Kitchen, recipe submitted by TK member Crystal (uumom2many).

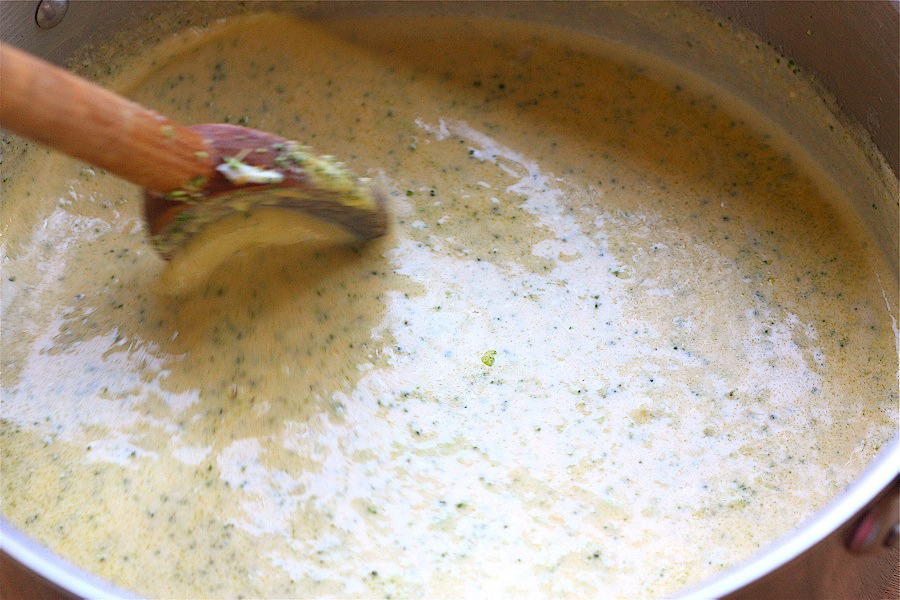
Mix it all together and then do a little taste test. I actually ended up adding about a handful extra of each of the cheese. I was going for extra cheesy! 

Add some salt and pepper if you feel like it needs it. Mine needed about a teaspoon of salt and pepper. 


Tasty Kitchen Blog: Broccoli Cheddar Soup. Guest post by Adrianna Adarme of A Cozy Kitchen, recipe submitted by TK member Crystal (uumom2many).

If you don’t feel like doing the bread bowl thing, then your soup is totally ready to be served. 

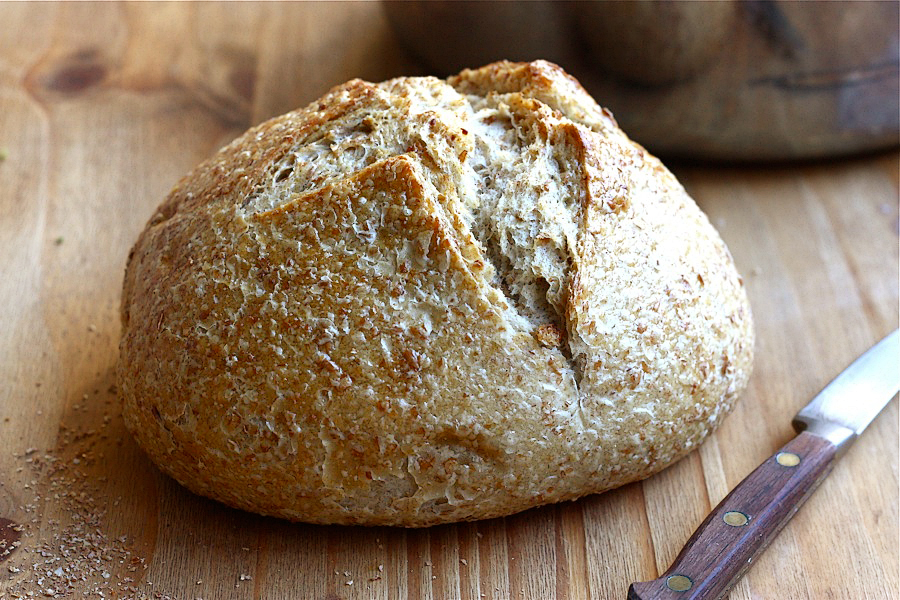
If you do, grab the bread. I used a whole wheat sourdough. 


Tasty Kitchen Blog: Broccoli Cheddar Soup. Guest post by Adrianna Adarme of A Cozy Kitchen, recipe submitted by TK member Crystal (uumom2many).

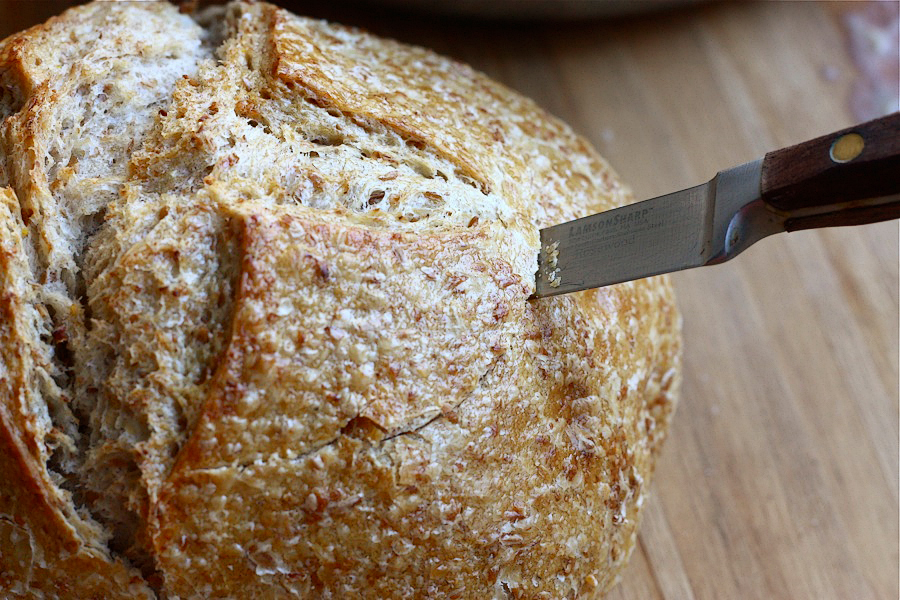
Cut a circle in the top of the bread. 


Tasty Kitchen Blog: Broccoli Cheddar Soup. Guest post by Adrianna Adarme of A Cozy Kitchen, recipe submitted by TK member Crystal (uumom2many).

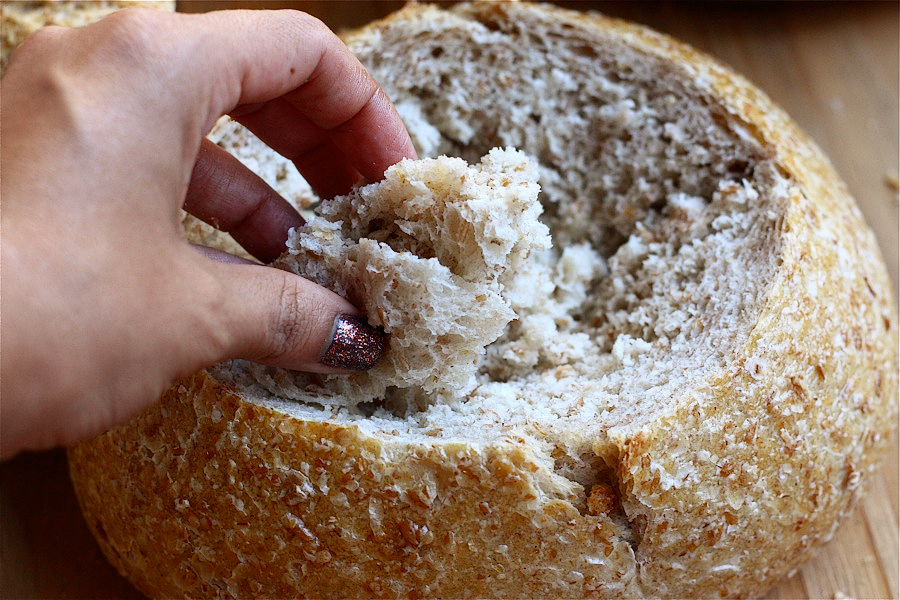
And take out the center, creating a bowl. 


Tasty Kitchen Blog: Broccoli Cheddar Soup. Guest post by Adrianna Adarme of A Cozy Kitchen, recipe submitted by TK member Crystal (uumom2many).

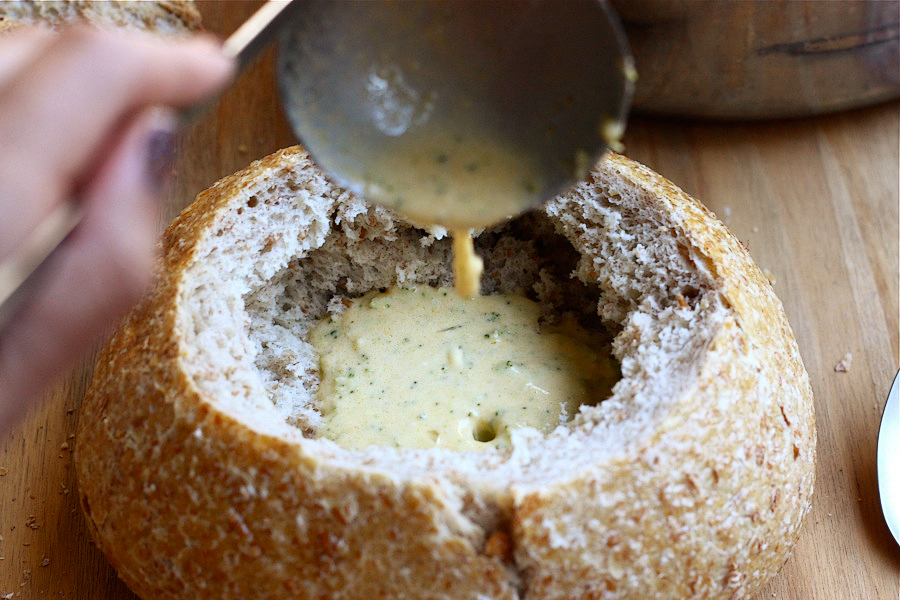
Ladle the soup into the center of the bread bowl until it’s full.
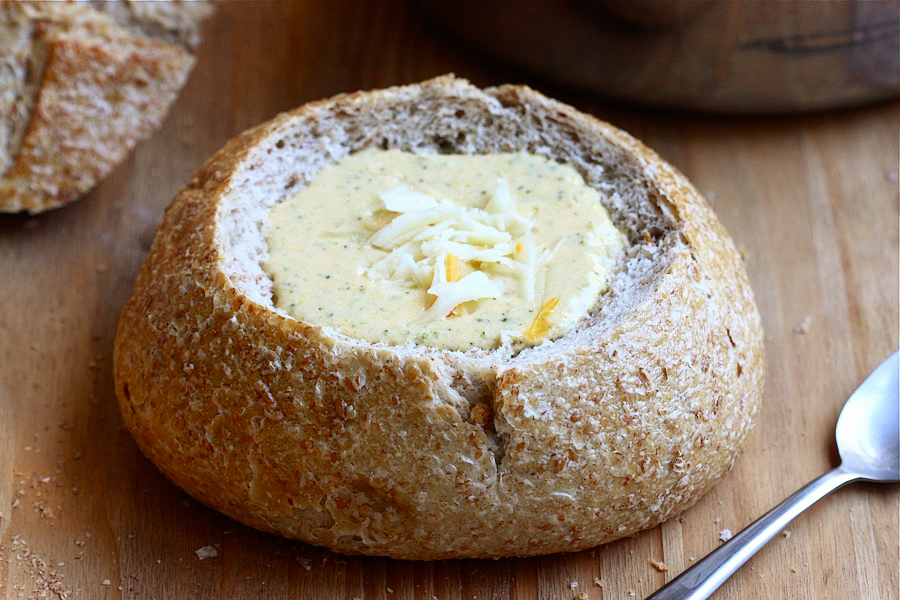


Tasty Kitchen Blog: Broccoli Cheddar Soup. Guest post by Adrianna Adarme of A Cozy Kitchen, recipe submitted by TK member Crystal (uumom2many).

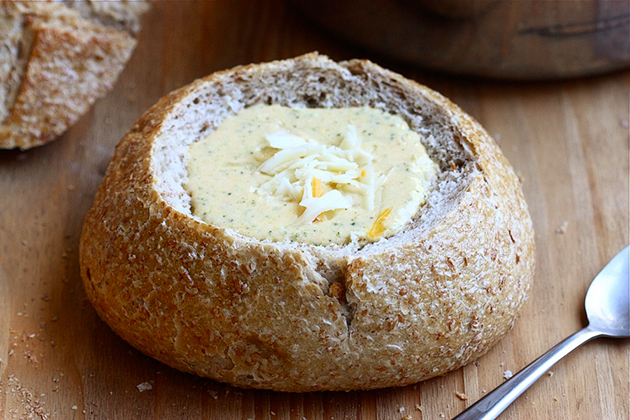
Top with a small handful of cheese … and dinner! 

This soup was everything broccoli cheddar should be: it’s rich, thick, savory, and cheesy beyond belief, which makes it perfect for those cold nights we have in our near future.  

Thanks again to TK member Crystal, for this delicious tasting soup. 


Printable Recipe
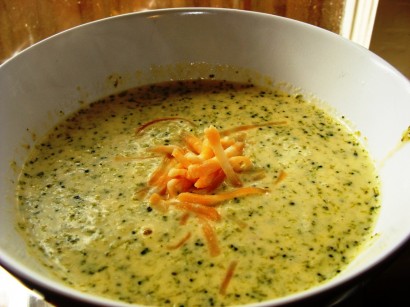
Broccoli Cheddar Soup

See post on uumom2many’s site!
3.25 Mitt(s) 8 Rating(s)8 votes, average: 3.25 out of 58 votes, average: 3.25 out of 58 votes, average: 3.25 out of 58 votes, average: 3.25 out of 58 votes, average: 3.25 out of 5

Prep Time:

Cook Time:

Difficulty: Easy

Servings: 8

8
x

Print Options

Page size Letter 3x5 4x6
Text Size Small Medium Large
Content Include description
Include prep time, etc.
Show image

Description

Soup so thick it sticks to a spoon. Tastes like liquified Broccoli and Cheese. This recipe makes 2 liters of soup. Enough for a big hungry family.

Ingredients

  • 2 Tablespoons Salted Butter
  • 2 Tablespoons Finely Chopped Onion
  • 2 Tablespoons Flour
  • 2 cups Beef Broth Or Bouillon
  • 3 cups Whole Milk
  • 1 cup Heavy Cream
  • 1-½ cup Extra Sharp White Cheddar Shredded
  • 1-½ cup Extra Sharp Yellow Cheddar Shredded
  • 4 cups Steamed Broccoli Pulsed Into A Meal

Preparation Instructions

Melt butter in a large stock pot. Add onion and cook slowly until limp. Stir in flour and cook for 3 minutues, stirring. Slowly add the stock, milk and cream, alternating until all are combined. Heat to boiling, stirring frequently. Stir in the cheese and broccoli (see note below). Keep stirring until the cheese is completely melted. Add salt and pepper to taste.

The longer this soup sits, the thicker it gets, until you end up with a soup that won’t fall off a spoon.

Note: to prepare the broccoli, steam until tender and pulse in a food processor until you get a meal-like consistency.


_______________________________________

Adrianna is the lovely lady behind the scrumptious blog A Cozy Kitchen. It’s filled with all kinds of mouthwatering recipes and gorgeous photography. Whether you’re in the mood for something vegetarian or meaty, fancy or pure comfort, light or decadent, there’s sure to be something there for everyone.


Profile photo of callimakesdo

Easy Flaky Buttery Biscuits

Posted by in Baking, Step-by-Step Recipes

Tasty Kitchen Blog: Easy Flaky Buttery Biscuits. Guest post by Calli Taylor of Make It Do, recipe submitted by TK member ranchinmom2five.
 
A warm biscuit is comfort food, plain and simple.
Being from the Mountain West, biscuits aren’t exactly a staple at our dinner table. (My mom did make homemade buttermilk biscuits occasionally, to accompany cabbage rolls—one of my favorite childhood dinners.)

But my husband is half Southern; his mother’s family is from Tennessee, and some things must be in the blood. He loves a good biscuit.

Happy to oblige his craving, I was supremely confident the first time I ever attempted biscuits. I loved mixing and rolling them and especially cutting them out with my brand new biscuit cutter.

But when my biscuits came out of the oven, they looked alarmingly flat. To my dismay (and shock), my biscuits tasted more like hockey pucks than the light, buttery biscuits I’d expected.

I’m not the sort to give up easily, so I tried several different recipes … and got varying degrees of the same result.

Biscuits are my nemesis, I decided, and I’d be better off with biscuits from a pop can, if I ever made them again.

But my failure niggled at me. It’s just a biscuit after all, made from simple ingredients and simple tools. So when I spotted the recipe for Easy, Flaky, Buttery Biscuits from ranchinmom2five on Tasty Kitchen, I thought I’d attempt to make my husband happy and conquer my biscuit challenge.

The “easy” in the recipe sounded encouraging. So did the great reviews.

Here’s how I finally made a biscuit worthy of serving to my family instead of the garbage pail.


Tasty Kitchen Blog: Easy Flaky Buttery Biscuits. Guest post by Calli Taylor of Make It Do, recipe submitted by TK member ranchinmom2five.

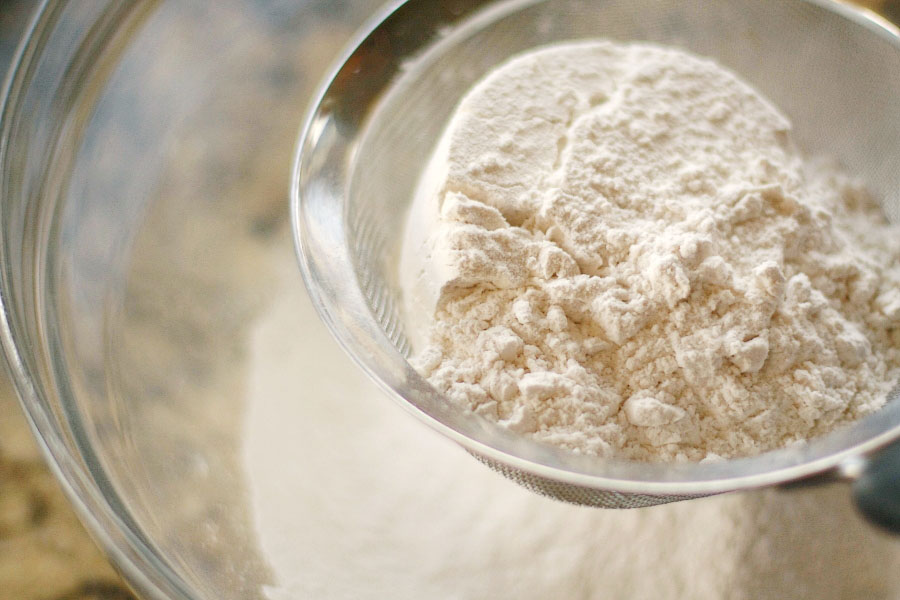
Start with all-purpose flour. The recipe does not specify sifting, but sifted flour is lighter, and I was aiming to avoid my infamous hockey pucks.


Tasty Kitchen Blog: Easy Flaky Buttery Biscuits. Guest post by Calli Taylor of Make It Do, recipe submitted by TK member ranchinmom2five.

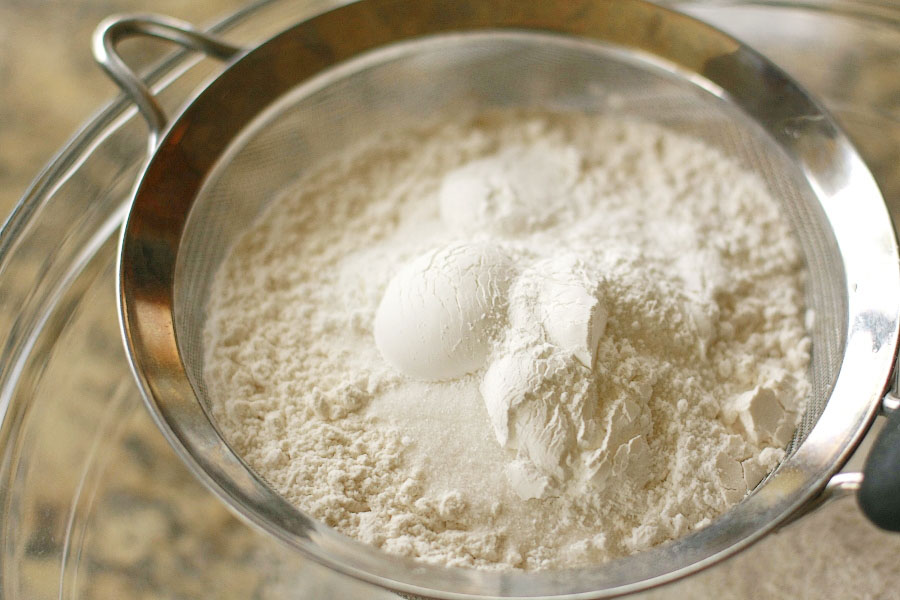
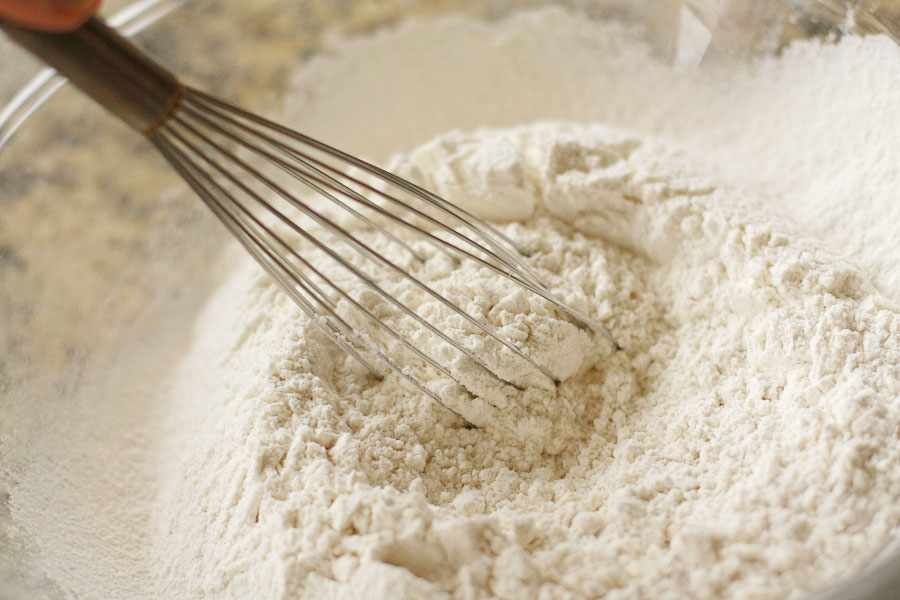
Add baking powder, sugar, cream of tartar and salt.


Tasty Kitchen Blog: Easy Flaky Buttery Biscuits. Guest post by Calli Taylor of Make It Do, recipe submitted by TK member ranchinmom2five.

Give the mixture a good stir to make sure the ingredients are well incorporated.


Tasty Kitchen Blog: Easy Flaky Buttery Biscuits. Guest post by Calli Taylor of Make It Do, recipe submitted by TK member ranchinmom2five.

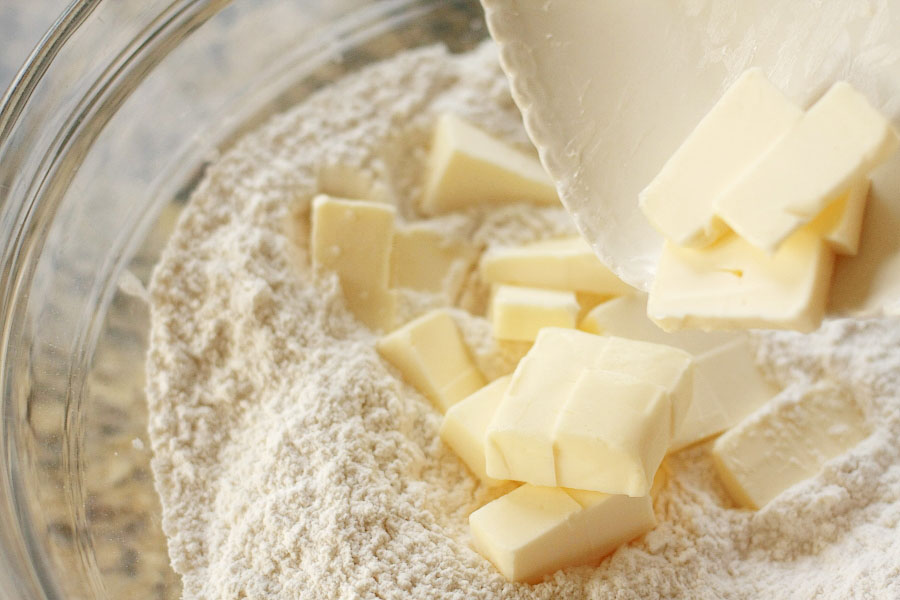
The recipe calls for cold butter. I like to cube it to make the cutting in easier. I’ve made this recipe several times and the last time, I substituted half of the butter for lard. It made a great recipe even better. They were my lightest, tallest, flakiest biscuits ever. If you have lard on hand, give it a try.


Tasty Kitchen Blog: Easy Flaky Buttery Biscuits. Guest post by Calli Taylor of Make It Do, recipe submitted by TK member ranchinmom2five.

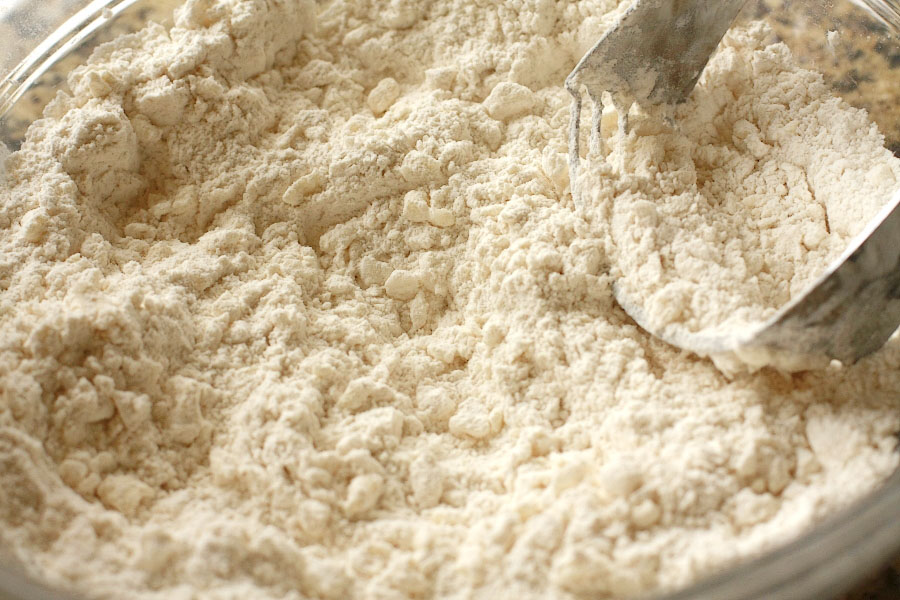
Using a pastry cutter or your hand, cut the butter into the flour until pea-sized pieces of butter remain. Don’t overwork the cutting in. Just like with pie dough, this is the key to a flaky biscuit.


Tasty Kitchen Blog: Easy Flaky Buttery Biscuits. Guest post by Calli Taylor of Make It Do, recipe submitted by TK member ranchinmom2five.

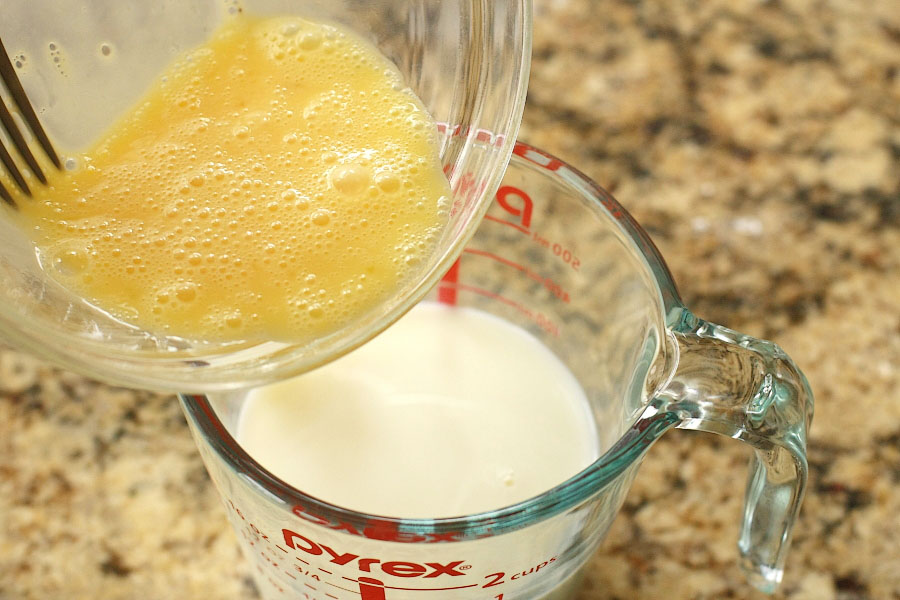
The recipe calls for milk, but I love the flavor of buttermilk. So, I substituted 1-1/4 cup buttermilk (since buttermilk is thicker than milk) for the milk.

In a small separate bowl, whisk the egg into the milk.


Tasty Kitchen Blog: Easy Flaky Buttery Biscuits. Guest post by Calli Taylor of Make It Do, recipe submitted by TK member ranchinmom2five.

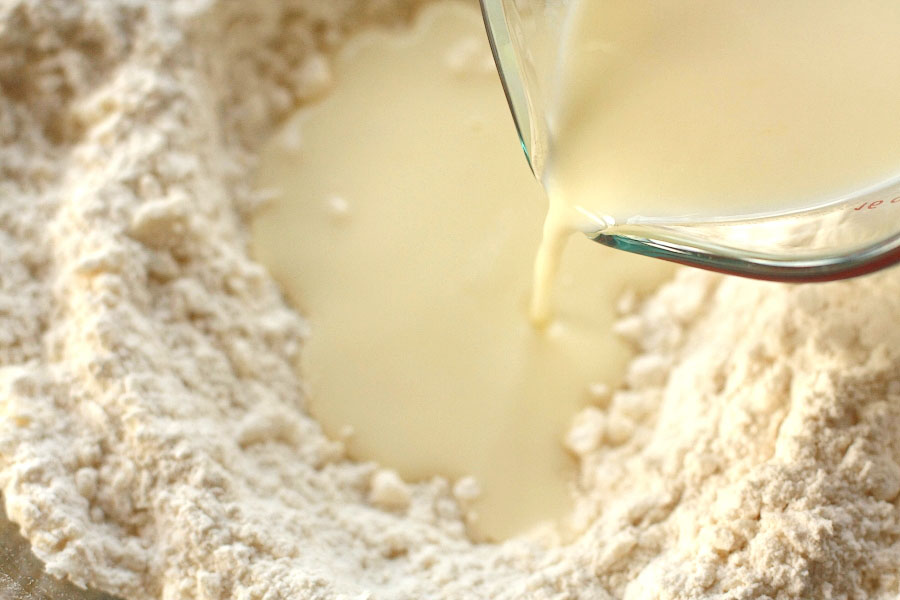
Pour the milk into the flour mixture.


Tasty Kitchen Blog: Easy Flaky Buttery Biscuits. Guest post by Calli Taylor of Make It Do, recipe submitted by TK member ranchinmom2five.

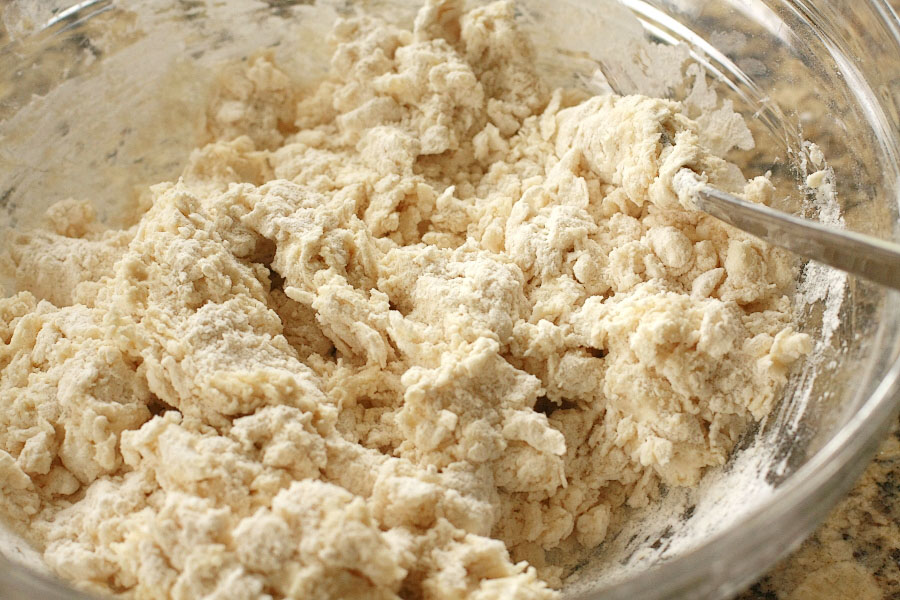
Stir together with a fork just until the mixture forms a loose ball. Again, don’t over stir here. It’s okay if all the flour isn’t incorporated, it’s going to be messy.


Tasty Kitchen Blog: Easy Flaky Buttery Biscuits. Guest post by Calli Taylor of Make It Do, recipe submitted by TK member ranchinmom2five.

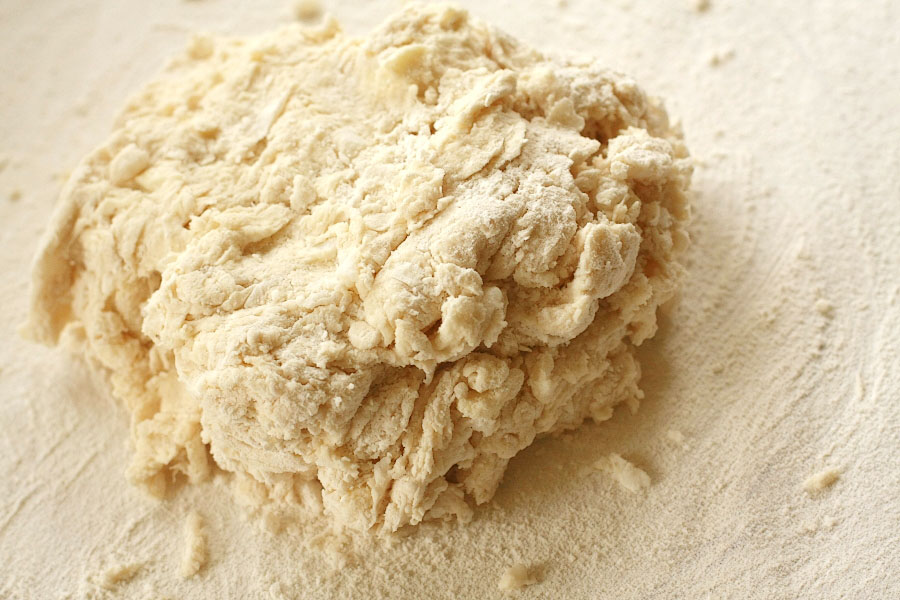
Turn your dough onto a floured counter. I’m using my favorite pastry frame instead of the counter. Knead lightly just a couple of times to form a round.


Tasty Kitchen Blog: Easy Flaky Buttery Biscuits. Guest post by Calli Taylor of Make It Do, recipe submitted by TK member ranchinmom2five.

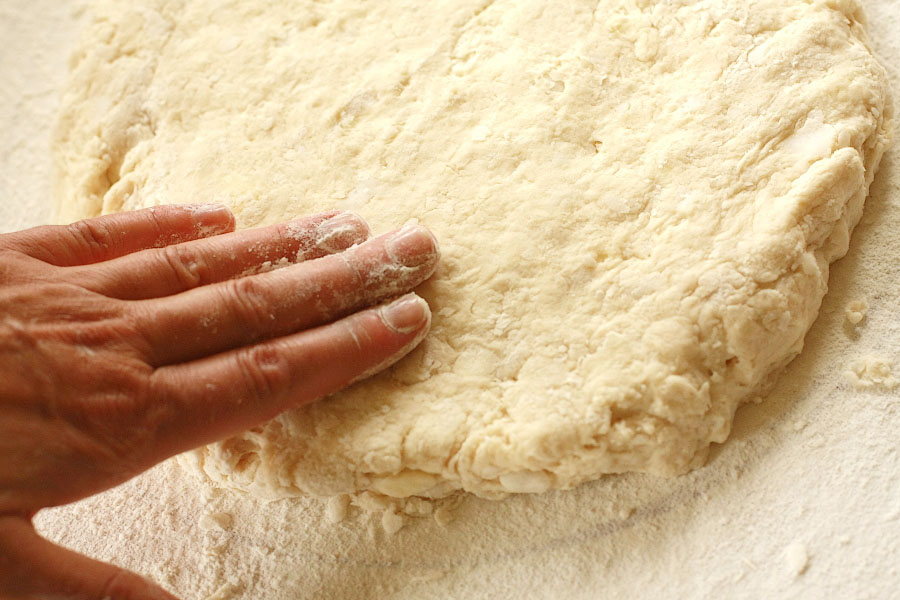
Pat down till the dough is 3/4″ thick. The recipe advises against using a rolling pin, since the biscuits will be less flaky.


Tasty Kitchen Blog: Easy Flaky Buttery Biscuits. Guest post by Calli Taylor of Make It Do, recipe submitted by TK member ranchinmom2five.

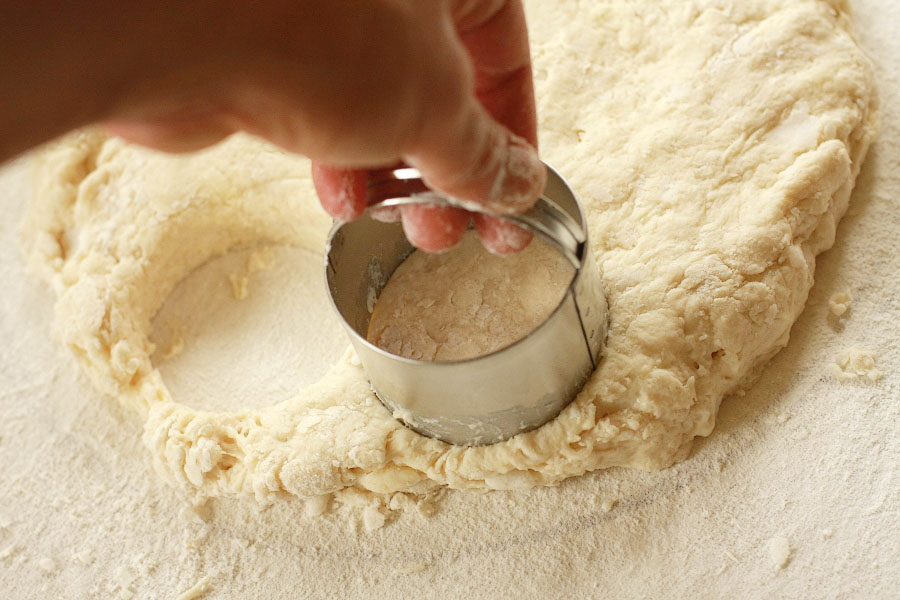
Using a biscuit cutter, cut rounds out. Here’s a tip: As hard as it is to resist, don’t twist the cutter when cutting your rounds. Pressing straight down without twisting helps your biscuit rise easier in the oven and keeps them light.


Tasty Kitchen Blog: Easy Flaky Buttery Biscuits. Guest post by Calli Taylor of Make It Do, recipe submitted by TK member ranchinmom2five.

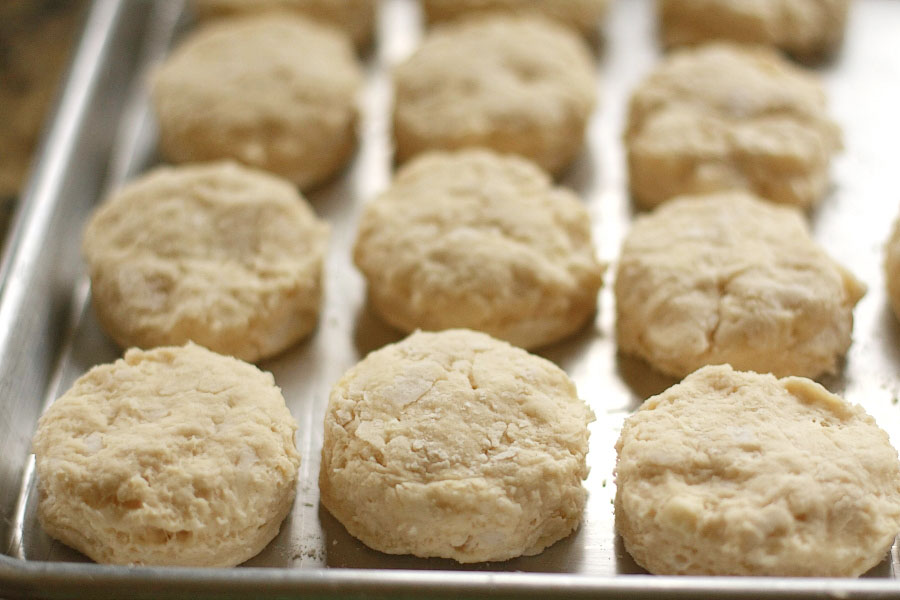
Place on an ungreased cookie sheet. The other trick I’ve found, after making this recipe a few times, is to crowd them a bit when placing them on the pan. They spread more when they are spaced out and are taller when more crowded.


Tasty Kitchen Blog: Easy Flaky Buttery Biscuits. Guest post by Calli Taylor of Make It Do, recipe submitted by TK member ranchinmom2five.

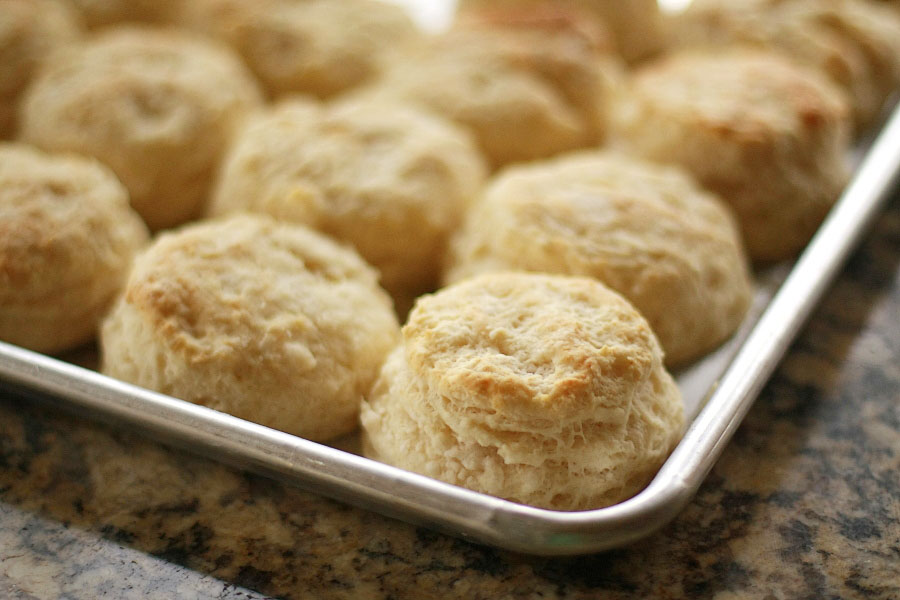
Bake at 450ºF. The recipe says for 10 -14 minutes. I cooked them for 15 -16 minutes in my oven, until they were golden brown. Rub the tops with a little butter if you are feeling sassy.


Tasty Kitchen Blog: Easy Flaky Buttery Biscuits. Guest post by Calli Taylor of Make It Do, recipe submitted by TK member ranchinmom2five.

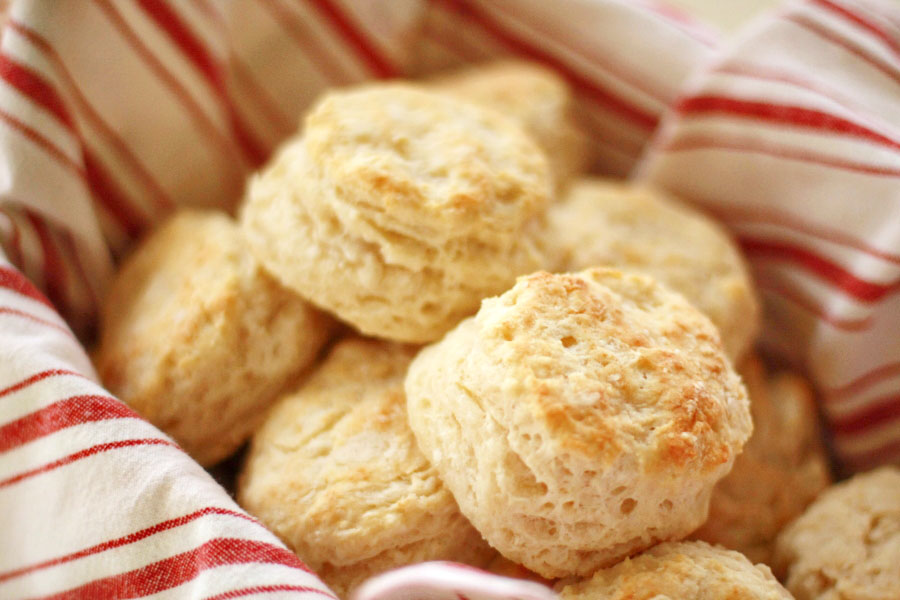
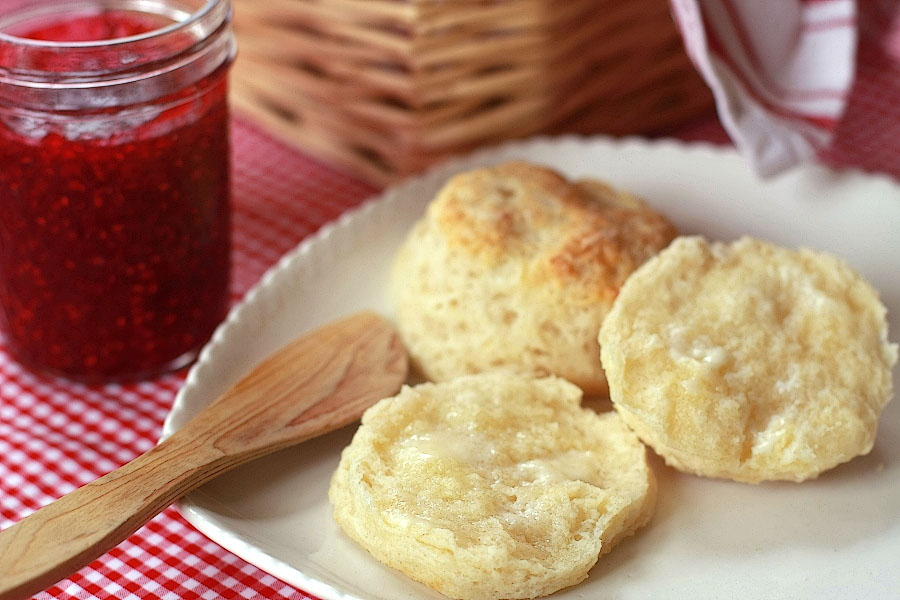
Finally I have a recipe for biscuits that I can be proud to serve! They are everything the name promises: light, buttery, flaky, EASY and good.


Tasty Kitchen Blog: Easy Flaky Buttery Biscuits. Guest post by Calli Taylor of Make It Do, recipe submitted by TK member ranchinmom2five.

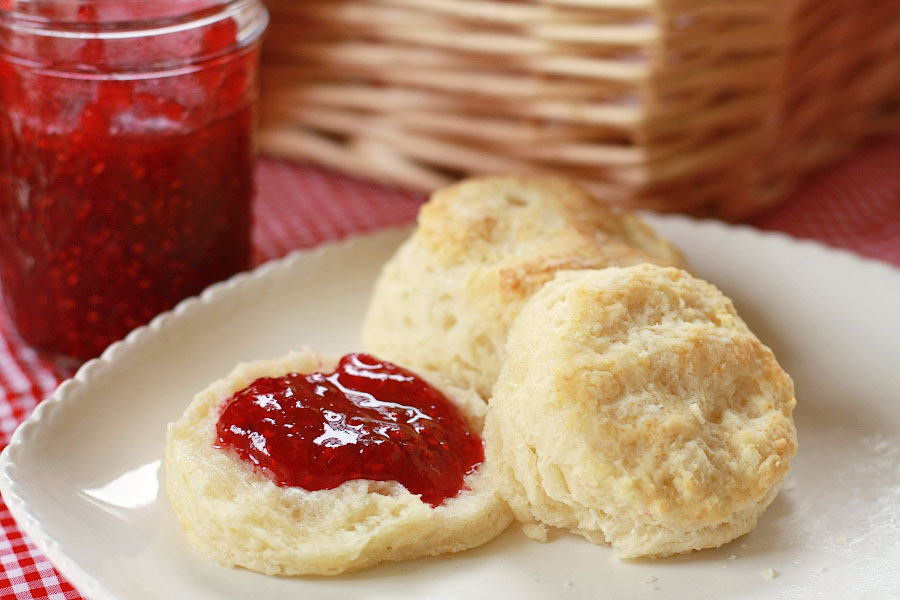
Biscuits are so quick and easy, you can whip them up in no time. They are perfect for breakfast with gravy or with butter and homemade jam. They are so fast, you can even whip them up on a weeknight.

Thank you ranchinmom2five for rescuing my baking reputation and sharing this wonderful recipe with us.


Printable Recipe

Easy, Flaky, Buttery Biscuits

4.96 Mitt(s) 45 Rating(s)45 votes, average: 4.96 out of 545 votes, average: 4.96 out of 545 votes, average: 4.96 out of 545 votes, average: 4.96 out of 545 votes, average: 4.96 out of 5

Prep Time:

Cook Time:

Difficulty: Easy

Servings: 6

6
x

Print Options

Page size Letter 3x5 4x6
Text Size Small Medium Large
Content Include description
Include prep time, etc.
Show image

Description

These super easy biscuits are sure to please any picky crowd. Great without any toppings, or the perfect sausage gravy in the morning, or just some fresh, homemade jam!

Ingredients

  • 3 cups Flour
  • 4-½ teaspoons Baking Powder
  • 2 Tablespoons Sugar
  • ¾ teaspoons Cream Of Tartar
  • ½ teaspoons Salt
  • ¾ cups Butter, Cold
  • 1 whole Egg, Slightly Beaten
  • 1 cup Milk

Preparation Instructions

Preheat oven to 450 F.

Mix dry ingredients together in a large bowl. Cut in cold butter, until it is pea-sized. Mix egg and milk in a small bowl then pour into the dry mix. Stir together with a fork. Combine all the dry mix with the wet mixture until it forms a soft ball.

Turn out onto a floured counter. Pat down until it’s about 3/4″ thick (rolling will keep it from being flaky so use your hands). Using a biscuit cutter (or whatever you have handy), cut biscuits out and place on an ungreased pan.

Bake for 10-12 minutes until golden and beautiful. Perfect for soups, breakfast, or just a yummy snack! Enjoy!

Please note: we live at 8500 feet, so I do add a little more flour—just enough for a soft dough—than the recipe calls for, and bake these closer to 14 minutes.


_______________________________________

Calli is truly a woman of many talents, from cooking, sewing, crafts, beautiful photography and gardening. Her blog, Make it Do is a treasure trove of recipes, household tips, crafts projects, sewing patterns … you name it. It’s also peppered with photos of her beautiful kids. Go visit her site, and visit it often. There’s always something new to learn there!


Profile photo of EatLiveRun

Slow-Cooker Chicken Tikka Masala

Posted by in Step-by-Step Recipes

Tasty Kitchen Blog: Slow-Cooker Chicken Tikka Masala. Guest post by Jenna Weber of Eat, Live, Run; recipe submitted by TK member Rebecca of Foodie with Family.

 
Indian food is total comfort for me. There’s just something about the spicy heat, the simple side of white basmati rice and the chewy garlic naan that soaks it all up perfectly. And as much as I love hitting up my local Indian restaurant for take-out, I also really love making my own Indian food at home. So when I stumbled upon Rebecca’s recipe for Slow-Cooker Chicken Tikka Masala, I knew it was an immediate must-make.

I adore my cheap slow cooker from Target and had a feeling this recipe would be the perfect meal for a weekend full of cold rainy weather here in Northern California. Turns out, I was right! This recipe was, hands down, the best thing to ever come out of my trusty little slow cooker and I loved it so much that I re-made it two days later for a friend’s birthday dinner. I think you’re gonna love it!


Tasty Kitchen Blog: Slow-Cooker Chicken Tikka Masala. Guest post by Jenna Weber of Eat, Live, Run; recipe submitted by TK member Rebecca of Foodie with Family.

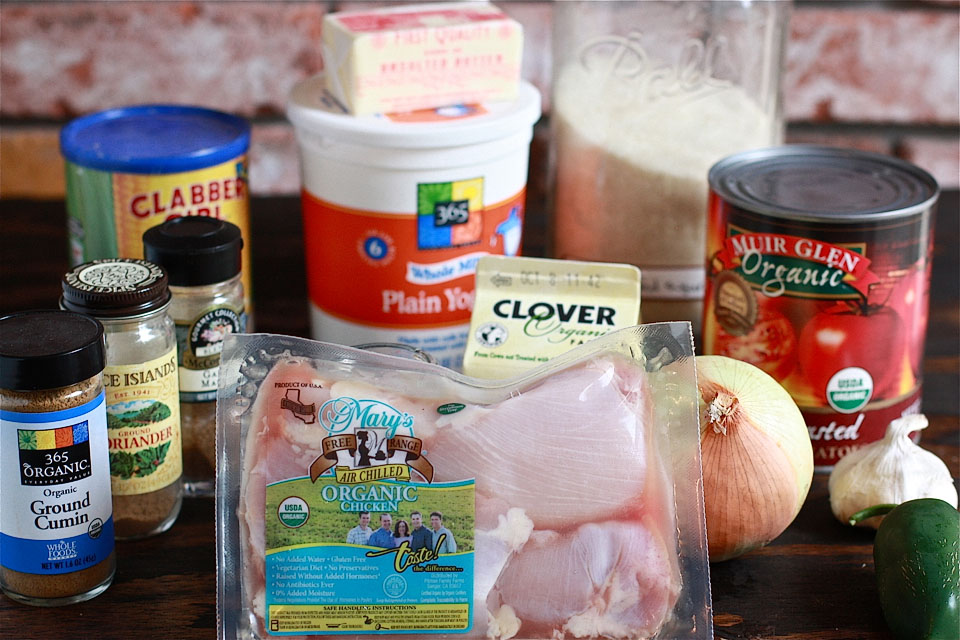
You’ll need boneless, skinless chicken thighs (use thighs for the most flavor!), butter, yogurt, garam masala, coriander, salt, cumin, garlic, a jalapeno pepper, crushed tomatoes, cream, cornstarch, onion, fresh ginger and a pinch of sugar.

Now let’s get started!


Tasty Kitchen Blog: Slow-Cooker Chicken Tikka Masala. Guest post by Jenna Weber of Eat, Live, Run; recipe submitted by TK member Rebecca of Foodie with Family.

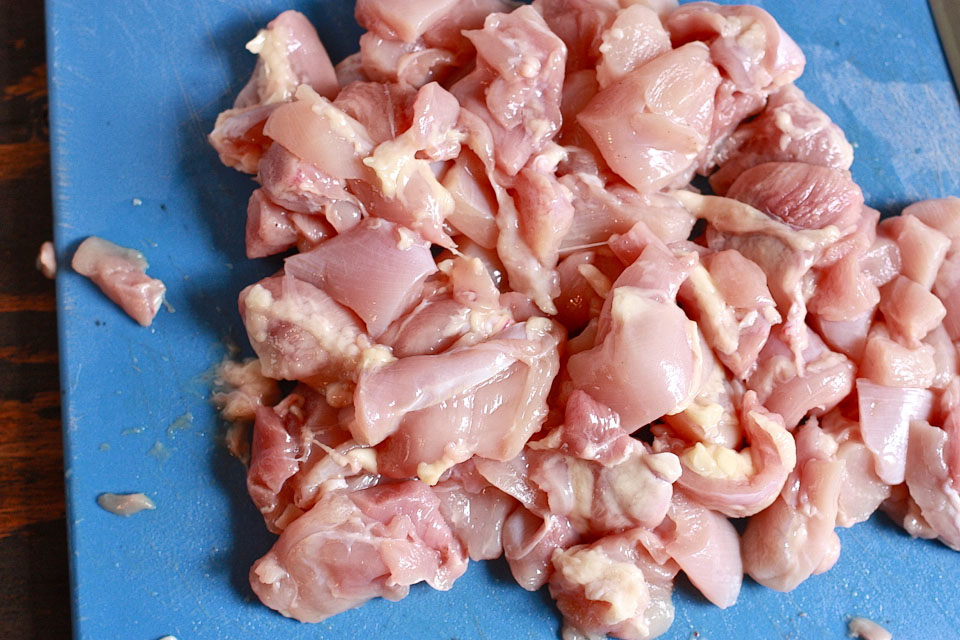
First, chop the chicken thighs into small pieces and place in a large bowl.


Tasty Kitchen Blog: Slow-Cooker Chicken Tikka Masala. Guest post by Jenna Weber of Eat, Live, Run; recipe submitted by TK member Rebecca of Foodie with Family.

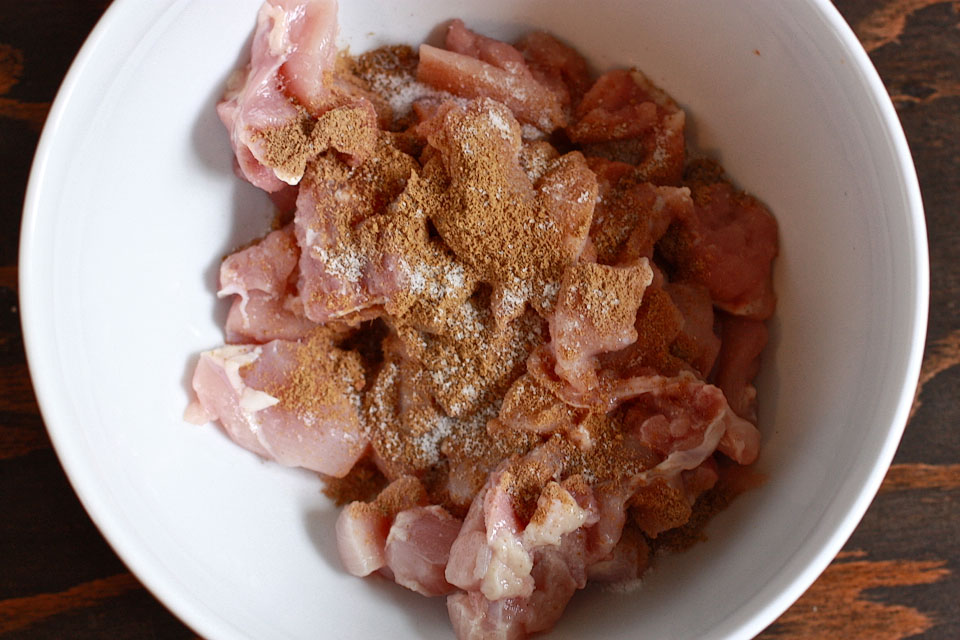
Sprinkle the chicken with coriander, salt and cumin.


Tasty Kitchen Blog: Slow-Cooker Chicken Tikka Masala. Guest post by Jenna Weber of Eat, Live, Run; recipe submitted by TK member Rebecca of Foodie with Family.

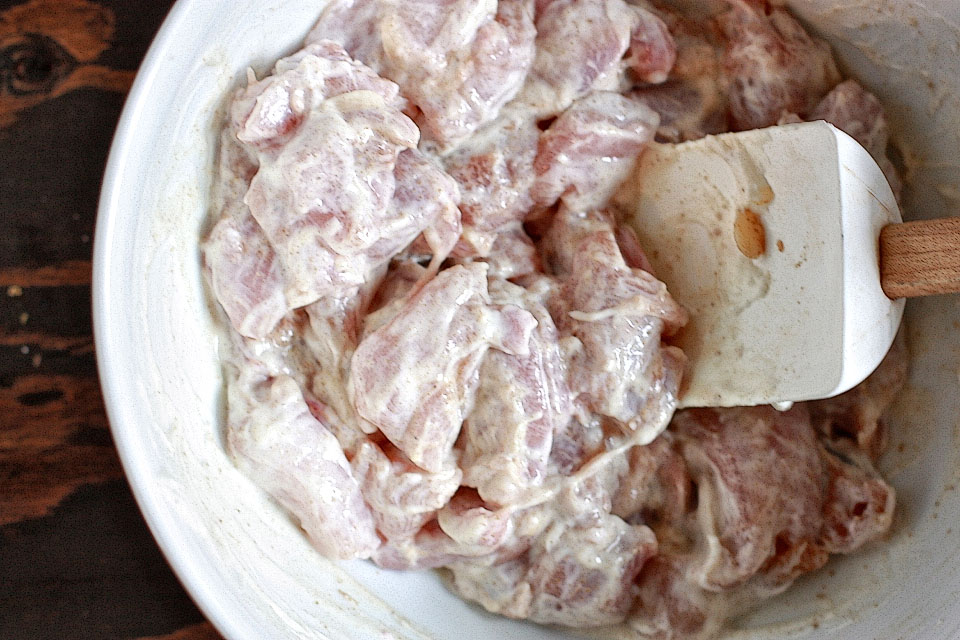
Then add the yogurt and toss everything together. Let this chicken mixture sit for ten minutes so that the yogurt can soak into the chicken a little bit.


Tasty Kitchen Blog: Slow-Cooker Chicken Tikka Masala. Guest post by Jenna Weber of Eat, Live, Run; recipe submitted by TK member Rebecca of Foodie with Family.

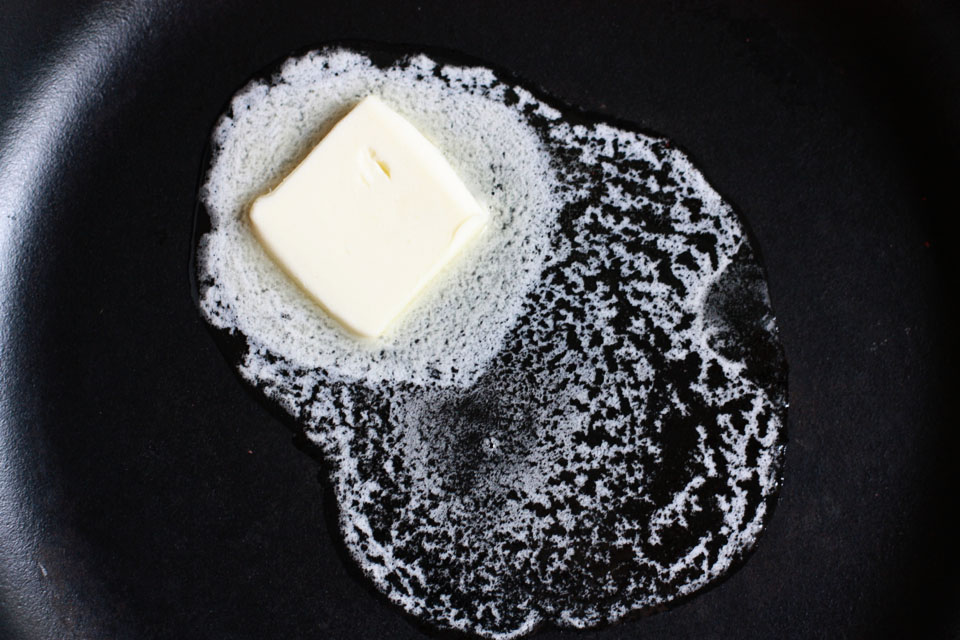
Now, throw a little butter in a skillet and raise the heat to medium high. It’s go-time!


Tasty Kitchen Blog: Slow-Cooker Chicken Tikka Masala. Guest post by Jenna Weber of Eat, Live, Run; recipe submitted by TK member Rebecca of Foodie with Family.

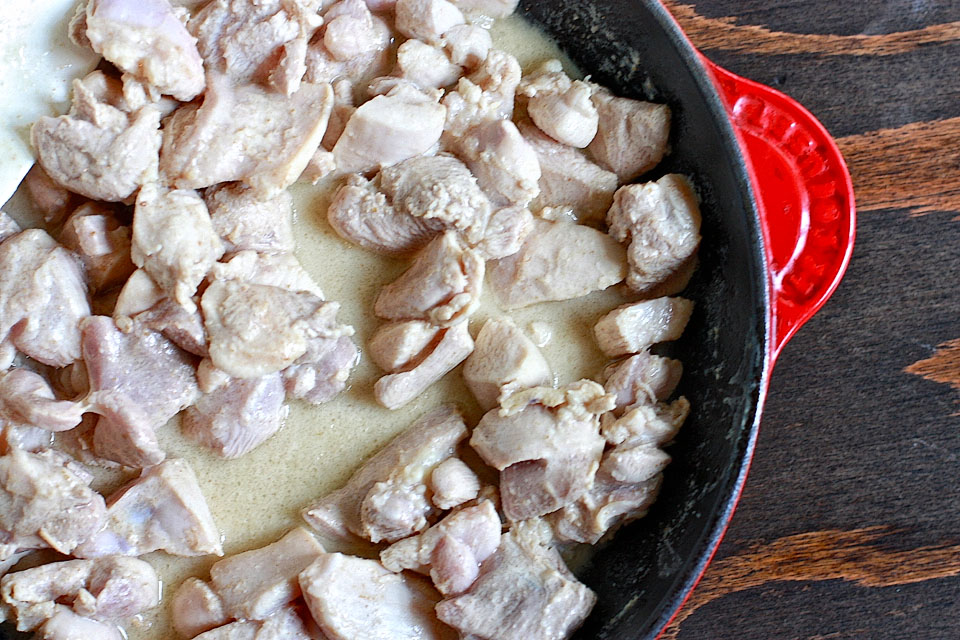
Add the chicken and cook quickly, working with half at a time as to not overcrowd the pan. Once the chicken has browned, remove and place in the slow cooker.


Tasty Kitchen Blog: Slow-Cooker Chicken Tikka Masala. Guest post by Jenna Weber of Eat, Live, Run; recipe submitted by TK member Rebecca of Foodie with Family.

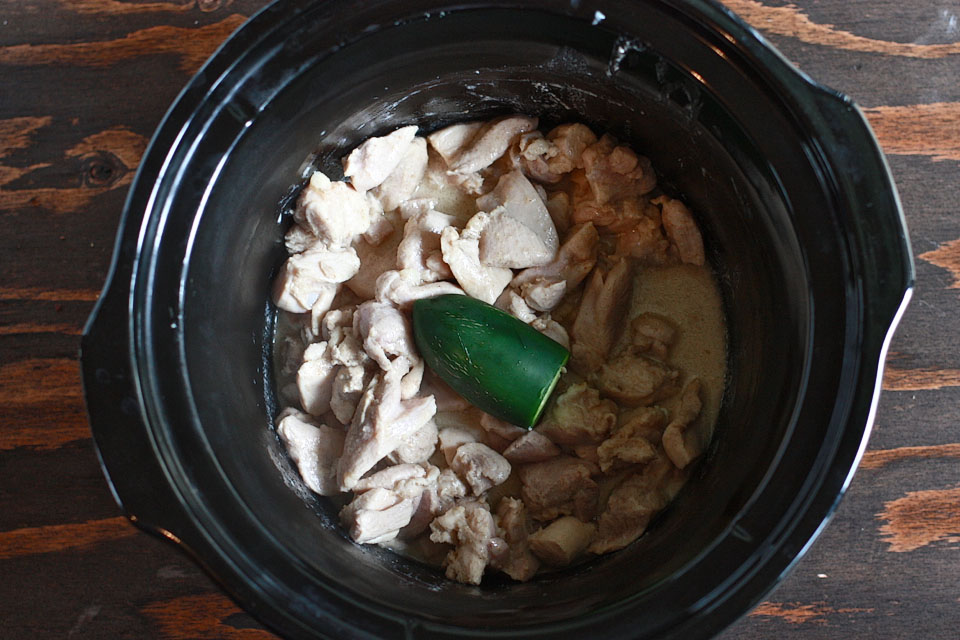
Take your jalapeno pepper and pierce it several times with a sharp knife. Place the pierced pepper on top of the chicken.


Tasty Kitchen Blog: Slow-Cooker Chicken Tikka Masala. Guest post by Jenna Weber of Eat, Live, Run; recipe submitted by TK member Rebecca of Foodie with Family.

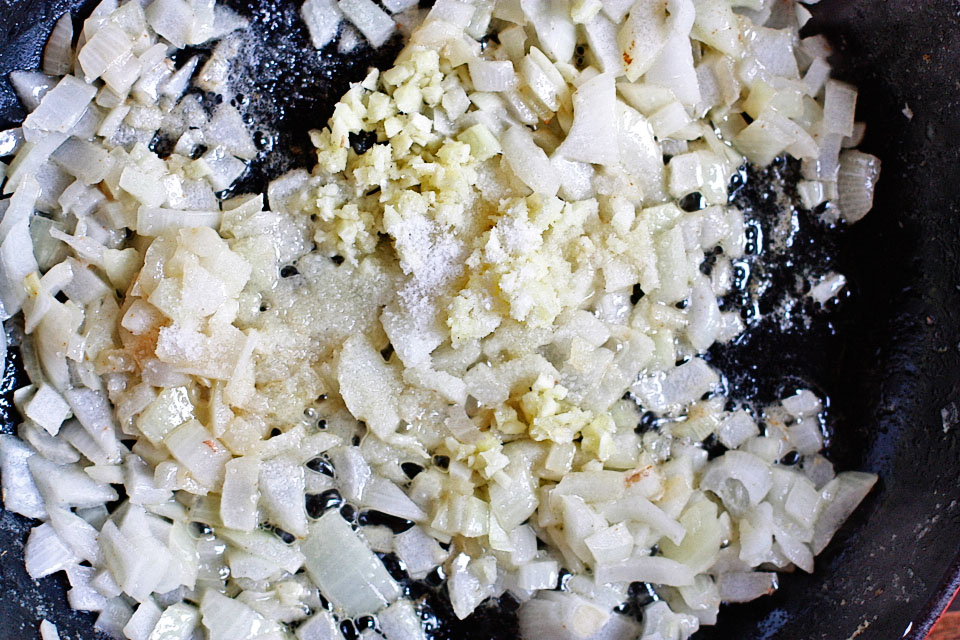
Then start making the delicious sauce! Melt a little more butter in the same skillet you were working with before and add your onion, garlic and salt.


Tasty Kitchen Blog: Slow-Cooker Chicken Tikka Masala. Guest post by Jenna Weber of Eat, Live, Run; recipe submitted by TK member Rebecca of Foodie with Family.

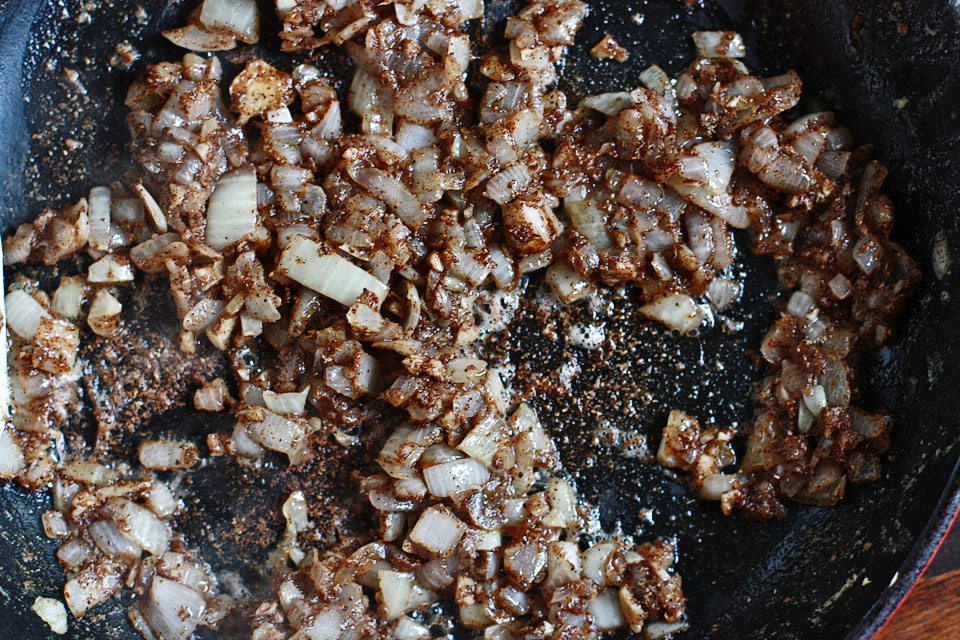
Once the onion has softened a little, add the garam masala and fresh ginger. It will smell heavenly!


Tasty Kitchen Blog: Slow-Cooker Chicken Tikka Masala. Guest post by Jenna Weber of Eat, Live, Run; recipe submitted by TK member Rebecca of Foodie with Family.

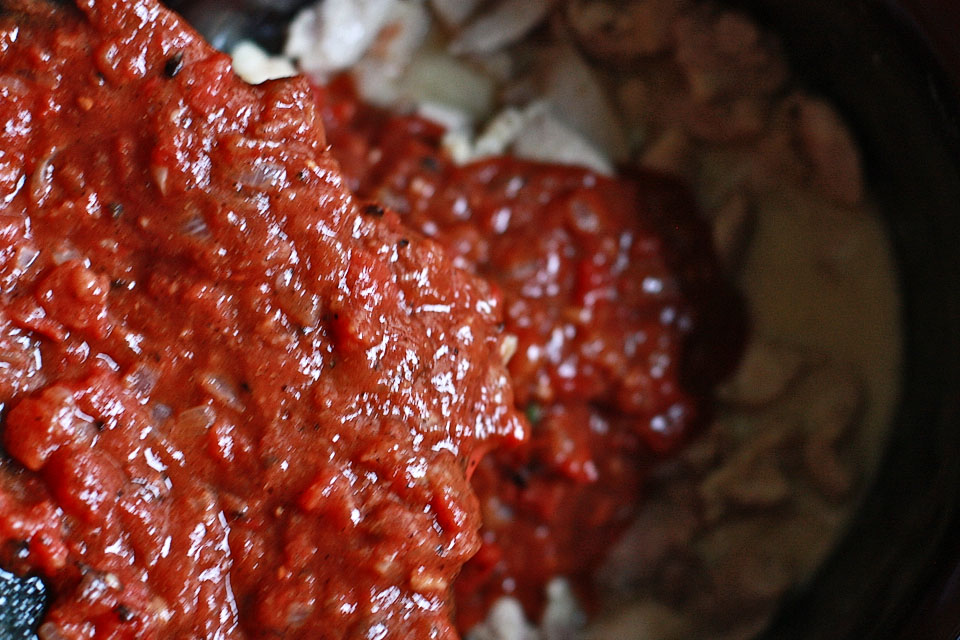
Add the crushed tomatoes to the sauce, then pour over the chicken in the slow cooker. Set heat to low and cook for five hours.


Tasty Kitchen Blog: Slow-Cooker Chicken Tikka Masala. Guest post by Jenna Weber of Eat, Live, Run; recipe submitted by TK member Rebecca of Foodie with Family.

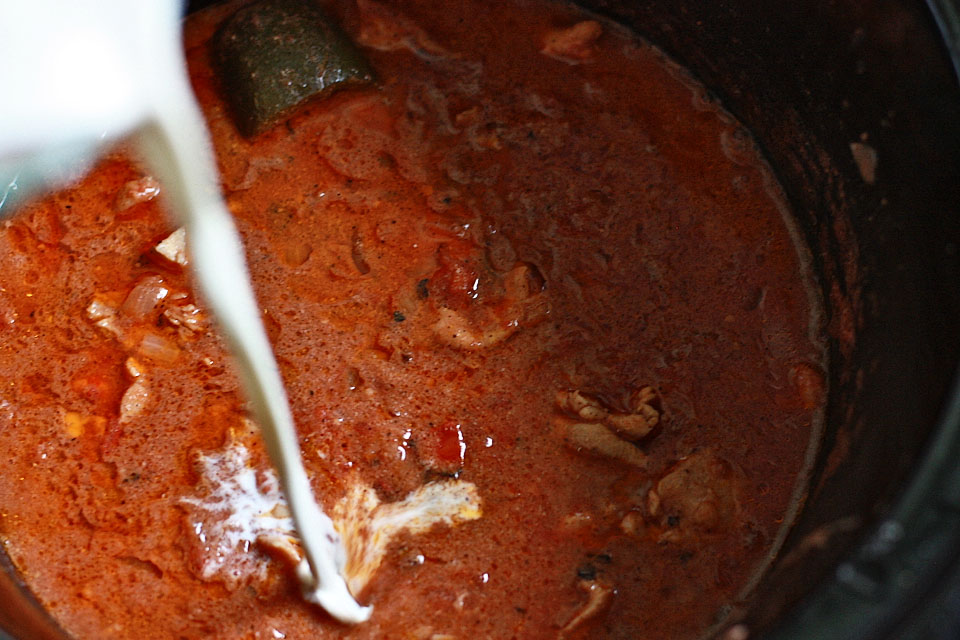
After five hours, the chicken should be fall-apart tender. Finally, whisk together the cornstarch and cream then pour into the slow cooker. Cook for ten more minutes until thick and bubbly.


Tasty Kitchen Blog: Slow-Cooker Chicken Tikka Masala. Guest post by Jenna Weber of Eat, Live, Run; recipe submitted by TK member Rebecca of Foodie with Family.

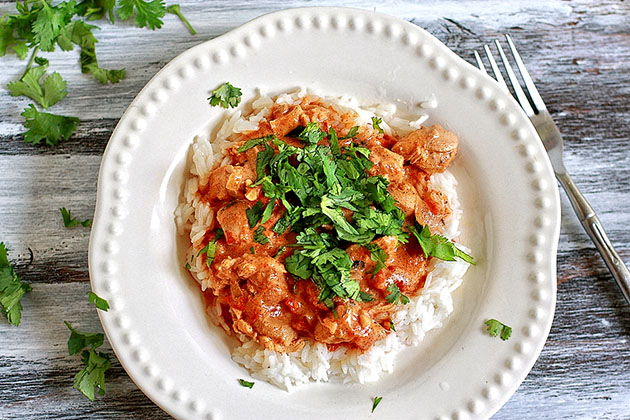
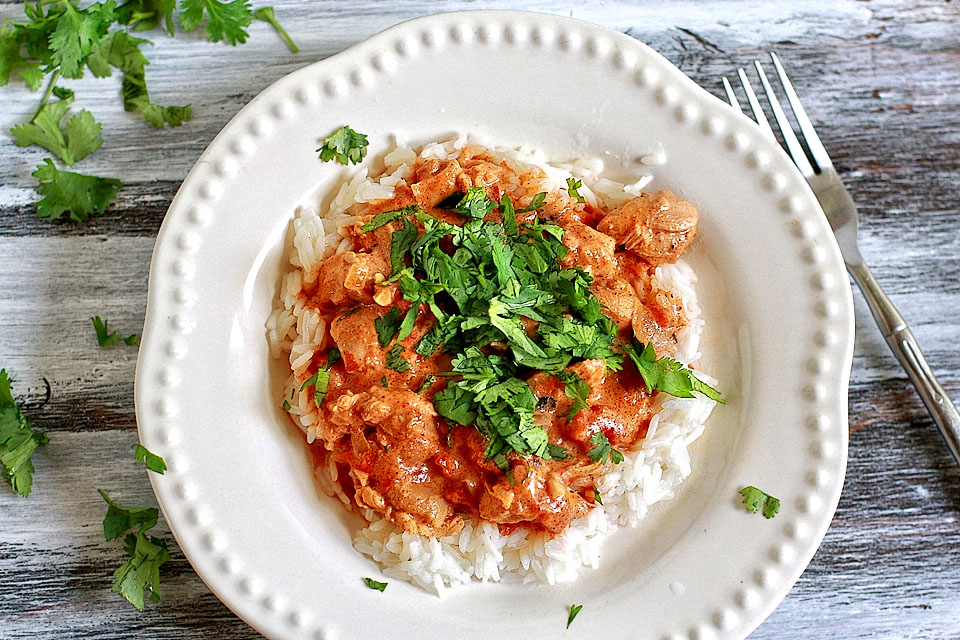
Serve tikka masala with basmati rice and cilantro and experience comfort food at its best! You’re gonna love it. A big thanks to Rebecca for supplying us with yet another wonderfully delicious recipe. Have you checked out her blog Foodie with Family yet? You should. You really should.

Get the handy dandy printable version of the recipe below!


Printable Recipe

Slow-Cooker Chicken Tikka Masala

See post on Rebecca’s site!
4.85 Mitt(s) 26 Rating(s)26 votes, average: 4.85 out of 526 votes, average: 4.85 out of 526 votes, average: 4.85 out of 526 votes, average: 4.85 out of 526 votes, average: 4.85 out of 5

Prep Time:

Cook Time:

Difficulty: Easy

Servings: 6

6
x

Print Options

Page size Letter 3x5 4x6
Text Size Small Medium Large
Content Include description
Include prep time, etc.
Show image

Description

This classic Indian dish is sure to win over even the pickiest eaters with its creamy, rich, complex comfort food bona fides. This dinner is the perfect fall or winter warm-me-up and it reheats like a dream.

Ingredients

  • FOR THE CHICKEN:
  • 9 whole Boneless, Skinless Chicken Thighs
  • 1 Tablespoon Ground Coriander
  • 1 Tablespoon Ground Cumin
  • 1 teaspoon Kosher Salt
  • 1 cup Yogurt
  • 4 Tablespoons Butter
  • 1 whole Jalapeno Pepper, Stem Removed, Pepper Pierced Several Times With A Sharp Knife
  • FOR THE SAUCE:
  • 4 Tablespoons Butter
  • 1 whole Large Onion, Peeled And Diced
  • 6 cloves Garlic, Peeled And Minced
  • 1 Tablespoon Kosher Salt
  • 3 Tablespoons Garam Masala
  • 1 piece Fresh Ginger, About 2-3 Inches, Peeled And Grated
  • 4 cups Crushed Tomatoes
  • 1 Tablespoon Raw Sugar (can Substitute White Granulated If Necessary)
  • 2 teaspoons Cornstarch Or Cleargel
  • 1-½ cup Heavy Cream
  • TO SERVE:
  • Hot Buttered Rice And Peas
  • Chopped Fresh Cilantro

Preparation Instructions

Cut the boneless, skinless chicken thighs into 1- 1 1/2 inch pieces. Sprinkle the coriander, cumin and salt over the chicken, then stir in the yogurt until all the pieces are evenly coated. Cover lightly and let sit for 10 minutes before proceeding.

Melt 1 tablespoon the butter in a large saute pan over medium heat. Raise the heat to medium high and quickly brown about 1/4 of the chicken. Transfer browned chicken to the slow cooker as it is finished, using 1 tablespoon of butter per batch, and repeat until the chicken is all in the slow-cooker. Throw the pierced jalapeno in on top of the chicken.

Prepare the sauce. Return the pan to the heat and melt the butter over medium high heat. Add the onions, garlic, and kosher salt, then stir. Cook, stirring frequently, until the onions begin to lightly brown around the edges.

Stir in the garam masala and ginger and cook until fragrant (about 1 minute) before raising the heat to high and adding the crushed tomatoes and raw sugar. Stir well, scraping the caramelized bits from the bottom of the pan, and bring to a boil. Pour over the chicken in the slow-cooker.

Cover and cook on LOW for 5 hours, or until the chicken is very tender.

Use a fork or whisk to stir the cornstarch or cleargel into the heavy cream until smooth. Pour into the slow-cooker and stir gently until the colour is even. Replace the lid and let cook for 10 minutes or until bubbly around the edges.

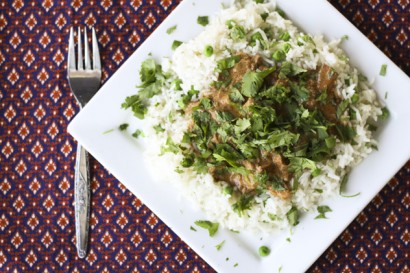
Serve over hot rice and peas, topped with a generous amount of chopped cilantro.


_______________________________________

Jenna is a food writer who has worked as a pastry chef and bread baker. Her blog Eat, Live, Run has great recipes, travel stories, and the perfect slogan: “Celebrating life, one crumb at a time.”


Profile photo of HowSweetEats

Pumpkin Coffee Cake

Posted by in Baking, Step-by-Step Recipes

Tasty Kitchen Blog Pumpkin Coffee Cake with Brown Sugar Glaze. Guest post by Jessica Merchant of How Sweet It Is, recipe submitted by TK member Heather of Heather's Dish.

 
It seems that I wait all year for pumpkin. Come May, I am already craving pumpkin cookies, pumpkin roll, and pumpkin pie, and can hardly imagine waiting another four or five months to get in on that goodness. And with the recent pumpkin shortages that have been happening around the country, I sort of bought every can at my store. Like, every single can. My downstairs pantry now has a dedicated pumpkin shelf and I couldn’t be happier. And hungrier.

I’ve had Heather’s recipe saved for Pumpkin Coffee Cake with Brown Sugar Glaze since last autumn, so you know exactly what came first on my to-make list. If I’m being honest, it’s the brown sugar glaze that sold me. I have a weird thing for brown sugar and for glazes, so I knew it would be a winner. I could practically taste it through through the screen. And it’s easy too!


Tasty Kitchen Blog Pumpkin Coffee Cake with Brown Sugar Glaze. Guest post by Jessica Merchant of How Sweet It Is, recipe submitted by TK member Heather of Heather's Dish.

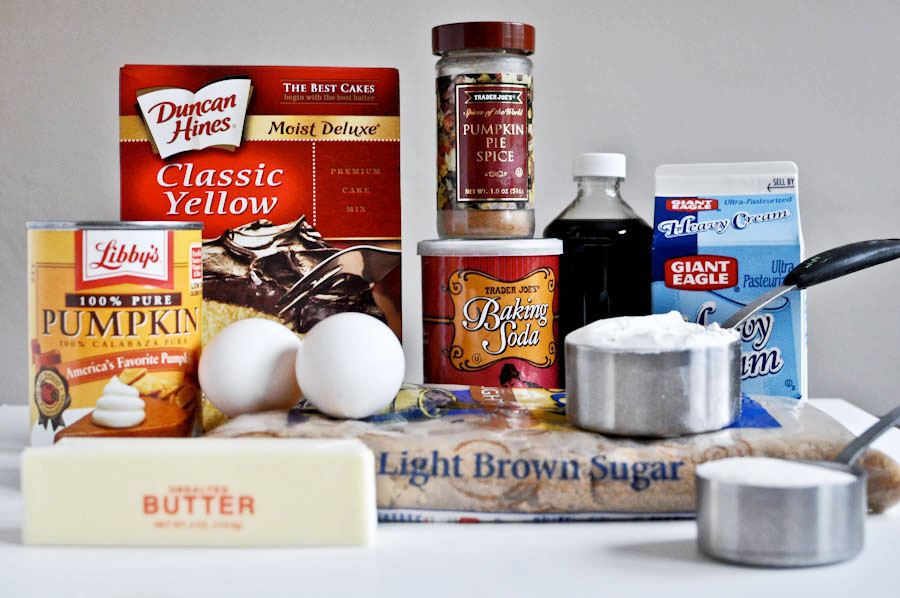
You need a can of pumpkin puree, a box of yellow cake mix, pumpkin pie spice, baking soda, vanilla extract, heavy cream, flour, granulated sugar, brown sugar, butter, eggs and water. Heather’s recipe called for walnuts, and as I much as I love them, I’m a firm believer in nutless baked goods. Feel free to add them if you wish!


Tasty Kitchen Blog Pumpkin Coffee Cake with Brown Sugar Glaze. Guest post by Jessica Merchant of How Sweet It Is, recipe submitted by TK member Heather of Heather's Dish.

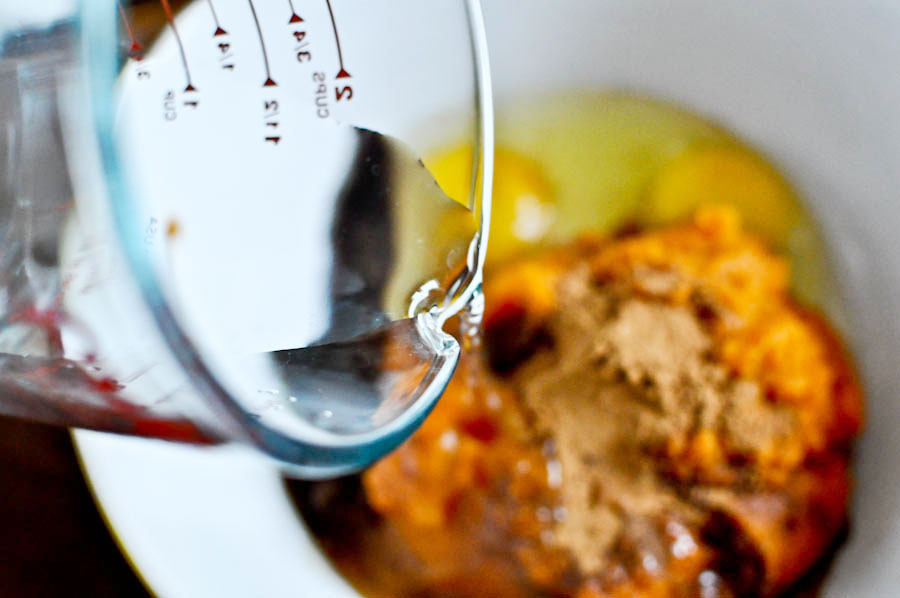
Begin by adding the pumpkin, eggs, vanilla extract, water and pumpkin pie spice together in a bowl.


Tasty Kitchen Blog Pumpkin Coffee Cake with Brown Sugar Glaze. Guest post by Jessica Merchant of How Sweet It Is, recipe submitted by TK member Heather of Heather's Dish.

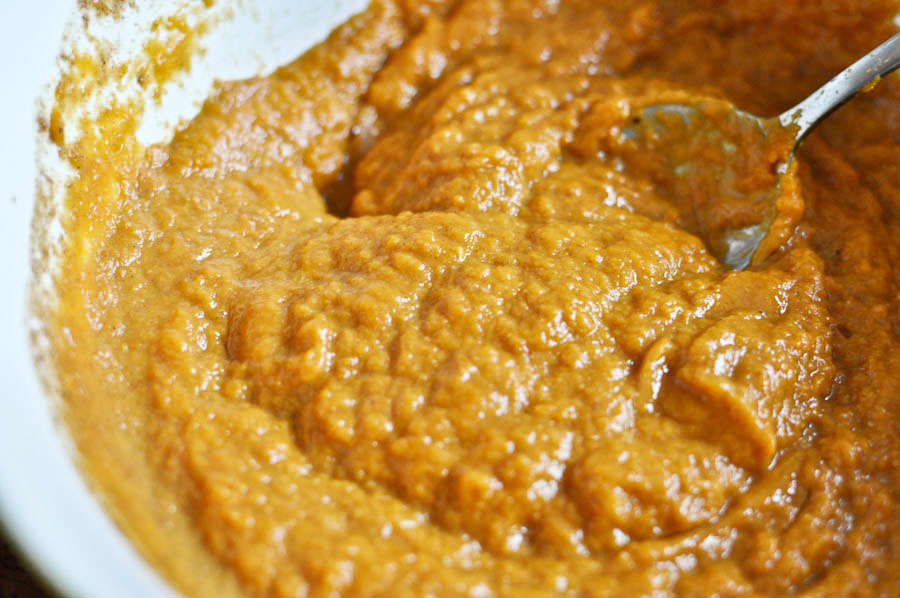
Mix it up until it looks pumpkin-y … or, you know, sort of like baby food.


Tasty Kitchen Blog Pumpkin Coffee Cake with Brown Sugar Glaze. Guest post by Jessica Merchant of How Sweet It Is, recipe submitted by TK member Heather of Heather's Dish.

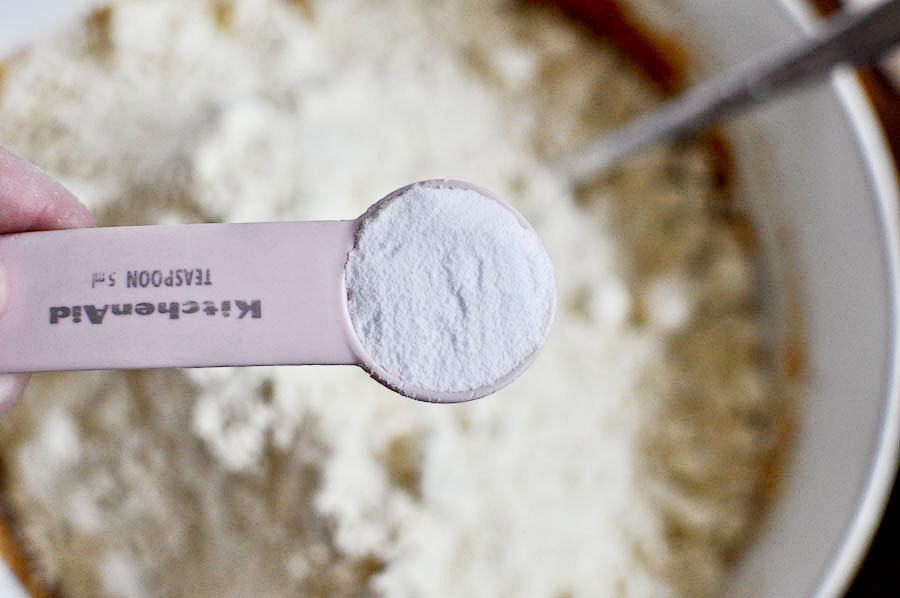
Add in the cake mix and baking soda, and mix with a spoon until combined and minimal lumps remain. It’s okay if you have a few small lumps left.


Tasty Kitchen Blog Pumpkin Coffee Cake with Brown Sugar Glaze. Guest post by Jessica Merchant of How Sweet It Is, recipe submitted by TK member Heather of Heather's Dish.

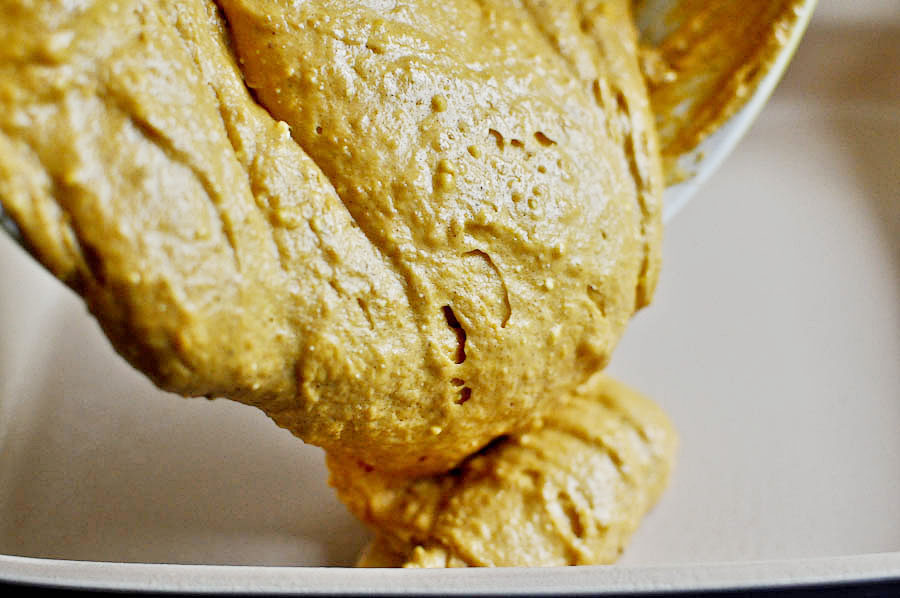
Pour batter into a 9×13 greased baking dish.


Tasty Kitchen Blog Pumpkin Coffee Cake with Brown Sugar Glaze. Guest post by Jessica Merchant of How Sweet It Is, recipe submitted by TK member Heather of Heather's Dish.

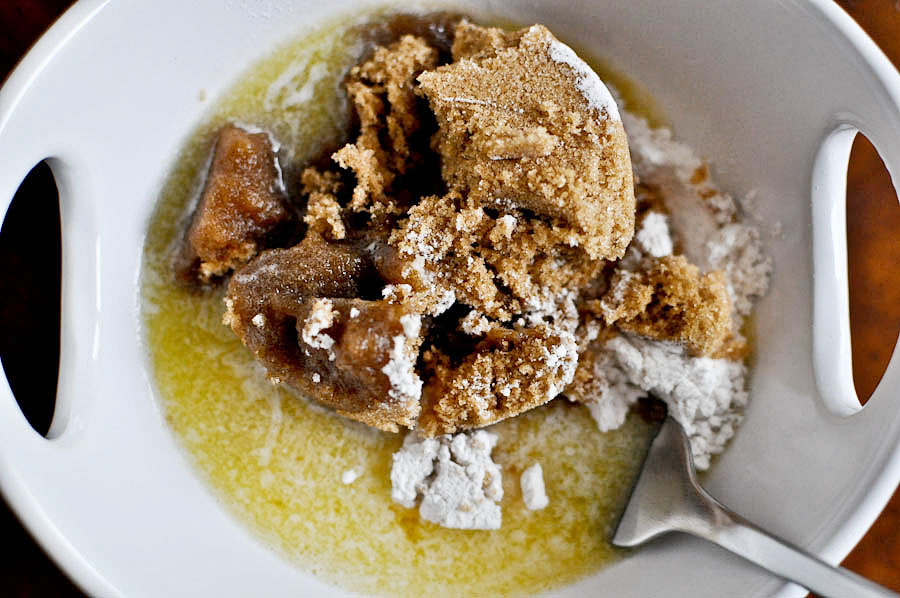
In a small bowl, mix together half of the brown sugar, flour and melted butter. If you are using walnuts, this is where they would go. Pecans would add a nice touch too.


Tasty Kitchen Blog Pumpkin Coffee Cake with Brown Sugar Glaze. Guest post by Jessica Merchant of How Sweet It Is, recipe submitted by TK member Heather of Heather's Dish.

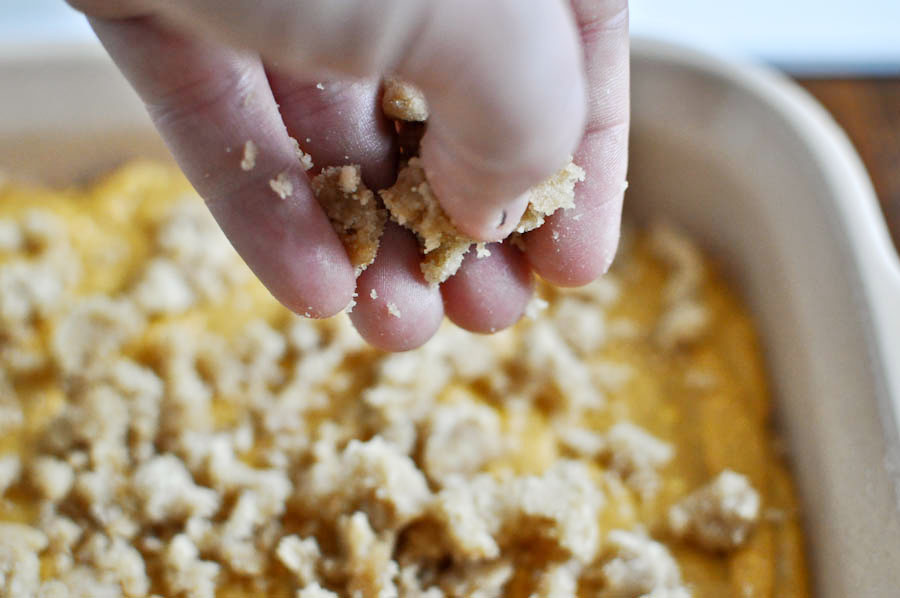
Crumble the brown sugar mixture over the pumpkin cake batter with your fingers.


Tasty Kitchen Blog Pumpkin Coffee Cake with Brown Sugar Glaze. Guest post by Jessica Merchant of How Sweet It Is, recipe submitted by TK member Heather of Heather's Dish.

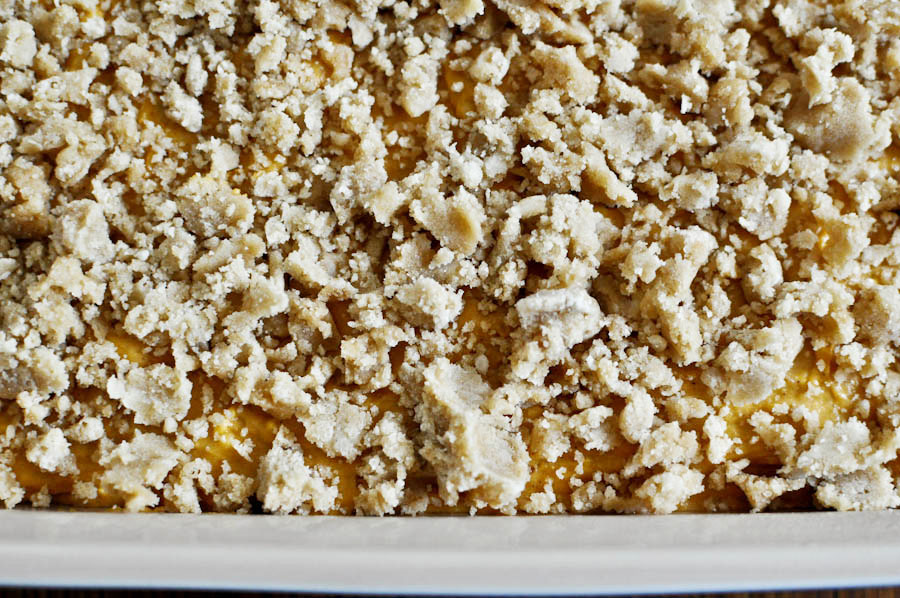
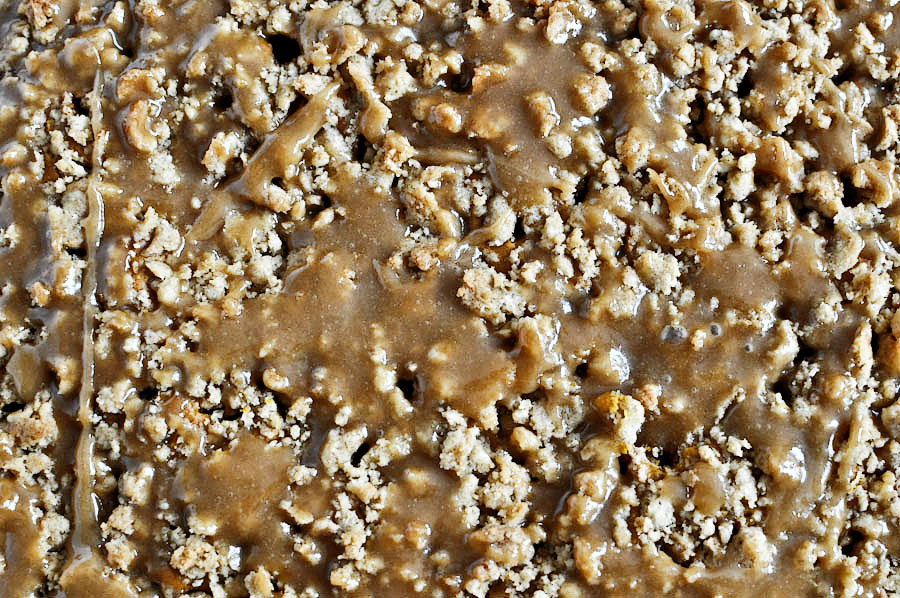
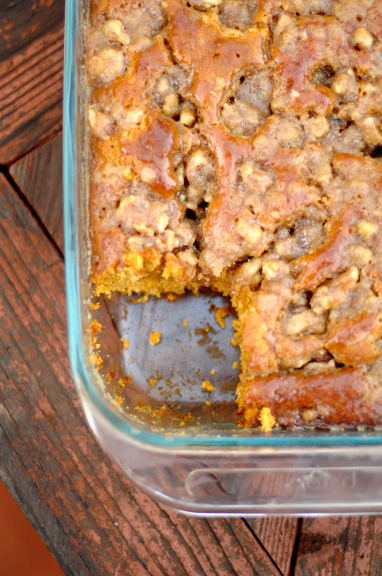
It should look like this. Absolutely devour-able.

The cake heads into a 350ºF oven and bakes for about 30 minutes, or until a toothpick inserted comes out clean.


Tasty Kitchen Blog Pumpkin Coffee Cake with Brown Sugar Glaze. Guest post by Jessica Merchant of How Sweet It Is, recipe submitted by TK member Heather of Heather's Dish.

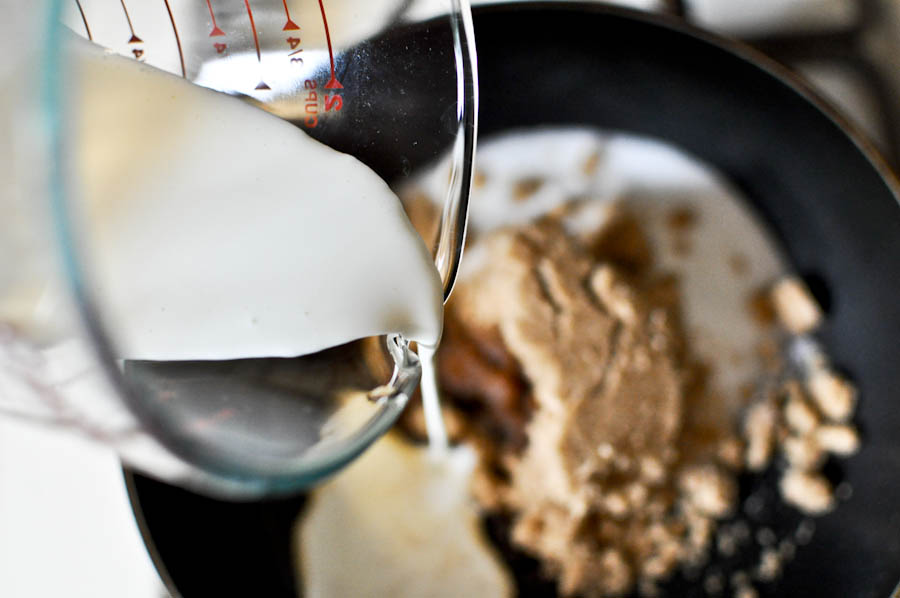
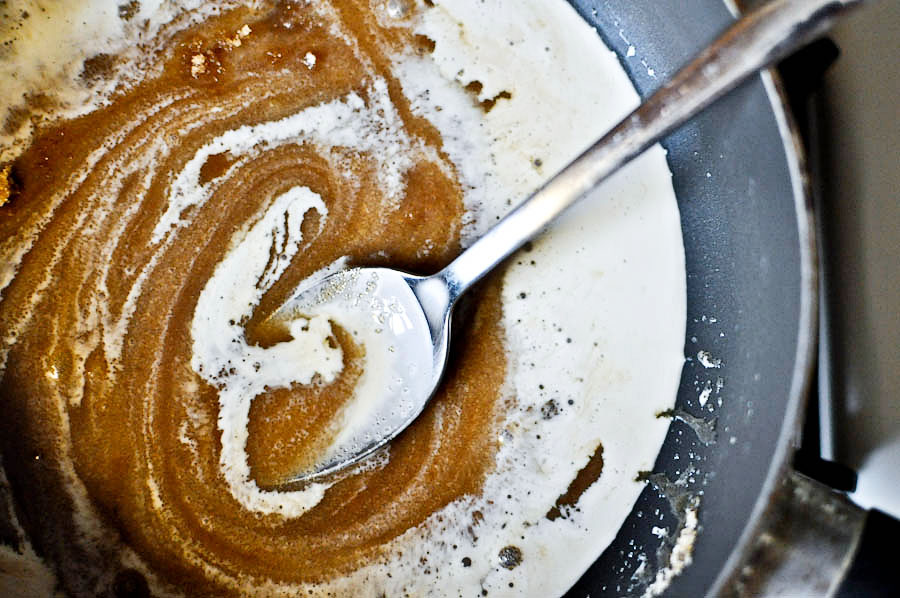
While the cake is baking, combine heavy cream, brown sugar, granulated sugar and vanilla extract in a small saucepan.


Tasty Kitchen Blog Pumpkin Coffee Cake with Brown Sugar Glaze. Guest post by Jessica Merchant of How Sweet It Is, recipe submitted by TK member Heather of Heather's Dish.

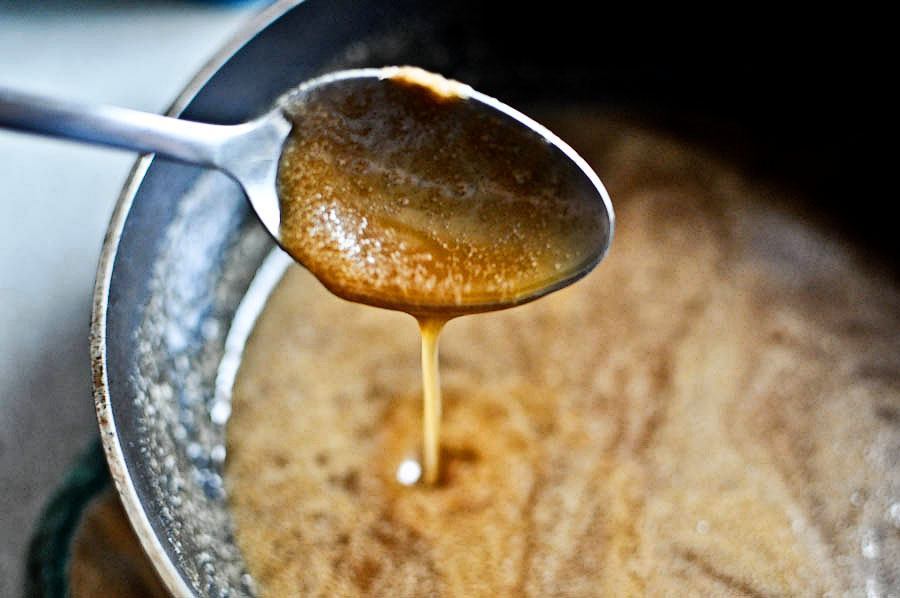
Mix to combine and bring it to a simmer, then remove from heat and continuously stir until all of the sugar has dissolved. Set it aside until ready to use.


Tasty Kitchen Blog Pumpkin Coffee Cake with Brown Sugar Glaze. Guest post by Jessica Merchant of How Sweet It Is, recipe submitted by TK member Heather of Heather's Dish.

It will become all glazy and be nearly impossible to stay away from. I wanted to pour it in a mug and drink it.


Tasty Kitchen Blog Pumpkin Coffee Cake with Brown Sugar Glaze. Guest post by Jessica Merchant of How Sweet It Is, recipe submitted by TK member Heather of Heather's Dish.

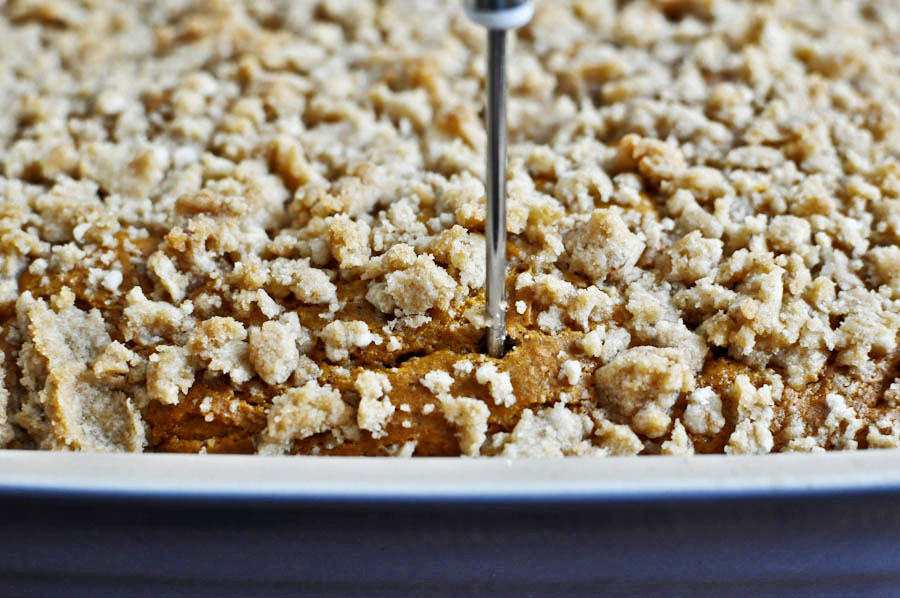
Once the cake comes out of the oven, poke holes all over the top with a toothpick. Or in my case, a fondue sticker thingy. You can also use a fork.


Tasty Kitchen Blog Pumpkin Coffee Cake with Brown Sugar Glaze. Guest post by Jessica Merchant of How Sweet It Is, recipe submitted by TK member Heather of Heather's Dish.

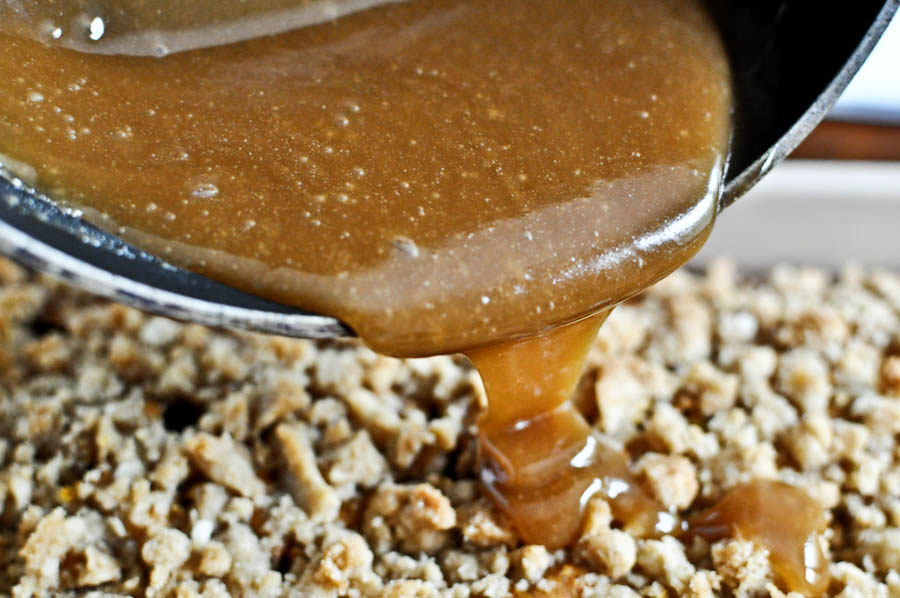
Drizzle glaze over cake evenly…


Tasty Kitchen Blog Pumpkin Coffee Cake with Brown Sugar Glaze. Guest post by Jessica Merchant of How Sweet It Is, recipe submitted by TK member Heather of Heather's Dish.

Then let cool for about 20-30 minutes, or until just slightly warm. It tastes best warm, trust me.


Tasty Kitchen Blog Pumpkin Coffee Cake with Brown Sugar Glaze. Guest post by Jessica Merchant of How Sweet It Is, recipe submitted by TK member Heather of Heather's Dish.

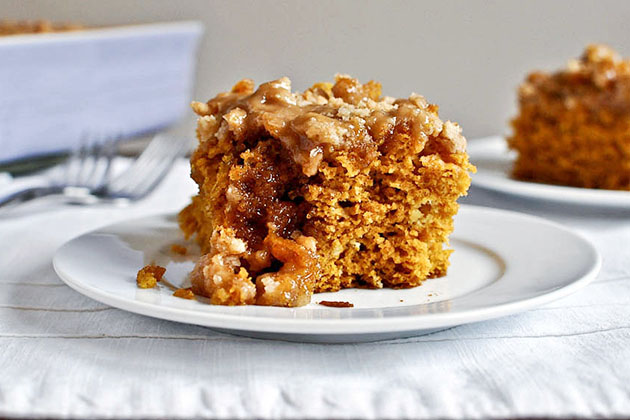
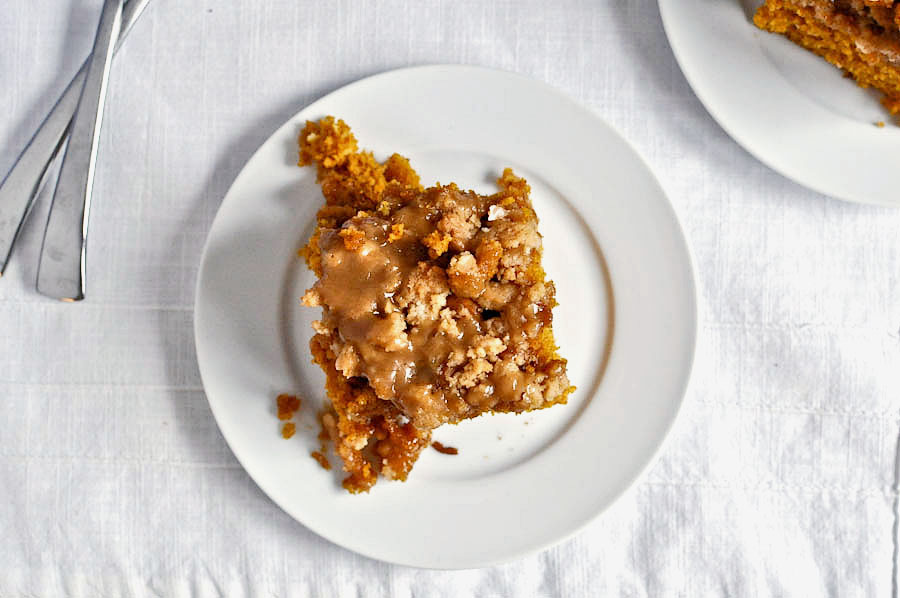
Serve yourself (and um, your guests?) a big square slice …


Tasty Kitchen Blog Pumpkin Coffee Cake with Brown Sugar Glaze. Guest post by Jessica Merchant of How Sweet It Is, recipe submitted by TK member Heather of Heather's Dish.

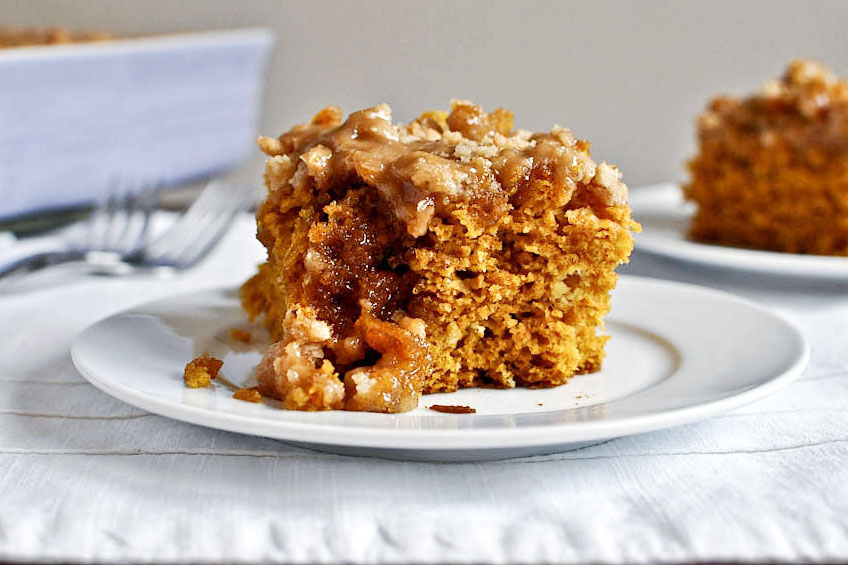
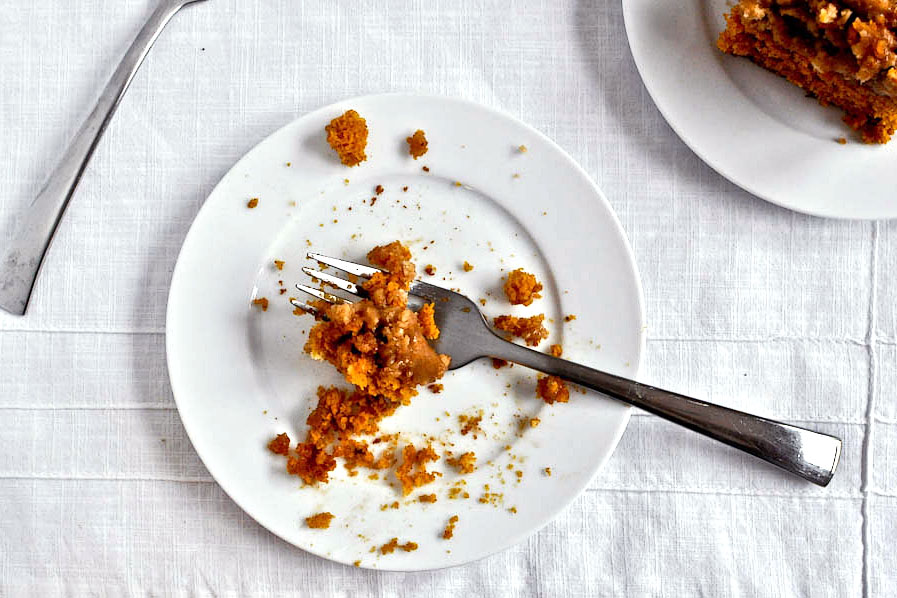
And go to town. Oh man. This cake is unreal.


Tasty Kitchen Blog Pumpkin Coffee Cake with Brown Sugar Glaze. Guest post by Jessica Merchant of How Sweet It Is, recipe submitted by TK member Heather of Heather's Dish.

You won’t believe how delicious it is, and it fits the bill for breakfast and dessert. The crunchy, gooey top is my favorite part and I can’t imagine a better treat for fall.

Thanks so much to Heather for the fabulous recipe! Be sure to check out her blog, Heather’s Dish, where she serves up delectable food with a side of humor and love.


Printable Recipe

Pumpkin Coffee Cake with Brown Sugar Glaze

See post on Heather Disarro’s site!
4.90 Mitt(s) 29 Rating(s)29 votes, average: 4.90 out of 529 votes, average: 4.90 out of 529 votes, average: 4.90 out of 529 votes, average: 4.90 out of 529 votes, average: 4.90 out of 5

Prep Time:

Cook Time:

Difficulty: Easy

Servings: 18

18
x

Print Options

Page size Letter 3x5 4x6
Text Size Small Medium Large
Content Include description
Include prep time, etc.
Show image

Description

Light and fluffy coffee cake made the decadent way with a cream-and-butter brown sugar glaze. Feel free to thank me for the sugar coma later.

Ingredients

  • ⅓ cups Water
  • 1 can Pureed Pumpkin (15 Oz)
  • 2 whole Eggs
  • 1 Tablespoon Vanilla Extract
  • 2 teaspoons Pumpkin Pie Spice
  • 1 box Yellow Cake Mix (18 Ounce Box)
  • 1 teaspoon Baking Soda
  • 1 cup Brown Sugar, Divided
  • ½ cups Flour
  • ⅓ cups Walnuts, Chopped
  • 4 Tablespoons Butter, Melted
  • ¼ cups Granulated Sugar
  • 1 teaspoon Vanilla Extract
  • ¼ cups Heavy Whipping Cream

Preparation Instructions

Preheat the oven to 350F.

In a large bowl mix together the water, pumpkin, eggs, 1 Tablespoon of vanilla, and pumpkin pie spice until well combined. Add the cake mix and baking soda and mix until just combined.

Grease a 9×13 pan with butter and pour batter into pan.

In a small bowl mix together 1/2 cup of brown sugar, 1/2 cup flour, walnuts, and melted butter. Use fingers to sprinkle over the top of the cake. Bake at 350 for 25-30 minutes, or until a toothpick inserted comes out clean.

For the glaze, combine the other 1/2 cup brown sugar, granulated sugar, 1 teaspoon vanilla, and heavy cream in a saucepan and bring to a simmer. Remove from heat and stir until all sugar is dissolved.

When cake is finished baking, poke holes in the top with a toothpick. Pour glaze over the cake, making sure to cover all surfaces. Serve cake warm or at room temperature.


_______________________________________

Jessica Merchant is a personal trainer turned food writer and blogger. Her blog, How Sweet Eats, is where she proclaims her love for all things sweet, all things bacon, and everything else in between. She works her magic in her Pittsburgh kitchen, which she shares with her husband of 2 years.


Profile photo of missamy

Pasta Carbonara with Corn and Chiles

Posted by in Step-by-Step Recipes

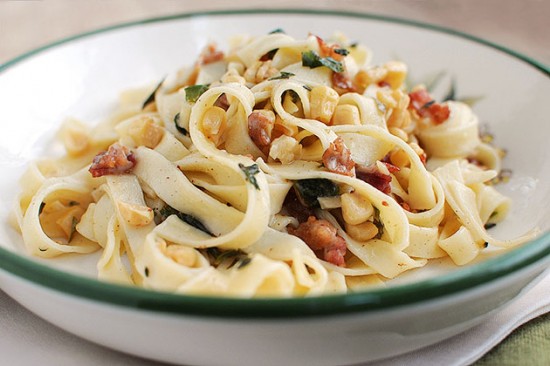
  Nothing tempts my palate more than a tasty plate of pasta, and Tasty Kitchen is chock full of fabulous pasta recipes. There’s so many to choose from. How do you ever begin to decide? Decisions, decisions … Since I still have jalapeño coming out of my ears, I decided to try a version of […]

Profile photo of Erika (TK)

Happy Canadian Thanksgiving Day!

Posted by in Holidays, The Theme Is...

  Today is not only Columbus Day here in the US, but up north, because today is the second Monday of October, it also happens to be Canadian Thanksgiving Day. So we thought we’d spent a little time giving thanks for—and to—our beloved Canadian members! Let’s start with our resident Canuck: Dara (cookincanuck), who is […]

Profile photo of whatsgabycooking

White Chocolate Pumpkin Spice Cookies

Posted by in Baking, Step-by-Step Recipes

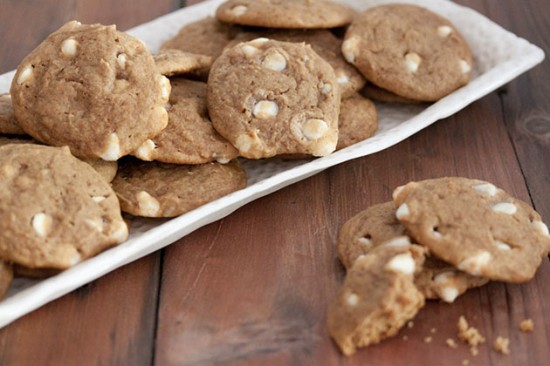
  Pumpkin Spice Cookies studded with White Chocolate Chips! I mean really, what gets better than that? Now that fall is officially here, it’s all about the baking. And baking with pumpkin and white chocolate is pretty much a dream come true. These cookies are just waiting for you to make them! They are chewy […]

Profile photo of A Cozy Kitchen

Scalloped Hasselback Potatoes

Posted by in Step-by-Step Recipes

  “Scalloped” is an attractive word, isn’t it? When I hear it I think of several things: first, there’s scallops, as in the seafood—totally delicious. Then there’s the scalloped shape that can live on the edge of a pair of shorts or on the collar of a woman’s blouse—always pretty and dainty. And of course […]