The Pioneer Woman Tasty Kitchen
Profile photo of georgiapellegrini

Wedge Salad

Posted by in Step-by-Step Recipes

Tasty Kitchen Blog: Wedge Salad. Guest post by Georgia Pellegrini, recipe submitted by TK member Lindsay of Perfecting the Pairing.

 
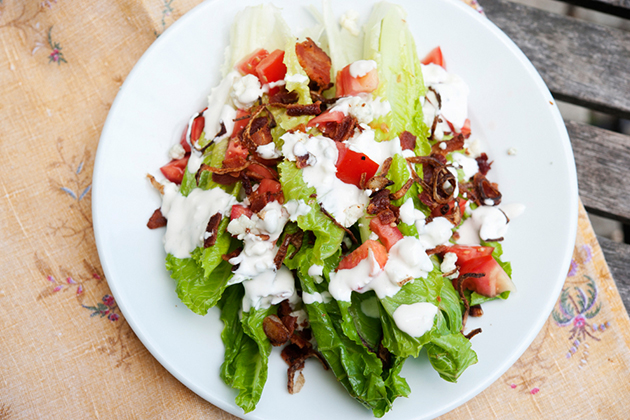
If I were to choose only one meal I could have forever it would probably be a salad with all the toppings that I want. This Wedge Salad by Tasty Kitchen member Lindsay was just that: lovely greens topped with crunchy, salty, sweet, creamy goodness.


Tasty Kitchen Blog: Wedge Salad. Guest post by Georgia Pellegrini, recipe submitted by TK member Lindsay of Perfecting the Pairing.

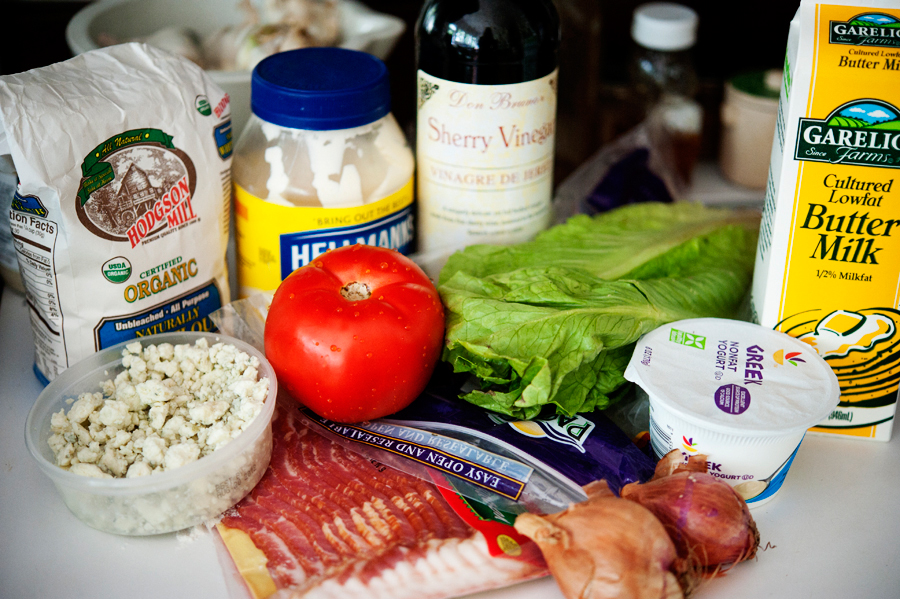
To make it you will need: blue cheese, bacon, shallots, Greek yogurt, buttermilk, iceberg lettuce (or romaine will also work nicely), red and white wine vinegar (or in my case, sherry vinegar), mayonnaise, cherry tomatoes (I used a big juicy ripe one), and flour. Also, chives would be nice for a garnish if you have them handy.



Tasty Kitchen Blog: Wedge Salad. Guest post by Georgia Pellegrini, recipe submitted by TK member Lindsay of Perfecting the Pairing.

You’ll start by rendering the bacon in a pan over medium heat, letting all of the fat bubble until the bacon becomes crisp on both sides. Then you’ll remove the bacon to a paper towel and save the fat in the pan.


Tasty Kitchen Blog: Wedge Salad. Guest post by Georgia Pellegrini, recipe submitted by TK member Lindsay of Perfecting the Pairing.

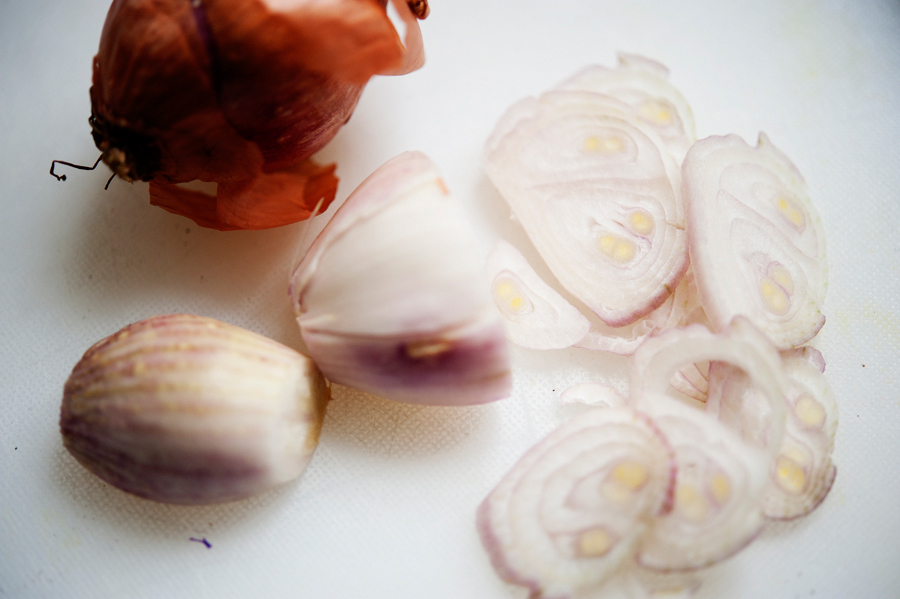
Next thinly slice your shallots and separate the rings.


Tasty Kitchen Blog: Wedge Salad. Guest post by Georgia Pellegrini, recipe submitted by TK member Lindsay of Perfecting the Pairing.

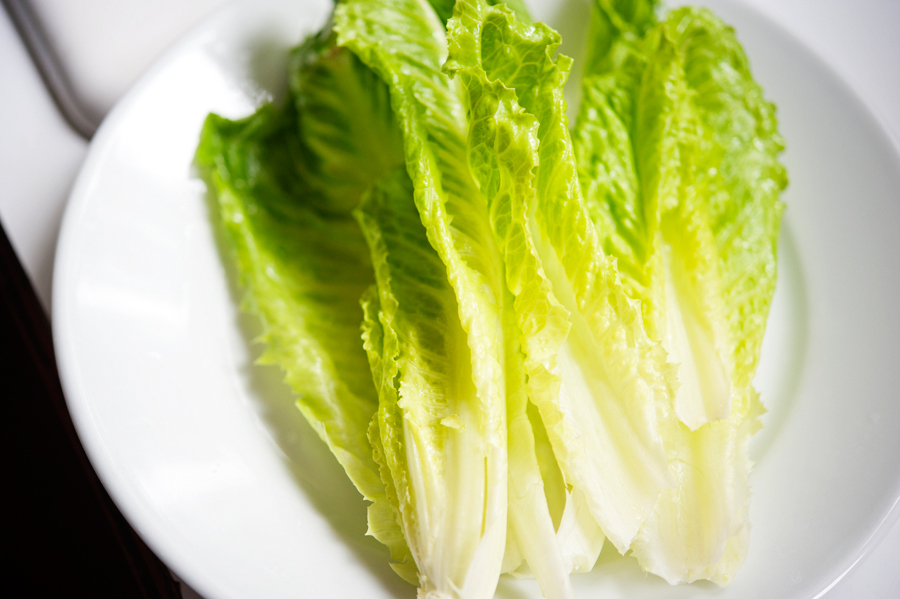
Give your lettuce a rinse and pat it dry. Lindsay used a nice wedge of iceberg, but since I happen to love romaine, I just took off the inner leaves and layered them on top of each other. It had a nice crispness the way iceberg would. Go wild with your lettuce I say!


Tasty Kitchen Blog: Wedge Salad. Guest post by Georgia Pellegrini, recipe submitted by TK member Lindsay of Perfecting the Pairing.

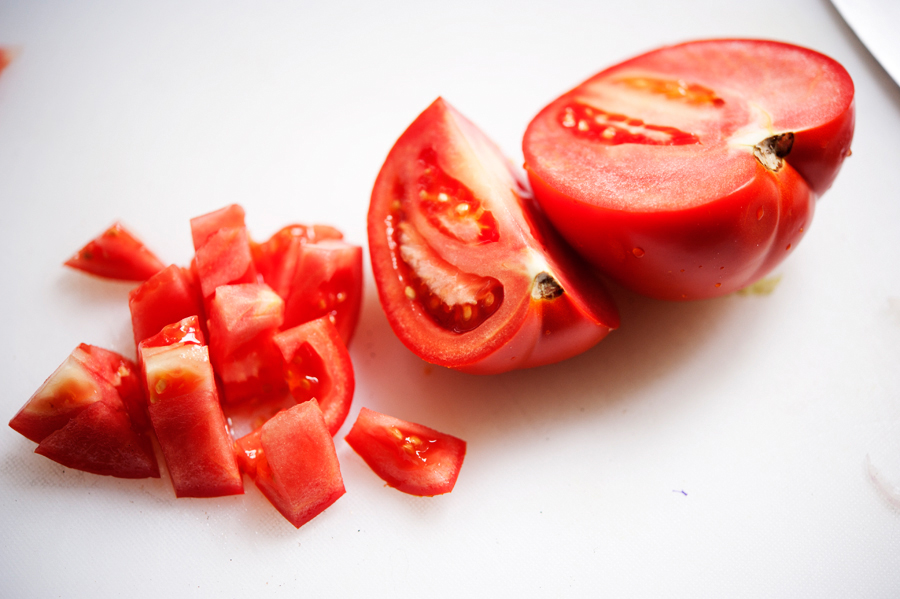
Dice your tomato. A medley of grape or cherry tomatoes would be nice here, simply cut in half. Or if you have a big tomato, give it a nice bite-sized dice.


Tasty Kitchen Blog: Wedge Salad. Guest post by Georgia Pellegrini, recipe submitted by TK member Lindsay of Perfecting the Pairing.

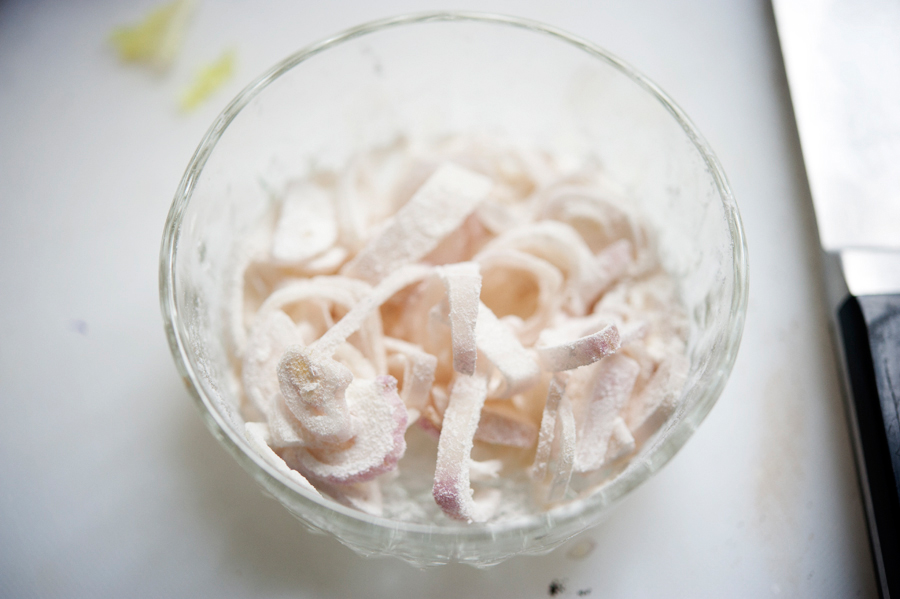
Toss your shallot rings into a bit of flour.


Tasty Kitchen Blog: Wedge Salad. Guest post by Georgia Pellegrini, recipe submitted by TK member Lindsay of Perfecting the Pairing.

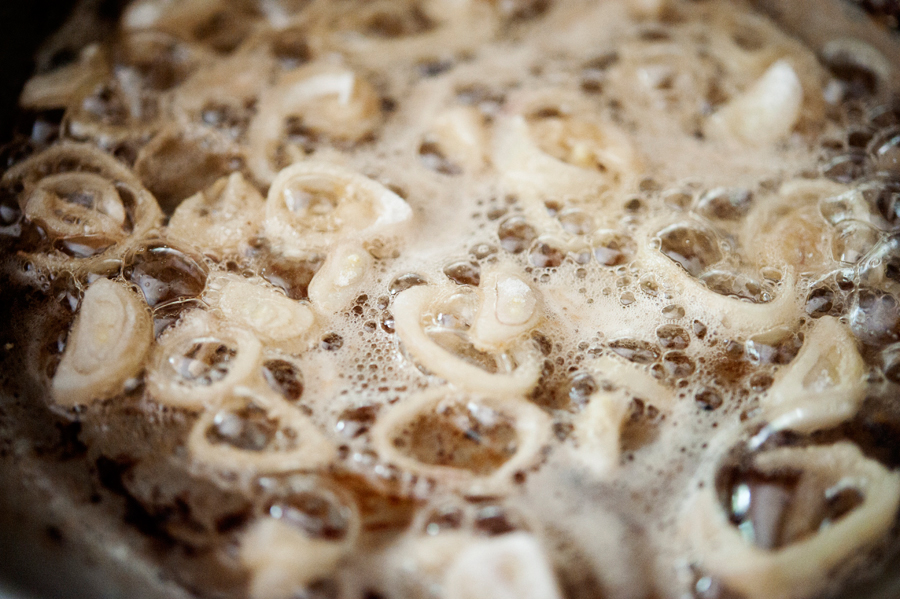
Get your bacon fat hot again and drop in the shallots to let them fry.


Tasty Kitchen Blog: Wedge Salad. Guest post by Georgia Pellegrini, recipe submitted by TK member Lindsay of Perfecting the Pairing.

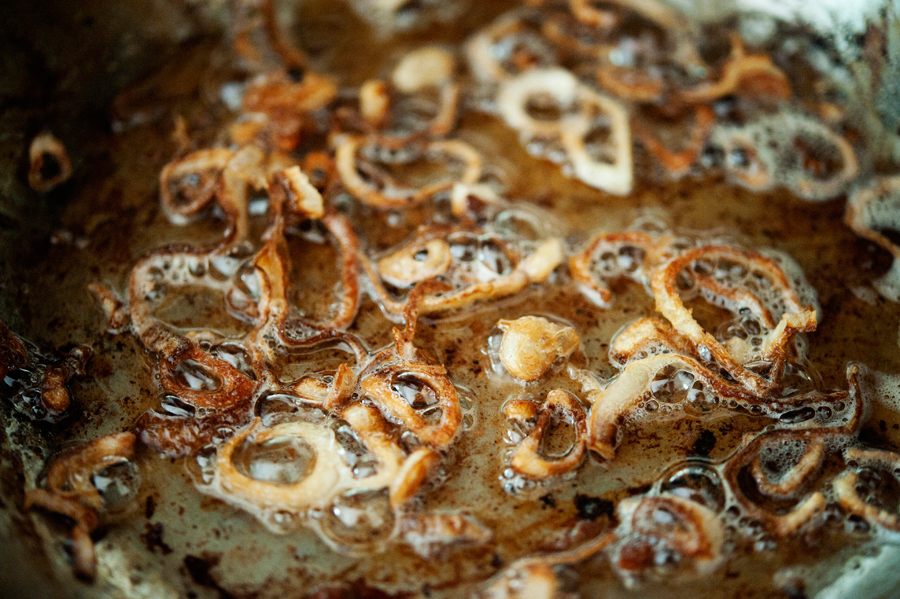
Keep turning them so they cook evenly and are nice and brown.
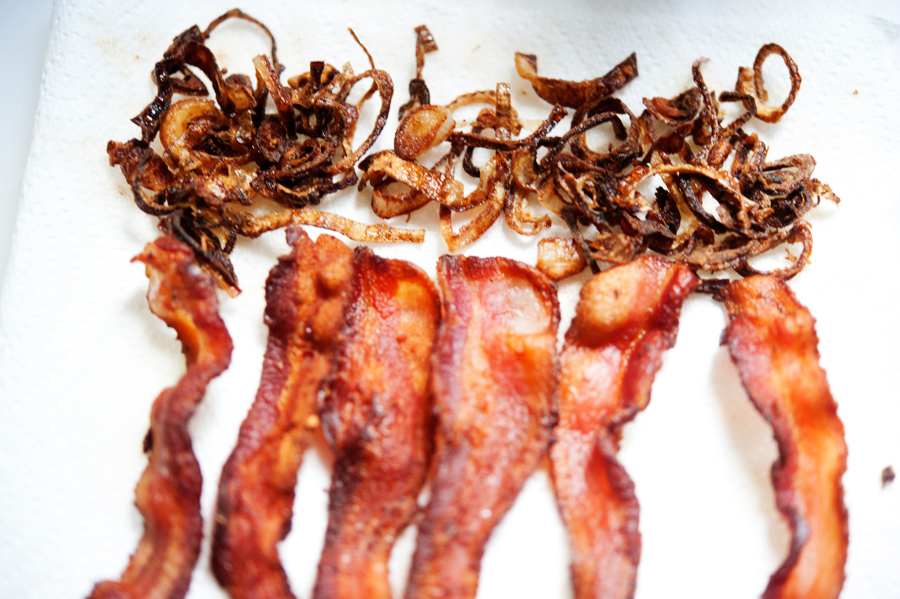


Tasty Kitchen Blog: Wedge Salad. Guest post by Georgia Pellegrini, recipe submitted by TK member Lindsay of Perfecting the Pairing.

Add them to the paper towel with the bacon and as they cool, they will crisp up more.
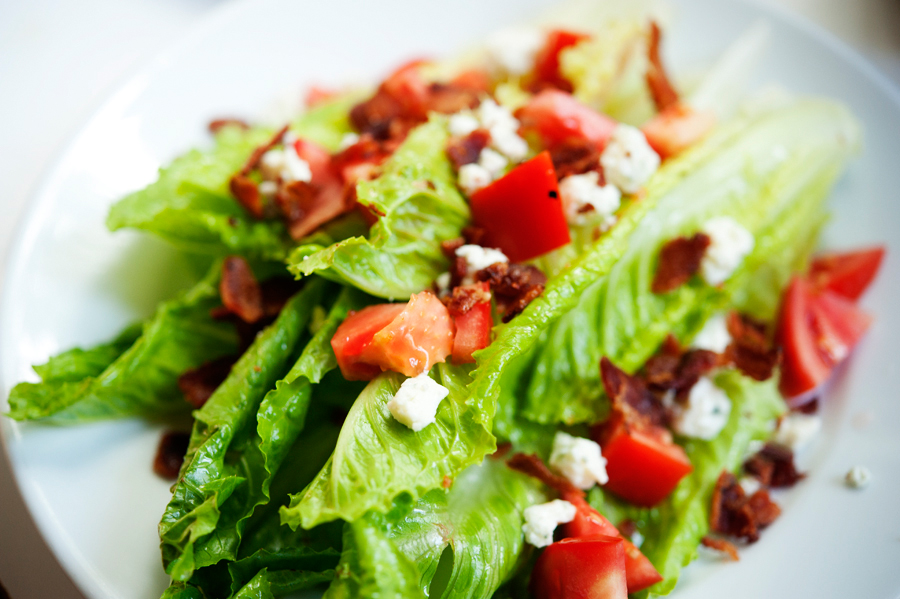


Tasty Kitchen Blog: Wedge Salad. Guest post by Georgia Pellegrini, recipe submitted by TK member Lindsay of Perfecting the Pairing.

Start dressing the salad! Add the tomatoes, blue cheese, and crumble the bacon in your hands and sprinkle it over the lettuce.
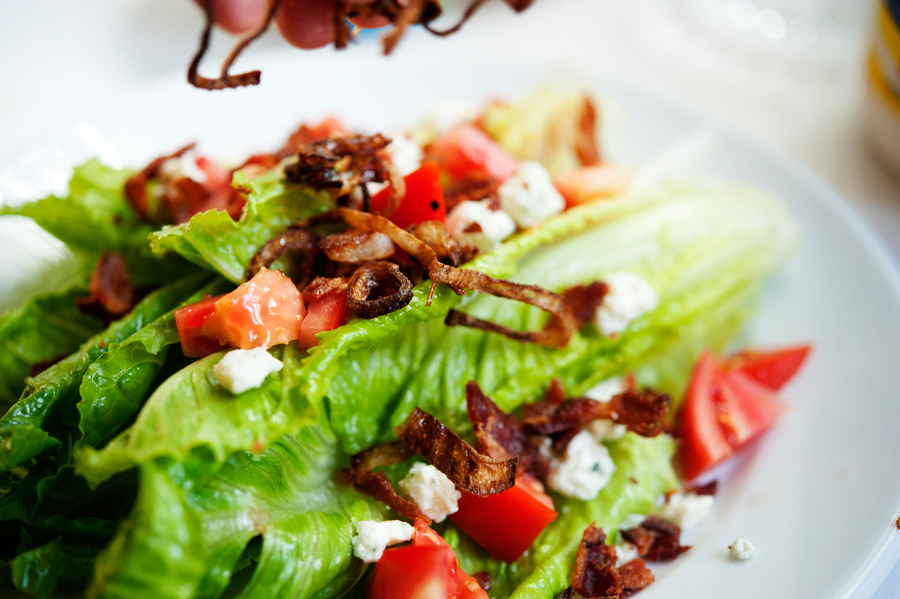


Tasty Kitchen Blog: Wedge Salad. Guest post by Georgia Pellegrini, recipe submitted by TK member Lindsay of Perfecting the Pairing.

Then add your crispy shallots all over.
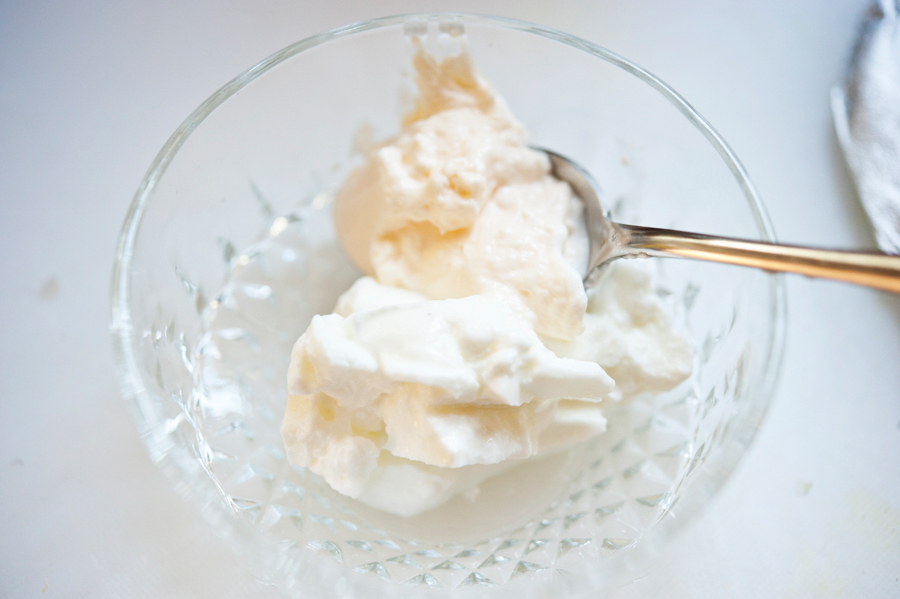


Tasty Kitchen Blog: Wedge Salad. Guest post by Georgia Pellegrini, recipe submitted by TK member Lindsay of Perfecting the Pairing.

Next you’ll make your dressing, which is a lovely dressing to have on hand should you decide to make a larger batch in advance. Start by combining mayonnaise and Greek yogurt.


Tasty Kitchen Blog: Wedge Salad. Guest post by Georgia Pellegrini, recipe submitted by TK member Lindsay of Perfecting the Pairing.

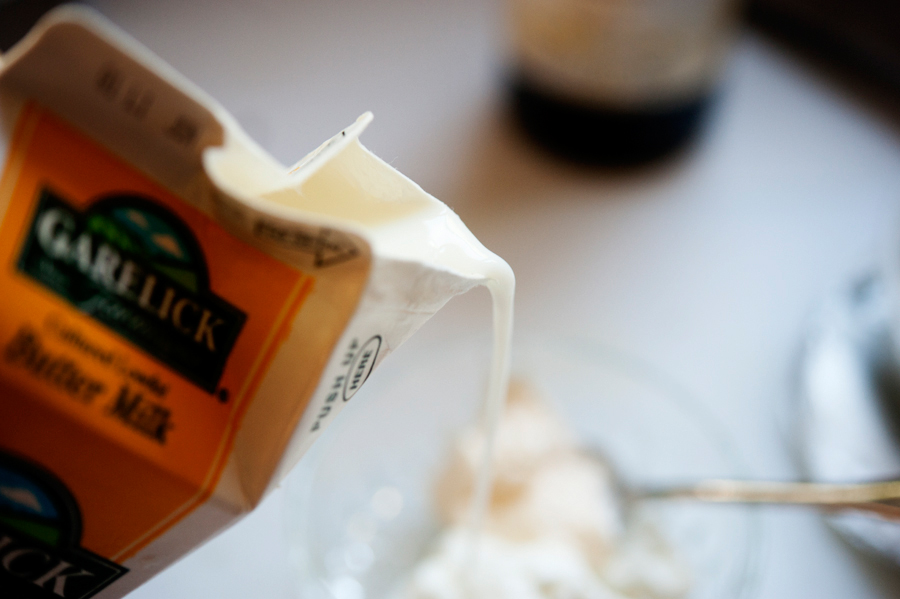
Then a bit of buttermilk.


Tasty Kitchen Blog: Wedge Salad. Guest post by Georgia Pellegrini, recipe submitted by TK member Lindsay of Perfecting the Pairing.

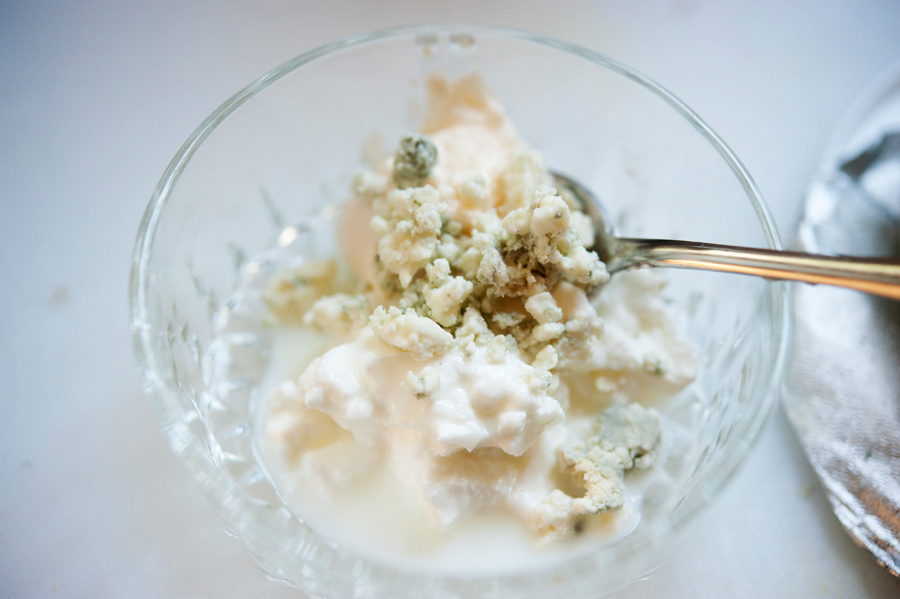
Then a sprinkle of blue cheese.


Tasty Kitchen Blog: Wedge Salad. Guest post by Georgia Pellegrini, recipe submitted by TK member Lindsay of Perfecting the Pairing.

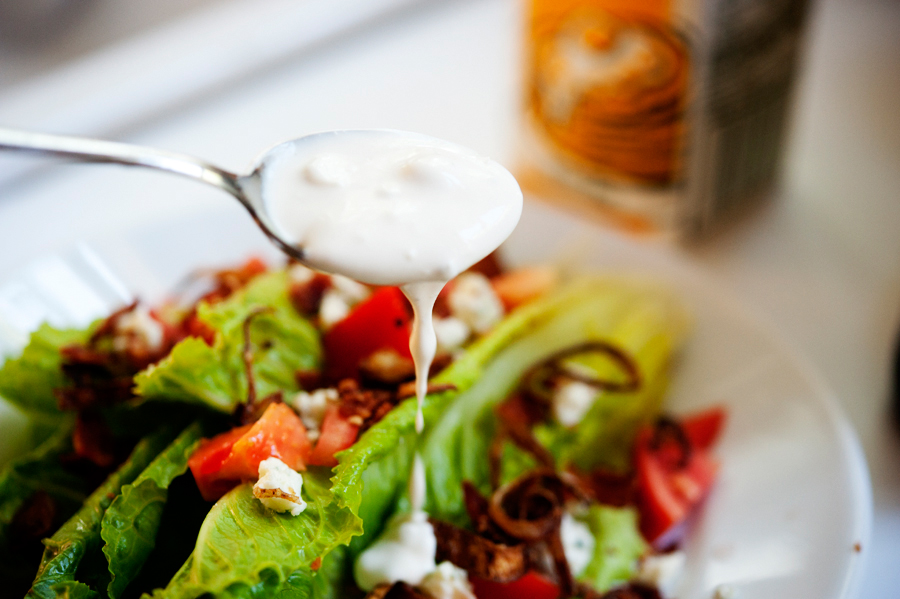
Then your vinegar. Lindsay used red and white wine vinegar but I happen to love this sherry vinegar I had on hand so I threw in a dash of that. Lindsay also added a bit of sugar, which you could do as well if it suits your taste buds. You can play here.


Tasty Kitchen Blog: Wedge Salad. Guest post by Georgia Pellegrini, recipe submitted by TK member Lindsay of Perfecting the Pairing.

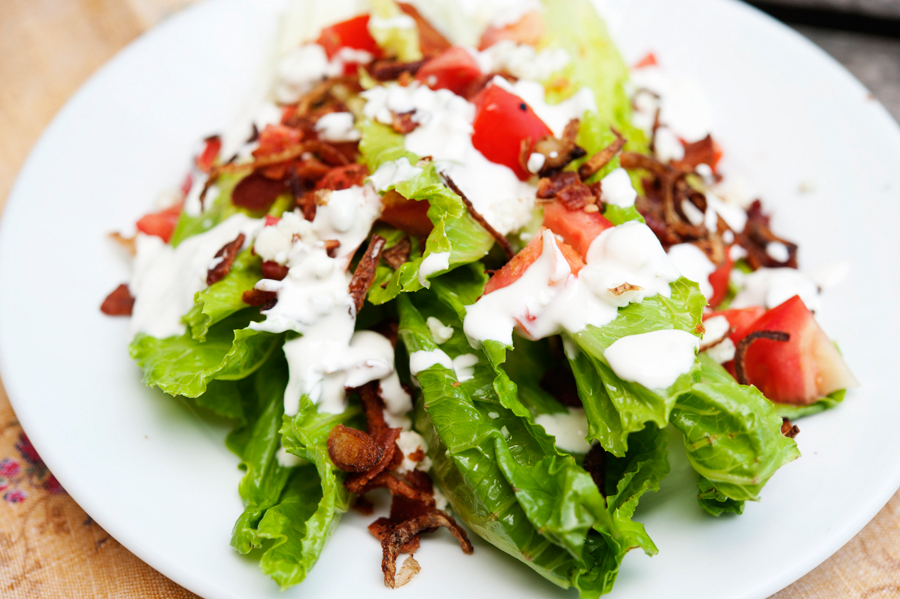
Mix it all up with a spoon and drizzle it onto your salad.


Tasty Kitchen Blog: Wedge Salad. Guest post by Georgia Pellegrini, recipe submitted by TK member Lindsay of Perfecting the Pairing.

It is creamy and delicious and crunchy and otherworldly.


Tasty Kitchen Blog: Wedge Salad. Guest post by Georgia Pellegrini, recipe submitted by TK member Lindsay of Perfecting the Pairing.

It’s a perfect meal when you’re dining solo on a summer afternoon. Or any day of the week or time of the year. I would eat this all the time.

Thanks so much to Lindsay for sharing this with us! Check out her website Perfecting the Pairing for other tasty treats.


Printable Recipe
Wedge Salad

See post on Lindsay’s site!
5.00 Mitt(s) 1 Rating(s)1 vote, average: 5.00 out of 51 vote, average: 5.00 out of 51 vote, average: 5.00 out of 51 vote, average: 5.00 out of 51 vote, average: 5.00 out of 5

Prep Time:

Cook Time:

Difficulty: Easy

Servings: 6

6
x

Print Options

Page size Letter 3x5 4x6
Text Size Small Medium Large
Content Include description
Include prep time, etc.
Show image

Description

The retro wedge salad is upgraded with a homemade blue cheese dressing and crispy shallots.

Ingredients

  • FOR THE SALAD:
  • 6 strips Bacon
  • Oil, For Frying
  • 8 whole Shallots, Sliced Into Rings
  • ¼ cups Flour
  • Salt To Taste
  • 1 head Iceberg Lettuce, Cut Into Wedges
  • 1 pint Grape Tomatoes, Halved
  • FOR THE DRESSING:
  • 2 ounces, weight High Quality Blue Cheese, Crumbled
  • ¼ cups Plain Greek Yogurt (light Or Fat Free Is Fine)
  • ¼ cups Plus 2 Tablespoons Of Low Fat Buttermilk
  • ¼ cups Mayonnaise
  • 1 teaspoon White Wine Vinegar
  • ½ teaspoons Red Wine Vinegar
  • ½ teaspoons Sugar
  • ¼ teaspoons Salt
  • Pepper To Taste
  • 1 Tablespoon Minced Chives

Preparation Instructions

Fry bacon in a skillet over medium heat until crispy. Drain bacon on paper towels. When cool enough to handle, crumble it and set aside.

Add 1 inch of oil to a pan, heat over high heat. Toss the shallot rings with flour until coated. Once the oil is hot, add one shallot to test the temperature, it should start bubbling immediately. If the oil is hot, add the remaining shallots and fry until golden. Remove from the oil with a slotted spoon and transfer to a plate lined with paper towels. Season generously with salt while still warm.

For the dressing, in a small bowl, add the blue cheese, yogurt, buttermilk, mayonnaise and vinegars. Mix until combined. Stir in the sugar, salt, pepper and chives. You can also use store-bought dressing if time is short.

To serve, place a wedge of lettuce on the plate, top with tomatoes, crumbled bacon, blue cheese dressing and crispy shallots.


_______________________________________

There’s so much to say about Georgia, we don’t know where to start. Leaving Wall Street for the French Culinary Institute, followed by a stint at the Gramercy Tavern and La Chassagnette in France, her passion for food and food traditions are evident and inspiring. Visit her site at Georgia Pellegrini, where you’ll find more recipes, photos, learn all about her wonderful books Girl Hunter and Food Heroes, and enjoy her latest adventures.


Profile photo of EatLiveRun

Fresh Ginger Dressing

Posted by in Step-by-Step Recipes

Tasty Kitchen Blog: Fresh Ginger Dressing. Guest post by Jenna Weber of Eat, Live, Run; recipe submitted by TK member Brenda of A Farm Girl's Dabbles.
 
I love homemade salad dressing, but for some odd reason, never make it! Then, after having dinner at a friend’s house a few weeks ago where I tasted the most delicious homemade dressing that she just whipped up a few minutes before the meal, I got inspired. I was ready.

Good salad dressing really does “make” the salad, plus it’s super easy! I mean, it only takes five minutes, if that! In the time it would take you to find good bottled dressing in the grocery store and make it through the check-out lane, you could have your own homemade dressing already on the table.

So, after eating at my friend’s house, I came home and searched Tasty Kitchen for simple, homemade salad dressings. This Fresh Ginger Dressing by afarmgirlsdabbles immediately caught my eye! It’s absolutely addictive and turns regular ol’ salads into something magical. Try it and taste for yourself!


Tasty Kitchen Blog: Fresh Ginger Dressing. Guest post by Jenna Weber of Eat, Live, Run; recipe submitted by TK member Brenda of A Farm Girl's Dabbles.

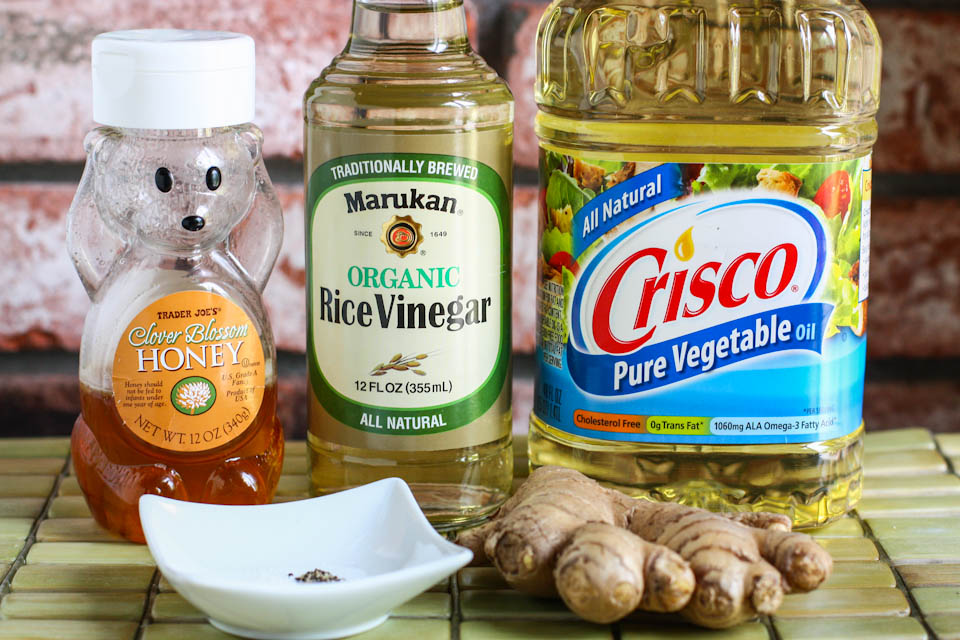
I told you it’s super easy! All you need to make this dressing is vegetable oil, rice vinegar, salt, pepper, honey and fresh ginger, of course.


Tasty Kitchen Blog: Fresh Ginger Dressing. Guest post by Jenna Weber of Eat, Live, Run; recipe submitted by TK member Brenda of A Farm Girl's Dabbles.

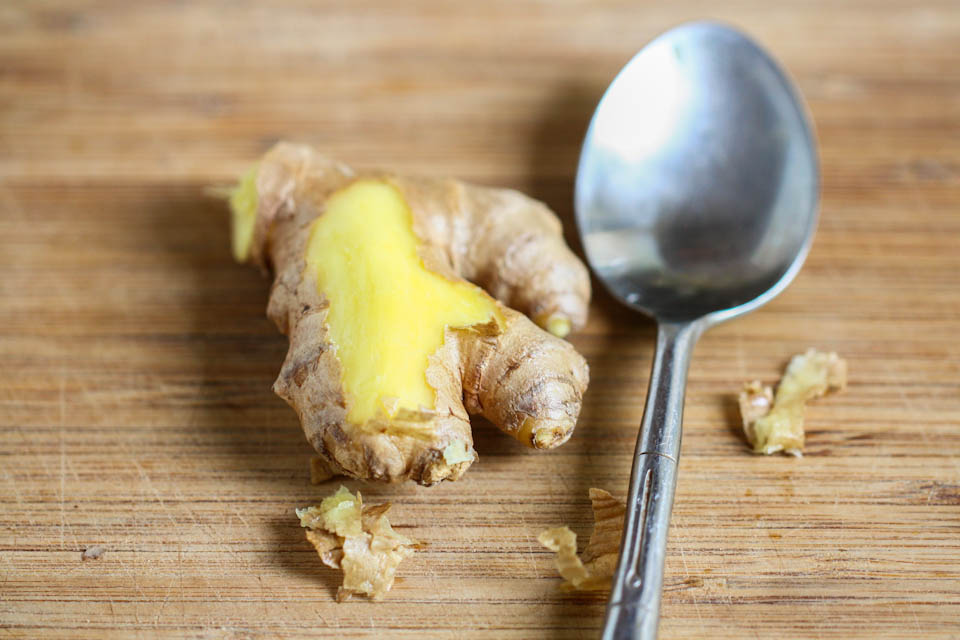
If you don’t like using fresh ginger because it’s a pain to peel, allow me to share with you this little secret a chef I used to work with taught me, and that is using a spoon to peel the ginger! Just lightly scrape the thin skin off with the edge of a spoon and it comes right off. It makes all those crevices much easier to peel. Once you do the spoon trick, you’ll never go back. Trust me on this.


Tasty Kitchen Blog: Fresh Ginger Dressing. Guest post by Jenna Weber of Eat, Live, Run; recipe submitted by TK member Brenda of A Farm Girl's Dabbles.

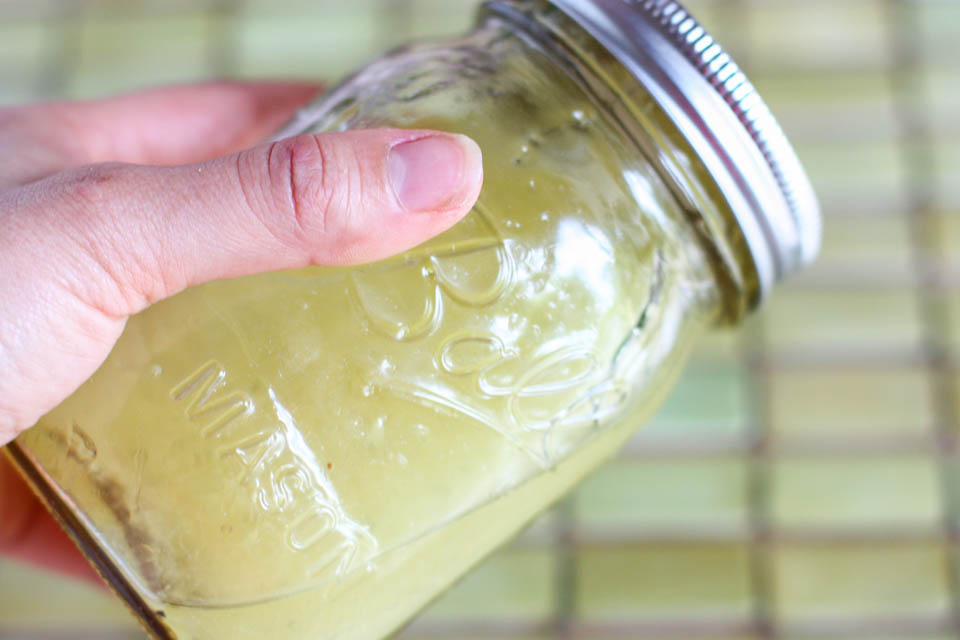
To make the dressing, just put all the ingredients together in a pint-sized jar and shake, shake, shake!


Tasty Kitchen Blog: Fresh Ginger Dressing. Guest post by Jenna Weber of Eat, Live, Run; recipe submitted by TK member Brenda of A Farm Girl's Dabbles.

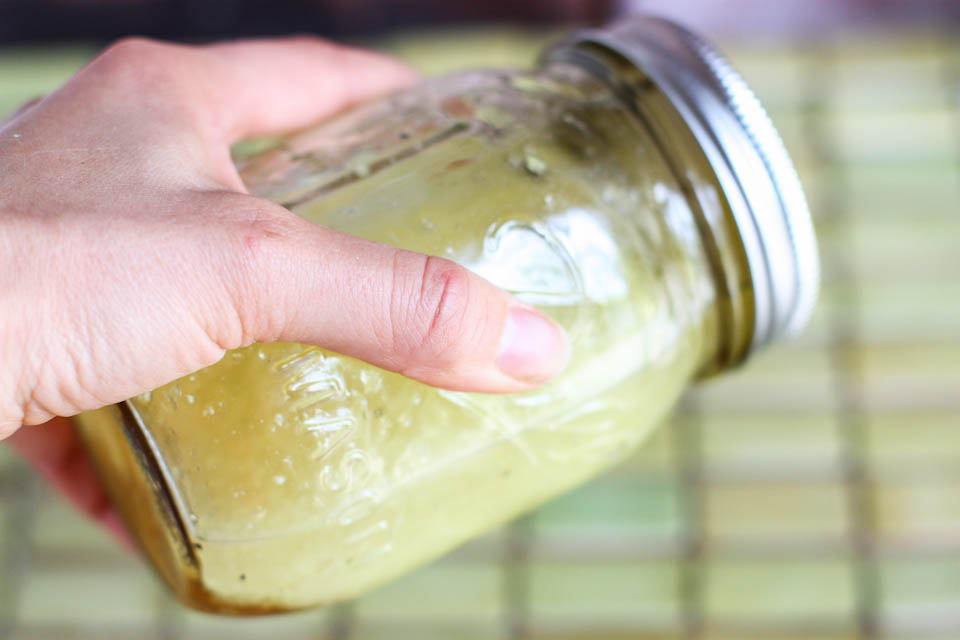
Keep. On. Shaking!


Tasty Kitchen Blog: Fresh Ginger Dressing. Guest post by Jenna Weber of Eat, Live, Run; recipe submitted by TK member Brenda of A Farm Girl's Dabbles.

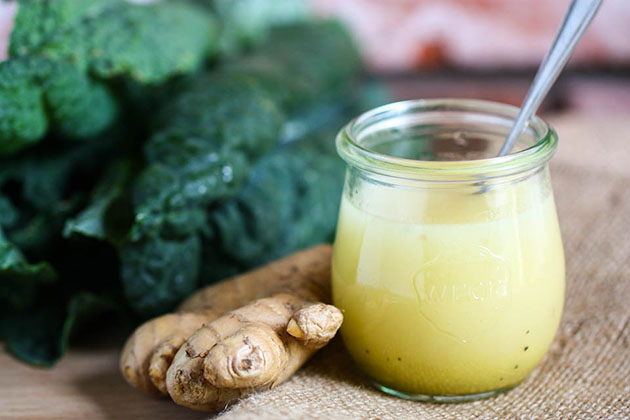
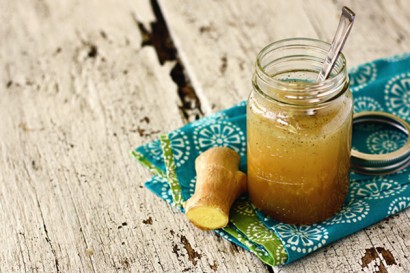
Now you have your own sweet and spicy ginger dressing. It tastes just like the kind from my favorite Thai restaurant in Florida.


The recipe says that this dressing will stay fresh in your fridge for a week in a Mason jar. I’ll definitely be making this all summer long! Thanks for the lovely recipe, Brenda (who shared it from her grandma’s recipe box!). Have you visited her blog A Farm Girl’s Dabbles yet? You must. You simply must.


Printable Recipe

Fresh Ginger Dressing

See post on afarmgirlsdabbles’s site!
3.67 Mitt(s) 3 Rating(s)3 votes, average: 3.67 out of 53 votes, average: 3.67 out of 53 votes, average: 3.67 out of 53 votes, average: 3.67 out of 53 votes, average: 3.67 out of 5

Prep Time:

Cook Time:

Difficulty: Easy

Servings: 10

10
x

Print Options

Page size Letter 3x5 4x6
Text Size Small Medium Large
Content Include description
Include prep time, etc.
Show image

Description

Sweet and full of zing, this fresh and easy ginger dressing promises to be your go-to salad topper of the summer!

Ingredients

  • ½ cups Vegetable Oil
  • ½ cups Rice Vinegar (or Regular White Vinegar)
  • ⅓ cups Honey
  • 1 Tablespoon Grated Fresh Ginger
  • Pinch Of Kosher Salt
  • ⅛ teaspoons Freshly Ground Black Pepper

Preparation Instructions

Combine all ingredients in a pint jar and shake vigorously. That’s it! Serve with your favorite fresh greens. Keeps well in the refrigerator for 1 week.

Adapted from my Grandma Renelt’s recipe box, one of my favorite recipes in all the world.


_______________________________________

Jenna is a food writer who has worked as a pastry chef and bread baker. Her blog Eat, Live, Run has great recipes, travel stories, and the perfect slogan: “Celebrating life, one crumb at a time.”


Profile photo of twopeasandtheirpod

Coconut Oatmeal Chocolate Chip Cookies

Posted by in Baking, Step-by-Step Recipes

Tasty Kitchen Blog: Coconut Oatmeal Chocolate Chip Cookies. Guest post by Maria Lichty of Two Peas and Their Pod, recipe submitted by TK member Chrissy of From the Little Yellow Kitchen.

 
I bake cookies at least three times a week. Yes, I have an addiction. I don’t eat all of the cookies, but of course I have to sample them. We share cookies with our friends, neighbors, and I like to stick some in the freezer for a rainy day. I have a few go-to cookie recipes that I always bake, but I really enjoy trying new recipes. When I saw Little Yellow Kitchen’s recipe for Coconut Oatmeal Chocolate Chip Cookies pop up on Tasty Kitchen, I immediately new it was going to be a cookie baking day.

The recipe is inspired by How Sweet It Is and Cooks Illustrated, so it comes with an impressive pedigree. Coconut, oatmeal, cocoa, and chocolate chips—these cookies are loaded with lots of goodies. The cookies also have coconut oil in them, one of my new obsessions. I love using it in baked goods, especially cookies. 


Tasty Kitchen Blog: Coconut Oatmeal Chocolate Chip Cookies. Guest post by Maria Lichty of Two Peas and Their Pod, recipe submitted by TK member Chrissy of From the Little Yellow Kitchen. 

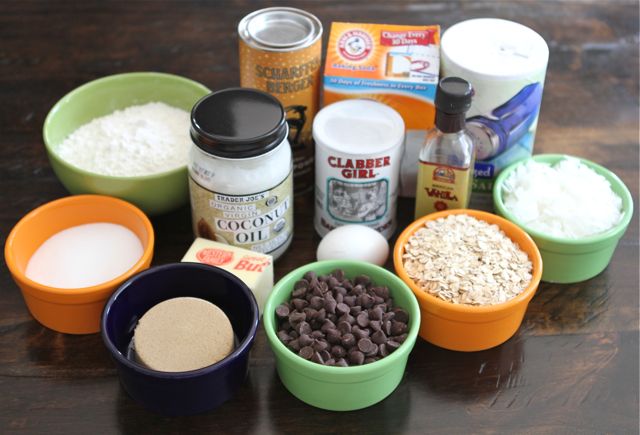
Let’s get started! To make the cookies you will need the following ingredients: flour, cocoa powder, baking soda, baking powder, salt, butter, coconut oil, granulated sugar, light brown sugar, an egg, vanilla extract, shredded coconut, rolled oats, and semi-sweet chocolate chips. You know these cookies are going to be good just by the ingredient list! 


Tasty Kitchen Blog: Coconut Oatmeal Chocolate Chip Cookies. Guest post by Maria Lichty of Two Peas and Their Pod, recipe submitted by TK member Chrissy of From the Little Yellow Kitchen. 

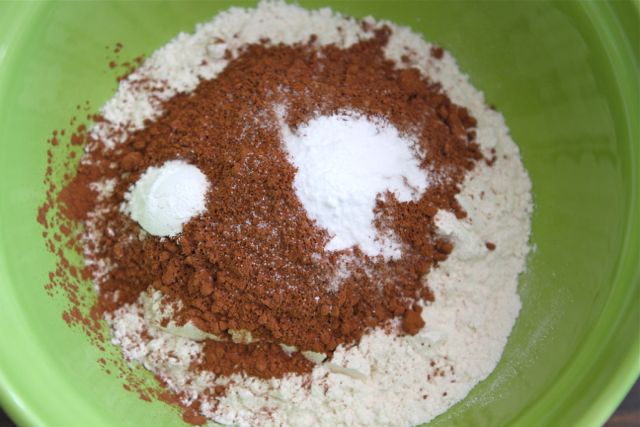
In a large bowl, combine flour, cocoa powder, baking soda, baking powder, and salt.


Tasty Kitchen Blog: Coconut Oatmeal Chocolate Chip Cookies. Guest post by Maria Lichty of Two Peas and Their Pod, recipe submitted by TK member Chrissy of From the Little Yellow Kitchen. 

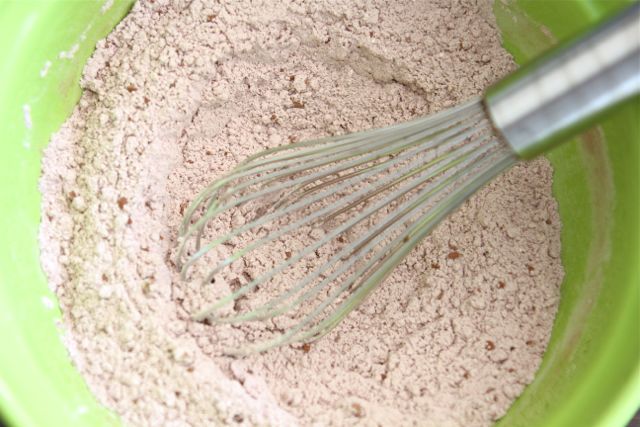
Whisk dry ingredients together and set aside. 


Tasty Kitchen Blog: Coconut Oatmeal Chocolate Chip Cookies. Guest post by Maria Lichty of Two Peas and Their Pod, recipe submitted by TK member Chrissy of From the Little Yellow Kitchen. 

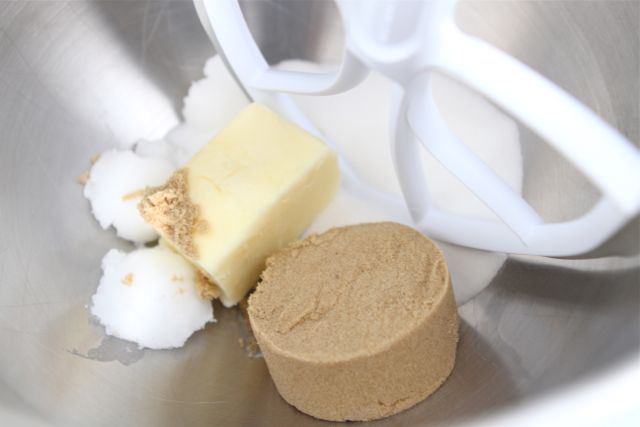
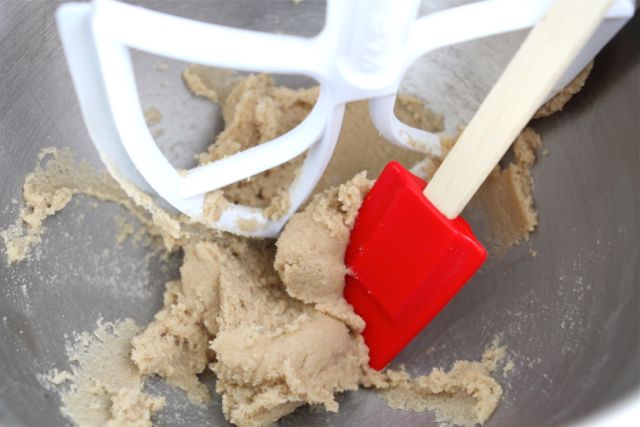
Using an electric mixer, cream together the butter, coconut oil, and sugars.


Tasty Kitchen Blog: Coconut Oatmeal Chocolate Chip Cookies. Guest post by Maria Lichty of Two Peas and Their Pod, recipe submitted by TK member Chrissy of From the Little Yellow Kitchen. 

Scrape down the sides of the bowl with a spatula. 


Tasty Kitchen Blog: Coconut Oatmeal Chocolate Chip Cookies. Guest post by Maria Lichty of Two Peas and Their Pod, recipe submitted by TK member Chrissy of From the Little Yellow Kitchen. 

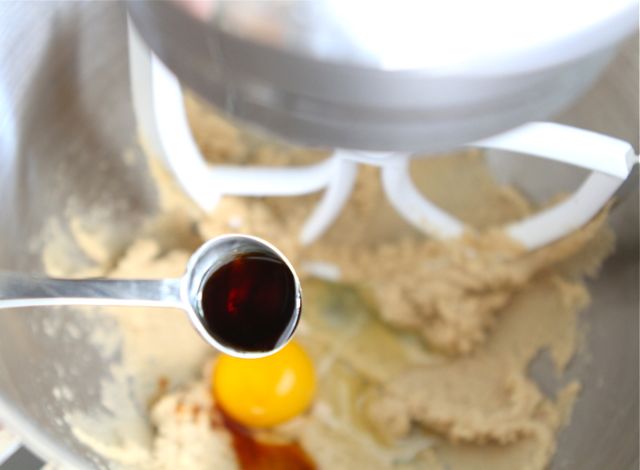
Add the egg and vanilla extract and mix to combine. 


Tasty Kitchen Blog: Coconut Oatmeal Chocolate Chip Cookies. Guest post by Maria Lichty of Two Peas and Their Pod, recipe submitted by TK member Chrissy of From the Little Yellow Kitchen. 

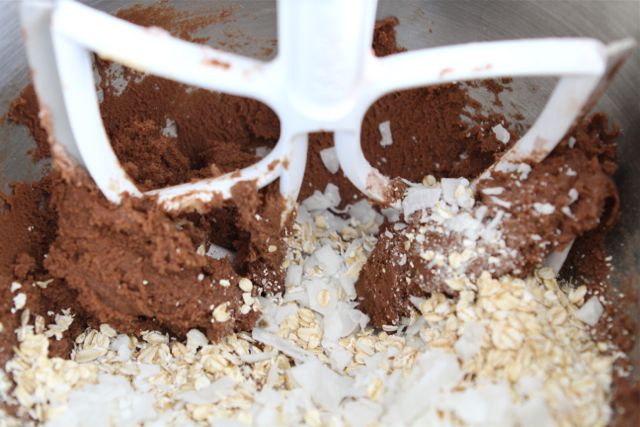
On low speed, gradually add the flour and cocoa mixture. Mix until incorporated. Then mix in the shredded coconut and oats. 


Tasty Kitchen Blog: Coconut Oatmeal Chocolate Chip Cookies. Guest post by Maria Lichty of Two Peas and Their Pod, recipe submitted by TK member Chrissy of From the Little Yellow Kitchen. 

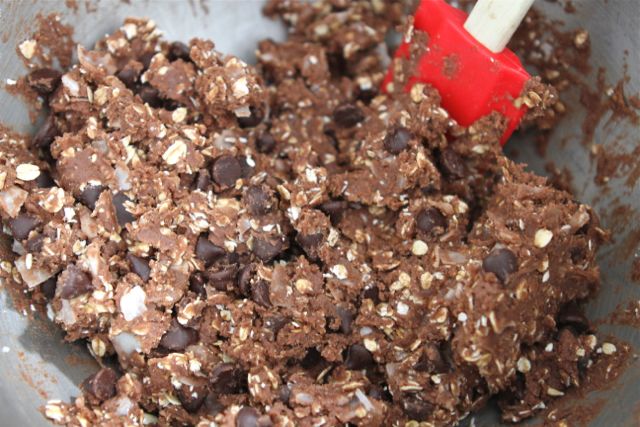
Fold in the chocolate chips. The dough will be thick. 


Tasty Kitchen Blog: Coconut Oatmeal Chocolate Chip Cookies. Guest post by Maria Lichty of Two Peas and Their Pod, recipe submitted by TK member Chrissy of From the Little Yellow Kitchen. 

Form into dough balls about the size of a heaping tablespoon and place on a lined-baking sheet. Bake at 350ºF for 11 minutes.


Tasty Kitchen Blog: Coconut Oatmeal Chocolate Chip Cookies. Guest post by Maria Lichty of Two Peas and Their Pod, recipe submitted by TK member Chrissy of From the Little Yellow Kitchen. 

Remove from oven and let cool for about 2 minutes on the baking sheet, then remove and place on a cooling rack.


Tasty Kitchen Blog: Coconut Oatmeal Chocolate Chip Cookies. Guest post by Maria Lichty of Two Peas and Their Pod, recipe submitted by TK member Chrissy of From the Little Yellow Kitchen.

Eat and enjoy! 

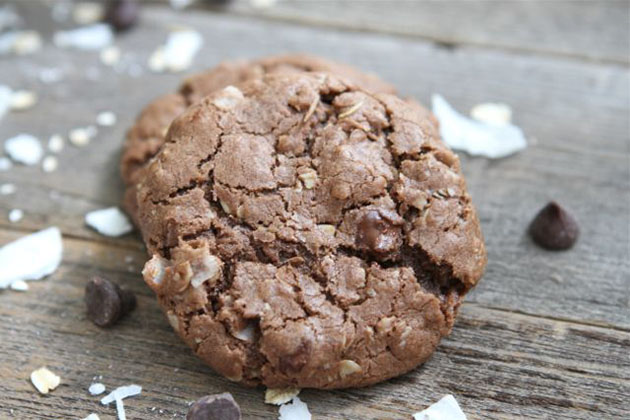
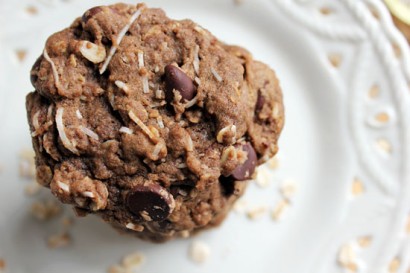
These cookies have it all! I love the double dose of chocolate from the cocoa powder and chocolate chips. The coconut flavor isn’t too strong. It is more of a background flavor to the rest of the ingredients, which is nice. I also love the thick and hearty texture the oatmeal and shredded coconut add. I know I said I like to bake a variety of cookie recipes, but I think these Coconut Oatmeal Chocolate Chip Cookies are going to have to be a staple in my kitchen. I am already craving them. Good thing I tucked a few away in the freezer. I better go find them! 

Thanks Chrissy or sharing this incredible cookie recipe. Coconut and chocolate lovers will go crazy for these cookies! And make sure you visit From the Little Yellow Kitchen. Chrissy and Lauren are always cooking and baking up something good! 


Printable Recipe

Coconut Oatmeal Chocolate Chip Cookies

See post on LittleYellowKitchen’s site!
4.80 Mitt(s) 5 Rating(s)5 votes, average: 4.80 out of 55 votes, average: 4.80 out of 55 votes, average: 4.80 out of 55 votes, average: 4.80 out of 55 votes, average: 4.80 out of 5

Prep Time:

Cook Time:

Difficulty: Easy

Servings: 36

36
x

Print Options

Page size Letter 3x5 4x6
Text Size Small Medium Large
Content Include description
Include prep time, etc.
Show image

Description

These chocolatey-coconut delights are perfectly chewy and delicious. Beware, they will disappear from the cookie jar in a day, tops.

Ingredients

  • 1-¼ cup All-purpose Flour
  • ¼ cups (Rounded) Cocoa Powder, Unsweetened
  • 1 teaspoon Baking Soda
  • 1 teaspoon Baking Powder
  • ⅛ teaspoons Salt
  • 6 Tablespoons Unsalted Butter, Room Temperature
  • 3 Tablespoons Coconut Oil
  • ½ cups Granulated Sugar
  • ½ cups Light Brown Sugar, Packed
  • 1 whole Large Egg
  • 1-½ teaspoon Pure Vanilla
  • 1 cup Shredded Coconut (unsweetened)
  • 1 cup Old Fashioned Rolled Oats
  • 1 cup Semi-Sweet Chocolate Chips

Preparation Instructions

Combine flour, cocoa powder, baking soda, baking powder, and salt; set aside.

In an electric mixer, cream together the butter, coconut oil, and sugars. Scrape down the sides and then add the egg and vanilla; mix to combine. On a low speed, gradually add the flour and cocoa mixture, until incorporated. Add the shredded coconut and oats and mix. Add chocolate chips and mix until just folded in. The dough will be pretty solid. Form into balls about the size of a heaping tablespoon and place on a lined-baking sheet (with a Silpat or parchment paper).

Bake at 350ºF for 11 minutes. Remove from oven and let cool for about 2 minutes more on the sheet, then remove and place on a cooling rack, or on an opened brown paper bag. Eat to your heart’s content. They are delicious!

(Recipe inspired by How Sweet It Is.)


_______________________________________

Maria and her husband Josh (who she affectionately refers to as her “dough boy”) blog at Two Peas and Their Pod. They’ve been featured on Saveur, Eatocracy, Gourmet Live, Glamour, and the Los Angeles Times, to name just a few. They’d also just recently added a little pea to their pod. We’re so glad to have them here!


Profile photo of missamy

Strawberry Sherbet

Posted by in Step-by-Step Recipes

Tasty Kitchen Blog: Strawberry Sherbet. Guest post by Amy Johnson of She Wears Many Hats, recipe submitted by TK member Stephanie of Eat. Drink. Love.

 
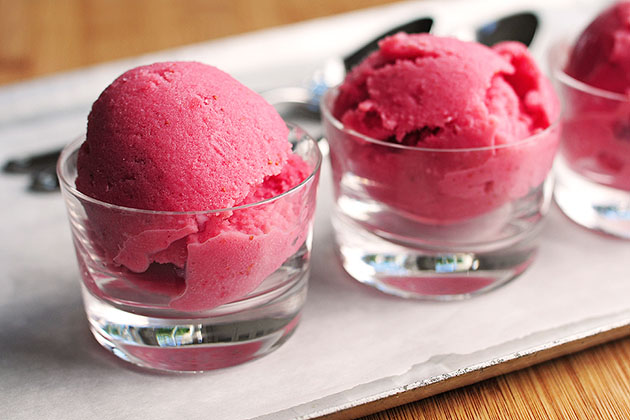
Aren’t simple recipes the best? Tasty recipes that call for a few simple ingredients, and very little fuss are the ones I turn to time and time again. They’re easy to remember, usually cost very little, and more often than not, with little to muddle the flavors of the few ingredients involved, they usually taste better. When I saw this lightened-up version for Strawberry Sherbet submitted by Stephanie, my infatuation for everything frozen kicked in, but the list of simple ingredients called out much louder. It certainly was easy, and didn’t last long once it was ready.

Wanna see how to make a batch for yourself?


Tasty Kitchen Blog: Strawberry Sherbet. Guest post by Amy Johnson of She Wears Many Hats, recipe submitted by TK member Stephanie of Eat. Drink. Love.

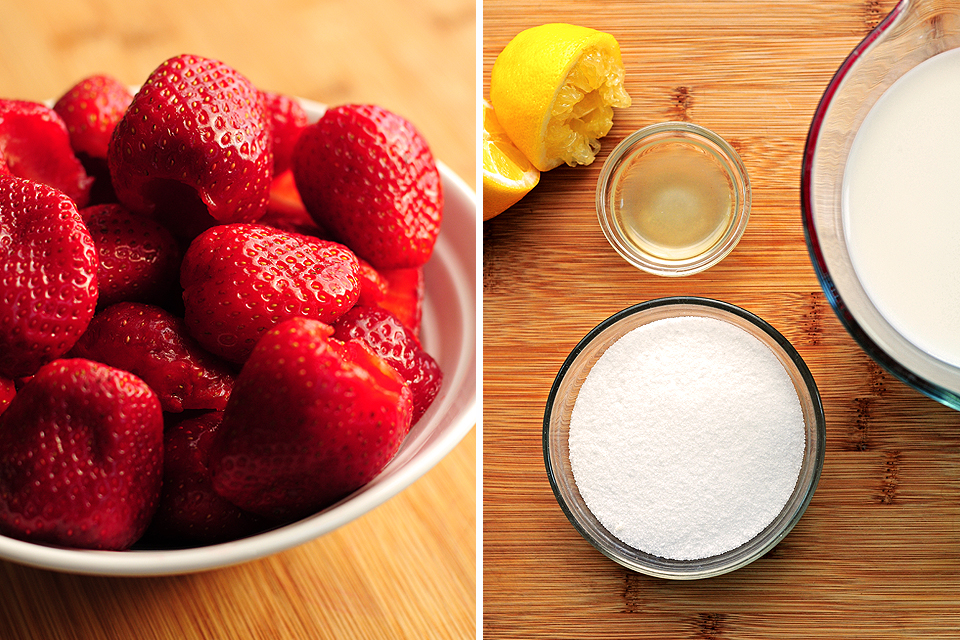
You’ll only need a few things: fresh strawberries, low fat milk, fresh lemon juice, sugar, and of course, an yogurt/ice cream churn/maker.


Tasty Kitchen Blog: Strawberry Sherbet. Guest post by Amy Johnson of She Wears Many Hats, recipe submitted by TK member Stephanie of Eat. Drink. Love.

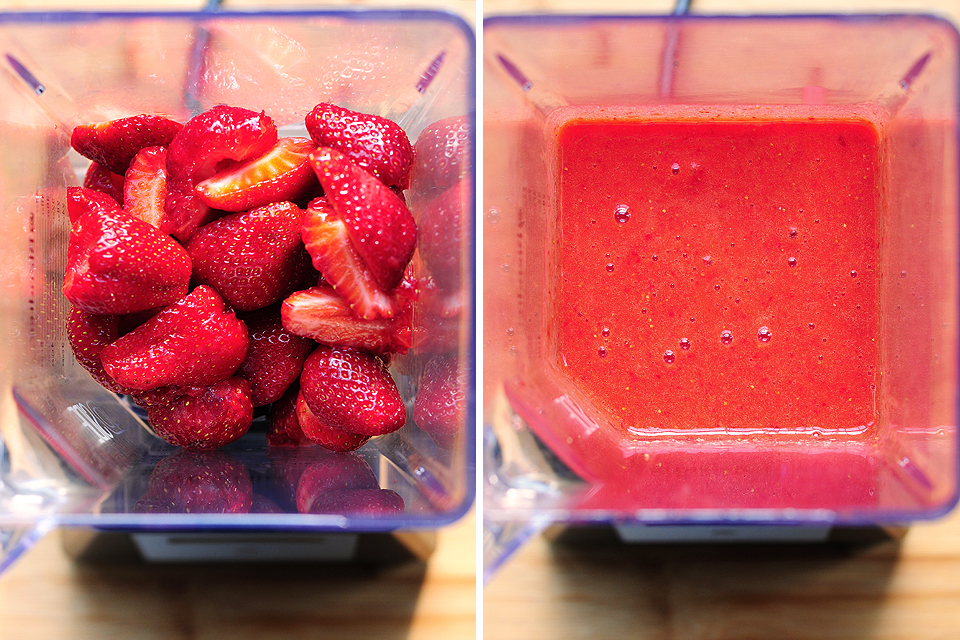
Begin by puréeing the hulled strawberries in a blender or food processor until smooth.


Tasty Kitchen Blog: Strawberry Sherbet. Guest post by Amy Johnson of She Wears Many Hats, recipe submitted by TK member Stephanie of Eat. Drink. Love.

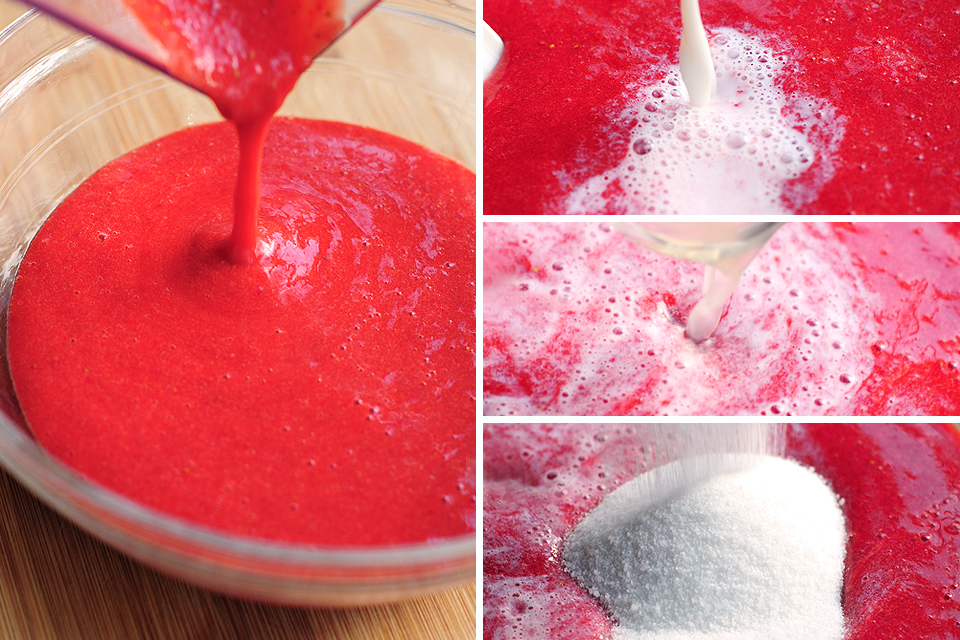
Pour the puréed strawberries in a bowl. I left the strawberry seeds in, but if you don’t care for them, simply pour the mixture through a mesh strainer first. Add the milk, lemon juice, and sugar.


Tasty Kitchen Blog: Strawberry Sherbet. Guest post by Amy Johnson of She Wears Many Hats, recipe submitted by TK member Stephanie of Eat. Drink. Love.

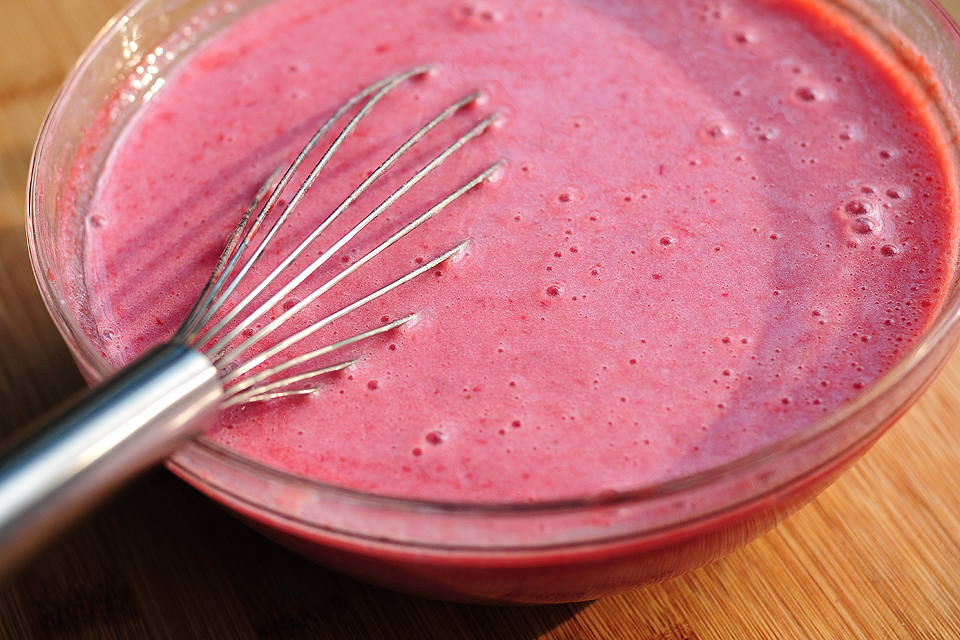
Stir or whisk together until combined, then cover and refrigerate until well chilled.


Tasty Kitchen Blog: Strawberry Sherbet. Guest post by Amy Johnson of She Wears Many Hats, recipe submitted by TK member Stephanie of Eat. Drink. Love.

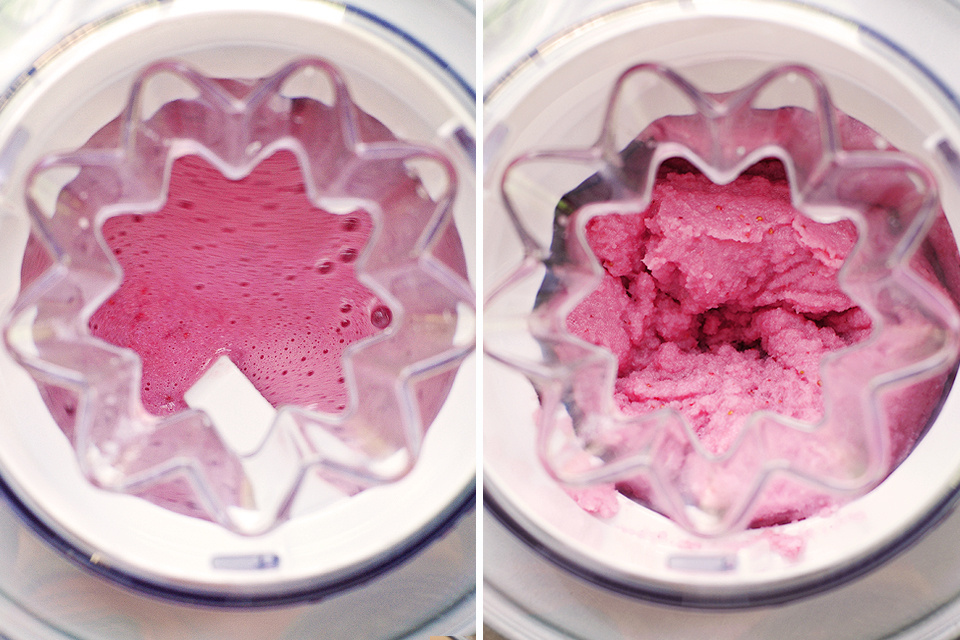
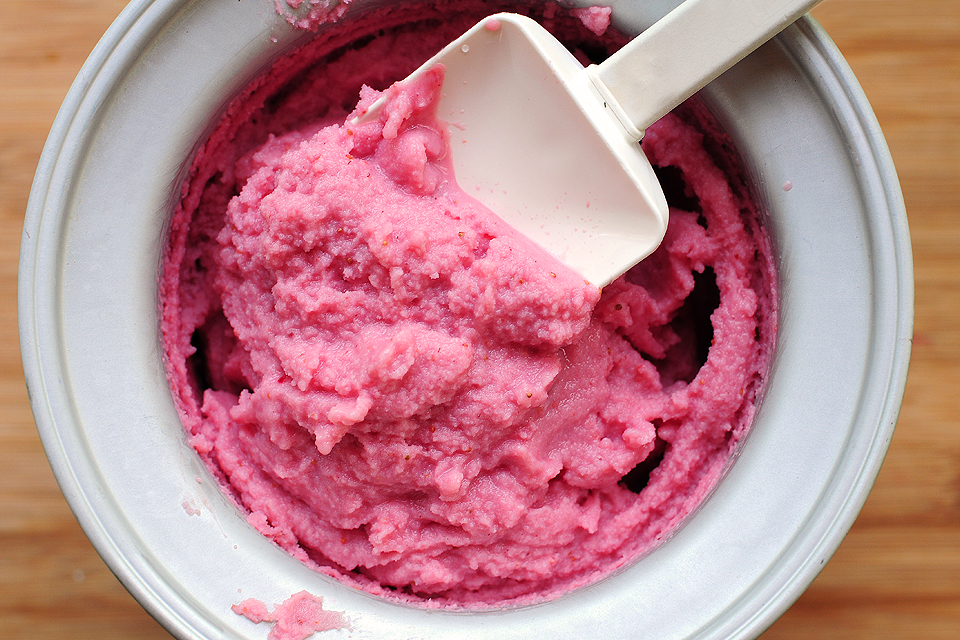
Once chilled, pour the mixture into your ice cream maker and churn according to manufacturer’s instructions.


Tasty Kitchen Blog: Strawberry Sherbet. Guest post by Amy Johnson of She Wears Many Hats, recipe submitted by TK member Stephanie of Eat. Drink. Love.

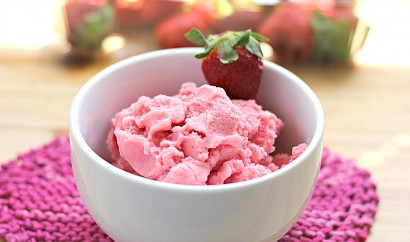
Such a pretty color, isn’t it? It makes me ready for summer.


Tasty Kitchen Blog: Strawberry Sherbet. Guest post by Amy Johnson of She Wears Many Hats, recipe submitted by TK member Stephanie of Eat. Drink. Love.

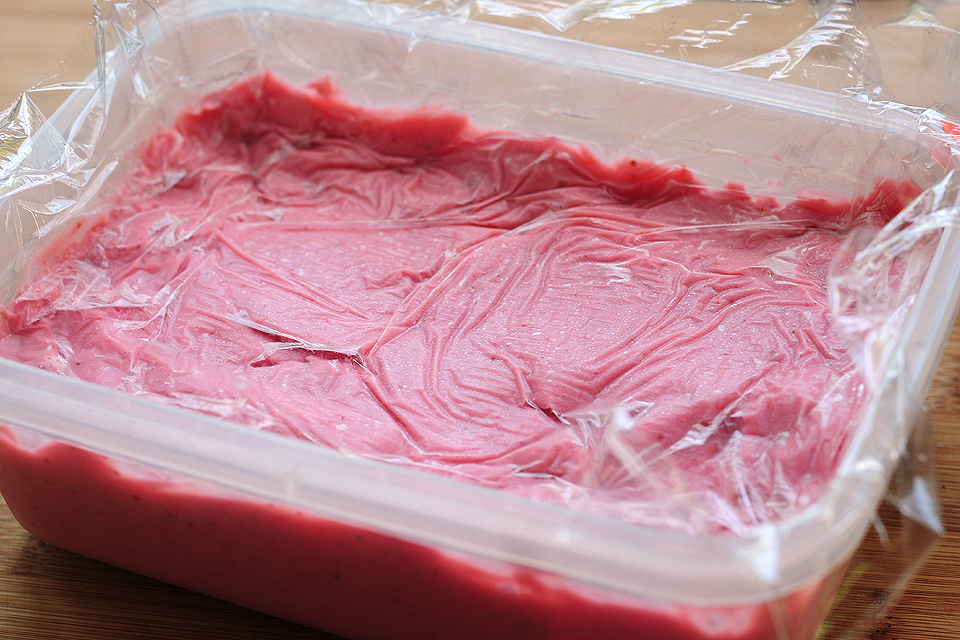
You can serve the churned sherbet right away, or freeze for a couple of hours until ready to serve. I transferred the sherbet to a freezer container, and then covered it with plastic wrap before adding the lid.


Tasty Kitchen Blog: Strawberry Sherbet. Guest post by Amy Johnson of She Wears Many Hats, recipe submitted by TK member Stephanie of Eat. Drink. Love.

Note: I found that it was the perfect consistency after about 3-4 hours in the freezer, but much longer and it gets very hard, requiring some thaw time on the counter before dishing up.


Tasty Kitchen Blog: Strawberry Sherbet. Guest post by Amy Johnson of She Wears Many Hats, recipe submitted by TK member Stephanie of Eat. Drink. Love.

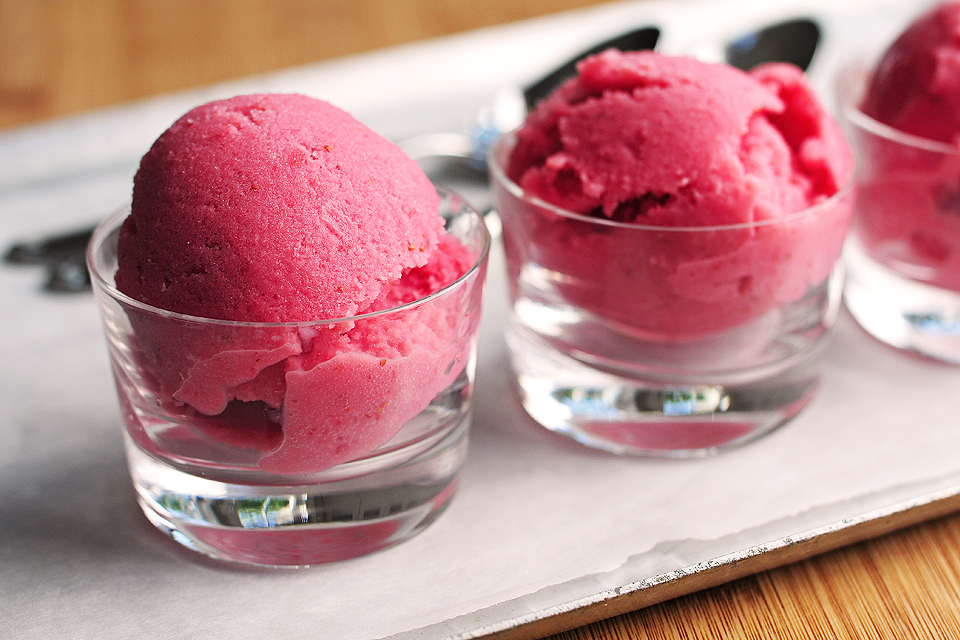
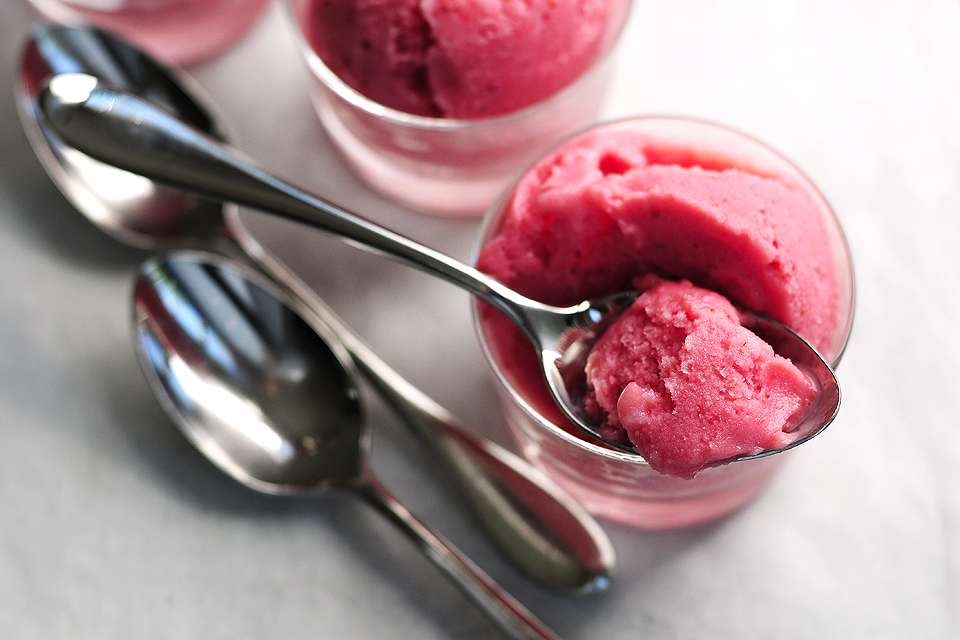
This Strawberry Sherbet was light, fresh and not too sweet—the perfect start to warmer weather! The process was so simple, I’m thinking of trying it with different berries and fruits. My mind is churning and so will my ice cream maker. Thanks Stephanie! Visit her blog Eat. Drink. Love. for more of her lovely creations.


Printable Recipe

Strawberry Sherbet

See post on Stephanie { Eat. Drink. Love.}’s site!
4.00 Mitt(s) 1 Rating(s)1 vote, average: 4.00 out of 51 vote, average: 4.00 out of 51 vote, average: 4.00 out of 51 vote, average: 4.00 out of 51 vote, average: 4.00 out of 5

Prep Time:

Cook Time:

Difficulty: Easy

Servings: 6

6
x

Print Options

Page size Letter 3x5 4x6
Text Size Small Medium Large
Content Include description
Include prep time, etc.
Show image

Description

Homemade strawberry sherbet. A great low-fat alternative to ice cream!

Ingredients

  • 2 cups Hulled Strawberries
  • 2 cups Low Fat Milk
  • 2 teaspoons Lemon Juice
  • ½ cups Sugar

Preparation Instructions

1. Place strawberries in a food processor or blender and puree until smooth. If you do not want the seeds, pour the mixture through a mesh strainer and into a bowl. Otherwise, just pour the puree directly into a bowl.
2. Stir in the milk, lemon juice, and sugar. Refrigerate at least 2 hours (if not overnight) until the mixture is thoroughly chilled.
3. Pour the chilled mixture into the bowl of an ice cream maker and freeze according to the manufacturer’s instructions.

Note: If you want to lower the sugar in this recipe, you can cut it in half. You can also use a sugar substitute.


_______________________________________

Amy Johnson is a blogger who writes about food, travel, the home (both inside and out), and various observations and random musings about anything and everything. Visit her blog She Wears Many Hats for a dose of deliciousness, practicality, hilarity, or just plain fun. She lives in South Carolina with her husband and two children.


Profile photo of cookincanuck

Rhubarb Margaritas

Posted by in Step-by-Step Recipes

  One of the joys of late spring and early summer is the abundance of rhubarb at the markets and in my neighbors’ backyards. Okay, those neighbors haven’t actually offered to share their rhubarb with me yet, but perhaps I could bribe them with a couple of rhubarb desserts or, better yet, one of these […]

Profile photo of A Cozy Kitchen

Cornmeal Buttermilk Cake

Posted by in Baking, Step-by-Step Recipes

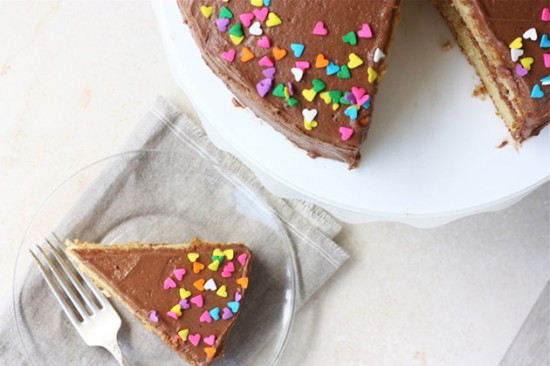
  I love baking cakes for friends’ birthdays. I mean, what’s not to like; it’s a celebration of being given one more year, there’s presents, smiles all around, and cake, of course! Today I present you with a cake I made for no celebration at all—simply the celebration of a random Thursday. I encourage you […]

Profile photo of georgiapellegrini

Barbecued Shrimp, New Orleans Style

Posted by in Step-by-Step Recipes

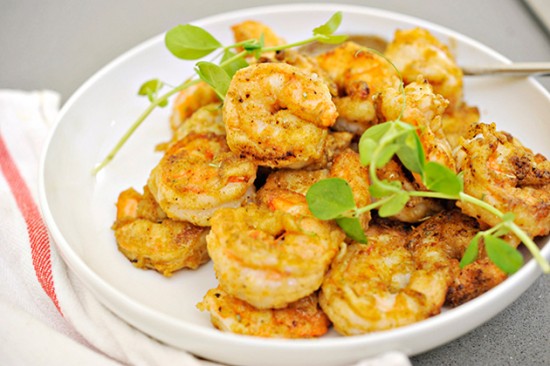
  This barbecued shrimp recipe from Food Orleans was utterly wonderful. There was just enough breading and seasoning without it dominating the flavor of the shrimp, but enough to give it a great texture. Jennifer explains that New Orleans style barbecued shrimp is buttered, not barbecued. I’m down with that.       Here is […]

Profile photo of ThreeManyCooks

Baked Falafel Pita

Posted by in Step-by-Step Recipes

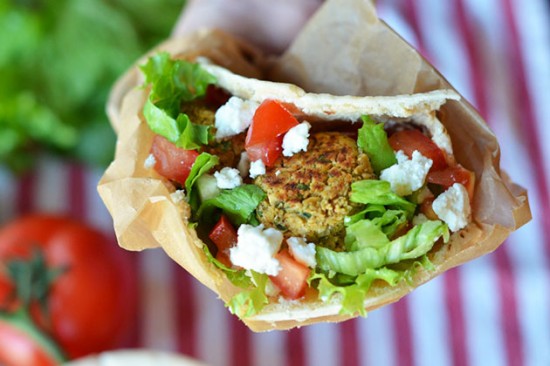
  As I’m eating less meat these days, I’m always on the look-out for recipes that use beans and legumes. They’re healthy, filling, and full of protein and fiber. But when I think falafel, I think fried and weekend project, too. But Tasty Kitchen member janecooks offers a baked version of the fried favorite that’s […]