Stock is an essential ingredient and a secret to great cooking. A good stock is necessary to make soups, sauces, gravies (among many other things) that really shine. Sure, you can grab a box or can of “stock” or broth from your local grocer, but it seriously pales in comparison to the real thing. Not to mention that they are almost always loaded with sodium.
It used to be that when I heard or read the word “stock” I would think, “Oh, come on! Who has that kind of free time? I can’t stand around all day tending a stockpot. I have a life, people!” It’s true that making stock the traditional old-school way takes many hours. Yes, the results are worth it, but that doesn’t change the fact that most normal folk don’t have that kind of time.
I recently stumbled upon a method of making stock that reduces the stock cooking time to a mere hour. At first I thought that this would be akin to making a great prime rib in a microwave. Then, once I researched and pondered it further I realized that it actually produces a better product. How’s that? I’m glad you asked.
Stock is literally all about creating a flavorful liquid by wringing flavor and nutrients from the ingredients. This usually entails simmering bones, veggies, herbs, and seasonings in water for several hours. You have to simmer it long and slow in order to allow all of the good stuff to be released. You should avoid boiling a stock because the violent bubbling breaks down the ingredients and produces an overly cloudy product.
Enter the pressure cooker. The magic of a pressure cooker is that the sealed environs allow the boiling point of water to be raised significantly above the usual 212 degrees. This causes foods to cook much quicker while retaining more of their nutrients. Additionally, because the water never boils, there is no violent bubbling. Think of it as turbo-boiling in still water. It’s a beautiful thing.
Here, let me show you how this works.
Caution: Pressure cookers can be dangerous, so please make sure you read and heed the manufacturer’s instructions and warnings. (If you don’t have a pressure cooker, I have a great tip at the end of the post that involves a stockpot, the oven, and no stirring.)
First, we need to roast the turkey parts. Sure, you can use a carcass of a previously-roasted bird, but I find this to be far easier, better, and more consistent. I use one package of wings (about three pounds).
Preheat your oven to 350ºF.
Using a cleaver or large knife, carefully cut each wing at each joint. I discard the tips.
Season the wing pieces with kosher salt and pepper.
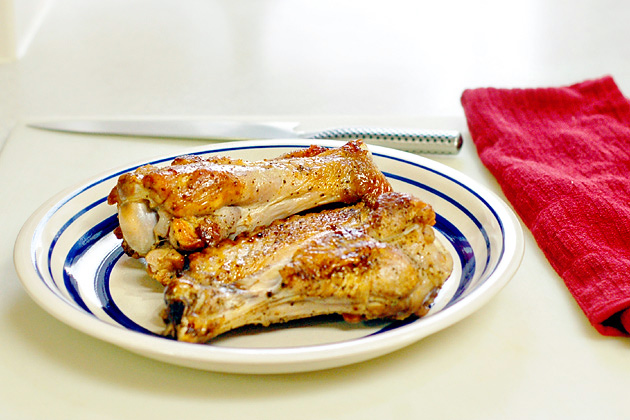
Roast the turkey parts on a sheet pan for 90 minutes, then remove them from the oven and let cool to room temperature or refrigerate for up to three days.
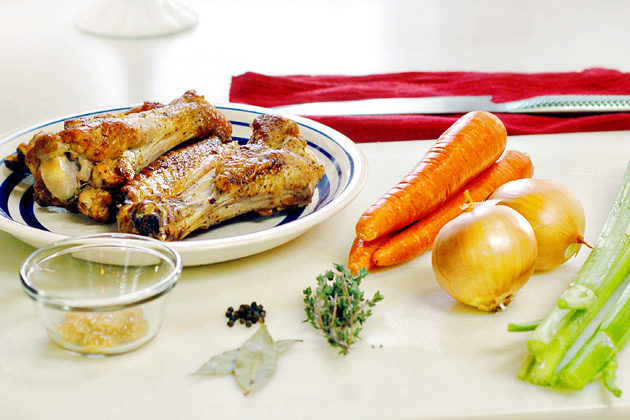
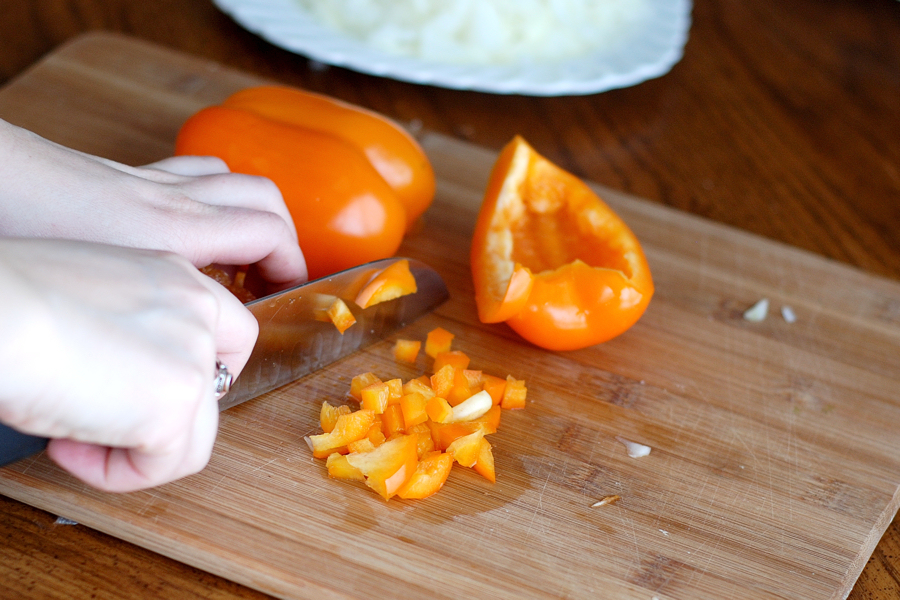
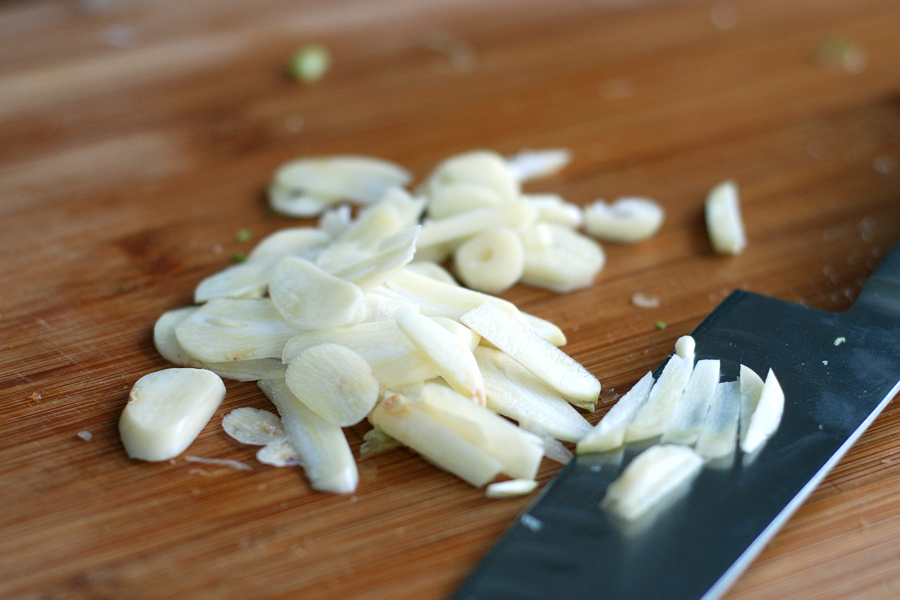
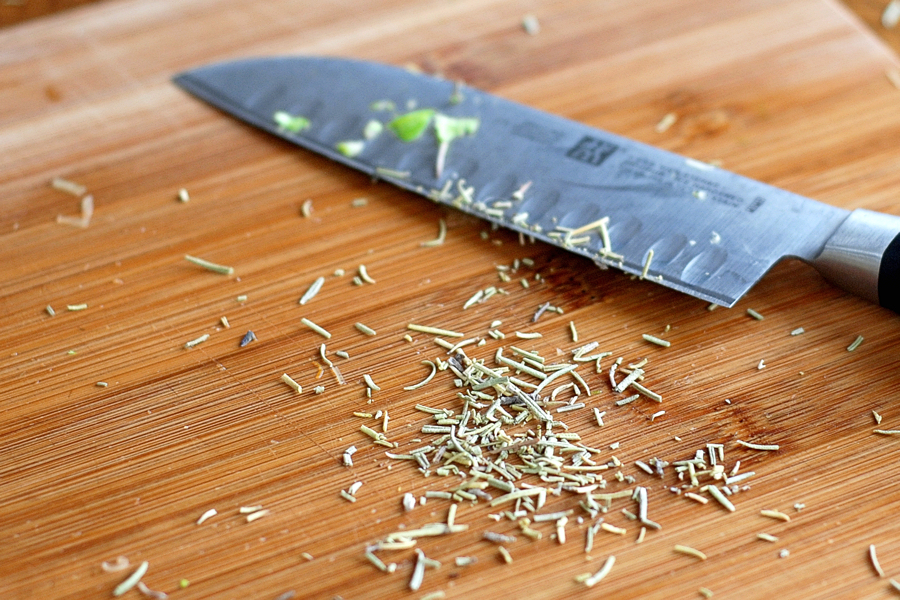
In addition to the roasted turkey parts, you’ll need three large carrots, three stalks of celery, one medium (or two small) yellow onion, ten sprigs of thyme, two bay leaves, a tablespoon of minced garlic, half a teaspoon of black peppercorns, and three quarts of cold water.
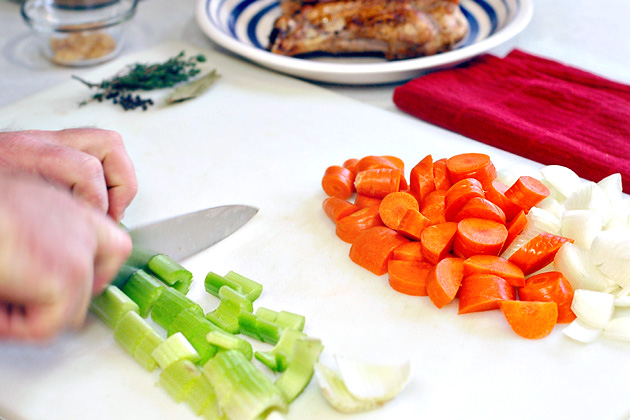
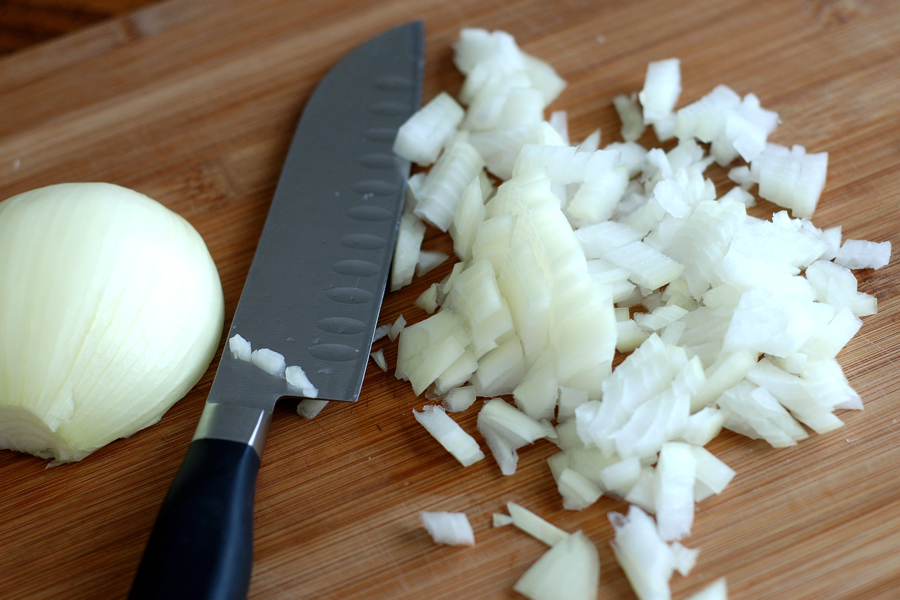
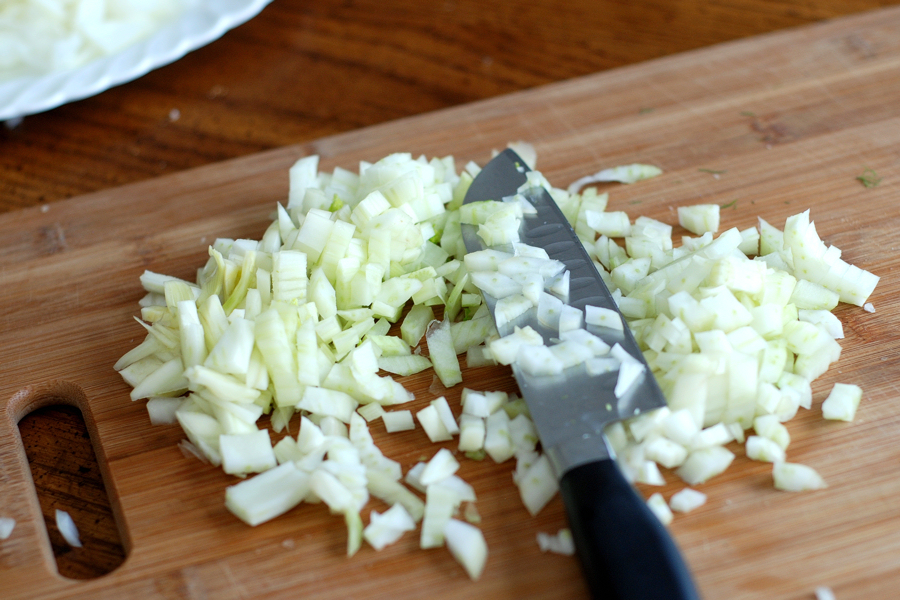
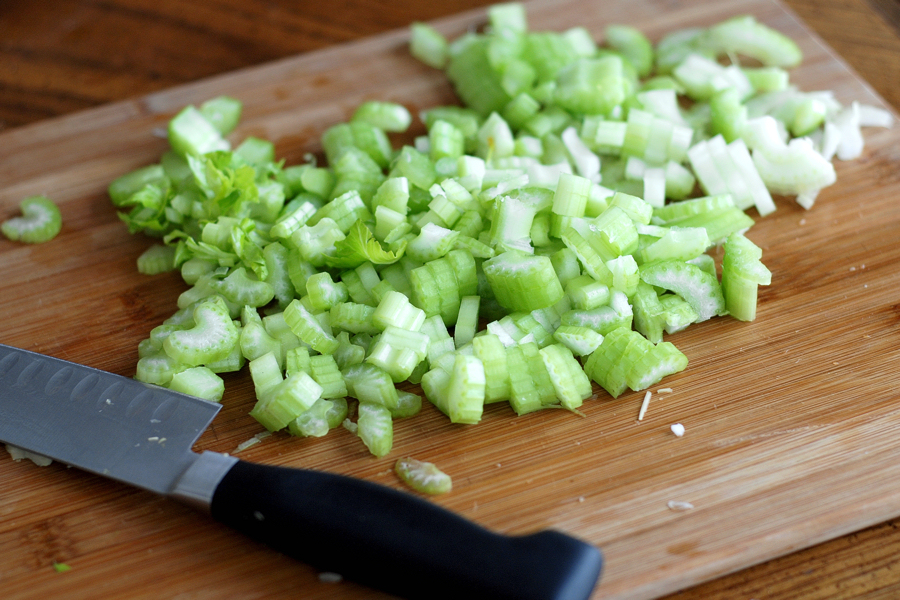
Clean the carrots (there’s no need to peel them), celery, and peel the onions.
Rough chop all of the vegetables. The size doesn’t really matter, just chop them up.
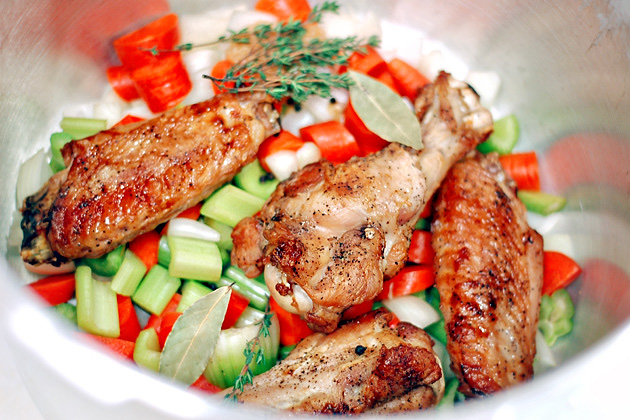
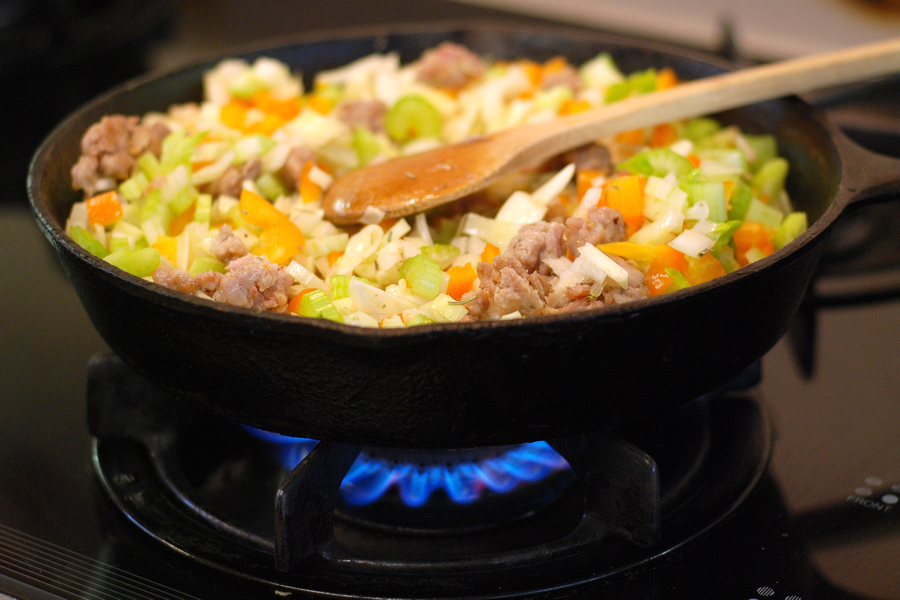
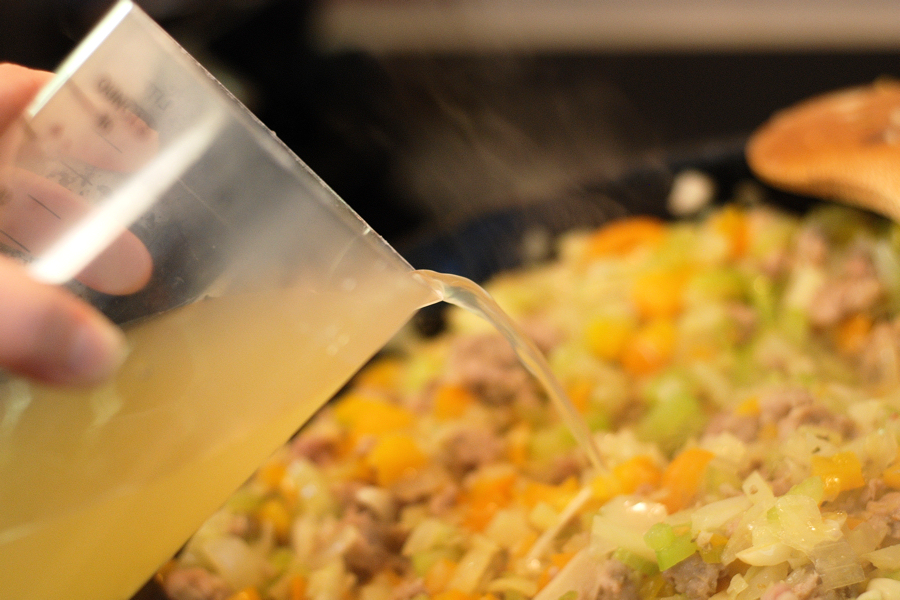
Dump everything in your pressure cooker.

Add the water.
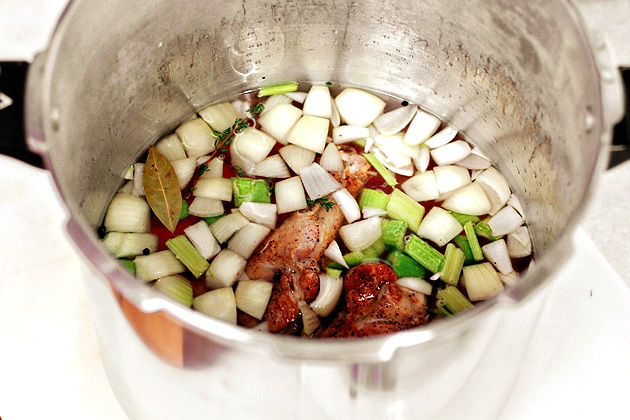
You want to just barely cover the ingredients, so add more or less water as needed.
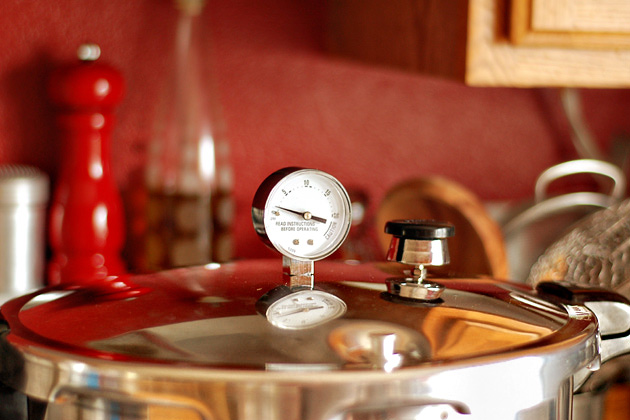
Seal your pressure cooker per the directions and bring to 15 pounds of pressure.
Reduce the heat as needed to maintain a pressure of 15 pounds and cook for 45 minutes.
Remove the cooker from the heat and let it cool until the pressure is completely relieved.
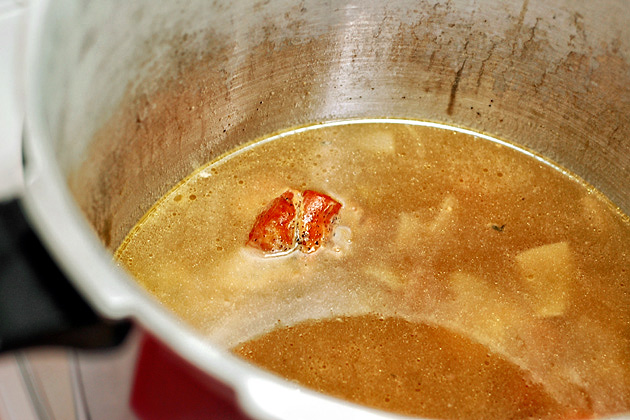
Open the cooker and remove the large pieces of meat, bone and vegetables with a large slotted spoon.
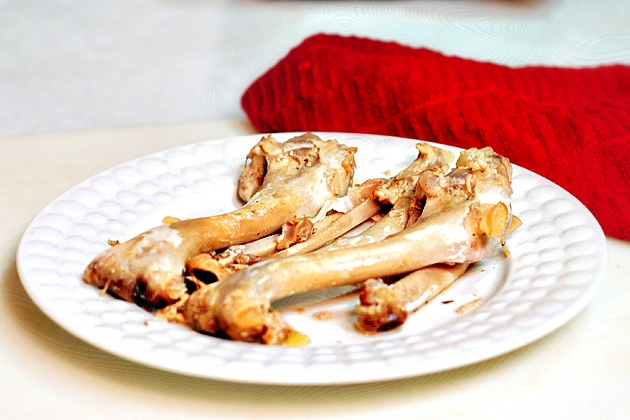
You can see what a great job the pressure cooker does. The meat completely falls off the bone with almost no effort. Our dog really appreciates this part (the leftover meat, not the bones).
Filter the stock through a very fine strainer and cool immediately. If you want a clearer stock, filter it through a colander that is lined with a clean kitchen towel. I used this batch to make gravy, so I didn’t care about it being a little cloudy. Now that I think about it, I rarely care.
Once the stock is cold, you can easily remove the solidified fat from the top.
Store in the refrigerator for up to four days, or freeze for long-term storage.
Use as needed.
Enjoy!
Notes:
1. You can use this recipe to make other types of stock, like chicken or beef. Just use those meats and bones in lieu of the turkey. For example, you can use a cut-up roasted deli chicken to make chicken stock, or use cut-up beef back ribs (roasted just like the turkey) to make beef stock. When making beef stock, I would add 2 tablespoons of tomato paste for added richness.
2. If you don’t have a pressure cooker, just use a large covered stock pot. Bring it just barely to a boil, then move the covered pot to a 180-degree oven for six hours. There is no need to stir or tend it at all.
See post on patiodaddio’s site!
Description
Here’s a much easier way to make a great quality stock in a fraction of the time that it typically requires. This recipe will also work well with other kinds of stock.
Ingredients
- 1 package Turkey Wings (about Three Pounds)
- 3 whole Large Carrots
- 3 stalks Celery
- 1 whole Medium Yellow Onion (or Two Small)
- 10 sprigs Thyme
- 2 whole Bay Leaves
- 1 Tablespoon Garlic, Minced
- ½ teaspoons Black Peppercorns, Whole
- 3 quarts Water, Cold
Preparation Instructions
Preheat your oven to 350 degrees.
Using a cleaver or large knife, carefully cut each wing at each joint. I discard the tips.
Season the wing pieces with kosher salt and pepper.
Roast the turkey parts on a sheet pan for 90 minutes, then remove them from the oven and let cool to room temperature, or refrigerate for up to three days.
In addition to the roasted turkey parts, you’ll need three large carrots, three stalks of celery, one medium (or two small) yellow onion, ten sprigs of thyme, two bay leaves, a tablespoon of minced garlic, half a teaspoon of black peppercorns, and three quarts of cold water.
Clean the carrots (there’s no need to peel them), celery, and peel the onions.
Rough chop all of the vegetables. The size doesn’t really matter, just chop them up.
Dump everything in your pressure cooker.
Add the water.
You want to just barely cover the ingredients, so add more or less water as needed.
Seal your pressure cooker per the directions, and bring to 15 pounds of pressure.
Reduce the heat as needed to maintain a pressure of 15 pounds and cook for 45 minutes.
Remove the cooker from the heat and let it cool until the pressure is completely relieved.
Open the cooker and remove the large pieces of meat, bone and vegetables with a large slotted spoon.
Filter the stock through a very fine strainer and cool immediately. If you want a clearer stock, filter it through a colander that is lined with a clean kitchen towel. I used this batch to make gravy, so I didn’t care about it being a little cloudy. Now that I think about it, I rarely care.
Once the stock is cold, you can easily remove the solidified fat from the top.
Store in the refrigerator for up to four days, or freeze for long-term storage.
Use as needed.
Enjoy!
Notes:
* You can use this recipe to make other types of stock, like chicken or beef. Just use those meats and bones in lieu of the turkey. For example, you can use a cut-up roasted deli chicken to make chicken stock, or use cut-up beef back ribs (roasted just like the turkey) to make beef stock. When making beef stock I would add 2 tablespoons of tomato paste for added richness.
* If you don’t have a pressure cooker, just use a large covered stock pot. Bring it just barely to a boil, then move the covered pot to a 180-degree oven for six hours. There is no need to stir or tend it at all.
_______________________________________
John Dawson has always been one of our favorite men here at Tasty Kitchen. His blog, Patio Daddio BBQ is a great resource for great recipes of every kind. Go visit his site for good food, equipment reviews, cooking competitions, video clips, and occasional photos of his lovely family.