It’s Memorial Weekend, and do you know what that means? Time to lounge at the pool and hang out by the BBQ. We’re grilling this entire weekend; the weather is perfectly straddling between warm and hot (when it gets hot we jump in the pool … when it gets warm, we EAT!).
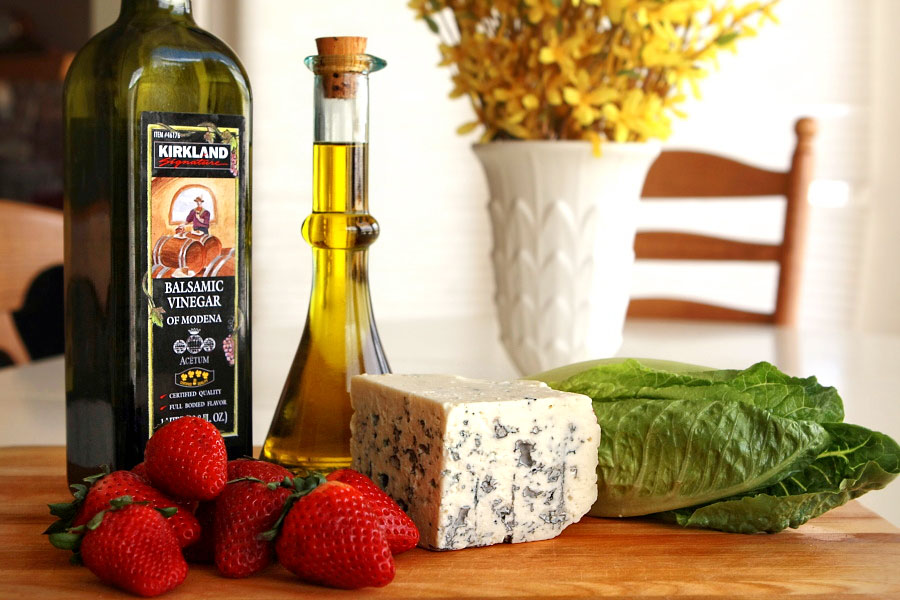
This week, I asked my friend, Steve, to share a grilling tip and recipe. He’s the publisher of Grilling Companion recipe site and developer of the brand new iPad app. Steve is sharing a recipe for a Grilled Whole Chicken with Balsamic Glaze and will show us how to spatchcock a chicken (i.e. flatten that sucker for even cooking!).
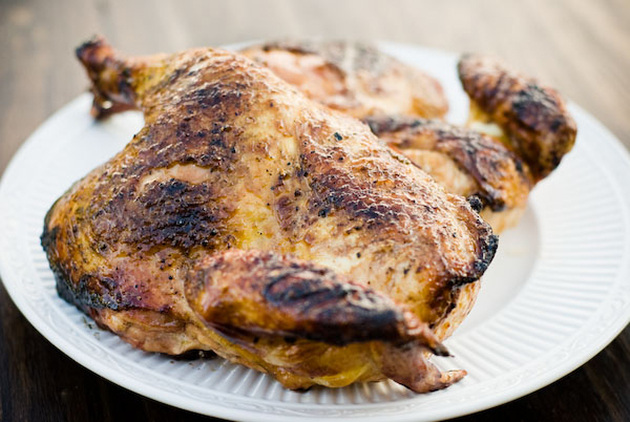
Grilled Whole Chicken with Balsamic Glaze
I have nothing against a whole chicken. It still cracks me up when I open the lid of the grill and see a bird perched up on a beer can. I just find it easier to handle a flattened chicken on the grill. A flat chicken cooks quicker and more evenly, and has the added benefit of not rolling off the platter on your way to the table (yeah, been there and cleaned up the mess). So today’s recipe is a bonus, with equal parts Chicken Butchering 101 and recipe for a delicious and simple honey balsamic glazed whole chicken. Grab a bird and a cutting board and let’s get started!
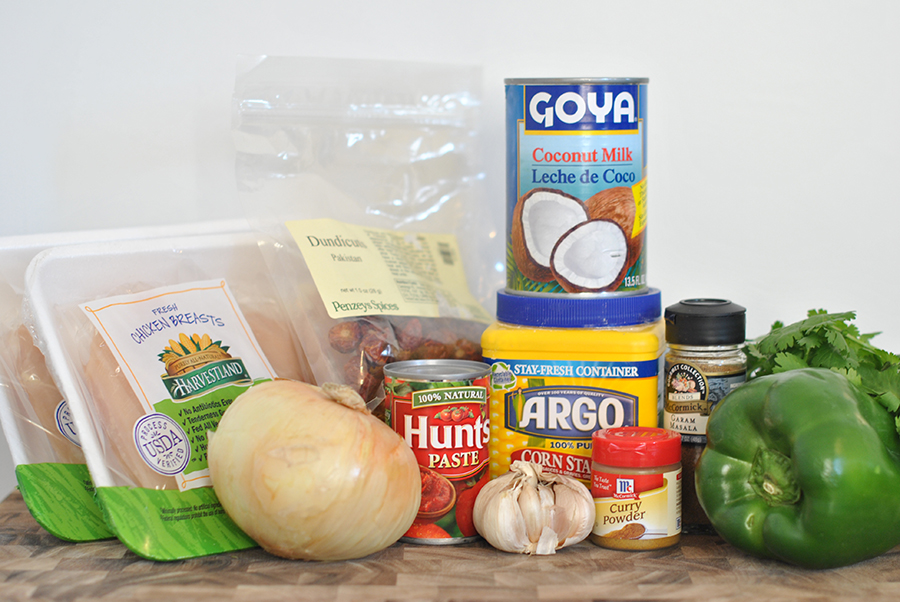
Ingredients:
1 whole chicken (around 4 – 5 pounds)
1/2 cup honey
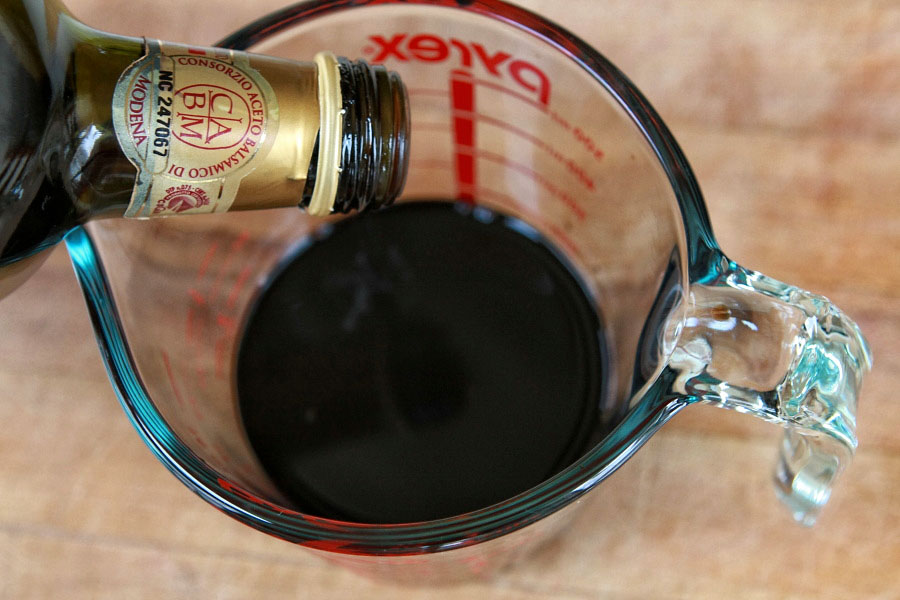
6 tablespoons balsamic vinegar
Kosher salt
Fresh ground black pepper
Directions:
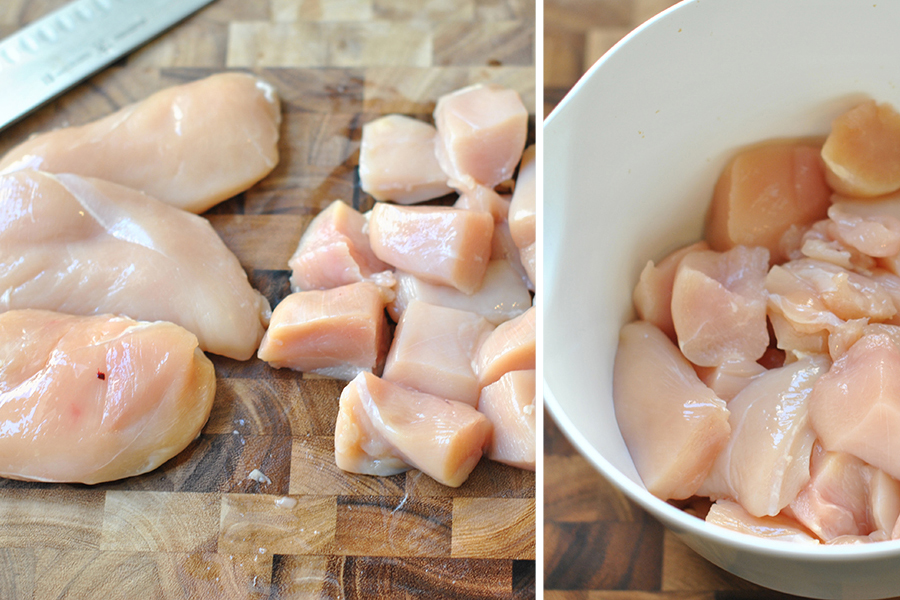
1. Let’s disassemble a bird. Lay the whole chicken breast side down on your cutting board.
2. Feel around his (or her) back until you feel the backbone running straight down the middle. I haven’t read about any cases of scoliosis in chickens, so it should be straight down the center of the back.
3. Using kitchen shears or a knife, cut down both sides of the backbone. The bones are pretty thin in this area, so you should be able to cut through with little effort.
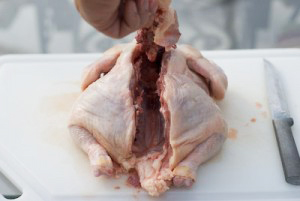
4. Remove the backbone completely and trim off any excess fat around where the tail used to be.
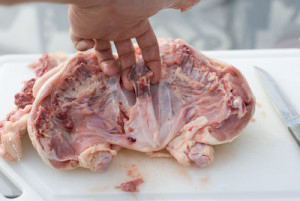
5. Ok, here’s where it’s a little tricky the first time. Spread the chicken open and locate the white piece of grissel you see here just to the right of my finger? Cut through it with the knife.
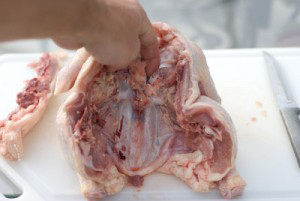
6. There is a bone starting under that piece of grissel called the keel bone and it runs down the length of the breasts. If you bend the chicken back a little farther, you’ll start to see the keel bone poke out between the breasts.
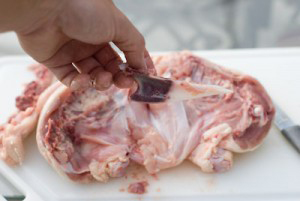
7. Work your fingers down each side of the keel bone to loosen and then pull it out. See why they call it a keel bone (boat reference)?
8. Now you can either leave the chicken flat or cut all the way through where the keel bone used to be to form two half chickens. I prefer to work with two halves; they’re easier to move around the grill.
9. Light your grill for a two zone, indirect grilling session. If you are using gas, you’ve got it easy—just light half of your burners to medium high and leave the other half off (preferably the center burners should be off). For you charcoal folks, pile up a chimney full of charcoal on one side of the grill.
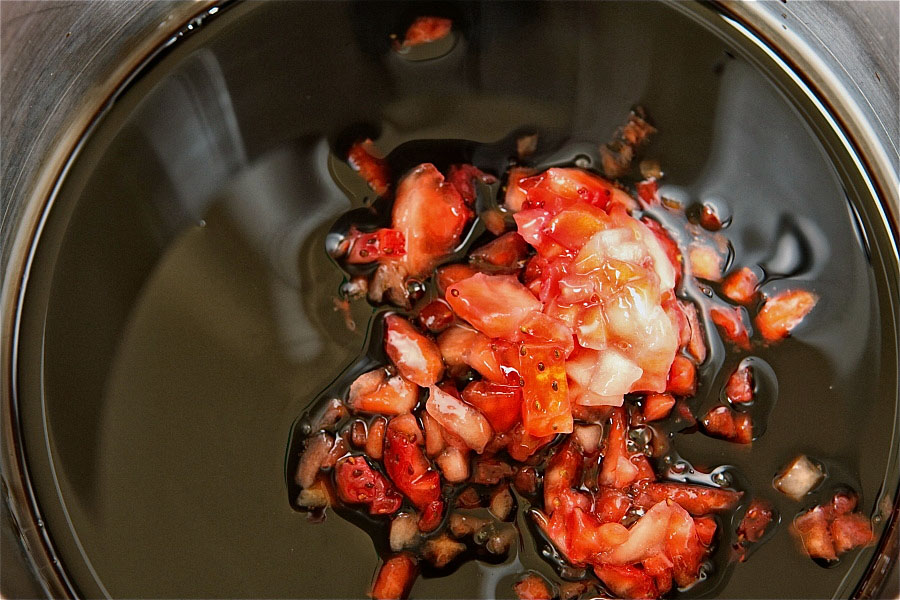
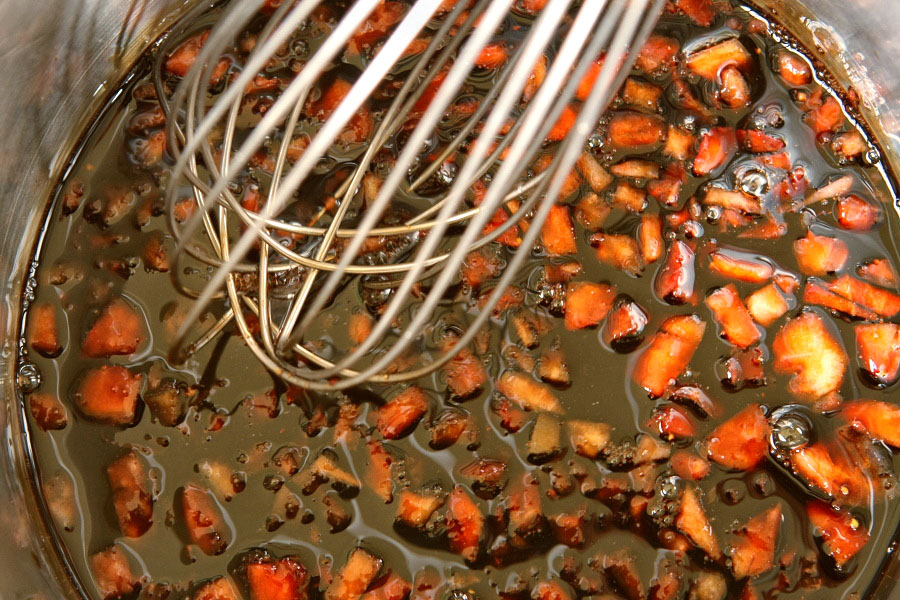
10. Combine the honey and balsamic vinegar in a bowl and whisk thoroughly to form our glaze.
11. Generously salt and pepper both sides of your chicken.
12. Once the grill is ready, place the chicken skin side down on the hot side of the grill. Stay close by, the fat from the skin is going to flare up! When it does, just move your chicken off the flame until the flare up goes out.
13. Sear the chicken for 5 – 10 minutes (depending on the temperature of your grill). We are looking to crisp up the skin and create a little char, but not burn the entire skin.
14. Once you are done searing, flip the chicken over skin side up and move the chicken to the cool side of the grill.
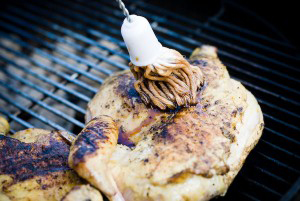
15. Using a mop or brush, baste the chicken with the honey balsamic glaze and close the grill’s lid.
16. We want to keep the grill at as close to 350 degrees as possible and only open the lid to baste the chicken. Just like your oven, the grill loses all of the heat each time you open the lid.
17. Continue to baste the chicken with the glaze every 10 minutes or so and keep the lid closed in between basting.
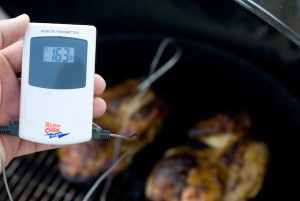
18. Grill the chicken until a thermometer inserted into the deepest part of the breast reads around 160 degrees and the outside skin has darkened.
19. Hit the chicken with a little more glaze and place on a platter to serve.
20. Allow the chicken to rest for about 10 minutes before you carve.
See? Told you this was easy! Sure, you can buy half chickens, but they are little more expensive and you won’t be able to impress your family with your new butchering skills. With a little practice, you’ll disassemble that bird in no time flat. (Get it?)
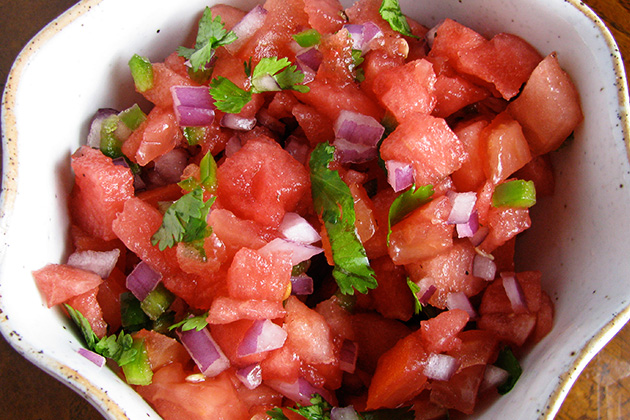
Along with that grilled chicken, I’d love to top it with some Fresh Watermelon Salsa from HowSweetEats.
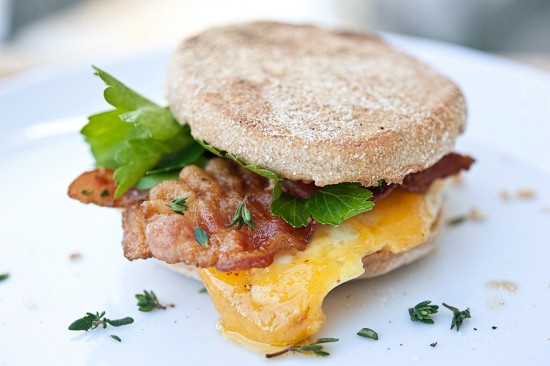
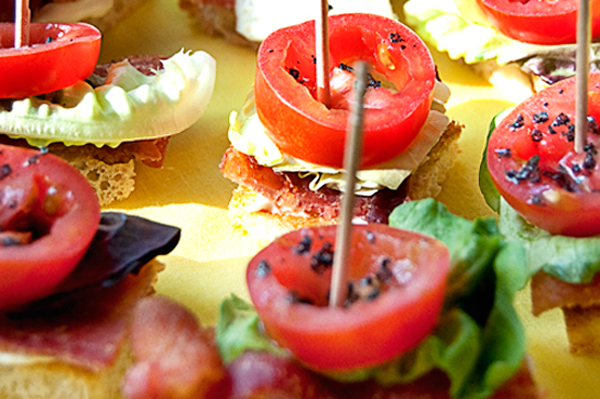
And then we move on to BLT Bites from LanaAnn. How cute are these! I’ll take 4 of them please!
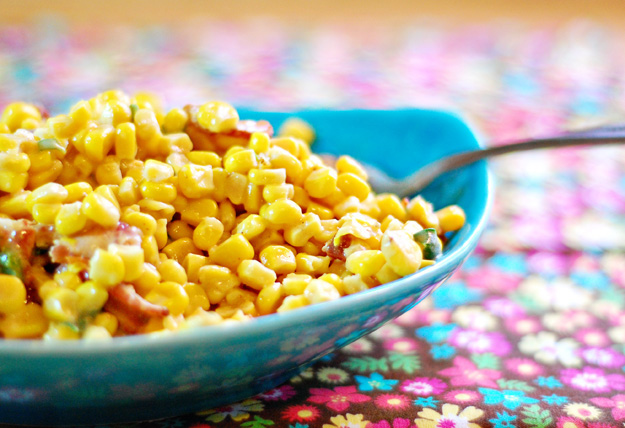
Another summery side perfect for this weekend is Karly’s Corn with Bacon and Green Onions. Because how can you have a celebration without bacon? Love it.
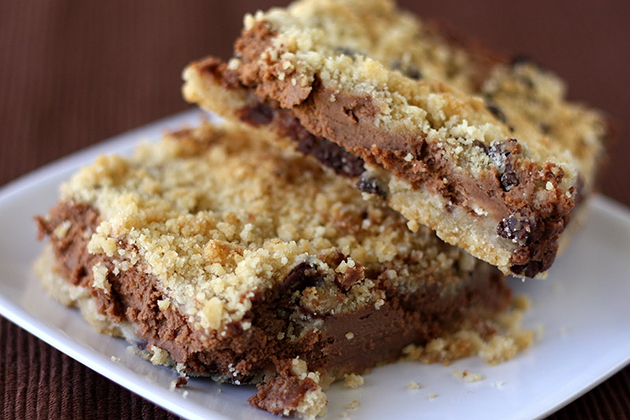
And for dessert, to top it all off, Mangiodasola’s Chocolate Crumb Cheesecake Bars. Truly decadent.
_______________________________________
Jaden Hair is a food writer, television personality, and food photographer based in Tampa Bay, Florida. Find more of her recipes in her blog, Steamy Kitchen, where you can also read more about Jaden’s new book, The Steamy Kitchen Cookbook, and the rave reviews it’s received!

 >
>