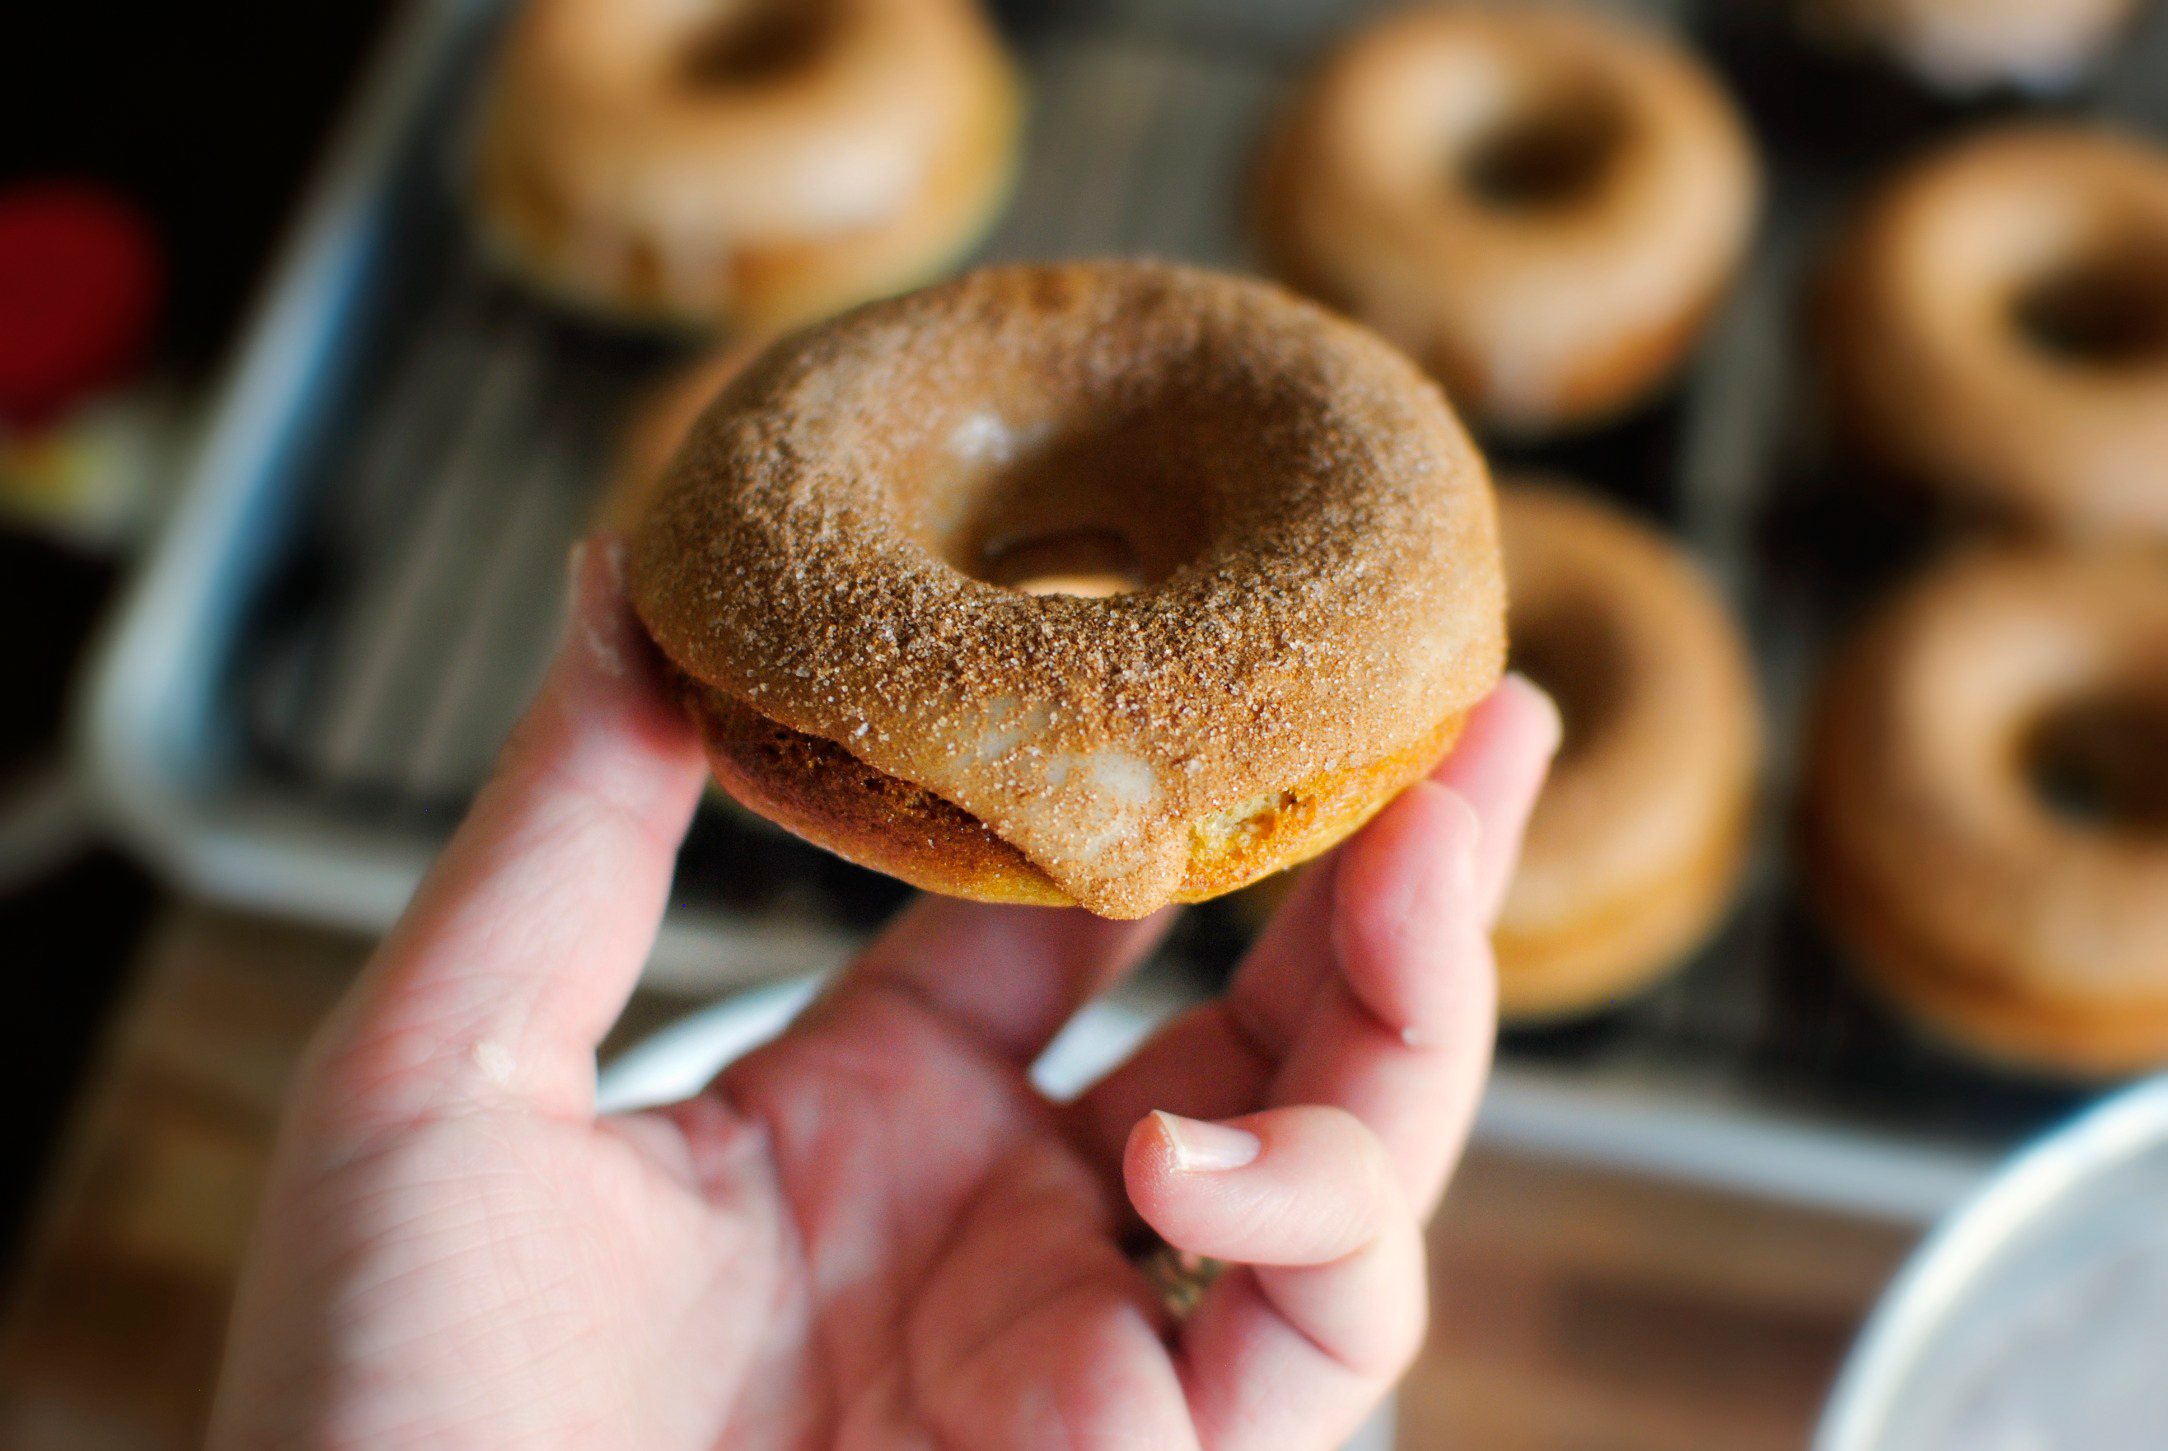
Crepes are one of those things that I love so much, but rarely make for myself at home. Michelle Robin inspired me to try them at home with her quick and easy 1-2-3 Crepe Batter that definitely convinced me that I could make crepes for myself regularly and it wouldn’t be a production. These were addictively delicious and the possibilities for dressing them are endless. You could even go the savory route for dinner!
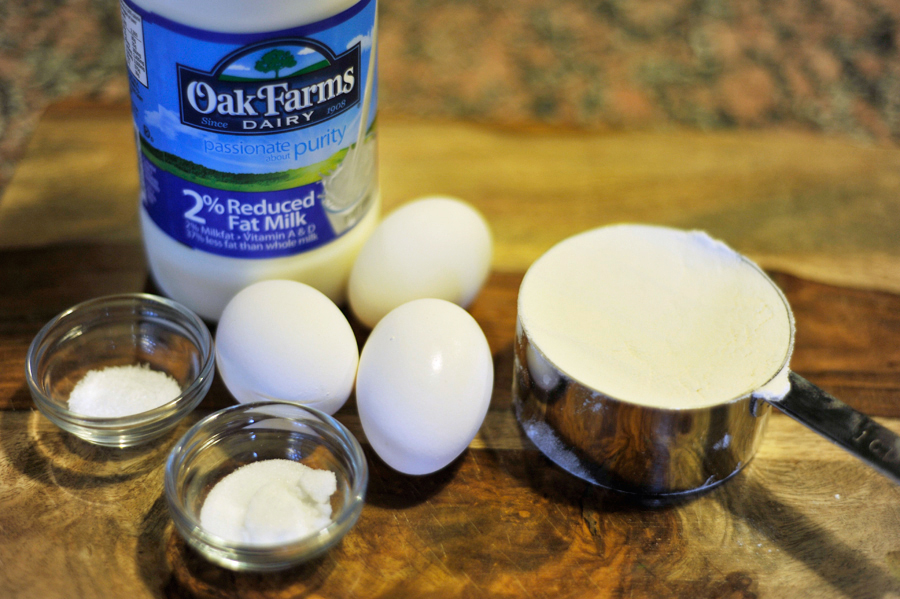
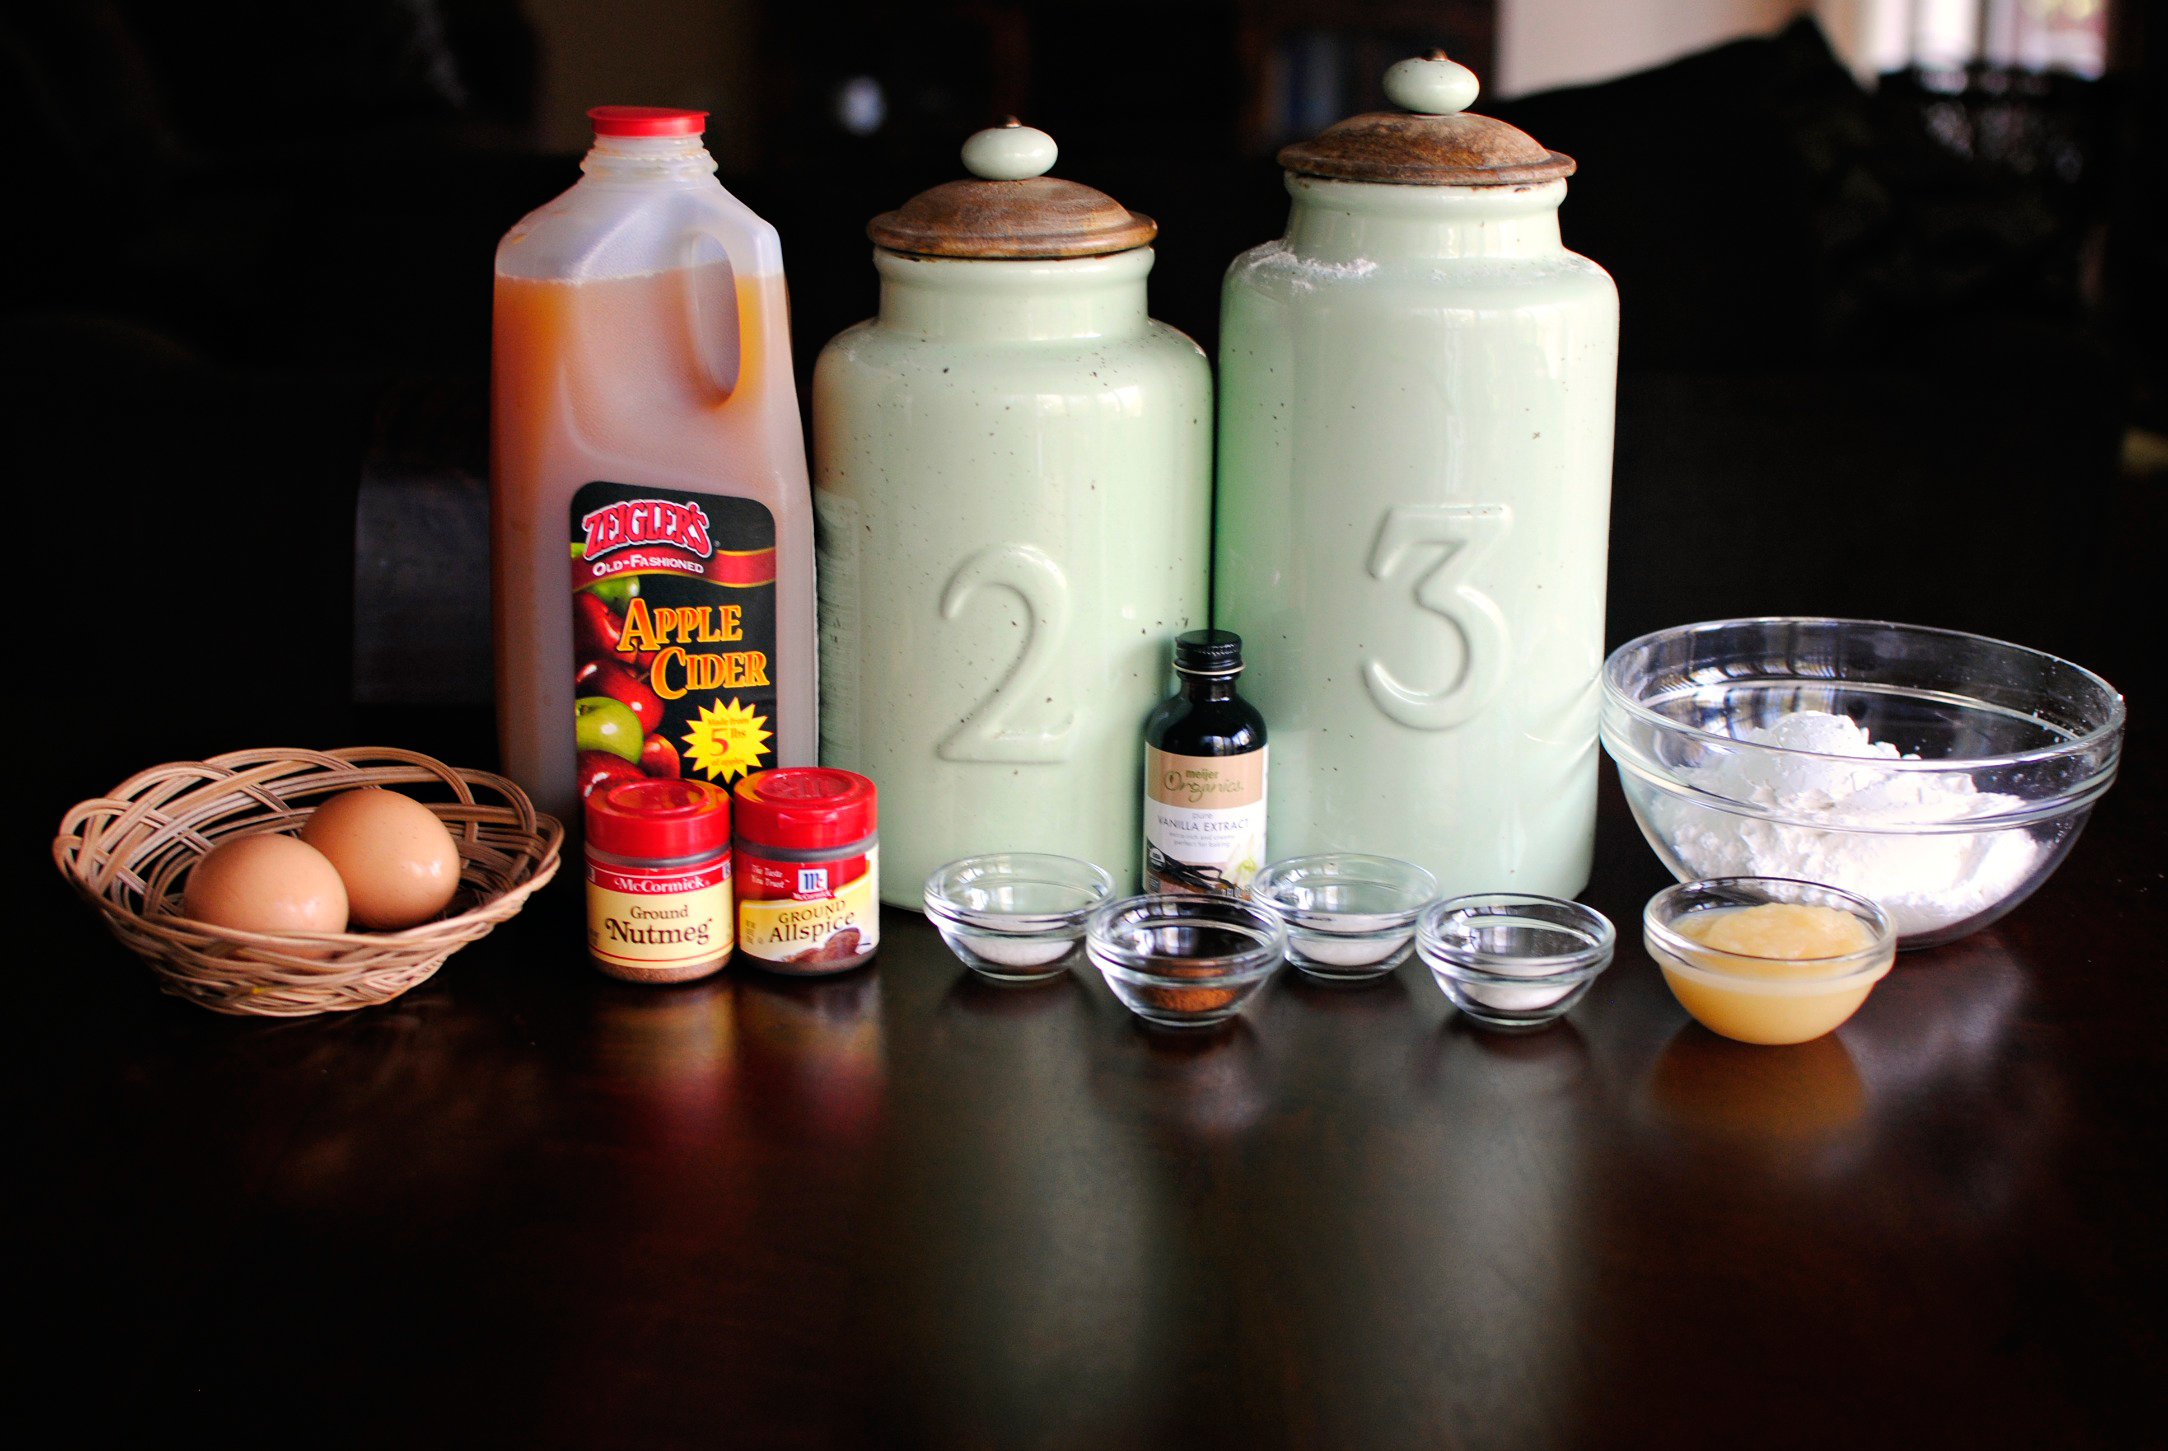
To start you will need: flour, milk, eggs, sugar (optional), and a pinch of salt. That’s it! It’s called 1-2-3 crepe batter because you’ll mainly use 1 cup flour, 2 cups milk, and 3 whole eggs.
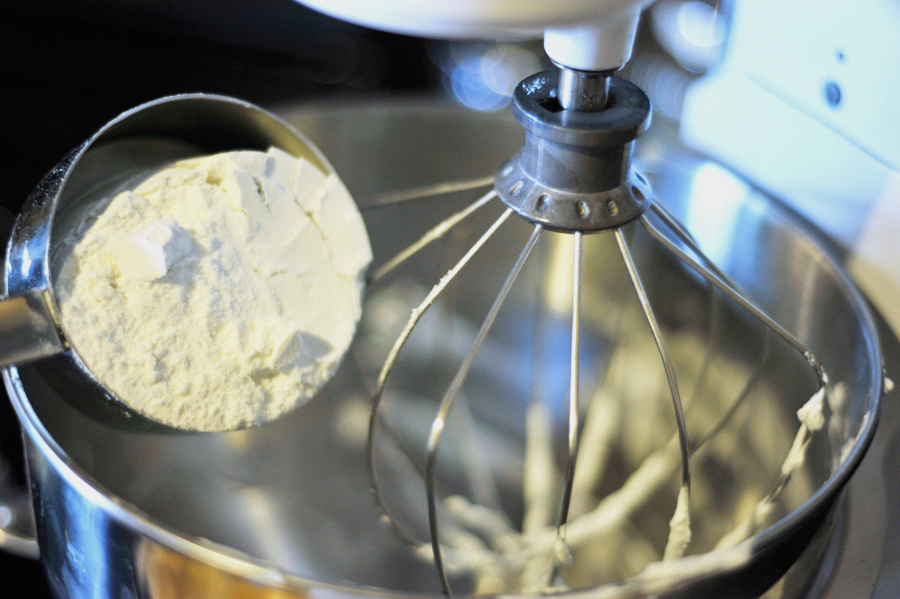
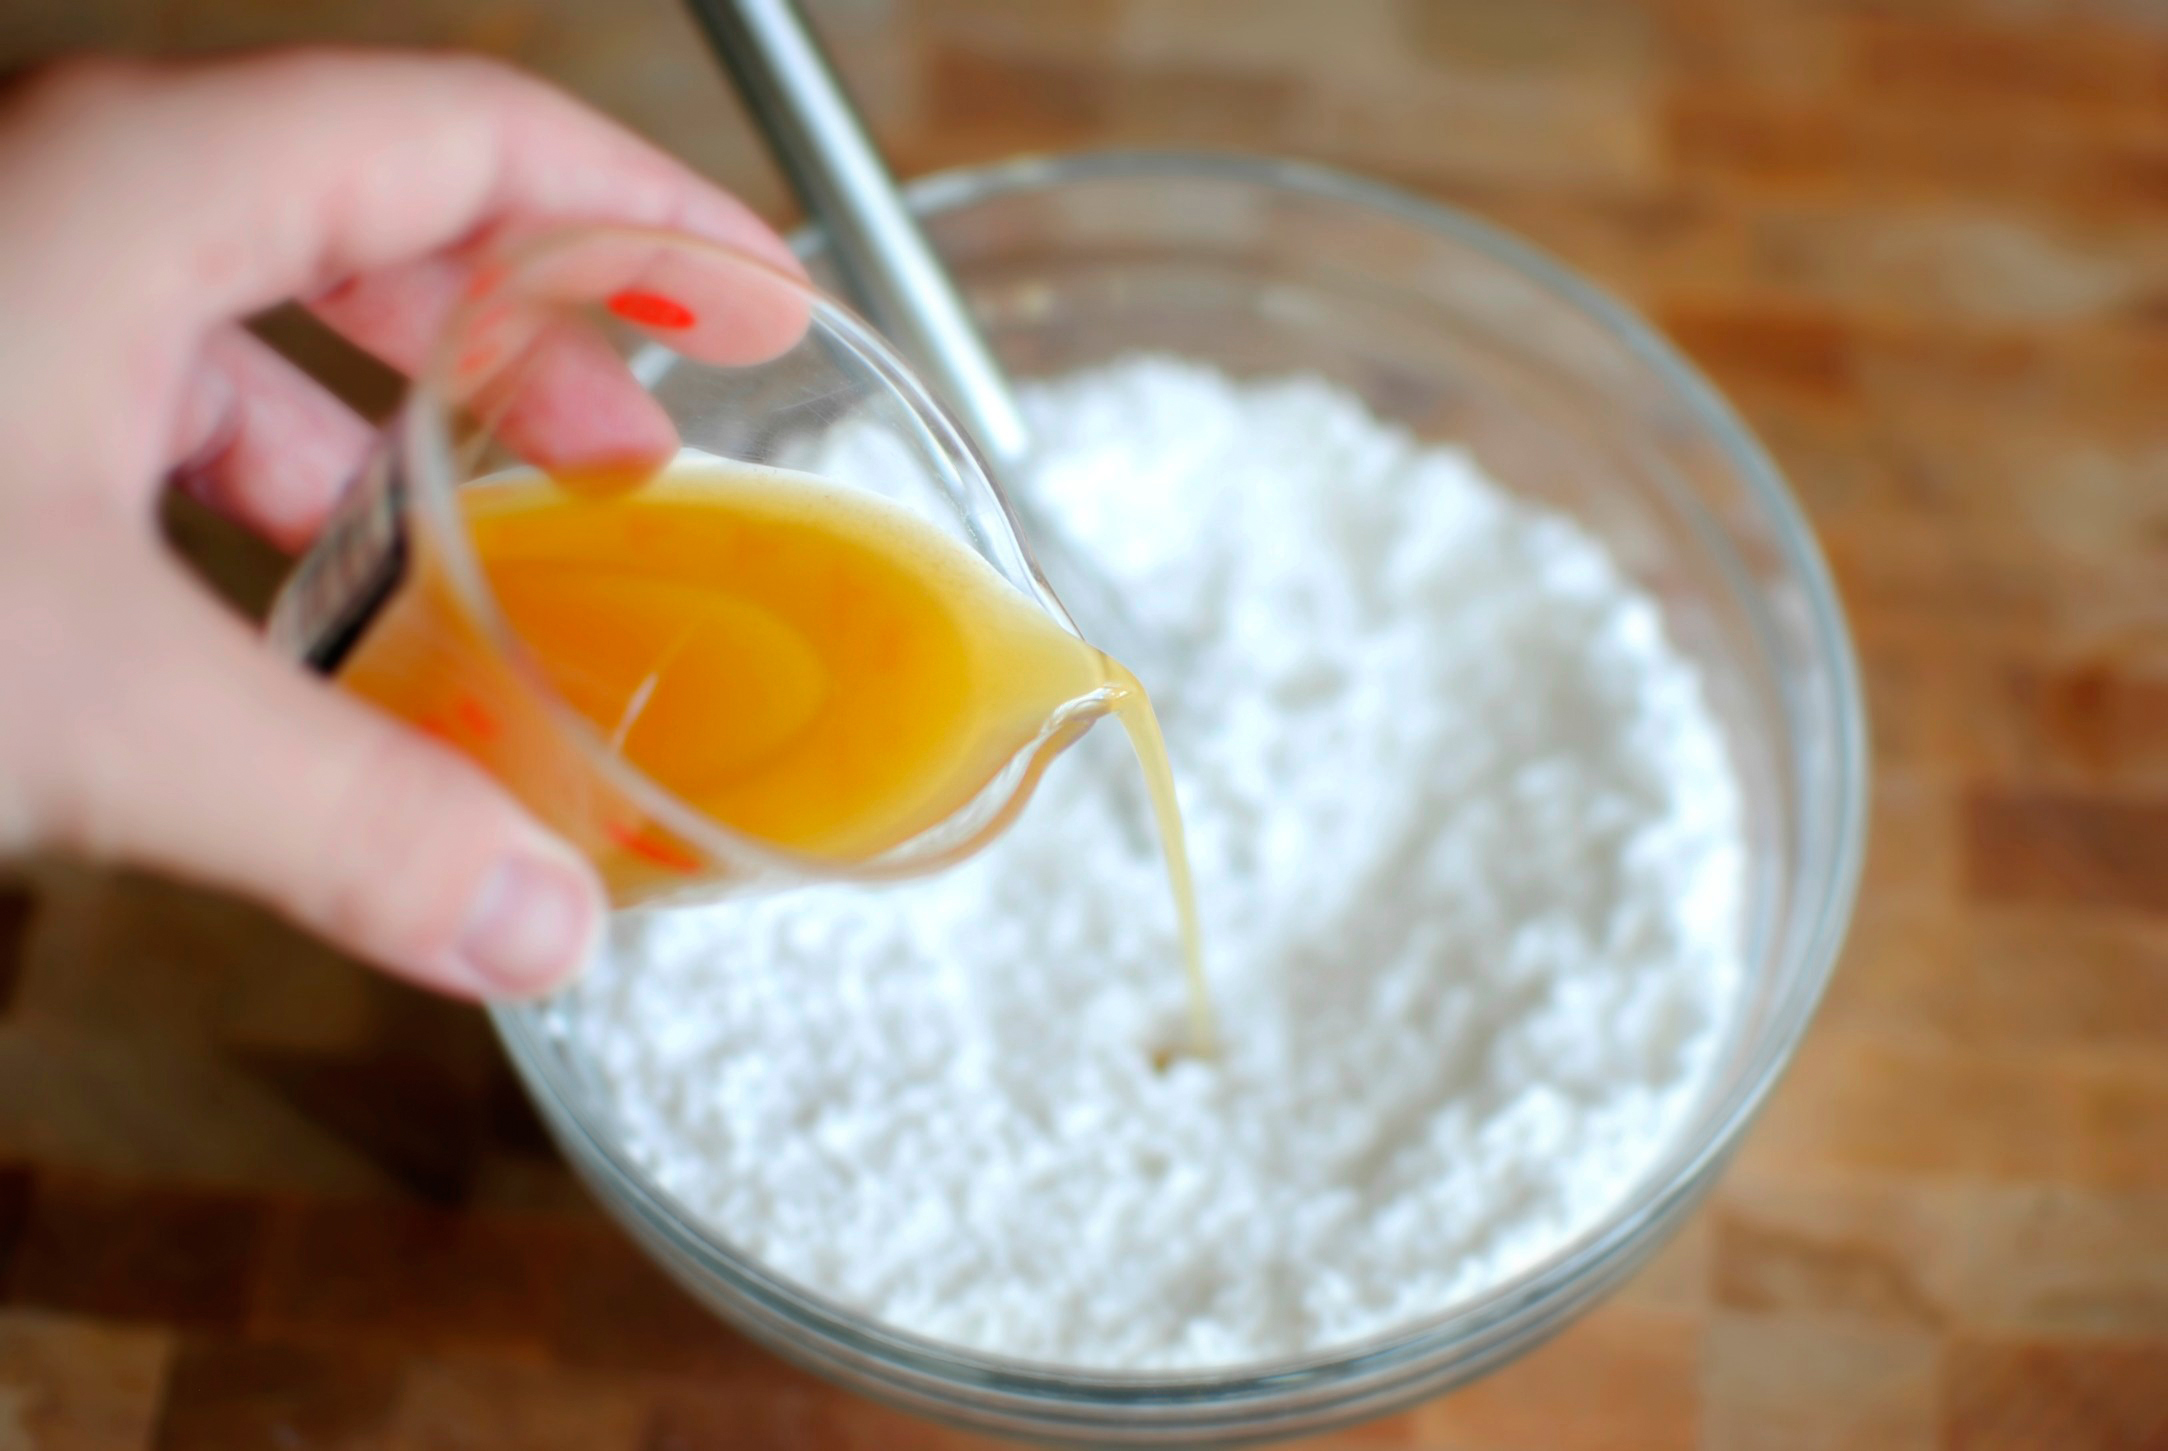
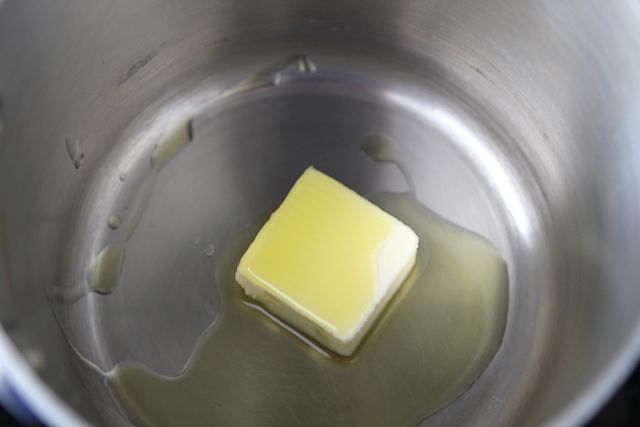
In the bowl of an electric mixer (you could also do this by hand) blend together your ingredients, starting with the flour…
Then the sugar …
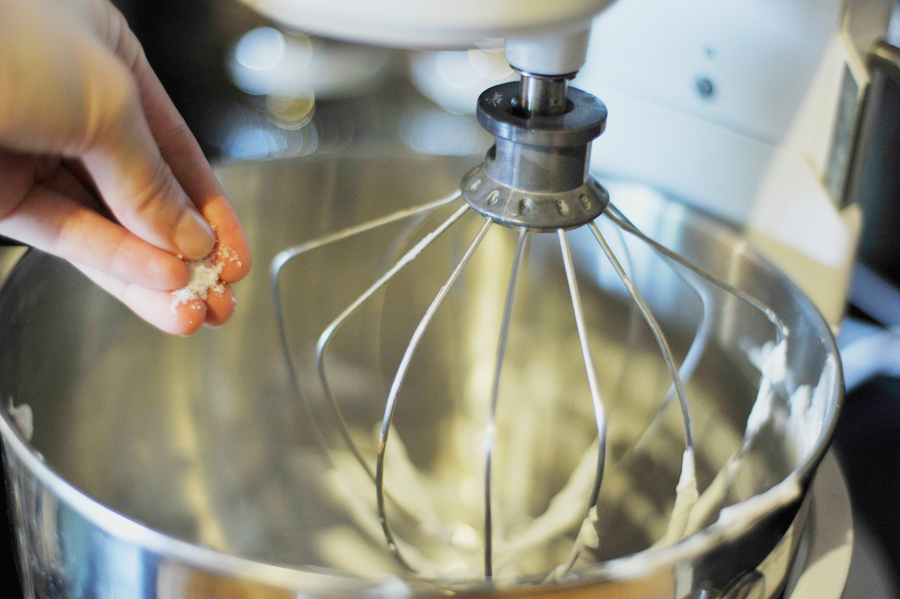
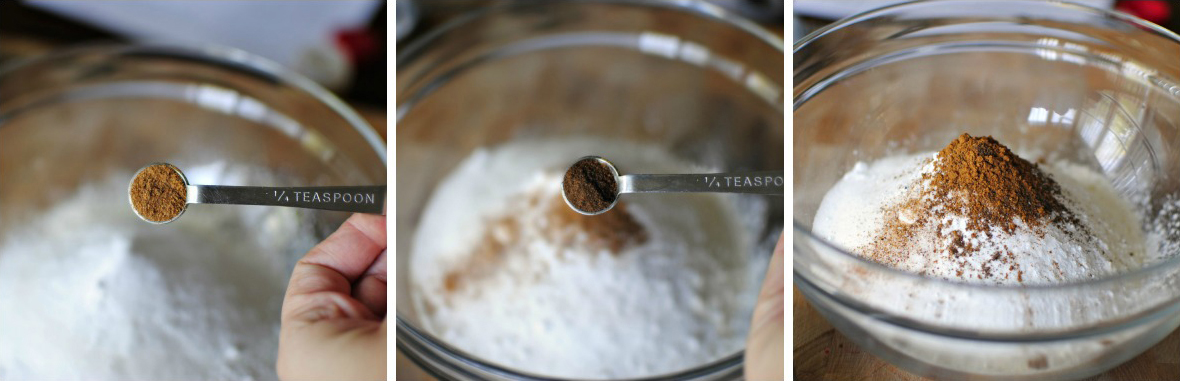
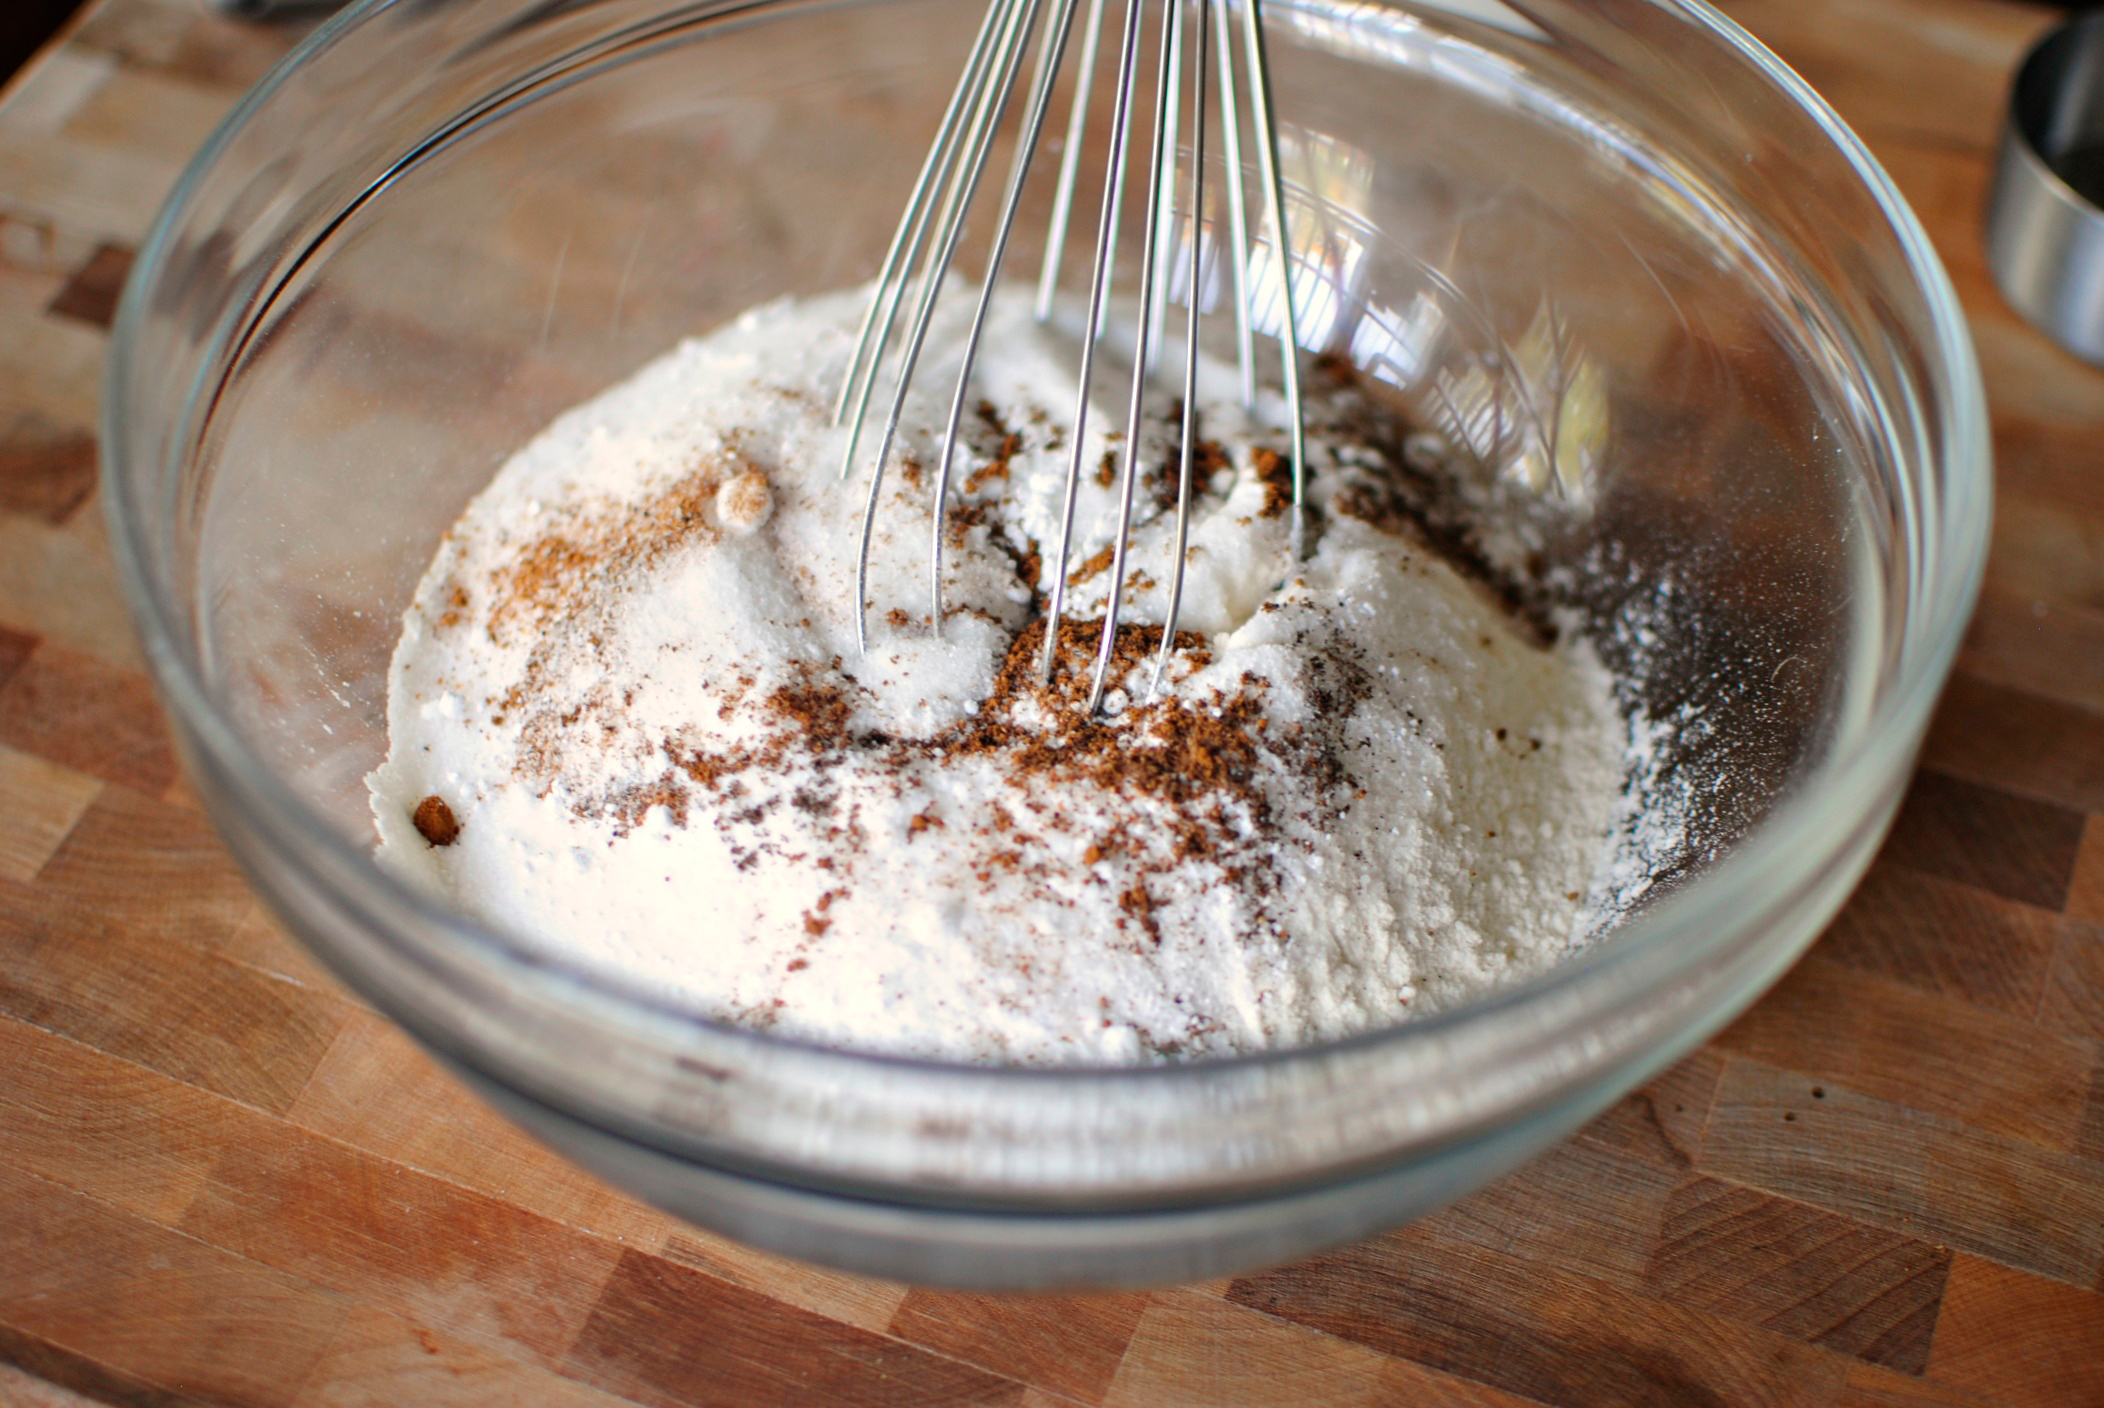
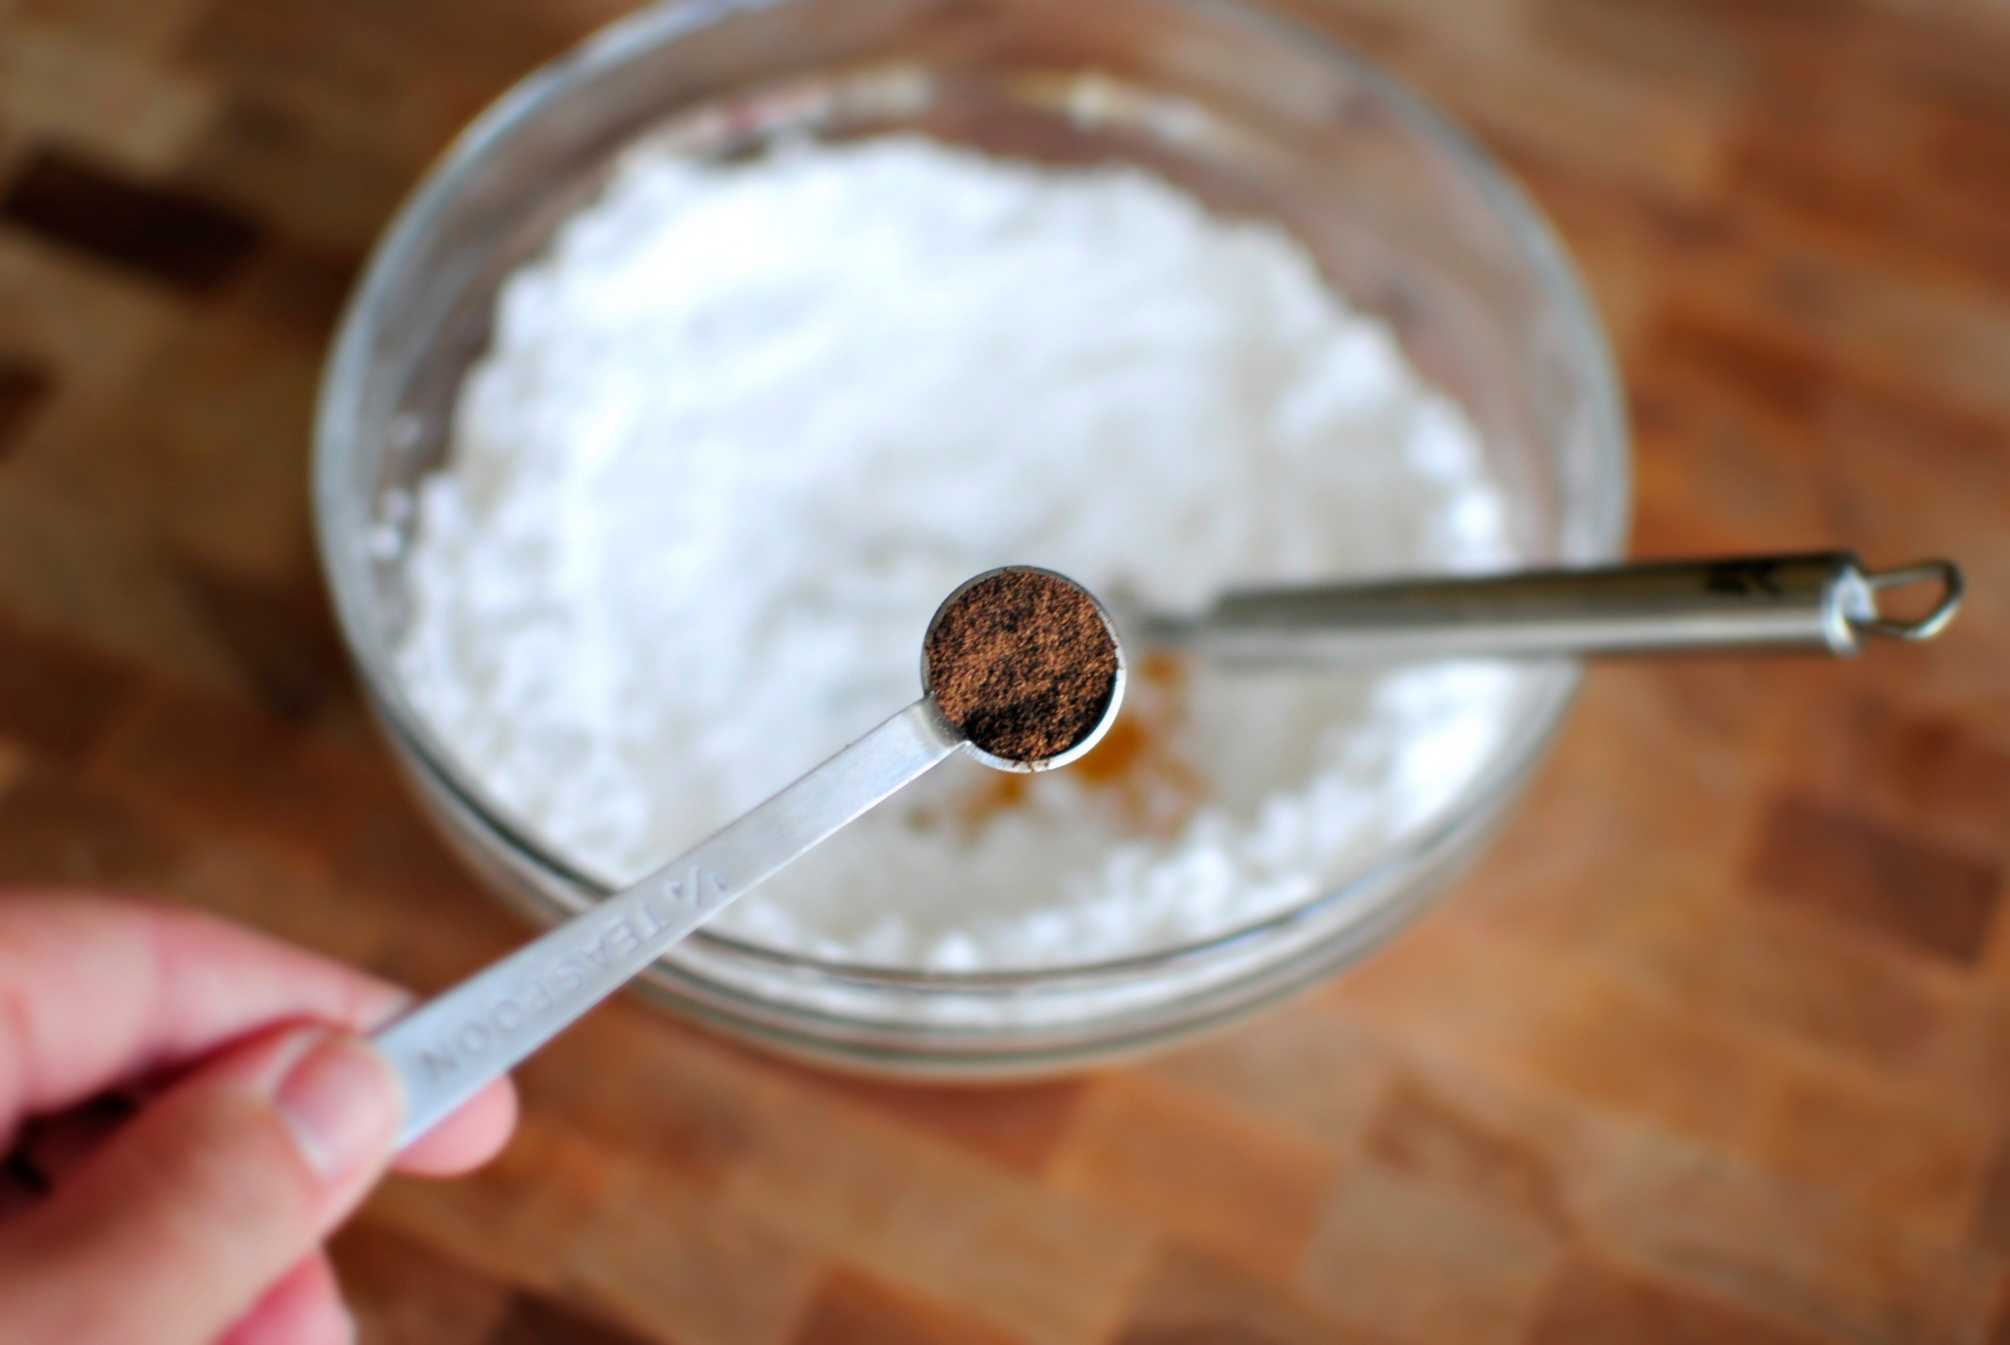
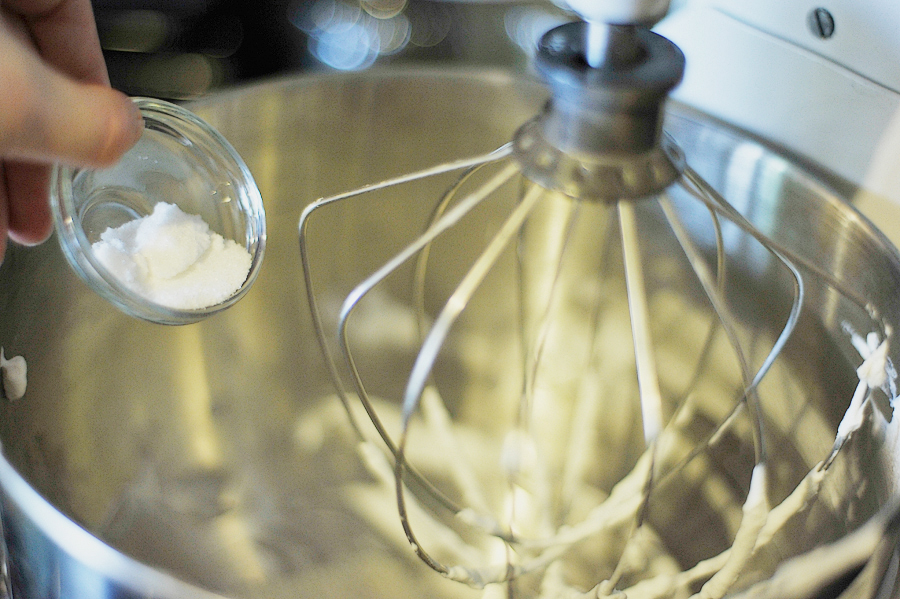
Then a pinch of salt …
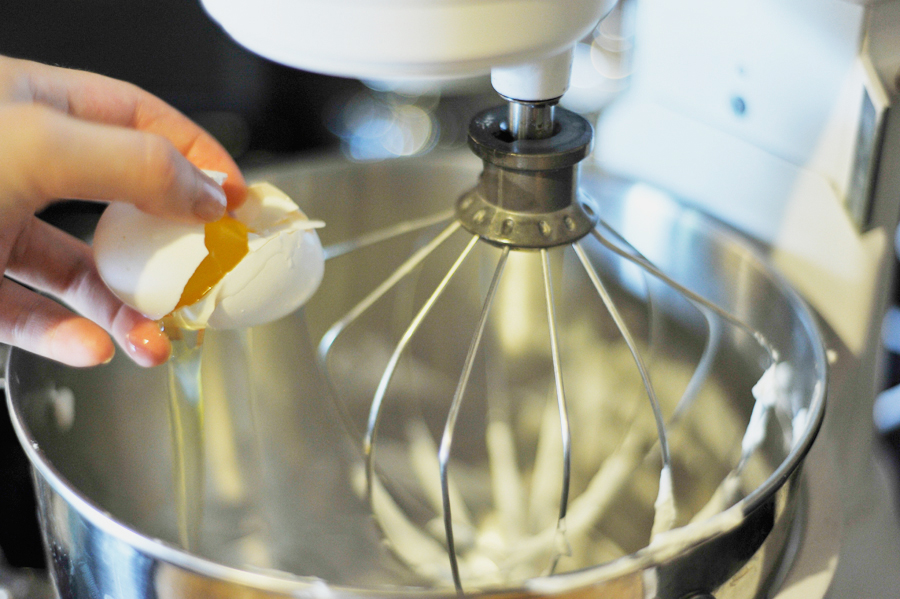
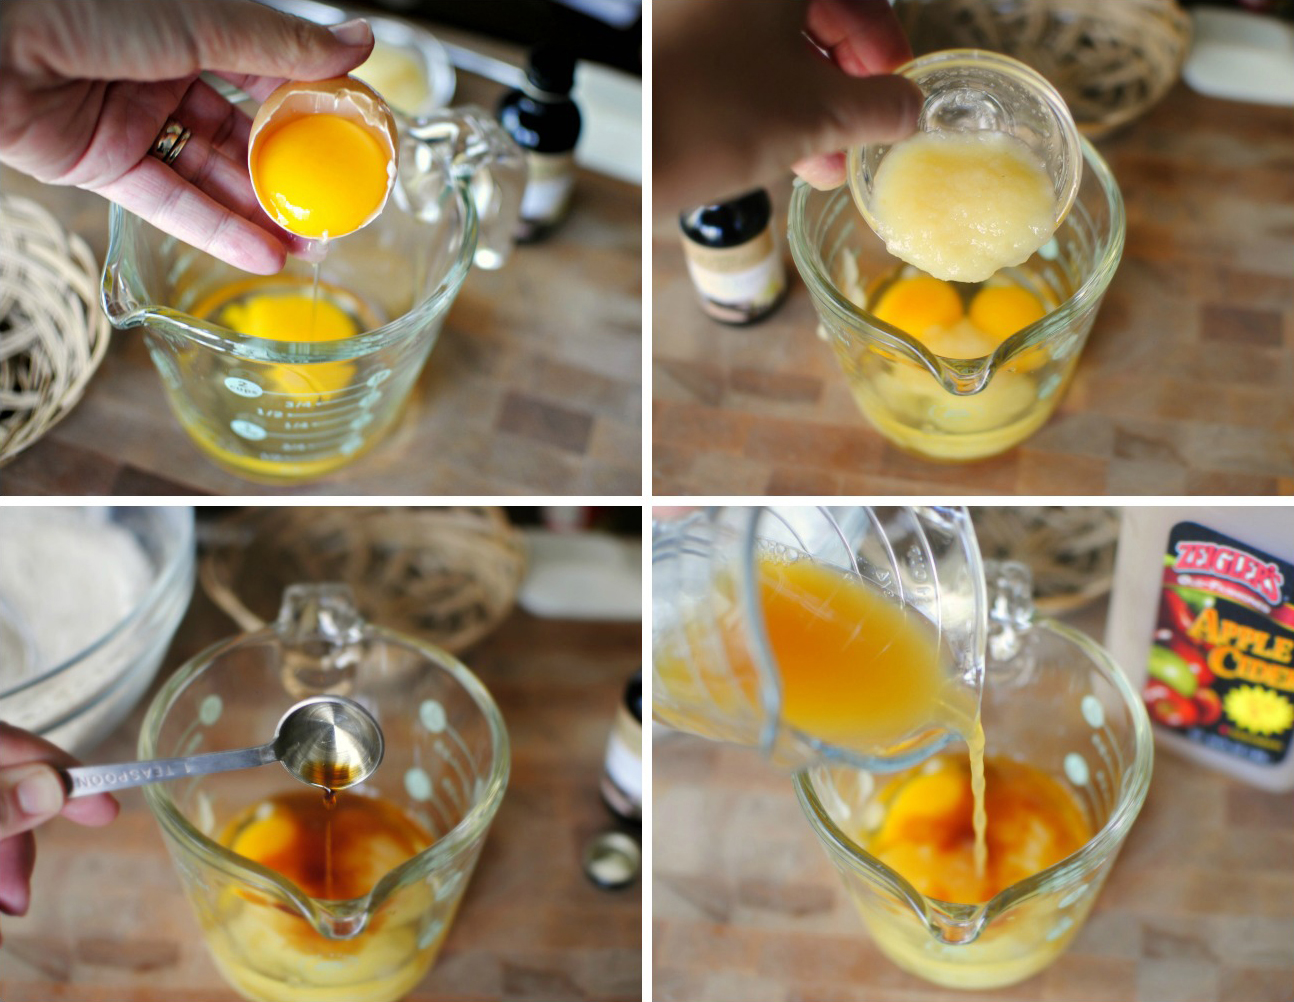
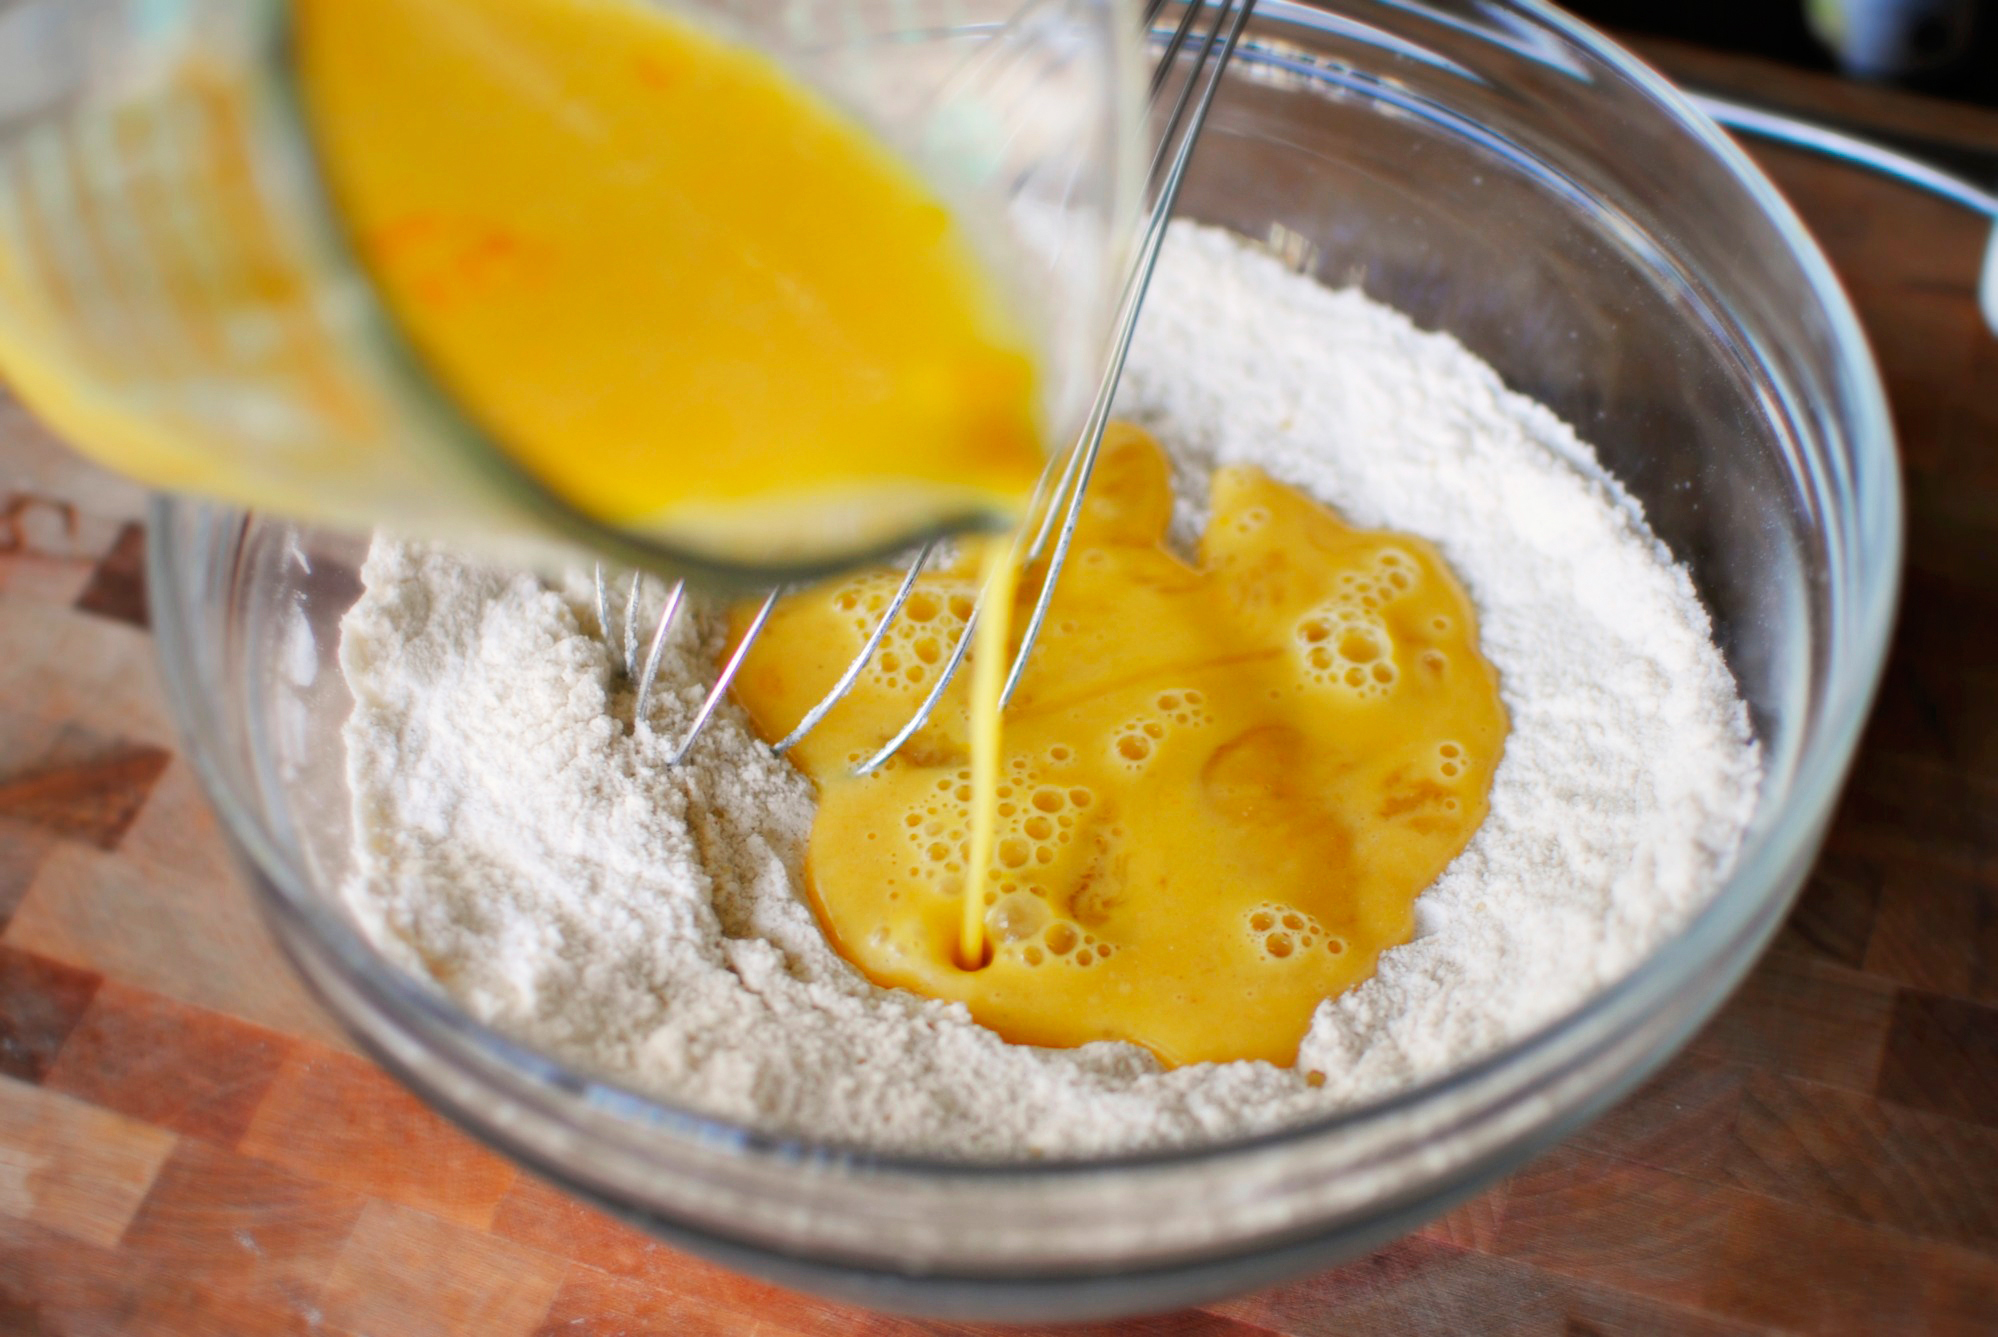
The eggs …
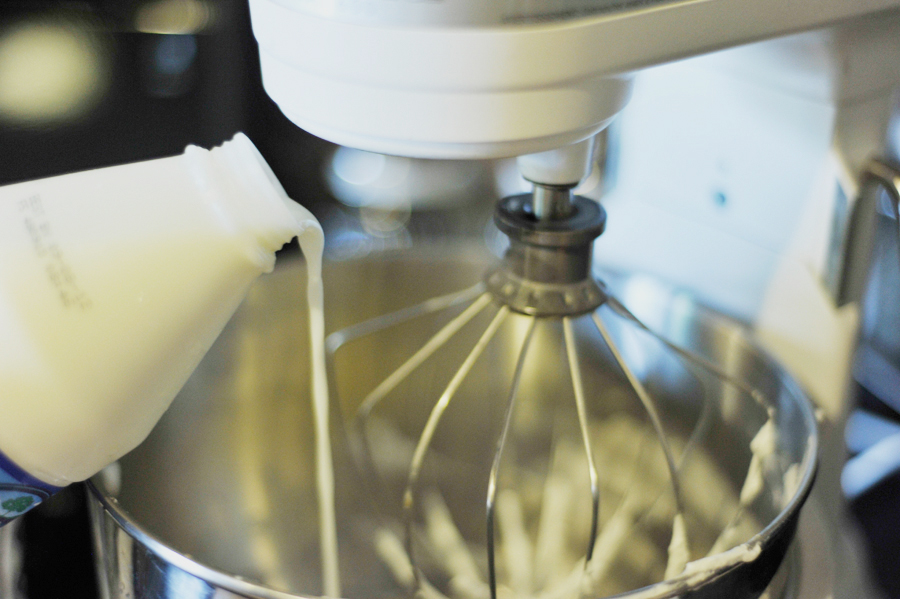
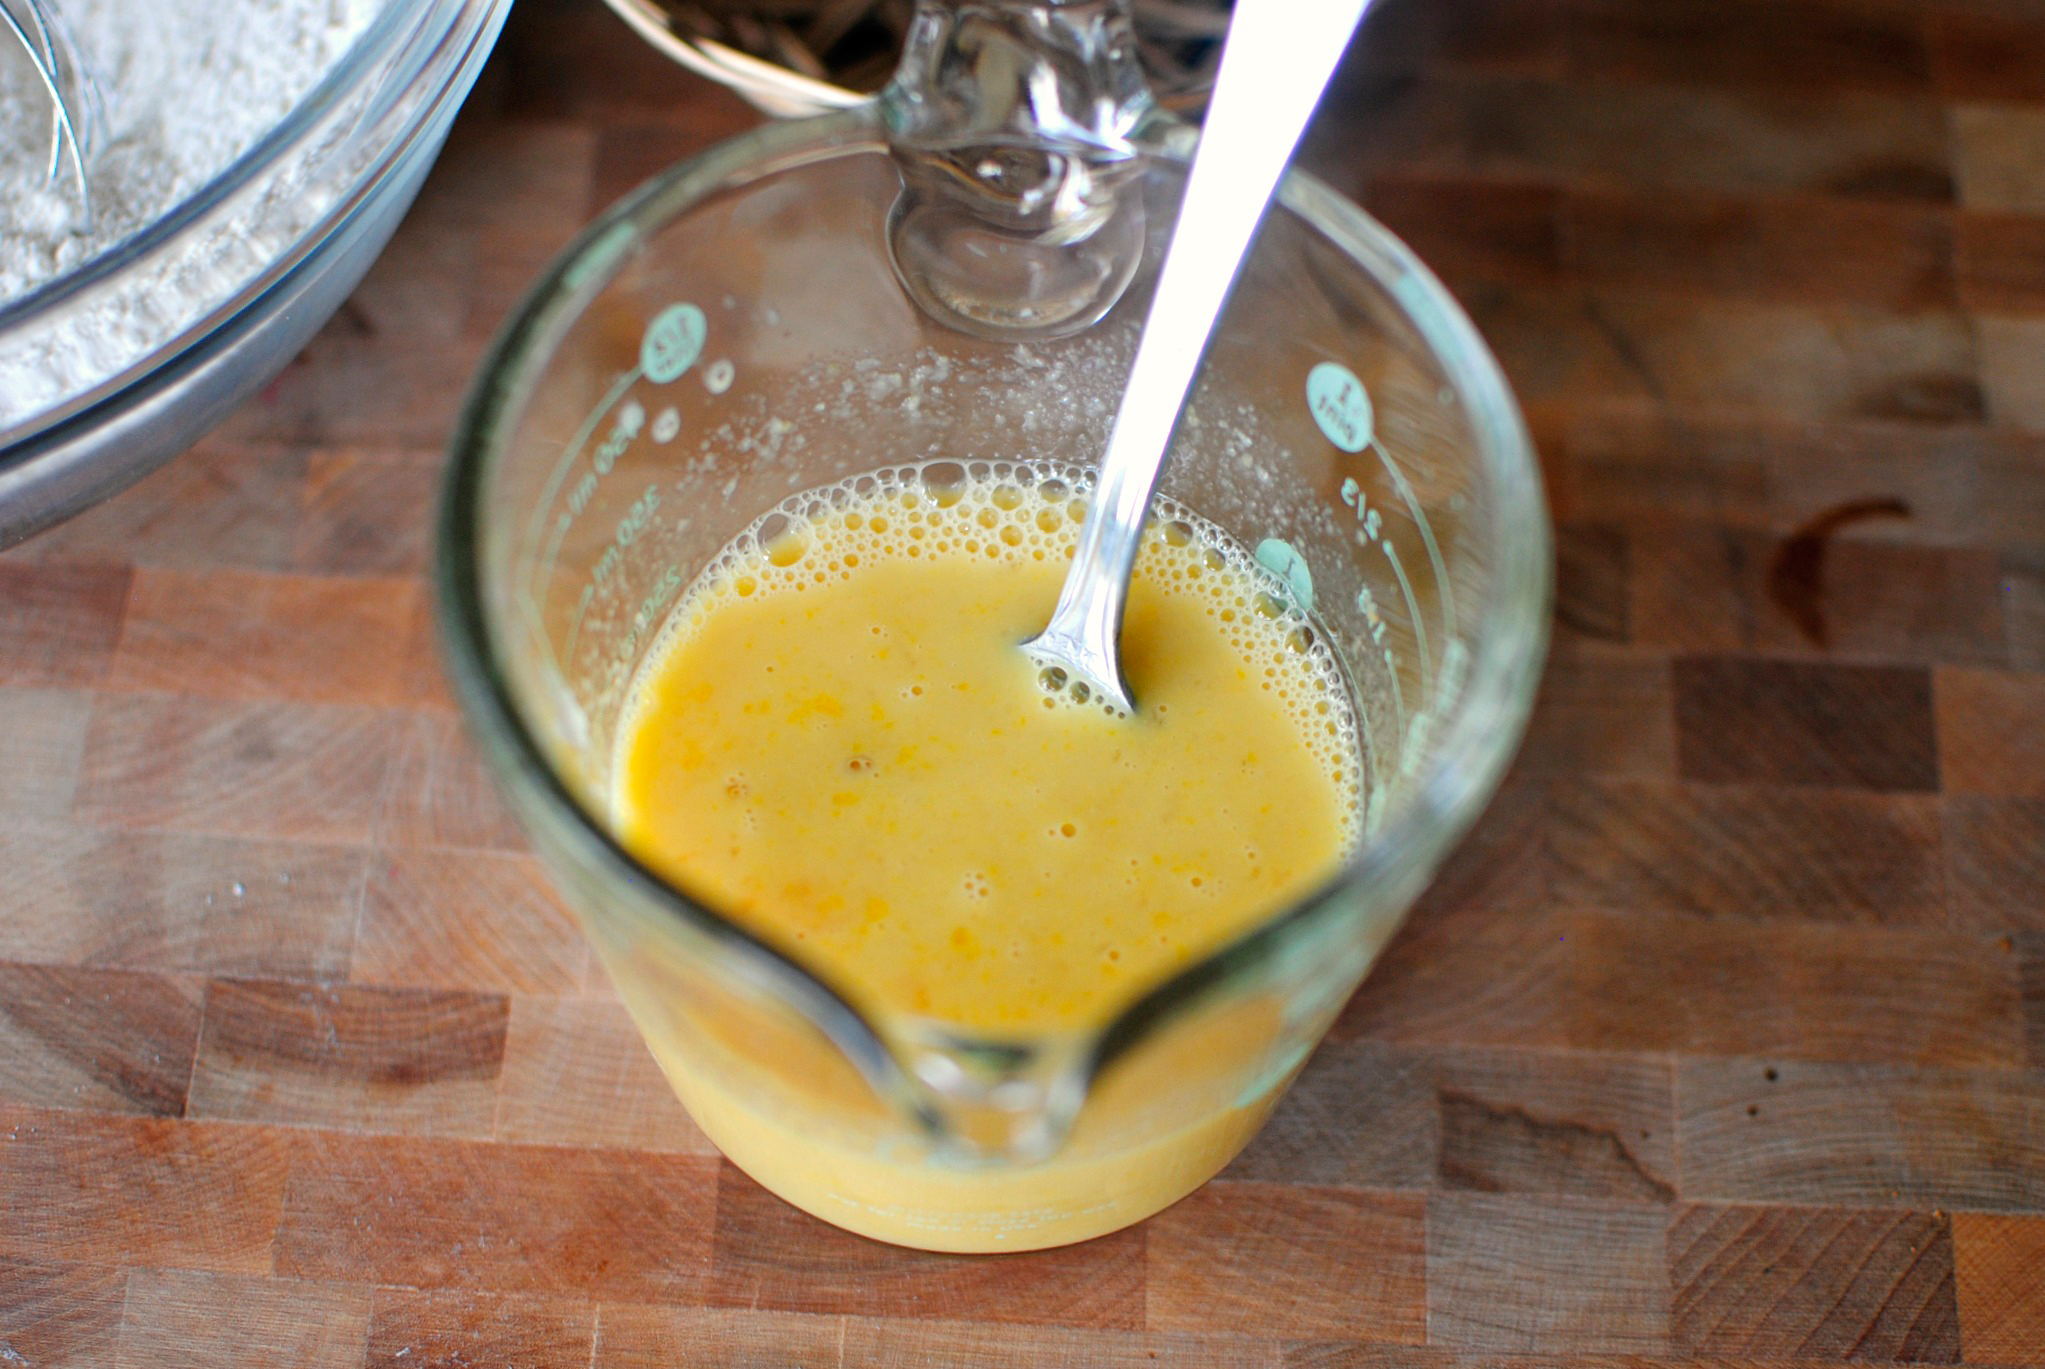
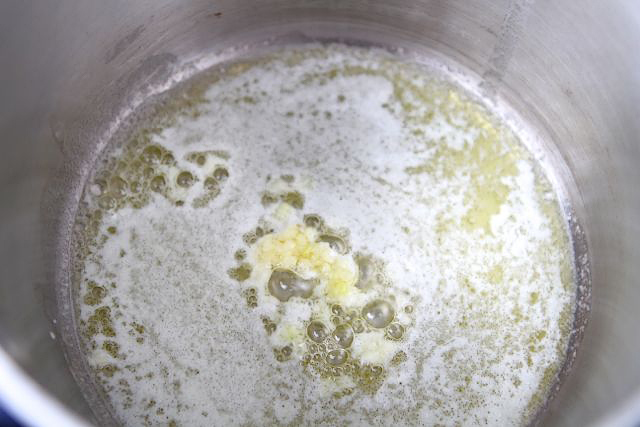
And the milk.
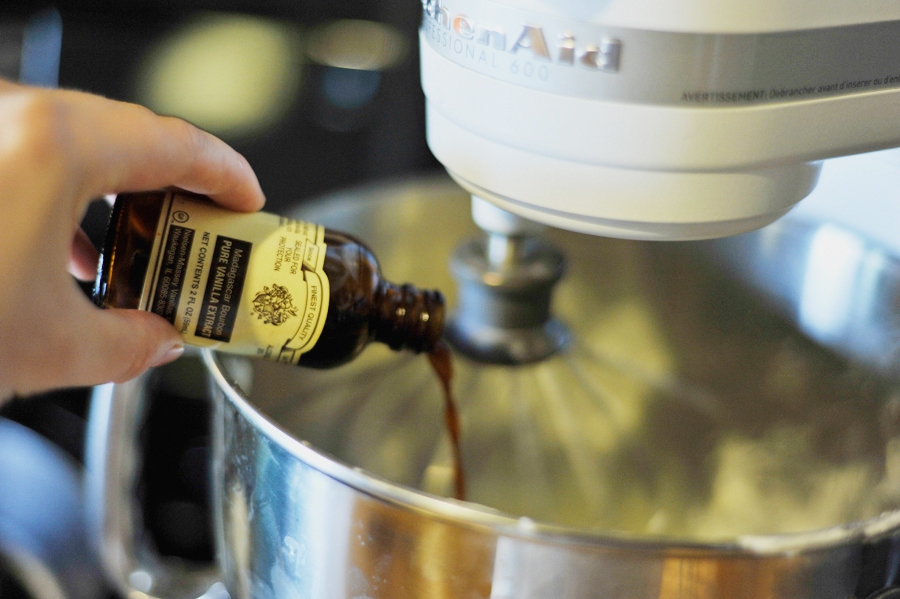
If you’re feeling adventurous, add some other flavorings like vanilla if you’re in a sweet crepe mood.
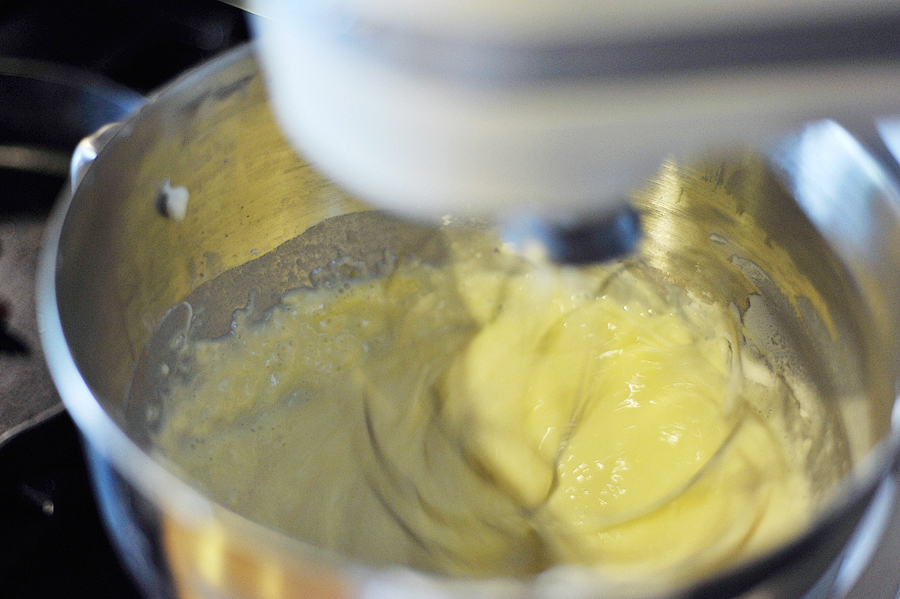
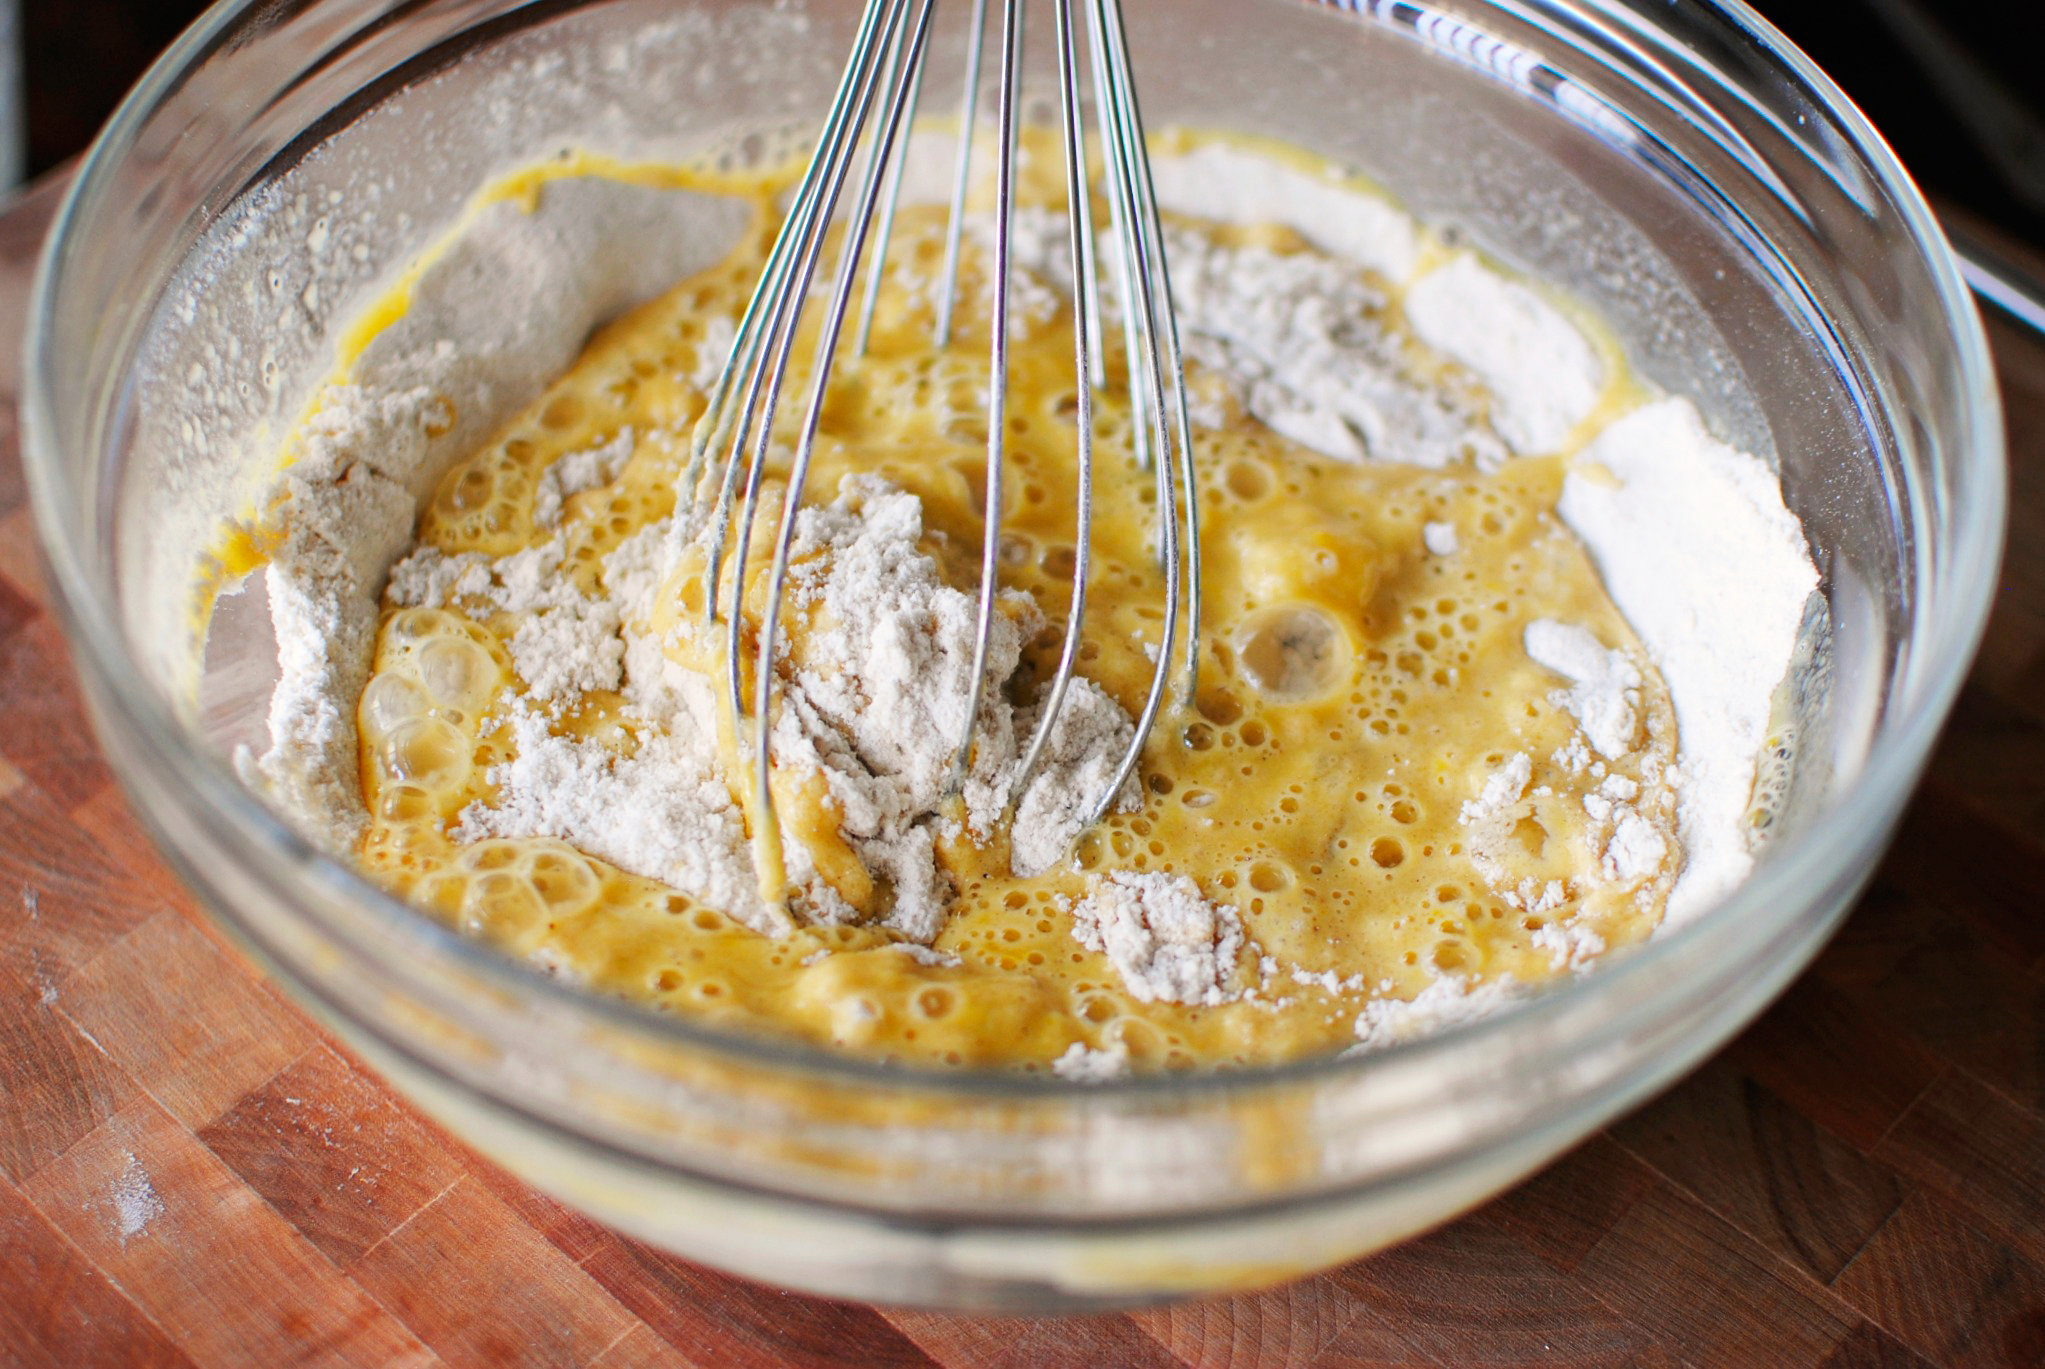
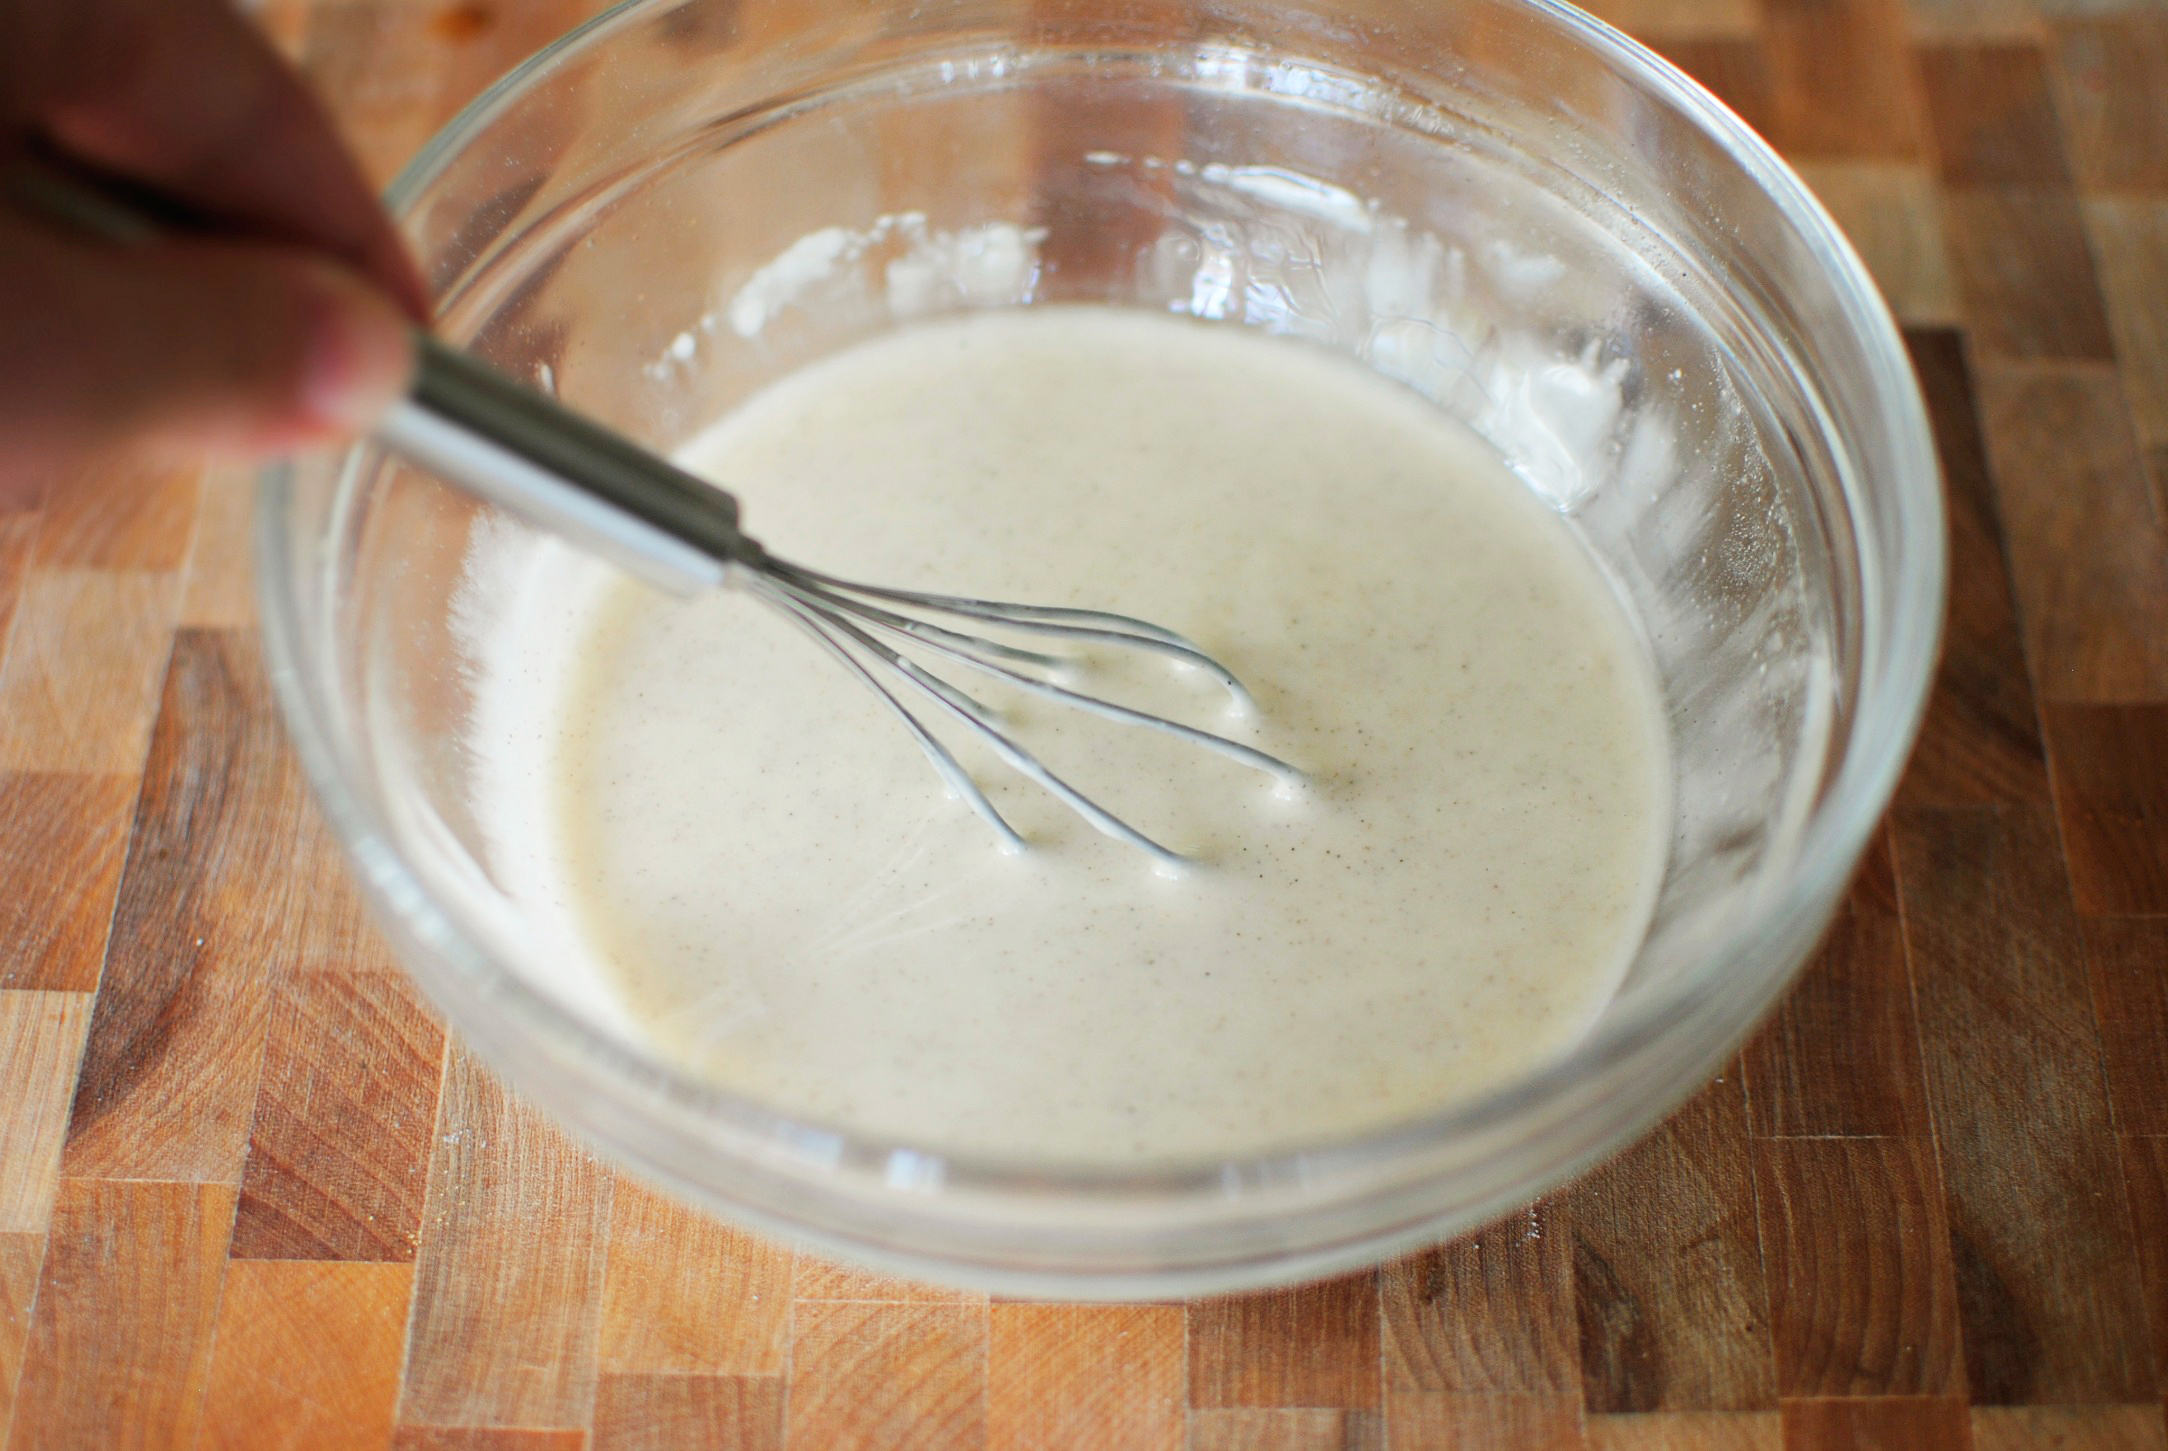
Whisk it all together until you have a uniform batter. Then place your batter in the refrigerator for about 30 minutes. This will allow the milk to absorb the flour and thicken slightly. If the batter seems too thin at first, letting it sit will remedy this.

Now get your accoutrements ready! I chose jam, whipped cream, raspberries, and peaches. But the possibilities are endless, really. Nutella perhaps? Or like I said, this would be great with cheese and steamed veggies.
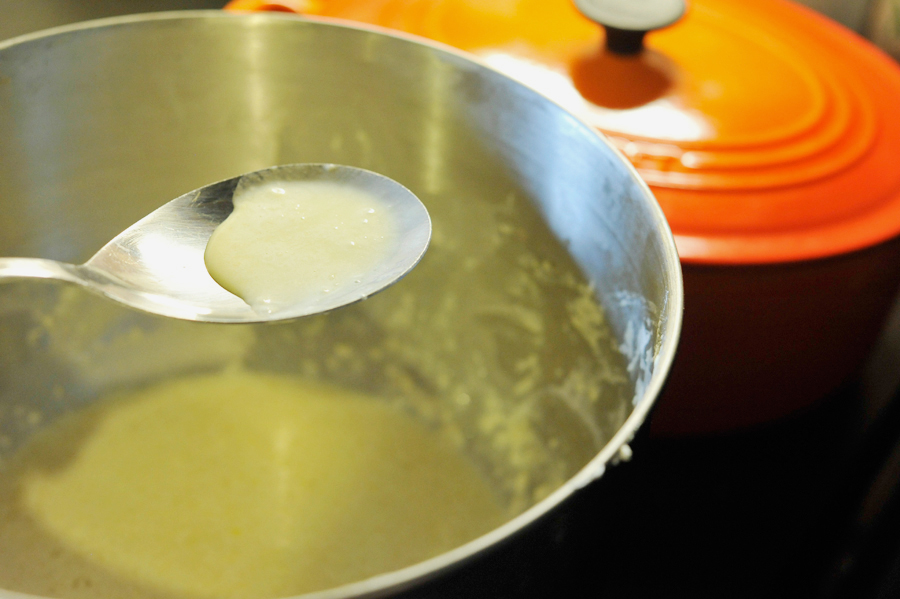
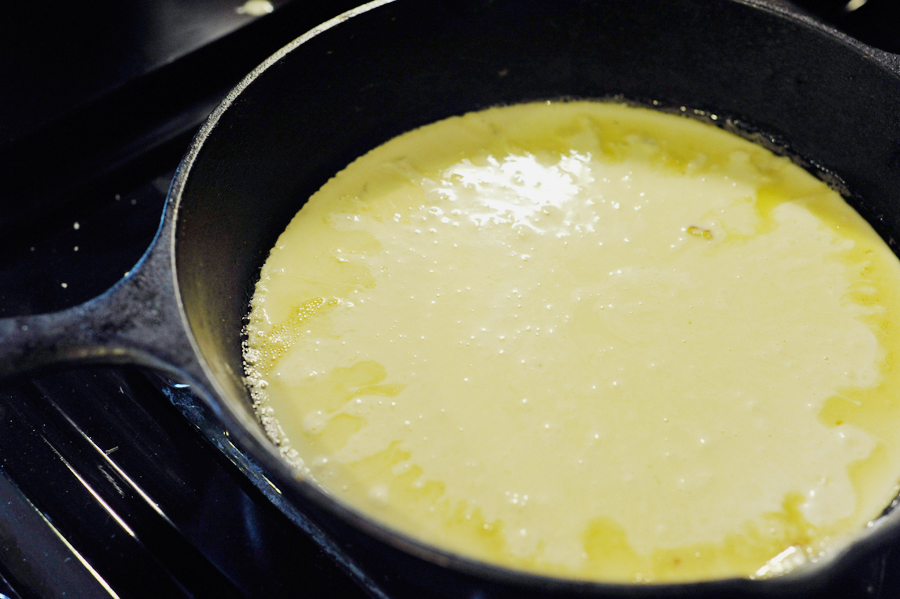
This is what your batter will look like when it comes out of the refrigerator. A little runny but that’s good. Heat your skillet with a bit of oil or butter.
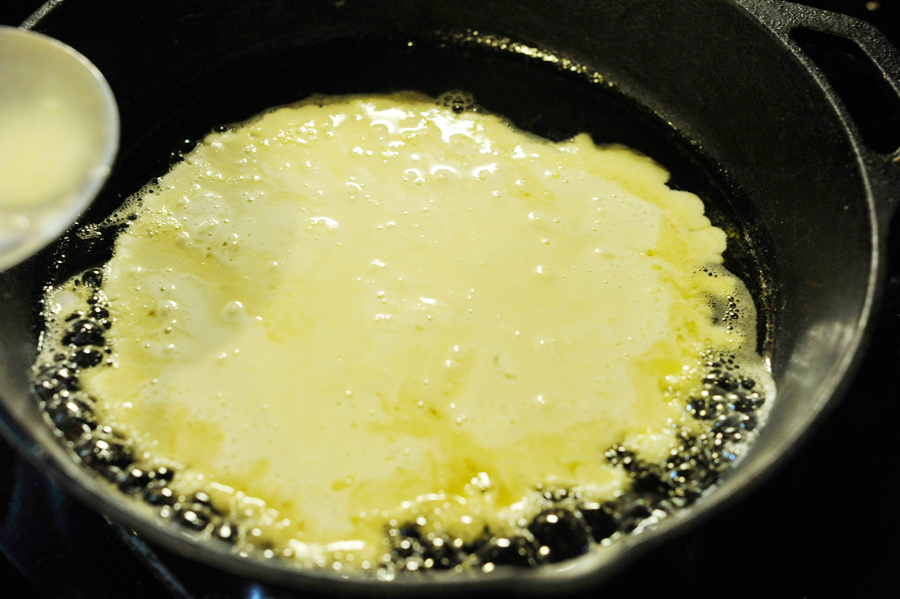
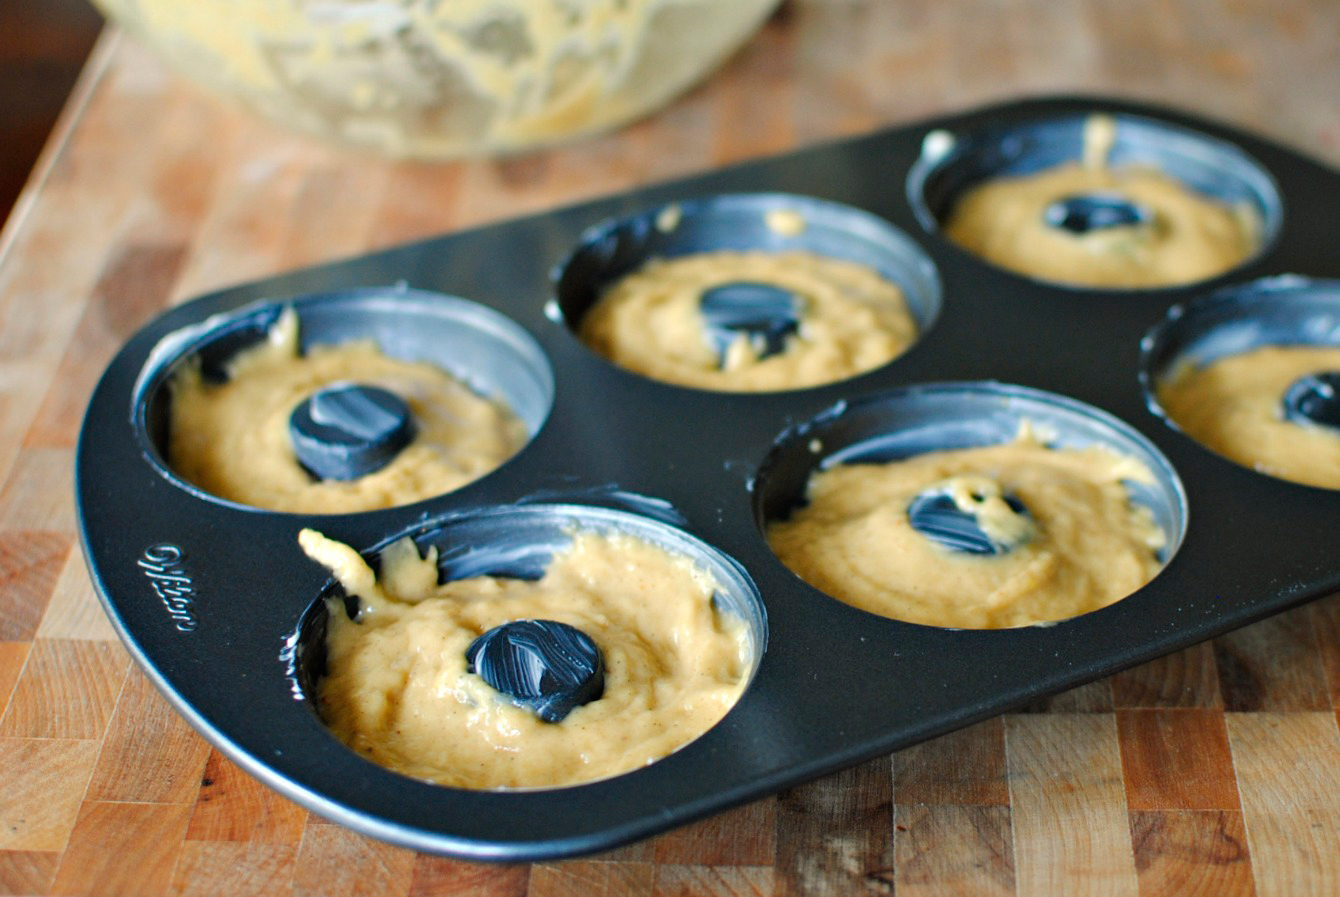
And pour in some batter. The idea is that you don’t want to overfill because you want the crepe to spread out so that it is thin.
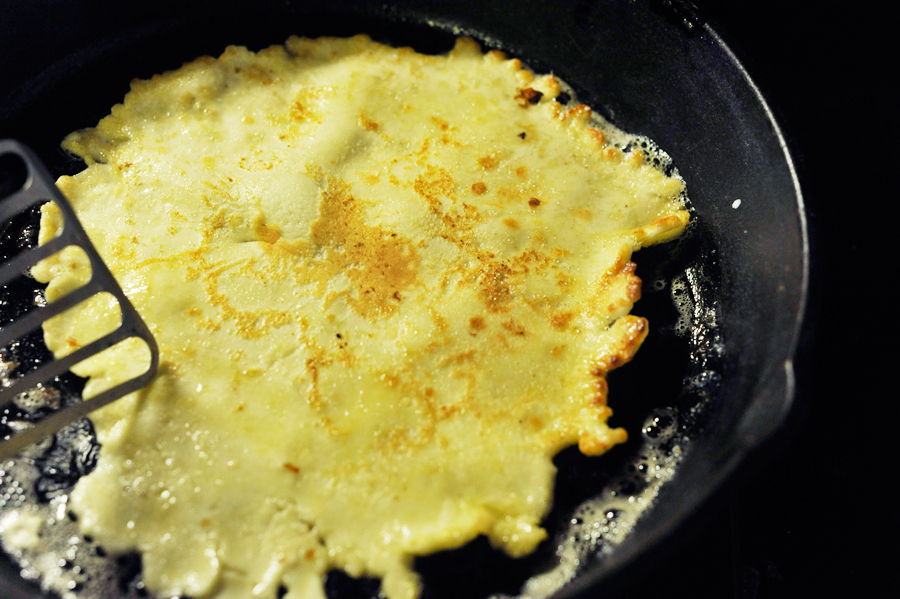
It may take some practice. But it will still taste good no matter what it looks like.
This one was much nicer-looking, though a bit thicker. You can play with it and see what you like.

Once you’ve flipped them over and transferred them to a plate, you can serve them up with your favorite toppings. I started with strawberry jam.
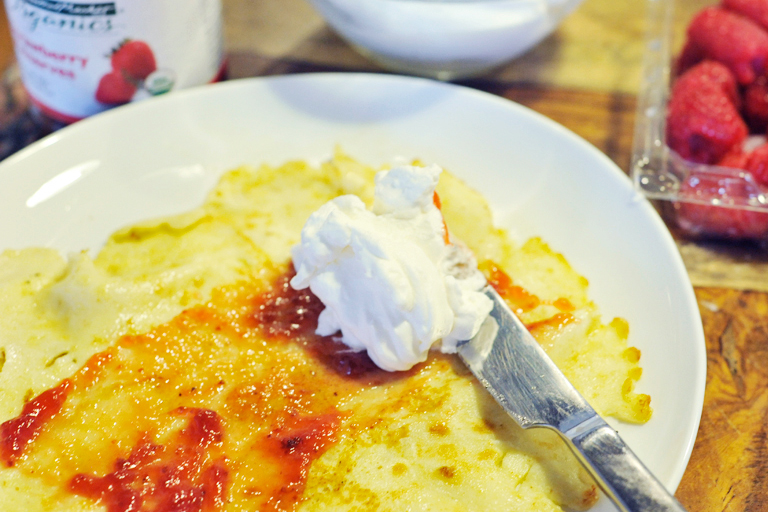
Then whipped cream.

Then I blended it together in a medley of deliciousness.
Then some peaches and raspberries. It was heavenly.

You can even roll it up to be proper. It will melt in your mouth!
Thank you to Michelle Robin for this absolute winner!
Printable Recipe


Print Options
Description
This is the easiest fail proof crepe batter recipe. If you can remember 1-2-3 then you can remember this recipe!
Ingredients
- 1 cup All-purpose Flour
- 2 cups Milk
- 3 whole Eggs
- 1 Tablespoon Sugar (optional)
- 1 pinch Salt
Preparation Instructions
Combine all ingredients in a mixing bowl and blend with a hand beater, until a smooth liquid batter is created.
This batter is best if refrigerated 30 minutes or longer in order for the flour to absorb the liquid. Remember to stir well after it has rested in the refrigerator.
Once you are ready to prepare the crepes, simply pour a ladle full of batter into your pan and swirl around creating a paper thin crepe. Cook over medium heat and when you notice the sides turn golden brown it’s time to flip your crepe. Flip and cook until the other side is browned. Cooking time is very fast.
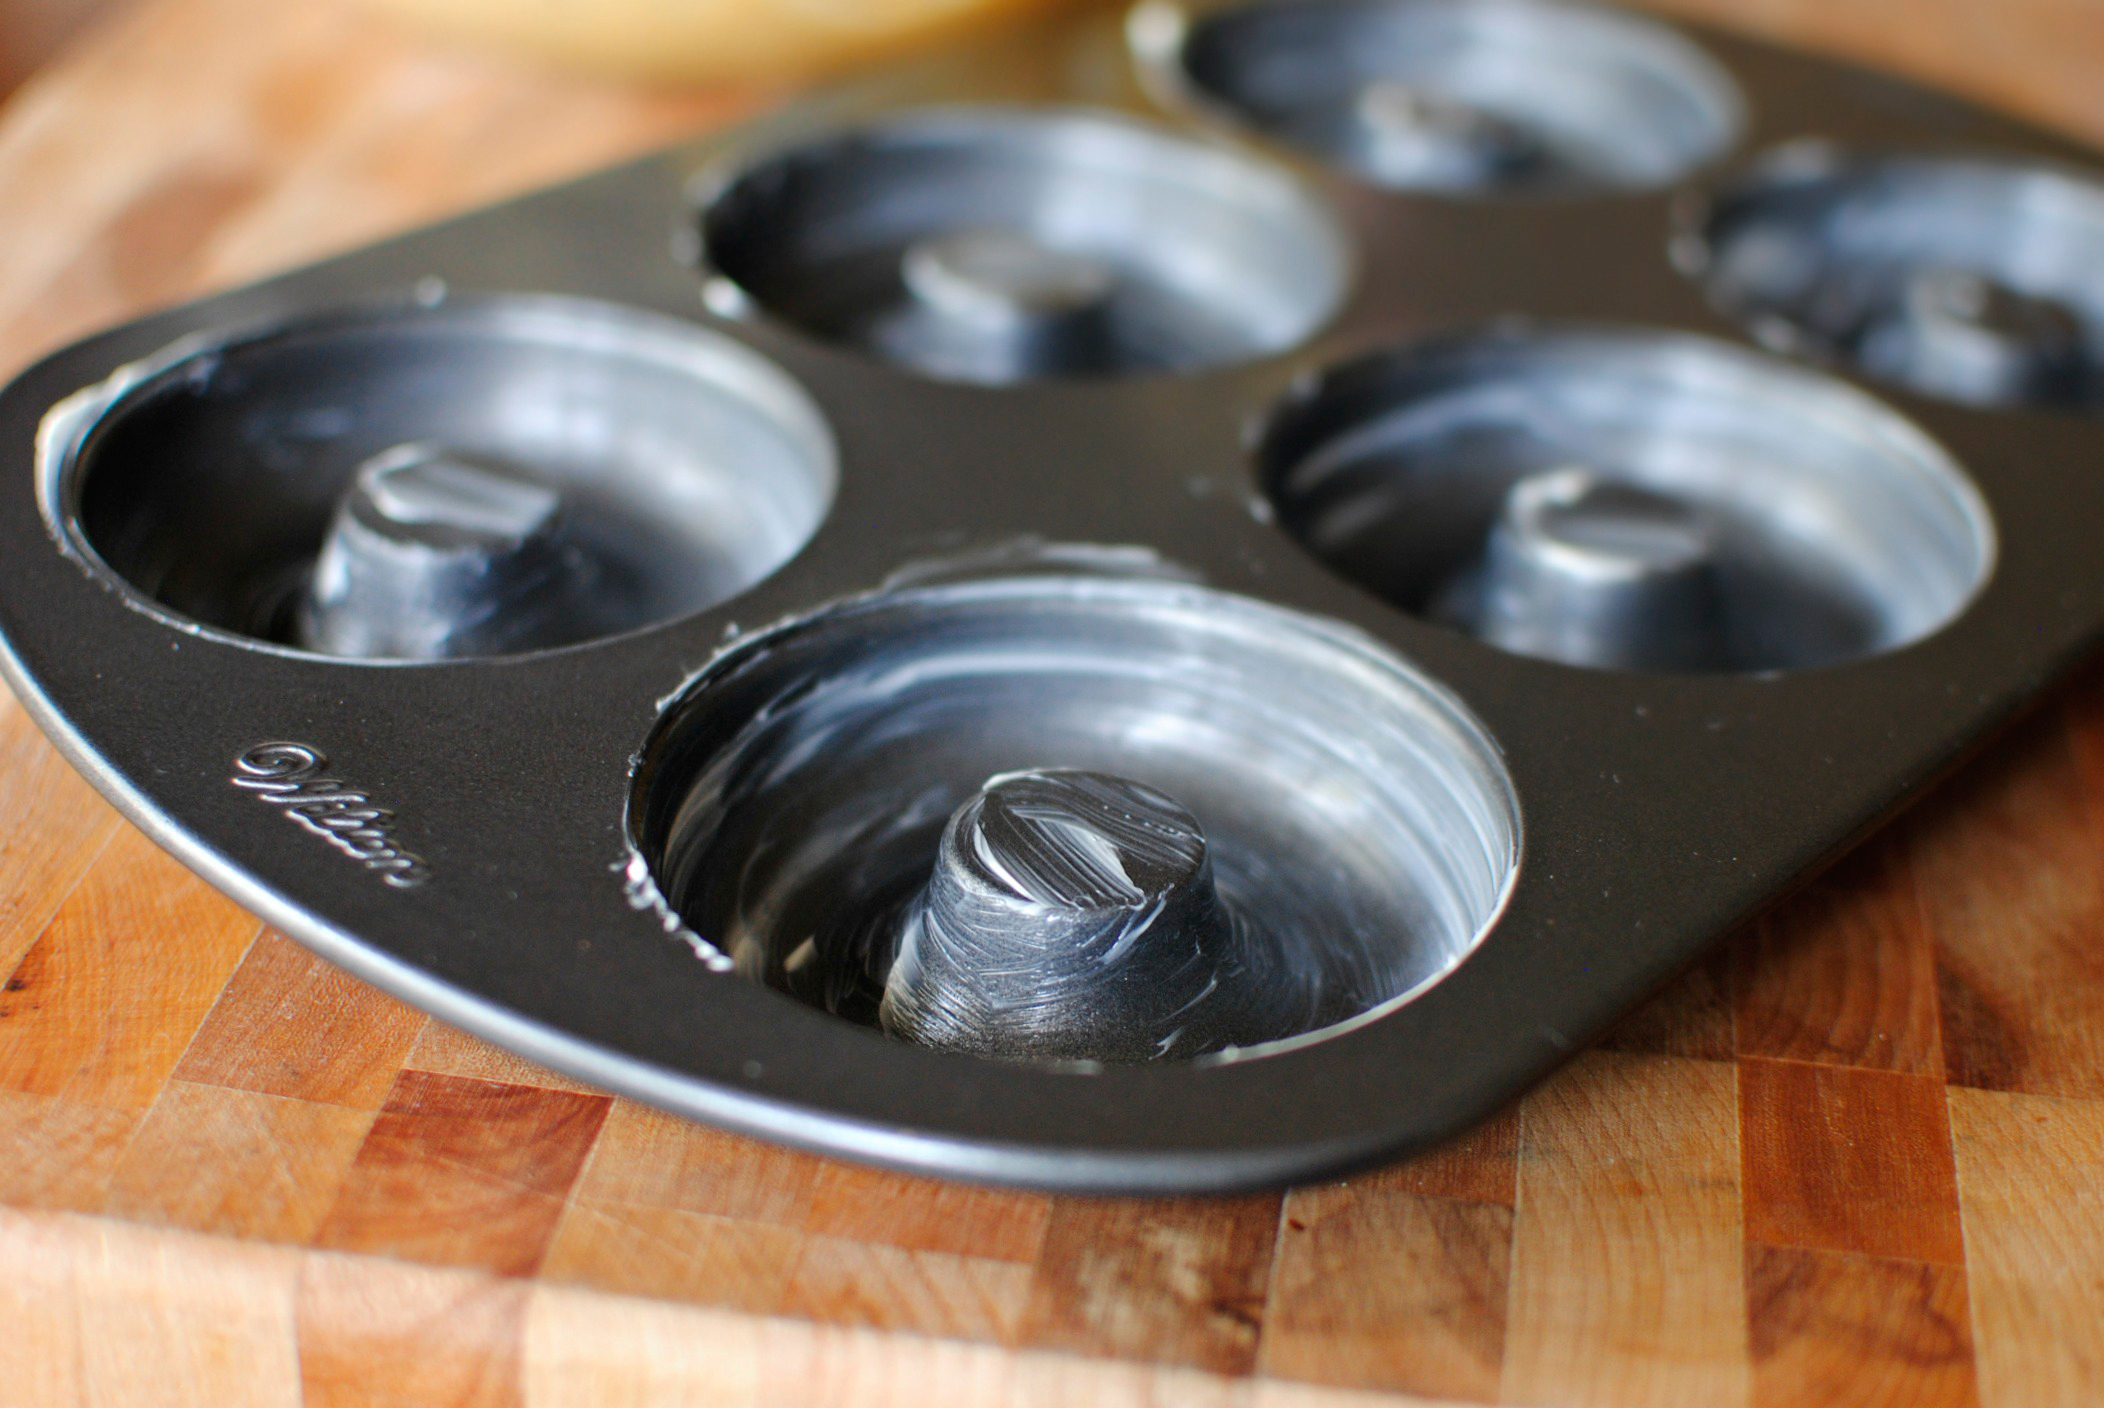
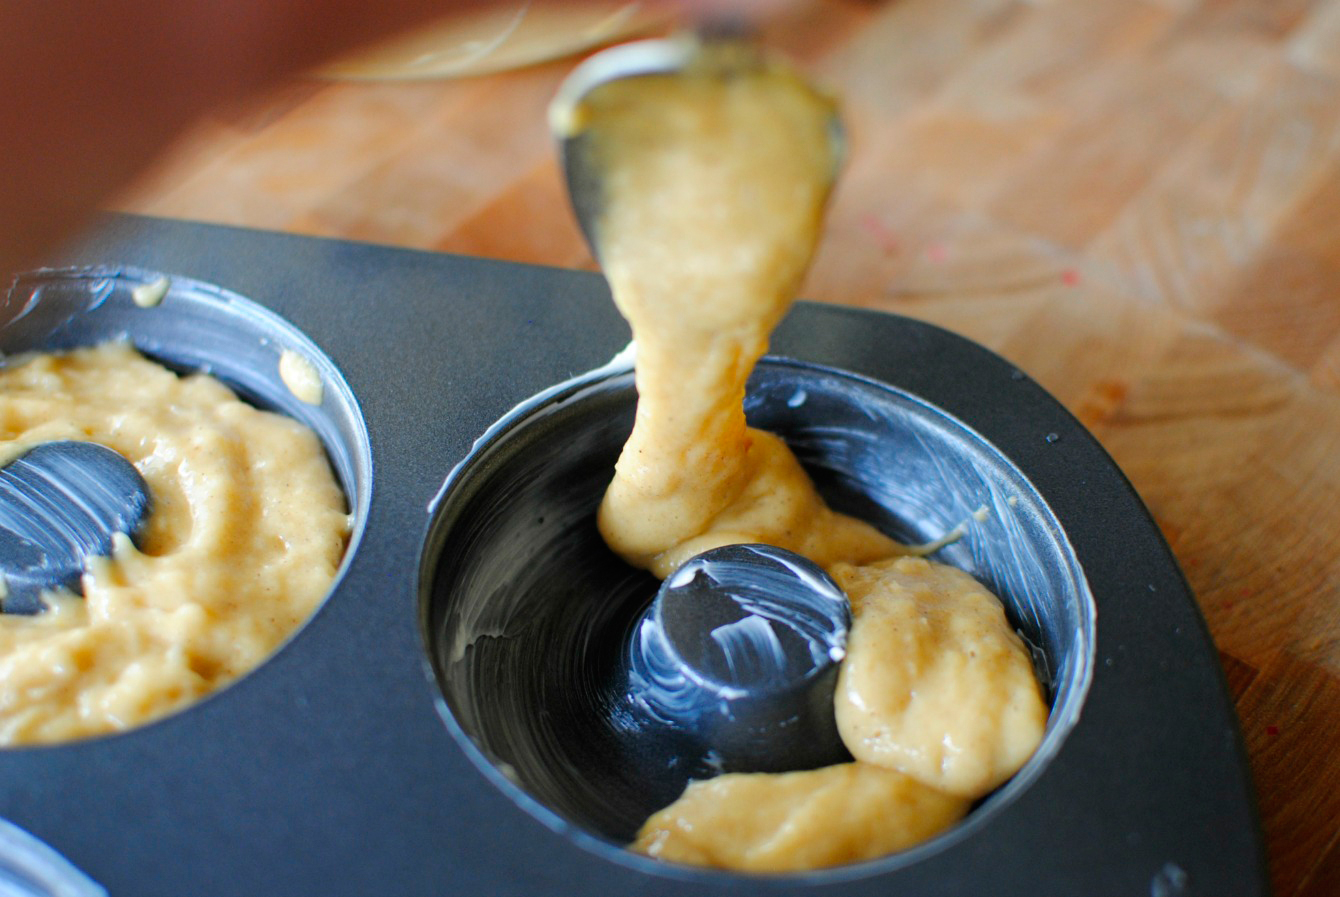
I use a cast iron skillet to make my crepes. I oil it lightly first and then use the back of my ladle to smooth the batter around the bottom of the pan. You can use a non stick pan if you prefer.
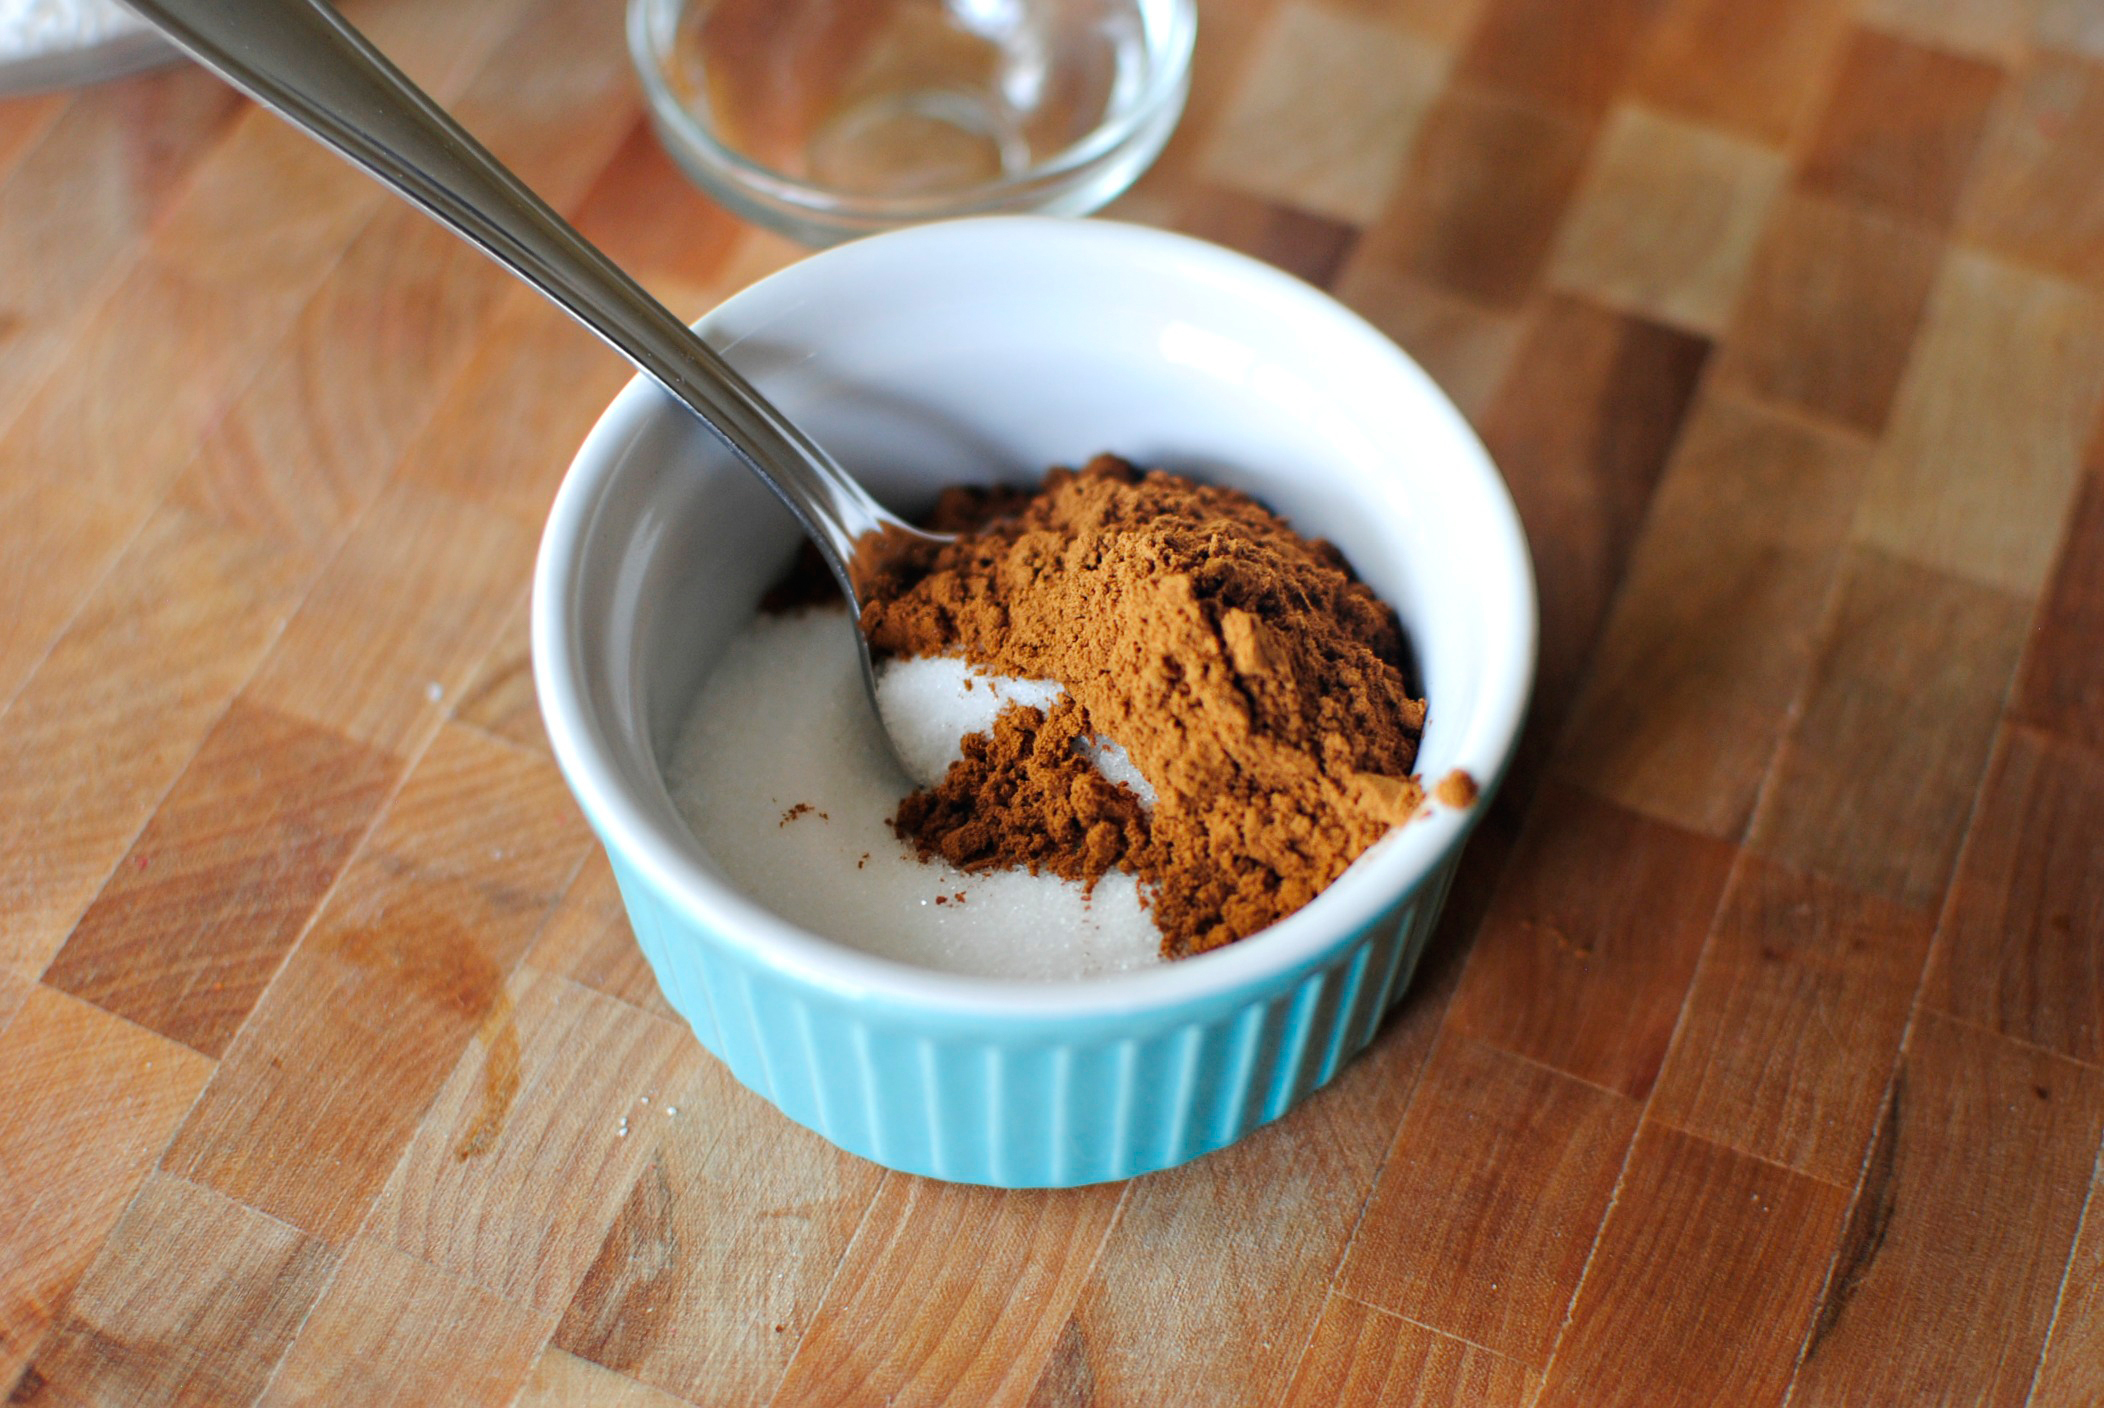
I add about a Tablespoon of sugar and a pinch of salt to make my crepes sweet. Or you can add only a pinch of salt and use them for savory crepes.
Fill your crepes with jam, Nutella, fresh fruit, sautéed fruit, chicken, spinach or what ever your palate is craving! Remember this recipe is as easy as 1-2-3, enjoy!!!
_______________________________________
There’s so much to say about Georgia, we don’t know where to start. Leaving Wall Street for the French Culinary Institute, followed by a stint at the Gramercy Tavern and La Chassagnette in France, her passion for food and food traditions are evident and inspiring. Visit her site at Georgia Pellegrini, where you’ll find more recipes, photos, learn all about her wonderful books Girl Hunter and Food Heroes, and enjoy her latest adventures.