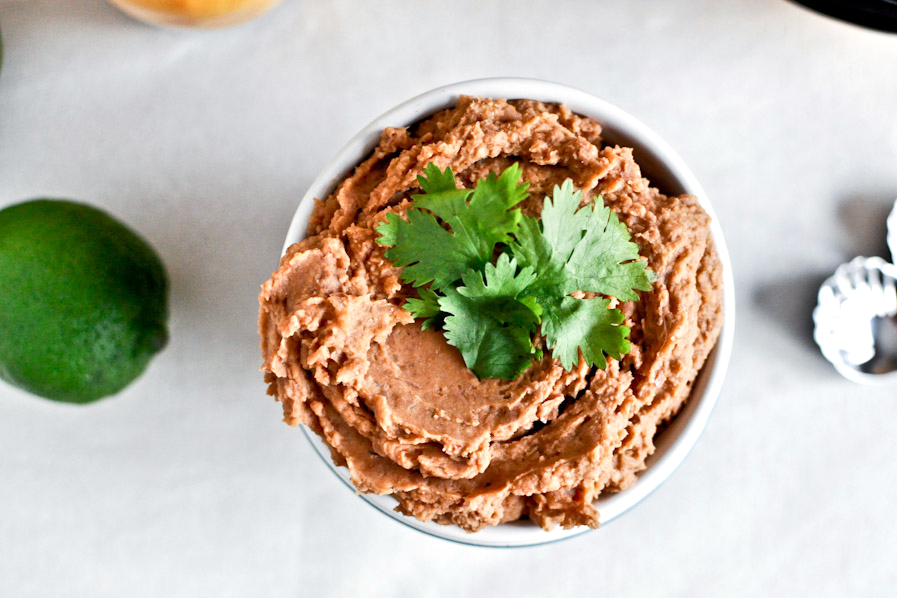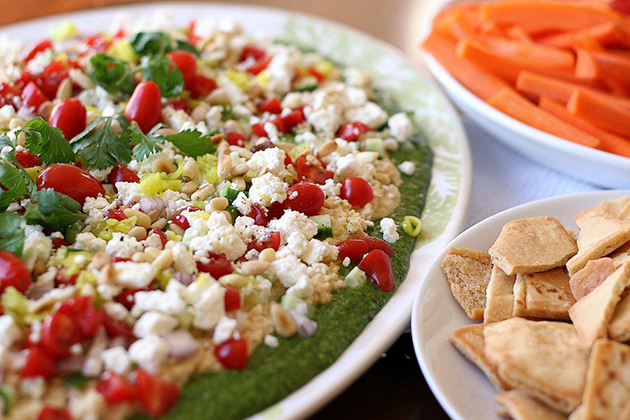
Pretty, isn’t it? Think: Mediterranean version of the classic (and sometimes overdone) Mexican 7-layer dip. On the bottom there’s a fantastic cilantro-pecan pesto, then a generous dose of hummus, and a sprinkling of diced vegetables, feta cheese, and toasted pine nuts.
We recently became homeowners and threw a little housewarming party last weekend. I thought this dip would be a perfect addition to an appetizer spread. Oh, it was. There were compliments all over the place.
Can I just tell you how thankful I am to have this dip in my life? Just in time for the Super Bowl, too.
Who do we have to thank for this easy, drool-worthy Layered Mediterranean Dip? Tasty Kitchen member campgrandma, that’s who.
I can’t wait to relive this. Let’s get started!
I doubled the recipe, so these photos show larger quantities than the recipe calls for. Just so ya know.
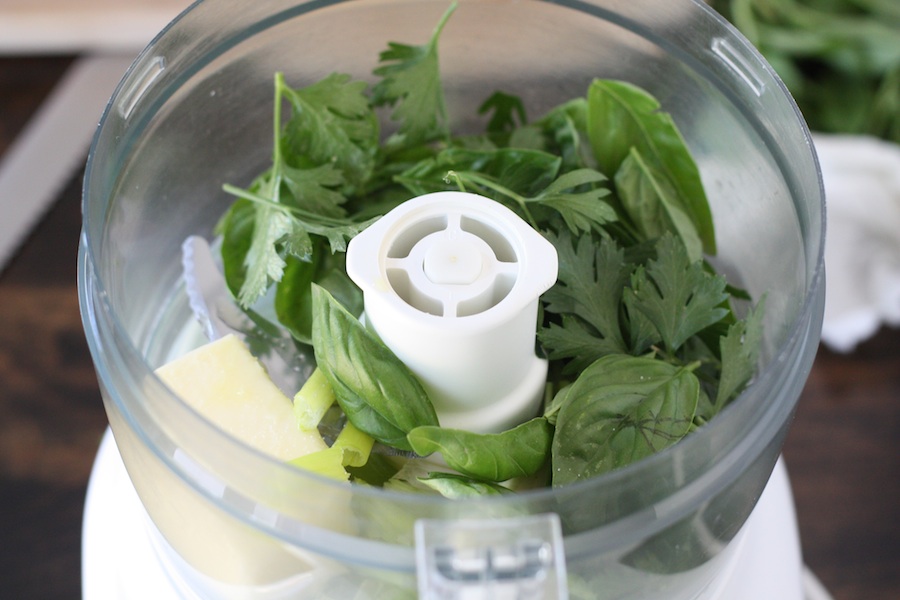
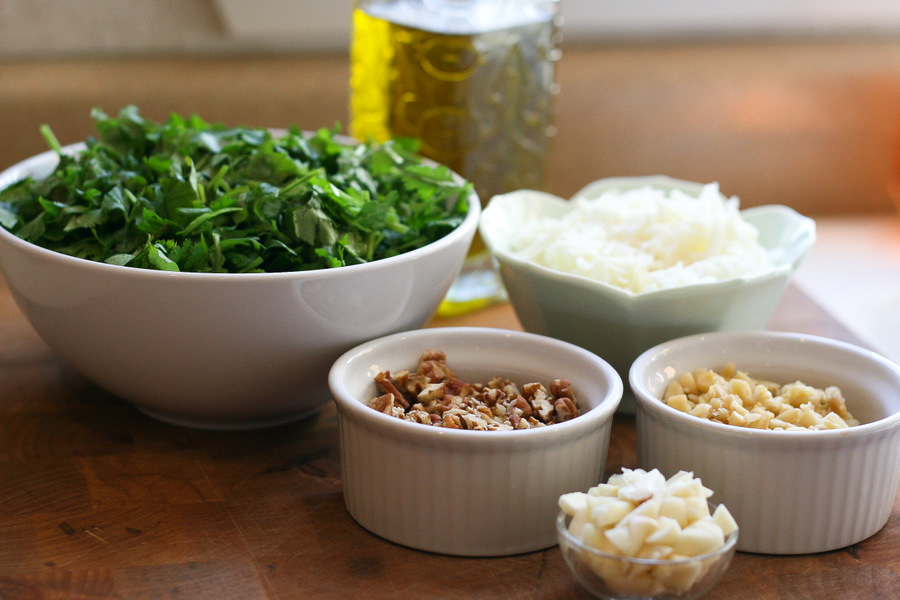
First we’ll start on the pesto. You’ll need some chopped fresh cilantro, chopped pecans, pine nuts, grated Parmesan cheese, chopped fresh garlic and some extra-virgin olive oil.
I know there are a few out there who despise cilantro. First, my condolences. Second, you could probably substitute a mixture of fresh parsley and mint to complement the Greek/Mediterranean flavors.
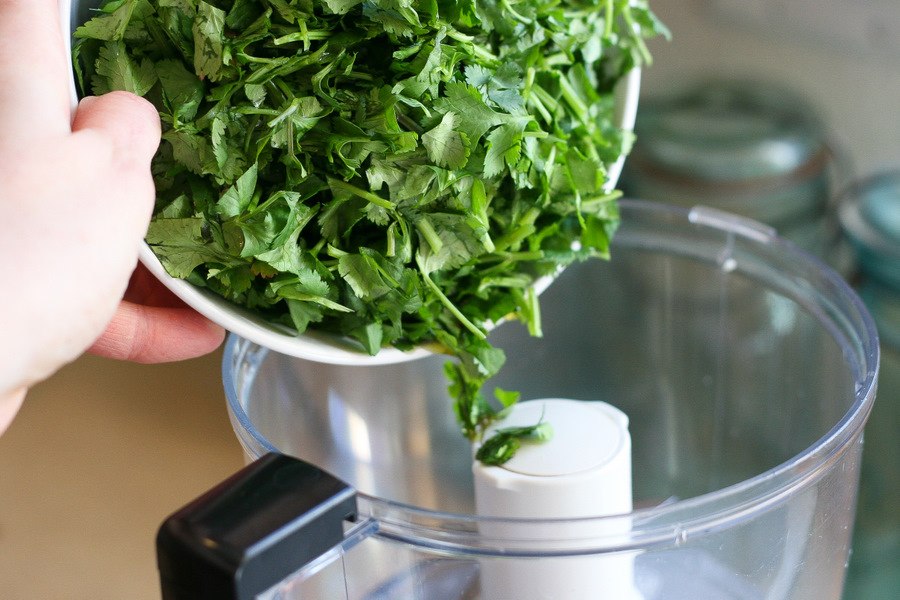
Pull out your food processor and throw in the cilantro.
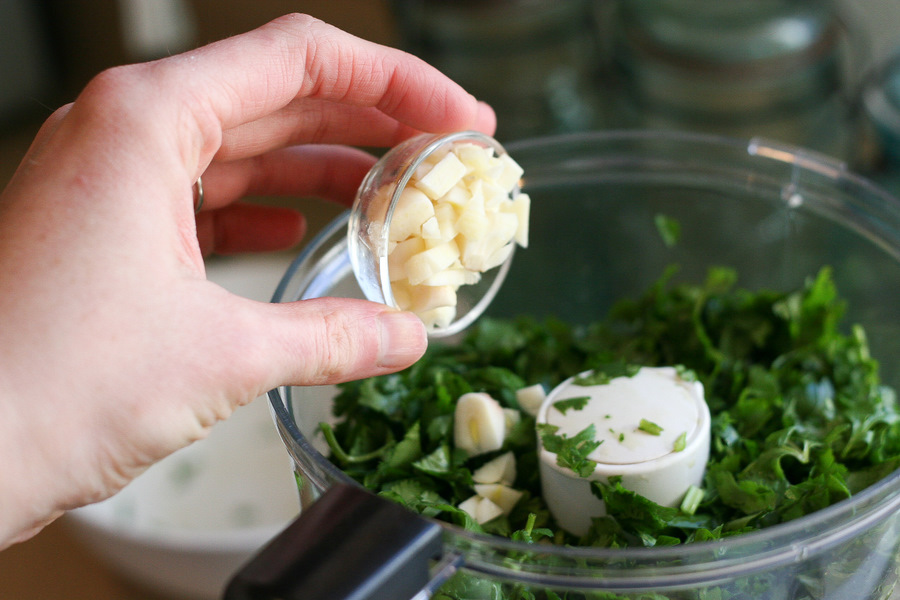
Then the garlic.
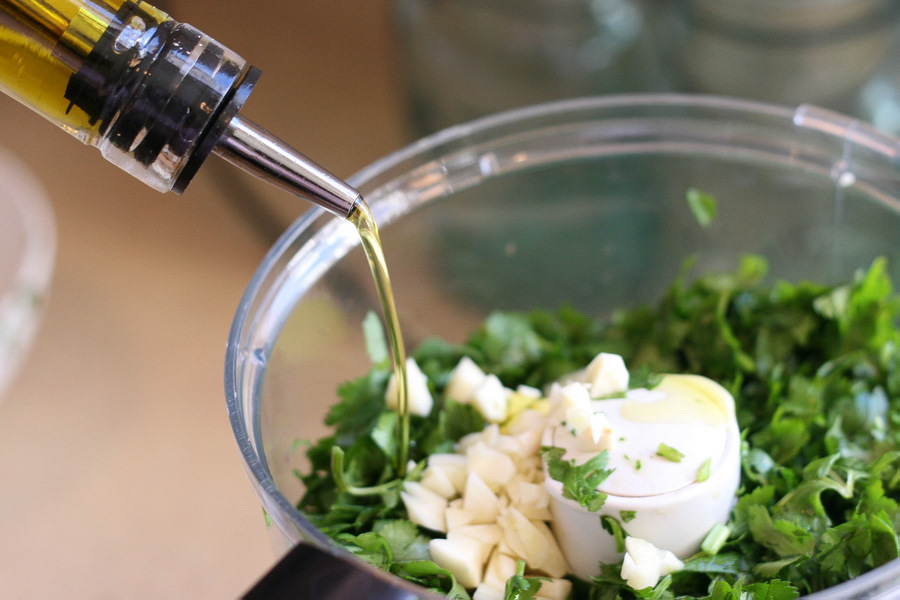
Then a small amount of the olive oil.
Give that a quick buzz until a paste forms. Scrape down the sides, too.
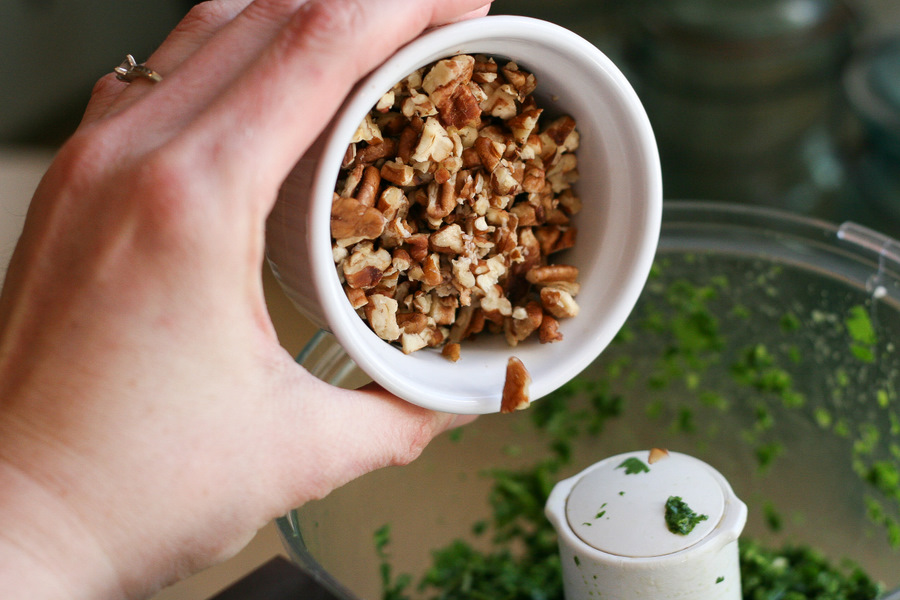
Add the pecans.
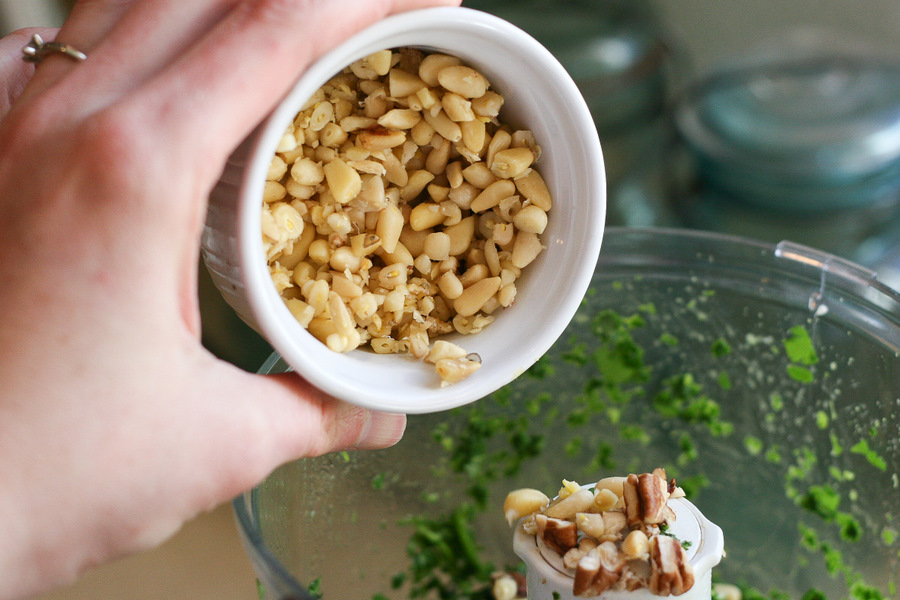
And the pine nuts.

And the cheese.
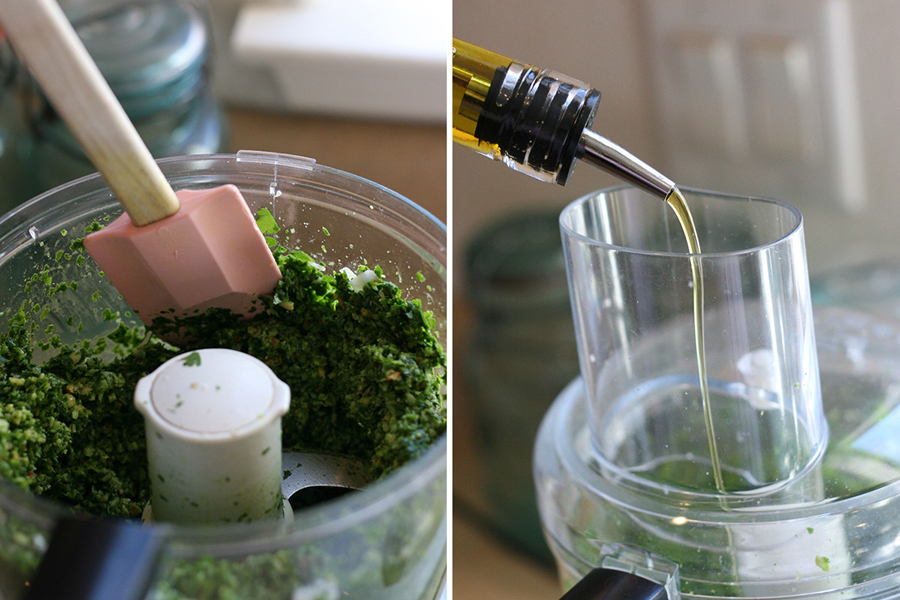
Buzz that up as well, stopping to scrape down the sides again.
Then turn on the food processor and add the remaining olive oil down the chute.
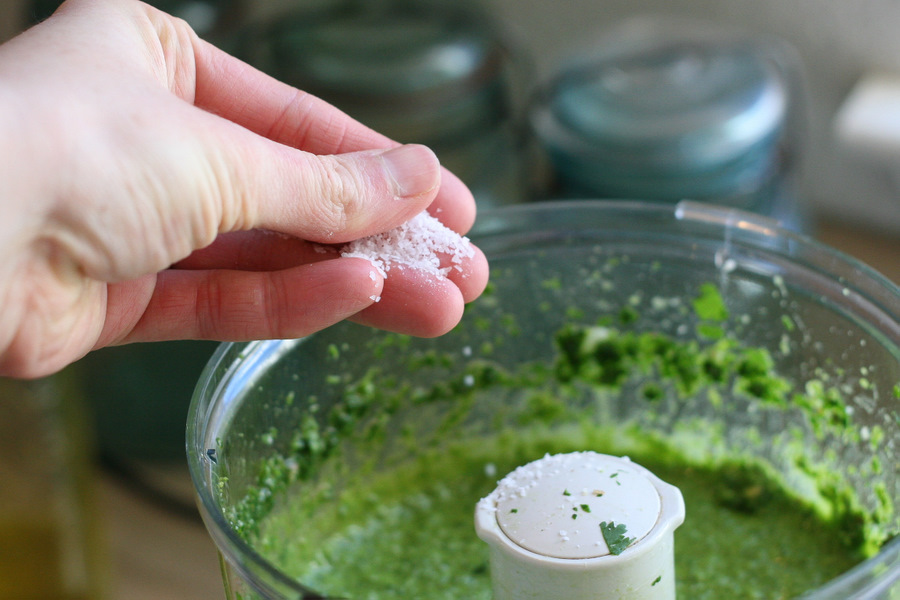
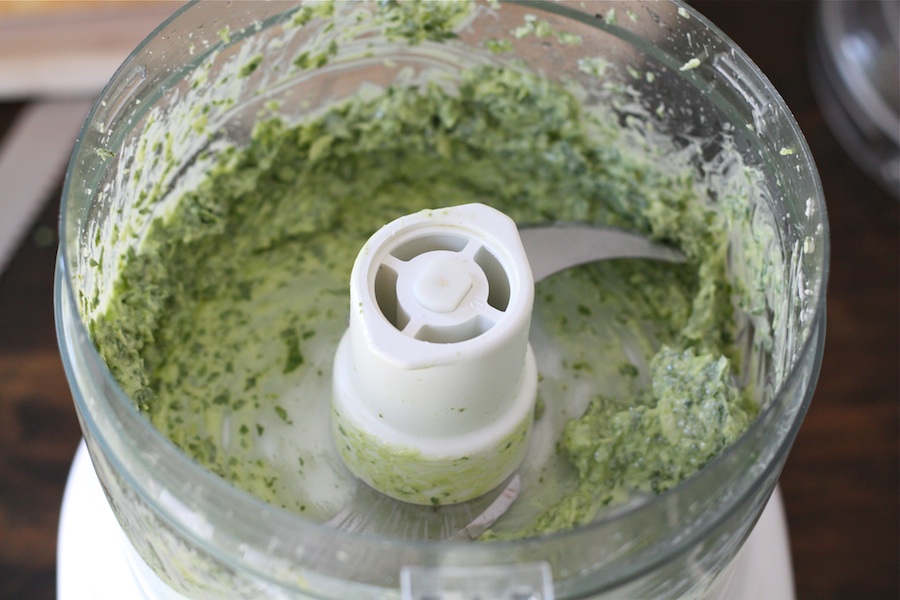
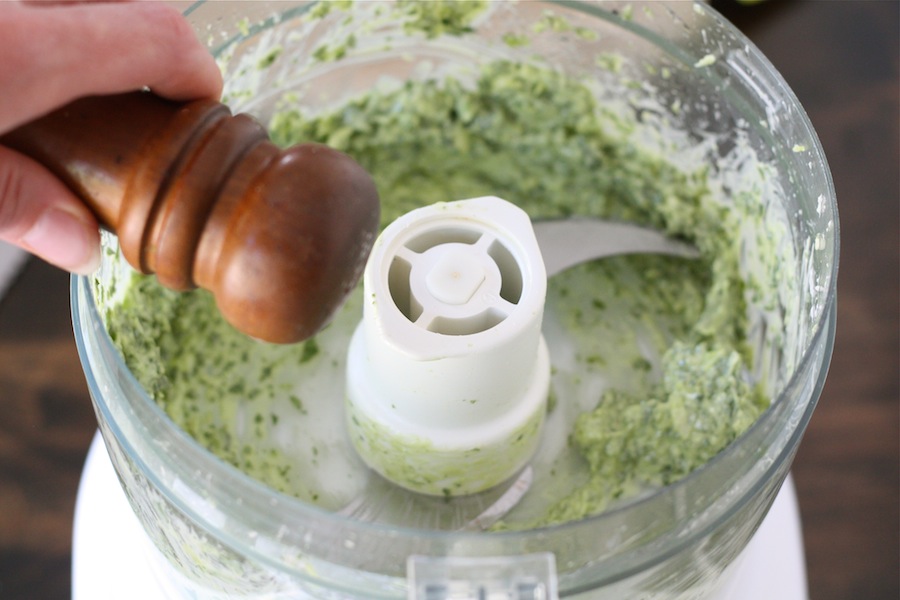
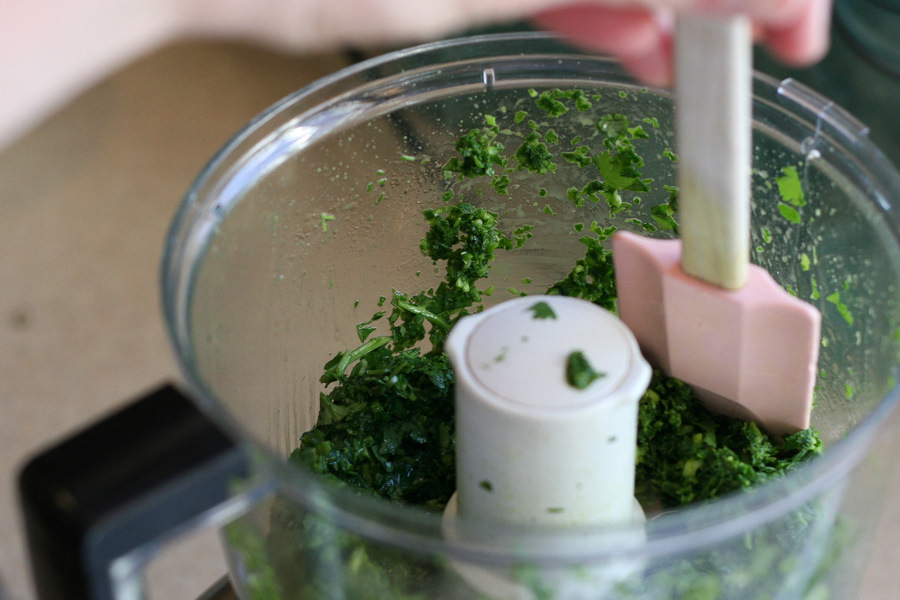
I added a pinch of salt. Your mixture should be pretty runny by now.
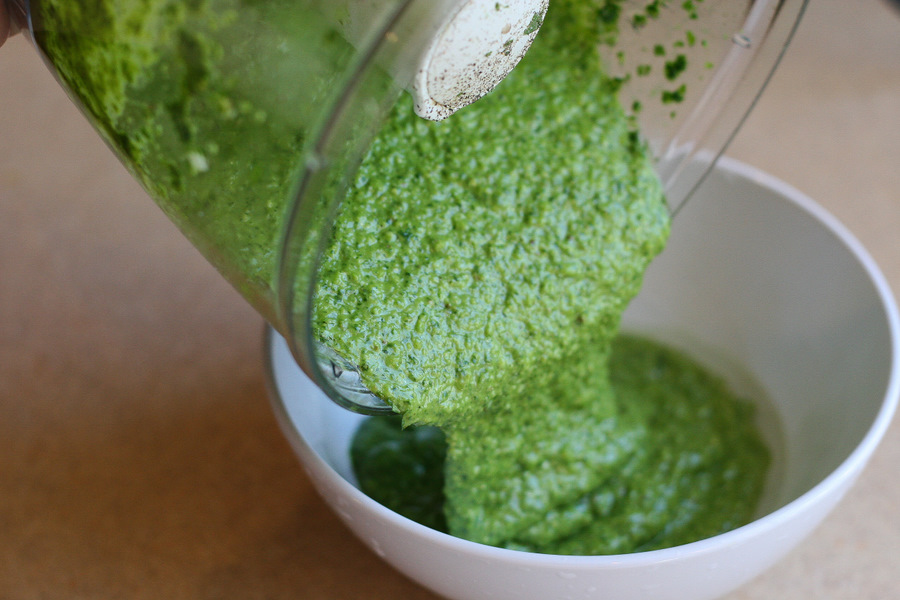
Like this. Pour it into a bowl, and set it aside while you prep the vegetables. You can do this step ahead and keep the pesto covered and chilled for five days or frozen for one month.
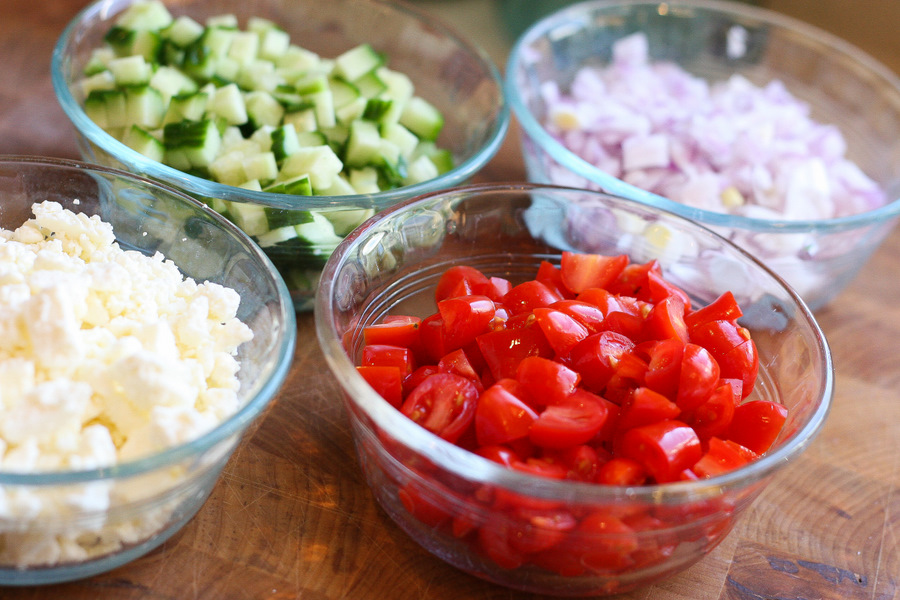
Dice the onion, cucumber, and tomatoes. Crumble the feta, if needed. You may notice that there are olives missing. We don’t like olives—especially kalamata olives. (Return the condolences, if desired.) So I added something else in their place.
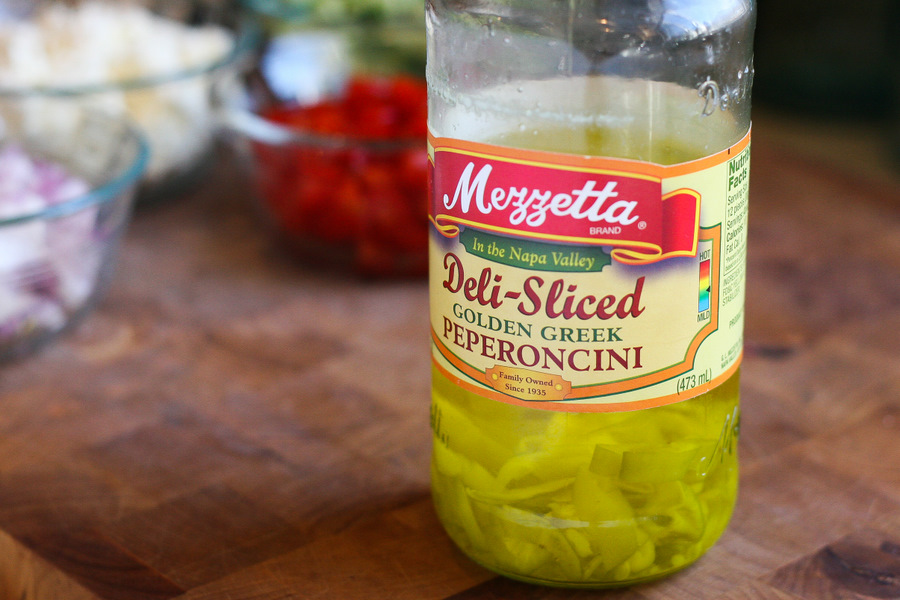
Chopped peperoncini peppers. We love these. And they add a little kick to the dip, which we liked.
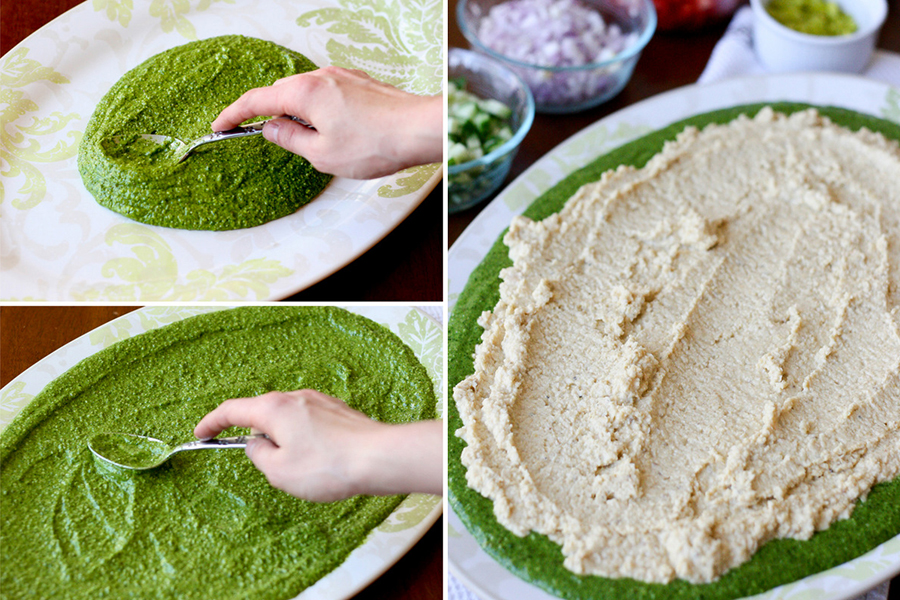
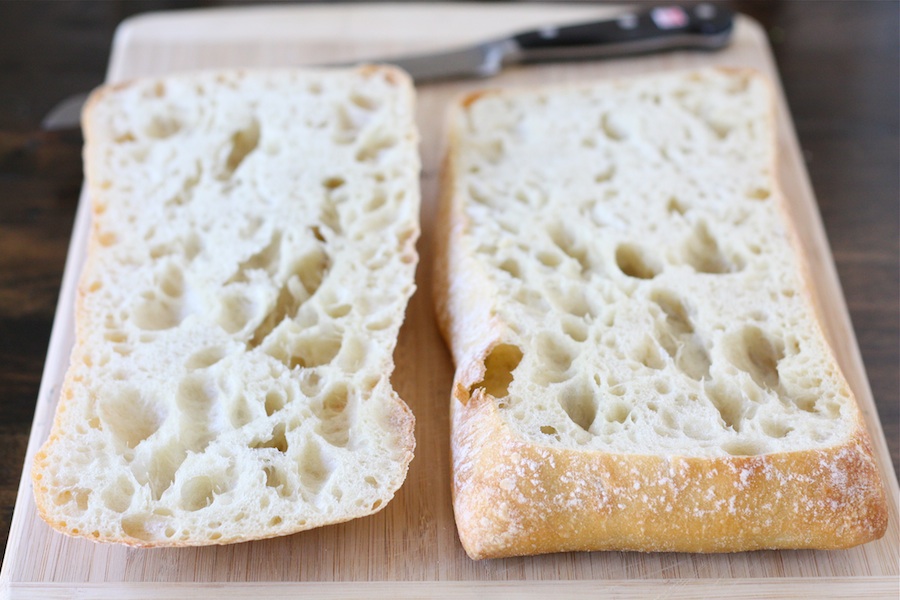
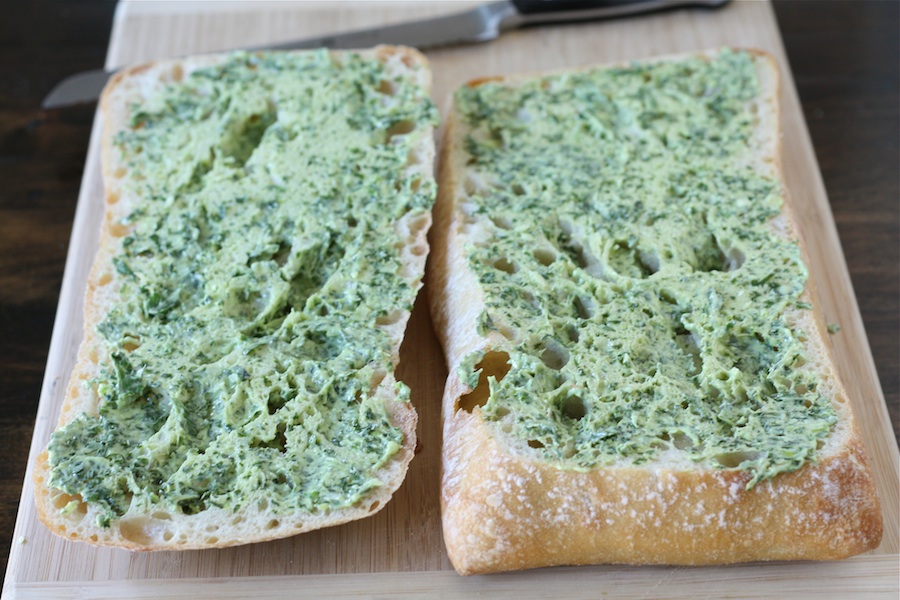
Now the fun part! Grab a very shallow serving dish or platter. Spread the pesto on the dish in an even layer. I didn’t want it to get buried (it’s so pretty!), so I brought it within an inch or so of the edge of the platter.
Next, carefully spread the hummus in an even layer over the pesto. Depending on the hummus you use, it might be quite a bit thicker than the pesto.

Time to sprinkle! I don’t think the order really matters, just get those cucumbers, onion, tomatoes, and feta sprinkled evenly. Oh, and the olives and/or peperoncini peppers, if you’re so inclined. I also added a drizzle of olive oil, just for kicks.
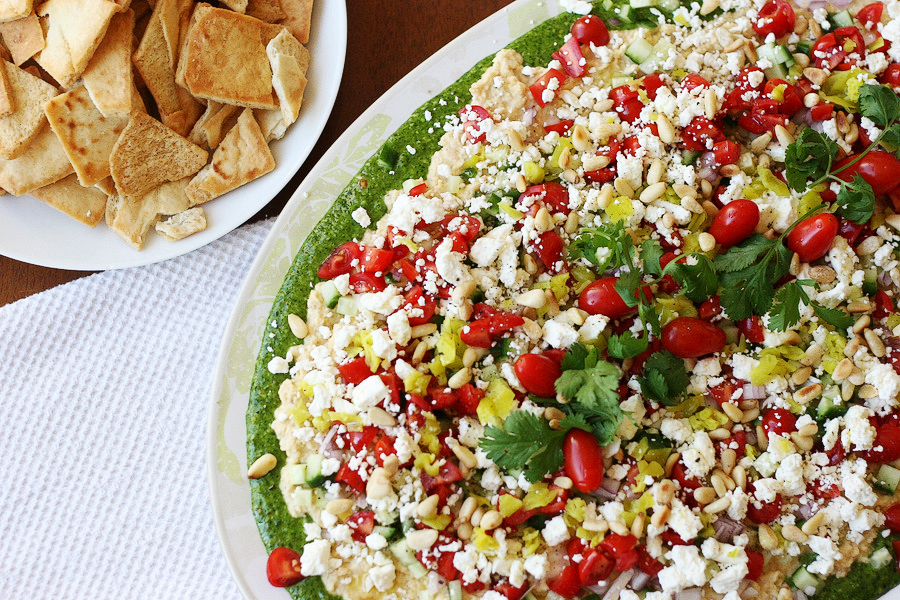
I added some extra grape tomatoes, a sprig or two of cilantro and some toasted pine nuts as additional garnishes. We served these with pita chips, carrots, cucumbers, and red bell pepper slices. And we all lived happily ever after.
Thank you Beth for a great addition to our appetizer menu! Visit her blog, Grandma B’s Kitchen, for more of her recipes.
Printable Recipe


Print Options
Description
If you love cilantro and fresh ingredients, this is the dip for you! It’s easy to adjust to your liking.
Ingredients
- FOR THE PESTO:
- 1-½ cup Fresh Cilantro Leaves
- 2 cloves Garlic, Chopped
- ⅓ cups Olive Oil, Divided
- 2 Tablespoons Pecans, Chopped
- 2 Tablespoons Pine Nuts
- ¼ cups Shredded Parmesan Cheese
- FOR THE REMAINING LAYERS:
- 2 cups Hummus, Any Flavor (I Like To Use Roasted Red Pepper)
- ½ cups Baby Cucumber, Chopped
- ½ cups Red Onion, Chopped
- ½ cups Kalamata Olives, Chopped
- ½ cups Grape Tomatoes, Chopped
- FOR GARNISH:
- Pita Chips
- Feta Cheese
- Roasted Pine Nuts
- Cilantro
Preparation Instructions
For the pesto:
Process cilantro, garlic and 2 tablespoons olive oil in a food processor until a rough paste forms. Add pecans, pine nuts and cheese, and process until blended, stopping to scrape down the sides of the bowl. With the processor running, pour the remaining oil through the food chute in a slow, steady stream; process until smooth.
Pesto can be chilled for up to 5 days or frozen for up to 1 month, if desired. Yields 3/4 cup.
For assembling the layered dip:
Spread pesto on a platter. Layer the remaining ingredients on top of the pesto in the order listed. Top with the garnish ingredients.
Serve with pita chips.
_______________________________________
Be sure to check out Natalie’s own beautiful food blog, Perrys’ Plate, where you can see her growing collection of lovely recipes. There’s always something new to see there. Go visit now!