The Pioneer Woman Tasty Kitchen
Profile photo of missamy

Brie and Bacon Quiche

Posted by in Step-by-Step Recipes

Tasty Kitchen Blog: Brie and Bacon Quiche. Guest post by Amy Johnson of She Wears Many Hats, recipe submitted by TK member Nancy (nancyinnewmexico).

 
Quiche may be considered the quintessential fare for Mother’s Day, a bridal luncheon, or any event centered around food and women. But my husband was quite swept away by this Brie and Bacon Quiche from Tasty Kitchen member Nancy in New Mexico. And, yes, he’s a real man, apparently a real man who recognizes an excellent quiche when he tastes it.

Quiche is so flexible. Over the years I’ve prepared many combinations, except this one. After one bite it seemed so obvious. Brie and bacon. Bacon and brie. Why hadn’t I thought of the duo before? They certainly make for a good marriage. But you just need to see for yourself. Wanna see how?


Tasty Kitchen Blog: Brie and Bacon Quiche. Guest post by Amy Johnson of She Wears Many Hats, recipe submitted by TK member Nancy (nancyinnewmexico).

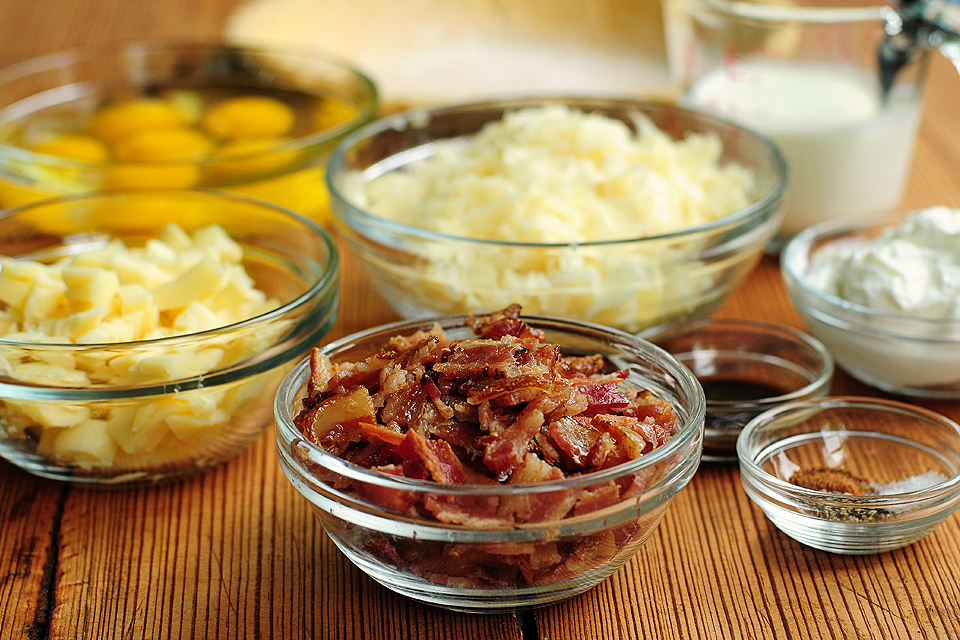
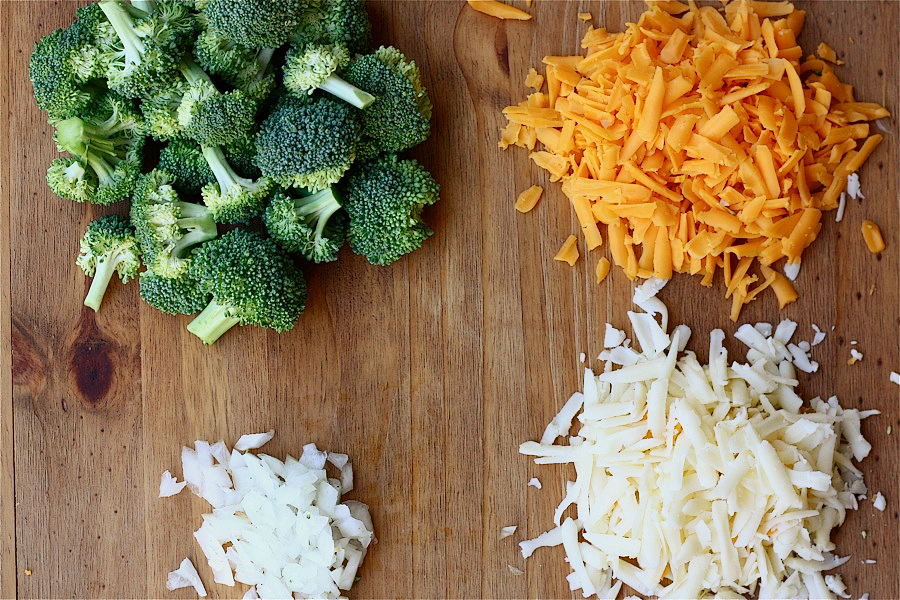
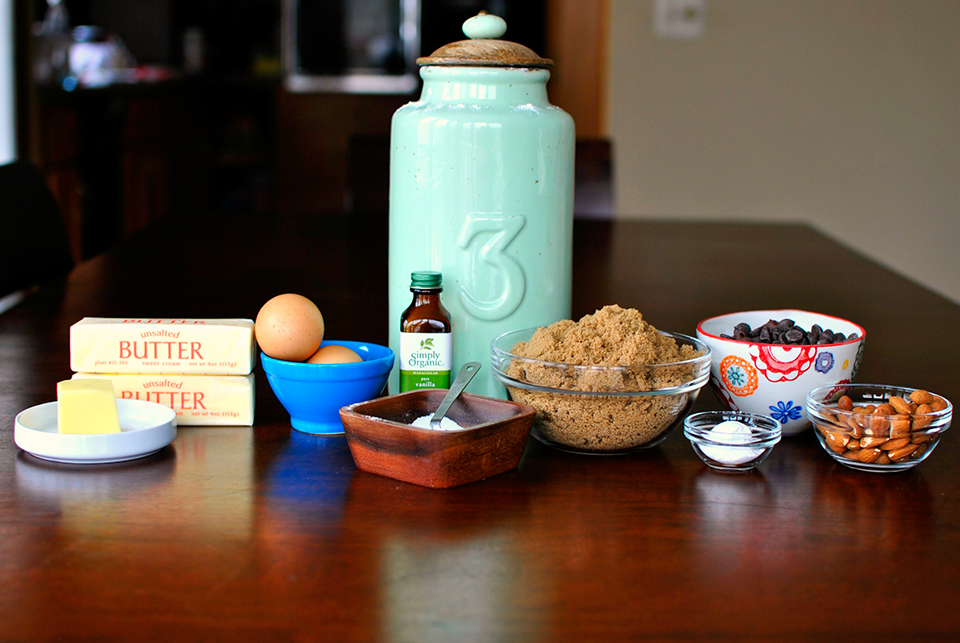
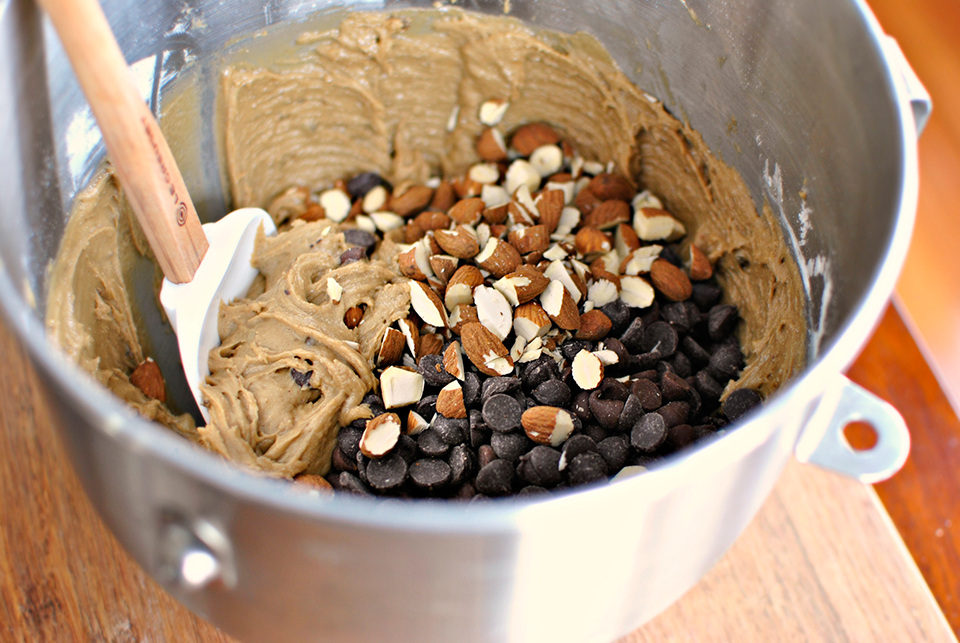
To get started you’ll need a deep dish pie crust (I used a 9″), Brie cheese, Swiss cheese, cooked and crumbled bacon, eggs, whipping cream, sour cream, Worcestershire sauce, nutmeg, salt and pepper.


Tasty Kitchen Blog: Brie and Bacon Quiche. Guest post by Amy Johnson of She Wears Many Hats, recipe submitted by TK member Nancy (nancyinnewmexico).

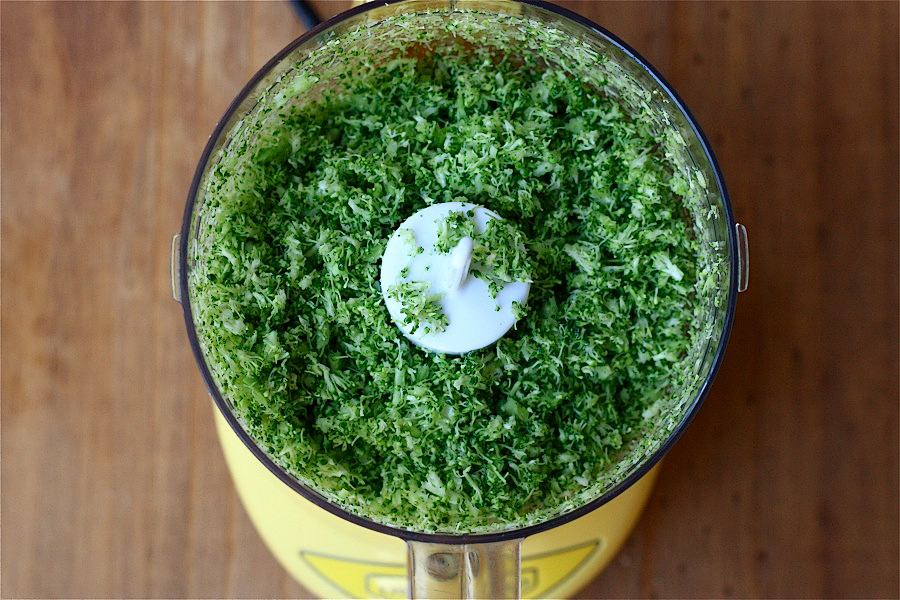
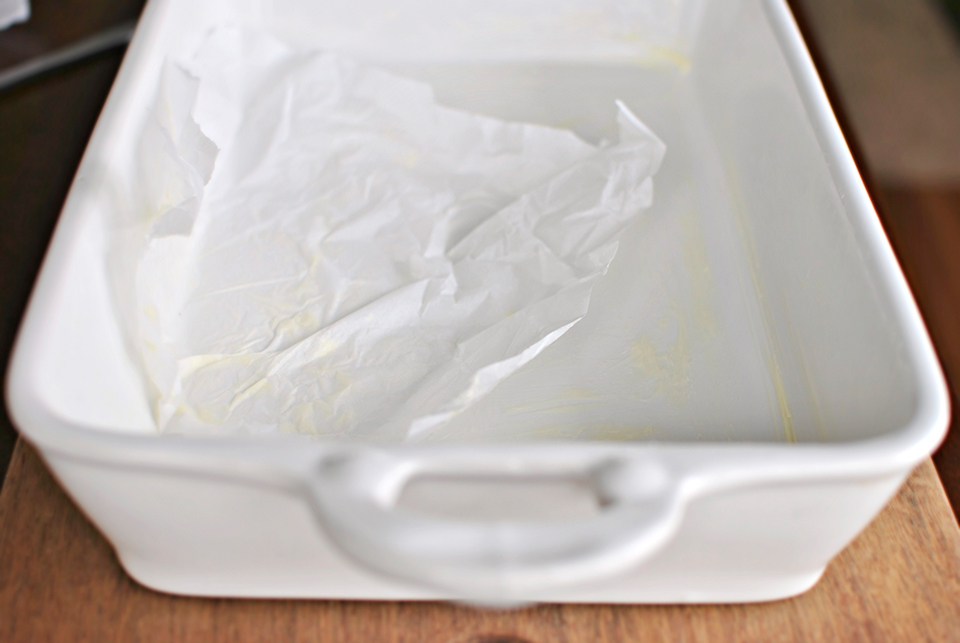
Begin by crumbling the cheese (or shredding, or cutting) and placing it in the bottom of the pie shell. I did not pre-bake my pie shell, because the, yep, frozen one from the grocery store didn’t instruct me to do so. I’m sure many of you have a fabulous pie crust you can whip up and use just as easily.

And just curious, while on the subject, what’s the rule for pre-baking or not pre-baking a pie crust? That always stumps me.

Moving right along …


Tasty Kitchen Blog: Brie and Bacon Quiche. Guest post by Amy Johnson of She Wears Many Hats, recipe submitted by TK member Nancy (nancyinnewmexico).

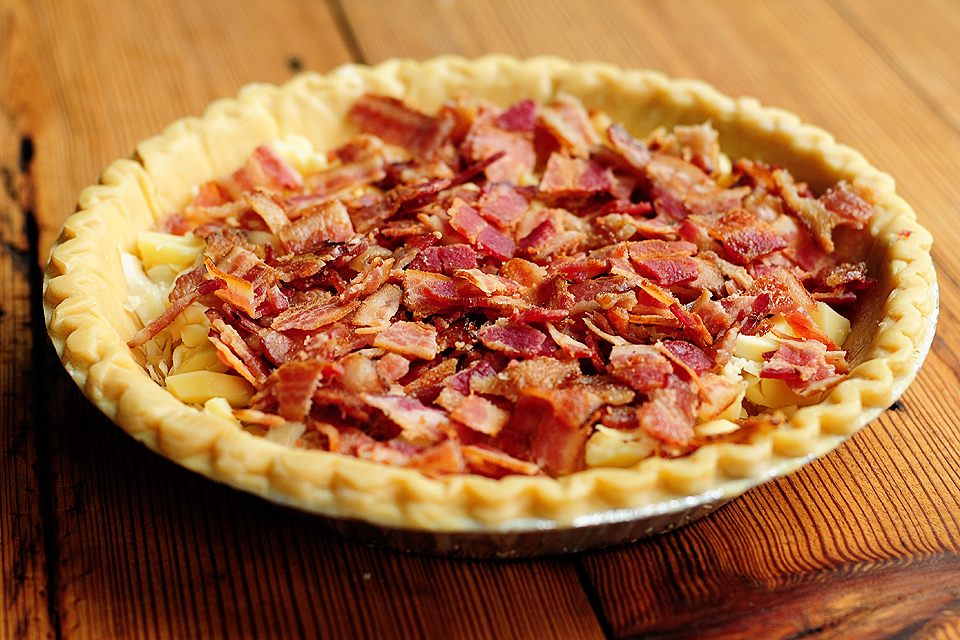
Next, top the cheese with the crumbled bacon.


Tasty Kitchen Blog: Brie and Bacon Quiche. Guest post by Amy Johnson of She Wears Many Hats, recipe submitted by TK member Nancy (nancyinnewmexico).

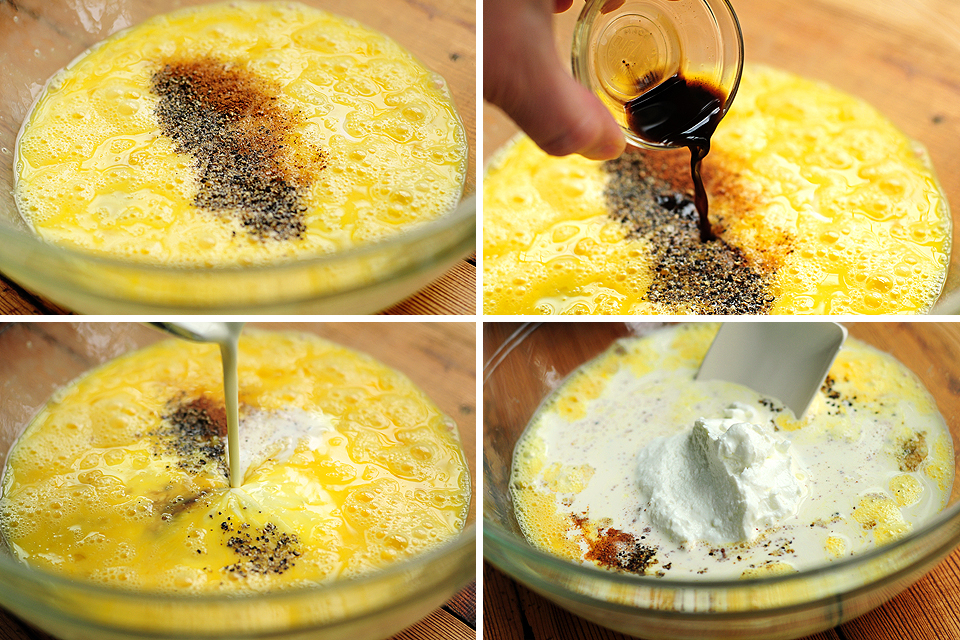
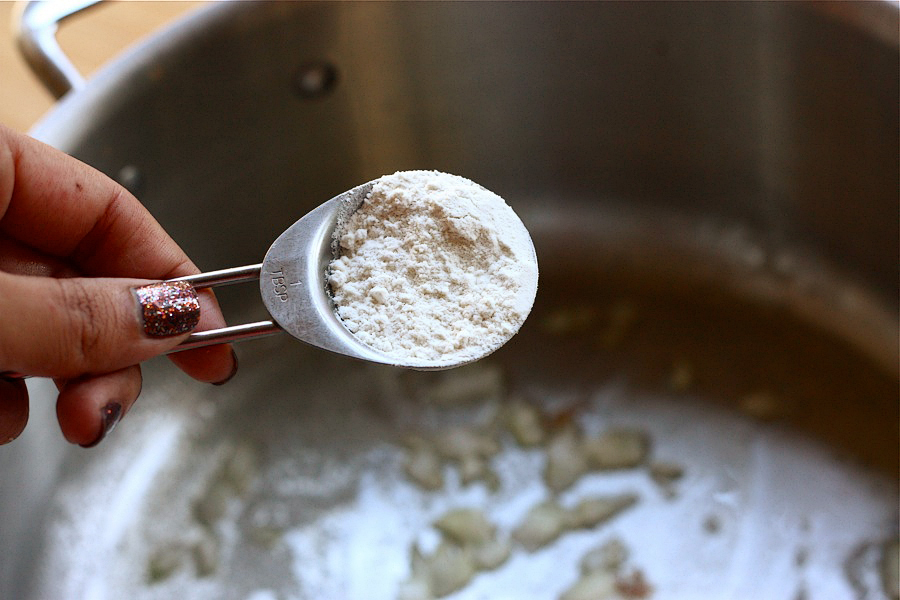
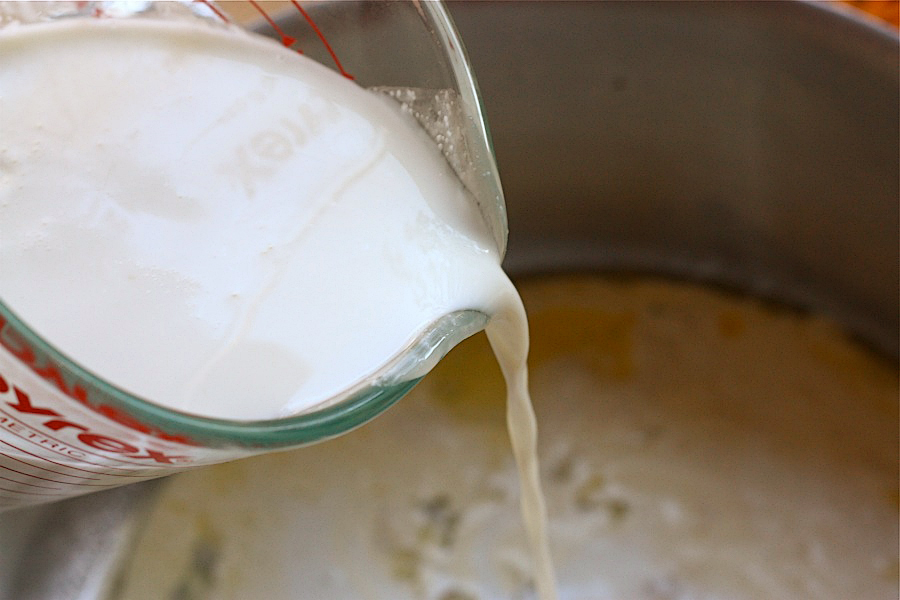
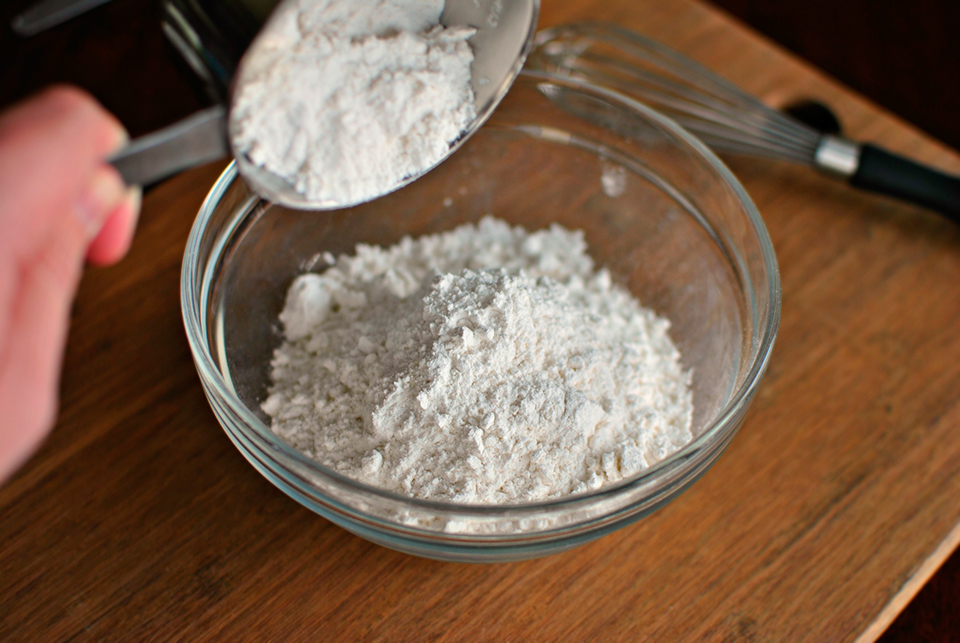
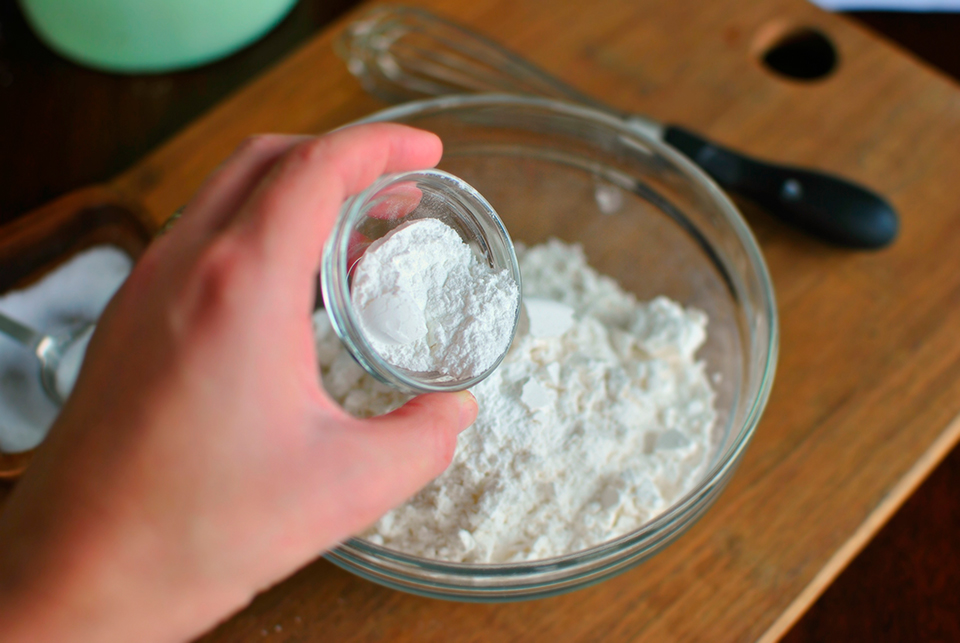
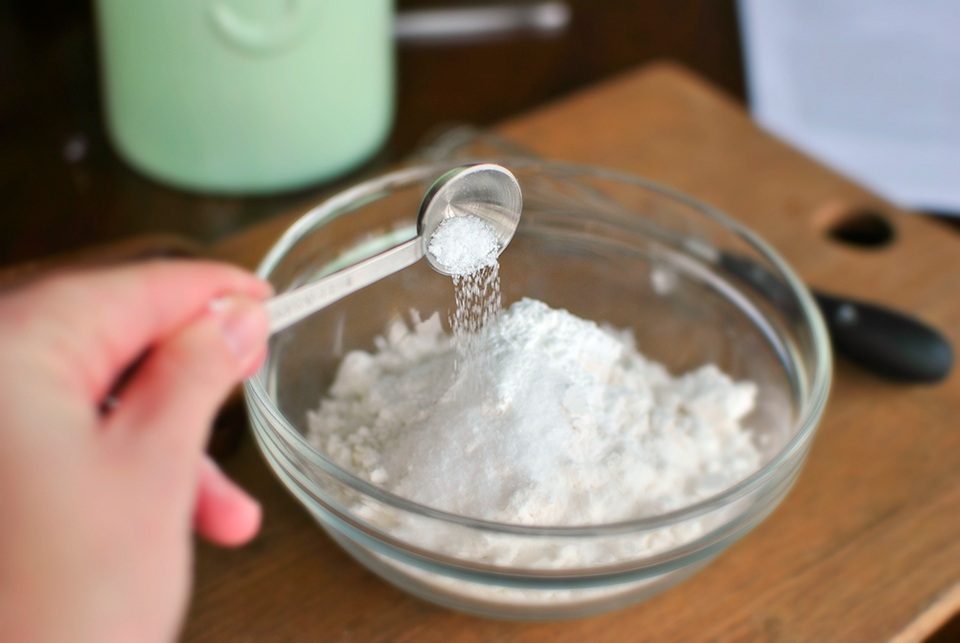
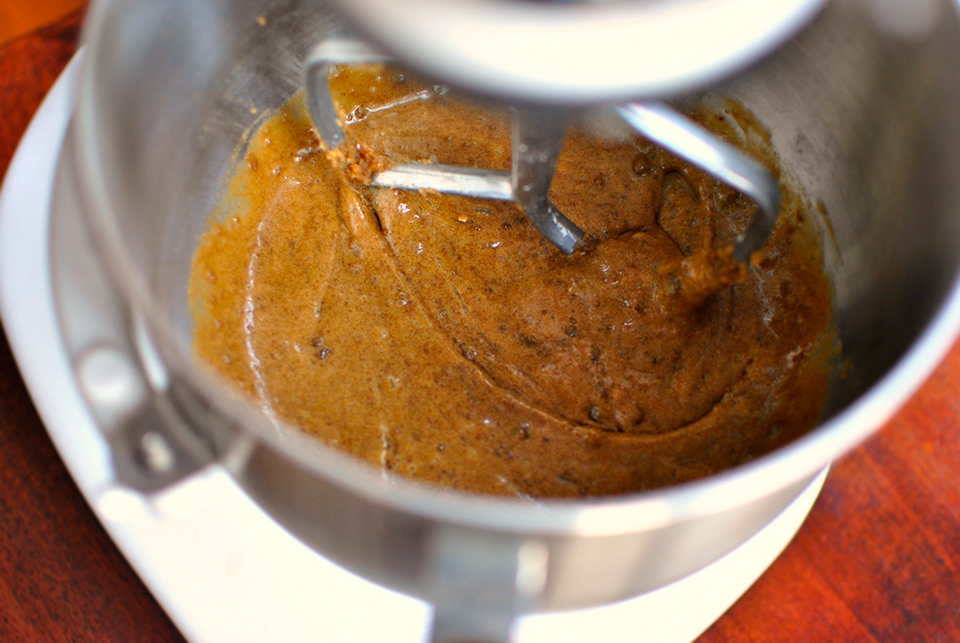
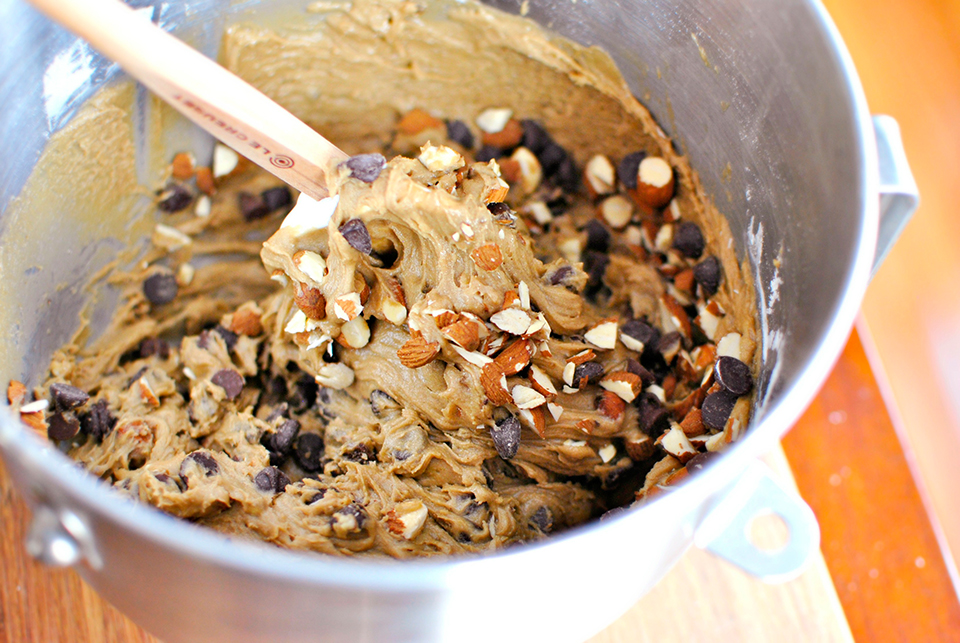
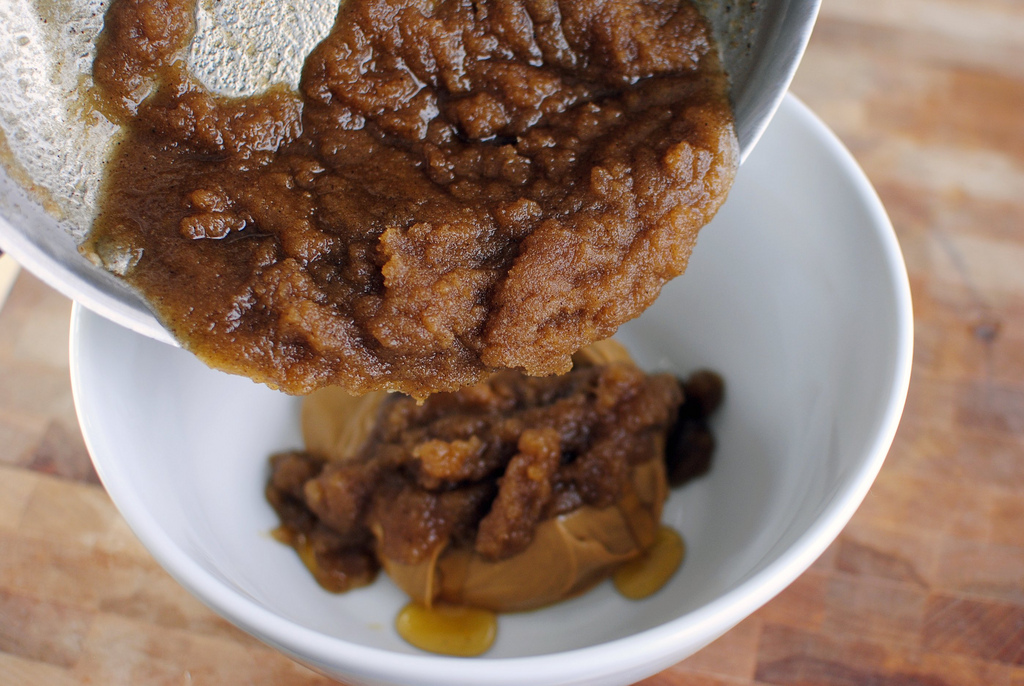
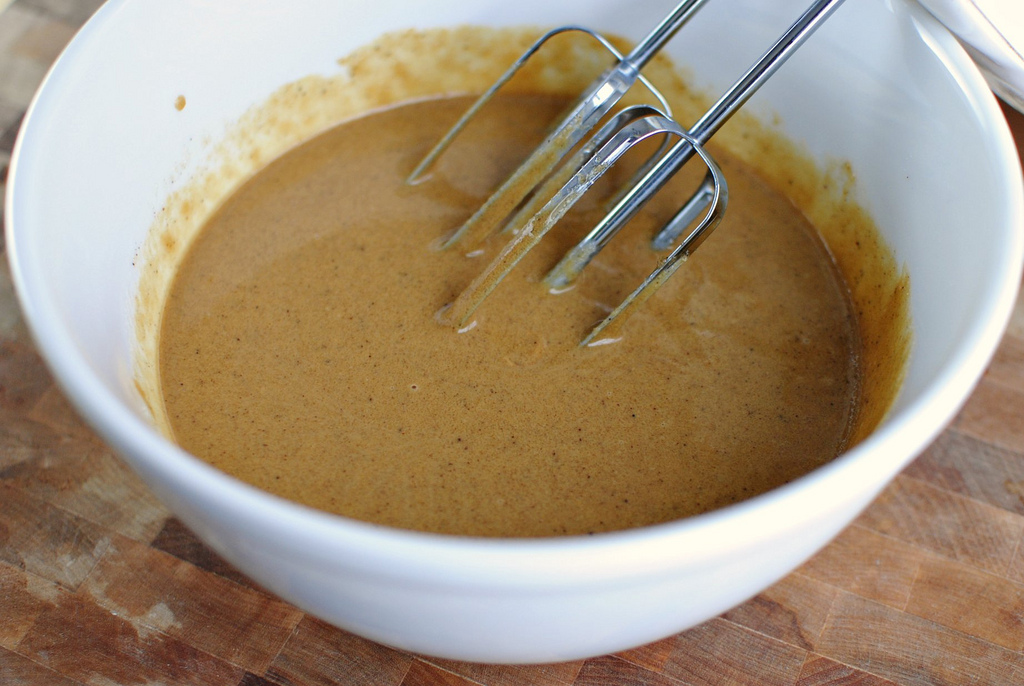
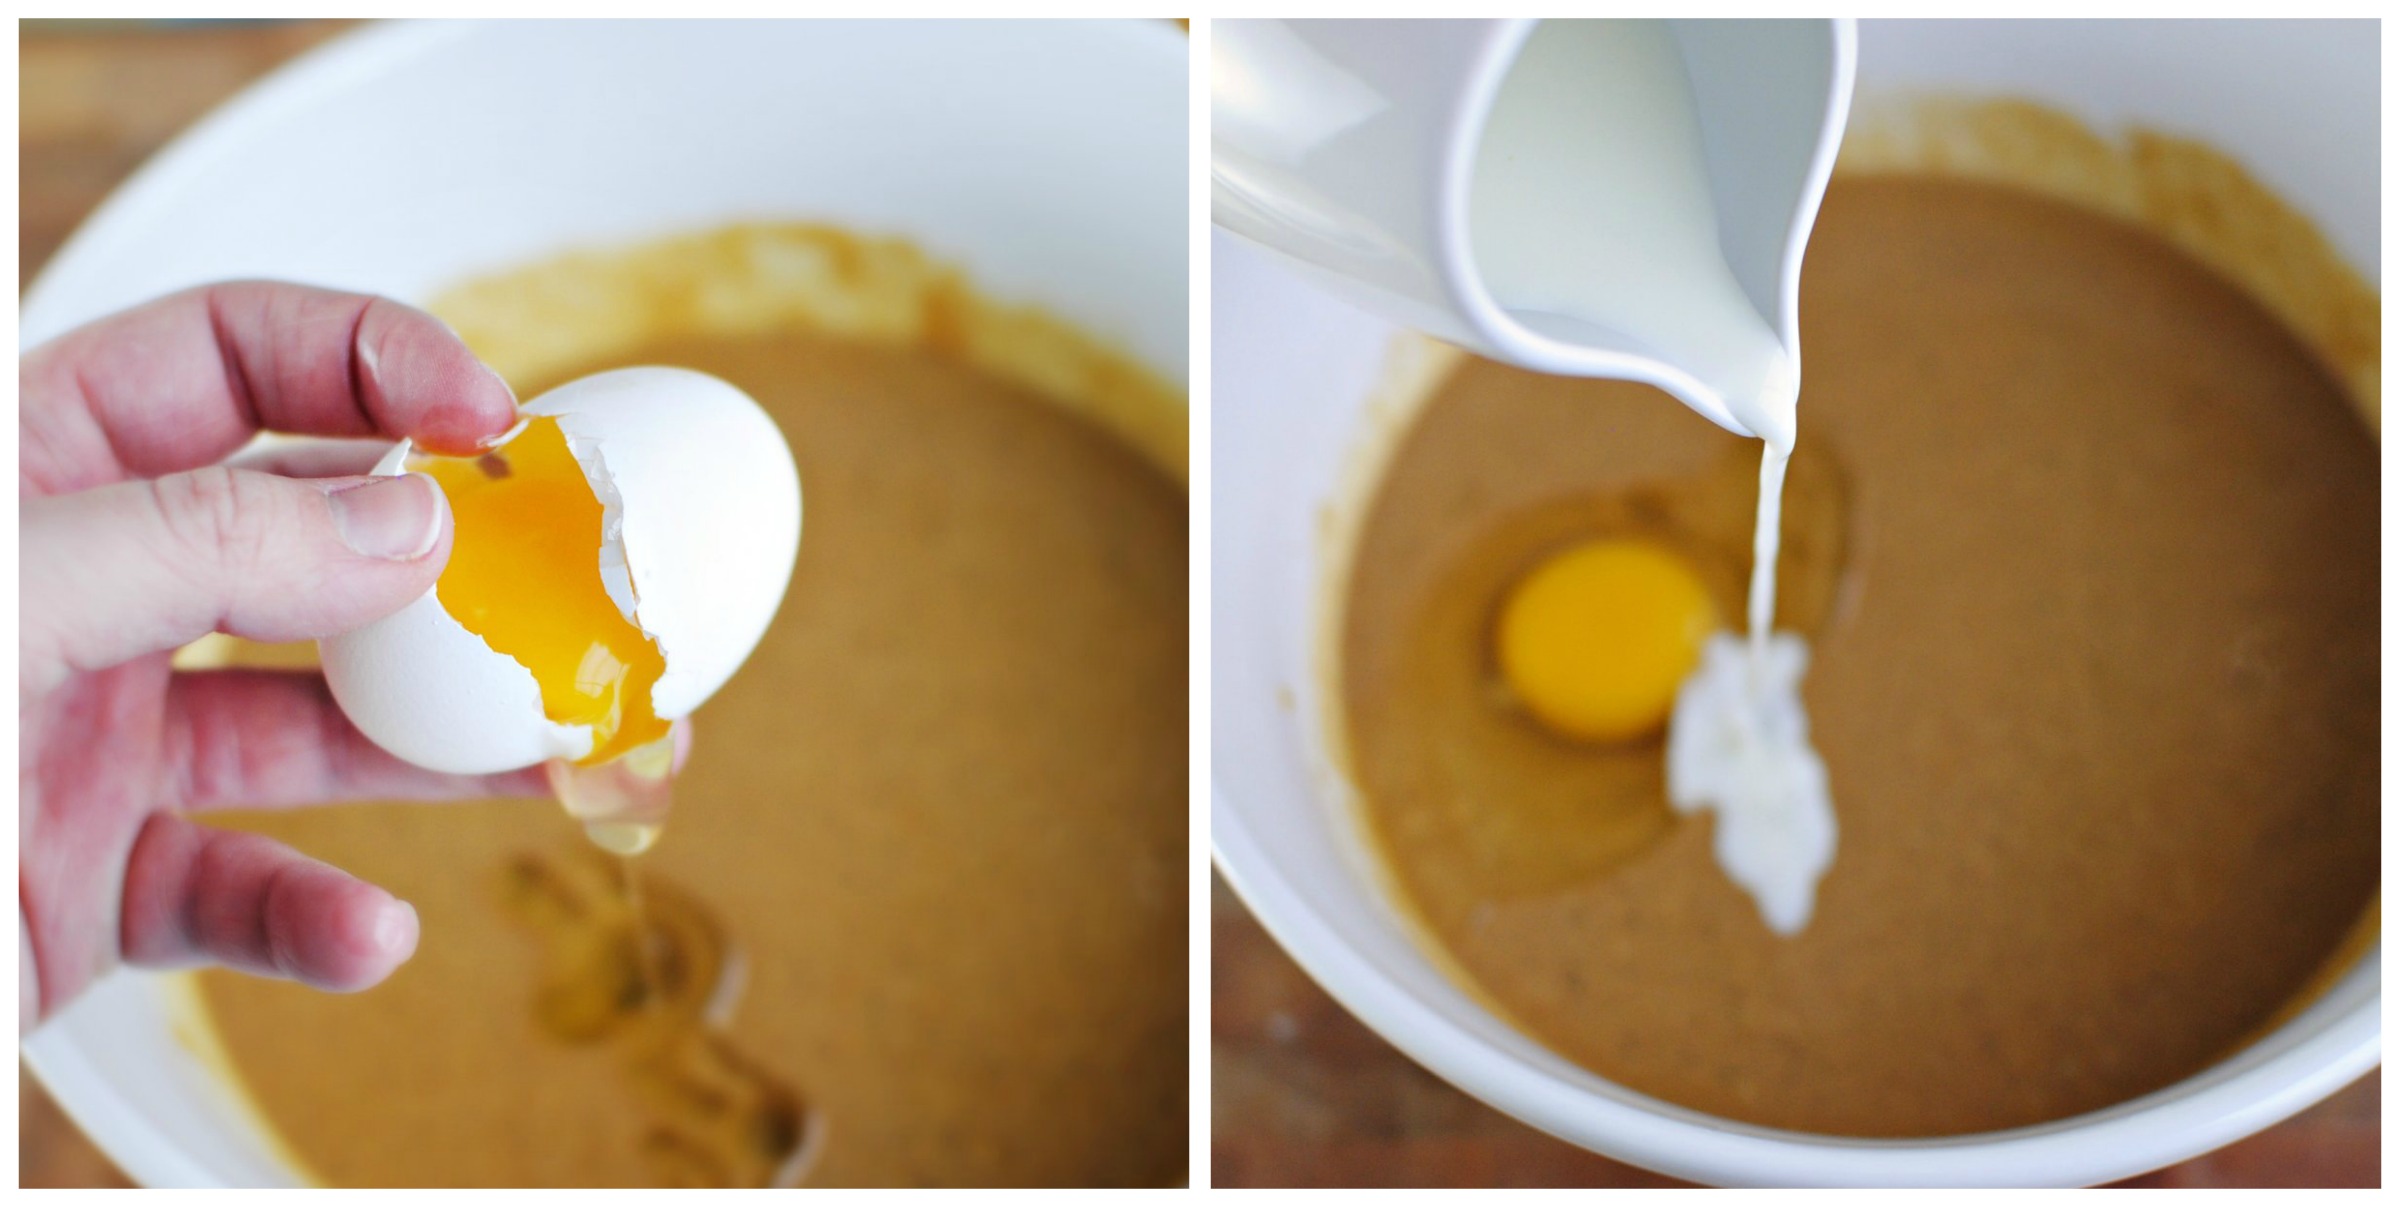
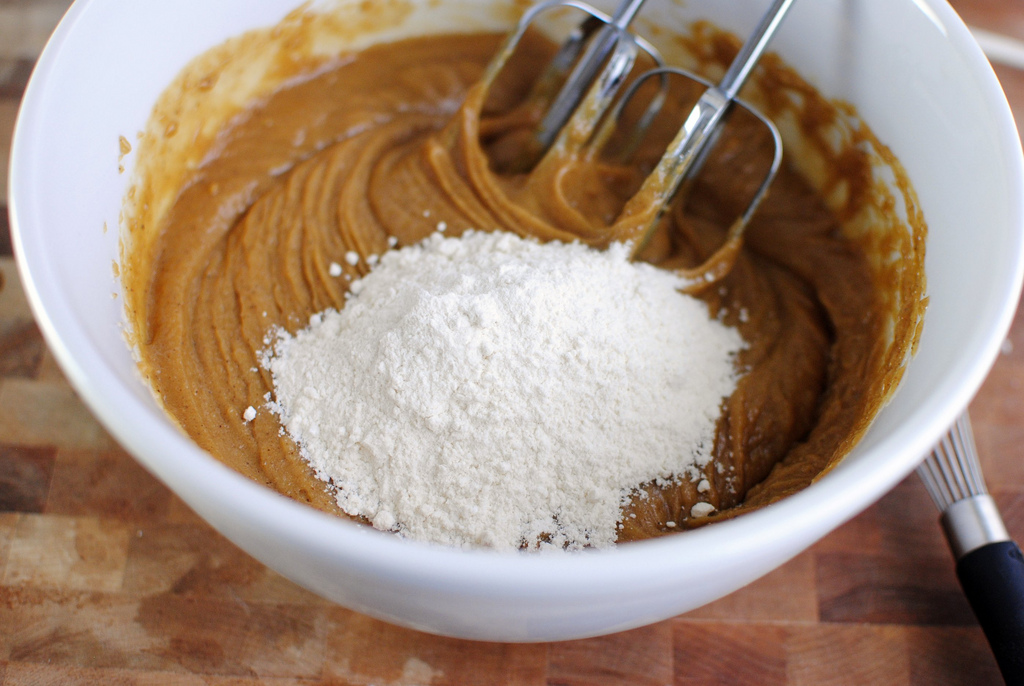
Now for some light mixing. In a bowl, beat the eggs, then add the nutmeg, salt, pepper, Worcestershire, whipping cream, and sour cream.


Tasty Kitchen Blog: Brie and Bacon Quiche. Guest post by Amy Johnson of She Wears Many Hats, recipe submitted by TK member Nancy (nancyinnewmexico).

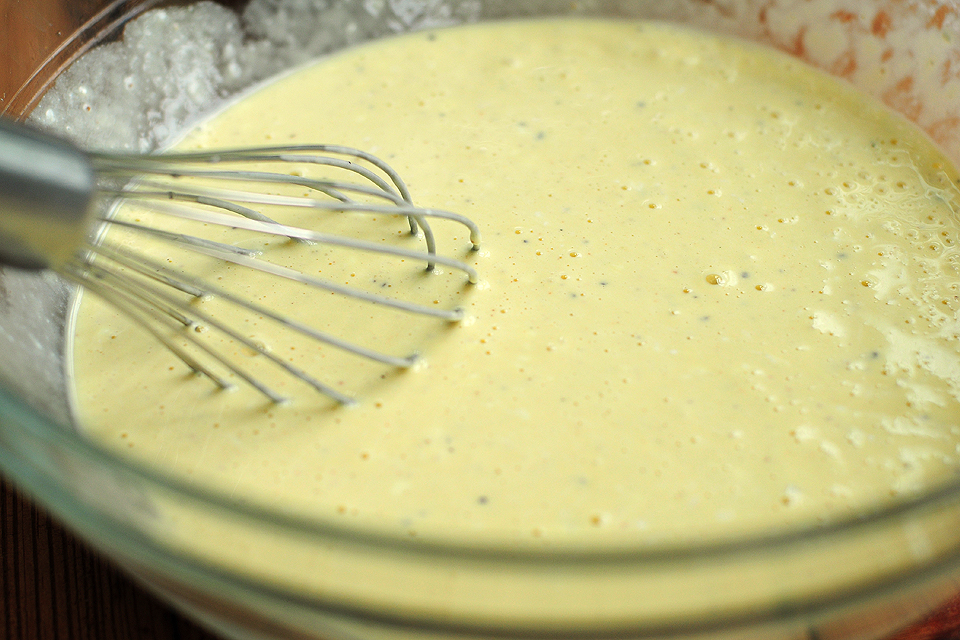
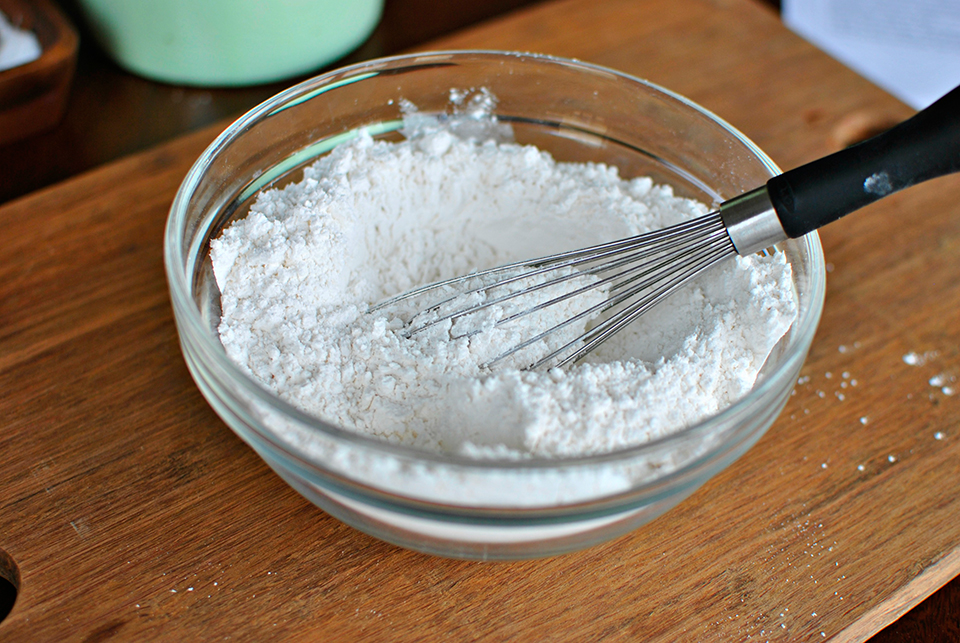
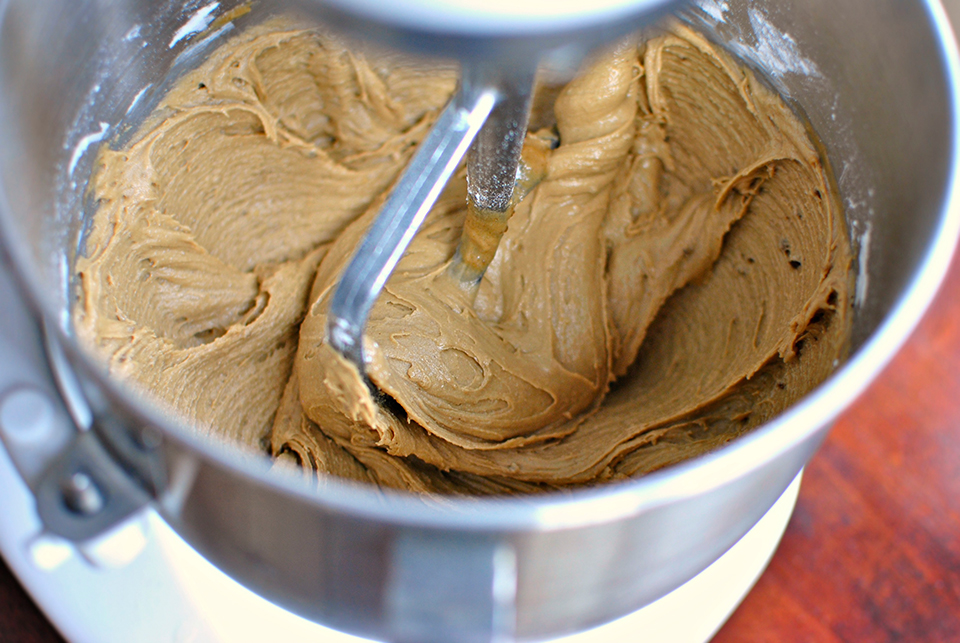
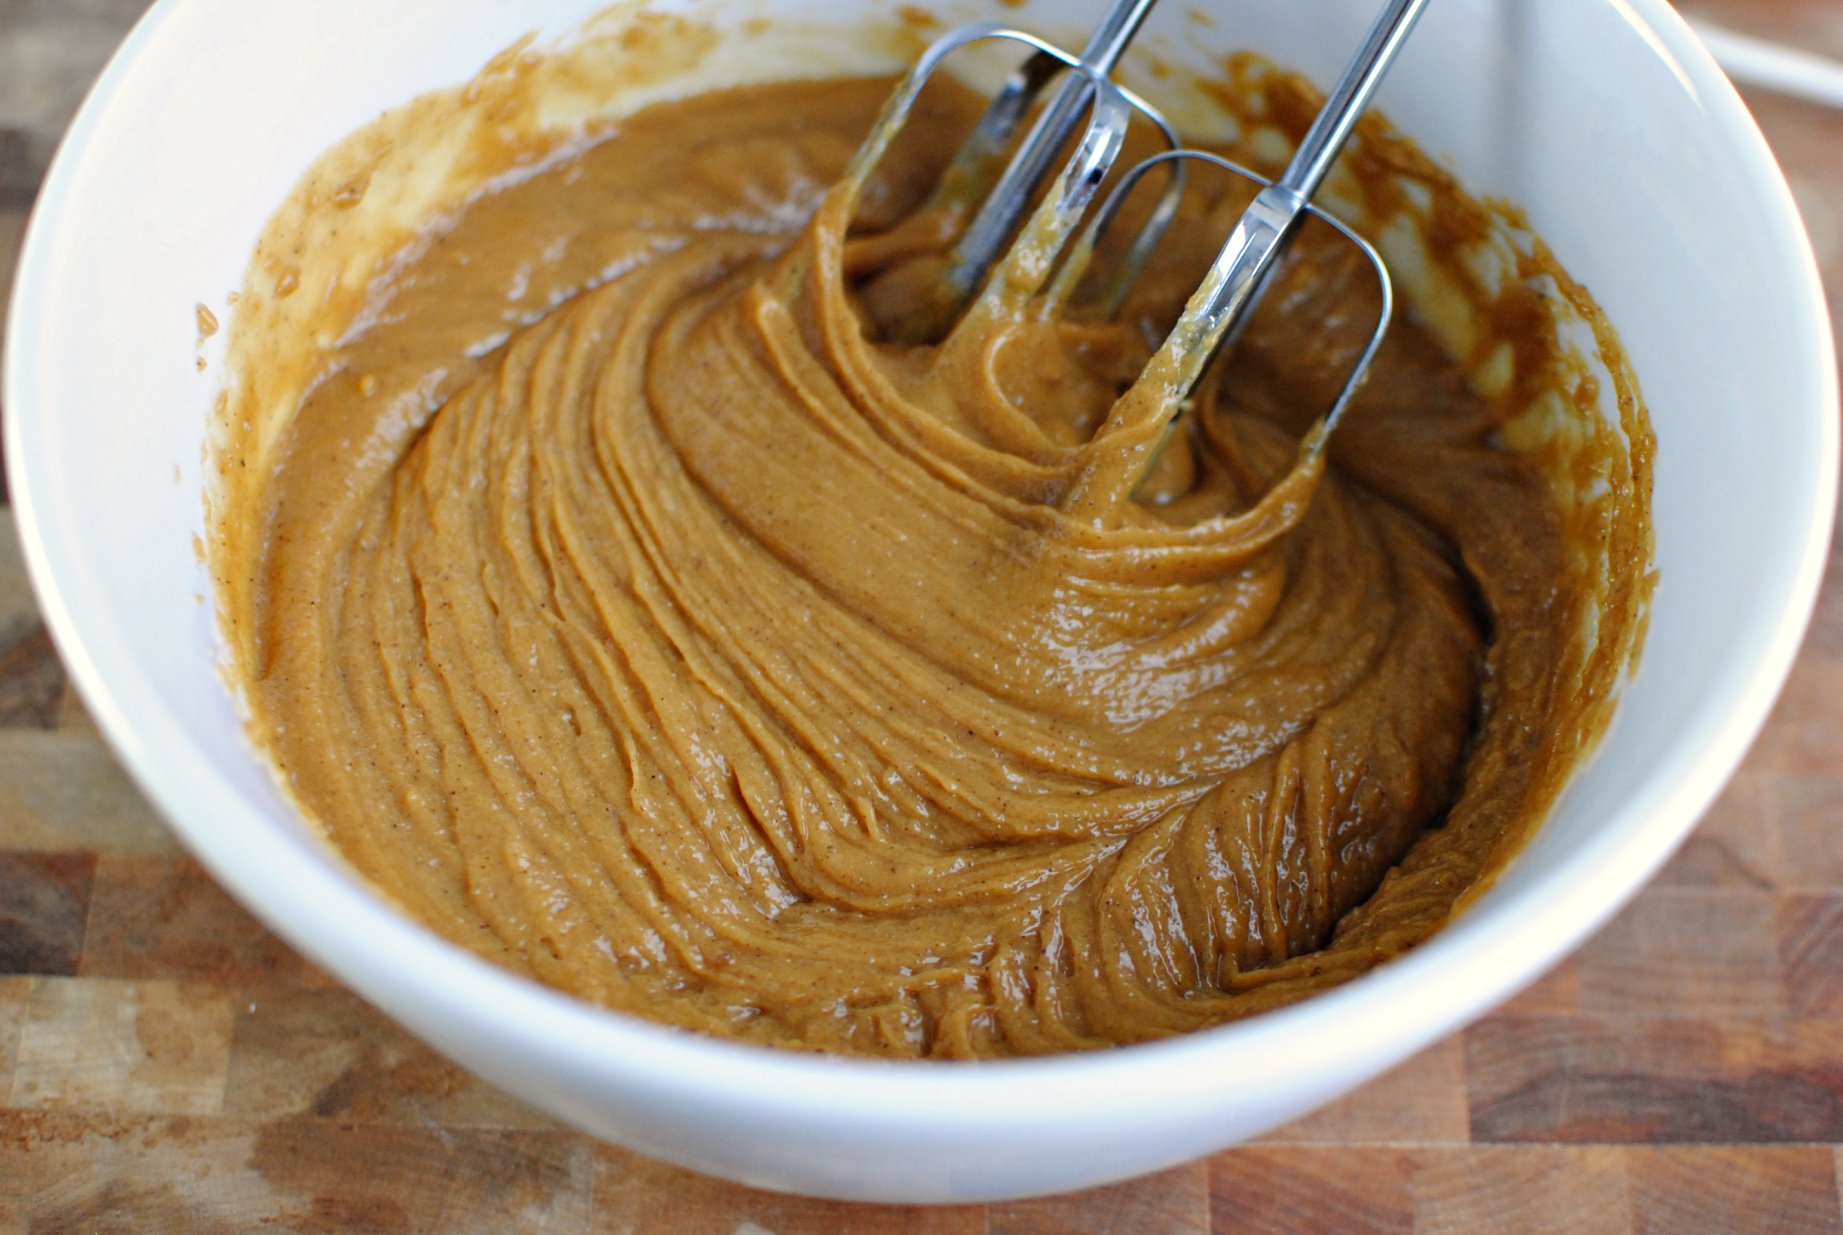
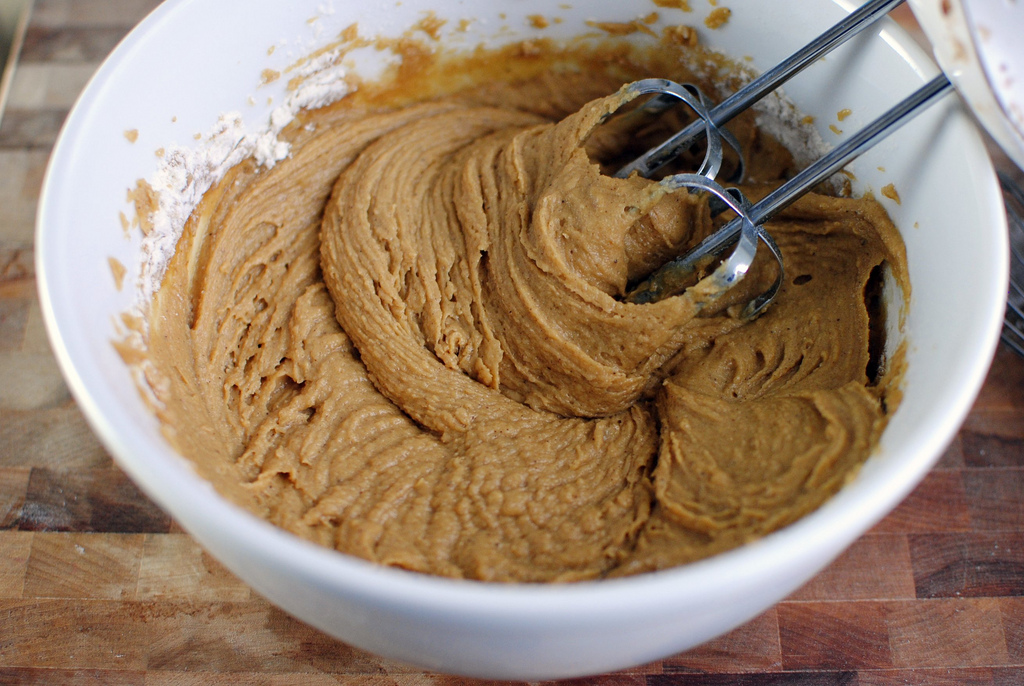
Mix it all up real good.


Tasty Kitchen Blog: Brie and Bacon Quiche. Guest post by Amy Johnson of She Wears Many Hats, recipe submitted by TK member Nancy (nancyinnewmexico).

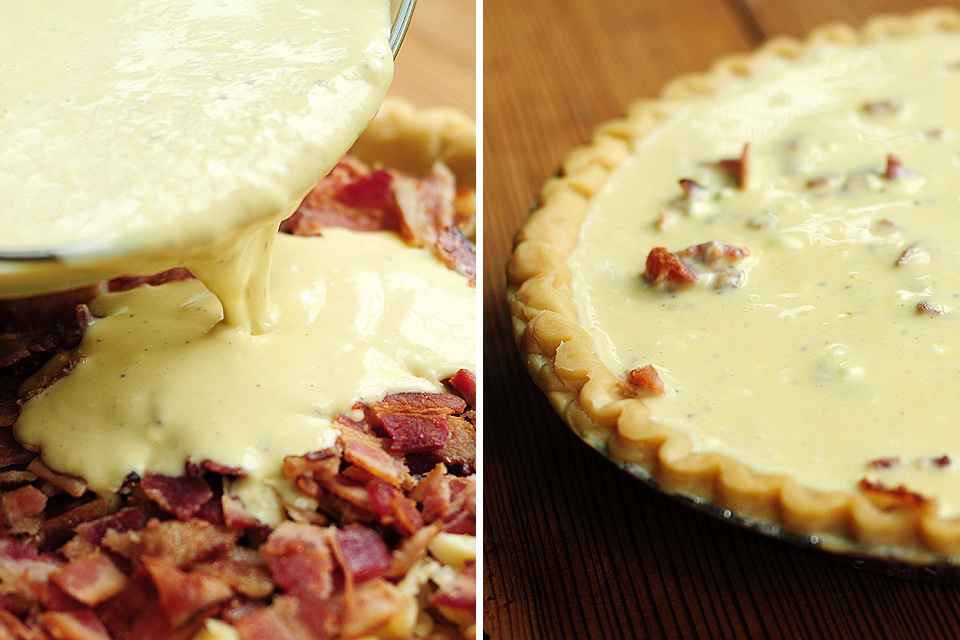
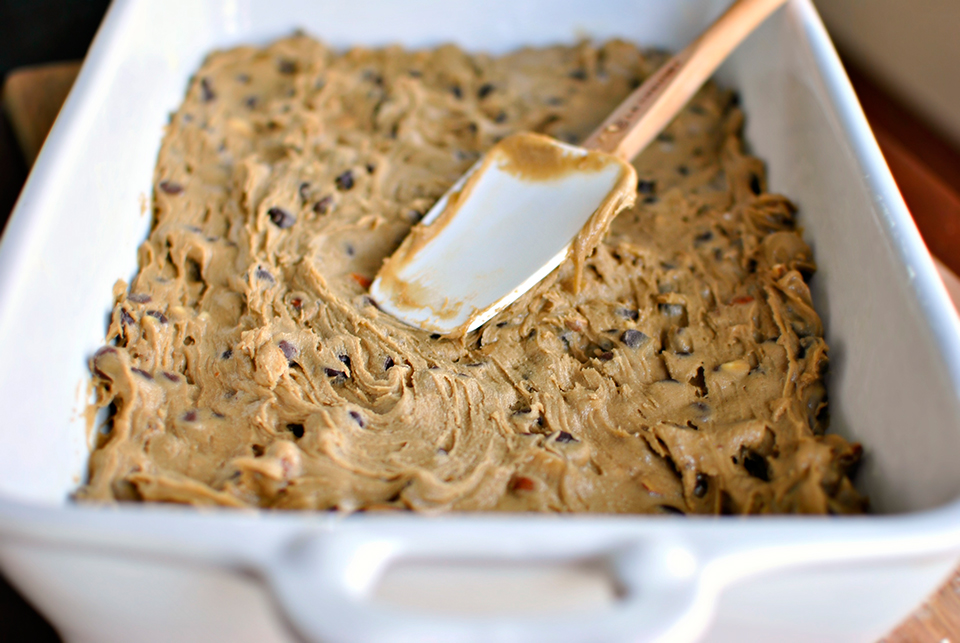
Pour the egg mixture over the cheese- and bacon-filled pie shell, then bake according to recipe directions (the link to the entire printable recipe is at the bottom of this post).


Tasty Kitchen Blog: Brie and Bacon Quiche. Guest post by Amy Johnson of She Wears Many Hats, recipe submitted by TK member Nancy (nancyinnewmexico).

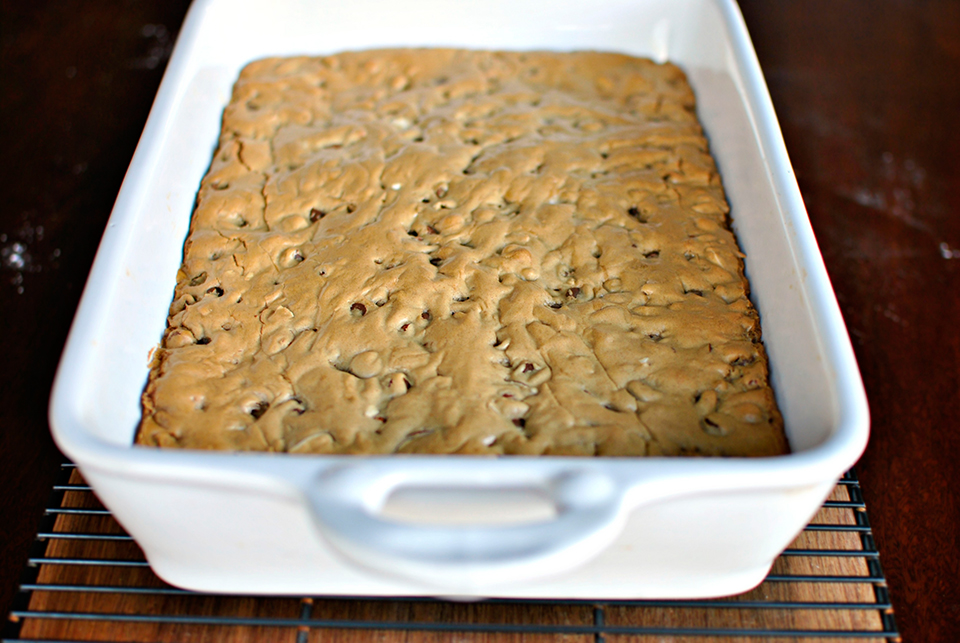
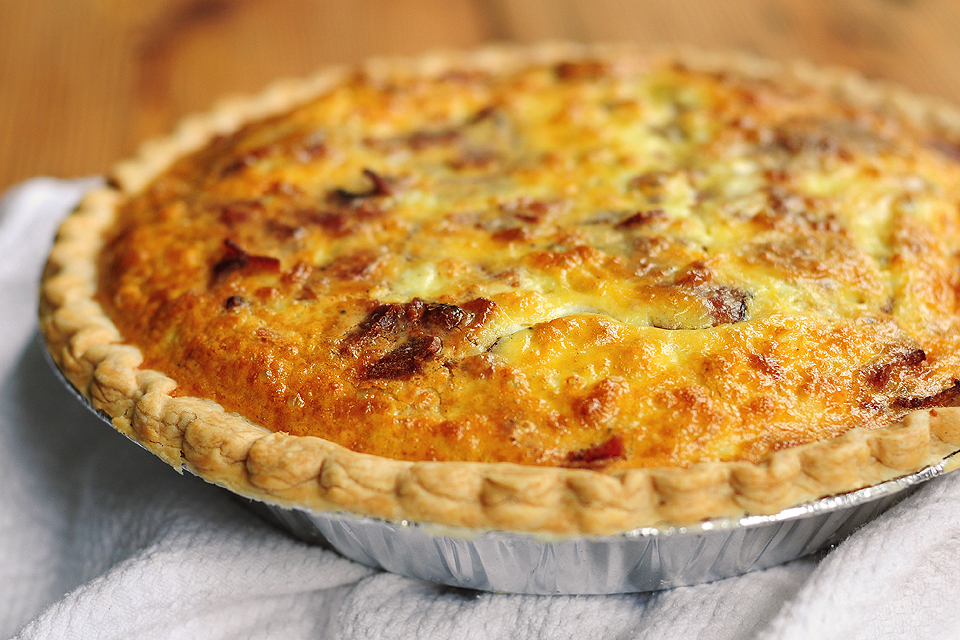
Golden perfection. No runny quiche here. Perfect proportions for this recipe.


Tasty Kitchen Blog: Brie and Bacon Quiche. Guest post by Amy Johnson of She Wears Many Hats, recipe submitted by TK member Nancy (nancyinnewmexico).

 
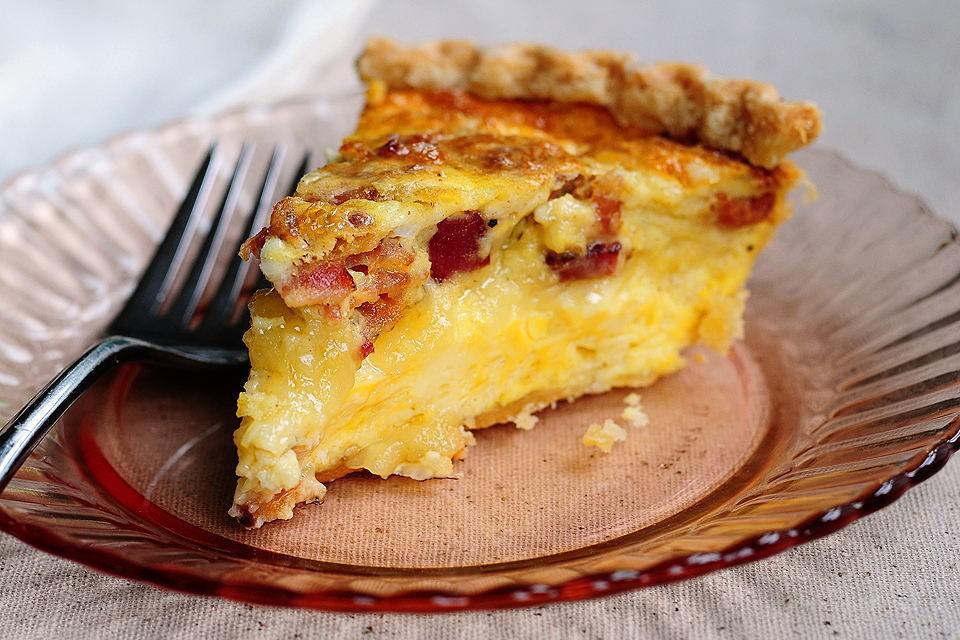
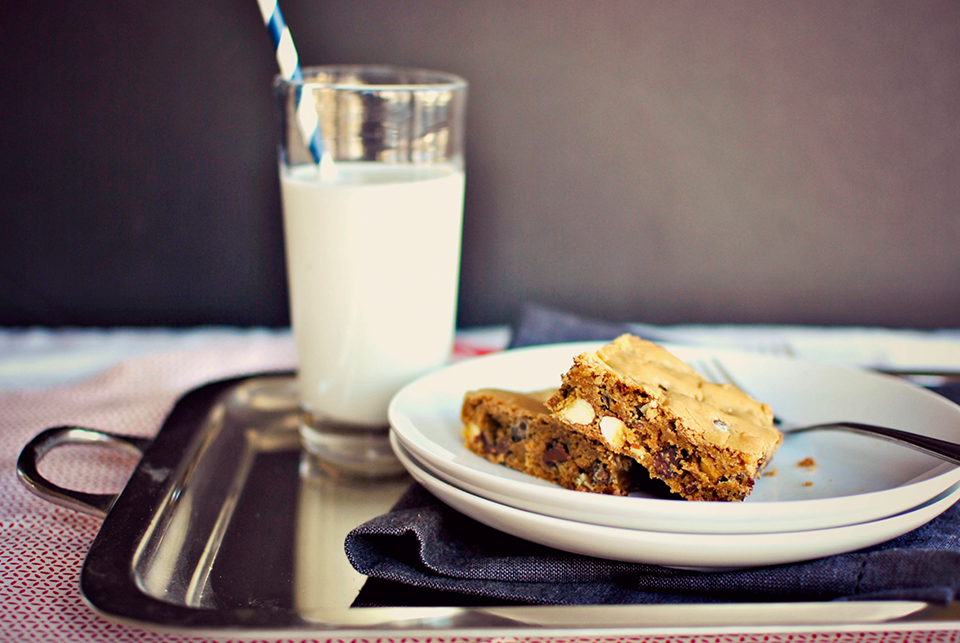
Beautiful and tasty. Thanks Nancy in New Mexico for sharing this yummy recipe. I think real men all over the world will be very pleased, and, of course, us ladies too.

And here’s one final quick tip: make two.

Happy cooking!


Printable Recipe

Brie and Bacon Quiche

See post on Nancy in New Mexico’s site!
4.71 Mitt(s) 14 Rating(s)14 votes, average: 4.71 out of 514 votes, average: 4.71 out of 514 votes, average: 4.71 out of 514 votes, average: 4.71 out of 514 votes, average: 4.71 out of 5

Prep Time:

Cook Time:

Difficulty: Easy

Servings: 6

6
x

Print Options

Page size Letter 3x5 4x6
Text Size Small Medium Large
Content Include description
Include prep time, etc.
Show image

Description

Delicious recipe that incorporates creamy Brie cheese, Swiss cheese, and crispy bacon.

Ingredients

  • 1 package Deep Dish Pie Crust, Pre-baked If Instructed
  • 4 ounces, weight Brie Cheese (rind Removed If Preferred)
  • 4 ounces, weight Swiss Cheese, Diced
  • 10 slices Bacon, Cooked Crisp, Drained, Crumbled
  • 6 whole Large Eggs
  • ½ cups Whipping Cream
  • ½ cups Sour Cream
  • 1 teaspoon Worcestershire Sauce
  • 1 dash Each Nutmeg, Salt, Pepper

Preparation Instructions

Crumble cheeses in the bottom of the pie. Spread crumbled bacon on top. Mix all remaining ingredients thoroughly and pour into the pie pan.

Bake in a preheated 375 degree F oven for about 45 minutes, until a pick inserted in the center comes out clean. Cool slightly before serving.


_______________________________________

Amy Johnson is a blogger who writes about food, travel, the home (both inside and out), and various observations and random musings about anything and everything. Visit her blog She Wears Many Hats for a dose of deliciousness, practicality, hilarity, or just plain fun. She lives in South Carolina with her husband and two children.


Profile photo of A Cozy Kitchen

Broccoli Cheddar Soup

Posted by in Step-by-Step Recipes

Tasty Kitchen Blog: Broccoli Cheddar Soup. Guest post by Adrianna Adarme of A Cozy Kitchen, recipe submitted by TK member Crystal (uumom2many).

 
Broccoli cheddar soup will forever make me think of those cold college nights when my friends and I would head to Panera to eat copious amounts of soup in bread bowls. It was one of those college activities we did since Panera was super inexpensive, pretty delicious and one of the only restaurants open past 8pm in our teeny-tiny college town. I’ve been wanting to recreate one of my favorite college memories for as long as I can remember, so when I came across this Broccoli Cheddar Soup recipe from TK member Crystal, I knew it was mine for the taking.  

Let’s get started, shall we?


Tasty Kitchen Blog: Broccoli Cheddar Soup. Guest post by Adrianna Adarme of A Cozy Kitchen, recipe submitted by TK member Crystal (uumom2many).

You’ll need to steam some broccoli (I’ll admit I totally forgot this step and it turned out great!), finely dice some onions, and shred two different types of cheeses: extra sharp white cheddar and extra sharp yellow cheddar.  


Tasty Kitchen Blog: Broccoli Cheddar Soup. Guest post by Adrianna Adarme of A Cozy Kitchen, recipe submitted by TK member Crystal (uumom2many).

Next you’re going to add the broccoli to a food processor and pulse until it’s the consistency of a meal. 

In a large stock pot, melt the butter and add the onion. You’ll want to cook them until they’re translucent. Mine took 5 minutes or so. 


Tasty Kitchen Blog: Broccoli Cheddar Soup. Guest post by Adrianna Adarme of A Cozy Kitchen, recipe submitted by TK member Crystal (uumom2many).

Then add the 2 tablespoons of flour and mix with the butter and onion mixture. You’ll create a bit of a roux. 


Tasty Kitchen Blog: Broccoli Cheddar Soup. Guest post by Adrianna Adarme of A Cozy Kitchen, recipe submitted by TK member Crystal (uumom2many).

Next up, add the cream and milk, being sure to stir constantly. 


Tasty Kitchen Blog: Broccoli Cheddar Soup. Guest post by Adrianna Adarme of A Cozy Kitchen, recipe submitted by TK member Crystal (uumom2many).

Then the beef stock. 

I had some vegetarian friends coming over so I opted for vegetarian stock; it worked wonderfully. 


Tasty Kitchen Blog: Broccoli Cheddar Soup. Guest post by Adrianna Adarme of A Cozy Kitchen, recipe submitted by TK member Crystal (uumom2many).

After you’re done mixing in the milks and broth, gently stir in the pulsed broccoli 


Tasty Kitchen Blog: Broccoli Cheddar Soup. Guest post by Adrianna Adarme of A Cozy Kitchen, recipe submitted by TK member Crystal (uumom2many).

And then the yellow cheddar …


Tasty Kitchen Blog: Broccoli Cheddar Soup. Guest post by Adrianna Adarme of A Cozy Kitchen, recipe submitted by TK member Crystal (uumom2many).

And then the white cheddar …

Are you getting excited yet? 


Tasty Kitchen Blog: Broccoli Cheddar Soup. Guest post by Adrianna Adarme of A Cozy Kitchen, recipe submitted by TK member Crystal (uumom2many).

Mix it all together and then do a little taste test. I actually ended up adding about a handful extra of each of the cheese. I was going for extra cheesy! 

Add some salt and pepper if you feel like it needs it. Mine needed about a teaspoon of salt and pepper. 


Tasty Kitchen Blog: Broccoli Cheddar Soup. Guest post by Adrianna Adarme of A Cozy Kitchen, recipe submitted by TK member Crystal (uumom2many).

If you don’t feel like doing the bread bowl thing, then your soup is totally ready to be served. 

If you do, grab the bread. I used a whole wheat sourdough. 


Tasty Kitchen Blog: Broccoli Cheddar Soup. Guest post by Adrianna Adarme of A Cozy Kitchen, recipe submitted by TK member Crystal (uumom2many).

Cut a circle in the top of the bread. 


Tasty Kitchen Blog: Broccoli Cheddar Soup. Guest post by Adrianna Adarme of A Cozy Kitchen, recipe submitted by TK member Crystal (uumom2many).

And take out the center, creating a bowl. 


Tasty Kitchen Blog: Broccoli Cheddar Soup. Guest post by Adrianna Adarme of A Cozy Kitchen, recipe submitted by TK member Crystal (uumom2many).

Ladle the soup into the center of the bread bowl until it’s full.


Tasty Kitchen Blog: Broccoli Cheddar Soup. Guest post by Adrianna Adarme of A Cozy Kitchen, recipe submitted by TK member Crystal (uumom2many).

Top with a small handful of cheese … and dinner! 

This soup was everything broccoli cheddar should be: it’s rich, thick, savory, and cheesy beyond belief, which makes it perfect for those cold nights we have in our near future.  

Thanks again to TK member Crystal, for this delicious tasting soup. 


Printable Recipe

Broccoli Cheddar Soup

See post on uumom2many’s site!
3.25 Mitt(s) 8 Rating(s)8 votes, average: 3.25 out of 58 votes, average: 3.25 out of 58 votes, average: 3.25 out of 58 votes, average: 3.25 out of 58 votes, average: 3.25 out of 5

Prep Time:

Cook Time:

Difficulty: Easy

Servings: 8

8
x

Print Options

Page size Letter 3x5 4x6
Text Size Small Medium Large
Content Include description
Include prep time, etc.
Show image

Description

Soup so thick it sticks to a spoon. Tastes like liquified Broccoli and Cheese. This recipe makes 2 liters of soup. Enough for a big hungry family.

Ingredients

  • 2 Tablespoons Salted Butter
  • 2 Tablespoons Finely Chopped Onion
  • 2 Tablespoons Flour
  • 2 cups Beef Broth Or Bouillon
  • 3 cups Whole Milk
  • 1 cup Heavy Cream
  • 1-½ cup Extra Sharp White Cheddar Shredded
  • 1-½ cup Extra Sharp Yellow Cheddar Shredded
  • 4 cups Steamed Broccoli Pulsed Into A Meal

Preparation Instructions

Melt butter in a large stock pot. Add onion and cook slowly until limp. Stir in flour and cook for 3 minutues, stirring. Slowly add the stock, milk and cream, alternating until all are combined. Heat to boiling, stirring frequently. Stir in the cheese and broccoli (see note below). Keep stirring until the cheese is completely melted. Add salt and pepper to taste.

The longer this soup sits, the thicker it gets, until you end up with a soup that won’t fall off a spoon.

Note: to prepare the broccoli, steam until tender and pulse in a food processor until you get a meal-like consistency.


_______________________________________

Adrianna is the lovely lady behind the scrumptious blog A Cozy Kitchen. It’s filled with all kinds of mouthwatering recipes and gorgeous photography. Whether you’re in the mood for something vegetarian or meaty, fancy or pure comfort, light or decadent, there’s sure to be something there for everyone.


Profile photo of Laurie - Simply Scratch

Brown Butter Chocolate Chip Blondies

Posted by in Baking, Step-by-Step Recipes

Tasty Kitchen Blog: Brown Butter Chocolate Chip Blondies. Guest post by Laurie McNamara of Simply Scratch, recipe submitted by TK member Sharon of Cheesy Pennies.

  
So what if I told you this was my first go at blondies? It’s true! Not a day in my thirty-something years on earth have I ever had a blondie until the other day. Truly it was only a matter of time, and when my eyes locked on Sharon’s recipe for Brown Butter Chocolate Chip Blondies I knew that it was time for me to take the plunge.


Tasty Kitchen Blog: Brown Butter Chocolate Chip Blondies. Guest post by Laurie McNamara of Simply Scratch, recipe submitted by TK member Sharon of Cheesy Pennies.

If you’re like me and new to the blondie scene, then there’s no better way to start your journey off right then with a decadent and amazing recipe such as this. Sharon adapted this recipe from Clementine, a bakery/cafe in LA, and shared it with us back in 2011—and I’m so glad she did. You guys have to make these. You’ll know what I mean once you take your first bite, as they’re simply amazing!


Tasty Kitchen Blog: Brown Butter Chocolate Chip Blondies. Guest post by Laurie McNamara of Simply Scratch, recipe submitted by TK member Sharon of Cheesy Pennies.

For these bars you’ll need just some basic pantry ingredients: flour, brown sugar, vanilla, baking powder, eggs, butter, salt, and of course… what blondie is complete without chocolate chips and nuts? Sharon’s recipe called for walnuts, but since I didn’t have any I substituted almonds and they worked out perfectly! And never mind the second stick of butter you see. I was getting it out for something entirely different and somehow it ended up in this shot.


Tasty Kitchen Blog: Brown Butter Chocolate Chip Blondies. Guest post by Laurie McNamara of Simply Scratch, recipe submitted by TK member Sharon of Cheesy Pennies.

Start by buttering a 9×13 baking dish, making sure to get every nook and cranny.


Tasty Kitchen Blog: Brown Butter Chocolate Chip Blondies. Guest post by Laurie McNamara of Simply Scratch, recipe submitted by TK member Sharon of Cheesy Pennies.

Then in a medium bowl measure 1-3/4 cups of all purpose flour …


Tasty Kitchen Blog: Brown Butter Chocolate Chip Blondies. Guest post by Laurie McNamara of Simply Scratch, recipe submitted by TK member Sharon of Cheesy Pennies.

And I also added in 2-1/2 teaspoons baking powder.


Tasty Kitchen Blog: Brown Butter Chocolate Chip Blondies. Guest post by Laurie McNamara of Simply Scratch, recipe submitted by TK member Sharon of Cheesy Pennies.

Measure and add in 2 teaspoons of salt (I used kosher).


Tasty Kitchen Blog: Brown Butter Chocolate Chip Blondies. Guest post by Laurie McNamara of Simply Scratch, recipe submitted by TK member Sharon of Cheesy Pennies.

And gently whisk those together and set the bowl off to the side for a moment.


Tasty Kitchen Blog: Brown Butter Chocolate Chip Blondies. Guest post by Laurie McNamara of Simply Scratch, recipe submitted by TK member Sharon of Cheesy Pennies.

In a small skillet add the 10 tablespoons of butter.


Tasty Kitchen Blog: Brown Butter Chocolate Chip Blondies. Guest post by Laurie McNamara of Simply Scratch, recipe submitted by TK member Sharon of Cheesy Pennies.

Slowly melt over medium heat, stirring occasionally. Once it reaches a dark amber, color pull it off the heat to cool slightly.


Tasty Kitchen Blog: Brown Butter Chocolate Chip Blondies. Guest post by Laurie McNamara of Simply Scratch, recipe submitted by TK member Sharon of Cheesy Pennies.

In the bowl of your stand mixer, add in the 2-1/4 cups of brown sugar, the browned butter and a teaspoon of real vanilla extract.


Tasty Kitchen Blog: Brown Butter Chocolate Chip Blondies. Guest post by Laurie McNamara of Simply Scratch, recipe submitted by TK member Sharon of Cheesy Pennies.

Blend those together until combined.


Tasty Kitchen Blog: Brown Butter Chocolate Chip Blondies. Guest post by Laurie McNamara of Simply Scratch, recipe submitted by TK member Sharon of Cheesy Pennies.

Slowly add in one egg at a time, mixing well after each one.


Tasty Kitchen Blog: Brown Butter Chocolate Chip Blondies. Guest post by Laurie McNamara of Simply Scratch, recipe submitted by TK member Sharon of Cheesy Pennies.

Now it’s time to add in the dry ingredients.


Tasty Kitchen Blog: Brown Butter Chocolate Chip Blondies. Guest post by Laurie McNamara of Simply Scratch, recipe submitted by TK member Sharon of Cheesy Pennies.

Gradually add in the flour mixture, mixing after each spoonful.


Tasty Kitchen Blog: Brown Butter Chocolate Chip Blondies. Guest post by Laurie McNamara of Simply Scratch, recipe submitted by TK member Sharon of Cheesy Pennies.

Stop once all of the flour has been incorporated.


Tasty Kitchen Blog: Brown Butter Chocolate Chip Blondies. Guest post by Laurie McNamara of Simply Scratch, recipe submitted by TK member Sharon of Cheesy Pennies.

I gave a half cup of almonds a rough chop. They added a deliciously crunchy texture to these bars, which is never a bad thing. However if you have a nut allergy, simply omit this step.


Tasty Kitchen Blog: Brown Butter Chocolate Chip Blondies. Guest post by Laurie McNamara of Simply Scratch, recipe submitted by TK member Sharon of Cheesy Pennies.

Add the chopped almonds along with 1-1/4 cup of semi-sweet chocolate chips to the blondie batter.


Tasty Kitchen Blog: Brown Butter Chocolate Chip Blondies. Guest post by Laurie McNamara of Simply Scratch, recipe submitted by TK member Sharon of Cheesy Pennies.

Then give it a good stir by hand until combined. 


Tasty Kitchen Blog: Brown Butter Chocolate Chip Blondies. Guest post by Laurie McNamara of Simply Scratch, recipe submitted by TK member Sharon of Cheesy Pennies.

Pour and spread evenly into the prepared baking dish and bake at 325ºF for 20-25 minutes.


Tasty Kitchen Blog: Brown Butter Chocolate Chip Blondies. Guest post by Laurie McNamara of Simply Scratch, recipe submitted by TK member Sharon of Cheesy Pennies.

Let these bars cool completely before cutting into squares and serving.


Tasty Kitchen Blog: Brown Butter Chocolate Chip Blondies. Guest post by Laurie McNamara of Simply Scratch, recipe submitted by TK member Sharon of Cheesy Pennies.

Grab yourself a fork and a tall glass of milk. (The fork is of course optional.)


Tasty Kitchen Blog: Brown Butter Chocolate Chip Blondies. Guest post by Laurie McNamara of Simply Scratch, recipe submitted by TK member Sharon of Cheesy Pennies.

These blondie bars are quite easy to whip up and yield a chewy, buttery bar. What I love the most is that they have this rich taste of butterscotch about them, without there being an ounce of it in the recipe! They’re incredible and I just know you all are going to love them.


Tasty Kitchen Blog: Brown Butter Chocolate Chip Blondies. Guest post by Laurie McNamara of Simply Scratch, recipe submitted by TK member Sharon of Cheesy Pennies.

Thank you Sharon for sharing these fantastic bars with us on Tasty Kitchen! 

You guys, Sharon has many more creative and delicious recipes right here in her TK recipe box, like Boozy Bacon Brown Butter Oatmeal Raisin Bars or Cara Cara Orange Sorbet! Be sure to also check out her lovely blog Cheesy Pennies for even more amazing recipes.


Printable Recipe

Brown Butter Chocolate Chip Blondies

See post on Cheesy Pennies’s site!
5.00 Mitt(s) 5 Rating(s)5 votes, average: 5.00 out of 55 votes, average: 5.00 out of 55 votes, average: 5.00 out of 55 votes, average: 5.00 out of 55 votes, average: 5.00 out of 5

Prep Time:

Cook Time:

Difficulty: Easy

Servings: 12

12
x

Print Options

Page size Letter 3x5 4x6
Text Size Small Medium Large
Content Include description
Include prep time, etc.
Show image

Description

These are exactly what a great blondie should be: sweet, chewy, buttery and full of caramel flavor, with the perfect hit of salt to balance everything out.

Ingredients

  • 1-¾ cup Flour
  • 2-½ teaspoons Baking Powder
  • 2 teaspoons Scant Kosher Salt
  • 10 Tablespoons Butter
  • 2-¼ cups Brown Sugar
  • 1 teaspoon Vanilla
  • 2 whole Eggs
  • 1-¼ cup Chopped, Toasted Walnuts (optional)
  • 1-¼ cup Semi-sweet Chocolate Chips (optional)

Preparation Instructions

The best blondies I’ve ever eaten. As they bake, this smooth little crust forms on top that just melts in your mouth. Awesome! This is an adaptation of a recipe from Clementine, a bakery/restaurant here in LA.

Butter a 13×9 pan and preheat oven to 325ºF.

In a small bowl, whisk flour, baking powder and salt together, and set aside.

Place butter in a small saucepan over medium heat. After the butter melts, continue cooking for 5-8 minutes, stirring frequently. It may foam up, which is fine. Watch carefully, as your goal is to see the milk solids and salt in the butter begin to turn brown, but you don’t want to have them burn. If they do, the butter will have a very bitter taste. When the butter is a light tan/golden color and begins to smell toasty, immediately remove from heat.

Place brown sugar into a large mixing bowl, then pour in the browned butter and vanilla. Mix on medium speed with an electric mixer until combined. Blend in the eggs. Add the dry ingredients, mixing on low speed until dough is smooth and a little bit shiny. Fold in the nuts/chocolate chips by hand.

Spread dough evenly into the prepared pan. Bake for 25 minutes, or until top is puffed, smooth, and light brown. When you remove the pan from the oven, the top may collapse. This is perfectly fine; it means your blondies will be dense and chewy, just as they should be.

Cool for at least 20 minutes, then serve.


_______________________________________

Laurie is the force behind Simply Scratch, a blog that documents her efforts to find and create recipes that are made simply from scratch. (We think it’s sweet that her mother-in-law helped her set up her blog and get started.) We love her recipes; they’re not just tried and true, but they look gorgeous as well. Check out her blog and you’ll become a fan too.


Profile photo of Laurie - Simply Scratch

Brown Butter Peanut Butter Cookies

Posted by in Baking, Step-by-Step Recipes

Tasty Kitchen Blog: Brown-Butter Peanut Butter Cookies. Guest post by Laurie McNamara of Simply Scratch, recipe submitted by TK member Melissa (bellelatte).

 
When I think of peanut butter cookies my mind instantly recalls those perfectly round cookies with the fork-hashed “X” in the center. But what if I told you TK member Bellelatte does it one better? What if I told you Melissa takes your everyday peanut butter cookie and transcends it into a realm of pure confection perfection?
 
How can that be? Two words: brown butter


Tasty Kitchen Blog: Brown-Butter Peanut Butter Cookies. Guest post by Laurie McNamara of Simply Scratch, recipe submitted by TK member Melissa (bellelatte).

Yes, brown butter is the bees-knees. It’s what makes the world go round. Well, at least it makes my world go round, and after you taste these cookies I bet you’ll feel the same way.


Tasty Kitchen Blog: Brown-Butter Peanut Butter Cookies. Guest post by Laurie McNamara of Simply Scratch, recipe submitted by TK member Melissa (bellelatte).

In a small bowl, whisk together the flour, baking powder, baking soda, and salt.  


Tasty Kitchen Blog: Brown-Butter Peanut Butter Cookies. Guest post by Laurie McNamara of Simply Scratch, recipe submitted by TK member Melissa (bellelatte).

In a medium bowl, combine the white sugar with the brown sugar and set aside.


Tasty Kitchen Blog: Brown-Butter Peanut Butter Cookies. Guest post by Laurie McNamara of Simply Scratch, recipe submitted by TK member Melissa (bellelatte).

In a medium (10-inch) skillet, slowly melt 2 sticks of unsalted butter over medium-low heat.


Tasty Kitchen Blog: Brown-Butter Peanut Butter Cookies. Guest post by Laurie McNamara of Simply Scratch, recipe submitted by TK member Melissa (bellelatte).

Continue to stir as the butter bubbles.


Tasty Kitchen Blog: Brown-Butter Peanut Butter Cookies. Guest post by Laurie McNamara of Simply Scratch, recipe submitted by TK member Melissa (bellelatte).

Once the milk solids have sunk to the bottom of the pan and turned the prettiest shade of brown, remove the pan off the heat.


Tasty Kitchen Blog: Brown-Butter Peanut Butter Cookies. Guest post by Laurie McNamara of Simply Scratch, recipe submitted by TK member Melissa (bellelatte).

Now you can add the sugars into the browned butter.


Tasty Kitchen Blog: Brown-Butter Peanut Butter Cookies. Guest post by Laurie McNamara of Simply Scratch, recipe submitted by TK member Melissa (bellelatte).

Slowly stir to combine and let cool for 10 minutes or so.


Tasty Kitchen Blog: Brown-Butter Peanut Butter Cookies. Guest post by Laurie McNamara of Simply Scratch, recipe submitted by TK member Melissa (bellelatte).

In a large bowl, add the creamy peanut butter and the honey.


Tasty Kitchen Blog: Brown-Butter Peanut Butter Cookies. Guest post by Laurie McNamara of Simply Scratch, recipe submitted by TK member Melissa (bellelatte).

Then add in the cooled browned butter-sugar mixture.


Tasty Kitchen Blog: Brown-Butter Peanut Butter Cookies. Guest post by Laurie McNamara of Simply Scratch, recipe submitted by TK member Melissa (bellelatte).

Mix that until just combined.


Tasty Kitchen Blog: Brown-Butter Peanut Butter Cookies. Guest post by Laurie McNamara of Simply Scratch, recipe submitted by TK member Melissa (bellelatte).

Crack and add in 1 egg and the 1/4 cup of milk.


Tasty Kitchen Blog: Brown-Butter Peanut Butter Cookies. Guest post by Laurie McNamara of Simply Scratch, recipe submitted by TK member Melissa (bellelatte).

Then blend until smooth.


Tasty Kitchen Blog: Brown-Butter Peanut Butter Cookies. Guest post by Laurie McNamara of Simply Scratch, recipe submitted by TK member Melissa (bellelatte).

Gradually add in the dry ingredients a little at a time and mix after each addition.


Tasty Kitchen Blog: Brown-Butter Peanut Butter Cookies. Guest post by Laurie McNamara of Simply Scratch, recipe submitted by TK member Melissa (bellelatte).

Stop once the dough comes together.


Tasty Kitchen Blog: Brown-Butter Peanut Butter Cookies. Guest post by Laurie McNamara of Simply Scratch, recipe submitted by TK member Melissa (bellelatte).

Cover and refrigerate for at least 2 hours. This gives the dough a chance to cool and solidify so the cookies don’t melt into one giant blob on your cookie sheet. So as hard as it may seem, do not skip this step.


Tasty Kitchen Blog: Brown-Butter Peanut Butter Cookies. Guest post by Laurie McNamara of Simply Scratch, recipe submitted by TK member Melissa (bellelatte).

Once the cookie dough has had the chance to cool, measure and form into 1-inch balls.


Tasty Kitchen Blog: Brown-Butter Peanut Butter Cookies. Guest post by Laurie McNamara of Simply Scratch, recipe submitted by TK member Melissa (bellelatte).

With a fork, press down to make the traditional “X” in each of the cookies.


Tasty Kitchen Blog: Brown-Butter Peanut Butter Cookies. Guest post by Laurie McNamara of Simply Scratch, recipe submitted by TK member Melissa (bellelatte).

Slide the cookies into a preheated 350ºF oven and bake for 9-10 minutes.


Tasty Kitchen Blog: Brown-Butter Peanut Butter Cookies. Guest post by Laurie McNamara of Simply Scratch, recipe submitted by TK member Melissa (bellelatte).

The second the cookies come out of the oven, sprinkle with a little granulated sugar. Once they’ve had a chance to cool and are firm enough, transfer to a wire rack to cool completely and repeat with the remaining cookie dough.


Tasty Kitchen Blog: Brown-Butter Peanut Butter Cookies. Guest post by Laurie McNamara of Simply Scratch, recipe submitted by TK member Melissa (bellelatte).

Light and flaky, these cookies will no doubt melt in your mouth. Promise.


Tasty Kitchen Blog: Brown-Butter Peanut Butter Cookies. Guest post by Laurie McNamara of Simply Scratch, recipe submitted by TK member Melissa (bellelatte).

If you’re a brown butter fan then these delicate brown-butter peanut butter cookies will win you over, big time. I think it’s safe to say I won’t go back to making regular peanut butter cookies ever again.
 
After you’re done whipping up these cookies, be sure to raid Bellelatte’s recipe box for more sweet treats. Thank you Melissa for sharing this wonderful recipe with us!


Printable Recipe

Brown Butter Peanut Butter Cookies

5.00 Mitt(s) 3 Rating(s)3 votes, average: 5.00 out of 53 votes, average: 5.00 out of 53 votes, average: 5.00 out of 53 votes, average: 5.00 out of 53 votes, average: 5.00 out of 5

Prep Time:

Cook Time:

Difficulty: Easy

Servings: 36

36
x

Print Options

Page size Letter 3x5 4x6
Text Size Small Medium Large
Content Include description
Include prep time, etc.
Show image

Description

I have an obsession with browned butter, so incorporating it into peanut butter cookies seemed like a great idea—and it was!

Ingredients

  • ½ cups Light Brown Sugar
  • ½ cups Granulated Sugar, Plus Extra To Sprinkle On Top Of Baked Cookies
  • 2 sticks Unsalted Butter
  • 1-⅓ cup All-purpose Flour
  • 2-½ teaspoons Baking Powder
  • ½ teaspoons Baking Soda
  • ¼ teaspoons Salt
  • 1 cup Creamy Peanut Butter
  • ½ teaspoons Honey
  • 1 whole Egg
  • ¼ cups Milk

Preparation Instructions

1. In a large bowl, mix brown sugar and granulated sugar.
2. Brown the butter in a medium saucepan and add to the sugars. Set aside and allow mixture to cool for about ten minutes.
3. In a small bowl, whisk together the flour, baking powder, baking soda, and salt.
4. Once butter is cooled, add peanut butter and honey and beat on medium speed just until smooth. Beat in egg. Mix in milk.
5. Add the flour mixture and mix just until dough comes together.
6. Cover and refrigerate dough for at least two hours or up to overnight.
7. When ready to bake, preheat oven to 350 degrees F and line a baking sheet with parchment paper or silicone baking mats.
8. Roll dough into 1-inch balls. Flatten by pressing down with a fork, while holding the sides of the cookie in order to maintain a circular shape. Press the fork into the cookie again in a perpendicular angle to the first indentation, forming a crosshatch pattern.
9. Bake until cookies begin to brown around the edges but centers still look somewhat doughy, about 9–10 minutes.
10. Immediately upon removing from the oven, sprinkle sugar on the tops of the cookies and let cool on baking sheets until firm enough to handle, then transfer to a wire rack.


_______________________________________

Laurie is the force behind Simply Scratch, a blog that documents her efforts to find and create recipes that are made simply from scratch. (We think it’s sweet that her mother-in-law helped her set up her blog and get started.) We love her recipes; they’re not just tried and true, but they look gorgeous as well. Check out her blog and you’ll become a fan too.


Profile photo of twopeasandtheirpod

Brown Butter Snickerdoodle Cookies

Posted by in Baking, Step-by-Step Recipes

I always like to try a few new cookie recipes every season. I was looking for a festive holiday cookie recipe on Tasty Kitchen and stumbled upon Monique's recipe for Brown Butter Snickerdoodle Cookies. My…

Profile photo of Erika (TK)

Brunch Idea: Bloody Mary Bar

Posted by in Looks Delicious!

I love the idea of a Bloody Mary bar. Brunch, after all, usually features other kinds of bars or stations: omelet stations, waffle stations, and even oatmeal gets its own station. So why not drinks?

Profile photo of georgiapellegrini

Buffalo Chicken Flat Bread Pizzas

Posted by in Step-by-Step Recipes

  I have a thing for Frank’s Red Hot sauce, so when I saw this Buffalo Chicken Flatbread Pizza from TK member (and fellow TK Blog contributor) Laurie, I knew this was a recipe for me. The combination of roasted chicken and salty tangy blue cheese along with this special sauce was heavenly. You really […]

Profile photo of Natalie | Perry's Plate

Buffalo Chicken Wraps

Posted by in Step-by-Step Recipes

  Although I’m not a hot wing person, I like “Buffalo” flavored things. So, when I saw these Buffalo Chicken Wraps from the lovely and hilarious Bev Weidner, I about fell out of my chair. Not only are there Buffalo-flavored chicken tenders (much easier to eat than wings) in these wraps, but some of my […]