The Pioneer Woman Tasty Kitchen
Profile photo of georgiapellegrini

Quinoa Salad

Posted by in Step-by-Step Recipes

Tasty Kitchen Blog: Quinoa Salad with Chickpeas, Kalamata Olives & Mint. Guest post by Georgia Pellegrini, recipe submitted by TK member Dara Michalski of Cookin' Canuck.

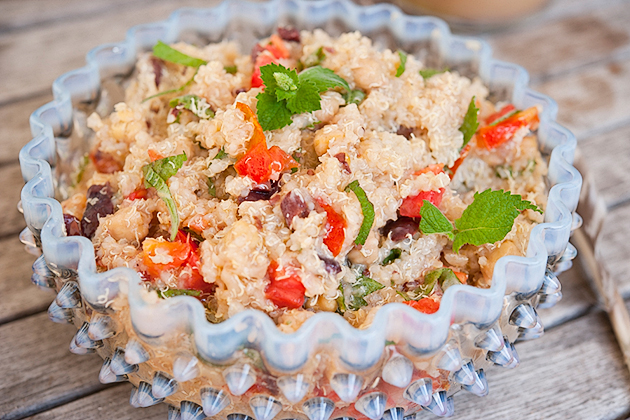
Quinoa has always been one of my favorite grains. I love the subtle crunch that it has when cooked and that it is so high in protein. It’s been slowly rising to stardom recently. It’s a grain-like crop grown for its edible seeds. It’s considered a “pseudocereal,” whatever that means—not a true cereal, not a grain, since it’s not a grass. It’s related to species like beets, spinach and tumbleweeds. It is 6,000 years old and is native to the Andean region of South America. The main reason its star is on the rise here is because of its incredible nutritional value, but I like it because it takes on so many other flavors as a salad. So when I saw this Quinoa Salad with Chickpeas, Kalamata Olives & Mint recipe by the fabulous Dara of Cookin Canuck, I knew I wanted to give it a try.


Tasty Kitchen Blog: Quinoa Salad with Chickpeas, Kalamata Olives & Mint. Guest post by Georgia Pellegrini, recipe submitted by TK member Dara Michalski of Cookin' Canuck.

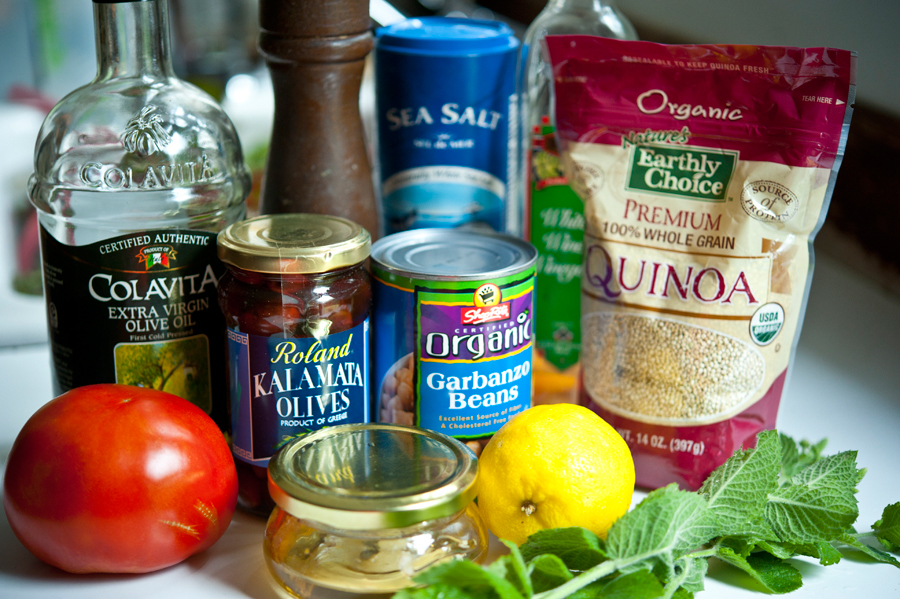
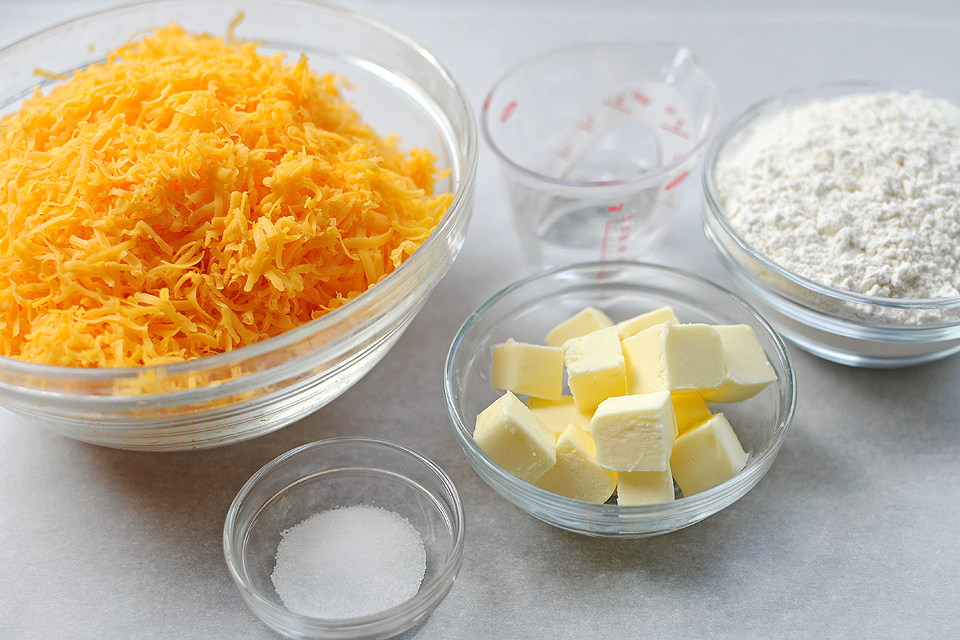
Here is what you will need: quinoa, white wine vinegar, salt, pepper, olive oil, tomato, Kalamata olives, garbanzo beans, honey, lemon and fresh mint.

I just love fresh mint in the summer.


Tasty Kitchen Blog: Quinoa Salad with Chickpeas, Kalamata Olives & Mint. Guest post by Georgia Pellegrini, recipe submitted by TK member Dara Michalski of Cookin' Canuck.

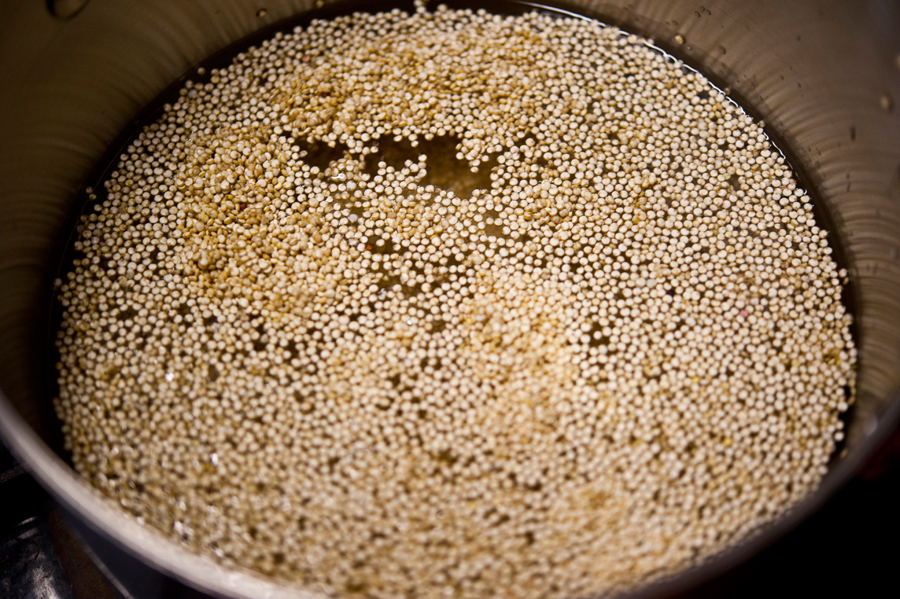
Get the quinoa cooking in water while you prep the rest of the ingredients.

Once it is fluffy, let it cool. You can even be very smart about it like Dara was and lay it out on a sheet to help it cool quickly and evenly.


Tasty Kitchen Blog: Quinoa Salad with Chickpeas, Kalamata Olives & Mint. Guest post by Georgia Pellegrini, recipe submitted by TK member Dara Michalski of Cookin' Canuck.

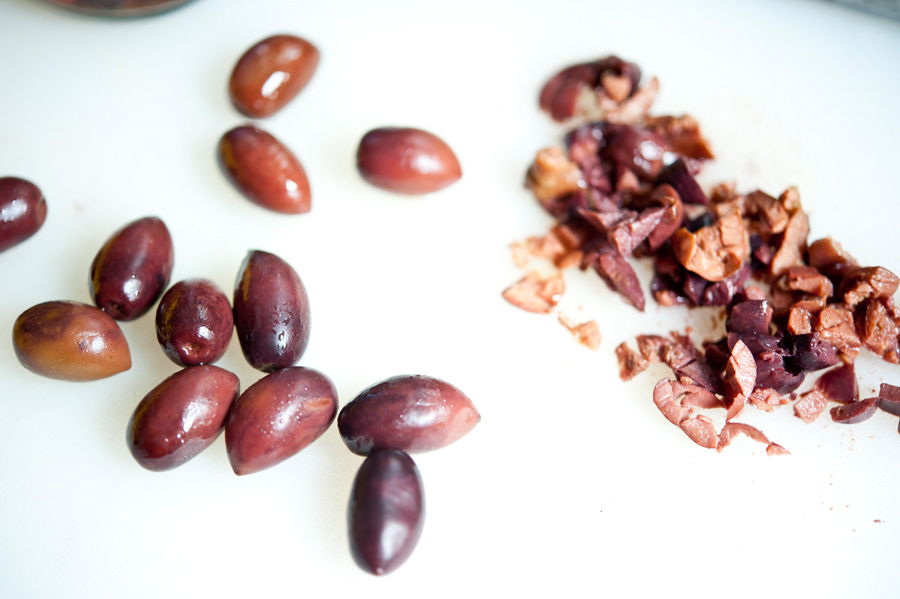
Next chop the Kalamata olives roughly.


Tasty Kitchen Blog: Quinoa Salad with Chickpeas, Kalamata Olives & Mint. Guest post by Georgia Pellegrini, recipe submitted by TK member Dara Michalski of Cookin' Canuck.

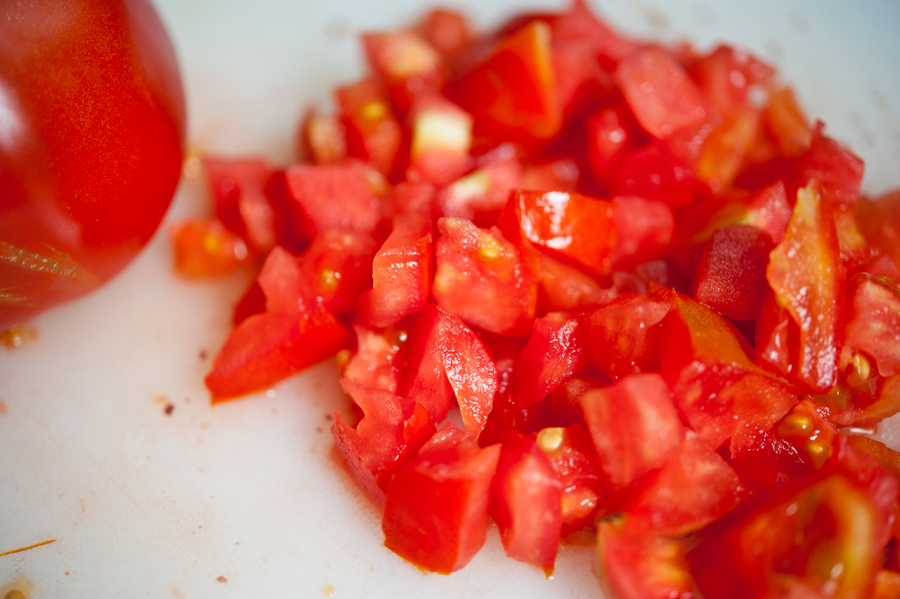
Then make a small dice with the fresh tomato. You could also use cherry tomatoes or grape tomatoes here, whatever is easiest!


Tasty Kitchen Blog: Quinoa Salad with Chickpeas, Kalamata Olives & Mint. Guest post by Georgia Pellegrini, recipe submitted by TK member Dara Michalski of Cookin' Canuck.

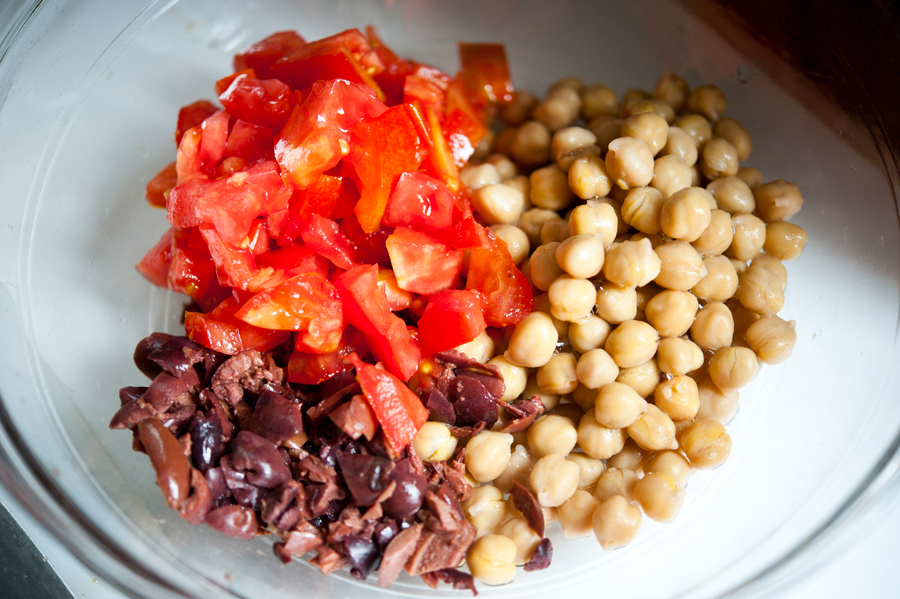
Combine the tomatoes, olives and garbanzos in a bowl and set aside.


Tasty Kitchen Blog: Quinoa Salad with Chickpeas, Kalamata Olives & Mint. Guest post by Georgia Pellegrini, recipe submitted by TK member Dara Michalski of Cookin' Canuck.

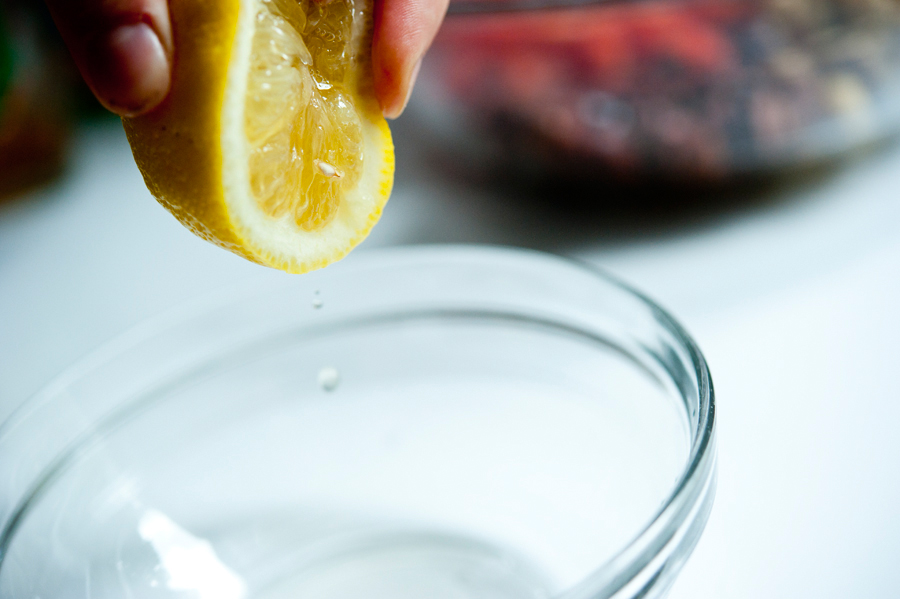
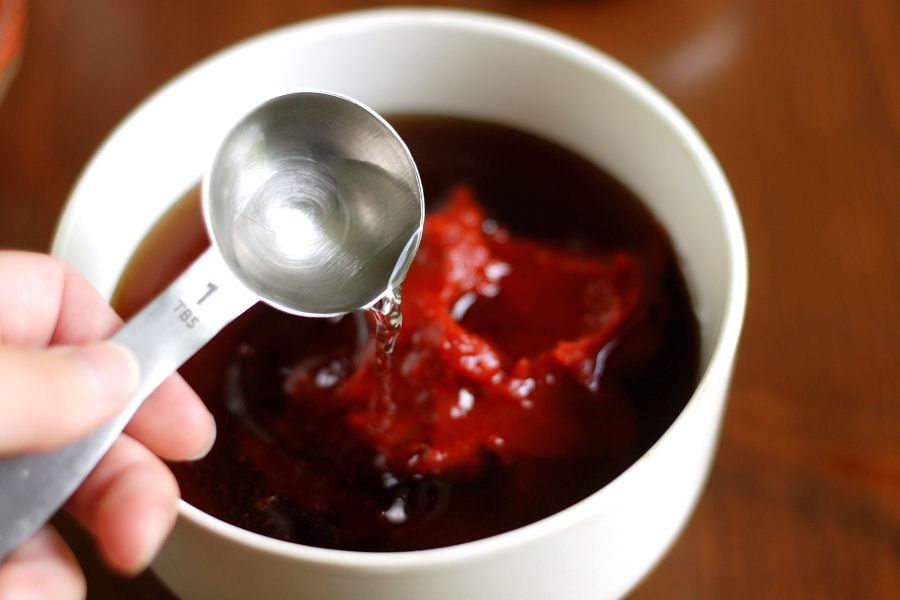
To make the dressing, squeeze some lemon juice into a small bowl.


Tasty Kitchen Blog: Quinoa Salad with Chickpeas, Kalamata Olives & Mint. Guest post by Georgia Pellegrini, recipe submitted by TK member Dara Michalski of Cookin' Canuck.

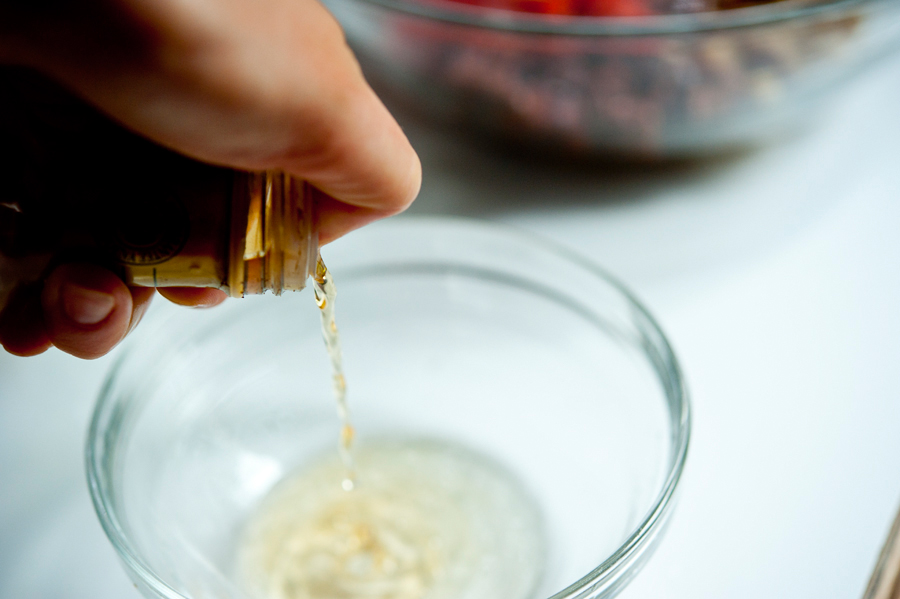
Next add the white wine vinegar. You could also add another vinegar that you have on hand: cider vinegar, red wine vinegar, champagne vinegar or whatever else suits your fancy.


Tasty Kitchen Blog: Quinoa Salad with Chickpeas, Kalamata Olives & Mint. Guest post by Georgia Pellegrini, recipe submitted by TK member Dara Michalski of Cookin' Canuck.

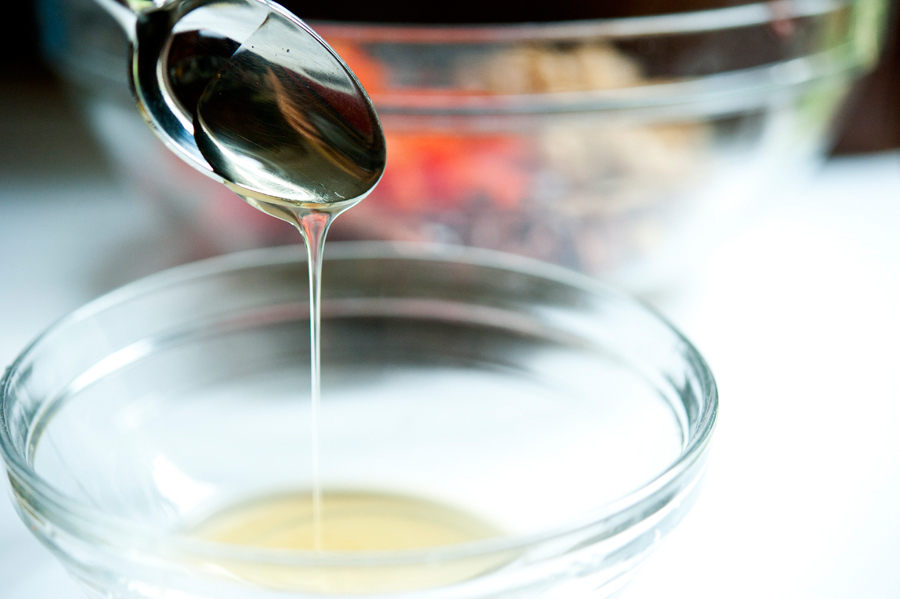
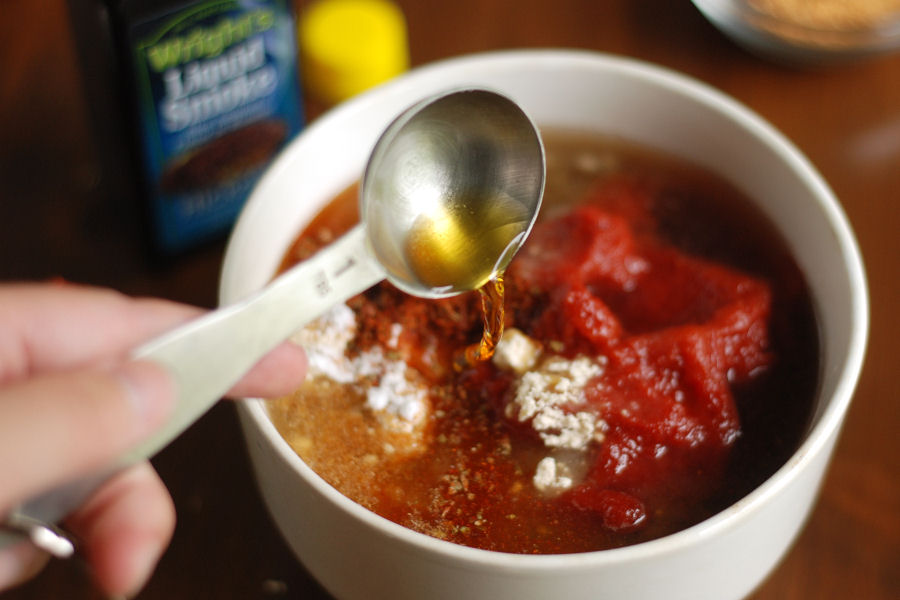
Next comes the honey. We just harvested the honey from our bees so this was hot off the presses, or rather hot off the hives. It’s very light and floral tasting, perfect for a salad.


Tasty Kitchen Blog: Quinoa Salad with Chickpeas, Kalamata Olives & Mint. Guest post by Georgia Pellegrini, recipe submitted by TK member Dara Michalski of Cookin' Canuck.

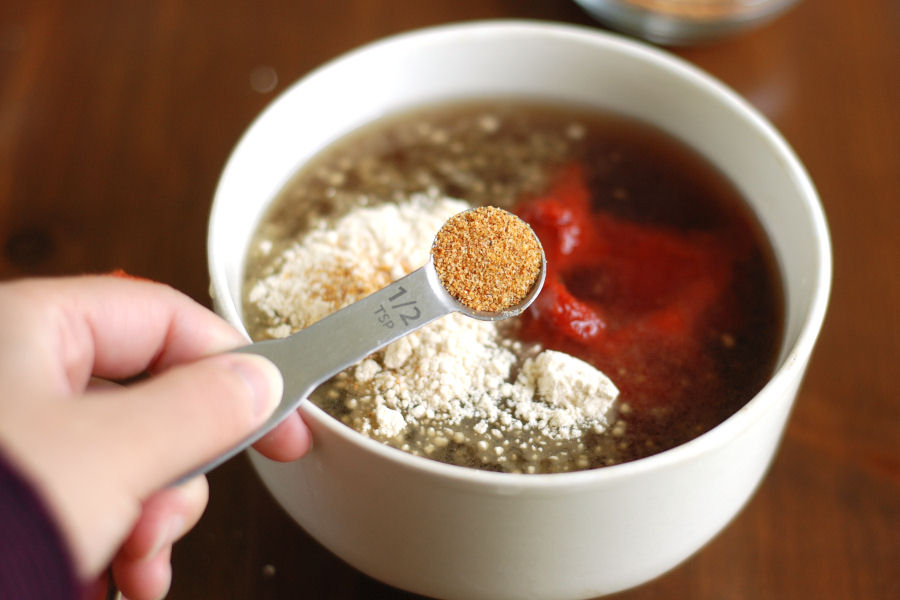
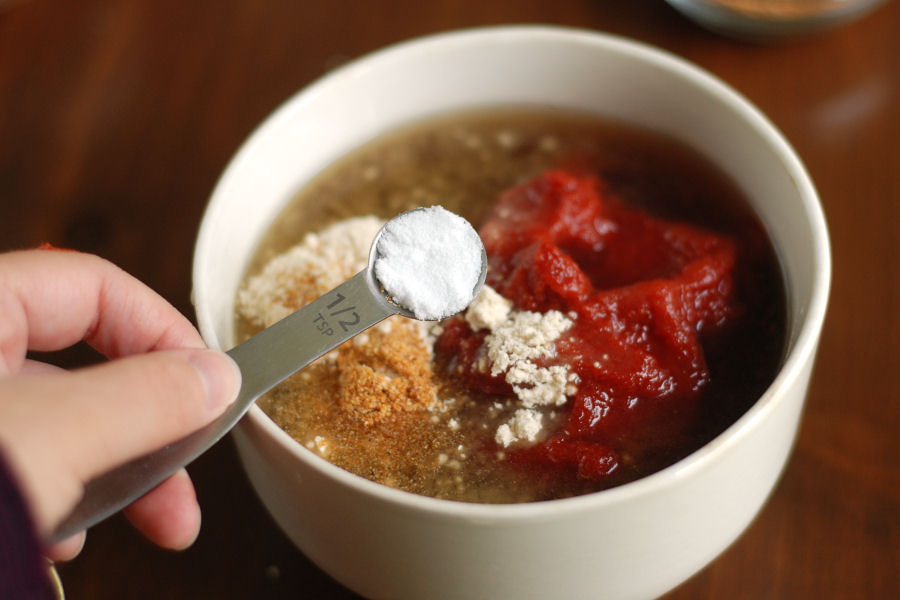
Add a little sprinkle of salt!
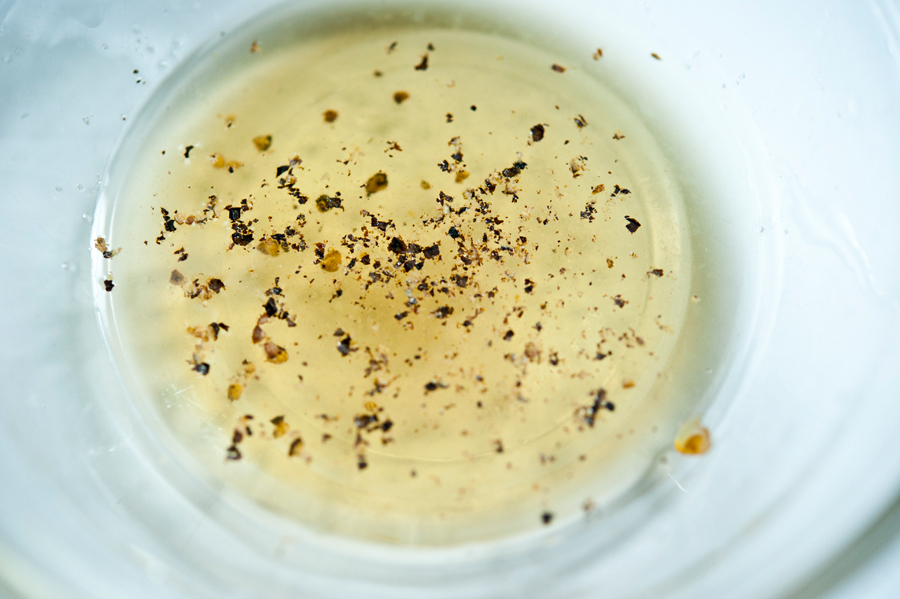
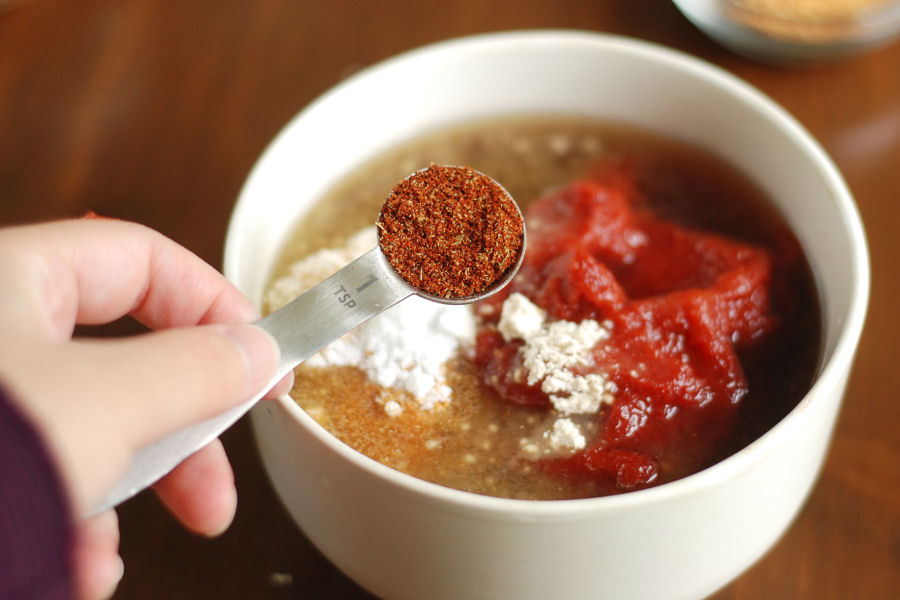


Tasty Kitchen Blog: Quinoa Salad with Chickpeas, Kalamata Olives & Mint. Guest post by Georgia Pellegrini, recipe submitted by TK member Dara Michalski of Cookin' Canuck.

Some peppa …


Tasty Kitchen Blog: Quinoa Salad with Chickpeas, Kalamata Olives & Mint. Guest post by Georgia Pellegrini, recipe submitted by TK member Dara Michalski of Cookin' Canuck.

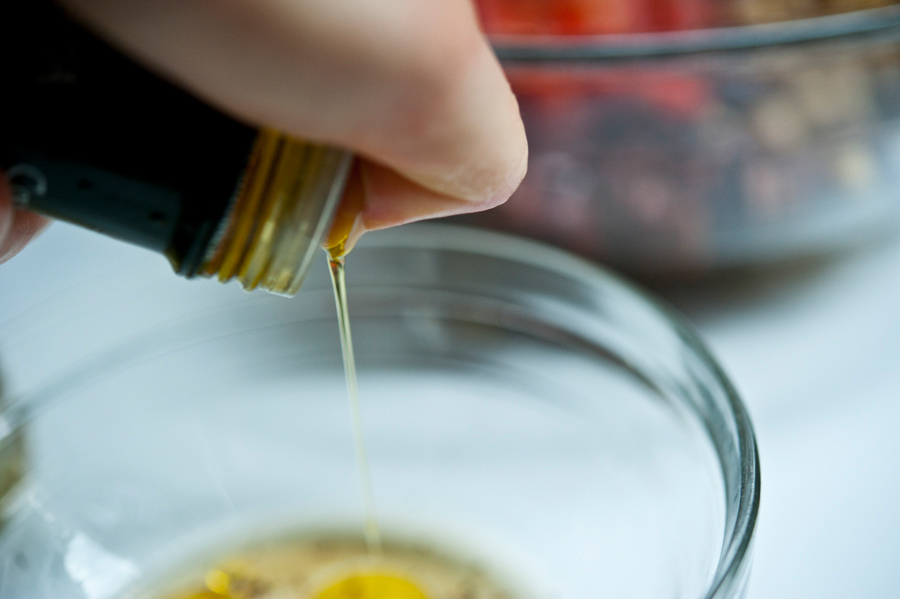
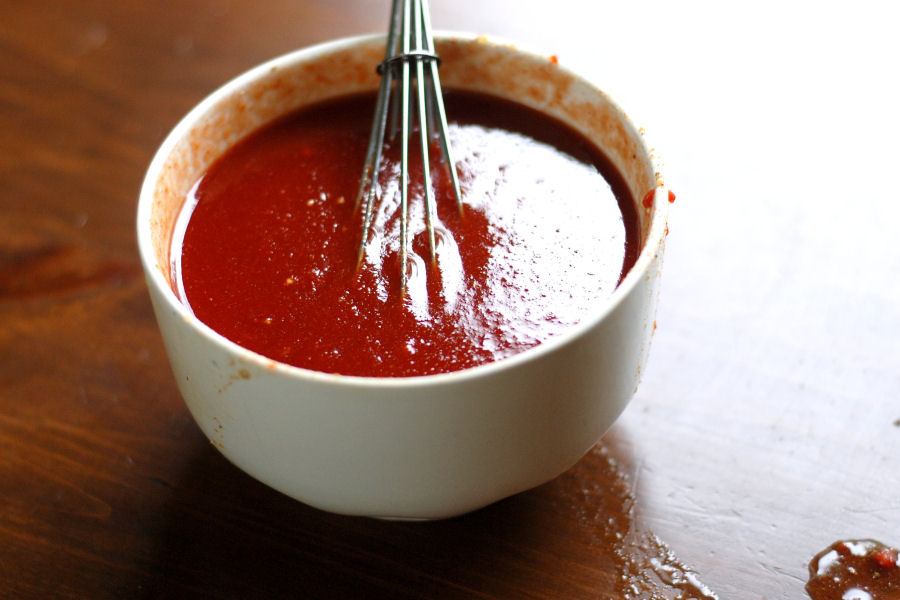
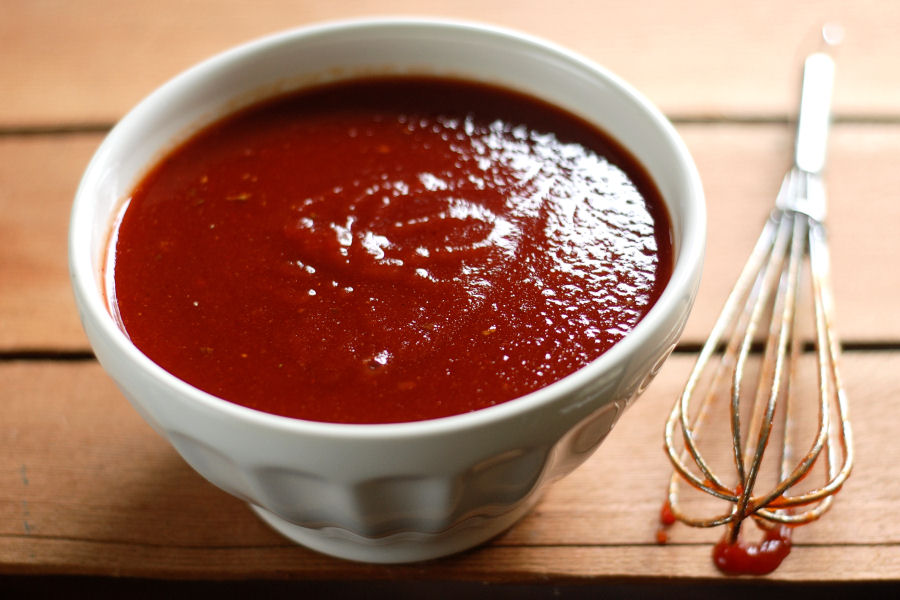
And a drizzle of olive oil. Whisk it all together.


Tasty Kitchen Blog: Quinoa Salad with Chickpeas, Kalamata Olives & Mint. Guest post by Georgia Pellegrini, recipe submitted by TK member Dara Michalski of Cookin' Canuck.

Then comes the fresh mint, which you chop into a chiffonade or even tear up by hand.


Tasty Kitchen Blog: Quinoa Salad with Chickpeas, Kalamata Olives & Mint. Guest post by Georgia Pellegrini, recipe submitted by TK member Dara Michalski of Cookin' Canuck.

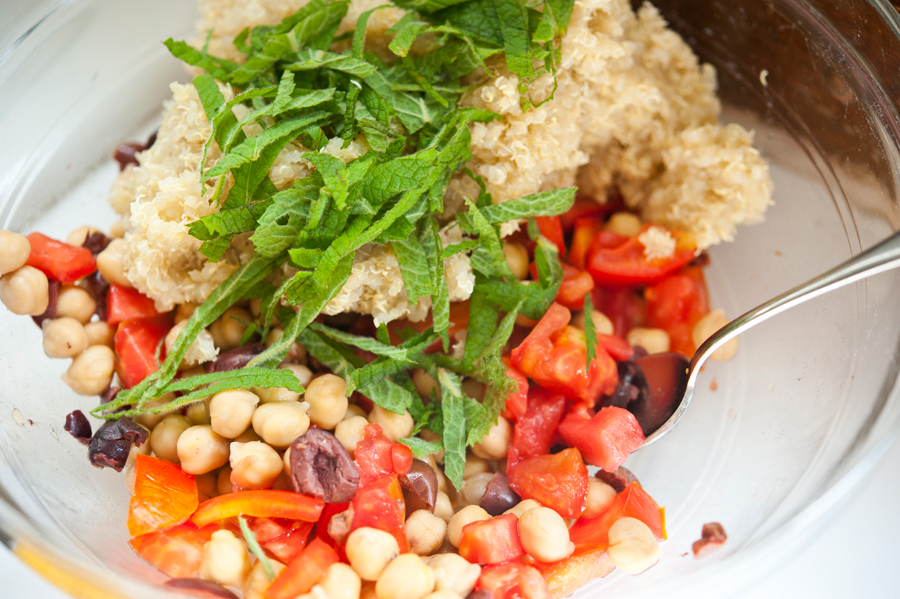
Add the quinoa and the fresh mint and stir it all together until it’s nicely mixed.


Tasty Kitchen Blog: Quinoa Salad with Chickpeas, Kalamata Olives & Mint. Guest post by Georgia Pellegrini, recipe submitted by TK member Dara Michalski of Cookin' Canuck.

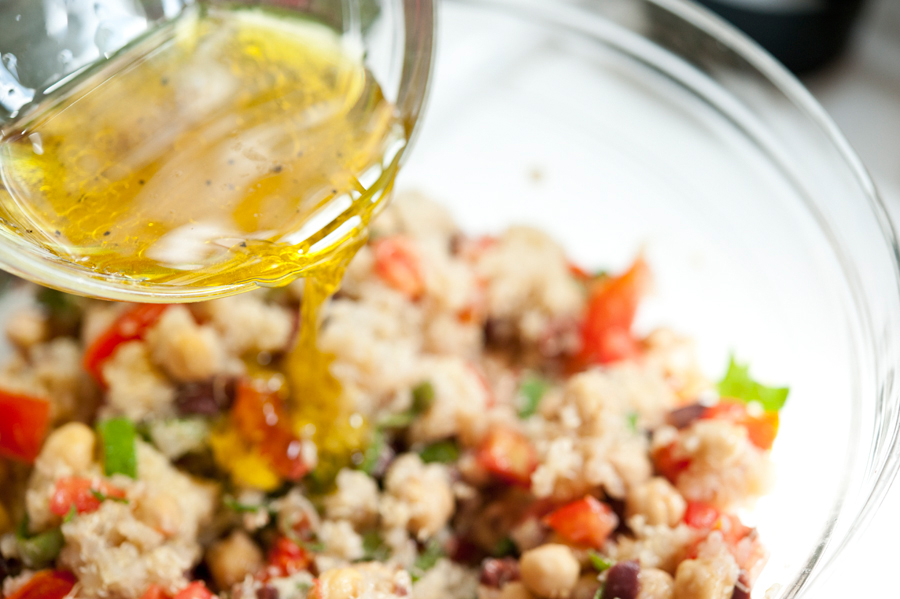
Then drizzle in your dressing. The quinoa will soak up some of the dressing and be even more delicious.


Tasty Kitchen Blog: Quinoa Salad with Chickpeas, Kalamata Olives & Mint. Guest post by Georgia Pellegrini, recipe submitted by TK member Dara Michalski of Cookin' Canuck.

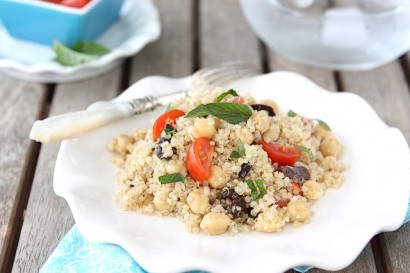
This makes a wonderful cold salad for a summer party, or also slightly warm.

Thanks to Dara for this tasty recipe. Check out her website Cookin Canuck for more!


Printable Recipe

Quinoa Salad with Chickpeas, Kalamata Olives & Mint

See post on cookincanuck’s site!
4.00 Mitt(s) 2 Rating(s)2 votes, average: 4.00 out of 52 votes, average: 4.00 out of 52 votes, average: 4.00 out of 52 votes, average: 4.00 out of 52 votes, average: 4.00 out of 5

Prep Time:

Cook Time:

Difficulty: Easy

Servings: 6

6
x

Print Options

Page size Letter 3x5 4x6
Text Size Small Medium Large
Content Include description
Include prep time, etc.
Show image

Description

If you loaded the amount of quinoa our family eats in one year into a small boat, that vessel would sink to the bottom of the sea faster than you could say “healthy mini grain” five times fast. This salad is another example of our healthy obsession.

Ingredients

  • 1 cup Quinoa
  • 2 cups Water
  • 1 can (14 Oz.) Chickpeas, Drained And Rinsed
  • 1-½ cup Quartered Cherry Tomatoes
  • ½ cups Pitted And Sliced Kalamata Olives
  • 2 Tablespoons White Wine Vinegar
  • 1 Tablespoon Fresh Lemon Juice
  • ¾ teaspoons Honey
  • ½ teaspoons Kosher Salt
  • ¼ teaspoons Freshly Ground Black Pepper
  • ¼ cups Extra Virgin Olive Oil
  • 4 leaves Fresh Mint, Thinly Sliced

Preparation Instructions

In a fine-mesh strainer, rinse quinoa well and drain.

In a medium pot, combine quinoa and water. Bring to a boil, then cover the pot and turn heat to low. Cook until all the water is absorbed, about 20 minutes. Remove from the heat, fluff the quinoa and transfer to a cookie sheet, spreading the quinoa in a thin layer, to cool.

In a large bowl, mix together cooled quinoa, chickpeas, tomatoes and kalamata olives. Stir well.

For the dressing, whisk together white wine vinegar, lemon juice, honey, salt, and pepper in a medium bowl. While whisking constantly, slow pour in the olive oil until combined.

Pour the dressing over the quinoa salad, toss to coat and stir in fresh mint. Serve.


_______________________________________

There’s so much to say about Georgia, we don’t know where to start. Leaving Wall Street for the French Culinary Institute, followed by a stint at the Gramercy Tavern and La Chassagnette in France, her passion for food and food traditions are evident and inspiring. Visit her site at Georgia Pellegrini, where you’ll find more recipes, photos, learn all about her wonderful book Food Heroes, and enjoy her latest adventures.


Profile photo of missamy

Homemade Goldfish Crackers

Posted by in Baking, Step-by-Step Recipes

Tasty Kitchen Blog: Homemade Goldfish Crackers. Guest post by Amy Johnson of She Wears Many Hats, recipe submitted by TK member Erin of Dinners, Dishes and Desserts.

 
There are amazing recipes all over the internets—impressive cakes and cookies, pies galore, delicious pasta dishes, fantastic dinner ideas, and so much more. But what has had me a little stumped were homemade crackers. Homemade crackers? Who in the world has time to make homemade crackers? They looked like they’d be difficult and totally something I wouldn’t be able to pull off. But when these Homemade Goldfish Crackers from Erin popped up here on Tasty Kitchen, I decided to try my hand at them.

Let me tell ya, they were pretty darn easy. And cheesy, too. The recipe was adapted from ReadyMade magazine and it’s totally a fun little cooking project to do with kids. My children are older now, but when they were younger this would have been a great rainy day project to have them join in on. There are only five ingredients with very little prep. The cutting takes a little more time but that’s where the fun for the kids comes in. Use itty bitty cookie cutters, icing tips or make your own cookie cutter shapes out of an aluminum can (see below). The crackers puff up to a chewy, cheesy bite.

Wanna see how?


Tasty Kitchen Blog: Homemade Goldfish Crackers. Guest post by Amy Johnson of She Wears Many Hats, recipe submitted by TK member Erin of Dinners, Dishes and Desserts.

Before getting started, decide on what shapes you’ll be cutting out. Using an aluminum can and tape, I cut a thin strip and formed my fishy, then taped the edges together with clear packing tape.


Tasty Kitchen Blog: Homemade Goldfish Crackers. Guest post by Amy Johnson of She Wears Many Hats, recipe submitted by TK member Erin of Dinners, Dishes and Desserts.

I had so much fun I couldn’t stop, and made a Pac-Man and a football. The ideas for shapes you could create are endless! Large icing tips and small cookie cutters work well, too.


Tasty Kitchen Blog: Homemade Goldfish Crackers. Guest post by Amy Johnson of She Wears Many Hats, recipe submitted by TK member Erin of Dinners, Dishes and Desserts.

You’ll need just a few simple ingredients: shredded cheese, butter, flour, salt and cold water. That’s it!


Tasty Kitchen Blog: Homemade Goldfish Crackers. Guest post by Amy Johnson of She Wears Many Hats, recipe submitted by TK member Erin of Dinners, Dishes and Desserts.

Begin combining everything, except the water, in a food processor until the dough looks like sand.


Tasty Kitchen Blog: Homemade Goldfish Crackers. Guest post by Amy Johnson of She Wears Many Hats, recipe submitted by TK member Erin of Dinners, Dishes and Desserts.

Next, pulse in the water, 1 tablespoon at a time, until combined.


Tasty Kitchen Blog: Homemade Goldfish Crackers. Guest post by Amy Johnson of She Wears Many Hats, recipe submitted by TK member Erin of Dinners, Dishes and Desserts.

Remove the dough from the processor and form into a small, tidy package. Wrap in plastic and chill for 20 minutes.


Tasty Kitchen Blog: Homemade Goldfish Crackers. Guest post by Amy Johnson of She Wears Many Hats, recipe submitted by TK member Erin of Dinners, Dishes and Desserts.

Once chilled, roll out the dough. I found the thinner the dough, the crispier the cracker.


Tasty Kitchen Blog: Homemade Goldfish Crackers. Guest post by Amy Johnson of She Wears Many Hats, recipe submitted by TK member Erin of Dinners, Dishes and Desserts.

Now, the cutting fun begins!


Tasty Kitchen Blog: Homemade Goldfish Crackers. Guest post by Amy Johnson of She Wears Many Hats, recipe submitted by TK member Erin of Dinners, Dishes and Desserts.

Place crackers on a lined cookie sheet and bake at 350°F for about 15 minutes. I began with little fishies.


Tasty Kitchen Blog: Homemade Goldfish Crackers. Guest post by Amy Johnson of She Wears Many Hats, recipe submitted by TK member Erin of Dinners, Dishes and Desserts.

Then moved on to the footballs and then the Pac-Man (or Mrs. Pac-Man).


Tasty Kitchen Blog: Homemade Goldfish Crackers. Guest post by Amy Johnson of She Wears Many Hats, recipe submitted by TK member Erin of Dinners, Dishes and Desserts.

Aren’t they cute? They puff up a tad, resulting in a chewy, cheesy cracker.


Tasty Kitchen Blog: Homemade Goldfish Crackers. Guest post by Amy Johnson of She Wears Many Hats, recipe submitted by TK member Erin of Dinners, Dishes and Desserts.

Look! Pac-Man is after a fish.


Tasty Kitchen Blog: Homemade Goldfish Crackers. Guest post by Amy Johnson of She Wears Many Hats, recipe submitted by TK member Erin of Dinners, Dishes and Desserts.

Have fun with this one y’all! I enjoyed making these and I think you will too. Get creative and let the kids join in!

Thanks Erin for submitting this darling recipe. I felt like a kid again! Be sure to check out Erin’s blog, Dinners, Dishes, and Desserts, for more of her recipes.


Printable Recipe

Homemade Goldfish Crackers

See post on Erin’s site!
5.00 Mitt(s) 14 Rating(s)14 votes, average: 5.00 out of 514 votes, average: 5.00 out of 514 votes, average: 5.00 out of 514 votes, average: 5.00 out of 514 votes, average: 5.00 out of 5

Prep Time:

Cook Time:

Difficulty: Easy

Servings: 7

7
x

Print Options

Page size Letter 3x5 4x6
Text Size Small Medium Large
Content Include description
Include prep time, etc.
Show image

Description

Your favorite fish cracker made at home – and it is SUPER easy.

Ingredients

  • 8 ounces, weight Sharp Cheddar Cheese, Shredded
  • 4 Tablespoons Butter, Cut Into Cubes
  • 1 cup Flour
  • ¾ teaspoons Salt
  • 2 Tablespoons Cold Water

Preparation Instructions

Pulse everything (except water) together in the food processor until the dough resembles coarse sand.

Pulse in water, 1 tablespoon at a time.

Remove dough from the processor, wrap in plastic, and chill for 20 minutes.

Roll out the dough and cut into desired shapes. You can use a toothpick to make the eyes and smile if desired. Place on a parchment paper lined cookie sheet.

Bake at 350 degrees F for about 15 minutes, or until crispy.

Makes approximately 7 dozen crackers.


_______________________________________

Amy Johnson is a blogger who writes about food, travel, the home (both inside and out), and various observations and random musings about anything and everything. Visit her blog She Wears Many Hats for a dose of deliciousness, practicality, hilarity, or just plain fun. She lives in South Carolina with her husband and two children.


Profile photo of Erica Lea

Smoky BBQ Sauce

Posted by in Step-by-Step Recipes

Tasty Kitchen Blog: Smoky BBQ Sauce. Guest post and recipe from Erica Kastner of Cooking for Seven.

 
Pungent spices. Tangy vinegar. Sweet maple syrup. A hint of smoke. These rich flavors meld together to make the perfect BBQ sauce.

Not only is this BBQ sauce wonderfully tasty, it’s also super easy to make. Just whisk a few ingredients together, and you’re done! Plus, it’s much less expensive than the gourmet sauces you find at the grocery store. And you know exactly what goes into it—no mystery ingredients!

Planning to grill something amazing this weekend? Let me show you how to mix up a batch of Smoky BBQ Sauce before you can say butter. Well, almost…


Tasty Kitchen Blog: Smoky BBQ Sauce. Guest post and recipe from Erica Kastner of Cooking for Seven.

Here’s what you’ll need: tomato paste, pure maple syrup (don’t ever use imitation), white wine vinegar, onion powder, garlic powder, sea salt, chili powder, and liquid smoke.


Tasty Kitchen Blog: Smoky BBQ Sauce. Guest post and recipe from Erica Kastner of Cooking for Seven.

Scoop a 6 oz. can of tomato paste into a bowl. Make sure you choose a bigger bowl than I did…


Tasty Kitchen Blog: Smoky BBQ Sauce. Guest post and recipe from Erica Kastner of Cooking for Seven.

Add 1 cup of pure maple syrup. Not that icky fake stuff. All natural maple syrup. Like what you get from maple trees.


Tasty Kitchen Blog: Smoky BBQ Sauce. Guest post and recipe from Erica Kastner of Cooking for Seven.

Add 6 tablespoon of white wine vinegar …


Tasty Kitchen Blog: Smoky BBQ Sauce. Guest post and recipe from Erica Kastner of Cooking for Seven.

1 1/2 tablespoons onion powder …


Tasty Kitchen Blog: Smoky BBQ Sauce. Guest post and recipe from Erica Kastner of Cooking for Seven.

1/2 teaspoon garlic powder …


Tasty Kitchen Blog: Smoky BBQ Sauce. Guest post and recipe from Erica Kastner of Cooking for Seven.

3/4 teaspoon sea salt …


Tasty Kitchen Blog: Smoky BBQ Sauce. Guest post and recipe from Erica Kastner of Cooking for Seven.

1 teaspoon chili powder.


Tasty Kitchen Blog: Smoky BBQ Sauce. Guest post and recipe from Erica Kastner of Cooking for Seven.

And 2 tablespoons of liquid smoke.


Tasty Kitchen Blog: Smoky BBQ Sauce. Guest post and recipe from Erica Kastner of Cooking for Seven.

Whisk it all together until smooth. I made a mess because my bowl was too small for all the whisking action.

Taste and adjust seasonings if needed.


Tasty Kitchen Blog: Smoky BBQ Sauce. Guest post and recipe from Erica Kastner of Cooking for Seven.

Use immediately, or refrigerate until ready to use. Now go get grilling!


Tasty Kitchen Blog: Smoky BBQ Sauce. Guest post and recipe from Erica Kastner of Cooking for Seven.

Notes:
1. For best flavor, allow the sauce to sit at room temperature for 1 hour before using.
2. If you like your BBQ sauce more spicy, simply add more chili powder or a dash of cayenne. Customize to your taste!


Printable Recipe

Smoky BBQ Sauce

See post on Erica Lea’s site!
5.00 Mitt(s) 4 Rating(s)4 votes, average: 5.00 out of 54 votes, average: 5.00 out of 54 votes, average: 5.00 out of 54 votes, average: 5.00 out of 54 votes, average: 5.00 out of 5

Prep Time:

Cook Time:

Difficulty: Easy

Servings: 6

6
x

Print Options

Page size Letter 3x5 4x6
Text Size Small Medium Large
Content Include description
Include prep time, etc.
Show image

Description

A quick and easy BBQ sauce recipe.

Ingredients

  • 6 ounces, weight Can Tomato Paste
  • 1 cup Maple Syrup
  • 6 Tablespoons White Wine Vinegar
  • 1-½ Tablespoon Onion Powder
  • ½ teaspoons Garlic Powder
  • ¾ teaspoons Sea Salt
  • 1 teaspoon Chili Powder
  • 2 Tablespoons Liquid Smoke

Preparation Instructions

Whisk all ingredients together in a medium bowl. Store in the refrigerator.


_______________________________________

Newly-married Erica Kastner shares her wonderful recipes and amazing food photography on her blog, Cooking for Seven. She also writes about crafts and posts more of her beautiful photography in her personal blog, EricaLea.com. There really isn’t much that this amazing young lady can’t do, and we’re thrilled she does some of it here.


Profile photo of whatsgabycooking

Potatoes Romanoff

Posted by in Step-by-Step Recipes

Tasty Kitchen Blog: Potatoes Romanoff. Guest post by Gaby Dalkin of What's Gaby Cooking, recipe submitted by TK member Duane of Cottage in the Oaks.

 
Twice Baked Potatoes have always been a favorite of mine, so when I saw this recipe for Potatoes Romanoff (something I had never tried before) I knew I had to make it immediately! It takes the twice baked potato to a whole new level by shredding the baked potato and folding in lots of sharp white cheddar cheese, flavorful shallots and sour cream. Once it’s tossed together, it’s topped with a little more cheese (because really, everything is better when topped in cheese) and then baked again until the cheese is golden and the potatoes are warm.

This recipe was submitted Tasty Kitchen member Duane Puitman from Cottage in the Oaks, and thank goodness for that because I’m officially obsessed. It’s going to be making many appearances in my kitchen in the coming months, that’s for sure!

Okay, here’s what to do…


Tasty Kitchen Blog: Potatoes Romanoff. Guest post by Gaby Dalkin of What's Gaby Cooking, recipe submitted by TK member Duane of Cottage in the Oaks.

Start with 3 large russet potatoes.


Tasty Kitchen Blog: Potatoes Romanoff. Guest post by Gaby Dalkin of What's Gaby Cooking, recipe submitted by TK member Duane of Cottage in the Oaks.

Wrap each of them up in tin foil.


Tasty Kitchen Blog: Potatoes Romanoff. Guest post by Gaby Dalkin of What's Gaby Cooking, recipe submitted by TK member Duane of Cottage in the Oaks.

Stick them into a 425ºF preheated oven on the metal rack. They are going to bake for about 1 hour. Once the potatoes come out of the oven, remove the tin foil and let them cool. Once cooled, place them in a container and cover with plastic wrap and refrigerate overnight.


Tasty Kitchen Blog: Potatoes Romanoff. Guest post by Gaby Dalkin of What's Gaby Cooking, recipe submitted by TK member Duane of Cottage in the Oaks.

Next, using a box grater or your food processor grater attachment, grate all of the potatoes.


Tasty Kitchen Blog: Potatoes Romanoff. Guest post by Gaby Dalkin of What's Gaby Cooking, recipe submitted by TK member Duane of Cottage in the Oaks.

Chop up a few shallots.


Tasty Kitchen Blog: Potatoes Romanoff. Guest post by Gaby Dalkin of What's Gaby Cooking, recipe submitted by TK member Duane of Cottage in the Oaks.

Combine the grated potato and chopped shallots in a large bowl.


Tasty Kitchen Blog: Potatoes Romanoff. Guest post by Gaby Dalkin of What's Gaby Cooking, recipe submitted by TK member Duane of Cottage in the Oaks.

Pile on most of the white cheddar cheese. Try not to eat half of it like me because it just means you have to grate more when you’re ready for it!


Tasty Kitchen Blog: Potatoes Romanoff. Guest post by Gaby Dalkin of What's Gaby Cooking, recipe submitted by TK member Duane of Cottage in the Oaks.

Add the salt and pepper.


Tasty Kitchen Blog: Potatoes Romanoff. Guest post by Gaby Dalkin of What's Gaby Cooking, recipe submitted by TK member Duane of Cottage in the Oaks.

Followed by a big dollop of sour cream. Yum!


Tasty Kitchen Blog: Potatoes Romanoff. Guest post by Gaby Dalkin of What's Gaby Cooking, recipe submitted by TK member Duane of Cottage in the Oaks.

Mix everything together with your hands if you feel like getting a little messy, or with a spoon. Whichever you prefer!


Tasty Kitchen Blog: Potatoes Romanoff. Guest post by Gaby Dalkin of What's Gaby Cooking, recipe submitted by TK member Duane of Cottage in the Oaks.

Transfer the mixture to a baking dish and plop it on in. No need to pack down the potatoes, leave them scattered about so it give it that rustic look.


Tasty Kitchen Blog: Potatoes Romanoff. Guest post by Gaby Dalkin of What's Gaby Cooking, recipe submitted by TK member Duane of Cottage in the Oaks.

Scatter on the remaining cheddar cheese (by this step, I most certainly had to grate more cheese since I kept snacking on it) and bake it in a 350ºF oven for about 30-40 minutes until the cheese is just golden and the potatoes are hot!


Tasty Kitchen Blog: Potatoes Romanoff. Guest post by Gaby Dalkin of What's Gaby Cooking, recipe submitted by TK member Duane of Cottage in the Oaks.

Once it’s out of the oven, it’s time to dig in!

Feel free to top your serving with some chopped scallions or chives. It gives it an extra dimension and it’s just the right thing to do. This would be an excellent side dish for some steaks. Just saying.

A big thank you to Duane for such a delicious and wonderful recipe! Be sure to check out Cottage in the Oaks for more awesome ideas.


Printable Recipe

Potatoes Romanoff

See post on Cottage In the Oaks | Daune Pitman’s site!
4.63 Mitt(s) 16 Rating(s)16 votes, average: 4.63 out of 516 votes, average: 4.63 out of 516 votes, average: 4.63 out of 516 votes, average: 4.63 out of 516 votes, average: 4.63 out of 5

Prep Time:

Cook Time:

Difficulty: Easy

Servings: 6

6
x

Print Options

Page size Letter 3x5 4x6
Text Size Small Medium Large
Content Include description
Include prep time, etc.
Show image

Description

A great side, wonderful with steak as an alternative to baked potatoes.

Ingredients

  • 3 whole Large Russet Potatoes, Unpeeled
  • ¾ cups Minced Shallots
  • 2-½ cups Grated White Cheddar Cheese, Divided
  • 2 teaspoons Kosher Salt
  • ¼ teaspoons Freshly Ground Pepper
  • 1-½ cup Sour Cream

Preparation Instructions

Preheat oven to 425 F.

Wrap potatoes in aluminum foil. Bake potatoes on a pan in the oven until done, about an hour. Remove foil and let potatoes cool to room temperature. Put potatoes on a plate, cover with plastic wrap, and refrigerate overnight.

Grate the chilled potatoes, including skins. You can use a large box grater or a food processor. (I like the food processor!) Transfer grated potatoes to a bowl and sprinkle in the shallots, 1 3/4 cup cheese, salt, and pepper.

Use your hands to gently toss together. (I guess you could stir it too but you would miss all the fun. Go ahead, plunge those hands down in there!) Then fold in sour cream.

Transfer mixture to a 1 1/2 quart gratin dish, making sure that you don’t compress (or squash, or moosh, or squish) it! Sprinkle the remaining cheese on top.

Bake at 350 F until the top is golden brown, about 30 minutes. Serves 6.

Recipe slightly adapted from williams-sonoma.com via Strip House.


_______________________________________

Gaby Dalkin is the young lady behind What’s Gaby Cooking, a food blog that’s bursting at the seams with incredible recipes and food photography. She’s a personal chef and professional recipe developer, and if you follow her on Twitter, you’ll soon discover her two-fold obsession: guacamole and cheese. She has small feet, a large heart, and a smile that can light up the whole building. We’re pretty stoked to have her here.


Profile photo of HowSweetEats

General Tso’s Chicken

Posted by in Step-by-Step Recipes

  My husband has a “thing” for General Tso’s chicken. A relationship of sorts. On any given day when I’m in the mood for Chinese takeout, sit down Thai, or a Japanese steakhouse, he’s in the mood for … General Tso’s. He rarely goes outside the box and tries anything new because his love for […]

Profile photo of Natalie | Perry's Plate

Breakfast Salad

Posted by in Step-by-Step Recipes

  Salad. For breakfast. Sounds a little weird, but we’ve been making breakfast salads in the Perry house for over a year now. If anyone had told me five years ago that I’d be eating salads for breakfast and keeping things like flaxseed and giant containers of coconut oil in my pantry, I would have […]

Profile photo of cookincanuck

Blueberry Streusel Scones

Posted by in Baking, Step-by-Step Recipes

  Up until a few years ago, I didn’t consider myself a scone gal. I don’t want to point any fingers, but my lack of enthusiasm for the traditional breakfast bread likely had something to do with a decidedly dry specimen my 9th-grade friends and I made in our Home Economics class. Of course, that […]

Profile photo of A Cozy Kitchen

When French Toast Met Pancakes

Posted by in Step-by-Step Recipes

  If you ever want me to like you, just make me a light, fluffy stack of pancakes. I’ll blush, I’ll smile a lot, I might propose–it’ll be weird and cute. Promise. Just when I thought pancakes couldn’t get any better, I stumbled upon this recipe by Tasty Kitchen member frecklesandsunshine. The title: When French […]