The Pioneer Woman Tasty Kitchen
Profile photo of missamy

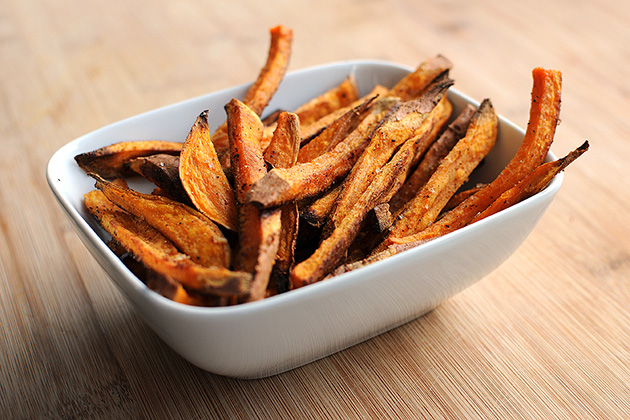
Baked Sweet Potato Fries

Posted by in Step-by-Step Recipes

Tasty Kitchen Blog: Baked Sweet Potato Fries. Guest post by Amy Johnson of She Wears Many Hats, recipe submitted by TK member Caitlin (maude10).

 
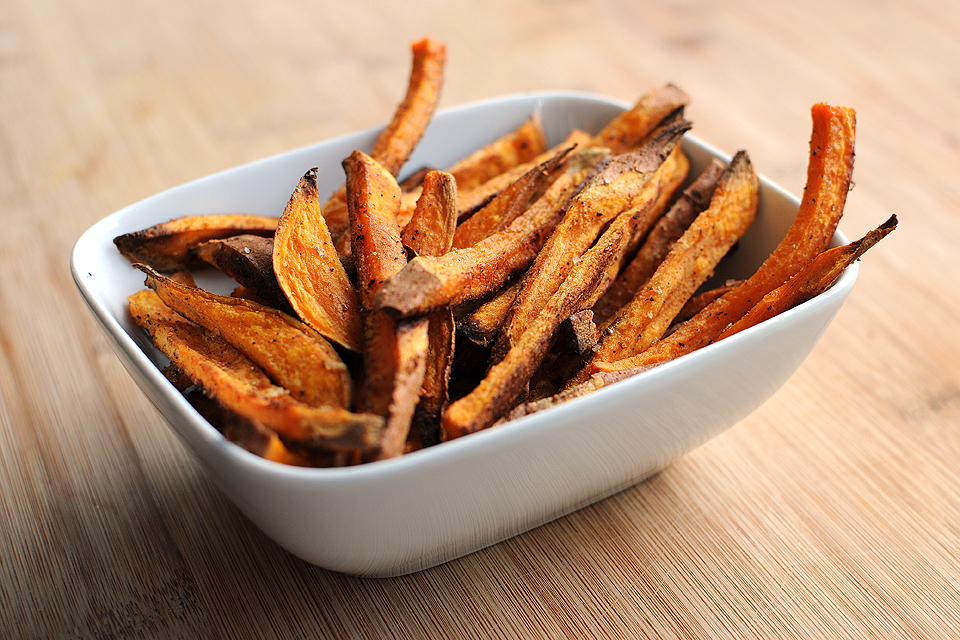
Healthy snack options mean, well, it means options. And options are good, especially when we’re heading into the holiday season, packed with all flavors of goodies at every turn. Yes, having healthy and tasty options in your repertoire is always a good thing. This recipe for Baked Sweet Potato Fries submitted by Tasty Kitchen member Caitlin is one of those options. Sweet potatoes are packed with carotenoids, vitamin C, potassium, and fiber, and baking the fries, as this recipe calls for, keeps the fat down. Good for snacking, or as a side dish, these Baked Sweet Potato Fries are satisfying to the max. Simple too. Let me show ya.

For starters, I’d recommend doubling or tripling this recipe right off the bat. They’re good and will get gobbled up quick.


Tasty Kitchen Blog: Baked Sweet Potato Fries. Guest post by Amy Johnson of She Wears Many Hats, recipe submitted by TK member Caitlin (maude10).

You’ll need: sweet potato(es), olive oil, salt, pepper, garlic powder, and cayenne pepper.

(The spices/herbs can easily be changed for different flavor combos, so be creative with these. Maybe rosemary, salt, and olive oil? A simple trio, but mighty tasty too.)


Tasty Kitchen Blog: Baked Sweet Potato Fries. Guest post by Amy Johnson of She Wears Many Hats, recipe submitted by TK member Caitlin (maude10).

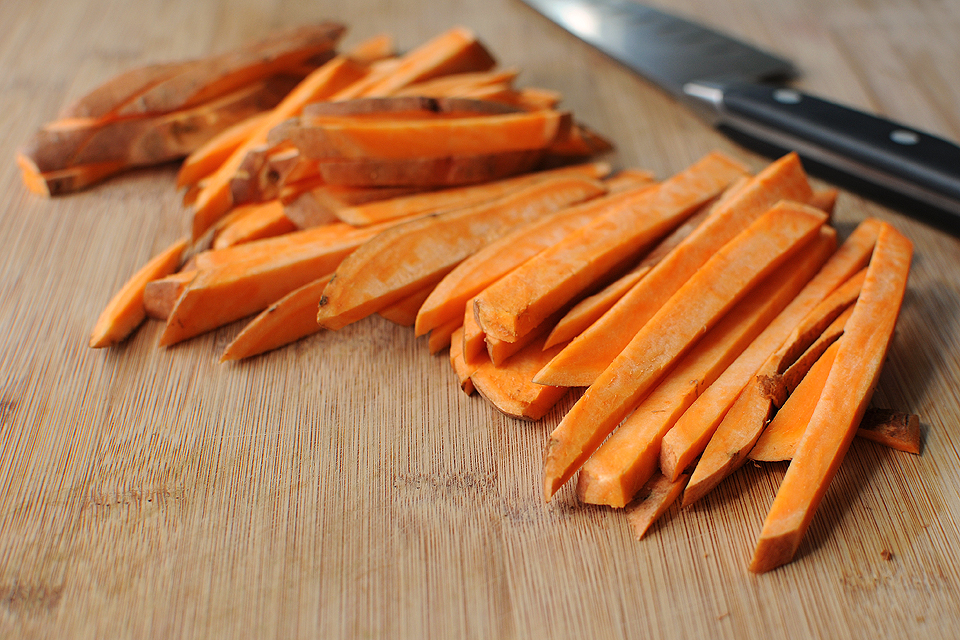
Slice the sweet potato into strips, about 1/2″ thick. The thinner they are, the crispier they’ll be. They’ll cook quicker too, so make sure you account for that in the cook time.


Tasty Kitchen Blog: Baked Sweet Potato Fries. Guest post by Amy Johnson of She Wears Many Hats, recipe submitted by TK member Caitlin (maude10).

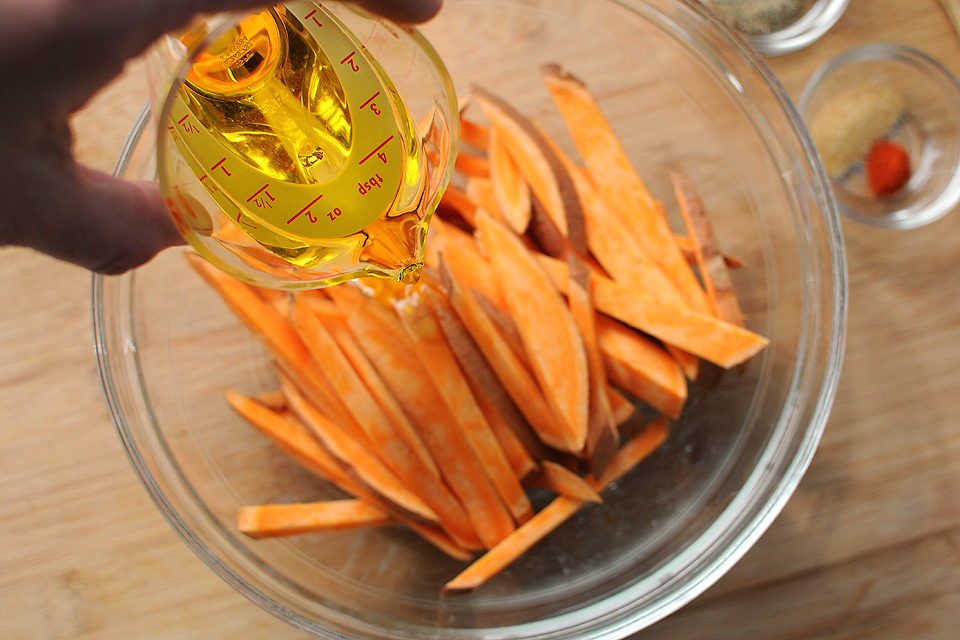
Place the fries in a bowl and add the olive oil.


Tasty Kitchen Blog: Baked Sweet Potato Fries. Guest post by Amy Johnson of She Wears Many Hats, recipe submitted by TK member Caitlin (maude10).

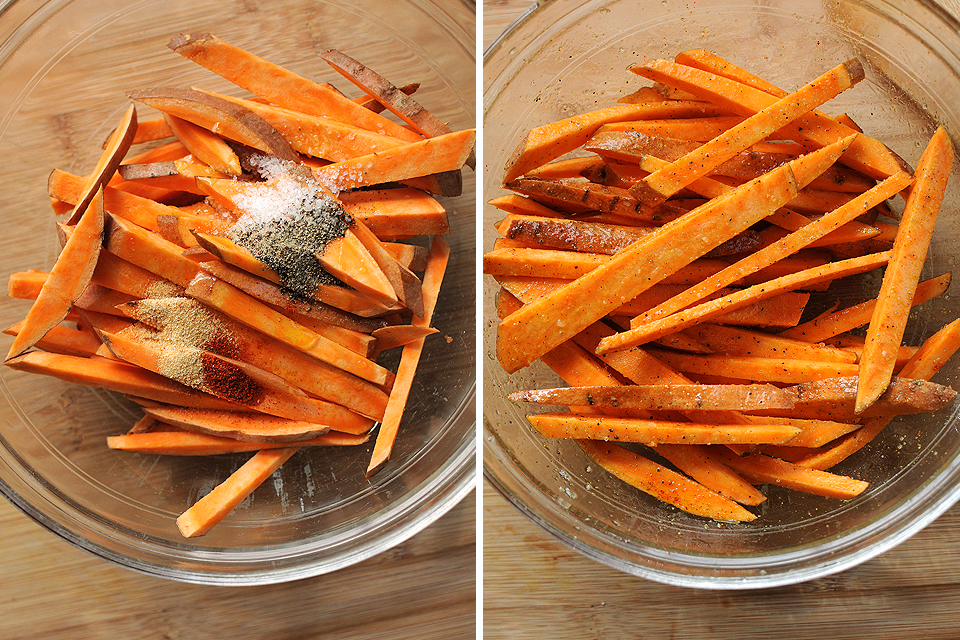
Then add the spices and combine well, coating all fries evenly. We like it spicy, so I added a full 1/8 teaspoon of cayenne to ours. Yum!


Tasty Kitchen Blog: Baked Sweet Potato Fries. Guest post by Amy Johnson of She Wears Many Hats, recipe submitted by TK member Caitlin (maude10).

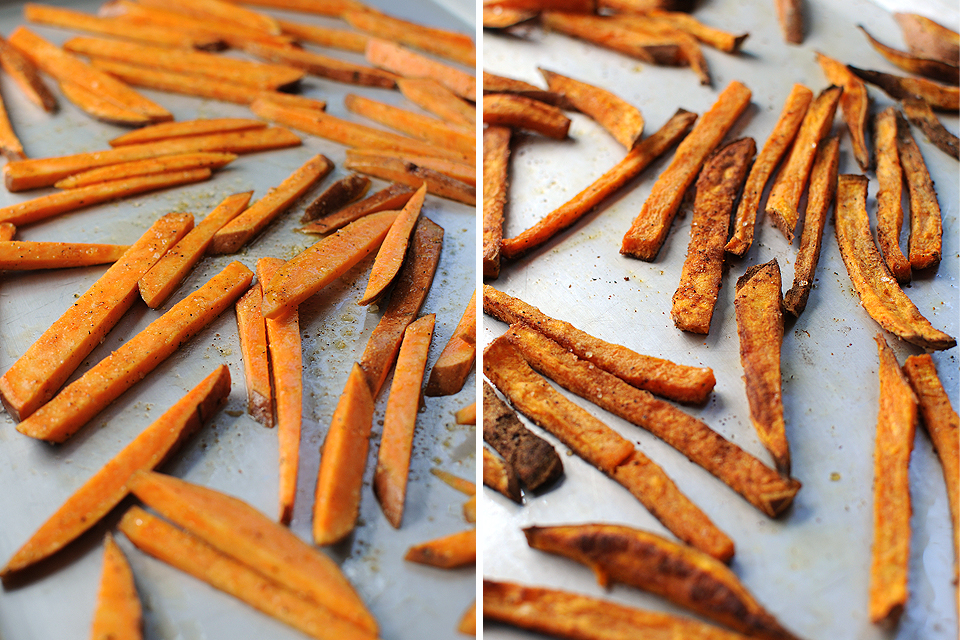
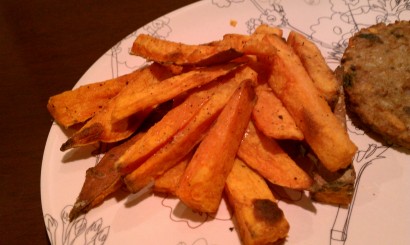
Spread in a single layer on a baking sheet and bake for 15 minutes. Toss and continue baking another 10-15 minutes until crisp. Ovens vary, so make sure to watch your first batch closely to see what cook time is appropriate for your oven.


Tasty Kitchen Blog: Baked Sweet Potato Fries. Guest post by Amy Johnson of She Wears Many Hats, recipe submitted by TK member Caitlin (maude10).

That’s it! Easy huh? And totally drool worthy. Try them soon and let me know what you think. And again, you may wanna double the batch.

A big thanks to Caitlin for the recipe. We’ve already made it three times this week. My 13-year-old son even asked for them for a snack. Smart kid, I think. Definitely a good option.


Printable Recipe

Baked Sweet Potato Fries

5.00 Mitt(s) 8 Rating(s)8 votes, average: 5.00 out of 58 votes, average: 5.00 out of 58 votes, average: 5.00 out of 58 votes, average: 5.00 out of 58 votes, average: 5.00 out of 5

Prep Time:

Cook Time:

Difficulty: Easy

Servings: 1

1
x

Print Options

Page size Letter 3x5 4x6
Text Size Small Medium Large
Content Include description
Include prep time, etc.
Show image

Description

These puppies are quickly becoming my new popcorn, a.k.a. my new late-night, movie watching snack. They are quick and easy, as well as healthier than the starchy alternative. I leave the skins on them, because Maude tells me to, but you should follow your instincts on that one. Don’t be surprised if you find yourself making these at 11 pm when everyone else is asleep, but you have a lot of Grey’s Anatomy to catch up on.

Ingredients

  • 1 whole Sweet Potato
  • 2 Tablespoons Olive Oil
  • ½ teaspoons Kosher Salt
  • ¼ teaspoons Freshly Ground Pepper
  • ¼ teaspoons Garlic Powder
  • 1 pinch Cayenne Pepper (if You're Down With That)

Preparation Instructions

1. Preheat the oven to 450F.

2. Scrub the sweet potato and cut into 1/2 inch slices (or thinner if you like your fries crispier).

3. In a bowl, toss the sweet potatoes with the olive oil, kosher salt, pepper, garlic powder, and cayenne (if you like-ah some spice-ah).

4. Arrange fries evenly on a cookie sheet and bake for about 20 to 30 minutes minutes, checking after 20 minutes to prevent burning (ovens vary). Flip halfway so they cook evenly.

5. Settle in for a good movie and a glass of wine with a delicious snack.

Suggestion: Try throwing on some parmesan cheese during the last few minutes of baking for a yummy surprise!


_______________________________________

Amy Johnson is a blogger who writes about food, travel, the home (both inside and out), and various observations and random musings about anything and everything. Visit her blog She Wears Many Hats for a dose of deliciousness, practicality, hilarity, or just plain fun. She lives in South Carolina with her husband and two children.


Profile photo of callimakesdo

Candied Jalapeños (Cowboy Candy)

Posted by in Step-by-Step Recipes

Tasty Kitchen Blog: Candied Jalapenos Cowboy Candy. Guest post by Calli Taylor of Make It Do, recipe submitted by TK member Rebecca of Foodie with Family.

 
Every year my spice-lovin’ husband plants WAY too many hot peppers in our vegetable garden. He can’t help himself, I suppose, but our family can only eat so much salsa and Chile Verde.

This year, rather than letting our delicious crop of jalapeños go to waste, I searched Tasty Kitchen for new recipes and could hardly believe my luck when I came across a recipe for Candied Jalapeños (Cowboy Candy) from TK member Rebecca.

Canned jalapeños? Yes please! What could be better than enjoying the fruit of our summer labor on a cold day in February?

After making a batch of Rebecca’s Candied Jalapeños, I know one thing for sure: there is no way I’ve canned enough jars to make it till February.

You may be wondering what Candied Jalapeños taste like. It’s a wonderful mix of sweet and heat. I made my first batch with the seeds and membranes included and it was SPICY! The tangy, savory sweet flavor of the syrup knocked my socks off. In short, Cowboy Candy is delicious and totally addicting.

I’ll be making another batch for my family this week, and one to give as gifts for the holidays. This time around I’ll remove the seeds and membranes (which is where most of the spicy heat is found), so the rest of my family can enjoy their treat without watery eyes and runny noses.

Here’s how to make Cowboy Candy.


Tasty Kitchen Blog: Candied Jalapenos Cowboy Candy. Guest post by Calli Taylor of Make It Do, recipe submitted by TK member Rebecca of Foodie with Family.

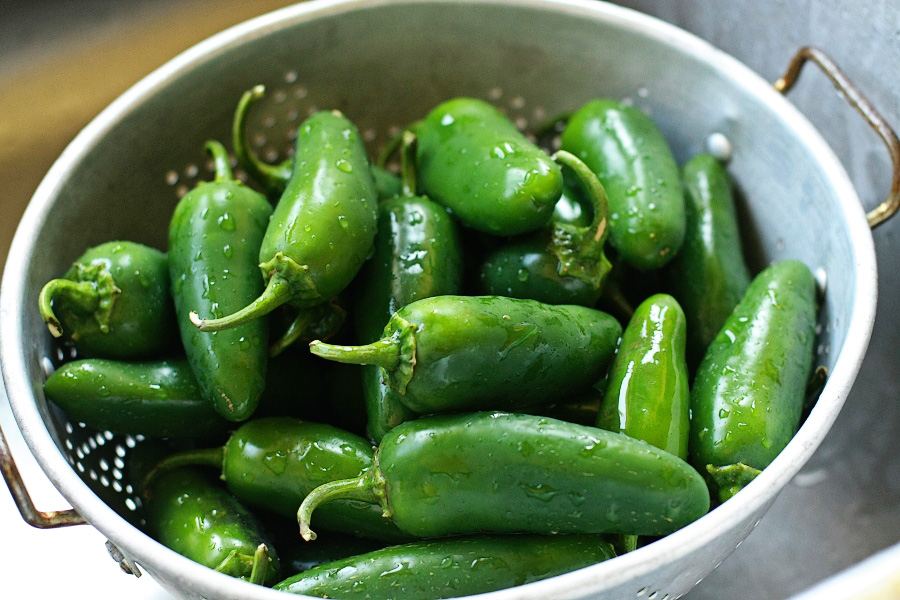
Start with fresh, firm jalapeños. As with any canning recipe, the quality of your vegetable (or fruit) is very important.


Tasty Kitchen Blog: Candied Jalapenos Cowboy Candy. Guest post by Calli Taylor of Make It Do, recipe submitted by TK member Rebecca of Foodie with Family.

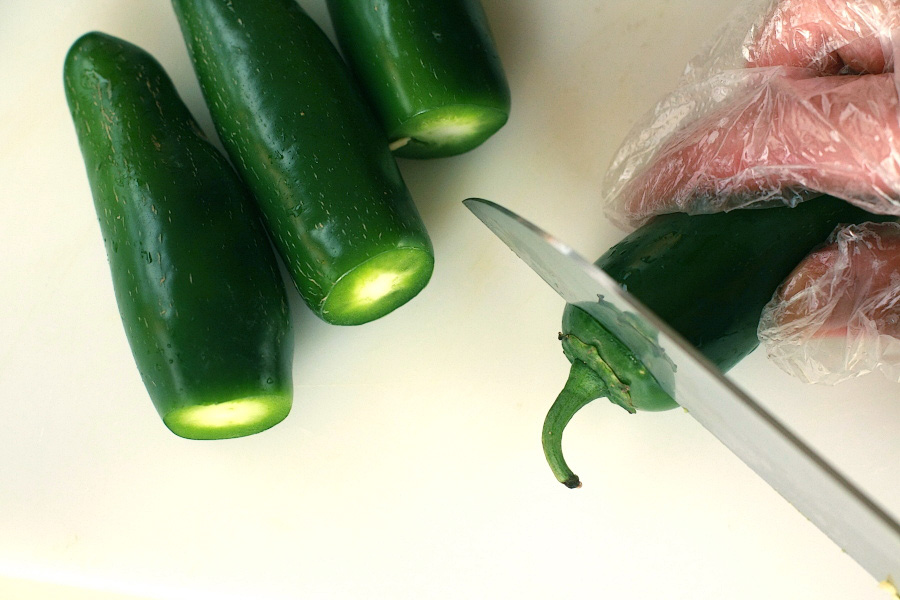
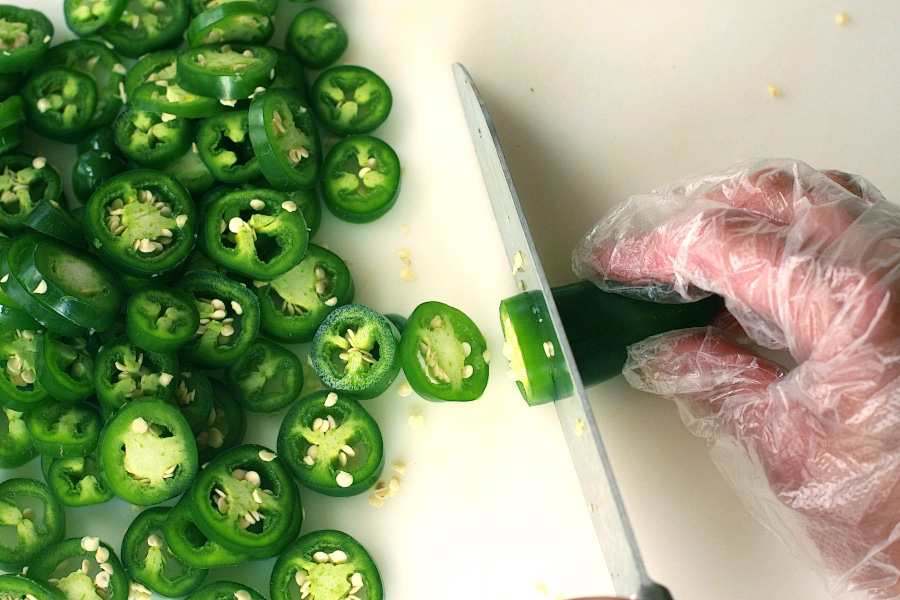
Remove the stems from your peppers. Yes, I’m wearing gloves, which might seem a bit cautious. But try inadvertently rubbing your eye after chopping a quantity of spicy peppers, and you’ll opt for gloves too.

This would be a good time to core out the seeds and membrane if you like a milder flavor.


Tasty Kitchen Blog: Candied Jalapenos Cowboy Candy. Guest post by Calli Taylor of Make It Do, recipe submitted by TK member Rebecca of Foodie with Family.

Slice the peppers into 1/8 to 1/4 inch slices.


Tasty Kitchen Blog: Candied Jalapenos Cowboy Candy. Guest post by Calli Taylor of Make It Do, recipe submitted by TK member Rebecca of Foodie with Family.

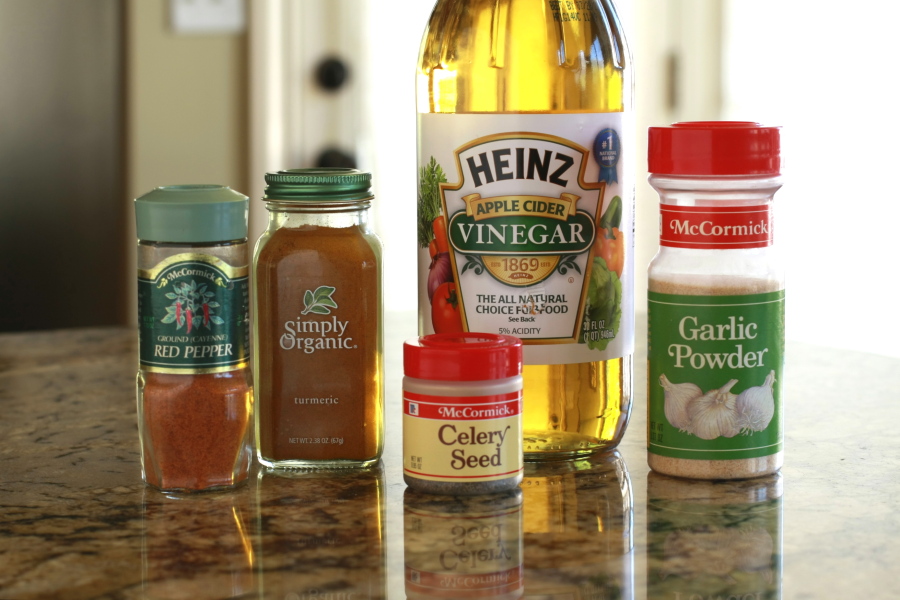
Beyond the obvious jalapeños, the ingredients are sugar, cider vinegar, turmeric, celery seed, ground cayenne pepper and granulated garlic. I live in a smaller community and couldn’t find granulated garlic. I chose powdered garlic at half the measurement (1-1/2 teaspoons) as a substitute, since powered is much finer than granulated. Powdered garlic was easy and worked great for me. After reading the comments on Rebecca’s blog, I discovered that she recommends one clove of garlic per 1/4 teaspoon of granulated, if you have trouble finding granulated like I did.


Tasty Kitchen Blog: Candied Jalapenos Cowboy Candy. Guest post by Calli Taylor of Make It Do, recipe submitted by TK member Rebecca of Foodie with Family.

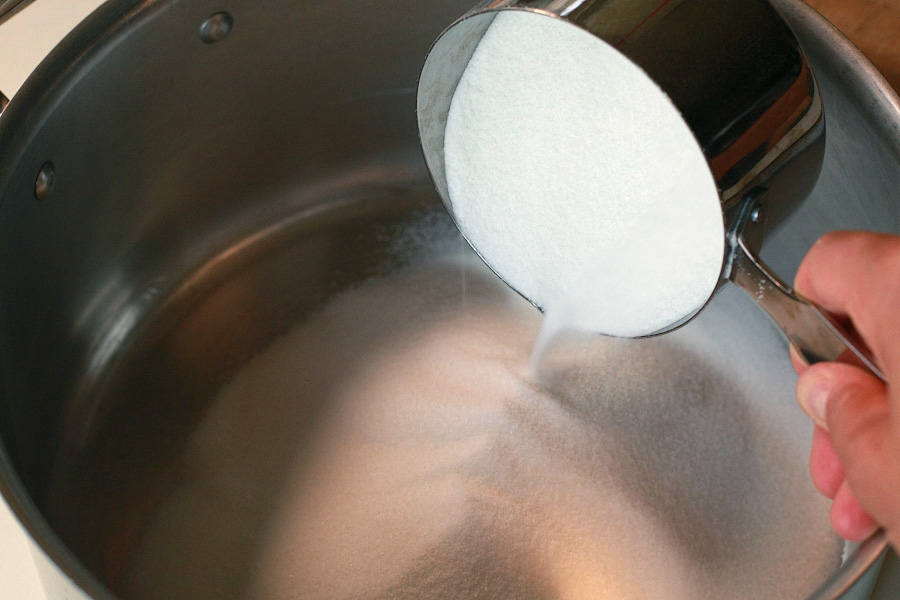
Pour 6 cups of white granulated sugar into a large pot.


Tasty Kitchen Blog: Candied Jalapenos Cowboy Candy. Guest post by Calli Taylor of Make It Do, recipe submitted by TK member Rebecca of Foodie with Family.

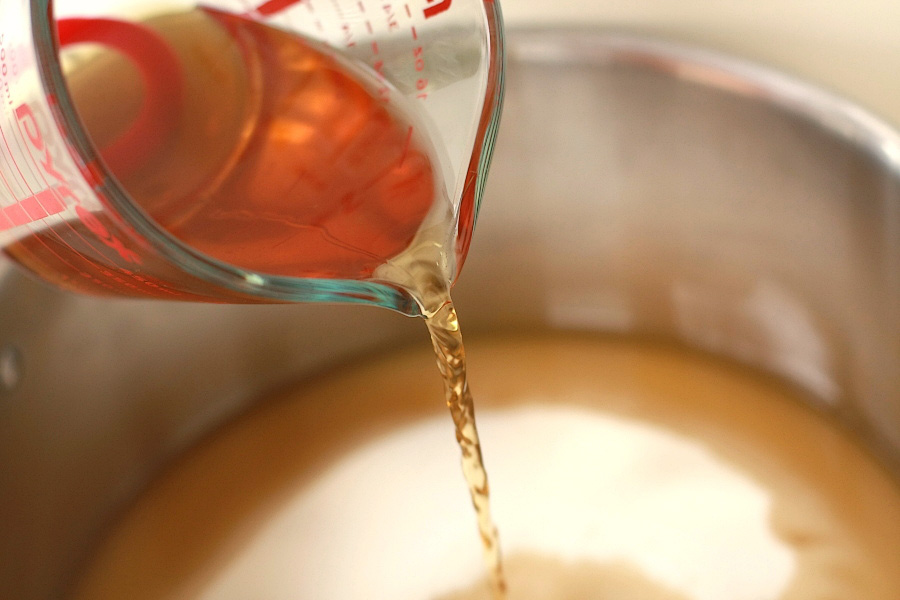
Add the vinegar and spices.


Tasty Kitchen Blog: Candied Jalapenos Cowboy Candy. Guest post by Calli Taylor of Make It Do, recipe submitted by TK member Rebecca of Foodie with Family.

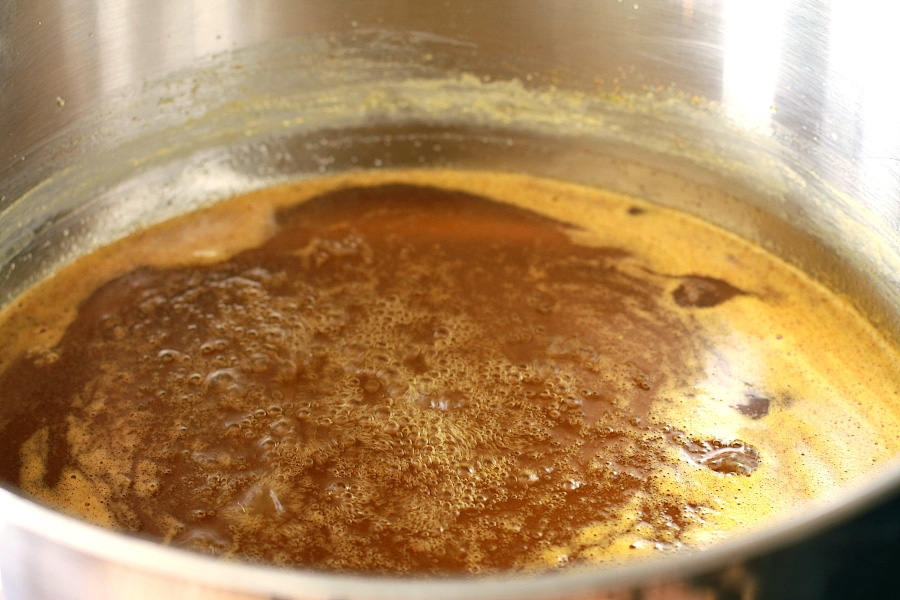
Bring to a boil. Reduce the heat and simmer for 5 minutes.


Tasty Kitchen Blog: Candied Jalapenos Cowboy Candy. Guest post by Calli Taylor of Make It Do, recipe submitted by TK member Rebecca of Foodie with Family.

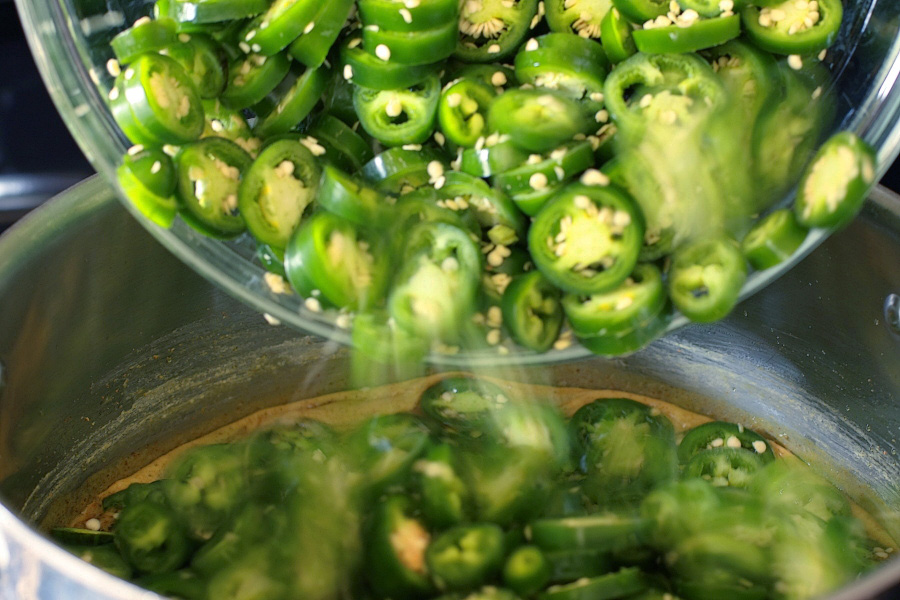
Add the peppers and simmer for exactly 4 minutes. Remove from the heat. Some of the slices looked more cooked than others, but that’s okay.


Tasty Kitchen Blog: Candied Jalapenos Cowboy Candy. Guest post by Calli Taylor of Make It Do, recipe submitted by TK member Rebecca of Foodie with Family.

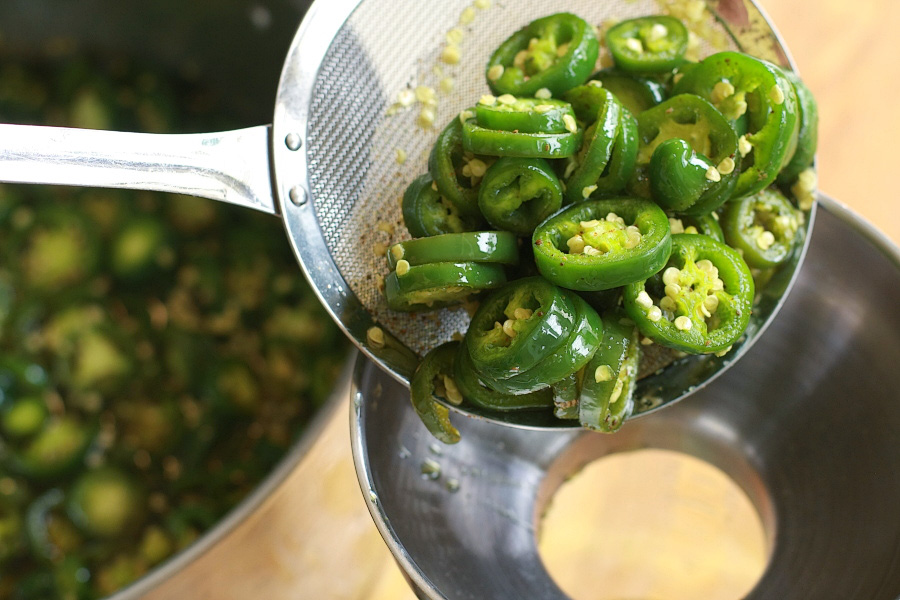
Using a slotted spoon or mesh skimmer, transfer the peppers into clean, sterile, hot canning jars. Fill to within 1/4 inch from the rim of the jar. You can use half pint or if you have big eaters, go for pint jars. Knowing my husband, I opted for pints and yielded 4 jars.


Tasty Kitchen Blog: Candied Jalapenos Cowboy Candy. Guest post by Calli Taylor of Make It Do, recipe submitted by TK member Rebecca of Foodie with Family.

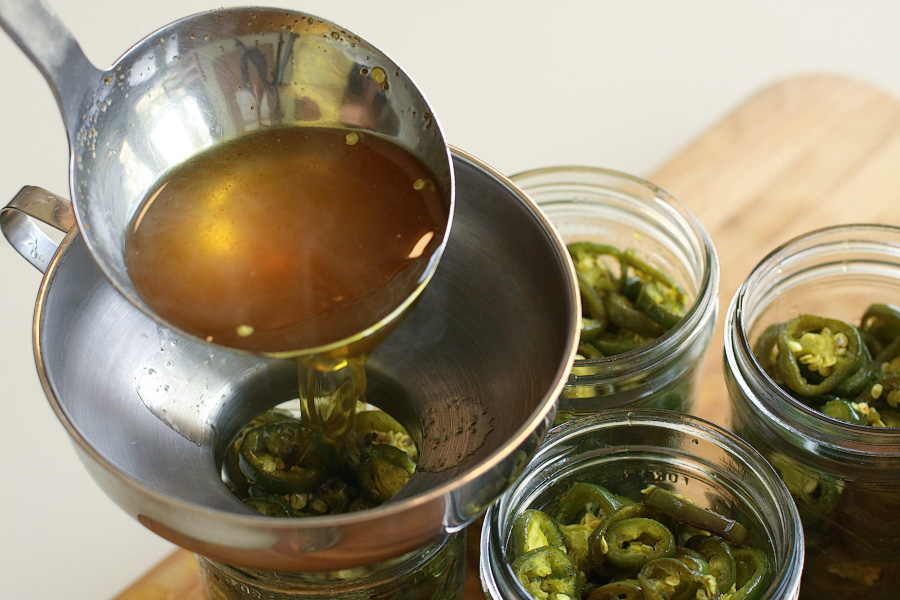
Return the syrup to the stove, turn up the heat and bring back to a full rolling boil. Boil hard for 6 minutes.

Use a ladle to pour the boiling syrup over the jalapeños.


Tasty Kitchen Blog: Candied Jalapenos Cowboy Candy. Guest post by Calli Taylor of Make It Do, recipe submitted by TK member Rebecca of Foodie with Family.

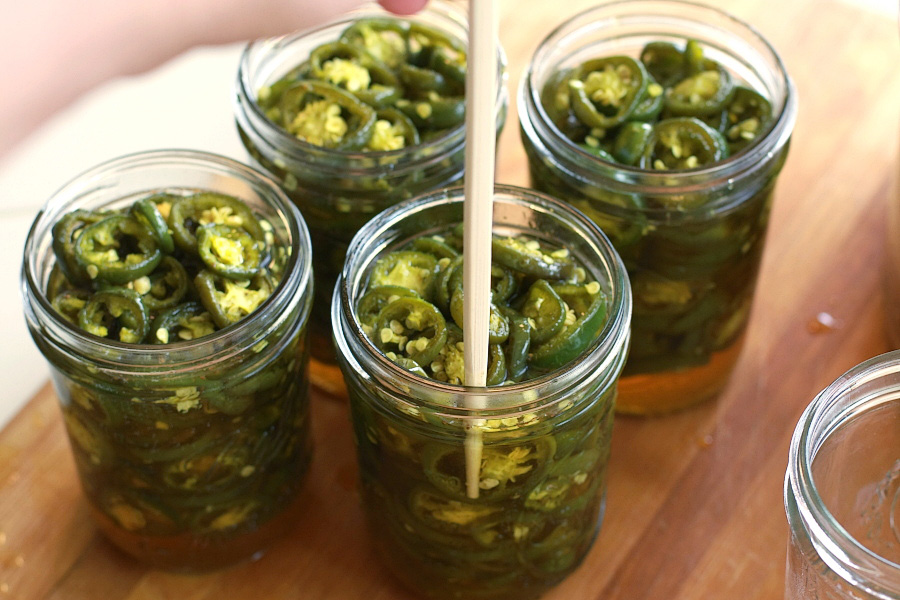
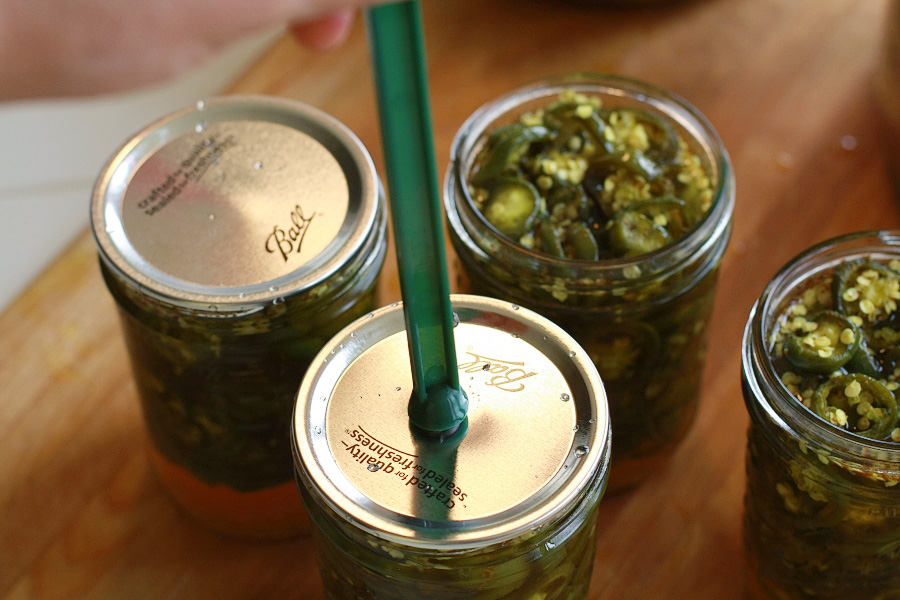
Insert a clean, sterile chopstick to the bottom of the jar several times to release any trapped air. Add or remove syrup if necessary to leave 1/4 inch head space.


Tasty Kitchen Blog: Candied Jalapenos Cowboy Candy. Guest post by Calli Taylor of Make It Do, recipe submitted by TK member Rebecca of Foodie with Family.

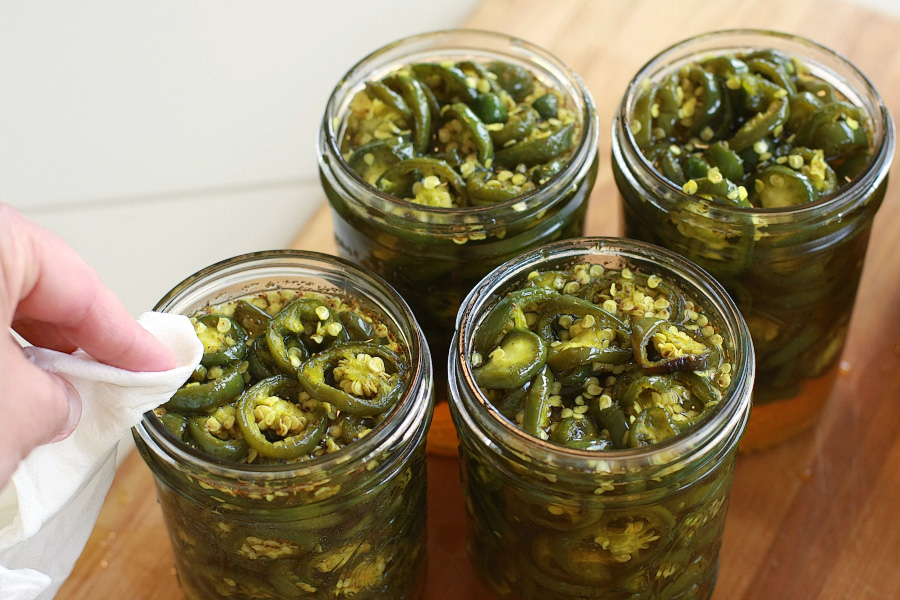
Wipe the rims of the jars using a clean, damp paper towel to remove any stickiness. A clean rim is important for a good seal.


Tasty Kitchen Blog: Candied Jalapenos Cowboy Candy. Guest post by Calli Taylor of Make It Do, recipe submitted by TK member Rebecca of Foodie with Family.

Fix on new two-piece lids to fingertip tightness.

Rebecca included recommended canning times on the recipe: 10 minutes for 1/2 pint and 15 minutes for pint jars. However, I live in the Rocky Mountains at almost 5000 feet, so I made a quick call to my local State Extension service for canning times at my altitude. The canning times vary depending on where you live, so I highly recommend making the same phone call to find the right time for you. I processed my pint jars for 25 minutes.

Add your cans to your canner with two inches of water over the tops of the lid. Start timing only after your water has come to a full boil.


Tasty Kitchen Blog: Candied Jalapenos Cowboy Candy. Guest post by Calli Taylor of Make It Do, recipe submitted by TK member Rebecca of Foodie with Family.

Rebecca recommends waiting about 2 weeks before eating your jalapenos, for best flavor. This turned out to be a tall order for our house and my husband broke into a jar in less than a week.

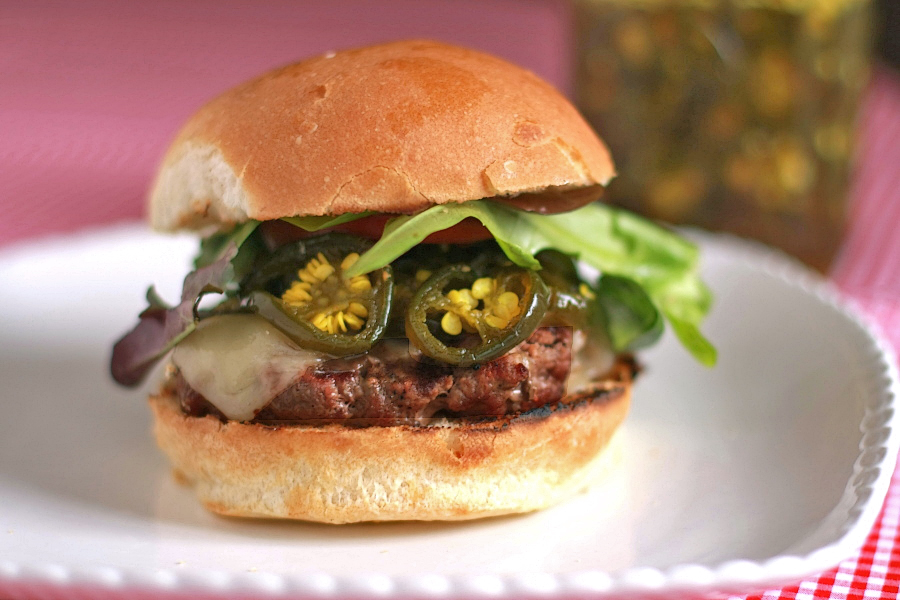
Already we’ve enjoyed them on burgers with jack cheese and on turkey sandwiches.


Tasty Kitchen Blog: Candied Jalapenos Cowboy Candy. Guest post by Calli Taylor of Make It Do, recipe submitted by TK member Rebecca of Foodie with Family.

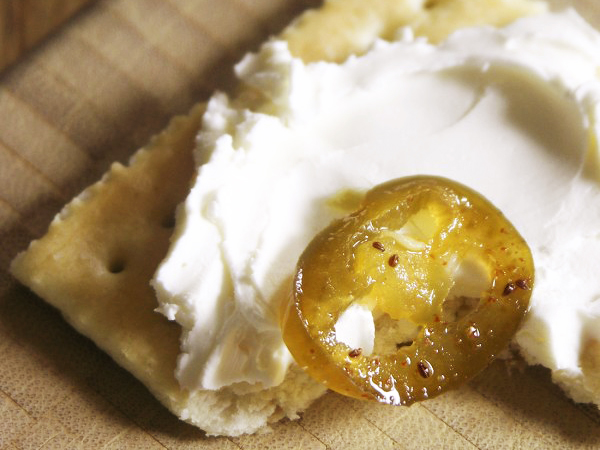
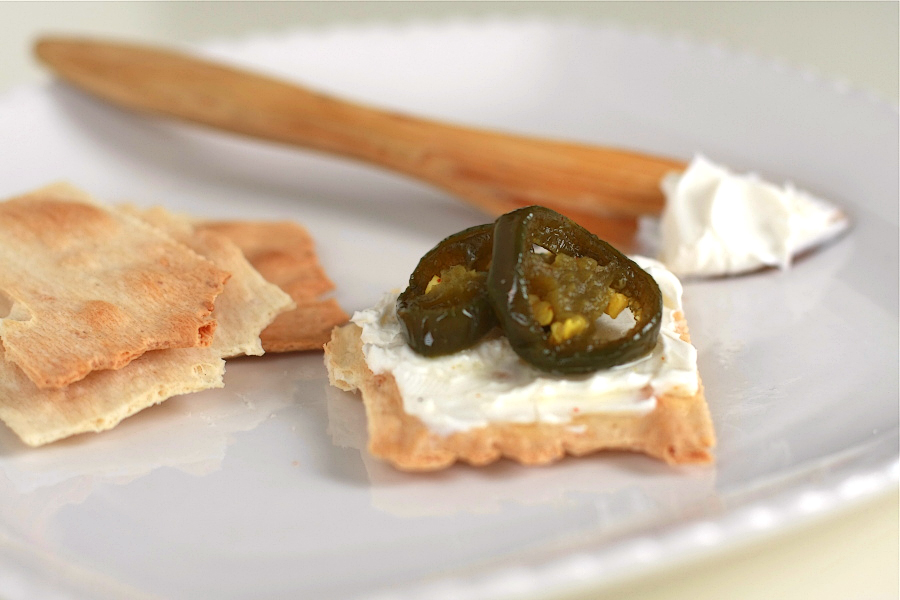
We’ve also loved them as an appetizer on crackers with cream cheese. I get the feeling we’ve just begun finding ways to enjoy this spicy treat.

Just be sure to spoon some of the syrup onto whatever you are eating! It is the star of the show.

Thank you Rebecca for sharing Cowboy Candy with us. You are truly a genius in the kitchen.

Be sure to check out Rebecca’s Tasty Kitchen recipe box for more of her delicious recipes. You’ll also love her blog Foodie with Family.


Printable Recipe

Candied Jalapenos (Cowboy Candy)

See post on Rebecca’s site!
4.97 Mitt(s) 34 Rating(s)34 votes, average: 4.97 out of 534 votes, average: 4.97 out of 534 votes, average: 4.97 out of 534 votes, average: 4.97 out of 534 votes, average: 4.97 out of 5

Prep Time:

Cook Time:

Difficulty: Intermediate

Servings: 36

36
x

Print Options

Page size Letter 3x5 4x6
Text Size Small Medium Large
Content Include description
Include prep time, etc.
Show image

Description

These little beauties are so addictive: sweet, spicy, and tangy. Once you start eating these, you’ll find all sorts of places to stash them—sandwiches, potato salad, grilled meat, and pasta, just to name a few.

Ingredients

  • 3 pounds Firm, Fresh Jalapeno Peppers, Washed
  • 2 cups Cider Vinegar
  • 6 cups White Granulated Sugar
  • ½ teaspoons Turmeric
  • ½ teaspoons Celery Seed
  • 3 teaspoons Granulated Garlic
  • 1 teaspoon Ground Cayenne Pepper

Preparation Instructions

Wearing gloves, remove the stems from all of the jalapeno peppers. The easiest way to do this is to slice a small disc off of the stem-end along with the stem. Discard the stems.

Slice the peppers into uniform 1/8-1/4 inch rounds. Set aside.

In a large pot, bring cider vinegar, white sugar, turmeric, celery seed, granulated garlic and cayenne pepper to a boil. Reduce heat and simmer for 5 minutes. Add the pepper slices and simmer for exactly 4 minutes. Use a slotted spoon to transfer the peppers, loading into clean, sterile canning jars to within 1/4 inch of the upper rim of the jar. Turn heat up under the pot with the syrup and bring to a full rolling boil. Boil hard for 6 minutes.

Use a ladle to pour the boiling syrup into the jars over the jalapeno slices. Insert a cooking chopstick to the bottom of the jar two or three times to release any trapped pockets of air. Adjust the level of the syrup if necessary. Wipe the rims of the jars with a clean, damp paper towel and fix on new, two-piece lids to finger-tip tightness.

If you do not want to can these to the point of shelf stable, you can simply put the jars in your refrigerator and store them there. I prefer to keep the fridge space free so I can them. If you wish to can them, follow the instructions below.

Note: If you have leftover syrup, and it is likely that you will, you may can it in half-pint or pint jars, too. It’s wonderful brushed on meat on the grill or added to potato salad or, or, or … in short, don’t toss it out!

To can, place jars in a canner and cover with water by 2-inches. Bring the water to a full rolling boil. When it reaches a full rolling boil, set the timer for 10 minutes for half-pints or 15 minutes for pints. When timer goes off, use canning tongs to transfer the jars to a cooling rack. Leave them to cool, undisturbed, for 24 hours. When fully cooled, wipe them with a clean, damp washcloth, then label.

Allow to mellow for at least two weeks, but preferably a month before eating. Or don’t. I won’t tell!


_______________________________________

Calli is truly a woman of many talents, from cooking, sewing, crafts, beautiful photography and gardening. Her blog, Make it Do is a treasure trove of recipes, household tips, crafts projects, sewing patterns … you name it. It’s also peppered with photos of her beautiful kids. Go visit her site, and visit it often. There’s always something new to learn there!
 

Profile photo of whatsgabycooking

BLT Pizza

Posted by in Step-by-Step Recipes

Tasty Kitchen Blog: BLT Pizza. Guest post by Gaby Dalkin of What's Gaby Cooking, recipe submitted by TK member Ramona of Curry and Comfort.

 
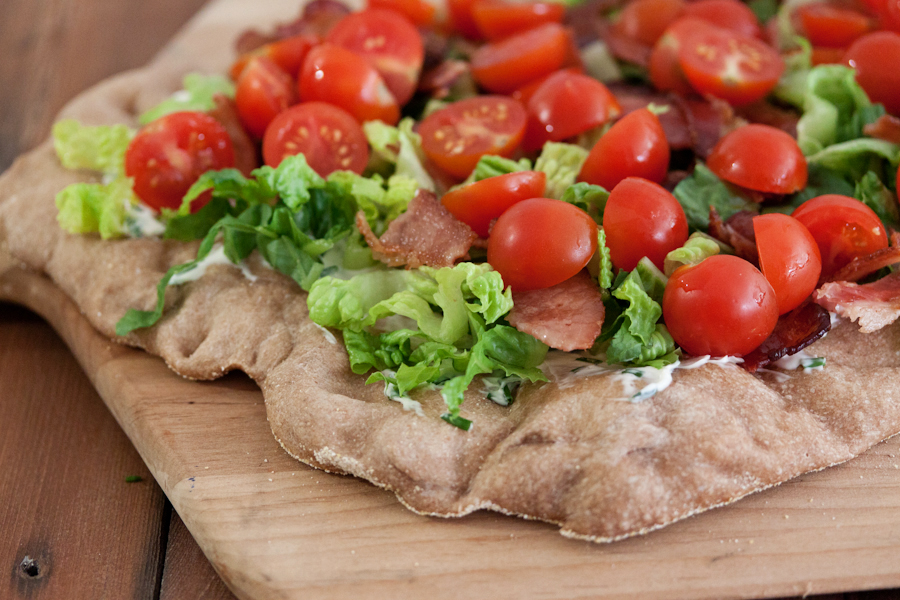
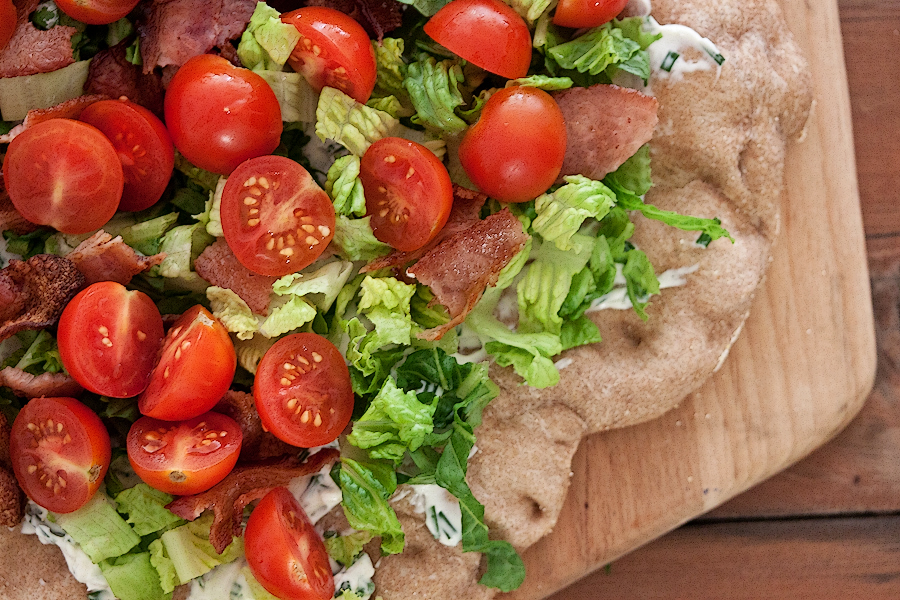
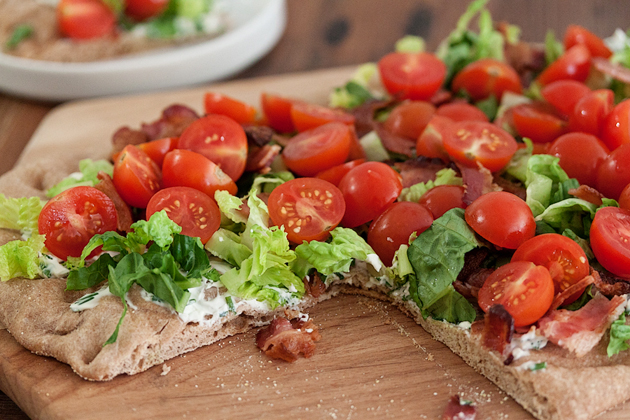
BLT Pizza might just be my most recent favorite dinner. It’s super easy to prepare and only requires a handful of ingredients but leaves everyone at the dinner table satisfied and happy. I haven’t always been a big bacon fan (I know, something was obviously wrong with me) but recently I’ve decided it’s totally necessary in life. The idea of eating all these classic sandwich toppings on a pizza is just kinda awesome. It’s a winner with both kids and adults and your friends and family will be begging for more!
This recipe was submitted by Curry and Comfort (Ramona), and give her a big round of applause for this one because I secretly wish I had thought of it myself!

Okay, here’s what to do.


Tasty Kitchen Blog: BLT Pizza. Guest post by Gaby Dalkin of What's Gaby Cooking, recipe submitted by TK member Ramona of Curry and Comfort.

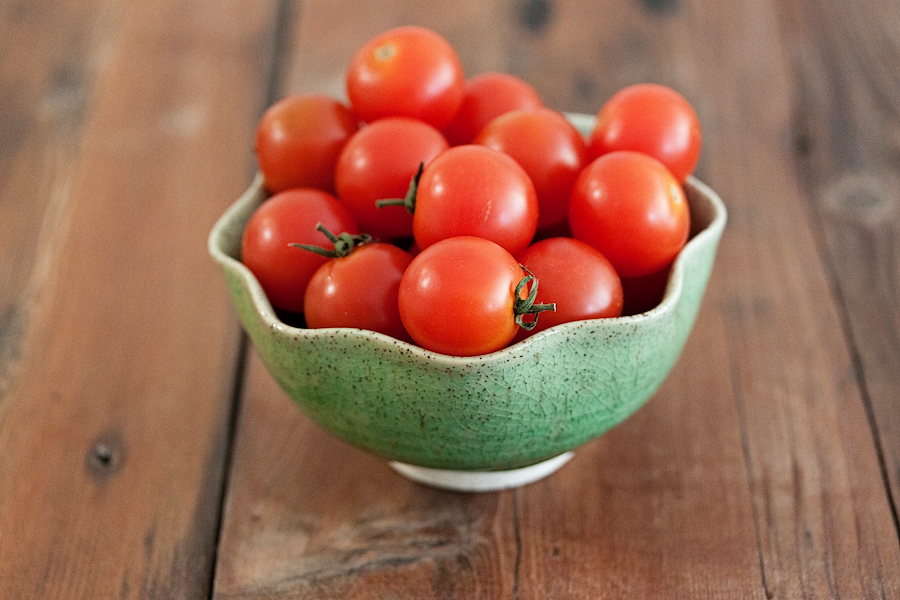
You’ll need a handful or two of bright red cherry tomatoes.


Tasty Kitchen Blog: BLT Pizza. Guest post by Gaby Dalkin of What's Gaby Cooking, recipe submitted by TK member Ramona of Curry and Comfort.

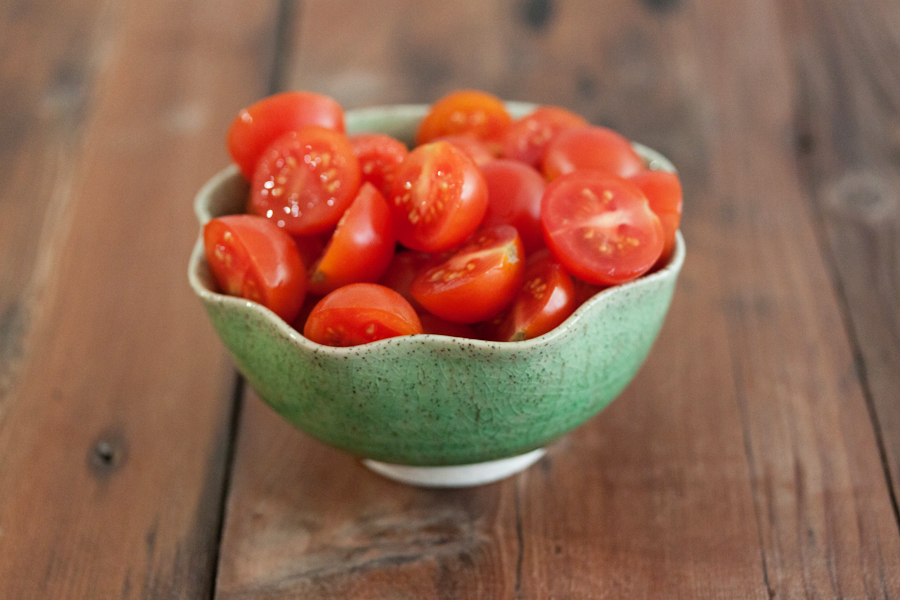
Slice them all in half and then set them aside.


Tasty Kitchen Blog: BLT Pizza. Guest post by Gaby Dalkin of What's Gaby Cooking, recipe submitted by TK member Ramona of Curry and Comfort.

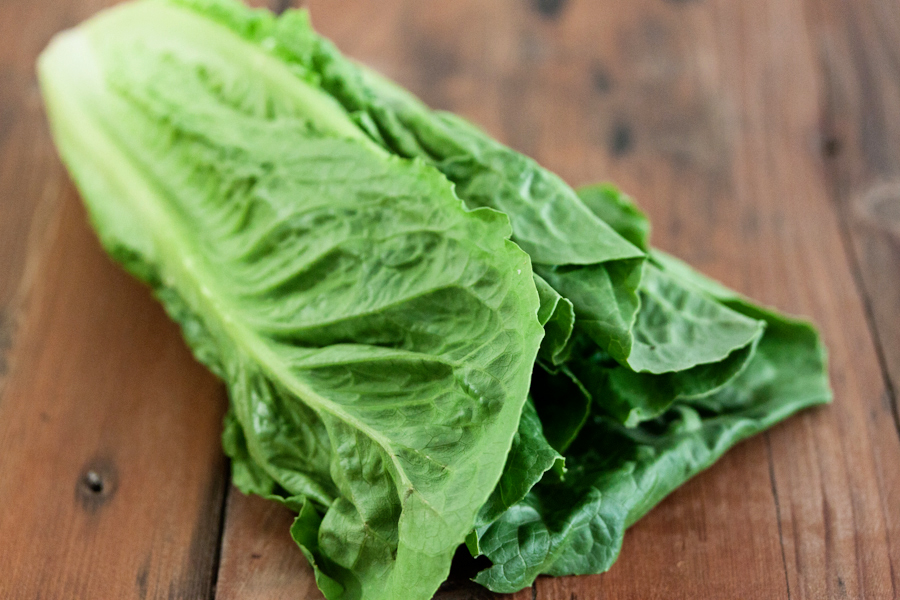
You’ll also need a head of romaine lettuce.


Tasty Kitchen Blog: BLT Pizza. Guest post by Gaby Dalkin of What's Gaby Cooking, recipe submitted by TK member Ramona of Curry and Comfort.

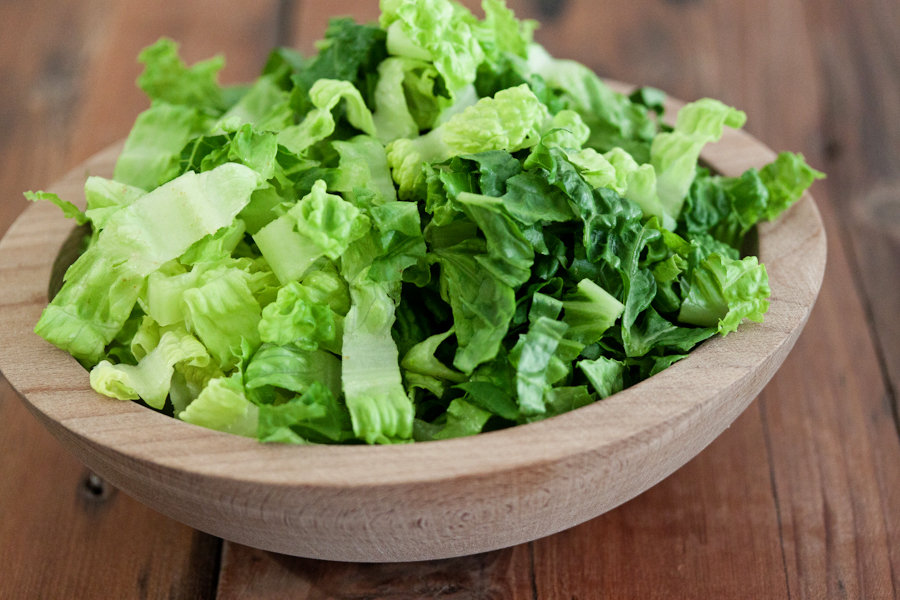
Slice it up and throw it in a bowl until you’re ready to assemble the pizza.


Tasty Kitchen Blog: BLT Pizza. Guest post by Gaby Dalkin of What's Gaby Cooking, recipe submitted by TK member Ramona of Curry and Comfort.

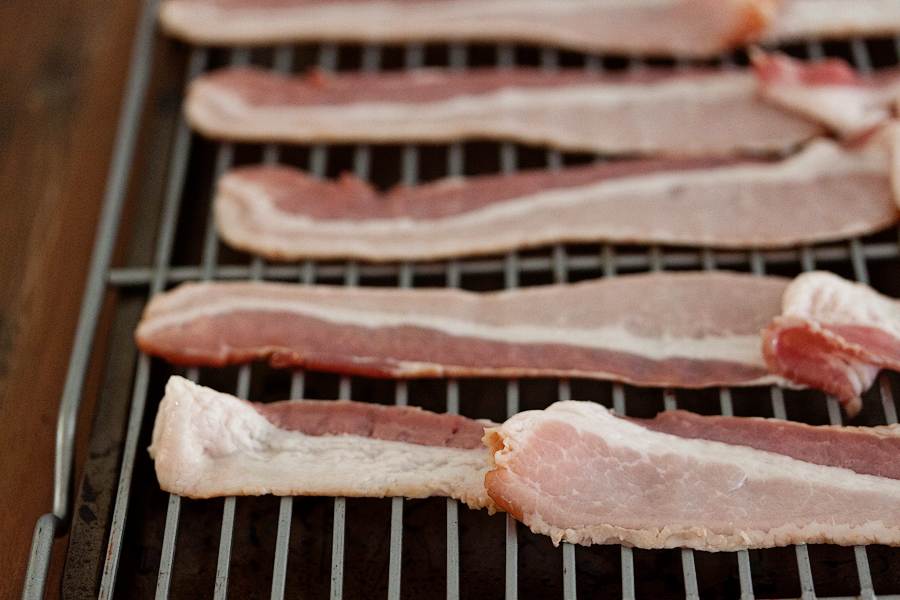
Place a few bacon strips on a drying rack over a baking sheet.


Tasty Kitchen Blog: BLT Pizza. Guest post by Gaby Dalkin of What's Gaby Cooking, recipe submitted by TK member Ramona of Curry and Comfort.

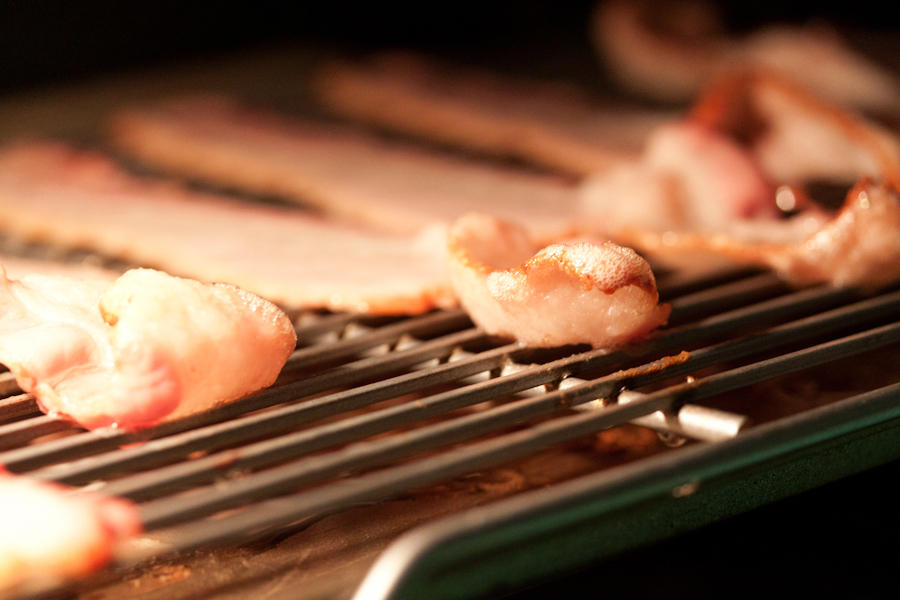
Place the bacon in the oven and let it crisp up for about 5-7 minutes.


Tasty Kitchen Blog: BLT Pizza. Guest post by Gaby Dalkin of What's Gaby Cooking, recipe submitted by TK member Ramona of Curry and Comfort.

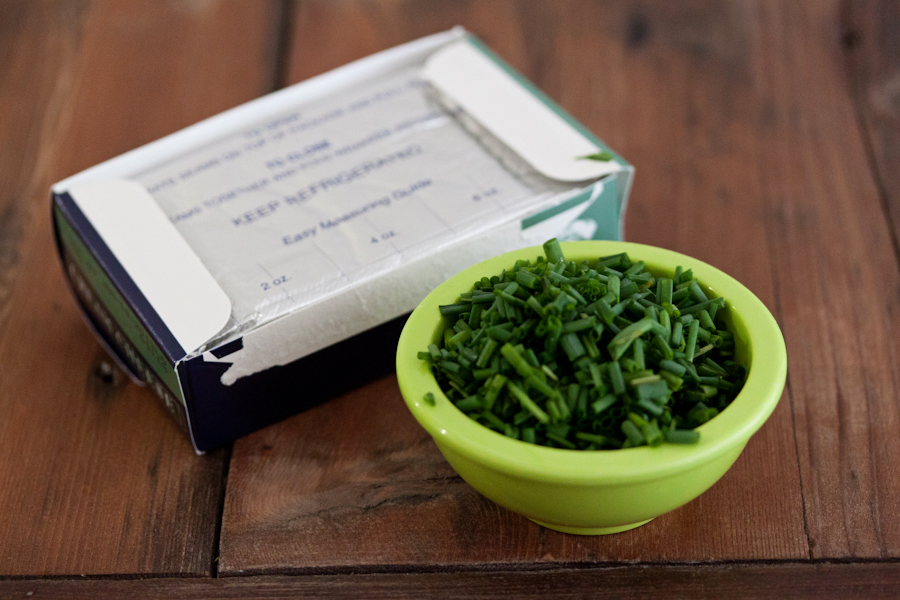
You’re going to need some cream cheese and some chopped chives. You could easily use store bought chive cream cheese, but I for some reason couldn’t find any, so I made my own.


Tasty Kitchen Blog: BLT Pizza. Guest post by Gaby Dalkin of What's Gaby Cooking, recipe submitted by TK member Ramona of Curry and Comfort.

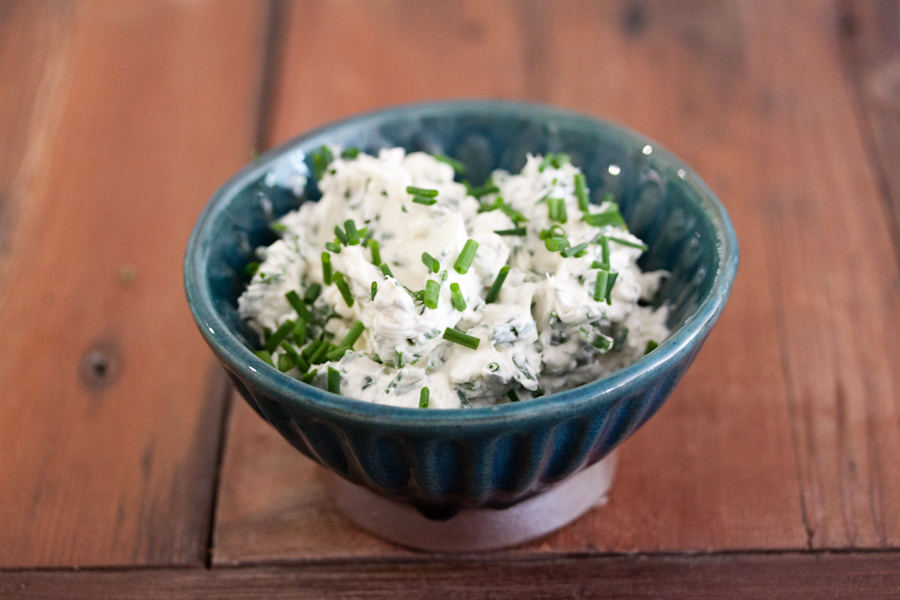
Let the cream cheese soften on your counter for a bit, and then mix in the chives. (You might want to make a little extra of this too—it’s delicious on a bagel in the morning!)


Tasty Kitchen Blog: BLT Pizza. Guest post by Gaby Dalkin of What's Gaby Cooking, recipe submitted by TK member Ramona of Curry and Comfort.

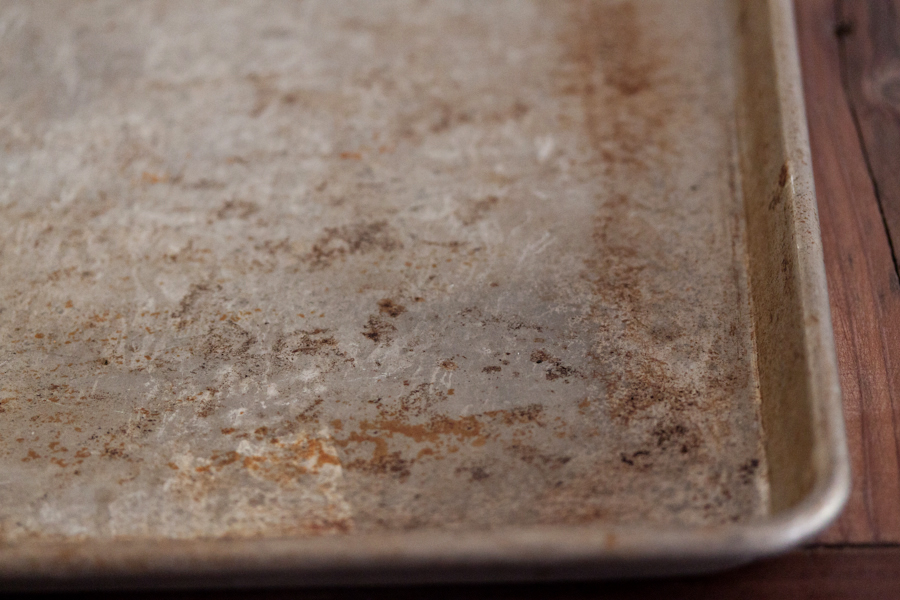
You’ll need a large baking sheet.


Tasty Kitchen Blog: BLT Pizza. Guest post by Gaby Dalkin of What's Gaby Cooking, recipe submitted by TK member Ramona of Curry and Comfort.

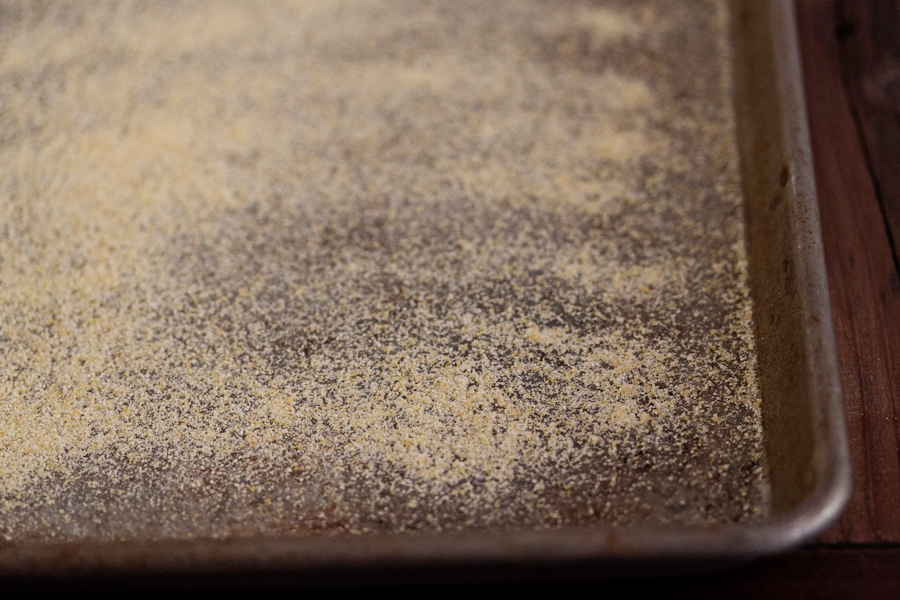
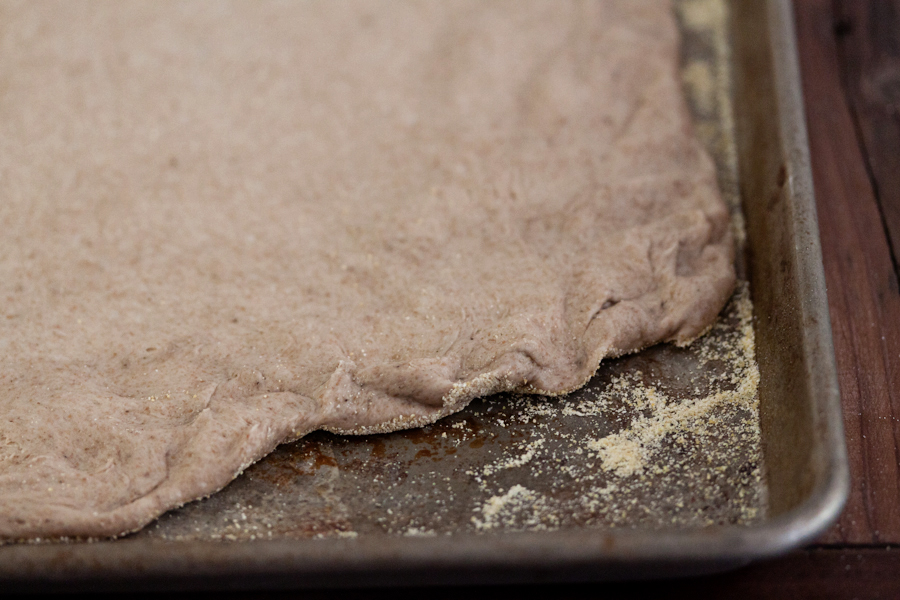
Sprinkle the baking dish with some corn meal. This is going to prevent your pizza dough from sticking.


Tasty Kitchen Blog: BLT Pizza. Guest post by Gaby Dalkin of What's Gaby Cooking, recipe submitted by TK member Ramona of Curry and Comfort.

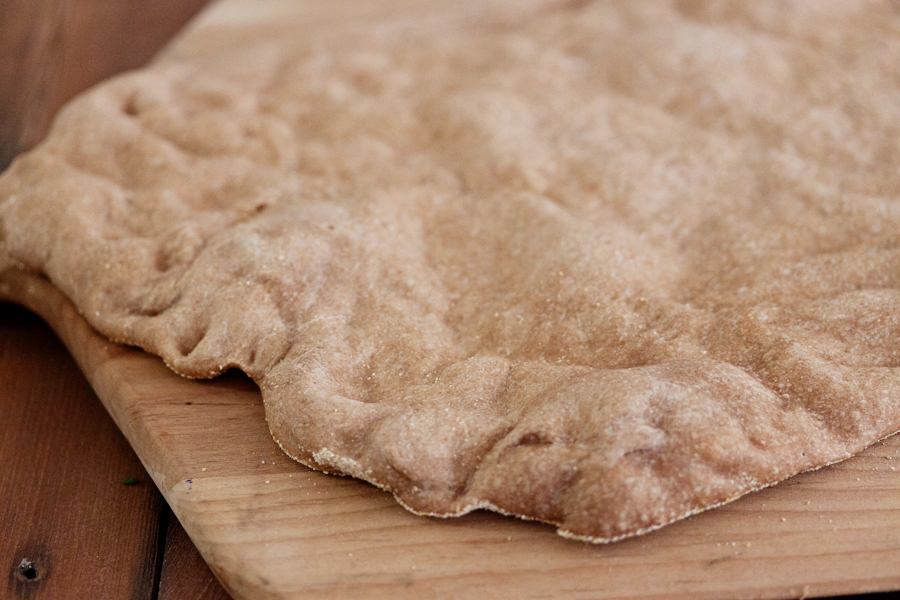
Take your pizza dough and spread it out on your baking sheet. It can be whatever shape you’d like. Mine was a little abstract, but I think it gives it some character. Throw the baking sheet into your preheated oven and baking the dough until it turns into a beautiful crust.


Tasty Kitchen Blog: BLT Pizza. Guest post by Gaby Dalkin of What's Gaby Cooking, recipe submitted by TK member Ramona of Curry and Comfort.

Place your pizza crust onto a cutting board and let it slightly cool.


Tasty Kitchen Blog: BLT Pizza. Guest post by Gaby Dalkin of What's Gaby Cooking, recipe submitted by TK member Ramona of Curry and Comfort.

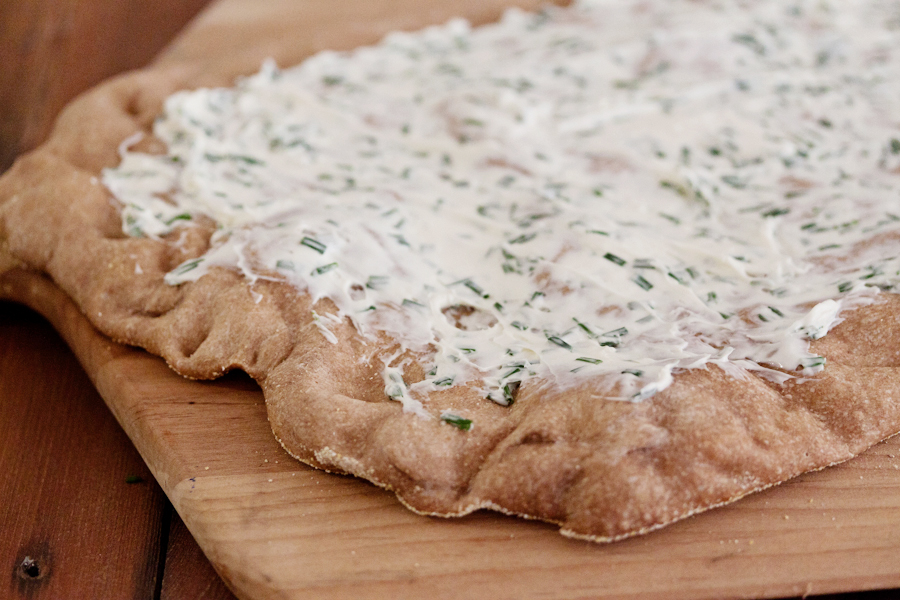
Schmear on the chive cream cheese mixture.


Tasty Kitchen Blog: BLT Pizza. Guest post by Gaby Dalkin of What's Gaby Cooking, recipe submitted by TK member Ramona of Curry and Comfort.

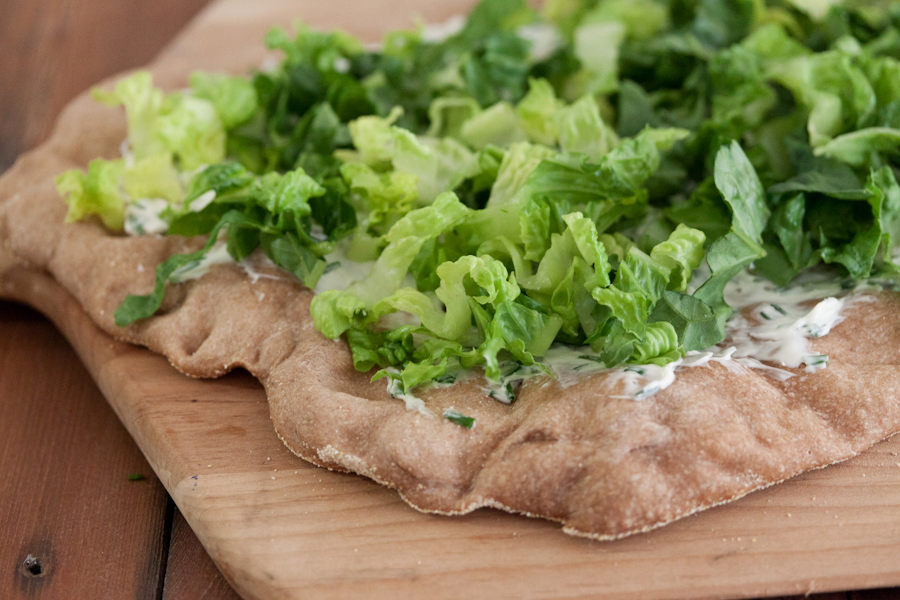
Pile the lettuce on top.


Tasty Kitchen Blog: BLT Pizza. Guest post by Gaby Dalkin of What's Gaby Cooking, recipe submitted by TK member Ramona of Curry and Comfort.

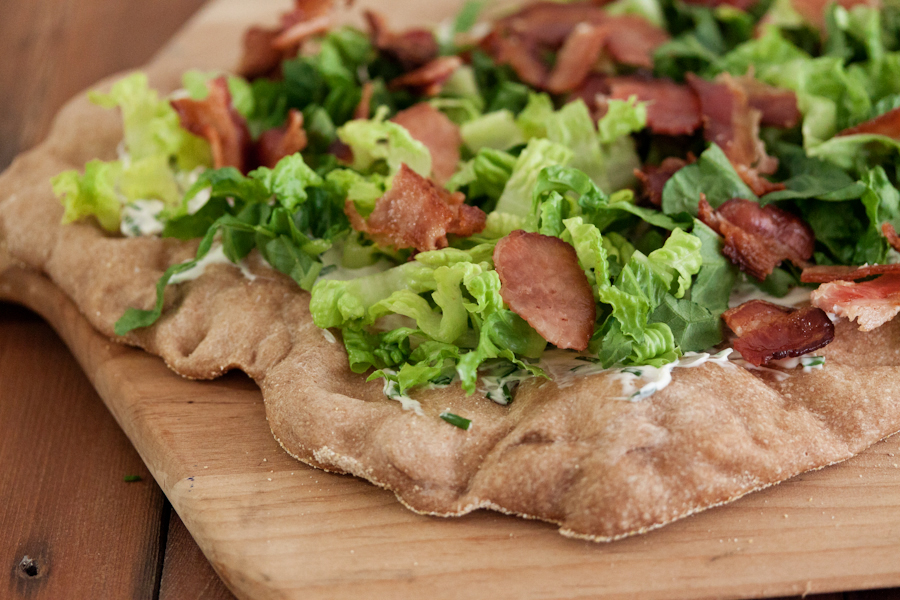
Sprinkle the bacon over the lettuce.


Tasty Kitchen Blog: BLT Pizza. Guest post by Gaby Dalkin of What's Gaby Cooking, recipe submitted by TK member Ramona of Curry and Comfort.

And then finish with the cherry tomatoes on top. You could give it a sprinkle of salt and pepper now, but the bacon usually has enough salt that you probably won’t need to.


Tasty Kitchen Blog: BLT Pizza. Guest post by Gaby Dalkin of What's Gaby Cooking, recipe submitted by TK member Ramona of Curry and Comfort.

And then it’s time to dig in!

A big thank you to Ramona for such a delicious and amazing recipe. Be sure to check out her blog Curry and Comfort for more drool-worthy ideas.


Printable Recipe

BLT Pizza – Bacon Lettuce and Tomato Pizza

See post on Curry and Comfort’s site!
0.00 Mitt(s) 0 Rating(s)0 votes, average: 0.00 out of 50 votes, average: 0.00 out of 50 votes, average: 0.00 out of 50 votes, average: 0.00 out of 50 votes, average: 0.00 out of 5

Prep Time:

Cook Time:

Difficulty: Easy

Servings: 6

6
x

Print Options

Page size Letter 3x5 4x6
Text Size Small Medium Large
Content Include description
Include prep time, etc.
Show image

Description

Taking the classic BLT sandwich and making a fun and fresh pizza.

Ingredients

  • 8 strips Bacon
  • 1 whole (Medium To Large Size) Pizza Crust
  • 4 ounces, weight Chive And Onion Cream Cheese
  • 1 bunch Romaine Lettuce, Shredded
  • ½ pints Grape Tomatoes, Sliced In Half
  • 1 dash Salt And Pepper

Preparation Instructions

Bake your bacon in the oven (see note below) until crispy. While your bacon is baking, you can also crisp up your pizza base. I used this great Afghan bread that makes perfect pizza crust. But any of your favorite pizza bases (pita, naan or tube pizza dough) that are pre-baked and heated are perfectly fine. Once the pizza base is heated (but not too hot), apply the chive and onion cream cheese all over the base.

Next layer on the shredded romaine lettuce, sliced grape tomatoes, salt and pepper and crumbled bacon. Enjoy!
Note: The easiest way to make bacon is to bake it in the oven. You will get perfectly crispy bacon and you don’t have to do anything but let it bake. Preheat your oven to 400ºF. You will need a baking tray and some cooling racks placed on top of it or you can use your broiler pan that is slotted with a drip pan. Lay your bacon across the cooling racks. Place them in the oven for 15 minutes or until the bacon is fully cooked and ready to crumble. The bacon will be crisp, perfectly straight and all the oil will have dripped to the lower tray. I love this method.


_______________________________________

Gaby Dalkin is the young lady behind What’s Gaby Cooking, a food blog that’s bursting at the seams with incredible recipes and food photography. She’s a personal chef and professional recipe developer, and if you follow her on Twitter, you’ll soon discover her two-fold obsession: guacamole and cheese. She has small feet, a large heart, and a smile that can light up the whole building. We’re pretty stoked to have her here.


Profile photo of georgiapellegrini

Fried Green Tomatoes

Posted by in Step-by-Step Recipes

Tasty Kitchen Blog: Fried Green Tomatoes. Guest post by Georgia Pellegrini, recipe submitted by TK member Stephanie of Cookin' Cowgirl.

 
Every September I always have at least a few green tomatoes dangling in the garden. This is always a good thing because while ripe juicy red tomatoes are wonderful, green tomatoes are much more of a delicacy for me and hard to come by any other time of year. This was the perfect time for me to make this Fried Green Tomato recipe by Cookin’ Cowgirl.


Tasty Kitchen Blog: Fried Green Tomatoes. Guest post by Georgia Pellegrini, recipe submitted by TK member Stephanie of Cookin' Cowgirl.

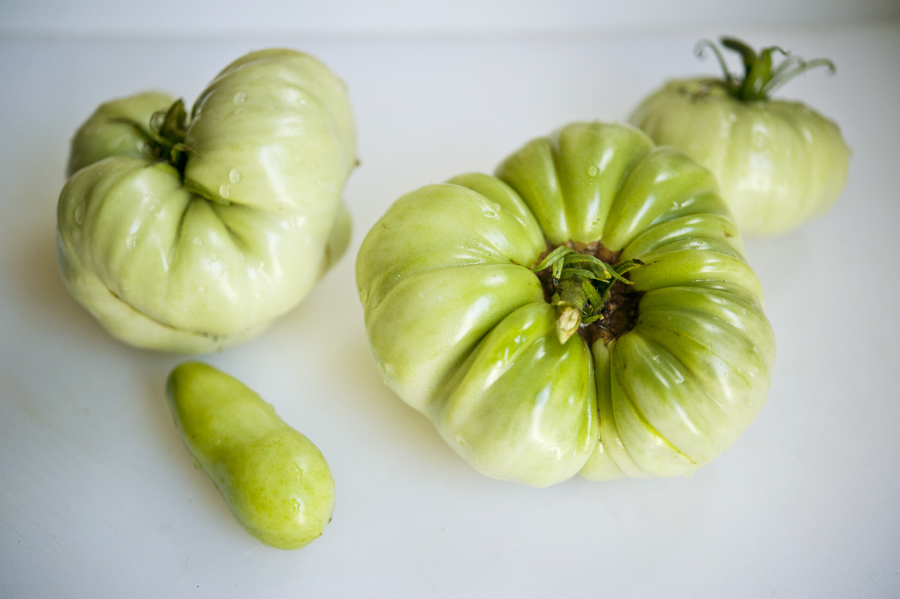
Here are some of the candidates from the garden in various sizes. Strange looking but tasty in their own right. And if you don’t have any in the garden, I bet a neighbor, a farm stand or a farmers market has plenty of them right now. And you know what? I have even done this with ripe tomatoes and they’re wonderful too.


Tasty Kitchen Blog: Fried Green Tomatoes. Guest post by Georgia Pellegrini, recipe submitted by TK member Stephanie of Cookin' Cowgirl.

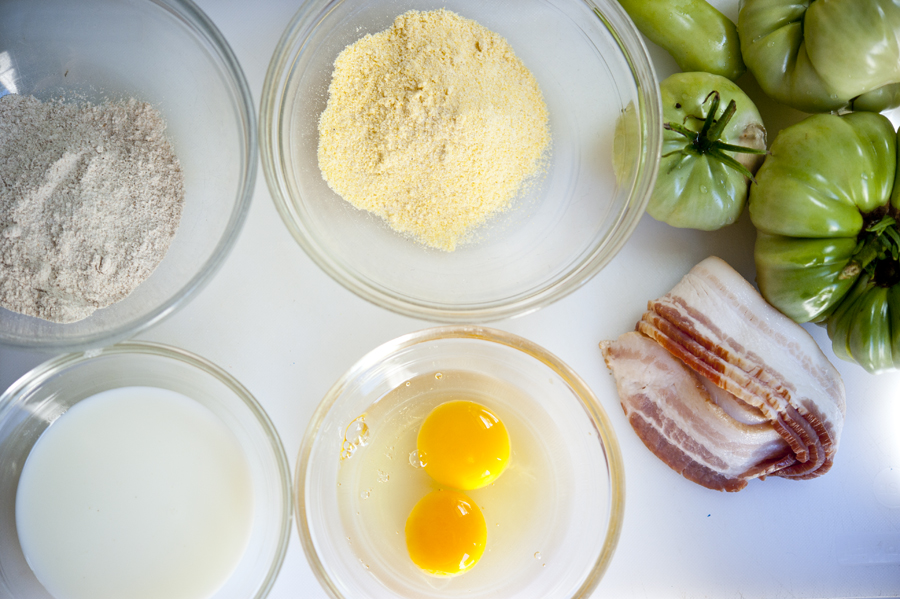
And here is what you’ll need to bread them well: eggs, milk, flour, cornmeal and bacon!


Tasty Kitchen Blog: Fried Green Tomatoes. Guest post by Georgia Pellegrini, recipe submitted by TK member Stephanie of Cookin' Cowgirl.

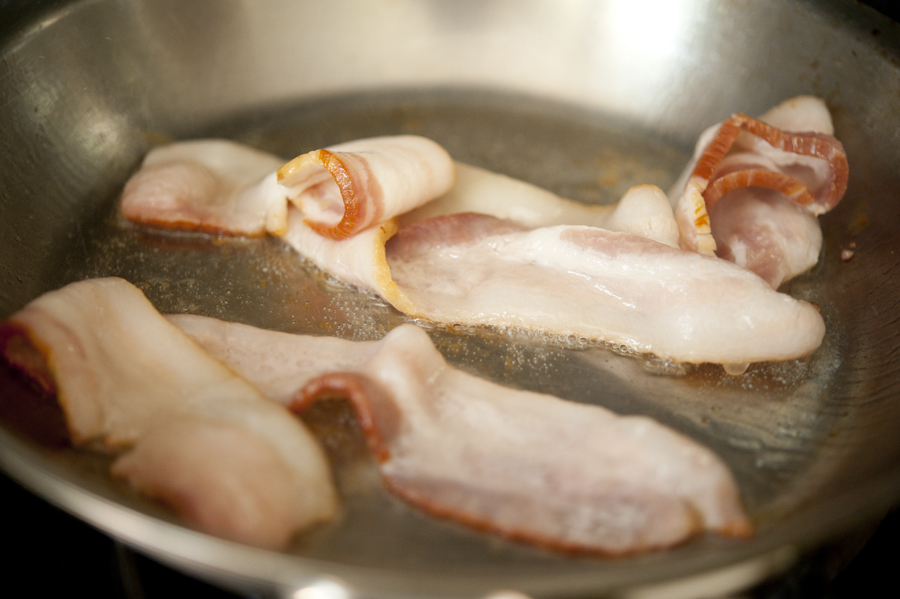
First, render the bacon slowly over low heat in order to release the fat. The fat is what you want to save in order to fry the tomatoes. It gives it that extra special je ne sai quois that only bacon can give. But if you don’t have bacon or want to save time, you could use grape seed or vegetable oil just as easily.


Tasty Kitchen Blog: Fried Green Tomatoes. Guest post by Georgia Pellegrini, recipe submitted by TK member Stephanie of Cookin' Cowgirl.

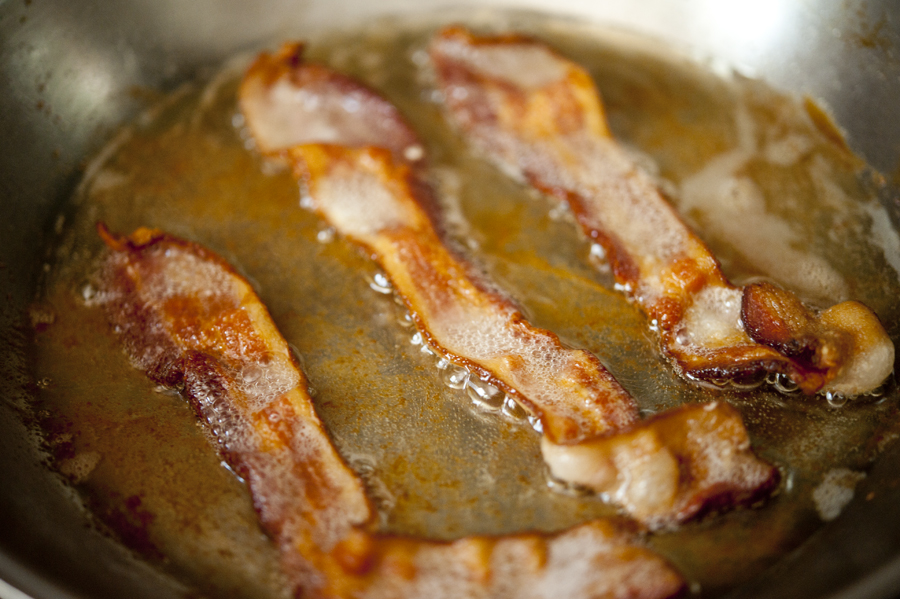
The bacon will look like this when it has fully rendered. Remove it from the fat with a fork and set it aside on some paper towels. Then eat it at your leisure! Turn off the heat and let the fat sit in the pan while you prep the tomatoes.


Tasty Kitchen Blog: Fried Green Tomatoes. Guest post by Georgia Pellegrini, recipe submitted by TK member Stephanie of Cookin' Cowgirl.

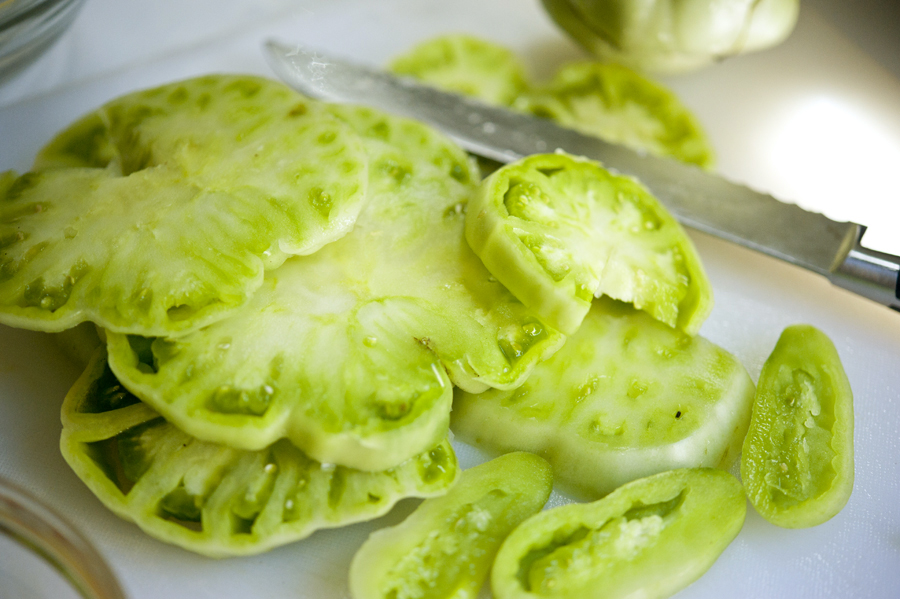
Slice the tomatoes horizontally in 1/4 –inch thick slices…


Tasty Kitchen Blog: Fried Green Tomatoes. Guest post by Georgia Pellegrini, recipe submitted by TK member Stephanie of Cookin' Cowgirl.

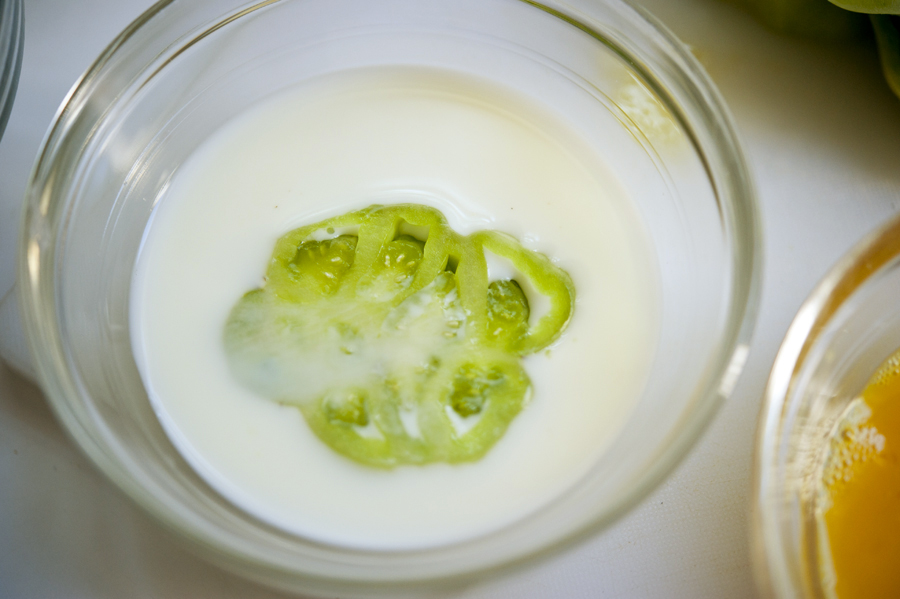
Drop the tomato slices one at a time, first in the milk …


Tasty Kitchen Blog: Fried Green Tomatoes. Guest post by Georgia Pellegrini, recipe submitted by TK member Stephanie of Cookin' Cowgirl.

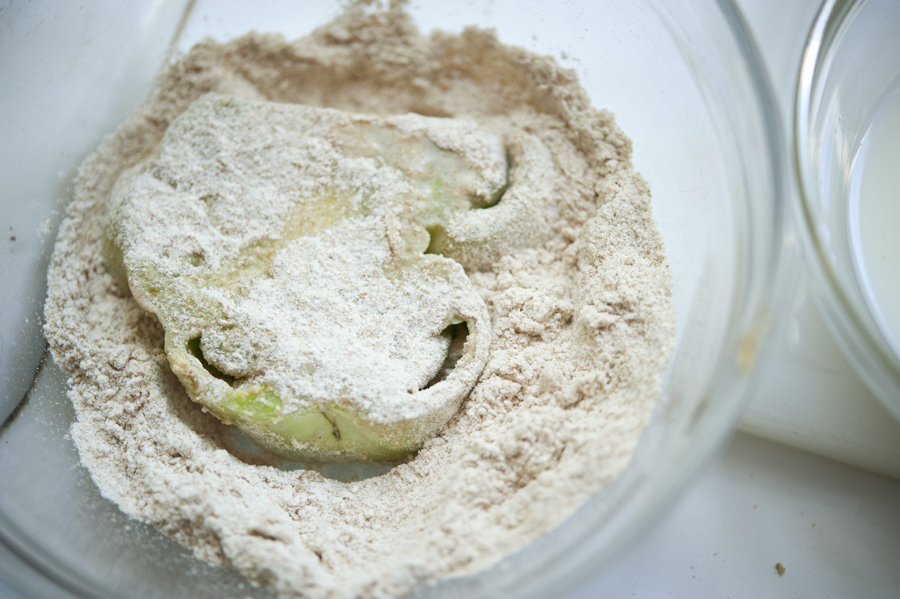
Then in the flour …


Tasty Kitchen Blog: Fried Green Tomatoes. Guest post by Georgia Pellegrini, recipe submitted by TK member Stephanie of Cookin' Cowgirl.

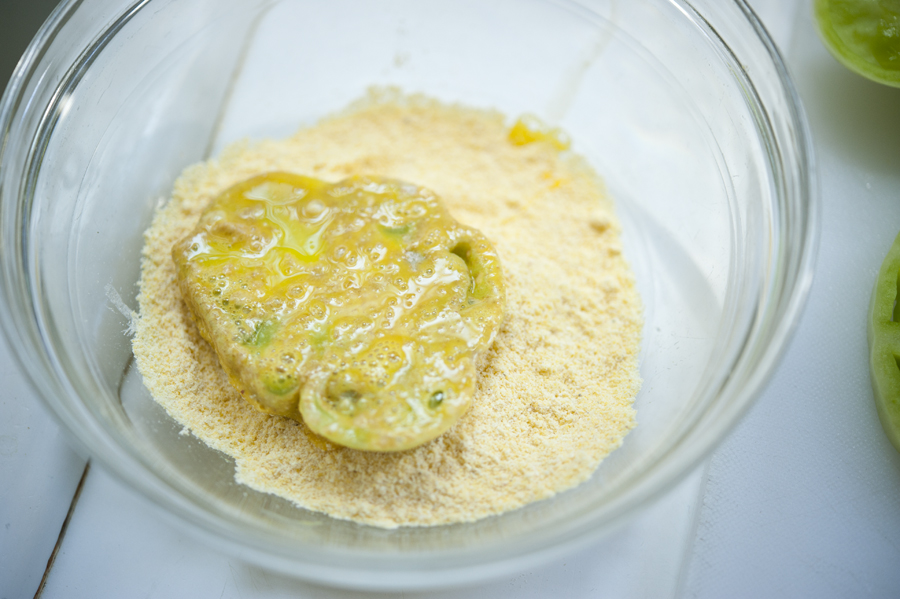
Then in the beaten eggs, then in the cornmeal.


Tasty Kitchen Blog: Fried Green Tomatoes. Guest post by Georgia Pellegrini, recipe submitted by TK member Stephanie of Cookin' Cowgirl.

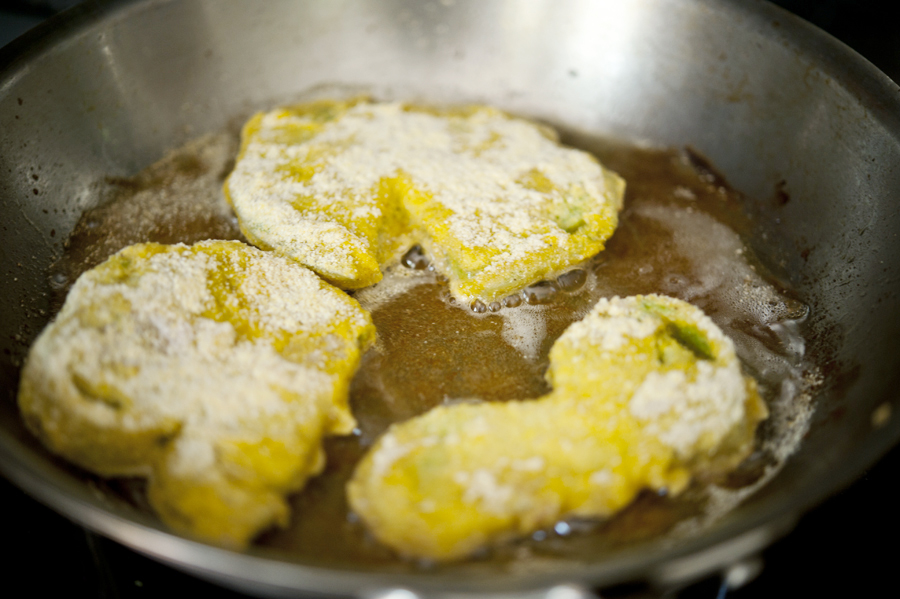
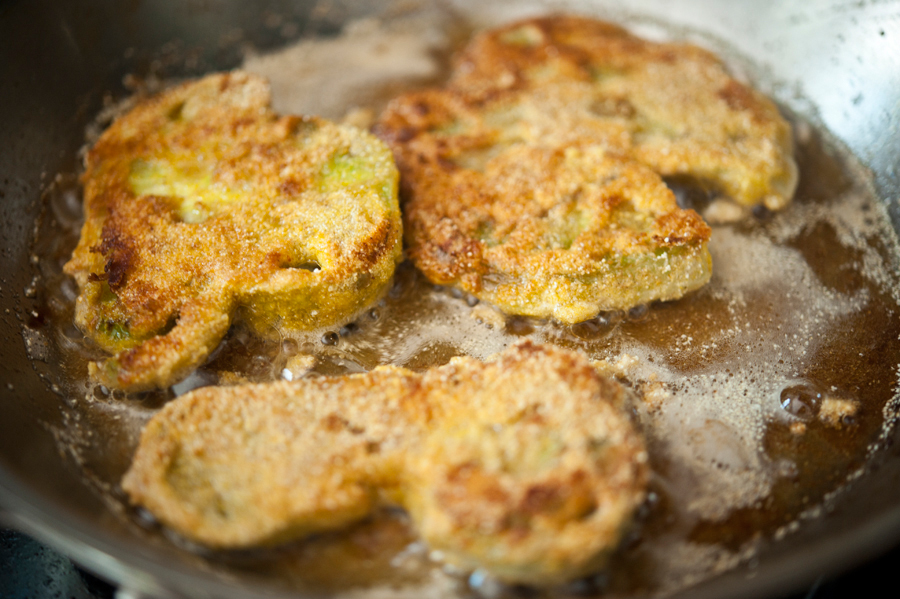
Over medium heat, fry the tomatoes in the bacon fat until brown on one side…


Tasty Kitchen Blog: Fried Green Tomatoes. Guest post by Georgia Pellegrini, recipe submitted by TK member Stephanie of Cookin' Cowgirl.

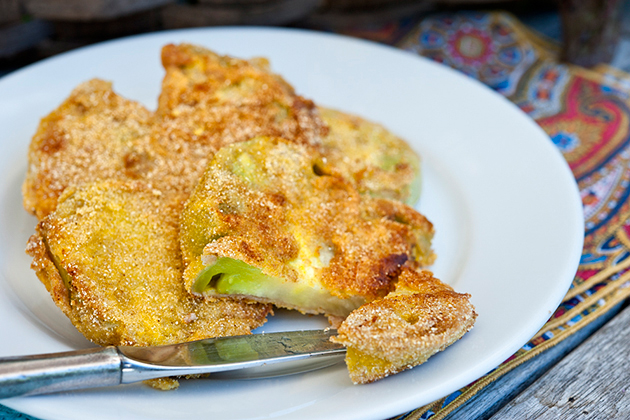
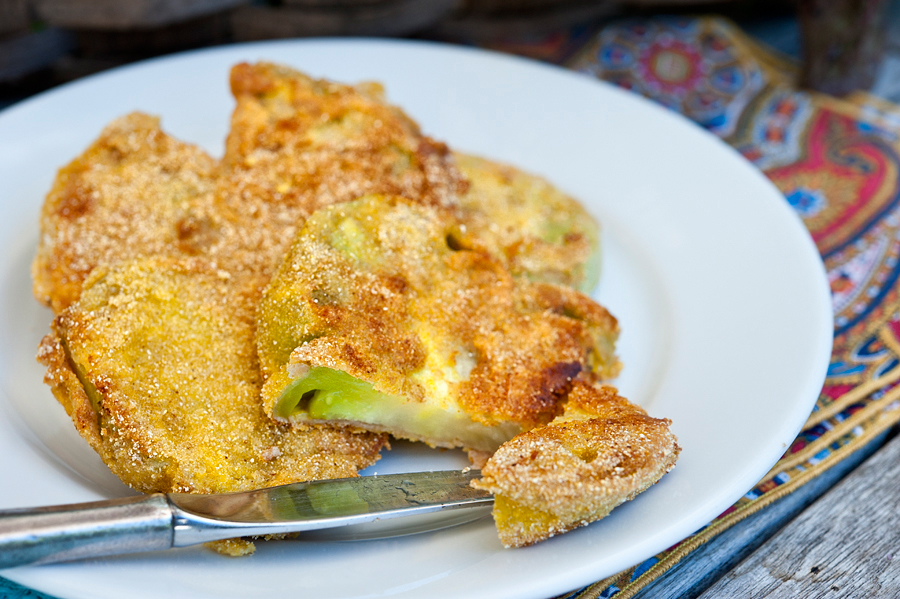
Then flip and brown on the other side. You may need to do it in batches, removing them from the pan and laying them on paper towels and giving them a good sprinkle of salt and pepper to help keep them crisp.


Tasty Kitchen Blog: Fried Green Tomatoes. Guest post by Georgia Pellegrini, recipe submitted by TK member Stephanie of Cookin' Cowgirl.

And there you have it! It’s just that simple and easy. This is a beautiful and tasty way to end the summer. Thanks so much to Stephanie for sharing this recipe and inspiration! And be sure to check out her website, Cookin’ Cowgirl, for other great recipes.


Printable Recipe

Fried Green Tomatoes

See post on Cookin Cowgirl’s site!
5.00 Mitt(s) 1 Rating(s)1 vote, average: 5.00 out of 51 vote, average: 5.00 out of 51 vote, average: 5.00 out of 51 vote, average: 5.00 out of 51 vote, average: 5.00 out of 5

Prep Time:

Cook Time:

Difficulty: Easy

Servings: 8

8
x

Print Options

Page size Letter 3x5 4x6
Text Size Small Medium Large
Content Include description
Include prep time, etc.
Show image

Description

A Southern classic, done the right way.

Ingredients

  • 2 whole Medium, Firm Green Tomatoes
  • 1 pound Turkey Bacon
  • 1 cup Vegetable Oil, Optional
  • ½ cups Milk
  • ½ cups Whole Wheat Flour
  • 1 teaspoon Salt
  • ½ teaspoons Pepper
  • ½ teaspoons Optional Seasoning
  • 3 whole Eggs, Beaten
  • ½ cups Cornmeal

Preparation Instructions

Use a mandoline to slice each tomato into eight 1/4-inch thick slices. Cook bacon in a cast iron skillet. Remove bacon and leave grease in the pan. Add additional oil if necessary and heat to medium.

Meanwhile, set up breading station using 4 shallow dishes. Put milk in the first; flour, salt, pepper and seasoning in the second; eggs in the third; cornmeal in the fourth. Dip a tomato slice in the milk, then the flour mixture, then the egg, then the cornmeal. Fry tomato slices for 2 minutes on each side. If they are browning too quickly, turn the heat down. They will need about 4 minutes total for the tomato to become slightly softened on the inside. Repeat with all tomato slices. Remove tomatoes and drain on a paper towel-covered plate. Serve warm.

Makes 16 slices.


_______________________________________

There’s so much to say about Georgia, we don’t know where to start. Leaving Wall Street for the French Culinary Institute, followed by a stint at the Gramercy Tavern and La Chassagnette in France, her passion for food and food traditions are evident and inspiring. Visit her site at Georgia Pellegrini, where you’ll find more recipes, photos, learn all about her wonderful book Food Heroes, and enjoy her latest adventures.


Profile photo of EatLiveRun

The Yummiest Peach Cobbler

Posted by in Baking, Step-by-Step Recipes

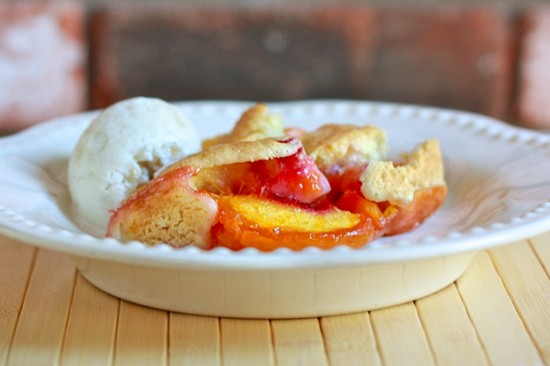
I may be a chocolate girl, but peaches will always have my heart. They bring me back to my true Southern roots! And though I love a good slice of gooey chocolate cake like the rest of them, if given the choice I will always choose peach cobbler for dessert. Sweet, juicy peaches topped with sweet biscuits and served with vanilla ice cream. It doesn’t really get…

Profile photo of Natalie | Perry's Plate

Ice Cream in a Bag

Posted by in Step-by-Step Recipes

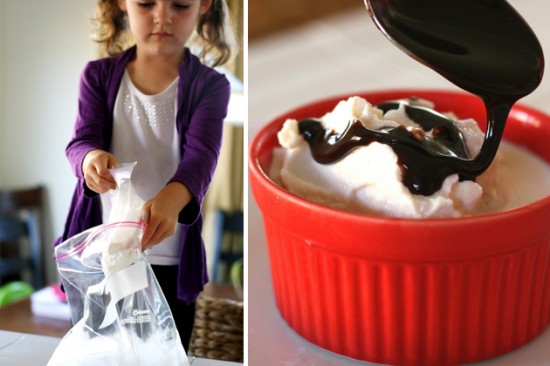
  Really quick ice cream. Like, zero to sweet, frozen goodness in under 15 minutes. NOT too good to be true! When I saw Ice Cream in a Bag by Tasty Kitchen member whatthedogate (Donna) I wondered why I had never tried this before. I thought it might be a fun project to do with […]

Profile photo of A Cozy Kitchen

Best Carrot Cake of All Time

Posted by in Baking, Step-by-Step Recipes

There’s plenty of reasons -to make this carrot cake. Like its appropriate title, this was in fact the best carrot cake I’ve had to date. Big-ups to TK member Katy and Christin (kpurwin) of Young and Hungry (who adapted it from Southern Living) for providing us with such an honest and delightful recipe.

Profile photo of twopeasandtheirpod

Basil Butter Garlic Bread

Posted by in Step-by-Step Recipes

I am always looking for new ways to use up our basil, so when I saw Jenna's recipe (TK member kitchenlovenest) for Basil Butter Garlic Bread, I knew I had to try it. I love regular garlic bread and this version looked even better. The garlic bread gets jazzed up with basil butter and Parmesan cheese.