I love a lot of things about summer: vacations, swimming, picnics in the park, going to the farmers market, etc. But my absolute favorite thing has to be watermelon. I love watermelon. I eat it almost every day during the summer and I never get sick of it. There is nothing better than cutting into a big, juicy, red watermelon. It is the perfect cool-down treat.
I enjoy eating watermelon plain but when I saw Bev Weidner’s recipe for Watermelon Spritzers with Honey and Lemon, I knew I had to save some of our watermelon to make these pretty drinks.
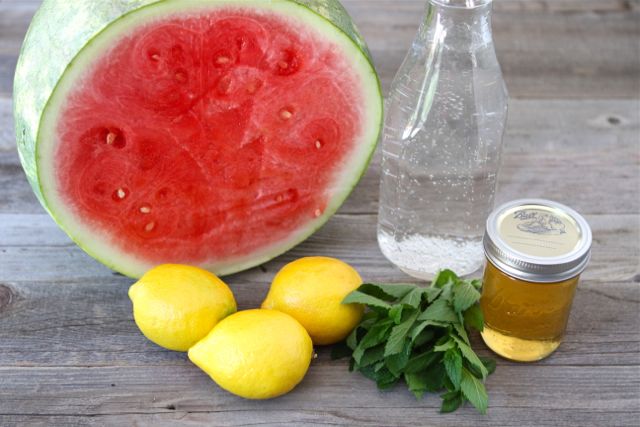
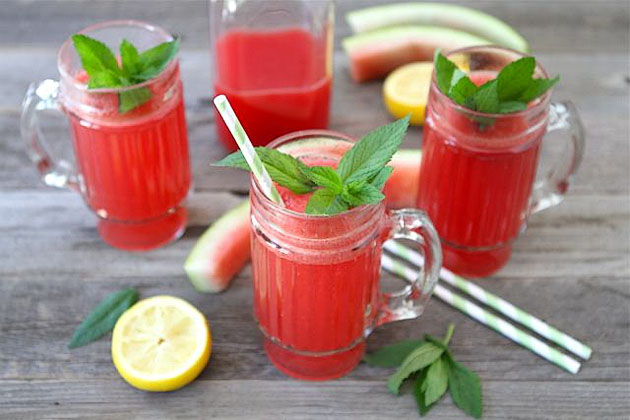
To make the watermelon spritzers, you will need: watermelon, lemons, honey, seltzer water, and fresh mint or lemon balm. We used mint because we have a forest of mint growing in our backyard!
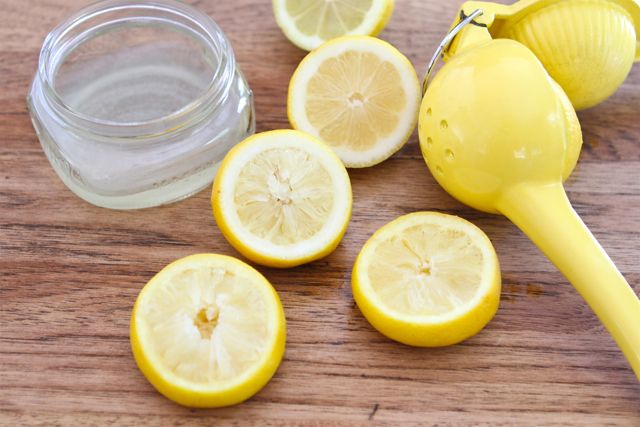
First, juice the lemons.
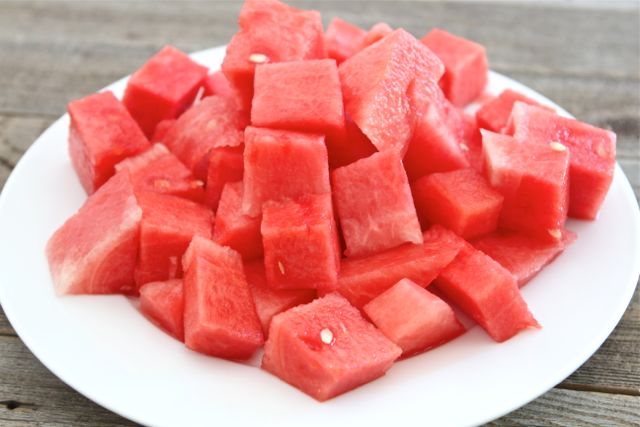
Next, cut up the watermelon into chunks.
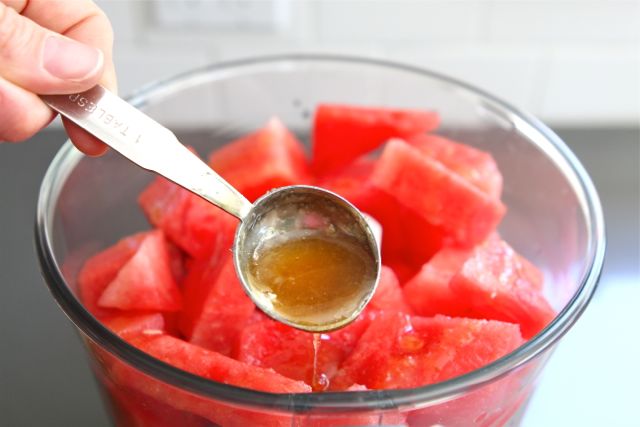
Place the watermelon, lemon juice and honey into a food processor.
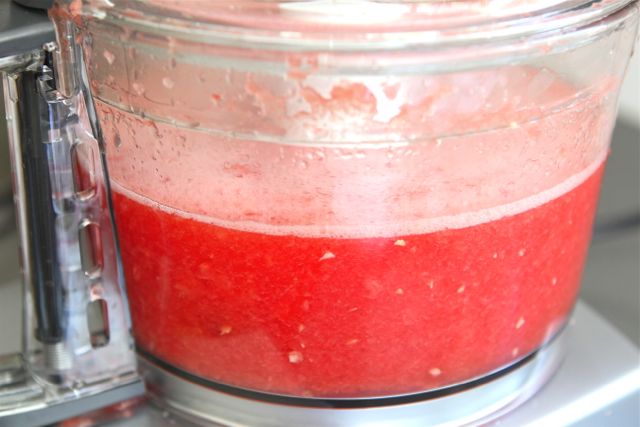
Process all of the ingredients together until smooth.
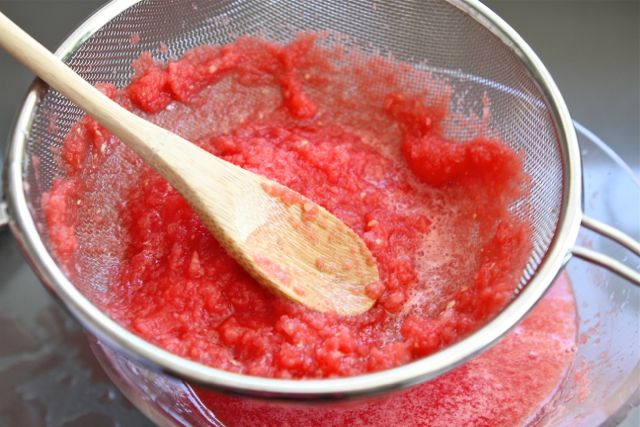
Strain the mixture into a large bowl, pressing the juice out of any seeds or pulp that remains in the strainer.
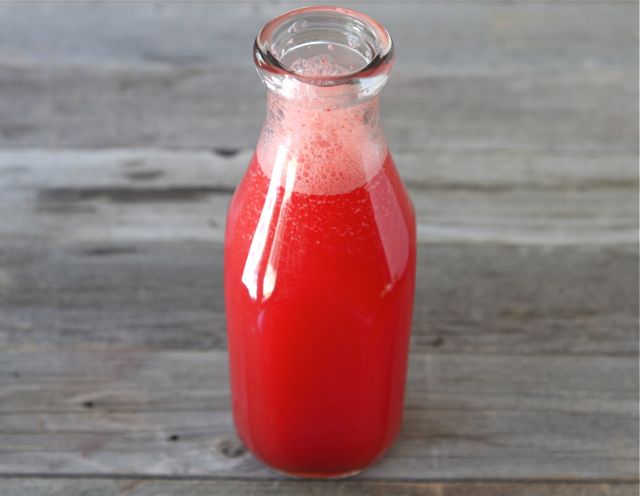
Pour the juice into a large pitcher and chill until you’re ready to drink.

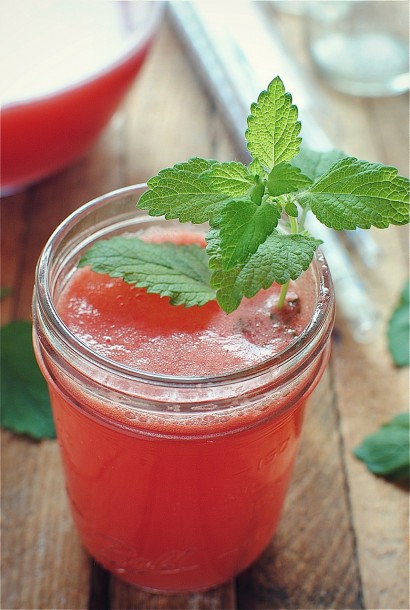
Serve with a splash of seltzer water and mint or lemon balm.
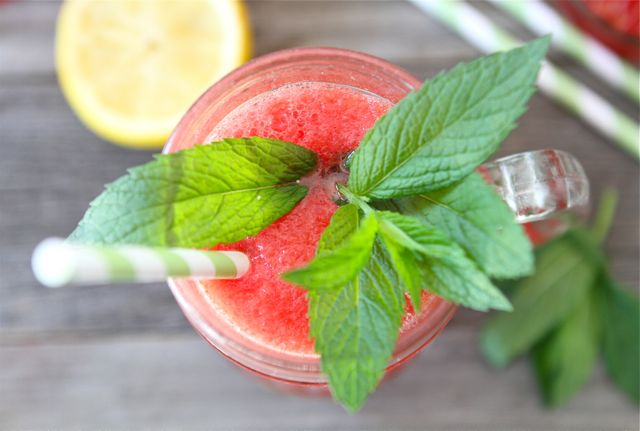
Sip away!
If you are looking for an easy and refreshing summer drink, you have to try these. They are perfect for summer barbecues, pool parties, or everyday sipping. They are family-friendly, but if you want to get a little crazy, you can add a little alcohol to the mix. Adults only though!
I love serving thesen. They are simple to make and I love the bright color. Plus, our guests always ask for the recipe. They want in on the drink of the summer! Well, good thing the recipe is not a secret! Thanks Bev for sharing your fabulous drink recipe! Watermelon Spritzers are going to be flowing at our house all summer long. Make sure you visit Bev’s blog, Bev Cooks, for other fresh, simple, and tasty recipes. Cheers!
Printable Recipe

Print Options
Description
Make these as is, or add some alcohol! Yeah, do that.
Ingredients
- 2-½ pounds Fresh Watermelon (seedless If You Can Find It), Rind Removed And Cut Into Cubes
- 3 whole Lemons (seedless If You Can Find It), Juiced
- 2 Tablespoons Honey
- 2 cups Chilled Seltzer Water (more Or Less)
- 6 sprigs Lemon Balm Or Mint, For Garnish (optional!)
Preparation Instructions
Place the watermelon, lemon juice and honey into a food processor. Process until smooth.
Strain the mixture into a large bowl, pressing the juice out of any seeds or pulp that remains in the strainer.
Pour the juice into a large pitcher and chill until you’re ready to drink.
Serve with a splash of seltzer water and lemon balm or mint, if using.
_______________________________________
Maria and her husband Josh (who she affectionately refers to as her “dough boy”) blog at Two Peas and Their Pod. They’ve been featured on Saveur, Eatocracy, Gourmet Live, Glamour, and the Los Angeles Times, to name just a few. They’d also just recently added a little pea to their pod. We’re so glad to have them here!