Every December I bake dozens and dozens of holiday cookies to share with family and friends. This year I wanted to add something new to our holiday goodies and was stumped on what to make. So I turned to Tasty Kitchen for help. Warning: do not browse Tasty Kitchen while hungry, you will be bummed when you realize you can only look at the delicious recipes and not taste them. (Just a little FYI.) I bookmarked several recipes to try, but this Chocolate Nutella & Sea Salt Fudge from Dara (Tasty Kitchen member and blog contributor cookincanuck) was at the top of my list. I had all of the ingredients to make the fudge, so I turned on the Christmas tunes and got started.
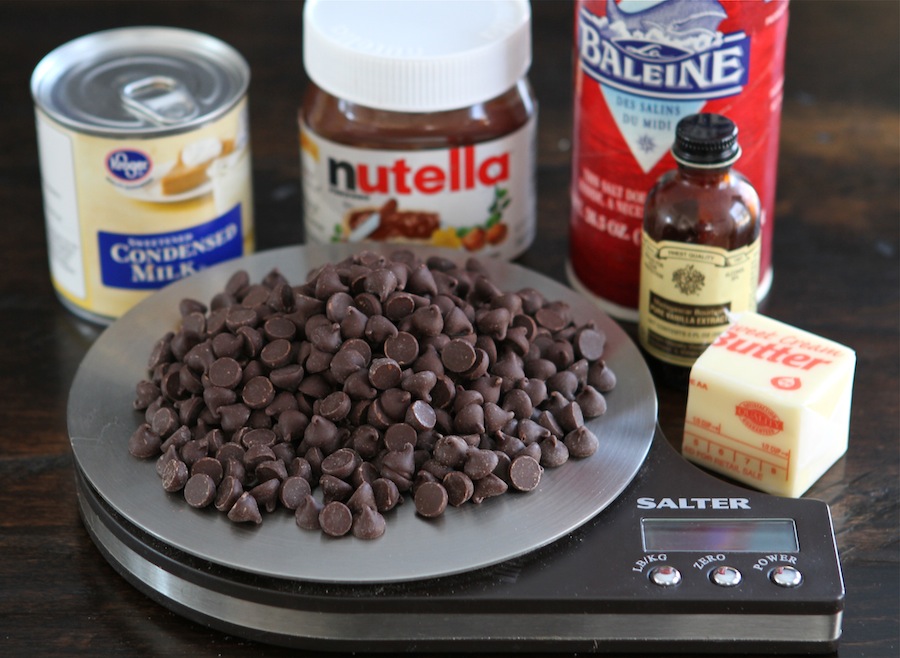
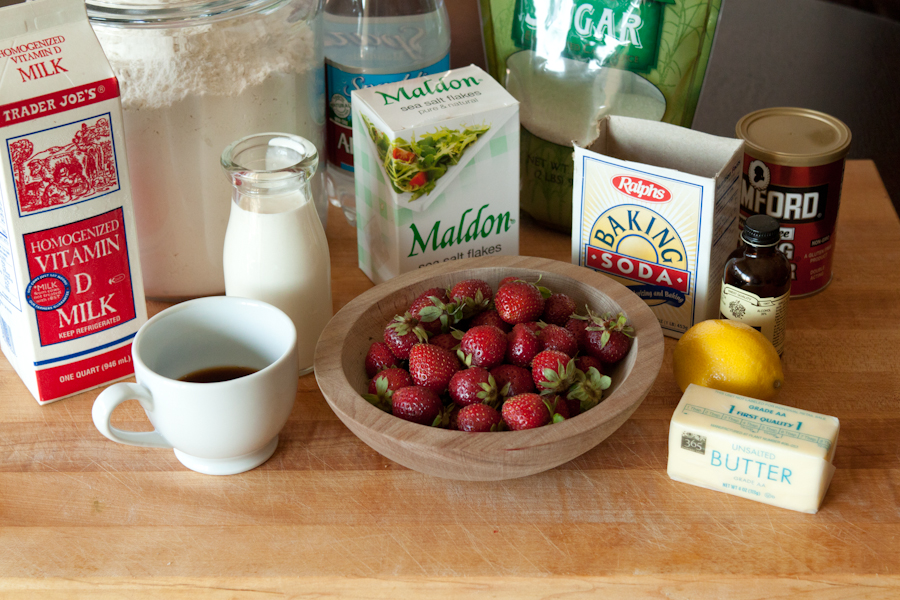
To make this you will need the following ingredients: butter, sweetened condensed milk, vanilla extract, chocolate, Nutella, and sea salt.
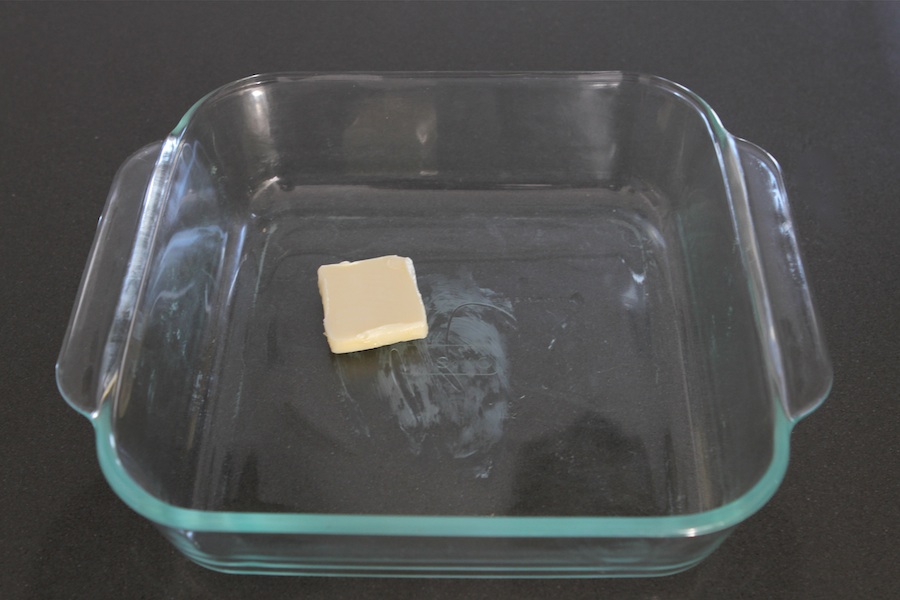
Grease the bottom and sides of an 8- by 8-inch baking pan with butter.
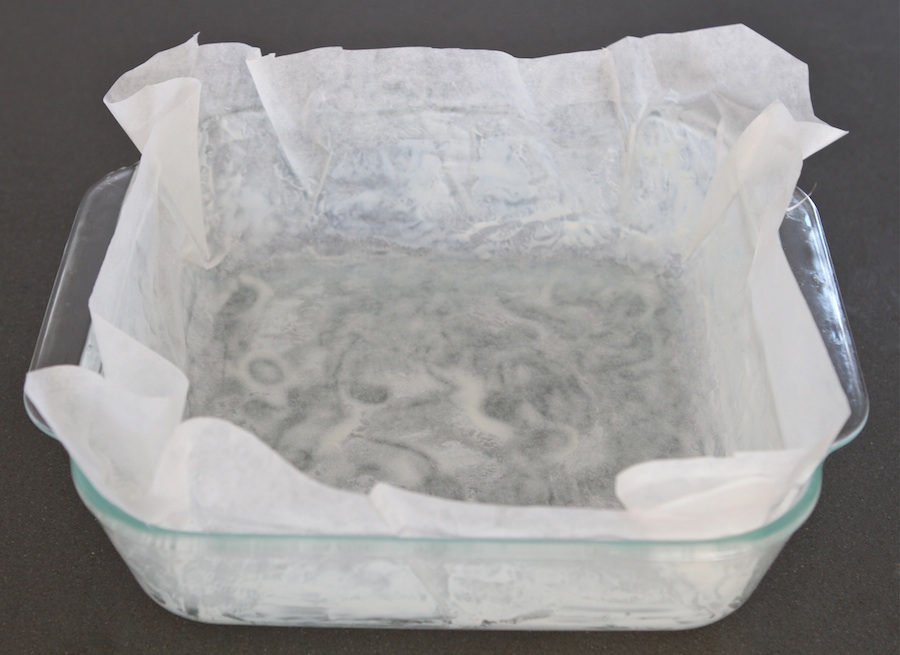
Line the pan with parchment paper, leaving a 2-inch overlap on the sides.
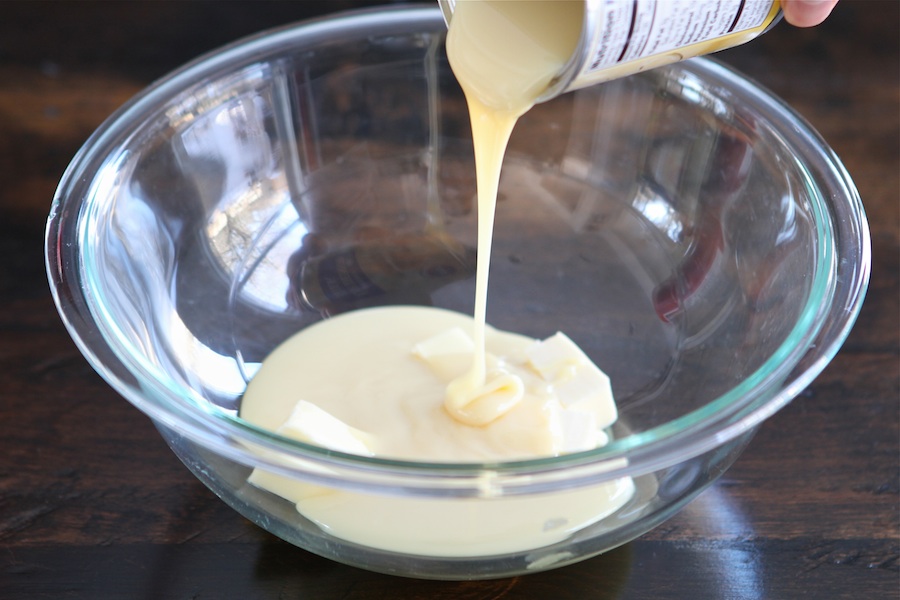
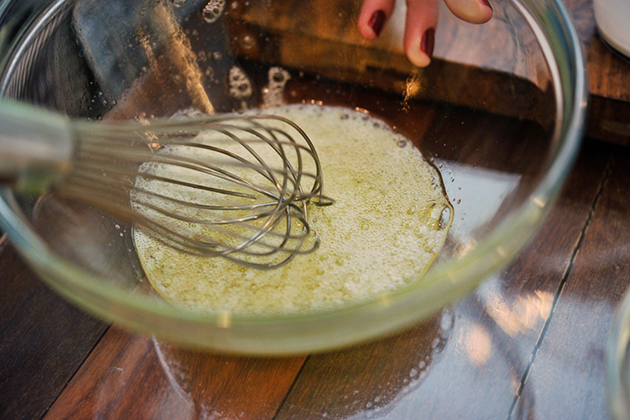
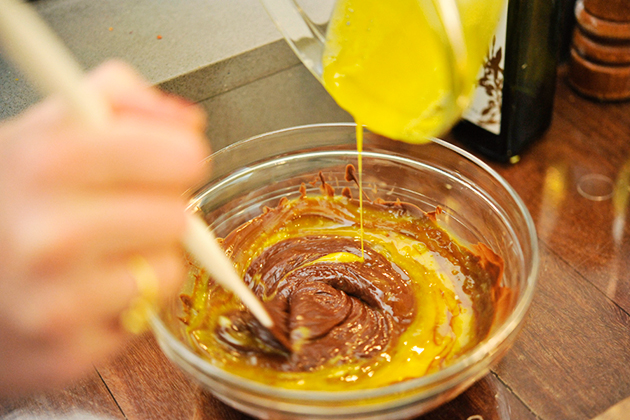
In a medium glass or stainless steel bowl, combine butter and sweetened condensed milk.
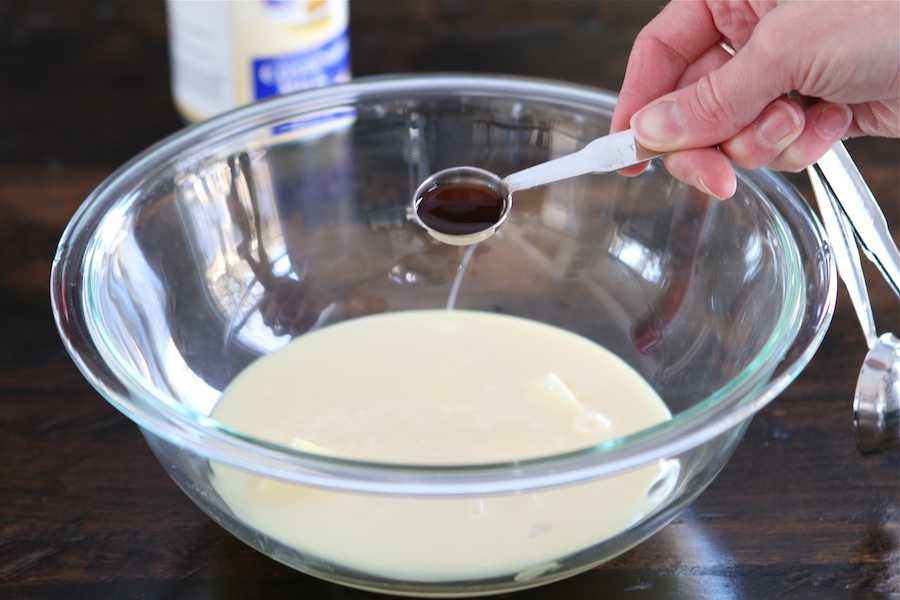
Add the vanilla extract.
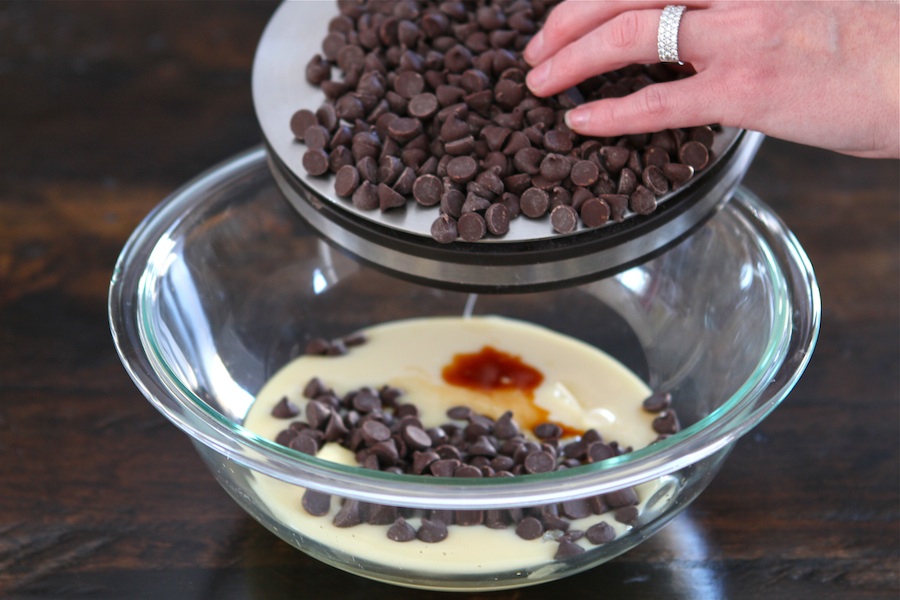
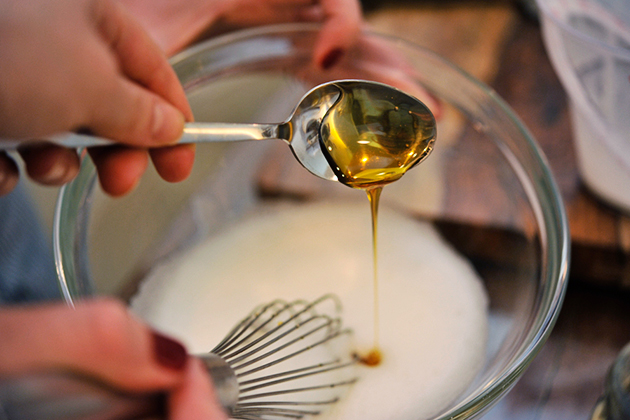
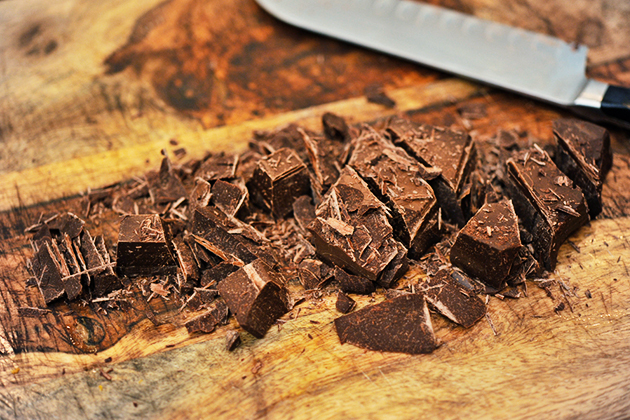
Add the chocolate chips.
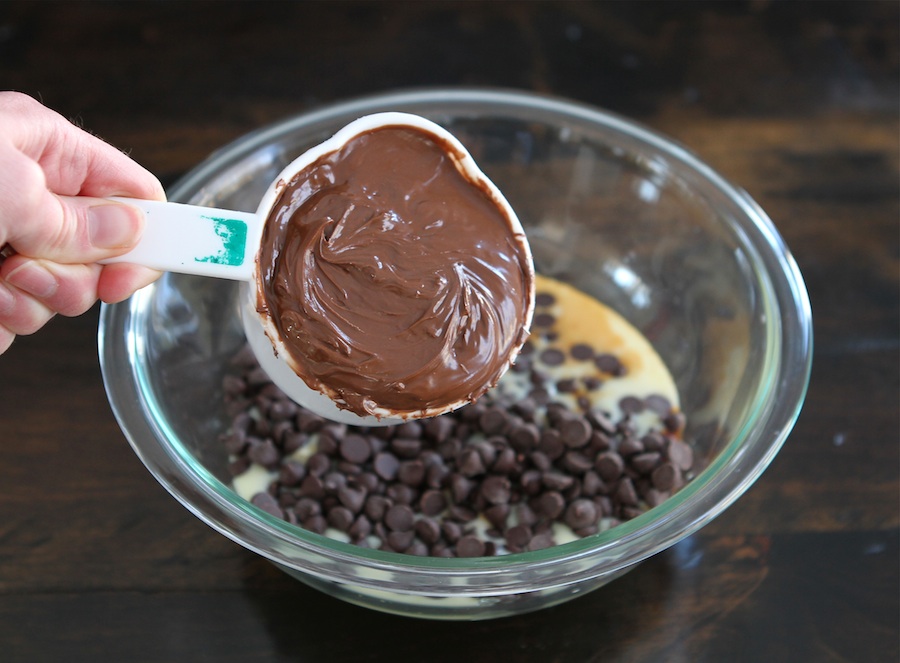
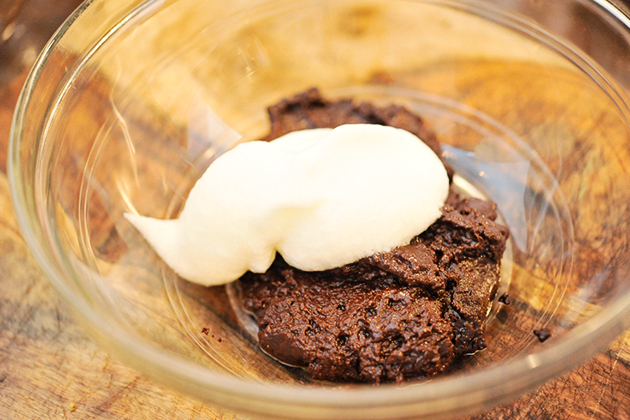
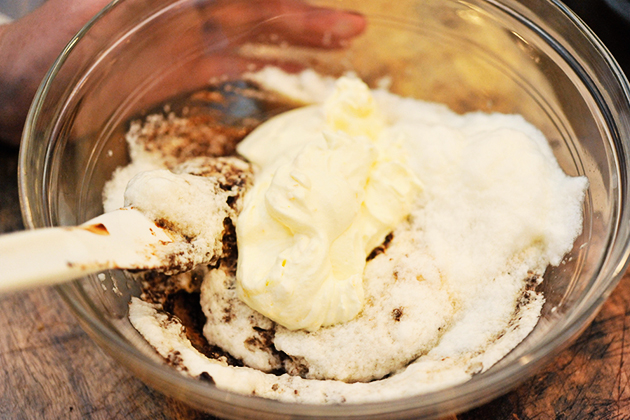
And finally, the Nutella.
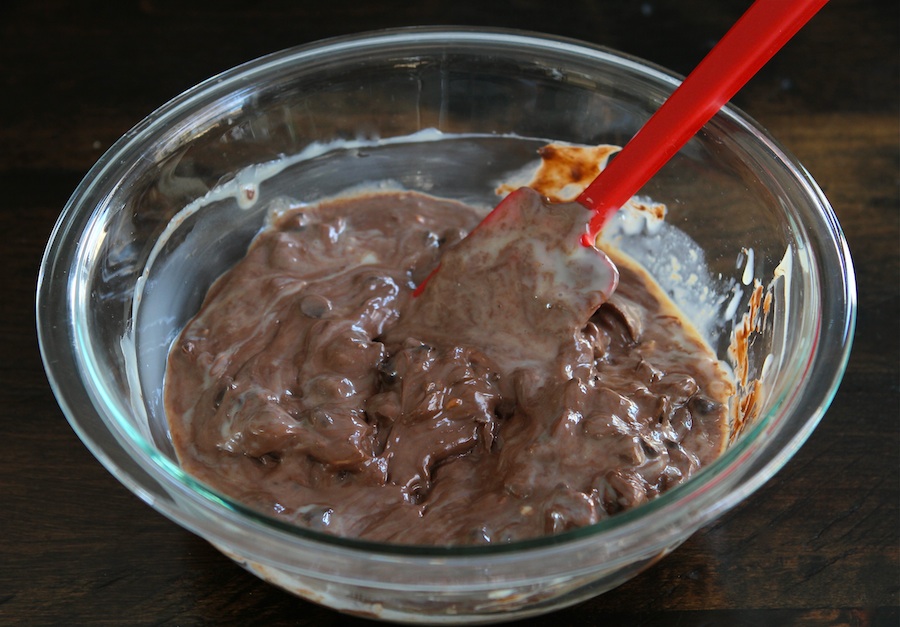
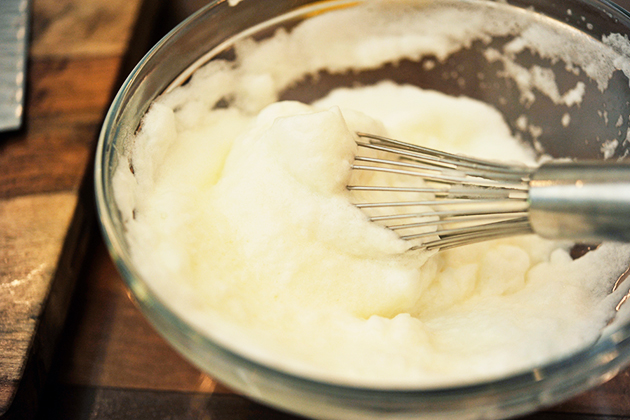
Stir all of the ingredients together. The mixture will be very thick.
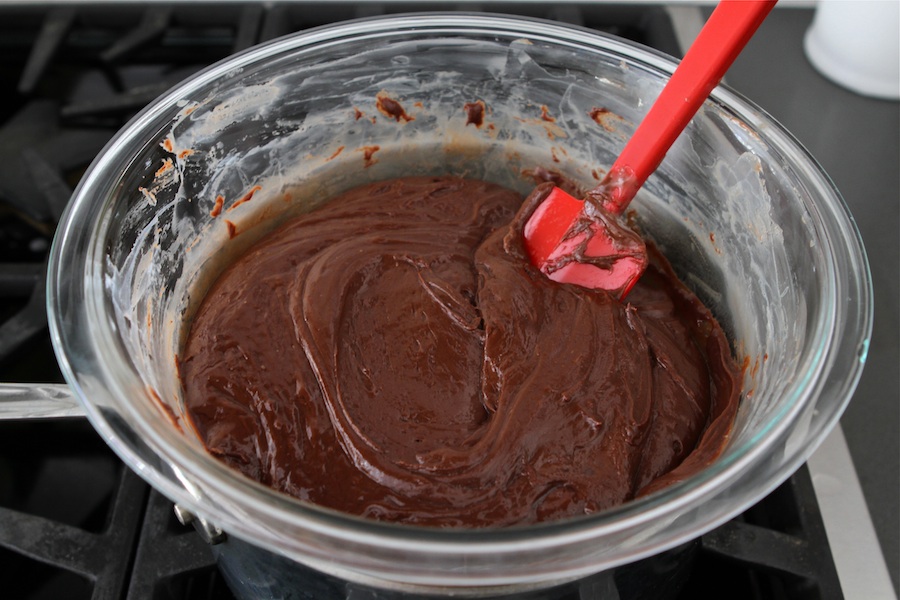
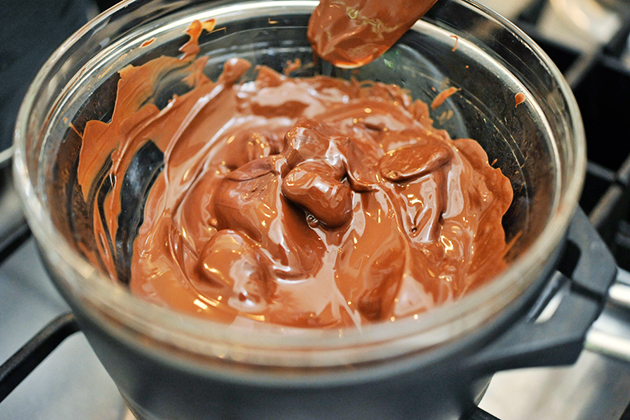
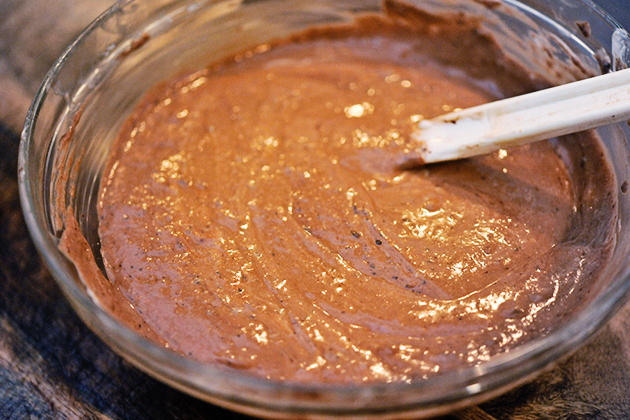
Create a double-broiler by setting the bowl over a medium pot of simmering water. Stir until the chocolate chips are melted and the mixture is smooth, about 5 to 7 minutes.
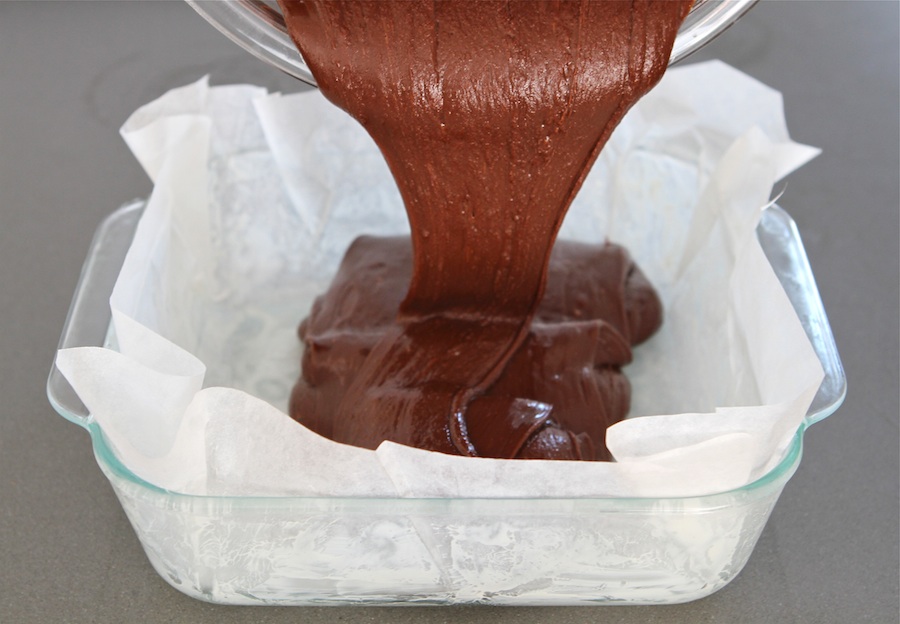
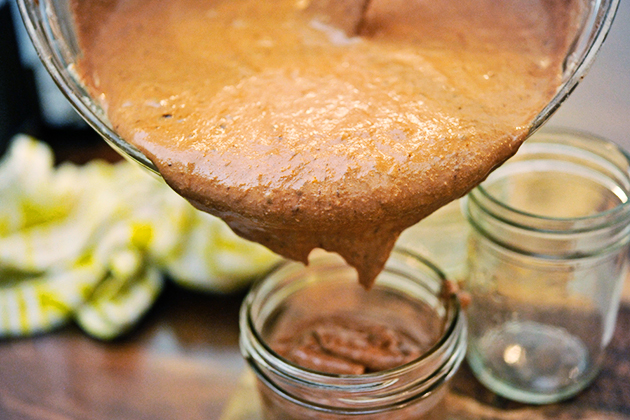
Scrape the mixture into the prepared pan and spread the top smooth with a spatula.
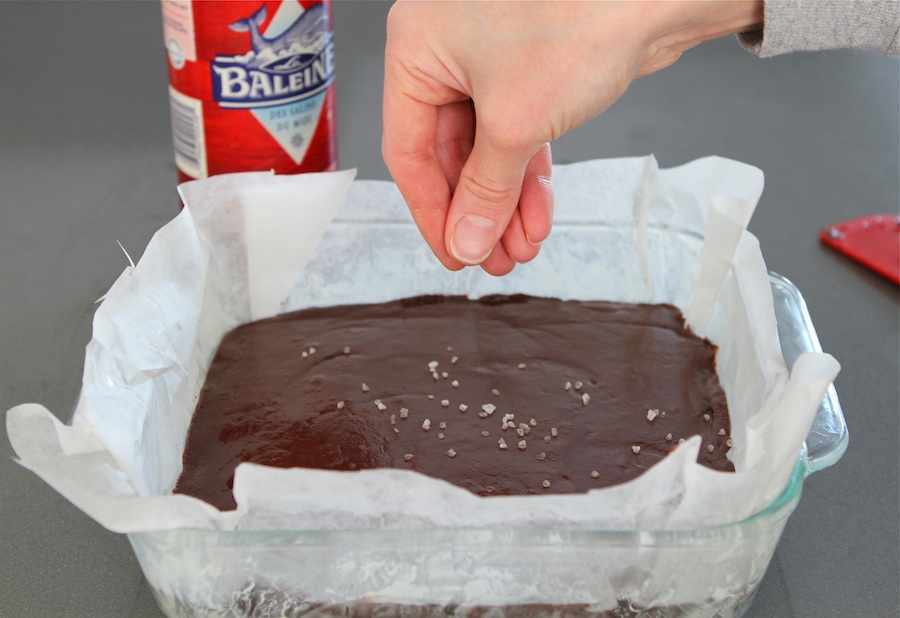
Sprinkle the fudge with sea salt. Refrigerate until the fudge is firm, at least 2 hours.
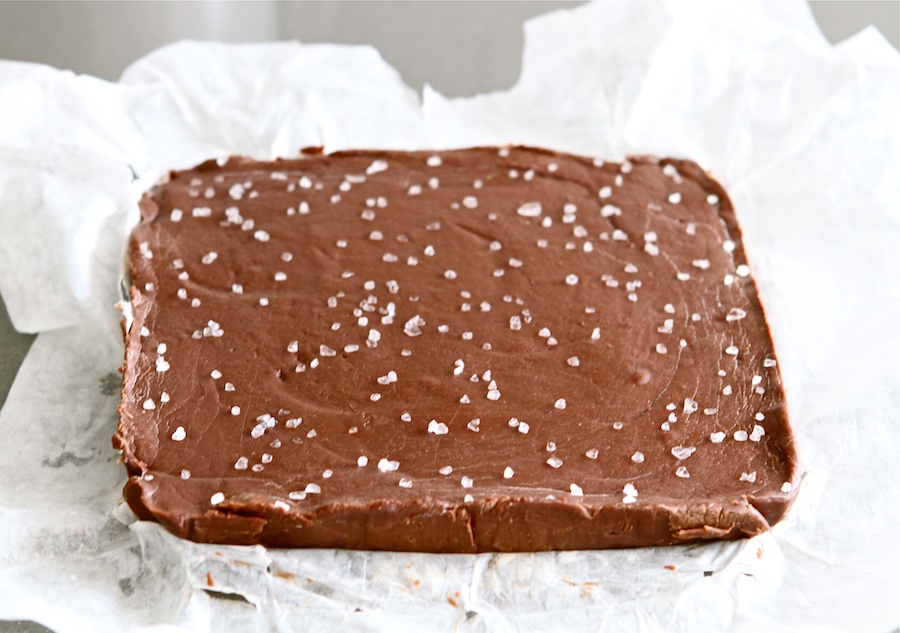
Once the fudge is chilled, run a knife under hot water, dry it off, and run it around the edges of the pan to loosen the fudge. Using the overhanging parchment paper, lift the fudge out. Peel off the parchment paper.
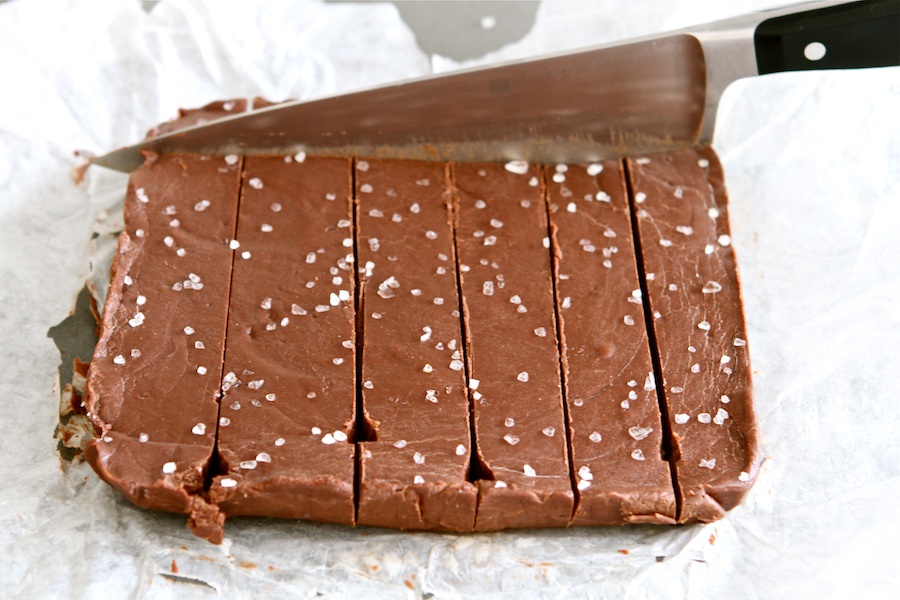
Cut the fudge into 3/4-inch squares. Store in the refrigerator in an airtight container or wrapped well in plastic wrap and foil.
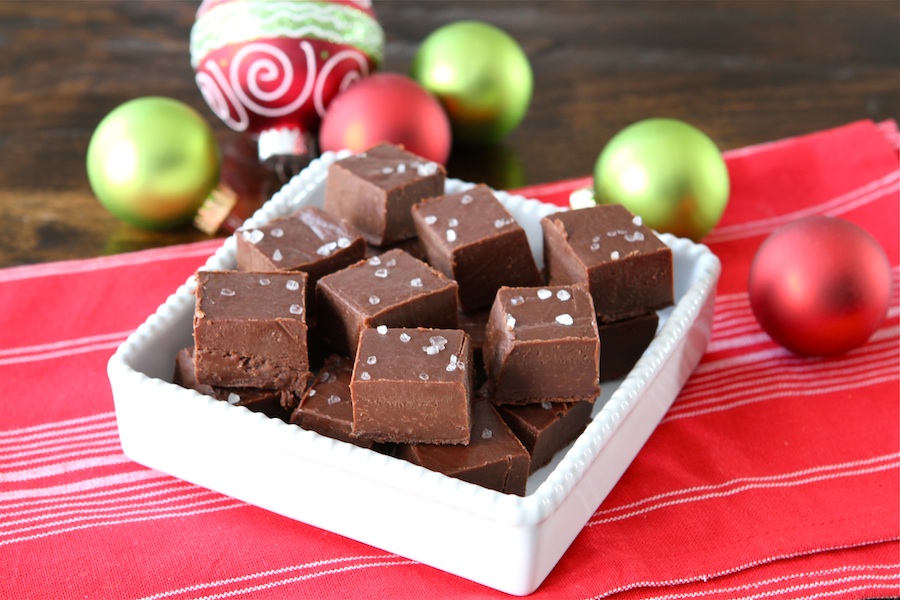
I am obsessed with this fudge! It is super easy to make and is perfect for gift giving. Luckily, it is the holiday season and I am feeling generous to share or I would hide with a tin of this fudge and eat it all by myself. The fudge is rich and creamy with a slightly nutty flavor from the Nutella. And I love, love, love the kick of sea salt. If you are looking for a new holiday treat to make this year, make this Chocolate Nutella & Sea Salt Fudge. It is divine. Thanks Dara for sharing your recipe! I know I will be making your fudge every holiday season. Visit Dara’s food blog, Cookin Canuck, for other tasty recipes, fabulous food photography, and wonderful writing. Happy Holidays!
Printable Recipe


Print Options
Description
This is the fudge that you will dream about as you plunge into your New Year’s resolution salads. Chocolate, Nutella and sea salt come together to form a treat that is creamy, sweet, and slightly nutty. Better yet, this recipe comes together in a flash, perfect for the hustle and bustle of the season.
Ingredients
- 1 Tablespoon Butter, For Greasing Pan
- 1 can (14 Oz) Sweetened Condensed Milk
- 1 teaspoon Vanilla Extract
- 8 ounces, weight High-quality Bittersweet (60%) Chocolate Chips
- 1 cup Nutella (chocolate-hazelnut Spread), Room Temperature
- 3 Tablespoons Unsalted Butter, Room Temperature, Cut Into 1/2-inch Pieces
- ½ teaspoons (approximately) Sea Salt
Preparation Instructions
Grease the bottom and sides of an 8- by 8-inch baking pan with butter. Line the pan with parchment paper, leaving a 2-inch overlap on the sides.
In a medium glass or stainless steel bowl, stir together sweetened condensed milk, vanilla, bittersweet chocolate chips, Nutella, and butter.
Form a double-boiler by setting the bowl over a medium pot of gently simmering water. The water level should be low enough that the bottom of the bowl does not touch the water. Stir until the chocolate chips are melted and the mixture is smooth, 5 to 7 minutes.
Scrape the mixture into the prepared pan, spread the top smooth with a spatula, and sprinkle with sea salt. Refrigerate until the fudge is firm, at least 2 hours.
Once the fudge is chilled, run a knife under hot water, dry it off, and run it around the edges of the pan to loosen the fudge. Using the overhanging parchment paper, lift the fudge out. Peel off the parchment paper. Cut the fudge into 3/4-inch squares. Store in the refrigerator in an airtight container or wrapped well in plastic wrap and foil.
_______________________________________
Maria and her husband Josh (who she affectionately refers to as her “dough boy”) blog at Two Peas and Their Pod. They’ve been featured on Saveur, Eatocracy, Gourmet Live, Glamour, and the Los Angeles Times, to name just a few. They’d also just recently added a little pea to their pod. We’re so glad to have them here!