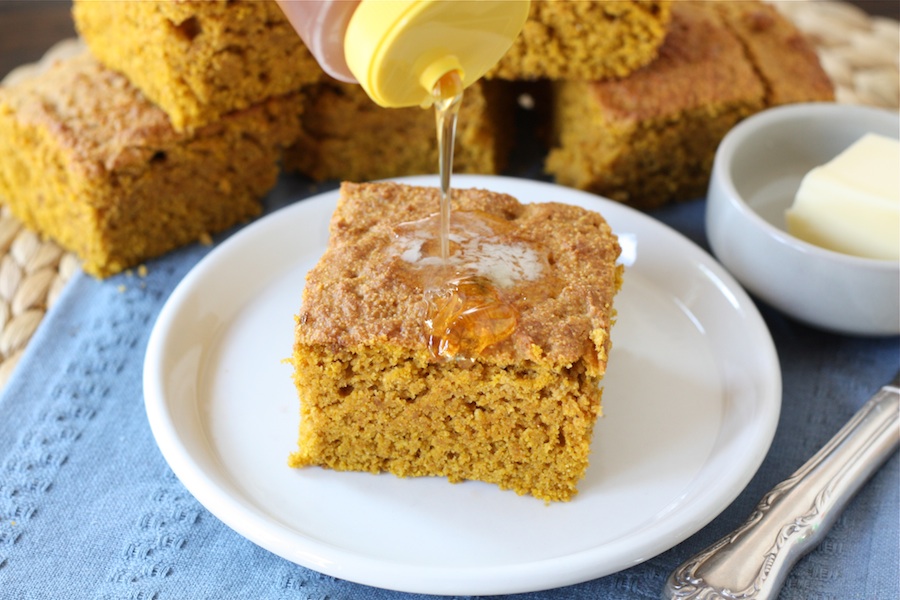
Hot dogs are a favorite at our house. Just thinking of a juicy hot dog loaded with every topping imaginable has my mouth watering. I do not, however, love hot dog buns. Until now. In the past, I’ve always pulled off the majority of the bun, not really wanting to sully my delicious dog with a mouthful of stale, musty flavored bread. When I spotted Rebecca’s recipe for Homemade Hot Dog Buns, I knew I had to see if it was possible to have a hot dog bun that was just as delicious as the star of the show.
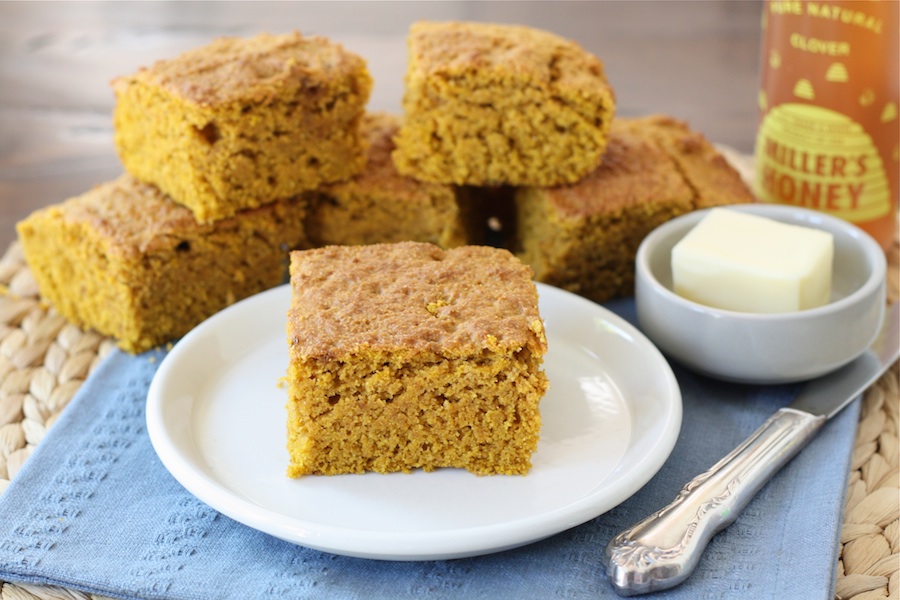
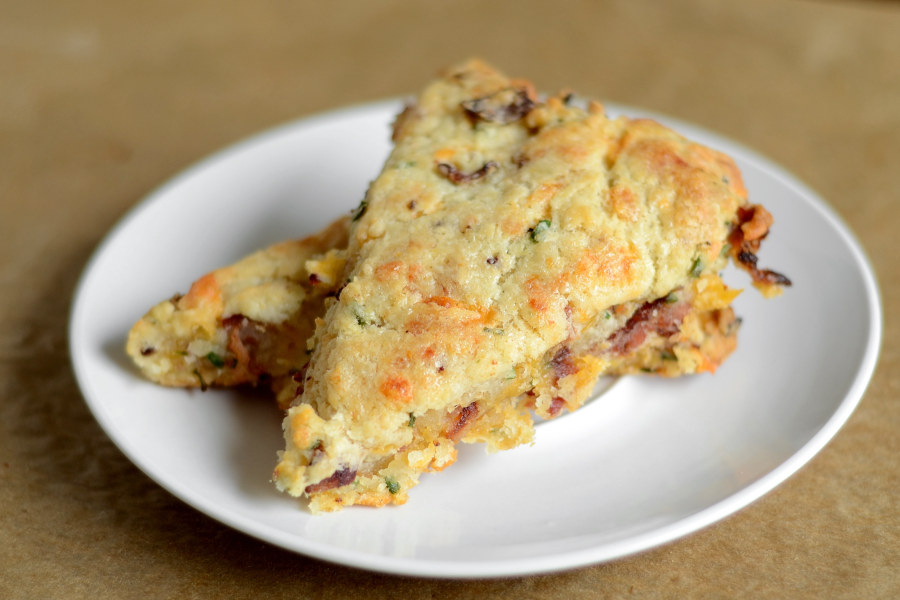
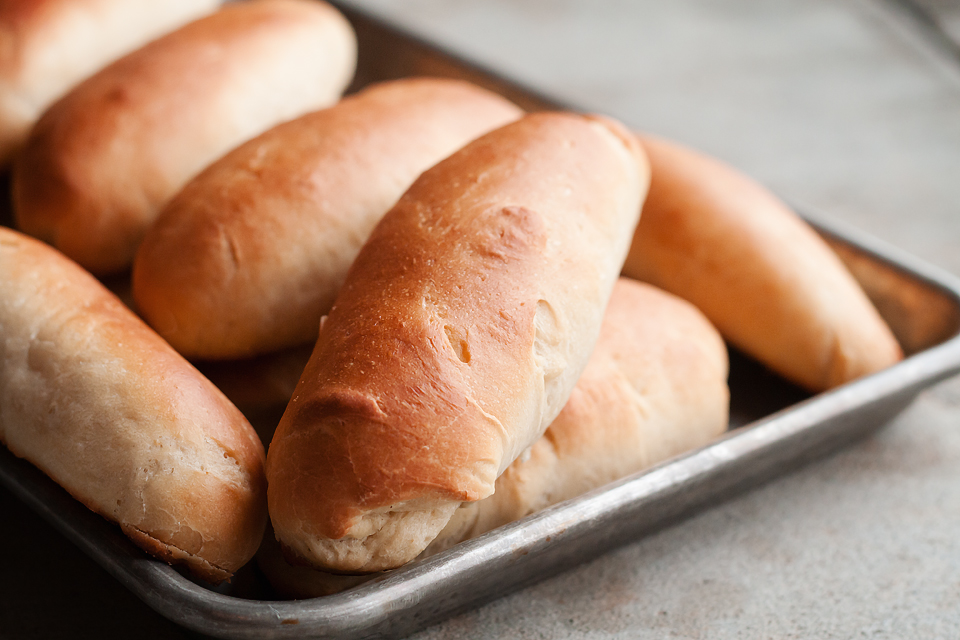
These buns definitely fit the bill. They are soft, chewy and have a wonderful rich flavor that melts in your mouth. These buns are also sturdy, the kind of bun that lets you pile mountainous piles of topping on your hot dog, without turning into a soggy mess.
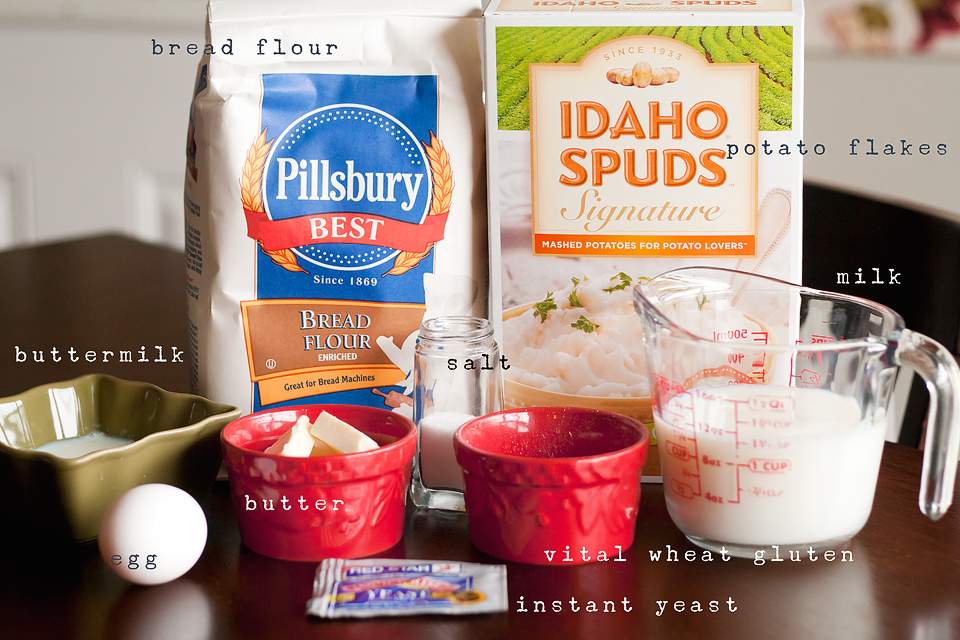
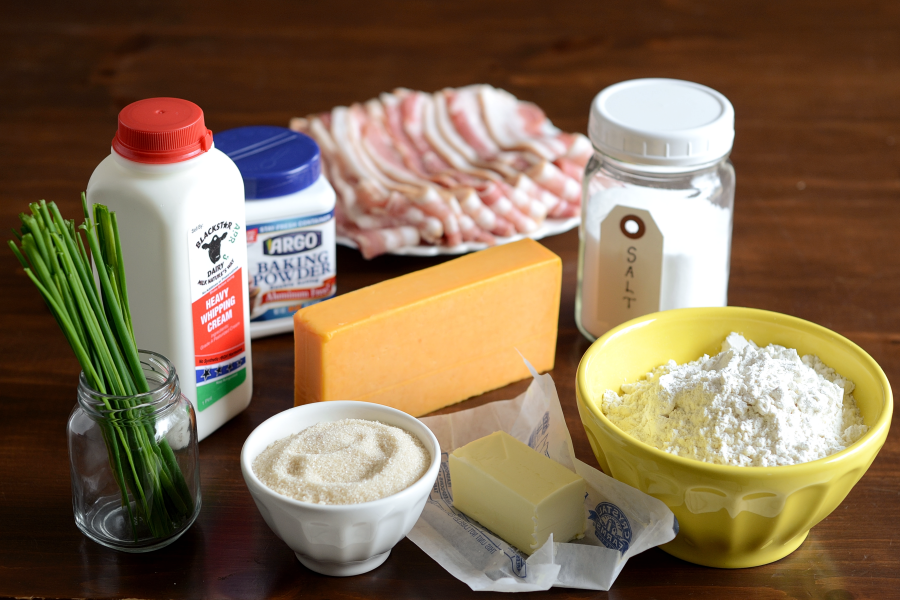
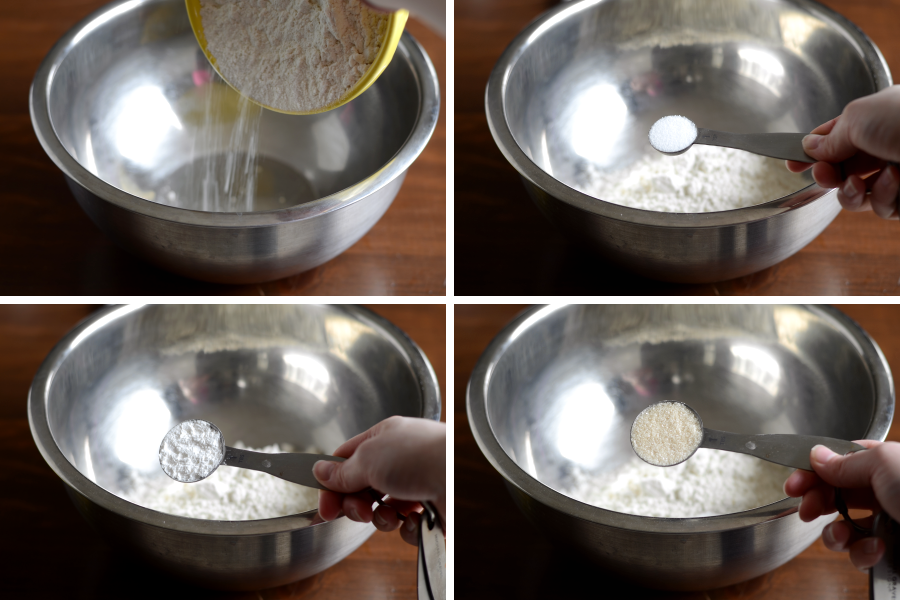
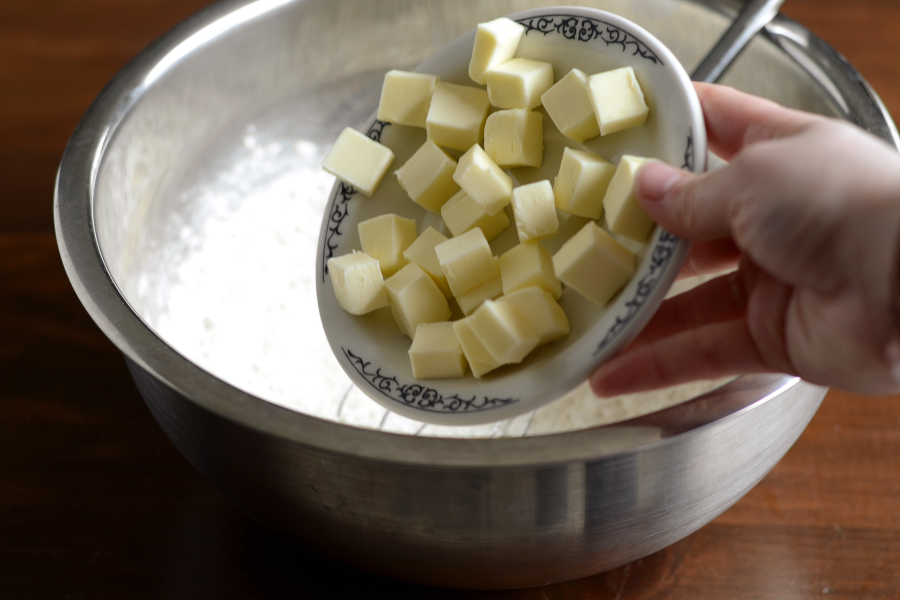
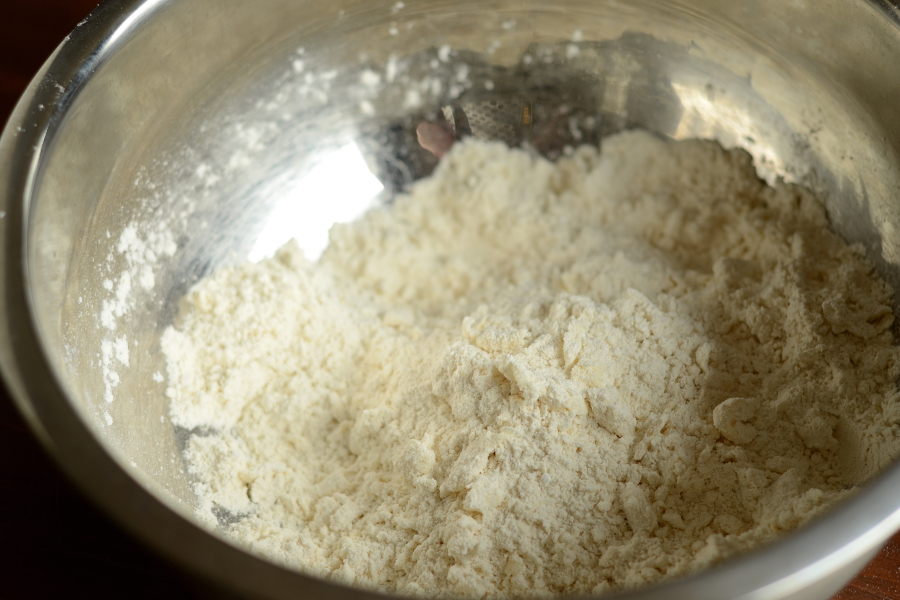
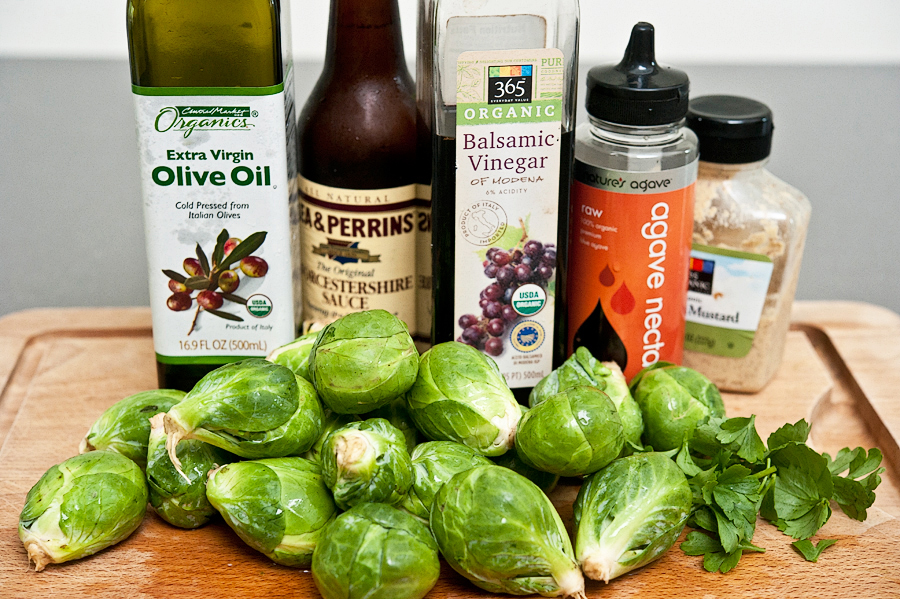
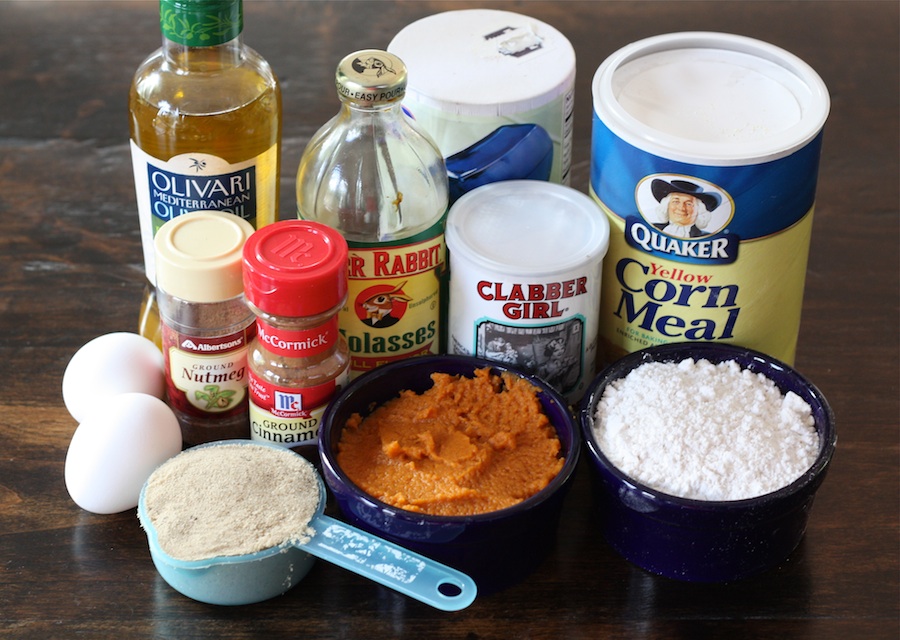
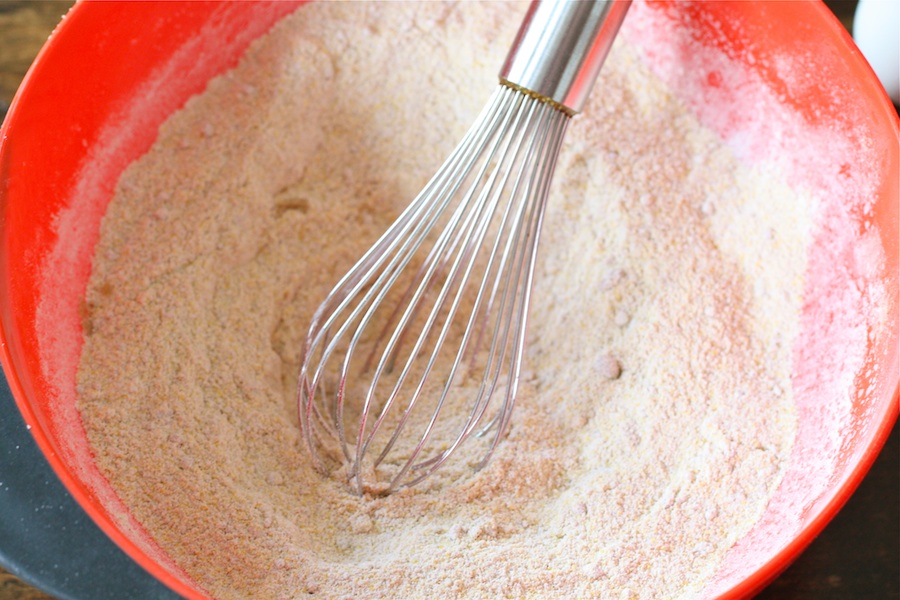
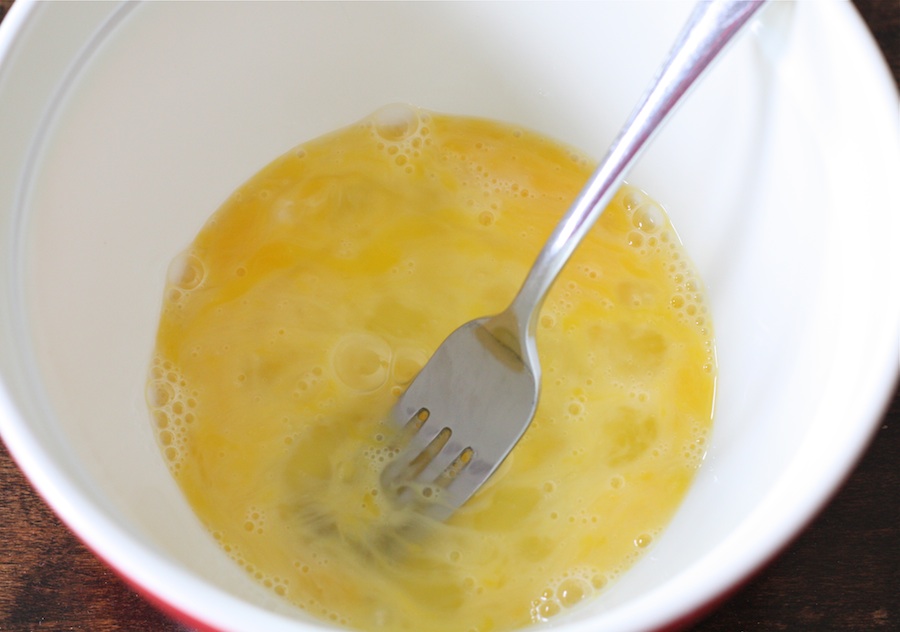
For these buns you’ll need some milk, bread flour, an egg, butter, sugar, potato flakes, instant yeast, salt, and buttermilk.
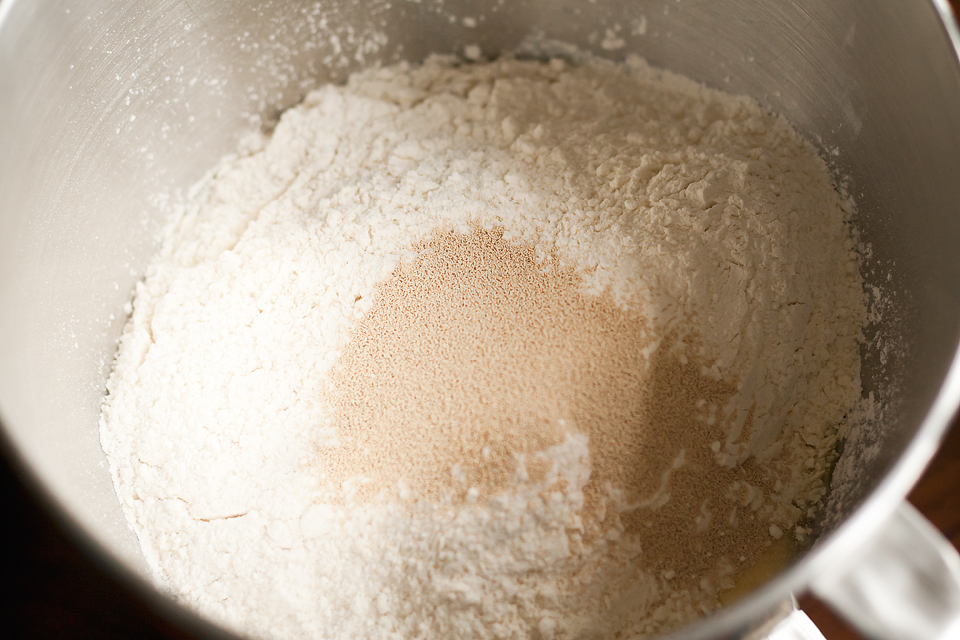
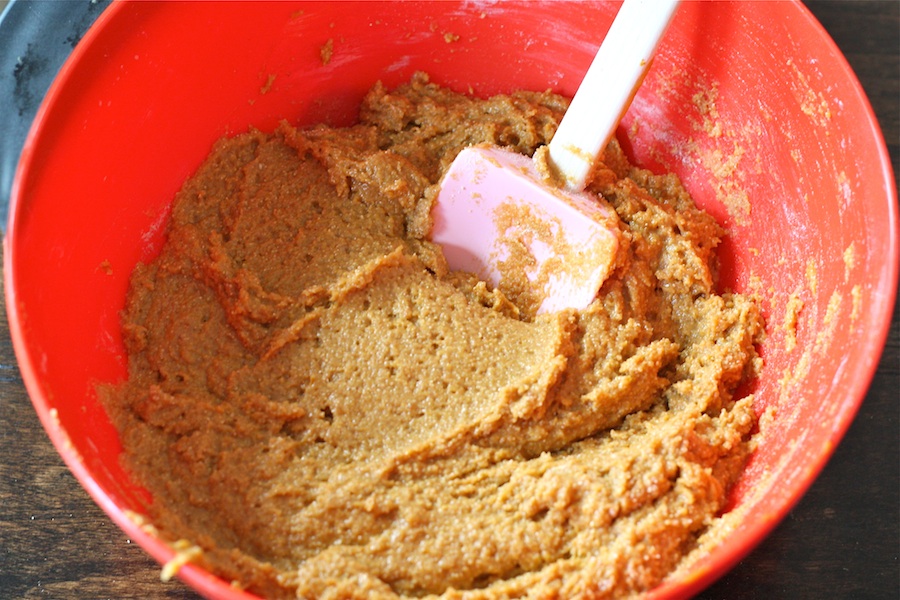
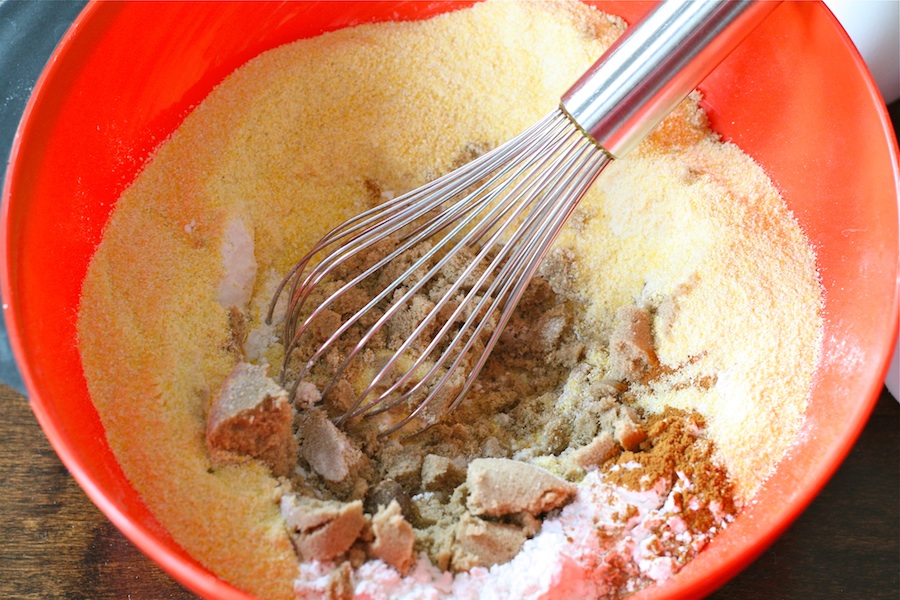
Put all ingredients except the buttermilk in the bowl of a stand mixer fitted with a dough hook.
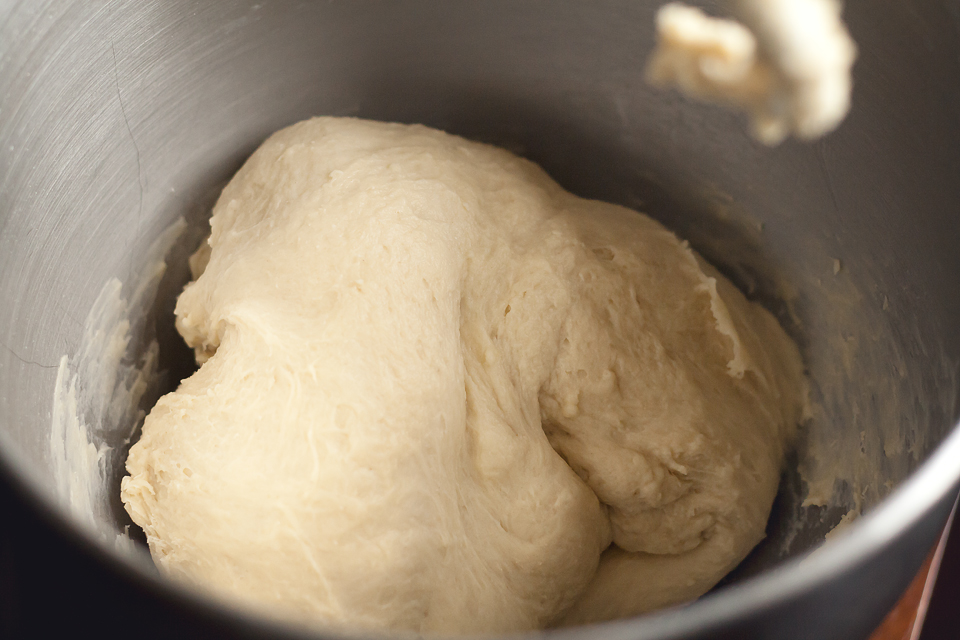
Mix on low speed for 10 minutes, or until a smooth, elastic dough is formed.
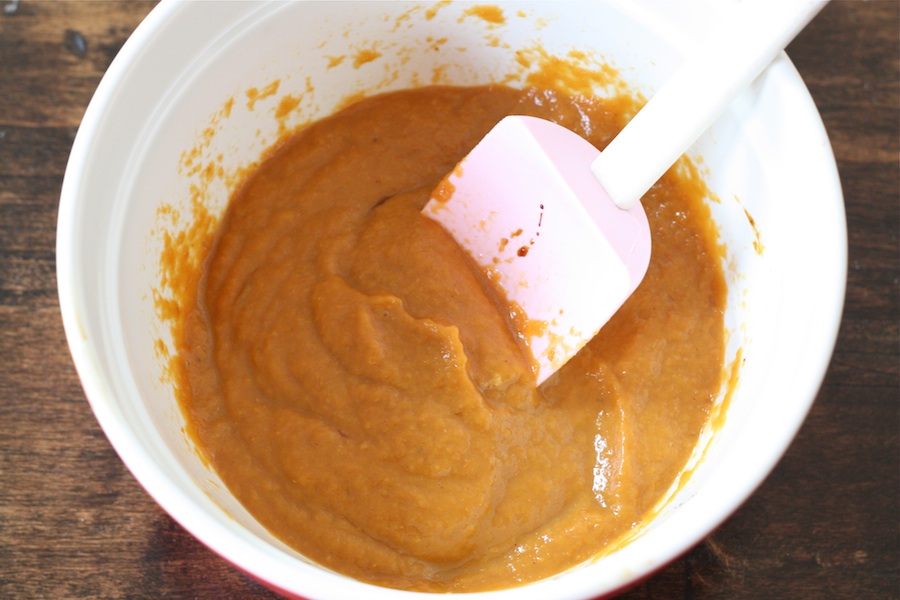
Place the dough in a bowl.
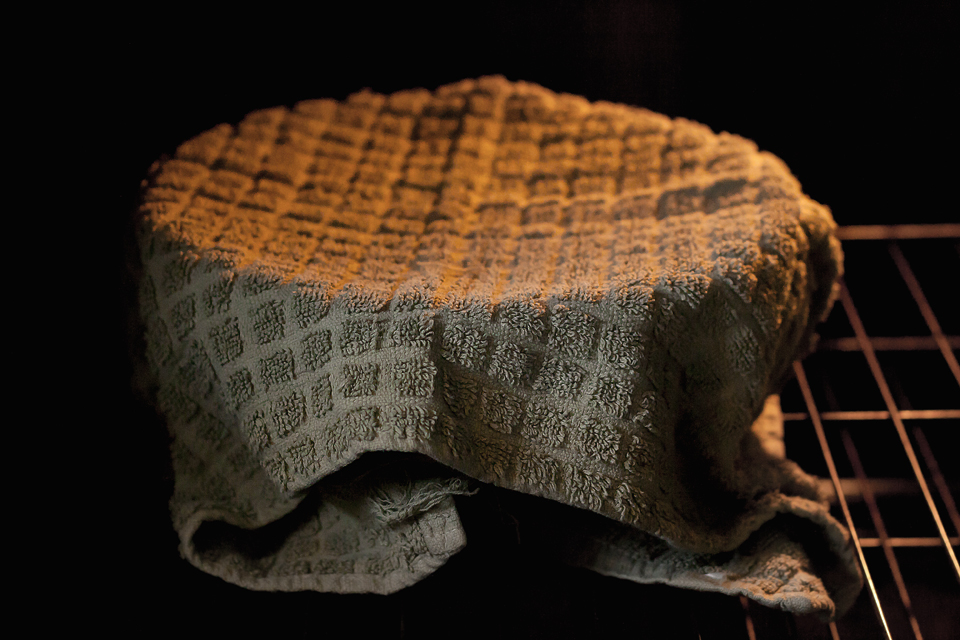
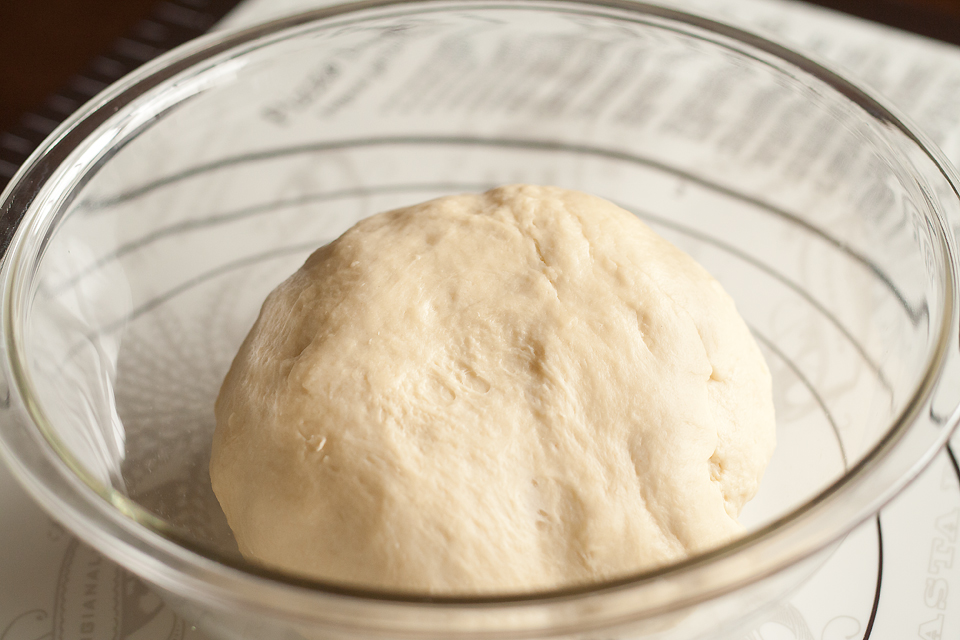
Cover bowl with a tea towel and place in a warm, draft-free place. I like to use my oven (turned off) while rising.

Let rise until double in bulk, about 1-2 hours.

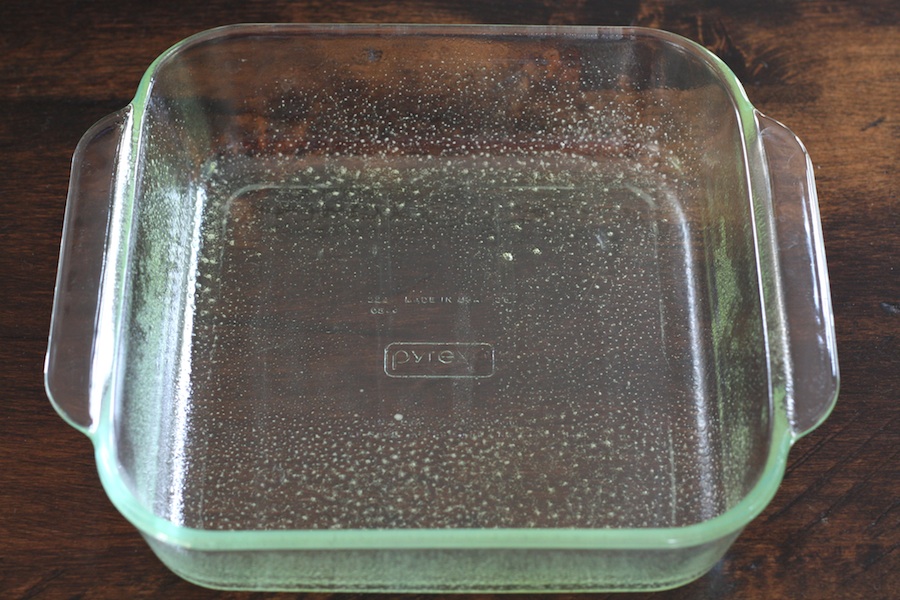
Lightly grease an 11-inch by 13-inch baking sheet or line the pan with a Silpat or parchment paper. Set aside. Divide dough into 3 equally-sized pieces and form into logs.
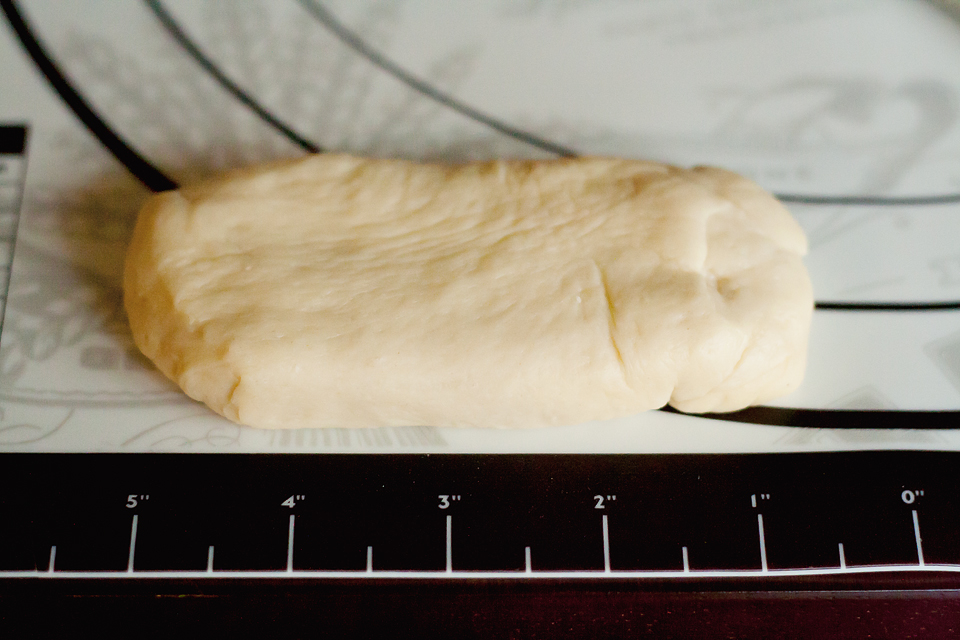
Divide each log into 5 equal pieces for standard sized rolls or 4 equal pieces for larger Italian sausage or hoagie rolls. Working with one piece at a time, pat each piece out into an oval.
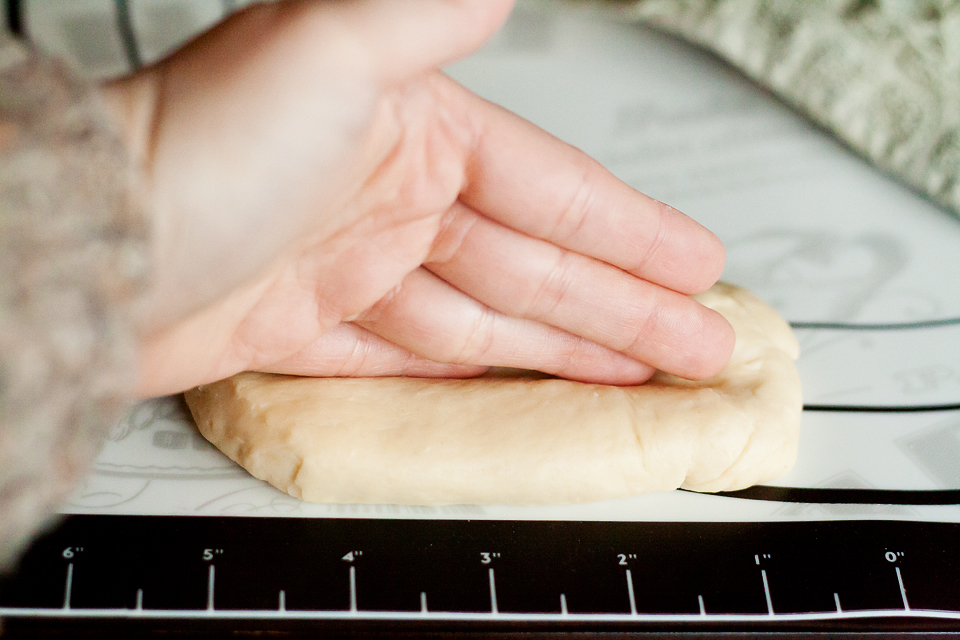
Press an indentation down the length of the center of the oval with the side of your hand.
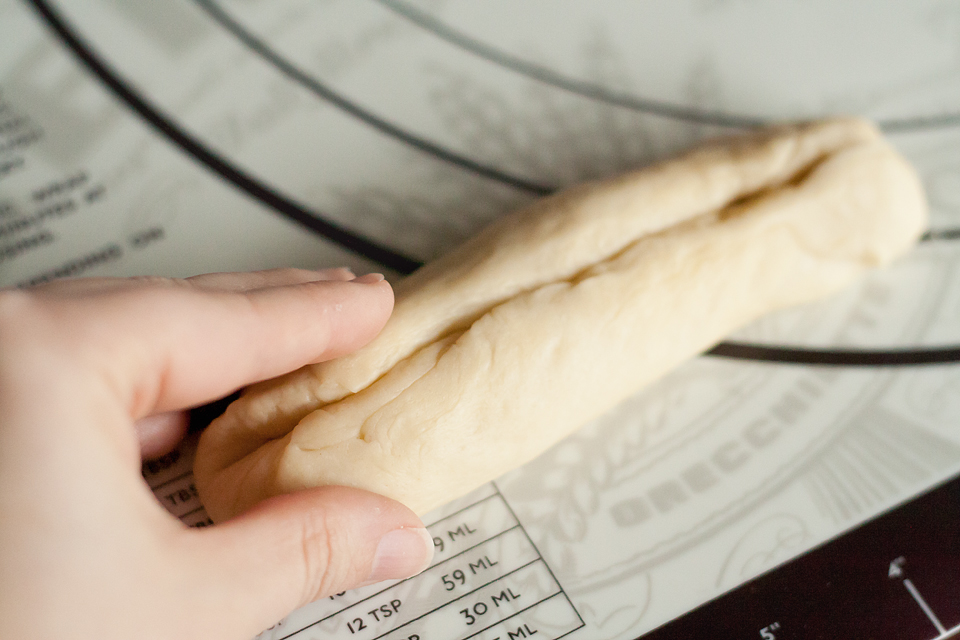
Roll the dough up around the indentation and pinch the seam together lightly.
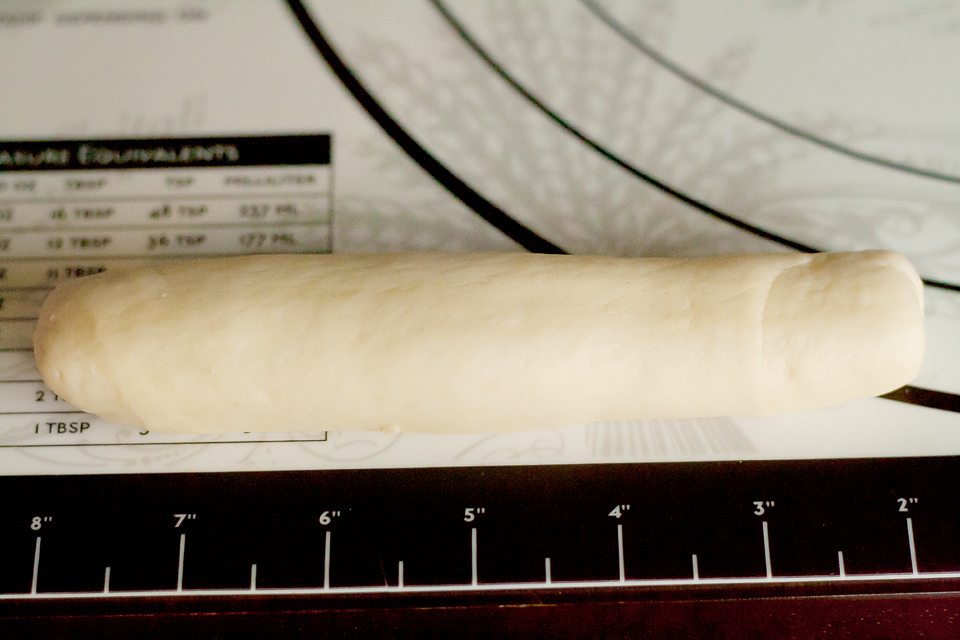
Roll the pieces gently seam side down until about 6-inches in length.
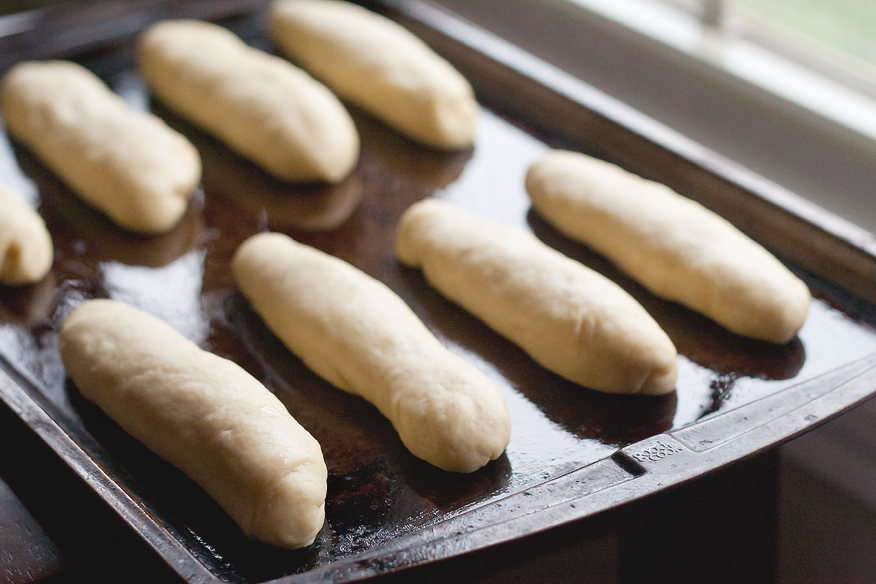
Transfer the pieces of dough to the lined baking sheet, leaving about 1 inch between the pieces.
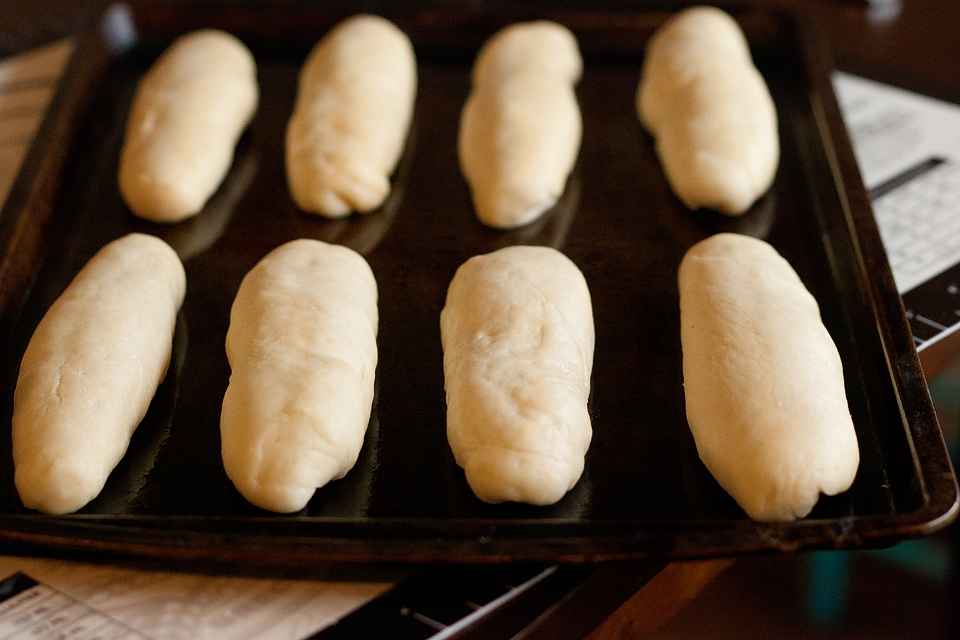
Let rise in a warm, draft-free place until puffy, about 30 minutes.
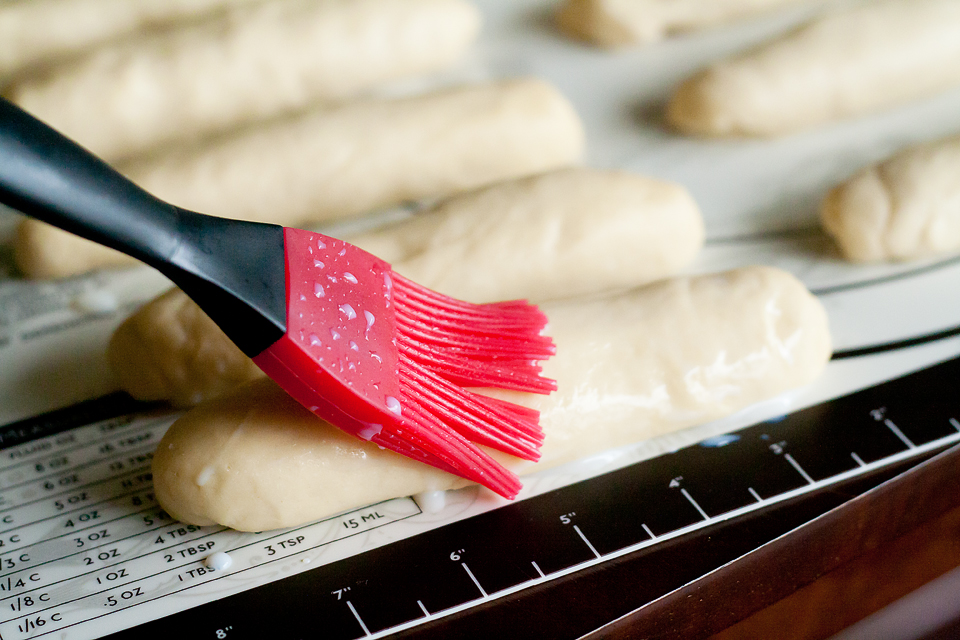
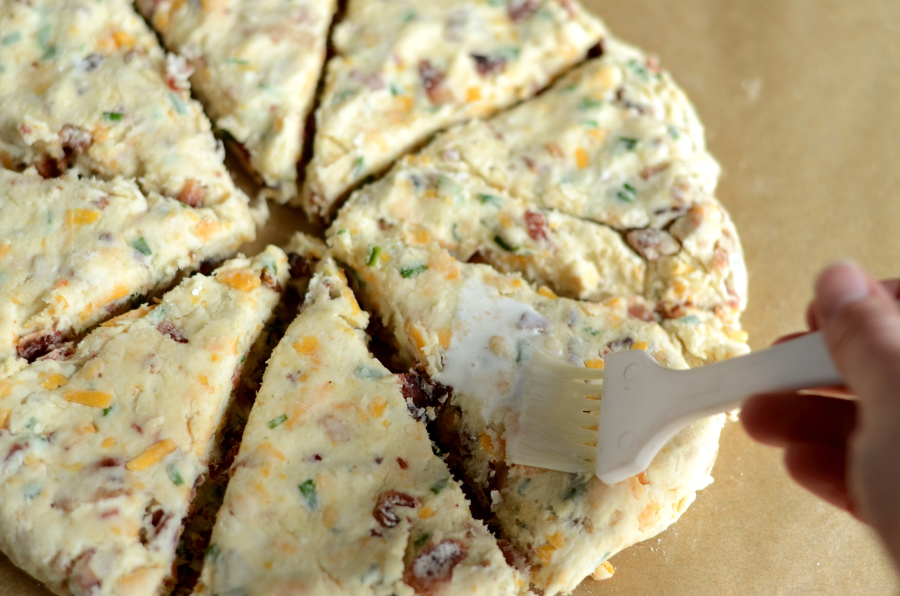
Preheat oven to 375°F. Brush the puffy dough generously with buttermilk.

Bake for 18-22 minutes, or until deep golden brown. Cool the rolls on a rack for at least 10 minutes before slicing.
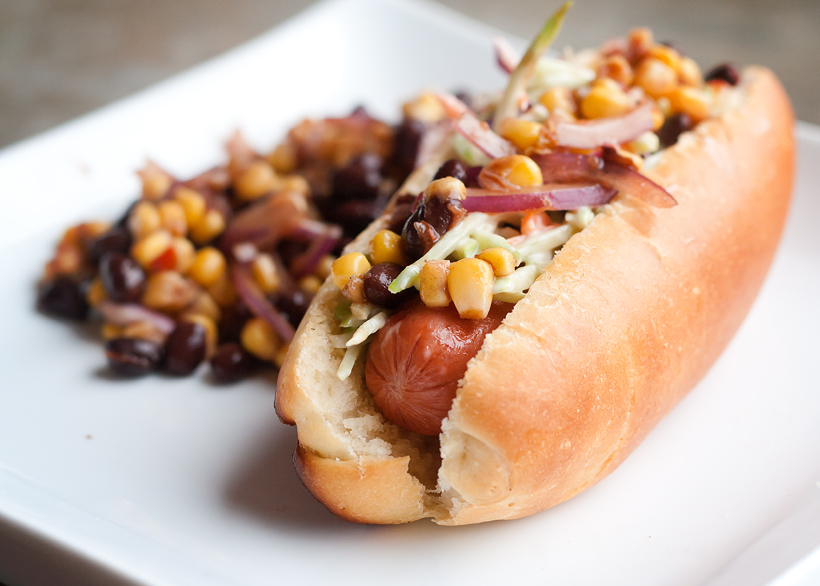
Make a slice down the center of the top of the roll nearly through to the bottom. Gently pry open with your fingers to hold the hot dog or sausage. Now pile on those toppings!
Thanks Rebecca for sharing this delicious recipe with us. Don’t forget to stop by her blog, Foodie With Family, where she has so many yummy looking dishes!
Printable Recipe


Print Options
Description
Homemade Hot Dog Buns elevate an ordinary hot dog meal into an extraordinary experience. Soft, buttery, flavourful, and able to hold up to infinite toppings, these buns put all supermarket rolls to shame.
Ingredients
- 1-¼ cup Milk, Lukewarm
- 4 cups Bread Flour (You Can Substitute All-purpose Flour If Necessary.)
- 1 whole Large Egg, Beaten
- 6 Tablespoons Butter, Softened And Cut Into Pieces
- 3 Tablespoons Sugar
- 1 Tablespoon Gluten (can Be Omitted If Necessary)
- 3 Tablespoons Instant Potato Flakes
- 2 teaspoons Kosher Salt
- 2 teaspoons Instant Yeast
- ½ cups Cultured Buttermilk, For Brushing
Preparation Instructions
To mix dough in a bread machine:
Put all ingredients except for the buttermilk in the pan of your bread machine. Program bread machine for the dough cycle and hit start.
To mix dough in a stand mixer:
Put all ingredients except the buttermilk in the bowl of a stand mixer fitted with a dough hook. Mix on low speed for 10 minutes, or until a smooth, elastic dough is formed. Remove the bowl from the mixer, cover with a tea towel and let rise in a warm, draft-free place until doubled in bulk, about 1-2 hours.
To mix dough by hand:
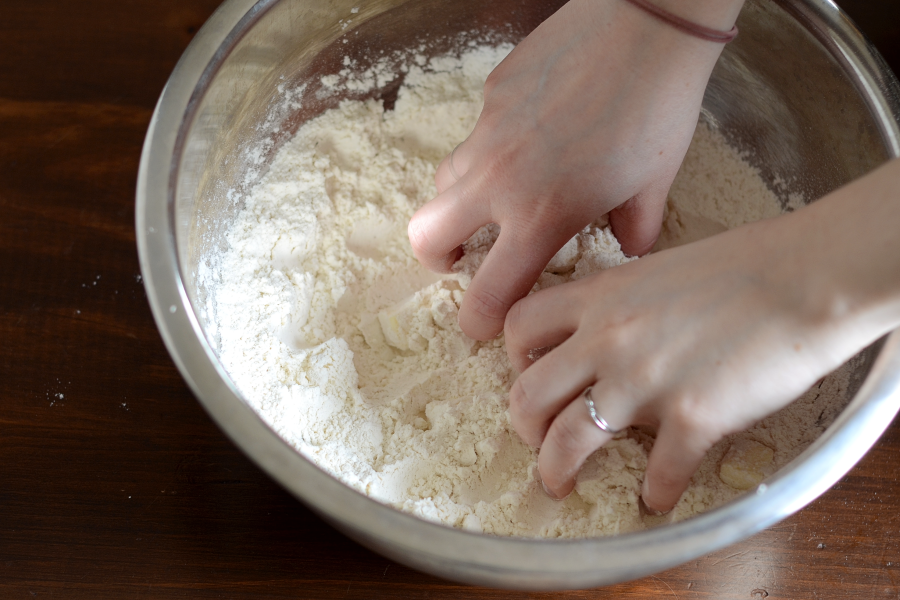
Add all ingredients except for the buttermilk to a large mixing bowl. Use a sturdy wooden spoon or your hand to stir until a shaggy dough forms. Turn out onto a lightly floured surface and knead until a smooth, elastic dough forms, about 15 minutes. Place in an oiled bowl, cover with a tea towel and let rise in a warm, draft-free place until doubled in bulk, about 1-2 hours.
To form rolls:
1. Lightly grease an 11-inch by 13-inch baking sheet or line the pan with a silpat or parchment paper. Set aside.
2. Divide dough into 3 equally sized pieces and form into logs.
3. Divide each log into 5 equal pieces for standard sized rolls or 4 equal pieces for larger Italian sausage or hoagie rolls.
4. Working with one piece at a time, pat each piece out into an oval.
5. Press an indentation down the length of the center of the oval with the side of your hand.
6. Roll the dough up around the indentation.
7. Pinch the seam together lightly.
8. Roll the pieces gently seam side down until about 6-inches in length.
9. Transfer the pieces of dough to the lined baking sheet, leaving about 1 inch between the pieces, and let rise in a warm, draft-free place until puffy, about 30 minutes.
10. Preheat oven to 375°F.
11. Brush the puffy dough generously with buttermilk.
12. Bake for 18-22 minutes, or until deep golden brown.
13. Cool the rolls on a rack for at least 10 minutes before slicing.
To serve as a hot dog or sausage roll:
Make a slice down the center of the top of the roll nearly through to the bottom. Gently pry open with your fingers to hold the hot dog or sausage.
To serve as a hoagie or sandwich roll:
Lay the roll on its side and slice it in half about midway up the roll.
To store leftovers:
Wrap tightly and store at room temperature for up to two days. They can be wrapped tightly and frozen for storage up to a month.
_______________________________________
Amber is a stay at home mom who lives in the heart of the Missouri Ozarks. It’s a long way from where she grew up, in Wales (yes, way over in the U.K.). The recipes in her blog Sprinkled with Flour include her original creations as well as her family recipes. Go check them out!


 >
>