The Pioneer Woman Tasty Kitchen
Profile photo of missamy

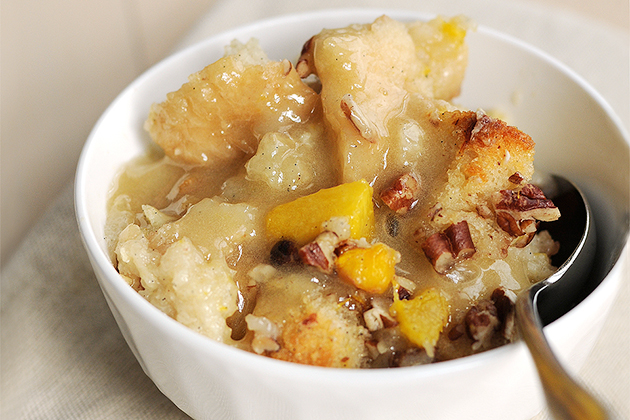
Marvin’s Peachy Bread Pudding

Posted by in Baking, Step-by-Step Recipes

Tasty Kitchen Blog: Peachy Bread Pudding. Guest post by Amy Johnson of She Wears Many Hats, recipe submitted by TK member Marvin.

 
Tasty Kitchen is such a fun online community. Discovering delicious recipes is great, but what makes it even better is making new friends. Each time I find a recipe here on Tasty Kitchen, it’s as if a new friend has invited me into their kitchen, into their home, for a peek into their lives through my taste buds. That’s pretty cool, I think.

Take Marvin, for example. Marvin and I have been friends for a while now (he just doesn’t know it). I’ve had his recipes bookmarked, and know all about him and his wife, Jane, on their blog. They’re a talented couple of artists from Texas. Marvin doesn’t know me from Adam. But I know him. I know him and his Peachy Bread Pudding.

Marvin is the type of guy you’d want as a next door neighbor. The neighbor you casually drop in on because maybe the wafting aroma of his Peachy Bread Pudding or Sausage and Potato Bake caught you up in a trance that propelled you to his front door with the excuse of needing to let him know that in a few months you’d be going out of town for a day and … “What’s that Marvin? Is that bread pudding I smell?” Yep, he’d make a darn good neighbor I say. Maybe one day we’ll meet in person, and I can thank him for sharing his delicious version of Peachy Bread Pudding. But until then, knowing him through Tasty Kitchen will do just fine. Just fine indeed.

Wanna get to know Marvin a little better too? Let me show you his Peachy Bread Pudding, and y’all will become the best of friends in no time. It’s a really marvelous dish by Marvin. The sauce alone is a keeper to serve with many other desserts. Just perfect! Let’s get to it.


Tasty Kitchen Blog: Peachy Bread Pudding. Guest post by Amy Johnson of She Wears Many Hats, recipe submitted by TK member Marvin.

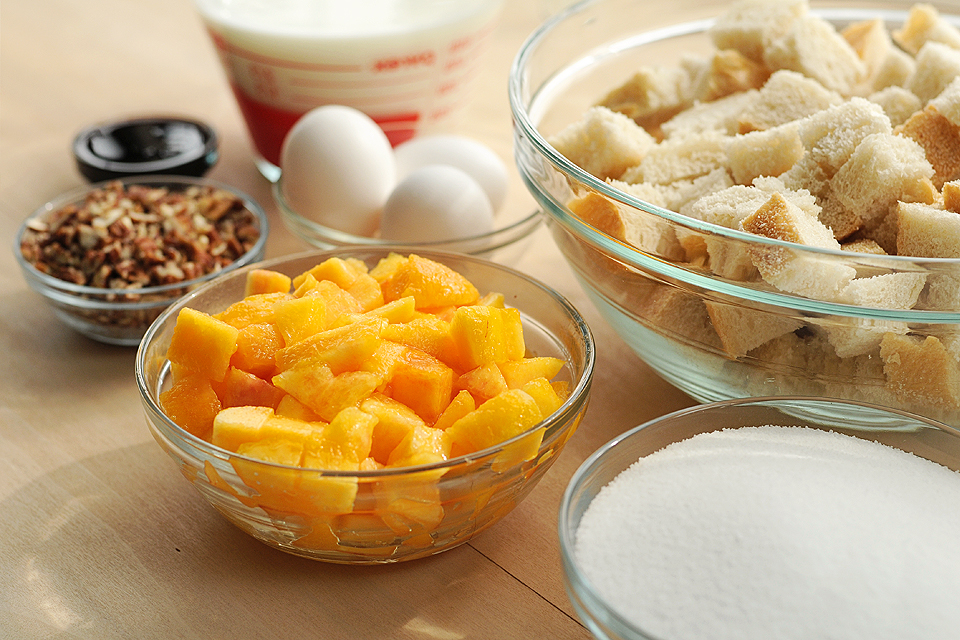
For the bread pudding you’ll need: eggs, melted butter, vanilla, half and half or milk, sugar, fresh peaches, sourdough bread and pecans.


Tasty Kitchen Blog: Peachy Bread Pudding. Guest post by Amy Johnson of She Wears Many Hats, recipe submitted by TK member Marvin.

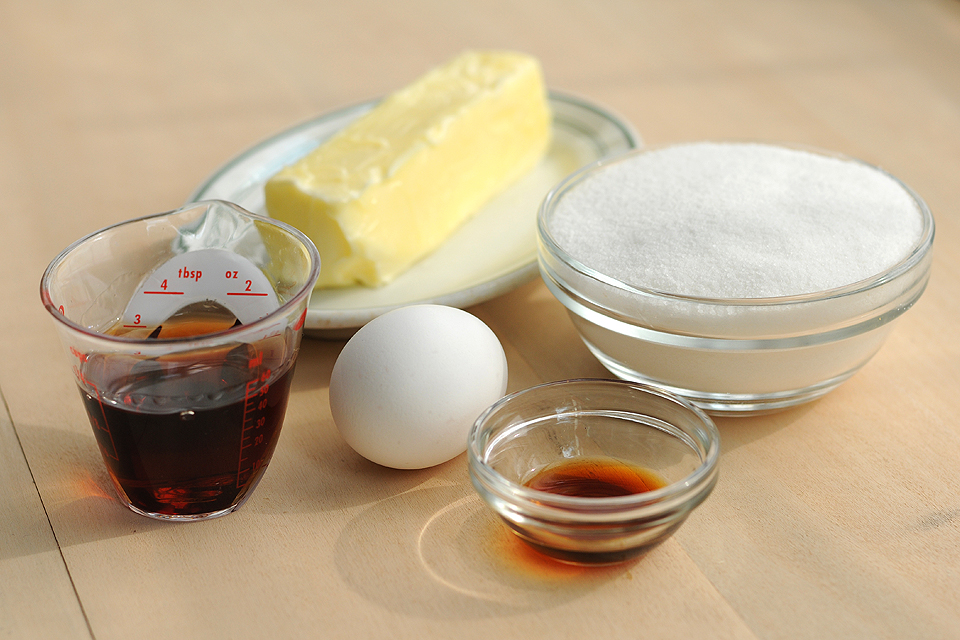
To make that yummy sauce, you’ll need: butter, sugar, vanilla, an egg, and rum.


Tasty Kitchen Blog: Peachy Bread Pudding. Guest post by Amy Johnson of She Wears Many Hats, recipe submitted by TK member Marvin.

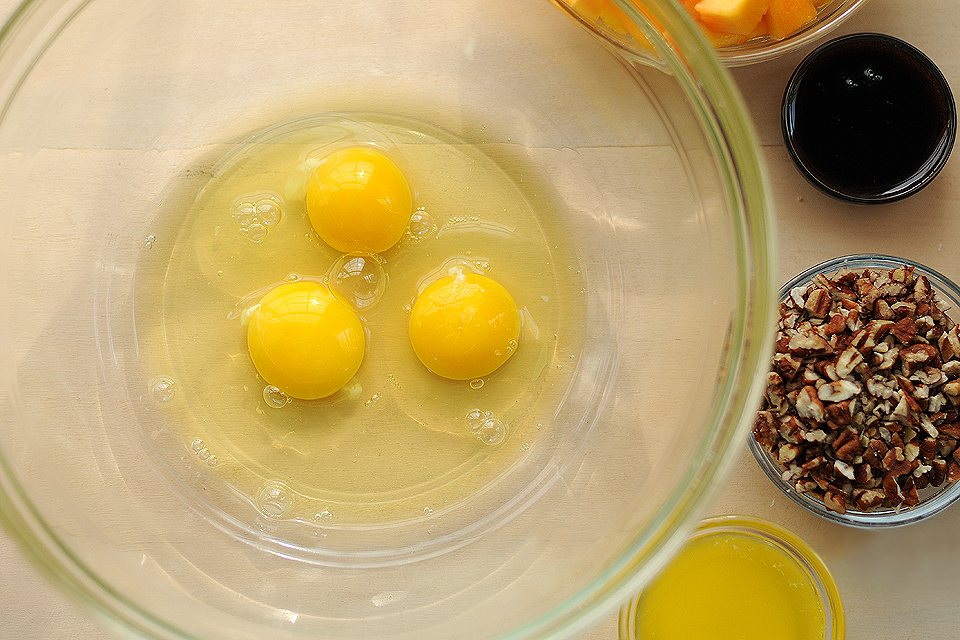
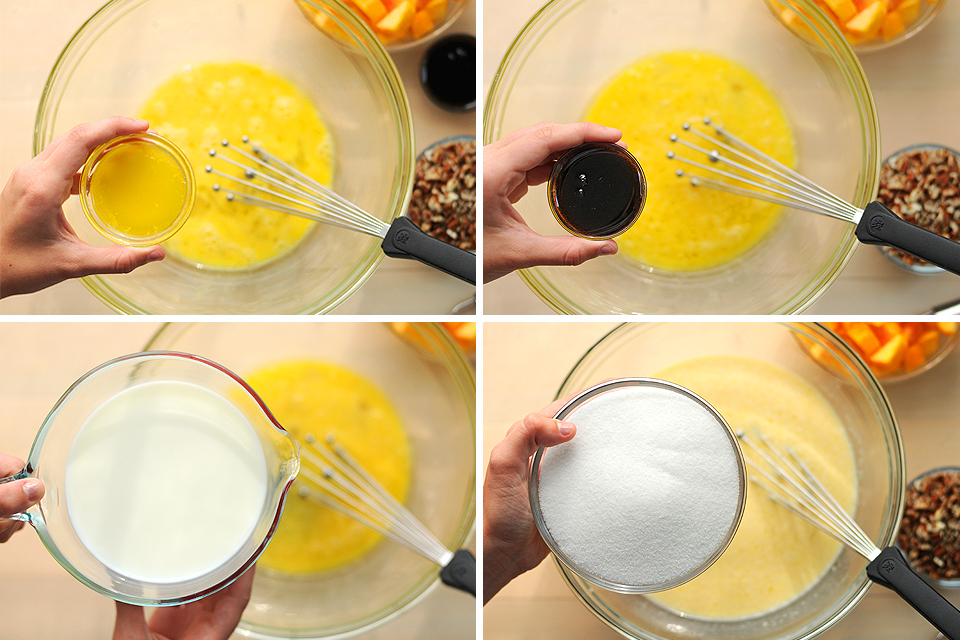
To prepare the bread pudding for baking, add the three eggs to a large bowl.


Tasty Kitchen Blog: Peachy Bread Pudding. Guest post by Amy Johnson of She Wears Many Hats, recipe submitted by TK member Marvin.

Next goes in the melted butter, vanilla, half-and-half (or milk). Combine those well first, then add the sugar.


Tasty Kitchen Blog: Peachy Bread Pudding. Guest post by Amy Johnson of She Wears Many Hats, recipe submitted by TK member Marvin.

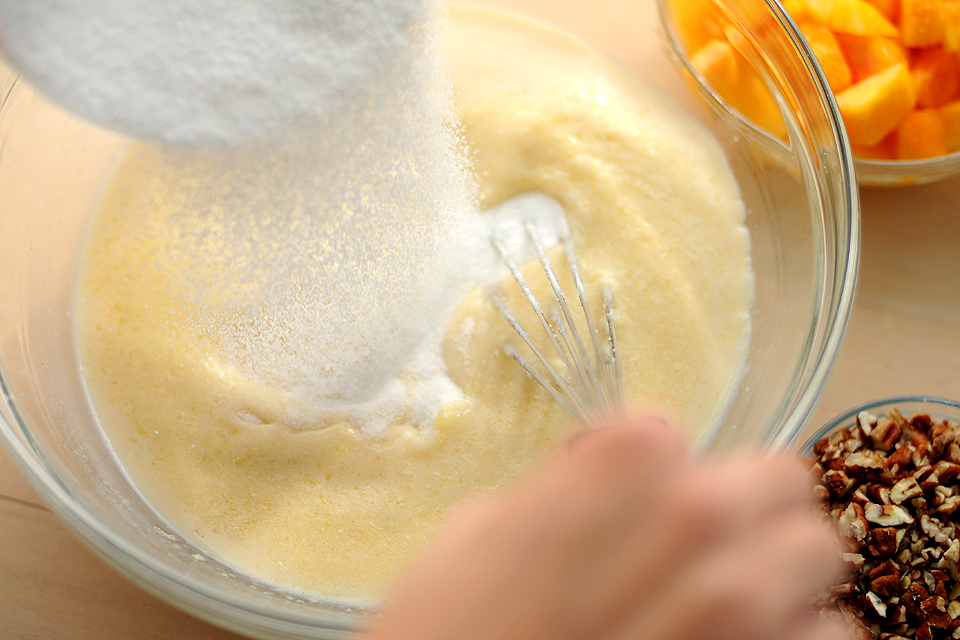
Add the sugar slowly, stirring as you go until the sugar is dissolved.


Tasty Kitchen Blog: Peachy Bread Pudding. Guest post by Amy Johnson of She Wears Many Hats, recipe submitted by TK member Marvin.

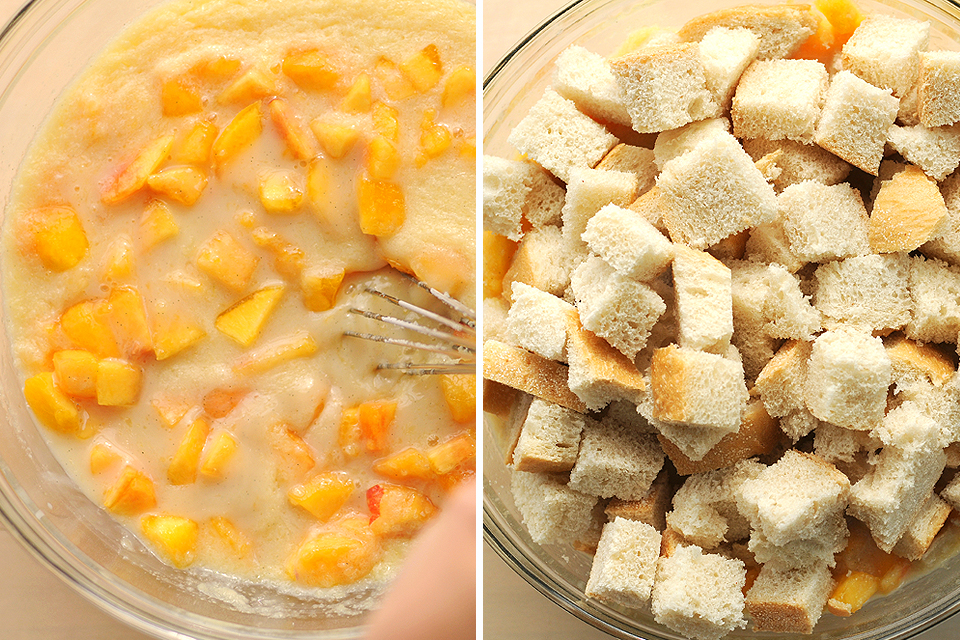
Now, the lovely peaches (nectarines will do too!). Mix it up. And finally, the bread.


Tasty Kitchen Blog: Peachy Bread Pudding. Guest post by Amy Johnson of She Wears Many Hats, recipe submitted by TK member Marvin.

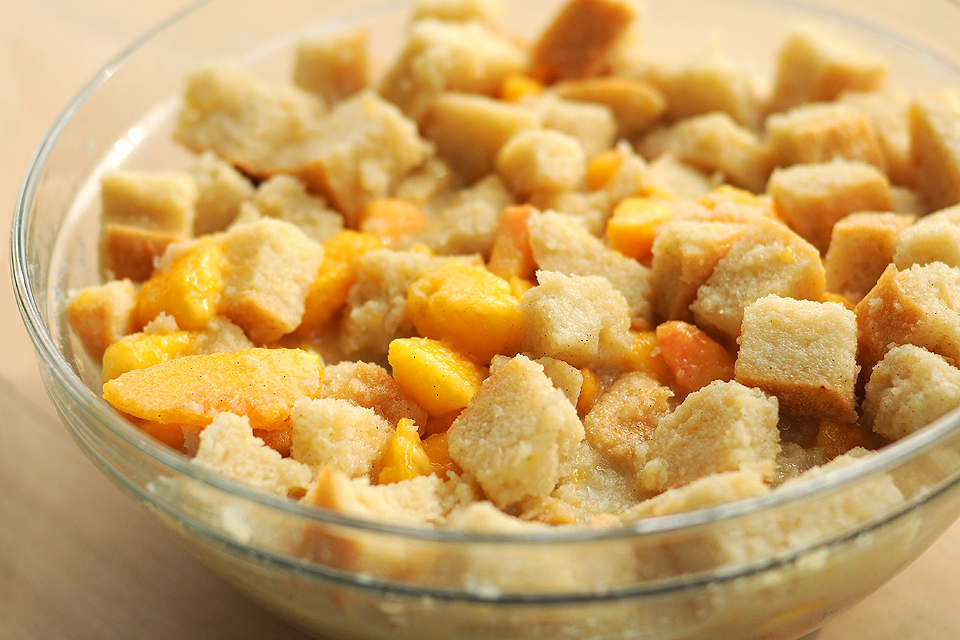
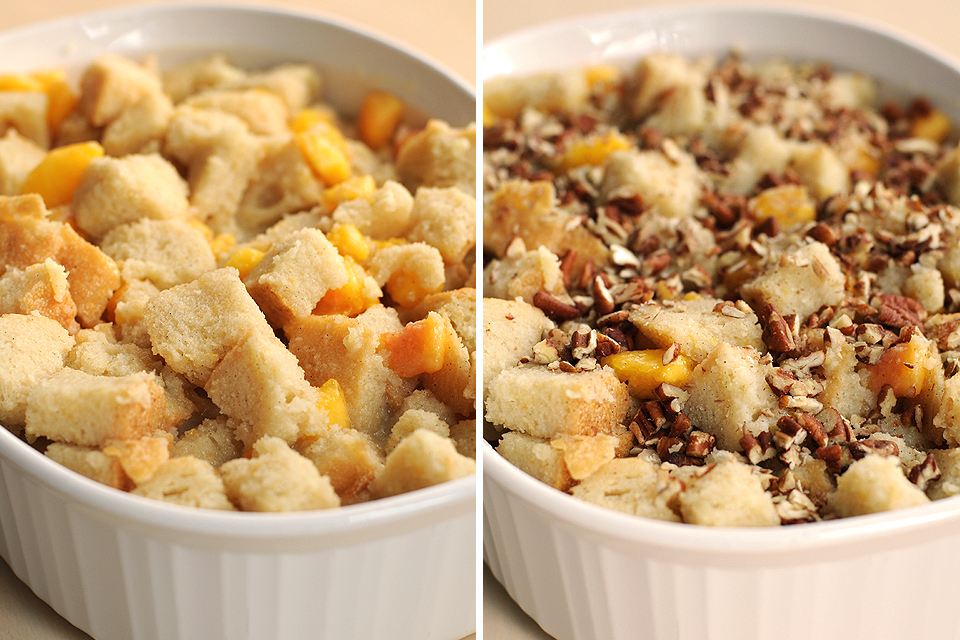
Gently push the cubed bread down into the mixture so it can soak up all the goodness, like little sponges. Let it soak for about 30 minutes.

It’s not shown here, but butter the dish you’ll be baking the bread pudding up real good, ya here? It helps to avoid sticking and adds some more flavor, too.


Tasty Kitchen Blog: Peachy Bread Pudding. Guest post by Amy Johnson of She Wears Many Hats, recipe submitted by TK member Marvin.

After the bread has soaked, spread the mixture into your baking dish and sprinkle with the chopped pecans. Bake uncovered for 50-60 minutes.


Tasty Kitchen Blog: Peachy Bread Pudding. Guest post by Amy Johnson of She Wears Many Hats, recipe submitted by TK member Marvin.

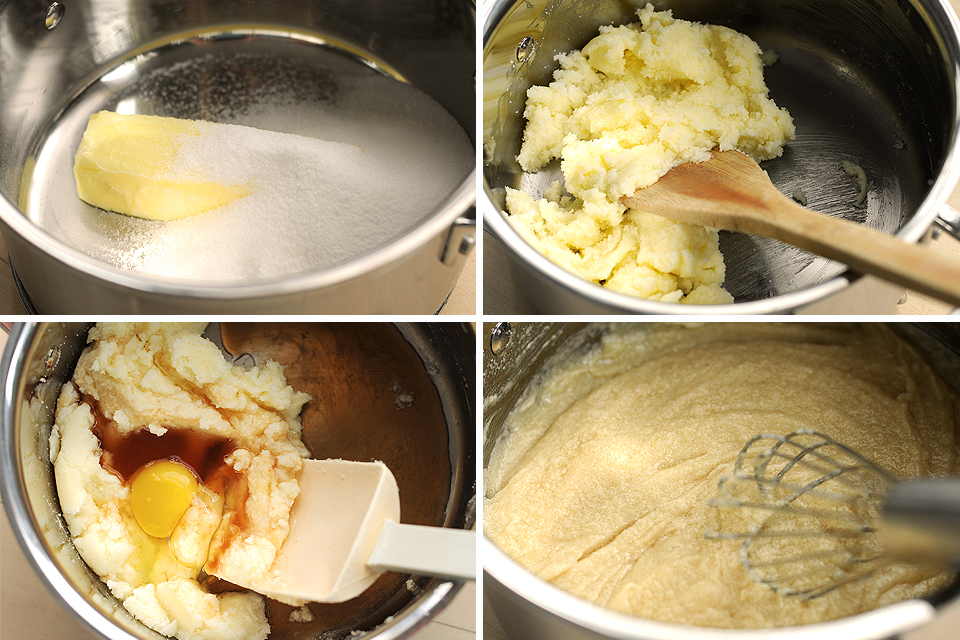
While the bread pudding is baking, put together the sauce. In a pan, cream together the softened butter and sugar. Add the vanilla, egg, rum and combine well.


Tasty Kitchen Blog: Peachy Bread Pudding. Guest post by Amy Johnson of She Wears Many Hats, recipe submitted by TK member Marvin.

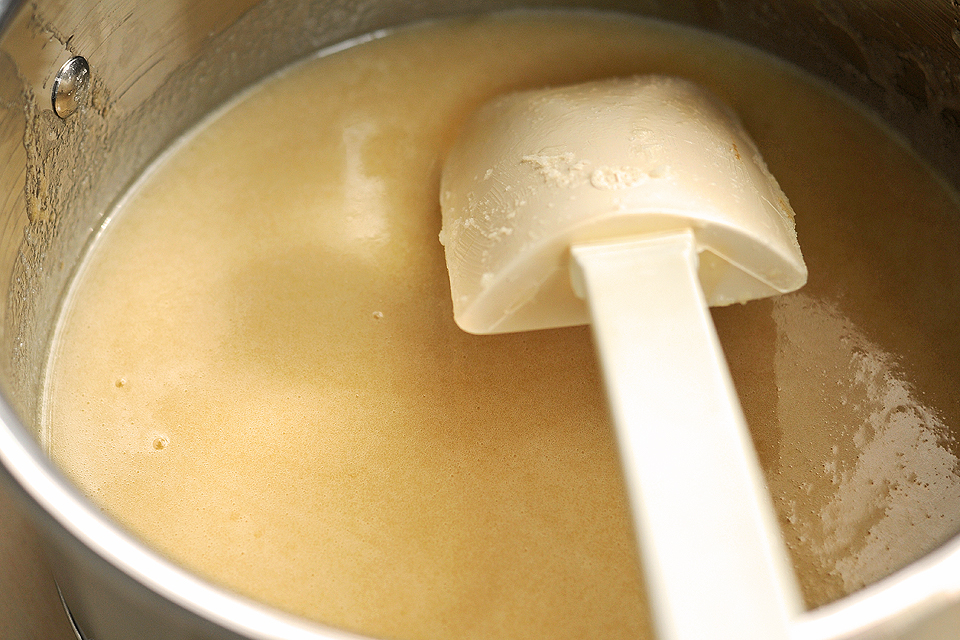
Over low-medium heat, stir for about 5 minutes until sugar has dissolved and the sauce is smooth. Like I said before, this sauce is something you’ll want to remember for other desserts. It would be the perfect complement to pound cake, or as an ice cream topping. Seriously tasty!


Tasty Kitchen Blog: Peachy Bread Pudding. Guest post by Amy Johnson of She Wears Many Hats, recipe submitted by TK member Marvin.

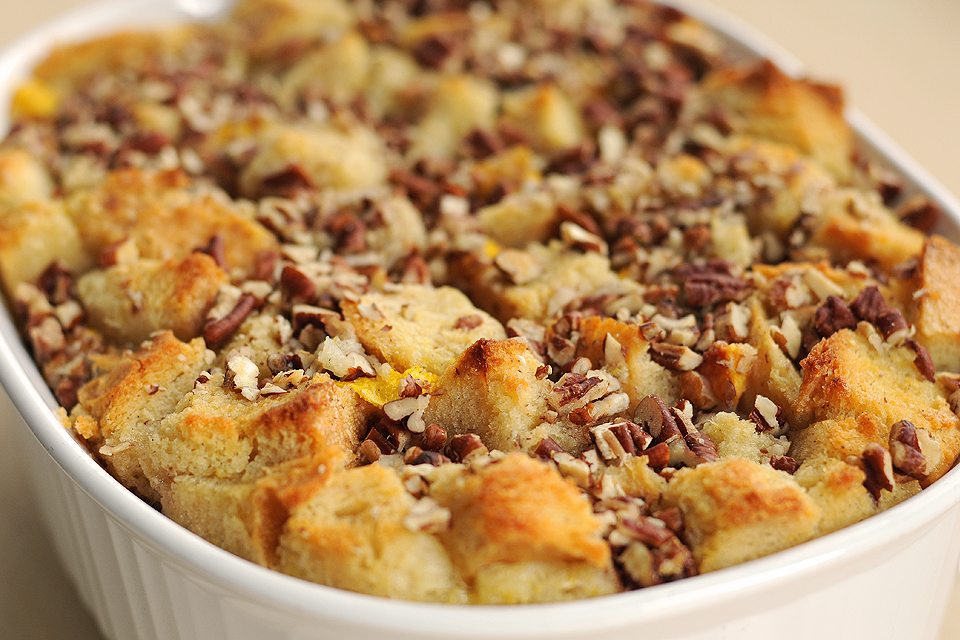
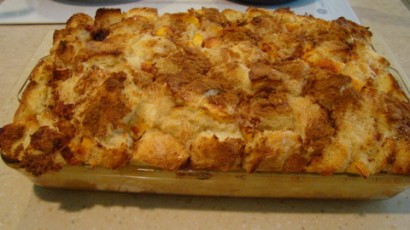
Back to the oven. You’ll want to check the bread pudding for doneness in the center with a knife. If it comes out clean, she’s done; if not, keep her cooking. I had to add about 10-15 more minutes to the baking time.

What a beautiful golden brown. And, oh, the aroma!
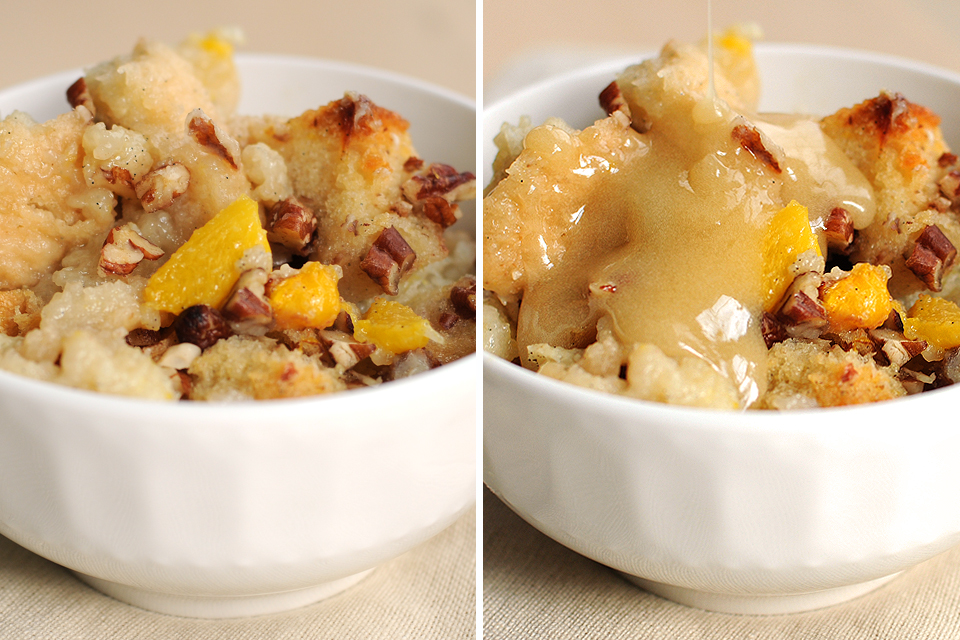


Tasty Kitchen Blog: Peachy Bread Pudding. Guest post by Amy Johnson of She Wears Many Hats, recipe submitted by TK member Marvin.

Serve warm, with some of the sauce drizzled over the top.


Tasty Kitchen Blog: Peachy Bread Pudding. Guest post by Amy Johnson of She Wears Many Hats, recipe submitted by TK member Marvin.

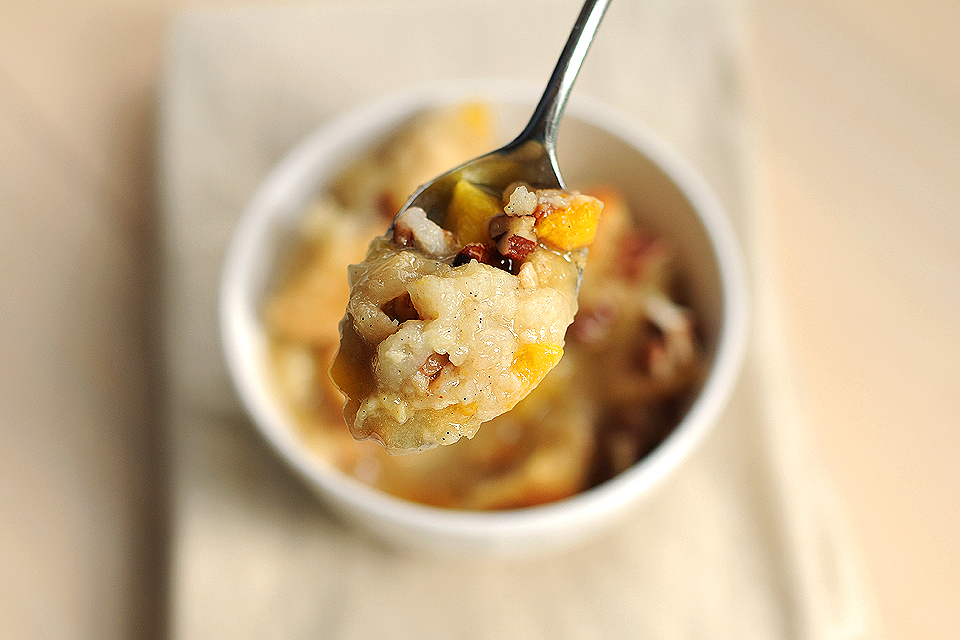
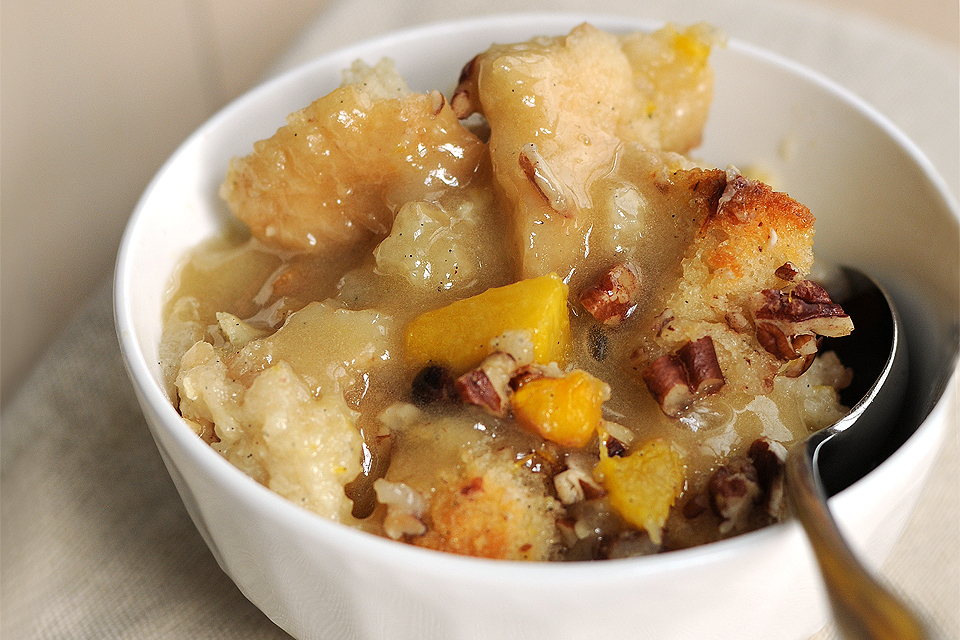
The perfect bite!


Tasty Kitchen Blog: Peachy Bread Pudding. Guest post by Amy Johnson of She Wears Many Hats, recipe submitted by TK member Marvin.

I was never a bread pudding fan, but that Marvin changed my mind with this one. He’s a good friend to have. Thanks Marvin!


Printable Recipe
Peachy Bread Pudding

5.00 Mitt(s) 8 Rating(s)8 votes, average: 5.00 out of 58 votes, average: 5.00 out of 58 votes, average: 5.00 out of 58 votes, average: 5.00 out of 58 votes, average: 5.00 out of 5

Prep Time:

Cook Time:

Difficulty: Easy

Servings: 10

10
x

Print Options

Page size Letter 3x5 4x6
Text Size Small Medium Large
Content Include description
Include prep time, etc.
Show image

Description

Bread pudding with fresh peaches, and rum sauce.

Ingredients

  • FOR BREAD PUDDING:
  • 3 whole Eggs
  • 3 Tablespoons Butter, Melted
  • 2 Tablespoons Vanilla
  • 2-½ cups Half-and-Half Or Milk
  • 2 cups Sugar
  • 2 cups Fresh Peaches, Pitted And Diced
  • 1 pound Sourdough Bread, 1" Cubed
  • ½ cups Pecans, Chopped (optional)
  • _____
  • FOR RUM SAUCE
  • ½ cups Butter
  • 1 cup Sugar
  • 1 teaspoon Vanilla
  • 1 whole Egg
  • 3 Tablespoons Rum, Or To Taste

Preparation Instructions

Preheat oven to 325 degrees F.

In a large bowl beat 3 eggs, add 3 tablespoons melted butter, 2 tablespoons vanilla, and 2 1/2 cups half and half. Add 2 cups sugar slowly, stirring until it is dissolved. Add peaches and bread, mixing well. Allow mixture to soak into bread 30 minutes.

Spread a bit of butter in a 9 X 13 X 2-inch pan or dish. Pour in the bread mixture, and sprinkle on pecans if using. Bake uncovered 50 to 60 minutes, or until knife inserted in center comes out clean.

For rum sauce:
Cream 1/2 cup butter with 1 cup sugar. Add 1 teaspoon vanilla. Stir in 1 egg, then add rum. Stir over low heat for about 5 minutes. Serve warm over individual servings of pudding.


_______________________________________

Amy Johnson is a blogger who writes about food, travel, the home (both inside and out), and various observations and random musings about anything and everything. Visit her blog She Wears Many Hats for a dose of deliciousness, practicality, hilarity, or just plain fun. She lives in South Carolina with her husband and two children.

 

Profile photo of HowSweetEats

Peanut Butter Stuffed Hot Fudge Cupcakes

Posted by in Baking, Step-by-Step Recipes

Tasty Kitchen Blog: Peanut Butter Stuffed Hot Fudge Cupcakes. Guest post and recipe from Jessica Merchant of How Sweet It Is.

 
I think it’s true what they say: you can never go wrong with peanut butter and chocolate. It’s the combination that I consoled myself with after my first high school heartbreak (think a spoon in the jar and a sprinkling of chocolate chips) and the way we celebrated our marriage (think the best cheesecake in the universe, sliced doubly thick) on our honeymoon.

It’s a comforting combination, a delicious one, and sometimes even a healthy one. Dark chocolate has loads of antioxidants, and peanut butter? Well, we have our healthy fats. Trust me. I can justify just about anything.

A few months ago I made this cupcake and it has since become my go-to cupcake. It’s the cupcake that my family asks for on birthdays, the one that my brother dubbed “the best he’d ever had,” and the one that I happily suggest when I’m quizzed about fabulous dessert recipes.

It’s slightly more time consuming that your run-of-the-mill cupcake with a glob of frosting, but I promise it is completely worth it.


Tasty Kitchen Blog: Peanut Butter Stuffed Hot Fudge Cupcakes. Guest post and recipe from Jessica Merchant of How Sweet It Is.

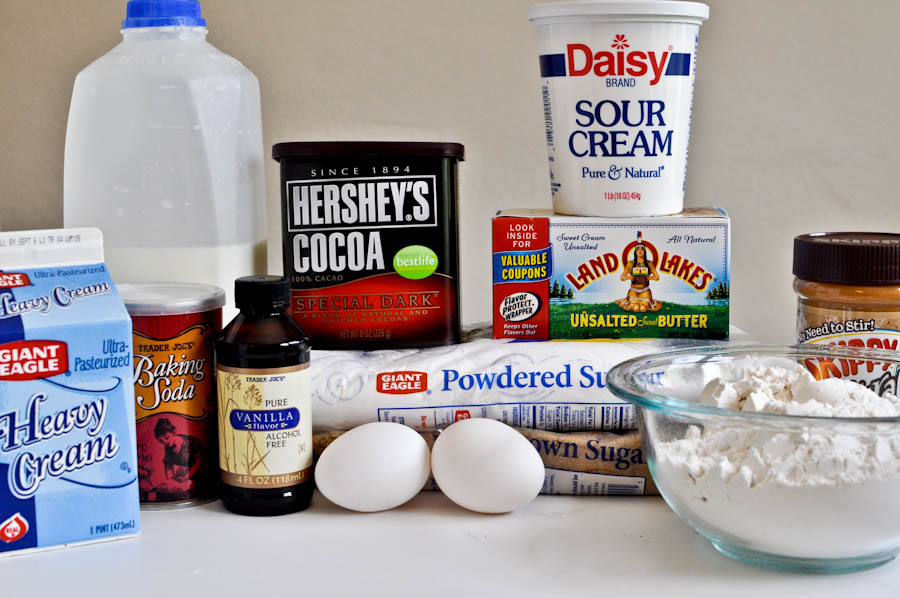
Here’s what you need: milk, eggs, heavy cream, sour cream, vanilla extract, peanut butter, flour, baking soda, butter, cocoa powder (I use the dark stuff), powdered sugar, and brown sugar. Lots of cream going on here. That only means one thing: deliciousness.

First up, I make the hot fudge. I find that if I get this out of the way, it has time to sit and thicken while I make the cupcakes. You can use a double boiler, but this time around I simply combined everything in a small saucepan and let it work its magic. Super easy!


Tasty Kitchen Blog: Peanut Butter Stuffed Hot Fudge Cupcakes. Guest post and recipe from Jessica Merchant of How Sweet It Is.

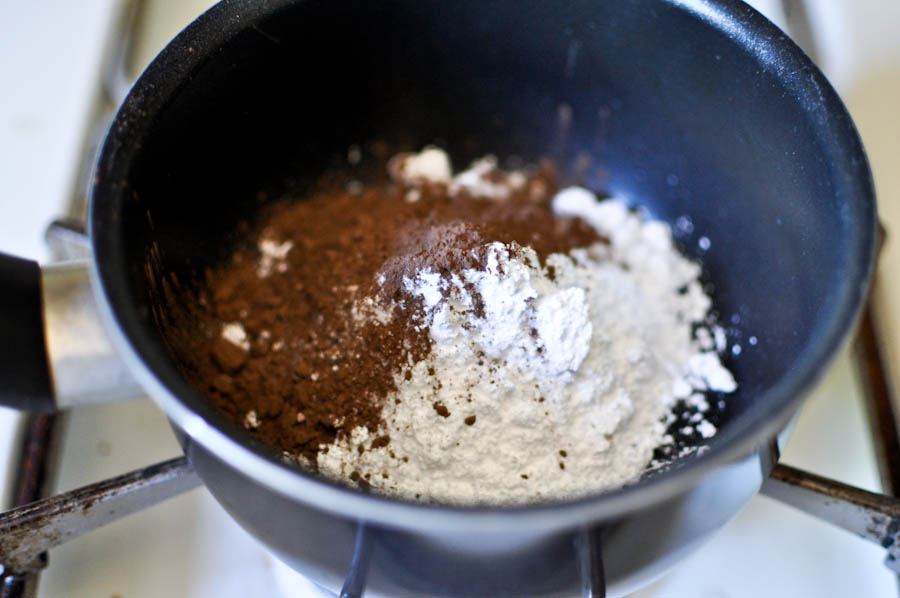
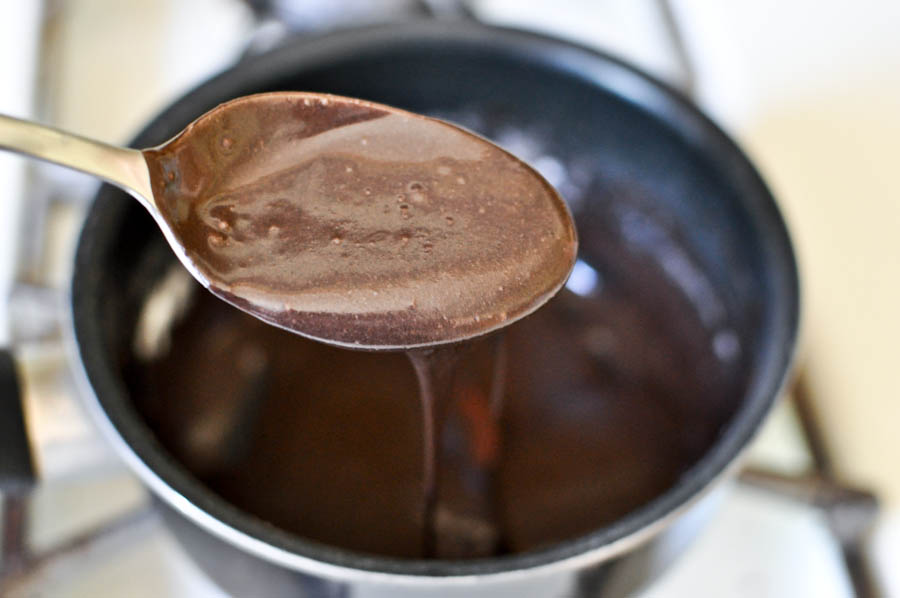
Combine the sugar, cocoa, salt, and flour in the saucepan. Separately, bring your milk or water (I always use milk, but water is fine) to a boil, then add it to the flour and cocoa mixture and stir, stir, stir over low heat. Do not look up, pass go, or collect $200. Just keep stirring until the fudge thickens.


Tasty Kitchen Blog: Peanut Butter Stuffed Hot Fudge Cupcakes. Guest post and recipe from Jessica Merchant of How Sweet It Is.

One it gets thick, remove it from the heat and stir in your butter and vanilla. Then set it aside and let it cool down to thicken a bit more.

Now it’s time to start the cupcakes. My favorite part about these cupcakes is that you only have to use one bowl to bring them together. No mixer necessary. First, sift together your flour, cocoa, salt, and baking soda and set them aside.


Tasty Kitchen Blog: Peanut Butter Stuffed Hot Fudge Cupcakes. Guest post and recipe from Jessica Merchant of How Sweet It Is.

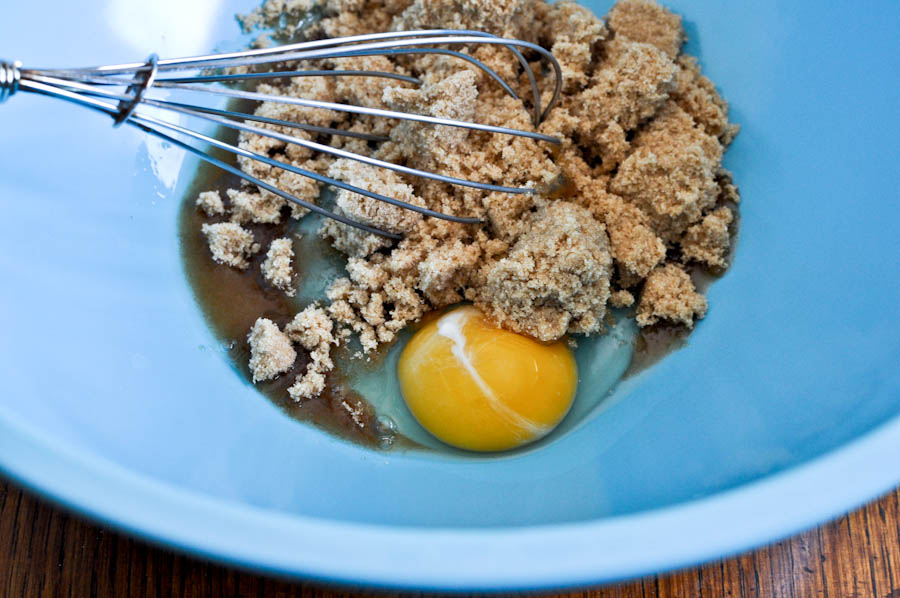
Next, in a large bowl, mix your egg and brown sugar together until no lumps remain.


Tasty Kitchen Blog: Peanut Butter Stuffed Hot Fudge Cupcakes. Guest post and recipe from Jessica Merchant of How Sweet It Is.

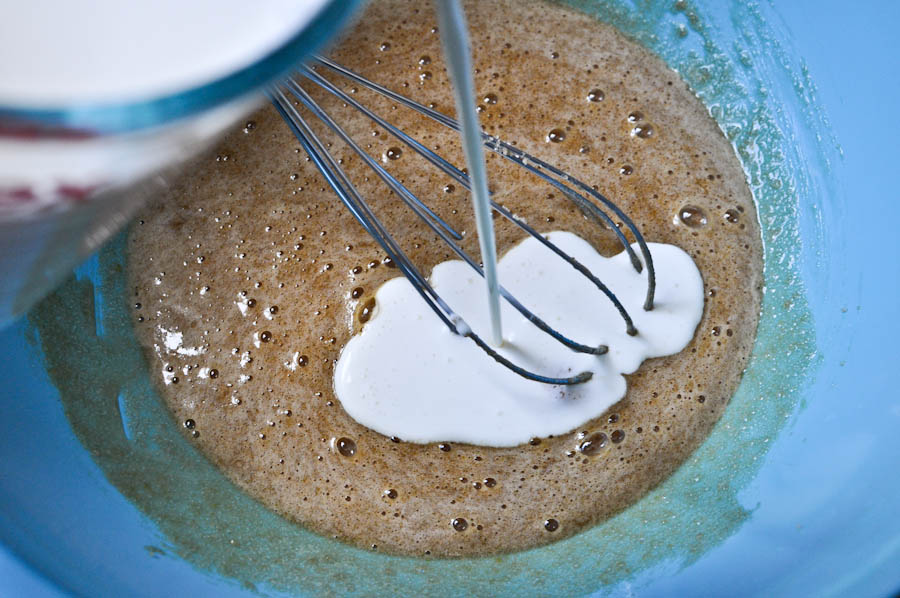
Stir in your heavy cream and milk, mixing continuously.


Tasty Kitchen Blog: Peanut Butter Stuffed Hot Fudge Cupcakes. Guest post and recipe from Jessica Merchant of How Sweet It Is.

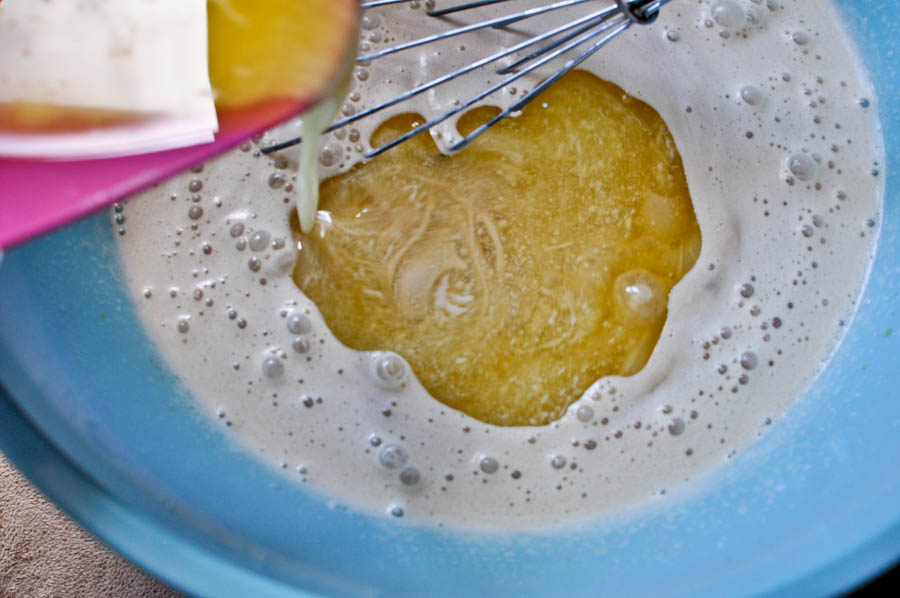
Now add in your butter and vanilla. Keep mixing away!


Tasty Kitchen Blog: Peanut Butter Stuffed Hot Fudge Cupcakes. Guest post and recipe from Jessica Merchant of How Sweet It Is.

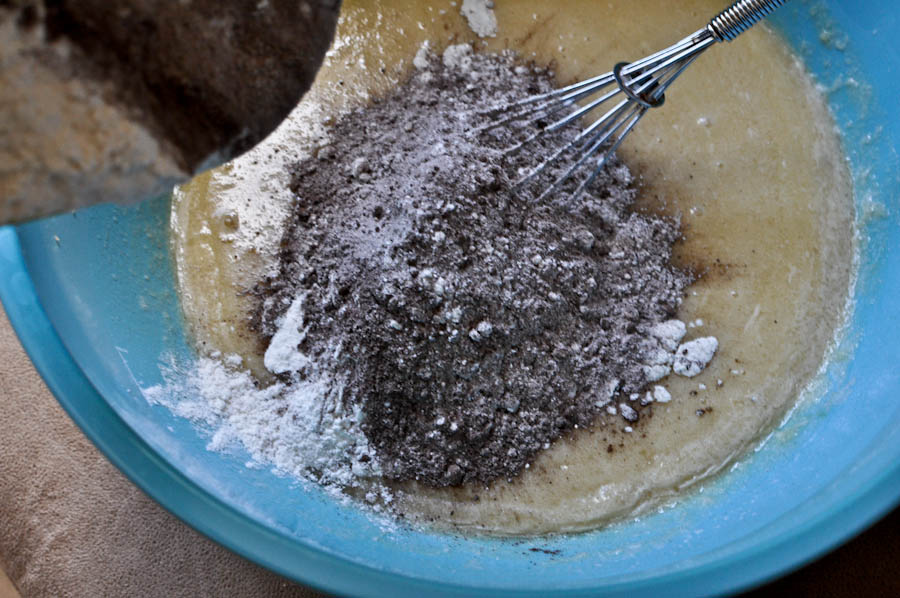
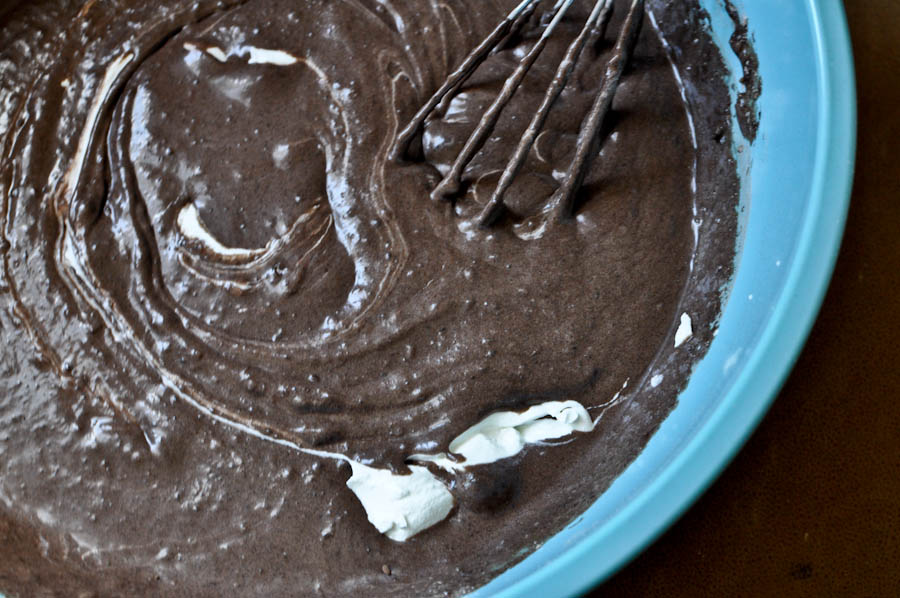
Add in your dry ingredients slowly while you continue to mix. Make sure you get out all of the lumps. And make sure you take a taste. Deeeelish.


Tasty Kitchen Blog: Peanut Butter Stuffed Hot Fudge Cupcakes. Guest post and recipe from Jessica Merchant of How Sweet It Is.

Your batter should be thick and chocolaty now. Even though you want to shovel it into your face, stir in a little sour cream. This takes it over the edge.


Tasty Kitchen Blog: Peanut Butter Stuffed Hot Fudge Cupcakes. Guest post and recipe from Jessica Merchant of How Sweet It Is.

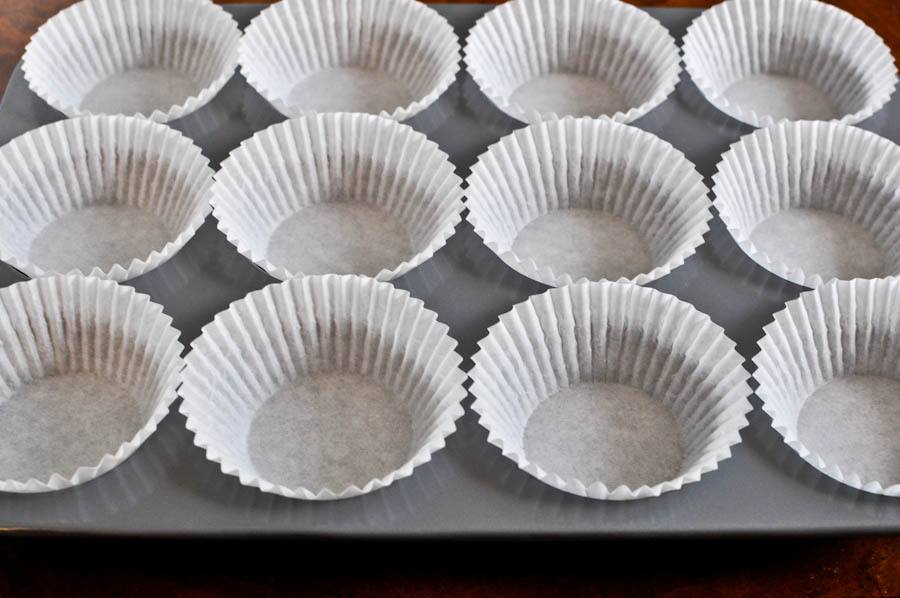
Next, line a cupcake tin with liners.


Tasty Kitchen Blog: Peanut Butter Stuffed Hot Fudge Cupcakes. Guest post and recipe from Jessica Merchant of How Sweet It Is.

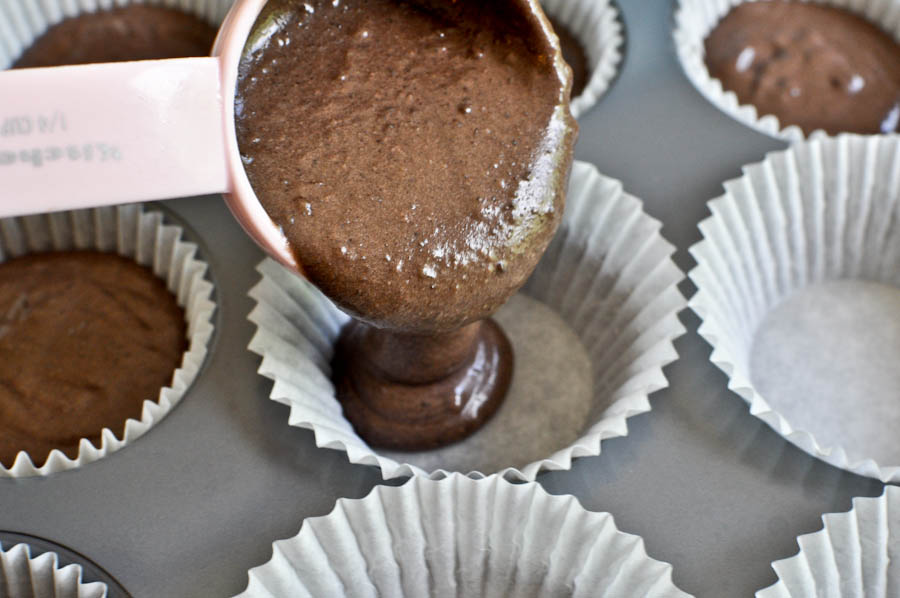
Using a 1/4 cup measure, pour the batter into each liner. I like to spray my measuring cup with non-stick spray beforehand so the batter slides right out.

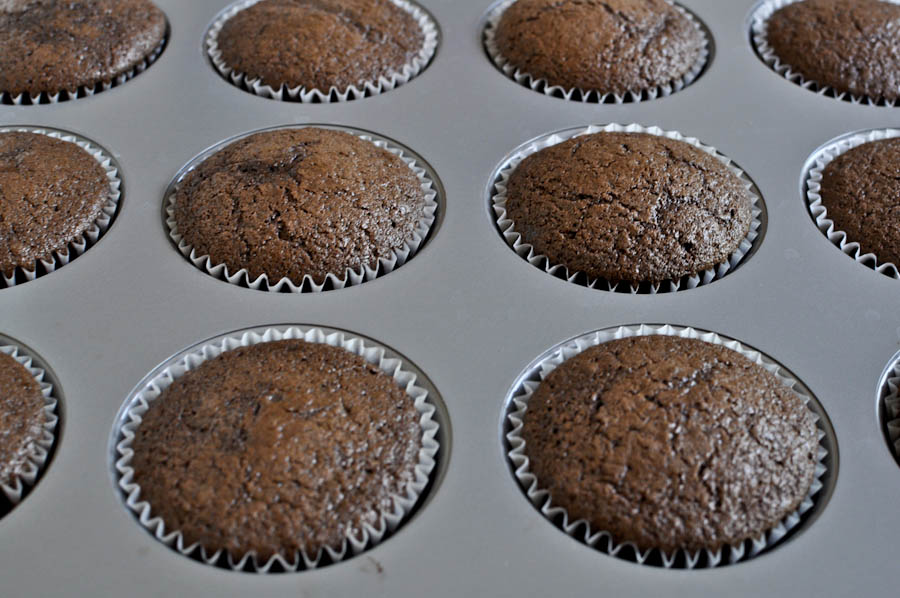
Into the oven they go!


Tasty Kitchen Blog: Peanut Butter Stuffed Hot Fudge Cupcakes. Guest post and recipe from Jessica Merchant of How Sweet It Is.

After baking, I let my cupcakes sit for about 5 minutes, then remove them from the tins and let cool on the counter. This well help them cool a little quicker and we want them to be completely cool before frosting.

While the cupcakes are cooling, you can make your frosting or do the dishes. I always choose the first option.


Tasty Kitchen Blog: Peanut Butter Stuffed Hot Fudge Cupcakes. Guest post and recipe from Jessica Merchant of How Sweet It Is.

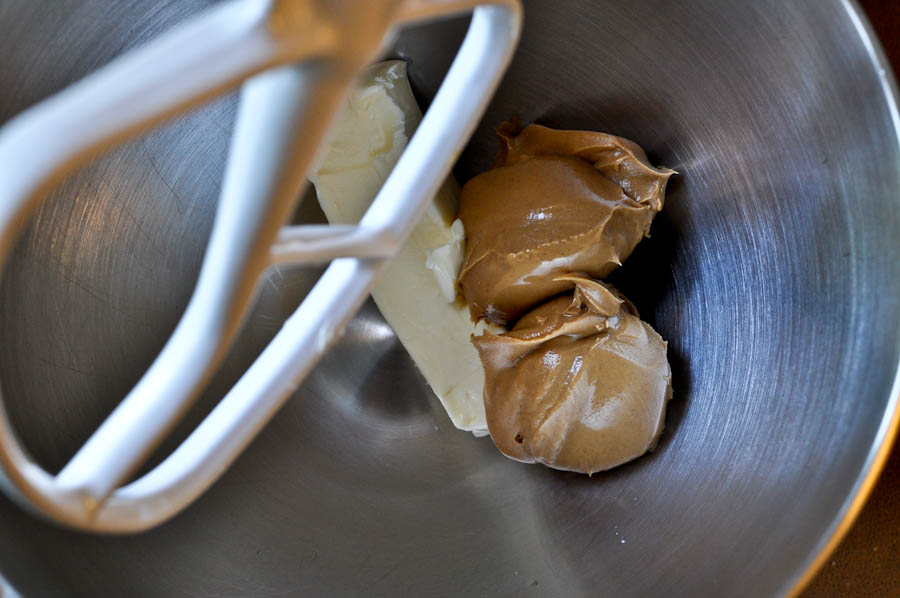
Combine softened butter and peanut butter in the bowl of your electric mixer and beat until fluffy, about 5 minutes. You gotta scrape down the sides every so often, too.


Tasty Kitchen Blog: Peanut Butter Stuffed Hot Fudge Cupcakes. Guest post and recipe from Jessica Merchant of How Sweet It Is.

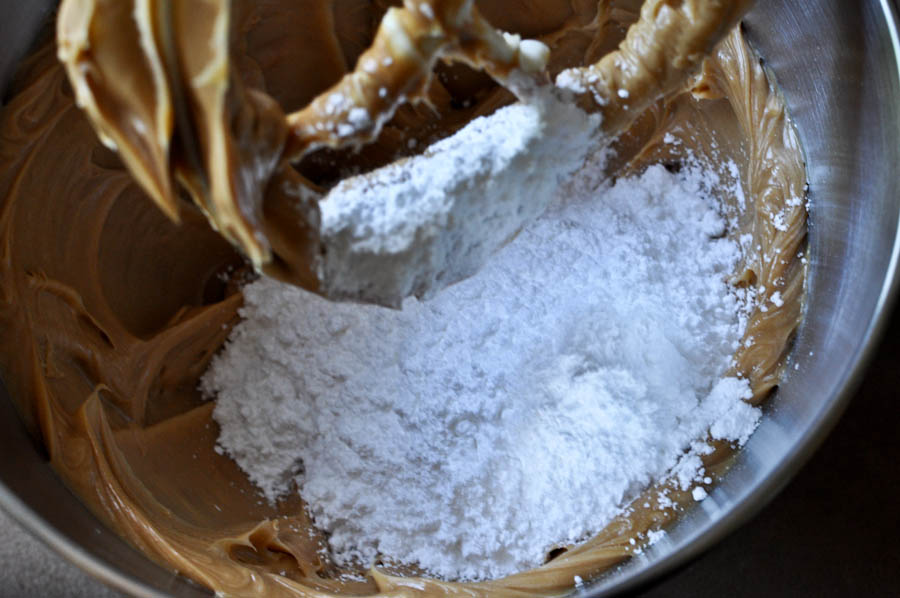
Add in your powdered sugar bit by bit and stir on low speed, gradually increasing to high speed. I’m warning you: this frosting is like a drug. Stay away. Far, far away. (At least until after you’ve frosted your cupcakes.)

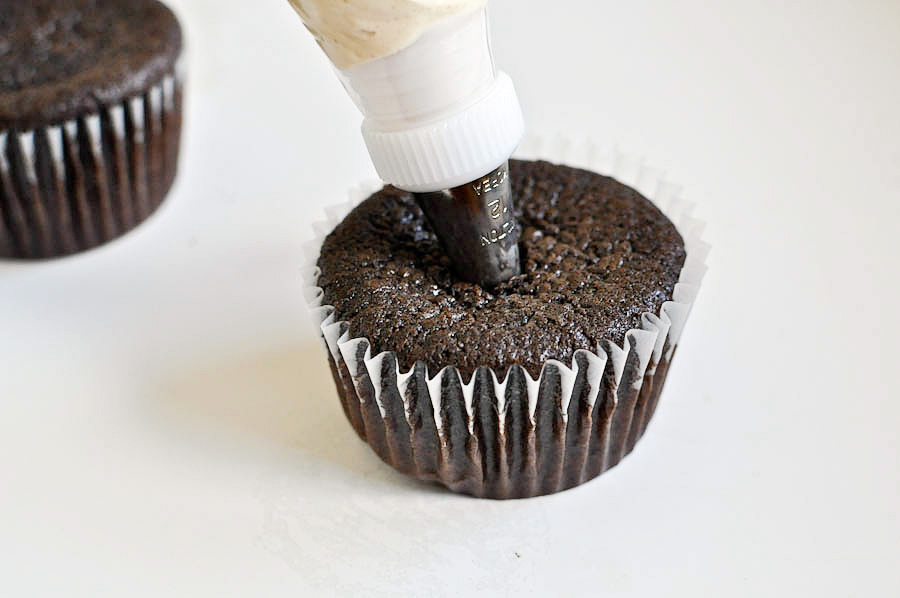
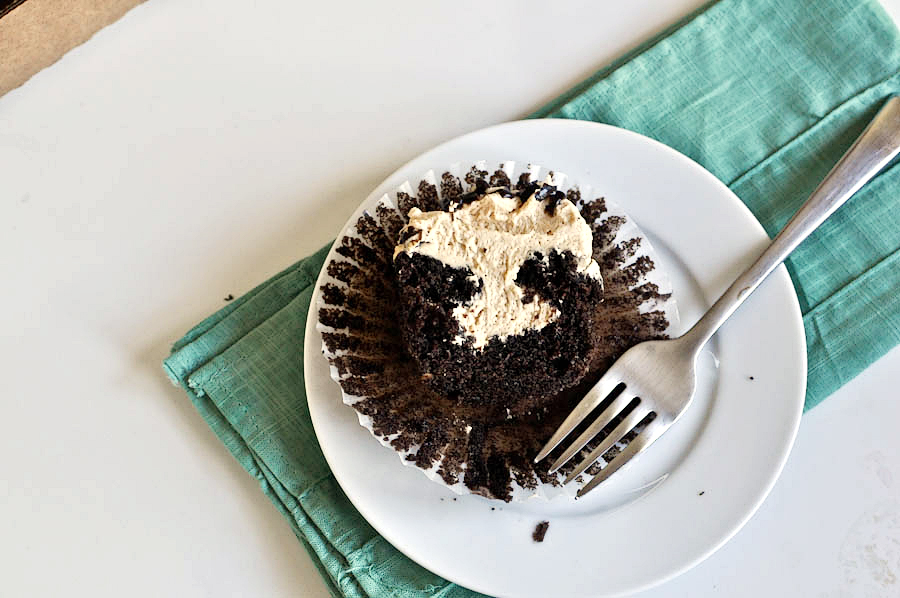
Once your frosting is made and your cupcakes have cooled, it’s time to stuff the ‘cakes. I find that the easiest way to do this is to fill a pastry bag with frosting and simply plunge it down into the cake. If you don’t have a pastry bag (the disposable ones are the best!), you can also use a spoon. All you have to do is remove a tiny circle from the top of the cupcake until you reach the middle, and spoon some frosting in. Then replace the top that you cut off. Easy!


Tasty Kitchen Blog: Peanut Butter Stuffed Hot Fudge Cupcakes. Guest post and recipe from Jessica Merchant of How Sweet It Is.

I fill a bag with frosting, stick it in the cupcake, squeeze …


Tasty Kitchen Blog: Peanut Butter Stuffed Hot Fudge Cupcakes. Guest post and recipe from Jessica Merchant of How Sweet It Is.

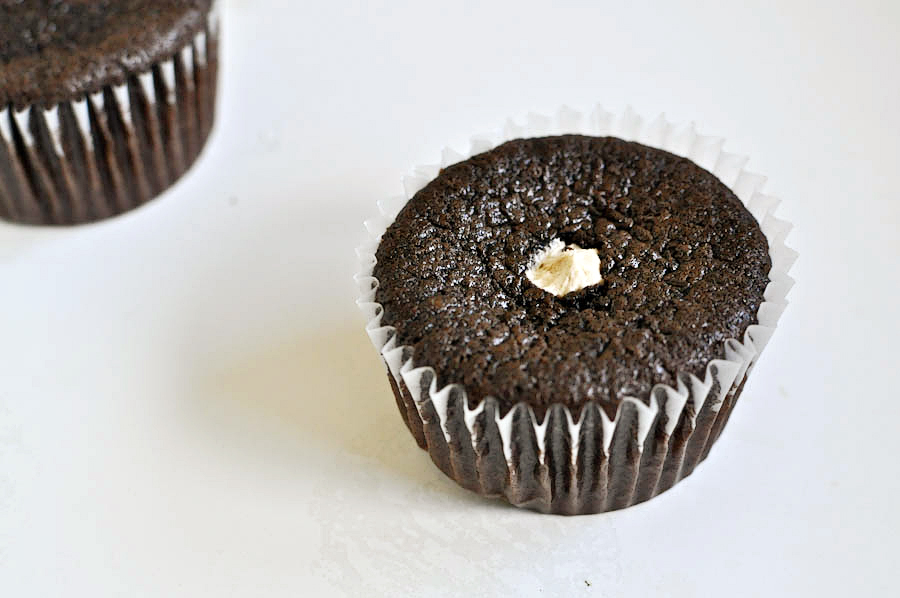
And voila! Instant stuffing. Mmmm.


Tasty Kitchen Blog: Peanut Butter Stuffed Hot Fudge Cupcakes. Guest post and recipe from Jessica Merchant of How Sweet It Is.

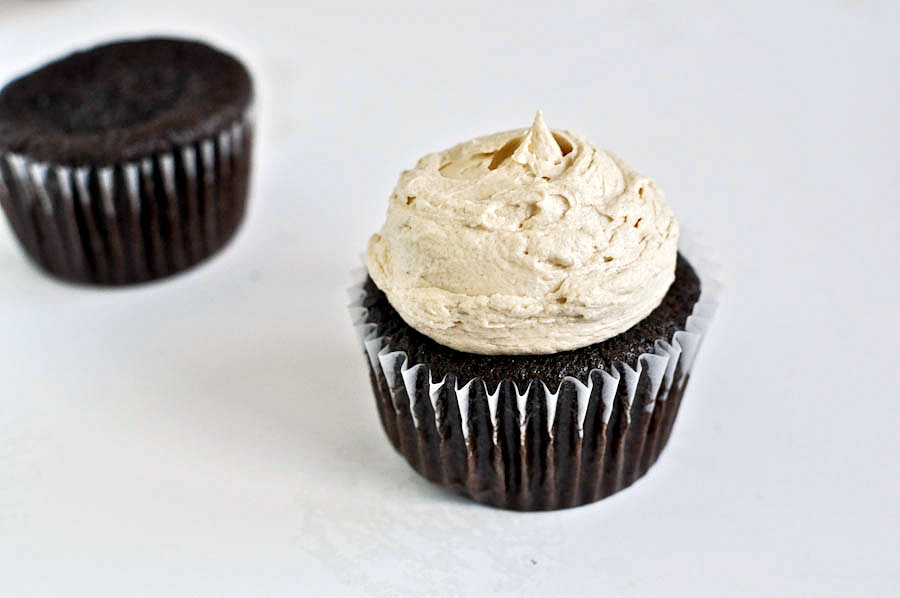
Next, I frost the top. Again, if you’re not using a pastry bag, just frost the cupcake the way you normally would.


Tasty Kitchen Blog: Peanut Butter Stuffed Hot Fudge Cupcakes. Guest post and recipe from Jessica Merchant of How Sweet It Is.

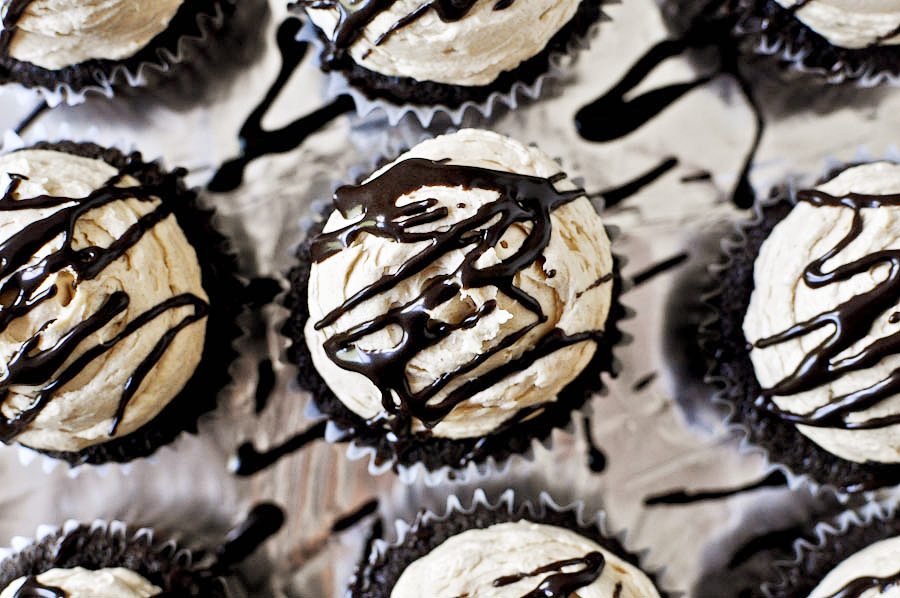
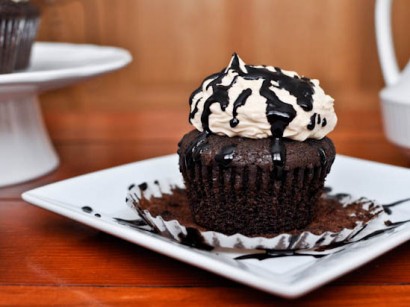
Now comes the fun part. Line up your cupcakes on parchment paper or aluminum foil and throw that hot fudge sauce you made a few hours ago all over the top. You be the artist.


Tasty Kitchen Blog: Peanut Butter Stuffed Hot Fudge Cupcakes. Guest post and recipe from Jessica Merchant of How Sweet It Is.

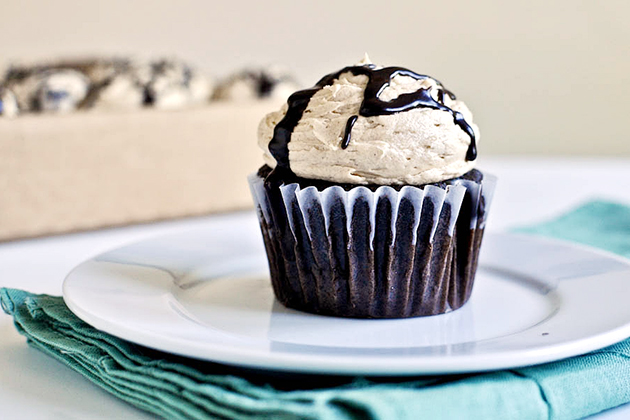
Oh, look! Another fun part. You get to eat one. No one can pass this up.


Tasty Kitchen Blog: Peanut Butter Stuffed Hot Fudge Cupcakes. Guest post and recipe from Jessica Merchant of How Sweet It Is.

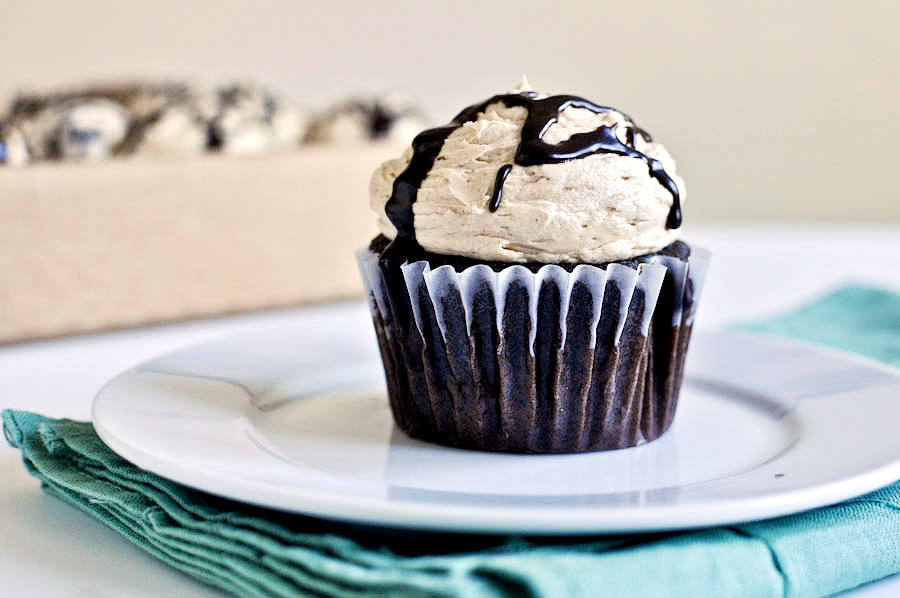
Dig right in and savor it. Chocolate and peanut butter work miracles, I tell you.

I hope you try these cupcakes and love them as much as we do! The hot fudge can be stored in your fridge for later use—like spoon dipping. It comes in handy at midnight. Just sayin.’


Printable Recipe

Peanut Butter Stuffed Hot Fudge Cupcakes

See post on HowSweetEats’s site!
4.78 Mitt(s) 23 Rating(s)23 votes, average: 4.78 out of 523 votes, average: 4.78 out of 523 votes, average: 4.78 out of 523 votes, average: 4.78 out of 523 votes, average: 4.78 out of 5

Prep Time:

Cook Time:

Difficulty: Easy

Servings: 12

12
x

Print Options

Page size Letter 3x5 4x6
Text Size Small Medium Large
Content Include description
Include prep time, etc.
Show image

Description

Easy (one bowl!), fluffy dark chocolate cupcakes with peanut butter buttercream and hot fudge.

Ingredients

  • FOR THE CUPCAKES:
  • 1 whole Egg
  • ¾ cups Brown Sugar
  • ½ cups Milk
  • ½ cups Plus 1 Tablespoon Heavy Cream
  • ½ cups Butter, Melted
  • 1 teaspoon Vanilla Extract
  • 2 Tablespoons Sour Cream
  • 1-⅛ cup All-purpose Flour
  • ¼ cups Dark Cocoa Powder
  • 1-¼ teaspoon Baking Soda
  • ½ teaspoons Salt
  • ¼ cups Homemade Hot Fudge (recipe Below)
  • _____
  • FOR THE BUTTERCREAM:
  • ½ cups Butter, Softened
  • ⅔ cups Peanut Butter
  • 3 cups Powdered Sugar (you May Need 1 More Cup)
  • 1 Tablespoon Milk, Have 1-2 More On Hand If Needed
  • 1 teaspoon Vanilla Extract
  • 1 pinch Salt
  • _____
  • FOR THE HOT FUDGE SAUCE:
  • 1 cup Sugar
  • 1 cup Dark Cocoa Powder
  • 1 pinch Salt
  • 2 Tablespoons Flour
  • 1 cup Boiling Water Or Scalding Milk
  • 1 Tablespoon Butter
  • 1 teaspoon Vanilla Extract

Preparation Instructions

For the cupcakes:
Preheat oven to 350 degrees F.

In a bowl, whisk egg and sugar until smooth and no lumps remain. Add milk, cream, butter and vanilla, and mix until combined. Stir in sour cream.

Sift dry ingredients together and then add to the wet mixture. Mix until batter is smooth, then swirl in fudge sauce. Line a muffin tin (12 count) with liners and using a 1/4 cup measure, add batter to each cup. Bake for 15-18 minutes. Let cool before frosting.

For the frosting:
Cream butter and peanut butter together in the bowl of an electric mixer. Add powdered sugar with mixer on low speed and gradually add milk and vanilla extract. Add a pinch of salt and mix until frosting is smooth. If too thick, add more milk; if too thin, add more sugar.

Put the frosting in a pastry bag fitted with a tip. Poke a hole in the cupcake with the pastry tip and fill the cupcake. Then frost the cooled cupcakes as desired.

For the homemade fudge:
Combine sugar, cocoa, salt, and flour in a bowl or pot over a double boiler. Bring water or milk to a boil in another saucepan or in the microwave. Gradually add hot liquid to sugar mixture. Stir constantly until mixture thickens.

Once it has reached the desired thickness, remove from heat and stir in butter and vanilla. Drizzle over cupcakes and store the rest of the sauce in the fridge for 1-2 weeks.


_______________________________________

Jessica Merchant is a personal trainer turned food writer and blogger. Her blog, How Sweet Eats, is where she proclaims her love for all things sweet, all things bacon, and everything else in between. She works her magic in her Pittsburgh kitchen, which she shares with her husband of 2 years.
 

Profile photo of Erica Lea

Homemade Pizza Sauce

Posted by in Step-by-Step Recipes

Tasty Kitchen Blog: Homemade Pizza Sauce. Guest post and recipe from Erica Kastner of Cooking for Seven.
 
There’s nothing like homemade pizza—being able to choose exactly which ingredients you want on your pizza, adding just the right amount of cheese, cooking it until the crust is crispy or soft. Making your own sauce is just another way of personalizing your pizza. Sure, it’s easy to pick a can of pizza sauce off the grocery store shelf, but the list of ingredients is generally either long and confusing or disgusting. It is so quick and easy to make your own sauce. Let me show you how!


Tasty Kitchen Blog: Homemade Pizza Sauce. Guest post and recipe from Erica Kastner of Cooking for Seven.

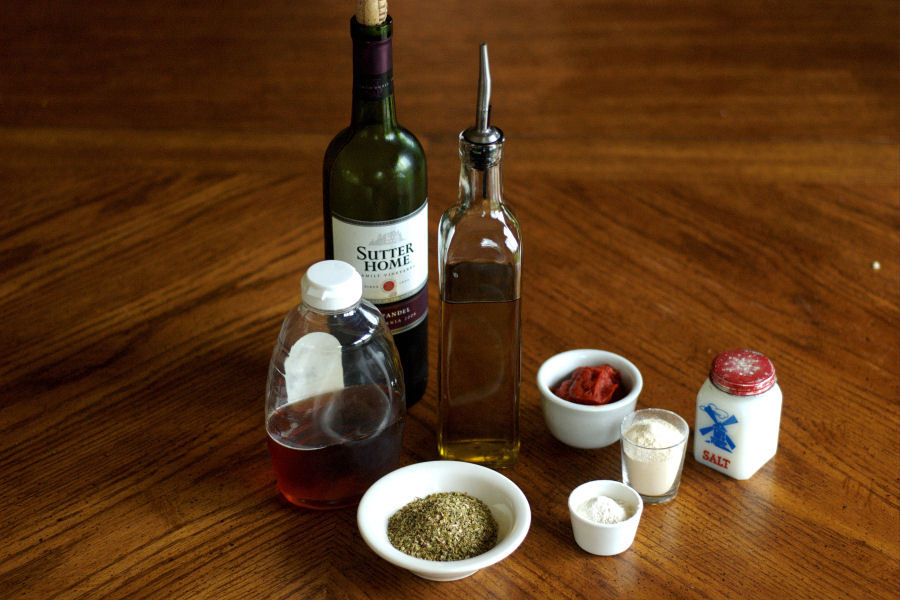
Here’s what you’ll need: tomato paste, olive oil, dried oregano, garlic powder, onion powder, salt, maple syrup, red wine, and water.


Tasty Kitchen Blog: Homemade Pizza Sauce. Guest post and recipe from Erica Kastner of Cooking for Seven.

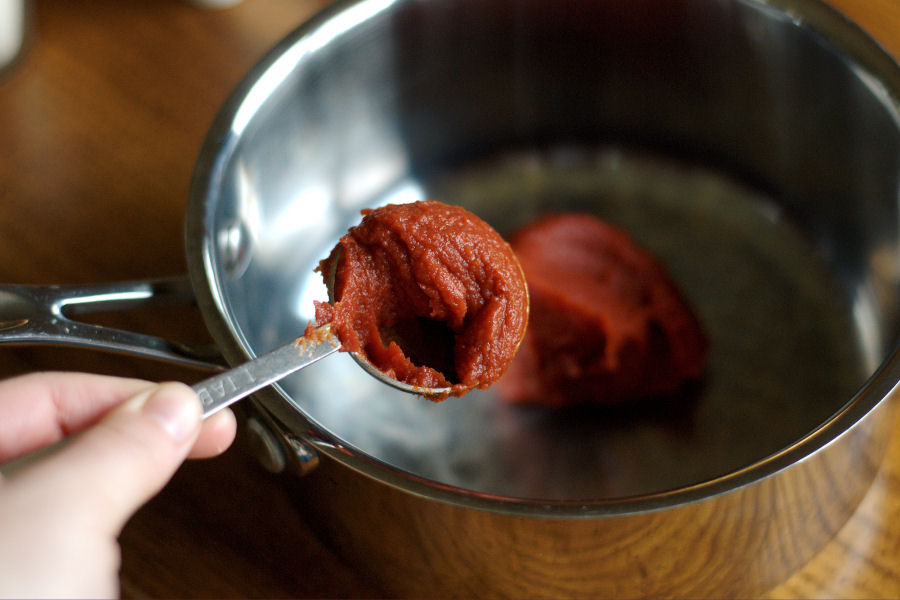
Put the tomato paste in a small saucepan.


Tasty Kitchen Blog: Homemade Pizza Sauce. Guest post and recipe from Erica Kastner of Cooking for Seven.

Add the olive oil …


Tasty Kitchen Blog: Homemade Pizza Sauce. Guest post and recipe from Erica Kastner of Cooking for Seven.

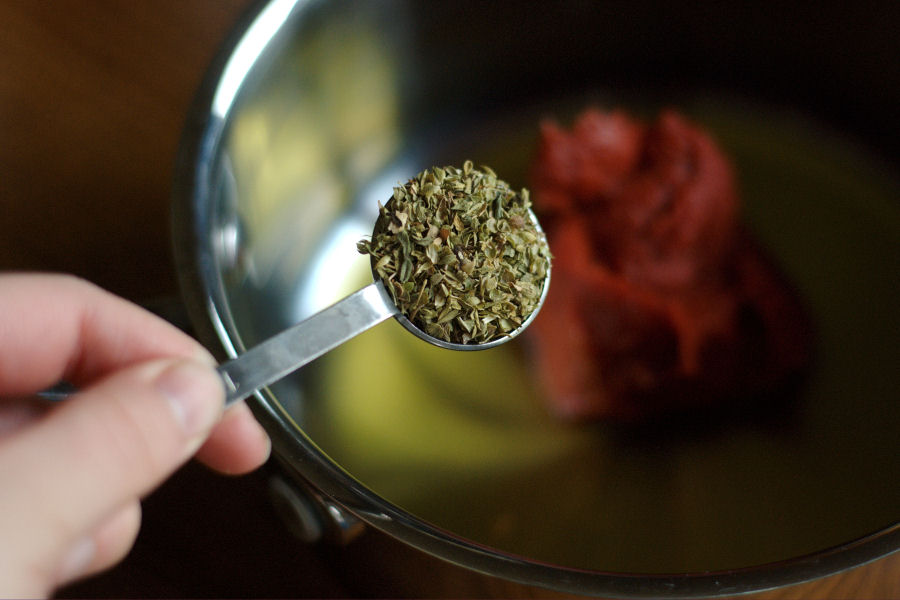
Oregano …


Tasty Kitchen Blog: Homemade Pizza Sauce. Guest post and recipe from Erica Kastner of Cooking for Seven.

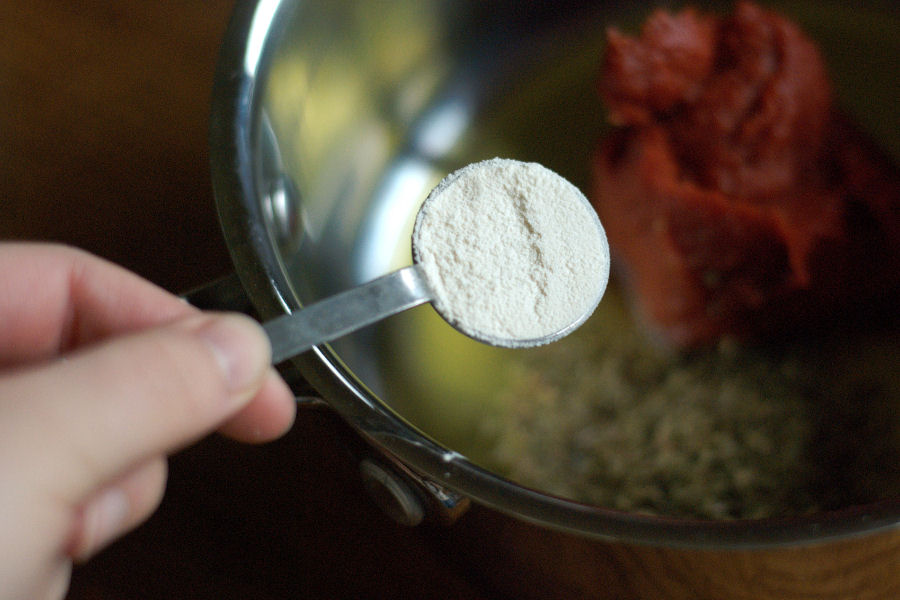
Onion powder …


Tasty Kitchen Blog: Homemade Pizza Sauce. Guest post and recipe from Erica Kastner of Cooking for Seven.

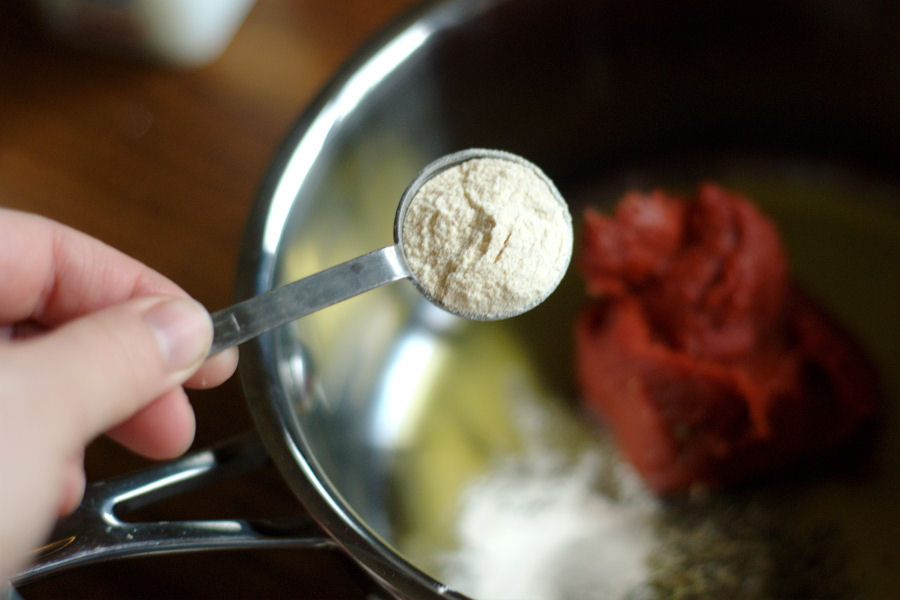
Garlic powder …


Tasty Kitchen Blog: Homemade Pizza Sauce. Guest post and recipe from Erica Kastner of Cooking for Seven.

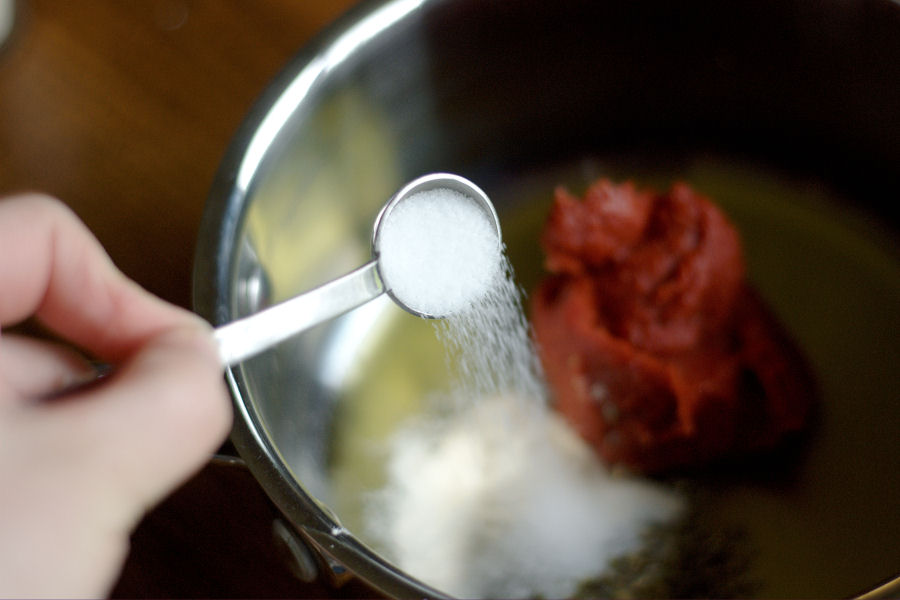
Salt …


Tasty Kitchen Blog: Homemade Pizza Sauce. Guest post and recipe from Erica Kastner of Cooking for Seven.

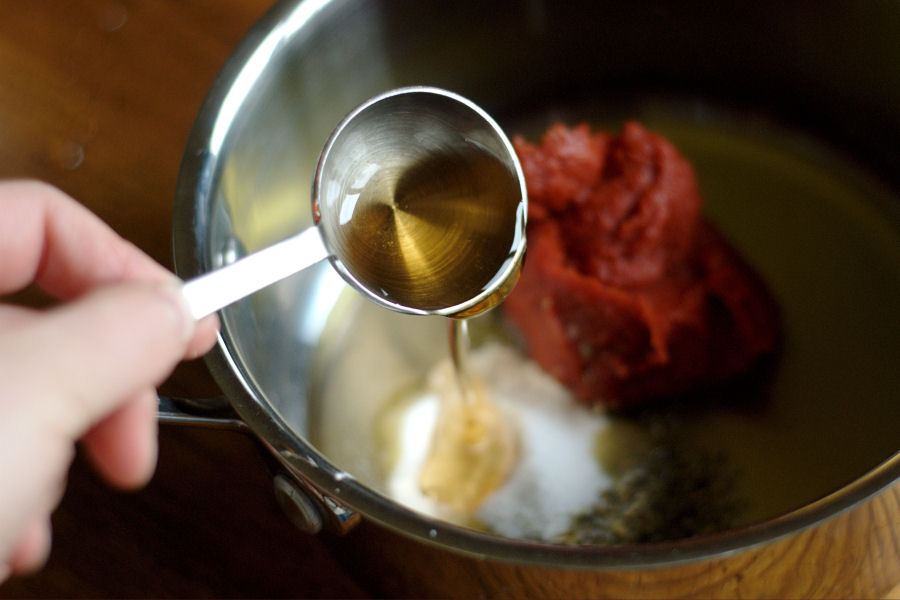
Maple syrup …


Tasty Kitchen Blog: Homemade Pizza Sauce. Guest post and recipe from Erica Kastner of Cooking for Seven.

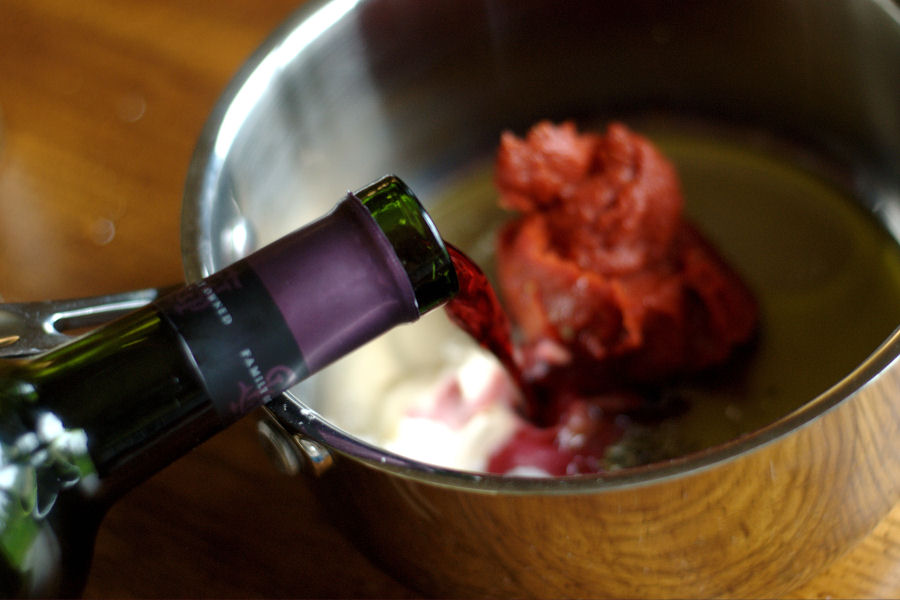
Red wine …


Tasty Kitchen Blog: Homemade Pizza Sauce. Guest post and recipe from Erica Kastner of Cooking for Seven.

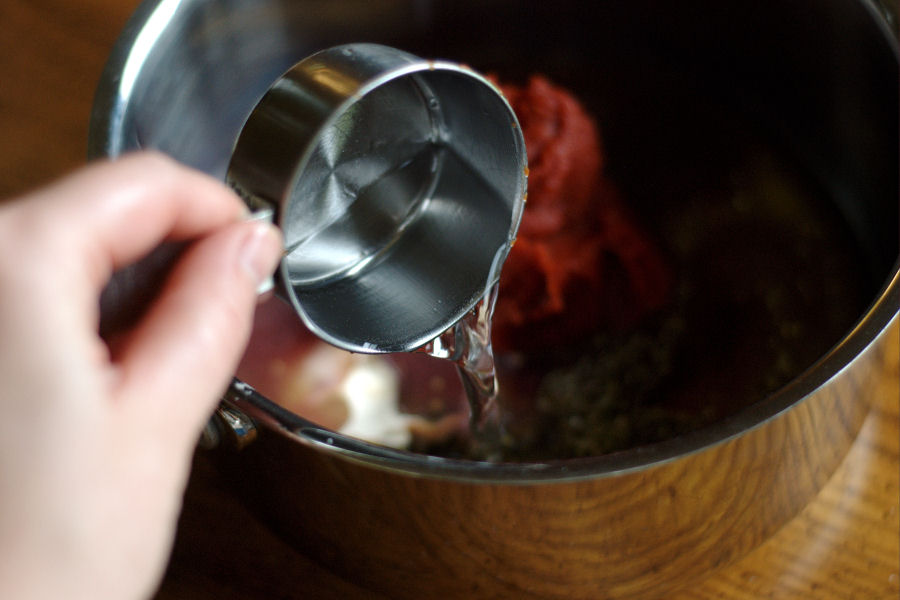
And water.


Tasty Kitchen Blog: Homemade Pizza Sauce. Guest post and recipe from Erica Kastner of Cooking for Seven.

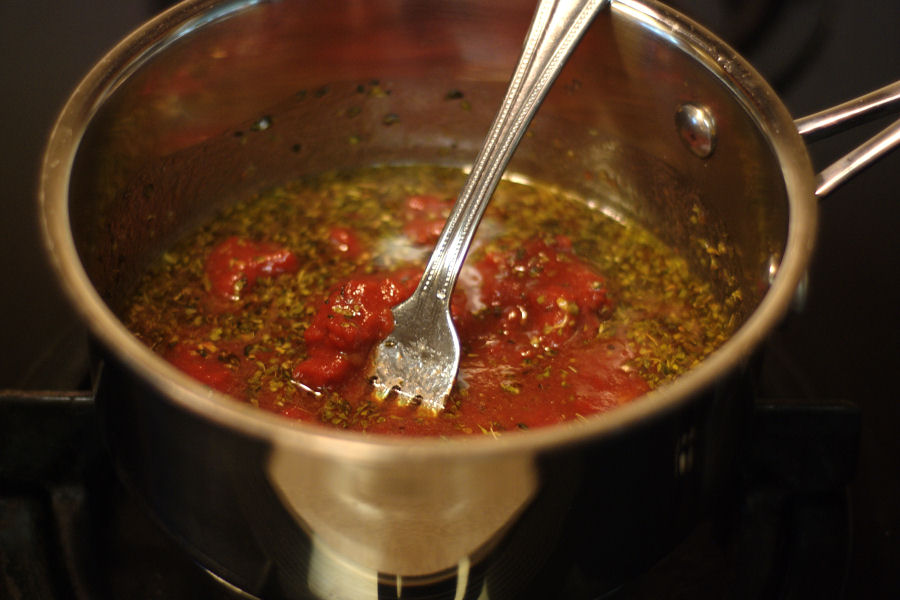
Whisk it all together with a fork.


Tasty Kitchen Blog: Homemade Pizza Sauce. Guest post and recipe from Erica Kastner of Cooking for Seven.

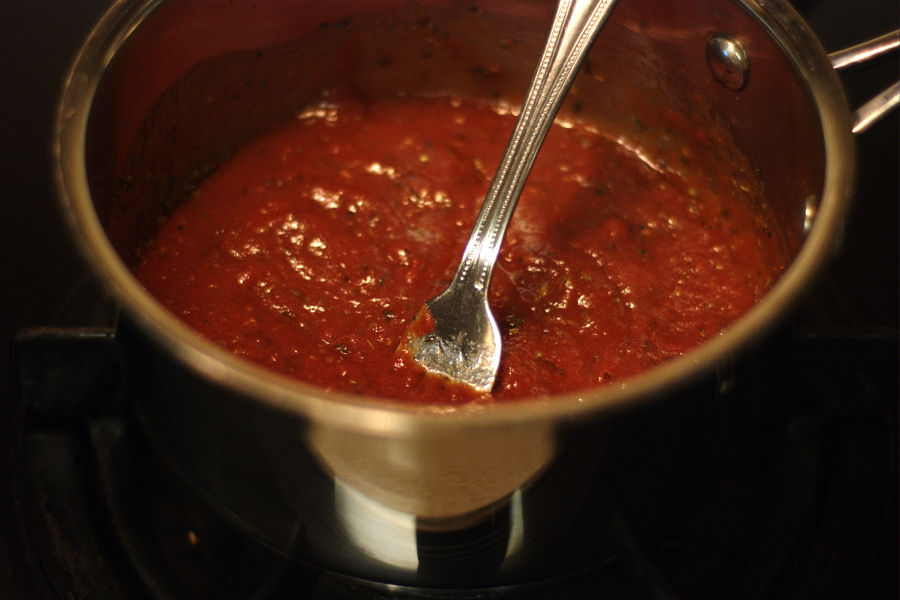
Bring to a boil and simmer a few minutes.


Tasty Kitchen Blog: Homemade Pizza Sauce. Guest post and recipe from Erica Kastner of Cooking for Seven.

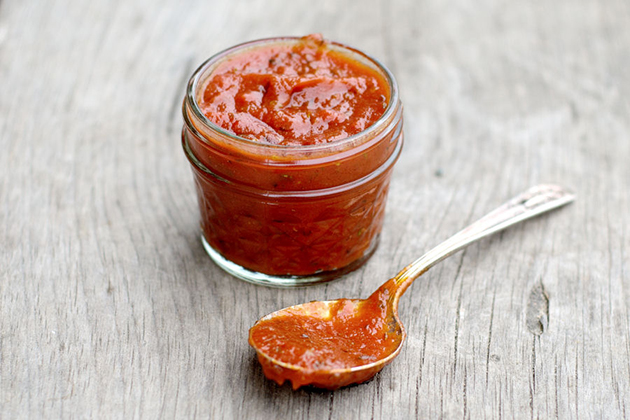
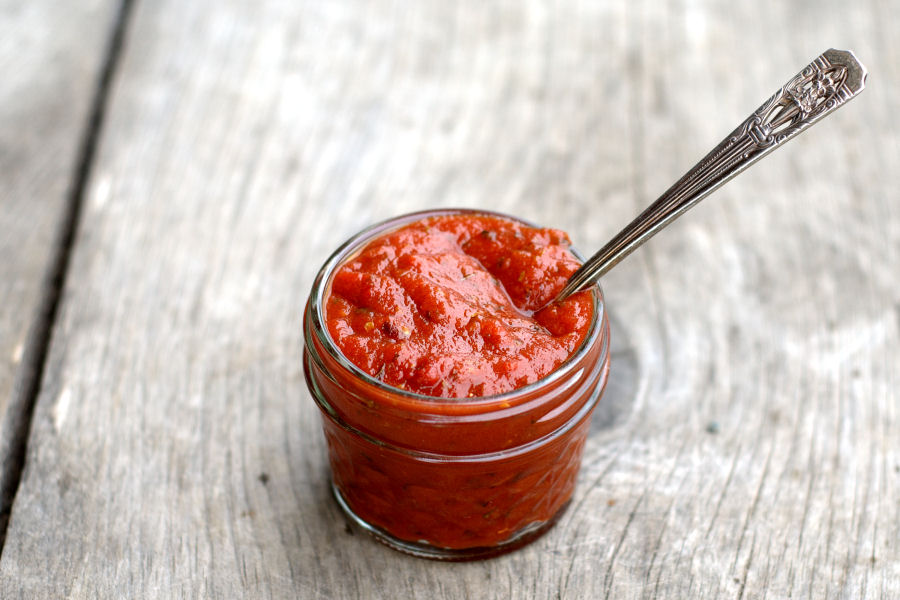
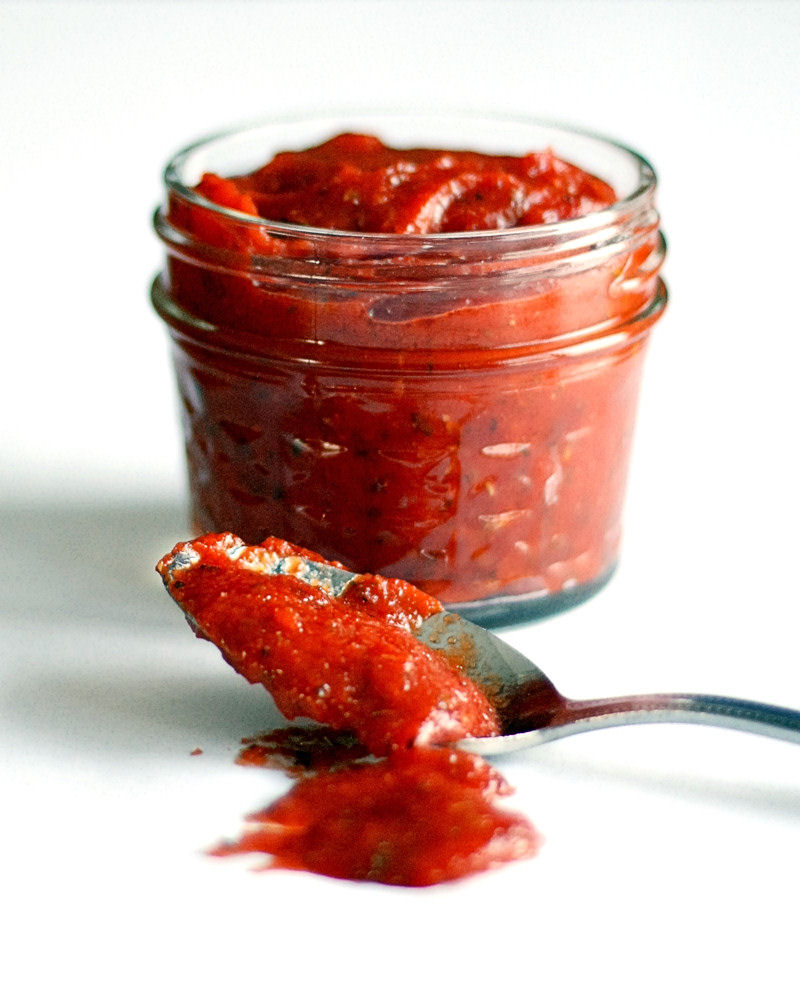
And there you have it! The quickest, yummiest homemade pizza sauce ever. Don’t quote me on that.


Tasty Kitchen Blog: Homemade Pizza Sauce. Guest post and recipe from Erica Kastner of Cooking for Seven.

 
Notes:

1. If you don’t have any tomato paste on hand, you can substitute 1/2 cup plus 2 tablespoons of tomato puree or tomato sauce for the tomato paste and water. If using sauce, you may need to adjust the other seasonings.

2. Looking for a pizza crust recipe? Check out my Whole Wheat Pizza Dough recipe. You can also find the pizza dough printable recipe on Tasty Kitchen.

3. Want to learn how to grill pizza? Check out my step-by-step instructions.


Printable Recipe

Homemade Pizza Sauce

See post on Erica Lea’s site!
4.93 Mitt(s) 15 Rating(s)15 votes, average: 4.93 out of 515 votes, average: 4.93 out of 515 votes, average: 4.93 out of 515 votes, average: 4.93 out of 515 votes, average: 4.93 out of 5

Prep Time:

Cook Time:

Difficulty: Easy

Servings: 8

8
x

Print Options

Page size Letter 3x5 4x6
Text Size Small Medium Large
Content Include description
Include prep time, etc.
Show image

Description

A quick and easy recipe with loads of flavor.

Ingredients

  • 6 Tablespoons Tomato Paste
  • 2 Tablespoons Extra Virgin Olive Oil
  • 1 teaspoon Garlic Powder
  • 1 teaspoon Onion Powder
  • 2 teaspoons Dried Oregano
  • ½ teaspoons Sea Salt
  • 1-½ teaspoon Pure Maple Syrup
  • 2 Tablespoons Red Cooking Wine (optional But Very Good)
  • ¼ cups Water

Preparation Instructions

Place all ingredients in a small saucepan. Whisk together until well combined. Place over low heat and cook until heated through. Taste and adjust seasonings if necessary.


_______________________________________

Erica Berge shares her wonderful recipes and amazing food photography on her blog, Cooking for Seven. She also writes about crafts and posts more of her beautiful photography in her personal blog, EricaLea.com. There really isn’t much that this amazing young lady can’t do, and we’re thrilled she does some of it here.


Profile photo of cookincanuck

Mocha Brandy Frappe

Posted by in Step-by-Step Recipes

Tasty Kitchen Blog: Mocha Brandy Frappe. Guest post by Dara Michalski of Cookin' Canuck, recipe submitted by TK member Deb of Smith Bites.

When I was in my early twenties and my waistline could handle this sort of thing, I made daily trips to one of the many coffee houses in my hometown. You’d be hard-pressed to walk two blocks in Vancouver without finding some sort of specialty coffee store. Yes, we are a highly caffeinated, but friendly lot. You know you are a regular at the coffee shop when the barista has your drink ready for you, your name written on the side of the cup, by the time you reach the front of the line. Grande cafe mocha with nonfat milk and whipped cream, please. The nonfat milk cancels out the calories from the chocolate syrup and whipped cream. If you have evidence to prove otherwise, I don’t want to hear about it.

When I spotted this mocha frappe by Deb of smithbites, I was whisked back to those lazy days of my youth (my goodness, I’m getting old). To make things even better, Deb adds a touch of brandy and a pinch of cinnamon and cayenne pepper. Are you sold yet? I was ready for a really good coffee drink, but was not prepared for the-coffee-drink-to-top-all-coffee-drinks. Deb, you are a magician.

A few weeks ago, someone (you may know her—her name’s Ree) posted a recipe for iced coffee concentrate. Make a batch of this and store it in the fridge to have on hand so you can make the perfect iced coffee or Mocha Brandy Frappe at a moment’s notice.


Tasty Kitchen Blog: Mocha Brandy Frappe. Guest post by Dara Michalski of Cookin' Canuck, recipe submitted by TK member Deb of Smith Bites.

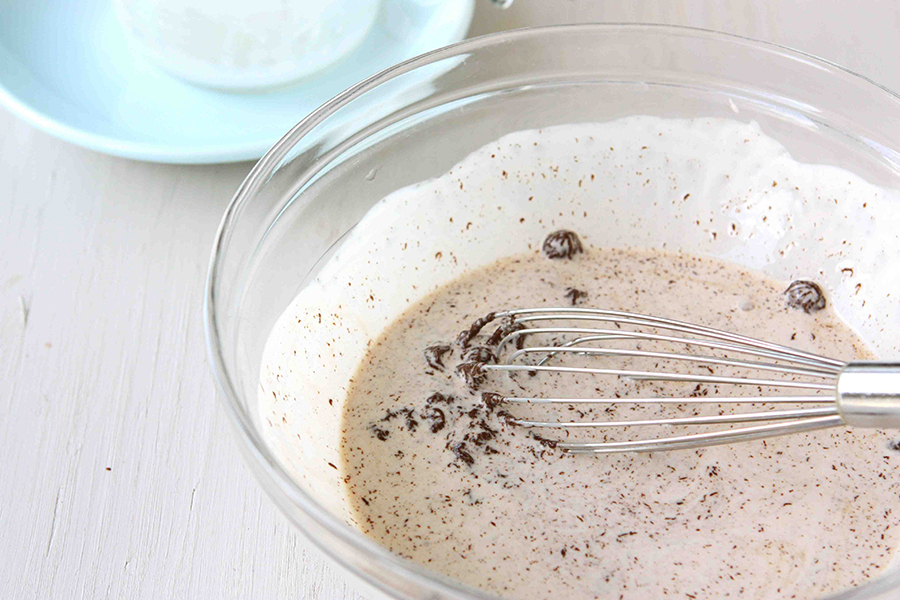
For the chocolate sauce, you can use a store-bought version or make your own. Since there was extra cream in my fridge and chocolate that would be eaten by the fistful if I didn’t find another use for it, I went the homemade route. Just bring the cream to a boil, pour it over chopped chocolate and whisk. Yep, it’s that easy.


Tasty Kitchen Blog: Mocha Brandy Frappe. Guest post by Dara Michalski of Cookin' Canuck, recipe submitted by TK member Deb of Smith Bites.

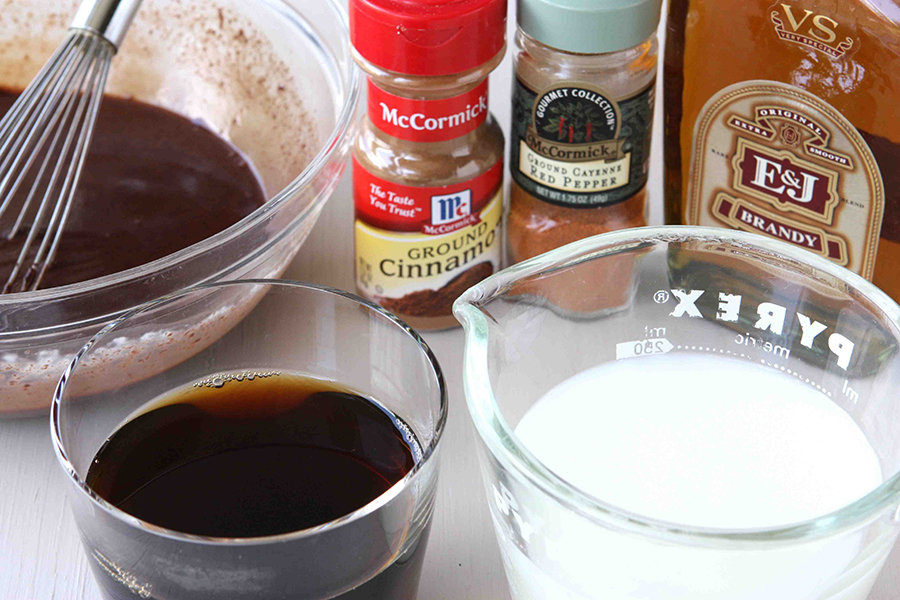
This is all you will need to make this addictive frappe. Oh, and a little ice.


Tasty Kitchen Blog: Mocha Brandy Frappe. Guest post by Dara Michalski of Cookin' Canuck, recipe submitted by TK member Deb of Smith Bites.

Place chocolate, brandy …


Tasty Kitchen Blog: Mocha Brandy Frappe. Guest post by Dara Michalski of Cookin' Canuck, recipe submitted by TK member Deb of Smith Bites.

Coffee concentrate …


Tasty Kitchen Blog: Mocha Brandy Frappe. Guest post by Dara Michalski of Cookin' Canuck, recipe submitted by TK member Deb of Smith Bites.

Milk (soymilk or another kind you prefer) …


Tasty Kitchen Blog: Mocha Brandy Frappe. Guest post by Dara Michalski of Cookin' Canuck, recipe submitted by TK member Deb of Smith Bites.

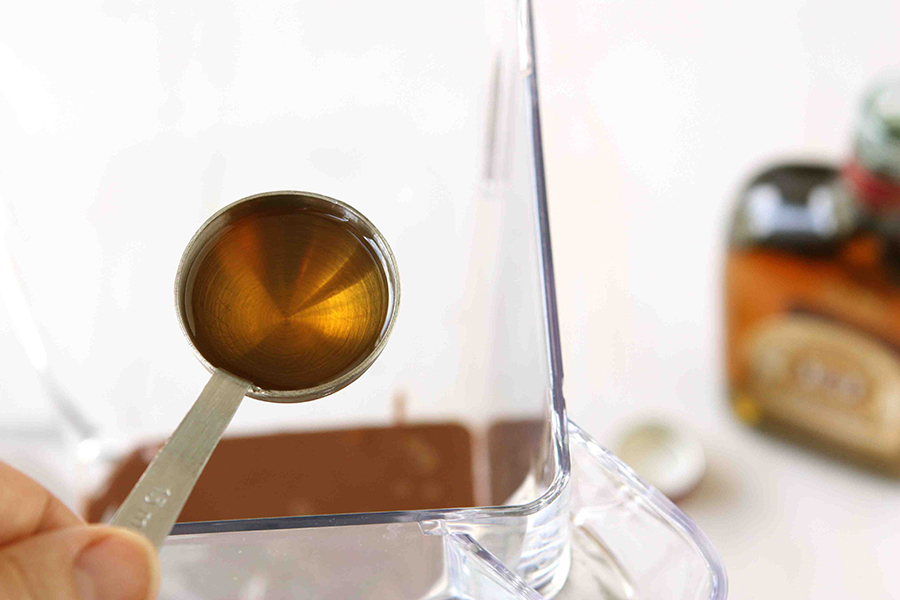
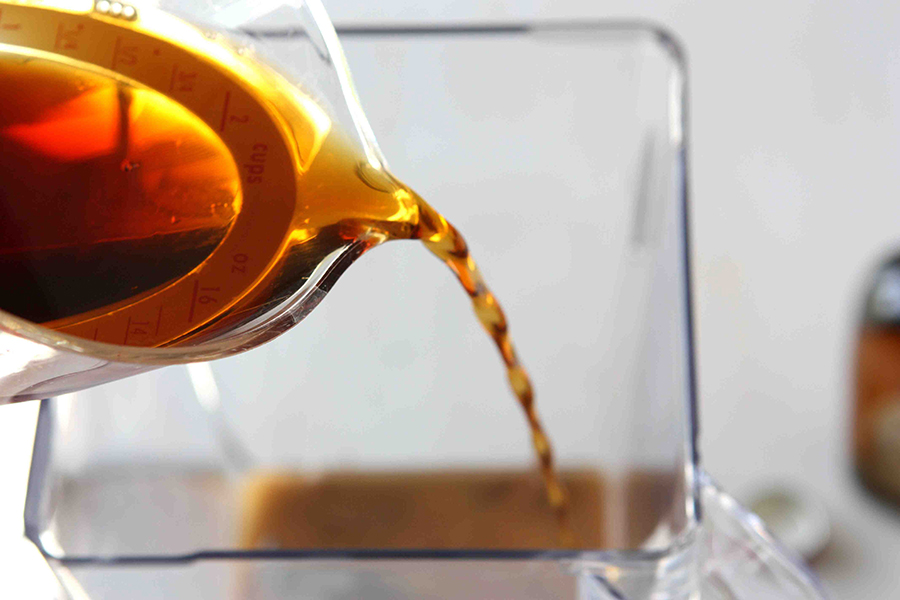
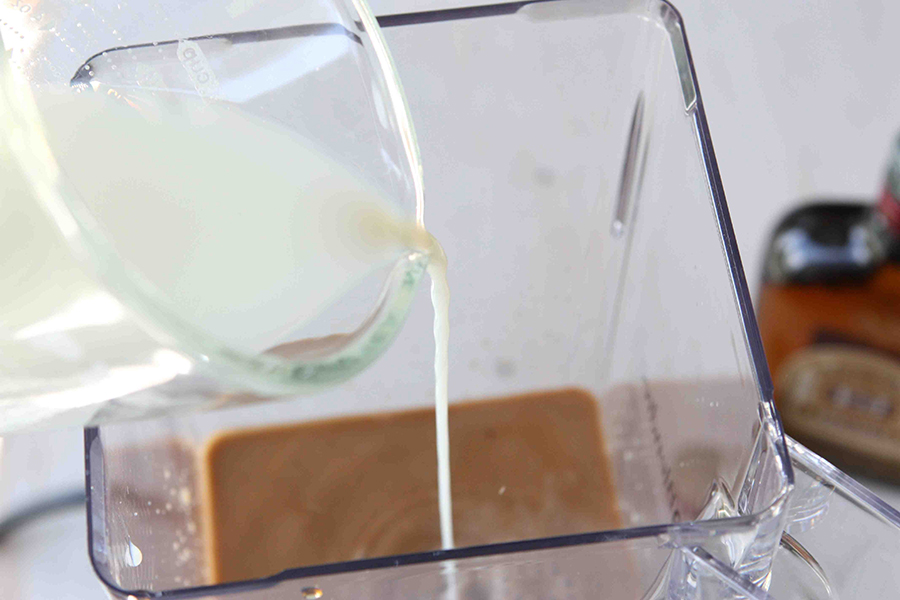
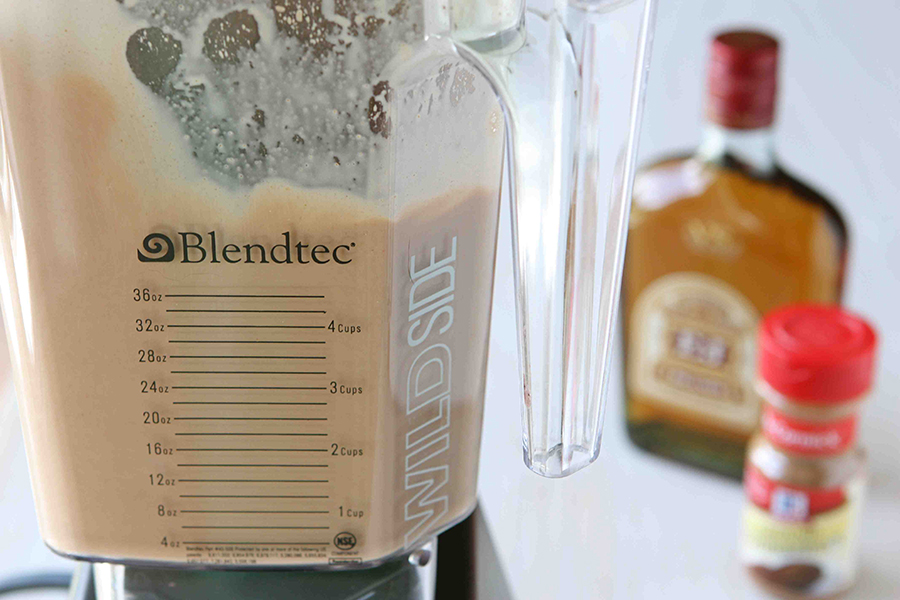
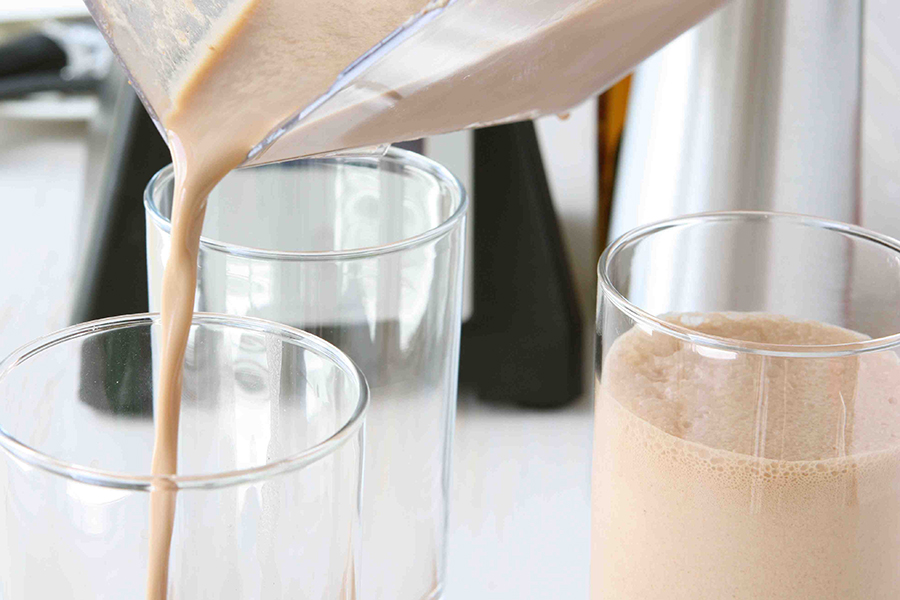
And cinnamon, cayenne pepper and vanilla syrup (if using) into a blender. Whiz for about 15-20 seconds to mix well. That’s right, I said cayenne pepper. Don’t you dare skip that step. Trust me.


Tasty Kitchen Blog: Mocha Brandy Frappe. Guest post by Dara Michalski of Cookin' Canuck, recipe submitted by TK member Deb of Smith Bites.

Add ice and process for approximately one minute or until well blended.


Tasty Kitchen Blog: Mocha Brandy Frappe. Guest post by Dara Michalski of Cookin' Canuck, recipe submitted by TK member Deb of Smith Bites.

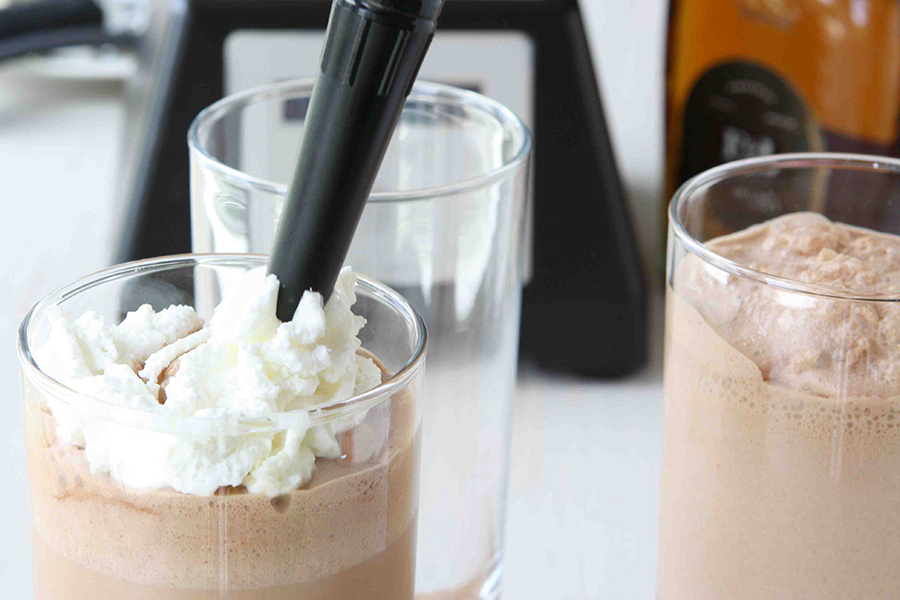
Top with real whipped cream. Smithbites labeled this step as optional, but I couldn’t resist using my handy whipped cream dispenser. My kids sat nearby, assuming the baby bird position, until filled each of their mouths with a generous squirt of whipped cream.


Tasty Kitchen Blog: Mocha Brandy Frappe. Guest post by Dara Michalski of Cookin' Canuck, recipe submitted by TK member Deb of Smith Bites.

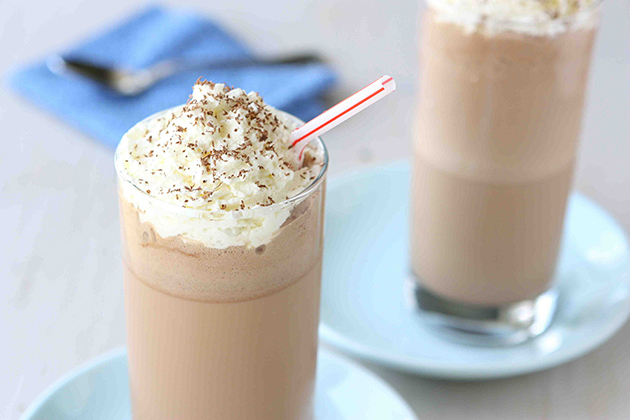
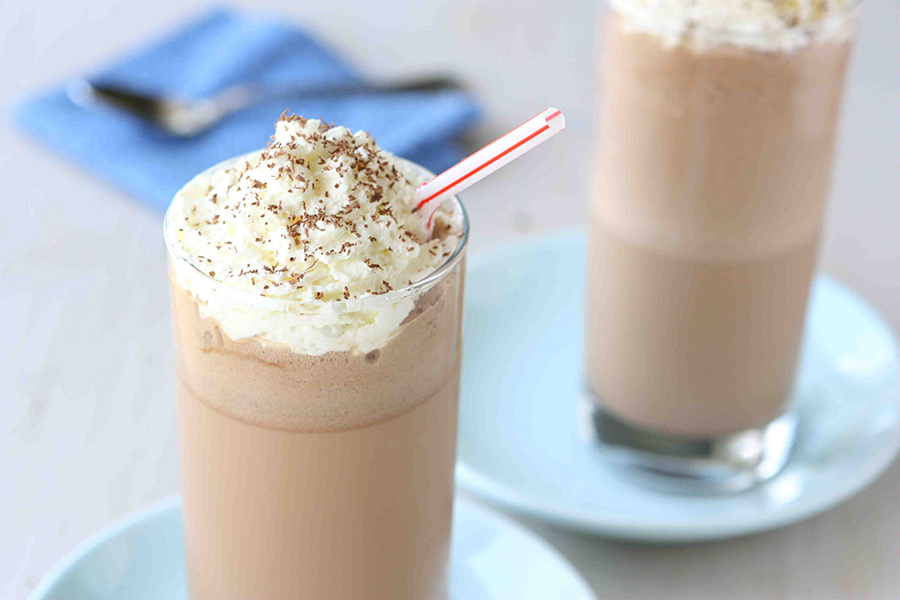
Sprinkle with a little chocolate, put on your sun hat and loll about on the patio as you sip on this heavenly drink.

I suggest you run over to Deb’s blog, Smith Bites, where she and her husband (affectionately referred to as The Professor) whip up inspiring recipes several times each week.


Printable Recipe

Mocha-Brandy Frappe

See post on smithbites’s site!
0.00 Mitt(s) 0 Rating(s)0 votes, average: 0.00 out of 50 votes, average: 0.00 out of 50 votes, average: 0.00 out of 50 votes, average: 0.00 out of 50 votes, average: 0.00 out of 5

Prep Time:

Cook Time:

Difficulty: Easy

Servings: 3

3
x

Print Options

Page size Letter 3x5 4x6
Text Size Small Medium Large
Content Include description
Include prep time, etc.
Show image

Description

DIY Mocha Frappe with a twist: brandy!

Ingredients

  • ½ cups Chocolate Sauce
  • 1 Tablespoon Brandy
  • ¾ cups Cold-Brew Coffee Concentrate (coffee Must Be Cold - Hot Coffee Will Dilute Flavor)
  • 1 cup Soy Milk (or Your Choice)
  • ¼ teaspoons Cinnamon
  • 1 pinch Cayenne Pepper
  • 2 Tablespoons Vanilla Simple Syrup (Optional, See Note)
  • 2 cups Ice

Preparation Instructions

Place chocolate, brandy, coffee concentrate, milk, cinnamon, cayenne pepper and vanilla syrup (if using) into a blender and whiz for about 15-20 seconds to mix well.

Add ice and process for approximately one minute or until well blended.

Pour into glasses, add straws and serve.

Optional: top with real whipped cream.

Smith Bites note: If you make your own chocolate sauce and use a 60-70% dark chocolate, you may need a bit more sweetener. If so, use a simple syrup or a teaspoon or two of superfine sugar. If you’re using a milk chocolate or a semi-sweet chocolate to make your sauce, you probably won’t need any additional sweetener.


_______________________________________

Dara Michalski is a doll and a sweetheart who clearly knows her way around the kitchen. She blogs at Cookin’ Canuck, where she shares her flavor-packed recipes and fun, engaging writing. The photography’s pretty incredible, too.


Profile photo of Erika (TK)

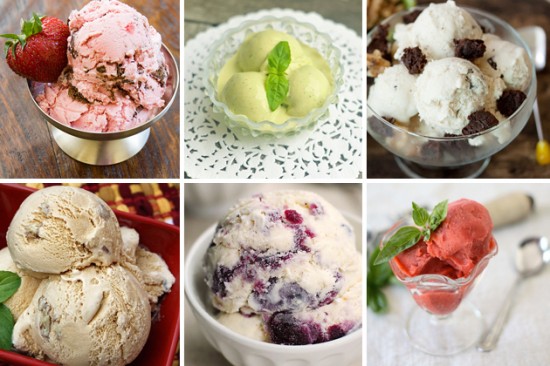
The Theme Is … Ice Cream!

Posted by in The Theme Is...

It's been a while since our first ice cream theme post, so we figured it was time for part deux. After all, July is National Ice Cream month, so I can justify a second ice cream post. Believe me, even if it weren't July, I'd find a reason. I'm the person who intentionally allows fruit to…

Profile photo of EatLiveRun

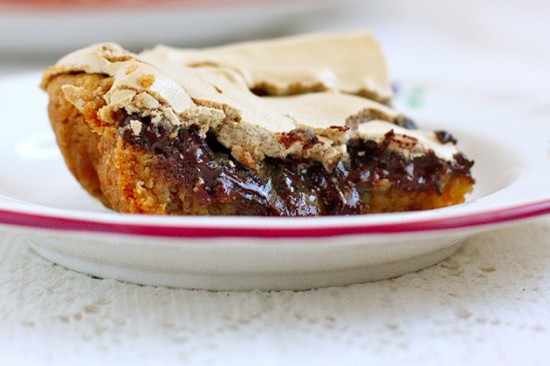
Butterscotch Meringue Bars

Posted by in Baking, Step-by-Step Recipes

If there’s anything I love more than chocolate chip cookies, it’s meringue. And so when I saw The Church Cook’s recipe for Butterscotch Meringue Bars, I knew I had to give it a go! I’m blessed to know Kay in real life and let me tell you, she has a knack for creating mouthwatering dishes! […]

Profile photo of georgiapellegrini

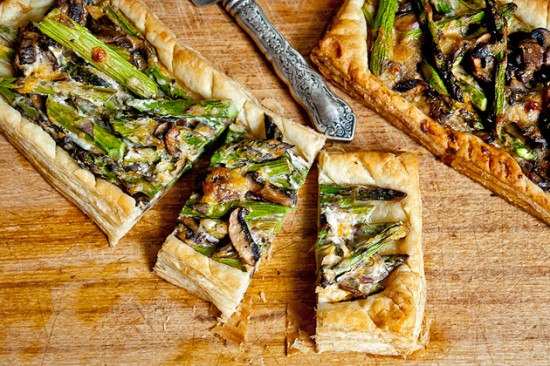
Asparagus Cheese Tarts

Posted by in Step-by-Step Recipes

Our garden has asparagus popping up all over the place this year. We didn’t plant them; in fact, they were planted by my grandmother in the 1970s and they are still showing up all these years later. For that reason, I will always love asparagus and am always looking for new ways to cook them. […]

Profile photo of twopeasandtheirpod

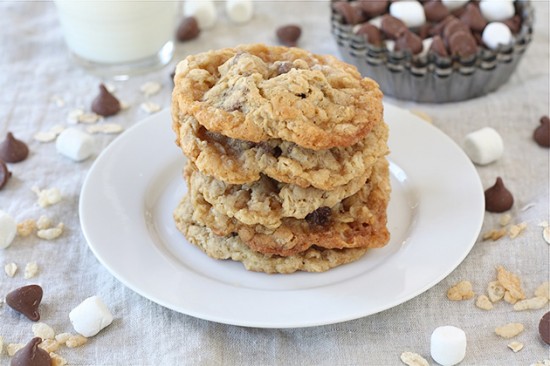
Toffee Crunch Cookies

Posted by in Baking, Step-by-Step Recipes

It is no secret that I have an obsession with cookies. We have over 100 cookie recipes on our food blog. I love baking, eating, and sharing cookies. They make me happy. I told myself I wasn’t going to bake any cookies this week because it is so hot outside. I didn’t want to turn […]