I love asparagus. Serve it to me any way: grilled, roasted, pureed in a soup … thrown across the room while I catch it like a seal. Yes, I am slightly weird. Yes, I love it that much.
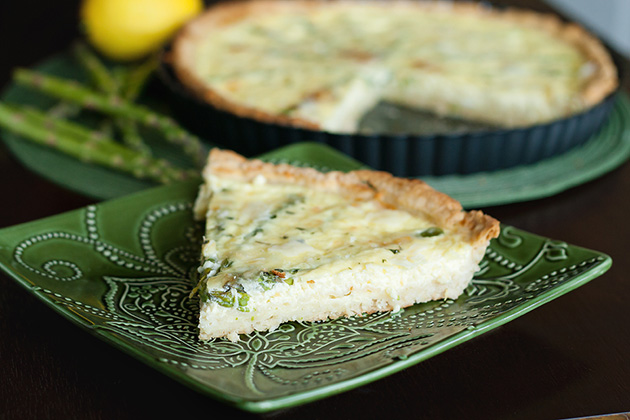
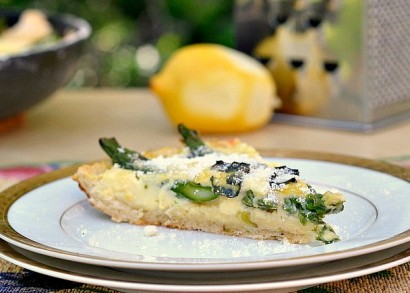
With spring in full bloom, it’s the perfect season to enjoy my favorite vegetable. So when I came across Claire’s recipe for Skillet Asparagus Tart (which she adapted from Good Housekeeping), my watering taste buds were begging me to make this dish. Not only does this tart feature the most amazing vegetable ever made, it’s filled with lemon zest, cream, and fresh Parmesan. When you top it with fresh basil or any other herb of your choice, the result is truly delicious.
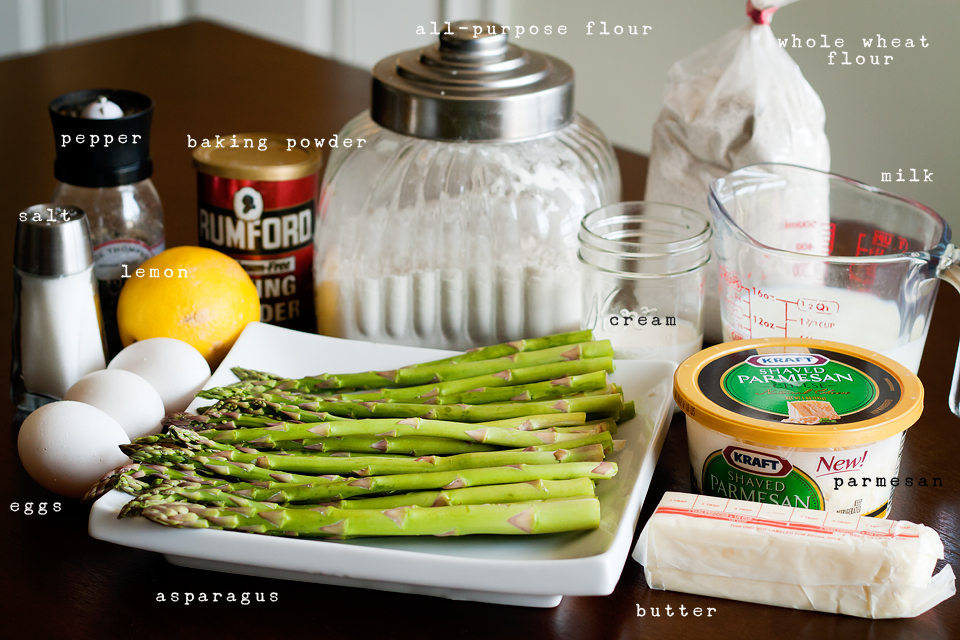
You will need: all-purpose flour, whole wheat flour, baking powder, salt, pepper, butter, ice water, asparagus, eggs, milk, cream, lemon juice and zest, Parmesan cheese and fresh basil (or any other fresh herb).
Preheat oven to 425ºF. Spray a nonstick 10-inch skillet with cooking spray. Set aside.

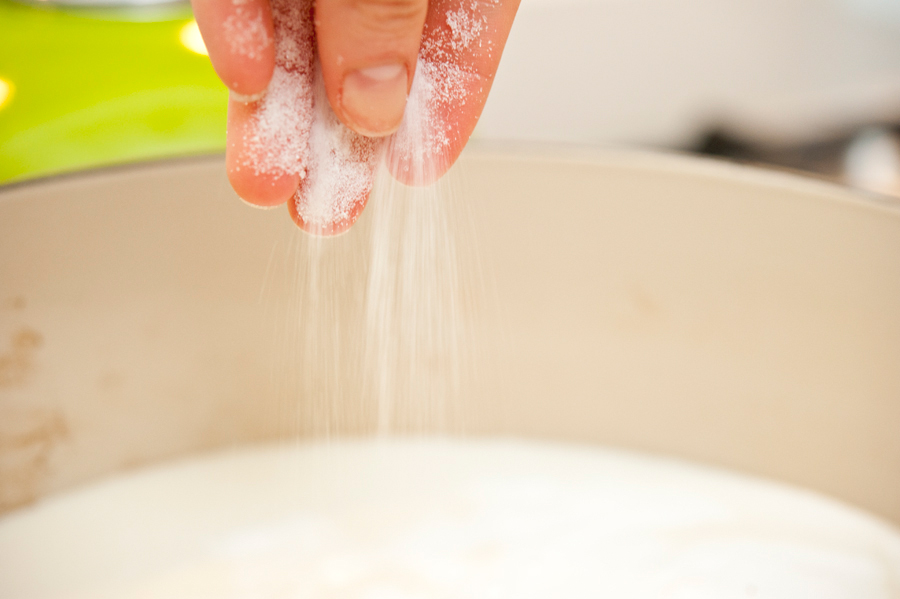
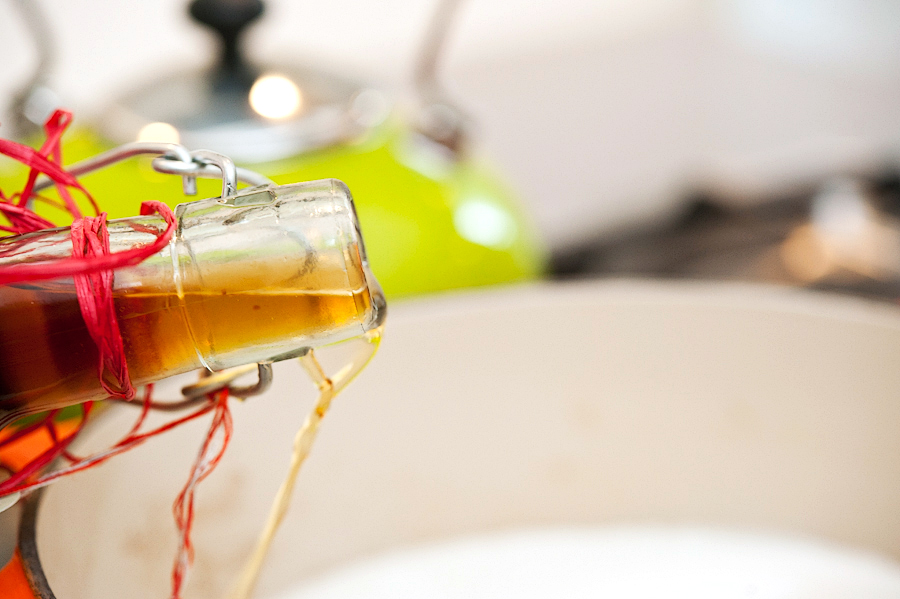
In a large bowl, mix together the flours, baking powder, salt and pepper. Using a pastry blender or fork, cut butter into the flour mixture until the mixture appears coarse. Add ice-water to the mixture until moist clumps form and dough can be held together when you form it into a ball.
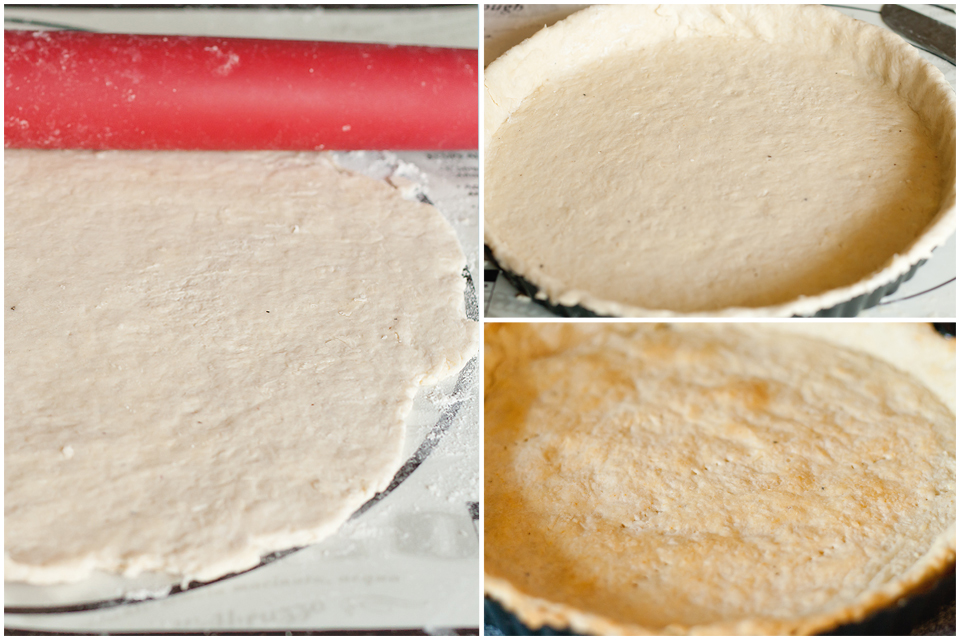
On a lightly floured surface with a floured rolling pin, roll dough out to about 13 inches. Carefully move crust over the skillet and press it down to the bottom and up the sides. Remove any overhang. Bake crust for about 15 minutes, or until lightly browned. Set aside.
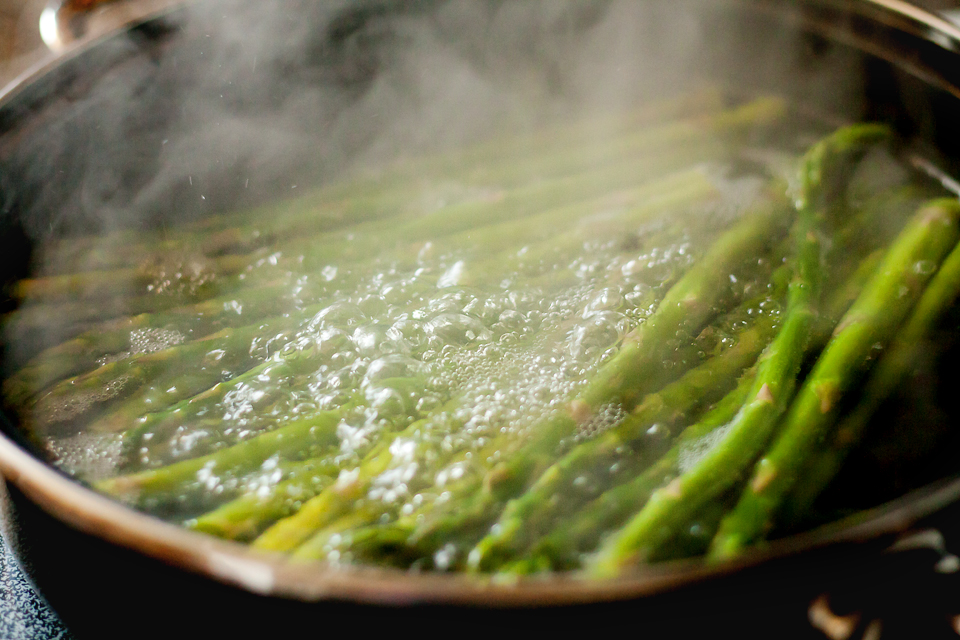
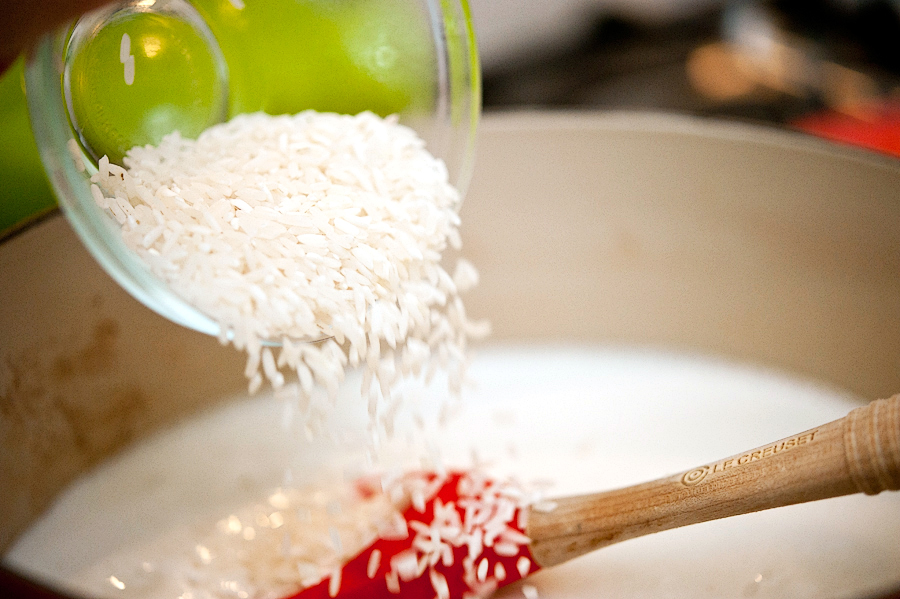
In another 10-inch skillet, add about 1 inch of water and bring to a boil. Add asparagus and cook for 5 minutes, or until just tender.
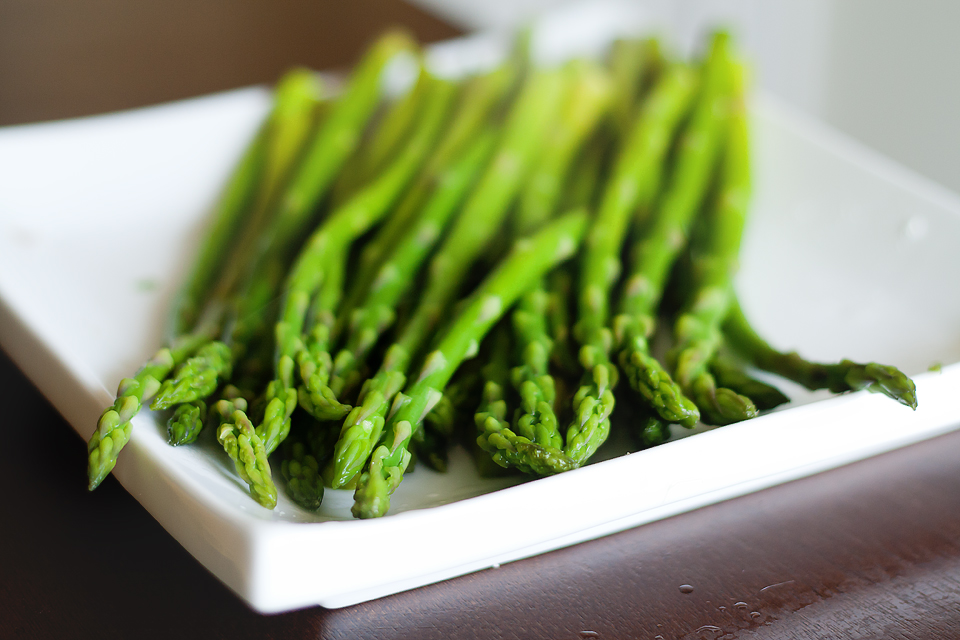
Remove asparagus from the skillet, rinse it off and let it cool slightly. Once cooled, cut into 5-inch long spears and set aside.

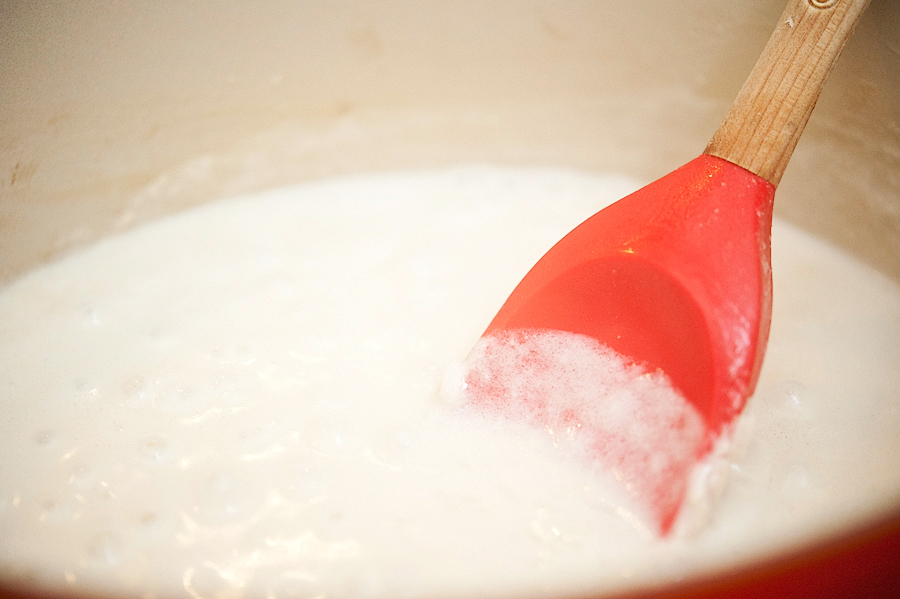
Prepare the filling by whisking the eggs, milk, cream, lemon juice, lemon zest and salt until fully mixed.
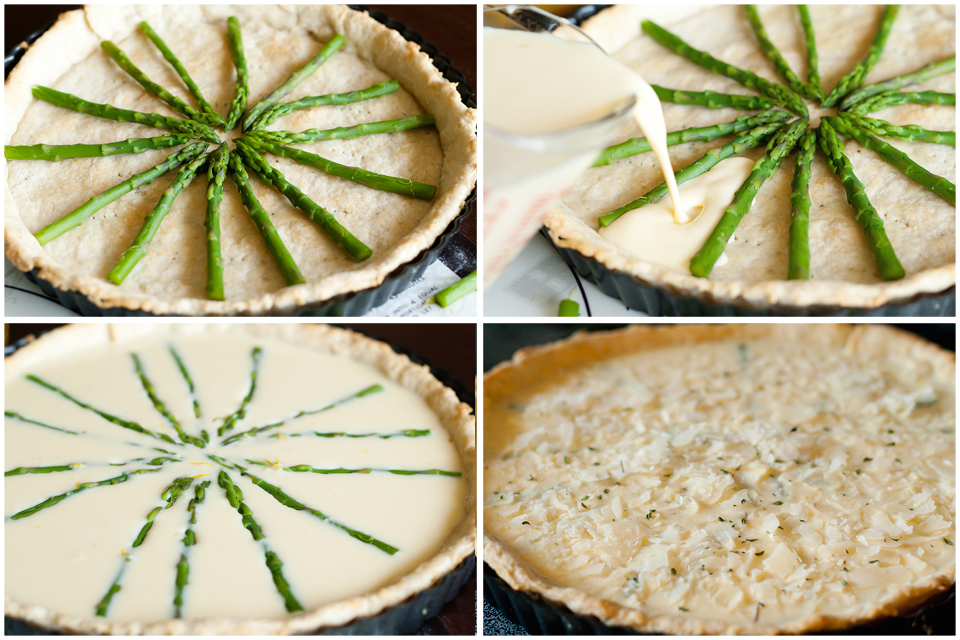
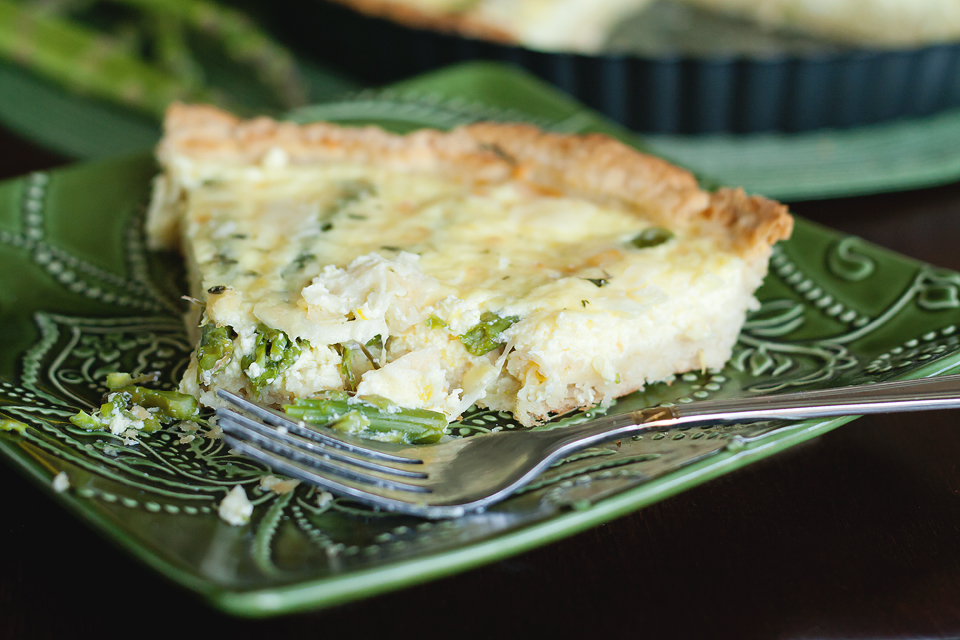
Place the asparagus on top of the crust so the leafy top is in the middle. Arrange it so you form a circle. Carefully pour the egg mixture over the asparagus to cover it. Sprinkled the top with Parmesan cheese and fresh basil leaves, or herb of your choice. Bake for 20-25 minutes, or until tart is firm but a little jiggly in the middle. Let sit to firm up, then serve warm.
I’m so glad Claire shared this delicious tart recipe with us; I will definitely be making this again soon. You can find more of Claire’s wonderful looking dishes on her blog, A Realistic Nutritionist.
Printable Recipe


Print Options
Description
A perfect savory tart that will make a great addition to your Easter brunch menu!
Ingredients
- FOR THE BISCUIT CRUST:
- 1 cup All-purpose Flour
- ¾ cups Whole Wheat Flour
- 1 teaspoon Baking Powder
- 1 dash Each Of Salt And Pepper
- 6 Tablespoons Cold Butter, Cut Into Cubes
- 8 Tablespoons Ice Cold Water
- FOR THE FILLING:
- 1 pound Asparagus, Ends Trimmed
- 3 whole Eggs
- 1 cup Skim Milk
- ⅓ cups Light Cream
- 1 Tablespoon Lemon Juice
- 1 Tablespoon Lemon Zest
- 1 dash Salt
- ⅔ cups Parmesan Cheese
- Basil Leaves, For Sprinkling On Top
Preparation Instructions
Preheat oven to 425 F. Spray a non-stick 10-inch skillet with non-stick cooking spray. Set aside.
In a large bowl, mix together the flours, baking powder and salt and pepper. Using a pastry blender or two knives, cut butter into the flour mixture until the mixture appears coarse and sandy. Add ice-water to the mixture until moist clumps form and dough can be held together when you form it into a ball. On a lightly floured surface with a floured rolling pin, roll dough out to about 13 inches. Carefully move crust over the skillet and press it down to the bottom and up the sides. Remove any overhang.
Bake crust for about 15 minutes, or until lightly browned. Set aside.
In another 10 inch skillet, add about 1 inch of water and bring to a boil. Add asparagus and cook for 5 minutes, or until just tender. Remove asparagus from the skillet, rinse it off and let it cool slightly. Once cooled, cut into 5 inch long spears and set aside.
Prepare the filling by whisking the eggs, milk, cream, lemon juice, lemon zest and salt until fully mixed.
Place the asparagus on top of the crust so the leafy top is in the middle. Arrange it so you form a circle (kind of like bicycle wheel spokes). Carefully pour egg mixture over the asparagus to cover it. Sprinkle top with Parmesan cheese and basil leaves.
Bake for 20-25 minutes, or until tart is firm but a little jiggly in the middle. Let sit to firm up and serve!
Recipe adapted from Good Housekeeping.
_______________________________________
Amber is a stay at home mom who lives in the heart of the Missouri Ozarks. It’s a long way from where she grew up, in Wales (yes, way over in the U.K.). The recipes in her blog Sprinkled with Flour include her original creations as well as her family recipes. Go check them out!