Grab an extra bag of cranberries this week and make this incredibly simple and ridiculously delicious Cranberry Butter. It’s great to have on hand, especially when you need an quick and easy breakfast treat—or midday snack!–after a long day of cooking. It also makes the perfect hostess gift. We’re bringing back this old favorite so you can make a batch or two, or six!
Need a quick, edible, last-minute gift? Have a few extra cranberries lying around? You’ve got to try this Cranberry Butter, a recipe from MissyDew (the woman who also blessed us with That’s the Best Frosting I’ve Ever Had). I swear it’s magical. Even more magical than butter is on its own.
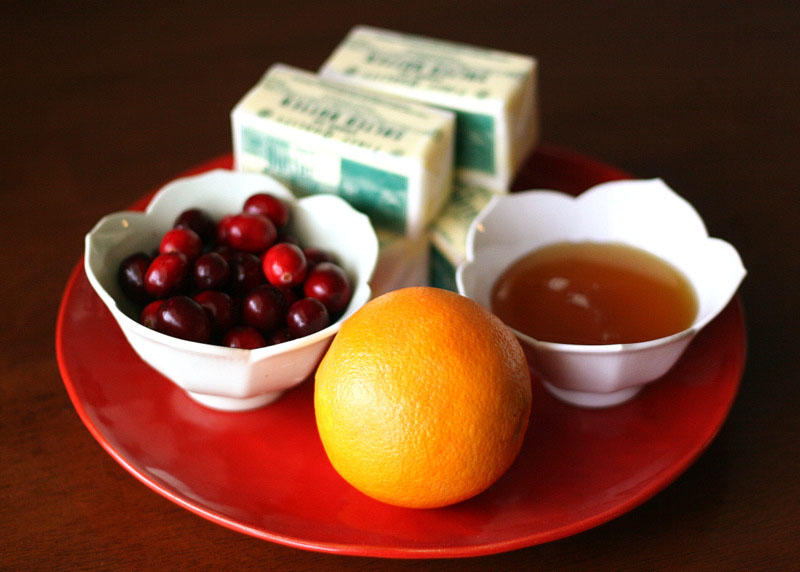
You only need four things: fresh cranberries, honey, an orange, and a pound of softened butter. Because you probably haven’t used enough butter this month.
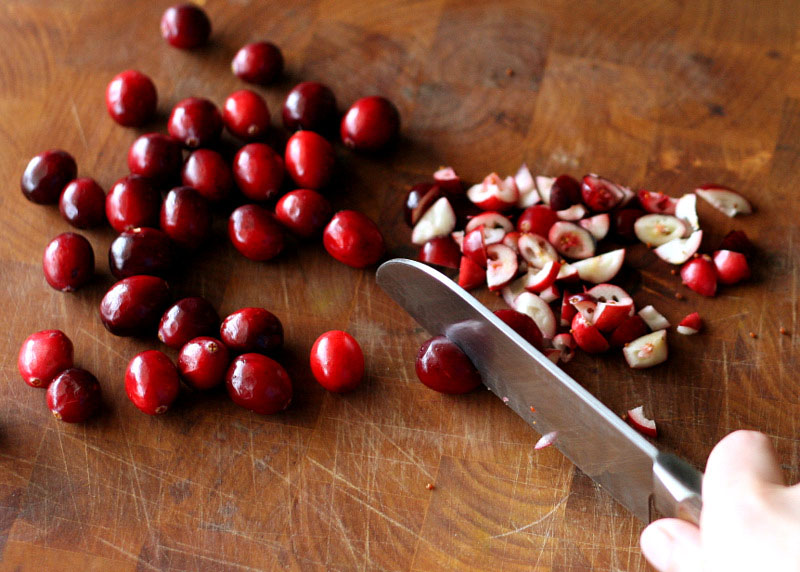
First give the cranberries a chop.
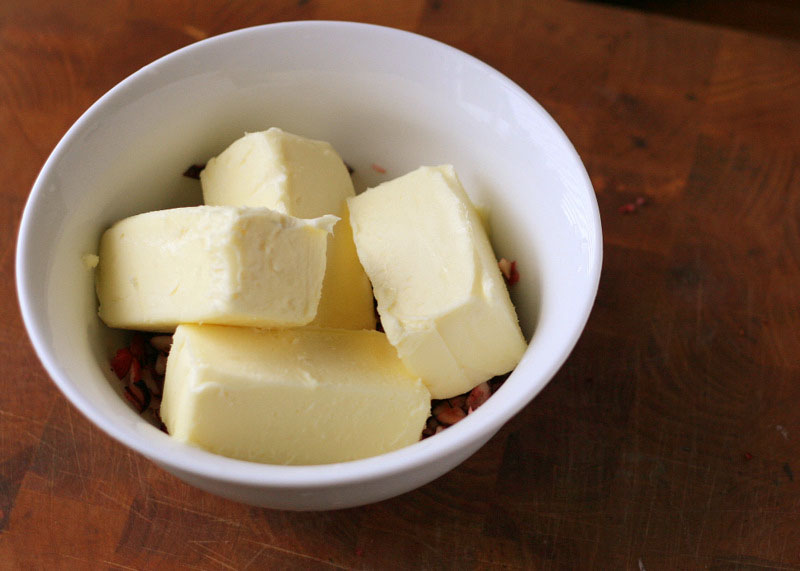
Stick them in a bowl with the butter.
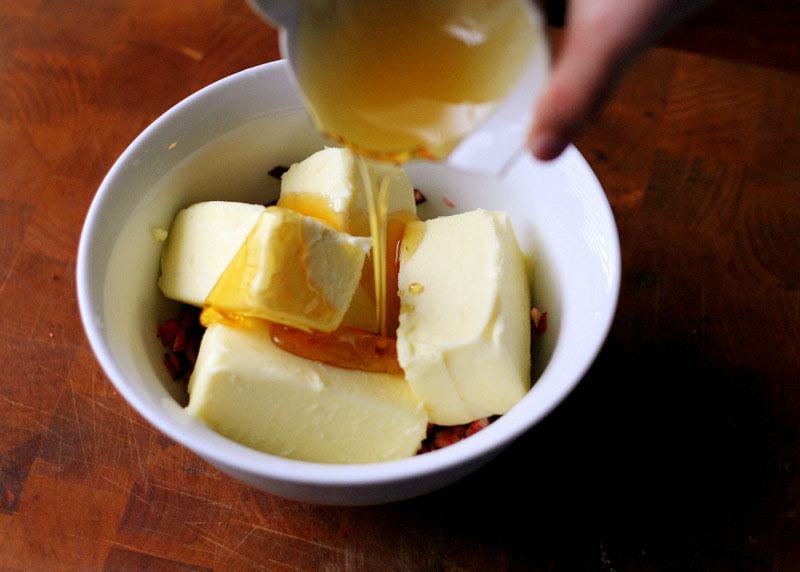
Add the honey.
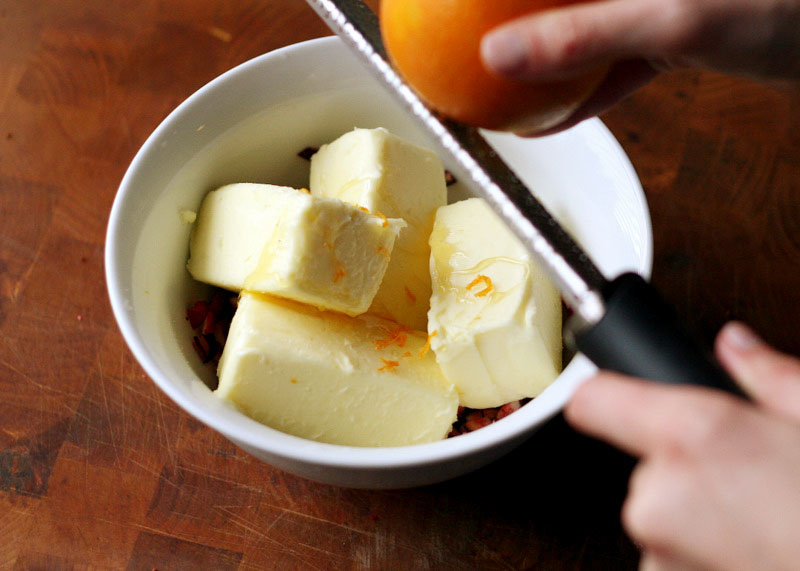
Get out your trusty zester and get all the zest you can off that orange. Don’t have a zester? It’s probably not too late to ask Santa for one. Although you might want to spell out “Microplane” for him, just so he can get it right. He’s getting old, you know.
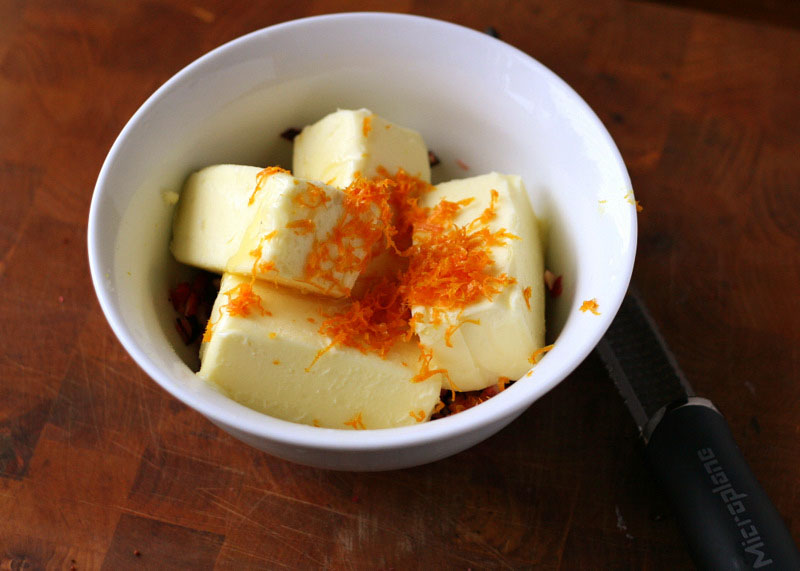
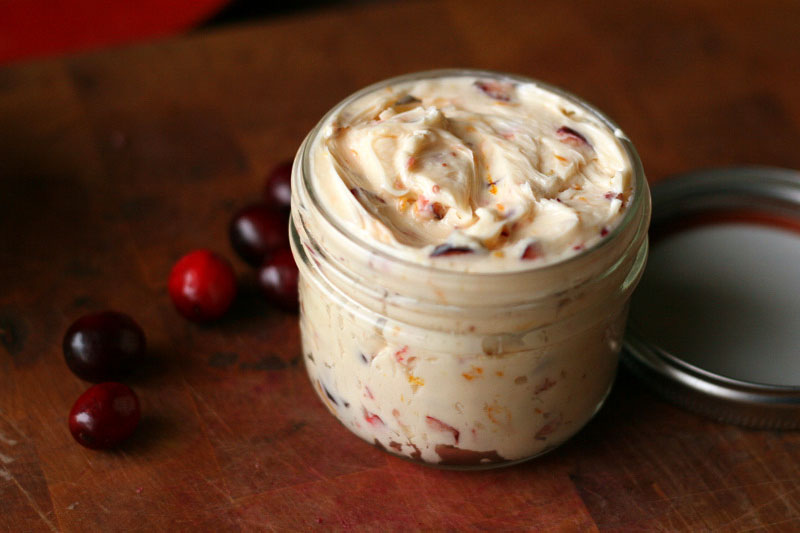
There. Everything’s in the bowl. That took, what, 5 minutes?
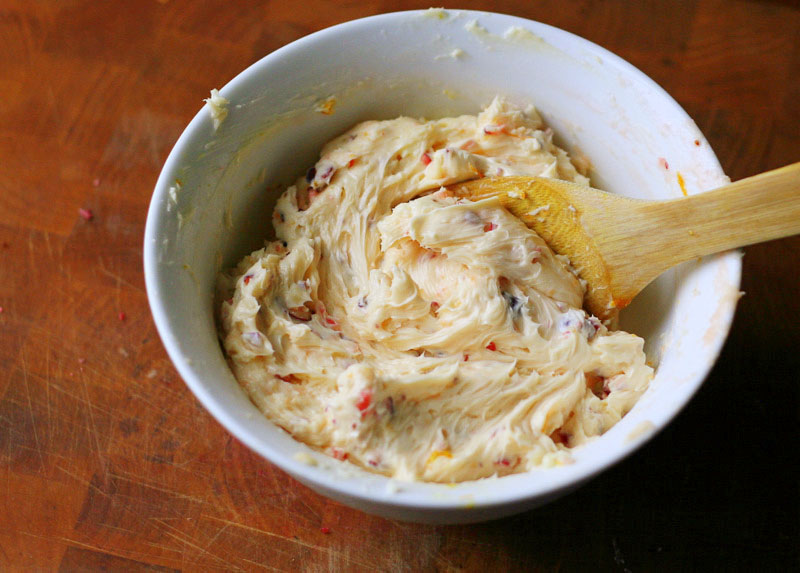
Give it a good stir.
(Or more realistically, stir until you realize your butter isn’t as soft as you thought. Dump it into a larger bowl, buzz it with an electric mixer, and return it to the smaller, prettier bowl like nothing happened.)
Now, please don’t make the mistake that I made. Once I made this, I was dying to schmear it on something, but I realized, with actual horror, that I didn’t have a single thing to spread it on in my house. We were even out of bread that day. I almost put it on a tortilla because I was desperate, but I did the same thing that any of you might have done—I put a big glob of it on my finger and popped it in my mouth. Talk about a burst of sweet, citrus-y, buttery goodness.
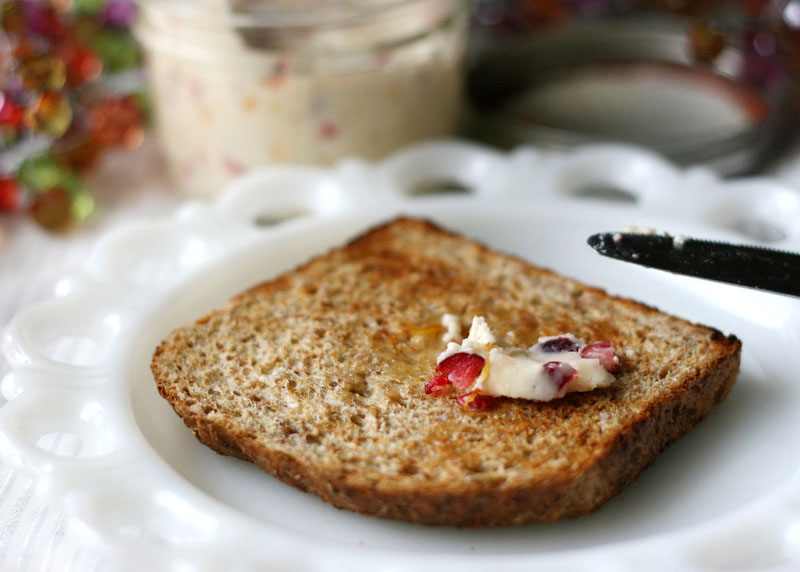
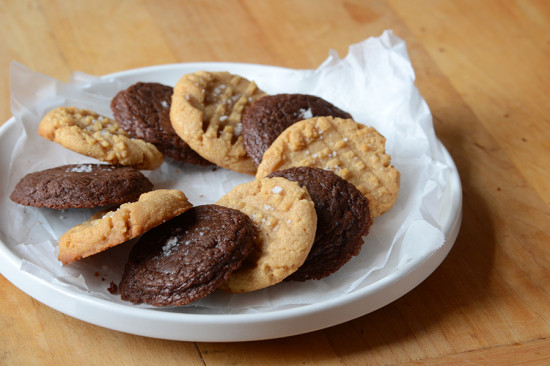
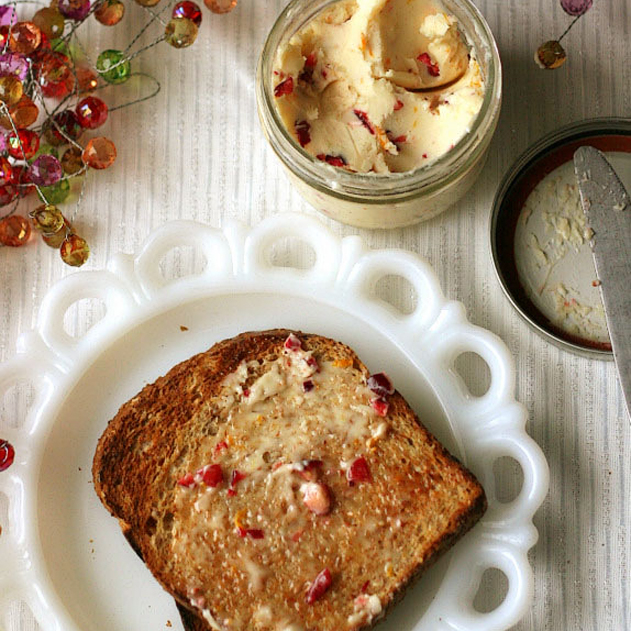
When I came to my senses and actually bought some bread, I discovered this Cranberry Butter will turn even the humblest piece of toast into an $8 piece of room service toast at a four-star hotel. You could also put it on pancakes, waffles, muffins, scones, chubby baby cheeks, and even popcorn,.
C’mon, I know I’m not the only one who has cannablistic tendencies toward cute babies.
By the way, I’ve had it melted over popcorn. It’s divine.
This spread would be great on so many baked goods here at Tasty Kitchen, but here are a few that caught my eye. And may keep me from eating the whole bowl with my fingers.
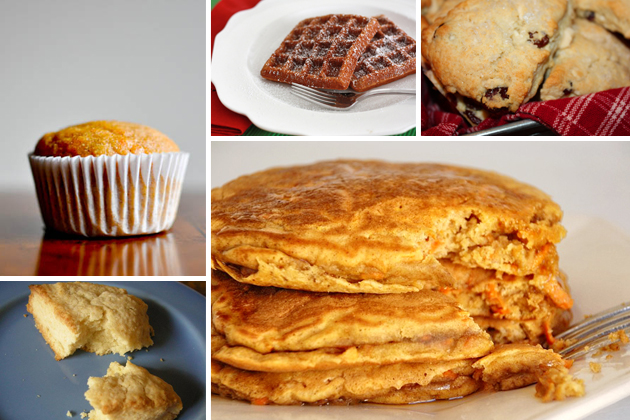 Clockwise from top left: Whole Wheat Sweet Potato Muffins from HowSweetEats, Gingerbread Waffles from emily {onelovelylife}, White Chocolate Cranberry Scones from crobbins (there is a slew of cranberry scone recipes on TK!), Carrot Cake Pancakes from multiplydelicious, and Double Ginger Scones from angpritch.
Thanks MissyDew for a fantastic recipe!
Printable Recipe


Print Options
Description
I love this during the holidays. I first received some as a gift in a jar and enjoyed every bit of it, especially on toast or on homemade rolls or lefse. Make some for yourself and some to share with others.
Ingredients
- 1 pound Butter, Softened To Room Temperature
- ½ cups Chopped Fresh Cranberries
- ½ cups Honey
- 1 whole Orange (just The Zest)
Preparation Instructions
Such an easy recipe, it’s easy to adjust the ingredients to your personal taste. Want more orange flavor? Zest another orange! Want it less sweet? Reduce the amount of honey. Make it your own!
Combine softened butter, chopped fresh cranberries, honey to taste (about 1/2 cup) and the ZEST ONLY of one orange. Mix until well blended.
You’ll need to store this in the refrigerator.
_______________________________________
Be sure to check out Natalie’s own beautiful food blog, Perrys’ Plate, where you can see her growing collection of lovely recipes. There’s always something new to see there. Go visit now!