The Pioneer Woman Tasty Kitchen
Profile photo of georgiapellegrini

Scottish Oat Cakes

Posted by in Baking, Step-by-Step Recipes

Tasty Kitchen Blog: Scottish Oat Cakes. Guest post by Georgia Pellegrini, recipe submitted by TK member Movita Beaucoup.

 
This is my second recipe post here inspired by someone’s grandmother. I just love it, I could cook this way all day long. Before I realized these Scottish Oat Cakes were from Movita’s grammie, I thought to myself, “These remind me so much of my great-aunt’s cookies.” It is simple rolled oats combined with that very simple texture and crunch—the pure, understated oat cookie of that generation. I was so excited to make these.


Tasty Kitchen Blog: Scottish Oat Cakes. Guest post by Georgia Pellegrini, recipe submitted by TK member Movita Beaucoup.

To make these yourself, you’ll need: flour, rolled oats, baking soda, salt, white sugar, brown sugar, and cold butter (or lard! Mmm).


Tasty Kitchen Blog: Scottish Oat Cakes. Guest post by Georgia Pellegrini, recipe submitted by TK member Movita Beaucoup.

Start by combining all of the dry ingredients in a bowl, everything but the butter.


Tasty Kitchen Blog: Scottish Oat Cakes. Guest post by Georgia Pellegrini, recipe submitted by TK member Movita Beaucoup.

Mix it thoroughly with a whisk, or my favorite tool: your hands!


Tasty Kitchen Blog: Scottish Oat Cakes. Guest post by Georgia Pellegrini, recipe submitted by TK member Movita Beaucoup.

Add the butter and incorporate that as well.


Tasty Kitchen Blog: Scottish Oat Cakes. Guest post by Georgia Pellegrini, recipe submitted by TK member Movita Beaucoup.

This is where your hands are especially useful because you want to mix this butter in quickly and create a sandy texture.


Tasty Kitchen Blog: Scottish Oat Cakes. Guest post by Georgia Pellegrini, recipe submitted by TK member Movita Beaucoup.

Once that is nice and sandy, pour in water a little at a time, about 1/2 cup.


Tasty Kitchen Blog: Scottish Oat Cakes. Guest post by Georgia Pellegrini, recipe submitted by TK member Movita Beaucoup.

You just want to moisten it enough until it gathers together and there isn’t any dry matter on the bottom of the bowl straggling behind.


Tasty Kitchen Blog: Scottish Oat Cakes. Guest post by Georgia Pellegrini, recipe submitted by TK member Movita Beaucoup.

Grease a baking sheet with spray or be like me—smear around a big stick of butter. I’m very precise that way.


Tasty Kitchen Blog: Scottish Oat Cakes. Guest post by Georgia Pellegrini, recipe submitted by TK member Movita Beaucoup.

Then on a clean, lightly floured surface, separate the dough into smaller batches.


Tasty Kitchen Blog: Scottish Oat Cakes. Guest post by Georgia Pellegrini, recipe submitted by TK member Movita Beaucoup.

Roll out the dough.


Tasty Kitchen Blog: Scottish Oat Cakes. Guest post by Georgia Pellegrini, recipe submitted by TK member Movita Beaucoup.

Use a ring cutter or the rim of a glass to cut ¼ inch thick circles.


Tasty Kitchen Blog: Scottish Oat Cakes. Guest post by Georgia Pellegrini, recipe submitted by TK member Movita Beaucoup.

Lay them in rows on a baking sheet and pop them in the oven!


Tasty Kitchen Blog: Scottish Oat Cakes. Guest post by Georgia Pellegrini, recipe submitted by TK member Movita Beaucoup.

What is interesting about these is that they don’t change their shape much. They just simply firm up a bit. It’s a fun combination between a true cookie and a scone.


Tasty Kitchen Blog: Scottish Oat Cakes. Guest post by Georgia Pellegrini, recipe submitted by TK member Movita Beaucoup.

In fact, they seemed very British to me … or Scottish. They would be so perfect for a traditional afternoon tea. And they made me want to have a tea party instantly. Thank you to Movita for this wonderful recipe and for making me want to have a tea party! Be sure to check out her website Movita Beaucoup for more inspiration.


Printable Recipe

Elsa’s Scottish Oat Cakes

See post on movita beaucoup’s site!
5.00 Mitt(s) 1 Rating(s)1 vote, average: 5.00 out of 51 vote, average: 5.00 out of 51 vote, average: 5.00 out of 51 vote, average: 5.00 out of 51 vote, average: 5.00 out of 5

Prep Time:

Cook Time:

Difficulty: Easy

Servings: 24

24
x

Print Options

Page size Letter 3x5 4x6
Text Size Small Medium Large
Content Include description
Include prep time, etc.
Show image

Description

A yummy family favourite.

Ingredients

  • 2 cups Flour, All Purpose
  • 3 cups Rolled Oats
  • ¼ cups Brown Sugar
  • ¼ cups White Sugar
  • ½ teaspoons Salt
  • ½ teaspoons Baking Soda
  • ½ cups Lard Or Butter
  • ½ cups Ice Cold Water

Preparation Instructions

Combine dry ingredients in large bowl. Cut in butter with a knife or pastry cutter until coarse, mealy crumbs form. Add the ice cold water and stir vigorously with a fork until dough comes together. (The process is very similar to making biscuits, shortcakes and the like—don’t overwork the dough.) Transfer to a lightly floured surface, and shape dough into a ball. Take about a quarter of the dough from the ball, and roll it out to be 1/4 to 1/2 inch thick. (Grammie emphasized that you don’t want to over-handle the dough, thus she only rolled and cut a quarter of the dough at a time.) Cut into circles with a biscuit/cookie cutter or inverted drinking glass, or cut into strips with a pizza cutter. Place on parchment-lined baking sheets for baking. Repeat with remaining dough.

Bake at 350°F until golden (check at 8 minutes). Makes about 2 dozen.

Adapted from a family recipe handed down to me by Elsa and Christy Hodder.


_______________________________________

There’s so much to say about Georgia, we don’t know where to start. Leaving Wall Street for the French Culinary Institute, followed by a stint at the Gramercy Tavern and La Chassagnette in France, her passion for food and food traditions are evident and inspiring. Visit her site at Georgia Pellegrini, where you’ll find more recipes, photos, learn all about her wonderful book Food Heroes, and enjoy her latest adventures.


Profile photo of cookincanuck

Sweet Potato Fudge

Posted by in Step-by-Step Recipes

Tasty Kitchen Blog: Sweet Potato Fudge. Guest post by Dara Michalski of Cookin' Canuck, recipe submitted by TK member Lauren of Lauren's Latest.

 
When I hear “fudge,” I immediately think of the holidays. When cut into bite-sized pieces, it makes the perfect gift to hand out to neighbors or a lovely welcome hostess gift when you arrive at a cocktail or dinner party. It also makes for an addictive little treat that you want to pop into your mouth whenever you pass by the fridge. As much as I try to convince myself that it is calorie-free, the seams on my jeans tell a different story. Ah well, that’s what the holiday are all about—those treats that we get to indulge in once a year.

This recipe for Sweet Potato Fudge is brought to us by Tasty Kitchen member, Lauren’s Latest. The sweet potatoes are mashed and mixed with white chocolate and toasted pecans for a seasonal treat that not only comes together quickly, but will make your family very happy.

Now, let’s get started.


Tasty Kitchen Blog: Sweet Potato Fudge. Guest post by Dara Michalski of Cookin' Canuck, recipe submitted by TK member Lauren of Lauren's Latest.

First, line an 8- by 8-inch square baking pan with waxed or parchment paper. Use extra paper so that there are 2 to 3 extra inches on each side. These “handles” will make it easier to lift the fudge out of the pan later. I like to coat the pan with cooking spray first so the parchment paper lies flat against the pan. It’s not necessary, but it satisfies my need for order in my baking pan. Don’t judge.


Tasty Kitchen Blog: Sweet Potato Fudge. Guest post by Dara Michalski of Cookin' Canuck, recipe submitted by TK member Lauren of Lauren's Latest.

The first thing you will need to do is to boil or steam some sweet potato chunks (peeled) until soft and then mash them with the back of a fork. Set aside to cool.


Tasty Kitchen Blog: Sweet Potato Fudge. Guest post by Dara Michalski of Cookin' Canuck, recipe submitted by TK member Lauren of Lauren's Latest.

While the sweet potato is cooking, place the pecans pieces into a medium frying pan set over medium heat and toast the pecans. Be sure to watch them. Those little suckers like to burn as soon as you turn your back.


Tasty Kitchen Blog: Sweet Potato Fudge. Guest post by Dara Michalski of Cookin' Canuck, recipe submitted by TK member Lauren of Lauren's Latest.

In a medium-sized bowl, combine the white chocolate chips, sweetened condensed milk and butter. Now that sounds like a perfect holiday baking list.

Place the bowl in the microwave and, in 15-second increments, heat the mixture until melted and smooth when stirred. When I am using the microwave to heat chocolate mixtures, I typically use 50% power so that the chocolate doesn’t seize.


Tasty Kitchen Blog: Sweet Potato Fudge. Guest post by Dara Michalski of Cookin' Canuck, recipe submitted by TK member Lauren of Lauren's Latest.

Pour the chocolate mixture into the bowl of a stand mixer. Add the mashed sweet potatoes, vanilla extract, ground cinnamon and salt. As per Lauren’s suggestion under her Recipe Notes, I also added ½ teaspoon of freshly ground nutmeg because it screams “holidays” to me.

Add half of the powdered sugar to the mixer bowl and mix until combined. Scrape the sides with a rubber spatula and mix again.


Tasty Kitchen Blog: Sweet Potato Fudge. Guest post by Dara Michalski of Cookin' Canuck, recipe submitted by TK member Lauren of Lauren's Latest.

With the mixer running, add the remaining powdered sugar, ½ cup at a time, until fully incorporated.


Tasty Kitchen Blog: Sweet Potato Fudge. Guest post by Dara Michalski of Cookin' Canuck, recipe submitted by TK member Lauren of Lauren's Latest.

Remove the bowl from the mixer. Pour in the toasted pecan pieces and mix by hand with a rubber spatula.


Tasty Kitchen Blog: Sweet Potato Fudge. Guest post by Dara Michalski of Cookin' Canuck, recipe submitted by TK member Lauren of Lauren's Latest.

Transfer the fudge mixture to the prepared baking pan, press down until even and smooth the top.

Refrigerate until the fudge has hardened. The recipe calls for the fudge to be chilled for 2 hours, but I left it in my refrigerator overnight to make sure it was fully set.


Tasty Kitchen Blog: Sweet Potato Fudge. Guest post by Dara Michalski of Cookin' Canuck, recipe submitted by TK member Lauren of Lauren's Latest.

Using the waxed or parchment paper “handles” lift the fudge out of the pan and peel off the paper. Use a sharp knife to cut into squares and serve. Store extra pieces in the refrigerator.


Tasty Kitchen Blog: Sweet Potato Fudge. Guest post by Dara Michalski of Cookin' Canuck, recipe submitted by TK member Lauren of Lauren's Latest.

In the recipe, Lauren mentioned that this fudge can also be made using a 9- by 13-inch baking pan to achieve thinner pieces. Next time I make this recipe (and I can assure that there will definitely be a next time), I plan to do this so the fudge pieces are a little smaller.

I am sending a huge “thank you” to Lauren for a recipe that is sure to become a holiday favorite for my family. Be sure to check out Lauren’s large selection of fantastic recipes at her blog, Lauren’s Latest.


Printable Recipe

Sweet Potato Fudge

5.00 Mitt(s) 3 Rating(s)3 votes, average: 5.00 out of 53 votes, average: 5.00 out of 53 votes, average: 5.00 out of 53 votes, average: 5.00 out of 53 votes, average: 5.00 out of 5

Prep Time:

Cook Time:

Difficulty: Easy

Servings: 24

24
x

Print Options

Page size Letter 3x5 4x6
Text Size Small Medium Large
Content Include description
Include prep time, etc.
Show image

Description

Spicy, sweet, crunchy, delicious and a little out of the ordinary. Makes for a fabulous after dinner treat around the holidays.

Ingredients

  • 1 cup White Chocolate Chips
  • ¼ cups Butter
  • 1 can Sweetened Condensed Milk (14 Oz)
  • ¾ cups Mashed Sweet Potato
  • 1 teaspoon Vanilla Extract
  • ¾ teaspoons Cinnamon
  • ⅛ teaspoons Salt
  • 8 cups Powdered Sugar
  • 2 cups Toasted Chopped Pecans

Preparation Instructions

Line an 8×8 glass dish with waxed paper and set aside, if desired.

In a large bowl, melt white chocolate, butter and sweetened condensed milk together until smooth in consistency. (I do this in 15 second increments in the microwave.) Once melted, pour into the bowl of a stand mixer and stir in sweet potato, vanilla, cinnamon, salt and half of the powdered sugar. Scrape the sides and mix again. With the machine on, add in remaining powdered sugar by the 1/2 cup until all is incorporated. Fudge should look very thick but still sticky. Pour in nuts and stir them in by hand. Pour into prepared pan and smooth the top.

Refrigerate until fudge has hardened, about 2 hours. Remove fudge from refrigerator and using the waxed paper edges, remove entire block of fudge. Using a sharp knife, cut into small squares. Serve.

Recipe Notes:
– Feel free to add in any other spices you’d like. Nutmeg and/or cloves would be a nice addition.
-I like a thick fudge, but if you would prefer a thinner piece, pour fudge into a 9×13 pan.


_______________________________________

Dara Michalski is a doll and a sweetheart who clearly knows her way around the kitchen. She blogs at Cookin’ Canuck, where she shares her flavor-packed recipes and fun, engaging writing. The photography’s pretty incredible, too.


Profile photo of A Cozy Kitchen

Jalapeno Bacon Stuffed Mushrooms

Posted by in Step-by-Step Recipes

Tasty Kitchen Blog: Stuffed Mushrooms. Guest post by Adrianna Adarme of A Cozy Kitchen, recipe submitted by TK member Kelly of Evil Shenanigans.

 
The holiday season is upon us, my friends. Parties, gatherings and festivities galore! I love a good party, and I love a potluck party even more. Stuffed mushrooms are one of my favorite dishes to bring to gatherings. They’re easy to assemble, their bite size shape makes them perfect for guests to eat as they mingle, and who can deny their deliciousness. In particular, these Jalapeno Bacon Stuffed Mushrooms from TK member Kelly of Evil Shenanigans caught my eye. I’ll be honest, the title of the recipe had everything to do with my curiosity. Cheese? Yes. Bacon? Double yes. And spicy, too?! Triple yes.

Let’s get started!


Tasty Kitchen Blog: Stuffed Mushrooms. Guest post by Adrianna Adarme of A Cozy Kitchen, recipe submitted by TK member Kelly of Evil Shenanigans.

Grab a small bowl and toss the panko bread crumbs with the melted butter.


Tasty Kitchen Blog: Stuffed Mushrooms. Guest post by Adrianna Adarme of A Cozy Kitchen, recipe submitted by TK member Kelly of Evil Shenanigans.

Clean the mushrooms and remove their stems. Go ahead and dice up the stems and set aside. We’re going to use them later!


Tasty Kitchen Blog: Stuffed Mushrooms. Guest post by Adrianna Adarme of A Cozy Kitchen, recipe submitted by TK member Kelly of Evil Shenanigans.

Dice up the jalapeno, yellow onion and garlic. Triple threat!


Tasty Kitchen Blog: Stuffed Mushrooms. Guest post by Adrianna Adarme of A Cozy Kitchen, recipe submitted by TK member Kelly of Evil Shenanigans.

In a saute pan, cook the diced bacon until golden brown and crispy.

Add the jalapenos, onions, garlic …


Tasty Kitchen Blog: Stuffed Mushrooms. Guest post by Adrianna Adarme of A Cozy Kitchen, recipe submitted by TK member Kelly of Evil Shenanigans.

… and diced stems.

Cook the mixture for five minutes, or until the vegetables become translucent.


Tasty Kitchen Blog: Stuffed Mushrooms. Guest post by Adrianna Adarme of A Cozy Kitchen, recipe submitted by TK member Kelly of Evil Shenanigans.

This is when the fun starts!

In a medium bowl, mix up the cream cheese and shredded cheddar cheese. Once it’s all mixed, add the warm vegetable/bacon mixture and toss.


Tasty Kitchen Blog: Stuffed Mushrooms. Guest post by Adrianna Adarme of A Cozy Kitchen, recipe submitted by TK member Kelly of Evil Shenanigans.

Place the mushrooms on a lined baking sheet.

Using a tablespoon, scoop the mixture into the mushroom centers.


Tasty Kitchen Blog: Stuffed Mushrooms. Guest post by Adrianna Adarme of A Cozy Kitchen, recipe submitted by TK member Kelly of Evil Shenanigans.

Lastly, top each mushroom with a bit of the buttery panko mixture.


Tasty Kitchen Blog: Stuffed Mushrooms. Guest post by Adrianna Adarme of A Cozy Kitchen, recipe submitted by TK member Kelly of Evil Shenanigans.

I ended up with a bit more mixture left so I ended up getting fifteen mushrooms out of this recipe. I’m definitely not complaining!


Tasty Kitchen Blog: Stuffed Mushrooms. Guest post by Adrianna Adarme of A Cozy Kitchen, recipe submitted by TK member Kelly of Evil Shenanigans.

Bake the mushrooms for 20 minutes, or until the tops turn a golden brown and the cheese starts to ooze out the sides.


Tasty Kitchen Blog: Stuffed Mushrooms. Guest post by Adrianna Adarme of A Cozy Kitchen, recipe submitted by TK member Kelly of Evil Shenanigans.

I have big plans for making this again (I’m doubling the recipe next time), taking them to a party and watching as they disappear. This will happen—guaranteed! 

Thank you to TK member Kelly for the easy-breezy, amazing recipe. Also, check out her blog, Evil Shenanigans. It’s filled with delicious, comforting dishes! (And if you want to learn more about her and where her blog gets its name, check out her Tasty Kitchen Blog feature.)


_______________________________________

Adrianna is the lovely lady behind the scrumptious blog A Cozy Kitchen. It’s filled with all kinds of mouthwatering recipes and gorgeous photography. Whether you’re in the mood for something vegetarian or meaty, fancy or pure comfort, light or decadent, there’s sure to be something there for everyone.


Profile photo of HowSweetEats

Thai Chicken Pizza

Posted by in Step-by-Step Recipes

Tasty Kitchen Blog: Thai Chicken Pizza. Guest post by Jessica Merchant of How Sweet It Is, recipe submitted by TK member Dax Phillips of Simple Comfort Food.

 
While my favorite cuisine has always been Mexican, Thai is coming in at a very, very close second. On any given day, I am craving something with peanut sauce, a giant bowl of pineapple curry, summer rolls with sweet, syrupy chili flavor and pad thai … oh pad thai. Who would have thought that combining chicken or shrimp, peanuts, sweet sauces and bright cilantro would taste so utterly fantastic? Not I.

So when we ate Thai chicken pizza out a few weeks ago, I went on a mission to recreate it at home. After a quick glance, I knew this recipe from TK member Dax Phillips was just the ticket. There was no way I was going one more day without this homemade pizza in my life. I whipped up Erica Lea’s awesome homemade pizza dough and I was ready to roll.


Tasty Kitchen Blog: Thai Chicken Pizza. Guest post by Jessica Merchant of How Sweet It Is, recipe submitted by TK member Dax Phillips of Simple Comfort Food.

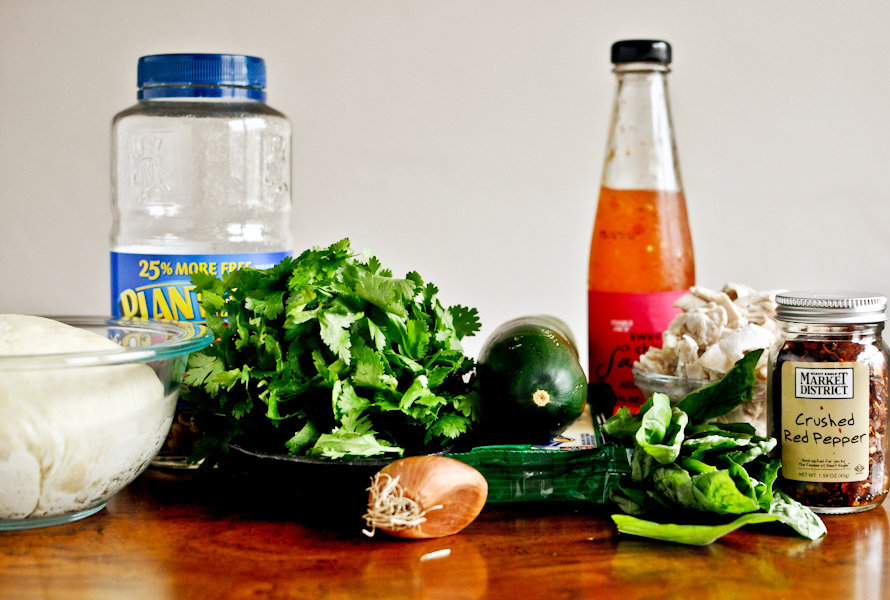
To make the pizza, you need one batch of your favorite pizza dough, peanuts, fresh cilantro and basil, zucchini, one shallot, mozzarella cheese, sweet chili sauce, shredded chicken and crushed red pepper. Spicy spicy. And a little sweet.


Tasty Kitchen Blog: Thai Chicken Pizza. Guest post by Jessica Merchant of How Sweet It Is, recipe submitted by TK member Dax Phillips of Simple Comfort Food.

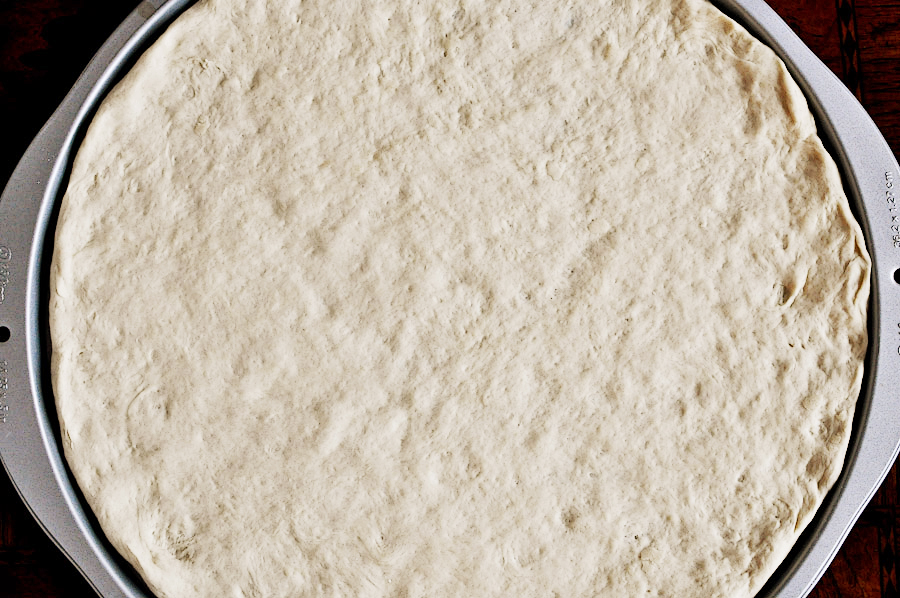
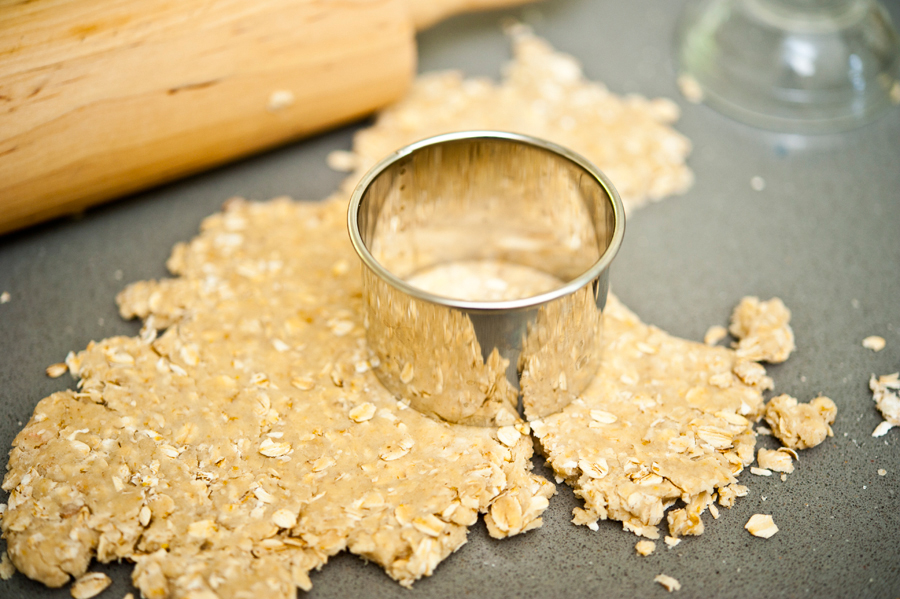
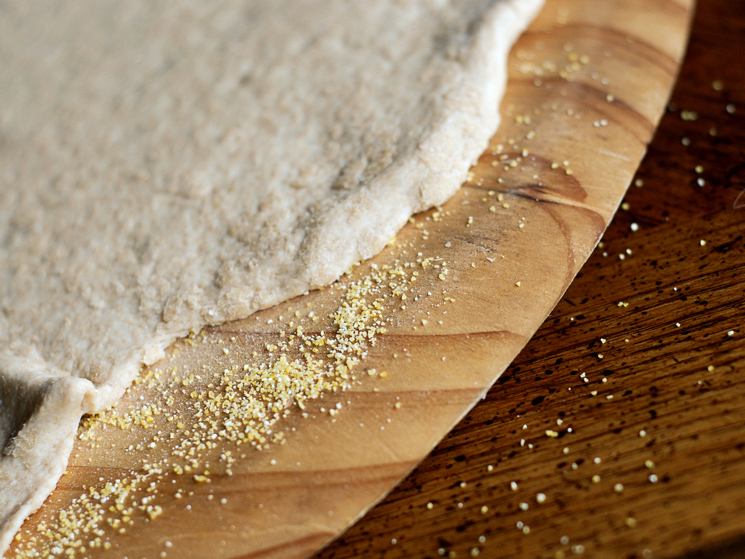
To begin, flour your workspace and shape your pizza dough into the desired circle, rectangle, or goofy blob. The original instructions called for using a pizza stone, which unfortunately I do not have. I know! So deprived. I can almost promise you that this tastes better on a pizza stone. If you use one, make sure to preheat it first! You can also add a few teaspoons of cornmeal under your crust. So delicious and crunchy.


Tasty Kitchen Blog: Thai Chicken Pizza. Guest post by Jessica Merchant of How Sweet It Is, recipe submitted by TK member Dax Phillips of Simple Comfort Food.

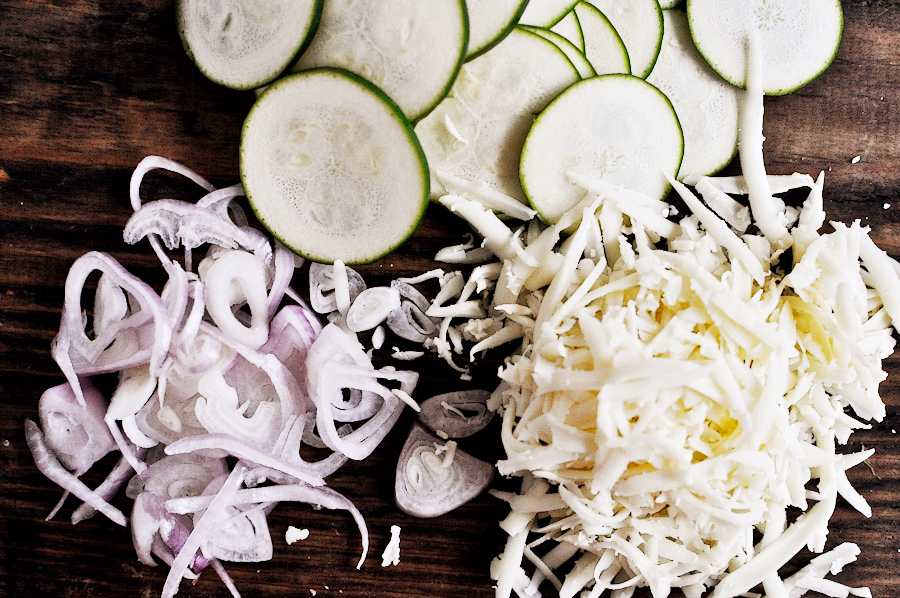
Slice your zucchini and your shallot. A mandolin would probably work best here for uniformly thin slices, but alas, another kitchen gadget I do not own! That’s okay—it’s not completely necessary.

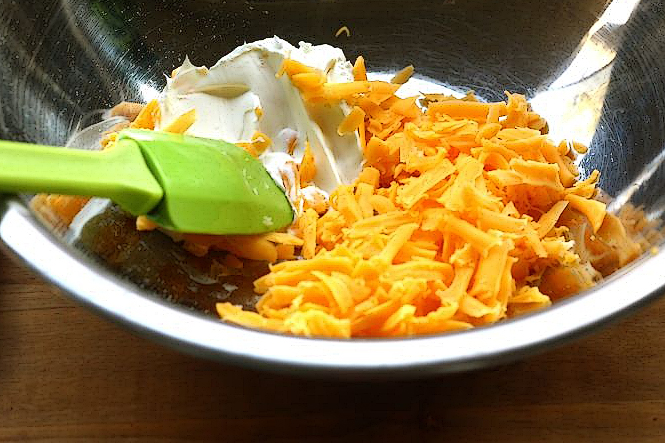
I also grated my mozzarella at this point. You can use pre-shredded mozz in a bag, but trust me, nothing tastes as delicious as freshly grated cheese.


Tasty Kitchen Blog: Thai Chicken Pizza. Guest post by Jessica Merchant of How Sweet It Is, recipe submitted by TK member Dax Phillips of Simple Comfort Food.

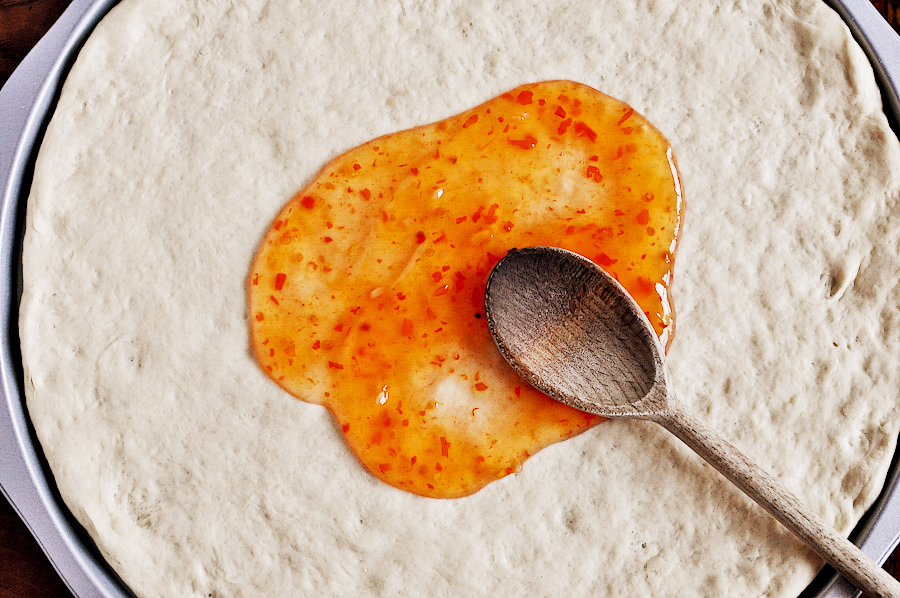
Spread the chili sauce on the dough. You want a thin layer, but enough to cover the dough.


Tasty Kitchen Blog: Thai Chicken Pizza. Guest post by Jessica Merchant of How Sweet It Is, recipe submitted by TK member Dax Phillips of Simple Comfort Food.

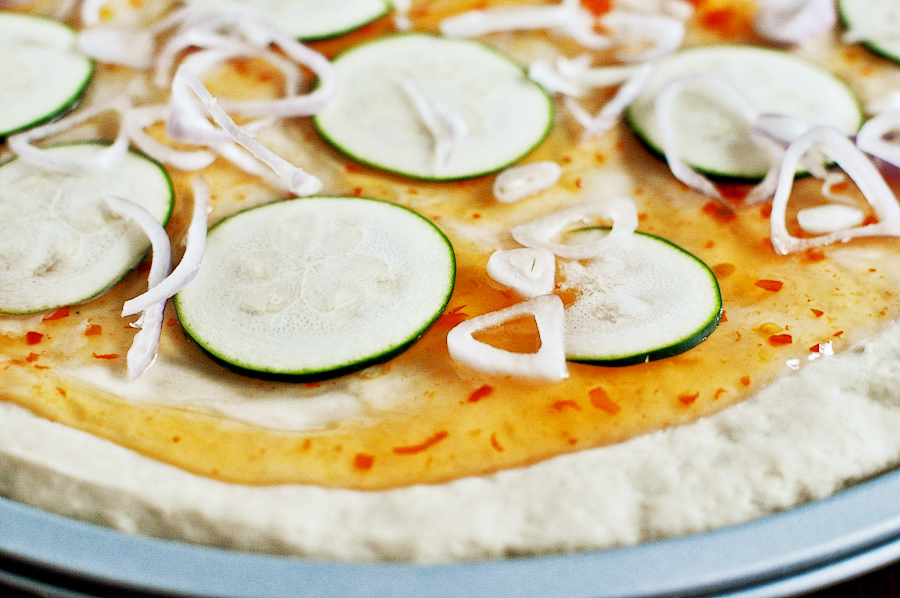
Layer on your zucchini and shallots …


Tasty Kitchen Blog: Thai Chicken Pizza. Guest post by Jessica Merchant of How Sweet It Is, recipe submitted by TK member Dax Phillips of Simple Comfort Food.

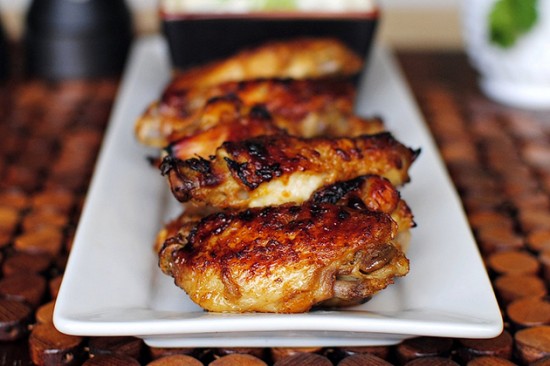
Then add your shredded chicken. The original recipe called for one cup of chicken, but I used about 1 1/4 cups. To get this amount, I cooked 3 thinly-sliced chicken breasts. Easy!


Tasty Kitchen Blog: Thai Chicken Pizza. Guest post by Jessica Merchant of How Sweet It Is, recipe submitted by TK member Dax Phillips of Simple Comfort Food.

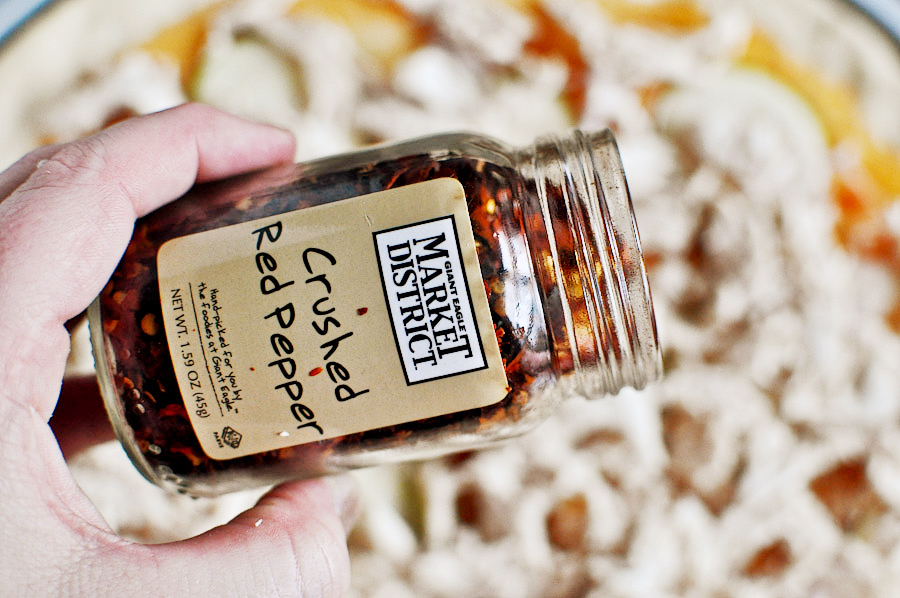
Add on your crushed red pepper. More for heat, less for wimpy taste buds like my own. Except I dropped a huge spoonful in one spot on the pizza, which of course ended up being the slice that I ate. My mouth was on fiyah!


Tasty Kitchen Blog: Thai Chicken Pizza. Guest post by Jessica Merchant of How Sweet It Is, recipe submitted by TK member Dax Phillips of Simple Comfort Food.

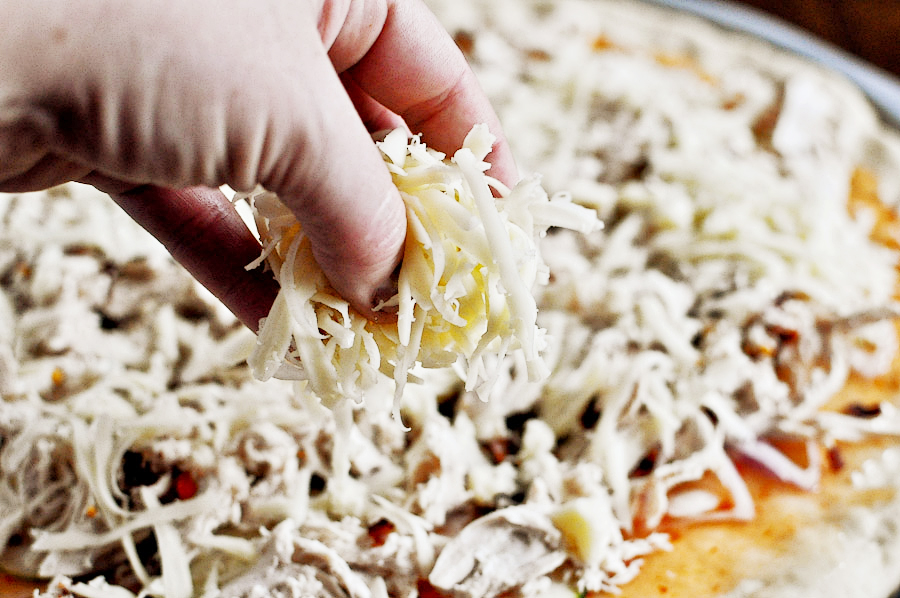
Throw on your cheese.


Tasty Kitchen Blog: Thai Chicken Pizza. Guest post by Jessica Merchant of How Sweet It Is, recipe submitted by TK member Dax Phillips of Simple Comfort Food.

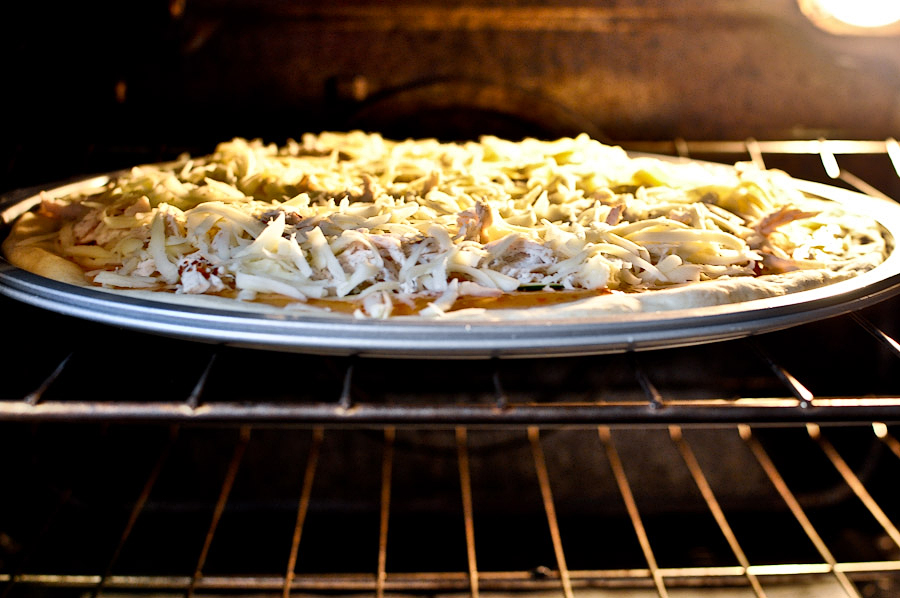
Then place that baby in the oven and watch it get all golden and bubbly.


Tasty Kitchen Blog: Thai Chicken Pizza. Guest post by Jessica Merchant of How Sweet It Is, recipe submitted by TK member Dax Phillips of Simple Comfort Food.

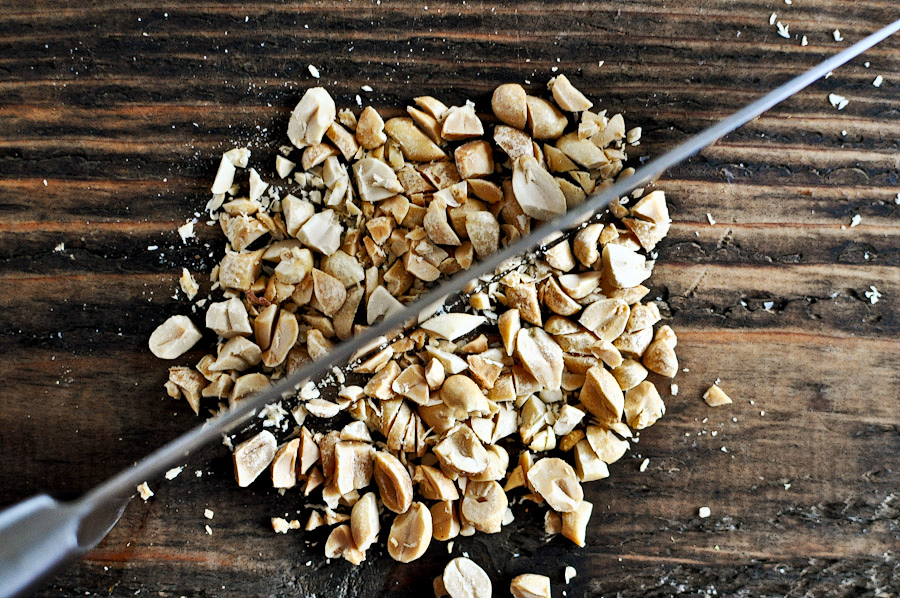
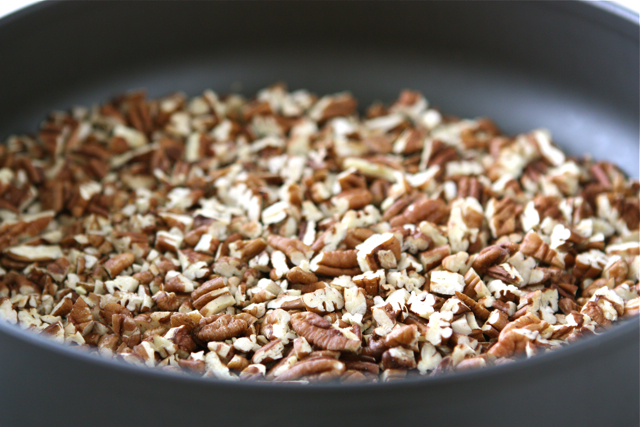
While the pizza is in the oven, chop your peanuts. Do NOT be afraid of the peanuts here, friends! They totally MAKE the pizza. They take it over the Thai edge. They are completely thrilling.


Tasty Kitchen Blog: Thai Chicken Pizza. Guest post by Jessica Merchant of How Sweet It Is, recipe submitted by TK member Dax Phillips of Simple Comfort Food.

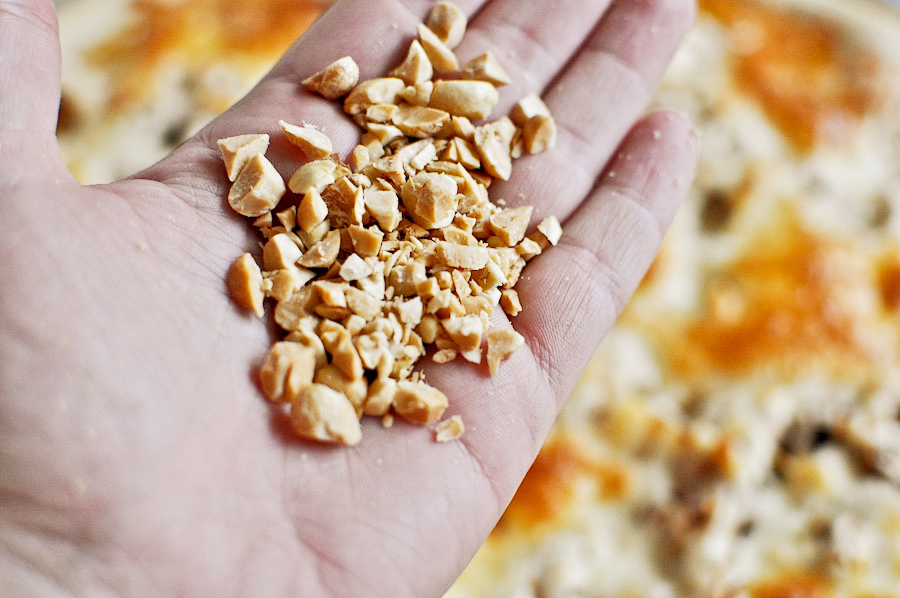
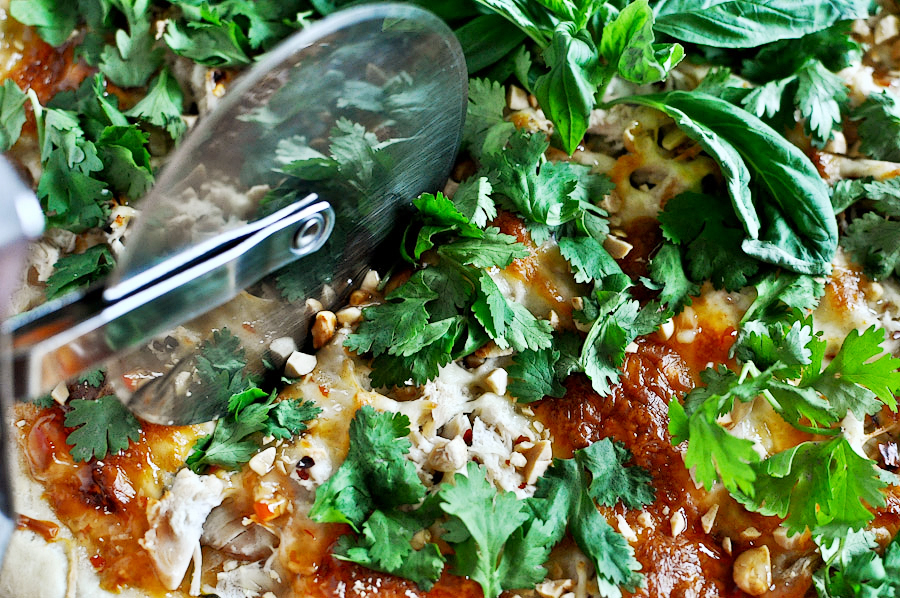
As soon as the pizza comes out of the oven, sprinkle on the peanuts …


Tasty Kitchen Blog: Thai Chicken Pizza. Guest post by Jessica Merchant of How Sweet It Is, recipe submitted by TK member Dax Phillips of Simple Comfort Food.

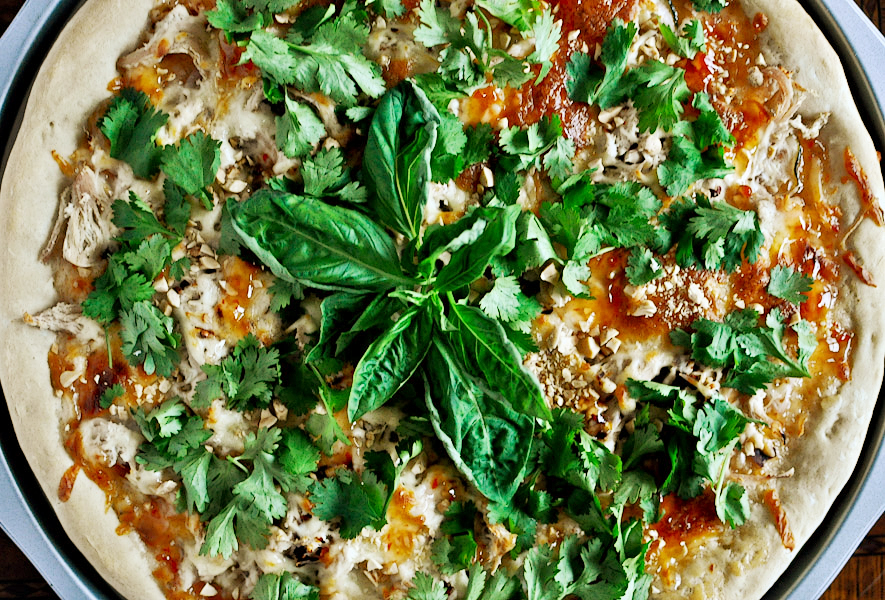
Then top if off with lots of fresh cilantro and basil. Even though it’s nearing winter, I was able to find fresh cilantro and basil at my grocery store for about 98 cents, which is totally unheard of in the Pittsburgh area. Hopefully you can find some too, but if not (or if you choose to make this pizza in say, February or March when the pickin’s are even slimmer) I would go ahead a throw on a little dried basil and cilantro. These two herbs maximized the Thai flavor and I can’t imagine the pizza without them.


Tasty Kitchen Blog: Thai Chicken Pizza. Guest post by Jessica Merchant of How Sweet It Is, recipe submitted by TK member Dax Phillips of Simple Comfort Food.

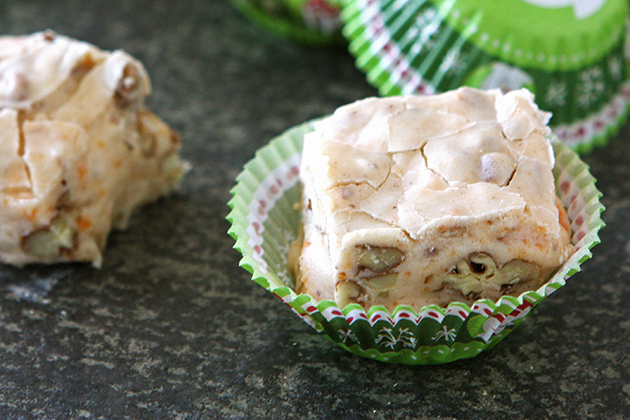
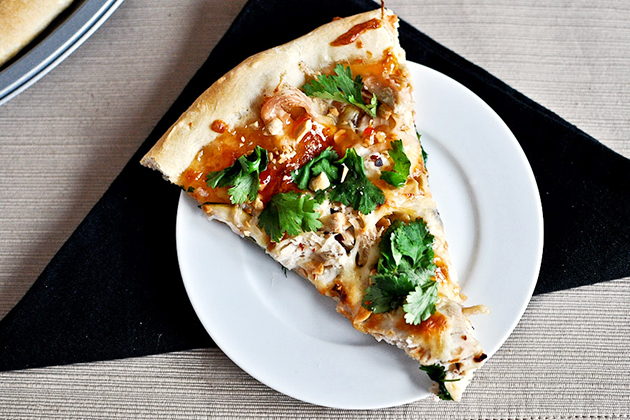
Cut yourself a nice big slice …
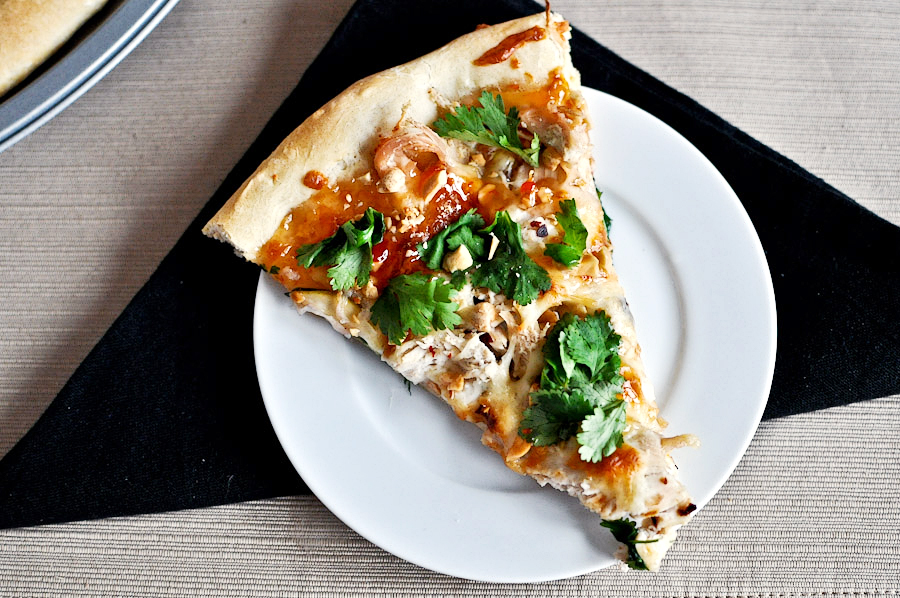


Tasty Kitchen Blog: Thai Chicken Pizza. Guest post by Jessica Merchant of How Sweet It Is, recipe submitted by TK member Dax Phillips of Simple Comfort Food.

And enjoy!

This pizza was absolutely out of this world. Not only was it delicious, but the flavors were incredibly fresh, which was a nice change of pace from the typical comfort food this time of year. On top of that, using high quality ingredients combined with some whole wheat pizza crust and all-white meat chicken means one thing: healthier pizza! Which obviously translates to: have an extra slice (or two!).

Thanks so much to Dax Phillips for the fabulous recipe. Be sure to check out his blog, Simple Comfort Food—I think the title says it all!


Printable Recipe

Thai Chicken Pizza

See post on Dax Phillips’s site!
5.00 Mitt(s) 7 Rating(s)7 votes, average: 5.00 out of 57 votes, average: 5.00 out of 57 votes, average: 5.00 out of 57 votes, average: 5.00 out of 57 votes, average: 5.00 out of 5

Prep Time:

Cook Time:

Difficulty: Easy

Servings: 4

4
x

Print Options

Page size Letter 3x5 4x6
Text Size Small Medium Large
Content Include description
Include prep time, etc.
Show image

Description

A great pizza that has just the right amount of sweet heat to keep you coming back for more.

Ingredients

  • 1 whole Batch Of Your Favorite Pizza Dough, Rolled Out To About A 1/4 Inch, 12 Inch Diameter
  • ¼ cups Flour
  • 1 Tablespoon Fine Corn Meal
  • ½ cups Sweet Asian Chili Sauce, Plus 1 Tablespoon For Drizzle
  • 1 whole Shallot, Thinly Sliced
  • ½ whole Zucchini, Thinly Sliced
  • 1 teaspoon Red Chili Flakes
  • 1 cup Cooked Chicken Shredded
  • ⅔ cups Shredded Mozzarella Cheese
  • ¼ cups Chopped Peanuts
  • 2 Tablespoons Fresh Cilantro
  • 2 Tablespoons Fresh Basil (optional)

Preparation Instructions

Preheat your oven to 500 degrees F with a pizza stone in the oven. If you do not have a pizza stone, put a large baking sheet in the oven (make sure to use one that is large enough to house your dough).

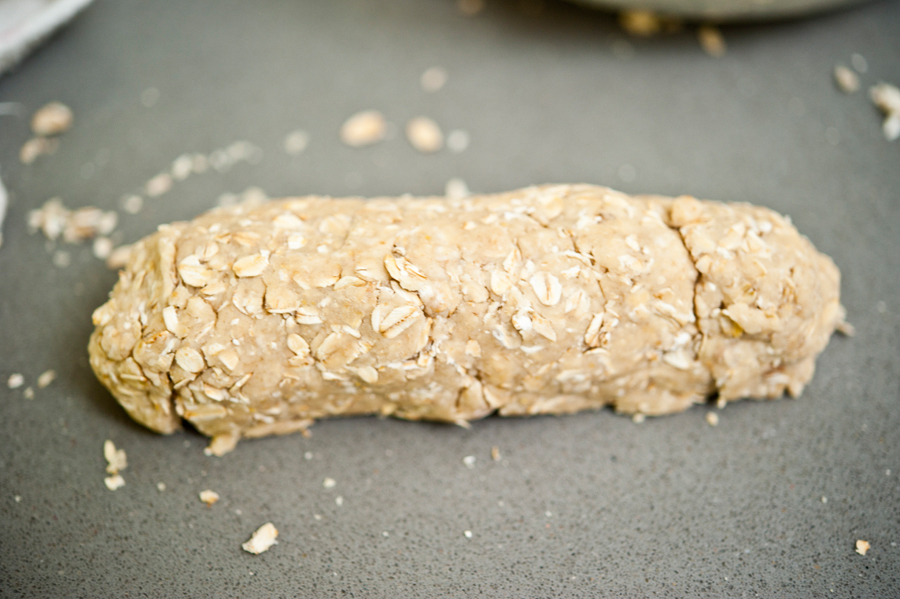
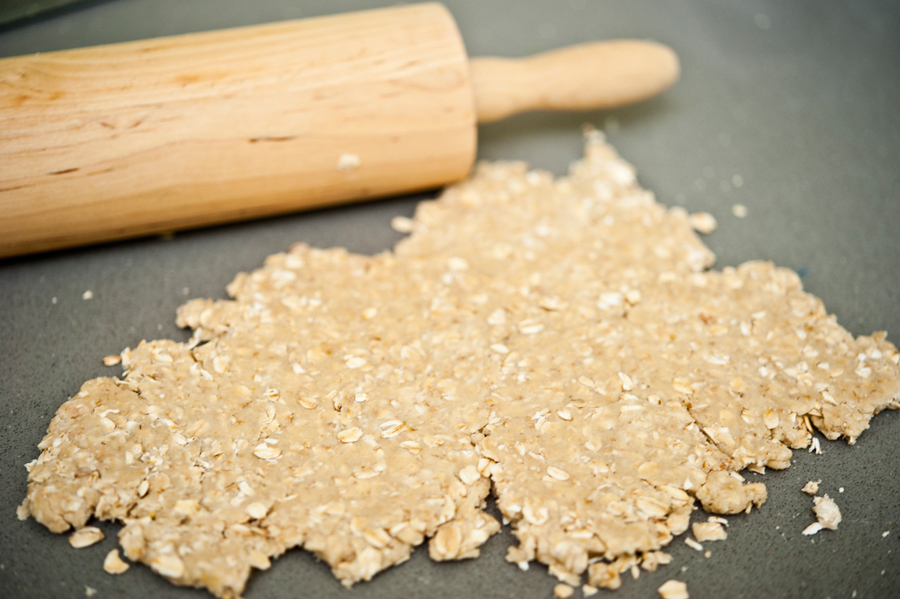
Begin by adding some flour to your rolling surface. Take your dough that has already risen, and lightly knead it. Roll out the dough to about a 1/4 inch thick, or however your like the thickness of your crust.

Lay the dough down on a pizza peel (if you have one) that’s covered with corn meal. Otherwise put the dough on a surface that you can use to slide the entire pizza onto the hot pizza stone or pan. The corn meal helps assist with the pizza dough – so it slides off easily.

Spread the Asian chili sauce on the surface of the dough. Not too thick, not too thin. Add the sliced shallots and zucchini. Top with the red chili flakes and shredded chicken. Top with the cheese.

Using your pizza peel, place the pizza into the oven on your cooking surface (stone or pan) and cook for about 15 minutes, keeping an eye on your crust and toppings so they do not burn. Every oven is different.

Once the pizza dough is golden around the edges and the cheese is nice and bubbly, remove pizza from the oven.

Drizzle more of the Asian chili sauce over the top, top with the crushed peanuts and fresh cilantro. If you are feeling naughty, top it off with some fresh basil.

Slice and serve.

Every bite was pretty darn awesome. You get the great pizza crust with the sweet heat from the chili sauce, and the shallots, cilantro, and zucchini, along with the great crunch from the peanuts. All of this combined made this one a pizza that is hard to beat. Enjoy.


Printable Recipe

Pizza Dough

See post on Erica Lea’s site!
5.00 Mitt(s) 12 Rating(s)12 votes, average: 5.00 out of 512 votes, average: 5.00 out of 512 votes, average: 5.00 out of 512 votes, average: 5.00 out of 512 votes, average: 5.00 out of 5

Prep Time:

Cook Time:

Difficulty: Easy

Servings: 8

8
x

Print Options

Page size Letter 3x5 4x6
Text Size Small Medium Large
Content Include description
Include prep time, etc.
Show image

Description

Can you believe that this dough is 100% whole wheat? Yet it handles so well – better than any pizza dough recipe I’ve ever tried.
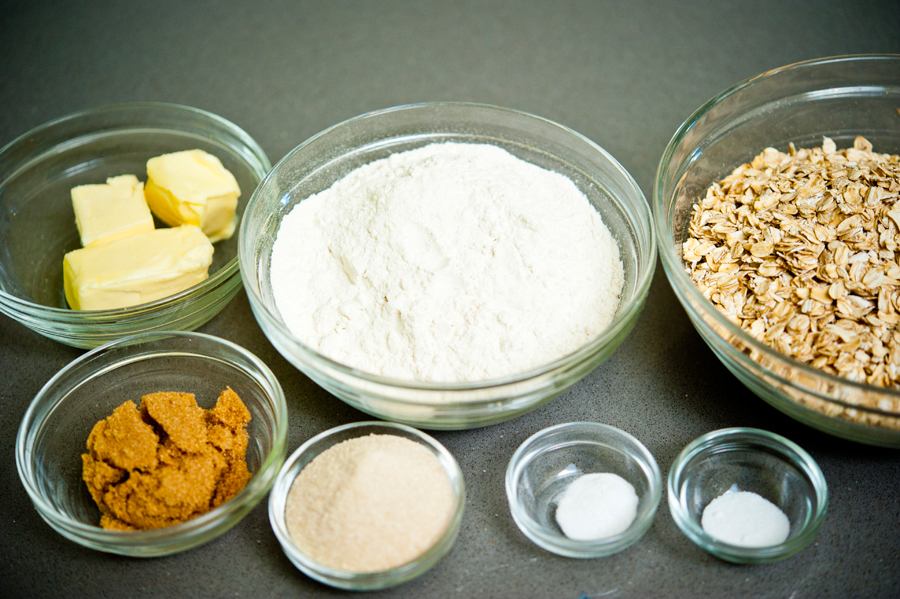
Ingredients

  • ½ cups Warm Water (about 110° F)
  • 2-¼ teaspoons Instant Yeast
  • 1-¼ cup Water At Room Temperature
  • 2 Tablespoons Extra-virgin Olive Oil Plus Extra For Greasing The Bowl
  • 4 cups White Whole Wheat Flour
  • 1-½ teaspoon Sea Salt

Preparation Instructions

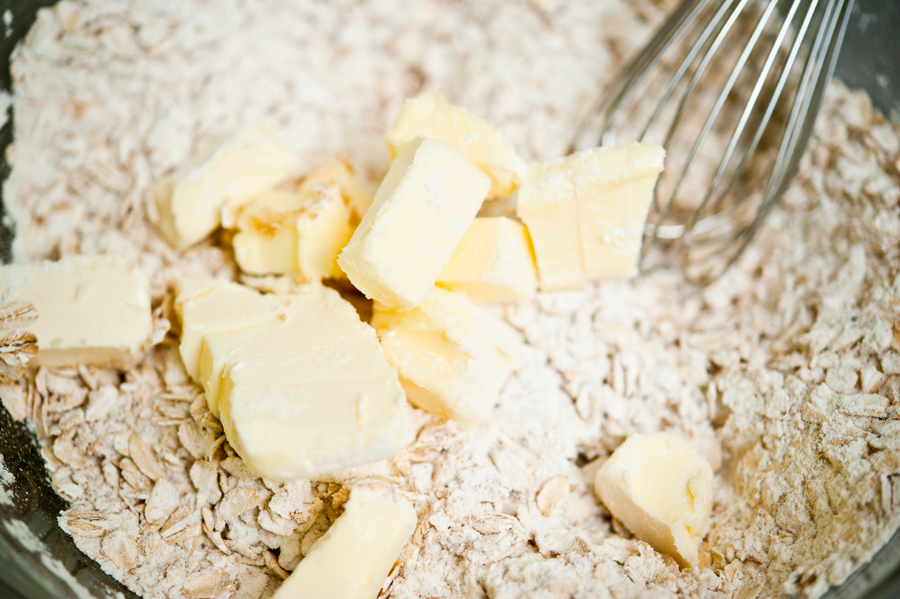
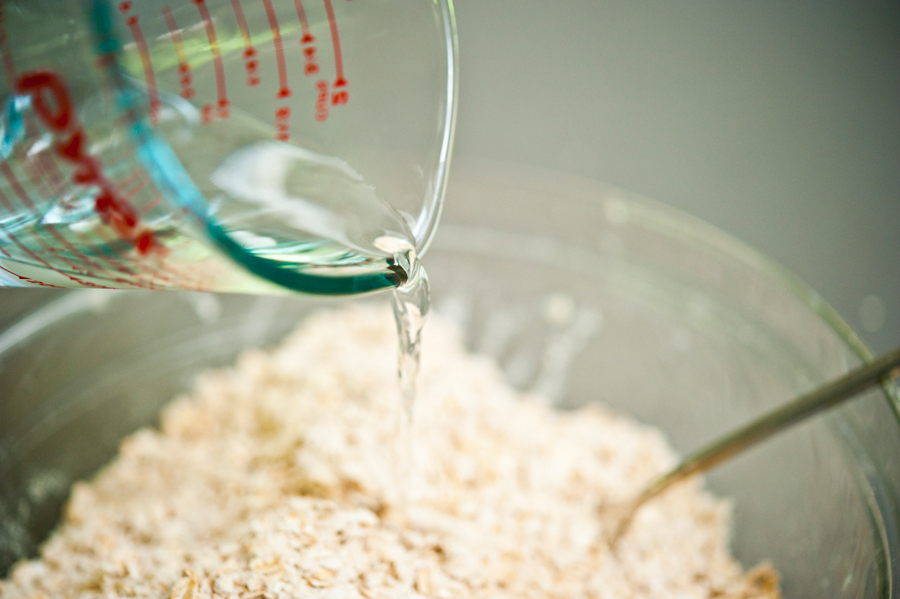
1) Place the 1/2 cup warm water in a small bowl. Add the yeast and stir. Let sit for about 5 minutes, or until the yeast begins to swell. Add to the room temperature water and oil and stir.

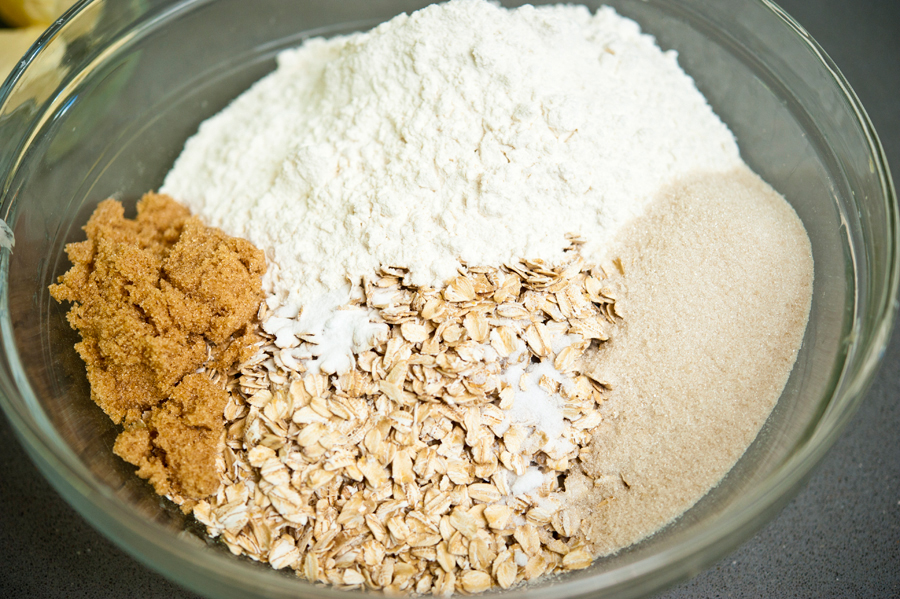
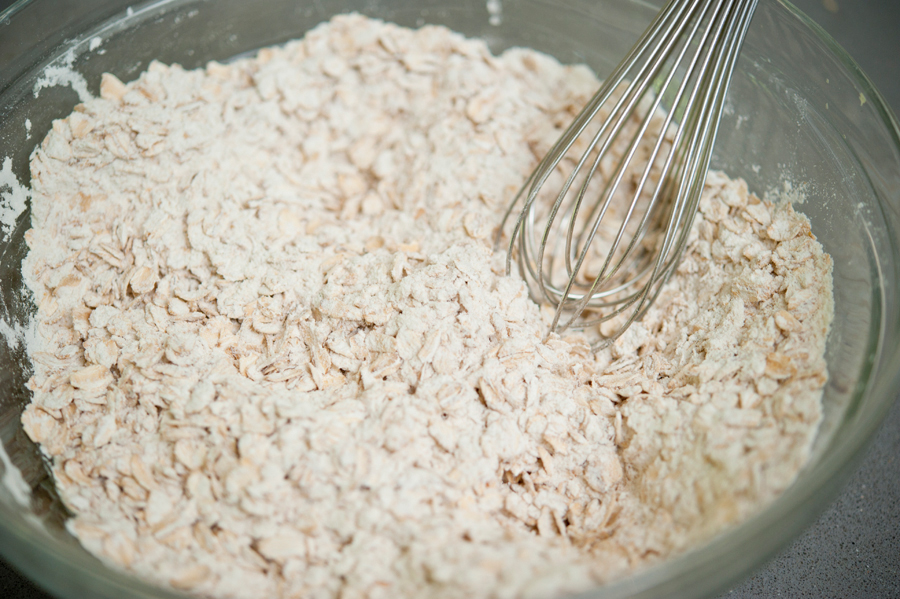
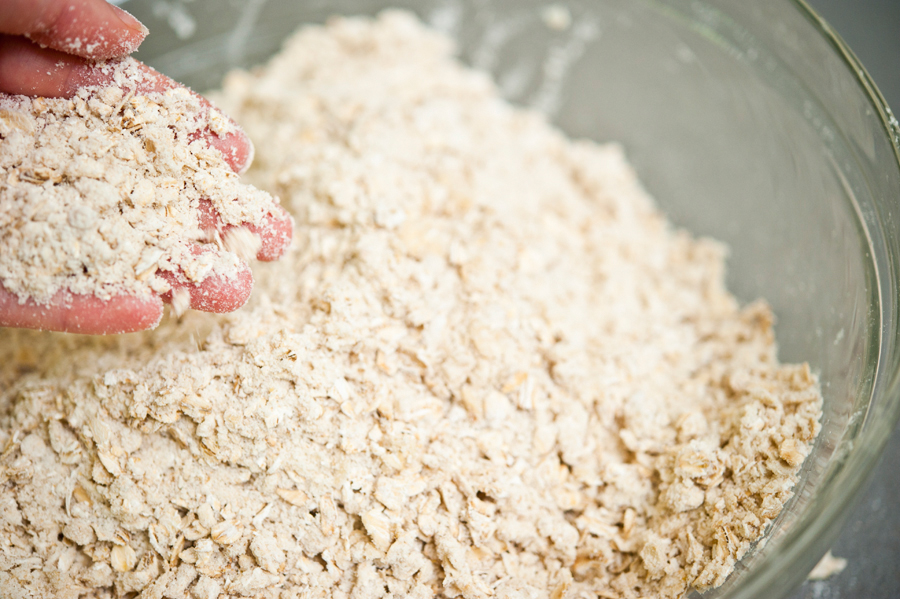
2) Place the flour and salt in the bowl of a stand mixer fitted with the paddle attachment. Mix briefly until combined. With mixer on low speed, slowly add the liquid ingredients. Mix just until a cohesive dough forms. Let the dough rest for 5 minutes.

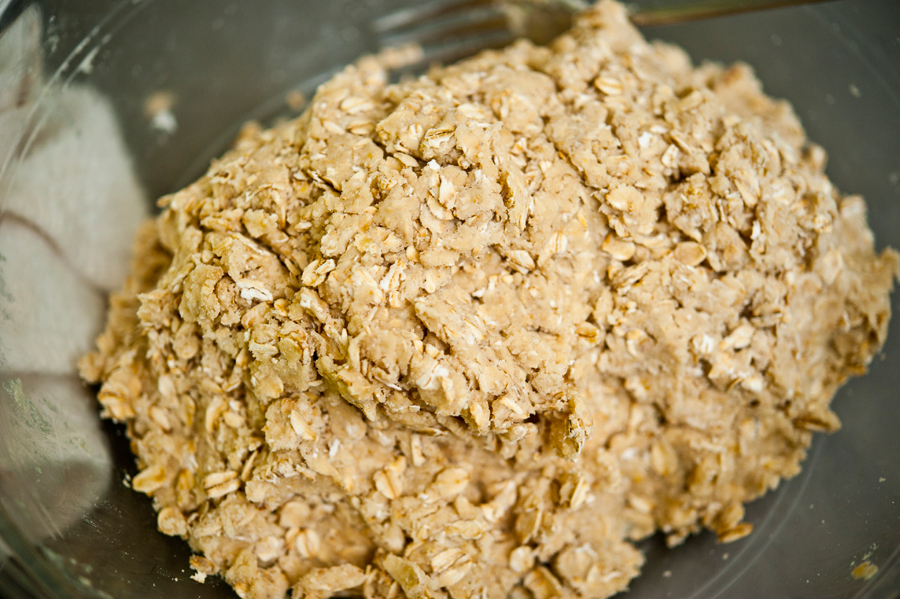
3) Change to the dough hook attachment. Knead the dough until it becomes smooth and elastic, about 5 more minutes.

4) Oil or butter a medium-sized bowl. Transfer the dough to the prepared bowl. Cover with a kitchen towel or plastic wrap and place in a warm spot. Allow to rise for 1 ½-2 hours, or until it doubles in volume. The dough is now ready to be used in your recipe.

Makes enough dough for approximately 3 thin-crust, large-sized pizzas.


_______________________________________

Jessica Merchant is a personal trainer turned food writer and blogger. Her blog, How Sweet Eats, is where she proclaims her love for all things sweet, all things bacon, and everything else in between. She works her magic in her Pittsburgh kitchen, which she shares with her husband of 2 years.


Profile photo of Laurie - Simply Scratch

Citrus Spicy Wings with Cilantro Dipping Sauce

Posted by in Step-by-Step Recipes

  Chicken wings are the quintessential football party food. They go well with just about any salty snack food, icy cold beer and they don’t require a fork (bonus!). Although I’m not an avid football fan, I am a huge wing fan! Whether it’s slathered in a spicy sauce or dunked into a cool and creamy dip, […]