The Pioneer Woman Tasty Kitchen
Profile photo of ThreeManyCooks

Slow Cooker Coconut Chicken Curry

Posted by in Step-by-Step Recipes

Tasty Kitchen Blog: Slow Cooker Coconut Chicken Curry. Guest post by Maggy Keet of Three Many Cooks, recipe submitted by TK member Ayalla of Salt and Paprika.

 
Two weeks ago my husband and I moved into a new apartment in Manhattan. We love everything about our new place, but (there’s always a “but”) the kitchen is tiny. I mean really tiny. I have about two square feet of counter space and I can’t open my oven and dishwasher at the same time. But I loved the rest of the apartment so much, I told myself it would be okay. My friends and fellow cooks reassured me that sometimes the best food comes out of small kitchens and I would find a way to make it work. And I did.

Four days later my oven broke and it’s been out for nearly a week now. As my Nanny always says, “you just have to make do and mend.” But to tell you the truth, I’ve hardly missed my oven. I’ve made some delicious stove top meals (the cook top still works) and of course my slow cooker has been working overtime.

This recipe called out to me because I love anything with coconut milk in it. And my husband is a curry fanatic. This Slow Cooker Coconut Chicken Curry was everything Ayalla (Tasty Kitchen member saltandpaprika) said it would be: easy to prepare, delicious and “mild but complex with deep flavors.” This recipe gets two big thumbs up from me. I’ll definitely be making it again.


Tasty Kitchen Blog: Slow Cooker Coconut Chicken Curry. Guest post by Maggy Keet of Three Many Cooks, recipe submitted by TK member Ayalla of Salt and Paprika.

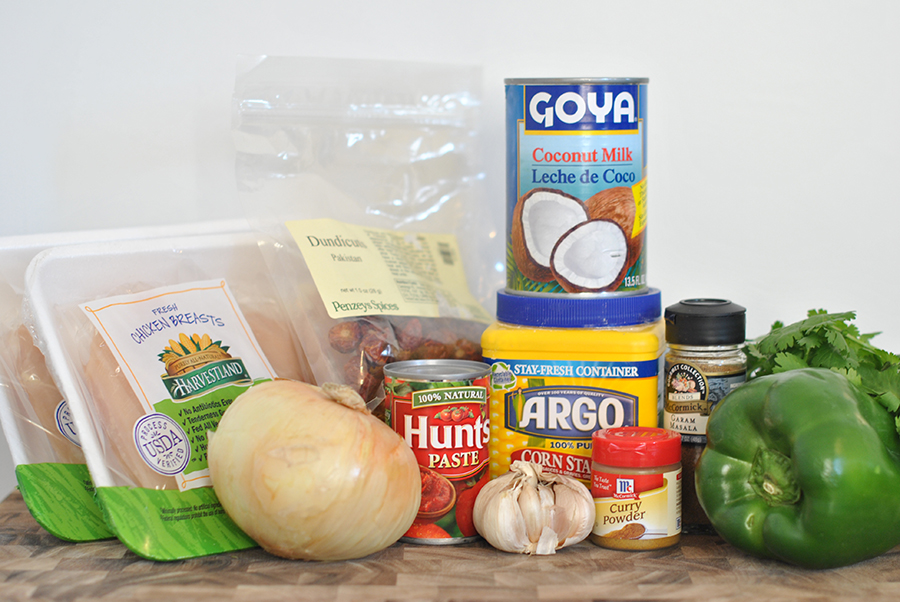
The recipe calls for chicken, onion, garlic, bell pepper, tomato paste, coconut milk, curry powder, garam masala, optional red chili peppers, and cornstarch. Click the link at the end of this post for the printable recipe with all the measurements.


Tasty Kitchen Blog: Slow Cooker Coconut Chicken Curry. Guest post by Maggy Keet of Three Many Cooks, recipe submitted by TK member Ayalla of Salt and Paprika.

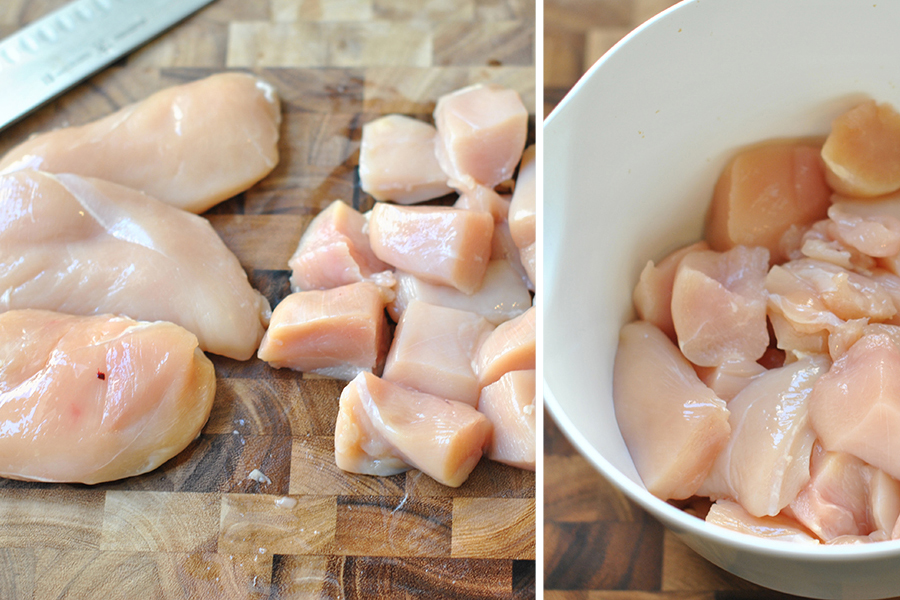
Start by cutting your chicken breasts into large cubes.


Tasty Kitchen Blog: Slow Cooker Coconut Chicken Curry. Guest post by Maggy Keet of Three Many Cooks, recipe submitted by TK member Ayalla of Salt and Paprika.

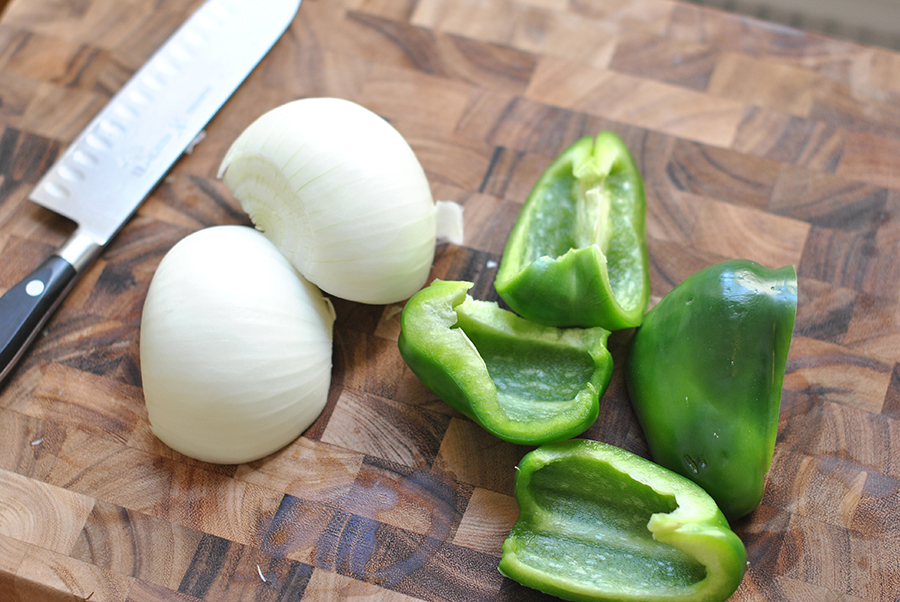
Cut your onion in half and remove the skin, then cut the green peppers into quarters.


Tasty Kitchen Blog: Slow Cooker Coconut Chicken Curry. Guest post by Maggy Keet of Three Many Cooks, recipe submitted by TK member Ayalla of Salt and Paprika.

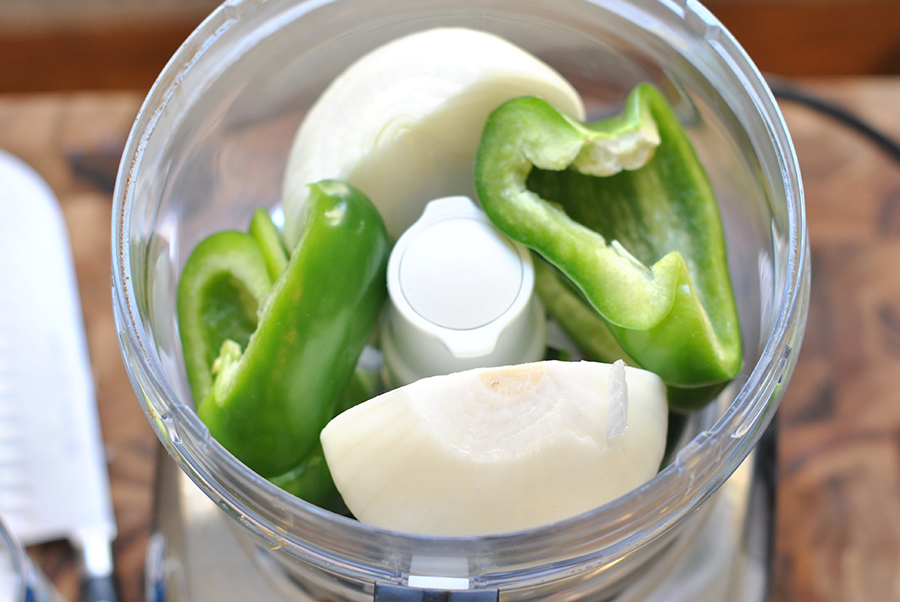
Place the onion and pepper into the food processor.


Tasty Kitchen Blog: Slow Cooker Coconut Chicken Curry. Guest post by Maggy Keet of Three Many Cooks, recipe submitted by TK member Ayalla of Salt and Paprika.

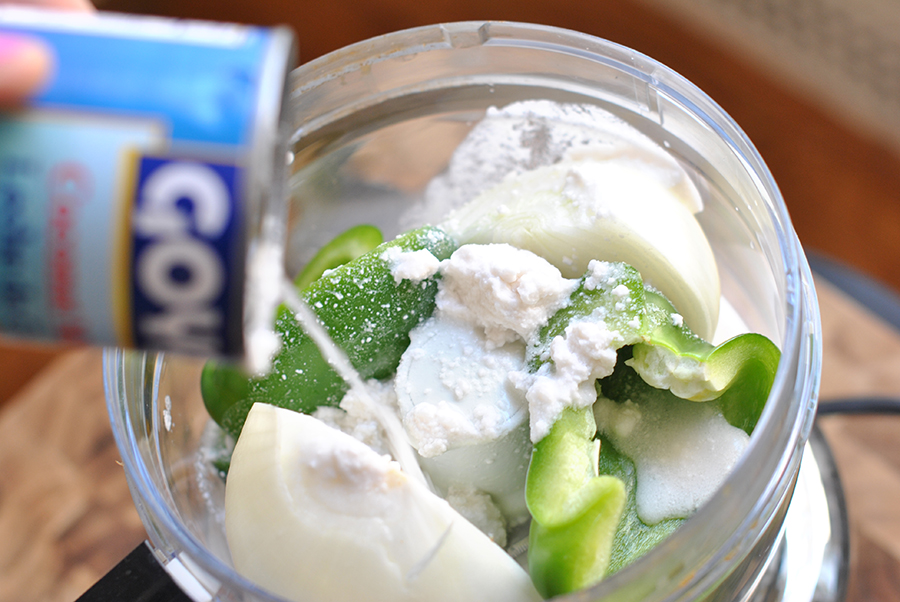
Then add the coconut milk …


Tasty Kitchen Blog: Slow Cooker Coconut Chicken Curry. Guest post by Maggy Keet of Three Many Cooks, recipe submitted by TK member Ayalla of Salt and Paprika.

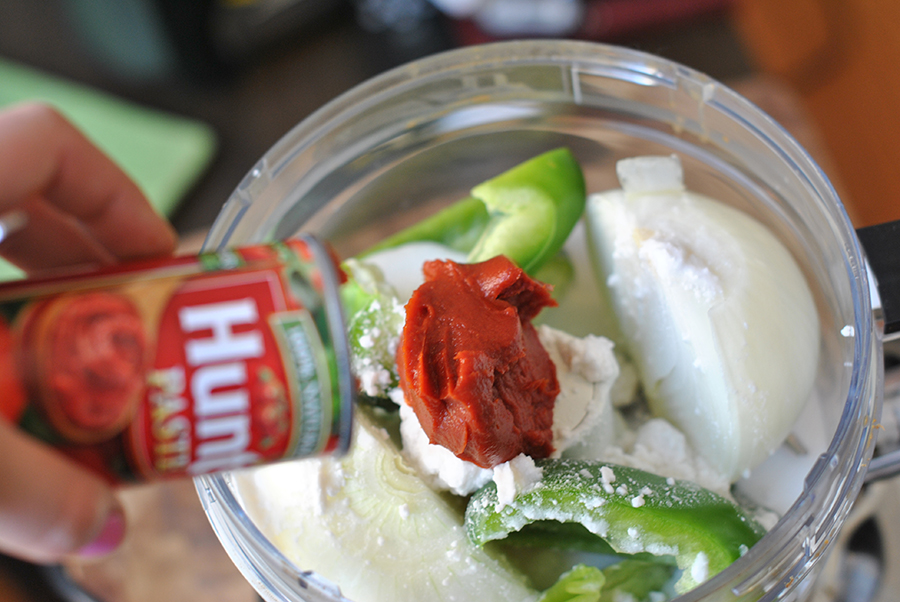
Tomato paste …


Tasty Kitchen Blog: Slow Cooker Coconut Chicken Curry. Guest post by Maggy Keet of Three Many Cooks, recipe submitted by TK member Ayalla of Salt and Paprika.

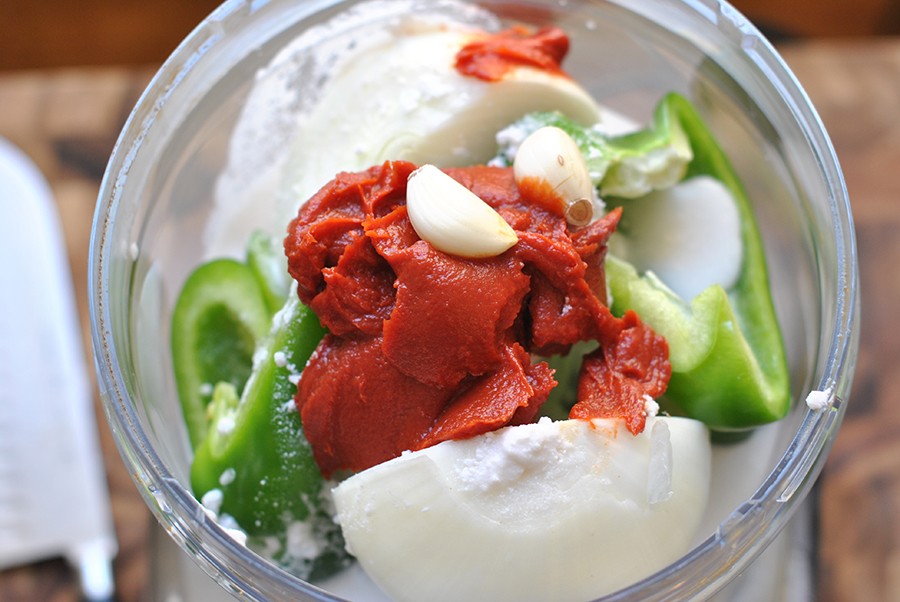
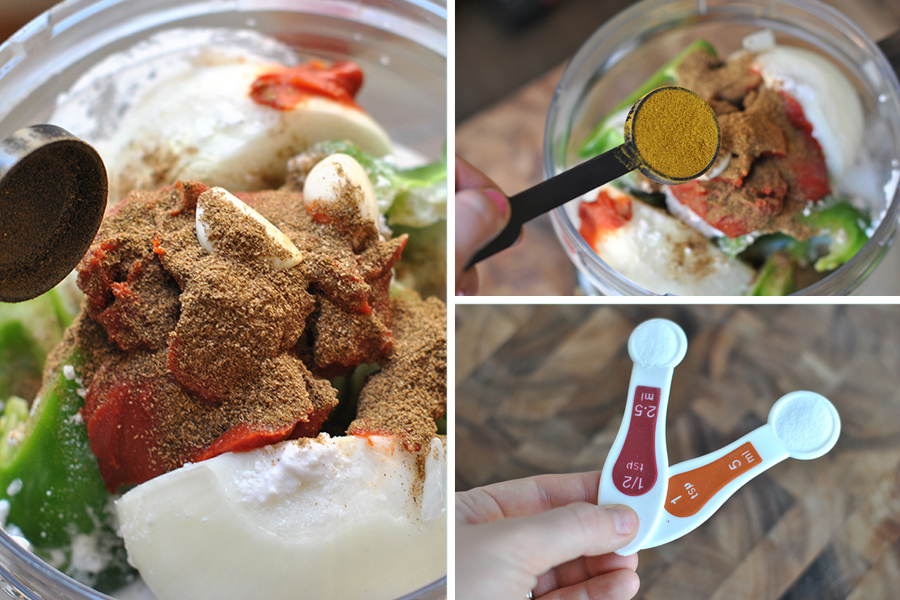
And garlic cloves. Also add the optional chilies at this time.


Tasty Kitchen Blog: Slow Cooker Coconut Chicken Curry. Guest post by Maggy Keet of Three Many Cooks, recipe submitted by TK member Ayalla of Salt and Paprika.

Add the garam masala, curry powder, and salt. Food process until smooth.


Tasty Kitchen Blog: Slow Cooker Coconut Chicken Curry. Guest post by Maggy Keet of Three Many Cooks, recipe submitted by TK member Ayalla of Salt and Paprika.

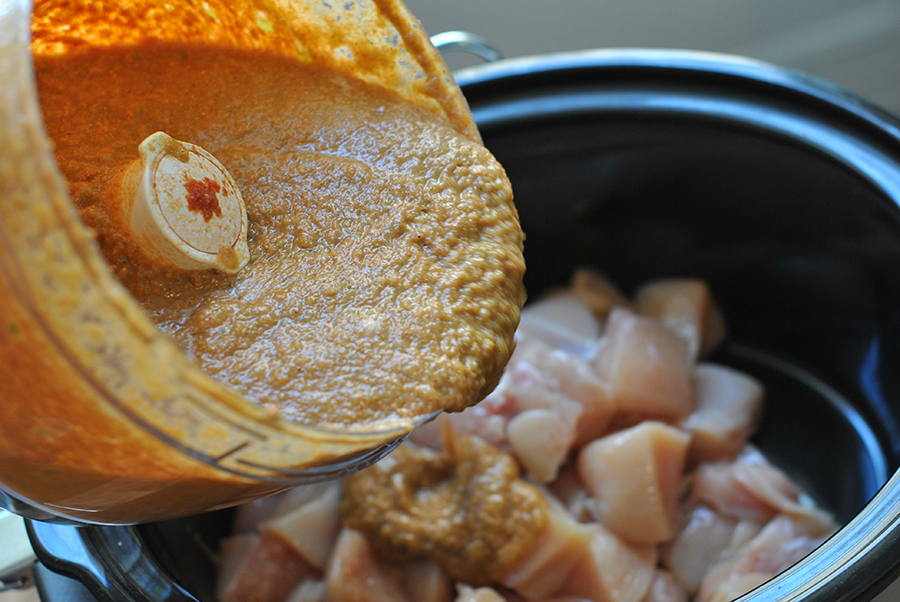
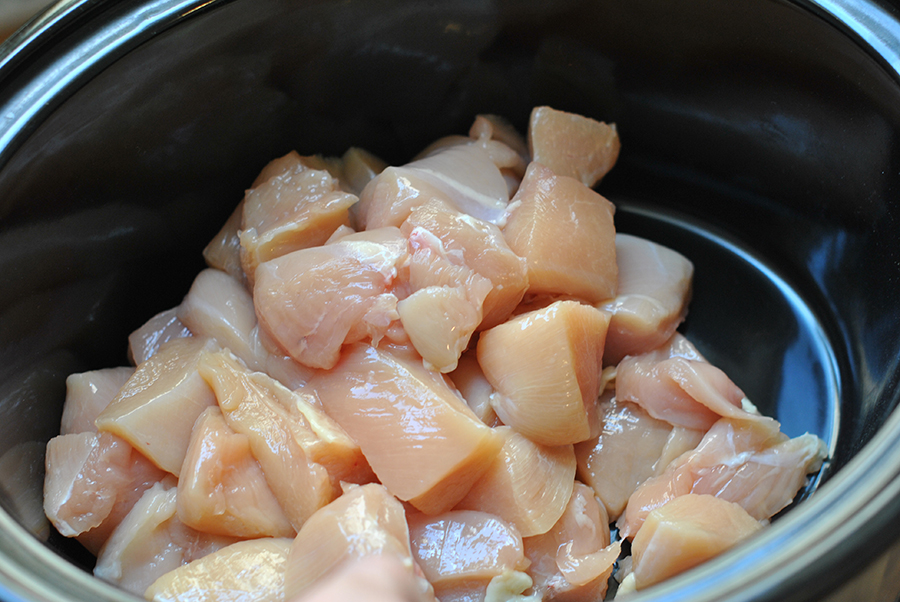
Put the chicken in the slow cooker.


Tasty Kitchen Blog: Slow Cooker Coconut Chicken Curry. Guest post by Maggy Keet of Three Many Cooks, recipe submitted by TK member Ayalla of Salt and Paprika.

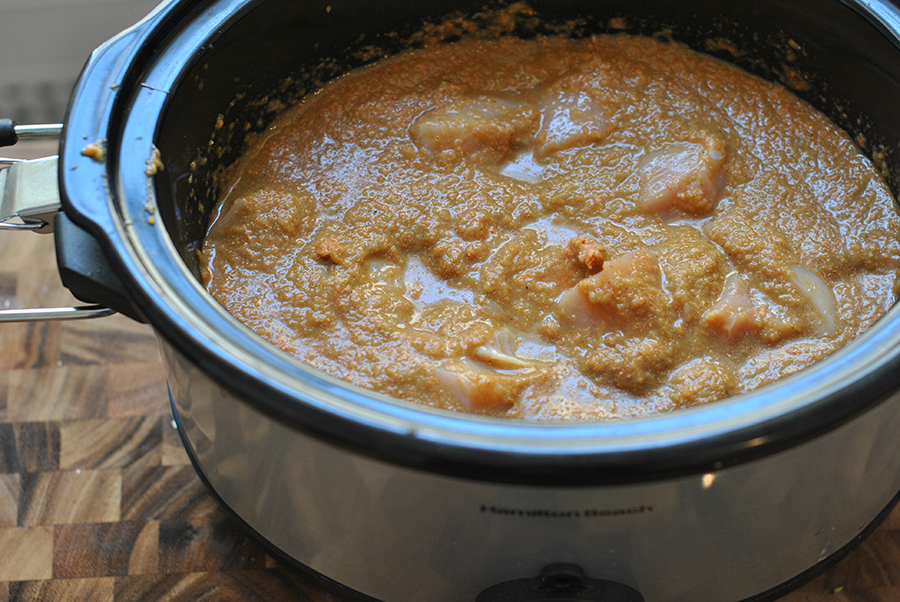
Cover with the sauce, stir to coat.


Tasty Kitchen Blog: Slow Cooker Coconut Chicken Curry. Guest post by Maggy Keet of Three Many Cooks, recipe submitted by TK member Ayalla of Salt and Paprika.

Cover and cook on low for 5 hours.


Tasty Kitchen Blog: Slow Cooker Coconut Chicken Curry. Guest post by Maggy Keet of Three Many Cooks, recipe submitted by TK member Ayalla of Salt and Paprika.

One hour before you’re ready to eat, mix the water and cornstarch until the cornstarch is completely dissolved. Add to the curry and mix well. Put the lid back on the slow cooker and cook for the remaining hour.


Tasty Kitchen Blog: Slow Cooker Coconut Chicken Curry. Guest post by Maggy Keet of Three Many Cooks, recipe submitted by TK member Ayalla of Salt and Paprika.

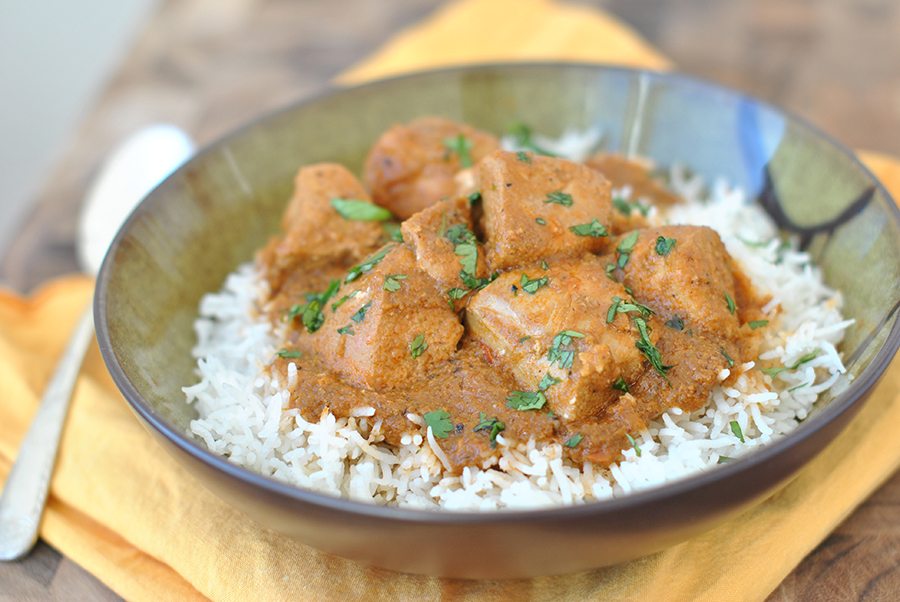
Serve with a big bowl of aromatic rice (such as jasmine or basmati) and garnish with lots of fresh, chopped cilantro.

This will keep for a couple days and is even better the day after!



Tasty Kitchen Blog: Slow Cooker Coconut Chicken Curry. Guest post by Maggy Keet of Three Many Cooks, recipe submitted by TK member Ayalla of Salt and Paprika.

 
Thank you, Ayalla, for this wonderful recipe. Ayalla Weiss-Tremblay is the cook behind the Canadian food blog, Salt and Paprika. She’s a wife, mother, administrator and an excellent cook! Stop by her blog to see what’s she’s cooking up this week!


Printable Recipe
Slow Cooker Coconut Chicken Curry

See post on saltandpaprika’s site!
3.58 Mitt(s) 31 Rating(s)31 votes, average: 3.58 out of 531 votes, average: 3.58 out of 531 votes, average: 3.58 out of 531 votes, average: 3.58 out of 531 votes, average: 3.58 out of 5

Prep Time:

Cook Time:

Difficulty: Easy

Servings: 5

5
x

Print Options

Page size Letter 3x5 4x6
Text Size Small Medium Large
Content Include description
Include prep time, etc.
Show image

Description

This delicious chicken curry recipe is dairy-free, relatively low fat (no butter, cream or heavy yogurt!) and definitely hassle free. It couldn’t be easier to prepare. All the ingredients except the chicken are pulverized to form a creamy sauce in the food processor and poured over the chicken. Done!

The taste is the antithesis to the ease preparation. Mild but complex and deep with flavour. It is exceptionally yummy!

Ingredients

  • 2 pounds, 3-⅓ ounces, weight Boneless Skinless Chicken Breast, Cut Into Large Cubes
  • 1 whole Onion, Peeled And Halved
  • 2 cloves Garlic, Peeled
  • 1 whole Small Green Bell Pepper, Seeded And Quartered
  • 1 can (156ml Can) Tomato Paste
  • 1 can (about 400ml Can) Coconut Milk
  • 1-½ teaspoon Salt
  • 1 Tablespoon Curry Powder
  • 1 Tablespoon Garam Masala (Indian Spice Mix)
  • 2 whole Dry Red Chili Peppers (optional For Extra Heat))
  • 2 Tablespoons Water
  • 1-½ Tablespoon Cornstarch
  • 1 bunch Coriander (optional, For Decoration)

Preparation Instructions

1. Place chicken cubes inside the slow cooker.

2. Place therest of the ingredients (except chili peppers, cornstarch, water and coriander) in a food processor bowl and process together until the mix is smooth(ish). Pour sauce mix on top of the chicken, mix well, add hot peppers if using any, then close the lid. Cook on low for 6 hours.

3. An hour before serving, mix together water and cornstarch until the cornstarch is completely disolved. Add to the chicken curry and mix well. Place the lid back on for the rest of the cooking time.

4. Serve on top of steaming white rice, something wonderfully aromatic like jasmine or basmati rice. Decorate with lots of chopped coriander. Inhale. So good!


_______________________________________

Three Many Cooks is the always-entertaining food blog of Pam Anderson and her two daughters, Maggy and Sharon. Pam is a well-known and much-respected food writer and author, Maggy is a “hippy adventurer meets 1950s housewife,” and Sharon refers to herself as a recovering food snob learning to survive on a graduate student’s budget. Theirs is a strong relationship both inside and outside the kitchen, and it shows in the food they create and the stories they tell.


Profile photo of georgiapellegrini

Homemade Habanero Hot Sauce

Posted by in Step-by-Step Recipes

Tasty Kitchen Blog: Habanero Hot Sauce. Guest post by Georgia Pellegrini, recipe submitted by TK member Dax Phillips of Simple Comfort Food.

 
I have a thing for hot sauce. At one point I thought I had tried all of the bottles in the store. Then wonderful people started bringing them back for me from exotic places (thanks Amy!). And then Dax Phillips came along one fine day with this Habanero Hot Sauce on Tasty Kitchen and I had to know more. So I took to the kitchen with a stack of habaneros—would I be able to handle the heat?


Tasty Kitchen Blog: Habanero Hot Sauce. Guest post by Georgia Pellegrini, recipe submitted by TK member Dax Phillips of Simple Comfort Food.

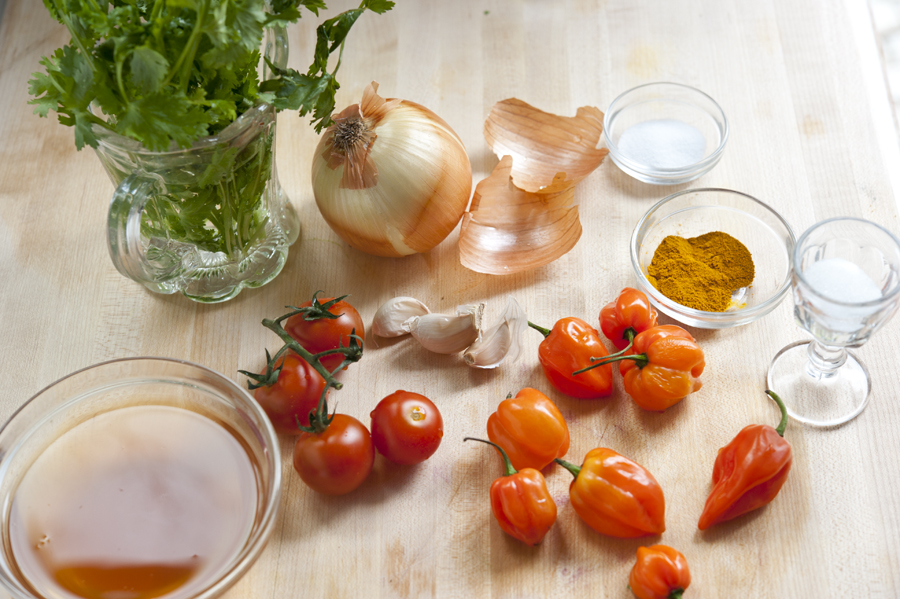
It began with these lovely fresh ingredients: cherry tomatoes, onion, garlic, cilantro, salt, sugar, turmeric, cider vinegar, and the hottest of hot peppers—my friend the habanero.


Tasty Kitchen Blog: Habanero Hot Sauce. Guest post by Georgia Pellegrini, recipe submitted by TK member Dax Phillips of Simple Comfort Food.

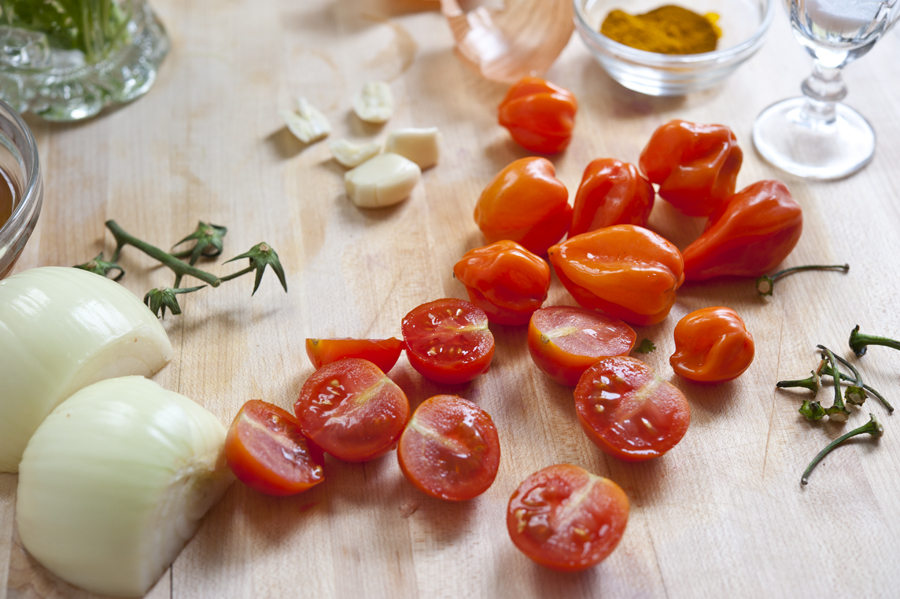
The tomatoes get cut in half, the onion too, the garlic cloves crushed, and the habaneros de-stemmed. I might suggest wearing gloves when handling these peppers, or at the very least not touching your face for a good long while. Soap and water aren’t strong enough for my friend the habanero.


Tasty Kitchen Blog: Habanero Hot Sauce. Guest post by Georgia Pellegrini, recipe submitted by TK member Dax Phillips of Simple Comfort Food.

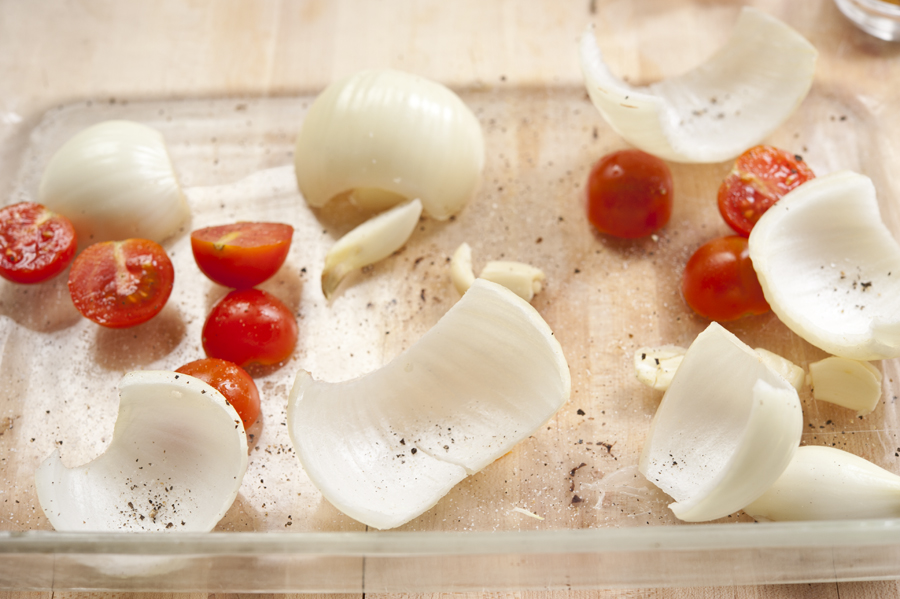
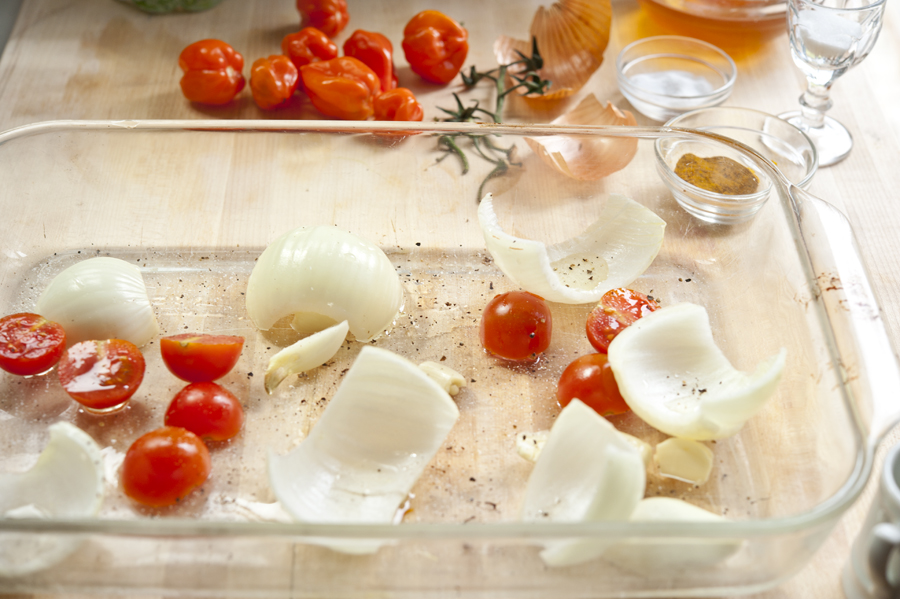
The onion, tomato and garlic get tossed onto a sheet tray (or a Pyrex dish of sorts if you’re like me and can’t find your sheet tray when you need it). Throw some salt and pepper in there too.


Tasty Kitchen Blog: Habanero Hot Sauce. Guest post by Georgia Pellegrini, recipe submitted by TK member Dax Phillips of Simple Comfort Food.

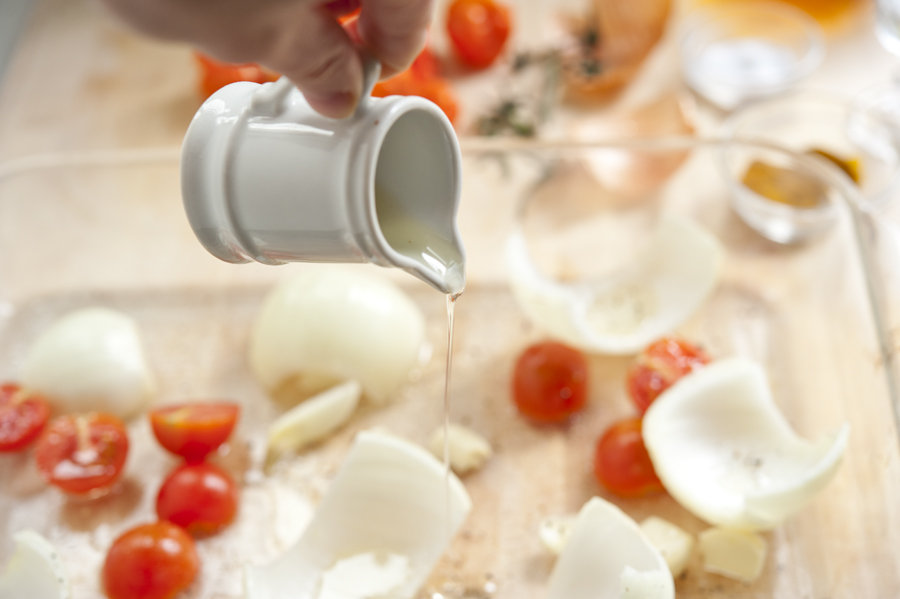
Add a dash of olive oil …


Tasty Kitchen Blog: Habanero Hot Sauce. Guest post by Georgia Pellegrini, recipe submitted by TK member Dax Phillips of Simple Comfort Food.

Give it a toss and then and we’re off to the oven for 15 minutes.


Tasty Kitchen Blog: Habanero Hot Sauce. Guest post by Georgia Pellegrini, recipe submitted by TK member Dax Phillips of Simple Comfort Food.

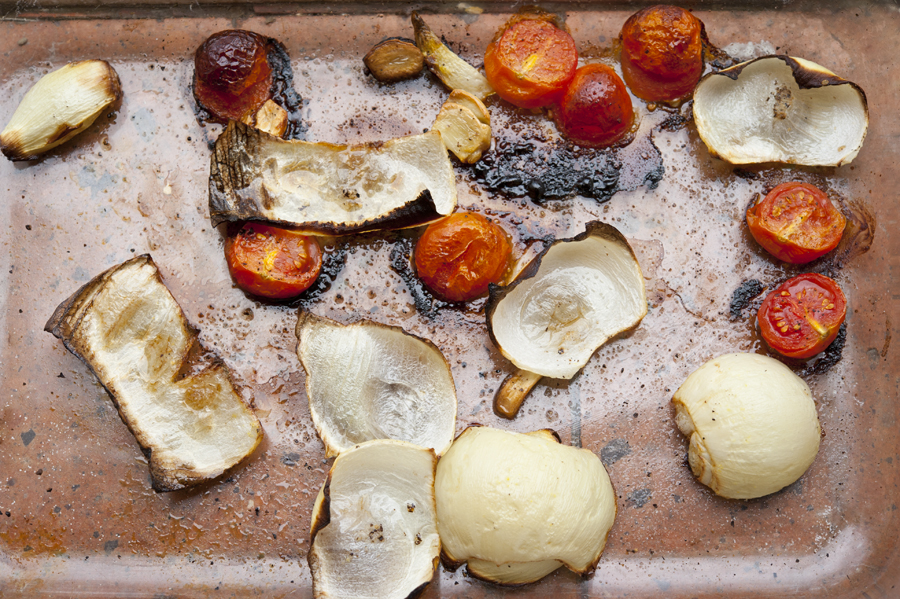
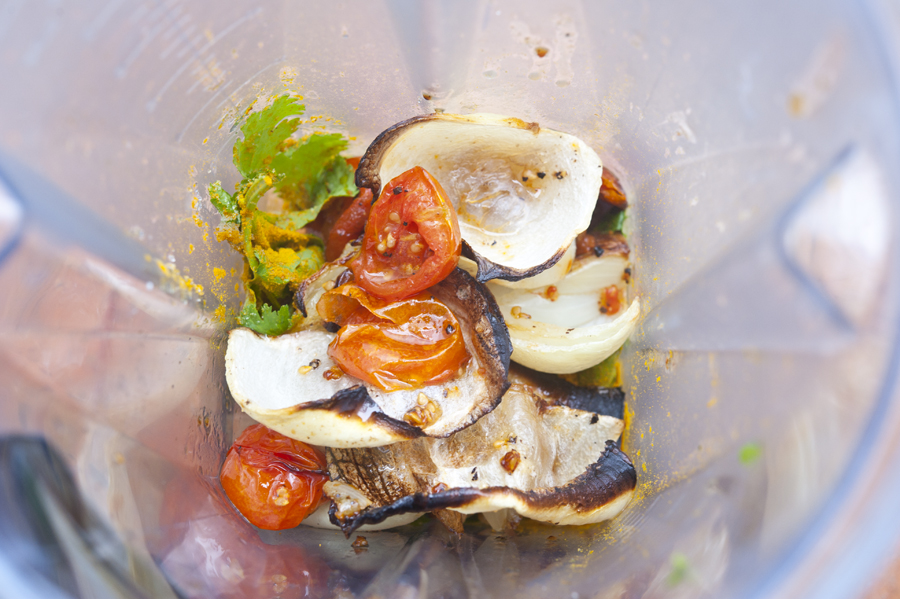
They will look something like this when they are done roasting. Brown bits are good, they add flavor and intrigue.


Tasty Kitchen Blog: Habanero Hot Sauce. Guest post by Georgia Pellegrini, recipe submitted by TK member Dax Phillips of Simple Comfort Food.

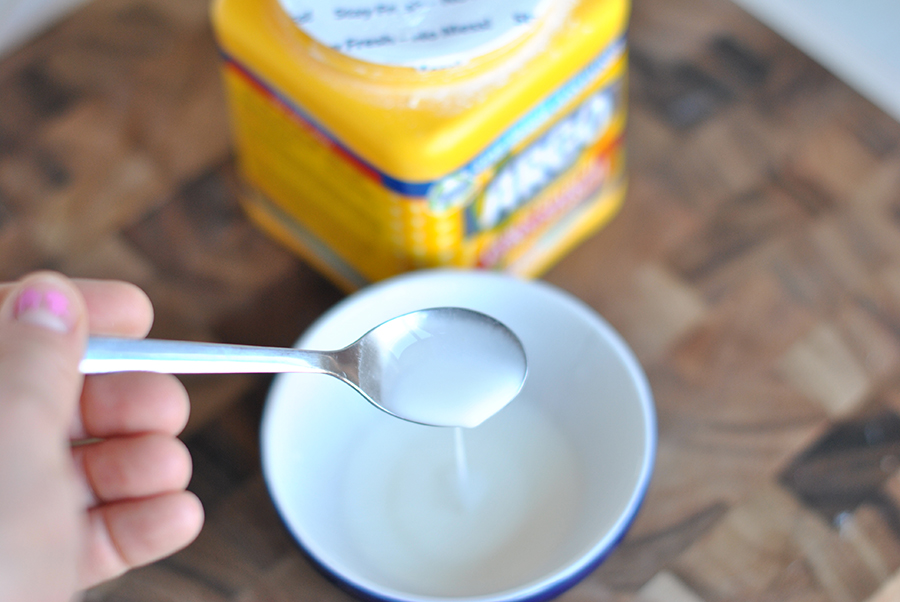
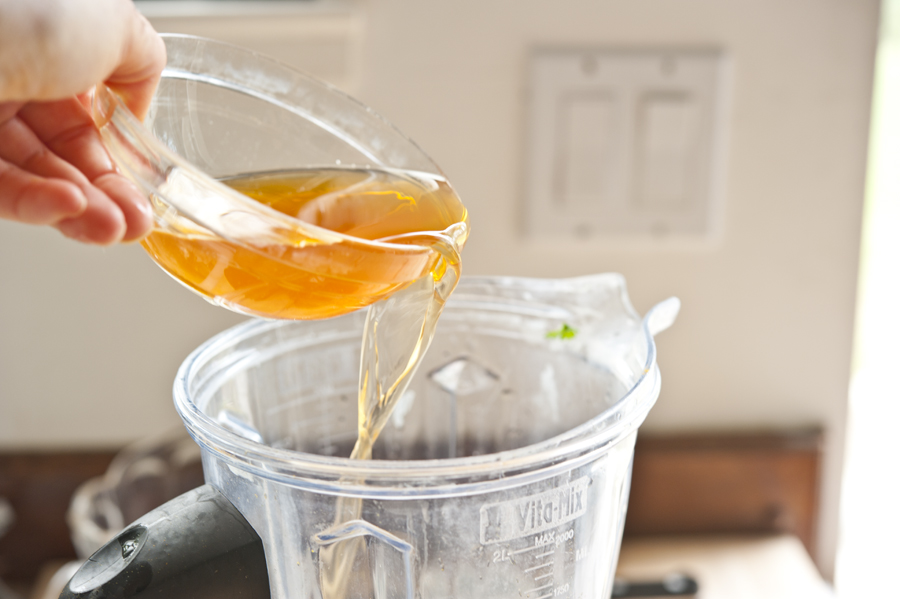
Then out comes the blender and in goes the cider vinegar …


Tasty Kitchen Blog: Habanero Hot Sauce. Guest post by Georgia Pellegrini, recipe submitted by TK member Dax Phillips of Simple Comfort Food.

And all of your remaining ingredients along with the roasted veggies.


Tasty Kitchen Blog: Habanero Hot Sauce. Guest post by Georgia Pellegrini, recipe submitted by TK member Dax Phillips of Simple Comfort Food.

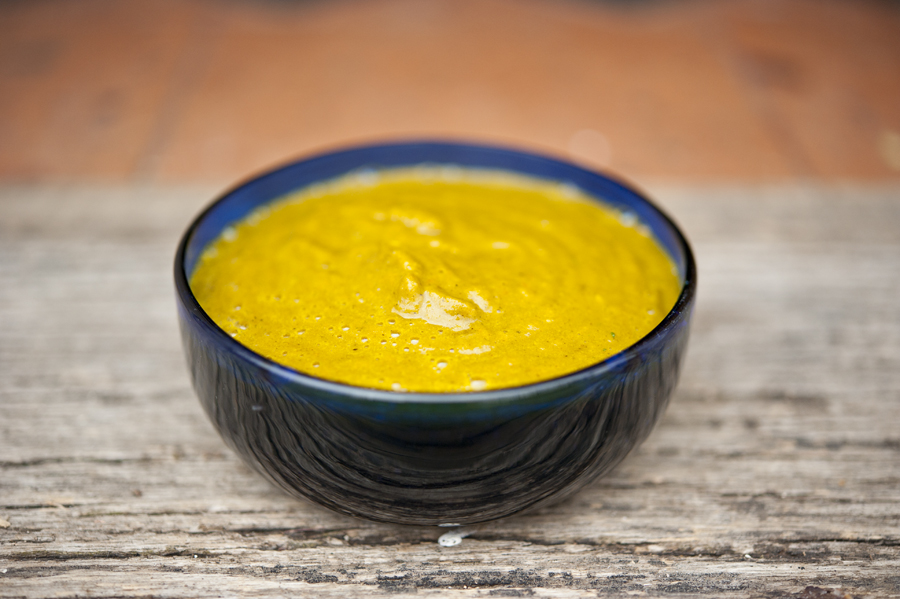
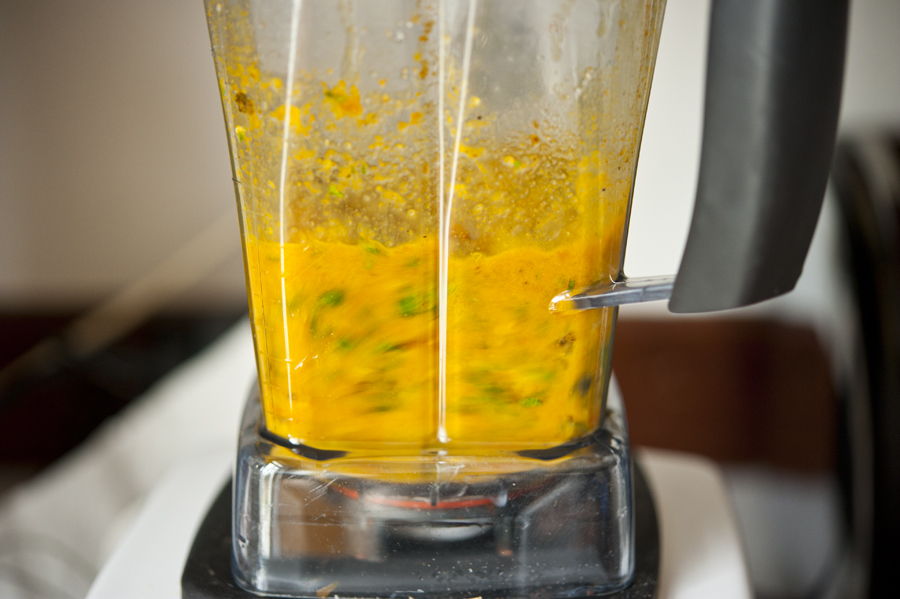
Give ‘er a blend. You can go chunky or smooth here, and blend to your desired consistency.


Tasty Kitchen Blog: Habanero Hot Sauce. Guest post by Georgia Pellegrini, recipe submitted by TK member Dax Phillips of Simple Comfort Food.

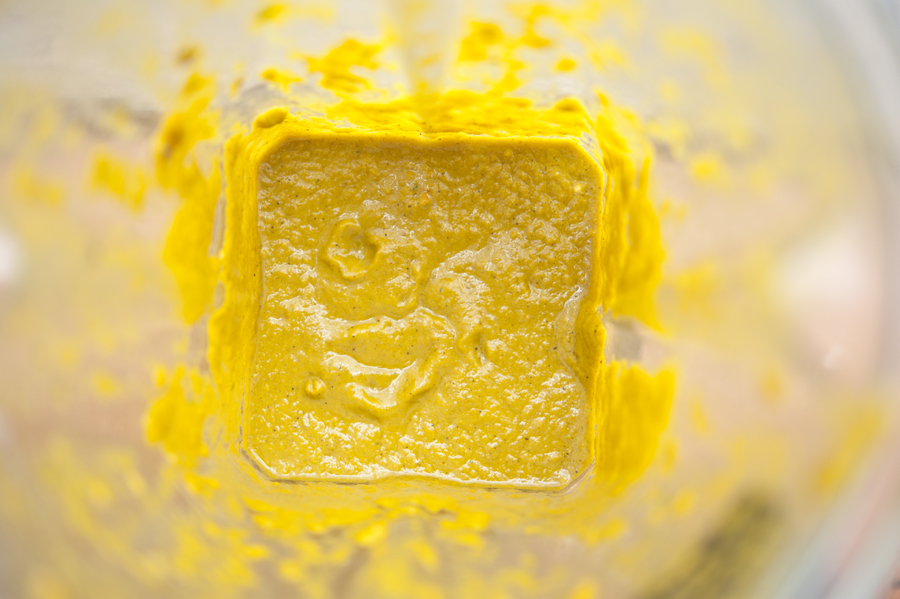
I went smooth. Cause that’s the kind of gal I am.


Tasty Kitchen Blog: Habanero Hot Sauce. Guest post by Georgia Pellegrini, recipe submitted by TK member Dax Phillips of Simple Comfort Food.

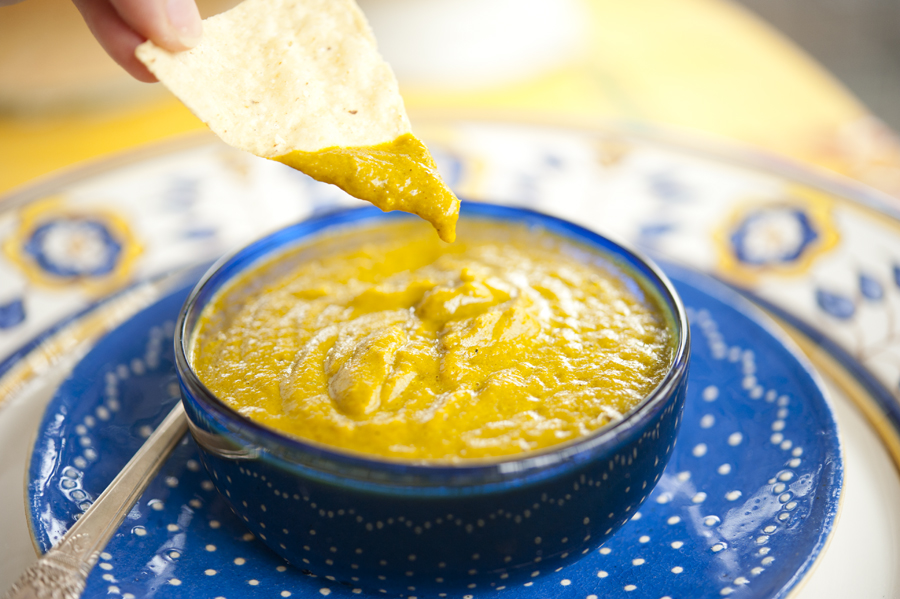
Dax was right. This sauce has a serious kick. But he was even more right in saying that it was addictive. Maybe it was that dash of sugar, or the intrigue from the brown bits. It left you wanting more.


Tasty Kitchen Blog: Habanero Hot Sauce. Guest post by Georgia Pellegrini, recipe submitted by TK member Dax Phillips of Simple Comfort Food.

Either way, it’s in my permanent repertoire now. Thanks Dax! For more of his delicious recipes, check out his great blog, Simple Comfort Food. There are fried olives on the front page. Need I say more?

 
And if you’re looking for even more fabulous hot sauces to try, check out these from other fab Tasty Kitchen members:

Grandpa’s Hot Sauce by Abbierr
Pique by Rebecca
Whiskey Hot Sauce by yours truly
Serrano Hot Sauce by Dax Phillips (he may be as addicted as I am!)
Habanero Hot Sauce by Rocky Mountain Woman
Momma’s Hot Sauce by GageGirl85
Chile De Arbol Hot Sauce from ShareBear


Printable Recipe

Habanero Hot Sauce

See post on Dax Phillips’s site!
5.00 Mitt(s) 1 Rating(s)1 vote, average: 5.00 out of 51 vote, average: 5.00 out of 51 vote, average: 5.00 out of 51 vote, average: 5.00 out of 51 vote, average: 5.00 out of 5

Prep Time:

Cook Time:

Difficulty: Easy

Servings: 12

12
x

Print Options

Page size Letter 3x5 4x6
Text Size Small Medium Large
Content Include description
Include prep time, etc.
Show image

Description

When you think you cannot do anything with habanero peppers, try this sauce. It’s hot, but so very addicting.

Ingredients

  • 4 whole Cherry Tomatoes, Halved
  • 1 whole Medium Onion, Halved
  • 3 cloves Garlic, Smashed
  • 2 Tablespoons Olive Oil
  • 8 whole Habanero Peppers, Stemmed
  • 1 Tablespoon Salt
  • 1 Tablespoon Turmeric Powder
  • ¼ cups Fresh Cilantro, Chopped
  • ¾ cups Cider Vinegar
  • 1 Tablespoon Granulated Sugar

Preparation Instructions

Begin by preheating your oven 425 degrees. Lay the tomatoes, onions and garlic on a baking sheet and drizzle with the olive oil. Sprinkle with some salt and pepper, and cook unto the onions are roasted, about 15 minutes.

Remove the sheet of veggies, place them in a blender along with the remaining ingredients, and blend. Blend until you have a pureed sauce of habaneros and veggies. Pour into a sealed tight container and use as needed.

Now here is the deal on this sauce. I will be honest, it has a bite, but it has that bite that keeps you so interested in another bite, and another, and another.

I have a couple of chili heads at work, and brought the sauce in the other day. One coworker said, “You can bottle that, and sell it today.” I agree. This sauce has something about it. It’s hot, but keeps you wanting more, and in my book, that is something good, and comforting. Lightly dip with chips, place a bit in your pasta, or lightly rub chicken, beef, or pork before smoking or grilling. Try it out, and let me know.


_______________________________________

There’s so much to say about Georgia, we don’t know where to start. Leaving Wall Street for the French Culinary Institute, followed by a stint at the Gramercy Tavern and La Chassagnette in France, her passion for food and food traditions are evident and inspiring. Visit her site at Georgia Pellegrini, where you’ll find more recipes, photos, learn all about her wonderful book Food Heroes, and enjoy her latest adventures.


Profile photo of Erica Lea

Via Cappuccino Muffins

Posted by in Baking, Step-by-Step Recipes

Tasty Kitchen Blog Via Cappuccino Muffins. Guest post by Erica Kastner of Cooking for Seven, recipe submitted by TK member Nancy (nanycpants) of Consider the Lilies.

 
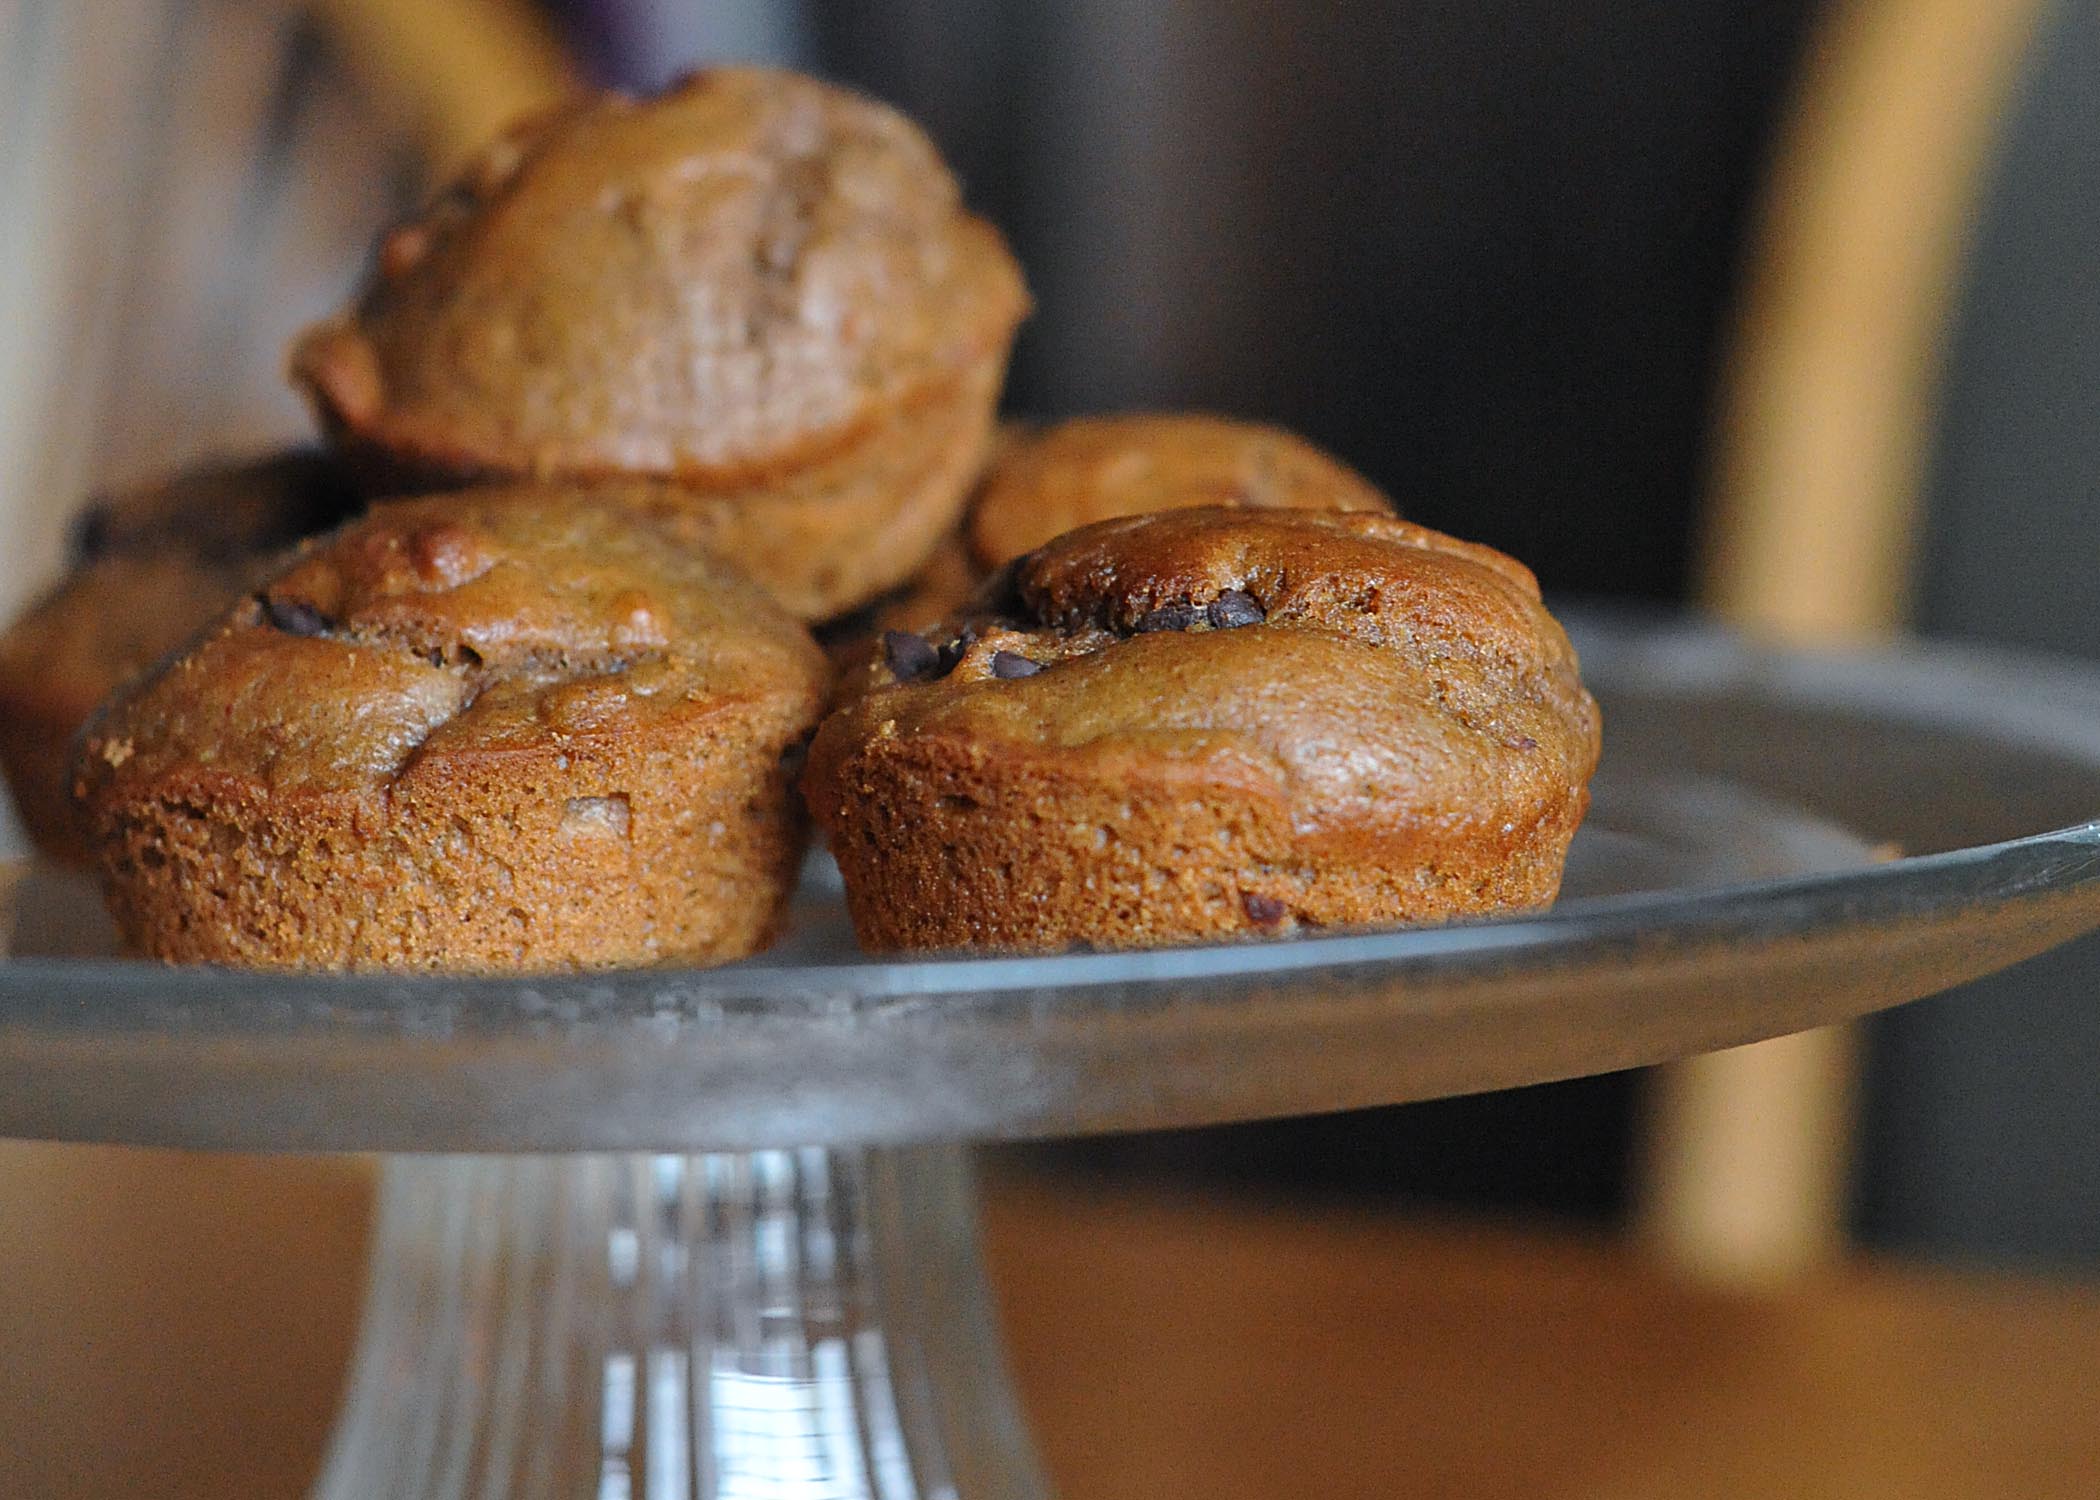
Looking for a way to get your daily dose of caffeine? These muffins are a scrumptious alternative (or addition) to your morning cup.

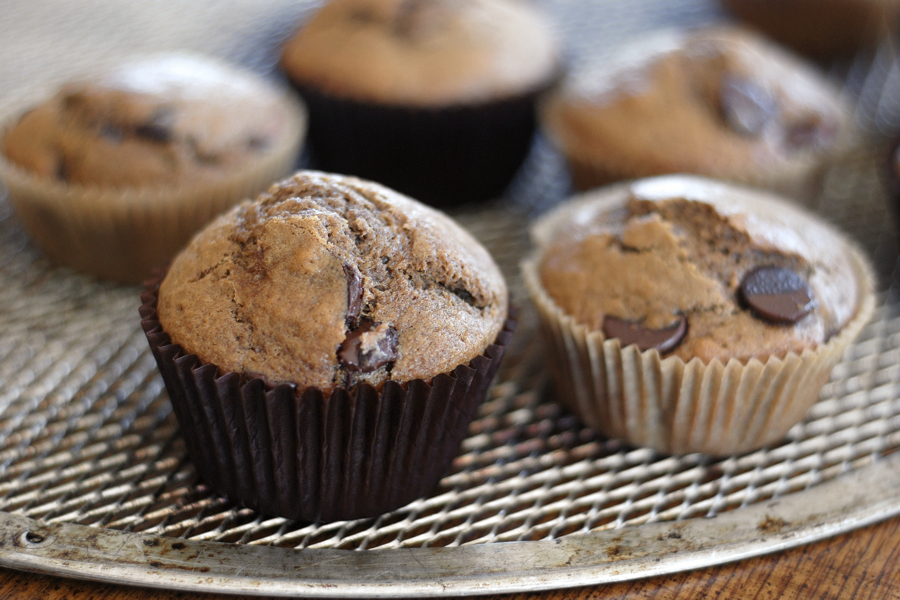
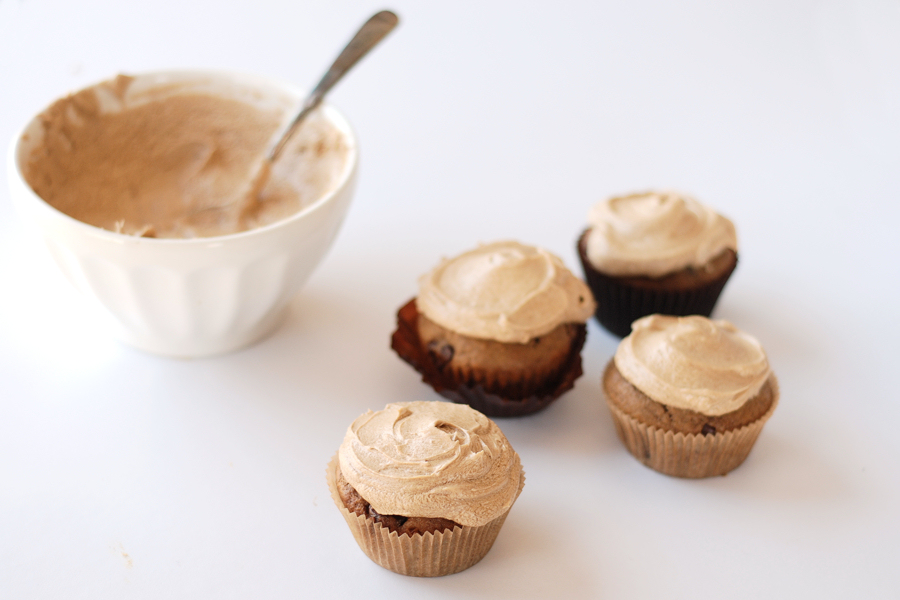
Today’s recipe, brought to us by nancypants, is a wonderful brew of flavors: spicy cinnamon, intense coffee, dark chocolate.


Tasty Kitchen Blog Via Cappuccino Muffins. Guest post by Erica Kastner of Cooking for Seven, recipe submitted by TK member Nancy (nanycpants) of Consider the Lilies.

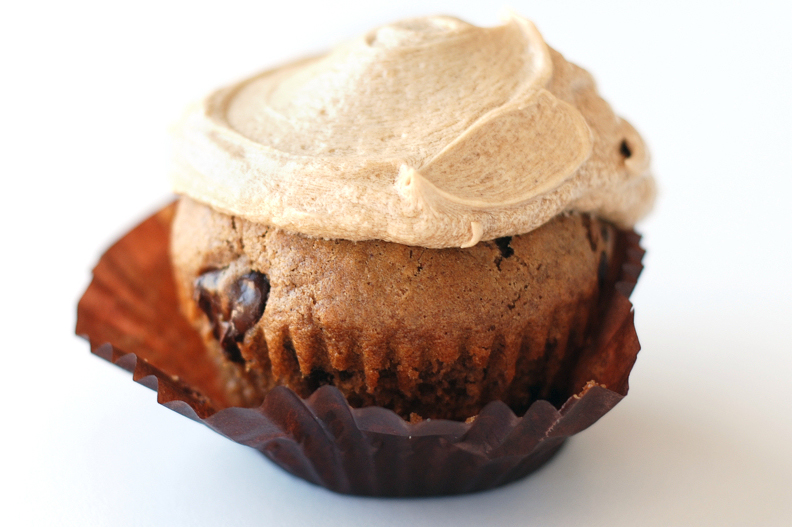
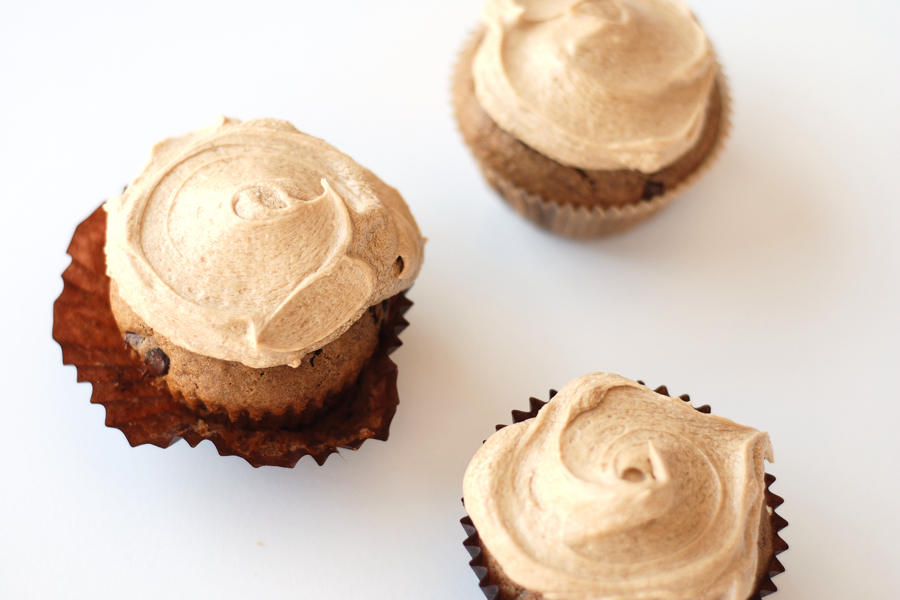
My dad, a coffee enthusiast, especially loved the frosting. “That has such a great coffee flavor,” he raved. And though I’m usually not a frosting lover, I have to admit that it was my favorite part.

Ready to see how to make them?


Tasty Kitchen Blog Via Cappuccino Muffins. Guest post by Erica Kastner of Cooking for Seven, recipe submitted by TK member Nancy (nanycpants) of Consider the Lilies.

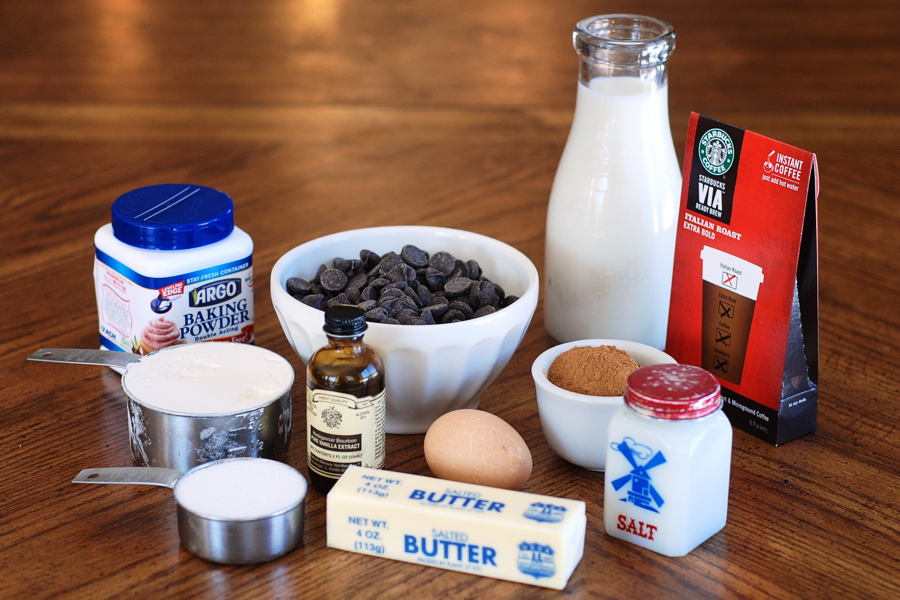
Here’s what you’ll need: butter, sugar, flour, baking powder, salt, cinnamon, milk, egg, Via instant coffee, vanilla extract, and chocolate chips.

Editor’s Note: This post is not sponsored by Starbucks. Any instant coffee will work, but Via works particularly well.


Tasty Kitchen Blog Via Cappuccino Muffins. Guest post by Erica Kastner of Cooking for Seven, recipe submitted by TK member Nancy (nanycpants) of Consider the Lilies.

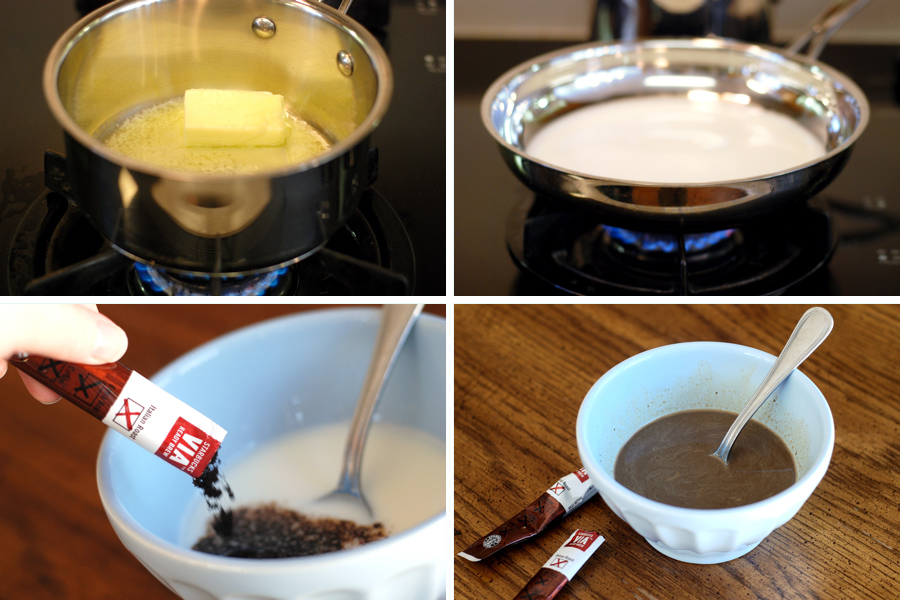
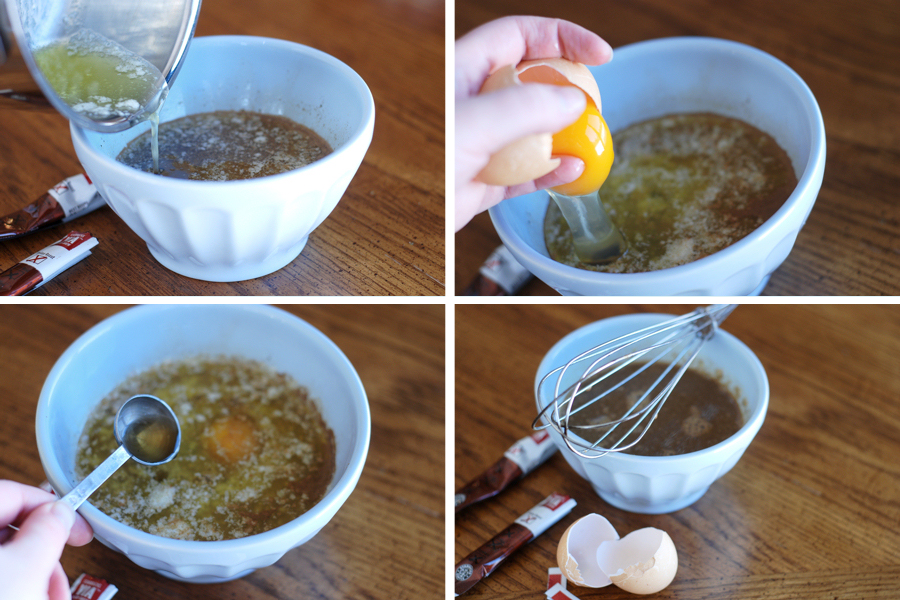
Begin by preheating your oven to 375° F. Melt the butter. Warm the milk. Dissolve the coffee in the warm milk.


Tasty Kitchen Blog Via Cappuccino Muffins. Guest post by Erica Kastner of Cooking for Seven, recipe submitted by TK member Nancy (nanycpants) of Consider the Lilies.

Add the melted butter, egg, and vanilla extract to the coffee/milk mixture.


Tasty Kitchen Blog Via Cappuccino Muffins. Guest post by Erica Kastner of Cooking for Seven, recipe submitted by TK member Nancy (nanycpants) of Consider the Lilies.

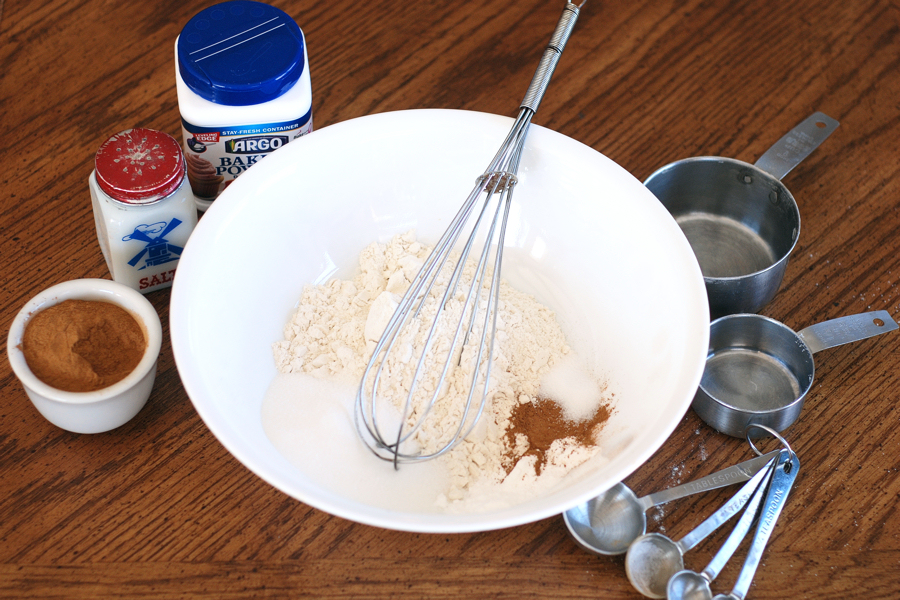
In a separate bowl, whisk together the flour, sugar, baking powder, salt, and cinnamon.


Tasty Kitchen Blog Via Cappuccino Muffins. Guest post by Erica Kastner of Cooking for Seven, recipe submitted by TK member Nancy (nanycpants) of Consider the Lilies.

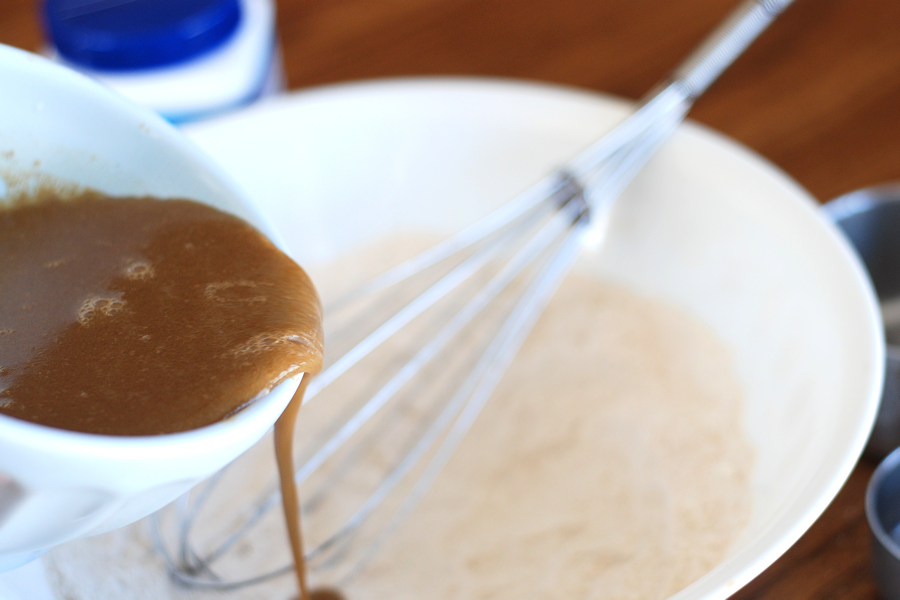
Pour the wet ingredients into a well in the center of the dry ingredients.


Tasty Kitchen Blog Via Cappuccino Muffins. Guest post by Erica Kastner of Cooking for Seven, recipe submitted by TK member Nancy (nanycpants) of Consider the Lilies.

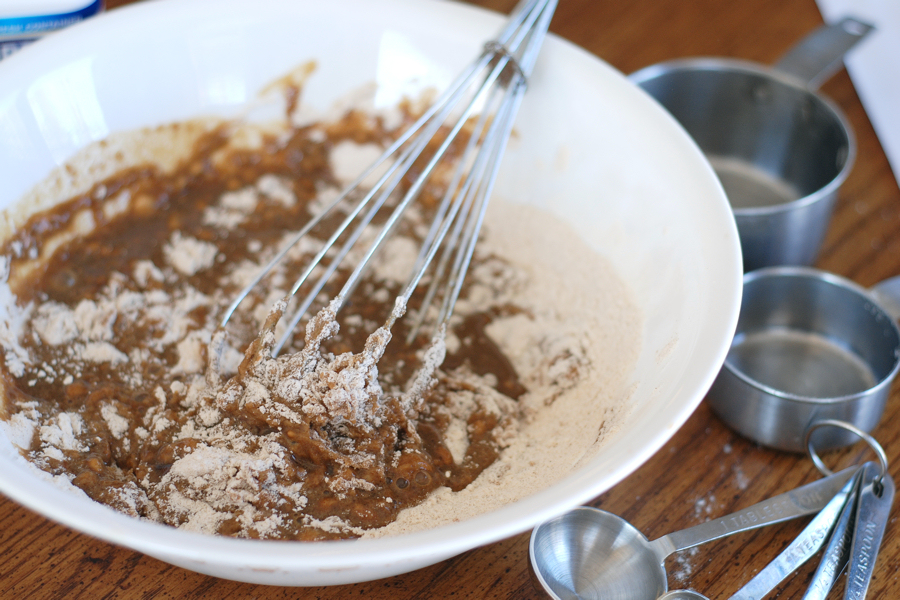
Mix together.


Tasty Kitchen Blog Via Cappuccino Muffins. Guest post by Erica Kastner of Cooking for Seven, recipe submitted by TK member Nancy (nanycpants) of Consider the Lilies.

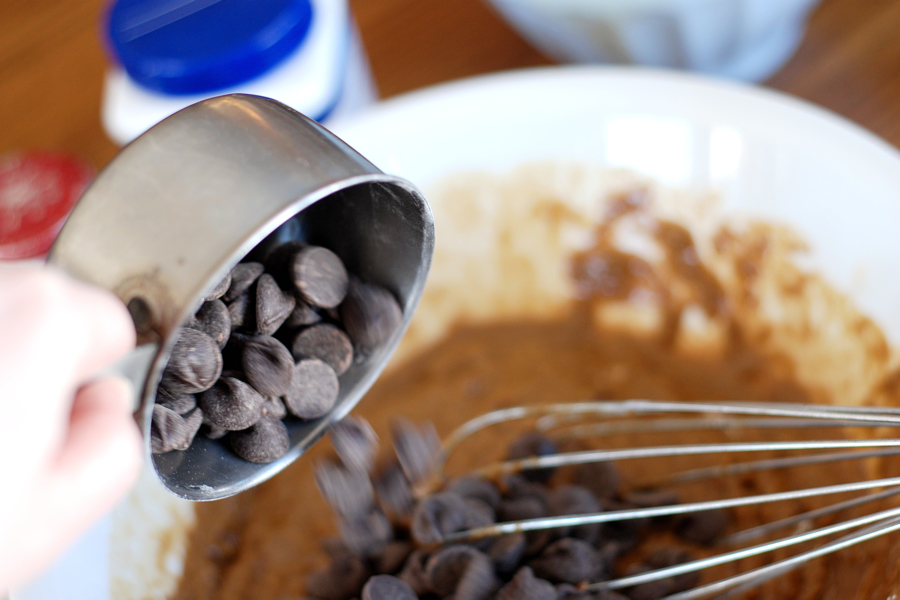
Stir in the chocolate chips.


Tasty Kitchen Blog Via Cappuccino Muffins. Guest post by Erica Kastner of Cooking for Seven, recipe submitted by TK member Nancy (nanycpants) of Consider the Lilies.

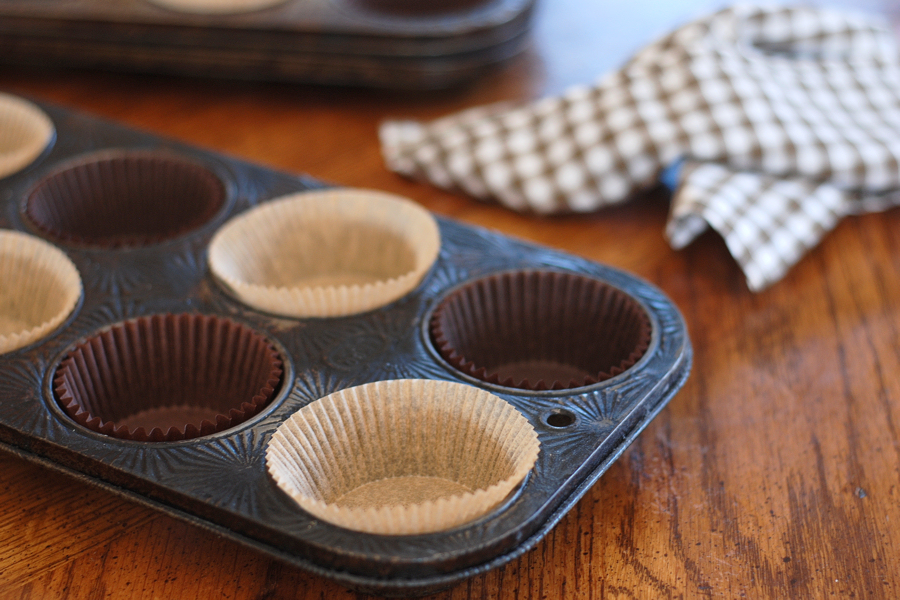
Grease or line you muffin tins with papers.


Tasty Kitchen Blog Via Cappuccino Muffins. Guest post by Erica Kastner of Cooking for Seven, recipe submitted by TK member Nancy (nanycpants) of Consider the Lilies.

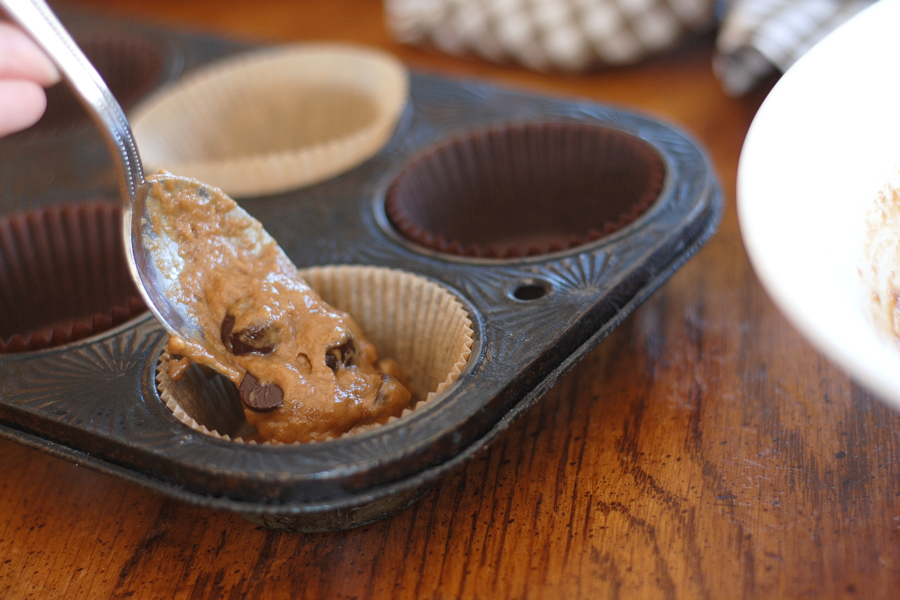
Fill the muffin cups 2/3 full with the batter.


Tasty Kitchen Blog Via Cappuccino Muffins. Guest post by Erica Kastner of Cooking for Seven, recipe submitted by TK member Nancy (nanycpants) of Consider the Lilies.

Bake in the preheated 375°F oven for 17–20 minutes. Cool completely.


Tasty Kitchen Blog Via Cappuccino Muffins. Guest post by Erica Kastner of Cooking for Seven, recipe submitted by TK member Nancy (nanycpants) of Consider the Lilies.

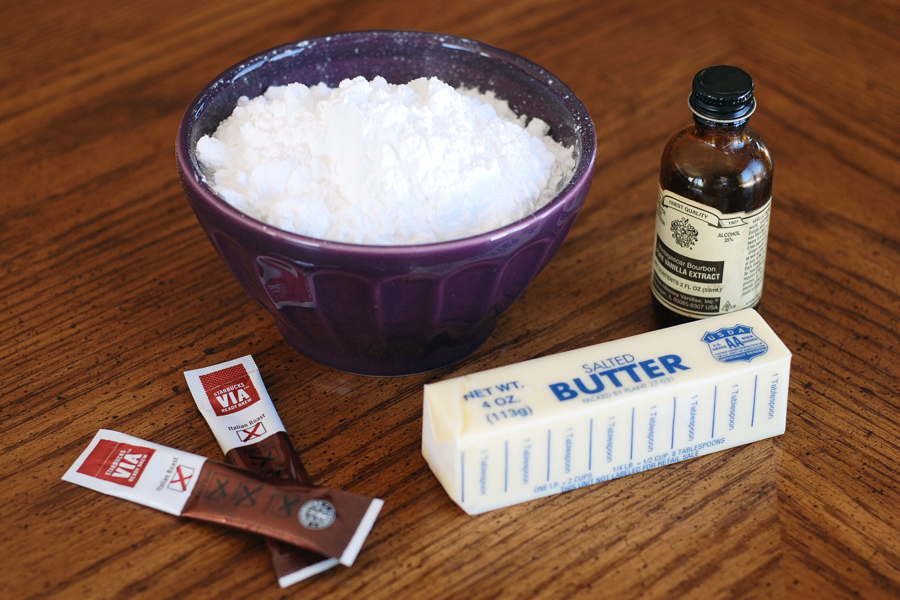
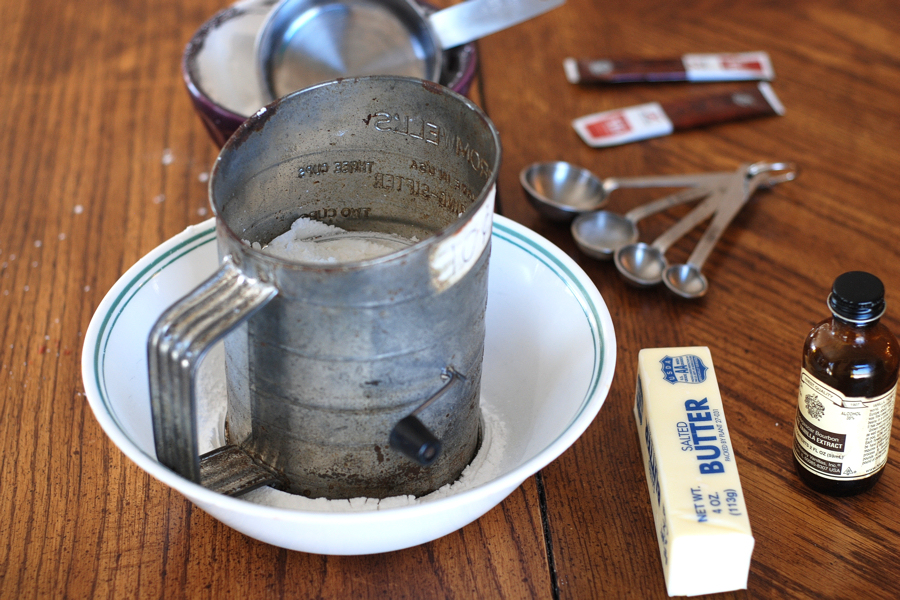
While the muffins are baking, make the icing. You’ll need butter, powdered sugar, vanilla, Via instant coffee, and water.


Tasty Kitchen Blog Via Cappuccino Muffins. Guest post by Erica Kastner of Cooking for Seven, recipe submitted by TK member Nancy (nanycpants) of Consider the Lilies.

Bring some water to a boil.


Tasty Kitchen Blog Via Cappuccino Muffins. Guest post by Erica Kastner of Cooking for Seven, recipe submitted by TK member Nancy (nanycpants) of Consider the Lilies.

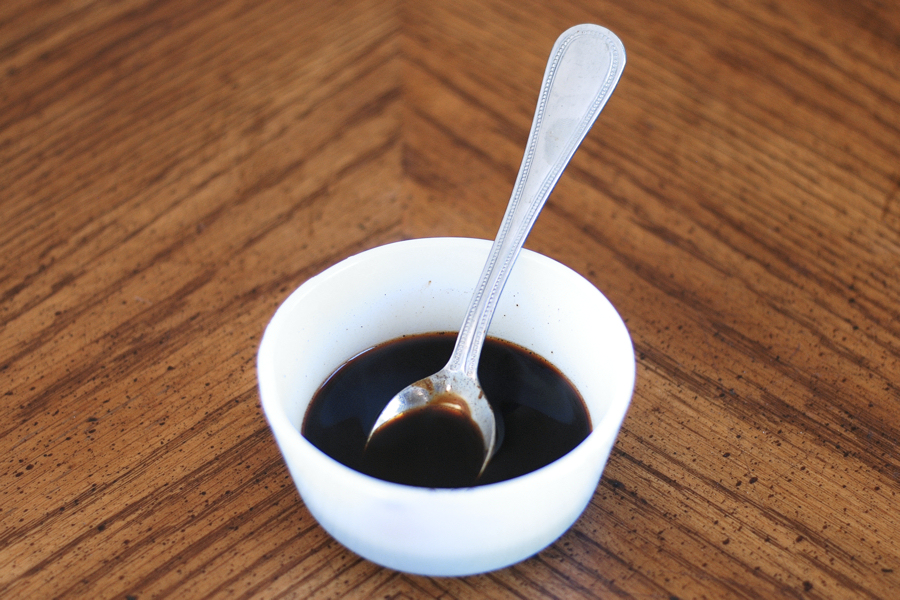
Dissolve the coffee in a tablespoon of the water.


Tasty Kitchen Blog Via Cappuccino Muffins. Guest post by Erica Kastner of Cooking for Seven, recipe submitted by TK member Nancy (nanycpants) of Consider the Lilies.

Sift the powdered sugar into a bowl. You should use a larger bowl than I did. It gets messy…


Tasty Kitchen Blog Via Cappuccino Muffins. Guest post by Erica Kastner of Cooking for Seven, recipe submitted by TK member Nancy (nanycpants) of Consider the Lilies.

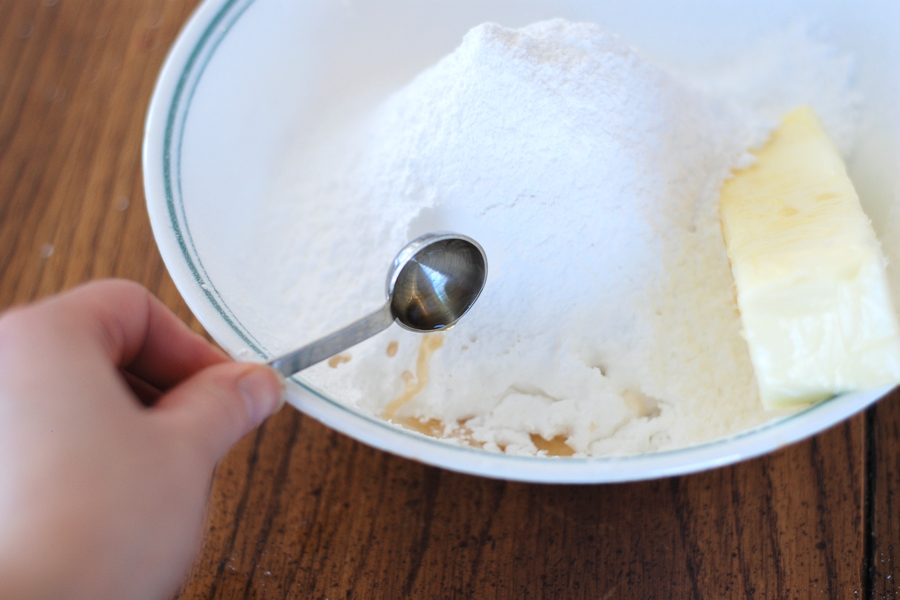
Add the vanilla and butter.


Tasty Kitchen Blog Via Cappuccino Muffins. Guest post by Erica Kastner of Cooking for Seven, recipe submitted by TK member Nancy (nanycpants) of Consider the Lilies.

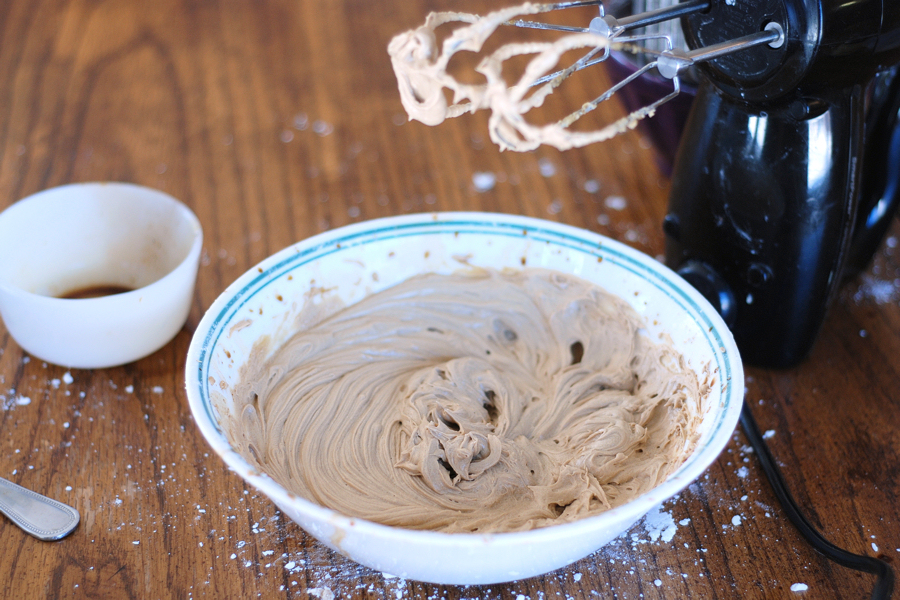
Beat the butter, sugar and vanilla until well-combined. Add the coffee. See? Told you it’d get messy.


Tasty Kitchen Blog Via Cappuccino Muffins. Guest post by Erica Kastner of Cooking for Seven, recipe submitted by TK member Nancy (nanycpants) of Consider the Lilies.

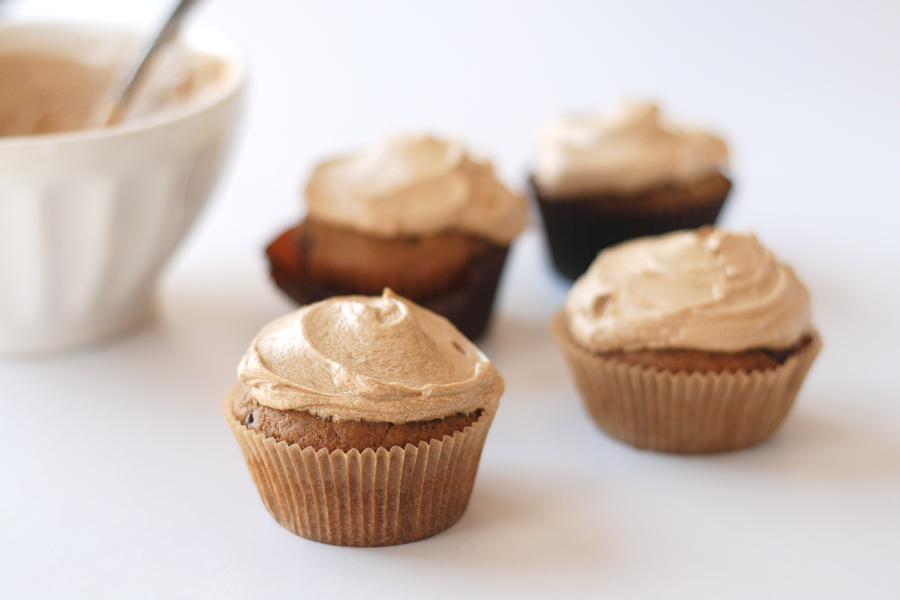
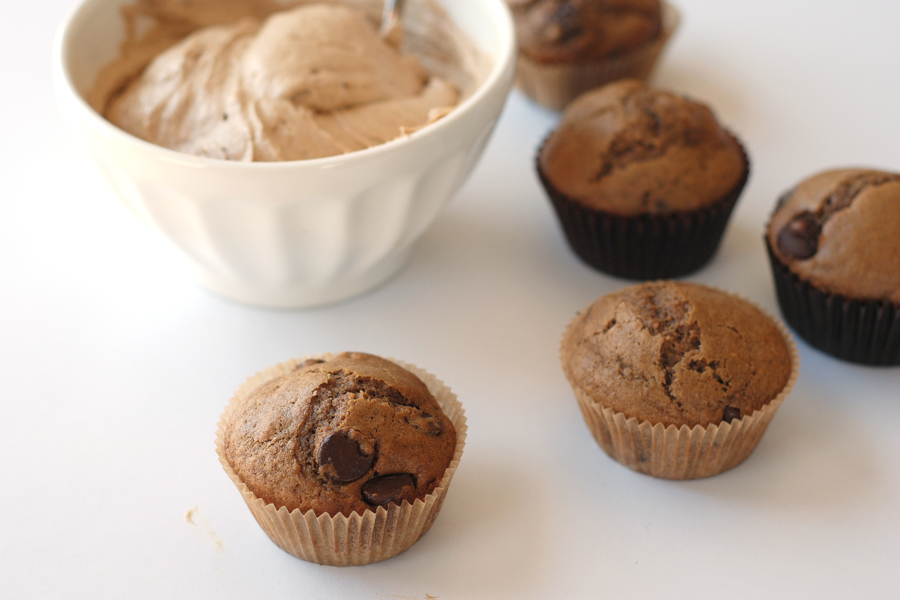
When the muffins are completely cool, add the frosting.


Tasty Kitchen Blog Via Cappuccino Muffins. Guest post by Erica Kastner of Cooking for Seven, recipe submitted by TK member Nancy (nanycpants) of Consider the Lilies.

Notes:

1. Make sure you wait until the muffins are completely cooled until you add the frosting. If you don’t wait, the frosting will melt.
2. My sister thought the cinnamon in the muffins was a little odd. I thought it was lovely. If you aren’t a big cinnamon fan, you could easily leave it out.
3. You may find that, when you add the coffee, the icing will separate a little. Not to worry! If doesn’t harm it a bit.


Tasty Kitchen Blog Via Cappuccino Muffins. Guest post by Erica Kastner of Cooking for Seven, recipe submitted by TK member Nancy (nanycpants) of Consider the Lilies.

Thank you, Nancy, for sharing this yummy recipe with us! (Nancy’s blog is Consider the Lilies, where she shares her poetry and photography.)


Printable Recipe

Via Cappucino Muffins

4.76 Mitt(s) 13 Rating(s)13 votes, average: 4.76 out of 513 votes, average: 4.76 out of 513 votes, average: 4.76 out of 513 votes, average: 4.76 out of 513 votes, average: 4.76 out of 5

Prep Time:

Cook Time:

Difficulty: Easy

Servings: 12

12
x

Print Options

Page size Letter 3x5 4x6
Text Size Small Medium Large
Content Include description
Include prep time, etc.
Show image

Description

Delectable kick-start-your-morning-muffins that might just help you get through the morning and bed down your chocolate craving at the same time. This is a recipe from a friend of mine that I have altered a bit. Enjoy!

Ingredients

  • FOR THE MUFFINS:
  • 2 packages Starbucks Via Instant Coffee
  • ½ cups Warm Milk
  • ¼ cups Melted Margarine
  • 1 whole Egg
  • 1 teaspoon Vanilla
  • 1 cup Flour
  • ⅓ cups Sugar
  • 1-½ teaspoon Baking Powder
  • 1 teaspoon Cinnamon
  • ½ teaspoons Salt
  • 1 cup Chocolate Chips
  • _____
  • FOR THE ICING (optional):
  • ½ cups Butter, Softened
  • 2 cups Powdered Sugar, Or More As Needed
  • ½ teaspoons Vanilla
  • 2 packages Starbucks Via Instant Coffee
  • 1 Tablespoon Boiling Water

Preparation Instructions

Dissolve Starbucks Via instant coffee in warm milk. Stir and mash with a spoon up against the side of the bowl until instant coffee is completely dissolved. Next, add melted margarine, egg and vanilla and whisk until combined.

In another bowl, combine flour, sugar, baking powder, cinnamon and salt.

Pour wet ingredients into a well in the center of the dry ingredients and stir well to incorporate completely. Finally, stir in the chocolate chips.

Fill muffin tins 2/3 full and bake at 375° for 17-20 minutes.

These muffins are pretty sweet and caffeinated, so the icing is really just a much quicker way to send you into some kind of sugar or caffeine-induced coma. You don’t really need it.

BUT should you choose to heed no warning and care nothing for your pancreas and make the icing anyway, start by beating together the butter, sifted powdered sugar (which you can use more than two cups of to attain the right consistency) and vanilla. In a small bowl, mix the Via Instant Coffee together with the boiling water until coffee is dissolved. Add it to the butter mixture and mix until fully incorporated. And now if you have gone and done this, you have probably inadvertently crossed that faded line from the muffin world into the cupcake world. C’est la vie!


_______________________________________

Erica Berge shares her wonderful recipes and amazing food photography on her blog, Cooking for Seven. She also writes about crafts and posts more of her beautiful photography in her personal blog, EricaLea.com. There really isn’t much that this amazing young lady can’t do, and we’re thrilled she does some of it here.


Profile photo of missamy

Blueberry Lemon Buttermilk Cake

Posted by in Baking, Step-by-Step Recipes

Tasty Kitchen Blog: Blueberry Lemon Buttermilk Cake. Guest post by Amy Johnson of She Wears Many Hats, recipe submitted by TK member Valery Bunnell (valery).

 
Signs of spring are popping up all around. There aren’t many thing that say “spring” to me more than lemon and blueberry flavor combos. While looking for something fresh and springy to make for an upcoming baby shower, I ran across Blueberry Lemon Buttermilk Cake from Tasty Kitchen member vbunnell. The cake is quick to put together, full of fresh lemon and blueberry flavor. And I think will be just perfect for a springtime baby shower.


Tasty Kitchen Blog: Blueberry Lemon Buttermilk Cake. Guest post by Amy Johnson of She Wears Many Hats, recipe submitted by TK member Valery Bunnell (valery).

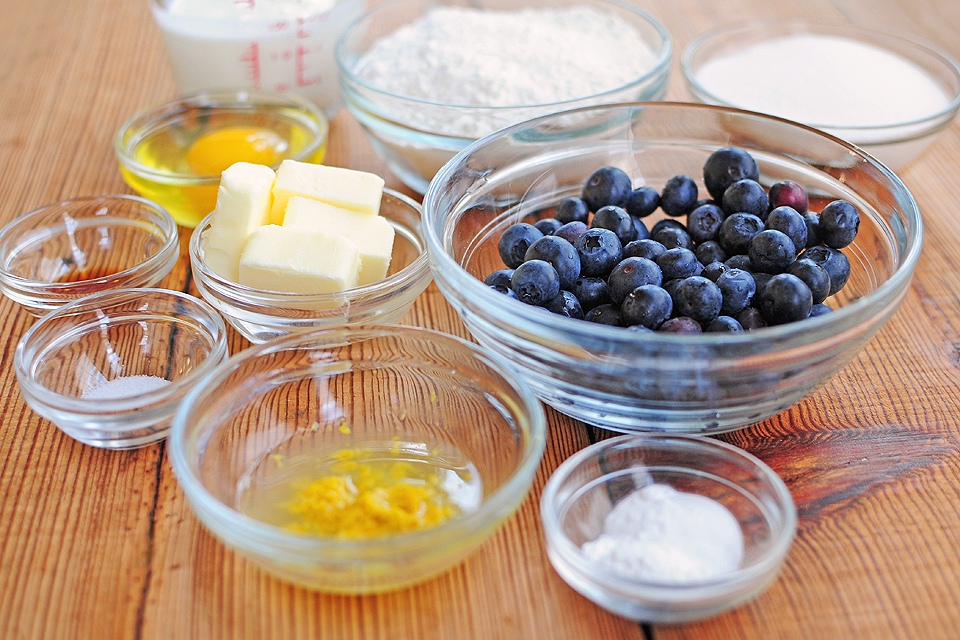
Let’s get started. You’ll need basic ingredients: flour, baking powder, baking soda, salt, butter, sugar, vanilla extract, lemon juice and zest, an egg, buttermilk, and fresh blueberries.


Tasty Kitchen Blog: Blueberry Lemon Buttermilk Cake. Guest post by Amy Johnson of She Wears Many Hats, recipe submitted by TK member Valery Bunnell (valery).

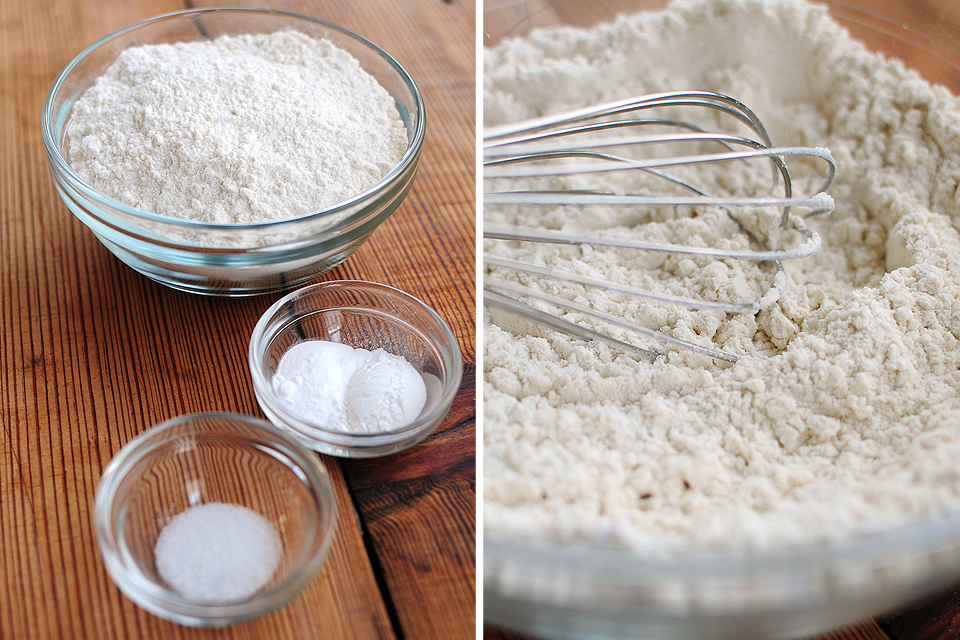
Begin by whisking together the flour, baking powder, baking soda and salt. Set aside.


Tasty Kitchen Blog: Blueberry Lemon Buttermilk Cake. Guest post by Amy Johnson of She Wears Many Hats, recipe submitted by TK member Valery Bunnell (valery).

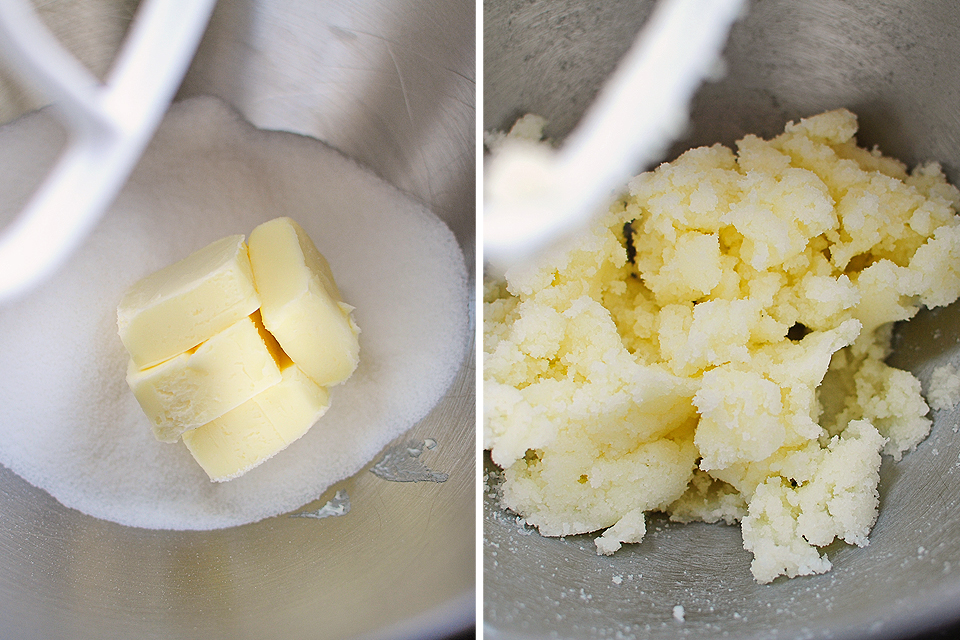
In a separate bowl beat together the butter and 2/3 cup sugar for about 2–3 minutes, until light and fluffy.


Tasty Kitchen Blog: Blueberry Lemon Buttermilk Cake. Guest post by Amy Johnson of She Wears Many Hats, recipe submitted by TK member Valery Bunnell (valery).

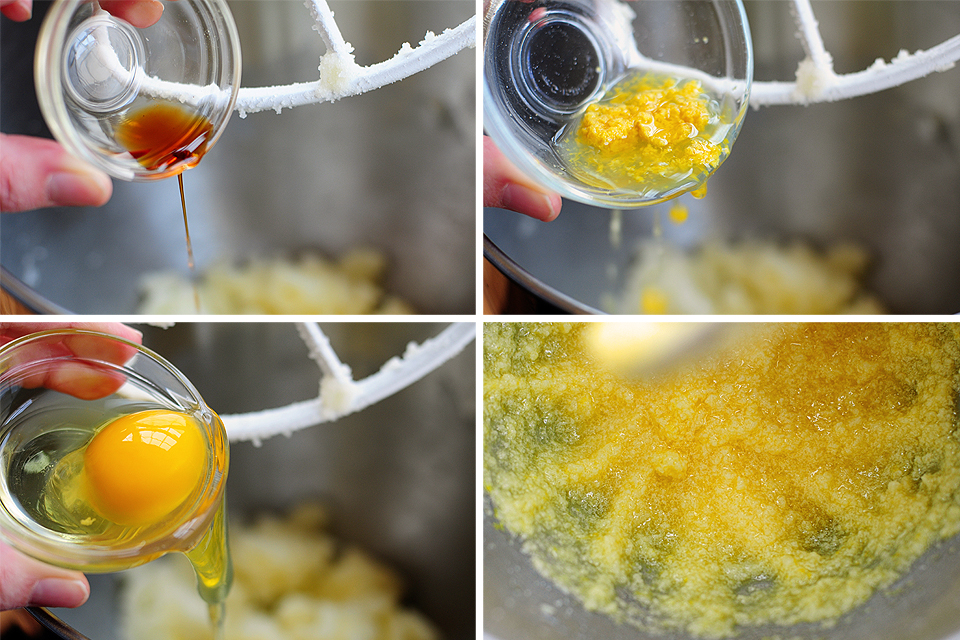
Add vanilla extract, lemon juice and zest, egg, and beat well.


Tasty Kitchen Blog: Blueberry Lemon Buttermilk Cake. Guest post by Amy Johnson of She Wears Many Hats, recipe submitted by TK member Valery Bunnell (valery).
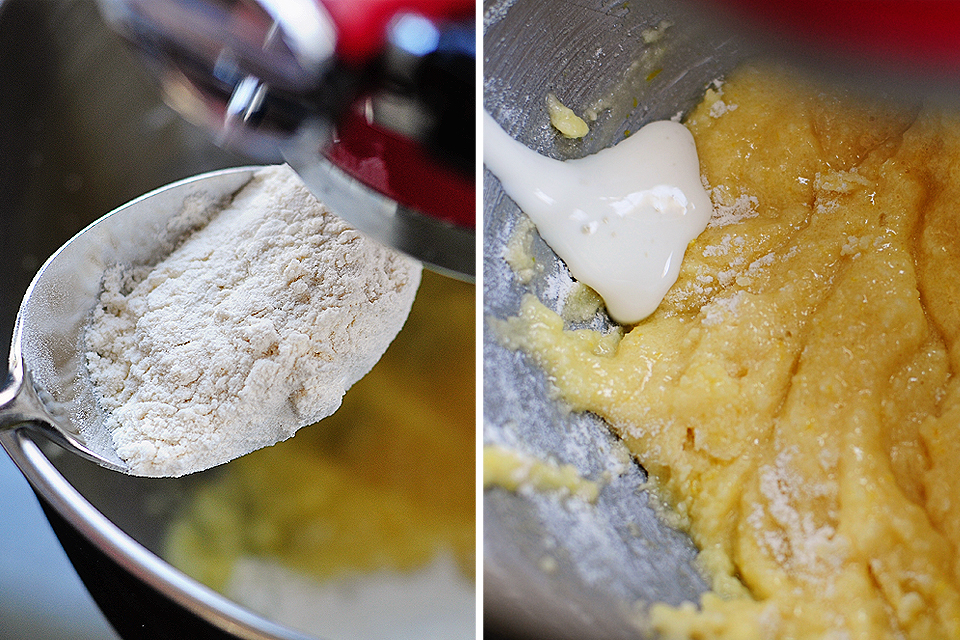
On low speed, alternate adding flour mixture in three batches, with two batches of buttermilk, until just combined.


Tasty Kitchen Blog: Blueberry Lemon Buttermilk Cake. Guest post by Amy Johnson of She Wears Many Hats, recipe submitted by TK member Valery Bunnell (valery).

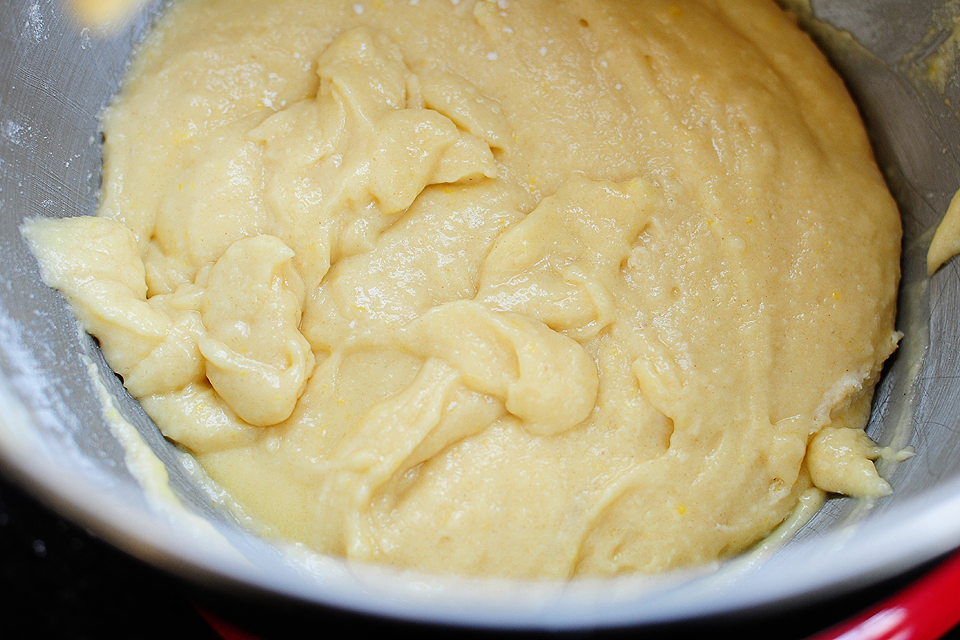
Right about now it should be smelling like lemon fresh springtime.


Tasty Kitchen Blog: Blueberry Lemon Buttermilk Cake. Guest post by Amy Johnson of She Wears Many Hats, recipe submitted by TK member Valery Bunnell (valery).

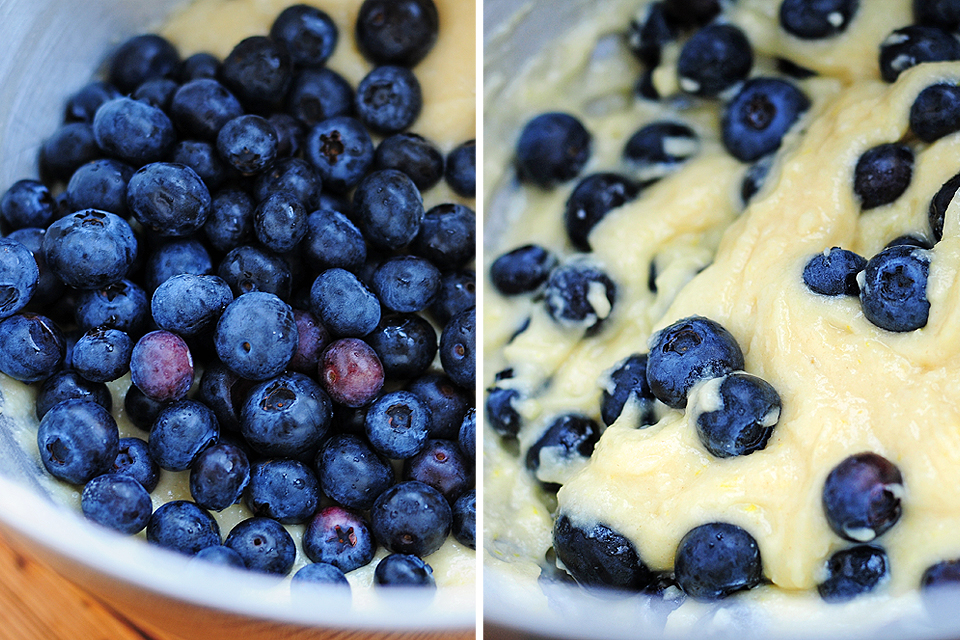
Time for the berries! Fold in the blueberries.


Tasty Kitchen Blog: Blueberry Lemon Buttermilk Cake. Guest post by Amy Johnson of She Wears Many Hats, recipe submitted by TK member Valery Bunnell (valery).

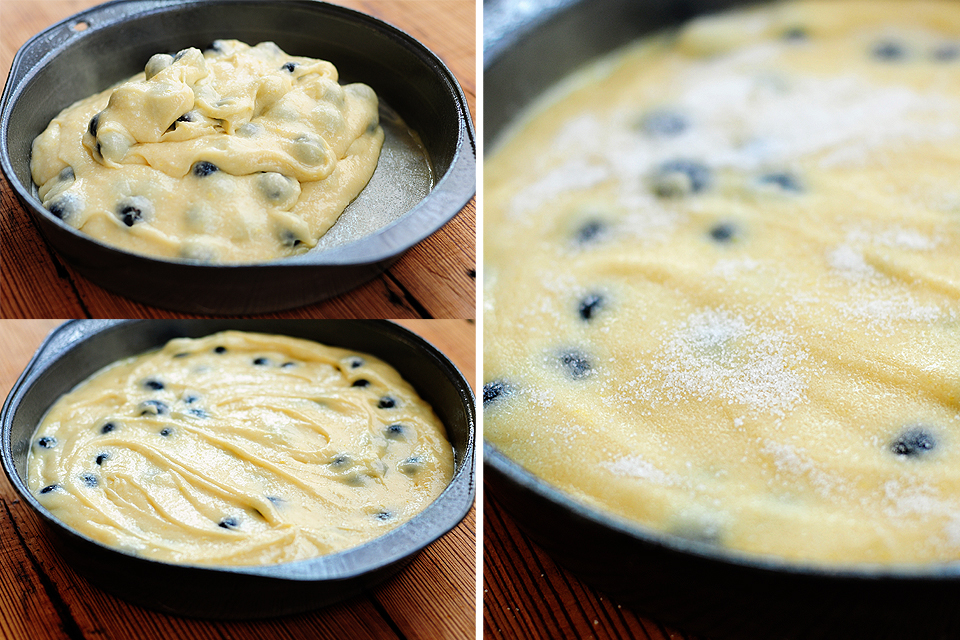
Pour batter into a sprayed and lined cake pan. Spread batter evenly in the pan and smooth. Sprinkle the top with the remaining sugar.


Tasty Kitchen Blog: Blueberry Lemon Buttermilk Cake. Guest post by Amy Johnson of She Wears Many Hats, recipe submitted by TK member Valery Bunnell (valery).

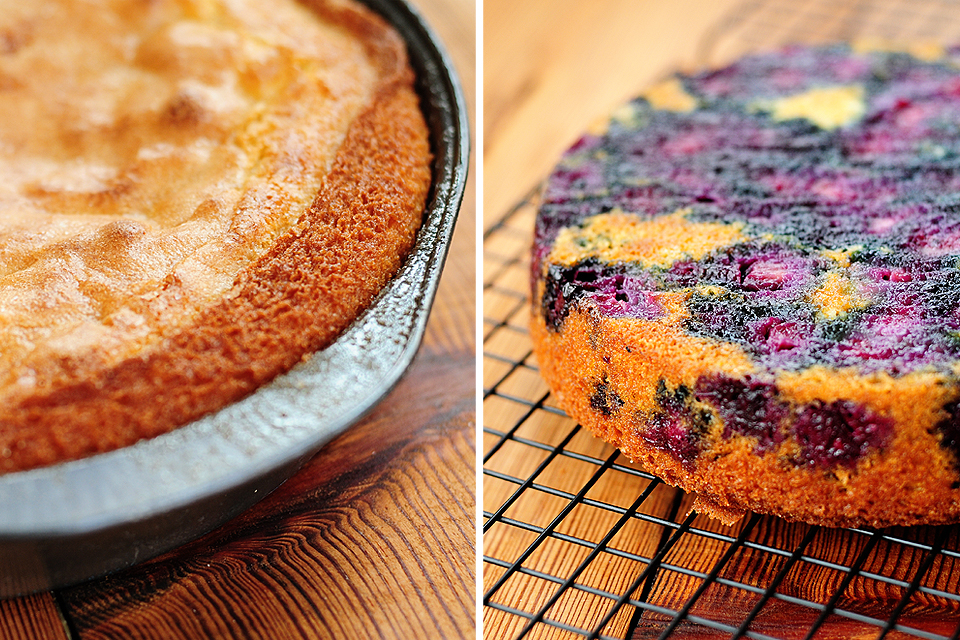
Bake until golden and a cake tester or toothpick inserted in the center of the cake comes out clean. I baked the cake a little longer than the time called for in the recipe, about 30 minutes. Cool in the pan, then invert onto a cooling rack and continue to cool for another 10–15 minutes.


Tasty Kitchen Blog: Blueberry Lemon Buttermilk Cake. Guest post by Amy Johnson of She Wears Many Hats, recipe submitted by TK member Valery Bunnell (valery).

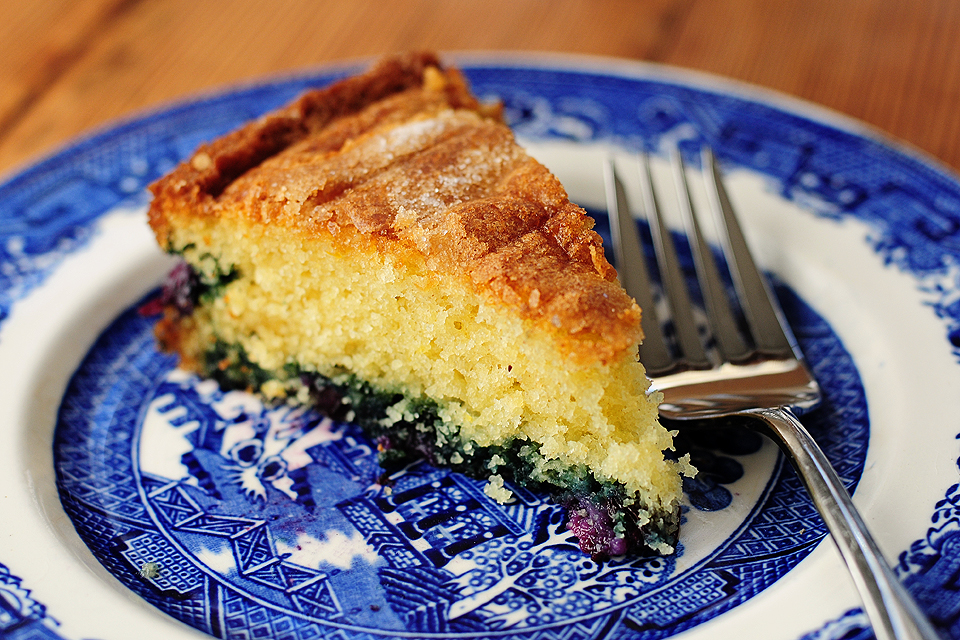
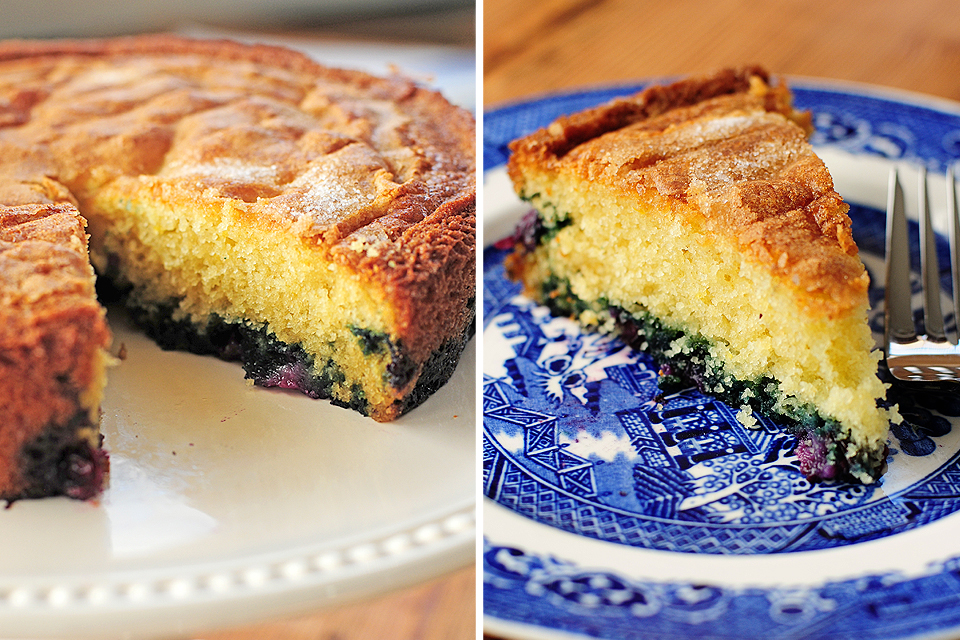
When cooled (if you can wait that long), invert onto a plate, cut and serve.


Tasty Kitchen Blog: Blueberry Lemon Buttermilk Cake. Guest post by Amy Johnson of She Wears Many Hats, recipe submitted by TK member Valery Bunnell (valery).

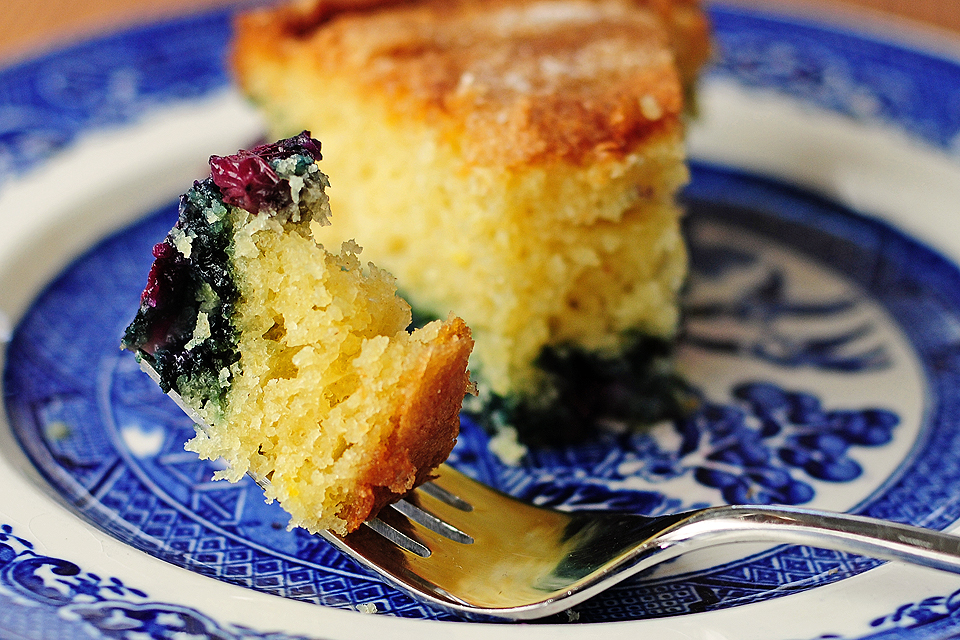
What a delightful dessert! It disappeared quickly.


Tasty Kitchen Blog: Blueberry Lemon Buttermilk Cake. Guest post by Amy Johnson of She Wears Many Hats, recipe submitted by TK member Valery Bunnell (valery).

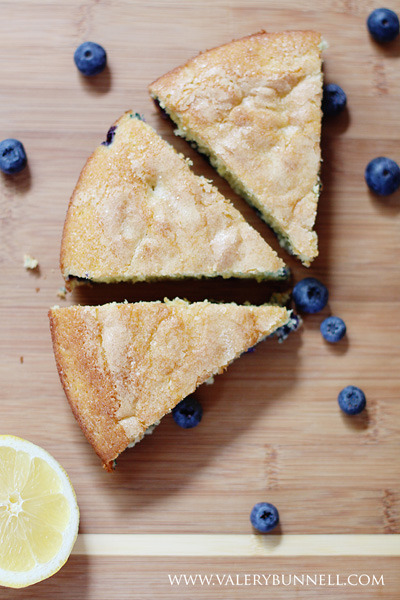
I think we need to make another.

 
Enjoy! And thanks so much to Valery for sharing the perfect dessert to welcome spring! Valery is an amazing photographer, and if you like beautiful babies and adorable family portraits, you should go visit her photography site.


Printable Recipe

Blueberry Lemon Buttermilk Cake

5.00 Mitt(s) 27 Rating(s)27 votes, average: 5.00 out of 527 votes, average: 5.00 out of 527 votes, average: 5.00 out of 527 votes, average: 5.00 out of 527 votes, average: 5.00 out of 5

Prep Time:

Cook Time:

Difficulty: Easy

Servings: 8

8
x

Print Options

Page size Letter 3x5 4x6
Text Size Small Medium Large
Content Include description
Include prep time, etc.
Show image

Description

So delicious! This is perfect for a brunch, party or weekend breakfast side.

Ingredients

  • 1 cup All-purpose Flour
  • ½ teaspoons Baking Powder
  • ½ teaspoons Baking Soda
  • ¼ teaspoons Salt
  • ½ sticks Butter, Softened
  • ⅔ cups Sugar Plus 1 1/2 Tablespoons For Sprinkling On Top
  • ¼ teaspoons Vanilla Extract
  • 1 Tablespoon Lemon Juice
  • 1 teaspoon Lemon Zest
  • 1 whole Egg
  • ½ cups Buttermilk, Well Shaken
  • 5 ounces, weight Fresh Blueberries

Preparation Instructions

Preheat oven to 400 degrees with the rack in the middle of oven. Spray an 8-inch round cake pan and line with waxed paper. Spray the waxed paper.

Whisk together flour, baking powder, baking soda and salt; set aside. Beat butter and 2/3 cup sugar on medium-high until pale and fluffy, about 2-3 minutes. Add vanilla extract, lemon juice and lemon zest. Add egg and beat well.

At low speed, mix in flour mixture in three batches, alternating with the buttermilk in two batches, mixing until just combined. Add berries and fold in with a spoon. Pour batter into cake pan, spreading and smoothing the top. Sprinkle with 1 1/2 tablespoons sugar (this makes it a little crispy on the top)

Bake until cake is golden and a toothpick inserted into the center comes out clean, 20 to 25 minutes. Cool in the pan for 10 minutes then turn out onto a rack and cool to warm, 10 to 15 minutes more. Invert onto a plate and cut into 8 slices.

Serve plain or with a dollop of fresh whipped cream.


_______________________________________

Amy Johnson is a blogger who writes about food, travel, the home (both inside and out), and various observations and random musings about anything and everything. Visit her blog She Wears Many Hats for a dose of deliciousness, practicality, hilarity, or just plain fun. She lives in South Carolina with her husband and two children.


Profile photo of savorysweetlife

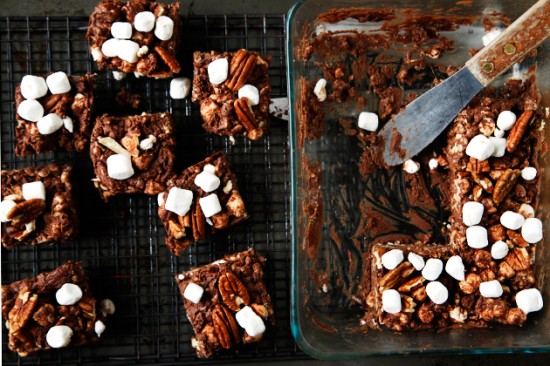
Rocky Road Rice Krispie Treats

Posted by in Step-by-Step Recipes

We’re so happy to have our good friend Alice back on the Tasty Kitchen Blog. She couldn’t have picked a more delicious recipe to prepare than Chrissy and Lauren’s Rocky Road Rice Krispie Treats. Great to see you, Alice!         Just when I thought I had seen every variation of Rice Krispie […]

Profile photo of HowSweetEats

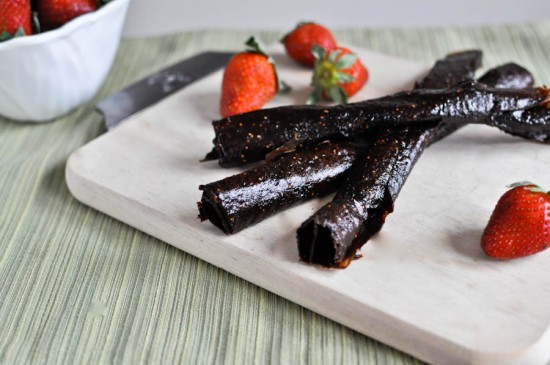
Homemade Fruit Leather

Posted by in Step-by-Step Recipes

  When it comes to making homemade fruit leather, I will confess that I have been totally and completely intimidated. I mean, how does one even accomplish such a task? How does fruit go from actual fruit to … leather? With that being said, I spent half of my youth chewing fruit roll-ups and consequently […]

Profile photo of Erika (TK)

Put Some Irish In Your Dessert!

Posted by in Holidays, Looks Delicious!

  Looking for ways to celebrate today’s holiday without wearing green from head to toe? (Did you know that originally, blue was the color associated with St. Patrick?) If you’re up for a blast from the past, here’s an Irish food theme post we put up last time. Spoiler alert: Chocolate Stout Cupcakes. That’s all […]

Profile photo of Natalie | Perry's Plate

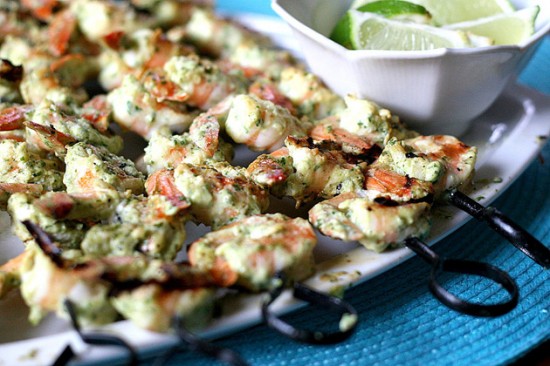
Pepitas Shrimp Skewers

Posted by in Step-by-Step Recipes

  The sun seems to be shining more lately, and after all of the freezing cold weather most of us here in the US have been experiencing (snow in San Francisco?!) I’m definitely ready for warmer weather. And flip flops. And throwing everything we eat on the grill. I was drawn to this recipe for […]