The Pioneer Woman Tasty Kitchen
Profile photo of Amber {Sprinkled With Flour}

Garlic Alfredo Sauce

Posted by in Step-by-Step Recipes

Tasty Kitchen Blog: Garlic Alfredo Sauce. Guest post by Amber Potter of Sprinkled with Flour, recipe submitted by TK member Lacey of A Sweet Pea Chef.

 
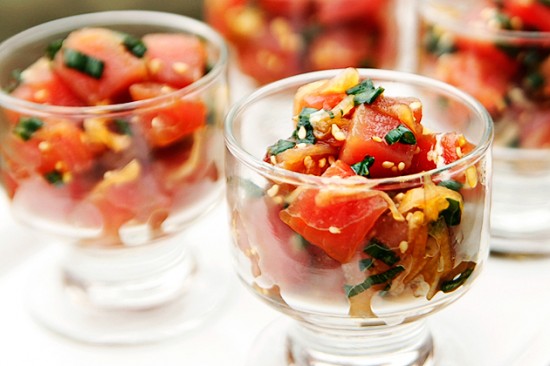
There is nothing better, in my humble opinion, than a plate full of creamy pasta. Marinara is a great sauce, but there’s something so deliciously sinful about Alfredo that I gleefully shove my guilt down deep. When I eat Alfredo, I tell myself I’ll worry about my hips tomorrow. 

While I sit here and wax poetic about Alfredo sauce, I have a confession to make. I never make it at home. Maybe because, until now, I’ve never found a recipe that was as simple and delicious as the one submitted by TK member asweetpeachef (Lacey). When I came across her recipe for Garlic Alfredo Sauce, I was immediately intrigued. With cream cheese, garlic and just a few other simple ingredients, this was definitely my kind of recipe.

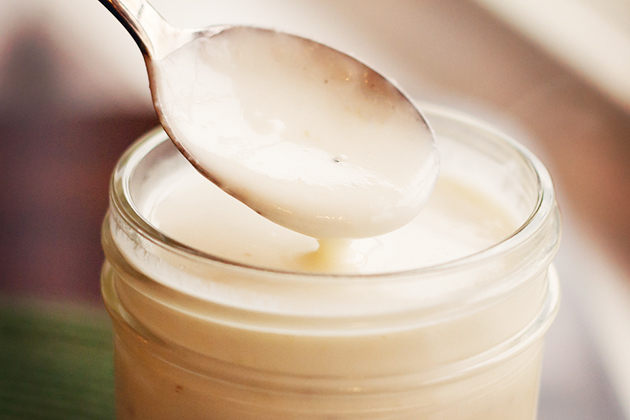
This sauce is so creamy and rich, you’ll be eating spoonfuls before you even get to slather your pasta with it. I’m glad to say this Alfredo sauce will be a staple at my house from now on.


Tasty Kitchen Blog: Garlic Alfredo Sauce. Guest post by Amber Potter of Sprinkled with Flour, recipe submitted by TK member Lacey of A Sweet Pea Chef.

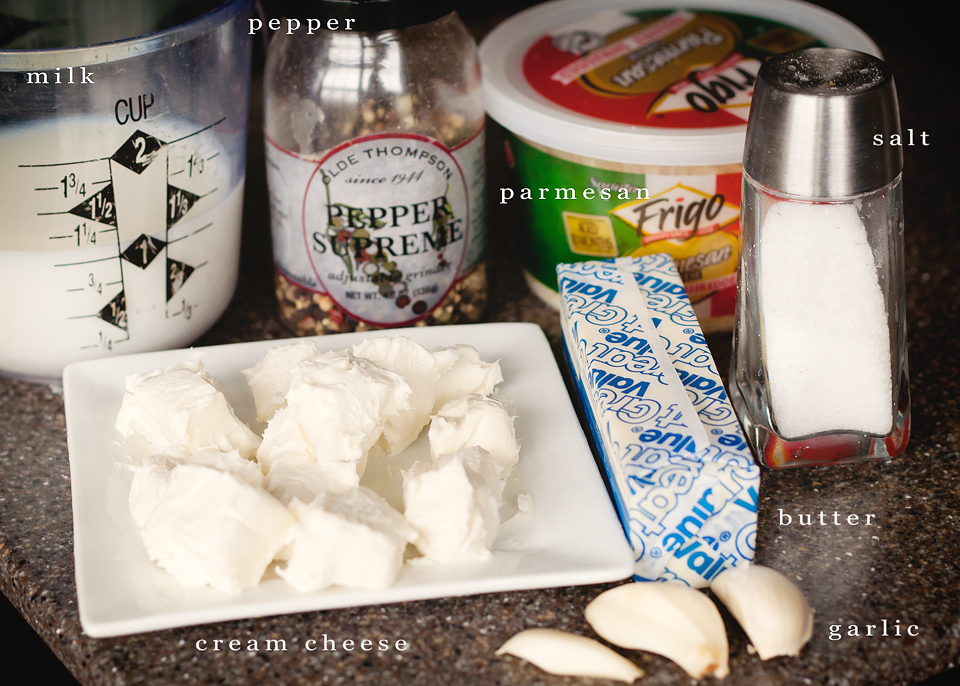
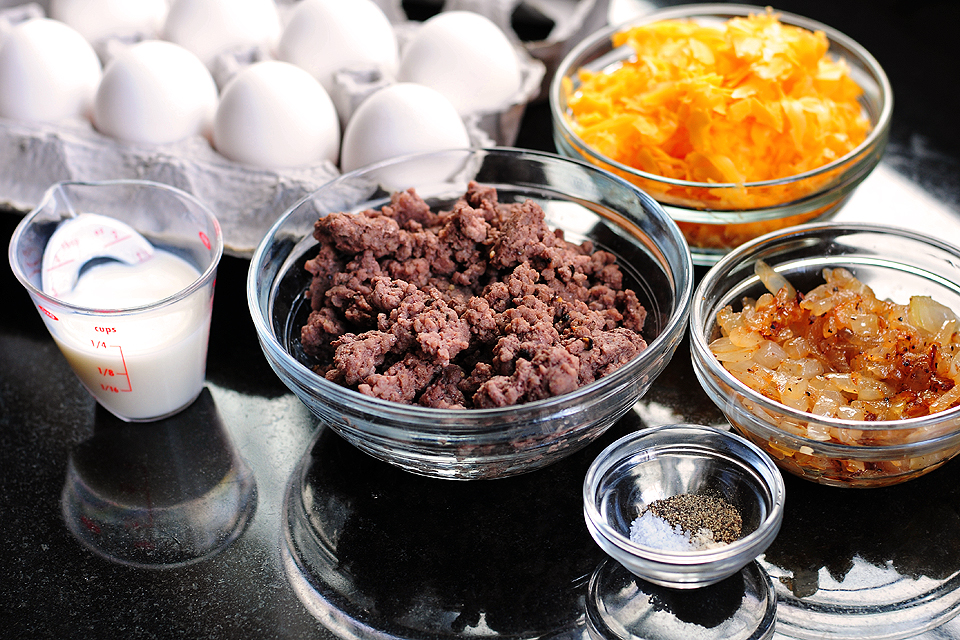
Gather some butter, garlic cloves, cream cheese, milk, and parmesan and you’re just about set. Don’t forget a little salt and pepper, too.


Tasty Kitchen Blog: Garlic Alfredo Sauce. Guest post by Amber Potter of Sprinkled with Flour, recipe submitted by TK member Lacey of A Sweet Pea Chef.

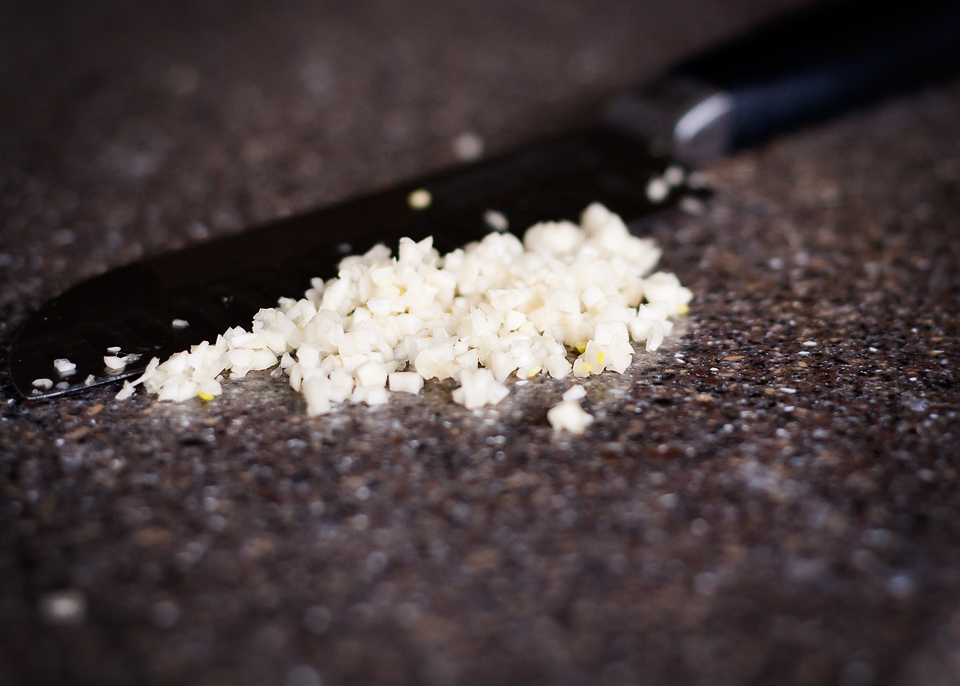
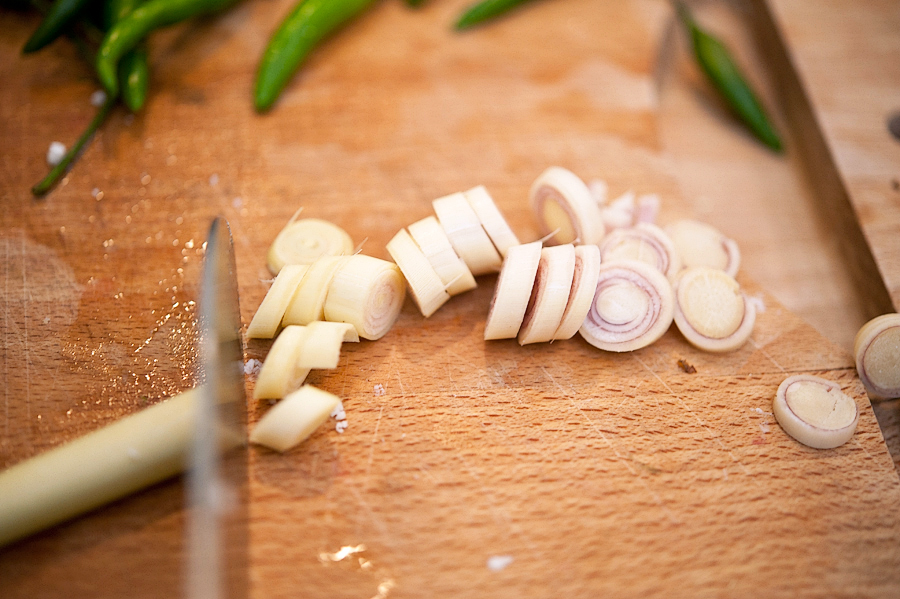
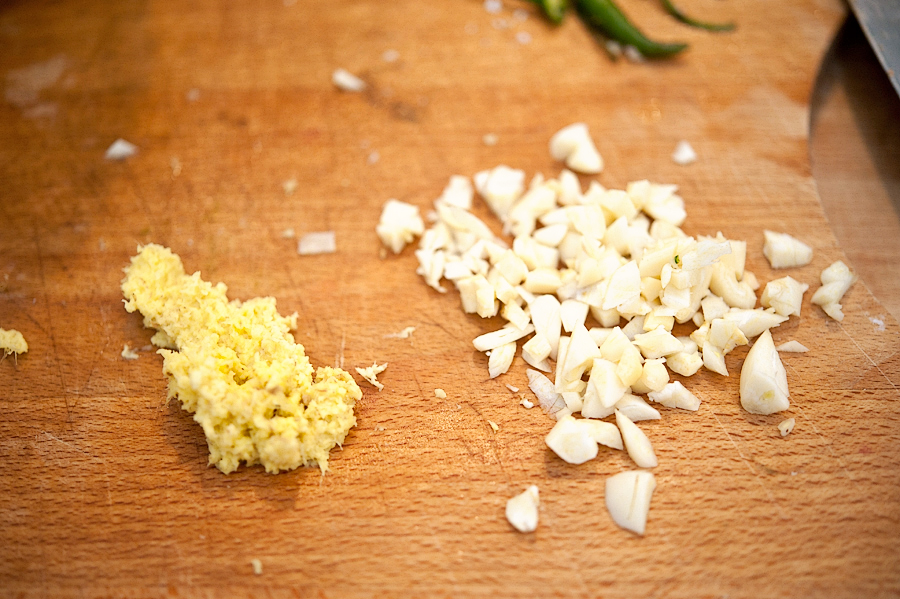
First, mince 3 garlic cloves.


Tasty Kitchen Blog: Garlic Alfredo Sauce. Guest post by Amber Potter of Sprinkled with Flour, recipe submitted by TK member Lacey of A Sweet Pea Chef.

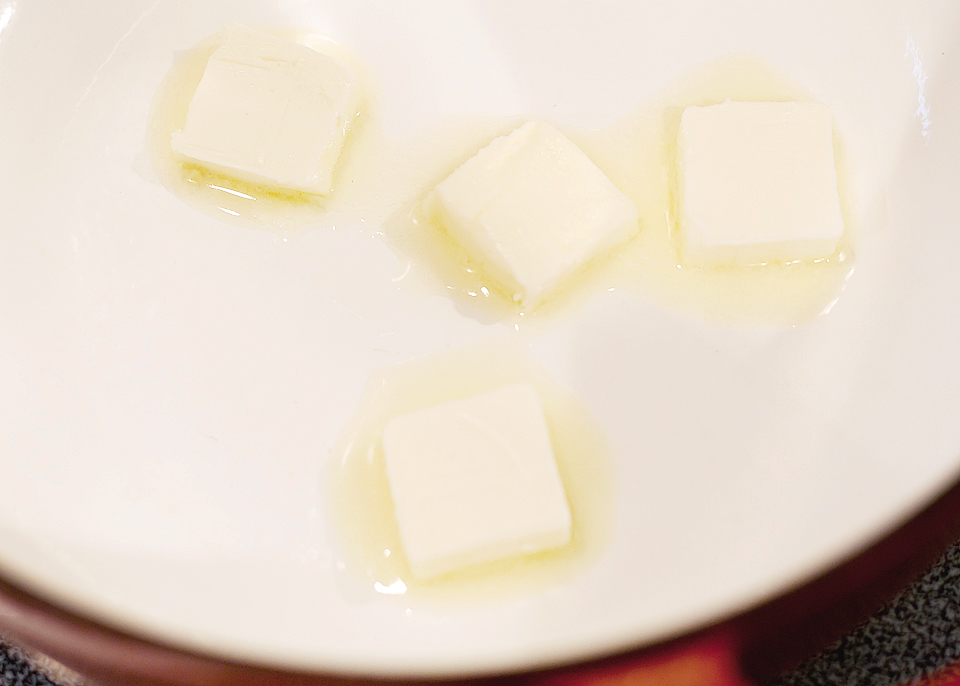
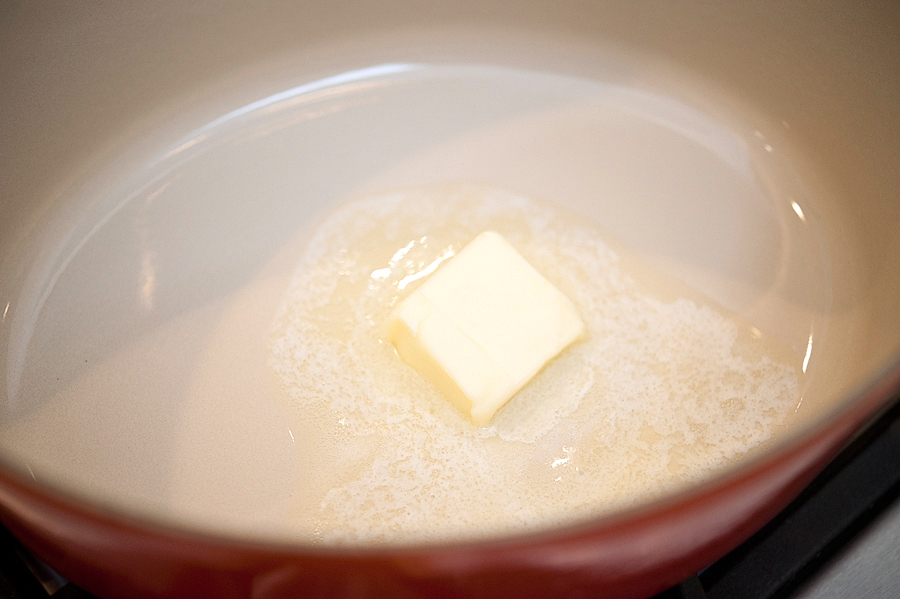
Melt 4 tablespoons of butter in a medium, nonstick saucepan over medium heat.


Tasty Kitchen Blog: Garlic Alfredo Sauce. Guest post by Amber Potter of Sprinkled with Flour, recipe submitted by TK member Lacey of A Sweet Pea Chef.

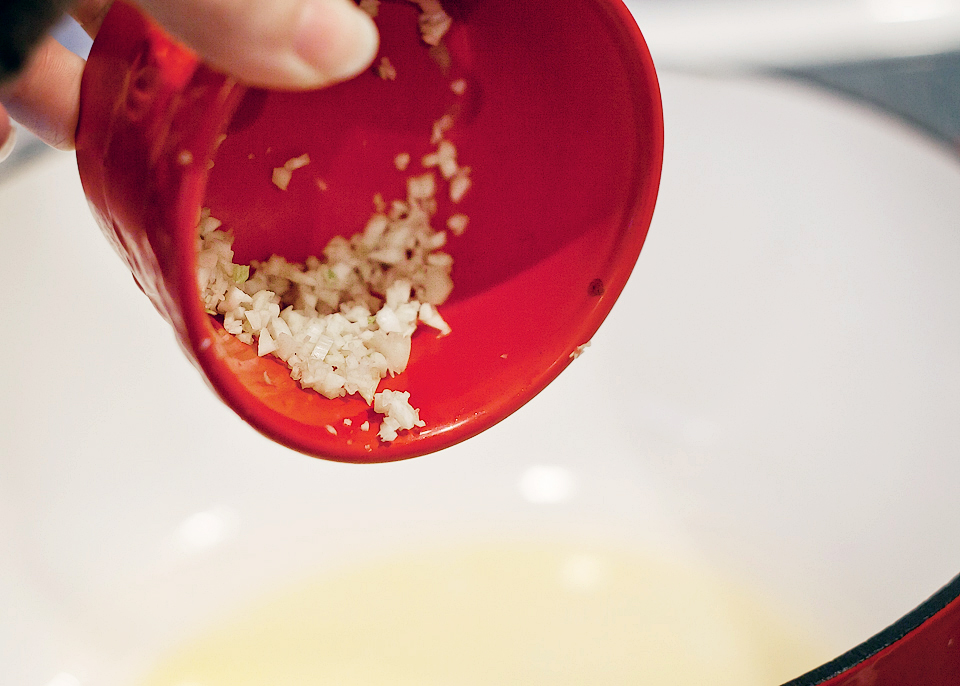
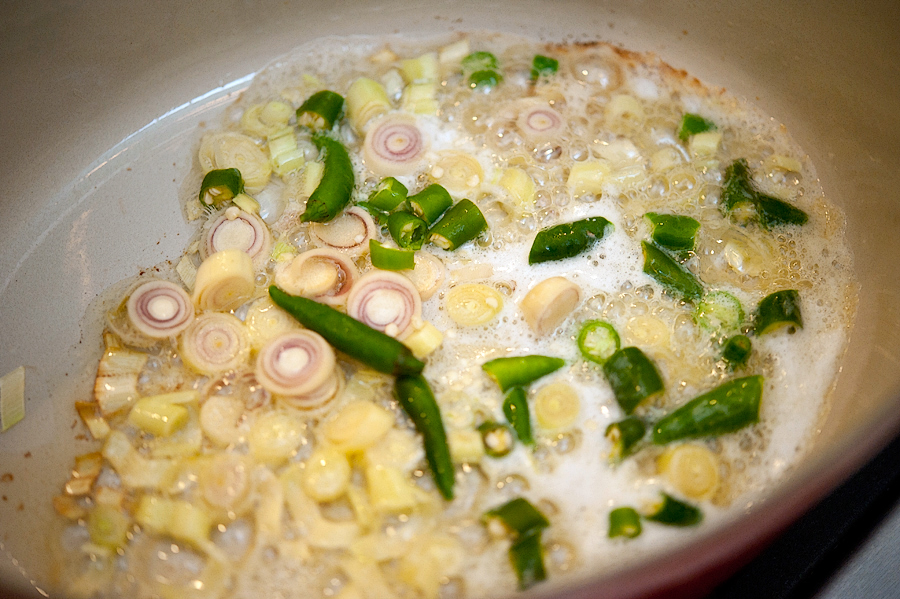
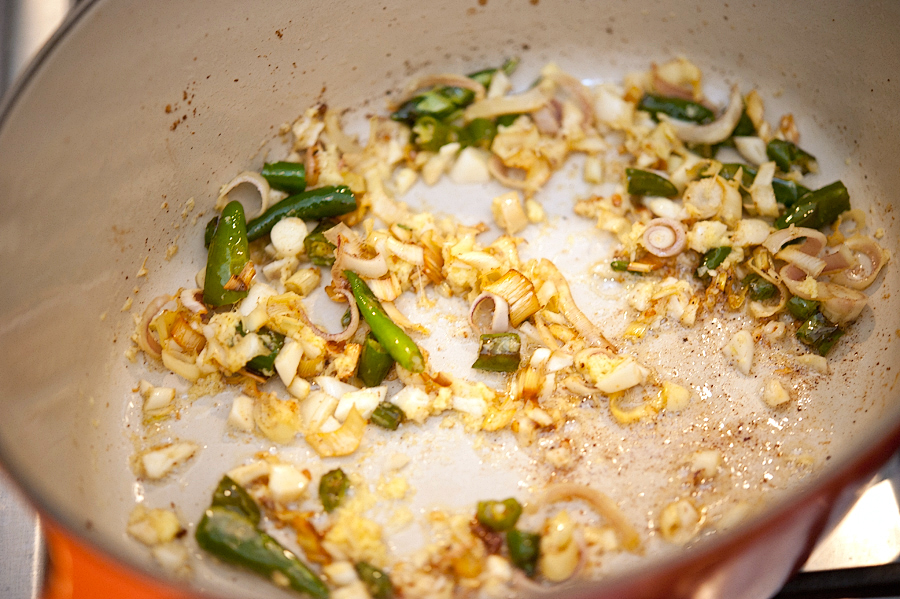
Add the minced garlic and cook for 2 minutes.


Tasty Kitchen Blog: Garlic Alfredo Sauce. Guest post by Amber Potter of Sprinkled with Flour, recipe submitted by TK member Lacey of A Sweet Pea Chef.

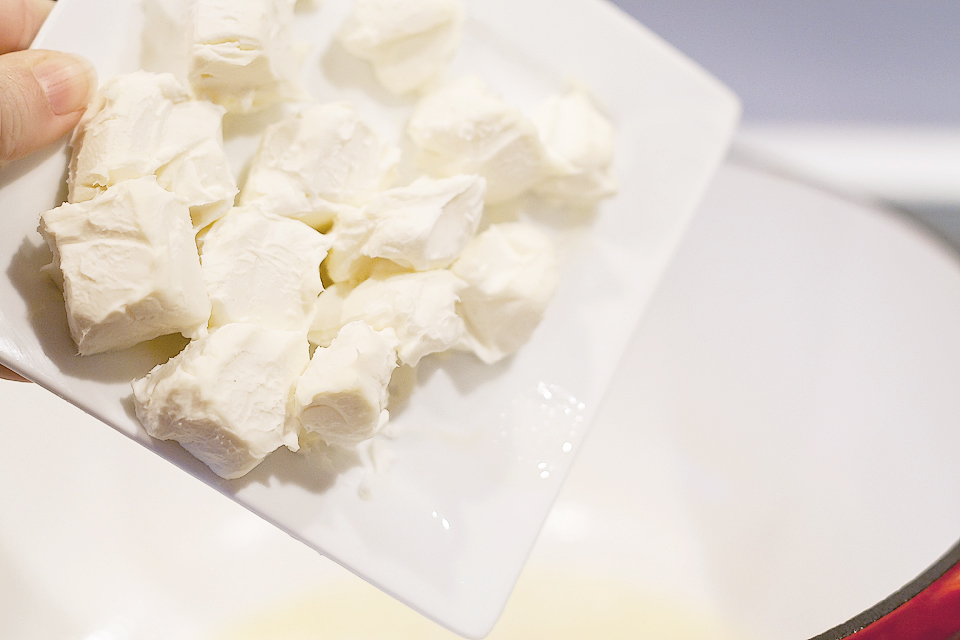
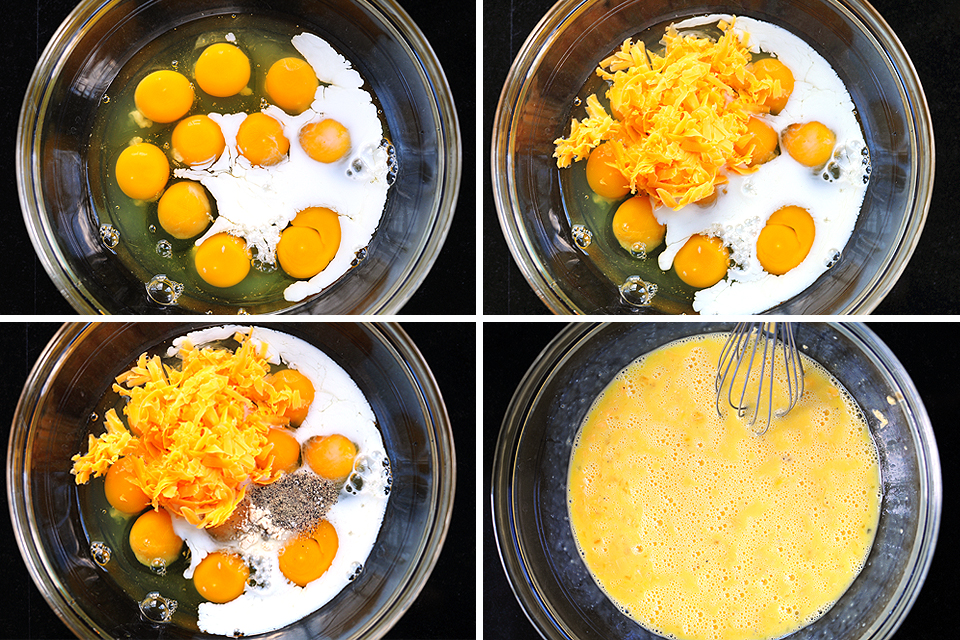
Add the cream cheese, stirring with a whisk until smooth.


Tasty Kitchen Blog: Garlic Alfredo Sauce. Guest post by Amber Potter of Sprinkled with Flour, recipe submitted by TK member Lacey of A Sweet Pea Chef.

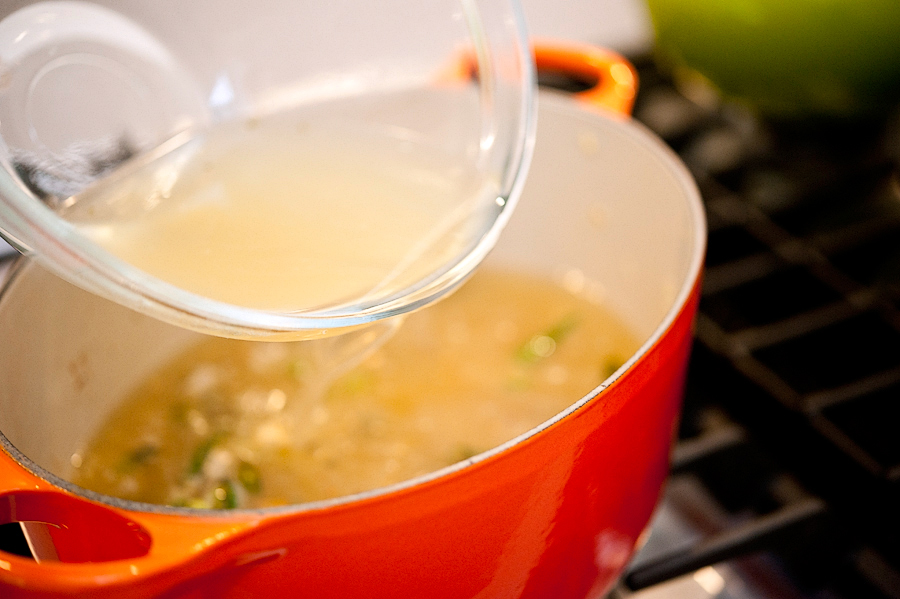
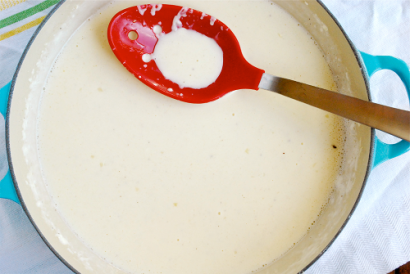
Add the milk, a little at a time, whisking until smooth.


Tasty Kitchen Blog: Garlic Alfredo Sauce. Guest post by Amber Potter of Sprinkled with Flour, recipe submitted by TK member Lacey of A Sweet Pea Chef.

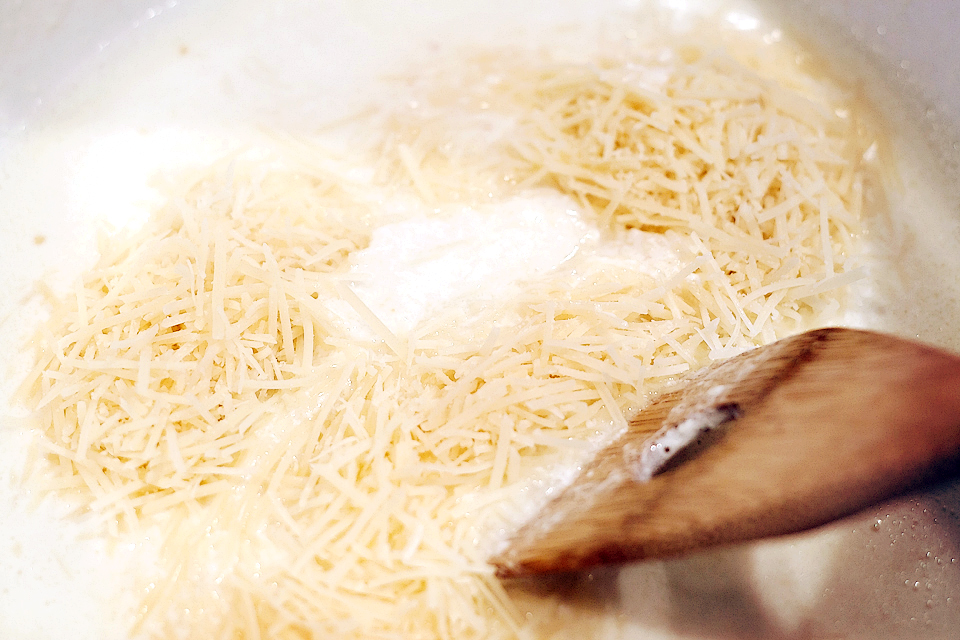
Stir in the parmesan…


Tasty Kitchen Blog: Garlic Alfredo Sauce. Guest post by Amber Potter of Sprinkled with Flour, recipe submitted by TK member Lacey of A Sweet Pea Chef.

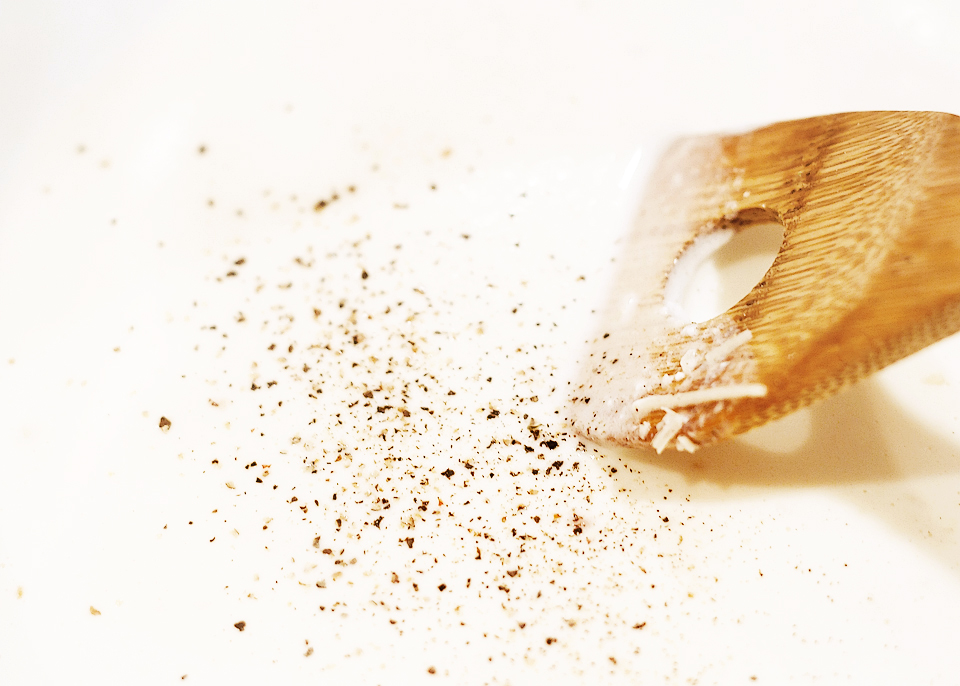
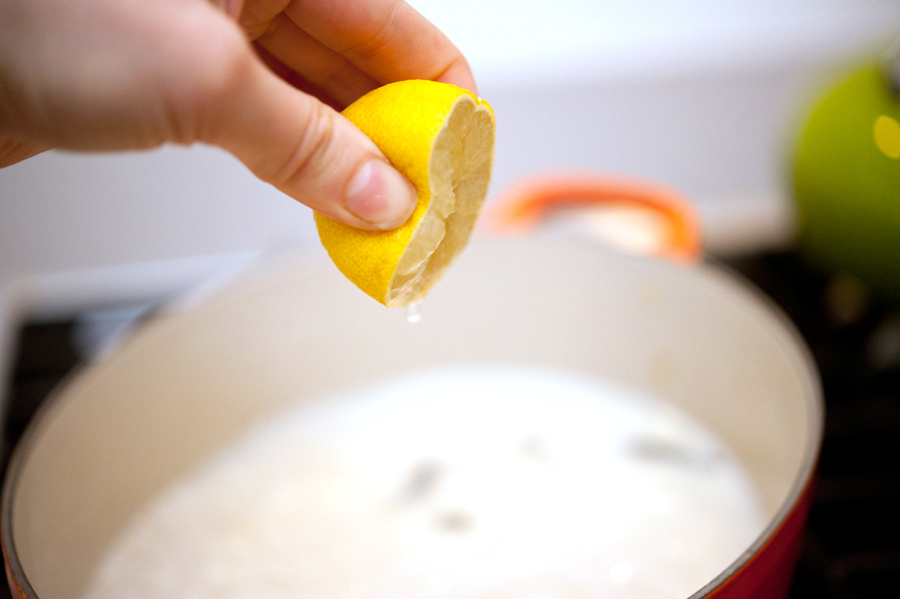
..and the pepper. Season with salt if needed. 


Tasty Kitchen Blog: Garlic Alfredo Sauce. Guest post by Amber Potter of Sprinkled with Flour, recipe submitted by TK member Lacey of A Sweet Pea Chef.

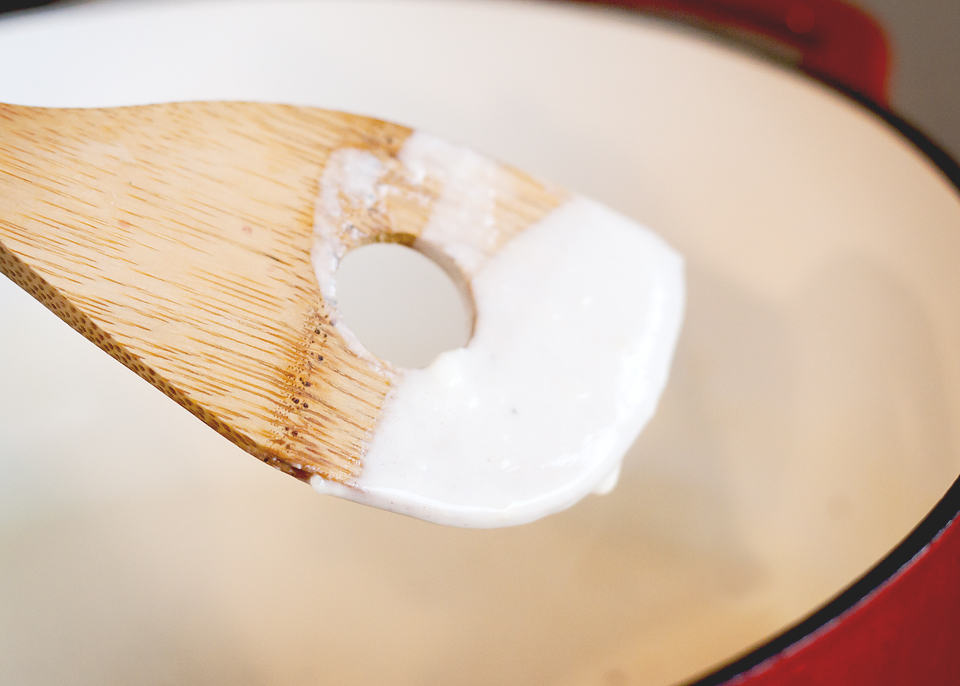
Remove from heat when sauce reaches desired consistency. The sauce will thicken quickly.


Tasty Kitchen Blog: Garlic Alfredo Sauce. Guest post by Amber Potter of Sprinkled with Flour, recipe submitted by TK member Lacey of A Sweet Pea Chef.

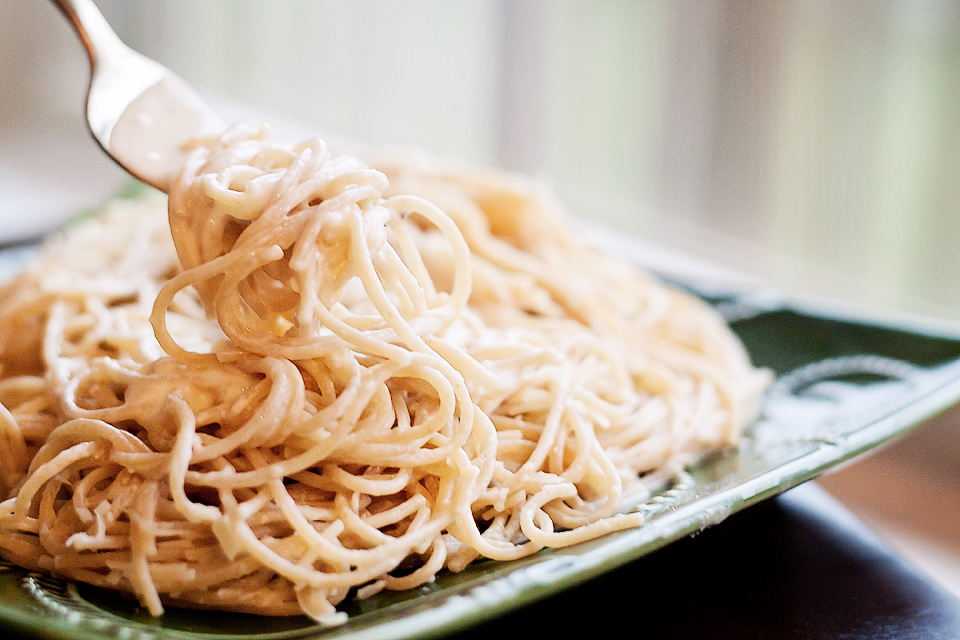
Pour over a plateful of your favorite pasta, and you have a quick and delicious meal that even the pickiest eater will devour. Alternatively, just eat spoonfuls straight out of the pan. 

Thank you so much Lacey for sharing this wonderful recipe, I can’t wait to try it over some stuffed ravioli or tortellini! Lacey is a talented professional chef, along with being a busy wife and mother. Fore more inspiration, you can find many other delicious looking recipes on Lacey’s site A Sweet Pea Chef.


Printable Recipe

Garlic Alfredo Sauce

See post on Lacey Baier of A Sweet Pea Chef’s site!
5.00 Mitt(s) 11 Rating(s)11 votes, average: 5.00 out of 511 votes, average: 5.00 out of 511 votes, average: 5.00 out of 511 votes, average: 5.00 out of 511 votes, average: 5.00 out of 5

Prep Time:

Cook Time:

Difficulty: Easy

Servings: 4

4
x

Print Options

Page size Letter 3x5 4x6
Text Size Small Medium Large
Content Include description
Include prep time, etc.
Show image

Description

It’s really a shame more people I meet don’t know how to make Alfredo Sauce, since it is one of the easiest, most flavorful sauces I make.

Ingredients

  • 4 Tablespoons Unsalted Butter
  • 3 cloves Garlic, Finely Minced
  • ½ packages (8 Oz. Package) Cream Cheese, Softened And Cut Into 1/2-inch Cubes
  • 1 cup Milk
  • 3 ounces, weight Parmesan Cheese, Grated
  • ½ teaspoons Ground Black Pepper
  • 1 pinch Kosher Salt To Taste

Preparation Instructions

Melt butter in a medium, nonstick saucepan over medium heat. Add garlic and cook for 2 minutes. Add cream cheese, stirring with a whisk until smooth. Add milk, a little at a time, whisking until smooth. Stir in parmesan and pepper. Season with kosher salt, if needed. Remove from heat when sauce reaches desired consistency. Sauce will thicken quickly.

Enjoy!


_______________________________________

Amber is a stay at home mom who lives in the heart of the Missouri Ozarks. It’s a long way from where she grew up, in Wales (yes, way over in the U.K.). The recipes in her blog Sprinkled with Flour include her original creations as well as her family recipes. Go check them out!


Profile photo of savorysweetlife

Spicy Cheese Breadsticks

Posted by in Baking, Step-by-Step Recipes

Tasty Kitchen Blog: Spicy Cheese Breadsticks. Guest post by Alice Currah of Savory Sweet Life, recipe submitted by TK member Heather of Heather Christo Cooks.

 
Who can resist buttery, flaky breadsticks made of puff pastry? Not me! And you thought puff pastry was only for tarts and pies.

If you can use a rolling pin, mix a few spices together, sprinkle some cheese, and twist strips of dough together, you will love this recipe for Spicy Cheese Breadsticks by Tasty Kitchen member Heather Christo.


Tasty Kitchen Blog: Spicy Cheese Breadsticks. Guest post by Alice Currah of Savory Sweet Life, recipe submitted by TK member Heather of Heather Christo Cooks.

I have a feeling most of you have some if not all of these ingredients in your kitchen: puff pastry, flour, shredded cheddar cheese, fennel, cayenne pepper, poppy seeds, and kosher salt.


Tasty Kitchen Blog: Spicy Cheese Breadsticks. Guest post by Alice Currah of Savory Sweet Life, recipe submitted by TK member Heather of Heather Christo Cooks.

Heather’s blend of spices is what makes these breadsticks yummy!


Tasty Kitchen Blog: Spicy Cheese Breadsticks. Guest post by Alice Currah of Savory Sweet Life, recipe submitted by TK member Heather of Heather Christo Cooks.

First you will need to generously flour a clean surface for rolling dough. Unfold the puff pastry and roll it as thin as you can. Make sure to retain the square shape as closely as possible. Periodically check to make sure the dough is not sticking to the surface by adding more flour when necessary.


Tasty Kitchen Blog: Spicy Cheese Breadsticks. Guest post by Alice Currah of Savory Sweet Life, recipe submitted by TK member Heather of Heather Christo Cooks.

Look at this beautiful sheet of buttery goodness!


Tasty Kitchen Blog: Spicy Cheese Breadsticks. Guest post by Alice Currah of Savory Sweet Life, recipe submitted by TK member Heather of Heather Christo Cooks.

Add all your spices to a small bowl.


Tasty Kitchen Blog: Spicy Cheese Breadsticks. Guest post by Alice Currah of Savory Sweet Life, recipe submitted by TK member Heather of Heather Christo Cooks.

Give the spices a quick stir. This will make it easier for you to sprinkle and spread on the puff pastry.


Tasty Kitchen Blog: Spicy Cheese Breadsticks. Guest post by Alice Currah of Savory Sweet Life, recipe submitted by TK member Heather of Heather Christo Cooks.

Evenly sprinkle the spices over the puff pastry. Use your hand to make sure you get it as even as possible from edge to edge.


Tasty Kitchen Blog: Spicy Cheese Breadsticks. Guest post by Alice Currah of Savory Sweet Life, recipe submitted by TK member Heather of Heather Christo Cooks.

Using a rolling pin, roll over the spice so they embed themselves into the puff pastry. This is a critical step in making sure the spices remain on the puff pastry without rubbing off.


Tasty Kitchen Blog: Spicy Cheese Breadsticks. Guest post by Alice Currah of Savory Sweet Life, recipe submitted by TK member Heather of Heather Christo Cooks.

Similar to a previous step, sprinkle the spiced puff pastry evenly with the cheese, edge to edge, using your hands if necessary. Using a rolling pin, roll over the spiced puff pastry to embed the shreds of cheese into the pastry.


Tasty Kitchen Blog: Spicy Cheese Breadsticks. Guest post by Alice Currah of Savory Sweet Life, recipe submitted by TK member Heather of Heather Christo Cooks.

Cut the puff pastry into 8 even strips. You can use a pizza cutter or a knife. I like to make one cut down the middle of the pastry, then two more cuts down the center of each half, and then one last cut to halve each strip so I have 8 perfectly even strips.


Tasty Kitchen Blog: Spicy Cheese Breadsticks. Guest post by Alice Currah of Savory Sweet Life, recipe submitted by TK member Heather of Heather Christo Cooks.

With both hands on each end of a strip, gently begin to twist each strip until it will not twist any further. Do this with all eight pieces.


Tasty Kitchen Blog: Spicy Cheese Breadsticks. Guest post by Alice Currah of Savory Sweet Life, recipe submitted by TK member Heather of Heather Christo Cooks.

Carefully transfer the breadsticks to baking sheet lined with parchment paper.


Tasty Kitchen Blog: Spicy Cheese Breadsticks. Guest post by Alice Currah of Savory Sweet Life, recipe submitted by TK member Heather of Heather Christo Cooks.

Bake the breadsticks in a preheated oven for 15 minutes. You’ll know they’re done when they look nice and golden brown with cheese oozing out of them.


Tasty Kitchen Blog: Spicy Cheese Breadsticks. Guest post by Alice Currah of Savory Sweet Life, recipe submitted by TK member Heather of Heather Christo Cooks.

Allow the breadsticks to slightly cool before serving them. Heather suggests serving them vertically by placing them in a tall cup and fanning them out. They are almost too beautiful to eat!


Tasty Kitchen Blog: Spicy Cheese Breadsticks. Guest post by Alice Currah of Savory Sweet Life, recipe submitted by TK member Heather of Heather Christo Cooks.

Thanks so much Heather, our family loves your breadsticks!

For more great recipes and home decorating or entertaining advice, be sure to check out her blog, Heather Christo Cooks.


Printable Recipe

Spicy Cheese Breadsticks

See post on Heather Christo’s site!
5.00 Mitt(s) 2 Rating(s)2 votes, average: 5.00 out of 52 votes, average: 5.00 out of 52 votes, average: 5.00 out of 52 votes, average: 5.00 out of 52 votes, average: 5.00 out of 5

Prep Time:

Cook Time:

Difficulty: Easy

Servings: 8

8
x

Print Options

Page size Letter 3x5 4x6
Text Size Small Medium Large
Content Include description
Include prep time, etc.
Show image

Description

Flaky, hot and buttery bread sticks with little bits of melting cheese.

Ingredients

  • 1  Sheet Puff Pastry (A Box Typically Contains 2 Sheets)
  • 1 Tablespoon Sesame Seeds
  • 1 Tablespoon Poppy Seeds
  • 1 teaspoon Fennel Seeds
  • 1 teaspoon Kosher Salt
  • ¼ teaspoons Cayenne Pepper
  • ½ cups Finely Shredded Cheddar Cheese
  • Flour, For Rolling Out Dough

Preparation Instructions

Preheat the oven to 400ºF. Prepare a sheetpan with parchment or a Silpat.

On a lightly floured surface, roll out the sheet of puff pastry until it is quite thin.

In a small bowl, mix together all of the seeds and spices. Sprinkle them over the dough. Using a rolling pin, roll them into the dough.

Sprinkle the cheese over the dough. Roll the cheese into the dough.

Slice the dough into 8 even strips. Twist from both ends of each dough strip so that the dough spirals into a breadstick. Lay them on the lined sheetpan.

Bake the breadsticks for 15 minutes until golden. Let cool for a moment then transfer to a tall glass and fan out to serve.


_______________________________________

Alice Currah is the force behind Sweet Savory Life and Everyday Alice. She and her husband Rob are the proud parents of three children: Abbi, Mimi, and Elli. Alice is the winner of Saveur’s Cover Contest and is on the Forbes.com list of Eight of The Very Best Food Bloggers. She’s also a weekly writer for PBS Parents’ Kitchen Explorers. She’s the best-est.


Profile photo of georgiapellegrini

Spicy Thai Coconut Shrimp Soup

Posted by in Step-by-Step Recipes

Tasty Kitchen Blog: Spicy Thai Coconut Shrimp Soup. Guest post by Georgia Pellegrini, recipe submitted by TK member Jackie of Domestic Fits.

 
I love recipes that expand my horizons. This Spicy Thai Coconut Shrimp Soup from Jackie Dodd, for example, is not something that I would normally make on my own. But her recipe looked to enticing that I had to give it a try. Plus there’s a grocery store near me that offers up things like lemongrass and Thai chili, and that sealed the deal.


Tasty Kitchen Blog: Spicy Thai Coconut Shrimp Soup. Guest post by Georgia Pellegrini, recipe submitted by TK member Jackie of Domestic Fits.

You’ll need: shrimp, chicken stock, basil, Thai chili, coconut milk, lemon, lemongrass, butter, ginger, garlic, and fish sauce.


Tasty Kitchen Blog: Spicy Thai Coconut Shrimp Soup. Guest post by Georgia Pellegrini, recipe submitted by TK member Jackie of Domestic Fits.

Start by removing the outer layers of the lemon grass and slicing it.


Tasty Kitchen Blog: Spicy Thai Coconut Shrimp Soup. Guest post by Georgia Pellegrini, recipe submitted by TK member Jackie of Domestic Fits.

Melt some butter or oil or margarine in a pot until it bubbles.


Tasty Kitchen Blog: Spicy Thai Coconut Shrimp Soup. Guest post by Georgia Pellegrini, recipe submitted by TK member Jackie of Domestic Fits.

Next slice your chiles. These are green chiles because that is what I could find but Jackie suggests red chiles which are equally wonderful, I’m sure. Depending on your tolerance for heat, you’ll probably want to remove the seeds from these before chopping and adding them to the pot. And be sure not to touch your eyes for a long while afterward and give your hands a good wash. Since I love things super spicy, I left the seeds in. I was testing fate.


Tasty Kitchen Blog: Spicy Thai Coconut Shrimp Soup. Guest post by Georgia Pellegrini, recipe submitted by TK member Jackie of Domestic Fits.

Saute it all together in the butter.


Tasty Kitchen Blog: Spicy Thai Coconut Shrimp Soup. Guest post by Georgia Pellegrini, recipe submitted by TK member Jackie of Domestic Fits.

Then mince your garlic and ginger. You could leave the garlic a little chunky if you want as well, it adds some texture.


Tasty Kitchen Blog: Spicy Thai Coconut Shrimp Soup. Guest post by Georgia Pellegrini, recipe submitted by TK member Jackie of Domestic Fits.

Saute that for a few minutes as well.


Tasty Kitchen Blog: Spicy Thai Coconut Shrimp Soup. Guest post by Georgia Pellegrini, recipe submitted by TK member Jackie of Domestic Fits.

Next pour in the stock and simmer for a few minutes.


Tasty Kitchen Blog: Spicy Thai Coconut Shrimp Soup. Guest post by Georgia Pellegrini, recipe submitted by TK member Jackie of Domestic Fits.

Then add the coconut milk and simmer for a few minutes more.


Tasty Kitchen Blog: Spicy Thai Coconut Shrimp Soup. Guest post by Georgia Pellegrini, recipe submitted by TK member Jackie of Domestic Fits.

Then squeeze a bit of lemon juice for some tang. You can also add some fish sauce here if you’d like. I skipped that step but it would add another dimension of flavor.


Tasty Kitchen Blog: Spicy Thai Coconut Shrimp Soup. Guest post by Georgia Pellegrini, recipe submitted by TK member Jackie of Domestic Fits.

Toward the end you’ll add the basil. Tear it up into various sized pieces.


Tasty Kitchen Blog: Spicy Thai Coconut Shrimp Soup. Guest post by Georgia Pellegrini, recipe submitted by TK member Jackie of Domestic Fits.

Toss it in and let it stew for a few minutes.


Tasty Kitchen Blog: Spicy Thai Coconut Shrimp Soup. Guest post by Georgia Pellegrini, recipe submitted by TK member Jackie of Domestic Fits.

Then toss in the peeled rinsed shrimp.


Tasty Kitchen Blog: Spicy Thai Coconut Shrimp Soup. Guest post by Georgia Pellegrini, recipe submitted by TK member Jackie of Domestic Fits.

They will only need a few minutes to cook. In fact, you can turn off the heat shortly after you put them in and let the flavors meld as the shrimp finishes cooking.


Tasty Kitchen Blog: Spicy Thai Coconut Shrimp Soup. Guest post by Georgia Pellegrini, recipe submitted by TK member Jackie of Domestic Fits.

This is a magical soup. It is so quick to make and it is refreshing to work with these light and tangy flavors. Thanks so much to Jackie for this recipe! Be sure to check out her website, Domestic Fits, for other delicious concoctions.


Printable Recipe

Spicy Thai Coconut Shrimp Soup

See post on Jackie Dodd’s site!
4.00 Mitt(s) 1 Rating(s)1 vote, average: 4.00 out of 51 vote, average: 4.00 out of 51 vote, average: 4.00 out of 51 vote, average: 4.00 out of 51 vote, average: 4.00 out of 5

Prep Time:

Cook Time:

Difficulty: Easy

Servings: 4

4
x

Print Options

Page size Letter 3x5 4x6
Text Size Small Medium Large
Content Include description
Include prep time, etc.
Show image

Description

A warm and delicious soup that is full of immune boosters to help you get through the winter.

Ingredients

  • 2 Tablespoons Smart Balance Light Margarine
  • 2 teaspoons Chopped Thai Red Chili, Seeds Removed
  • 2 Tablespoons Fresh Lemongrass, Chopped
  • 6 cloves Garlic, Minced
  • 1 Tablespoon Ginger, Peeled And Minced
  • 5 cups Fat Free, Low Sodium Chicken Broth
  • 2 cans (13.5 Oz. Size) Light Coconut Milk
  • 3 Tablespoons Fish Sauce
  • 2 teaspoons Black Pepper
  • 1 teaspoon Salt
  • 1 Tablespoon Lemon Juice
  • 8 whole Basil Leaves, Chopped Into Ribbons
  • 16 whole Large Shrimp, Raw, Peeled And Deveined, Tails Off (can Substitute 1 Cup, Chopped Raw Chicken)

Preparation Instructions

In a large pot over medium-high heat, melt the margarine. Add the chili and the lemongrass and cook until soft, about 3 minutes. Add the garlic and the ginger. Stir frequently until you can smell the garlic, about 30 seconds. Add the chicken broth and coconut milk and allow to simmer for 10 minutes.

Add the remaining ingredients and cook until the shrimp is cooked through, about 5 minutes. Taste and adjust seasoning to your personal preference.


_______________________________________

There’s so much to say about Georgia, we don’t know where to start. Leaving Wall Street for the French Culinary Institute, followed by a stint at the Gramercy Tavern and La Chassagnette in France, her passion for food and food traditions are evident and inspiring. Visit her site at Georgia Pellegrini, where you’ll find more recipes, photos, learn all about her wonderful books Girl Hunter and Food Heroes, and enjoy her latest adventures.


Profile photo of missamy

Cheeseburger Frittata

Posted by in Step-by-Step Recipes

Tasty Kitchen Blog: Cheeseburger Frittata. Guest post and recipe from Amy Johnson of She Wears Many Hats.

 
Trying to manage a balanced diet is difficult for me. One of the hardest things is to make sure I’m getting enough healthy protein. During a busy day, carbs are usually the quick go-to meal for me, but I’ve found when I focus on getting more good protein during the day I function much better, physically and mentally. I feel more even keel, if you know what I mean.

Enter the frittata. A frittata is a great meal option for breakfast, lunch, or dinner. It’s quick like an omelet, and much lighter than its cousin the quiche. And like an omelet or quiche, the frittata flavor combinations are endless. It’s the perfect “clean out the fridge” meal.

For this version I had cheeseburger on the brain, so a Cheeseburger Frittata it was. I added browned ground beef, cheddar, and sautéed onions, but like any burger, build it like you want. Add some bacon, substitute a different cheese, or maybe mushrooms? Yum, mushrooms would be mighty nice.

Also, while a frittata is usually made stovetop in a skillet then finished under the broiler, I baked this one in a pie pan for the whole cook time. I found it gave a lighter texture, and it was easier, no fuss.

Take a second to assess your fridge, see what you have on hand and let’s make a frittata. Let me show you how I made this one.


Tasty Kitchen Blog: Cheeseburger Frittata. Guest post and recipe from Amy Johnson of She Wears Many Hats.

You’ll need eggs, a little milk, cheese (I used cheddar), browned ground beef, sautéed onions, and seasonings. I used salt, pepper and garlic powder (our favorite hamburger addition). Pretty simple stuff.


Tasty Kitchen Blog: Cheeseburger Frittata. Guest post and recipe from Amy Johnson of She Wears Many Hats.

Begin by cracking the eggs into a large bowl.


Tasty Kitchen Blog: Cheeseburger Frittata. Guest post and recipe from Amy Johnson of She Wears Many Hats.

Next add the milk, half of the cheese, and 1/4 teaspoon of each of the seasonings. Beat all together until combined well.


Tasty Kitchen Blog: Cheeseburger Frittata. Guest post and recipe from Amy Johnson of She Wears Many Hats.

In a pie pan coated well with butter or cooking spray, layer the browned ground beef and sautéed onions. Note: I used a 10″ pie pan, but a 9″ deep dish pie pan would work nicely here and give you a thicker frittata, too. Remember to adjust cook time for different sized dishes.


Tasty Kitchen Blog: Cheeseburger Frittata. Guest post and recipe from Amy Johnson of She Wears Many Hats.

Pour the egg mixture over the ground beef and onions.


Tasty Kitchen Blog: Cheeseburger Frittata. Guest post and recipe from Amy Johnson of She Wears Many Hats.

Spread the remaining cheese evenly over the top.


Tasty Kitchen Blog: Cheeseburger Frittata. Guest post and recipe from Amy Johnson of She Wears Many Hats.

Bake in a 400°F oven for about 15-20 minutes until center is set. Oven temperatures vary so be careful and watch for overcooking.


Tasty Kitchen Blog: Cheeseburger Frittata. Guest post and recipe from Amy Johnson of She Wears Many Hats.

Slice a piece and serve with a side of fruit for breakfast, or with a salad and/or soup for lunch or dinner. Frittata is flexible like that. Enjoy!

If you have any other frittata combos, please share below in the comments. I’m in a frittata-making mode right now.


Printable Recipe

Cheeseburger Frittata

See post on missamy’s site!
4.25 Mitt(s) 8 Rating(s)8 votes, average: 4.25 out of 58 votes, average: 4.25 out of 58 votes, average: 4.25 out of 58 votes, average: 4.25 out of 58 votes, average: 4.25 out of 5

Prep Time:

Cook Time:

Difficulty: Easy

Servings: 8

8
x

Print Options

Page size Letter 3x5 4x6
Text Size Small Medium Large
Content Include description
Include prep time, etc.
Show image

Description

A simple Cheeseburger Frittata for a quick, low-carb cheeseburger meal.

Ingredients

  • 1 pound Ground Beef
  • ¼ teaspoons Plus Two Dashes Of Salt, Divided
  • ¼ teaspoons Plus Two Dashes Of Pepper, Divided
  • ¼ teaspoons Plus Two Dashes Of Garlic Powder, Divided
  • 1 Tablespoon Olive Oil
  • 1 whole Medium-large Onion, Chopped
  • 10 whole Large Eggs
  • 3 Tablespoons Milk
  • 4 ounces, weight Cheddar Cheese, Shredded, Divided
  • Optional Additions: Bacon, Sautéed Mushroom, Sliced/diced Tomatoes

Preparation Instructions

Preheat oven to 400 F.

I used a 10″ pie pan for this recipe, but a 9″ deep dish should work as well. Grease it with some butter or spray it with cooking spray.

Brown the beef in a skillet over medium heat with a dash of salt, pepper and garlic powder.

In another skillet, heat olive oil over medium heat and sauté onion with a dash of salt and pepper. Saute until onions are translucent.

Beat together eggs, milk, 1/2 of the shredded cheddar cheese and 1/4 teaspoon of salt pepper and garlic powder.

Evenly distribute the browned hamburger on the bottom of the pie pan then top it with the sautéed onions.

Pour the egg mixture over the top of the hamburger and onion. Top that with the remaining cheese.

Bake at 400 F for 15-20 minutes until set. (I used a 10″ pie pan, so adjust cooking time accordingly for a different size of pan.)


_______________________________________

Amy Johnson is a blogger who writes about food, travel, the home (both inside and out), and various observations and random musings about anything and everything. Visit her blog She Wears Many Hats for a dose of deliciousness, practicality, hilarity, or just plain fun. She lives in South Carolina with her husband and two children.


Profile photo of Natalie | Perry's Plate

Baked Hushpuppies

Posted by in Baking, Step-by-Step Recipes

  Have you ever had a hushpuppy? A true hushpuppy is a cornmeal-based dough that’s fried into little balls. Sometimes onions and peppers are added, but that’s basically it. Hushpuppies have very strong ties to the American South, like fried dill pickles and fried okra (two more of my favorite fried goodies) and are commonly […]

Profile photo of Laurie - Simply Scratch

Mississippi Mud Brownies

Posted by in Baking, Step-by-Step Recipes

  What exactly is a Mississippi Mud Brownie? Okay, so get this: it’s a moist brownie layered with chocolate chips, topped with melted crunchy peanut butter, marshmallows, sprinkled with toasted pecans and lacquered with a thin layer of frosting. Are you sold? Instantly, when my eyes fell upon TK member Taylor’s (greensnchocolate) recipe for Mississippi…

Profile photo of whatsgabycooking

Herb Mustard Vinaigrette

Posted by in Step-by-Step Recipes

  After all those delicious holiday cookies and treats, I’m ready for a bit of lighter fare. I’m thinking salads. Lots and lots of loaded salads are in my near future. And with a fabulous loaded salad, you’ve got to have an awesome dressing. The dressing is pretty much the most important part. It gets […]

Profile photo of savorysweetlife

Hawaiian Ahi Poke

Posted by in Step-by-Step Recipes

  If you love ahi (tuna) sashimi or sushi, then you are going to love this easy Hawaiian Ahi Poke recipe by Tasty Kitchen member A Spicy Perspective. When served in little bowls, this dish makes a stunning starter for a dinner party. Let’s get started.       Here’s a list of ingredients you’ll […]