The Pioneer Woman Tasty Kitchen
Profile photo of Laurie - Simply Scratch

Strawberry Streusel Bars with White Chocolate Drizzle

Posted by in Baking, Step-by-Step Recipes

Tasty Kitchen Blog: Strawberry White Chocolate Streusel Bars. Guest post by Laurie McNamara of Simply Scratch, recipe submitted by TK member Angela of Recipes from My Mom.

Help us welcome another guest contributor, Laurie of Simply Scratch, who is sharing a wonderfully easy and impressive recipe for Strawberry White Chocolate Streusel Bars from TK member angpritch. It’s a great dessert for your cookout today. Welcome, Laurie and thank you, Angela!

_______________________________________


Strawberries! Beautiful, juicy, red and sweet strawberries! I don’t think there’s a single soul who doesn’t love this delectable fruit. They are possibly the most loved berry of all berries, whether it’s for their bright red color, the distinct aroma or juicy seedy texture … seriously, what’s not to love?

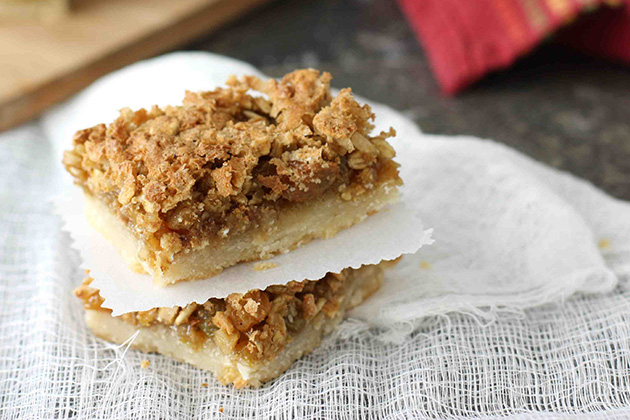
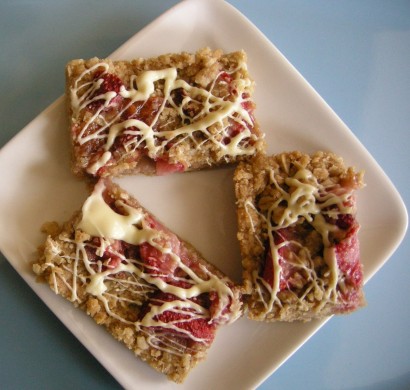
I always get excited when I start seeing them arrive at my local farm stands and supermarkets, because that means spring is here and summer is not too far behind it! Aside from fruit salads, shortcakes and chocolate-covered strawberries, you can use strawberries in anything from sweet and savory jams and salsas to crisp, fresh salads or cold frozen treats. I really haven’t met a strawberry recipe I didn’t fall in love with and devour, including this recipe from TK member angpritch (Angela). I mean, c’mon— strawberries, streusel, and white chocolate, all atop a crispy oatmeal cookie bar. This recipe had me at strawberry, and sold me with the white chocolate drizzle!  


Tasty Kitchen Blog: Strawberry White Chocolate Streusel Bars. Guest post by Laurie McNamara of Simply Scratch, recipe submitted by TK member Angela of Recipes from My Mom.

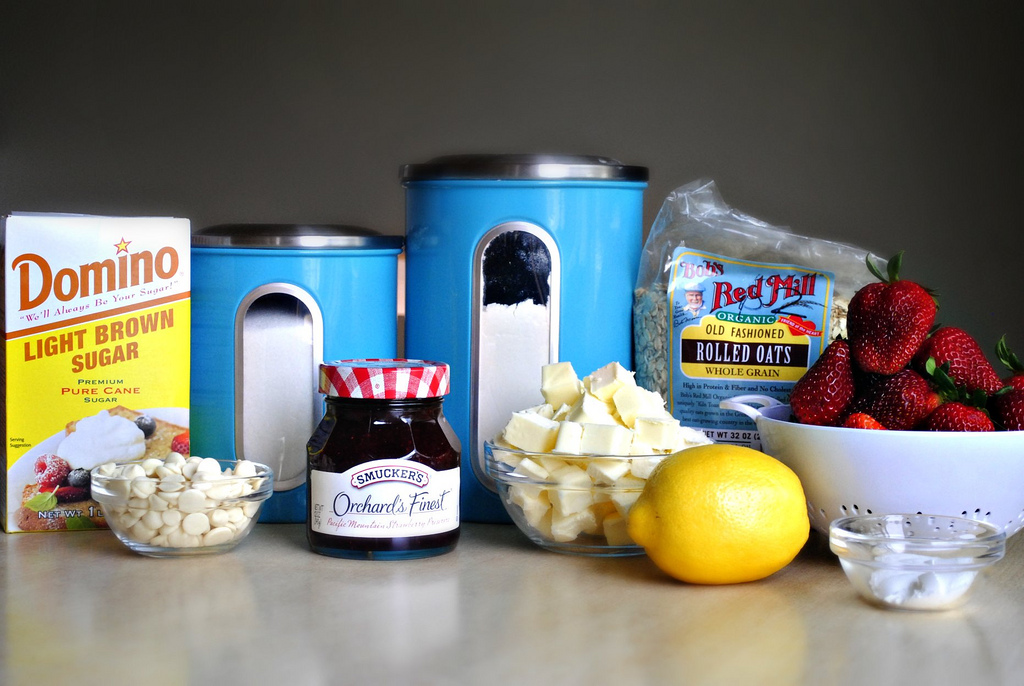
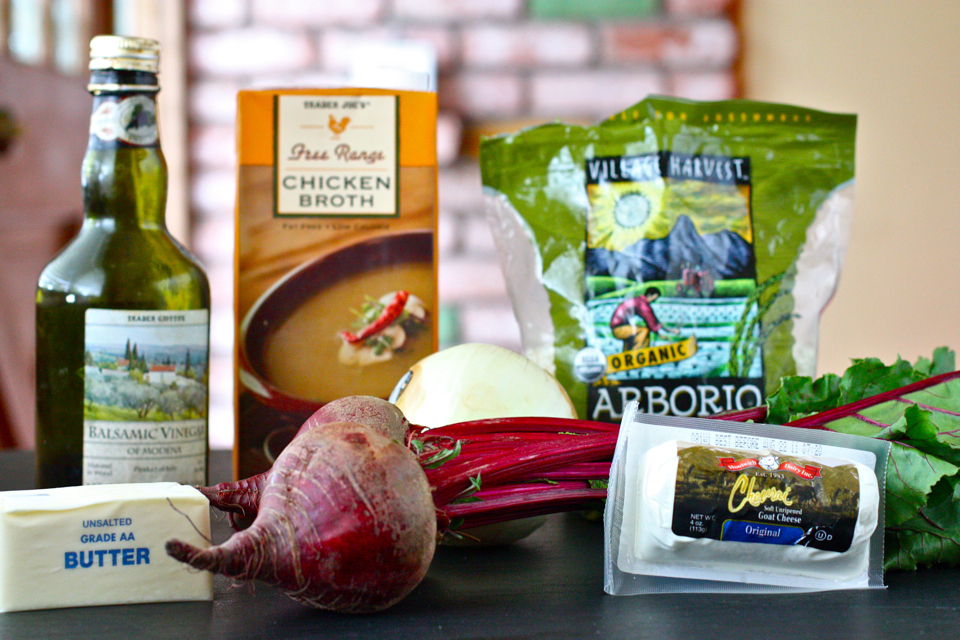
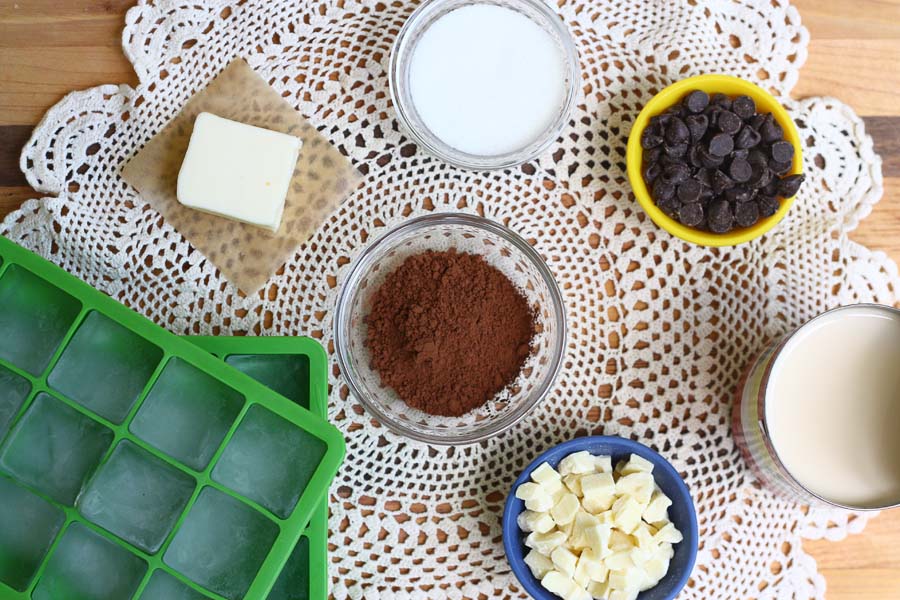
To make these heavenly bars you will need old-fashioned oats, flour, sugar, brown sugar, baking soda, baking powder, salt, chilled butter, strawberries, strawberry jam, lemon zest, and white chocolate. I was surprised by how much of the ingredients I already had in my pantry!


Tasty Kitchen Blog: Strawberry White Chocolate Streusel Bars. Guest post by Laurie McNamara of Simply Scratch, recipe submitted by TK member Angela of Recipes from My Mom.

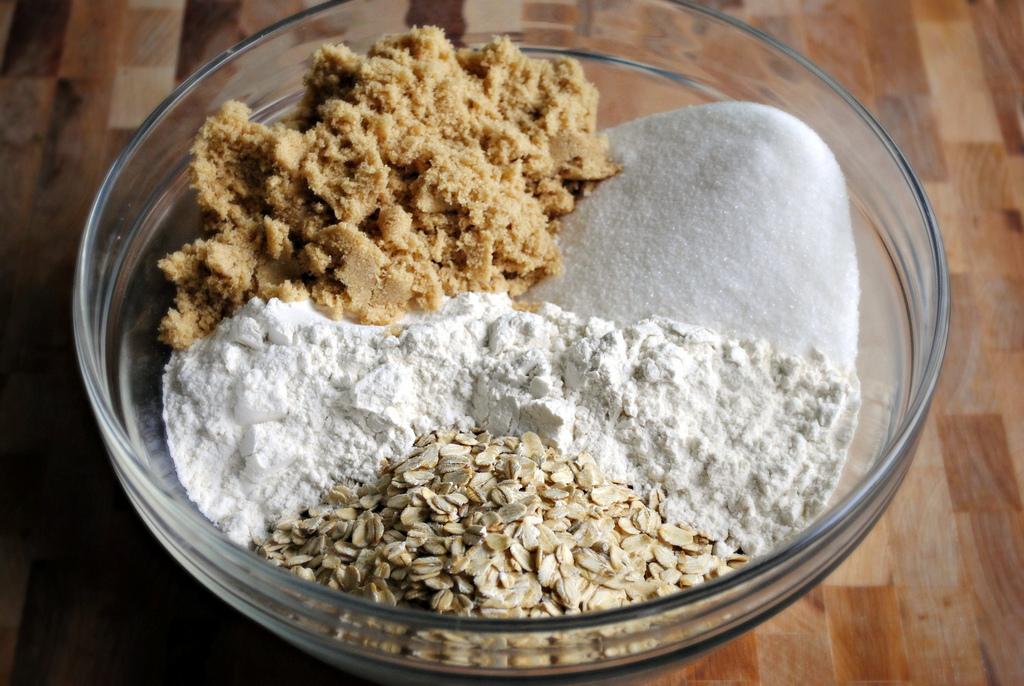
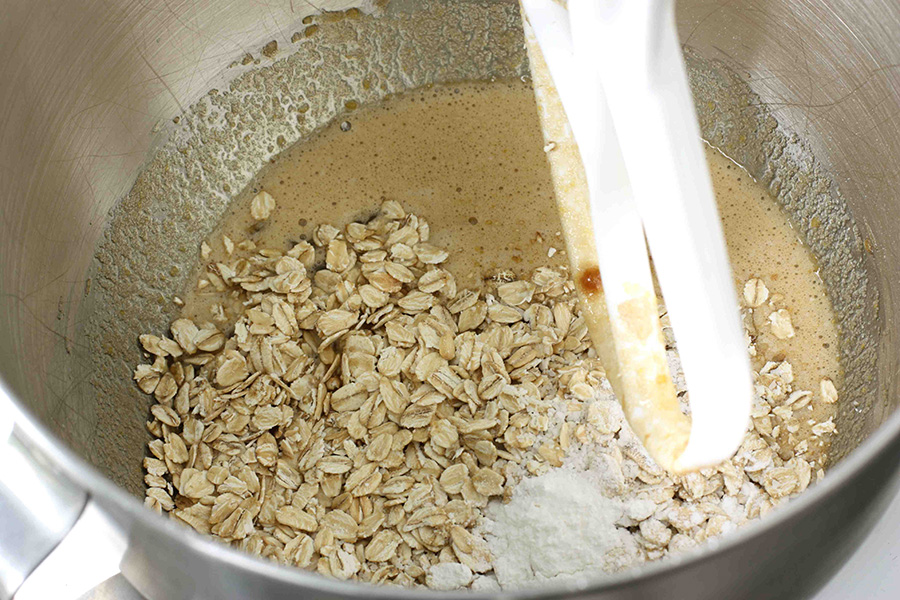
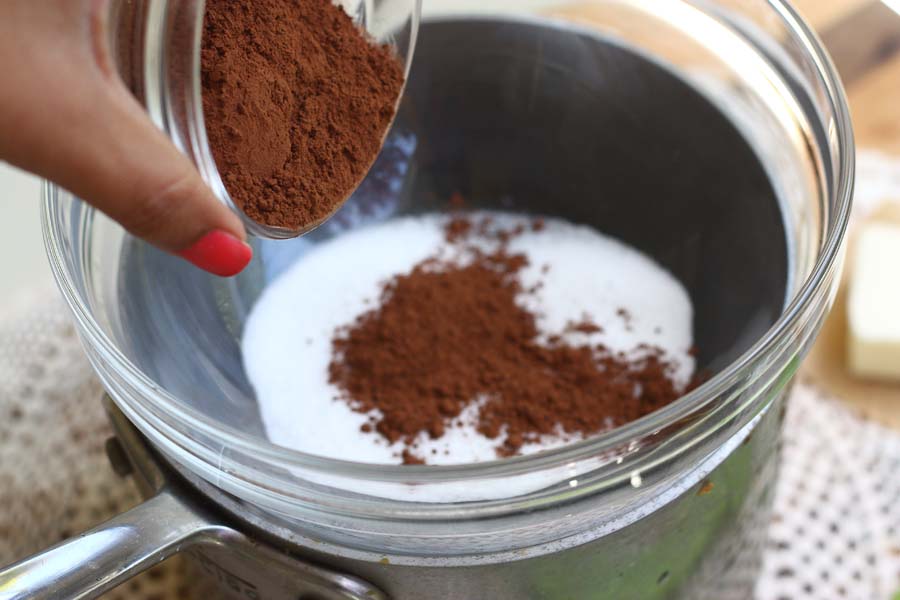
In a large bowl add the oats, flour and sugars. Make sure your oats are the old-fashioned kind and NOT quick oats, otherwise the oats will get mushy in the oven and not hold their shape.


Tasty Kitchen Blog: Strawberry White Chocolate Streusel Bars. Guest post by Laurie McNamara of Simply Scratch, recipe submitted by TK member Angela of Recipes from My Mom.

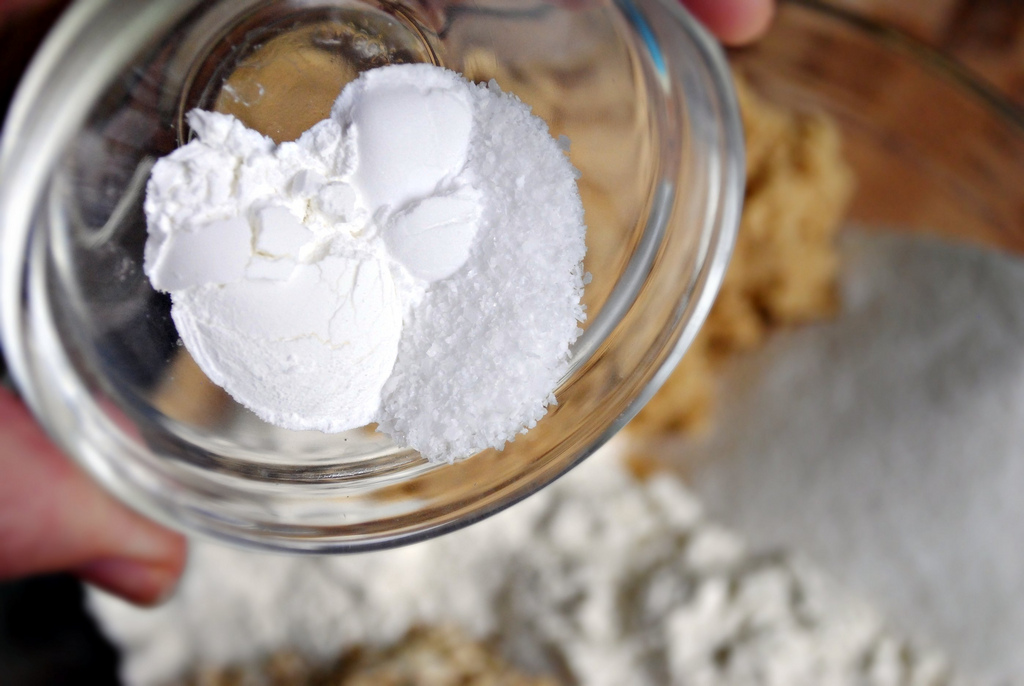
Add the baking soda, baking powder and salt to the bowl.


Tasty Kitchen Blog: Strawberry White Chocolate Streusel Bars. Guest post by Laurie McNamara of Simply Scratch, recipe submitted by TK member Angela of Recipes from My Mom.

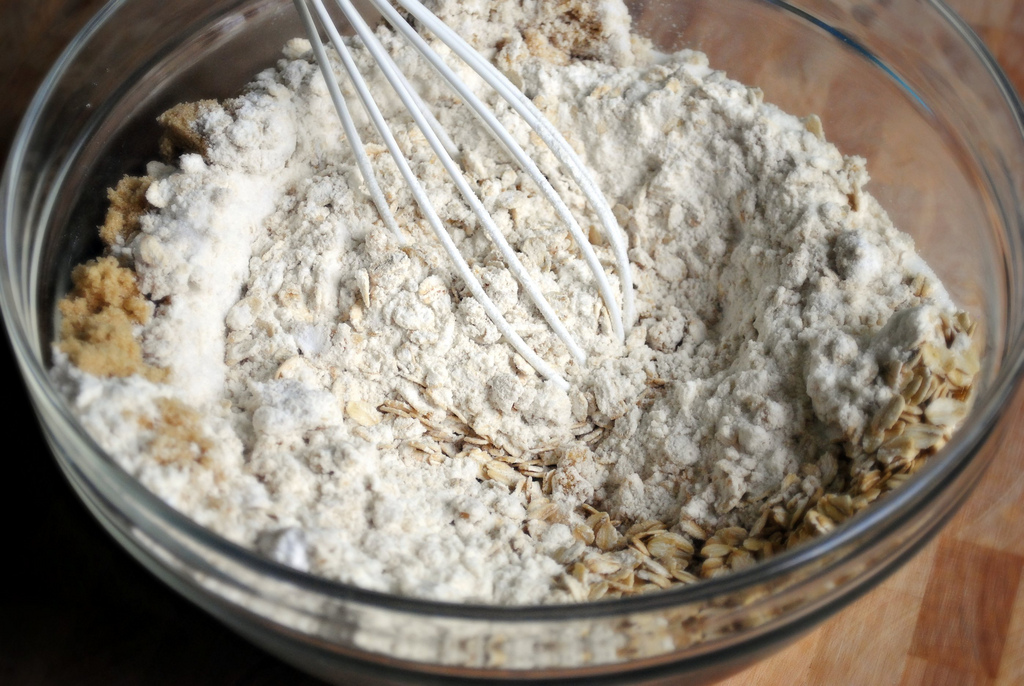
Whisk the dry ingredients until combined.


Tasty Kitchen Blog: Strawberry White Chocolate Streusel Bars. Guest post by Laurie McNamara of Simply Scratch, recipe submitted by TK member Angela of Recipes from My Mom.

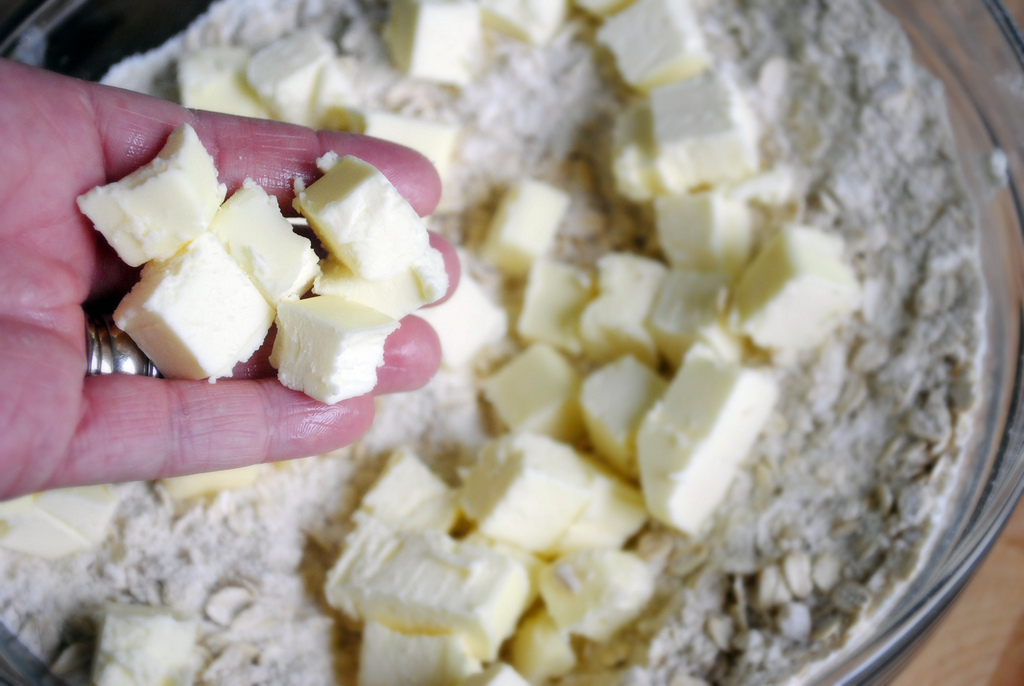
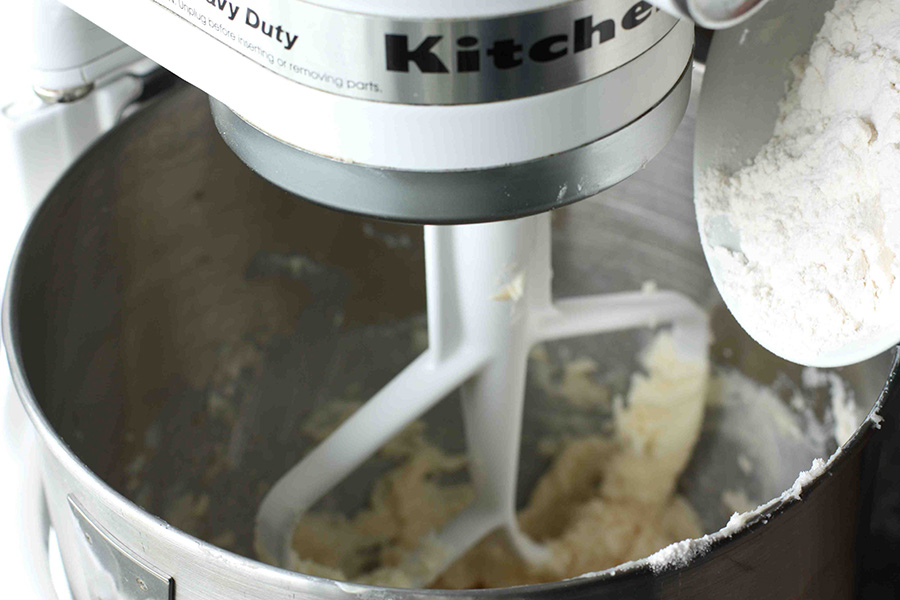
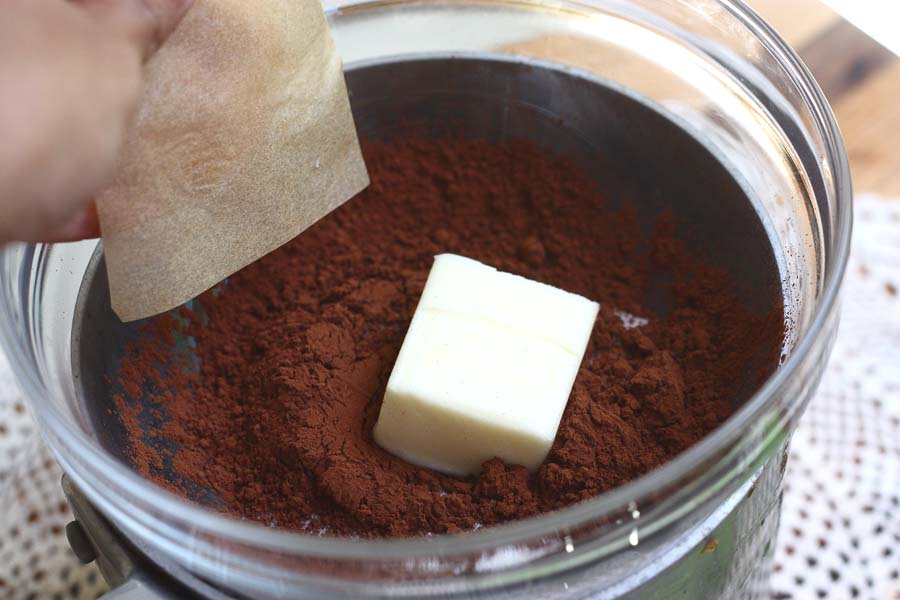
Cut the chilled butter into pieces and toss them into the bowl as well.


Tasty Kitchen Blog: Strawberry White Chocolate Streusel Bars. Guest post by Laurie McNamara of Simply Scratch, recipe submitted by TK member Angela of Recipes from My Mom.

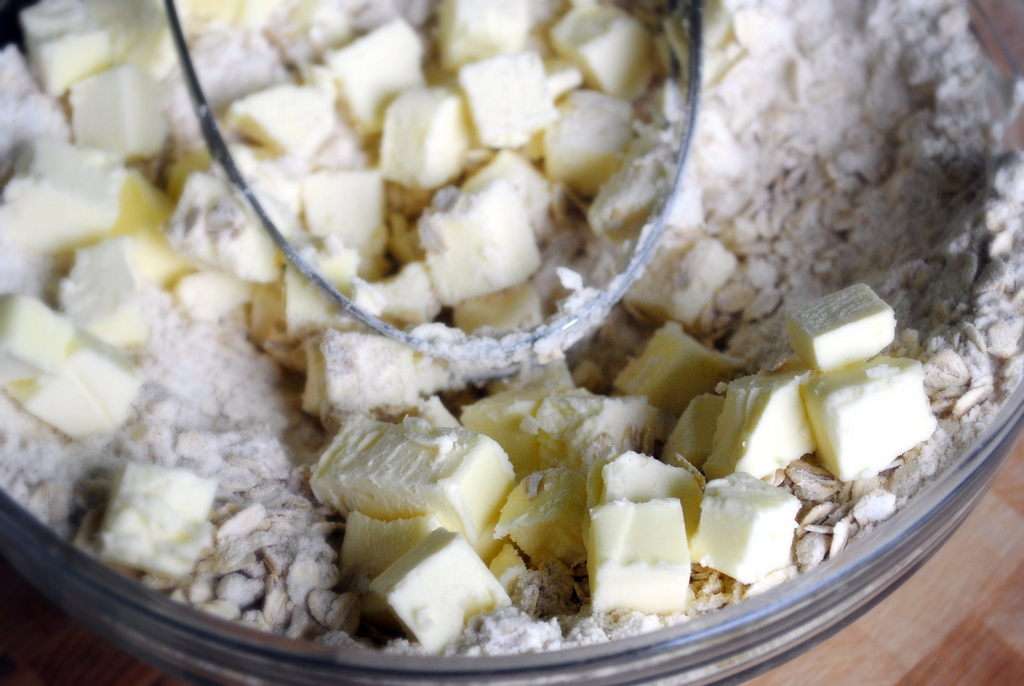
With a pastry cutter or your fingers, cut the butter into the flour and oat mixture. I used my free hand to scrape down the sides of the bowl to better incorporate all of the dry ingredients with the butter.


Tasty Kitchen Blog: Strawberry White Chocolate Streusel Bars. Guest post by Laurie McNamara of Simply Scratch, recipe submitted by TK member Angela of Recipes from My Mom.

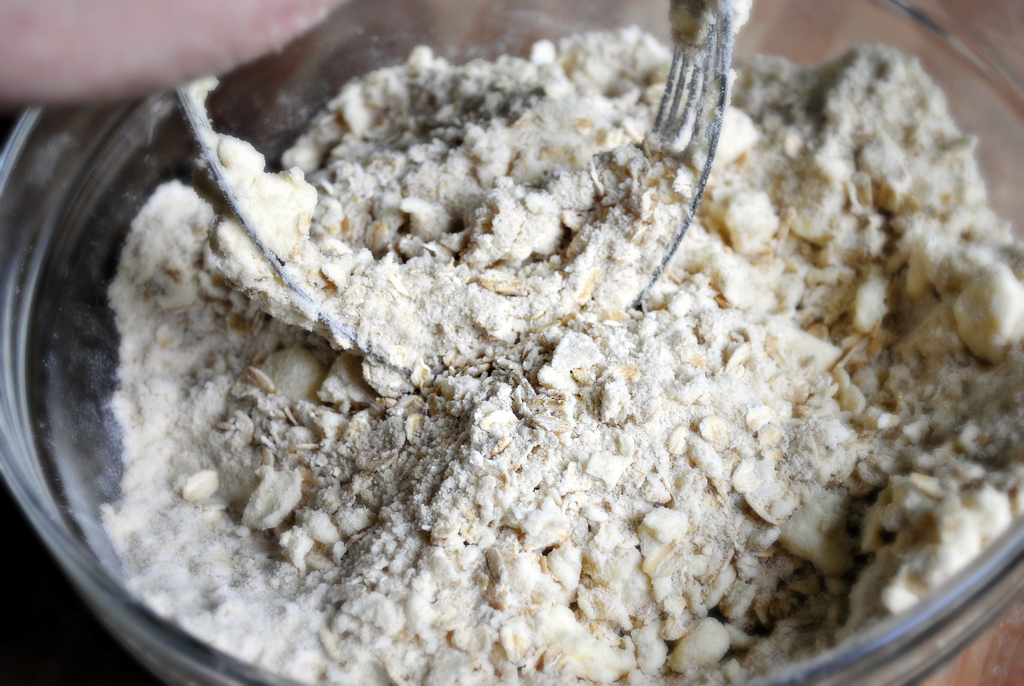
There are a few things that are certain when I’m cutting in butter. First, I will be flinging flour-coated butter crumbles everywhere and making somewhat of a mess. And the moment my arm becomes tired, I will want to throw in the towel because I’m starting to feel I can no longer do it. It’s just at this point that it becomes easier and starts coming together. So hang in there—you’re almost done!


Tasty Kitchen Blog: Strawberry White Chocolate Streusel Bars. Guest post by Laurie McNamara of Simply Scratch, recipe submitted by TK member Angela of Recipes from My Mom.

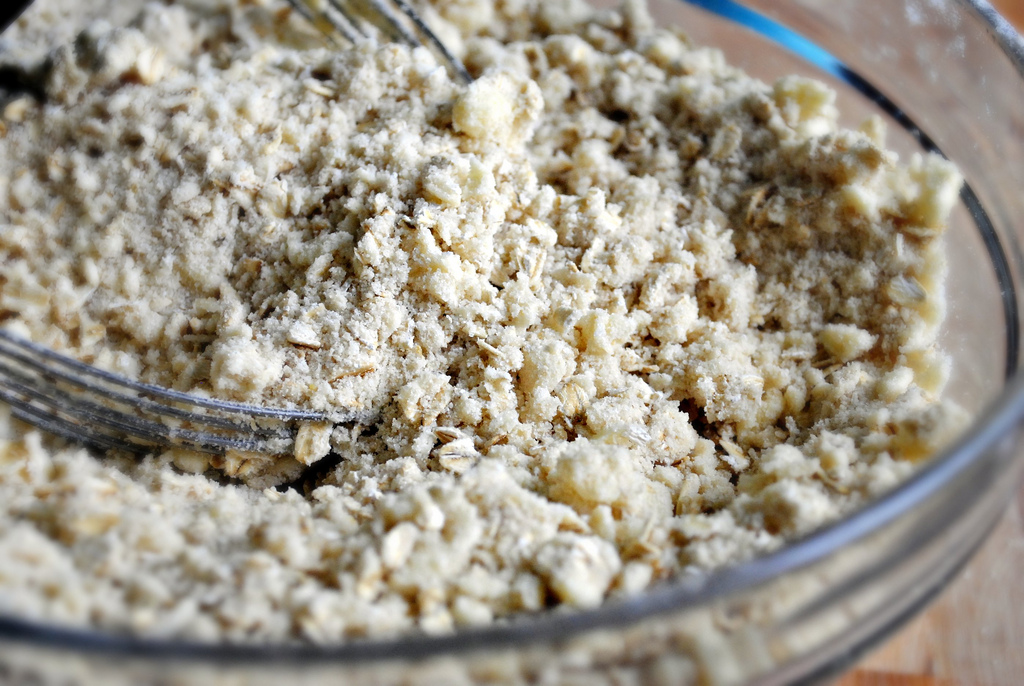
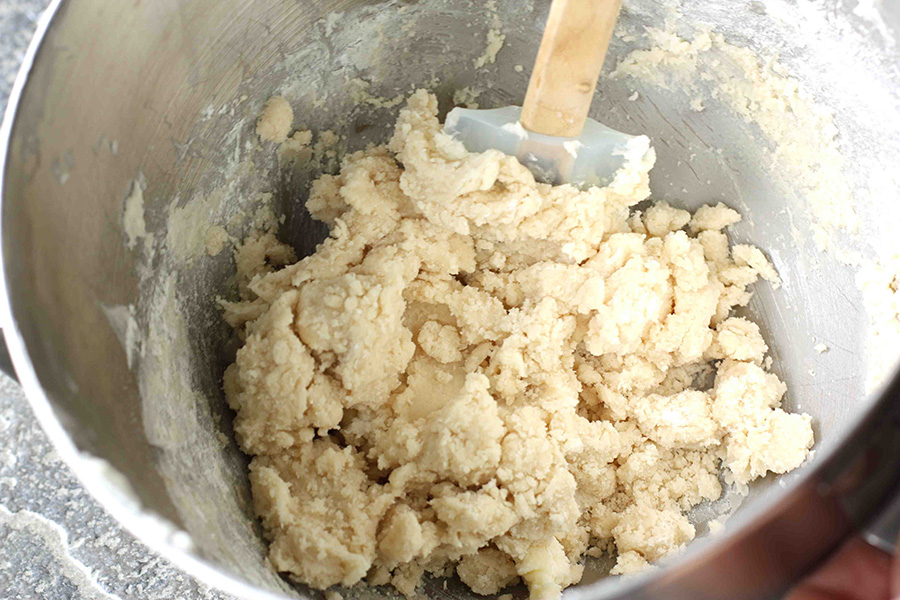
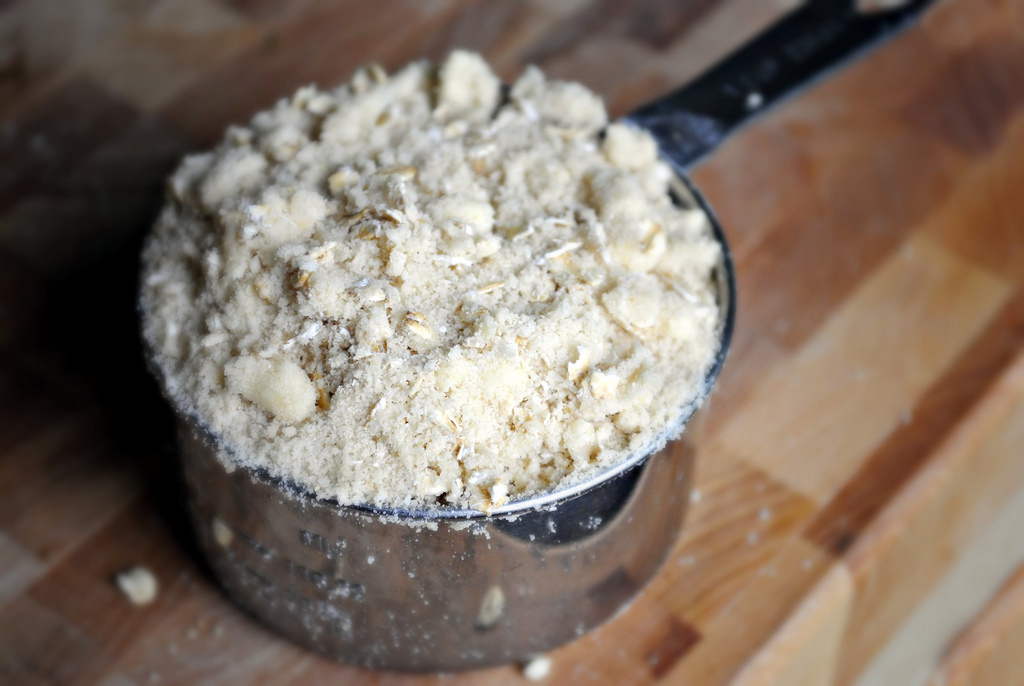
Stop once the crumbles are small and uniform, wipe your brow. Cutting in butter is no simple task!


Tasty Kitchen Blog: Strawberry White Chocolate Streusel Bars. Guest post by Laurie McNamara of Simply Scratch, recipe submitted by TK member Angela of Recipes from My Mom.

Be sure to reserve a cup of that crumble mixture and set it off to the side. You will need it later in this recipe.


Tasty Kitchen Blog: Strawberry White Chocolate Streusel Bars. Guest post by Laurie McNamara of Simply Scratch, recipe submitted by TK member Angela of Recipes from My Mom.

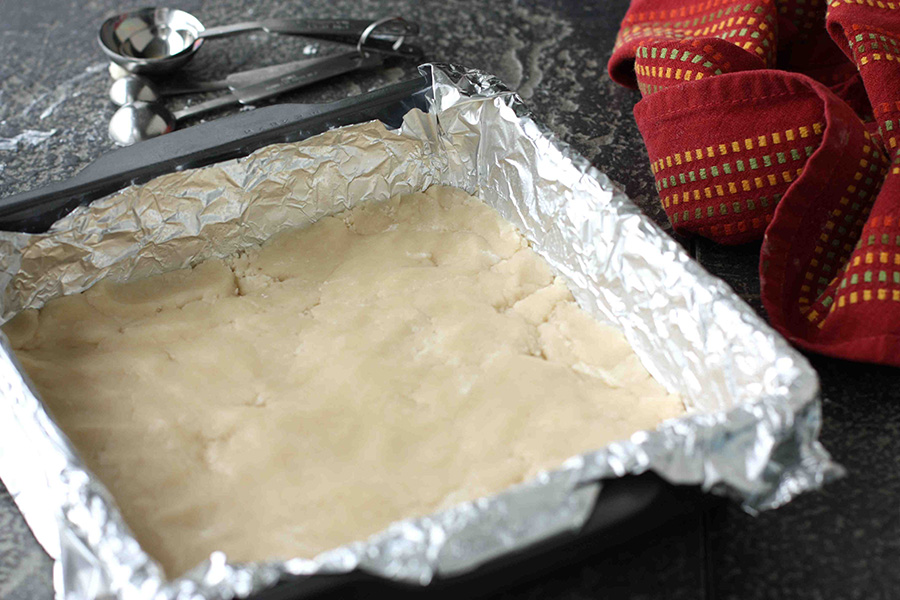
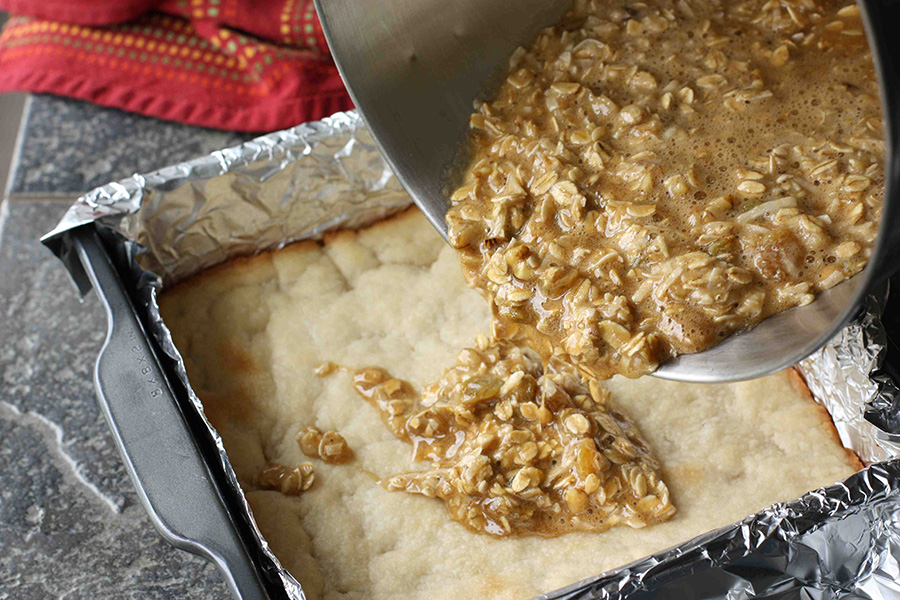
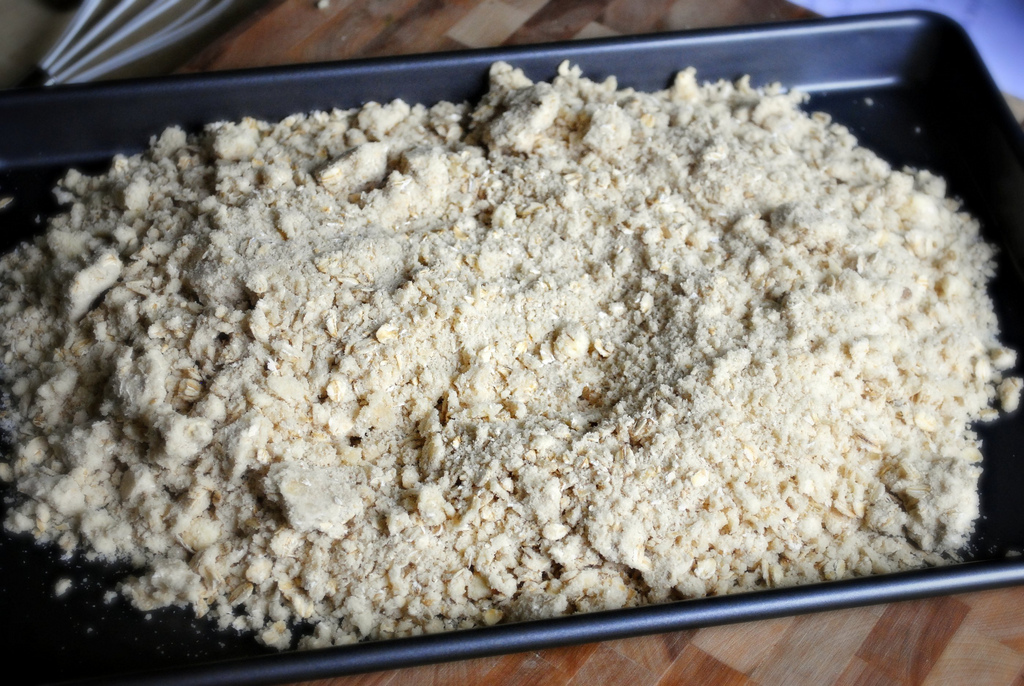
Pour the remaining crumble into an un-greased 10×15 jelly roll pan.


Tasty Kitchen Blog: Strawberry White Chocolate Streusel Bars. Guest post by Laurie McNamara of Simply Scratch, recipe submitted by TK member Angela of Recipes from My Mom.

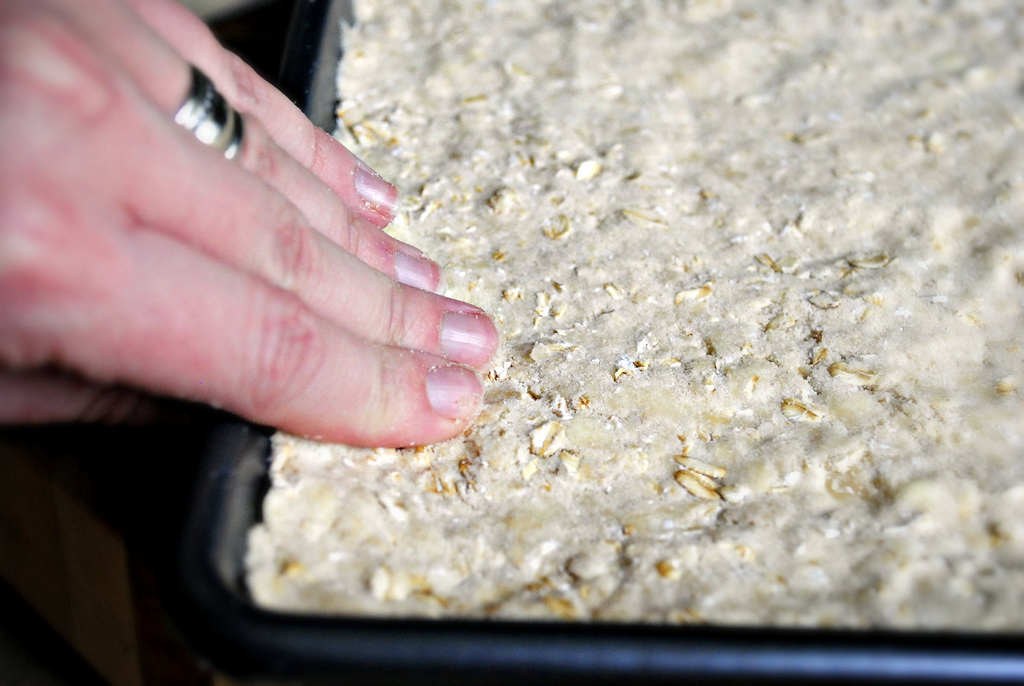
Press it down firmly with your fingers to form the crust and then place into a preheated 350ºF oven for 12–13 minutes. You’re not looking for it to brown; you just want it to firm up a little. 


Tasty Kitchen Blog: Strawberry White Chocolate Streusel Bars. Guest post by Laurie McNamara of Simply Scratch, recipe submitted by TK member Angela of Recipes from My Mom.

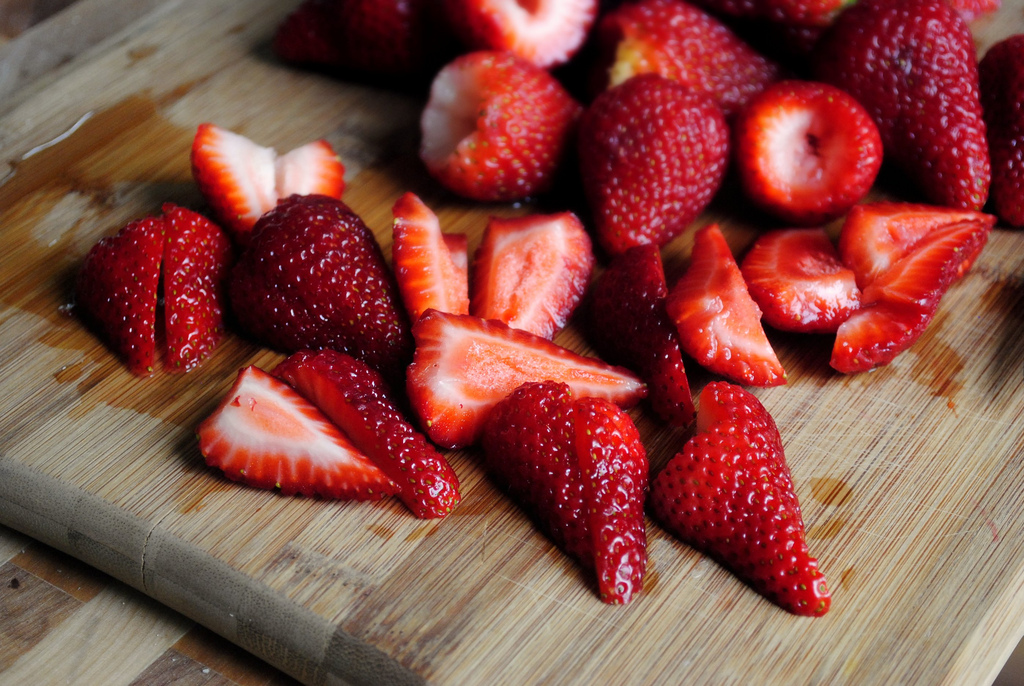
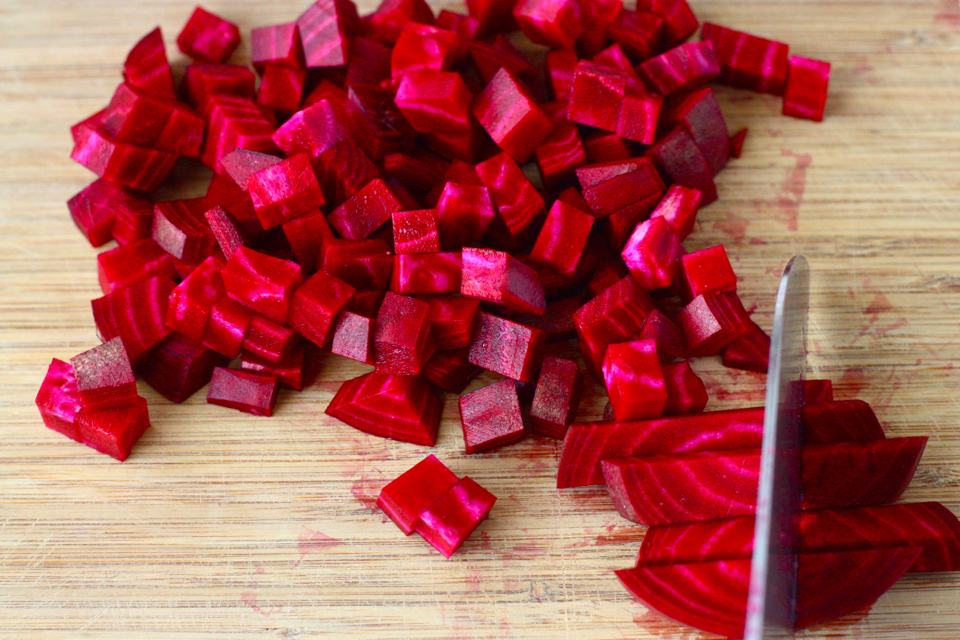
While the crust is baking, hull and quarter about a pound of strawberries. You’ll need about two heaping cups of quartered strawberries. 


Tasty Kitchen Blog: Strawberry White Chocolate Streusel Bars. Guest post by Laurie McNamara of Simply Scratch, recipe submitted by TK member Angela of Recipes from My Mom.

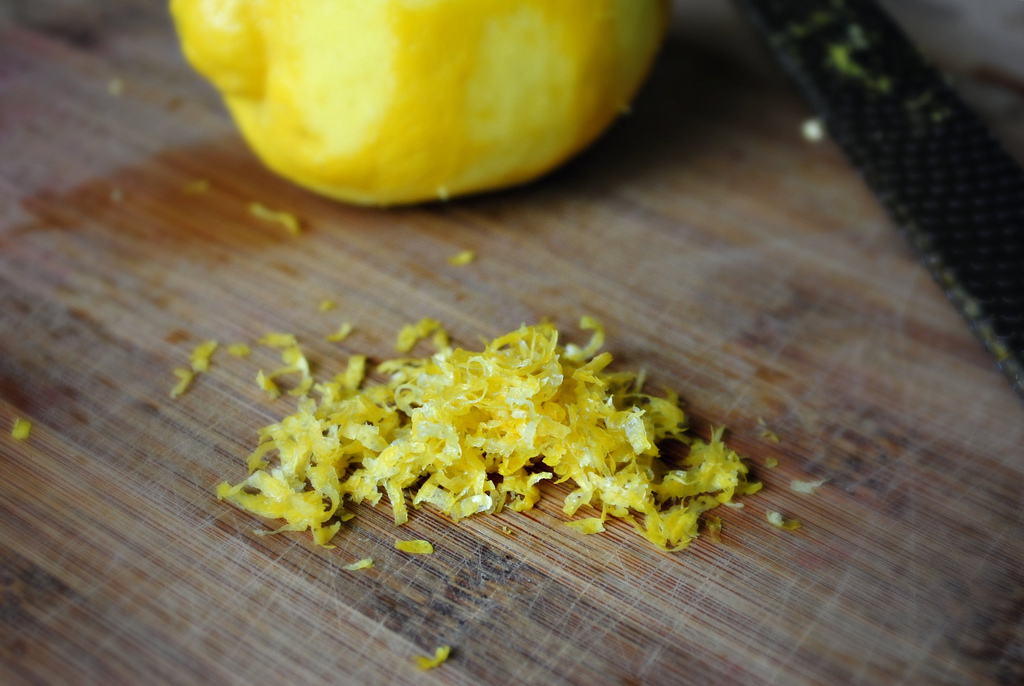
Then zest your lemon and measure out a teaspoon of the fragrant zest.


Tasty Kitchen Blog: Strawberry White Chocolate Streusel Bars. Guest post by Laurie McNamara of Simply Scratch, recipe submitted by TK member Angela of Recipes from My Mom.

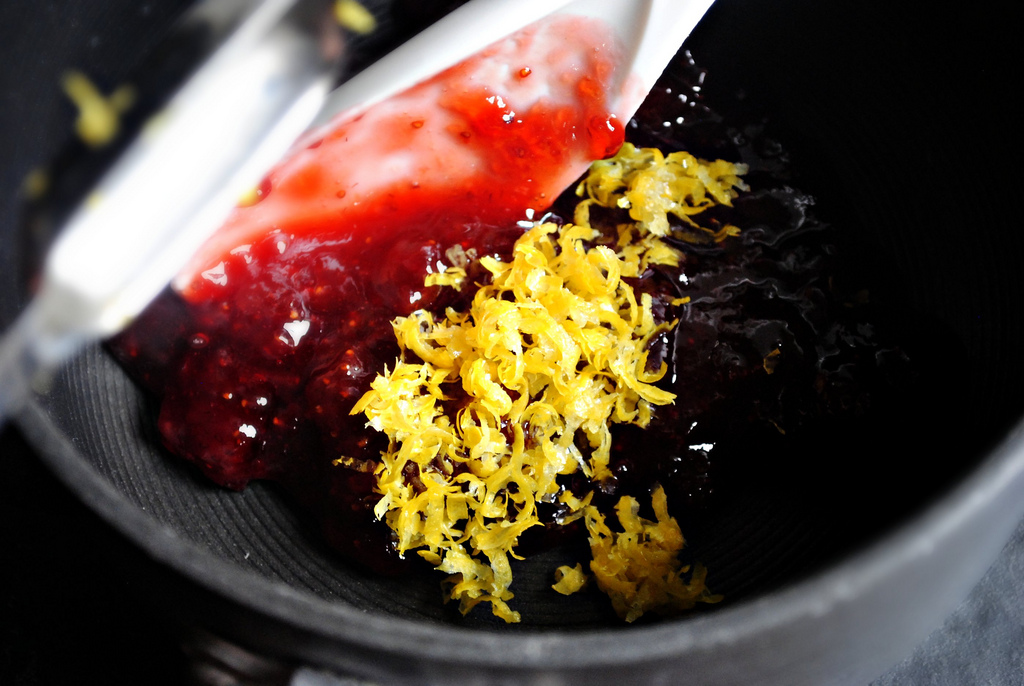
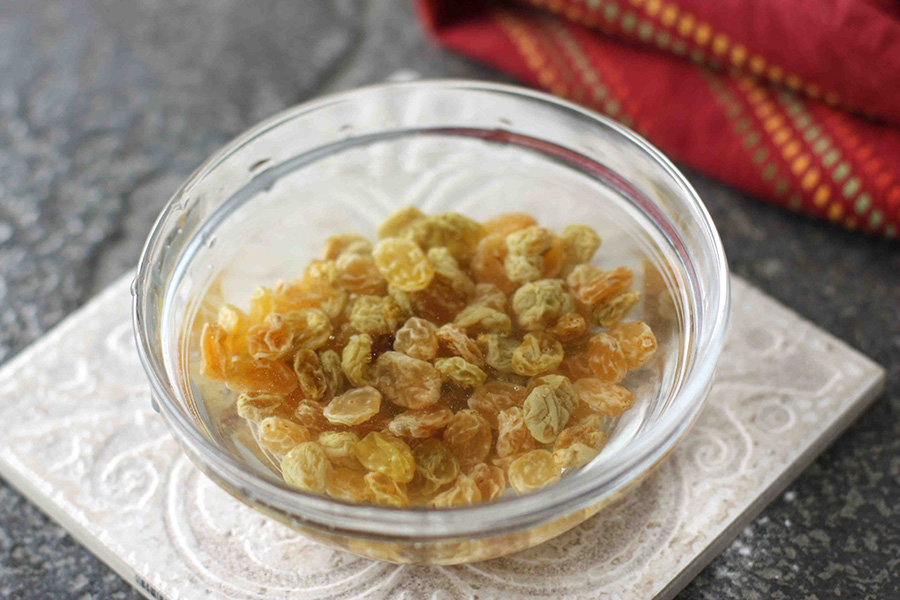
In a small sauce pan, heat a half cup of strawberry jam and the teaspoon of lemon zest over low heat until the jam is warm and spreadable. You could also warm the jam in the microwave for 30 seconds and then stir in the lemon zest, if you want fewer dirty dishes.


Tasty Kitchen Blog: Strawberry White Chocolate Streusel Bars. Guest post by Laurie McNamara of Simply Scratch, recipe submitted by TK member Angela of Recipes from My Mom.

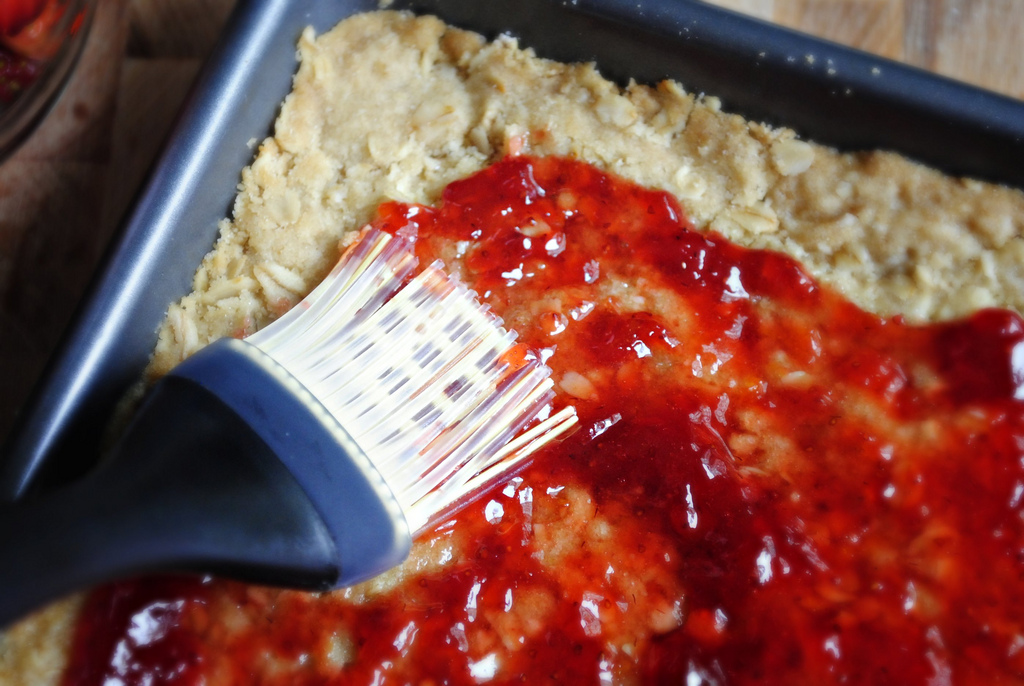
Drizzle and brush with a pastry brush or a rubber spatula to spread the jam all over the warm crust. (Note: The preserves I used were a bit chunkier and I found that I needed a little extra of it to cover my bars, so I added two more heaping tablespoonfuls.)


Tasty Kitchen Blog: Strawberry White Chocolate Streusel Bars. Guest post by Laurie McNamara of Simply Scratch, recipe submitted by TK member Angela of Recipes from My Mom.

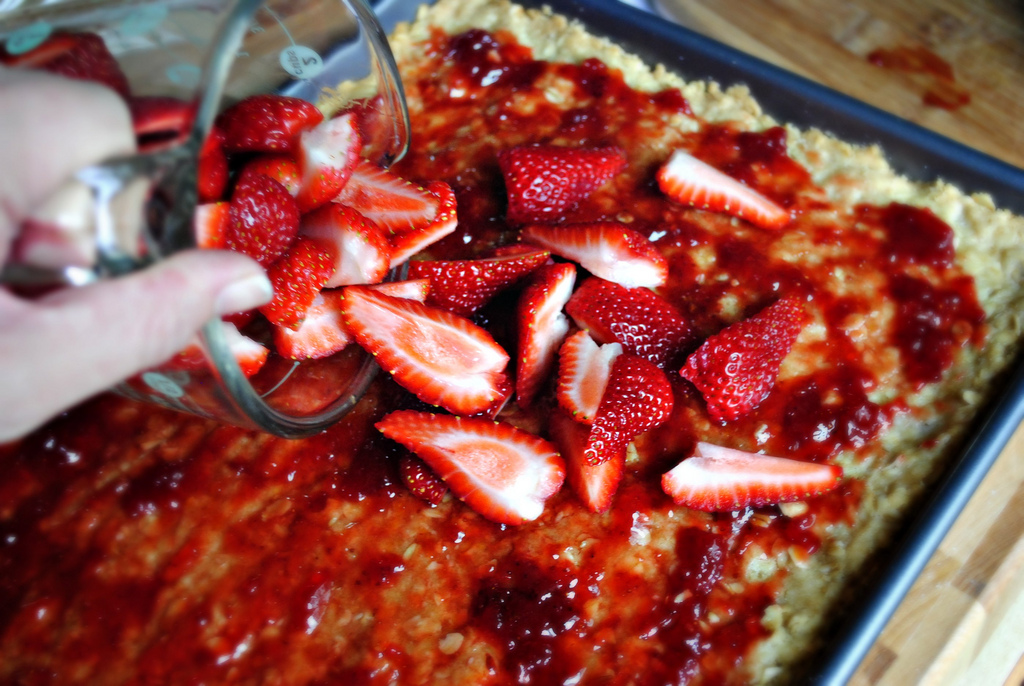
Then scatter the strawberries evenly on top of the jam.


Tasty Kitchen Blog: Strawberry White Chocolate Streusel Bars. Guest post by Laurie McNamara of Simply Scratch, recipe submitted by TK member Angela of Recipes from My Mom.

Sprinkle with the reserved cup of the crumb mixture, and then place the pan back into the oven for 20–25 more minutes or until the streusel topping is a light golden brown.


Tasty Kitchen Blog: Strawberry White Chocolate Streusel Bars. Guest post by Laurie McNamara of Simply Scratch, recipe submitted by TK member Angela of Recipes from My Mom.

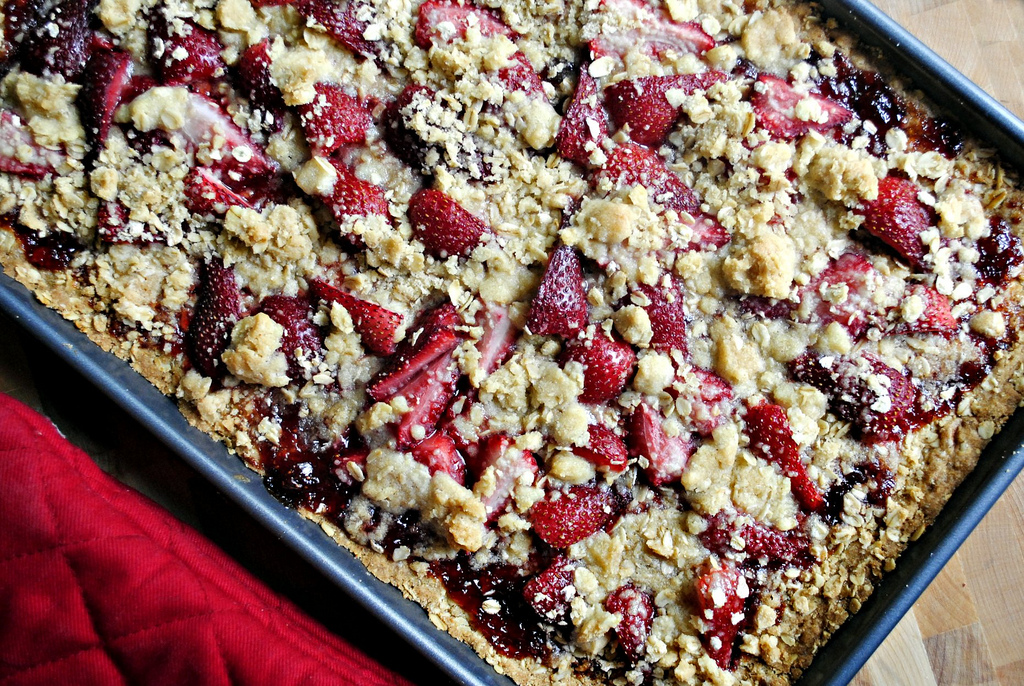
Once baked, your home should smell amazing, but you’ll have to let the pan cool for one whole agonizing hour.


Tasty Kitchen Blog: Strawberry White Chocolate Streusel Bars. Guest post by Laurie McNamara of Simply Scratch, recipe submitted by TK member Angela of Recipes from My Mom.

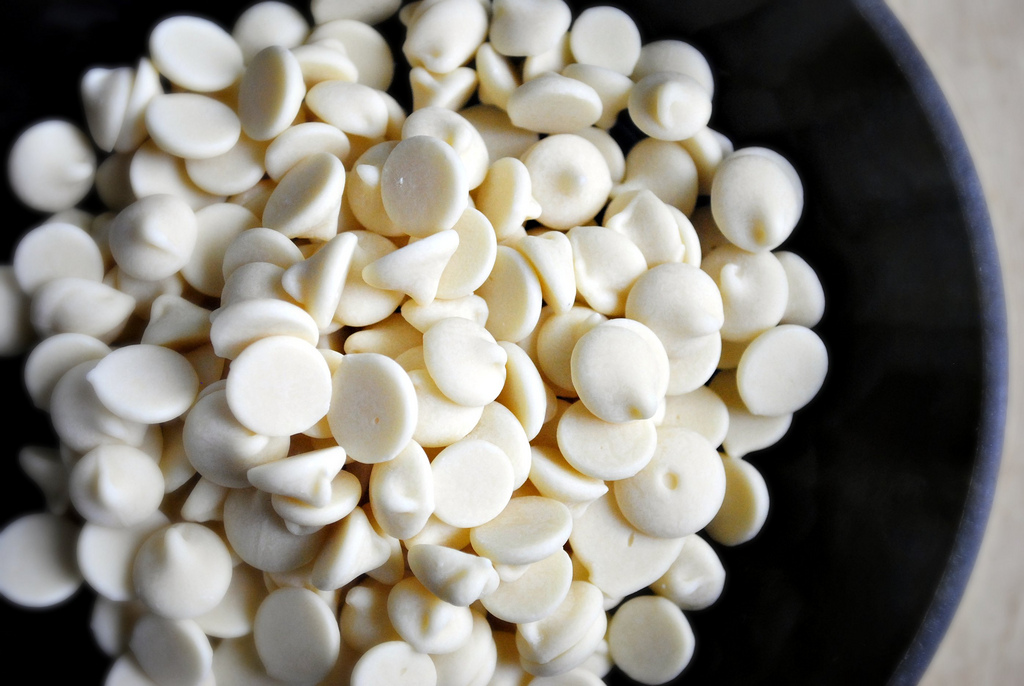
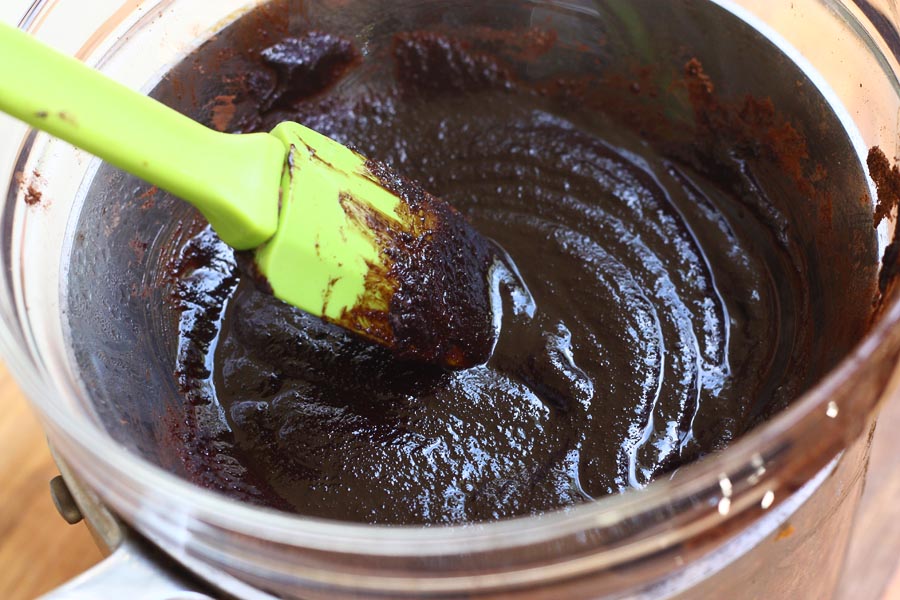
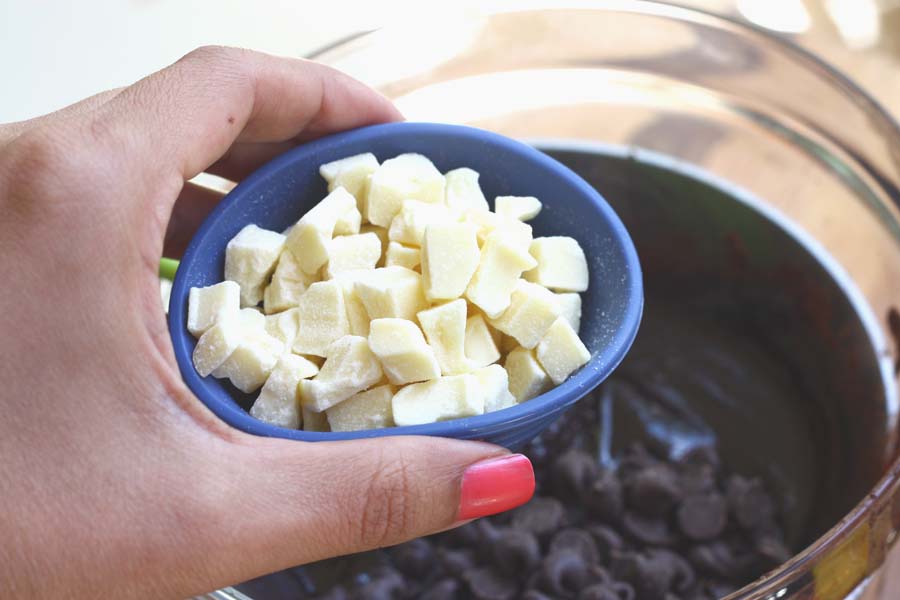
Once the strawberry bars are cooled, it’s time to prepare the white chocolate drizzle. Place the white chocolate into a glass bowl and set over a pot of simmering water. Gently stir until completely melted.

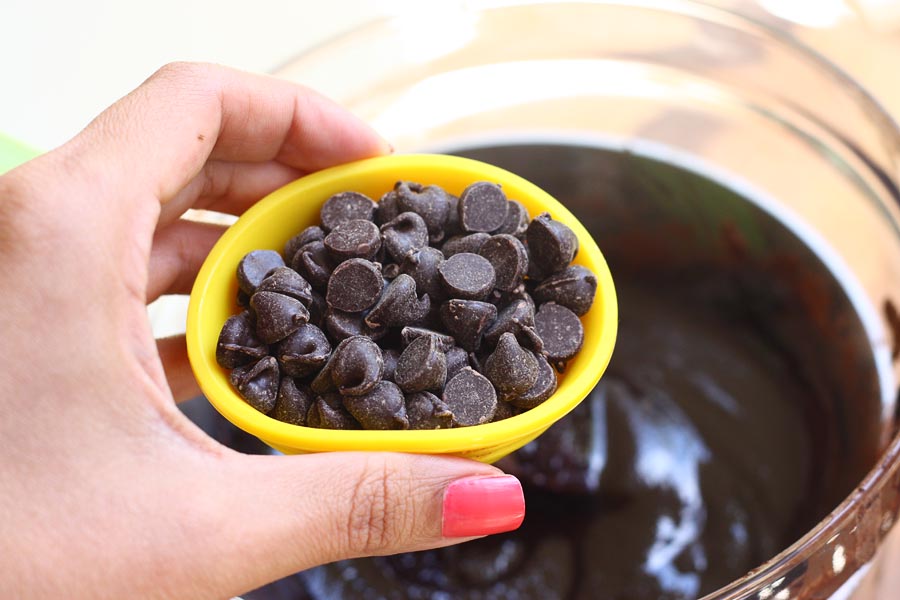
Angela’s recipe calls for 3 fluid ounces of white chocolate. I had whit chocolate chip on hand, so I used half a cup of that and added a tablespoon of coconut oil to the chips to thin it out a tad.


Tasty Kitchen Blog: Strawberry White Chocolate Streusel Bars. Guest post by Laurie McNamara of Simply Scratch, recipe submitted by TK member Angela of Recipes from My Mom.

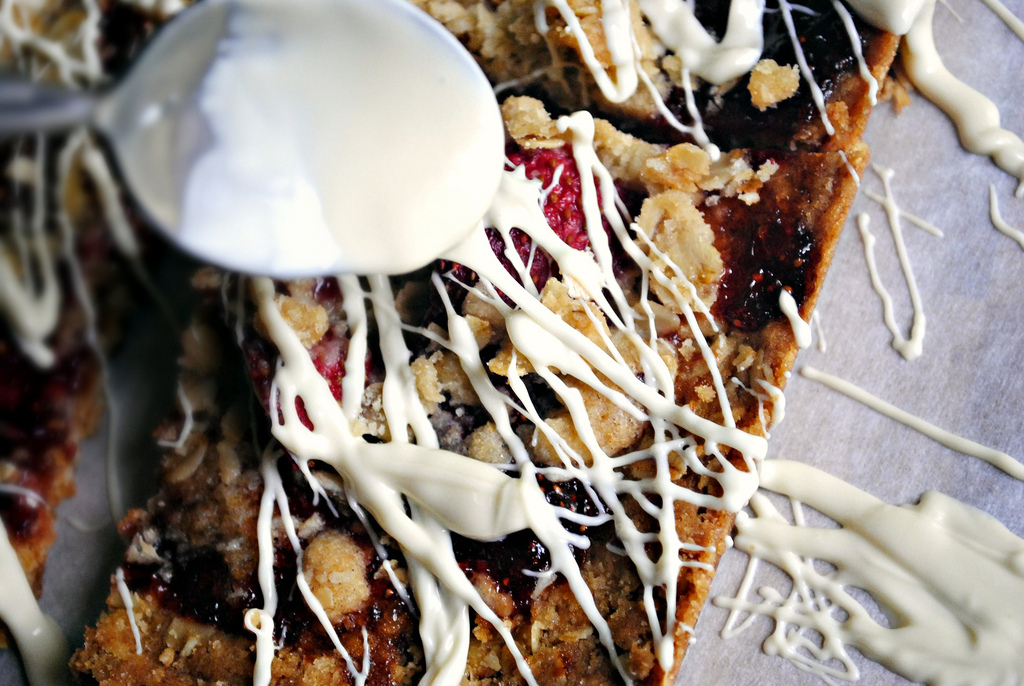
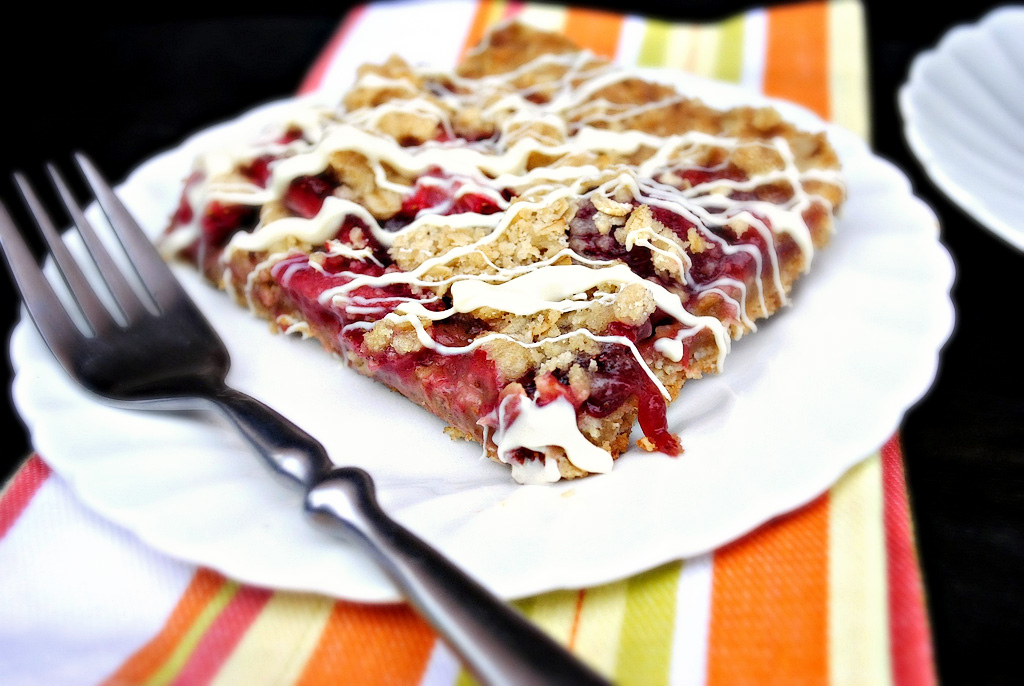
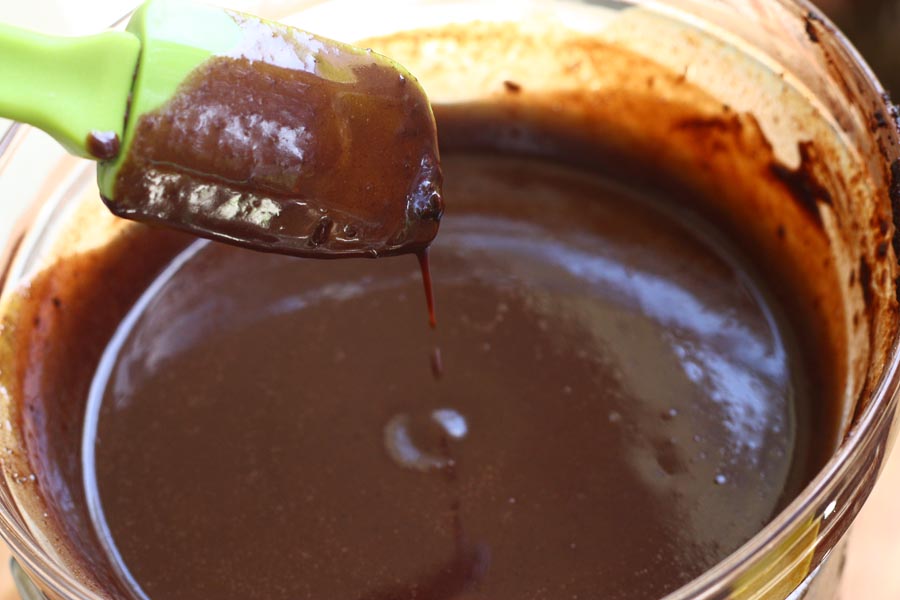
With a spoon, dip into the melted chocolate and drizzle across the tops of the bars. I cut my bars before drizzling, but you could also drizzle before cutting them. Whatever floats your boat!


Tasty Kitchen Blog: Strawberry White Chocolate Streusel Bars. Guest post by Laurie McNamara of Simply Scratch, recipe submitted by TK member Angela of Recipes from My Mom.

While the chocolate cools, maybe go brew some coffee or tea, or pour a tall glass of milk!


Tasty Kitchen Blog: Strawberry White Chocolate Streusel Bars. Guest post by Laurie McNamara of Simply Scratch, recipe submitted by TK member Angela of Recipes from My Mom.

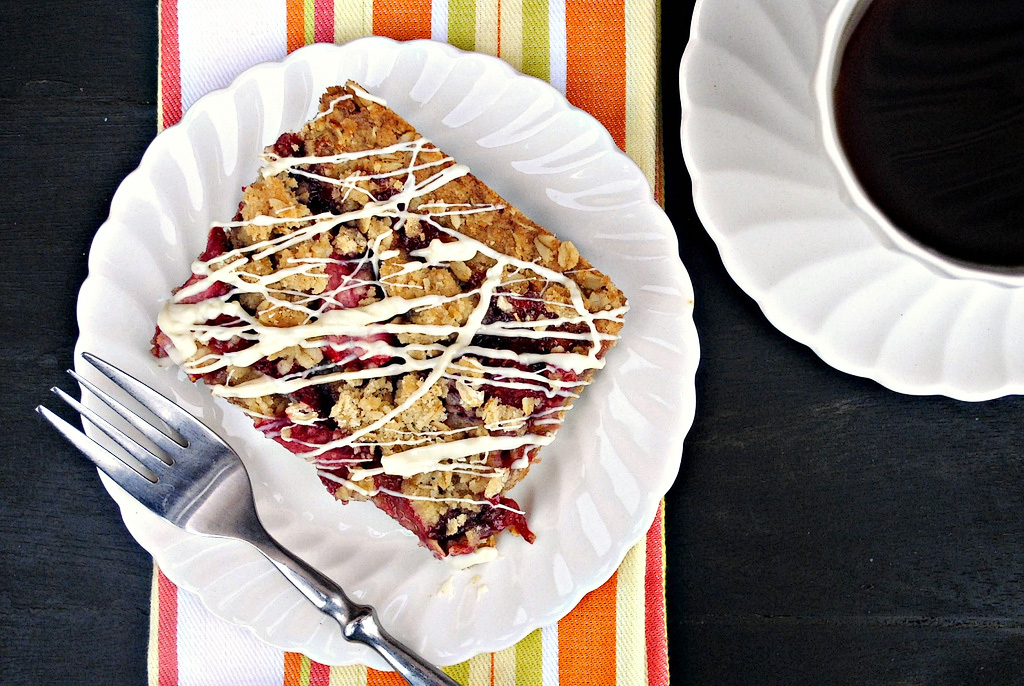
Curl up in your favorite spot to enjoy every delicious morsel.


Tasty Kitchen Blog: Strawberry White Chocolate Streusel Bars. Guest post by Laurie McNamara of Simply Scratch, recipe submitted by TK member Angela of Recipes from My Mom.

 
Thank you Angela for sharing this delicious and extremely fun-to-make recipe! My family and I truly enjoyed every piece right down to the last oatmeal crumble—a definite keeper!

Please be sure to visit Angela over at her blog, Recipes from My Mom, where she honors her mother’s memory with heartwarming stories and delicious mouth-watering recipes.


Printable Recipe

Strawberry White Chocolate Streusel Bars

See post on angpritch’s site!
5.00 Mitt(s) 6 Rating(s)6 votes, average: 5.00 out of 56 votes, average: 5.00 out of 56 votes, average: 5.00 out of 56 votes, average: 5.00 out of 56 votes, average: 5.00 out of 5

Prep Time:

Cook Time:

Difficulty: Easy

Servings: 36

36
x

Print Options

Page size Letter 3x5 4x6
Text Size Small Medium Large
Content Include description
Include prep time, etc.
Show image

Description

If a granola bar and strawberry shortcake had babies!

Ingredients

  • 2 cups Old Fashioned Oats
  • 1-½ cup All-purpose Flour
  • ¾ cups White Sugar
  • ¾ cups Brown Sugar
  • 1 teaspoon Baking Powder
  • ½ teaspoons Baking Soda
  • ½ teaspoons Salt
  • 1 cup Cold Butter, Cut Into Small Pieces
  • 4 ounces, fluid Strawberry Jam
  • 1 teaspoon Lemon Zest
  • 2 cups Strawberries, Chopped Or Sliced
  • 3 ounces, fluid White Chocolate

Preparation Instructions

1. Preheat oven to 350 degrees F. In a large mixing bowl, whisk together the oats, flour, both sugars, baking powder, baking soda and salt.
2. Add the chopped up cold butter and work it into the dry ingredients with your fingers or a pastry blender until the mixture looks like small crumbles. Reserve 1 cup of this mixture.
3. Dump the remaining crumb mixture into an ungreased 15” x 10” pan (jellyroll pan) and press it into an even crust.
4. Bake in 350 degree oven for 12-13 minutes or until it is firm to touch. Do not brown.
5. Remove pan from oven. Warm the jam in the microwave for 30 seconds and then stir in the lemon zest. Drizzle the warm jam over the warm crust. Spread the chopped strawberries over the crust. Sprinkle on the reserved cup of crumb mixture.
6. Return pan to 350 degree F oven and bake for another 20-25 minutes or until the crumbs on top are lightly browned. Then remove it from the oven and let the pan cool for 1 hour.
7. Melt the white chocolate in microwave, following directions on package. Drizzle melted chocolate in thin lines over the streusel top. Cut into bars.


_______________________________________

Laurie is the food blogger behind Simply Scratch, a blog that documents her efforts to find and create recipes that are made simply from scratch. (We think it’s sweet that her mother-in-law helped her set up her blog and get started.) We love her recipes; they’re not just tried and true, but they look gorgeous as well. Check out her blog and you’ll become a fan too.


Profile photo of A Cozy Kitchen

Frozen Hot Chocolate!

Posted by in Step-by-Step Recipes

Tasty Kitchen Blog: Frozen Hot Chocolate. Guest post by Adrianna Adarme of A Cozy Kitchen, recipe submitted by TK member Cindi (wehearawho) of Mama Foodie.

Today’s post is from Adrianne and Caroline of A Cozy Kitchen. Their blog is so full of mouthwatering recipes and beautiful photographs, you could spend hours in there trying to figure out what to try first. They picked the perfect warm weather treat to share with us today: Frozen Hot Chocolate Milkshake from TK member MamaFoodie. Take it away, gals!

_______________________________________


Like every other human on planet earth, I, too love a good milkshake. With the summer swiftly approaching, I’ve been on the lookout for a new one to whip up on those hot, sweaty days LA is known for. That’s why when I saw this Frozen Hot Chocolate Milkshake by Tasty Kitchen member MamaFoodie, I knew I’d found my ticket to milkshake heaven. In her blog, Mama Foodie explains that this shake was inspired by the Frozen Hot Chocolate served at a famous NY eatery, Serendipity. I haven’t had the chance to try the original, but if it’s anything like this recipe, then their long lines and extensive history make complete sense.

Most milkshakes involve just a few ingredients thrown together in a blender; admittedly, this involves a few extra steps. Trust me when I say it’s absolutely worth it.

Grab your blender. Let’s get our milkshake on!

Here’s the play-by-play:


Tasty Kitchen Blog: Frozen Hot Chocolate. Guest post by Adrianna Adarme of A Cozy Kitchen, recipe submitted by TK member Cindi (wehearawho) of Mama Foodie.

You’ll need to get some ingredients together, most of which you probably already have in your pantry/freezer. The players are: ice, butter, sugar, semi-sweet chocolate chips, hot chocolate mix (or in my case, Dutch processed cocoa powder), evaporated milk and white chocolate chips.


Tasty Kitchen Blog: Frozen Hot Chocolate. Guest post by Adrianna Adarme of A Cozy Kitchen, recipe submitted by TK member Cindi (wehearawho) of Mama Foodie.

In a double boiler (or a bowl set over a pot with simmering water), add the sugar, hot chocolate mix…


Tasty Kitchen Blog: Frozen Hot Chocolate. Guest post by Adrianna Adarme of A Cozy Kitchen, recipe submitted by TK member Cindi (wehearawho) of Mama Foodie.

And butter. Place over medium heat and mix until combined.


Tasty Kitchen Blog: Frozen Hot Chocolate. Guest post by Adrianna Adarme of A Cozy Kitchen, recipe submitted by TK member Cindi (wehearawho) of Mama Foodie.

It’ll become a thick chocolate, buttery paste. Try not to eat it.


Tasty Kitchen Blog: Frozen Hot Chocolate. Guest post by Adrianna Adarme of A Cozy Kitchen, recipe submitted by TK member Cindi (wehearawho) of Mama Foodie.

Next add the semi-sweet chocolate chips.


Tasty Kitchen Blog: Frozen Hot Chocolate. Guest post by Adrianna Adarme of A Cozy Kitchen, recipe submitted by TK member Cindi (wehearawho) of Mama Foodie.

And the white chocolate chips and mix over medium-low heat until they’re melted.


Tasty Kitchen Blog: Frozen Hot Chocolate. Guest post by Adrianna Adarme of A Cozy Kitchen, recipe submitted by TK member Cindi (wehearawho) of Mama Foodie.

At this point, the mixture will be super thick. Take the pan off of the heat and pour in 1/2 cup of evaporated milk and mix well. The rest of the can will be used in a bit, so keep it close by.


Tasty Kitchen Blog: Frozen Hot Chocolate. Guest post by Adrianna Adarme of A Cozy Kitchen, recipe submitted by TK member Cindi (wehearawho) of Mama Foodie.

To avoid a watery milkshake, you want to bring the mixture to room temperature. This is the perfect time to wash some dishes, curl your hair or put on some eyeliner.


Tasty Kitchen Blog: Frozen Hot Chocolate. Guest post by Adrianna Adarme of A Cozy Kitchen, recipe submitted by TK member Cindi (wehearawho) of Mama Foodie.

Or better yet, make some homemade whipped cream and grab a few handfuls of marshmallows. Set them aside.


Tasty Kitchen Blog: Frozen Hot Chocolate. Guest post by Adrianna Adarme of A Cozy Kitchen, recipe submitted by TK member Cindi (wehearawho) of Mama Foodie.

When the mixture is cooled down, grab your blender. When you get to this step, get excited. This means that you’ll be sipping on a milkshake in under 5 minutes.

Add the ice cubes.


Tasty Kitchen Blog: Frozen Hot Chocolate. Guest post by Adrianna Adarme of A Cozy Kitchen, recipe submitted by TK member Cindi (wehearawho) of Mama Foodie.

Next, pour in the remaining evaporated milk.


Tasty Kitchen Blog: Frozen Hot Chocolate. Guest post by Adrianna Adarme of A Cozy Kitchen, recipe submitted by TK member Cindi (wehearawho) of Mama Foodie.

And then add the chocolate mixture. Good heavens!


Tasty Kitchen Blog: Frozen Hot Chocolate. Guest post by Adrianna Adarme of A Cozy Kitchen, recipe submitted by TK member Cindi (wehearawho) of Mama Foodie.

Blend everything together for a minute or so. When you take off the top you’ll be met with this chocolate, icy deliciousness!


Tasty Kitchen Blog: Frozen Hot Chocolate. Guest post by Adrianna Adarme of A Cozy Kitchen, recipe submitted by TK member Cindi (wehearawho) of Mama Foodie.“>

Take a few glasses and fill them up! Top with the whipped cream.


Tasty Kitchen Blog: Frozen Hot Chocolate. Guest post by Adrianna Adarme of A Cozy Kitchen, recipe submitted by TK member Cindi (wehearawho) of Mama Foodie.

And sprinkle some marshmallows on top. Now if you’re feeling really crazy, grab your torch and toast those suckers.


Tasty Kitchen Blog: Frozen Hot Chocolate. Guest post by Adrianna Adarme of A Cozy Kitchen, recipe submitted by TK member Cindi (wehearawho) of Mama Foodie.

It doesn’t get more delicious than toasted marshmallows over light whipped cream with a frozen chocolate milkshake underneath.


Tasty Kitchen Blog: Frozen Hot Chocolate. Guest post by Adrianna Adarme of A Cozy Kitchen, recipe submitted by TK member Cindi (wehearawho) of Mama Foodie.

As I sat sipping on this chocolate sexiness, I tried to think of ways to improve on it, or provide you all with alternatives, but really there was no use. This recipe is pretty much perfect!

Thanks to Cindi for this yummy recipe! Be sure to check out her blog Mama Foodie for even more deliciousness.


Printable Recipe

Frozen Hot Chocolate

See post on MamaFoodie’s site!
4.85 Mitt(s) 14 Rating(s)14 votes, average: 4.85 out of 514 votes, average: 4.85 out of 514 votes, average: 4.85 out of 514 votes, average: 4.85 out of 514 votes, average: 4.85 out of 5

Prep Time:

Cook Time:

Difficulty: Easy

Servings: 4

4
x

Print Options

Page size Letter 3x5 4x6
Text Size Small Medium Large
Content Include description
Include prep time, etc.
Show image

Description

My take on the famous treat from a NYC restaurant. Hot chocolate flavor served up icy cold!

Ingredients

  • 3 Tablespoons Granulated Sugar
  • 1 package Hot Cocoa Mix (about 3 Tablespoons)
  • 2 Tablespoons Unsalted Butter
  • ⅓ cups Semi-Sweet Chocolate Chips
  • ⅓ cups White Chocolate Chips
  • 12 ounces, fluid Can Evaporated Milk, Divided
  • 4-½ cups Ice
  • Whipped Cream, To Taste
  • Mini Marshmallows, To Taste

Preparation Instructions

Combine sugar, cocoa mix, and butter in the top of a double boiler that is set over gently boiling water. Stir often until melted and a smooth paste forms. Add semi-sweet & white chocolate chips; stir. When chips begin to melt, slowly stir in 1/2 cup of evaporated milk. Stir until smooth. Cool to room temperature.

Combine the chocolate base mixture, the remaining evaporated milk and ice in a blender (you can do this in batches) and cover. Blend until smooth. Pour into frosty glasses. Top each with whipped cream. Sprinkle with additional chopped chocolate chips & mini marshmallows, if desired.


_______________________________________

Adrianna and Caroline are the lovely ladies behind the scrumptious blog A Cozy Kitchen. It’s filled with all kinds of mouthwatering recipes and gorgeous photography. Whether you’re in the mood for something vegetarian or meaty, fancy or pure comfort, light or decadent, there’s sure to be something there for everyone.


Profile photo of EatLiveRun

Beet Risotto with Goat Cheese

Posted by in Step-by-Step Recipes

Tasty Kitchen Blog: Beet Risotto with Goat Cheese. Guest post by Jenna Weber of Eat, Live, Run; recipe submitted by TK member Amanda of Once Upon a Recipe.

Hi, my names Jenna and I love beets. Like, I really love beets. When I was little, I remember going to visit my grandma and she would boil beets for me then sprinkle them with sugar for an afternoon treat. I must have been one of the only six-year-olds that actually asked for beets. Then, I grew up and discovered beet and goat cheese salads. Beets and soft, creamy goat cheese? A match made in heaven. That’s why, when I saw Tasty Kitchen member Amanda’s recipe for Beet Risotto with Goat Cheese (adapted from Bon Appetit), I knew I had to make it as soon as humanely possible.

The end result was absolutely fantastic! Imagine super creamy, jewel-colored risotto studded with beets and big chunks of melting goat cheese. I think the day I made it, I ate a bowl for lunch and dinner. I just couldn’t get enough—and neither will you!

 
Tasty Kitchen Blog: Beet Risotto with Goat Cheese. Guest post by Jenna Weber of Eat, Live, Run; recipe submitted by TK member Amanda of Once Upon a Recipe.

Amanda doesn’t specify if you can use canned beets for this (I’m sure you can), but since beets are in season right now anyway, I grabbed two bushy ones from the produce section of my local grocery store.


Tasty Kitchen Blog: Beet Risotto with Goat Cheese. Guest post by Jenna Weber of Eat, Live, Run; recipe submitted by TK member Amanda of Once Upon a Recipe.

So, first things first: dice your beets. I didn’t peel these—I just scrubbed them under cold water.


Tasty Kitchen Blog: Beet Risotto with Goat Cheese. Guest post by Jenna Weber of Eat, Live, Run; recipe submitted by TK member Amanda of Once Upon a Recipe.

Look ma! Red hands!


Tasty Kitchen Blog: Beet Risotto with Goat Cheese. Guest post by Jenna Weber of Eat, Live, Run; recipe submitted by TK member Amanda of Once Upon a Recipe.

Next, melt four tablespoons of butter in a heavy-bottomed pot.


Tasty Kitchen Blog: Beet Risotto with Goat Cheese. Guest post by Jenna Weber of Eat, Live, Run; recipe submitted by TK member Amanda of Once Upon a Recipe.

Then, add your diced beets and onion.


Tasty Kitchen Blog: Beet Risotto with Goat Cheese. Guest post by Jenna Weber of Eat, Live, Run; recipe submitted by TK member Amanda of Once Upon a Recipe.

Sauté for about eight minutes, until both beets and onions are tender.


Tasty Kitchen Blog: Beet Risotto with Goat Cheese. Guest post by Jenna Weber of Eat, Live, Run; recipe submitted by TK member Amanda of Once Upon a Recipe.

Add your arborio rice (risotto rice!). You can find arborio rice in the rice section of your local store. It’s super yummy and creamy!


Tasty Kitchen Blog: Beet Risotto with Goat Cheese. Guest post by Jenna Weber of Eat, Live, Run; recipe submitted by TK member Amanda of Once Upon a Recipe.

Pour in three cups of chicken stock. In most traditional risotto recipes, you’ll gradually add the hot stock over a period of about 45 minutes, but in this recipe you just add it all at once … and it works! How awesome and easy is that?


Tasty Kitchen Blog: Beet Risotto with Goat Cheese. Guest post by Jenna Weber of Eat, Live, Run; recipe submitted by TK member Amanda of Once Upon a Recipe.

Finally, drizzle in a little balsamic vinegar.


Tasty Kitchen Blog: Beet Risotto with Goat Cheese. Guest post by Jenna Weber of Eat, Live, Run; recipe submitted by TK member Amanda of Once Upon a Recipe.

Bring risotto to a boil then cover, reduce heat and simmer for about 15 minutes. You’ll want to stir this occasionally. The risotto is done when the rice has soaked up all the stock.


Tasty Kitchen Blog: Beet Risotto with Goat Cheese. Guest post by Jenna Weber of Eat, Live, Run; recipe submitted by TK member Amanda of Once Upon a Recipe.

Season with salt and pepper and add the goat cheese—the best part!

Just look at those huge melting chunks of cheese. Are you drooling yet?


Tasty Kitchen Blog: Beet Risotto with Goat Cheese. Guest post by Jenna Weber of Eat, Live, Run; recipe submitted by TK member Amanda of Once Upon a Recipe.

This would be the perfect side dish to a roast chicken (I especially love TK member Nicole’s Best Roast Chicken. Period.). It’s creamy, hearty and delicious! A big thank you to Amanda for providing such an easy recipe. Visit her blog Once Upon a Recipe for more of her creations!


Printable Recipe

Beet Risotto with Goat Cheese

See post on Amanda (onceuponarecipe)’s site!
4.87 Mitt(s) 8 Rating(s)8 votes, average: 4.87 out of 58 votes, average: 4.87 out of 58 votes, average: 4.87 out of 58 votes, average: 4.87 out of 58 votes, average: 4.87 out of 5

Prep Time:

Cook Time:

Difficulty: Easy

Servings: 6

6
x

Print Options

Page size Letter 3x5 4x6
Text Size Small Medium Large
Content Include description
Include prep time, etc.
Show image

Description

Creamy beet risotto topped with goat cheese makes for a delicious and gourmet accompaniment to a meal!

Ingredients

  • ¼ cups Butter
  • 2 whole Beets, Chopped Small
  • 1 whole Onion, Chopped Small
  • 1 cup Arborio Rice
  • 3 cups Stock (Chicken Or Vegetable)
  • 1 Tablespoon Balsamic Vinegar
  • Salt And Pepper, to taste
  • ½ cups Goat Cheese

Preparation Instructions

Melt the butter over medium heat in a heavy-bottomed saucepan. Add the beets and onion, and cook for 8 minutes (stir to allow the onion to caramelize). Mix in the rice, broth, and balsamic vinegar. Increase the heat. Bring to a boil, and then reduce the heat to medium-low. Cover and simmer until the rice is tender and the risotto is creamy, stirring occasionally (about 15 minutes). Season with salt and pepper. Sprinkle with the goat cheese. If you are not a goat cheese fan, you could substitute feta cheese, but trust me, the goat cheese really enhances the flavor of the beets. Enjoy!


_______________________________________

Jenna is a food writer who has worked as a pastry chef and bread baker. Her blog Eat, Live, Run has great recipes, travel stories, and the perfect slogan: “Celebrating life, one crumb at a time.”


Profile photo of cookincanuck

Oatmeal Butter Tart Squares

Posted by in Baking, Step-by-Step Recipes

Tasty Kitchen Blog: Oatmeal Butter Tart Squares. Guest post by Dara Michalski of Cookin' Canuck, recipe submitted by TK member gingerbreadbagels.

There are some recipes, tastes and aromas that evoke strong memories. Memories of childhood dinners with extended family, memories of special occasions. Each Christmas, my grandmother made a batch of her butter tarts to serve alongside the flambéed plum pudding at the end of the meal. The crust was flaky and the filling was sweet, tender and buttery.

Considering my irrational fear of pastry, I always shied away from making the tarts myself. My inability to turn out a decent pie is one of the reasons I am sure that Ree would bar my entrance to her ranch. That, and the fact that I probably wouldn’t be able to stop myself from hugging Charlie her lovable basset hound every few minutes, would likely get me cattle-prodded off the property in no time.

When I saw these Oatmeal Butter Tart Squares by Lindsey (gingerbreadbagels on Tasty Kitchen), complete with a caramelized filling, with raisins, oatmeal and coconut, and a simple sugar cookie crust, I knew I had to try them. At first bite, memories of my grandmother flooded back and I knew that these would become a regular treat in our house.


Tasty Kitchen Blog: Oatmeal Butter Tart Squares. Guest post by Dara Michalski of Cookin' Canuck, recipe submitted by TK member gingerbreadbagels.

First, let’s prepare the crust. Preheat the oven to 400 degrees F and get the ingredients ready.


Tasty Kitchen Blog: Oatmeal Butter Tart Squares. Guest post by Dara Michalski of Cookin' Canuck, recipe submitted by TK member gingerbreadbagels.

In the bowl of a stand mixer (or in a large bowl, using a handheld mixer), beat the butter and sugar until light and fluffy, 3 to 4 minutes. Add milk and vanilla extract and mix to combine.


Tasty Kitchen Blog: Oatmeal Butter Tart Squares. Guest post by Dara Michalski of Cookin' Canuck, recipe submitted by TK member gingerbreadbagels.

With the mixer running on low speed, gradually add in the flour and mix until almost combined.


Tasty Kitchen Blog: Oatmeal Butter Tart Squares. Guest post by Dara Michalski of Cookin' Canuck, recipe submitted by TK member gingerbreadbagels.

Use a spatula to mix until the sugar cookie dough comes together.


Tasty Kitchen Blog: Oatmeal Butter Tart Squares. Guest post by Dara Michalski of Cookin' Canuck, recipe submitted by TK member gingerbreadbagels.

Evenly press the cookie dough into a lightly greased 8- by 8-inch pan. I used a foil liner, which was not in Lindsey’s recipe. Ignore me, and follow Lindsey’s instructions. The filling stuck to the foil and made a bit of a mess.

Bake until the edges start to turn golden brown, 12 to 15 minutes. Cool completely.

Now let’s make the the filling. Turn the oven down to 350 degrees F.


Tasty Kitchen Blog: Oatmeal Butter Tart Squares. Guest post by Dara Michalski of Cookin' Canuck, recipe submitted by TK member gingerbreadbagels.

Place the raisins in a medium bowl and cover with hot water. Soak for 20 minutes. Drain raisins and set aside.

In the bowl of a stand mixer (or in a large bowl, using a handheld mixer), beat brown sugar, eggs and vanilla extract until combined.

In a large mixing bowl with the paddle attachment (a handheld mixer works fine too), mix together the brown sugar, eggs and vanilla extract.


Tasty Kitchen Blog: Oatmeal Butter Tart Squares. Guest post by Dara Michalski of Cookin' Canuck, recipe submitted by TK member gingerbreadbagels.

Add oats, baking powder and kosher salt, and mix to combine.


Tasty Kitchen Blog: Oatmeal Butter Tart Squares. Guest post by Dara Michalski of Cookin' Canuck, recipe submitted by TK member gingerbreadbagels.

Fold in sweetened flaked coconut, raisins and chopped pecans.


Tasty Kitchen Blog: Oatmeal Butter Tart Squares. Guest post by Dara Michalski of Cookin' Canuck, recipe submitted by TK member gingerbreadbagels.

Pour the filling over the cooled sugar cookie crust.

Bake until filling is set, 30 to 35 minutes.

Let the squares cool completely before cutting. The squares will firm up once they are completely cooled. If you try to cut them while still warm, the filling may ooze out.

Once cool, cut into squares and enjoy!


Tasty Kitchen Blog: Oatmeal Butter Tart Squares. Guest post by Dara Michalski of Cookin' Canuck, recipe submitted by TK member gingerbreadbagels.

 
Thank you, Lindsey, for a dessert that is not only irresistible, but brought back so many fond memories for me. Be sure to check out Lindsey’s blog Gingerbread Bagels for many other wonderful recipes.

Here is the link to the printable recipe: Oatmeal Butter Tart Squares


_______________________________________

Dara Michalski is a doll and a sweetheart who clearly knows her way around the kitchen. She blogs at Cookin’ Canuck, where she shares her flavor-packed recipes and fun, engaging writing. The photography’s pretty incredible, too.


Profile photo of callimakesdo

Bow Tie Pasta with Oven Dried Tomatoes

Posted by in Step-by-Step Recipes

Ask my nine-year-old daughter what she wants for dinner and nine times out of ten the answer will be, “Bow Tie Pasta.” What can I say, she is a very reliable girl. As a mom, I find myself cooking foods that appeal to my husband and me, and I don’t cater to the kids a […]

Profile photo of HowSweetEats

Cookies and Cream Cheesecake Bars

Posted by in Baking, Step-by-Step Recipes

  If you asked me what my all-time favorite dessert is, the answer would most likely be cheesecake. Cheesecake is not only creamy and delightful but it can also take on almost any flavor, making the options limitless. I love every bite of the delectable treat, from chocolate ganache-topped fluffy sour cream, to the dense, […]

Profile photo of georgiapellegrini

Spicy Moroccan Chickpeas

Posted by in Step-by-Step Recipes

  I just love chickpeas. Or is it garbanzo beans? Well, I love them either way. Sometimes, when I’m in a rush, I just empty a can of them into a bowl, add some of my favorite dressing and any herbs I can find and it’s a meal. They are so versatile. I’ve noticed that […]

Profile photo of twopeasandtheirpod

Chocolate Chip Waffles

Posted by in Step-by-Step Recipes

  Our breakfasts are usually simple during the week: oatmeal, toast, cereal, or yogurt and fruit. On the weekends, we like to splurge and make a special breakfast meal. We usually rotate pancakes, French toast, omelets, and waffles. When it is Josh’s turn to choose, he almost always picks waffles. He recently asked if we […]