The Pioneer Woman Tasty Kitchen
Profile photo of ThreeManyCooks

Sander’s Hot Fudge Sauce

Posted by in Step-by-Step Recipes

Tasty Kitchen Blog: Sander’s Hot Fudge Sauce. Guest post by Maggy Keet of Three Many Cooks, recipe submitted by TK member Kathy Marie.

 
A bit of history in a recipe’s headnote always catches my eye. So when I stumbled upon Kathy Marie’s recipe for Sander’s Hot Fudge Sauce, a recipe passed down by her 82 year-old mother-in-law who grew up in Detroit, I figured it had t be great. Her mother-in-law recalled what a treat it was in high school to go Sander’s Ice Cream Parlor for a sundae.

I tend to glorify the past—what it would be like to live in another era (have you seen Midnight in Paris?). This image of a young woman sitting at the Sander’s counter, savoring her ice cream sundae, topped with this very hot fudge sauce in the 1940s made me feel nostalgic for a long lost era. So I made it, poured it liberally over my favorite ice cream, and savored each bite. Get ready for a chocolate blast from the past.


Tasty Kitchen Blog: Sander’s Hot Fudge Sauce. Guest post by Maggy Keet of Three Many Cooks, recipe submitted by TK member Kathy Marie.

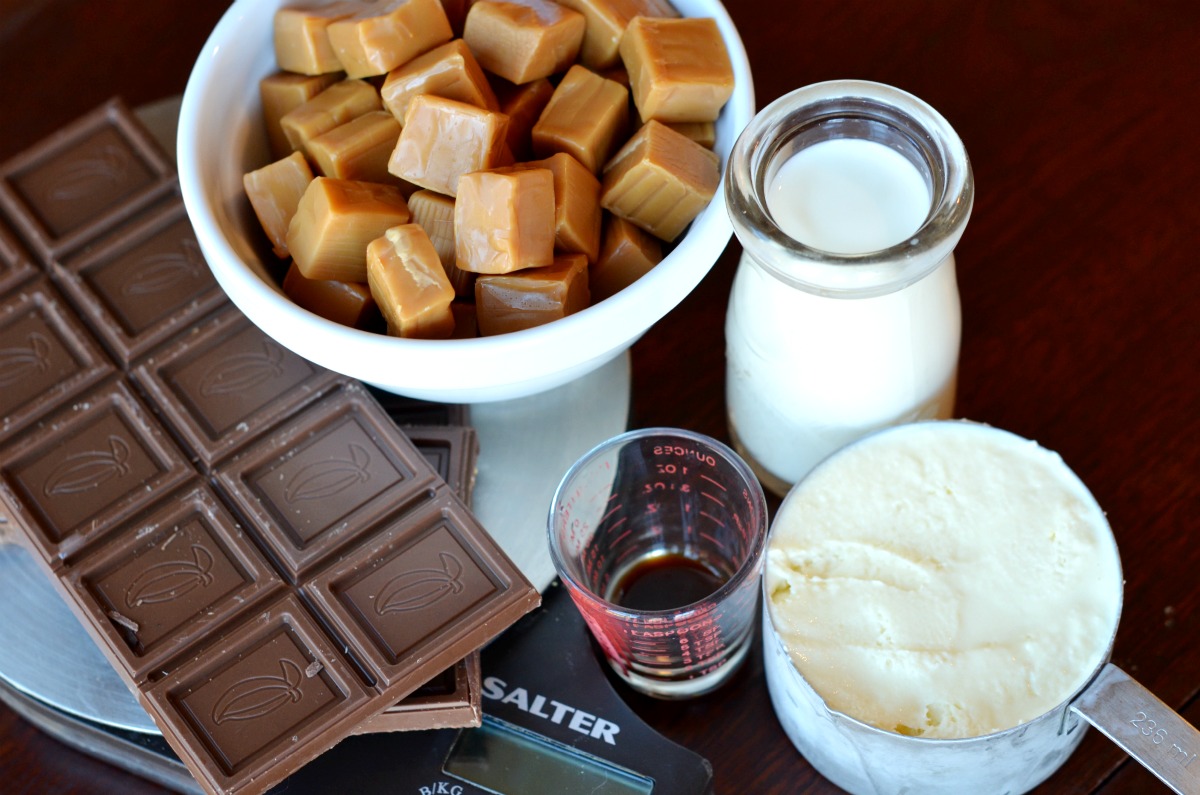
You need just five ingredients to make this hot fudge sauce: caramels, milk, chocolate, vanilla ice cream and vanilla extract.


Tasty Kitchen Blog: Sander’s Hot Fudge Sauce. Guest post by Maggy Keet of Three Many Cooks, recipe submitted by TK member Kathy Marie.

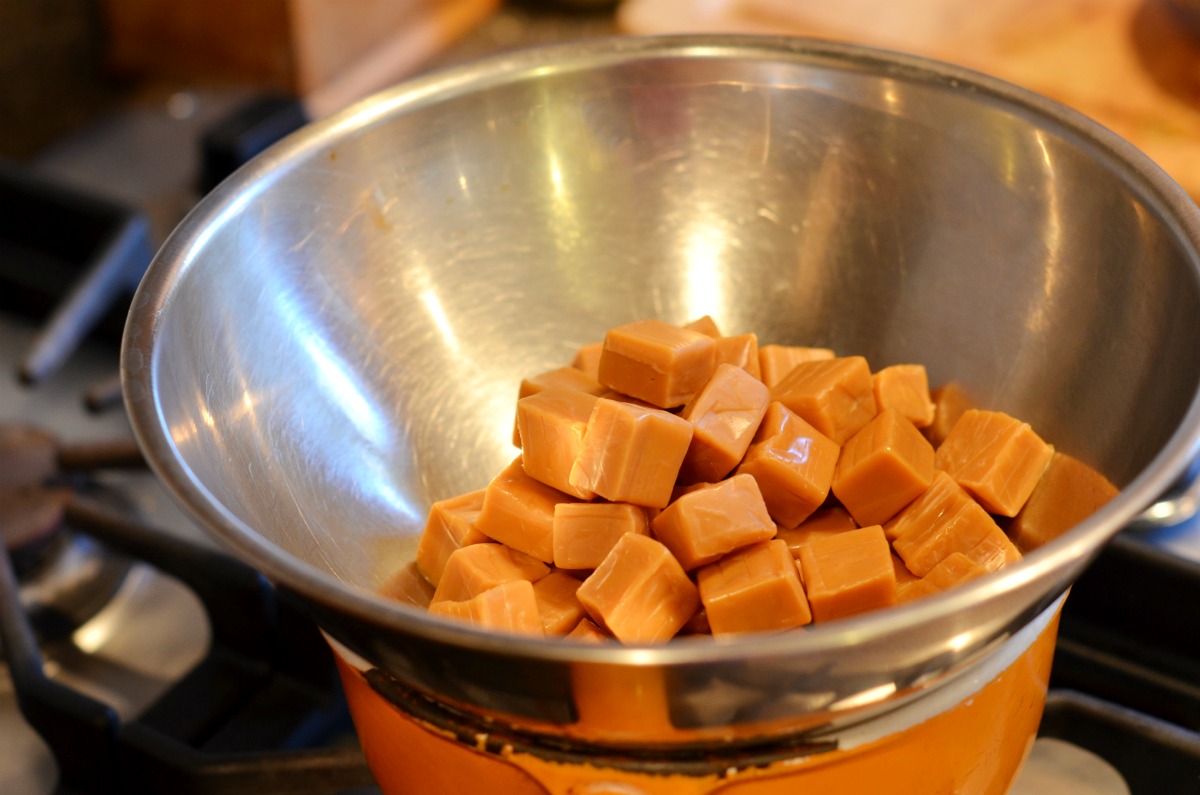
It starts with a pound of caramels in a double boiler. Good start, right?


Tasty Kitchen Blog: Sander’s Hot Fudge Sauce. Guest post by Maggy Keet of Three Many Cooks, recipe submitted by TK member Kathy Marie.

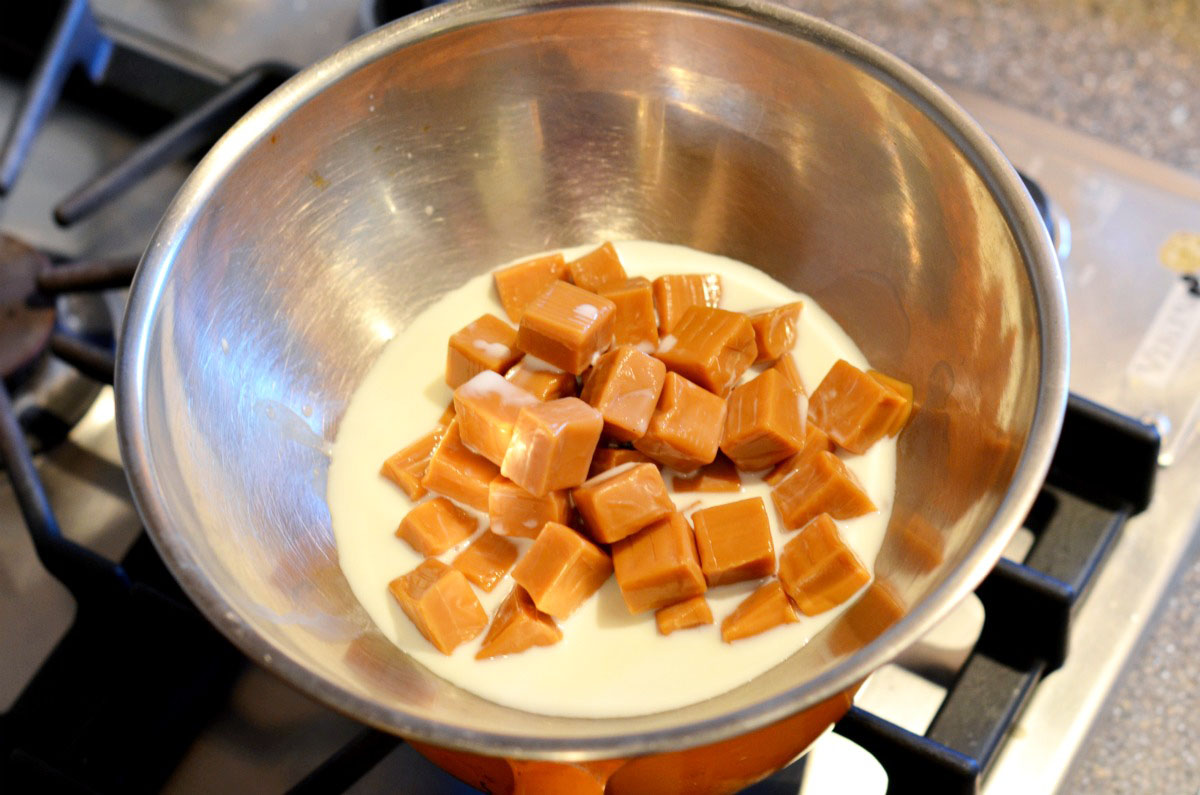
Then we add the milk and stir continuously until smooth.


Tasty Kitchen Blog: Sander’s Hot Fudge Sauce. Guest post by Maggy Keet of Three Many Cooks, recipe submitted by TK member Kathy Marie.

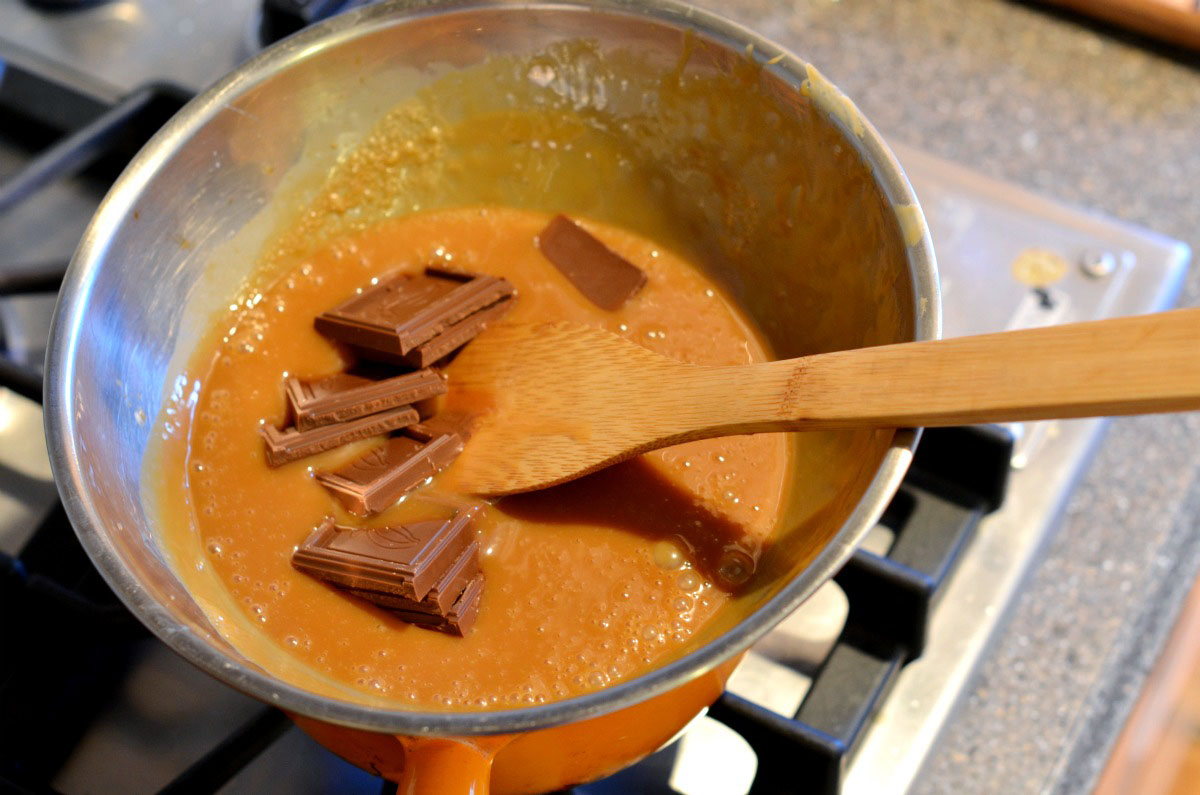
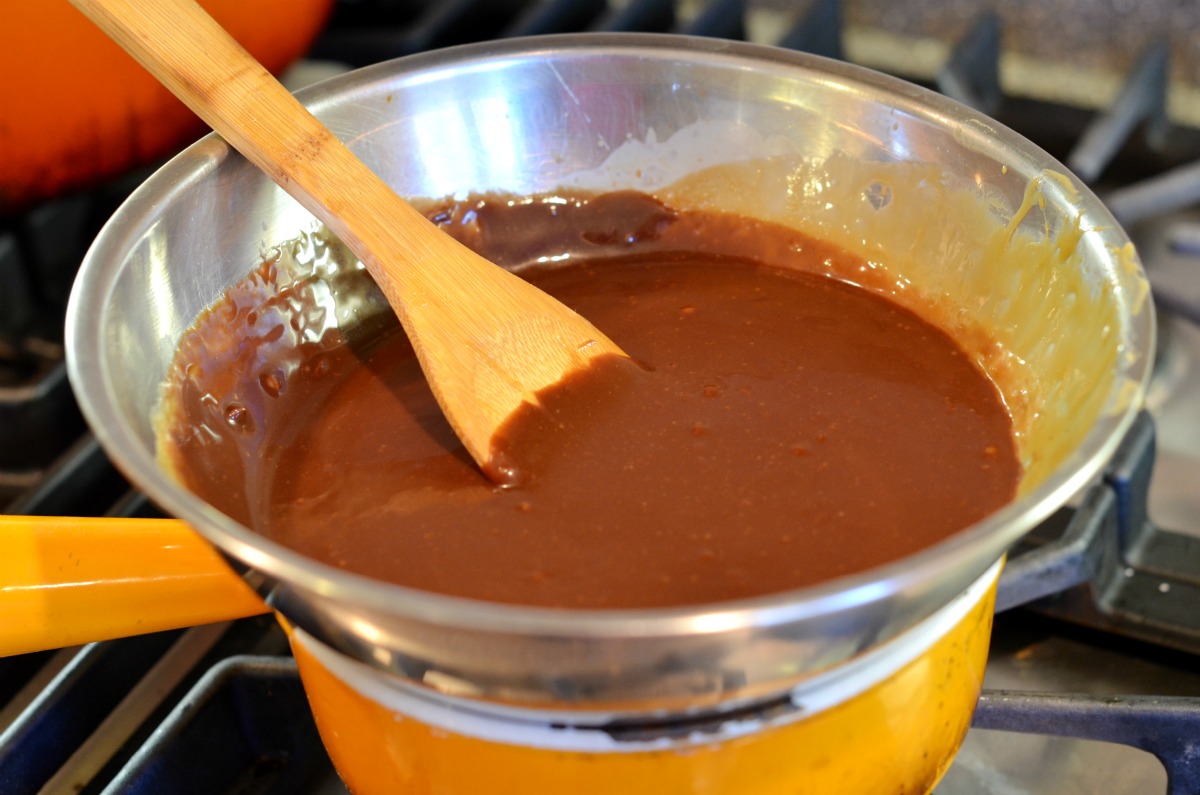
Next mix in all that lovely chocolate.


Tasty Kitchen Blog: Sander’s Hot Fudge Sauce. Guest post by Maggy Keet of Three Many Cooks, recipe submitted by TK member Kathy Marie.

Stir to ensure it is melted and smooth.


Tasty Kitchen Blog: Sander’s Hot Fudge Sauce. Guest post by Maggy Keet of Three Many Cooks, recipe submitted by TK member Kathy Marie.

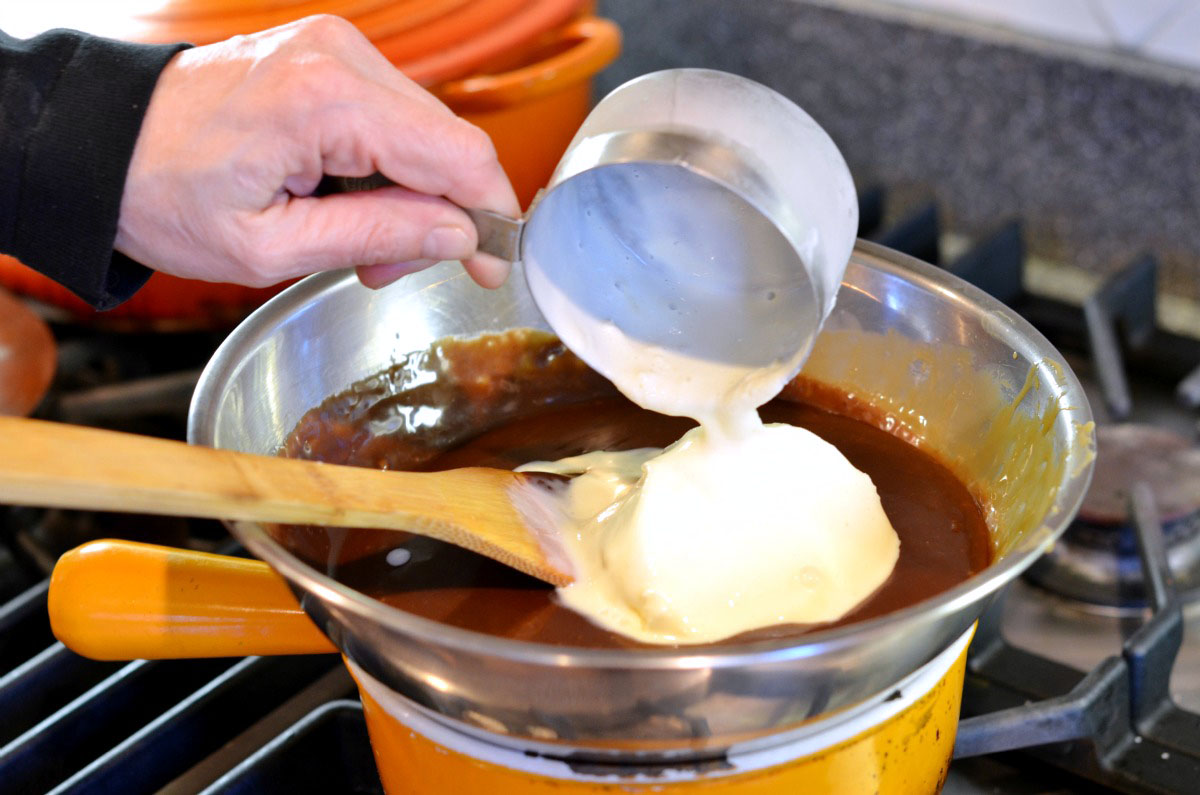
And this is where it gets interesting: you then stir in a cup of vanilla ice cream! This makes the sauce creamy.


Tasty Kitchen Blog: Sander’s Hot Fudge Sauce. Guest post by Maggy Keet of Three Many Cooks, recipe submitted by TK member Kathy Marie.

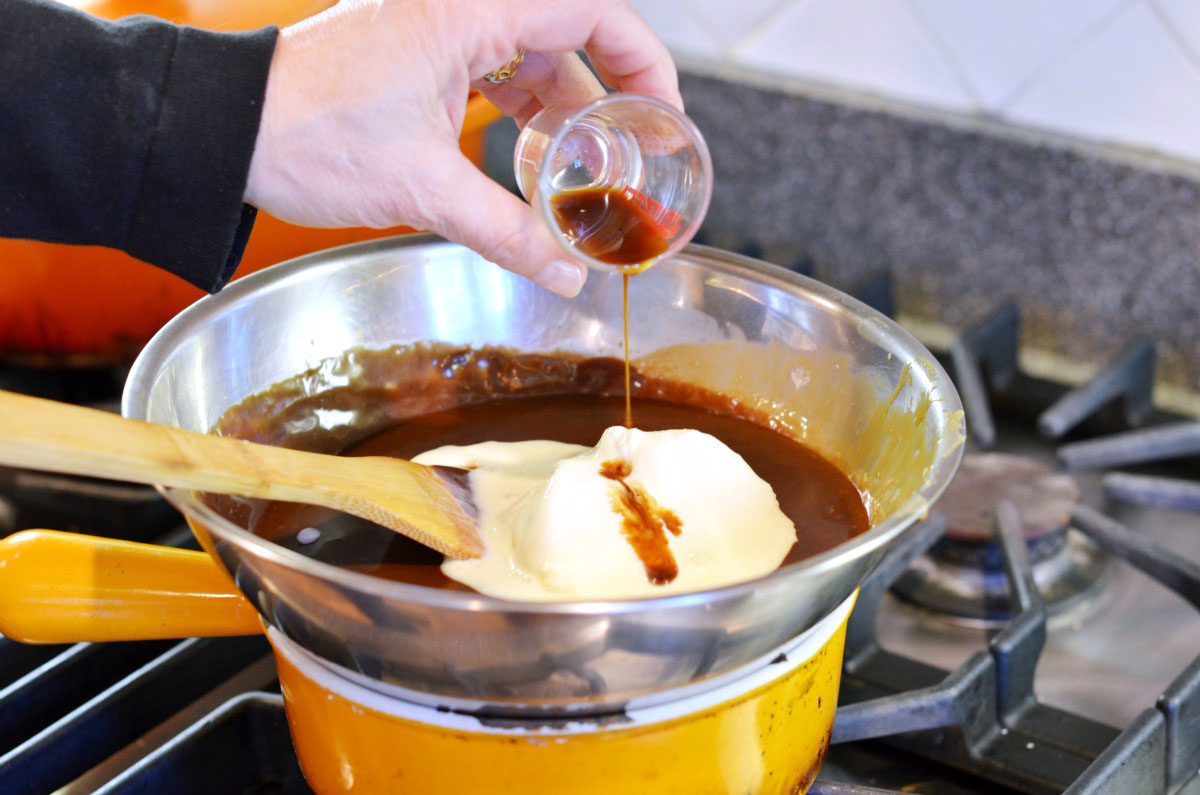
Then add a dash of vanilla for good measure.


Tasty Kitchen Blog: Sander’s Hot Fudge Sauce. Guest post by Maggy Keet of Three Many Cooks, recipe submitted by TK member Kathy Marie.

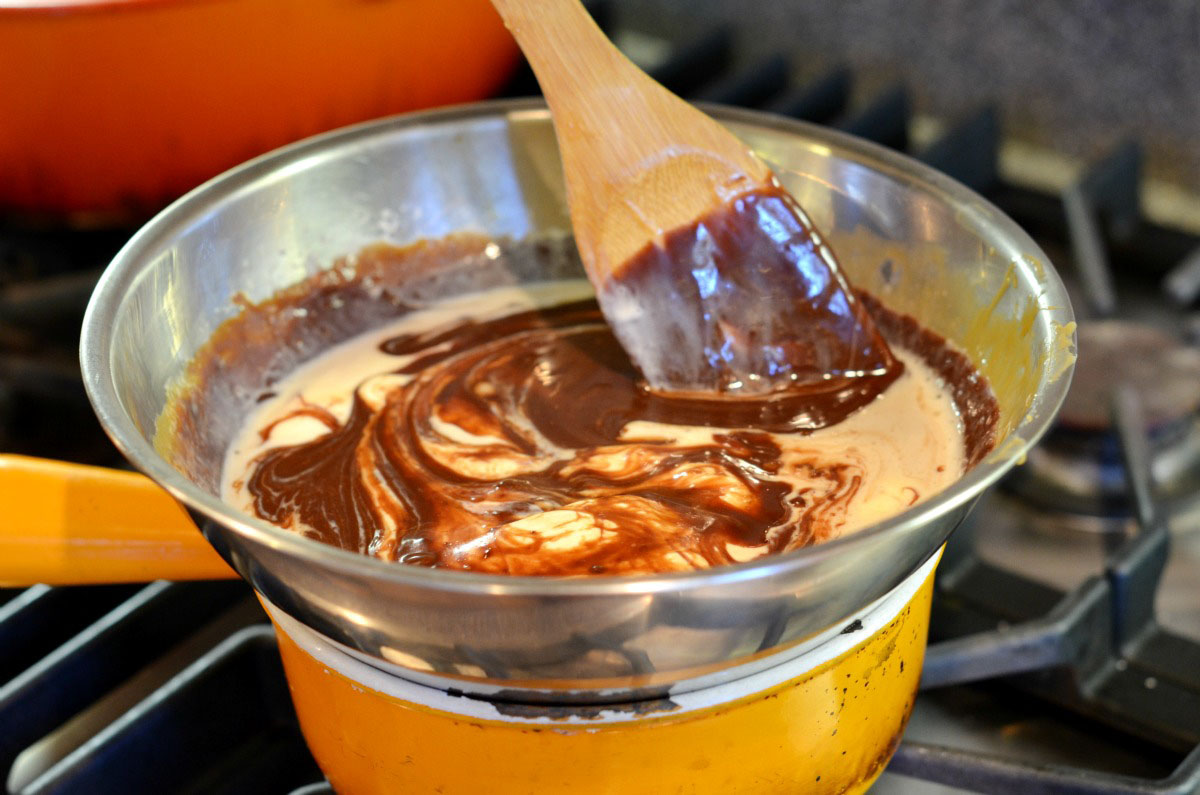
Mix until super-smooth.


Tasty Kitchen Blog: Sander’s Hot Fudge Sauce. Guest post by Maggy Keet of Three Many Cooks, recipe submitted by TK member Kathy Marie.

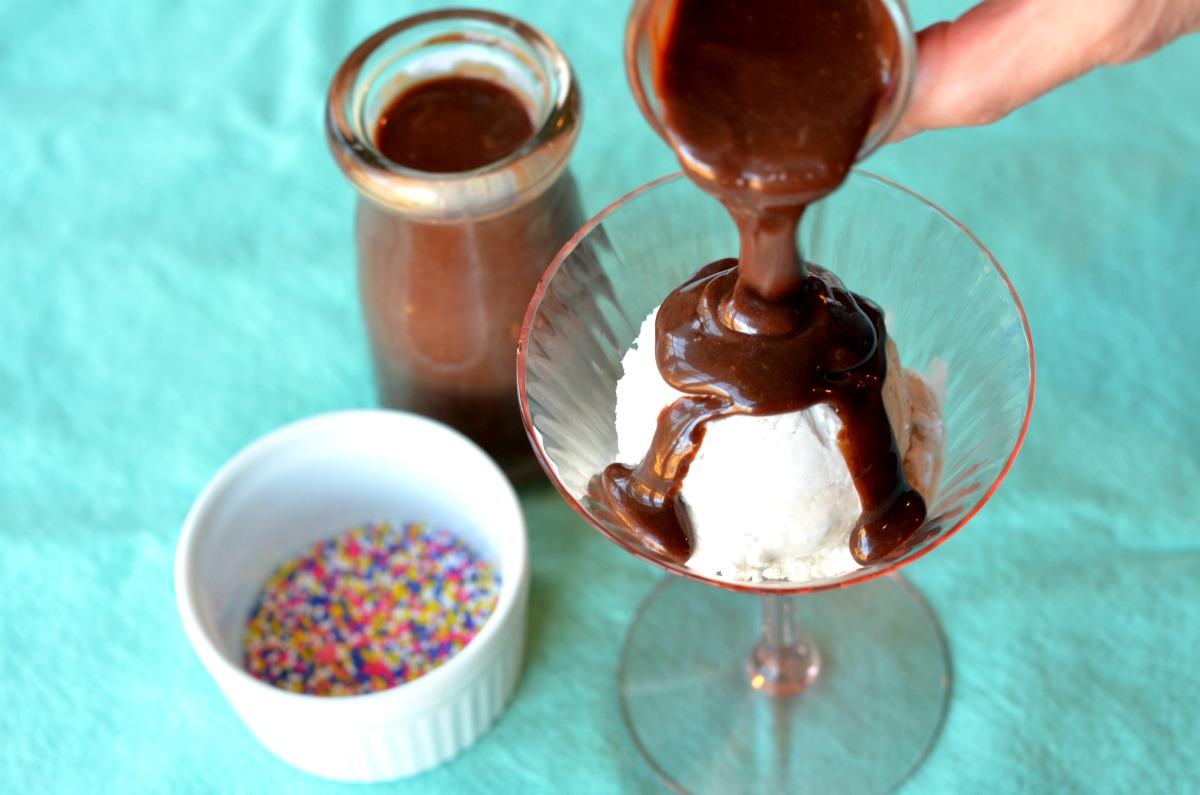
Then pour it liberally over your favorite sweet treat.
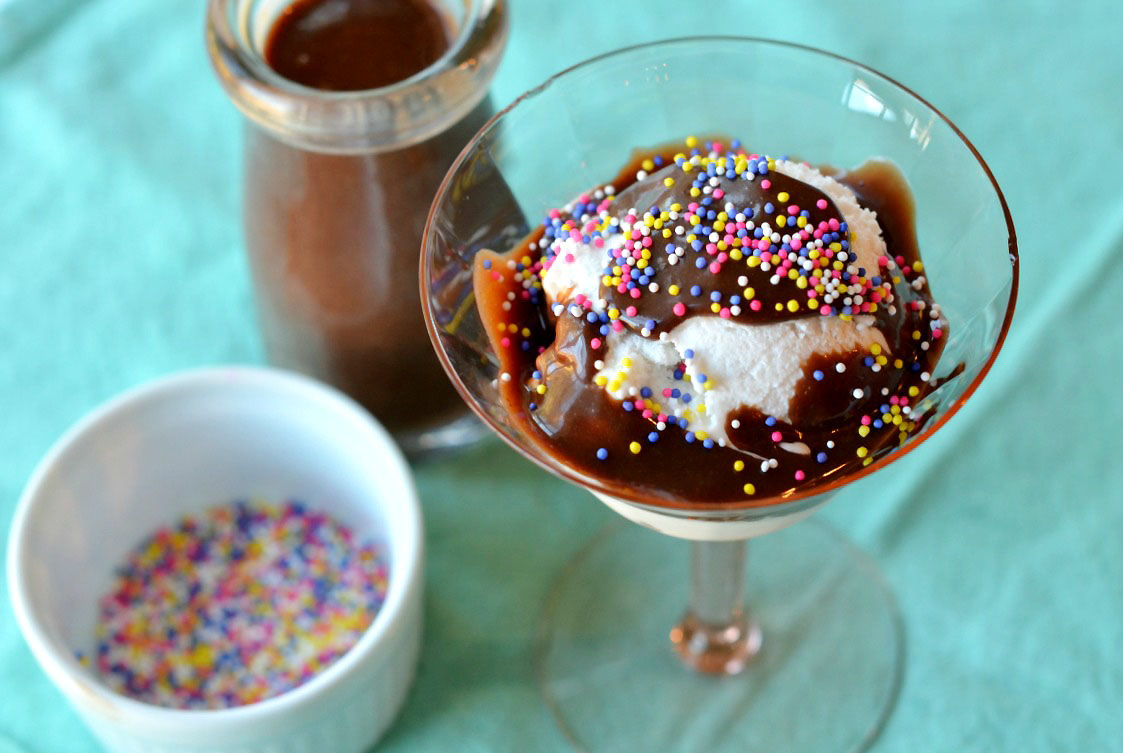


Tasty Kitchen Blog: Sander’s Hot Fudge Sauce. Guest post by Maggy Keet of Three Many Cooks, recipe submitted by TK member Kathy Marie.

I went with ice cream only because I’m wishing it was summer, but this would be to-die-for over a hot brownie sundae!

Kathy Marie, thank you (and your mother-in-law) for sharing this recipe with us.


Printable Recipe

Sander’s Hot Fudge Sauce

5.00 Mitt(s) 1 Rating(s)1 vote, average: 5.00 out of 51 vote, average: 5.00 out of 51 vote, average: 5.00 out of 51 vote, average: 5.00 out of 51 vote, average: 5.00 out of 5

Prep Time:

Cook Time:

Difficulty: Easy

Servings: 12

12
x

Print Options

Page size Letter 3x5 4x6
Text Size Small Medium Large
Content Include description
Include prep time, etc.
Show image

Description

My mother-in-law grew up in Detroit (she’s 82 now!) and told me it was a treat to go to Sander’s Ice Cream Parlor for a sundae when she was in high school. She got this recipe from an old friend and shared it with me. Oh, my! You’ve got to try this!

Ingredients

  • ½ cups Whole Milk
  • 1 pound Caramels
  • ½ pounds High Quality Milk Chocolate
  • ½ pints Vanilla Ice Cream
  • 1 teaspoon Vanilla Extract

Preparation Instructions

1. Place milk and caramels in a double bloiler, heat over medium heat and stir continuously until a hot smooth cream is formed. Remove from the heat.

2. Chop the chocolate into uniform small pieces and add to the above hot cream. Stir continuously until the chocolate is completely melted and incorporated into the hot cream.

3. Mix in the vanilla ice cream and vanilla extract and stir until completely melted and thoroughly combined.

4. Serve immediately over your favorite ice cream. Store any leftovers in a covered container in the refrigerator. Reheat in the microwave at 30-second intervals, stirring between heating times, until desired temperature is reached.


_______________________________________

Three Many Cooks is the always-entertaining food blog of Pam Anderson and her two daughters, Maggy and Sharon. Pam is a well-known and much-respected food writer and author, Maggy is a “hippy adventurer meets 1950s housewife,” and Sharon refers to herself as a recovering food snob learning to survive on a graduate student’s budget. Theirs is a strong relationship both inside and outside the kitchen, and it shows in the food they create and the stories they tell.


Profile photo of Natalie | Perry's Plate

Customizable Bread Bowl Breakfast

Posted by in Step-by-Step Recipes

Tasty Kitchen Blog Customizable Bread Bowl Breakfast. Guest post by Natalie Perry of Perry's Plate, recipe submitted by TK member Lindsay of Perfecting the Pairing.

 
If I ask my (almost) 5-year-old what cooking show she wants to watch with Mom, she always says, “Pioneer Woman!” She adores Ree’s show! After one recent episode where Ree made soup in bread bowls, my little girl was obsessed with the idea of eating her bowl when she finished her soup. (It IS pretty cool if you ask me.) She’s been hounding me to make them for several weeks now.

Since bread bowls are pretty substantial (especially for a 5-year-old) I was so excited when I saw a miniature version made from crusty rolls! The Customizable Bread Bowl Breakfast idea comes from TK member Lindsay.

I love recipes like this that are more conceptual than a strict-measurement recipe. You can literally go any direction with these bowls and simply use what you have on hand! They’d also be great to serve a crowd at brunch (perhaps an Easter brunch if you’re planning one?). If you have enough fillings, then there’s bound to be something that everyone will like!


Tasty Kitchen Blog Customizable Bread Bowl Breakfast. Guest post by Natalie Perry of Perry's Plate, recipe submitted by TK member Lindsay of Perfecting the Pairing.

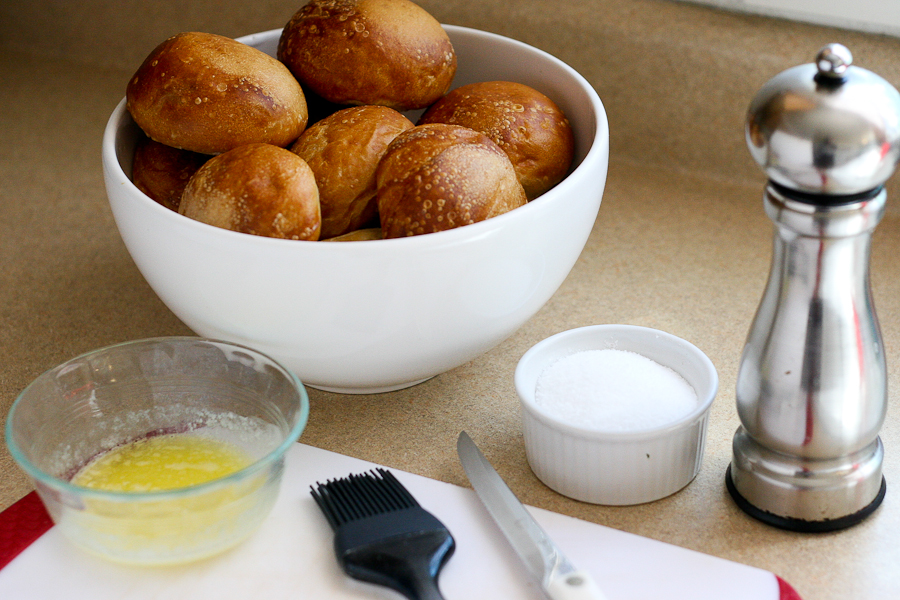
To get started you’ll need some crusty dinner rolls, some melted butter, a sharp serrated knife, a pastry brush, salt, and pepper.


Tasty Kitchen Blog Customizable Bread Bowl Breakfast. Guest post by Natalie Perry of Perry's Plate, recipe submitted by TK member Lindsay of Perfecting the Pairing.

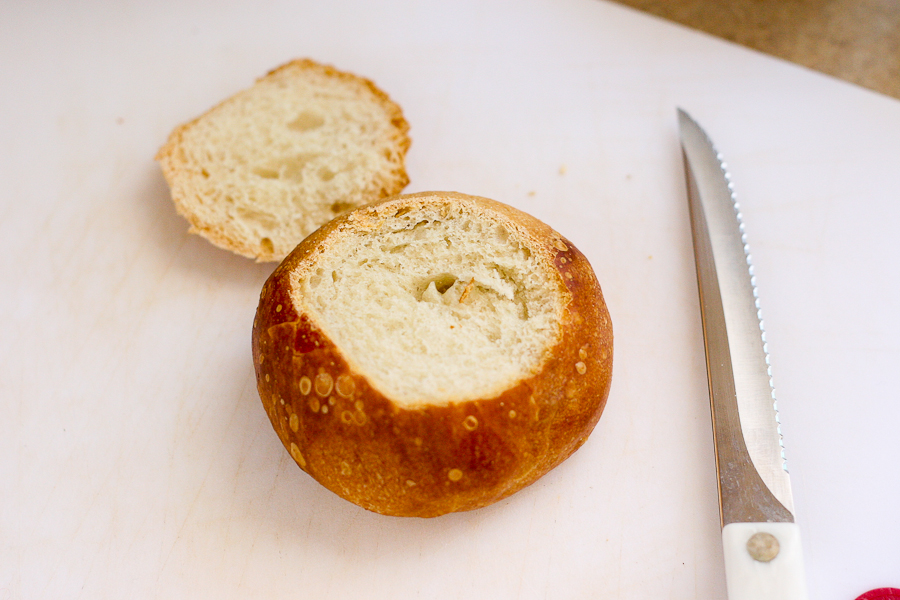
Slice off the very top of the roll.

(These are so easy. It kills me.)


Tasty Kitchen Blog Customizable Bread Bowl Breakfast. Guest post by Natalie Perry of Perry's Plate, recipe submitted by TK member Lindsay of Perfecting the Pairing.

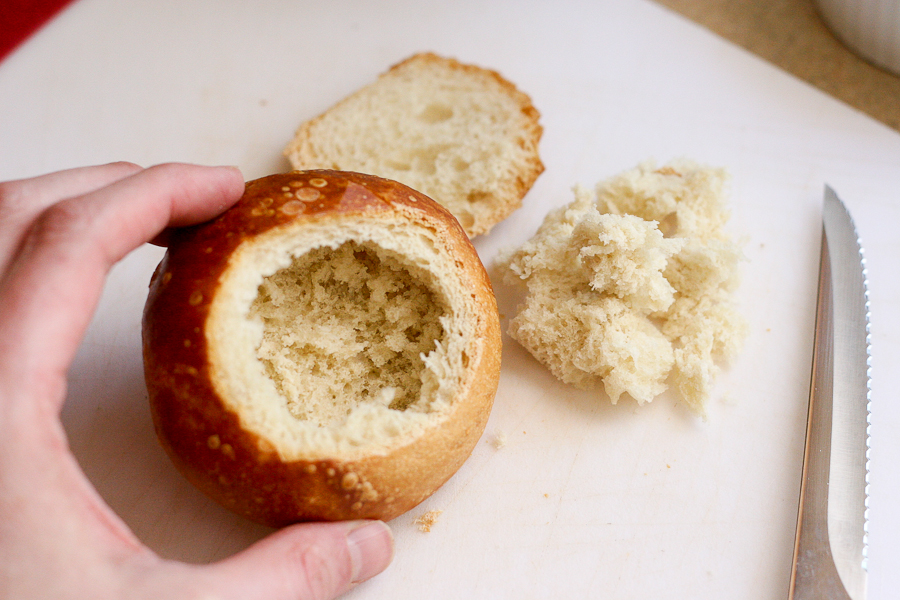
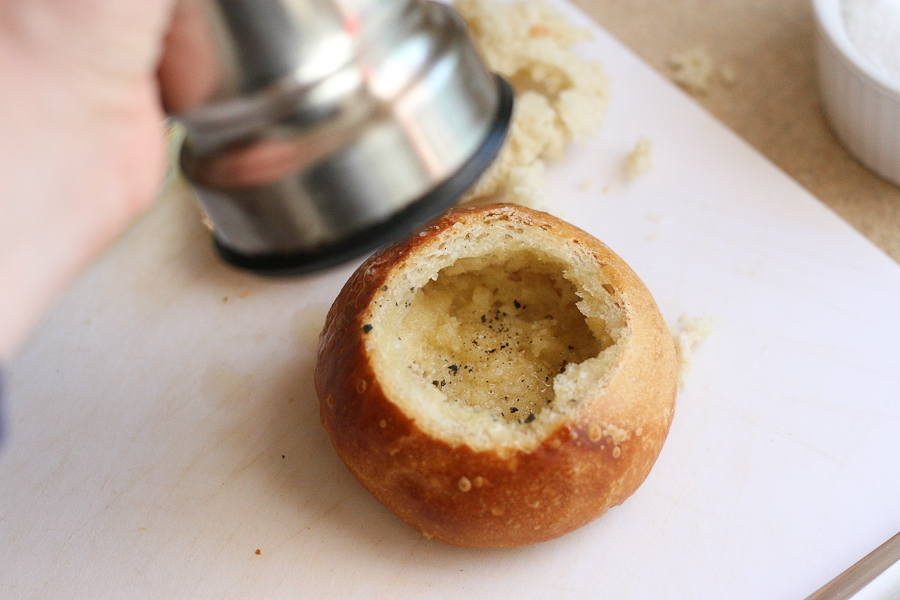
Pull out as much of the inside of the roll as you can without breaking through the crust. My rolls had a pretty thick, crusty outside, so that’s about as far as I could go.


Tasty Kitchen Blog Customizable Bread Bowl Breakfast. Guest post by Natalie Perry of Perry's Plate, recipe submitted by TK member Lindsay of Perfecting the Pairing.

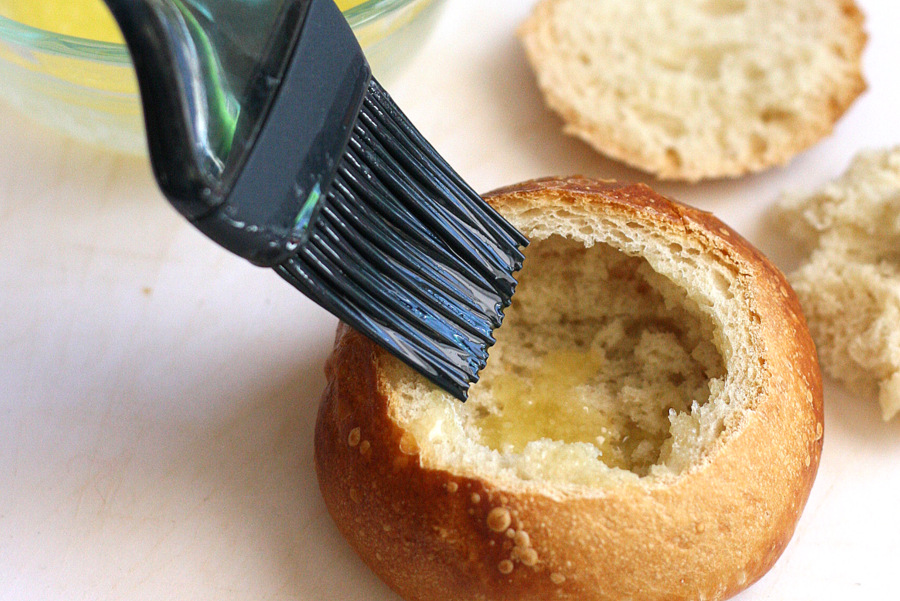
Brush the inside with butter.


Tasty Kitchen Blog Customizable Bread Bowl Breakfast. Guest post by Natalie Perry of Perry's Plate, recipe submitted by TK member Lindsay of Perfecting the Pairing.

Then sprinkle some salt and pepper inside.


Tasty Kitchen Blog Customizable Bread Bowl Breakfast. Guest post by Natalie Perry of Perry's Plate, recipe submitted by TK member Lindsay of Perfecting the Pairing.

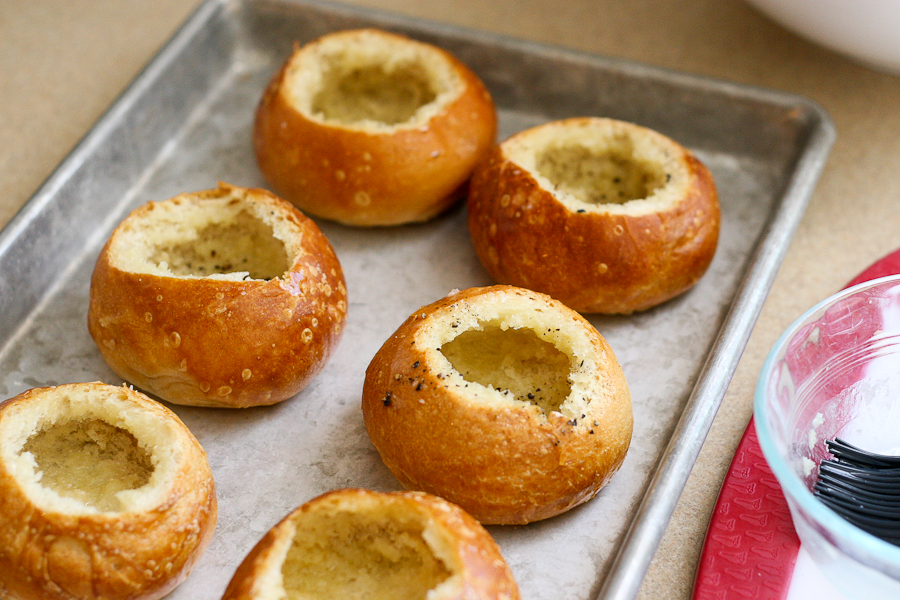
Put them on a sheet pan or a platter for your hungry ones to grab and fill.


Tasty Kitchen Blog Customizable Bread Bowl Breakfast. Guest post by Natalie Perry of Perry's Plate, recipe submitted by TK member Lindsay of Perfecting the Pairing.

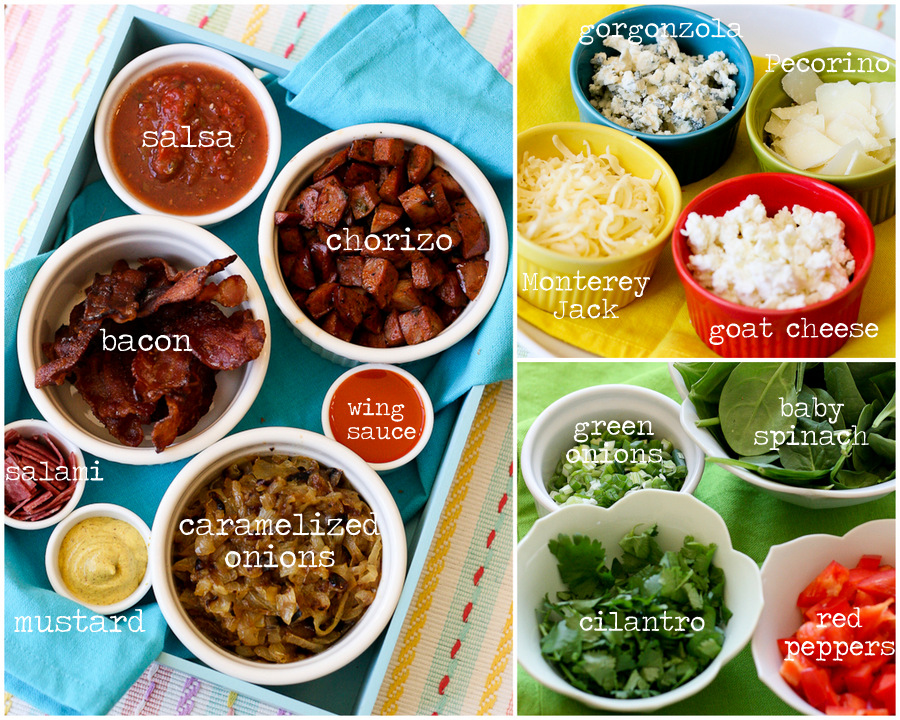
Here comes the fun part: gathering the fillings! I actually did this before I prepped my rolls, and you can even do it the night before breakfast. They don’t have to be hot because everything gets baked in the oven anyway. I began to “clean out” my fridge, so to speak, and ended up with WAY more fillings than we needed. Things got a bit heady with flavor combinations.

(By the way, if you don’t use all of the fillings, you have everything conveniently prepped for omelets later!)


Tasty Kitchen Blog Customizable Bread Bowl Breakfast. Guest post by Natalie Perry of Perry's Plate, recipe submitted by TK member Lindsay of Perfecting the Pairing.

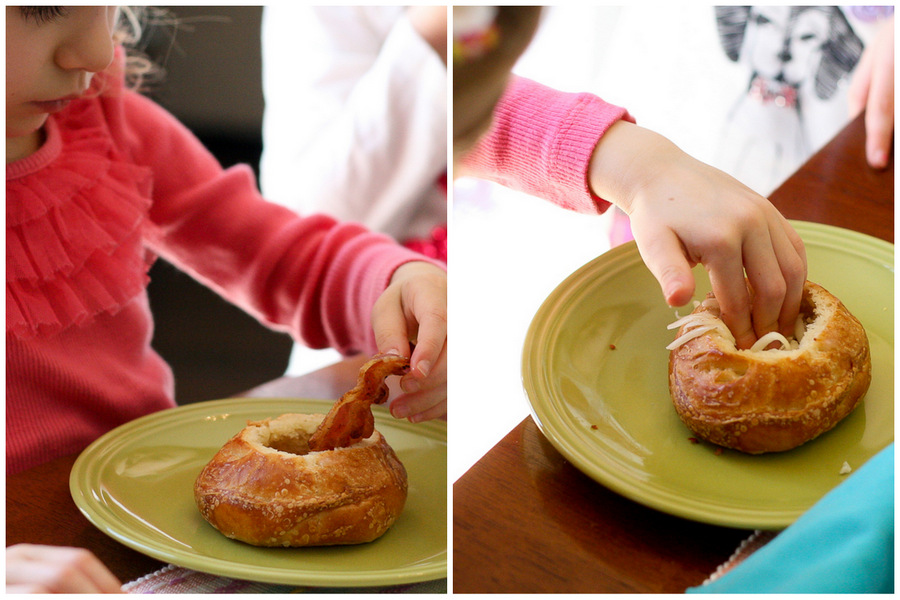
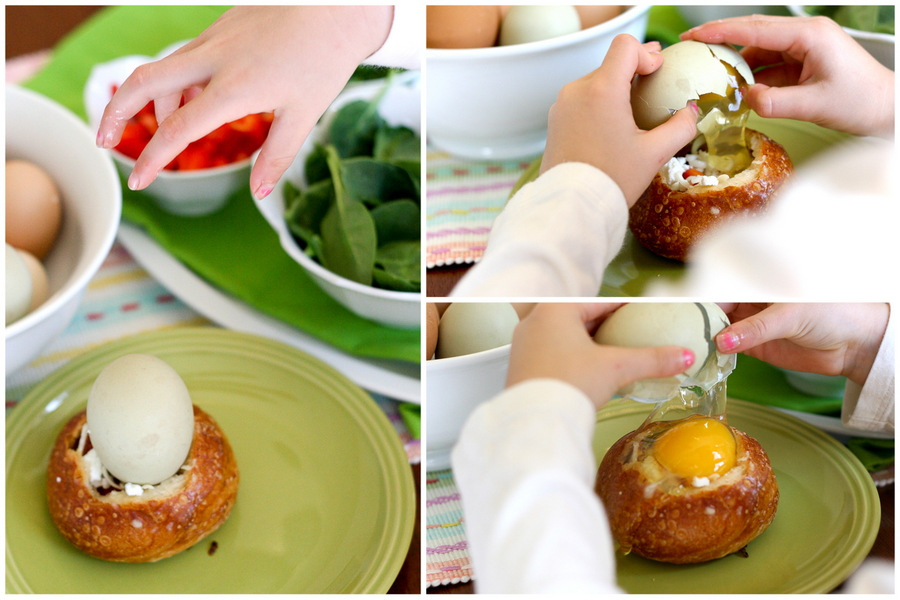
I let my kids go at it, curious to see what they would put in their rolls. My 3-year-old went straight for the bacon. And the cheese. (She’s a momma’s girl.) One thing we learned through this is to fill the rolls sparingly and really push the fillings down and into the sides. You’ll see why in a second.


Tasty Kitchen Blog Customizable Bread Bowl Breakfast. Guest post by Natalie Perry of Perry's Plate, recipe submitted by TK member Lindsay of Perfecting the Pairing.

I told the 5-year-old to put an egg in hers. I should have been more specific. She figured out soon enough that meant cracking the egg. Silly girl.

I’m not sure if my rolls were on the small side or if my eggs were on the large side (yolks from pastured eggs tend to be larger), but we lost a good bit of the white down the side of the roll. No biggie.

You could also use the whites only or whisk together the eggs (for those who like things mixed up) and only pour as much as you need into each roll.


Tasty Kitchen Blog Customizable Bread Bowl Breakfast. Guest post by Natalie Perry of Perry's Plate, recipe submitted by TK member Lindsay of Perfecting the Pairing.

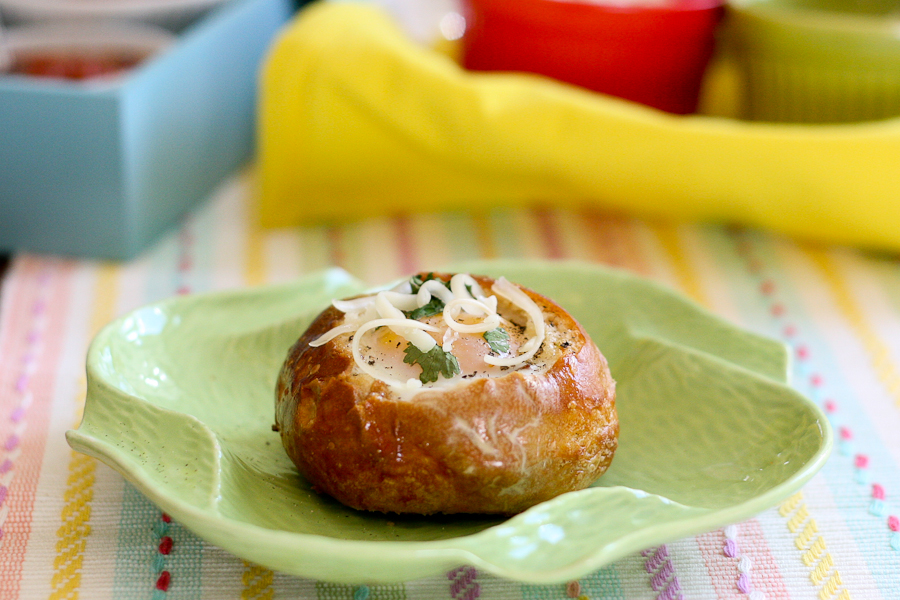
After you have your rolls filled and baked, you’re ready to eat! If you like your yolks runny, keep an eye on them closely so they don’t firm up in the oven.


Tasty Kitchen Blog Customizable Bread Bowl Breakfast. Guest post by Natalie Perry of Perry's Plate, recipe submitted by TK member Lindsay of Perfecting the Pairing.

Thanks to Lindsay for a fabulous brunch idea! Be sure to visit her TK recipe box as well as her own blog, Perfecting the Pairing, for more delicious recipes.


Printable Recipe

Customizable Bread Bowl Breakfast

See post on Lindsay’s site!
4.83 Mitt(s) 6 Rating(s)6 votes, average: 4.83 out of 56 votes, average: 4.83 out of 56 votes, average: 4.83 out of 56 votes, average: 4.83 out of 56 votes, average: 4.83 out of 5

Prep Time:

Cook Time:

Difficulty: Easy

Servings: 8

8
x

Print Options

Page size Letter 3x5 4x6
Text Size Small Medium Large
Content Include description
Include prep time, etc.
Show image

Description

Egg in a bread bowl is the perfect breakfast for a crowd because it is completely customizable!

Ingredients

  • 8 whole Crusty Bread Rolls
  • 2 Tablespoons Butter, Melted
  • Salt And Pepper
  • Assorted Fillings (See Suggestions In Instructions)
  • 8 whole Eggs

Preparation Instructions

Preheat your oven to 350ºF. Slice off the top of each roll and scoop out the soft bread inside, leaving the sides of the roll intact. Brush the inside of each roll with the melted butter and season with salt and pepper.

Let your guests fill the roll with their favorite toppings (see suggestions below). Crack an egg or egg white on top, season with salt and pepper, and place on a cookie sheet. Bake for 10-12 minutes and then cover the pan loosely with foil. Bake an additional 20-25 minutes, or until the egg is just set.

Suggested fillings: grape tomatoes, cilantro, parsley, thyme, shredded cheese, herbed goat cheese, caramelized onions, pre-cooked breakfast potatoes, spinach artichoke dip, deli ham, cooked sausage, crumbled bacon, onions, mushrooms, spinach, feta cheese.


_______________________________________

Be sure to check out Natalie’s own beautiful food blog, Perrys’ Plate, where you can see her growing collection of lovely recipes. There’s always something new to see there. Go visit now!


Profile photo of twopeasandtheirpod

Spinach and Edamame Salad

Posted by in Step-by-Step Recipes

Tasty Kitchen Blog: Spinach and Edamame Salad. Guest post by Maria Lichty of Two Peas and Their Pod, recipe submitted by TK member Bev Weidner of Bev Cooks.

 
I love salads, but sometimes I get in a salad rut. I tend to make the same old salads, which can get boring. I was looking for some salad inspiration on Tasty Kitchen and came across Bev Weidner’s Spinach and Edamame Salad. Spinach salads are my favorite and this one is loaded with nutritious and delicious ingredients. I couldn’t wait to make it for lunch. 


Tasty Kitchen Blog: Spinach and Edamame Salad. Guest post by Maria Lichty of Two Peas and Their Pod, recipe submitted by TK member Bev Weidner of Bev Cooks.

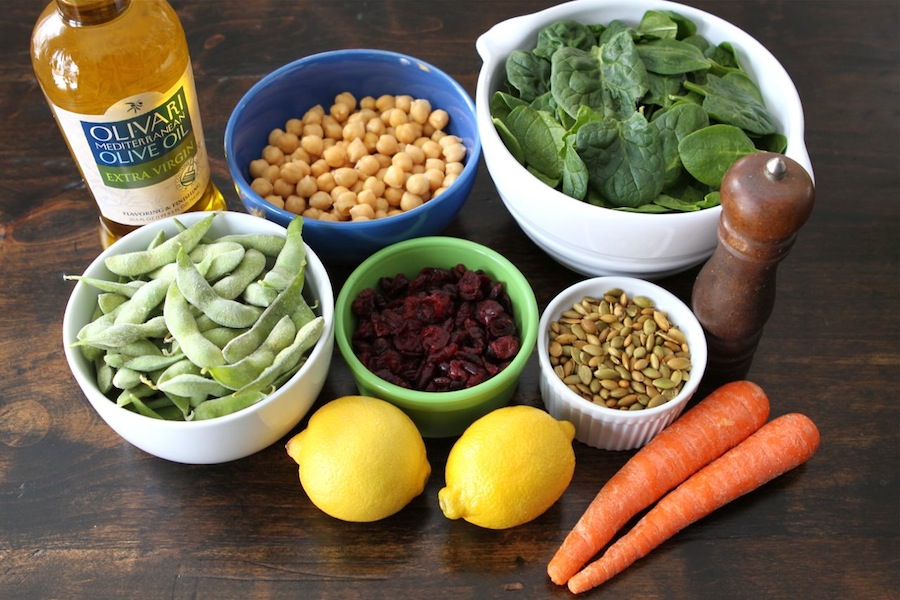
To make the salad you need: spinach, edamame, chickpeas, dried cranberries, pepitas, carrots, lemons, olive oil, salt, and pepper. 


Tasty Kitchen Blog: Spinach and Edamame Salad. Guest post by Maria Lichty of Two Peas and Their Pod, recipe submitted by TK member Bev Weidner of Bev Cooks.

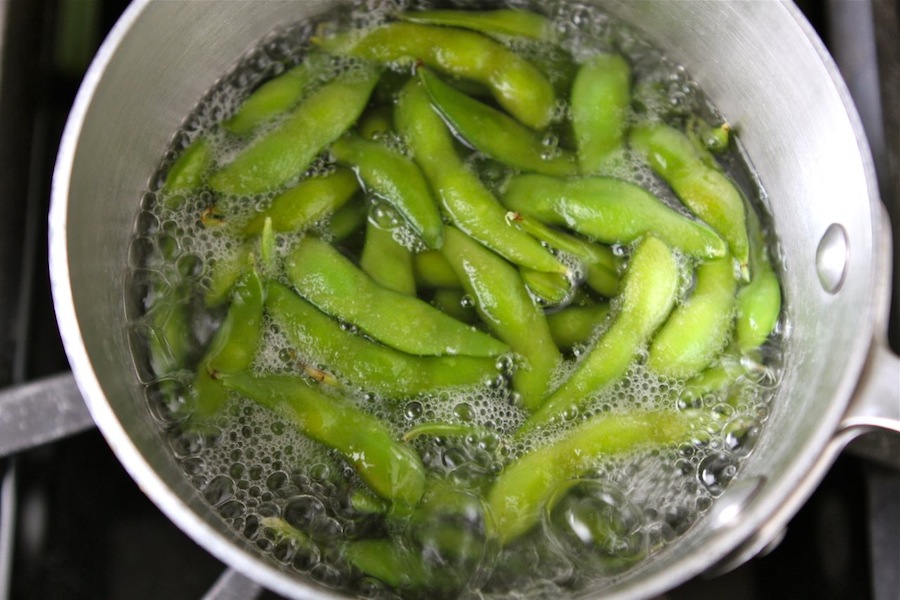
Cook the edamame according to package ingredients. I used edamame in the pod, but if you can find shelled edamame—it will save you some time. Both will work. 


Tasty Kitchen Blog: Spinach and Edamame Salad. Guest post by Maria Lichty of Two Peas and Their Pod, recipe submitted by TK member Bev Weidner of Bev Cooks.

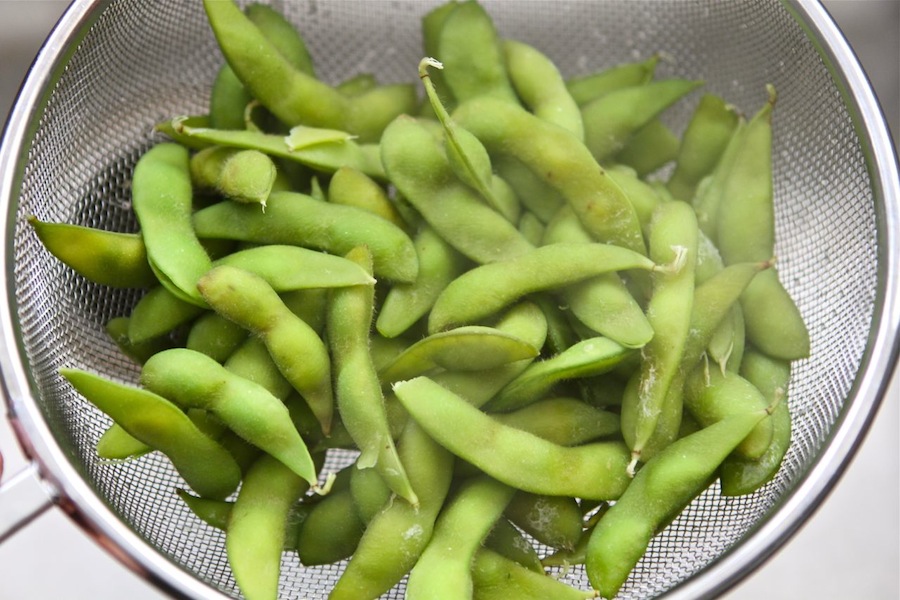
Drain the edamame and let cool for about 5 minutes. I had to remove the edamame from the pods, but if you are using shelled, you’re good to go. 


Tasty Kitchen Blog: Spinach and Edamame Salad. Guest post by Maria Lichty of Two Peas and Their Pod, recipe submitted by TK member Bev Weidner of Bev Cooks.

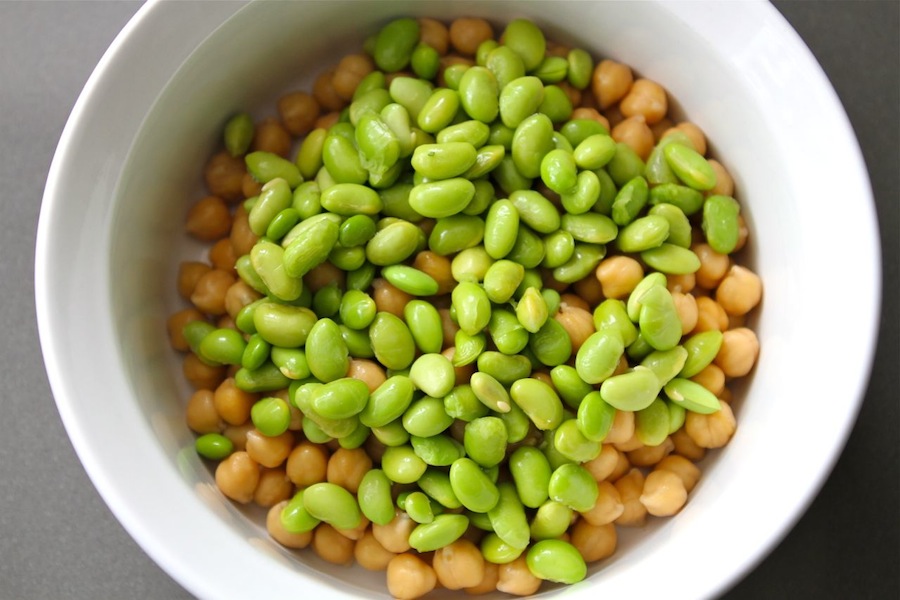
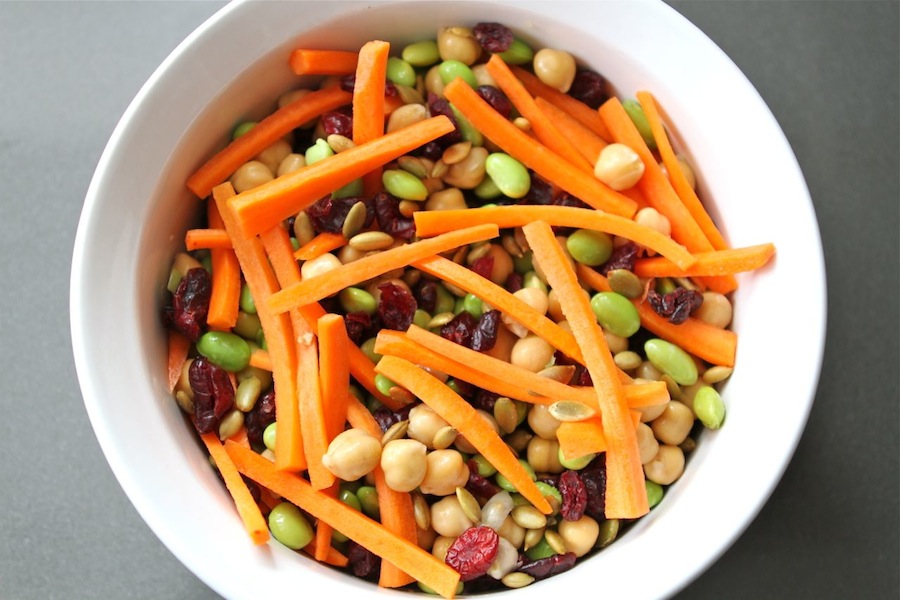
In a large bowl, combine edamame and chickpeas. 


Tasty Kitchen Blog: Spinach and Edamame Salad. Guest post by Maria Lichty of Two Peas and Their Pod, recipe submitted by TK member Bev Weidner of Bev Cooks.

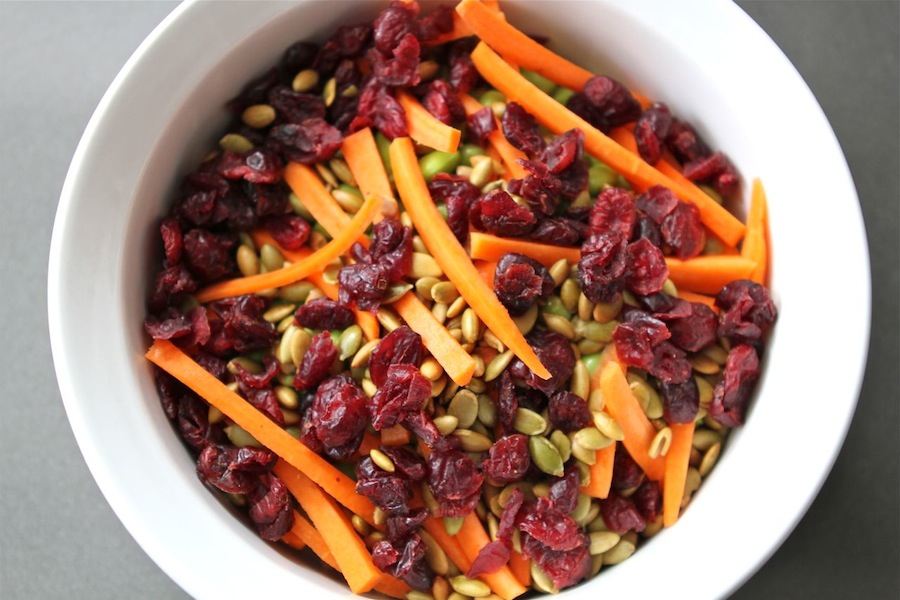
Add the pepitas, carrots, and dried cranberries. 


Tasty Kitchen Blog: Spinach and Edamame Salad. Guest post by Maria Lichty of Two Peas and Their Pod, recipe submitted by TK member Bev Weidner of Bev Cooks.

Toss all of the ingredients together. 


Tasty Kitchen Blog: Spinach and Edamame Salad. Guest post by Maria Lichty of Two Peas and Their Pod, recipe submitted by TK member Bev Weidner of Bev Cooks.

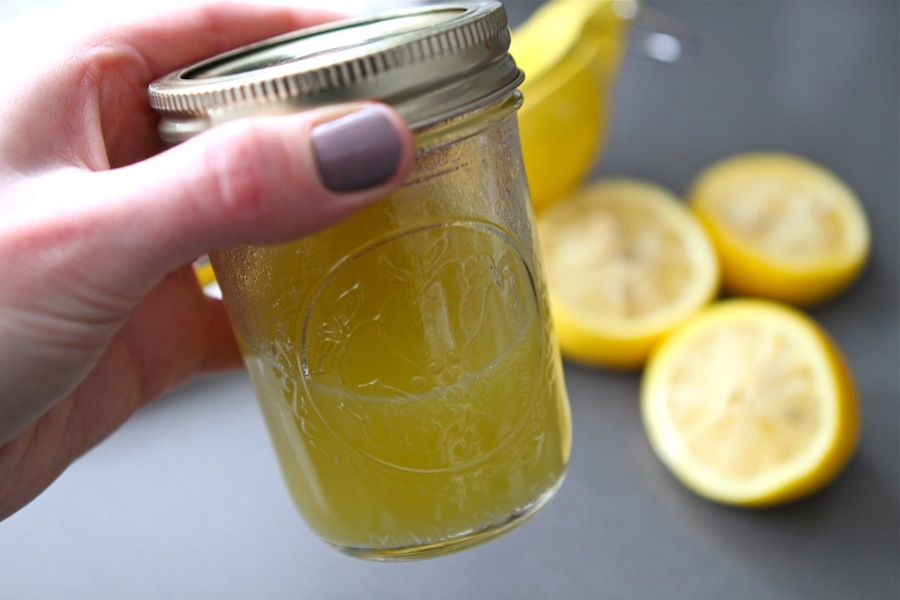
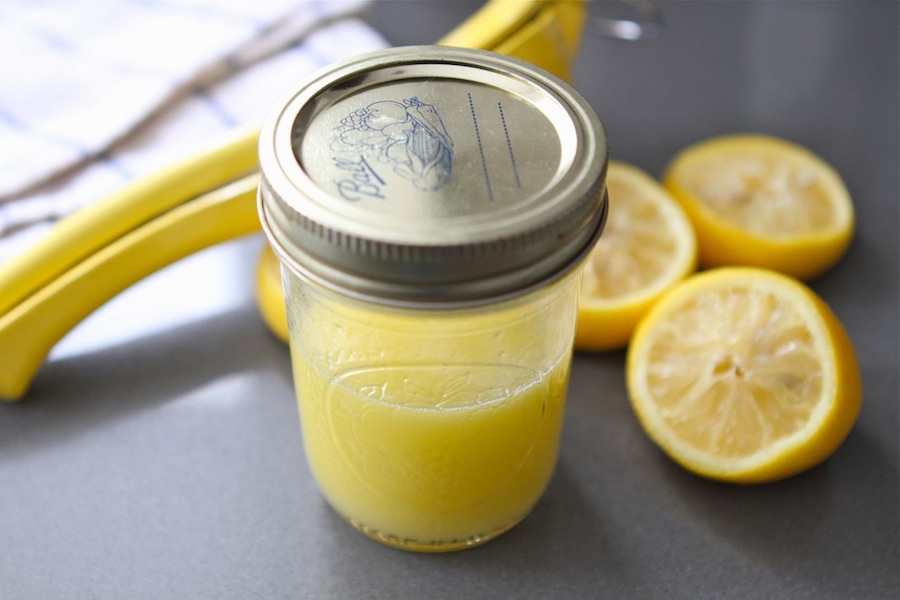
In a small jar, combine lemon, olive oil, salt, and pepper. Shake until well combined. 


Tasty Kitchen Blog: Spinach and Edamame Salad. Guest post by Maria Lichty of Two Peas and Their Pod, recipe submitted by TK member Bev Weidner of Bev Cooks.

Voila, you have a light lemon dressing. It’s that easy!


Tasty Kitchen Blog: Spinach and Edamame Salad. Guest post by Maria Lichty of Two Peas and Their Pod, recipe submitted by TK member Bev Weidner of Bev Cooks.

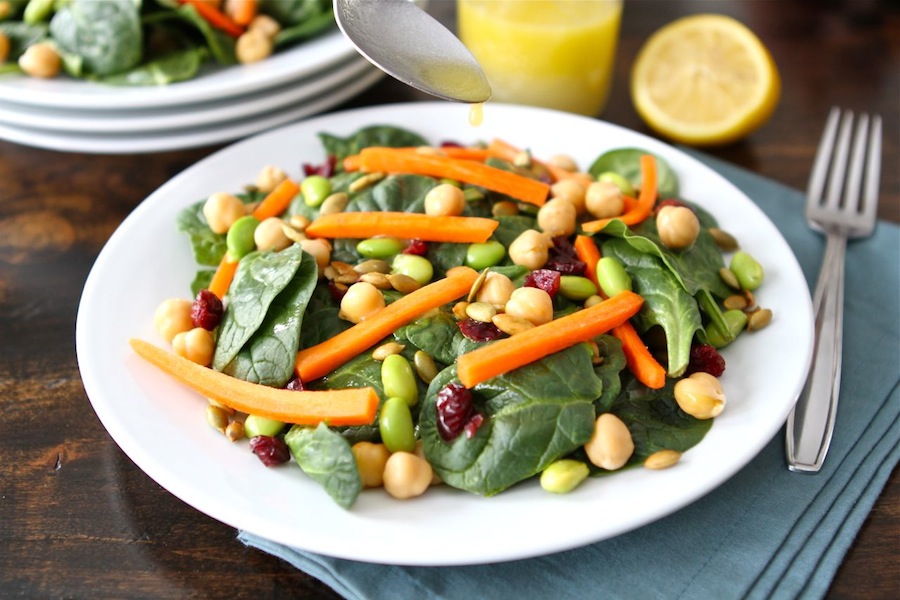
Arrange spinach on a plate and top with the edamame mixture. Drizzle the salad with lemon salad dressing. 


Tasty Kitchen Blog: Spinach and Edamame Salad. Guest post by Maria Lichty of Two Peas and Their Pod, recipe submitted by TK member Bev Weidner of Bev Cooks.

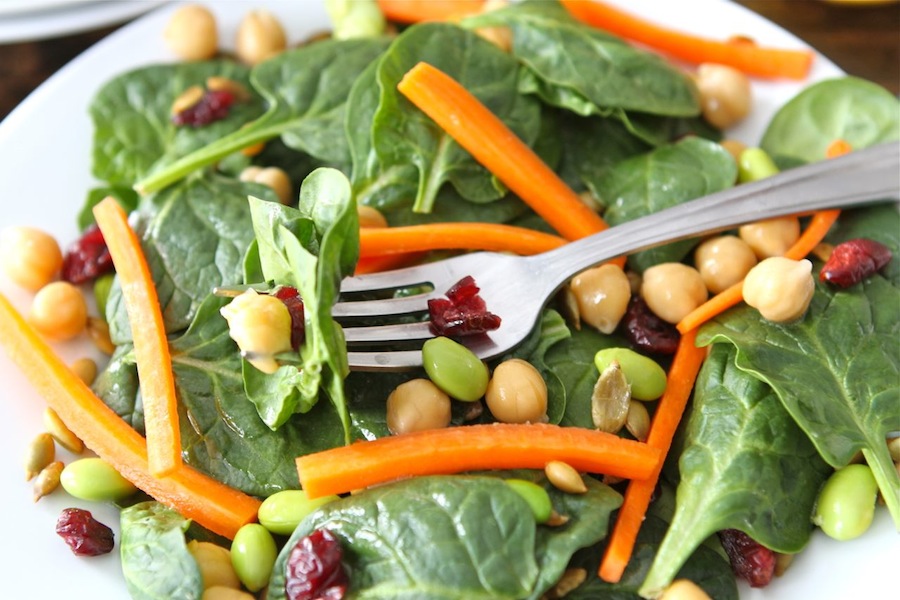
Grab a fork and dive in. 

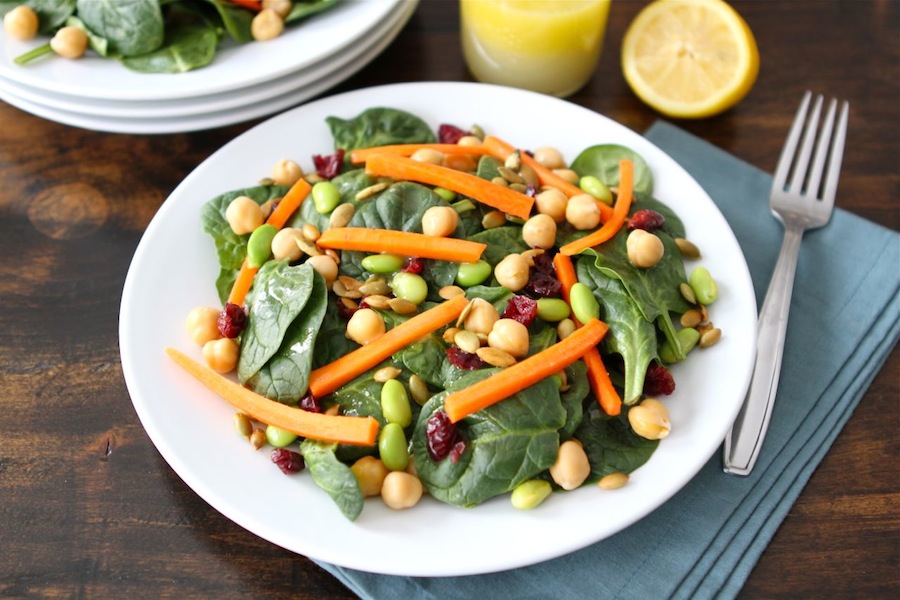
This salad is pretty much perfection. It is fresh, easy to make, and good for you. I love the bright colors that top the bed of spinach. The carrots and pepitas add a nice crunch, while the chickpeas and edamame add a bit of creaminess in every bite. The dried cranberries add the perfect amount of sweetness. You can use whatever salad dressing you like but I highly recommend the lemon olive oil dressing. It is light and refreshing and doesn’t overpower the simple flavors in the salad. This salad keeps well, so make a big salad and put it in the refrigerator for later in the week. It is good every time! 

Thanks Bev for introducing me to this fantastic salad. It is a new favorite at our house. Make sure you visit Bev’s blog, Bev Cooks, for other tasty recipes. She is always cooking up something delicious and can always put a smile on your face. 


Printable Recipe

Spinach and Edamame Salad

See post on Bev Weidner’s site!
5.00 Mitt(s) 2 Rating(s)2 votes, average: 5.00 out of 52 votes, average: 5.00 out of 52 votes, average: 5.00 out of 52 votes, average: 5.00 out of 52 votes, average: 5.00 out of 5

Prep Time:

Cook Time:

Difficulty: Easy

Servings: 4

4
x

Print Options

Page size Letter 3x5 4x6
Text Size Small Medium Large
Content Include description
Include prep time, etc.
Show image

Description

You’re probably going to grow a cape when you eat this.

Ingredients

  • 1 bag (10 Oz. Size) Frozen Edamame
  • 1 can (14.5 Oz. Size) Chickpeas, Drained And Rinsed
  • 1 cup Dried Cranberries
  • ½ cups Pepitas
  • 2 whole Carrots, Finely Sliced
  • 2 whole Lemons, Juiced
  • ½ cups Extra Virgin Olive Oil
  • 1 pinch Coarse Salt And Freshly Ground Pepper
  • 10 cups Baby Spinach, Divided

Preparation Instructions

Cook the edamame in boiling water according to package directions. Drain. Once cooked, let cool about 5 minutes.

In a large bowl, toss the edamame with the chickpeas, dried cranberries, pepitas and carrots.

In a small bowl or jar, whisk or shake the lemon juice with the oil, along with a good pinch of salt and pepper. Voila, dressing.

Arrange about 2 cups of spinach on a plate, and top with the edamame mixture. Dress the salad with the lemon dressing and … lunch!

Note: You can use whatever dressing you prefer. I just happen to be obsessed with straight-up lemon.


_______________________________________

Maria and her husband Josh (who she affectionately refers to as her “dough boy”) blog at Two Peas and Their Pod. They’ve been featured on Saveur, Eatocracy, Gourmet Live, Glamour, and the Los Angeles Times, to name just a few. They’d also just recently added a little pea to their pod. We’re so glad to have them here!


Profile photo of Laurie - Simply Scratch

Brown Butter Peanut Butter Cookies

Posted by in Baking, Step-by-Step Recipes

Tasty Kitchen Blog: Brown-Butter Peanut Butter Cookies. Guest post by Laurie McNamara of Simply Scratch, recipe submitted by TK member Melissa (bellelatte).

 
When I think of peanut butter cookies my mind instantly recalls those perfectly round cookies with the fork-hashed “X” in the center. But what if I told you TK member Bellelatte does it one better? What if I told you Melissa takes your everyday peanut butter cookie and transcends it into a realm of pure confection perfection?
 
How can that be? Two words: brown butter


Tasty Kitchen Blog: Brown-Butter Peanut Butter Cookies. Guest post by Laurie McNamara of Simply Scratch, recipe submitted by TK member Melissa (bellelatte).

Yes, brown butter is the bees-knees. It’s what makes the world go round. Well, at least it makes my world go round, and after you taste these cookies I bet you’ll feel the same way.


Tasty Kitchen Blog: Brown-Butter Peanut Butter Cookies. Guest post by Laurie McNamara of Simply Scratch, recipe submitted by TK member Melissa (bellelatte).

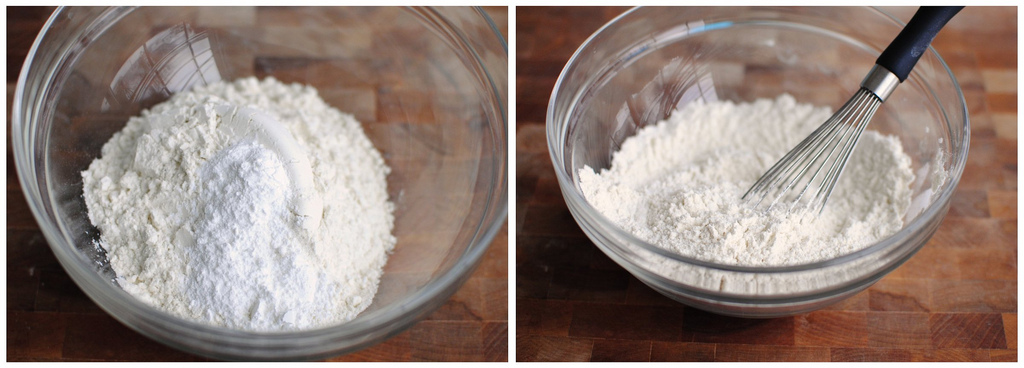
In a small bowl, whisk together the flour, baking powder, baking soda, and salt.  


Tasty Kitchen Blog: Brown-Butter Peanut Butter Cookies. Guest post by Laurie McNamara of Simply Scratch, recipe submitted by TK member Melissa (bellelatte).

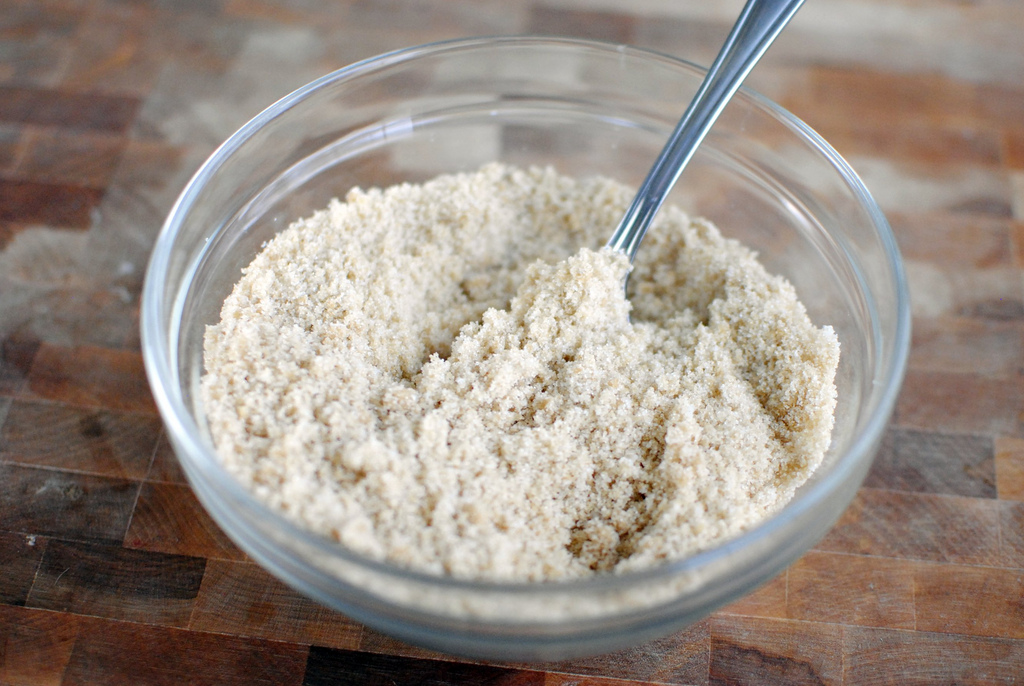
In a medium bowl, combine the white sugar with the brown sugar and set aside.


Tasty Kitchen Blog: Brown-Butter Peanut Butter Cookies. Guest post by Laurie McNamara of Simply Scratch, recipe submitted by TK member Melissa (bellelatte).

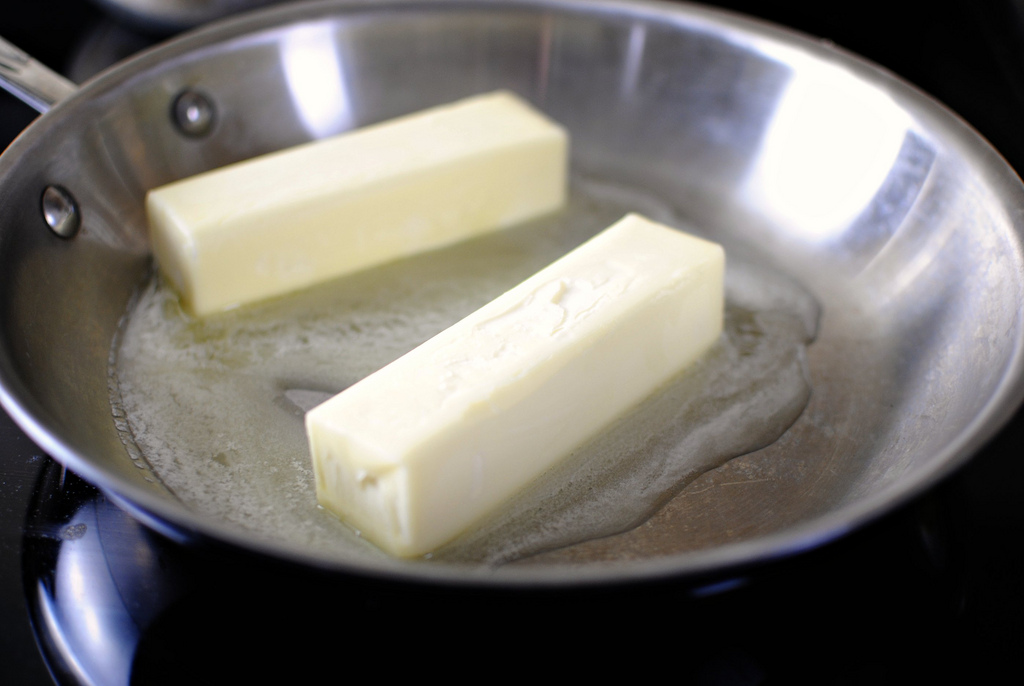
In a medium (10-inch) skillet, slowly melt 2 sticks of unsalted butter over medium-low heat.


Tasty Kitchen Blog: Brown-Butter Peanut Butter Cookies. Guest post by Laurie McNamara of Simply Scratch, recipe submitted by TK member Melissa (bellelatte).

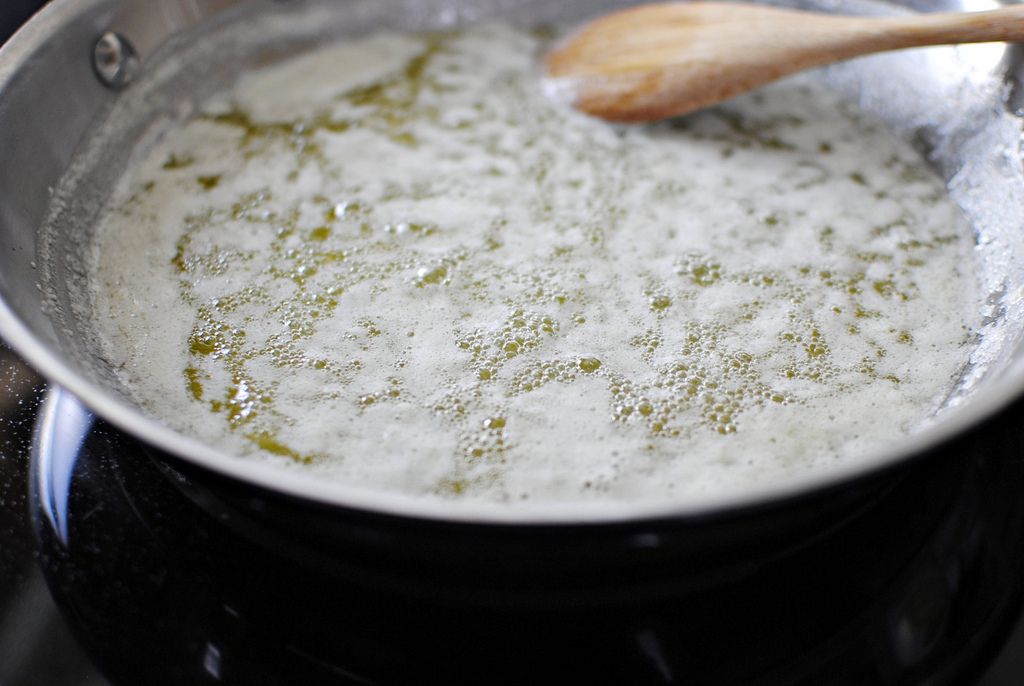
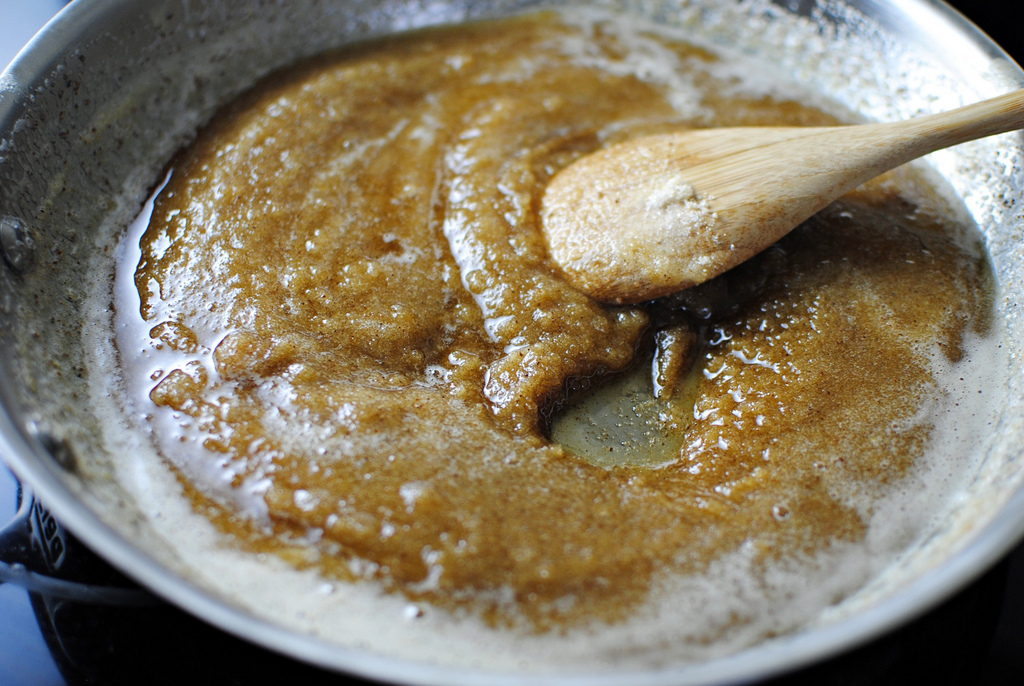
Continue to stir as the butter bubbles.


Tasty Kitchen Blog: Brown-Butter Peanut Butter Cookies. Guest post by Laurie McNamara of Simply Scratch, recipe submitted by TK member Melissa (bellelatte).

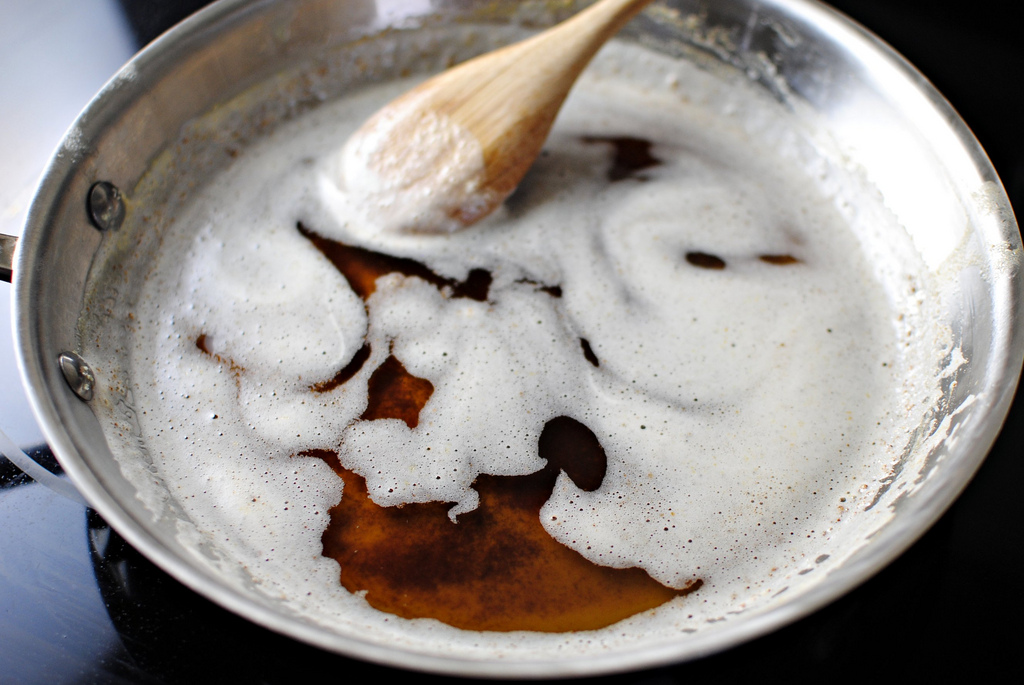
Once the milk solids have sunk to the bottom of the pan and turned the prettiest shade of brown, remove the pan off the heat.


Tasty Kitchen Blog: Brown-Butter Peanut Butter Cookies. Guest post by Laurie McNamara of Simply Scratch, recipe submitted by TK member Melissa (bellelatte).

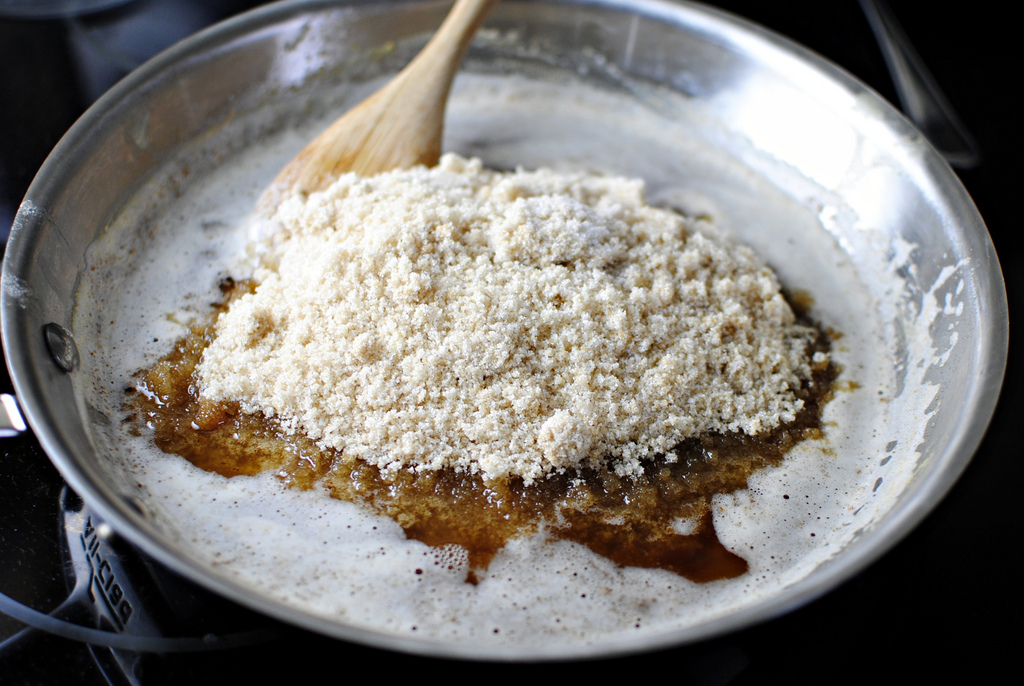
Now you can add the sugars into the browned butter.


Tasty Kitchen Blog: Brown-Butter Peanut Butter Cookies. Guest post by Laurie McNamara of Simply Scratch, recipe submitted by TK member Melissa (bellelatte).

Slowly stir to combine and let cool for 10 minutes or so.


Tasty Kitchen Blog: Brown-Butter Peanut Butter Cookies. Guest post by Laurie McNamara of Simply Scratch, recipe submitted by TK member Melissa (bellelatte).

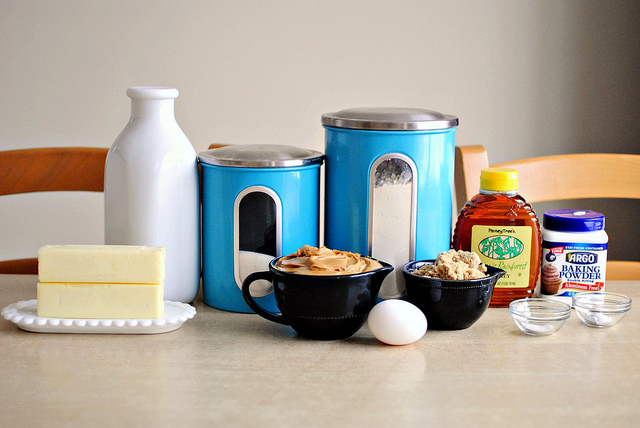
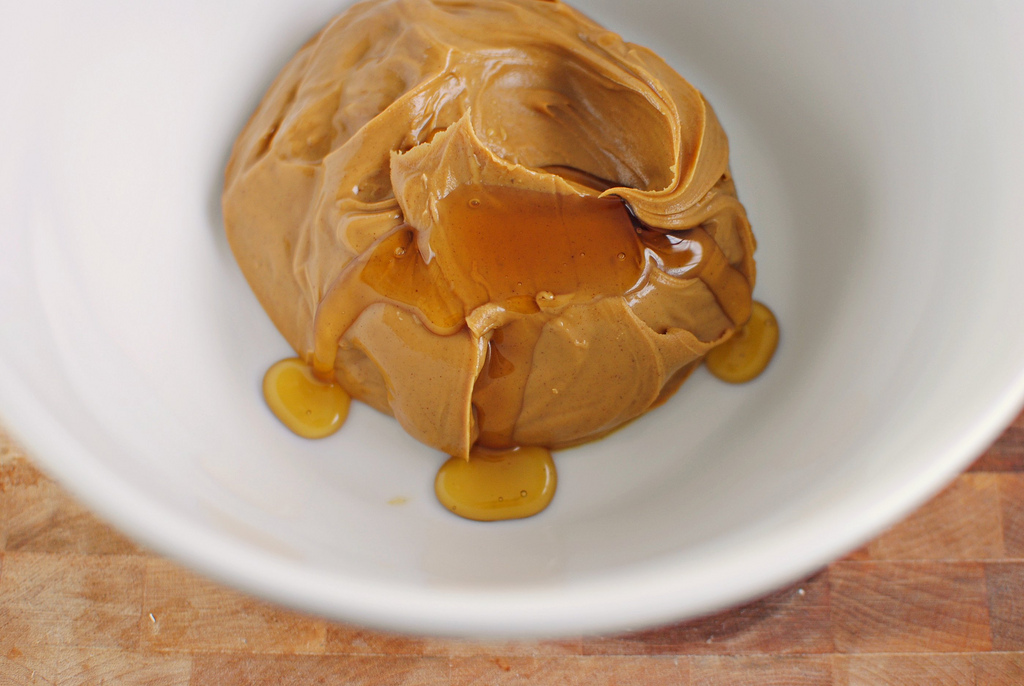
In a large bowl, add the creamy peanut butter and the honey.


Tasty Kitchen Blog: Brown-Butter Peanut Butter Cookies. Guest post by Laurie McNamara of Simply Scratch, recipe submitted by TK member Melissa (bellelatte).

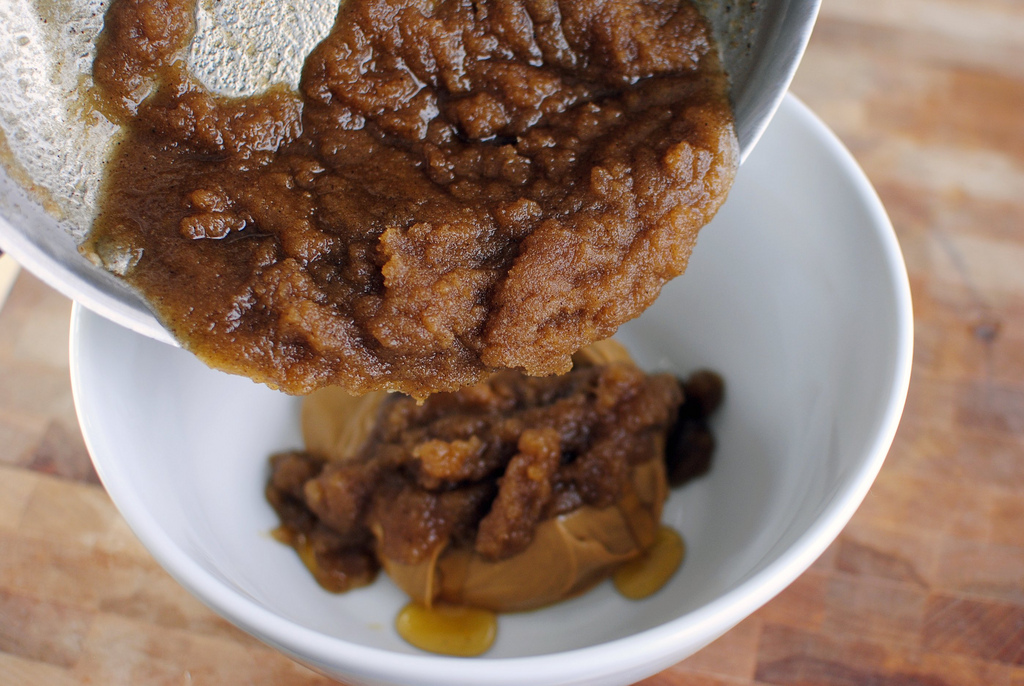
Then add in the cooled browned butter-sugar mixture.


Tasty Kitchen Blog: Brown-Butter Peanut Butter Cookies. Guest post by Laurie McNamara of Simply Scratch, recipe submitted by TK member Melissa (bellelatte).

Mix that until just combined.


Tasty Kitchen Blog: Brown-Butter Peanut Butter Cookies. Guest post by Laurie McNamara of Simply Scratch, recipe submitted by TK member Melissa (bellelatte).

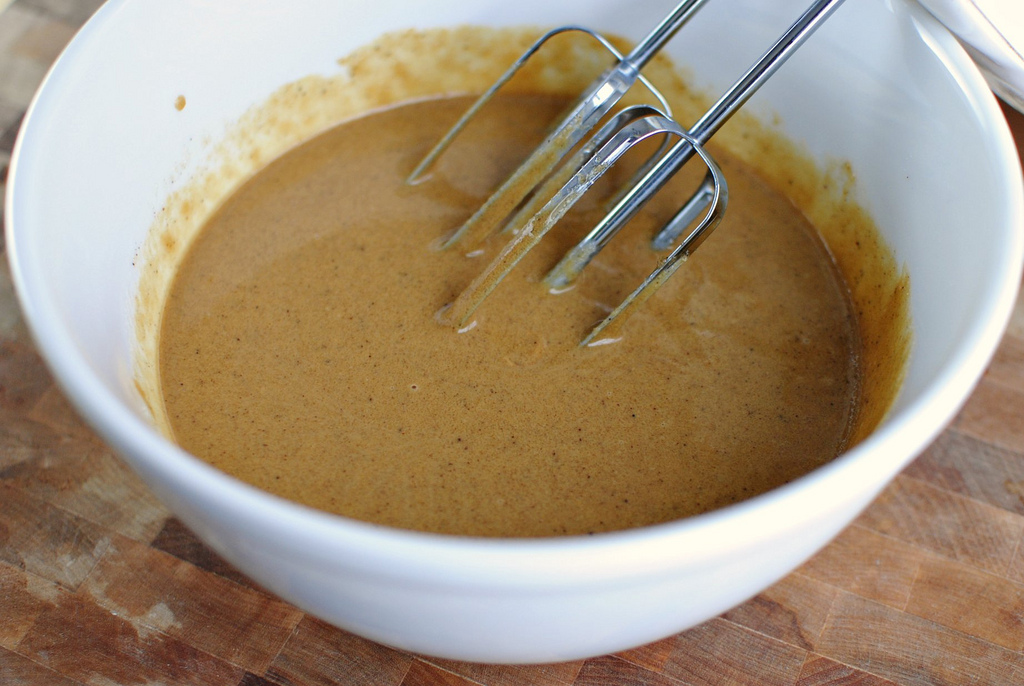
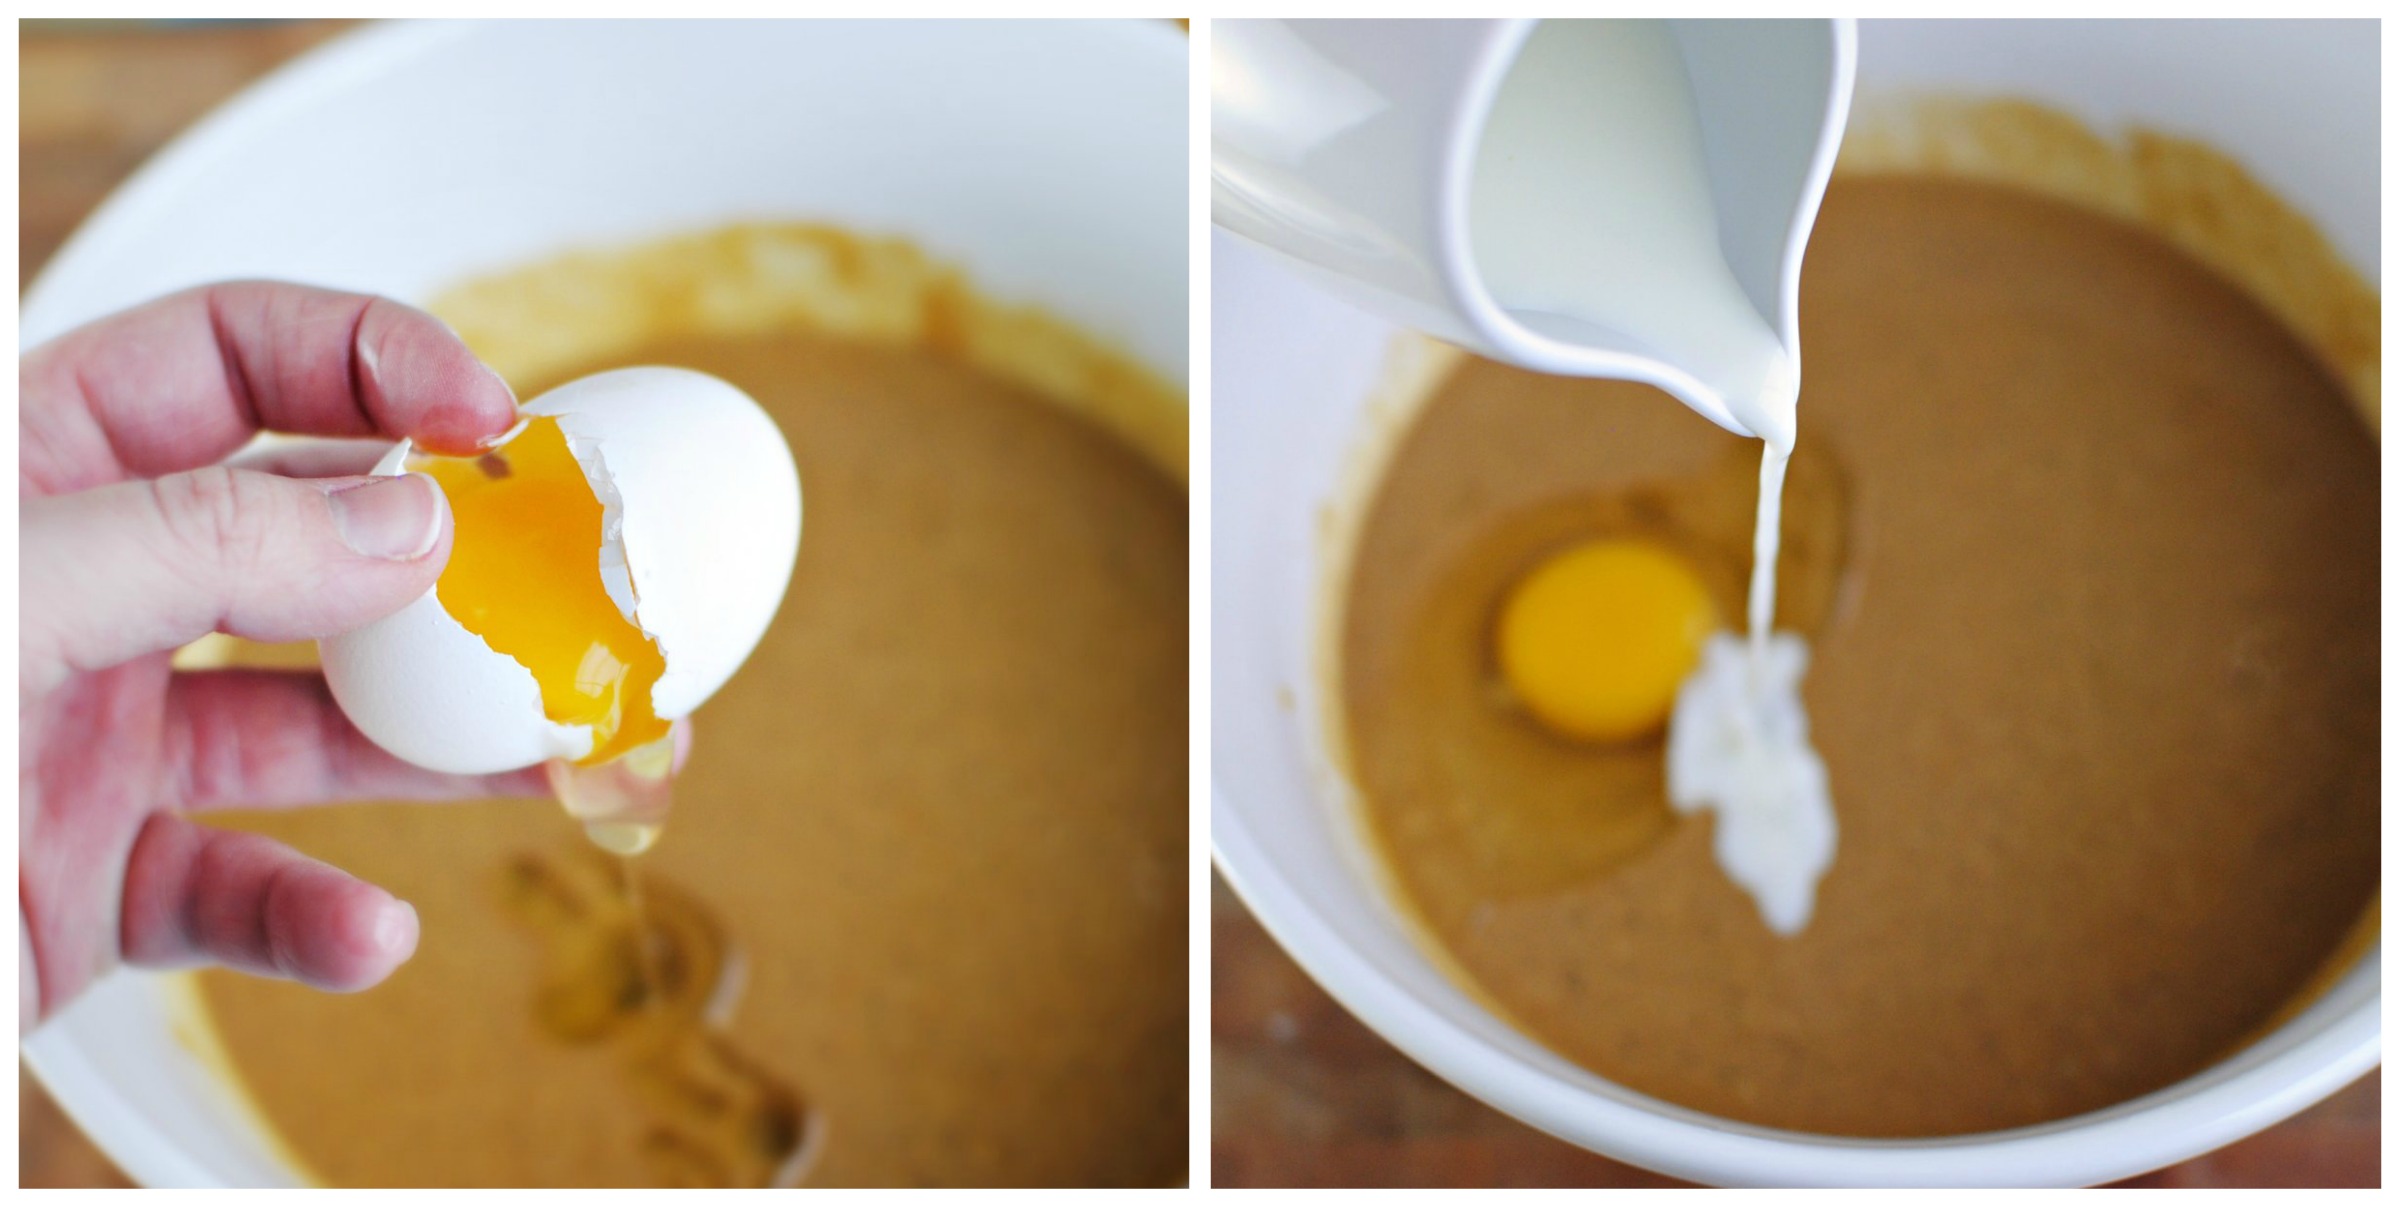
Crack and add in 1 egg and the 1/4 cup of milk.


Tasty Kitchen Blog: Brown-Butter Peanut Butter Cookies. Guest post by Laurie McNamara of Simply Scratch, recipe submitted by TK member Melissa (bellelatte).

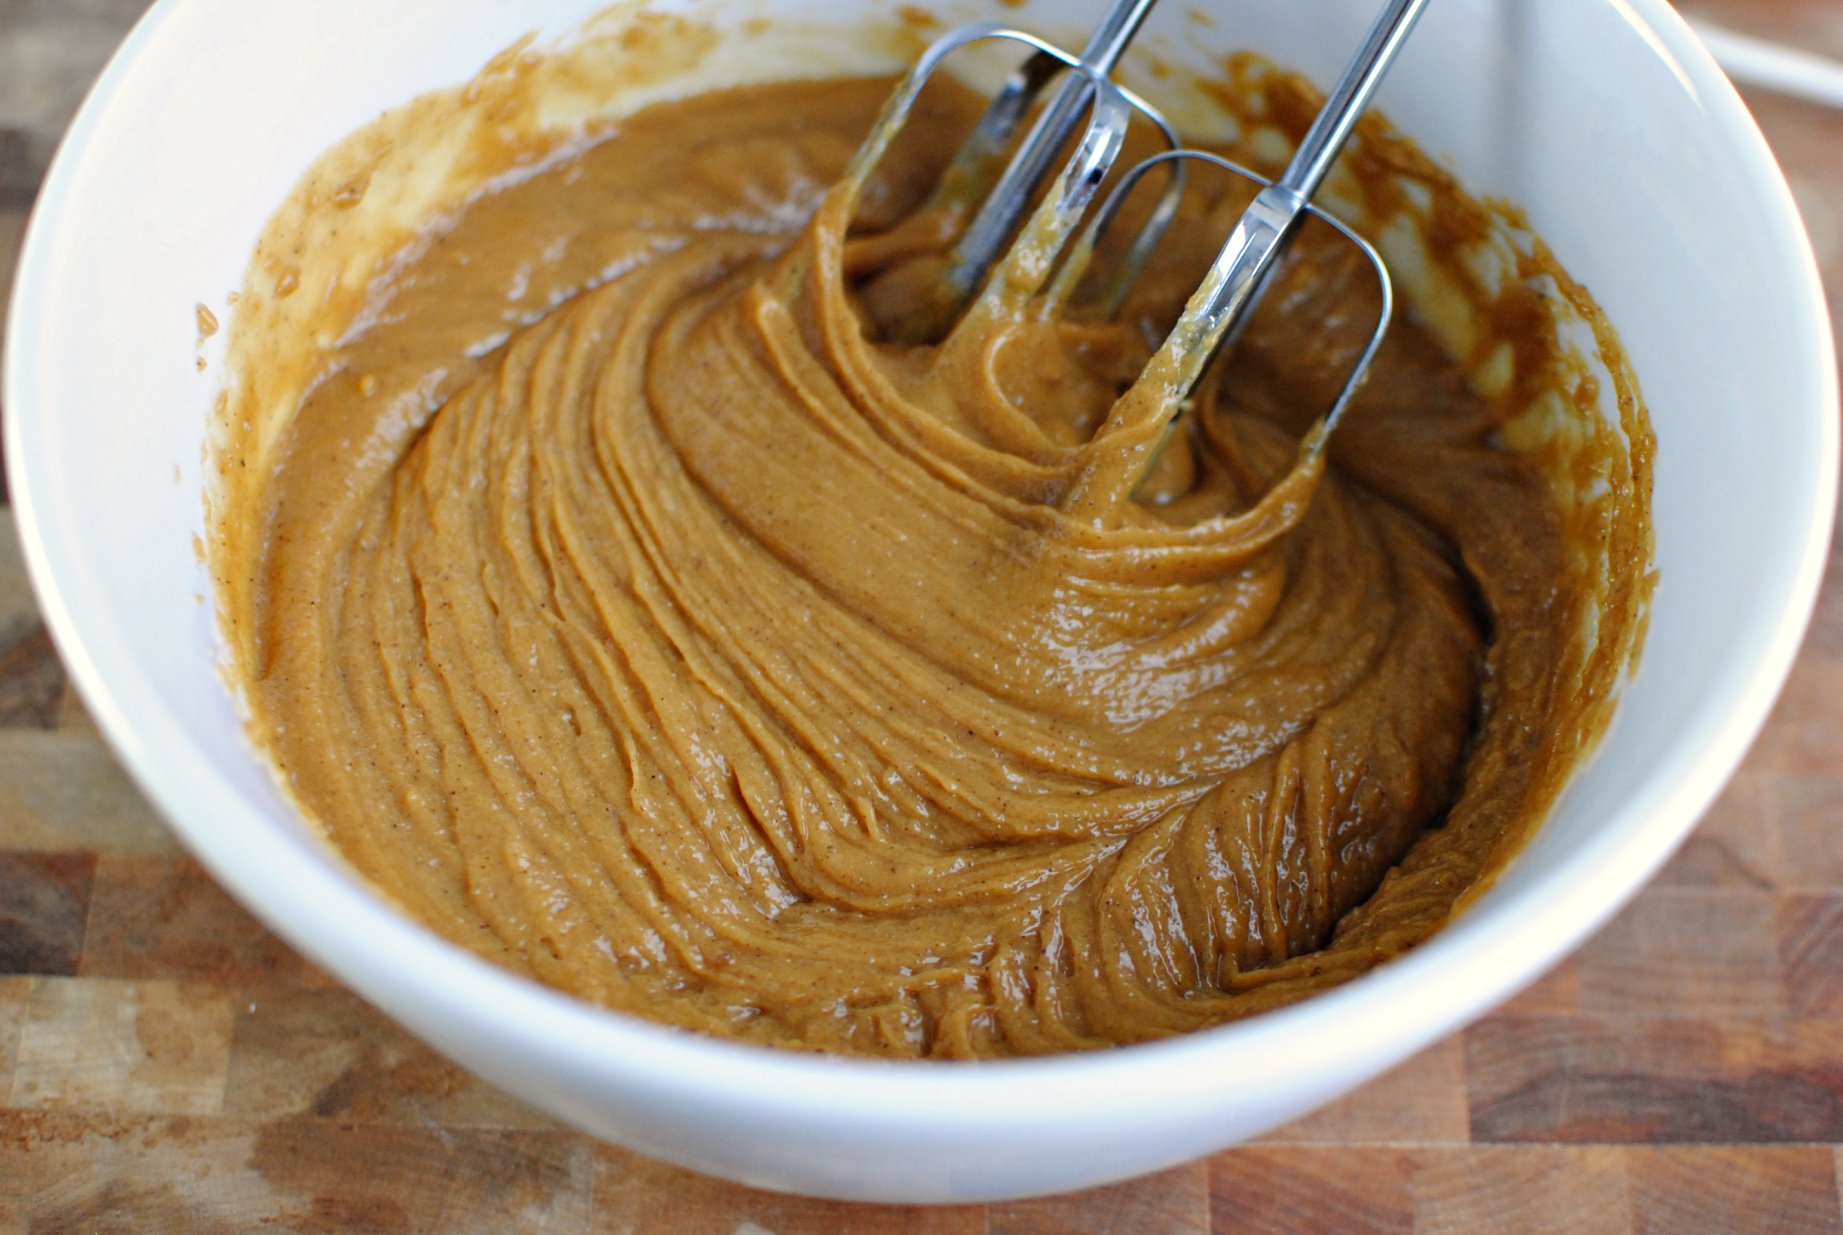
Then blend until smooth.


Tasty Kitchen Blog: Brown-Butter Peanut Butter Cookies. Guest post by Laurie McNamara of Simply Scratch, recipe submitted by TK member Melissa (bellelatte).

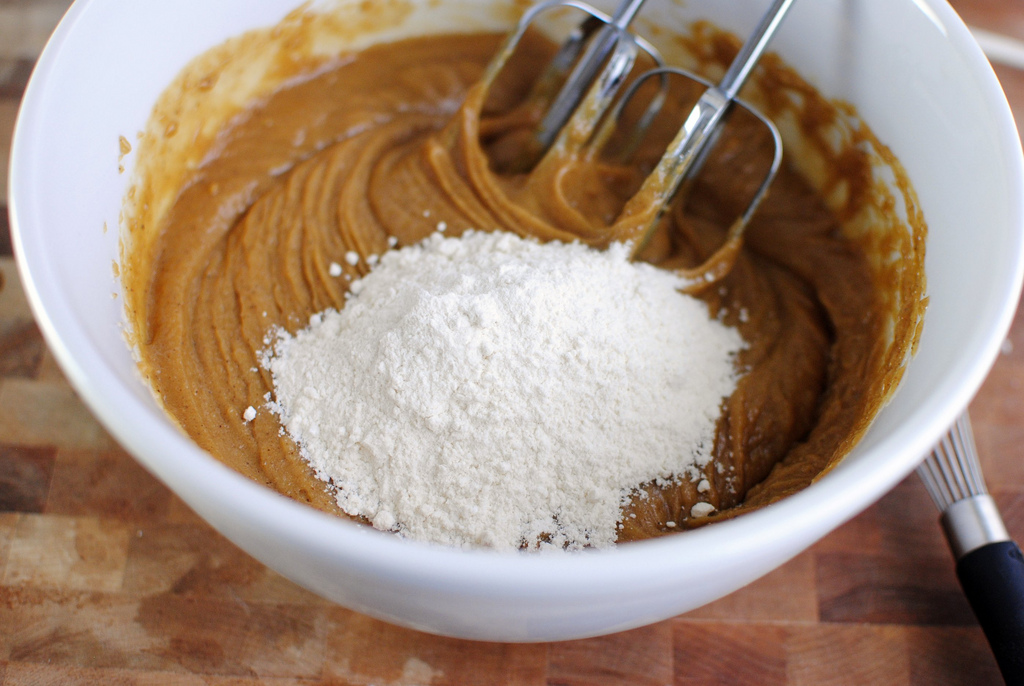
Gradually add in the dry ingredients a little at a time and mix after each addition.


Tasty Kitchen Blog: Brown-Butter Peanut Butter Cookies. Guest post by Laurie McNamara of Simply Scratch, recipe submitted by TK member Melissa (bellelatte).

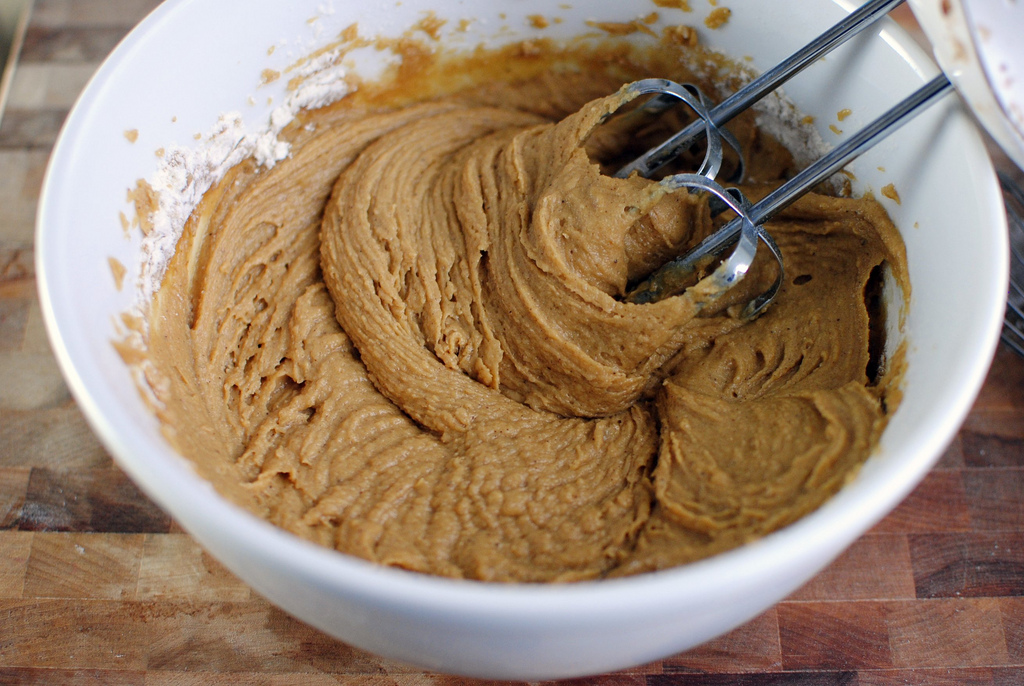
Stop once the dough comes together.


Tasty Kitchen Blog: Brown-Butter Peanut Butter Cookies. Guest post by Laurie McNamara of Simply Scratch, recipe submitted by TK member Melissa (bellelatte).

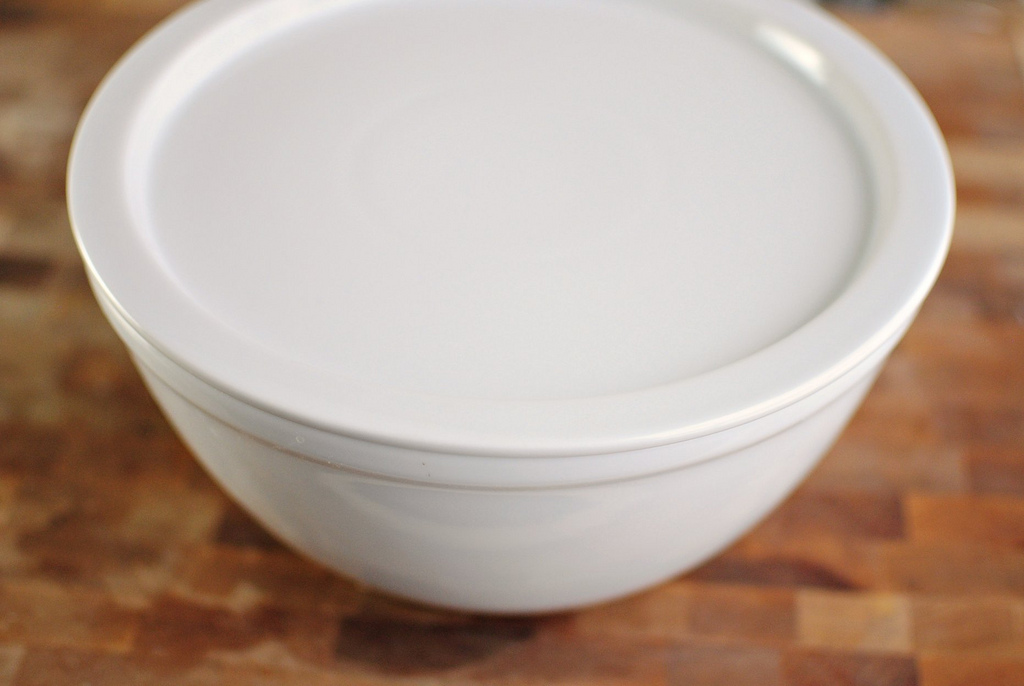
Cover and refrigerate for at least 2 hours. This gives the dough a chance to cool and solidify so the cookies don’t melt into one giant blob on your cookie sheet. So as hard as it may seem, do not skip this step.


Tasty Kitchen Blog: Brown-Butter Peanut Butter Cookies. Guest post by Laurie McNamara of Simply Scratch, recipe submitted by TK member Melissa (bellelatte).

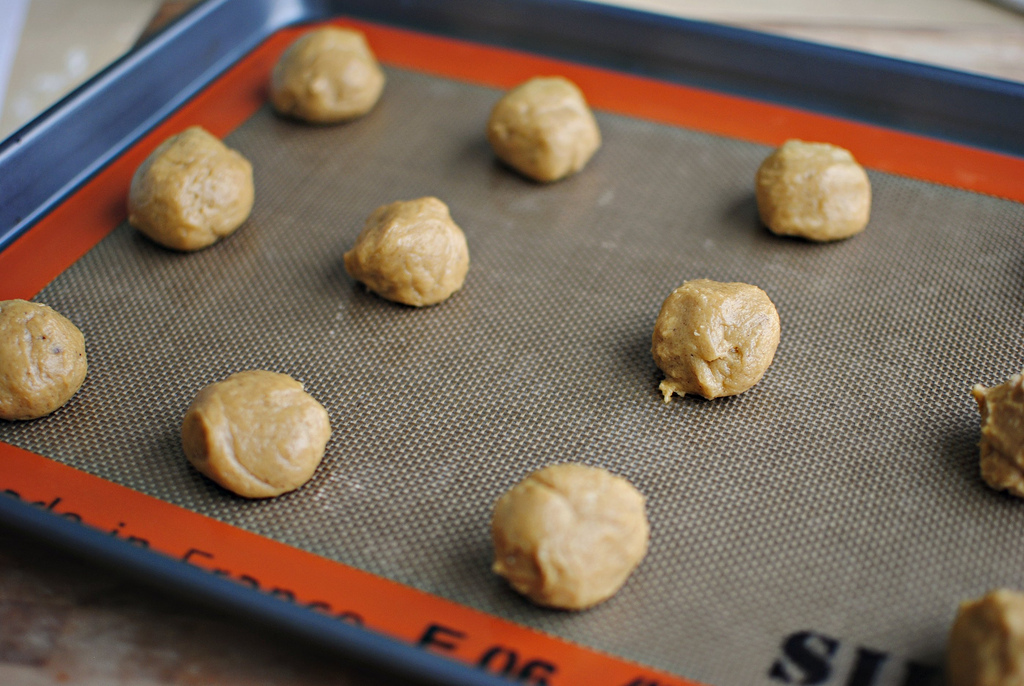
Once the cookie dough has had the chance to cool, measure and form into 1-inch balls.


Tasty Kitchen Blog: Brown-Butter Peanut Butter Cookies. Guest post by Laurie McNamara of Simply Scratch, recipe submitted by TK member Melissa (bellelatte).

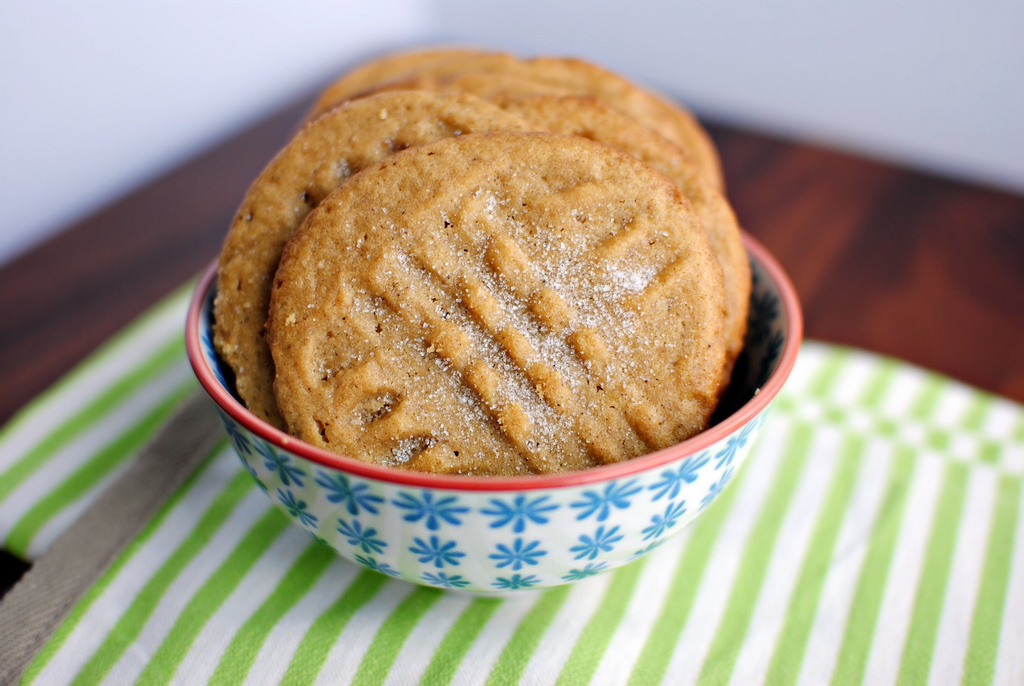
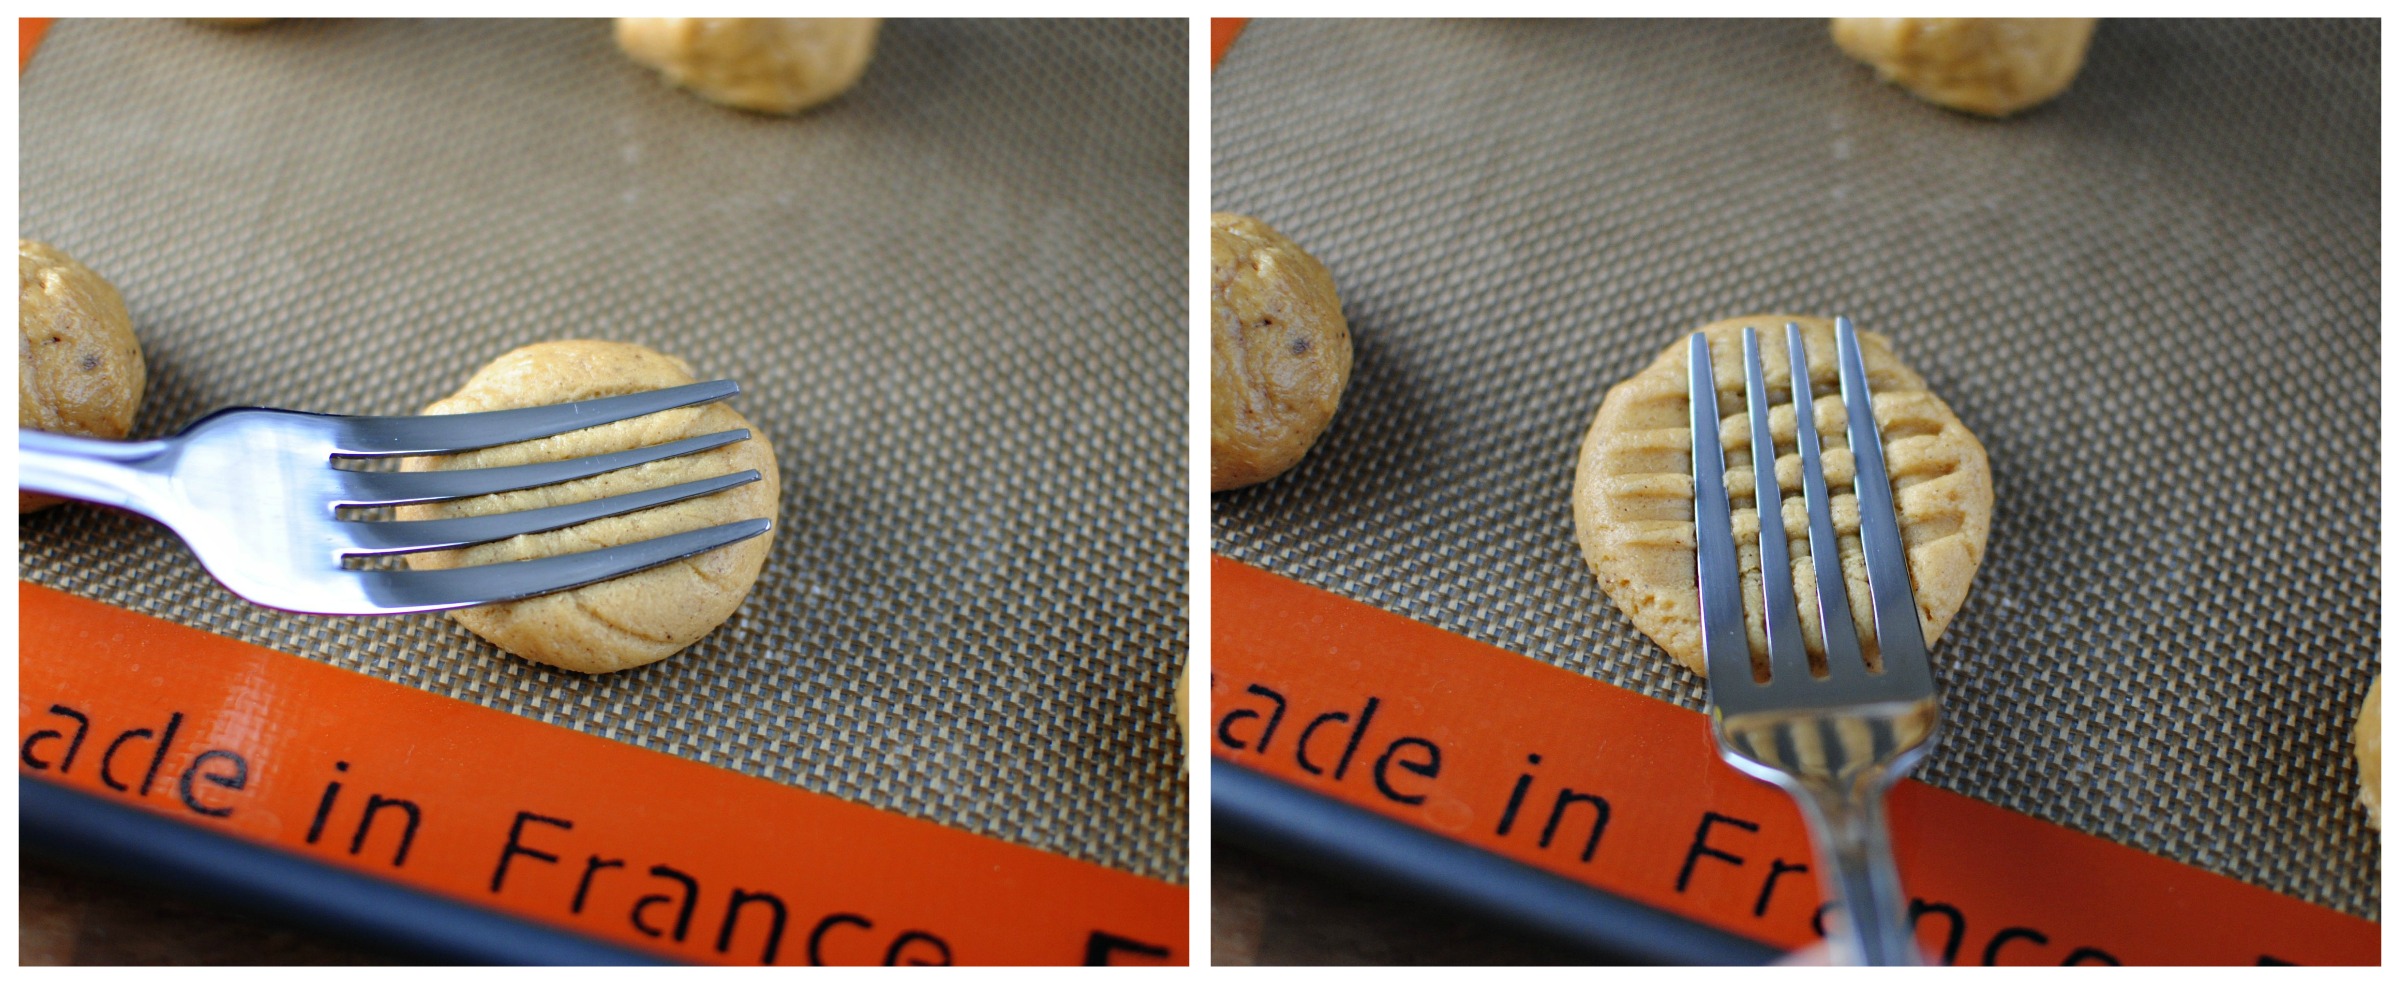
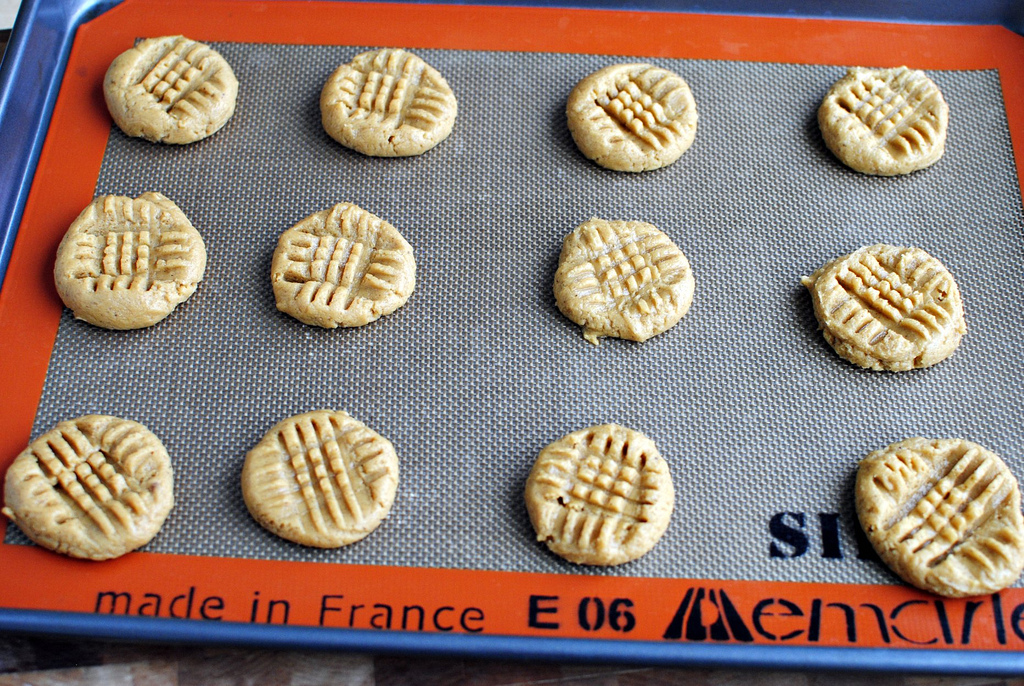
With a fork, press down to make the traditional “X” in each of the cookies.


Tasty Kitchen Blog: Brown-Butter Peanut Butter Cookies. Guest post by Laurie McNamara of Simply Scratch, recipe submitted by TK member Melissa (bellelatte).

Slide the cookies into a preheated 350ºF oven and bake for 9-10 minutes.


Tasty Kitchen Blog: Brown-Butter Peanut Butter Cookies. Guest post by Laurie McNamara of Simply Scratch, recipe submitted by TK member Melissa (bellelatte).

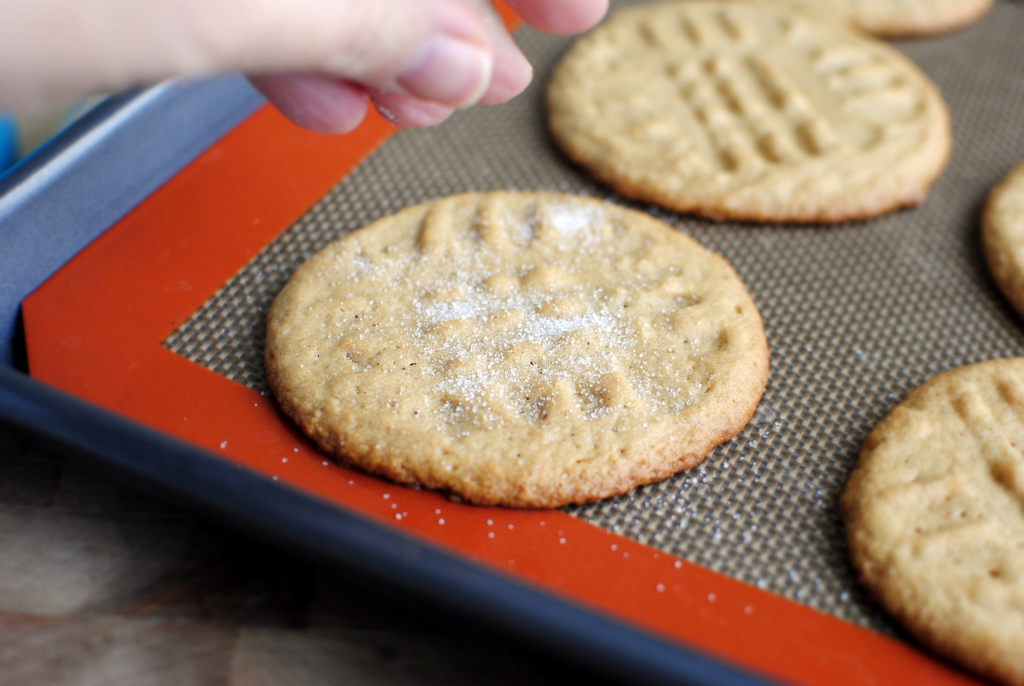
The second the cookies come out of the oven, sprinkle with a little granulated sugar. Once they’ve had a chance to cool and are firm enough, transfer to a wire rack to cool completely and repeat with the remaining cookie dough.


Tasty Kitchen Blog: Brown-Butter Peanut Butter Cookies. Guest post by Laurie McNamara of Simply Scratch, recipe submitted by TK member Melissa (bellelatte).

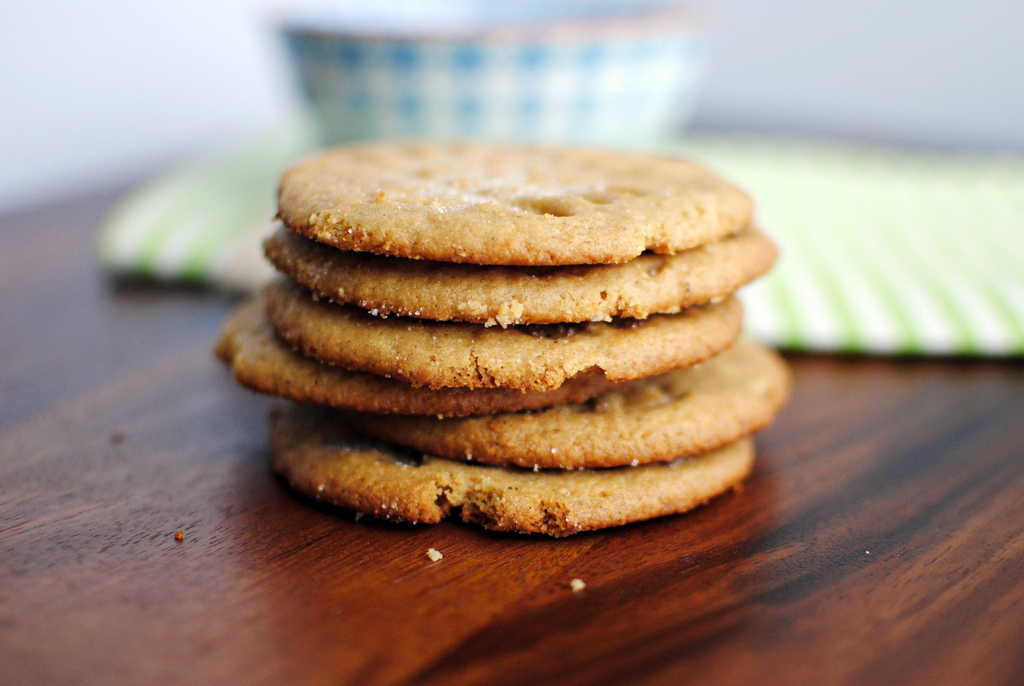
Light and flaky, these cookies will no doubt melt in your mouth. Promise.


Tasty Kitchen Blog: Brown-Butter Peanut Butter Cookies. Guest post by Laurie McNamara of Simply Scratch, recipe submitted by TK member Melissa (bellelatte).

If you’re a brown butter fan then these delicate brown-butter peanut butter cookies will win you over, big time. I think it’s safe to say I won’t go back to making regular peanut butter cookies ever again.
 
After you’re done whipping up these cookies, be sure to raid Bellelatte’s recipe box for more sweet treats. Thank you Melissa for sharing this wonderful recipe with us!


Printable Recipe

Brown Butter Peanut Butter Cookies

5.00 Mitt(s) 3 Rating(s)3 votes, average: 5.00 out of 53 votes, average: 5.00 out of 53 votes, average: 5.00 out of 53 votes, average: 5.00 out of 53 votes, average: 5.00 out of 5

Prep Time:

Cook Time:

Difficulty: Easy

Servings: 36

36
x

Print Options

Page size Letter 3x5 4x6
Text Size Small Medium Large
Content Include description
Include prep time, etc.
Show image

Description

I have an obsession with browned butter, so incorporating it into peanut butter cookies seemed like a great idea—and it was!

Ingredients

  • ½ cups Light Brown Sugar
  • ½ cups Granulated Sugar, Plus Extra To Sprinkle On Top Of Baked Cookies
  • 2 sticks Unsalted Butter
  • 1-⅓ cup All-purpose Flour
  • 2-½ teaspoons Baking Powder
  • ½ teaspoons Baking Soda
  • ¼ teaspoons Salt
  • 1 cup Creamy Peanut Butter
  • ½ teaspoons Honey
  • 1 whole Egg
  • ¼ cups Milk

Preparation Instructions

1. In a large bowl, mix brown sugar and granulated sugar.
2. Brown the butter in a medium saucepan and add to the sugars. Set aside and allow mixture to cool for about ten minutes.
3. In a small bowl, whisk together the flour, baking powder, baking soda, and salt.
4. Once butter is cooled, add peanut butter and honey and beat on medium speed just until smooth. Beat in egg. Mix in milk.
5. Add the flour mixture and mix just until dough comes together.
6. Cover and refrigerate dough for at least two hours or up to overnight.
7. When ready to bake, preheat oven to 350 degrees F and line a baking sheet with parchment paper or silicone baking mats.
8. Roll dough into 1-inch balls. Flatten by pressing down with a fork, while holding the sides of the cookie in order to maintain a circular shape. Press the fork into the cookie again in a perpendicular angle to the first indentation, forming a crosshatch pattern.
9. Bake until cookies begin to brown around the edges but centers still look somewhat doughy, about 9–10 minutes.
10. Immediately upon removing from the oven, sprinkle sugar on the tops of the cookies and let cool on baking sheets until firm enough to handle, then transfer to a wire rack.


_______________________________________

Laurie is the force behind Simply Scratch, a blog that documents her efforts to find and create recipes that are made simply from scratch. (We think it’s sweet that her mother-in-law helped her set up her blog and get started.) We love her recipes; they’re not just tried and true, but they look gorgeous as well. Check out her blog and you’ll become a fan too.
 

Profile photo of EatLiveRun

Birthday Cake Batter Popcorn

Posted by in Step-by-Step Recipes

  When I was saw this recipe by Mrs. Schwatz a few weeks ago, I knew I had to stop everything and make it immediately. Birthday Cake Batter Popcorn? Yes, please. As a lover of anything salty and sweet, I knew it would be a winner. Plus, it involved rainbow sprinkles. Enough said.   I […]

Profile photo of georgiapellegrini

Spicy Black Bean Burger

Posted by in Step-by-Step Recipes

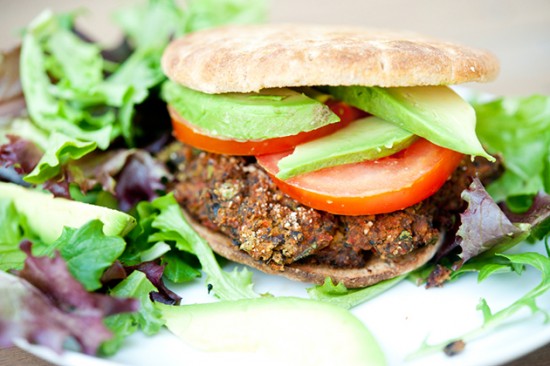
You will need: red bell pepper, Sriracha my love, chili powder, cumin, onion powder, bread crumbs, parsley, onion, garlic, one egg, and black beans. You don’t need mustard. I’m not sure why I put it in the picture. Maybe I was anticipating what I was going to put on my burger. But the truth is […]

Profile photo of Erica Lea

Sausage and Potato Soup

Posted by in Step-by-Step Recipes

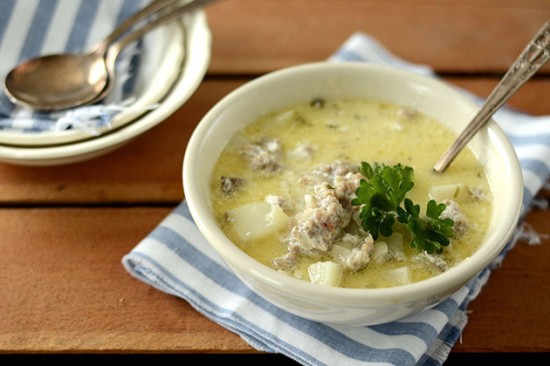
  One day, over two years ago, I asked my dad what he wanted for supper. His reply? Soup. This was fine by me since soup is one of my favorite meals to make. I planned to make his favorite: cream of broccoli soup, but was stopped short by freezer-burnt broccoli. Not appetizing. Avoiding panic, […]

Profile photo of Amber {Sprinkled With Flour}

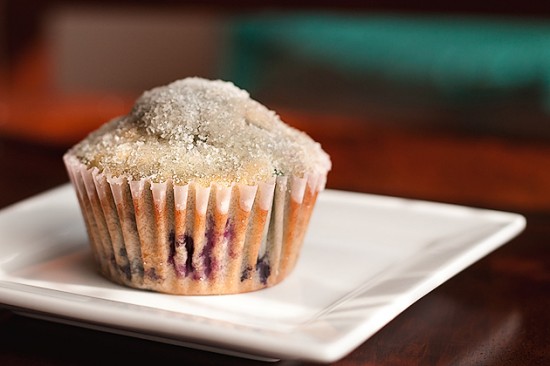
Lemon Blueberry Crunch Muffins

Posted by in Baking, Step-by-Step Recipes

  I love muffins. Soft and delicate or chunky and hearty, I’ll take them any way they come. Now, there’s is a thin line that separates muffins from cupcakes. I’m not sure exactly what it is, but I feel a great deal better about myself when eating a muffin. Who cares if the muffin is […]