The Pioneer Woman Tasty Kitchen
Profile photo of EatLiveRun

Sugar Cookie Butter (Gluten-Free!)

Posted by in Step-by-Step Recipes

Tasty Kitchen Blog: Sugar Cookie Butter. Guest post by Jenna Weber of Eat, Live, Run; recipe submitted by TK member Rachel of Studio Cuisine.

 
This yummy (and surprisingly healthy!) homemade cookie butter combines the two great loves of my life: cookie dough and nut butter.

I’ll be honest and tell you guys that whenever I bake cookies, which is quite often given my job, I never wash my bowl out until after I’ve swiped my finger through it at least half a dozen times. Sometimes more, depending on the day. Don’t act like you have no idea what I’m talking about!

So when I found Rachel’s recipe for a spreadable cookie dough that contains no raw eggs, I leapt for joy! As a bonus, it’s even gluten-free. This incredibly addicting Sugar Cookie Butter tastes just like sugar cookie dough and is simple to make, as long as you have a food processor or high speed blender.

Let’s get started!


Tasty Kitchen Blog: Sugar Cookie Butter. Guest post by Jenna Weber of Eat, Live, Run; recipe submitted by TK member Rachel of Studio Cuisine.

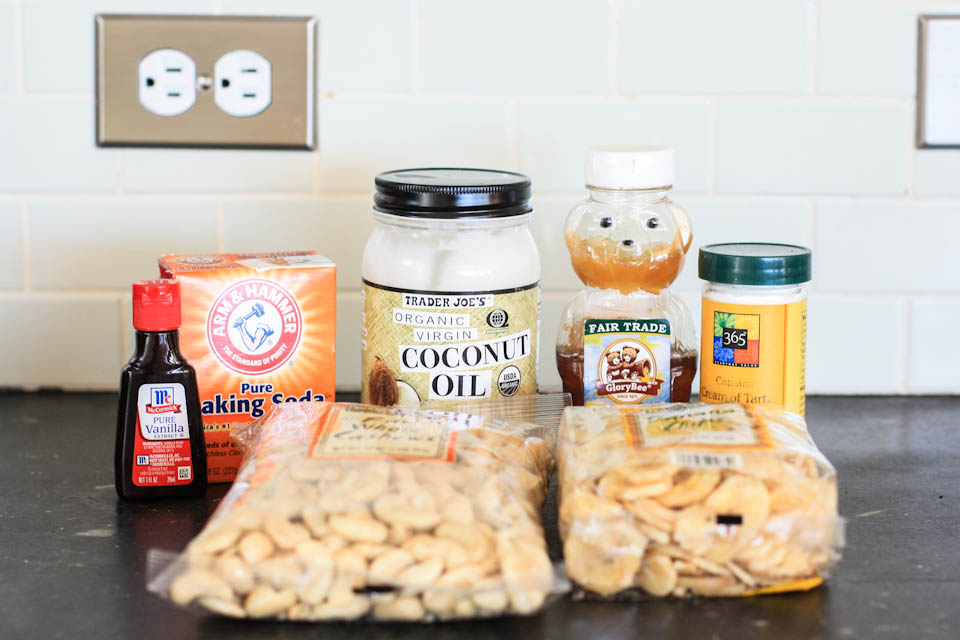
Here’s all the ingredients you need: raw cashews, banana chips, baking soda, cream of tartar, vanilla extract, honey and coconut oil.


Tasty Kitchen Blog: Sugar Cookie Butter. Guest post by Jenna Weber of Eat, Live, Run; recipe submitted by TK member Rachel of Studio Cuisine.

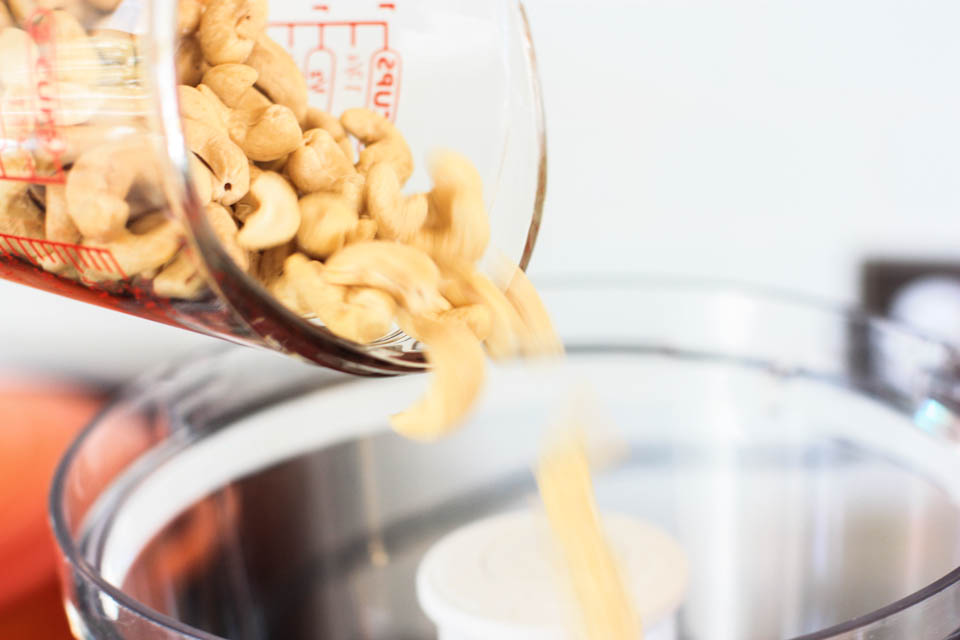
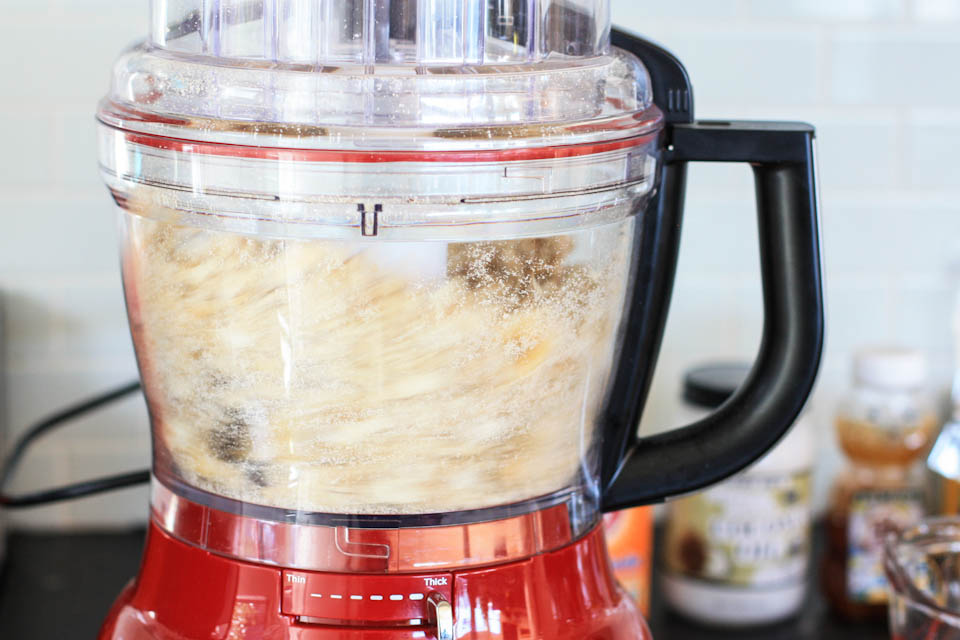
First, combine the cashews and banana chips in your food processor and process until a crumbly nut butter consistency is reached. For me, this took almost eight minutes and I stopped the food processor a few times to scrape down the bowl with a rubber spatula (and taste test!).


Tasty Kitchen Blog: Sugar Cookie Butter. Guest post by Jenna Weber of Eat, Live, Run; recipe submitted by TK member Rachel of Studio Cuisine.

If you’re not sure, keep going! It’s impossible to over-process this.


Tasty Kitchen Blog: Sugar Cookie Butter. Guest post by Jenna Weber of Eat, Live, Run; recipe submitted by TK member Rachel of Studio Cuisine.

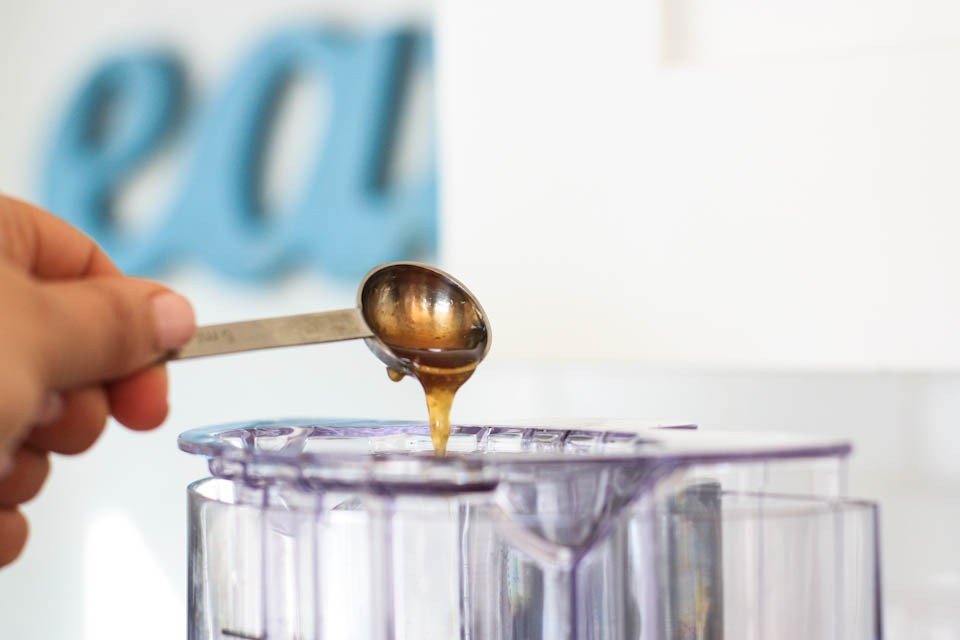
After your banana chips and cashews are combined and relatively smooth, add your honey.

Note that I added double the amount of honey that was listed in the original recipe. What can I say? I like my cookie butter sweet.


Tasty Kitchen Blog: Sugar Cookie Butter. Guest post by Jenna Weber of Eat, Live, Run; recipe submitted by TK member Rachel of Studio Cuisine.

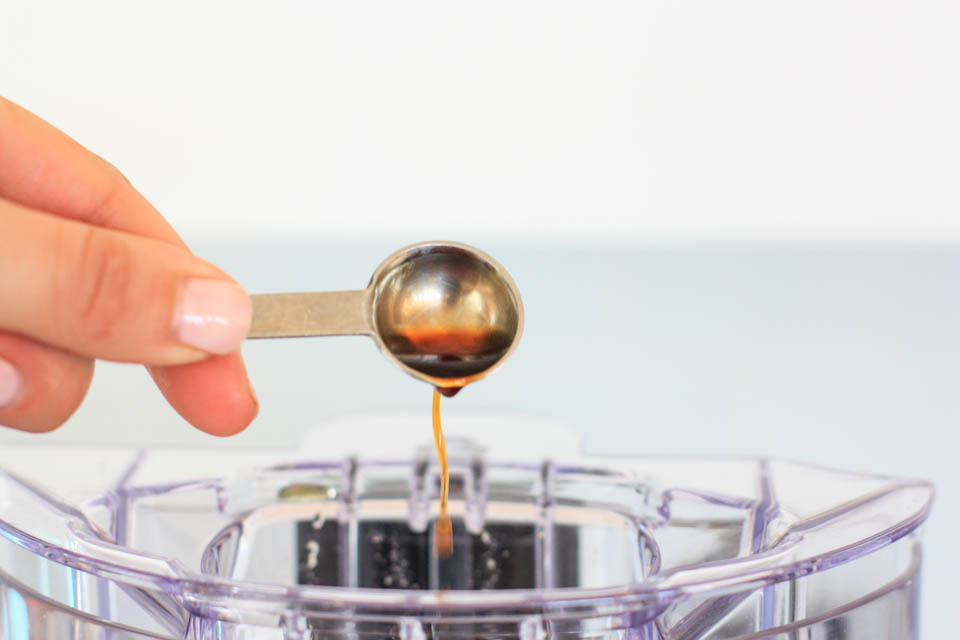
After adding the honey, add the vanilla extract with the motor running …


Tasty Kitchen Blog: Sugar Cookie Butter. Guest post by Jenna Weber of Eat, Live, Run; recipe submitted by TK member Rachel of Studio Cuisine.

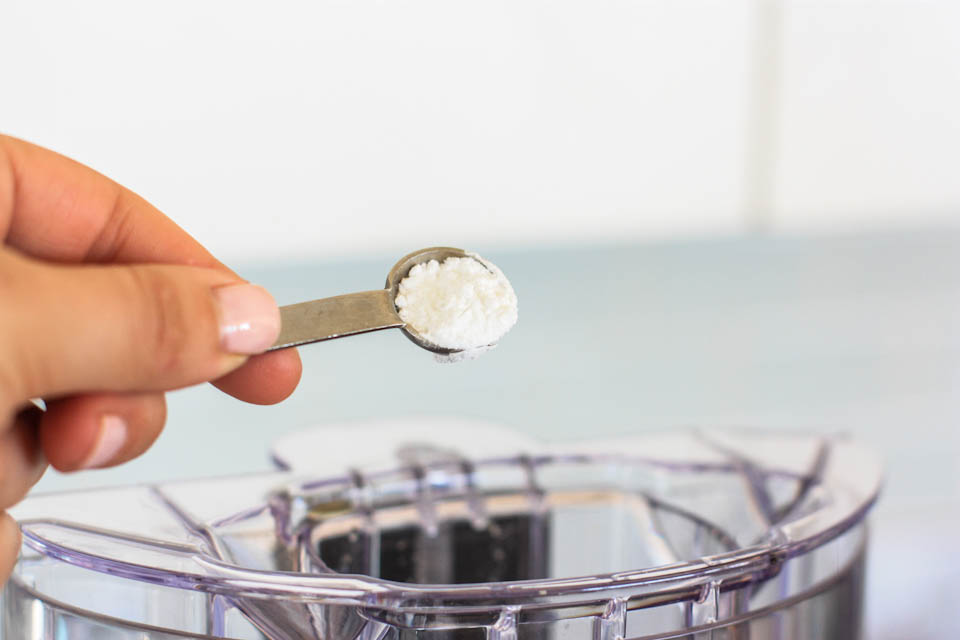
Followed by the cream of tartar …


Tasty Kitchen Blog: Sugar Cookie Butter. Guest post by Jenna Weber of Eat, Live, Run; recipe submitted by TK member Rachel of Studio Cuisine.

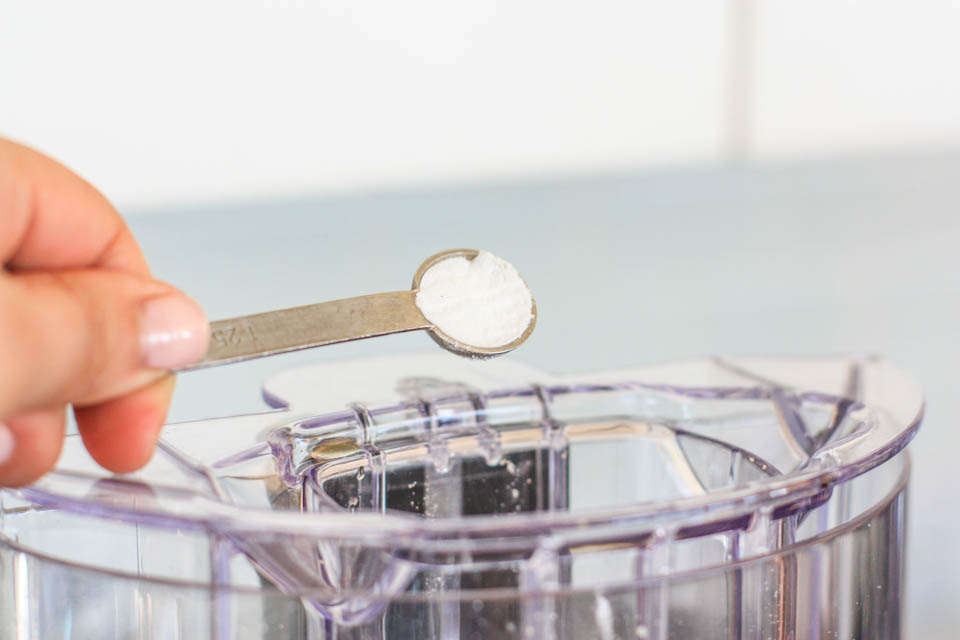
And the baking soda! Scrape down the sides of your bowl and run the motor on low until all ingredients are completely combined.


Tasty Kitchen Blog: Sugar Cookie Butter. Guest post by Jenna Weber of Eat, Live, Run; recipe submitted by TK member Rachel of Studio Cuisine.

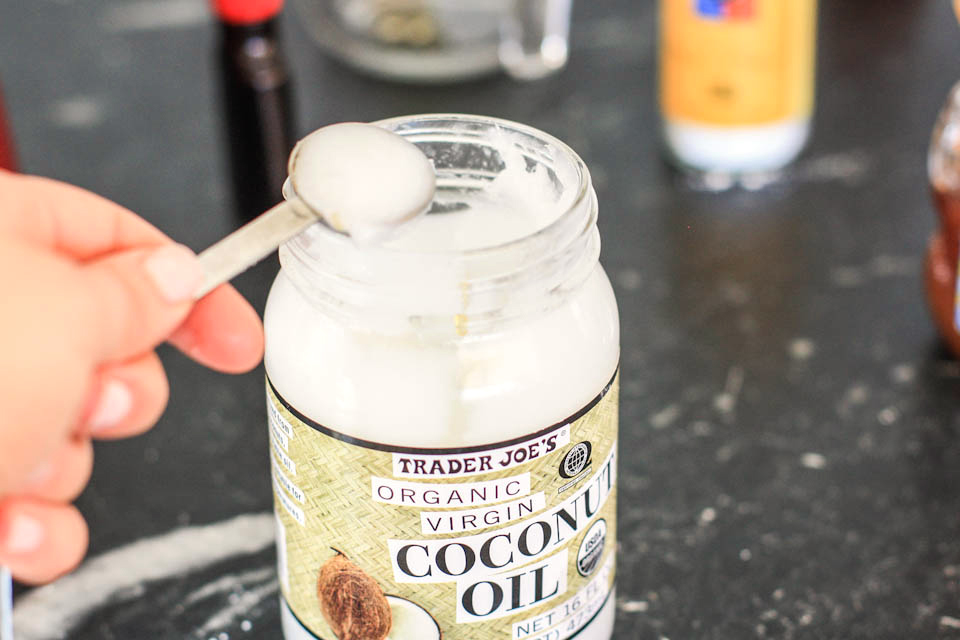
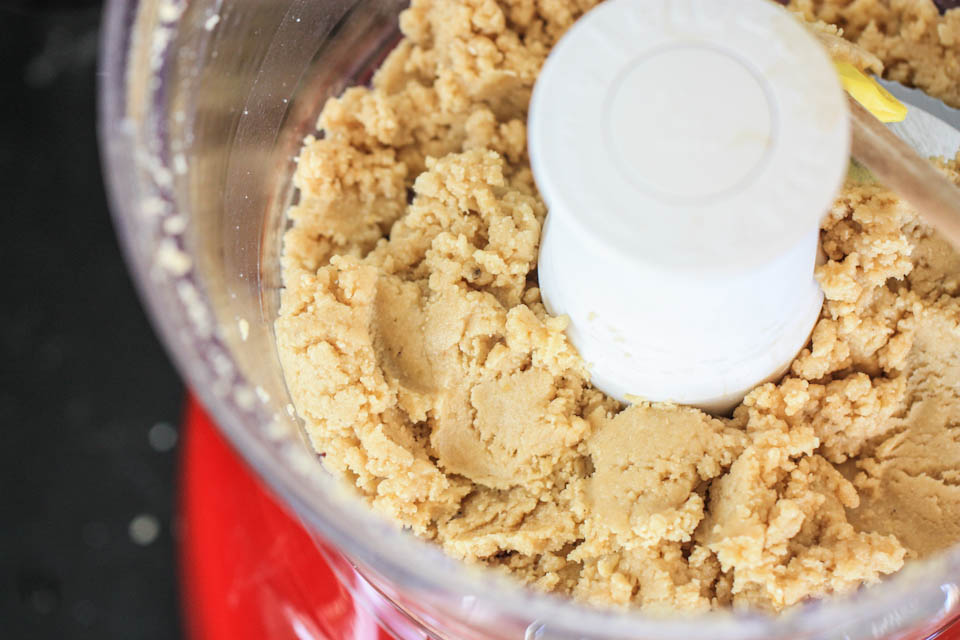
The last ingredient to add is the coconut oil. Mine was extra soft because it had been sitting on my counter in the sunshine for a little while. I added four teaspoons of this.


Tasty Kitchen Blog: Sugar Cookie Butter. Guest post by Jenna Weber of Eat, Live, Run; recipe submitted by TK member Rachel of Studio Cuisine.

Give it another whirl and then taste. I think it tastes just like cookie dough with a hint of banana. I couldn’t get enough!


Tasty Kitchen Blog: Sugar Cookie Butter. Guest post by Jenna Weber of Eat, Live, Run; recipe submitted by TK member Rachel of Studio Cuisine.

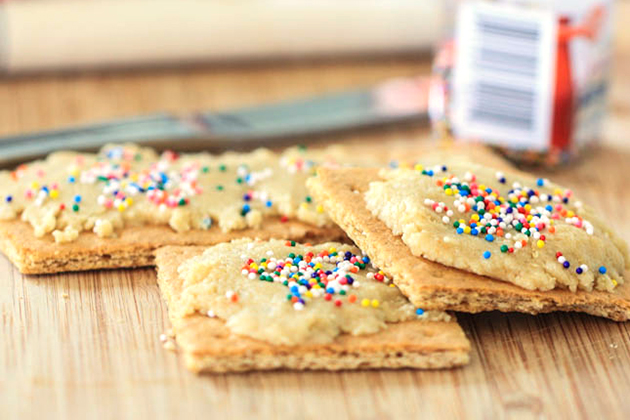
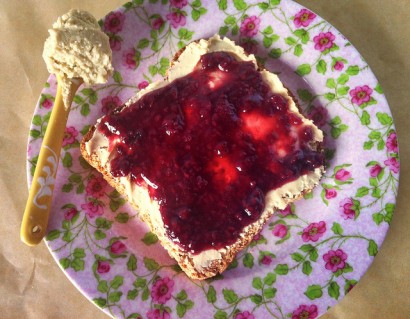
I like to serve my cookie butter spread on (what else?) cookies! Cookies on cookies on cookies. It’s my dream come true. I also thought the rainbow sprinkles made for a pretty touch.

This would be a great afternoon snack for little ones. The cookie butter would also be delicious on top of oatmeal or with sliced apples. You really can’t go wrong; it’s so good!

Thanks, Rachel, for the recipe. Go visit her blog Studio Cuisine for more of her incredible creations!


Printable Recipe
Sugar Cookie Butter

See post on Rachel {Studio Cuisine}’s site!
5.00 Mitt(s) 1 Rating(s)1 vote, average: 5.00 out of 51 vote, average: 5.00 out of 51 vote, average: 5.00 out of 51 vote, average: 5.00 out of 51 vote, average: 5.00 out of 5

Prep Time:

Cook Time:

Difficulty: Easy

Servings: 6

6
x

Print Options

Page size Letter 3x5 4x6
Text Size Small Medium Large
Content Include description
Include prep time, etc.
Show image

Description

A creamy cashew butter that tastes just like sugar cookie dough! You won’t believe it’s healthy!

Ingredients

  • 1-½ cup Raw, Unsalted Cashews
  • ⅓ cups Banana Chips
  • 1 teaspoon Honey
  • ⅓ teaspoons Vanilla Extract
  • ¼ teaspoons Cream Of Tartar
  • ¼ teaspoons Baking Soda
  • 4 teaspoons Coconut Oil

Preparation Instructions

Combine cashews and banana chips in food processor for 8-10 minutes until nut butter consistency is reached, scraping down the sides as necessary.

Add in honey, vanilla extract, cream of tartar, and baking soda and process until combined.

Add in coconut oil, 1 teaspoon at a time, until desired consistency is reached. I added in about 4 teaspoons. This amount got me a thicker nut butter that had a cookie dough-like consistency, but feel free to add more.

Yields about a cup of sugar cookie butter. Lasts for up to 1 week at room temperature in an airtight container.


_______________________________________

Jenna is a food writer who has worked as a pastry chef and bread baker. Her blog Eat, Live, Run has great recipes, travel stories, and the perfect slogan: “Celebrating life, one crumb at a time.”


Profile photo of Erica Lea

No-Knead Dinner Rolls

Posted by in Baking, Step-by-Step Recipes

Tasty Kitchen Blog: No-Knead Dinner Rolls. Guest post by Erica Kastner, recipe submitted by TK member Terri of That's Some Good Cookin'.

 
Let’s face it. There’s just nothing like fresh, homemade bread. Sure, you can get some wonderful, artisan breads at local shops, but they can’t come close to magic of the smell and taste of home-baked bread pulled from the oven and spread with butter and jam (or honey).

But here’s the problem: With busy lives, especially around the holidays, there’s precious little time to spend agonizing over kneading and rise times. And so homemade bread is often neglected.

This recipe, brought to us by Terri, is about as low-fuss as yeast bread gets. All you have to do is mix everything in a large bowl, let it rise, form into buns, and bake once they’re puffy. Still skeptical about no-knead bread? Let me assure you, it is good. Like, really good: fluffy and flavorful and soft. Let me show you!


Tasty Kitchen Blog: No-Knead Dinner Rolls. Guest post by Erica Kastner, recipe submitted by TK member Terri of That's Some Good Cookin'.

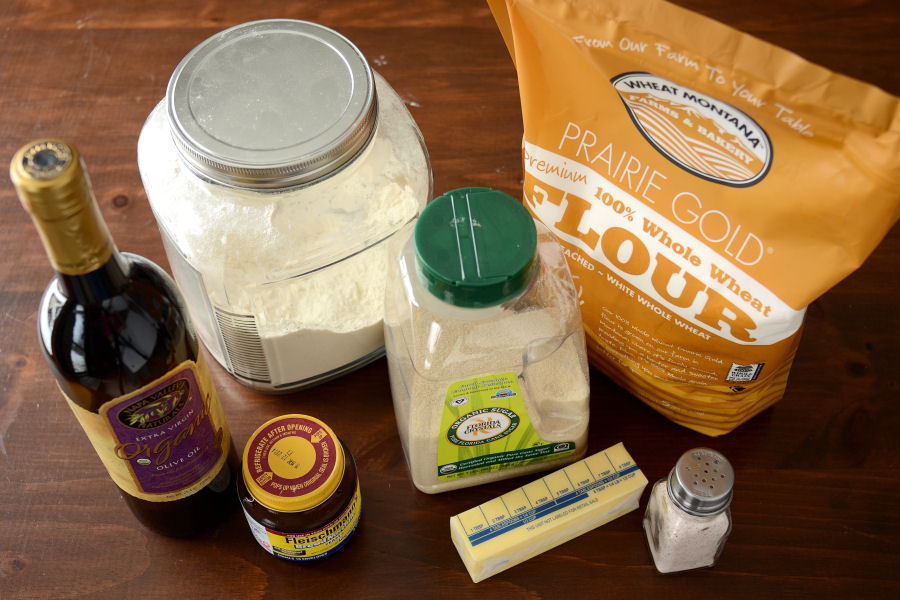
To begin, grab the few ingredients you’ll need: yeast, sugar, oil (I used olive, but if you don’t like the flavor, you could use melted butter or vegetable oil), salt, flour (I used part white, part wheat), butter, and water.


Tasty Kitchen Blog: No-Knead Dinner Rolls. Guest post by Erica Kastner, recipe submitted by TK member Terri of That's Some Good Cookin'.

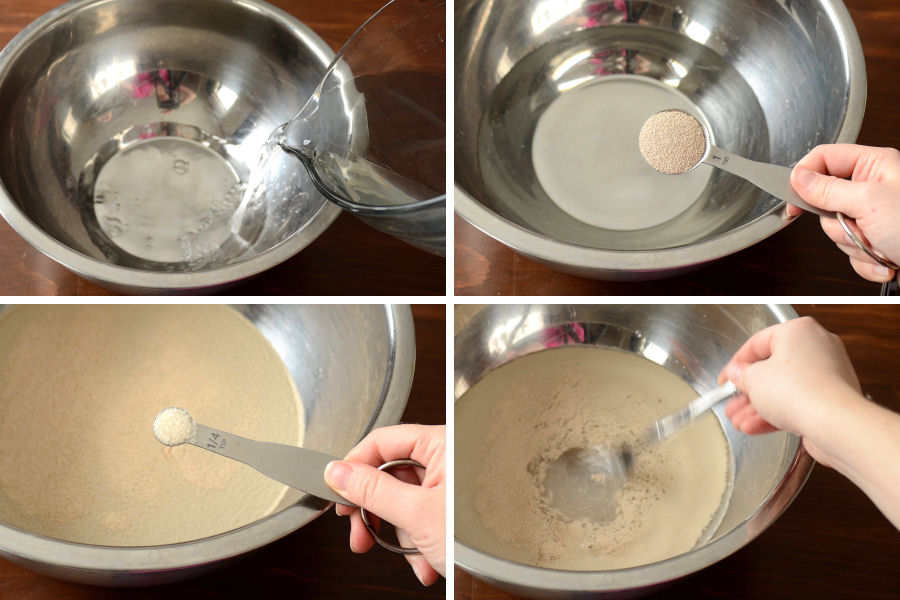
Pour some warm water into a large mixing bowl and sprinkle in the yeast and 1/4 teaspoon of sugar. You can gently stir it with a fork if you wish.


Tasty Kitchen Blog: No-Knead Dinner Rolls. Guest post by Erica Kastner, recipe submitted by TK member Terri of That's Some Good Cookin'.

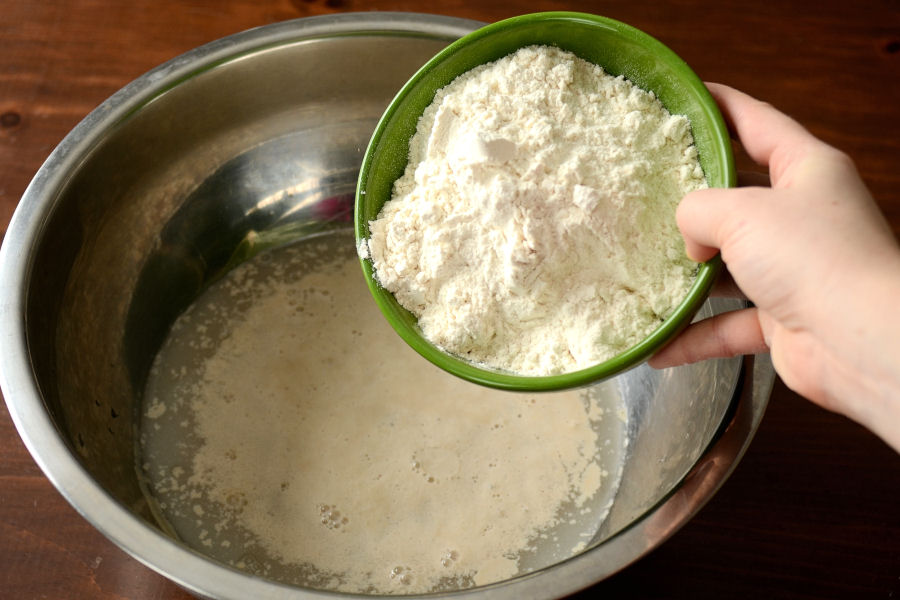
Let the yeast “activate” in the water (about 5 minutes). Then add the flour …


Tasty Kitchen Blog: No-Knead Dinner Rolls. Guest post by Erica Kastner, recipe submitted by TK member Terri of That's Some Good Cookin'.

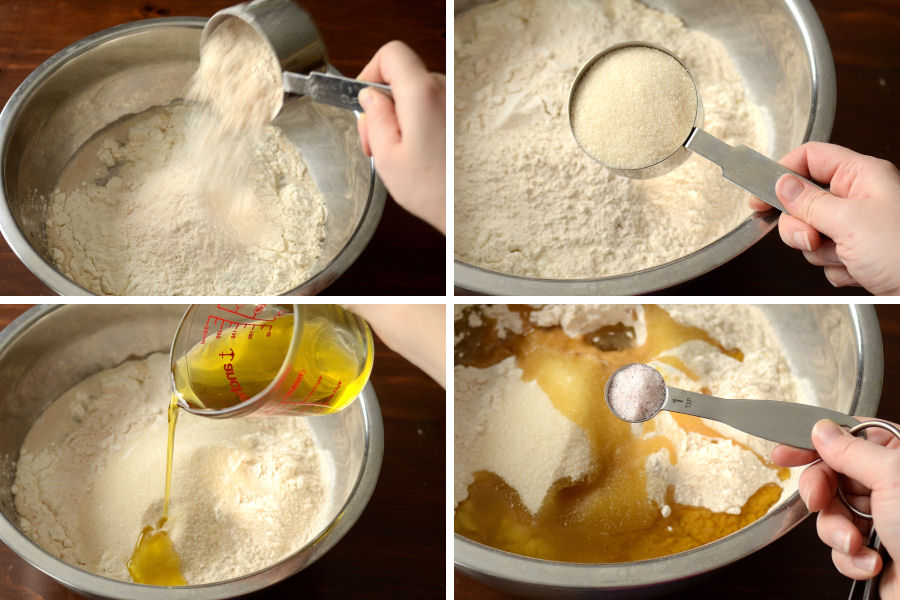
… wheat flour (if using), sugar, oil and salt.


Tasty Kitchen Blog: No-Knead Dinner Rolls. Guest post by Erica Kastner, recipe submitted by TK member Terri of That's Some Good Cookin'.

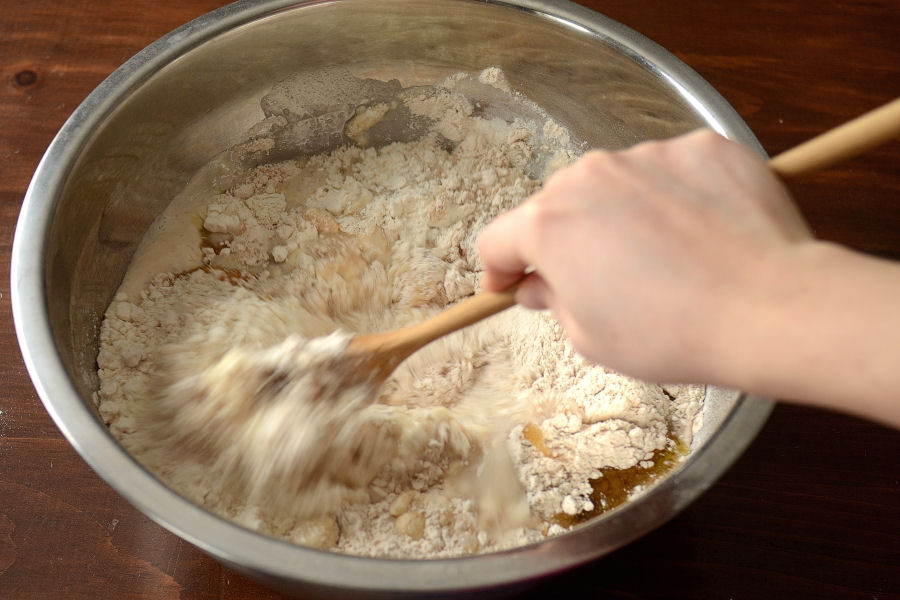
Stir it all together.


Tasty Kitchen Blog: No-Knead Dinner Rolls. Guest post by Erica Kastner, recipe submitted by TK member Terri of That's Some Good Cookin'.

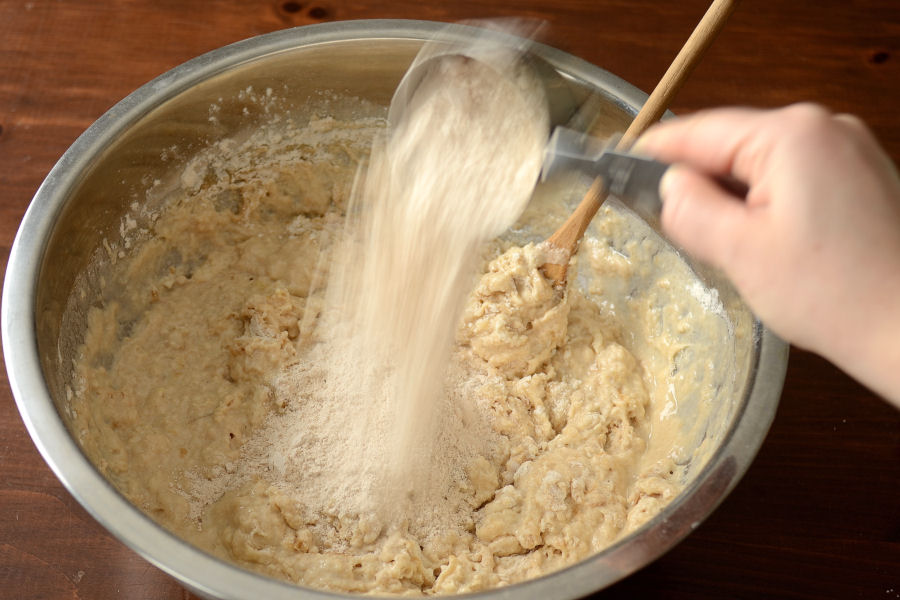
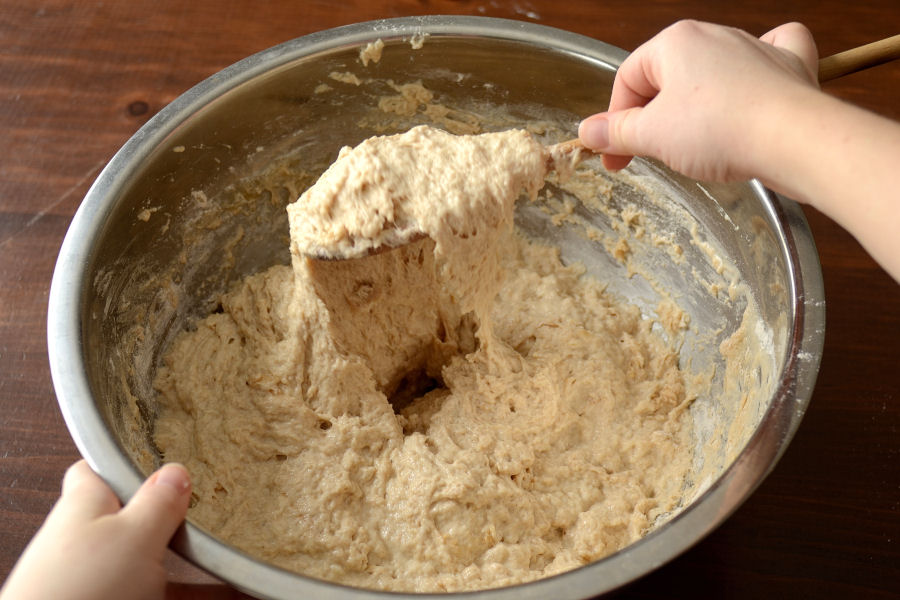
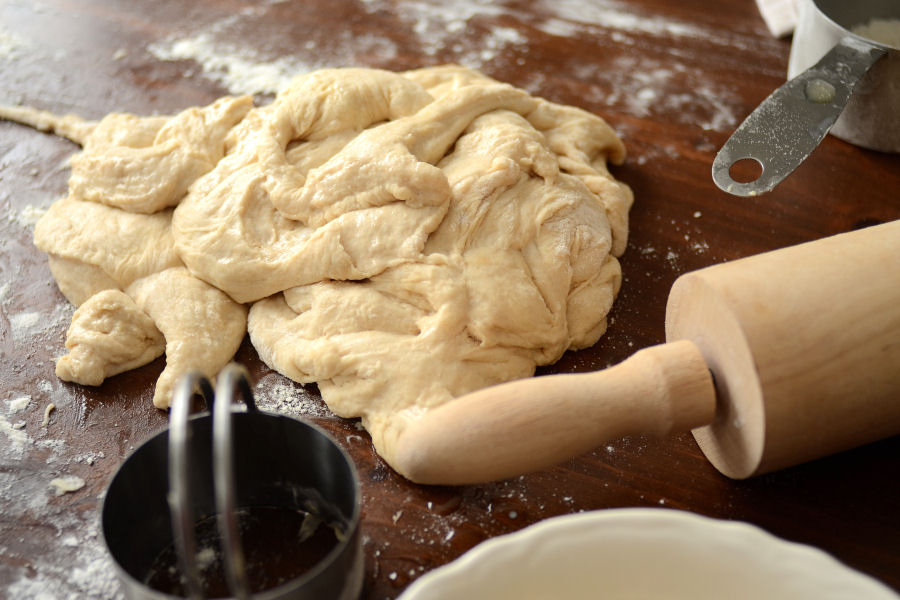
If the dough is too wet, you can add more flour. The right texture is soft and sticky, but not soupy.


Tasty Kitchen Blog: No-Knead Dinner Rolls. Guest post by Erica Kastner, recipe submitted by TK member Terri of That's Some Good Cookin'.

See that? That’s how it should look. Don’t stir too much! After all, these are no-knead.


Tasty Kitchen Blog: No-Knead Dinner Rolls. Guest post by Erica Kastner, recipe submitted by TK member Terri of That's Some Good Cookin'.

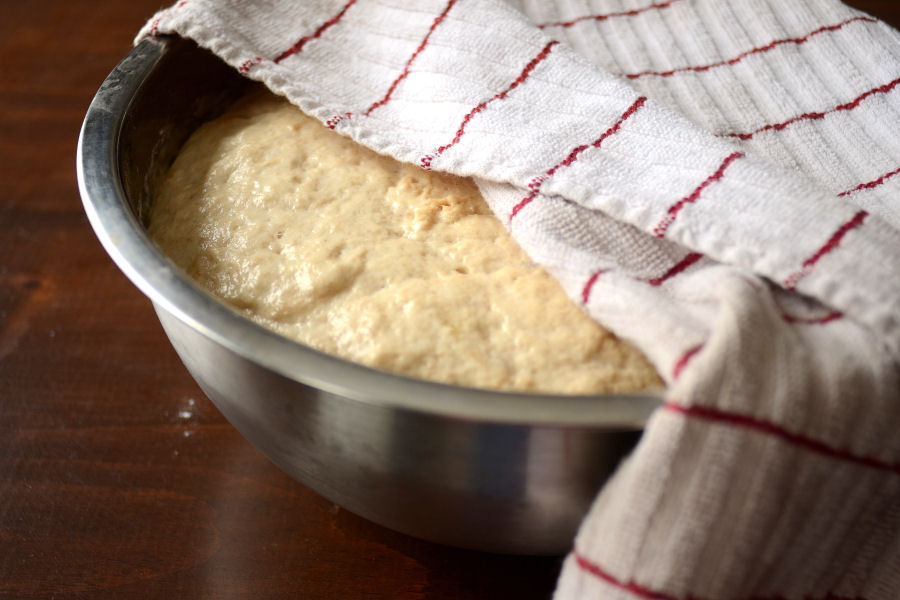
Cover the dough and set aside to rise until doubled. This only took about and hour for me, but it all depends on how warm your house is.


Tasty Kitchen Blog: No-Knead Dinner Rolls. Guest post by Erica Kastner, recipe submitted by TK member Terri of That's Some Good Cookin'.

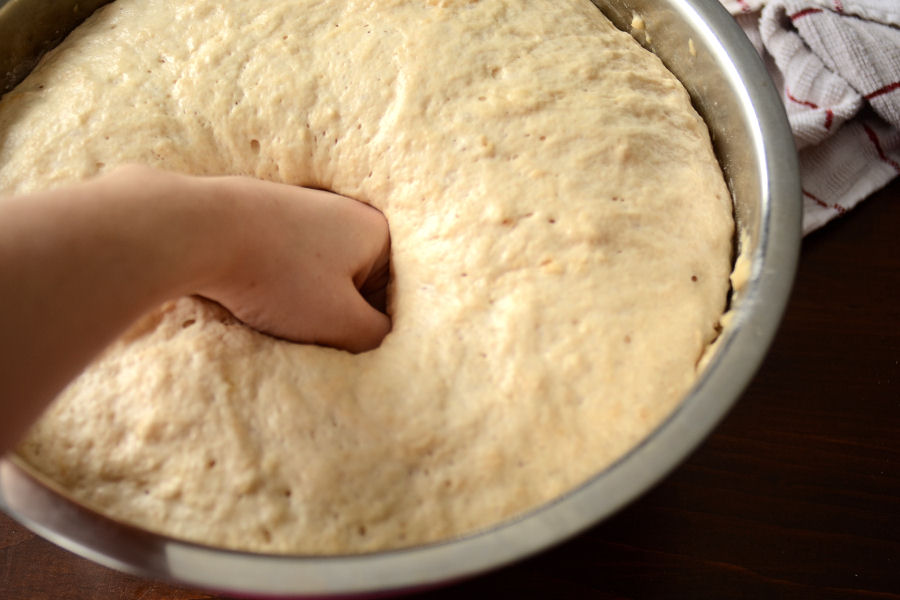
Now, give that dough a punch!


Tasty Kitchen Blog: No-Knead Dinner Rolls. Guest post by Erica Kastner, recipe submitted by TK member Terri of That's Some Good Cookin'.

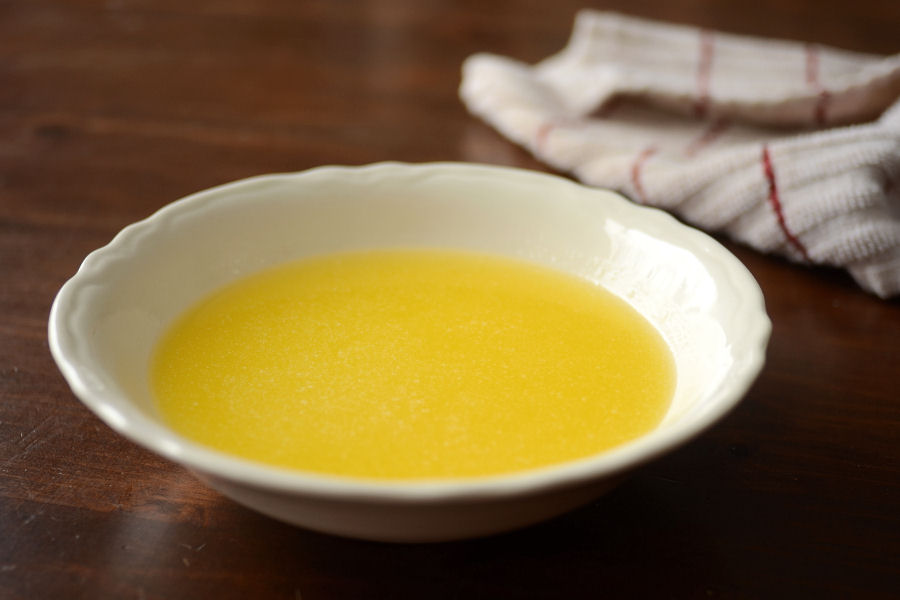
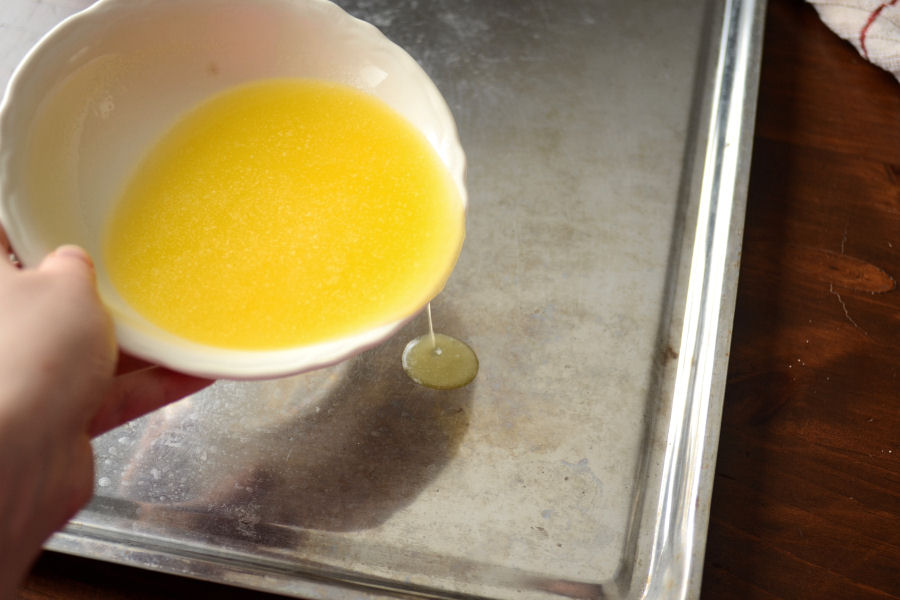
Ahhh … melted butter. 


Tasty Kitchen Blog: No-Knead Dinner Rolls. Guest post by Erica Kastner, recipe submitted by TK member Terri of That's Some Good Cookin'.

Pour a little onto a rimmed baking sheet.


Tasty Kitchen Blog: No-Knead Dinner Rolls. Guest post by Erica Kastner, recipe submitted by TK member Terri of That's Some Good Cookin'.

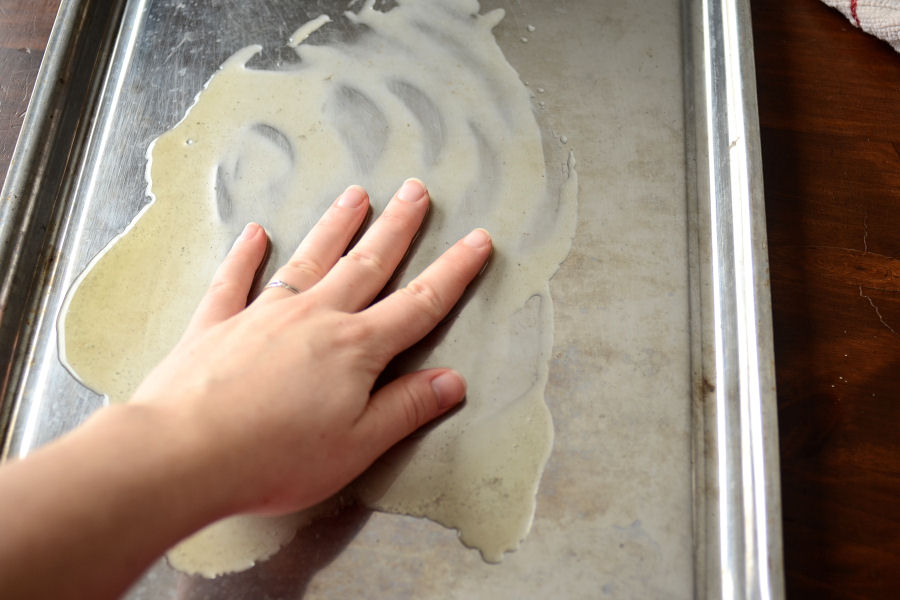
Get your hands in it and smear it around.


Tasty Kitchen Blog: No-Knead Dinner Rolls. Guest post by Erica Kastner, recipe submitted by TK member Terri of That's Some Good Cookin'.

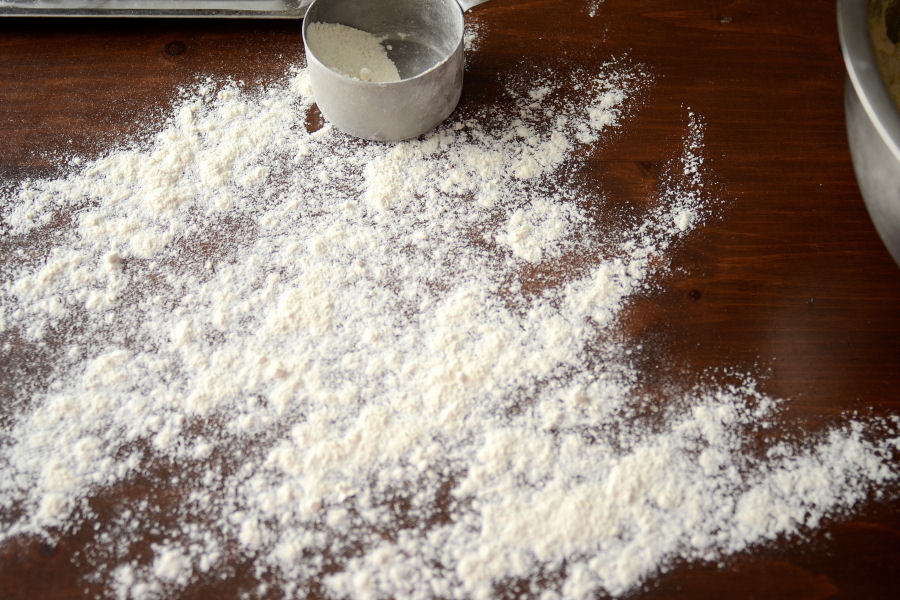
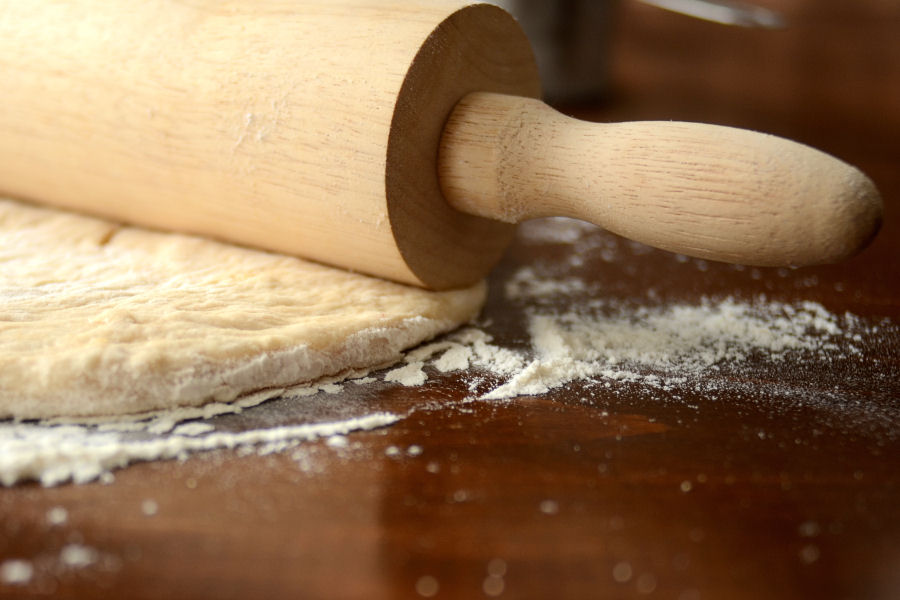
Now it’s time to make a mess! Sprinkle your work surface generously with flour.


Tasty Kitchen Blog: No-Knead Dinner Rolls. Guest post by Erica Kastner, recipe submitted by TK member Terri of That's Some Good Cookin'.

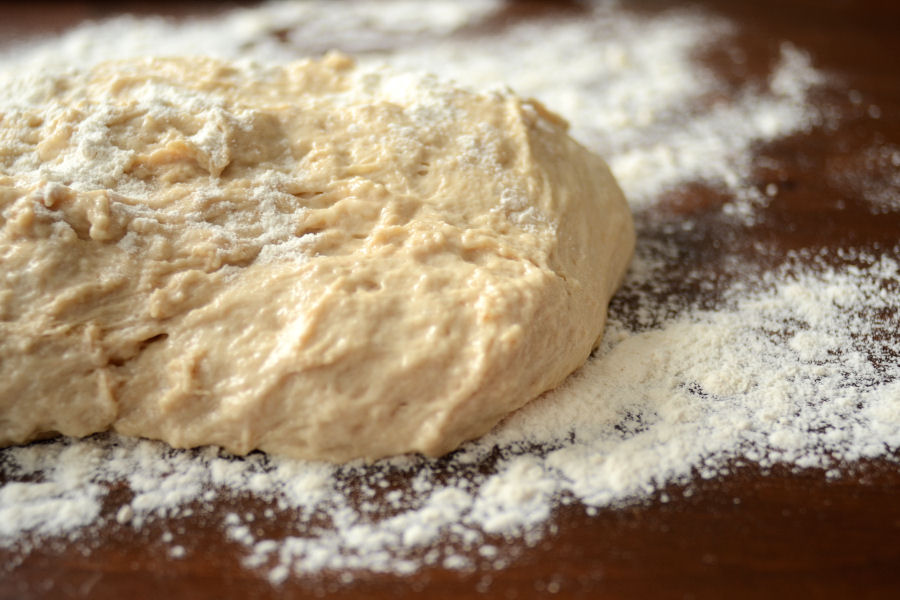
Scoop your risen dough out onto your counter/table and sprinkle with some more flour.


Tasty Kitchen Blog: No-Knead Dinner Rolls. Guest post by Erica Kastner, recipe submitted by TK member Terri of That's Some Good Cookin'.

Roll the dough out to about a 1/2-inch thickness.


Tasty Kitchen Blog: No-Knead Dinner Rolls. Guest post by Erica Kastner, recipe submitted by TK member Terri of That's Some Good Cookin'.

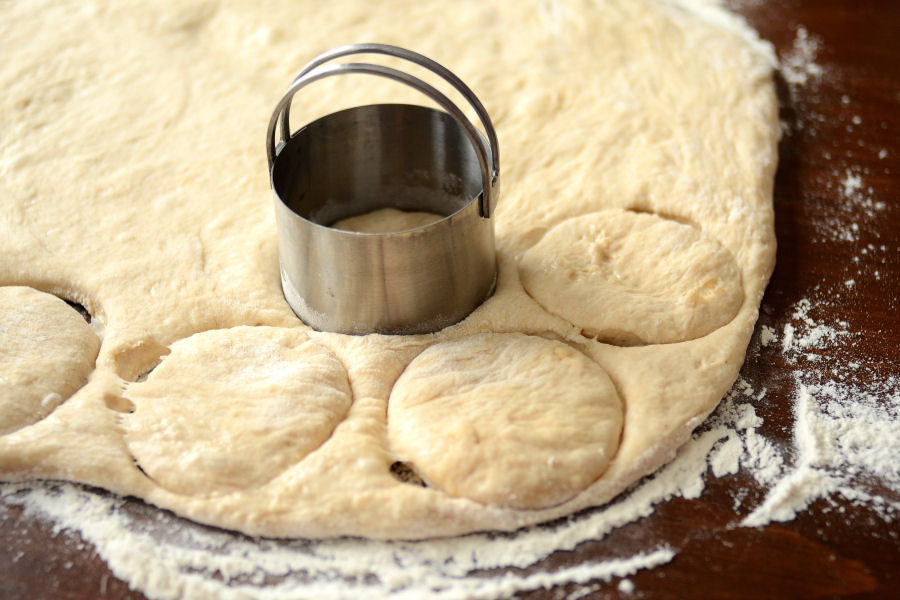
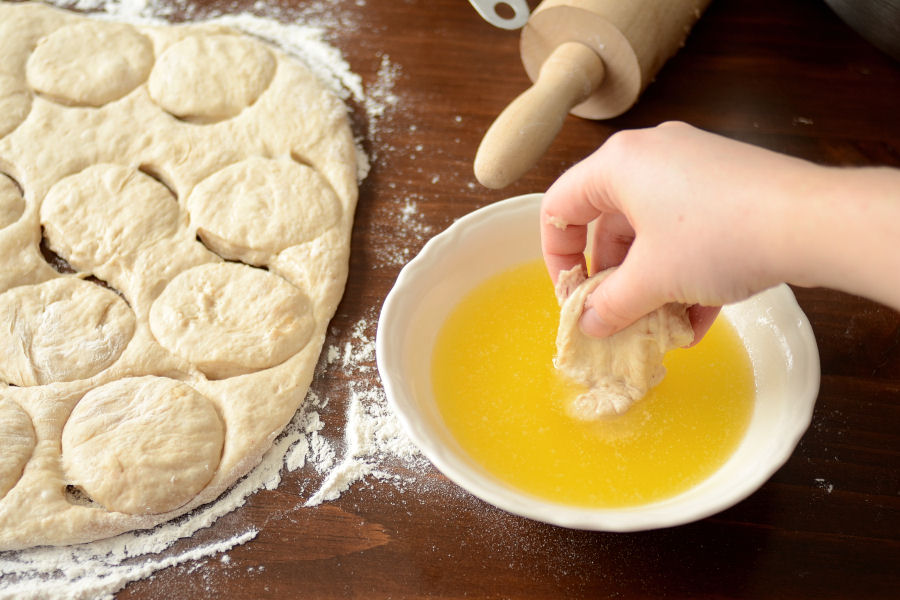
Take a round cookie/biscuit cutter and stamp out circles of dough. You could get your circles closer together than mine.


Tasty Kitchen Blog: No-Knead Dinner Rolls. Guest post by Erica Kastner, recipe submitted by TK member Terri of That's Some Good Cookin'.

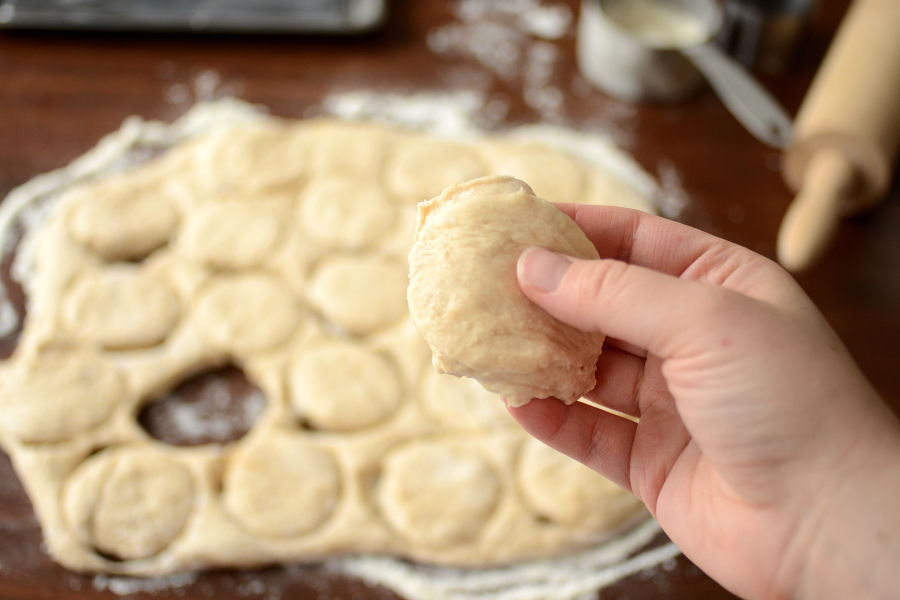
Grab a circle of dough …


Tasty Kitchen Blog: No-Knead Dinner Rolls. Guest post by Erica Kastner, recipe submitted by TK member Terri of That's Some Good Cookin'.

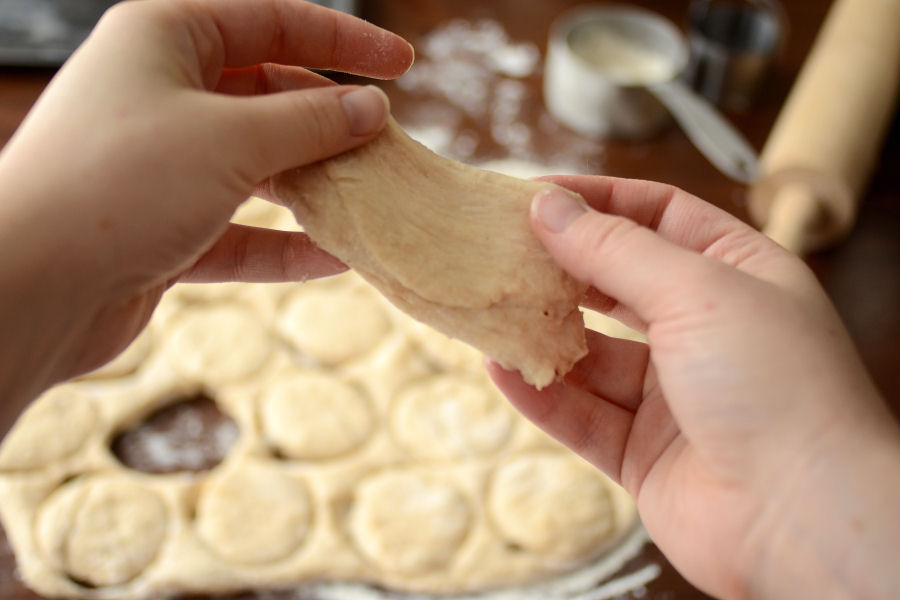
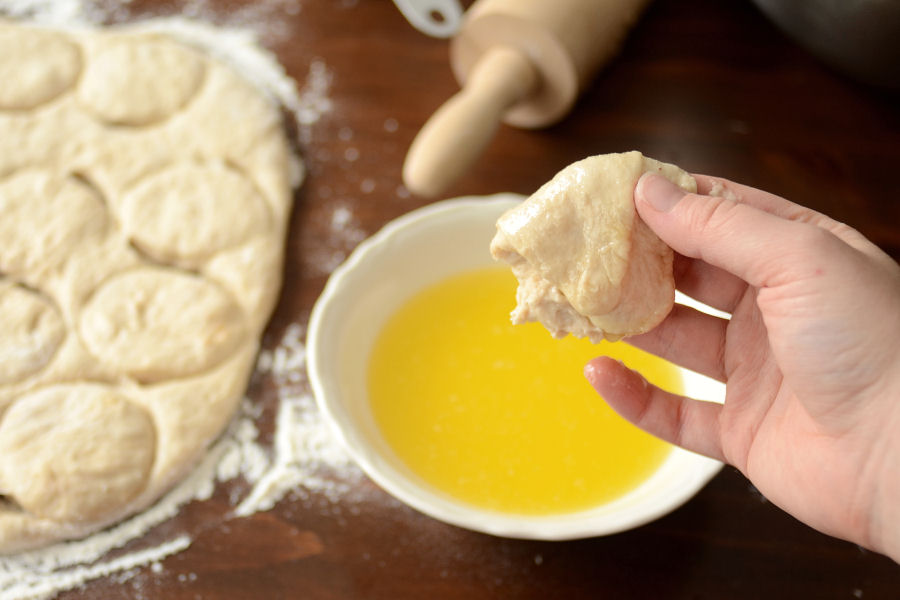
And stretch it out a bit.


Tasty Kitchen Blog: No-Knead Dinner Rolls. Guest post by Erica Kastner, recipe submitted by TK member Terri of That's Some Good Cookin'.

Dunk half of it into the melted butter …


Tasty Kitchen Blog: No-Knead Dinner Rolls. Guest post by Erica Kastner, recipe submitted by TK member Terri of That's Some Good Cookin'.

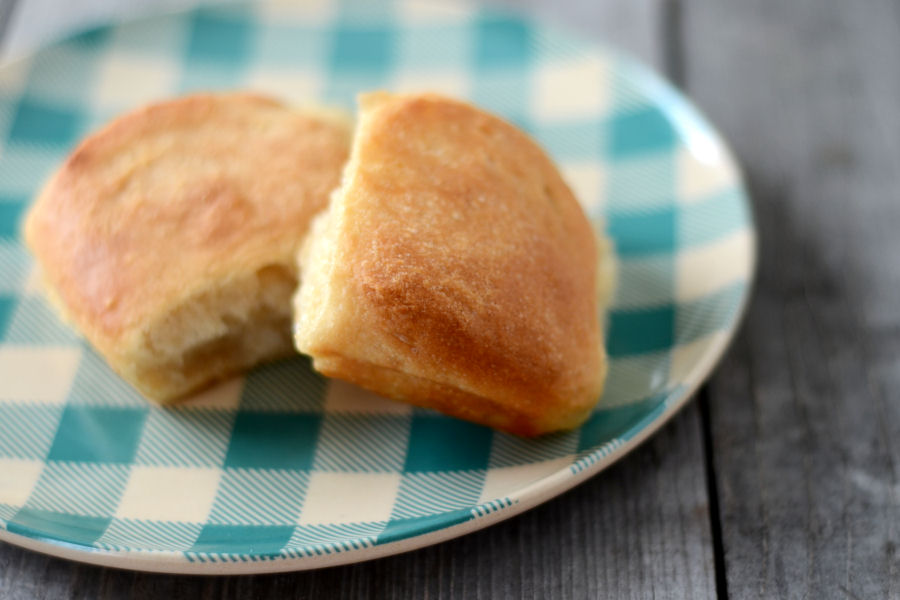
And fold it in half with the butter side up. Now you have a lovely little Parker House roll.


Tasty Kitchen Blog: No-Knead Dinner Rolls. Guest post by Erica Kastner, recipe submitted by TK member Terri of That's Some Good Cookin'.

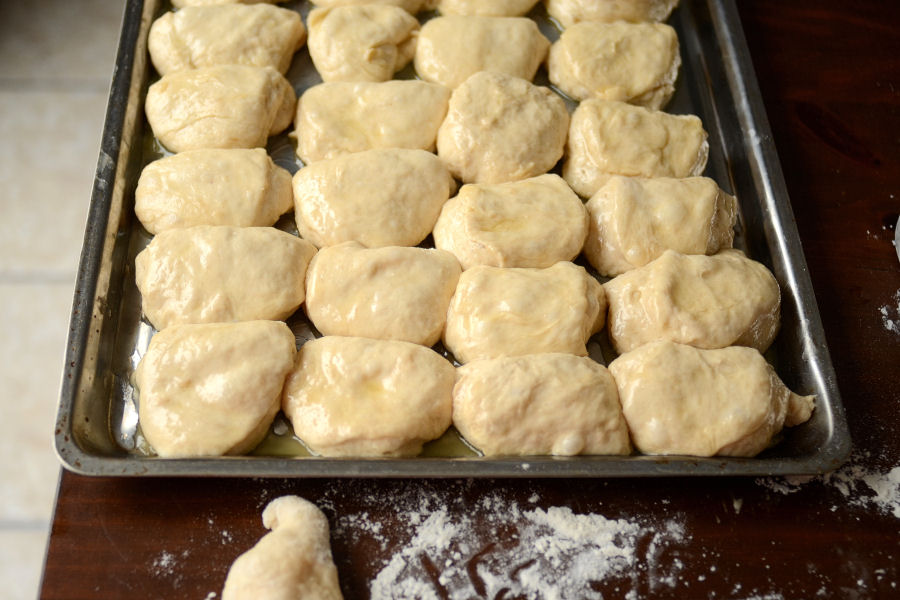
Place on your buttered baking sheet (buttered side up). Repeat with remaining dough, placing the buns close together.


Tasty Kitchen Blog: No-Knead Dinner Rolls. Guest post by Erica Kastner, recipe submitted by TK member Terri of That's Some Good Cookin'.

Gather up your scraps and go again!


Tasty Kitchen Blog: No-Knead Dinner Rolls. Guest post by Erica Kastner, recipe submitted by TK member Terri of That's Some Good Cookin'.

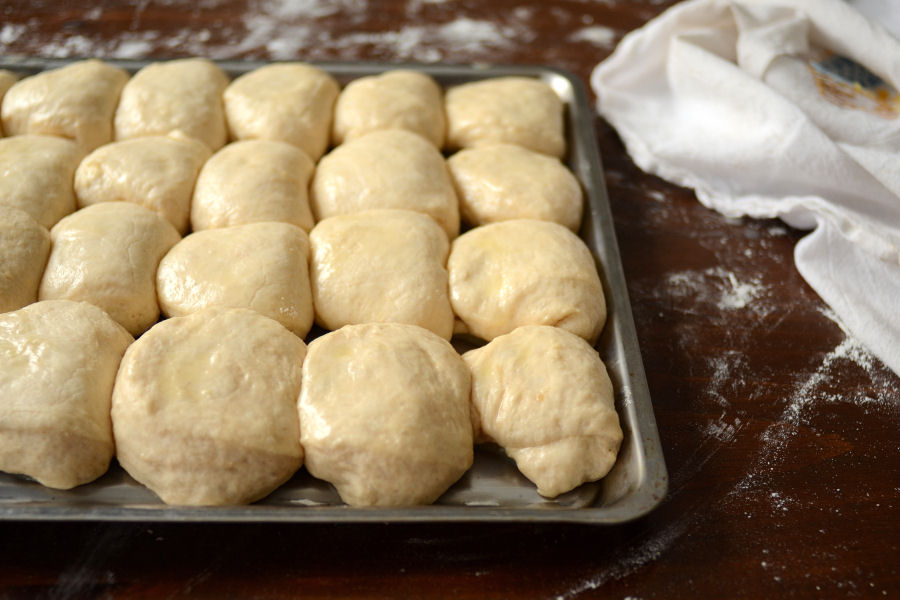
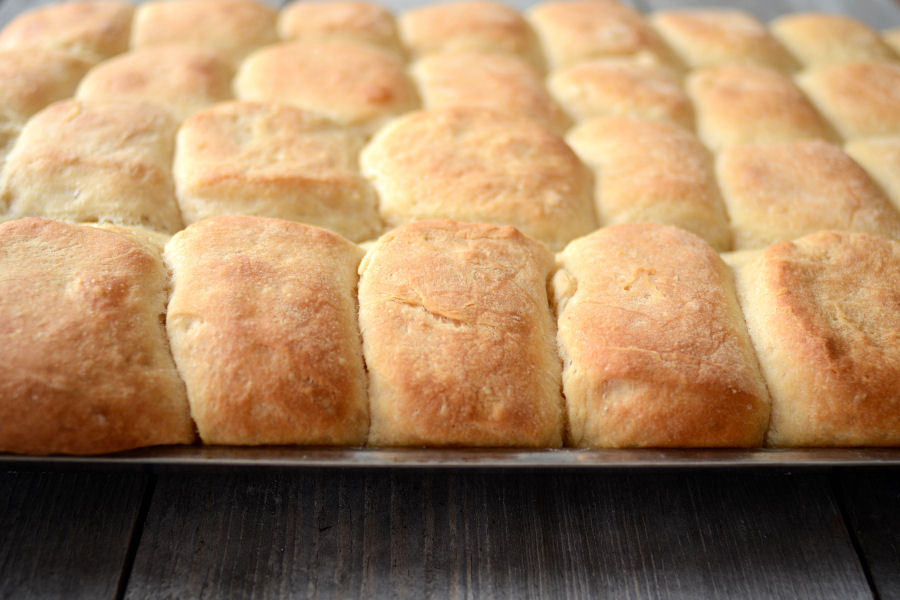
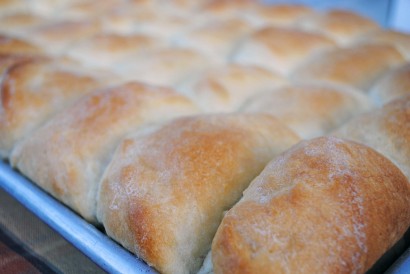
Cover the buns and let rise until nice and puffy. Aren’t they beautiful?


Tasty Kitchen Blog: No-Knead Dinner Rolls. Guest post by Erica Kastner, recipe submitted by TK member Terri of That's Some Good Cookin'.

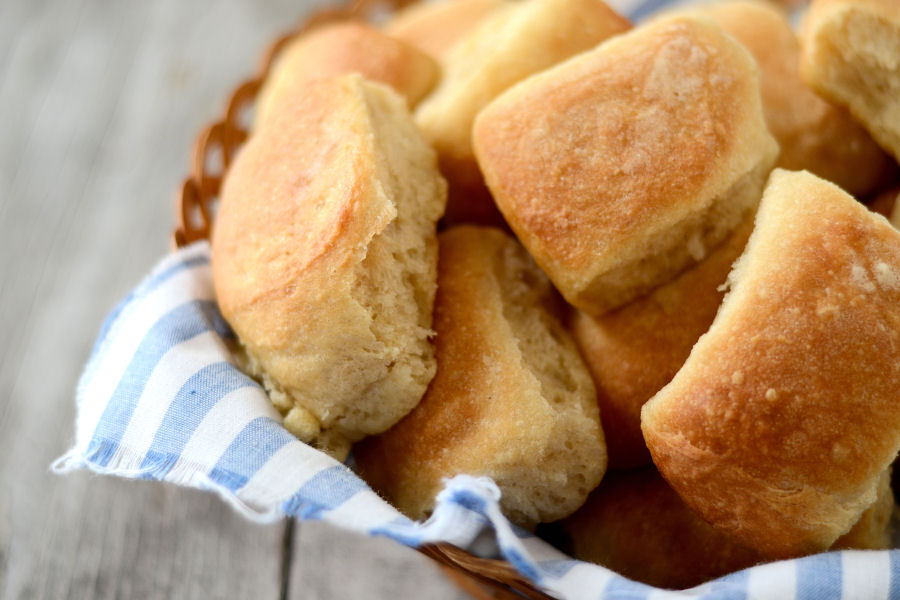
Bake at 375°F until lovely and golden brown. You can brush the tops of the buns with extra butter, if you wish.


Tasty Kitchen Blog: No-Knead Dinner Rolls. Guest post by Erica Kastner, recipe submitted by TK member Terri of That's Some Good Cookin'.

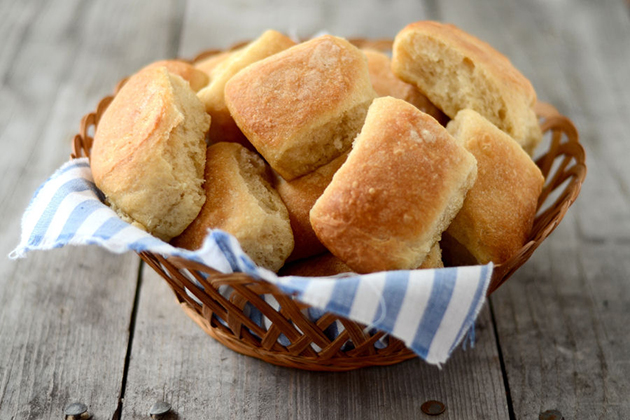
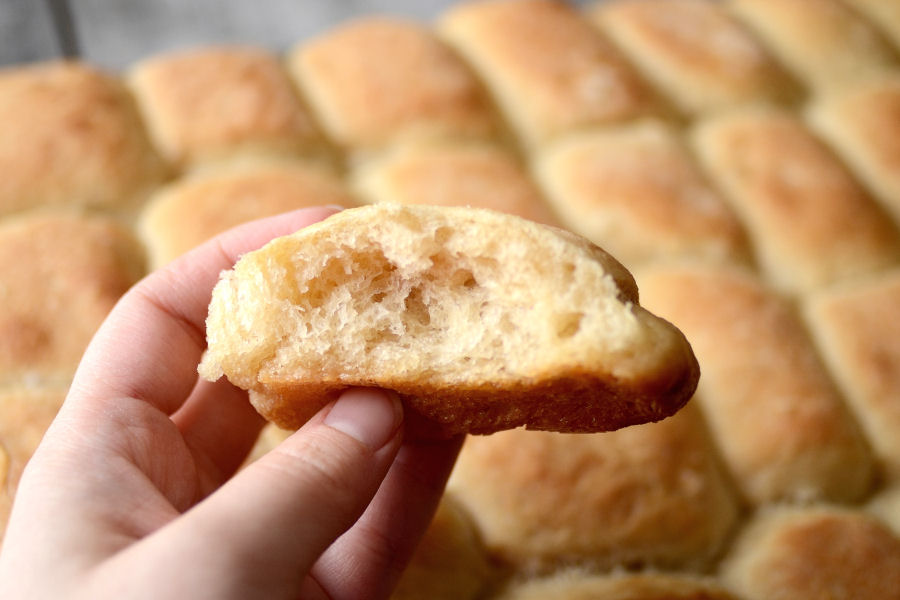
Just look at how pillowy soft they are!


Tasty Kitchen Blog: No-Knead Dinner Rolls. Guest post by Erica Kastner, recipe submitted by TK member Terri of That's Some Good Cookin'.

Recipe notes:

1. This dough can be refrigerated for up to a week. You can mix up a big batch and just pull off pieces of dough and bake them for fresh bread throughout the week!
2. You don’t have to make Parker House rolls from the dough. Terri suggests cinnamon rolls, pull-aparts and breadsticks.
3. These rolls reheat very well. Just pop them in a 350°F oven for 10 minutes.


Tasty Kitchen Blog: No-Knead Dinner Rolls. Guest post by Erica Kastner, recipe submitted by TK member Terri of That's Some Good Cookin'.

Thanks so much to Terri for sharing these buttery rolls with us. She blogs over at That’s Some Good Cookin’, where she posts many more lip-smackin’ recipes.


Printable Recipe

No Knead Dinner Rolls

See post on Terri @ that's some good cookin'’s site!
4.00 Mitt(s) 7 Rating(s)7 votes, average: 4.00 out of 57 votes, average: 4.00 out of 57 votes, average: 4.00 out of 57 votes, average: 4.00 out of 57 votes, average: 4.00 out of 5

Prep Time:

Cook Time:

Difficulty: Easy

Servings: 24

24
x

Print Options

Page size Letter 3x5 4x6
Text Size Small Medium Large
Content Include description
Include prep time, etc.
Show image

Description

I have no idea why these easy rolls work so well time after delicious time.

Ingredients

  • 3 cups Warm Water
  • 2 Tablespoons Yeast
  • ½ cups Sugar
  • ½ cups Vegetable Oil (canola Works Best)
  • 2 teaspoons Salt
  • 6 cups To 7 Cups White Flour
  • 1 stick Butter

Preparation Instructions

In a large mixing bowl dissolve yeast in warm water with 1/4 teaspoon sugar.

When the yeast has activated, add all other ingredients (except butter) and stir well with a wooden spoon until all ingredients are incorporated. Avoid over mixing and do not knead the dough. Just stir it. The dough is soft and will be somewhat sticky, not drier like other roll doughs that you may be used to using.

Cover bowl and let dough rise until doubled in bulk. Punch dough down and let it rest for a few minutes.

Melt the butter in a small bowl. Prepare a baking pan by greasing the pan with some of the melted butter.

To shape a Parker House style roll, divide the dough in half and roll out one half of the dough on a well floured counter top until about 1/2-inch thick. Using a round biscuit cutter, cut out circles of dough. Stretch the dough just a little lengthwise and dip one half into melted butter. Fold dough over in half and place on the pan. Place the rolls close to each other in rows. Repeat with remaining half of dough. Work the left-over dough from the two dough halves together to finish making your rolls. You should be able to get 32 rolls on a large baking sheet (4 rolls across and 8 rolls down).

Cover rolls and let rise again until almost doubled in size. Bake at 375ºF for 20 minutes or until the rolls are golden brown. Brush hot rolls with additional butter if desired.

Note: This dough can be kept in the refrigerator for at least a week and the dough just pulled off as you wish to use it to make cinnamon rolls, scones, pull-aparts, hot rolls or bread sticks during the week.


_______________________________________

Newly-married Erica Kastner shares her wonderful recipes and amazing food photography on her blog, Cooking for Seven. She also writes about crafts and posts more of her beautiful photography in her personal blog, EricaLea.com. There really isn’t much that this amazing young lady can’t do, and we’re thrilled she does some of it here.


Profile photo of Amber {Sprinkled With Flour}

Pumpkin Spice Hot Apple Cider

Posted by in Step-by-Step Recipes

Tasty Kitchen Blog: Pumpkin Spice Hot Apple Cider. Guest post by Amber Potter of Sprinkled with Flour, recipe submitted by TK member Erin of Dinners, Dishes and Desserts.

 
I love winter—for about thirty days. During this time, winter is magical and full of my favorite traditions that capture every sense. Winter is for hot cocoa and fuzzy blankets. It’s for taking fun treks in the snow that turn your nose red and your toes cold, so when you come home all you want to do is get warm and toasty in front of a fire. Winter smells like pine needles, old Christmas ornaments, and sugar cookies baking in the oven.

This is why it’s one of my favorite times of the year. For thirty days. After this, the cold gets really old and I’m ready for sunshine and warmth again. One of my favorite ways to warm up on these chilly days is a hot cup of deliciousness. Like this Pumpkin Spice Hot Apple Cider recipe from Erin

When you can settle into your sofa, with your fingers curled around a mug of something like this, your day just seems to get better. The tangy cider is paired with a spice-filled pumpkin syrup (adapted from Julie at Savvy Eats), and it is so good!


Tasty Kitchen Blog: Pumpkin Spice Hot Apple Cider. Guest post by Amber Potter of Sprinkled with Flour, recipe submitted by TK member Erin of Dinners, Dishes and Desserts.

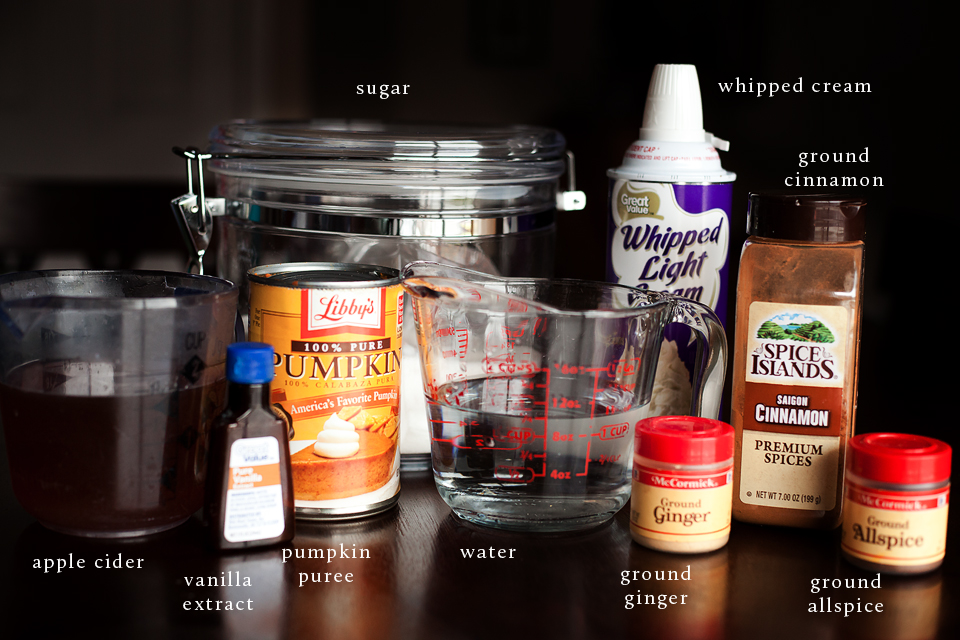
You’ll need: pumpkin puree, sugar, vanilla, water, cinnamon, allspice, ginger, apple cider.


Tasty Kitchen Blog: Pumpkin Spice Hot Apple Cider. Guest post by Amber Potter of Sprinkled with Flour, recipe submitted by TK member Erin of Dinners, Dishes and Desserts.

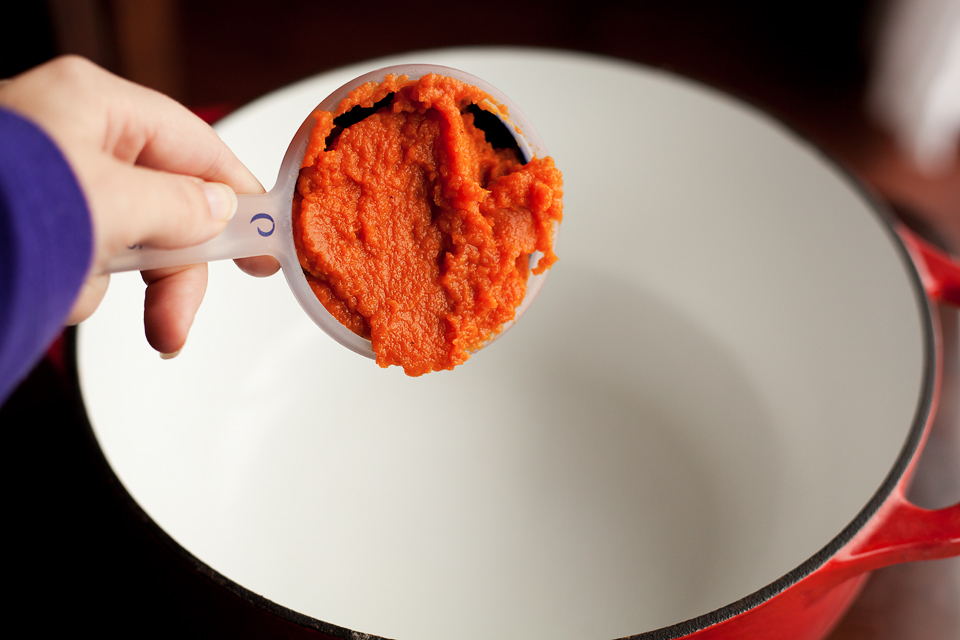
To make the pumpkin spice syrup, add the pumpkin puree to a medium-sized pot.


Tasty Kitchen Blog: Pumpkin Spice Hot Apple Cider. Guest post by Amber Potter of Sprinkled with Flour, recipe submitted by TK member Erin of Dinners, Dishes and Desserts.
 
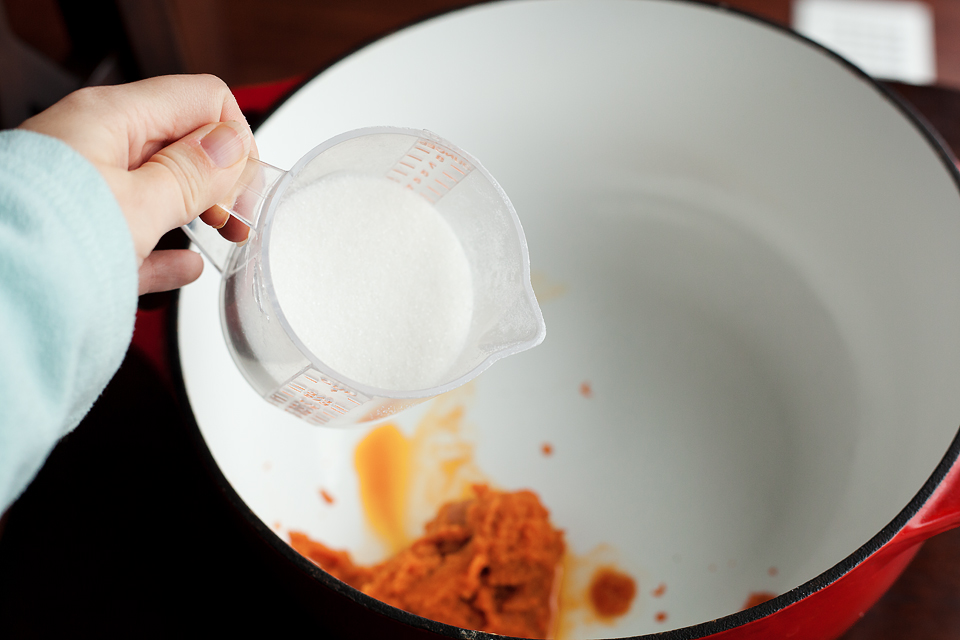
Add the sugar.


Tasty Kitchen Blog: Pumpkin Spice Hot Apple Cider. Guest post by Amber Potter of Sprinkled with Flour, recipe submitted by TK member Erin of Dinners, Dishes and Desserts.

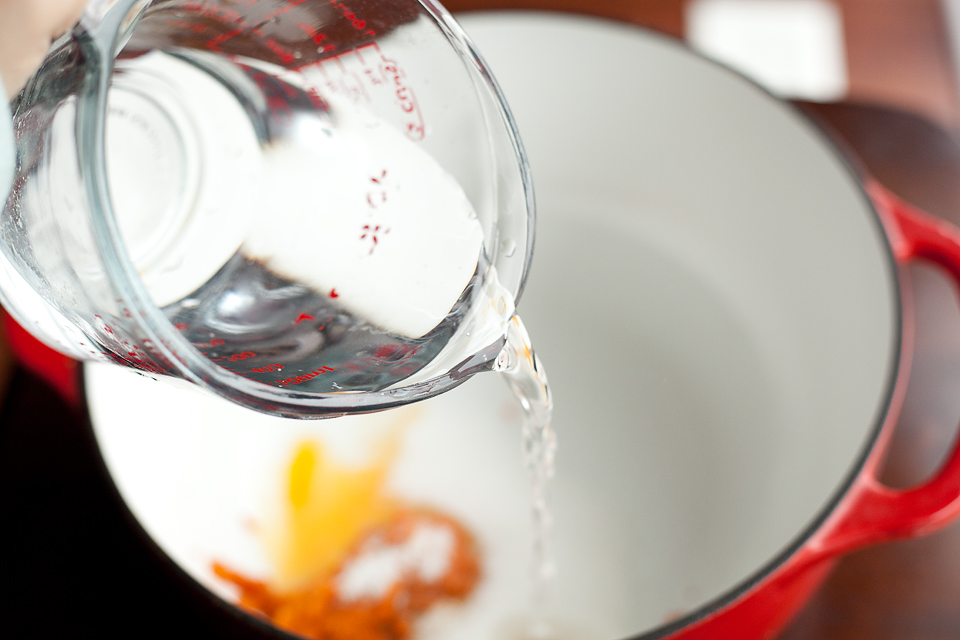
And the water. 


Tasty Kitchen Blog: Pumpkin Spice Hot Apple Cider. Guest post by Amber Potter of Sprinkled with Flour, recipe submitted by TK member Erin of Dinners, Dishes and Desserts.

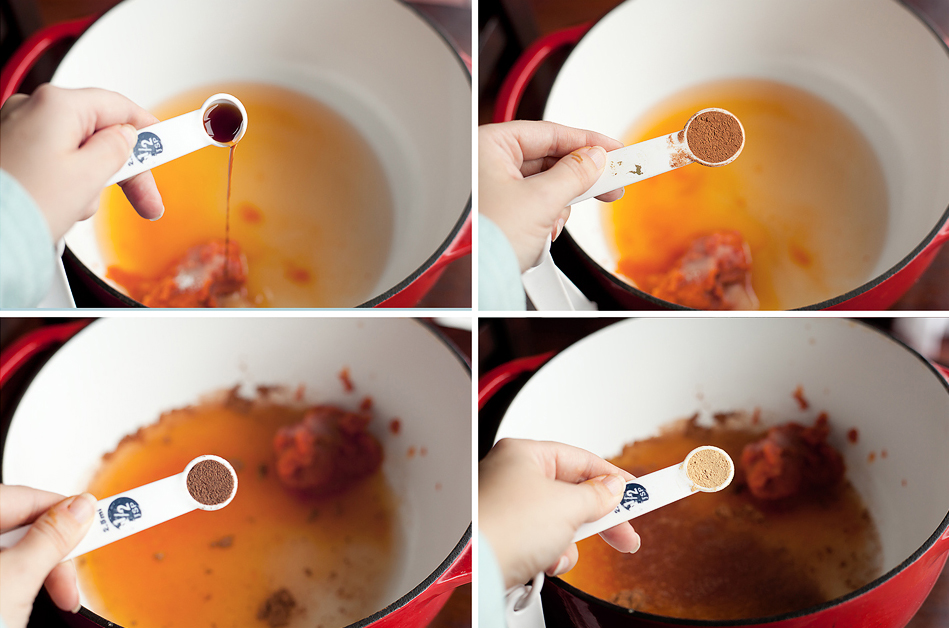
Add the vanilla, cinnamon, allspice and ginger and bring everything to a boil. Reduce heat to low, and let cook for about 15 minutes, stirring occasionally. 


Tasty Kitchen Blog: Pumpkin Spice Hot Apple Cider. Guest post by Amber Potter of Sprinkled with Flour, recipe submitted by TK member Erin of Dinners, Dishes and Desserts.

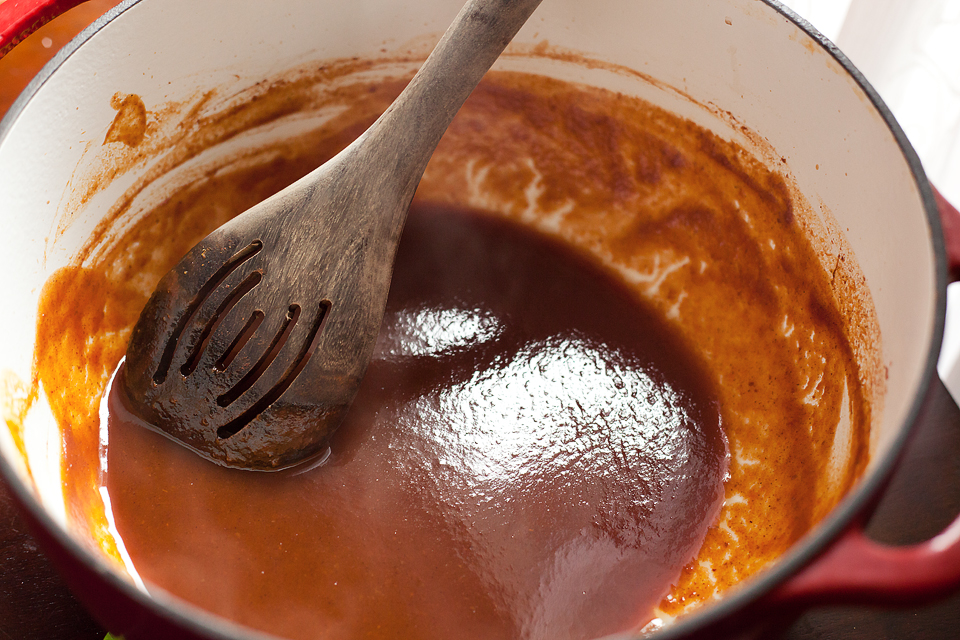
You want the mixture to become thick and syrupy.


Tasty Kitchen Blog: Pumpkin Spice Hot Apple Cider. Guest post by Amber Potter of Sprinkled with Flour, recipe submitted by TK member Erin of Dinners, Dishes and Desserts.

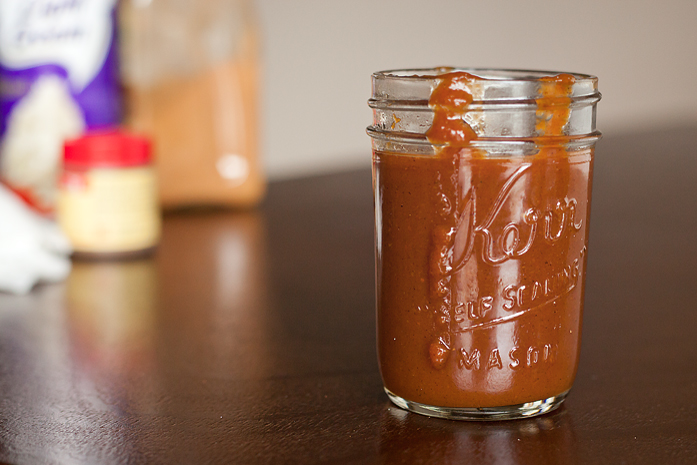
Pour the syrup into a container and store in the fridge until ready to use.


Tasty Kitchen Blog: Pumpkin Spice Hot Apple Cider. Guest post by Amber Potter of Sprinkled with Flour, recipe submitted by TK member Erin of Dinners, Dishes and Desserts.

To make the hot apple cider, in a large mug heat 3 tablespoons of pumpkin spice syrup.


Tasty Kitchen Blog: Pumpkin Spice Hot Apple Cider. Guest post by Amber Potter of Sprinkled with Flour, recipe submitted by TK member Erin of Dinners, Dishes and Desserts.

Mix in hot apple cider. 


Tasty Kitchen Blog: Pumpkin Spice Hot Apple Cider. Guest post by Amber Potter of Sprinkled with Flour, recipe submitted by TK member Erin of Dinners, Dishes and Desserts.

Top with whipped cream, and drizzle with additional syrup.

This holiday drink will definitely stay in my regular rotation! The syrup, the cider, the cream—it’s a trifecta of sippable perfection. Thanks so much Erin for sharing the recipe with us. Don’t forget to head over to Erin’s blog Dinners, Dishes, and Desserts for more tasty recipes!


Printable Recipe

Pumpkin Spice Hot Apple Cider

See post on Erin’s site!
4.75 Mitt(s) 4 Rating(s)4 votes, average: 4.75 out of 54 votes, average: 4.75 out of 54 votes, average: 4.75 out of 54 votes, average: 4.75 out of 54 votes, average: 4.75 out of 5

Prep Time:

Cook Time:

Difficulty: Easy

Servings: 8

8
x

Print Options

Page size Letter 3x5 4x6
Text Size Small Medium Large
Content Include description
Include prep time, etc.
Show image

Description

Hot apple cider with pumpkin spice syrup topped with whipped cream.

Ingredients

  • FOR THE PUMPKIN SPICE SYRUP:
  • ½ cups Pumpkin Puree
  • ½ cups Sugar
  • ½ teaspoons Vanilla
  • 1-¼ cup Water
  • 1 teaspoon Cinnamon
  • ½ teaspoons All Spice
  • ½ teaspoons Ginger
  • FOR THE HOT APPLE CIDER:
  • 3 Tablespoons Pumpkin Spice Syrup, Plus More To Drizzle On Top
  • 8 ounces, fluid Apple Cider, Or As Needed To Fill Your Mug
  • Whipped Cream, For Garnish

Preparation Instructions

To make the pumpkin spice syrup, combine everything (minus apple cider and whipped cream) in a pan and bring to a boil. Reduce heat to low, and let cook for about 15 minutes, stirring occasionally. You want the mixture to become thick and syrupy.

Store in the fridge until ready to use.

To make the hot apple cider, in a large mug heat 3 tablespoons of pumpkin spice syrup. Mix in hot apple cider. Top with whipped cream, and drizzle with additional syrup. Enjoy!

Recipe for Pumpkin Spice Syrup adapted from Savvy Eats, via Steph’s Bite by Bite.


_______________________________________

Amber is a stay at home mom who lives in the heart of the Missouri Ozarks. It’s a long way from where she grew up, in Wales (yes, way over in the U.K.). The recipes in her blog Sprinkled with Flour include her original creations as well as her family recipes. Go check them out!


Profile photo of Natalie | Perry's Plate

Gingered Butternut Squash Soup with Beet Slaw

Posted by in Step-by-Step Recipes

Tasty Kitchen Blog: Gingered Butternut Squash Soup. Guest post by Natalie Perry of Perry's Plate, recipe submitted by TK member Julia of The Roasted Root.

 
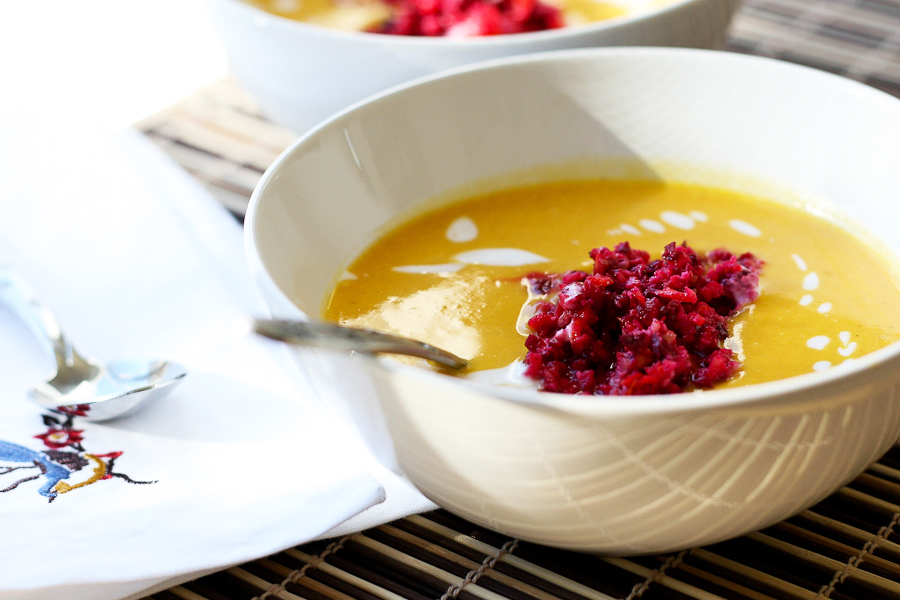
Friends, this may be the most beautiful soup I’ve ever made. Or photographed. Or eaten. The lovely TK member Julia at The Roasted Root definitely has an eye for color and a wonderful sense for taste. This soup was one of those recipes that grabbed me and wouldn’t let go. 

Luckily, it’s fall. I’d have had a hard time finding a butternut squash in April.


Tasty Kitchen Blog: Gingered Butternut Squash Soup. Guest post by Natalie Perry of Perry's Plate, recipe submitted by TK member Julia of The Roasted Root.

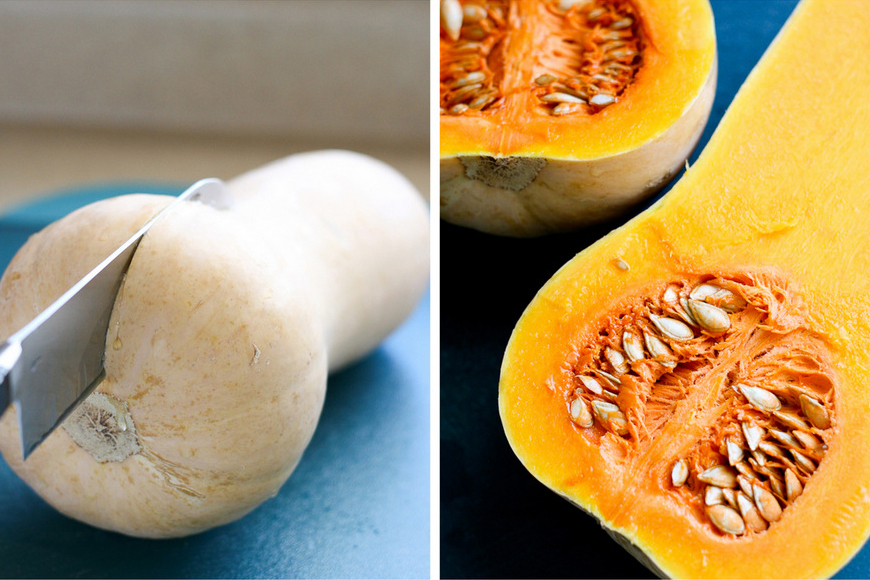
Speaking of butternut squash, if you’ve got one, (carefully) chop it in half. You’ll need a very sharp knife for this. Butternuts don’t give in easily.


Tasty Kitchen Blog: Gingered Butternut Squash Soup. Guest post by Natalie Perry of Perry's Plate, recipe submitted by TK member Julia of The Roasted Root.

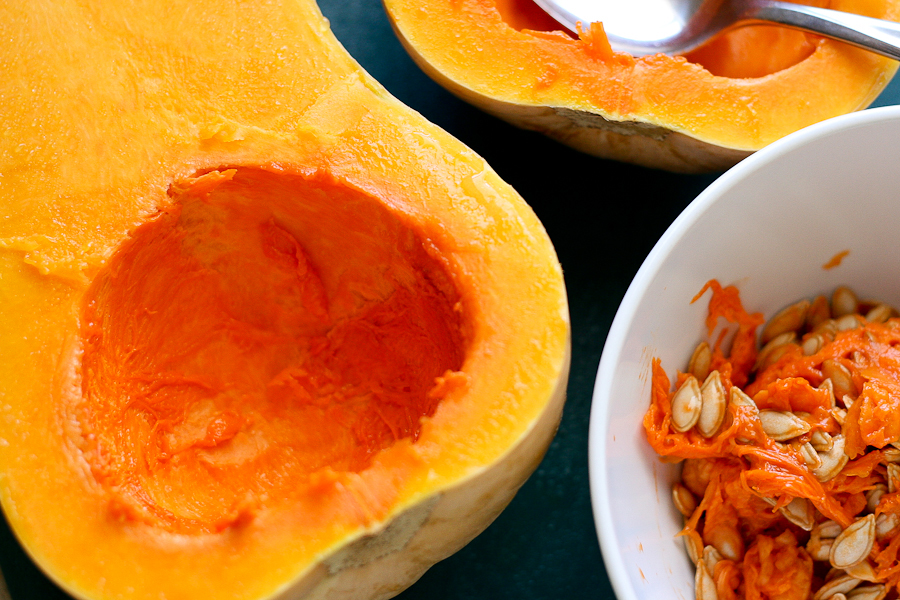
Scrape out all of the seeds and slimy stuff.


Tasty Kitchen Blog: Gingered Butternut Squash Soup. Guest post by Natalie Perry of Perry's Plate, recipe submitted by TK member Julia of The Roasted Root.

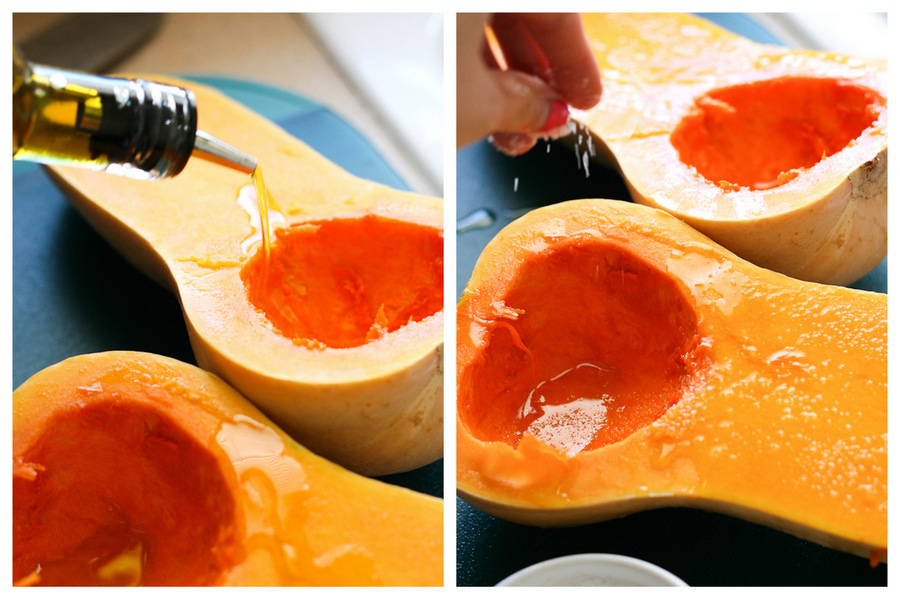
Drizzle some oil on the insides, and sprinkle it with salt.


Tasty Kitchen Blog: Gingered Butternut Squash Soup. Guest post by Natalie Perry of Perry's Plate, recipe submitted by TK member Julia of The Roasted Root.

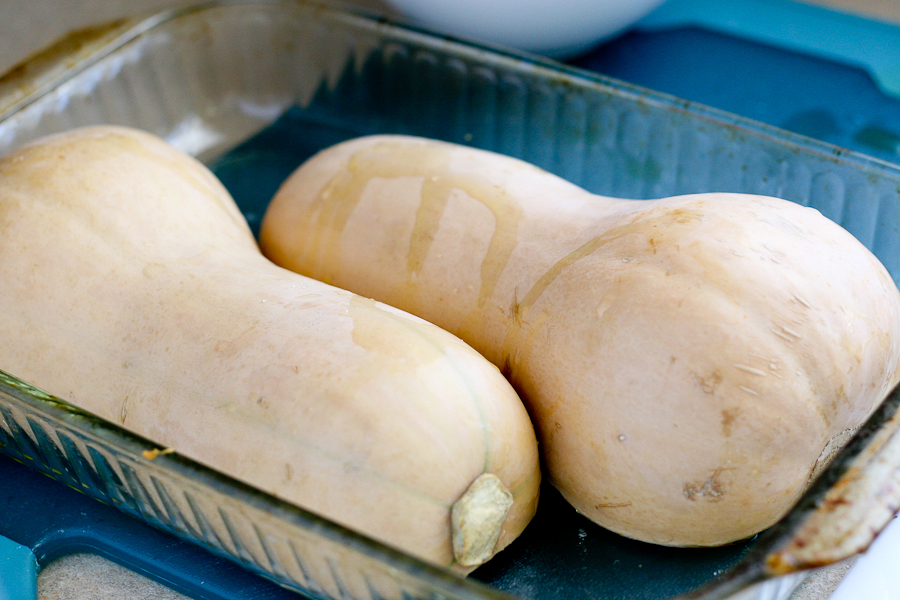
Place them face-down in a baking dish and place them in the oven for 40-60 minutes, depending on the size of your squash.


Tasty Kitchen Blog: Gingered Butternut Squash Soup. Guest post by Natalie Perry of Perry's Plate, recipe submitted by TK member Julia of The Roasted Root.

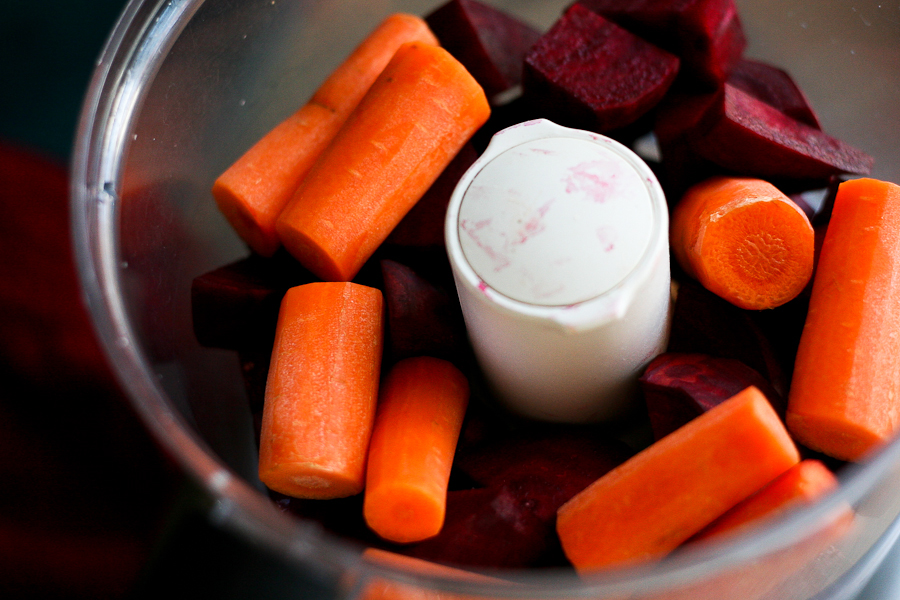
Meanwhile, peel the beets and carrots, cut them into chunks and put them in your food processor.


Tasty Kitchen Blog: Gingered Butternut Squash Soup. Guest post by Natalie Perry of Perry's Plate, recipe submitted by TK member Julia of The Roasted Root.

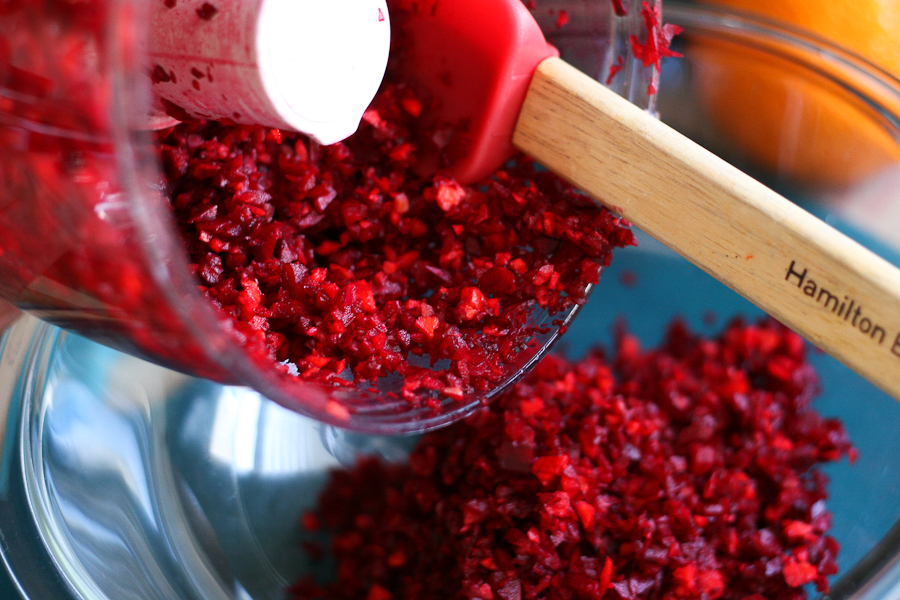
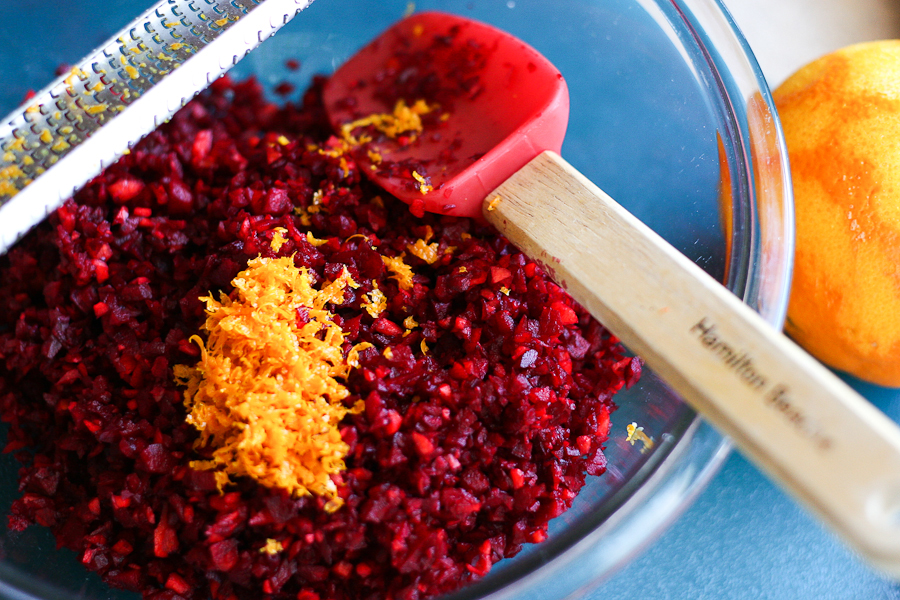
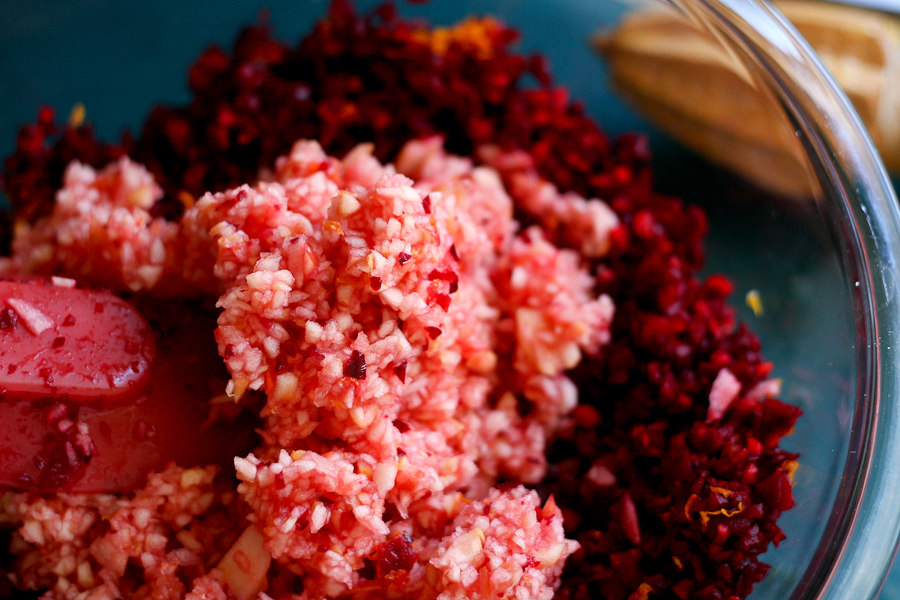
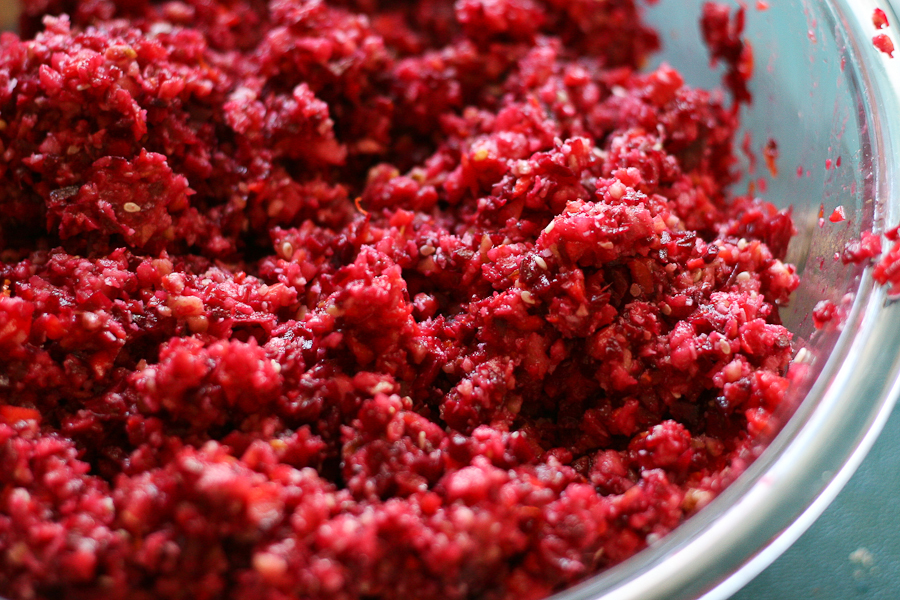
Buzz them up until the pieces are small and slightly smaller than peas. Transfer to large mixing bowl.

Don’t wash the food processor. (I like how Julia thinks.)


Tasty Kitchen Blog: Gingered Butternut Squash Soup. Guest post by Natalie Perry of Perry's Plate, recipe submitted by TK member Julia of The Roasted Root.

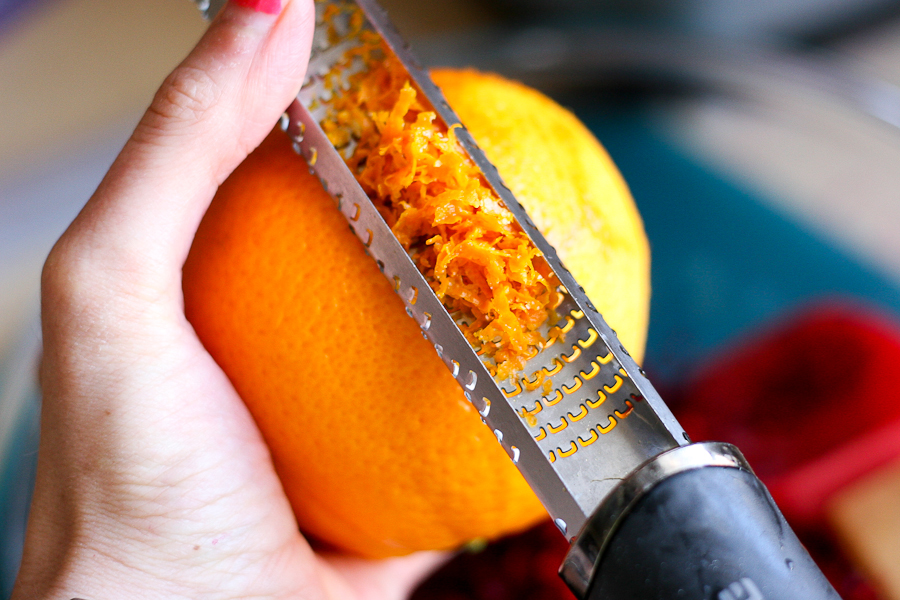
Zest a whole orange.

If you don’t have a Microplane zester, stop what you’re doing and go get one. (Make sure someone is home to watch your roasting squash.) I love mine, and use it all the time!


Tasty Kitchen Blog: Gingered Butternut Squash Soup. Guest post by Natalie Perry of Perry's Plate, recipe submitted by TK member Julia of The Roasted Root.

Add the zest to the beet-carrot mixture.


Tasty Kitchen Blog: Gingered Butternut Squash Soup. Guest post by Natalie Perry of Perry's Plate, recipe submitted by TK member Julia of The Roasted Root.

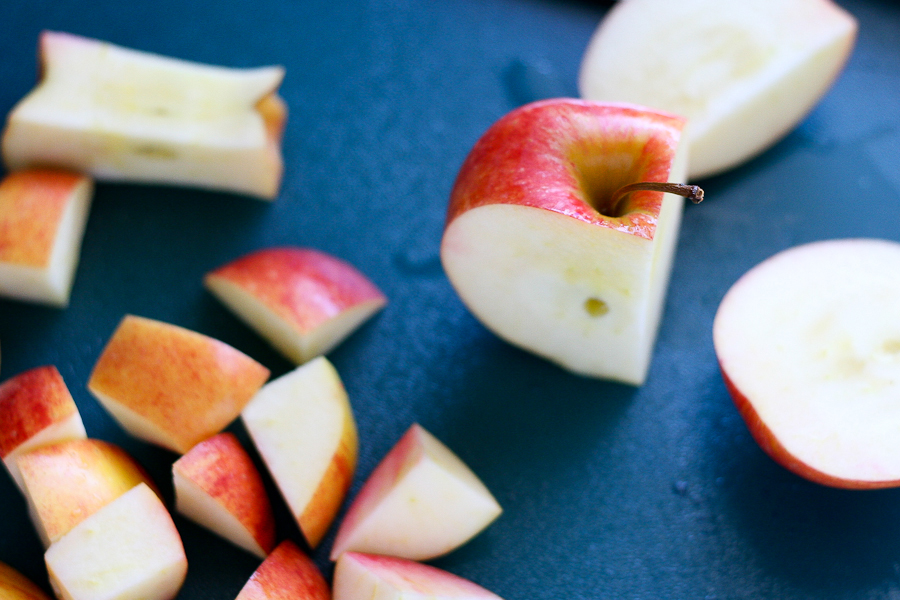
Cut the apples into large chunks.


Tasty Kitchen Blog: Gingered Butternut Squash Soup. Guest post by Natalie Perry of Perry's Plate, recipe submitted by TK member Julia of The Roasted Root.

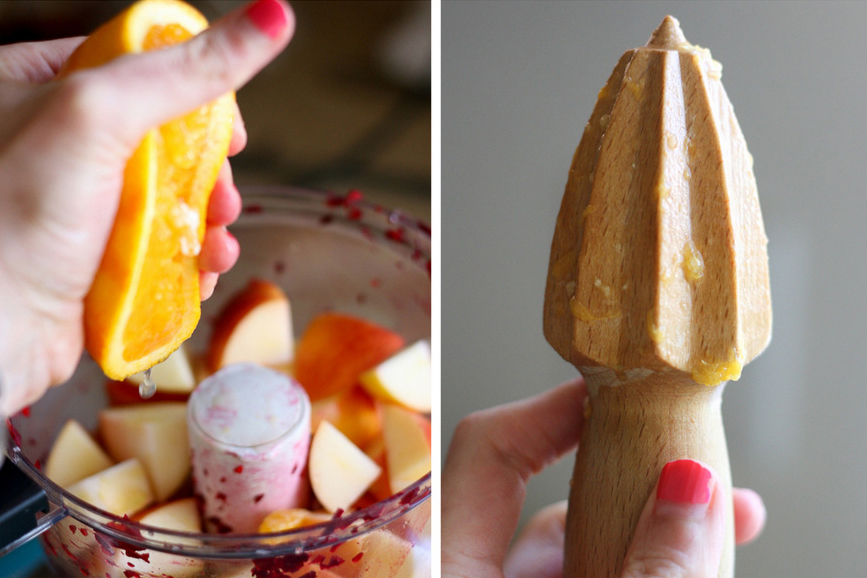
Add them to the dirty food processor. (Don’t worry, it’ll all work out in the end.) Also, juice the orange you just zested, right over the apples.

Good grief, I need a manicure. Maybe if I hold out long enough I’ll have pink French tips.


Tasty Kitchen Blog: Gingered Butternut Squash Soup. Guest post by Natalie Perry of Perry's Plate, recipe submitted by TK member Julia of The Roasted Root.

Buzz up the apples an orange juice, and dump it into the bowl with the beets and carrots.

Nope, not time to wash the food processor. Hang tight.


Tasty Kitchen Blog: Gingered Butternut Squash Soup. Guest post by Natalie Perry of Perry's Plate, recipe submitted by TK member Julia of The Roasted Root.

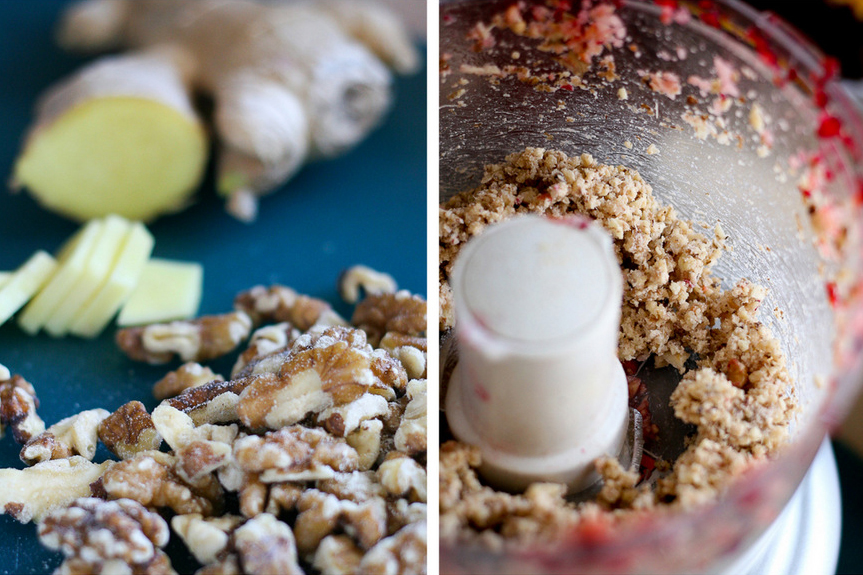
Peel and slice the ginger, and throw the ginger pieces into the food processor with the walnuts.

Process them until you have a chunky, finely chopped mixture.


Tasty Kitchen Blog: Gingered Butternut Squash Soup. Guest post by Natalie Perry of Perry's Plate, recipe submitted by TK member Julia of The Roasted Root.

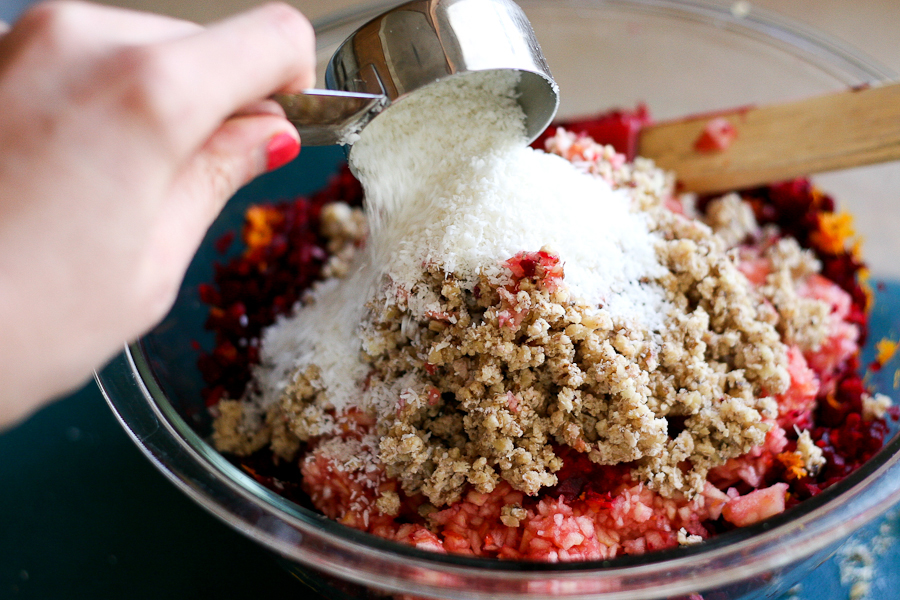
And … you guessed it. Transfer the mixture into the other bowl, along with some unsweetened coconut.


Tasty Kitchen Blog: Gingered Butternut Squash Soup. Guest post by Natalie Perry of Perry's Plate, recipe submitted by TK member Julia of The Roasted Root.

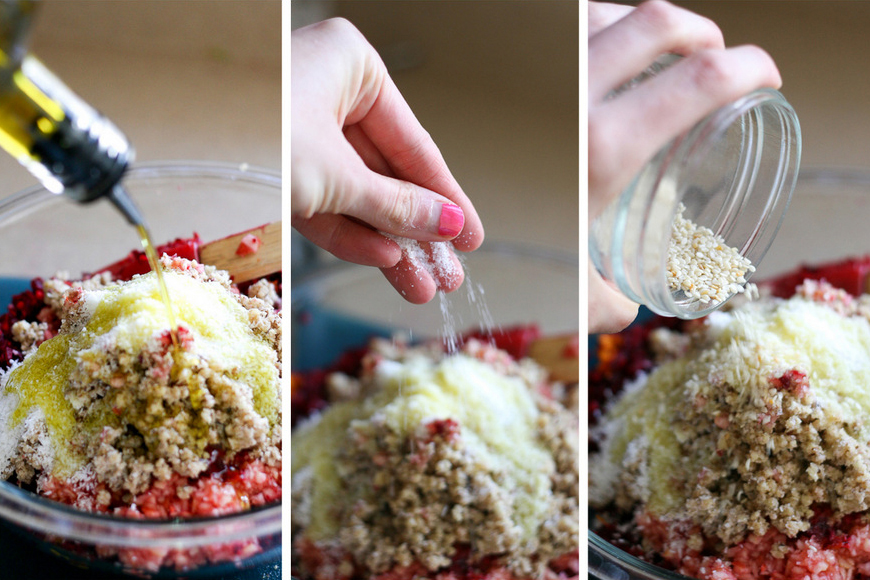
Over that, add some extra-virgin olive oil, a few pinches of salt, and some toasted sesame seeds.


Tasty Kitchen Blog: Gingered Butternut Squash Soup. Guest post by Natalie Perry of Perry's Plate, recipe submitted by TK member Julia of The Roasted Root.

Mix it all together and you have this incredibly flavorful and vibrant garnish for the soup! I love all of the flavors in this salad.

I think my favorite color is beet, too.


Tasty Kitchen Blog: Gingered Butternut Squash Soup. Guest post by Natalie Perry of Perry's Plate, recipe submitted by TK member Julia of The Roasted Root.

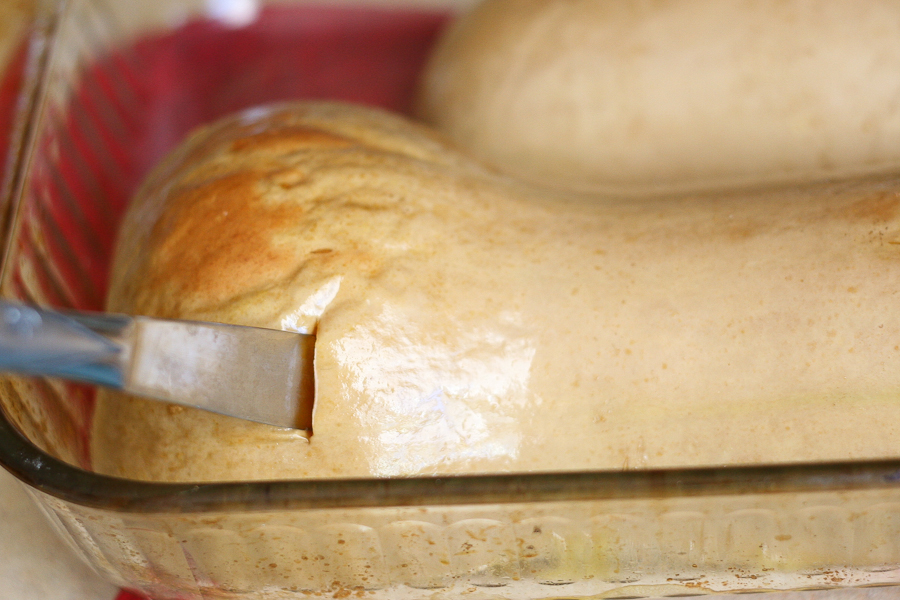
Check on that squash now. You’ll know it’s done when you can easily stick a butter knife into it and the skin starts to turn golden brown.


Tasty Kitchen Blog: Gingered Butternut Squash Soup. Guest post by Natalie Perry of Perry's Plate, recipe submitted by TK member Julia of The Roasted Root.

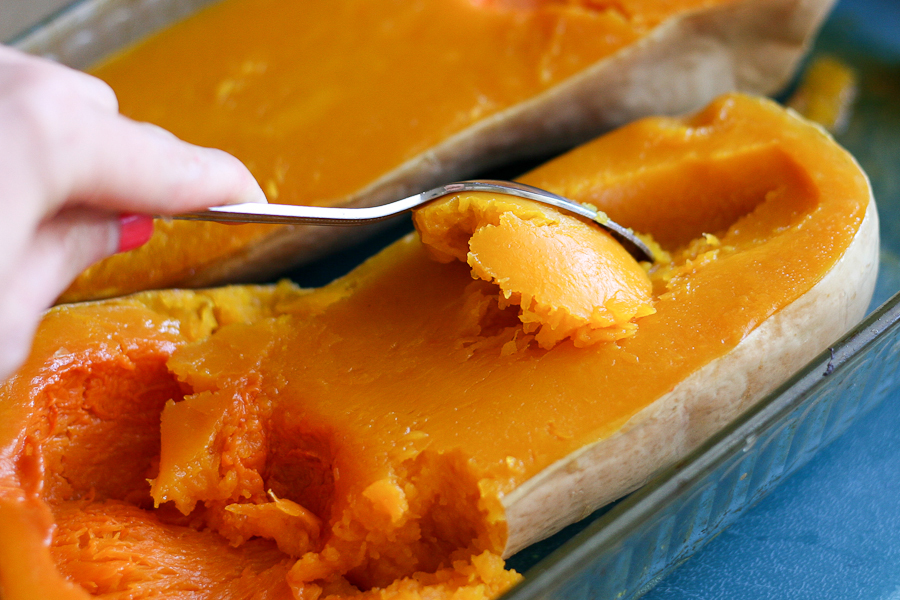
Scrape out all of that soft, butternutty goodness …


Tasty Kitchen Blog: Gingered Butternut Squash Soup. Guest post by Natalie Perry of Perry's Plate, recipe submitted by TK member Julia of The Roasted Root.

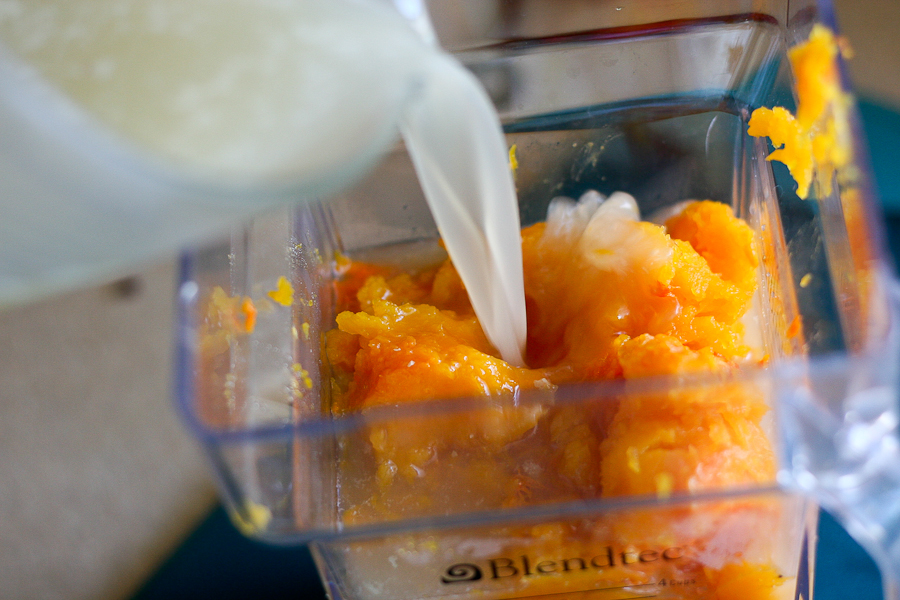
And toss it into your blender. Add some of the chicken stock to help it blend.


Tasty Kitchen Blog: Gingered Butternut Squash Soup. Guest post by Natalie Perry of Perry's Plate, recipe submitted by TK member Julia of The Roasted Root.

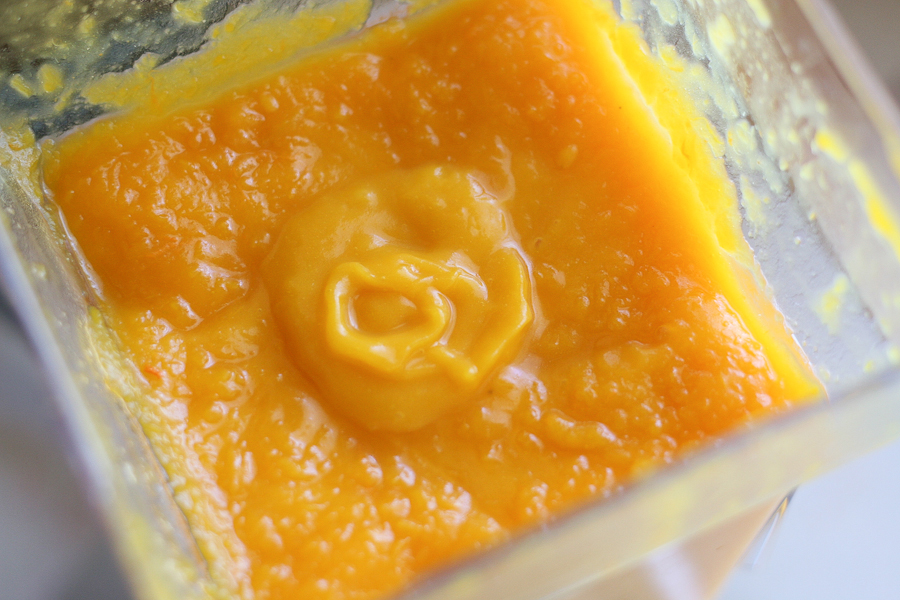
Give it a whirl until it’s silky smooth.


Tasty Kitchen Blog: Gingered Butternut Squash Soup. Guest post by Natalie Perry of Perry's Plate, recipe submitted by TK member Julia of The Roasted Root.

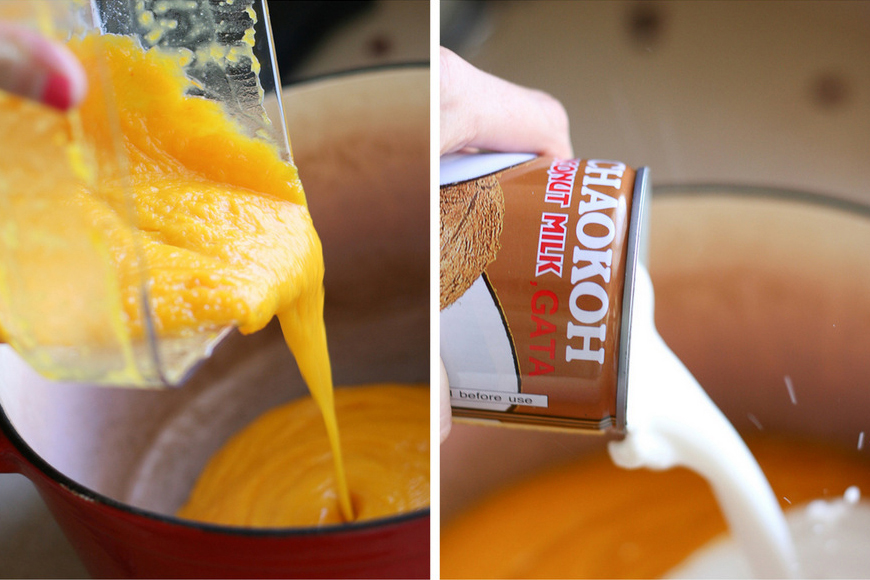
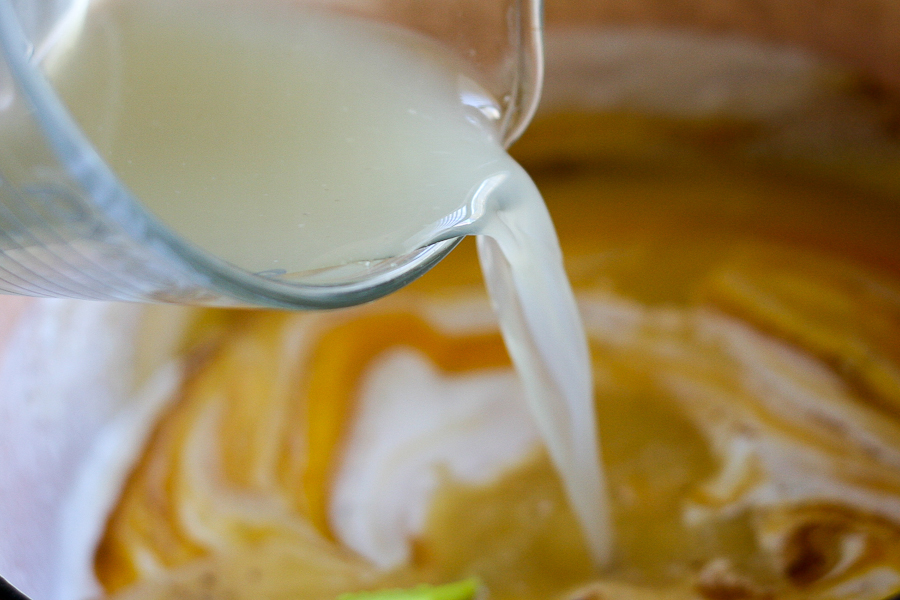
Pour it into your favorite soup pot along with a can of coconut milk.


Tasty Kitchen Blog: Gingered Butternut Squash Soup. Guest post by Natalie Perry of Perry's Plate, recipe submitted by TK member Julia of The Roasted Root.

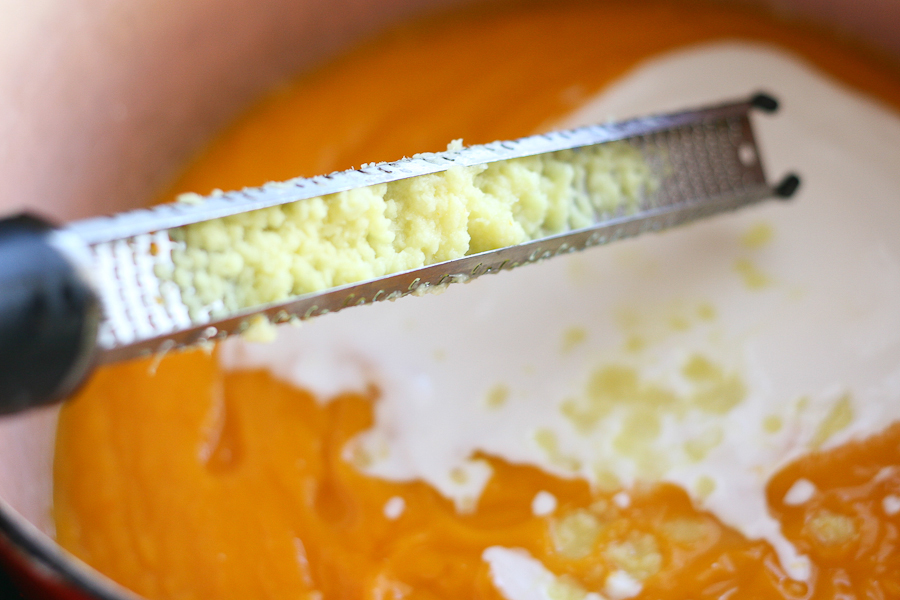
Grate some ginger into the pot. If you still don’t have a Microplane, it’s not too late to get one!


Tasty Kitchen Blog: Gingered Butternut Squash Soup. Guest post by Natalie Perry of Perry's Plate, recipe submitted by TK member Julia of The Roasted Root.

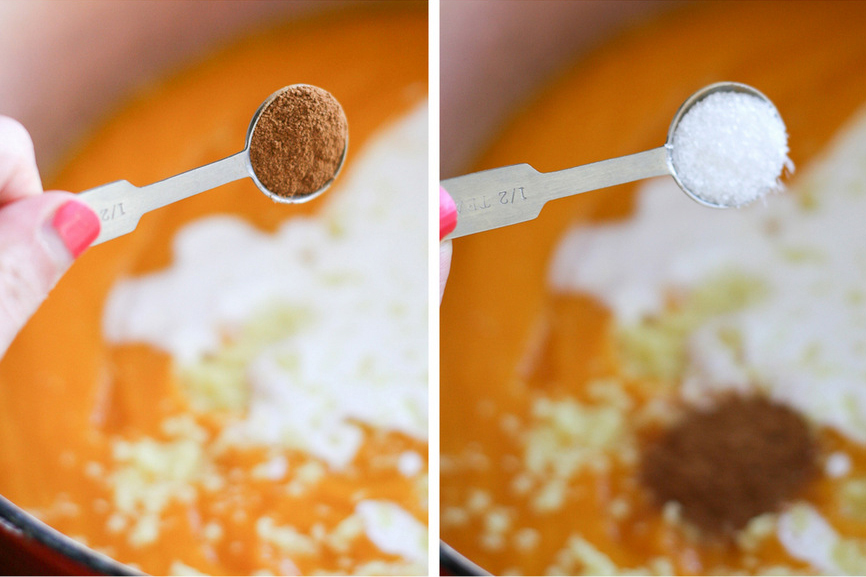
Add the cinnamon and salt. (I think next time I’d halve the cinnamon and double the ginger, but that’s just my taste.)


Tasty Kitchen Blog: Gingered Butternut Squash Soup. Guest post by Natalie Perry of Perry's Plate, recipe submitted by TK member Julia of The Roasted Root.

Add more chicken stock until the soup reaches your desired consistency.


Tasty Kitchen Blog: Gingered Butternut Squash Soup. Guest post by Natalie Perry of Perry's Plate, recipe submitted by TK member Julia of The Roasted Root.

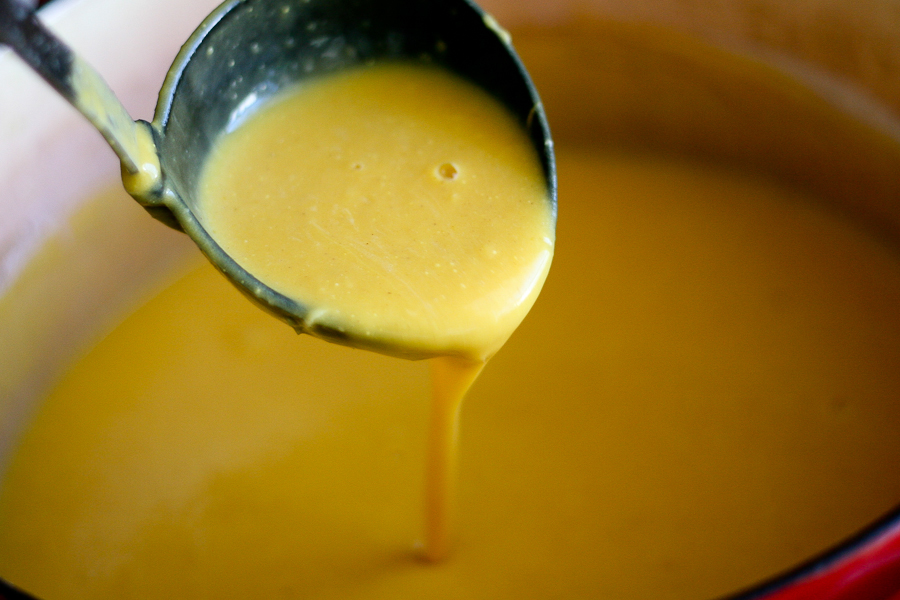
Stir it well and heat it to a low boil.


Tasty Kitchen Blog: Gingered Butternut Squash Soup. Guest post by Natalie Perry of Perry's Plate, recipe submitted by TK member Julia of The Roasted Root.

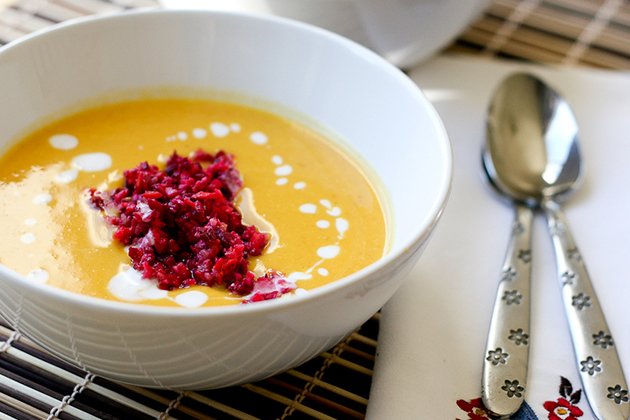
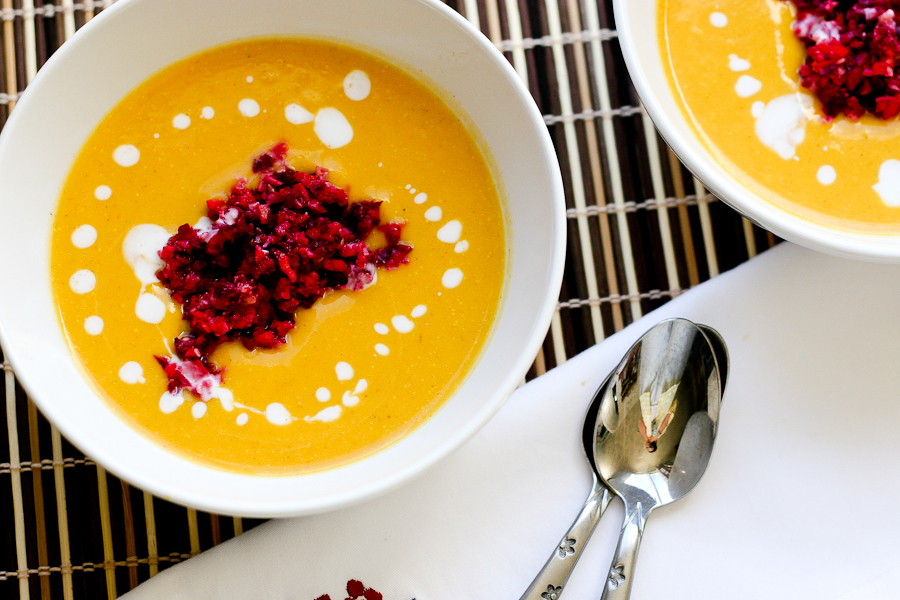
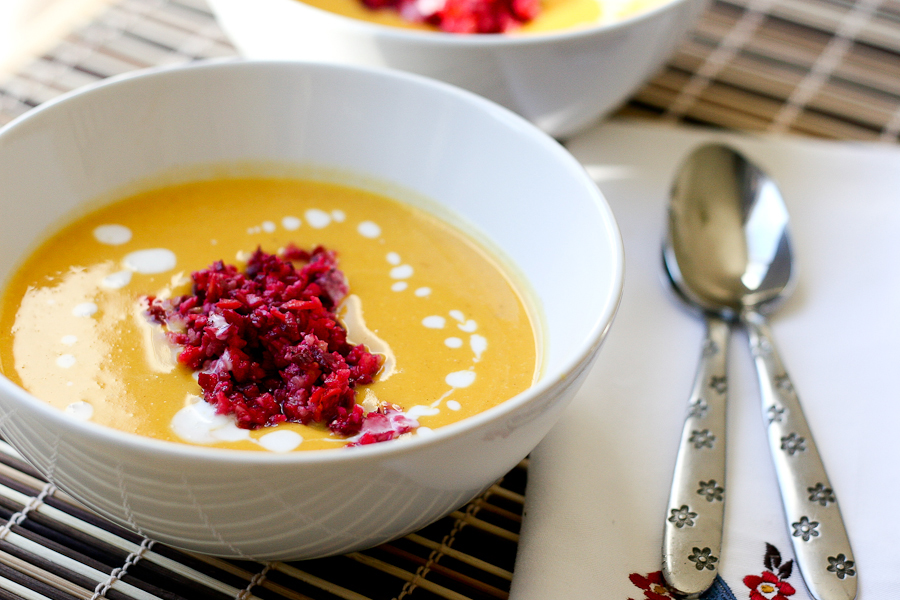
Ladle this gorgeous soup into some bowls, top with a couple spoonfuls of the salad and a drizzle of coconut milk. (Don’t be like me and photo bomb yourself. Unless you really want to.)


Tasty Kitchen Blog: Gingered Butternut Squash Soup. Guest post by Natalie Perry of Perry's Plate, recipe submitted by TK member Julia of The Roasted Root.

I LOVED this soup. It has such a unique flavor, combined with the salad. Please don’t make this without the salad! I think it really takes the soup to a whole new level. (The recipe for the Beet Slaw can be found in Julia’s site. She credits her friend Jason for finding it on a paleo website.)


Tasty Kitchen Blog: Gingered Butternut Squash Soup. Guest post by Natalie Perry of Perry's Plate, recipe submitted by TK member Julia of The Roasted Root.

Thanks again, Julia (and Jason), for a great cleansing-between-rich-meals recipe for the holidays!

Be sure to check out Julia’s Tasty Kitchen Recipe Box as well as her blog, The Roasted Root, for more tasty, nourishing recipes!


Printable Recipe

Gingered Butternut Squash Soup

See post on Julia {The Roasted Root}’s site!
0.00 Mitt(s) 0 Rating(s)0 votes, average: 0.00 out of 50 votes, average: 0.00 out of 50 votes, average: 0.00 out of 50 votes, average: 0.00 out of 50 votes, average: 0.00 out of 5

Prep Time:

Cook Time:

Difficulty: Easy

Servings: 6

6
x

Print Options

Page size Letter 3x5 4x6
Text Size Small Medium Large
Content Include description
Include prep time, etc.
Show image

Description

Simple roasted butternut squash soup with coconut milk, chicken stock ginger, and cinnamon. Easy, nutritious and dairy-free!

Ingredients

  • 1 whole Butternut Squash, Medium-sized
  • Olive Oil, To Drizzle On Seeds
  • ½ teaspoons Salt, Or To Taste
  • 3 teaspoons Fresh Ginger, Grated
  • ½ teaspoons Ground Cinnamon
  • 2 cups Chicken Or Vegetable Broth
  • 1-½ cup Coconut Milk (full-fat Recommended) Or Almond Milk

Preparation Instructions

Preheat the oven to 375ºF. Cut butternut squash in half lengthwise, scoop out the seeds and lightly drizzle the flesh with olive oil and salt. Place squash in a casserole dish cut-side down and bake for 50 to 60 minutes until flesh is very soft and juices are seeping out.

Allow squash to cool and once cool enough to handle, scoop the flesh out and place it in a blender (discard the skin). Add the remaining ingredients to the blender and blend until completely smooth.

Pour the soup into a pot and heat to a low boil.


_______________________________________

Be sure to check out Natalie’s own beautiful food blog, Perrys’ Plate, where you can see her growing collection of lovely recipes. There’s always something new to see there. Go visit now!


Profile photo of Faith (An Edible Mosaic)

Cauliflower Buffalo Wings

Posted by in Step-by-Step Recipes

Growing up in a suburb of Buffalo and working in a pizzeria during high school means I’m a wing-lover from way back. This is why when I saw Tasty Kitchen member Shelbi Keith’s recipe for Cauliflower…

Profile photo of twopeasandtheirpod

Brown Butter Snickerdoodle Cookies

Posted by in Baking, Step-by-Step Recipes

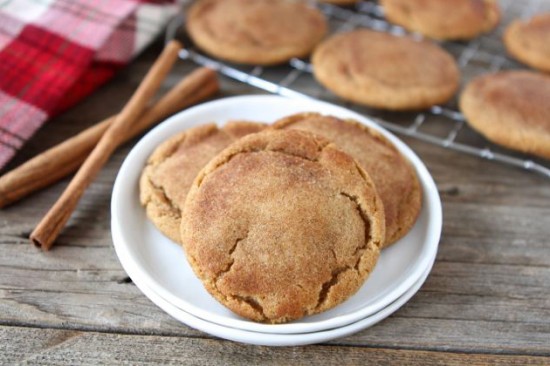
I always like to try a few new cookie recipes every season. I was looking for a festive holiday cookie recipe on Tasty Kitchen and stumbled upon Monique's recipe for Brown Butter Snickerdoodle Cookies. My…

Profile photo of cookincanuck

Apple Pie Egg Rolls

Posted by in Baking, Step-by-Step Recipes

As soon as apples hit the market in the autumn, our minds turn to apple pie and turnovers, preferably accompanied by large spoonfuls of vanilla ice cream. However, if you’re running short on time, or are inexplicably freaked out by pie dough (like me), you may be tempted to whip up a dessert that incorporates all of the flavors of apple pie, without the fuss.…

Profile photo of HowSweetEats

Cheddar Tailgating Bread

Posted by in Baking, Step-by-Step Recipes

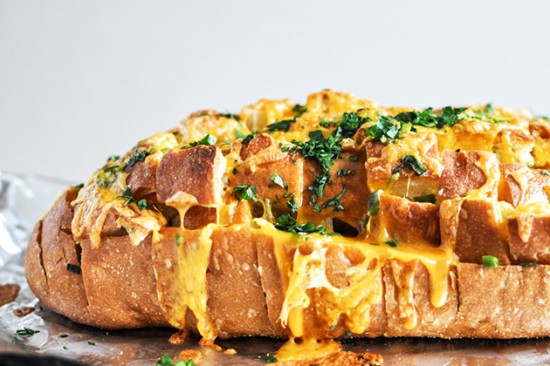
I hope you’re in the mood for something fantastically warm, gooey, comforting, and most of all, fun. We’re right in the heart of football season and who doesn’t love to bring the snack to the party that everyone can’t stop talking about? That’s exactly what this bread is. And more. I never need to be sold when cheese and bread are involved, so the…