The Pioneer Woman Tasty Kitchen
Profile photo of HowSweetEats

Dark Chocolate Chunk Skillet Cookie

Posted by in Baking, Step-by-Step Recipes

Tasty Kitchen Blog: Chocolate Chip Skillet Cookie. Guest post by Jessica Merchant of How Sweet It Is, recipe submitted by TK member Jaime of Sophistimom.

 
Everyone loves a chocolate chip cookie, right? And do you know what’s better than a chocolate chip cookie? A GIANT chocolate chip cookie. Massive. We are talking huge.

I think chocolate chip cookies—warm and gooey—are one of life’s greatest comfort foods. They usually have a time and a place: rainy days, snowy nights, summer afternoons, and my favorite, the worst day ever. Everyone has a worst day ever. Sometimes they even occur weekly. Fortunately, chocolate chip cookies usually solve everything. Unfortunately for me, my time and place for chocolate chip cookies is … all the time and all of the places. But let’s pretend that’s a fabulous thing. Because it is.

And thanks to Jaime, my life (and yours) just got even easier, because you can make one gigantic chocolate chip cookie in a single pan. That’s right, a One-Pan Dark Chocolate Chunk Skillet Cookie. One skillet, I tell you. Pure genius and sort of dangerous. Let’s take the risk!


Tasty Kitchen Blog: Chocolate Chip Skillet Cookie. Guest post by Jessica Merchant of How Sweet It Is, recipe submitted by TK member Jaime of Sophistimom.

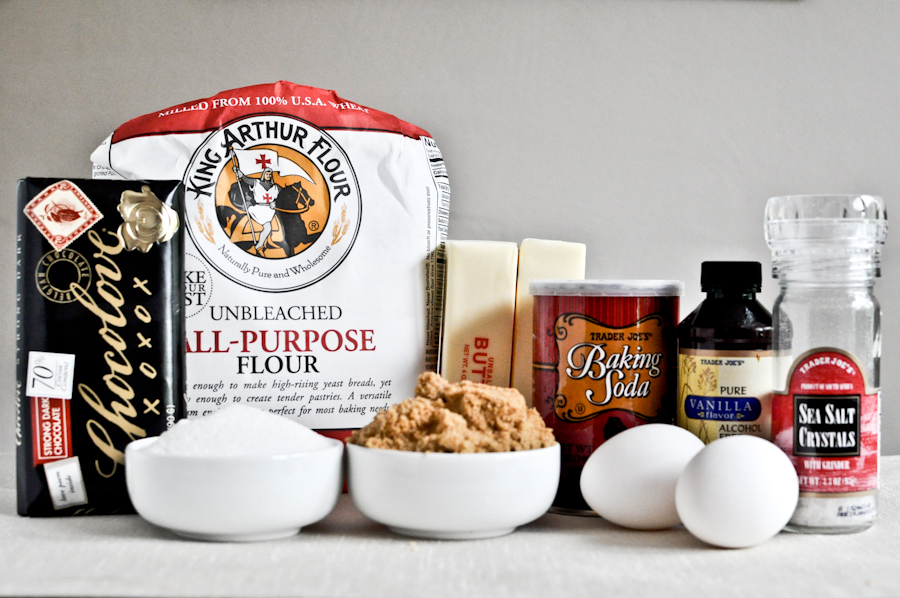
You need all your basic cookie goods: flour, baking, baking soda, salt, granulated sugar, brown sugar, butter, eggs, vanilla extract and chocolate.


Tasty Kitchen Blog: Chocolate Chip Skillet Cookie. Guest post by Jessica Merchant of How Sweet It Is, recipe submitted by TK member Jaime of Sophistimom.

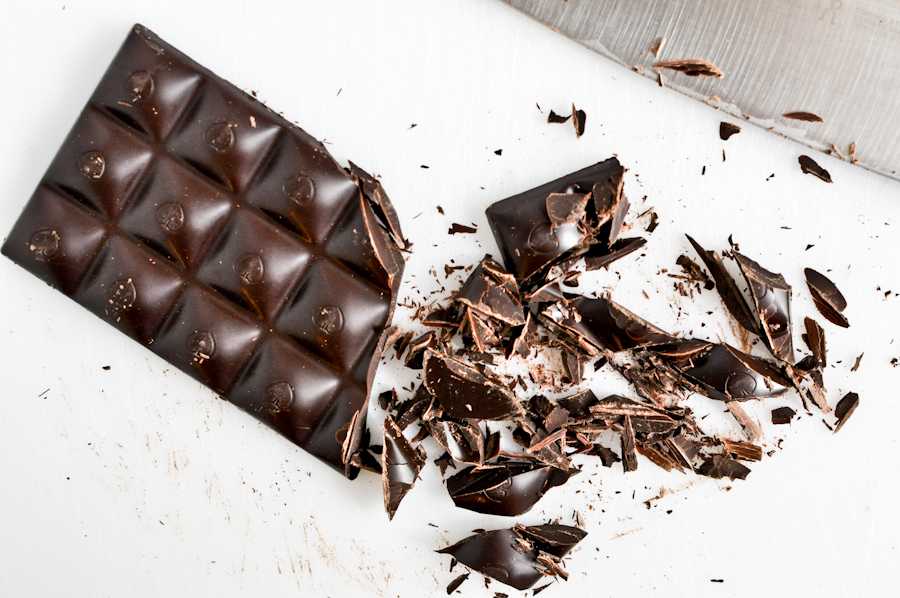
First up, chop that chocolate bar. You can surely use chocolate chips if that’s all you have on hand, but I love the random and unequally-sized chocolate chunks strewn throughout the cookie. Also, using dark chocolate makes this healthy! Antioxidants my friends.


Tasty Kitchen Blog: Chocolate Chip Skillet Cookie. Guest post by Jessica Merchant of How Sweet It Is, recipe submitted by TK member Jaime of Sophistimom.

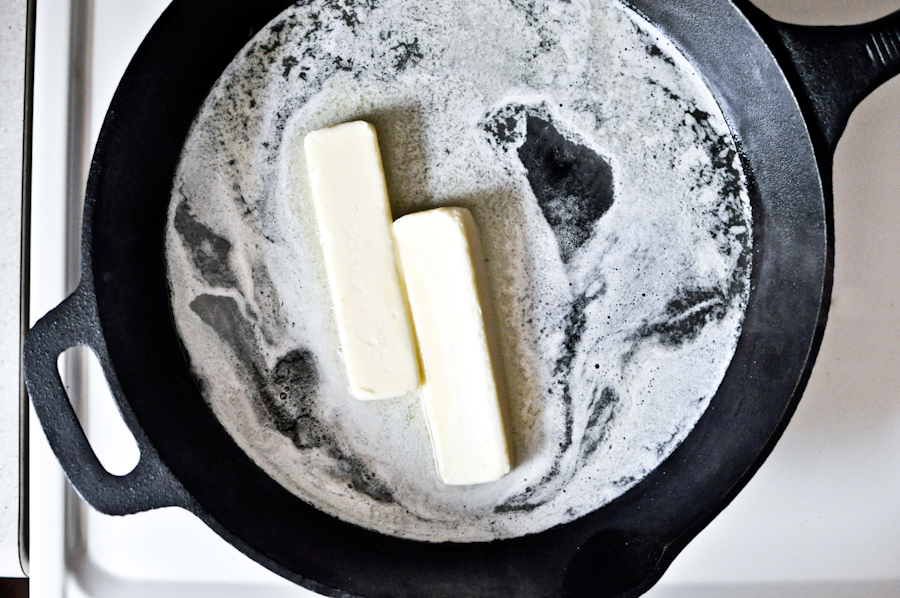
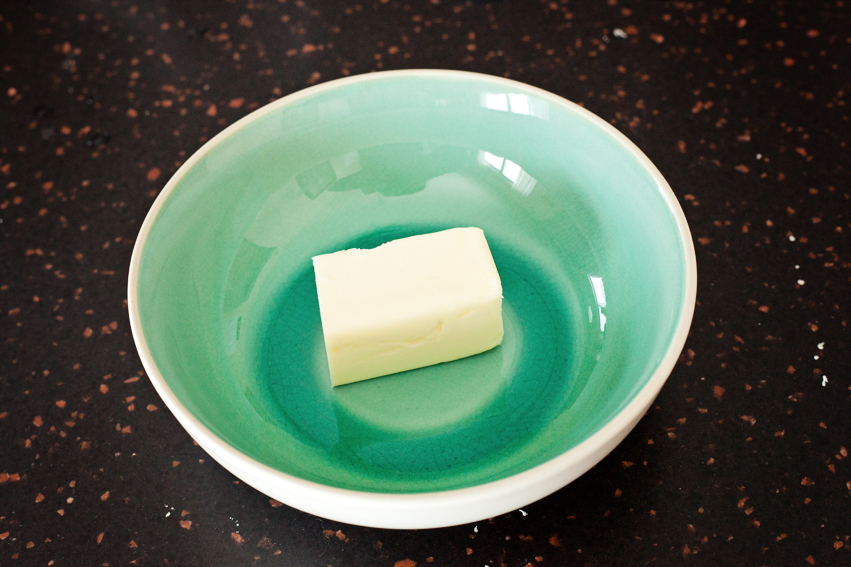
Next, heat your cast iron skillet and melt the butter. Jaime’s recipe was made for an 8-inch skillet, but I don’t have one in my possession. My skillet is very large, so I actually doubled the recipe and it worked perfectly. So yes, I made an even bigger cookie.
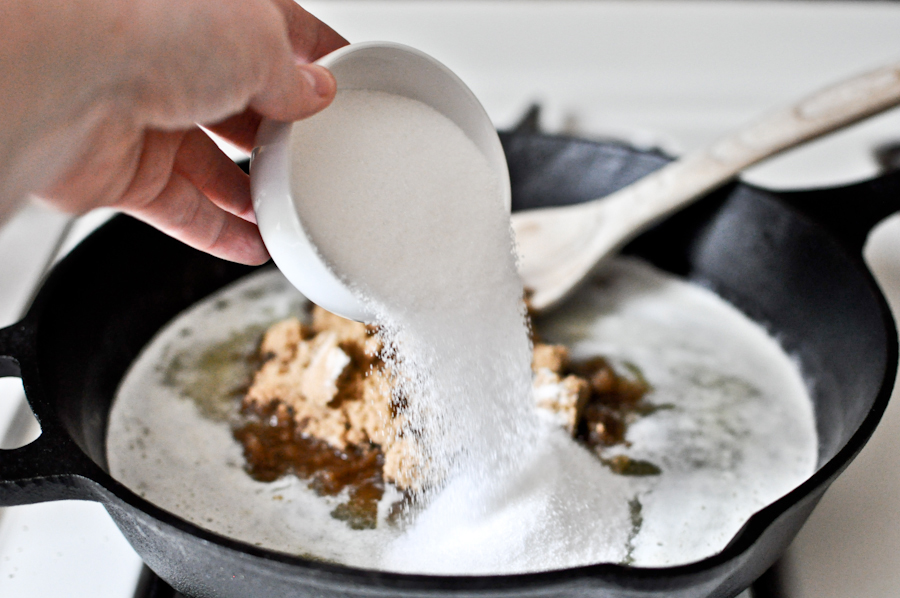
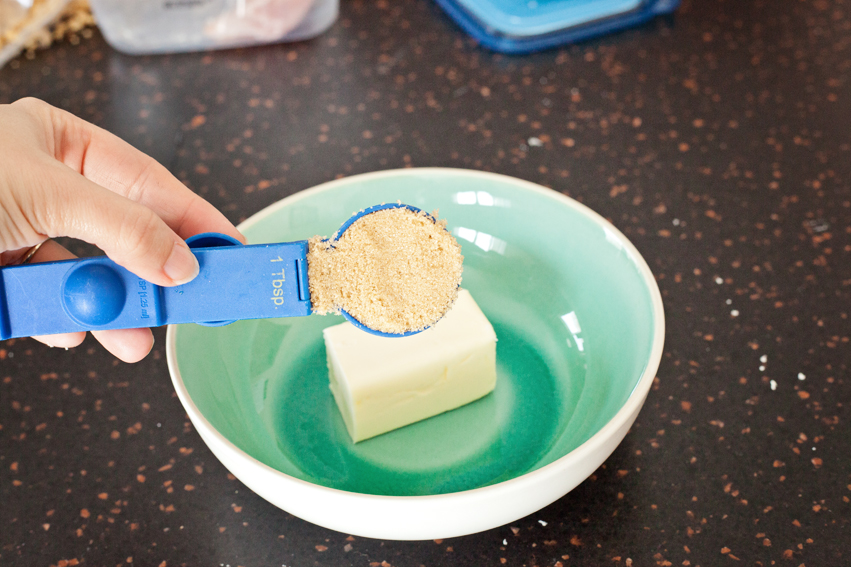
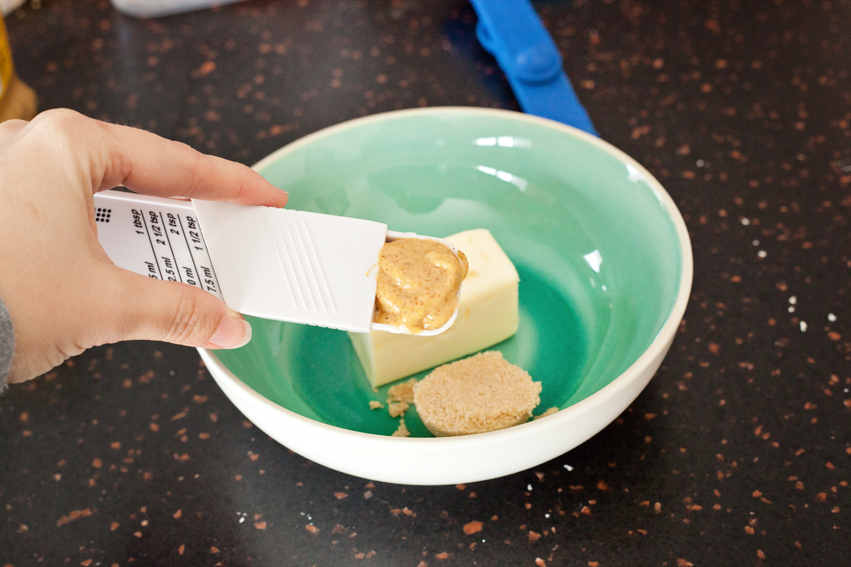


Tasty Kitchen Blog: Chocolate Chip Skillet Cookie. Guest post by Jessica Merchant of How Sweet It Is, recipe submitted by TK member Jaime of Sophistimom.

Add your sugars.


Tasty Kitchen Blog: Chocolate Chip Skillet Cookie. Guest post by Jessica Merchant of How Sweet It Is, recipe submitted by TK member Jaime of Sophistimom.

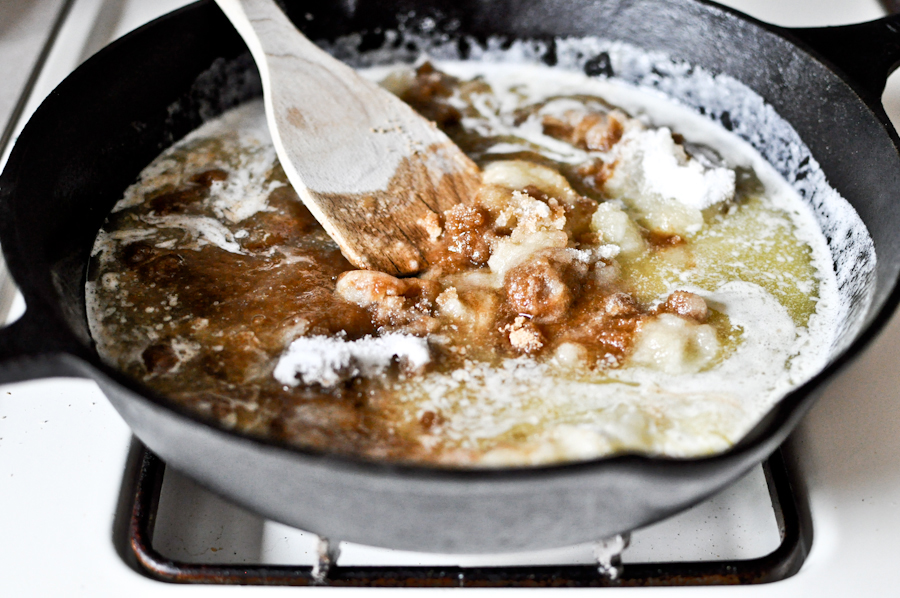
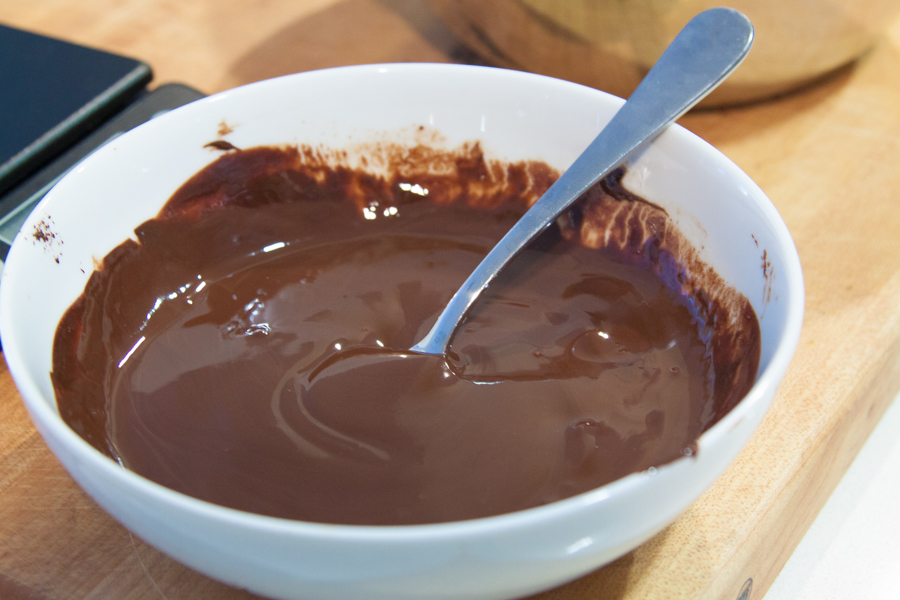
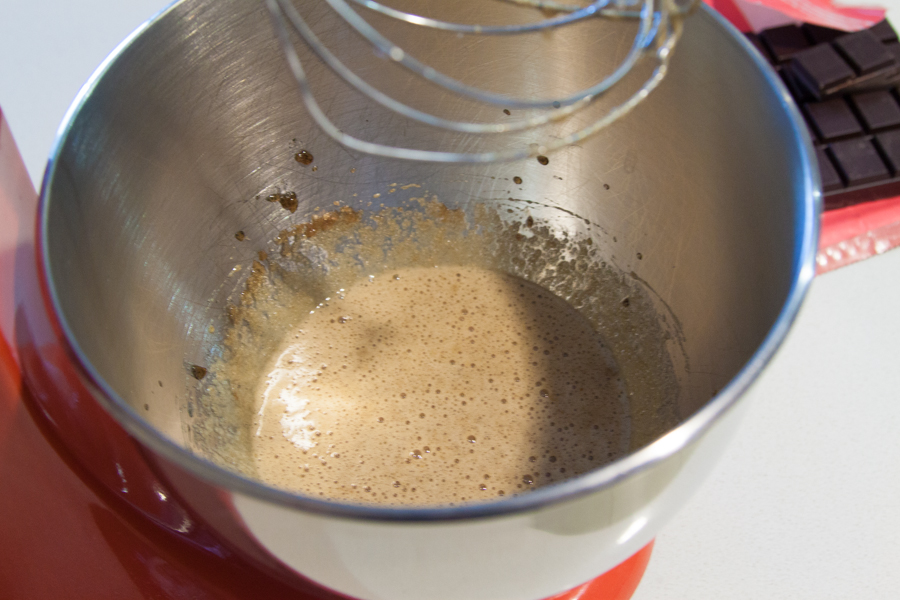
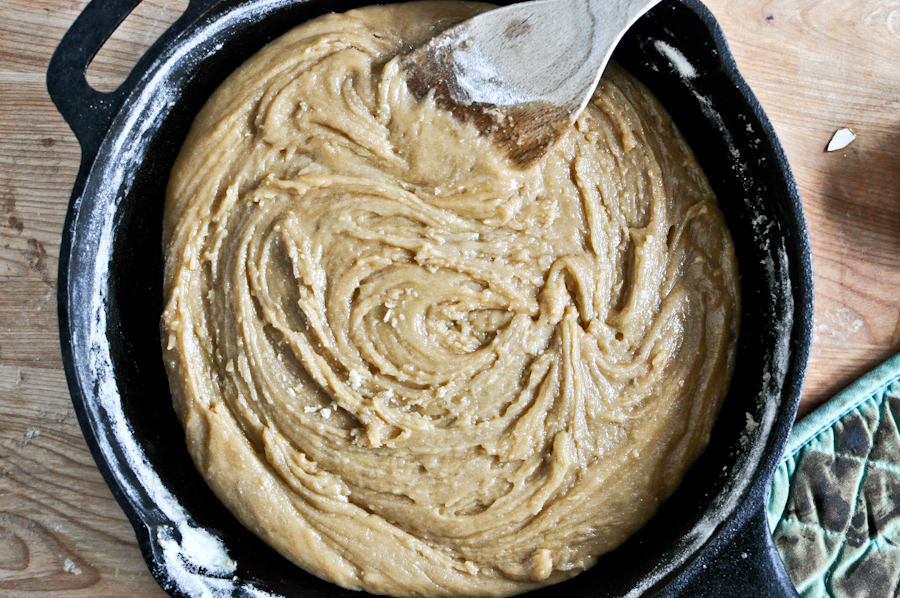
Mix until caramelly and smooth.


Tasty Kitchen Blog: Chocolate Chip Skillet Cookie. Guest post by Jessica Merchant of How Sweet It Is, recipe submitted by TK member Jaime of Sophistimom.

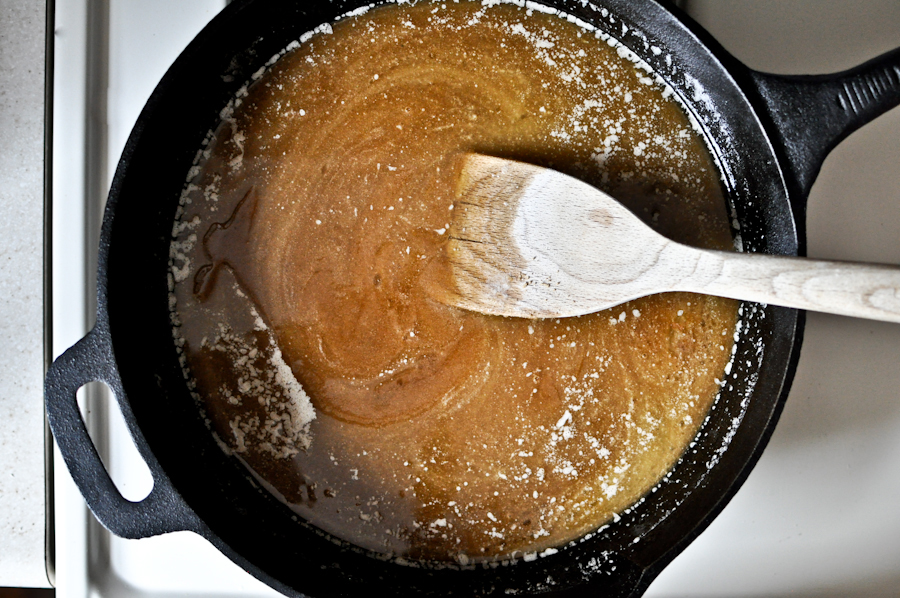
It should look like this! Remove the skillet from the heat and let sit for a few minutes. You don’t want it to be hot, but it should still be a bit warm.


Tasty Kitchen Blog: Chocolate Chip Skillet Cookie. Guest post by Jessica Merchant of How Sweet It Is, recipe submitted by TK member Jaime of Sophistimom.

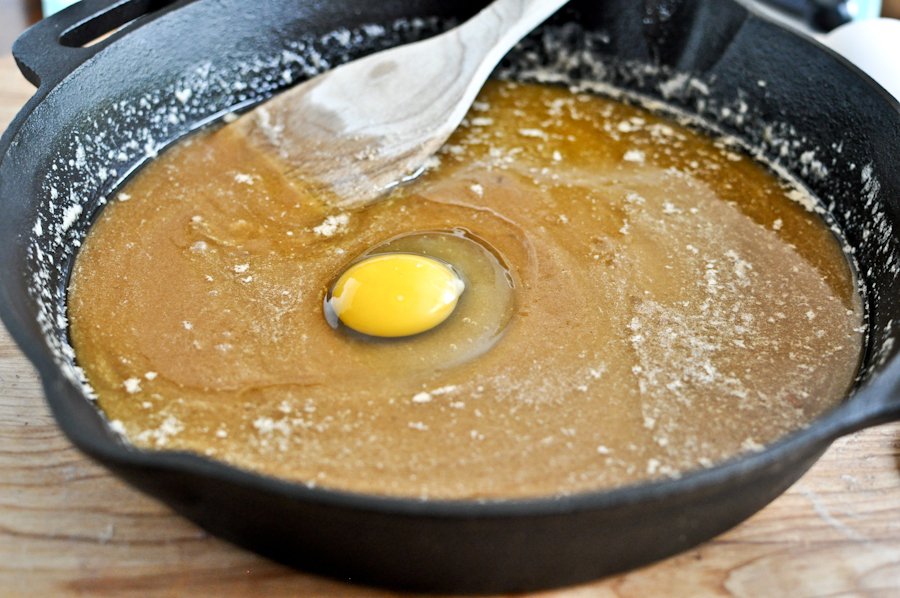
Then whisk in your egg and vanilla extract.


Tasty Kitchen Blog: Chocolate Chip Skillet Cookie. Guest post by Jessica Merchant of How Sweet It Is, recipe submitted by TK member Jaime of Sophistimom.

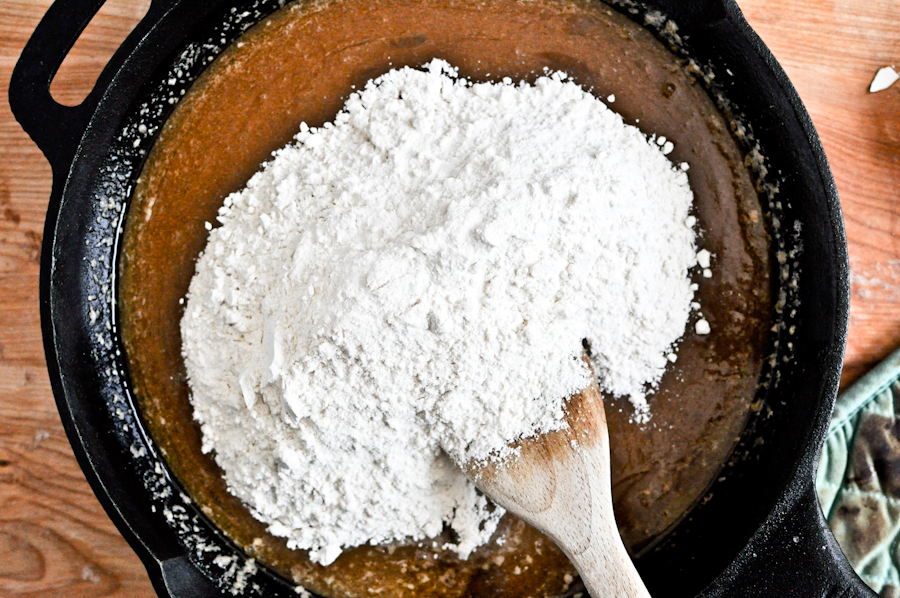
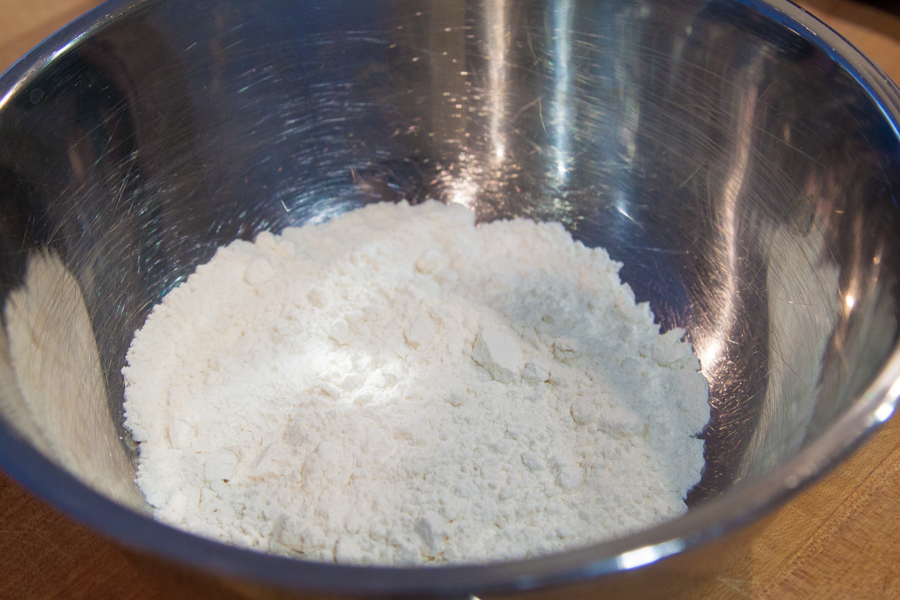
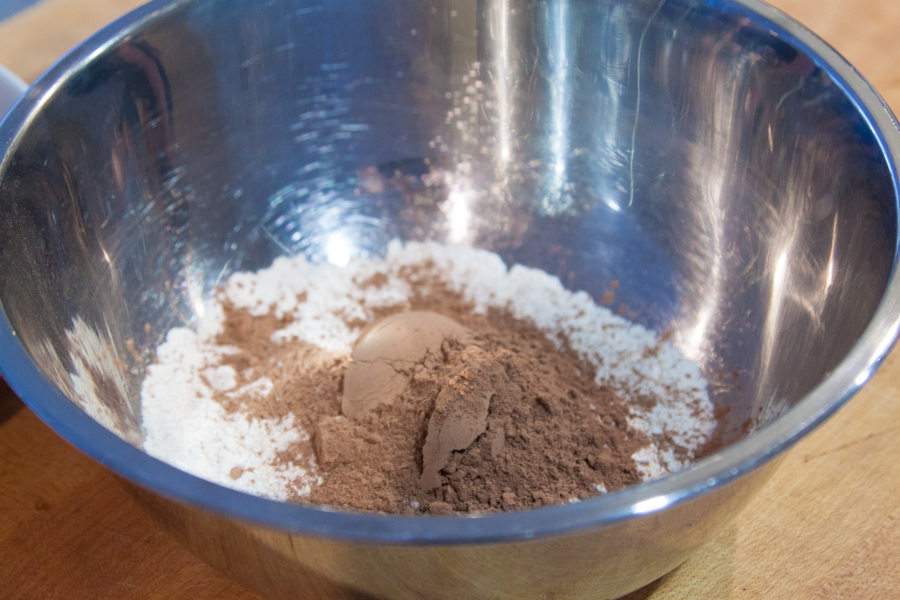
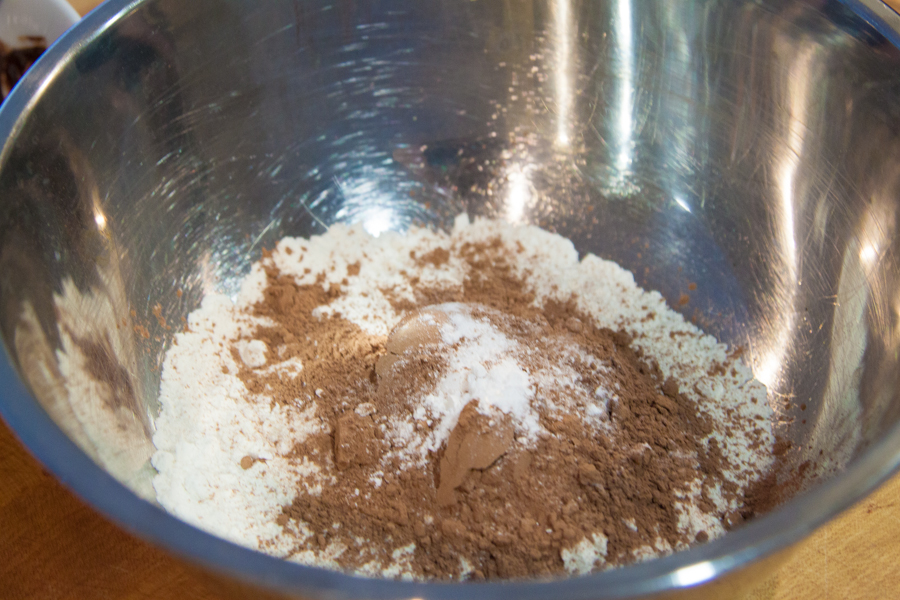
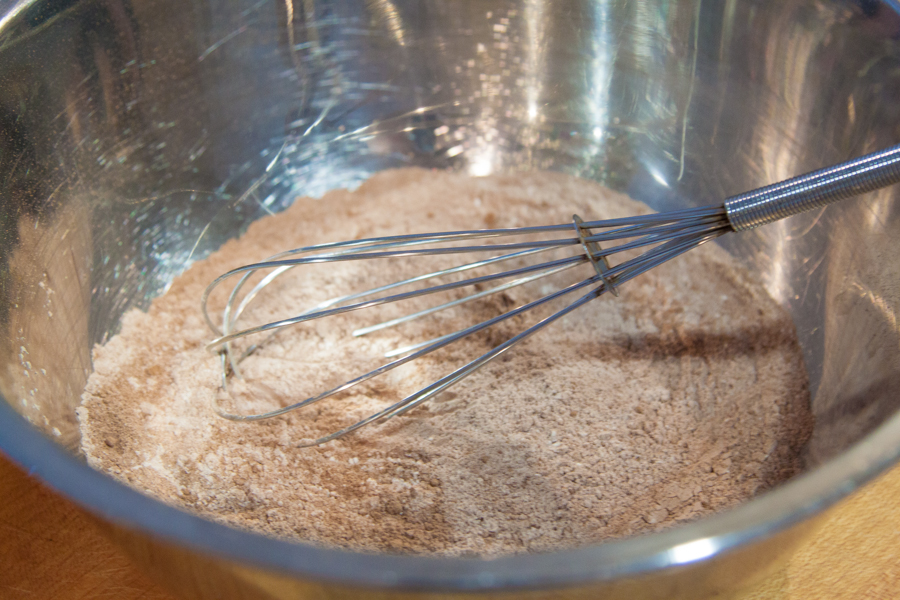
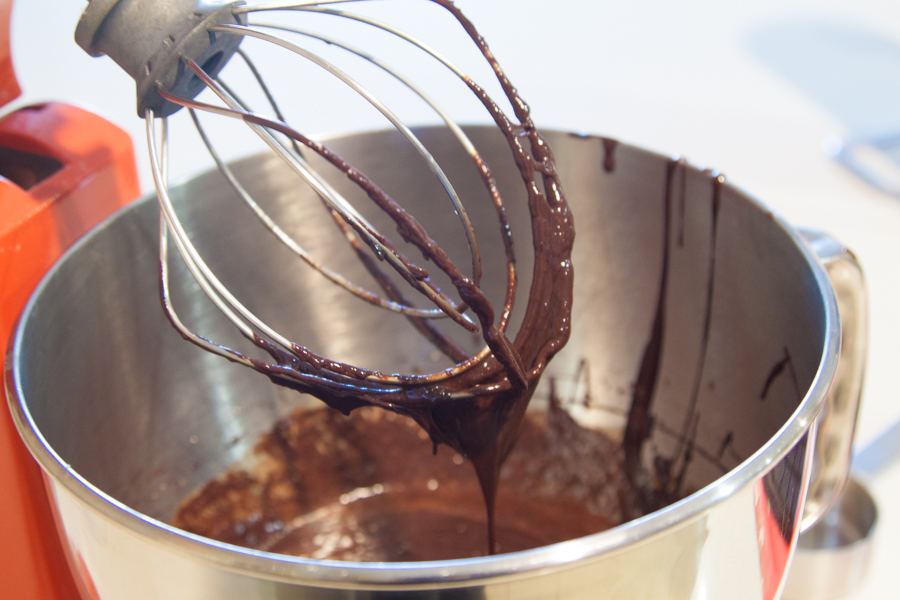
Stir in your dry ingredients. It may take a few minutes to come together, but keep stirring.


Tasty Kitchen Blog: Chocolate Chip Skillet Cookie. Guest post by Jessica Merchant of How Sweet It Is, recipe submitted by TK member Jaime of Sophistimom.

We have a batter!


Tasty Kitchen Blog: Chocolate Chip Skillet Cookie. Guest post by Jessica Merchant of How Sweet It Is, recipe submitted by TK member Jaime of Sophistimom.

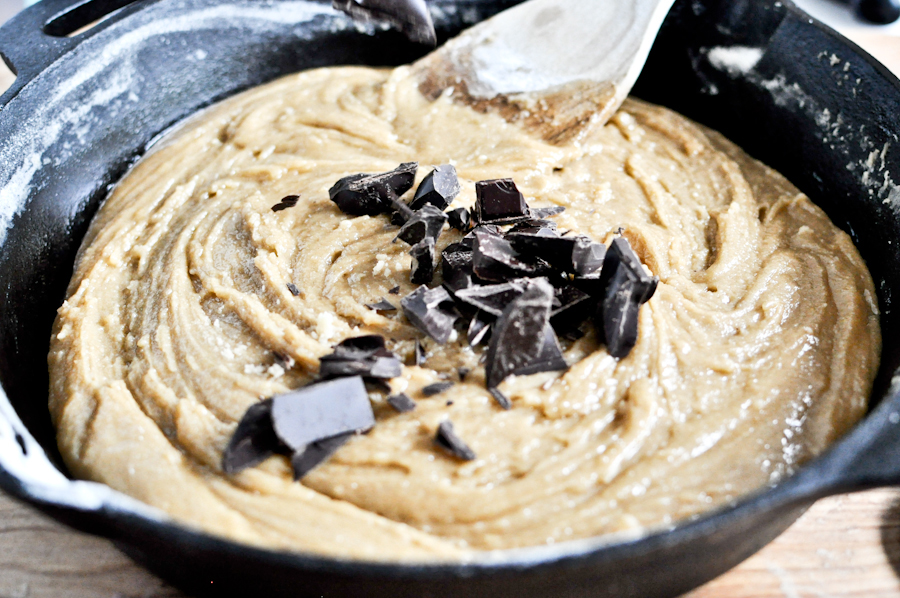
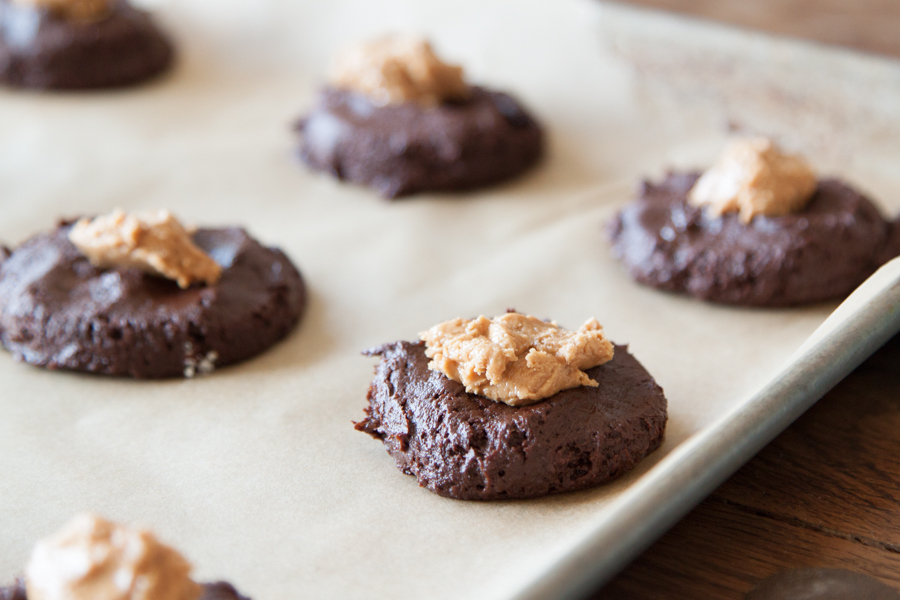
Fold in all of your chocolate. Well, all of your chocolate that you didn’t eat already.

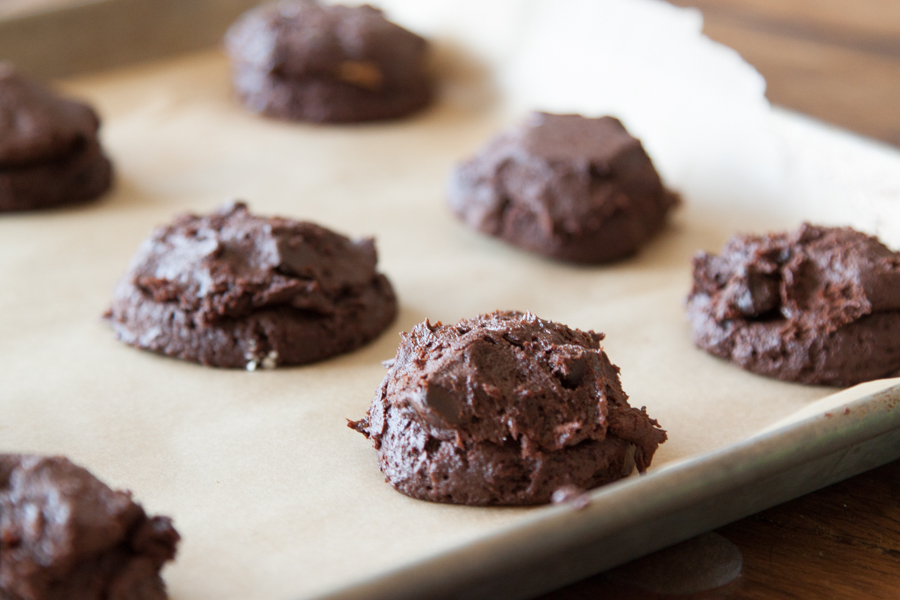
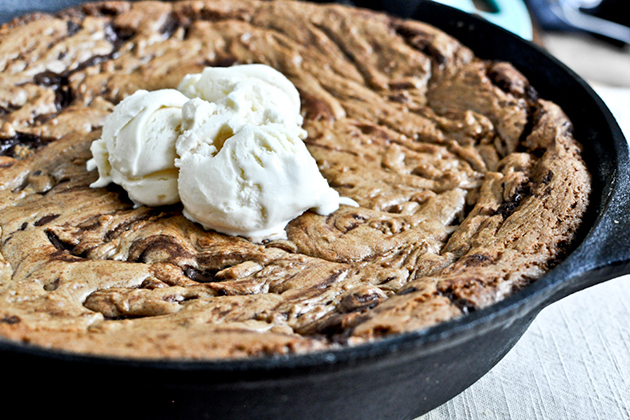
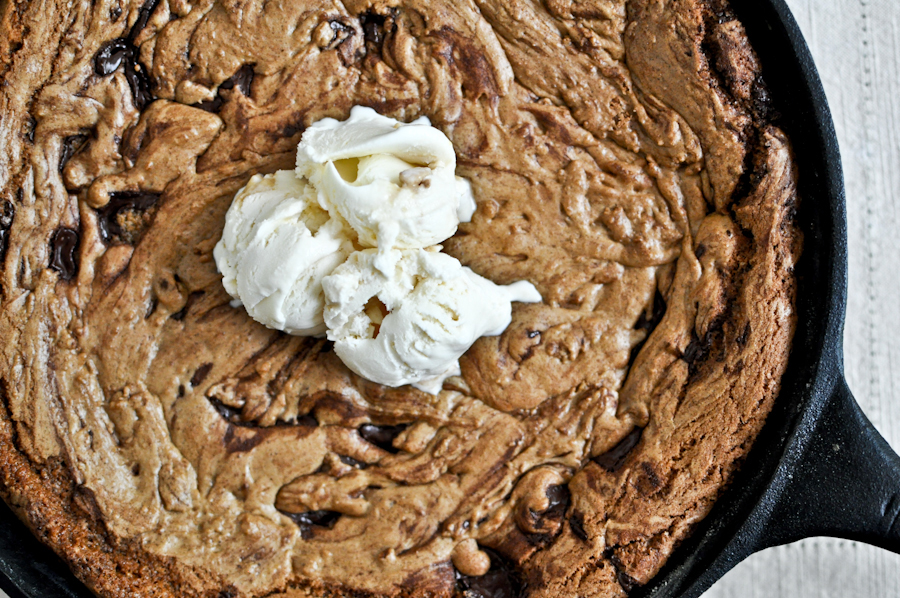
Then toss that skillet in the oven and watch the cookie work its magic. It should be a little soft on the inside and a bit golden on the edges when you bring it out.


Tasty Kitchen Blog: Chocolate Chip Skillet Cookie. Guest post by Jessica Merchant of How Sweet It Is, recipe submitted by TK member Jaime of Sophistimom.

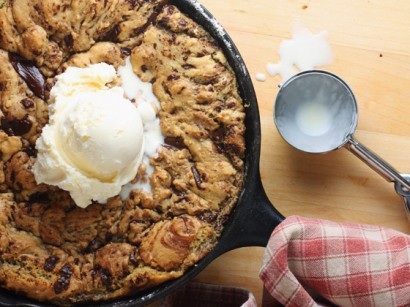
While it’s hot, top it with ice cream! I know. This just keeps getting crazier.


Tasty Kitchen Blog: Chocolate Chip Skillet Cookie. Guest post by Jessica Merchant of How Sweet It Is, recipe submitted by TK member Jaime of Sophistimom.

Then dig in. I’d love to tell you that I cut this into beautiful slices on pretty little places but um … we definitely dug in with forks. And spoons. This melty, gooey and chewy cookie is never leaving my recipe box. It’s fabulous!

Be sure to check out Jaime’s fabulous blog Sophistimom, where she discusses delicious food and fantastic books. Thanks so much for the recipe, Jaime!


Printable Recipe

One-Pan Dark Chocolate Chunk Skillet Cookie

See post on sophistimom (Jaime)’s site!
4.86 Mitt(s) 22 Rating(s)22 votes, average: 4.86 out of 522 votes, average: 4.86 out of 522 votes, average: 4.86 out of 522 votes, average: 4.86 out of 522 votes, average: 4.86 out of 5

Prep Time:

Cook Time:

Difficulty: Easy

Servings: 4

4
x

Print Options

Page size Letter 3x5 4x6
Text Size Small Medium Large
Content Include description
Include prep time, etc.
Show image

Description

Mix up and bake a warm cookie, oozing with rivers of chocolate, all in one cast iron skillet.

Ingredients

  • 1 stick Butter
  • ½ cups Granulated Sugar
  • ½ cups Light Brown Sugar
  • 1 teaspoon Pure Vanilla Extract
  • 1 whole Egg
  • 1-½ cup All-purpose Flour
  • ½ teaspoons Baking Soda
  • ¼ teaspoons Salt
  • 1 cup Semi-sweet Chocolate, Cut In Chunks

Preparation Instructions

1. Preheat oven to 350 degrees F. Melt butter in an 8 inch cast iron skillet set over medium-low heat. Stir in sugars and vanilla and remove from heat. Let rest until pan is warm, but no longer very hot, about 5 minutes.
2. Crack an egg onto the butter and sugar mixture, and use a fork to whisk it into the mixture. Place flour, baking soda, and salt on top, and very carefully stir into the mixture until smooth and well-mixed. Stir in chocolate chunks. Place in the oven for 15-25 minutes, or until starting to turn golden on the top and around the edges, but still soft in the center. Serve with vanilla ice cream.


_______________________________________

Jessica Merchant is a personal trainer turned food writer and blogger. Her blog, How Sweet Eats, is where she proclaims her love for all things sweet, all things bacon, and everything else in between. She works her magic in her Pittsburgh kitchen, which she shares with her husband of 2 years.


Profile photo of Natalie | Perry's Plate

Dark Chocolate Cookie Dough Cups

Posted by in Holidays, Step-by-Step Recipes

Tasty Kitchen Blog: Dark Chocolate Cookie Dough Cups. Guest post by Natalie Perry of Perry's Plate, recipe submitted by TK member Adrienne Jacobs of This Country Girl Cooks.

 
With all of the chocolates flying around this month, I thought I would throw something out there that would satisfy your sweet tooth or chocolate craving, but won’t leave you feeling like you’ve overindulged. 

These adorable Dark Chocolate Cookie Dough Cups by TK member Adrienne Jacobs (who blogs at This Country Girl Cooks) are a perfect balance of indulgent chocolate and a naturally-sweetened, nutty filling. 

Let’s get started! 


Tasty Kitchen Blog: Dark Chocolate Cookie Dough Cups. Guest post by Natalie Perry of Perry's Plate, recipe submitted by TK member Adrienne Jacobs of This Country Girl Cooks.

You’ll need dark chocolate (I used Ghirardelli 60% chips), almonds, cashews, rolled oats, peanut butter, and real maple syrup. Oh, and a little more chocolate—in the form of mini chips. 


Tasty Kitchen Blog: Dark Chocolate Cookie Dough Cups. Guest post by Natalie Perry of Perry's Plate, recipe submitted by TK member Adrienne Jacobs of This Country Girl Cooks.

First, chop the nuts roughly. Don’t work yourself too hard — we’re going to throw them in the food processor. Chopping them up a bit helps the mixture to be more uniform.

Pull a couple tablespoonfuls aside and reserve them. 


Tasty Kitchen Blog: Dark Chocolate Cookie Dough Cups. Guest post by Natalie Perry of Perry's Plate, recipe submitted by TK member Adrienne Jacobs of This Country Girl Cooks.

Throw the rest of the chopped nuts in the processor with the cashews and oats. If you happen to have a 4-year-old around, they’re great at things like that.


Tasty Kitchen Blog: Dark Chocolate Cookie Dough Cups. Guest post by Natalie Perry of Perry's Plate, recipe submitted by TK member Adrienne Jacobs of This Country Girl Cooks.

Pulse until you get a mealy mixture free of large almond pieces. 


Tasty Kitchen Blog: Dark Chocolate Cookie Dough Cups. Guest post by Natalie Perry of Perry's Plate, recipe submitted by TK member Adrienne Jacobs of This Country Girl Cooks.

Add the peanut butter, maple syrup, and mini chocolate chips to the bowl.


Tasty Kitchen Blog: Dark Chocolate Cookie Dough Cups. Guest post by Natalie Perry of Perry's Plate, recipe submitted by TK member Adrienne Jacobs of This Country Girl Cooks.

Pulse until the mixture comes together in large clumps. If it seems dry, add more peanut butter by spoonfuls until you reach the right consistency. It should hold together in a ball, but not be overly sticky.


Tasty Kitchen Blog: Dark Chocolate Cookie Dough Cups. Guest post by Natalie Perry of Perry's Plate, recipe submitted by TK member Adrienne Jacobs of This Country Girl Cooks.

Now that our filling is done, let’s get the chocolate prepped. Melt the chocolate either in a double-broiler set up or in 30 second intervals in the microwave. Stir after each interval until the chocolate is smooth.


Tasty Kitchen Blog: Dark Chocolate Cookie Dough Cups. Guest post by Natalie Perry of Perry's Plate, recipe submitted by TK member Adrienne Jacobs of This Country Girl Cooks.

Line a 24-cup mini muffin pan with mini cups then put a teaspoon or so of chocolate into each cup. Four-year-olds also like to do this. But you may end up with just as much chocolate on the pan as in the cups.


Tasty Kitchen Blog: Dark Chocolate Cookie Dough Cups. Guest post by Natalie Perry of Perry's Plate, recipe submitted by TK member Adrienne Jacobs of This Country Girl Cooks.

Roll the dough into 1-inch balls and flatten slightly.


Tasty Kitchen Blog: Dark Chocolate Cookie Dough Cups. Guest post by Natalie Perry of Perry's Plate, recipe submitted by TK member Adrienne Jacobs of This Country Girl Cooks.

Press each ball into a muffin cup until the chocolate sort of oozes up the sides.


Tasty Kitchen Blog: Dark Chocolate Cookie Dough Cups. Guest post by Natalie Perry of Perry's Plate, recipe submitted by TK member Adrienne Jacobs of This Country Girl Cooks.

Spoon the remaining chocolate over top. It doesn’t have to cover the nut mixture completely.


Tasty Kitchen Blog: Dark Chocolate Cookie Dough Cups. Guest post by Natalie Perry of Perry's Plate, recipe submitted by TK member Adrienne Jacobs of This Country Girl Cooks.

Sprinkle with reserved chopped almonds. 

Stick them in the freezer (if you have space) for a few minutes to harden. 


Tasty Kitchen Blog: Dark Chocolate Cookie Dough Cups. Guest post by Natalie Perry of Perry's Plate, recipe submitted by TK member Adrienne Jacobs of This Country Girl Cooks.

And there you have it! Cute little “cookie dough” morsels. I must say, though, that I didn’t think these tasted like cookie dough at all, but a more sophisticated version of those peanut butter cups in the orange wrappers. You know which ones I’m talking about, right? 

Of course you do.

Give a few of these to someone you love this week.


Tasty Kitchen Blog: Dark Chocolate Cookie Dough Cups. Guest post by Natalie Perry of Perry's Plate, recipe submitted by TK member Adrienne Jacobs of This Country Girl Cooks.

Then pop one into your mouth. Or six. (But not all at once, tempting as it might be.)

You’ll find the complete recipe and instructions below. Be sure to head over to Adrienne’s TK recipe box and blog This Country Girl Cooks for more delicious recipes!


Printable Recipe

Dark Chocolate Cookie Dough Cups

See post on Adrienne Jacobs’s site!
0.00 Mitt(s) 0 Rating(s)0 votes, average: 0.00 out of 50 votes, average: 0.00 out of 50 votes, average: 0.00 out of 50 votes, average: 0.00 out of 50 votes, average: 0.00 out of 5

Prep Time:

Cook Time:

Difficulty: Easy

Servings: 10

10
x

Print Options

Page size Letter 3x5 4x6
Text Size Small Medium Large
Content Include description
Include prep time, etc.
Show image

Description

Who knew three kinds of nuts, oats, and a little maple syrup mixed together would taste just like cookie dough. Covered with dark chocolate, this treat is actually something to feel good about.

Ingredients

  • 8 ounces, fluid Dark Chocolate
  • ¼ cups Rolled Oats
  • ¼ cups Cashews
  • ½ cups Roughly Chopped Almonds, Plus 1 Tablespoon, Divided
  • 3 Tablespoons Peanut Butter
  • 2 Tablespoons Maple Syrup
  • 1 Tablespoon Chocolate Chips

Preparation Instructions

Line a mini muffin tin with paper liners.

Over a double boiler or in the microwave, melt dark chocolate. Once chocolate is melted, line bottom of muffin tin liners with a heaping teaspoon of melted chocolate.

In a food processor blend oats, cashews, and 1/2 cup almonds together until mixture has a flour consistency. Add in peanut butter and syrup. Blend until “dough” comes together. More peanut butter may need to be added to get mixture to form together better.

Add in chocolate chips and pulse a few more seconds. Cover with remaining chocolate.

Sprinkle on remaining 1 tablespoon almonds over the top of chocolates. Freeze for 20 minutes or until hardened. Store them in the freezer.

Enjoy.


_______________________________________

Be sure to check out Natalie’s own beautiful food blog, Perrys’ Plate, where you can see her growing collection of lovely recipes. There’s always something new to see there. Go visit now!


Profile photo of whatsgabycooking

Dark Chocolate Peanut Butter Cup Pretzel Cookies

Posted by in Baking, Step-by-Step Recipes

Tasty Kitchen Blog: Dark Chocolate Peanut Butter Cup Pretzel Cookies. Guest post by Gaby Dalkin of What's Gaby Cooking, recipe submitted by TK member Katie of Veggie and The Beast.

 
When I first made these Dark Chocolate Peanut Butter Cup Pretzel Cookies from TK member Katie, I posted a pic on Instagram and someone commented saying, “HOLY UNIVERSE” and I really haven’t been able to come up with a better way to introduce these bites of heaven to you since. They will rock your world, your universe and your life all at the same time.

Are you ready to get into these? Let’s get moving! We’ve got cookies to make!


Tasty Kitchen Blog: Dark Chocolate Peanut Butter Cup Pretzel Cookies. Guest post by Gaby Dalkin of What's Gaby Cooking, recipe submitted by TK member Katie of Veggie and The Beast.

First we’ve got to melt some butter and dark chocolate together. You can do this over a double boiler if you’re awesome, but if you’re lazy like me, a microwave works too.


Tasty Kitchen Blog: Dark Chocolate Peanut Butter Cup Pretzel Cookies. Guest post by Gaby Dalkin of What's Gaby Cooking, recipe submitted by TK member Katie of Veggie and The Beast.

Then let’s start combining the dry ingredients. Let’s start with flour.


Tasty Kitchen Blog: Dark Chocolate Peanut Butter Cup Pretzel Cookies. Guest post by Gaby Dalkin of What's Gaby Cooking, recipe submitted by TK member Katie of Veggie and The Beast.

We’ll add in a few tablespoons of cocoa powder …


Tasty Kitchen Blog: Dark Chocolate Peanut Butter Cup Pretzel Cookies. Guest post by Gaby Dalkin of What's Gaby Cooking, recipe submitted by TK member Katie of Veggie and The Beast.

Followed by some baking soda, baking powder and salt.


Tasty Kitchen Blog: Dark Chocolate Peanut Butter Cup Pretzel Cookies. Guest post by Gaby Dalkin of What's Gaby Cooking, recipe submitted by TK member Katie of Veggie and The Beast.

Give it all a whisk to evenly combine and then set it aside.


Tasty Kitchen Blog: Dark Chocolate Peanut Butter Cup Pretzel Cookies. Guest post by Gaby Dalkin of What's Gaby Cooking, recipe submitted by TK member Katie of Veggie and The Beast.

Now, let’s combine our eggs, white sugar, brown sugar and vanilla in a mixer. Mix it up until it’s evenly incorporated.


Tasty Kitchen Blog: Dark Chocolate Peanut Butter Cup Pretzel Cookies. Guest post by Gaby Dalkin of What's Gaby Cooking, recipe submitted by TK member Katie of Veggie and The Beast.

Add in the chocolate and give it another good mix or two until the chocolate is incorporated.


Tasty Kitchen Blog: Dark Chocolate Peanut Butter Cup Pretzel Cookies. Guest post by Gaby Dalkin of What's Gaby Cooking, recipe submitted by TK member Katie of Veggie and The Beast.

And then fold in the flour and chocolate chips. Your cookie dough will look delicious, just like this. Try to do everything in your power to not grab a spoon and go to town like I did. If you wait about 15 more minutes, I promise it’s going to be worth it.


Tasty Kitchen Blog: Dark Chocolate Peanut Butter Cup Pretzel Cookies. Guest post by Gaby Dalkin of What's Gaby Cooking, recipe submitted by TK member Katie of Veggie and The Beast.

First, we need to whisk together some creamy peanut butter and powdered sugar in a bowl. Once that’s whisked together we’re ready to assemble!

Okay, let’s scoop some cookie dough balls onto a parchment-lined baking sheet and press them into little discs. Add a touch of the PB mixture on top of each disc


Tasty Kitchen Blog: Dark Chocolate Peanut Butter Cup Pretzel Cookies. Guest post by Gaby Dalkin of What's Gaby Cooking, recipe submitted by TK member Katie of Veggie and The Beast.

Add a little more dough on top of each cookie to seal the PB mixture into the middle! I placed the whole sheet pan with the stuffed cookies into the fridge for a bit while I did the next two steps.


Tasty Kitchen Blog: Dark Chocolate Peanut Butter Cup Pretzel Cookies. Guest post by Gaby Dalkin of What's Gaby Cooking, recipe submitted by TK member Katie of Veggie and The Beast.

Place a handful of pretzels into a food processor or blender.


Tasty Kitchen Blog: Dark Chocolate Peanut Butter Cup Pretzel Cookies. Guest post by Gaby Dalkin of What's Gaby Cooking, recipe submitted by TK member Katie of Veggie and The Beast.

Blend them up until they are of sand-like consistency. Then take your cookie dough balls out of the fridge, roll them in the pretzel mixture and pop them into the oven at 350ºF for about 11 minutes.


Tasty Kitchen Blog: Dark Chocolate Peanut Butter Cup Pretzel Cookies. Guest post by Gaby Dalkin of What's Gaby Cooking, recipe submitted by TK member Katie of Veggie and The Beast.

And then you’re going to have these! Be still my heart and get in my belly!

Big thanks to Katie for creating these decadent and sinfully delicious treats! She has more treats in her blog, Veggie and The Beast, so go pay her a visit there!


Printable Recipe

See post on Katie | Veggie and the Beast’s site!
5.00 Mitt(s) 2 Rating(s)2 votes, average: 5.00 out of 52 votes, average: 5.00 out of 52 votes, average: 5.00 out of 52 votes, average: 5.00 out of 52 votes, average: 5.00 out of 5

Prep Time:

Cook Time:

Difficulty: Easy

Servings: 24

24
x

Print Options

Page size Letter 3x5 4x6
Text Size Small Medium Large
Content Include description
Include prep time, etc.
Show image

Description

Super dark chocolate cookies stuffed with peanut butter and rolled in pretzel crumbs. It’s the cookie you always wished existed, and now it does!

Ingredients

  • 8 ounces, weight Baking Chocolate, Roughly Chopped
  • 4 Tablespoons Unsalted Butter
  • ⅔ cups All-purpose Flour
  • 3 Tablespoons Cocoa Powder
  • ½ teaspoons Baking Powder
  • ½ teaspoons Baking Soda
  • ½ teaspoons Salt
  • 2 whole Eggs
  • ¾ cups Dark Brown Sugar
  • 2 Tablespoons Granulated Sugar
  • 2 teaspoons Vanilla Extract
  • ½ cups Creamy Peanut Butter
  • ¼ cups Powdered Sugar
  • 1 cup Pretzel Crumbs
  • ⅔ cups Semisweet Chocolate Chips

Preparation Instructions

1. Preheat oven to 350ºF.
2. Melt the chopped baking chocolate and the unsalted butter in a double boiler (or a makeshift double broiler: simmer water in a pan and set a glass bowl over the top). Stir frequently, and remove from heat as soon as it melts.
3. Whisk together the flour, cocoa, baking powder, baking soda, and salt in a separate bowl.
4. In a large bowl, beat together the eggs, sugars and vanilla until fluffy. Slowly mix in the melted chocolate. Gradually add the flour, scraping the bowl after each addition, until just combined. Fold in chocolate chips.
5. In a separate bowl, beat together the peanut butter and powdered sugar until fluffy. Set aside.
6. Line a cookie sheet with parchment paper. Scoop heaping tablespoons of dough, roll into a ball, and set on the parchment paper, then flatten with your hand. Drop about 1 teaspoon of the peanut butter filling in the center of the dough, then fold the dough around the peanut butter. If the peanut butter comes out of the top, just grab some extra dough to fill in the gap.
7. Once you have a ball of dough with the peanut butter in the center, flatten the ball slightly and then drop into the pretzel crumbs. You can coat one side or all over (I did a bit of both). Repeat with remaining dough.
8. Bake for about 11 minutes. Watch carefully after 10 minutes, because you want these just a bit underdone.

Chocolate cookie recipe adapted from Martha Stewart. Recipe inspired by Sweet Pea’s Kitchen.


_______________________________________

Gaby Dalkin is the young lady behind What’s Gaby Cooking, a food blog that’s bursting at the seams with incredible recipes and food photography. She’s a personal chef and professional recipe developer, and if you follow her on Twitter, you’ll soon discover her two-fold obsession: guacamole and cheese. She has small feet, a large heart, and a smile that can light up the whole building. We’re pretty stoked to have her here.


Profile photo of Amber {Sprinkled With Flour}

Darn Good Ham and Cheese Sliders

Posted by in Step-by-Step Recipes

Tasty Kitchen Blog: Darn Good Ham and Cheese Sliders. Guest post by Amber Potter of Sprinkled with Flour, recipe submitted by TK member Lindsay of Perfecting the Pairing.


I love quick and easy weeknight meals, especially when they taste like you’ve been slaving in the kitchen for hours, creating a fusion of delicious flavors that’s nothing short of a masterpiece. Extra points are awarded if I can get the entire family to eat it, which is what happened when I whipped up these Ham and Cheese Sliders from TK member Lindsay.

The secret is in the special sauce that’s drizzled on top, then the little nuggets of gold are baked until they are gooey and caramelized. Trust me, these babies are good and your whole family will thank you for making them.


Tasty Kitchen Blog: Darn Good Ham and Cheese Sliders. Guest post by Amber Potter of Sprinkled with Flour, recipe submitted by TK member Lindsay of Perfecting the Pairing.

You’ll need: Hawaiian rolls, deli ham, sliced provolone cheese, butter, brown sugar, Dijon mustard, Worcestershire sauce and poppy seeds. Sounds good already, doesn’t it?


Tasty Kitchen Blog: Darn Good Ham and Cheese Sliders. Guest post by Amber Potter of Sprinkled with Flour, recipe submitted by TK member Lindsay of Perfecting the Pairing.

Preheat your oven to 350ºF. Line a rimmed baking sheet with nonstick foil. Arrange your sliced rolls on the baking sheet.


Tasty Kitchen Blog: Darn Good Ham and Cheese Sliders. Guest post by Amber Potter of Sprinkled with Flour, recipe submitted by TK member Lindsay of Perfecting the Pairing.

Place a slice of ham on each roll.


Tasty Kitchen Blog: Darn Good Ham and Cheese Sliders. Guest post by Amber Potter of Sprinkled with Flour, recipe submitted by TK member Lindsay of Perfecting the Pairing.

Followed by a slice of your cheese.


Tasty Kitchen Blog: Darn Good Ham and Cheese Sliders. Guest post by Amber Potter of Sprinkled with Flour, recipe submitted by TK member Lindsay of Perfecting the Pairing.

In a small bowl combine the butter …


Tasty Kitchen Blog: Darn Good Ham and Cheese Sliders. Guest post by Amber Potter of Sprinkled with Flour, recipe submitted by TK member Lindsay of Perfecting the Pairing.

The brown sugar …


Tasty Kitchen Blog: Darn Good Ham and Cheese Sliders. Guest post by Amber Potter of Sprinkled with Flour, recipe submitted by TK member Lindsay of Perfecting the Pairing.

The mustard …


Tasty Kitchen Blog: Darn Good Ham and Cheese Sliders. Guest post by Amber Potter of Sprinkled with Flour, recipe submitted by TK member Lindsay of Perfecting the Pairing.

And the Worcestershire sauce.


Tasty Kitchen Blog: Darn Good Ham and Cheese Sliders. Guest post by Amber Potter of Sprinkled with Flour, recipe submitted by TK member Lindsay of Perfecting the Pairing.

Microwave until the butter is just melted, about 30-60 seconds.


Tasty Kitchen Blog: Darn Good Ham and Cheese Sliders. Guest post by Amber Potter of Sprinkled with Flour, recipe submitted by TK member Lindsay of Perfecting the Pairing.

Add the poppy seeds and stir until combined.


Tasty Kitchen Blog: Darn Good Ham and Cheese Sliders. Guest post by Amber Potter of Sprinkled with Flour, recipe submitted by TK member Lindsay of Perfecting the Pairing.

Place the top half of the roll on top to assemble your sandwich.


Tasty Kitchen Blog: Darn Good Ham and Cheese Sliders. Guest post by Amber Potter of Sprinkled with Flour, recipe submitted by TK member Lindsay of Perfecting the Pairing.

Drizzle the butter mixture evenly over the sandwiches.


Tasty Kitchen Blog: Darn Good Ham and Cheese Sliders. Guest post by Amber Potter of Sprinkled with Flour, recipe submitted by TK member Lindsay of Perfecting the Pairing.

Just use your own judgement on how much to use. I used all of my sauce.


Tasty Kitchen Blog: Darn Good Ham and Cheese Sliders. Guest post by Amber Potter of Sprinkled with Flour, recipe submitted by TK member Lindsay of Perfecting the Pairing.

Bake in the oven until the cheese has melted and the butter mixture starts to caramelize, about 10 minutes. 


Tasty Kitchen Blog: Darn Good Ham and Cheese Sliders. Guest post by Amber Potter of Sprinkled with Flour, recipe submitted by TK member Lindsay of Perfecting the Pairing.

Serve warm and enjoy the deliciousness!


Tasty Kitchen Blog: Darn Good Ham and Cheese Sliders. Guest post by Amber Potter of Sprinkled with Flour, recipe submitted by TK member Lindsay of Perfecting the Pairing.

Thanks Lindsay for sharing such a delicious sandwich recipe with us! This will make a regular rotation at our house. Don’t forget to stop by Lindsay’s blog Perfecting The Pairing, where you can find the original recipe and see more of her tasty dishes!


Printable Recipe

Darn Good Ham and Cheese Sliders

See post on Lindsay’s site!
4.90 Mitt(s) 20 Rating(s)20 votes, average: 4.90 out of 520 votes, average: 4.90 out of 520 votes, average: 4.90 out of 520 votes, average: 4.90 out of 520 votes, average: 4.90 out of 5

Prep Time:

Cook Time:

Difficulty: Easy

Servings: 6

6
x

Print Options

Page size Letter 3x5 4x6
Text Size Small Medium Large
Content Include description
Include prep time, etc.
Show image

Description

These Darn Good Ham and Cheese Sliders may look like any other sandwich, but they are so much better. They are darn good.

Ingredients

  • 12 whole Hawaiian Rolls, Split
  • 12 slices Deli Ham
  • 6 slices Deli Provolone Cheese, Halved
  • 4 Tablespoons Butter
  • 1 Tablespoon Brown Sugar
  • 1-½ teaspoon Dijon Mustard
  • 1-½ teaspoon Worcestershire Sauce
  • ¼ teaspoons Poppy Seeds

Preparation Instructions

Preheat your oven to 350 F.

Line a rimmed baking sheet with non-stick foil. Assemble the sandwiches with a slice of ham and a half slice of cheese on the bottom half of each roll and top with the top half of the roll. Place the assembled sandwiches close together on the baking sheet.

In a small bowl combine the butter, sugar, mustard and Worcestershire sauce. Microwave until the butter is just melted, about 30-60 seconds. Add the poppy seeds and stir until combined.

Drizzle the butter mixture evenly over the sandwiches. Bake in the oven until the cheese has melted and the butter mixture starts to caramelize, about 10 minutes. Serve warm.


_______________________________________

Amber is a stay at home mom who lives in the heart of the Missouri Ozarks. It’s a long way from where she grew up, in Wales (yes, way over in the U.K.). The recipes in her blog Sprinkled with Flour include her original creations as well as her family recipes. Go check them out!


Profile photo of Ree | The Pioneer Woman

Delicious Thai Chicken Soup

Posted by in Step-by-Step Recipes

For today’s Tasty Recipe, Erika sent me a link to a delicious sounding soup submitted by thekitchenpixie last September. The name was enough to rope me in: “Thai Chicken Soup with Cilantro-Infused Rice“. Who could possibly resist that? The ingredients were simple (and I happened to have them all on hand), so yesterday I whipped […]

Profile photo of Erika (TK)

Discover New Fruits and Vegetables!

Posted by in Kitchen Talk

The other day, a friend of mine showed me a photo of something I had never seen before. It looked like a miniature yellow watermelon on the outside, with white flesh and cucumber seeds inside. I asked what it was, and she said: “It’s a lemon cucumber!” A lemon what? “Imagine a lemon and a […]

Profile photo of Erika (TK)

Drinks

Posted by in Holidays, Looks Delicious!

  Around this time of the year, appetizers, gift trays or baskets, and meal plans get a lot of attention. Drinks? Sometimes they’re an afterthought. Or sometimes we just default to the standard fare we get at the store. The planning that goes into it pretty much involves figuring out how many bags of ice […]

Profile photo of Betsy (TK)

Easter Brunch Ideas

Posted by in The Theme Is...

We have a few---okay more than a few---recipe ideas to make your Easter brunch lovely. And now we are officially hungry. So here we go with some prize winning brunch grub!