There’s two things that will automatically make a girls day: chocolate and cake. When you put the two together, you have a recipe for the worlds best pick-me-up that rivals those absurdly cute kitty emails.
Yes, that kitty wearing a cowboy outfit while balancing on a tightrope singing Gangnam Style may bring a smile to your face. But one bite of a super moist, decadently rich, frosting slathered piece of chocolate cake wins hands down. Like this recipe from Patti for Secret Cake. I’m not sure why its called secret cake. Maybe because it’s so good you’ll want to keep it a secret. All I know is I’m glad she didn’t keep her recipe a secret from us!
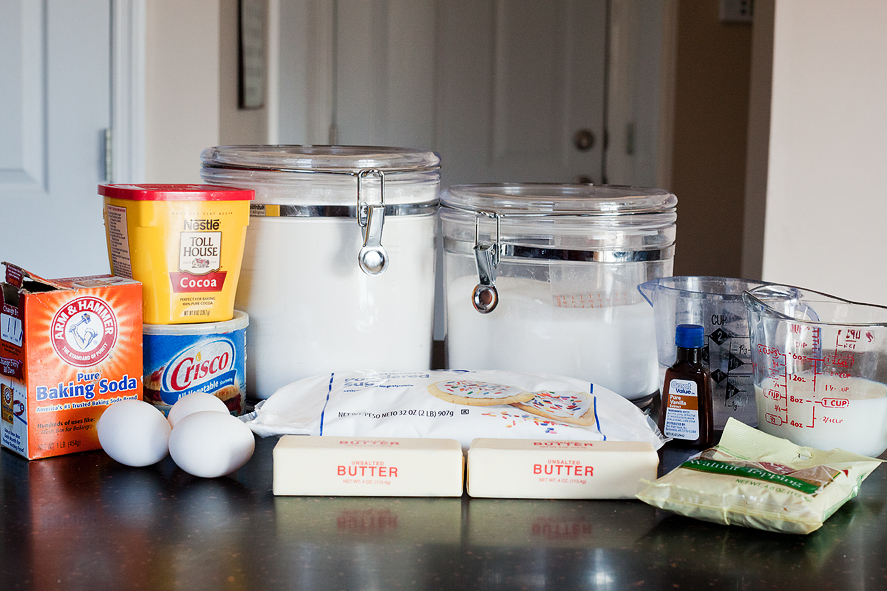
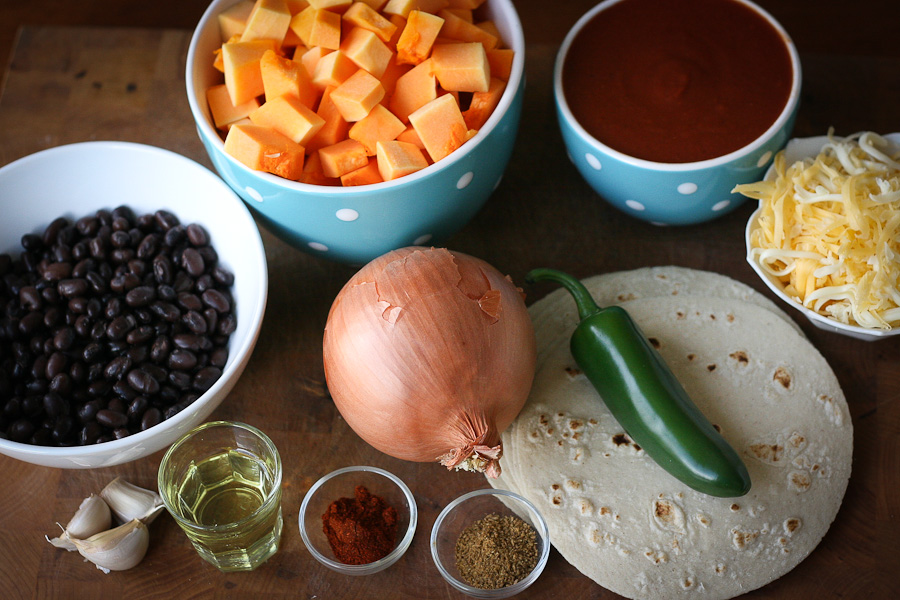
You’ll need: buttermilk, baking soda, self-rising flour, sugar, vegetable shortening, butter, water, cocoa, eggs, vanilla, powdered sugar, and walnuts.
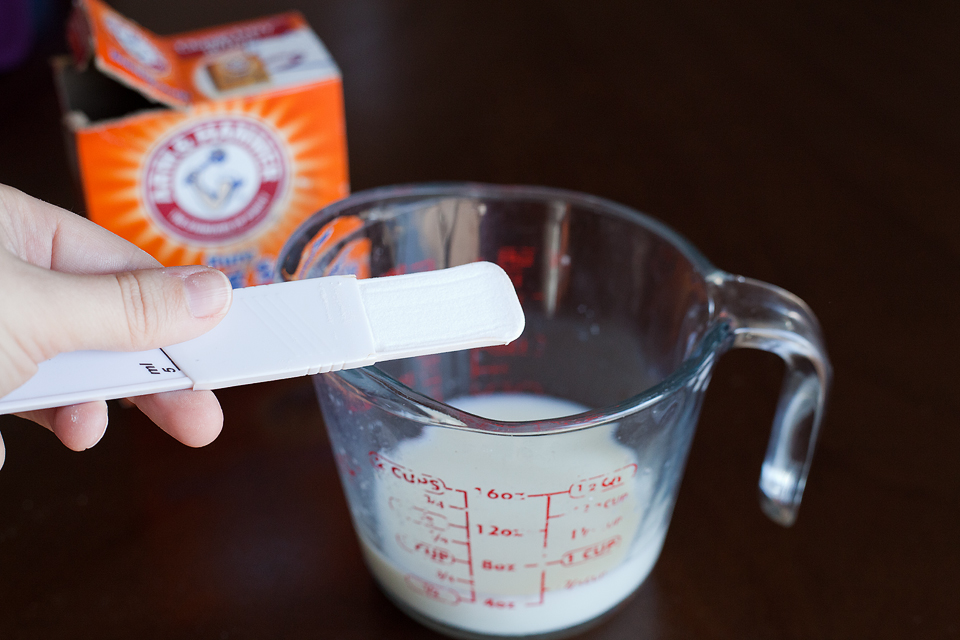
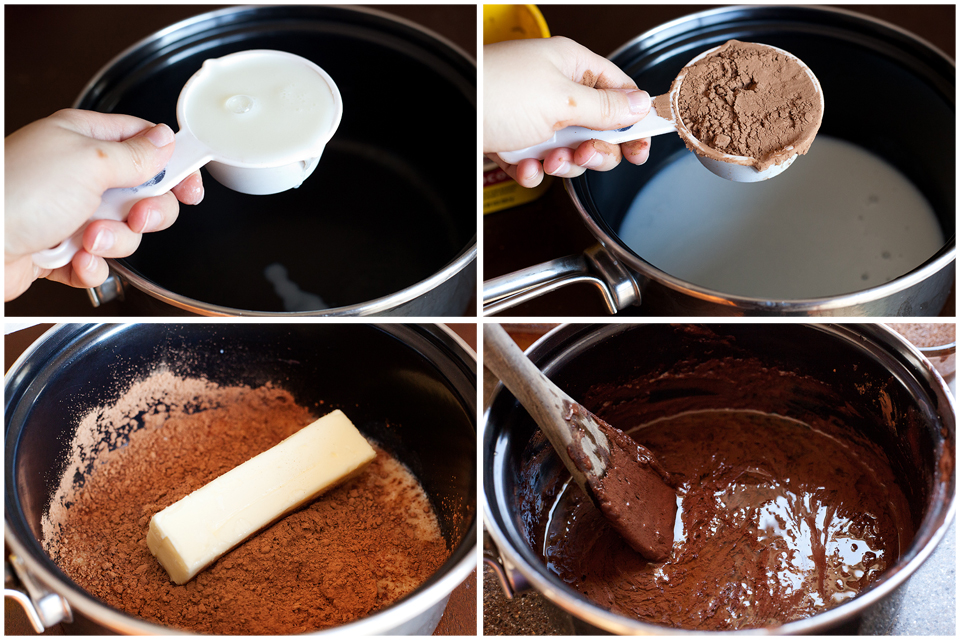
Preheat oven to 400ºF. Spray a 9 x 13 pan with cooking spray. Pour 1/2 cup buttermilk into a 1 cup measuring cup, add baking soda and stir. Set aside.
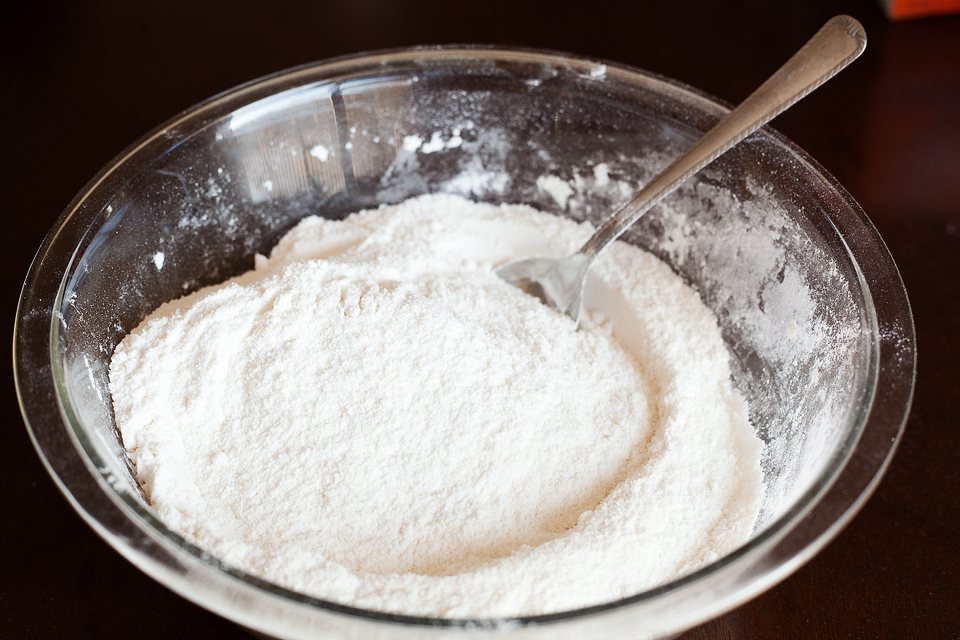
In a large mixing bowl sift together the flour and sugar and set aside.
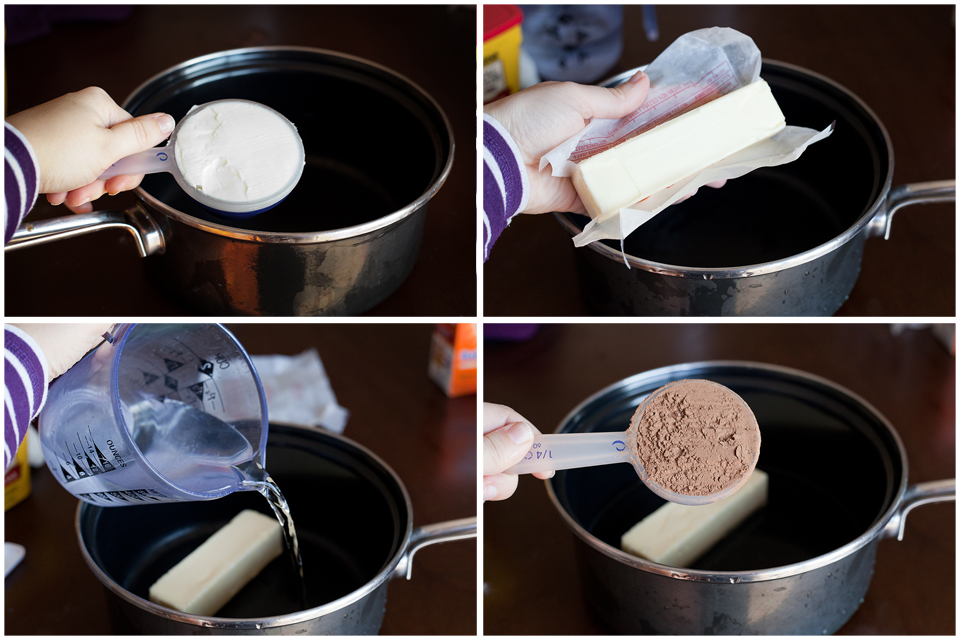
In a medium saucepan over medium heat, combine the water, vegetable shortening, cocoa, and 1 stick of butter. Stir until combined and the butter and shortening have melted. Cook until this mixture comes to a slight boil. Remove from heat.
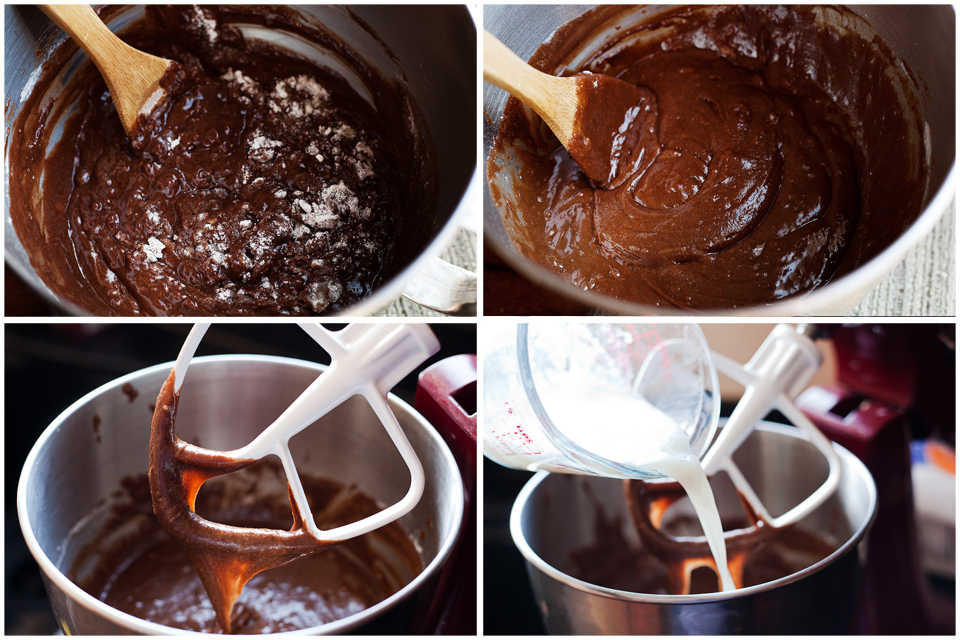
Pour the cocoa mixture into the dry ingredients and mix until combined. Add the buttermilk/soda mixture and scrape to get all of the mixture into the bowl.
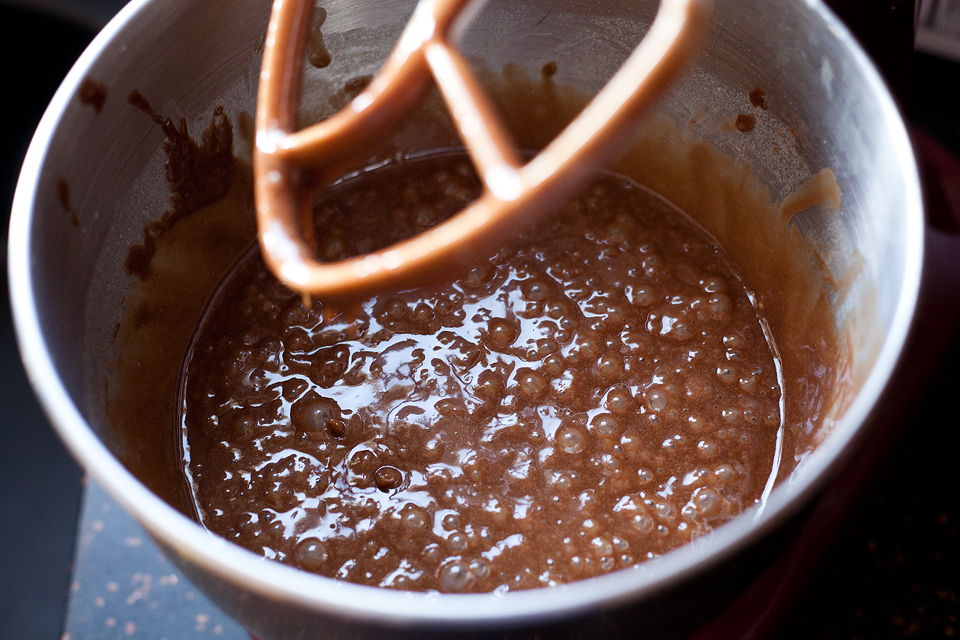
Mix at medium speed using an electric mixer and continue until well combined.
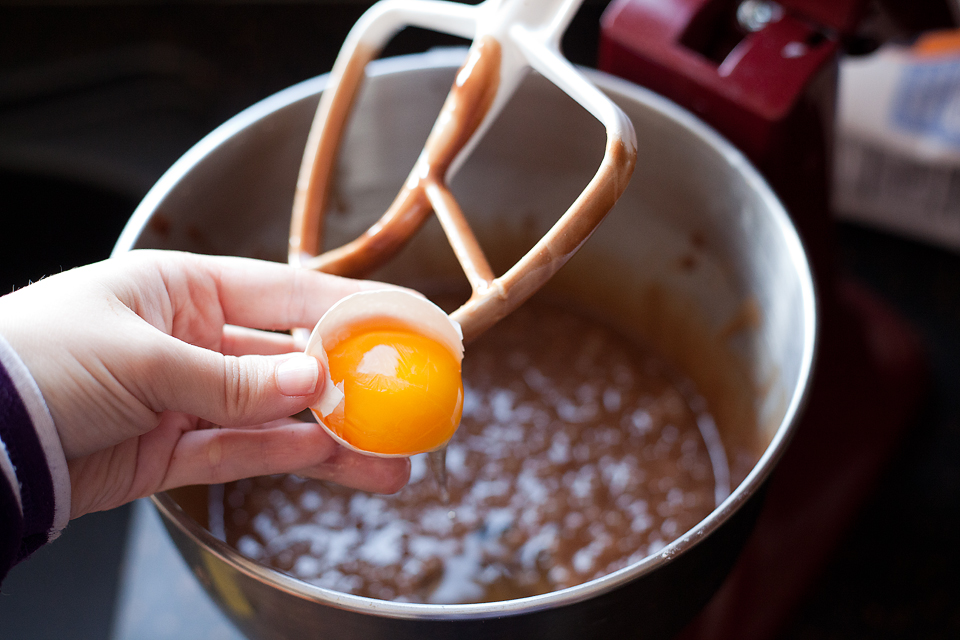
Add eggs, one at a time and mix well after each addition.
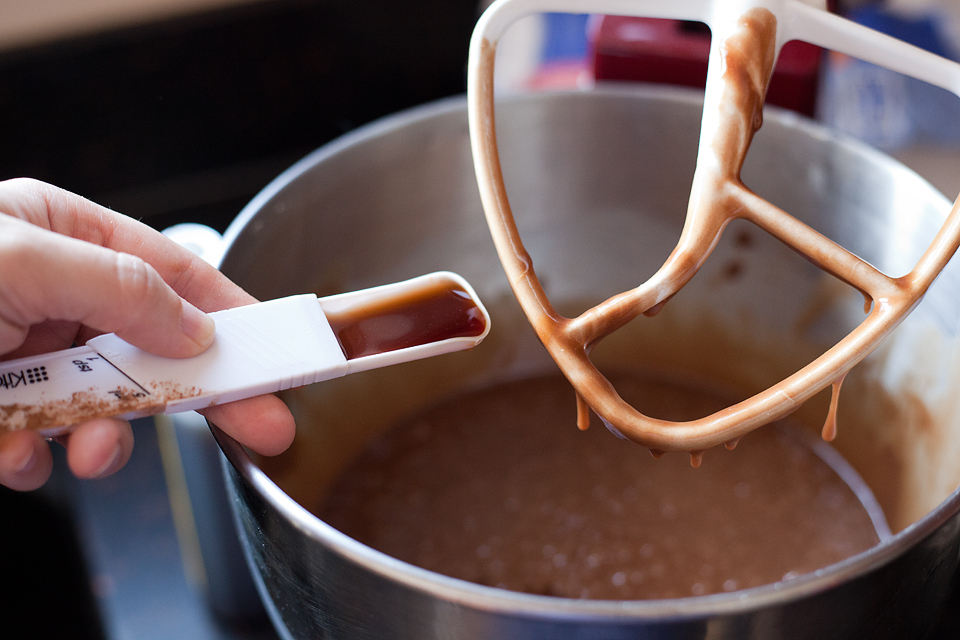
Add 1 teaspoon vanilla and mix well.
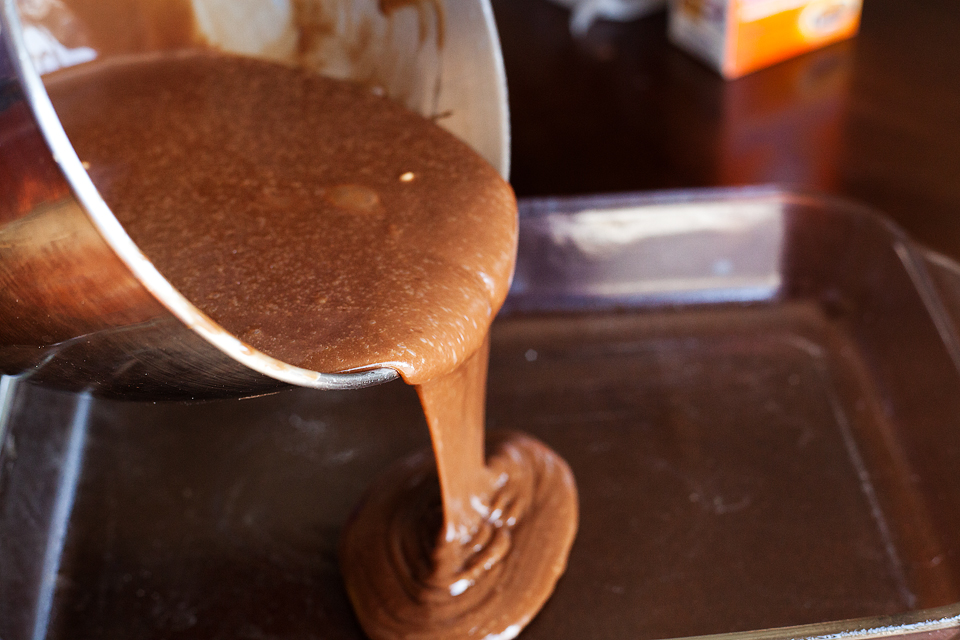
Pour into prepared pan.
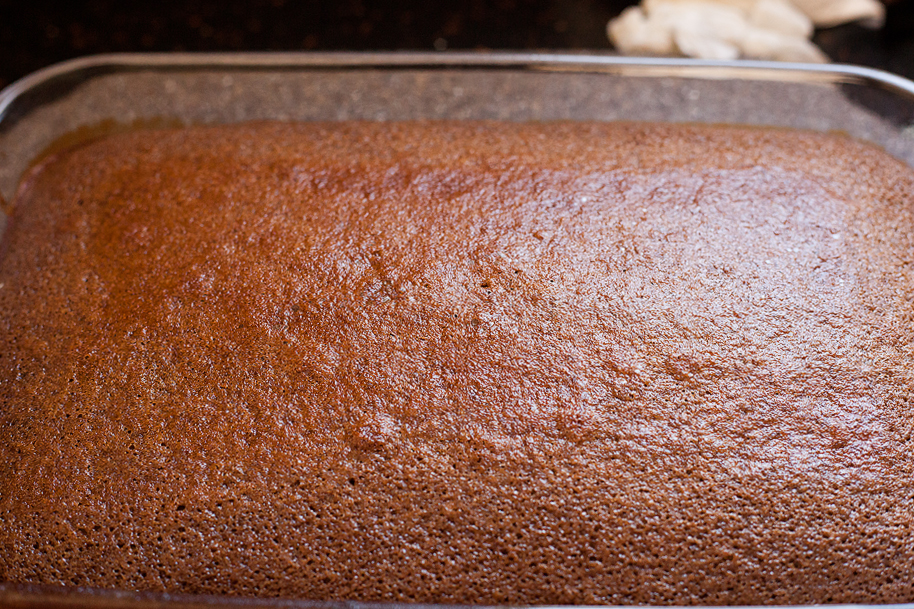
Bake at 400ºF for 20-22 minutes.
With about 5 minutes left on the baking time, make the frosting: In a medium saucepan combine 1/3 cup buttermilk, 1/3 cup cocoa and 1 stick of butter over medium low heat and stir as butter melts. Once it’s melted and combined stir constantly while cooking for about 3 minutes longer. Don’t worry if it starts to separate and looks like a curdled mess, it will be fine.
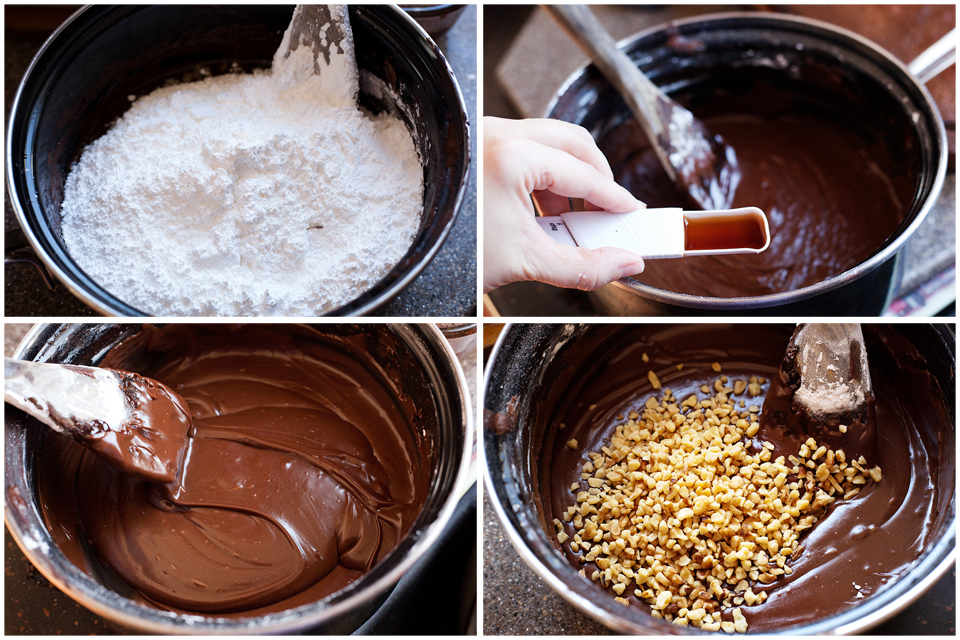
Remove pan from heat and add the powdered sugar. Mix well using an electric mixer. Once combined add 1 teaspoon vanilla and chopped nuts, mix well.
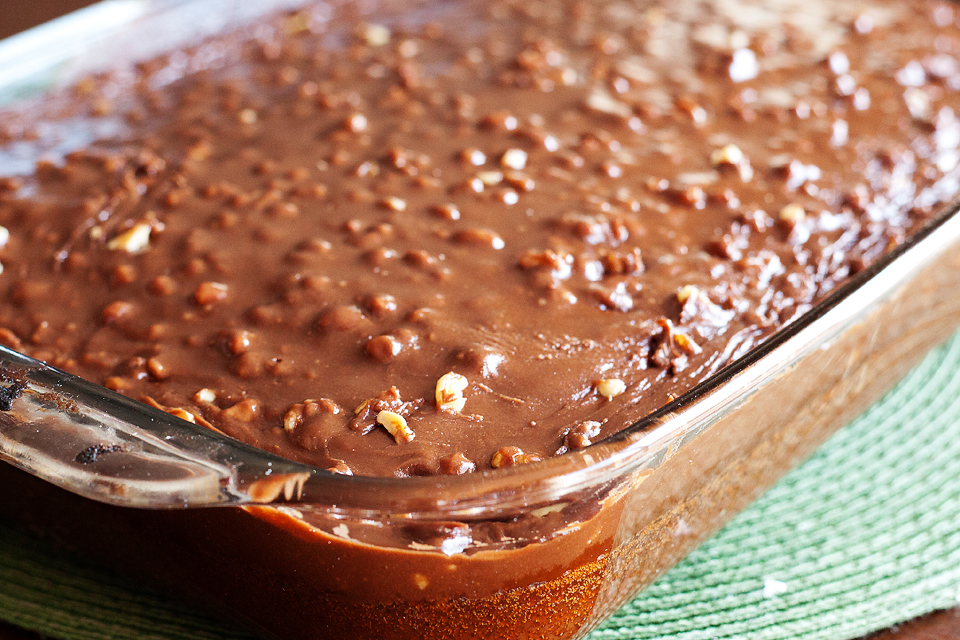
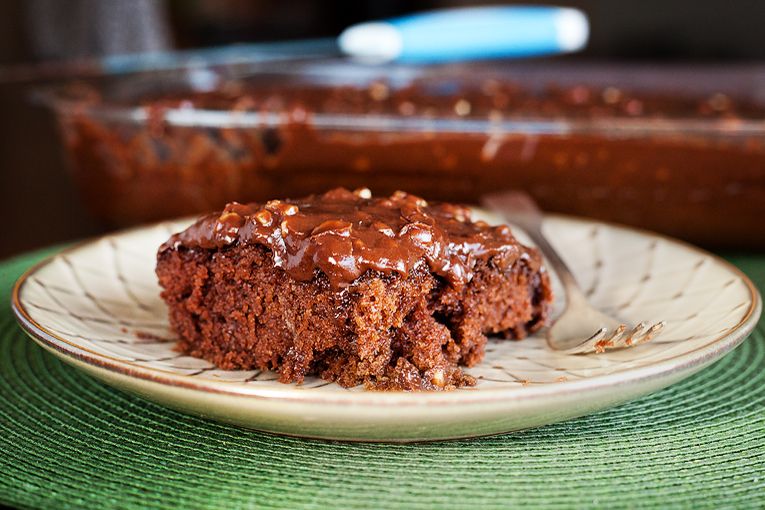
Now pour over the hot cake.
This cake is really moist and has great flavor, and the frosting is so smooth and as satiny I could eat it by itself.
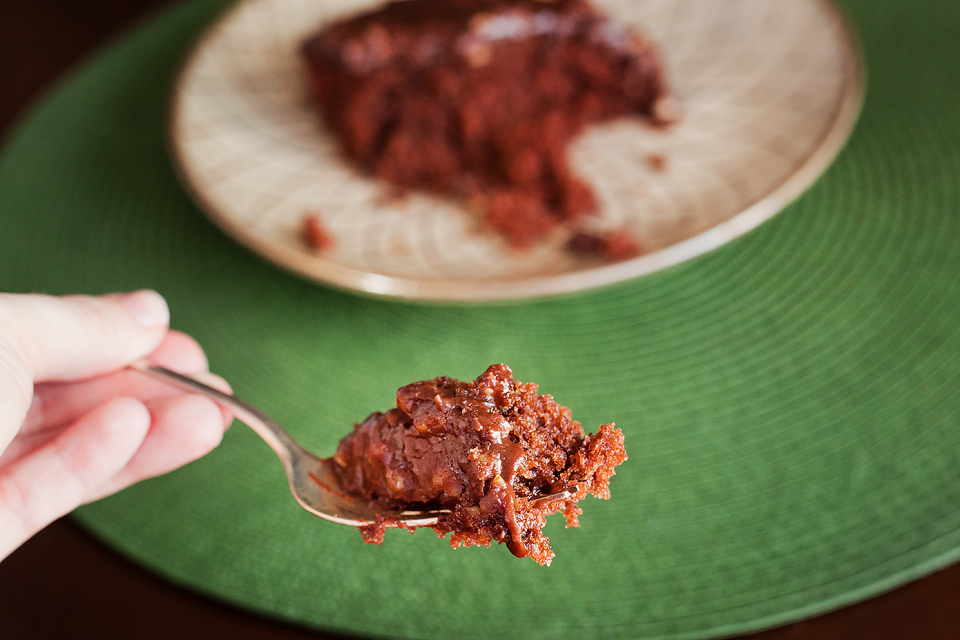
Okay, I did eat it by itself—a lot. Thanks Patti for sharing this recipe with us. It’s an awesome secret!
Printable Recipe


Print Options
Description
The most wonderful chocolate cake. This recipe is a keeper. This recipe was given to me more than 30 years ago by my Mom’s neighbor, Sharon Kelley. I have changed the nuts over the years and have even made it without nuts for my son-in-law and my K-3 class at work. Baking it in the jelly roll pan gives more slices but in a brownie like piece which is easier for kids to handle.
Ingredients
- FOR THE CAKE:
- ½ cups Buttermilk
- 1 teaspoon Baking Soda
- 2 cups Self-Rising Flour
- 2 cups Sugar
- 1 cup Water
- ½ cups Crisco - Solid Shortening
- ¼ cups Cocoa Powder
- 1 stick Butter
- 3 Eggs
- 1 teaspoon Vanilla
- FOR THE FROSTING:
- ⅓ cups Buttermilk
- ⅓ cups Cocoa Powder
- 1 stick Butter
- 16 ounces, weight Powdered Sugar
- 1 teaspoon Vanilla
- 1 cup Chopped Walnuts
Preparation Instructions
Note: All ingredients need to be at room temperature.
Preheat oven to 400 F. Spray a 9 x 13 pan with cooking spray.
Pour 1/2 cup buttermilk into a 1 cup measuring cup, add baking soda and stir. Set aside.
In a large mixing bowl sift together flour and sugar and set aside.
In a medium sauce pan over medium heat combine the following: water, Crisco, 1/4 cup cocoa and 1 stick butter. Stir until combined and butter and crisco are melted. Cook until this mixture comes to a slight boil. Remove from heat and pour into the dry ingredients and mix until combined. Add buttermilk/soda mixture and scrape to get all of the mixture into the bowl. Mix at medium speed using an electric mixer and continue until well combined. Add eggs, one at a time and mix well after each addition. Add 1 teaspoon vanilla and mix well.
Pour into prepared pan and bake at 400 F for 20-22 minutes.
With about 5 minutes left on the baking time make the frosting: In a medium saucepan combine 1/3 cup buttermilk, 1/3 cup cocoa and 1 stick of butter over medium low heat and stir as butter melts. Once melted and combined stir constantly while cooking for about 3 minutes longer. Remove pan from heat and add powdered sugar. Mix well using an electric mixer. Once combined add 1 teaspoon vanilla and chopped nuts, mix well. Pour over the hot cake.
This can also be baked in a jelly roll pan, just reduce baking time to 15 minutes. Do not substitute margarine for butter. You may also use different nuts.
_______________________________________
Amber is a stay at home mom who lives in the heart of the Missouri Ozarks. It’s a long way from where she grew up, in Wales (yes, way over in the U.K.). The recipes in her blog Sprinkled with Flour include her original creations as well as her family recipes. Go check them out!