While living in New York City, I made every effort to stay hush-hush about my apathy for cheesecake. Getting a decent apartment in Manhattan was difficult enough. I certainly wasn’t going to ‘fess up to my dessert inadequacies when it came to one of the pride and joys of my adopted city. To compensate for my shortcoming, I made a big show of folding my slice of pizza in half, honking the car horn at least once every 3 blocks, and talking about walking my dawg while drinking my cawffee. I had them fooled, right up until the point when I told someone to “Take off, eh?”
My Canadian roots gave me away every time.
It wasn’t until I moved west again that my acceptance, and eventual affection, for cheesecake blossomed. As much as I came to appreciate the silky, tangy filling that defines this dessert, there was nary a homemade cheesecake to be found in my kitchen. To be honest, I was intimidated as heck to make one. So I started with the easy stuff: cheesecake bars. They turned out to be some of my family’s favorite desserts.
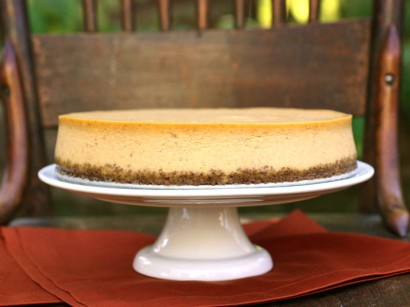
When I saw this recipe for Perfectly Perfect Pumpkin Cheesecake by Tasty Kitchen member Brenda (afarmgirldabbles), I knew it was time to step out of my comfort zone for the sake of some serious Thanksgiving indulgence. Did it turn out as beautifully as the one in afarmgirlsdabbles’ photo? Nope. Was it irresistibly creamy and worthy of a place in my holiday feast? Heck yeah. I strongly encourage you to give this recipe a shot because if a Canuck can do it, then so can you.
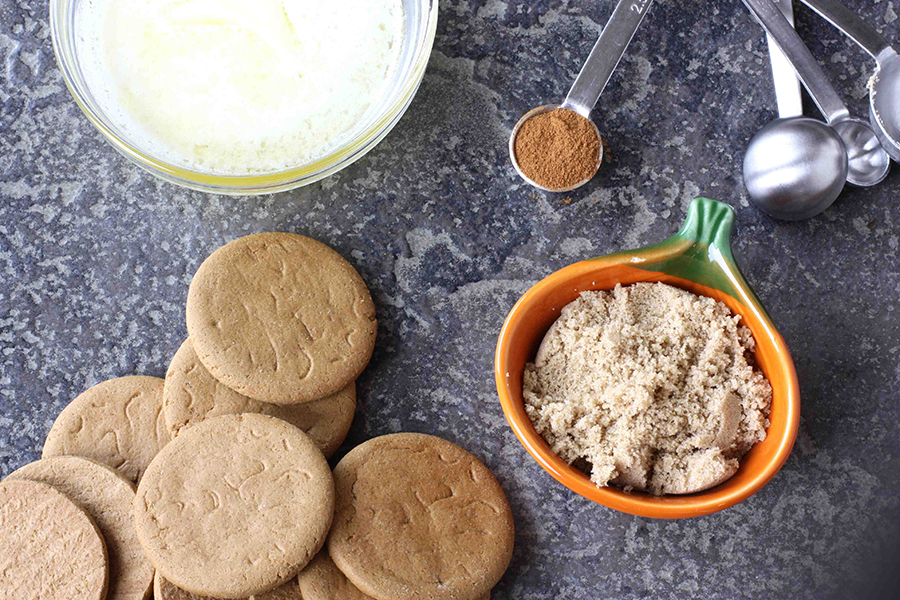
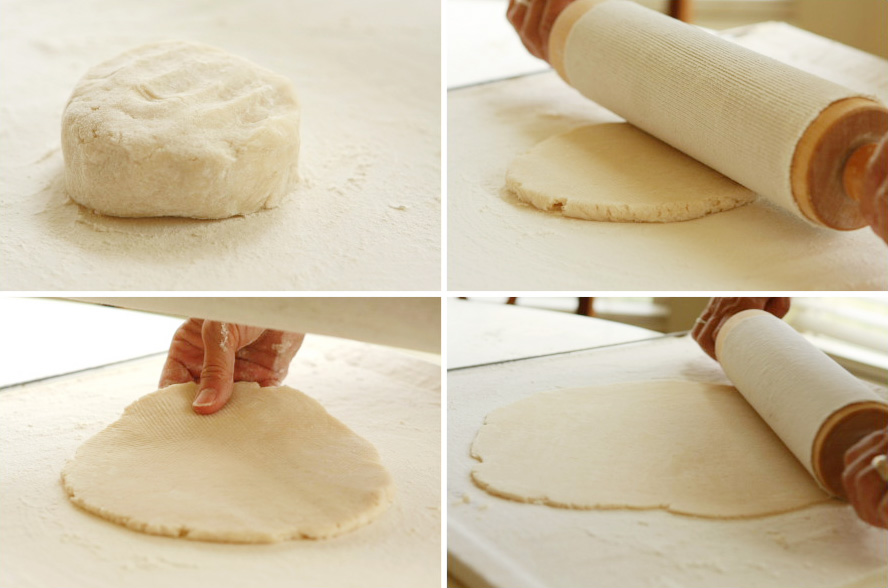
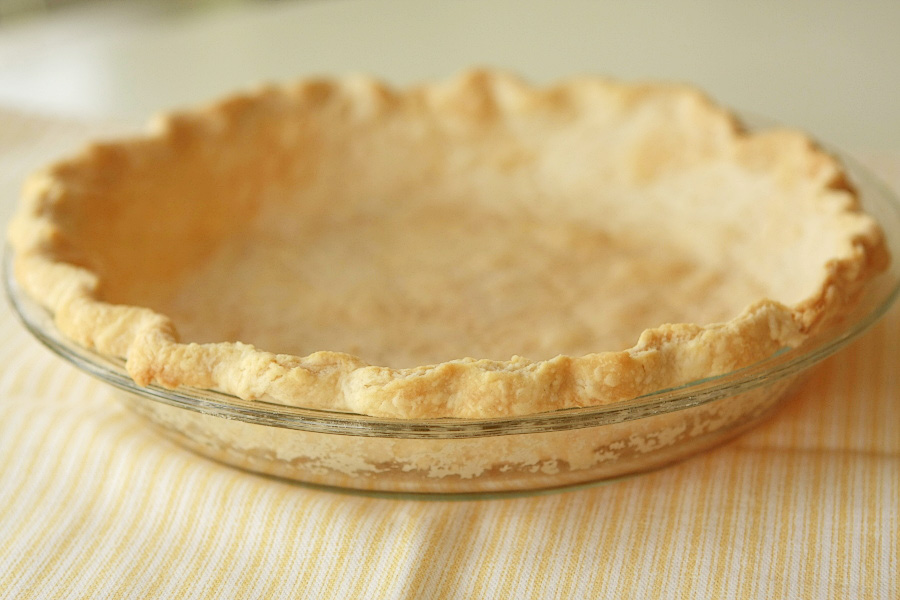
First, let’s make the crust.
Preheat oven to 350 degrees F. Prepare a 9″ springform pan by lightly spraying with cooking spray.
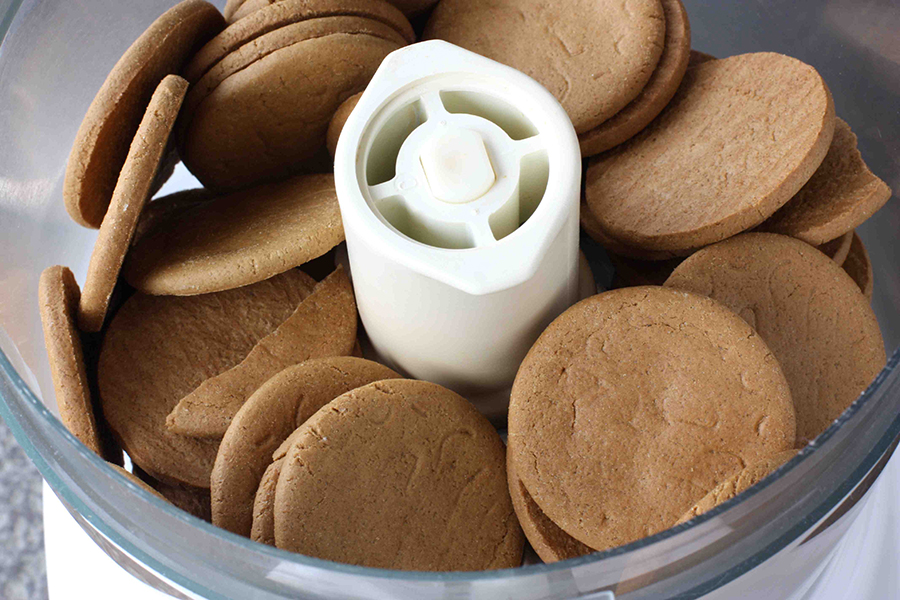
Place gingersnap cookies in the bowl of a food processor and pulse until the crumbs are uniform.
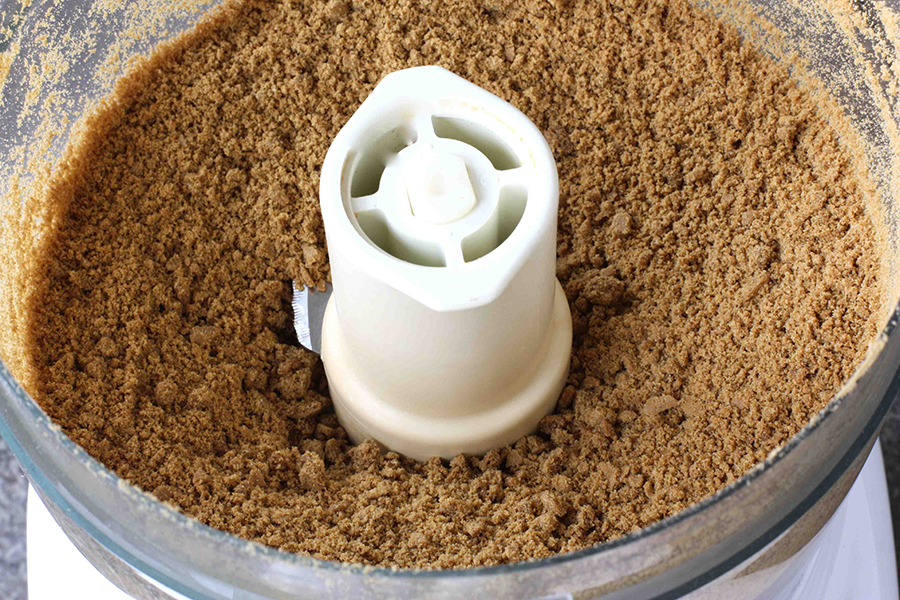
Add brown sugar, cinnamon, and salt. Pulse to combine.
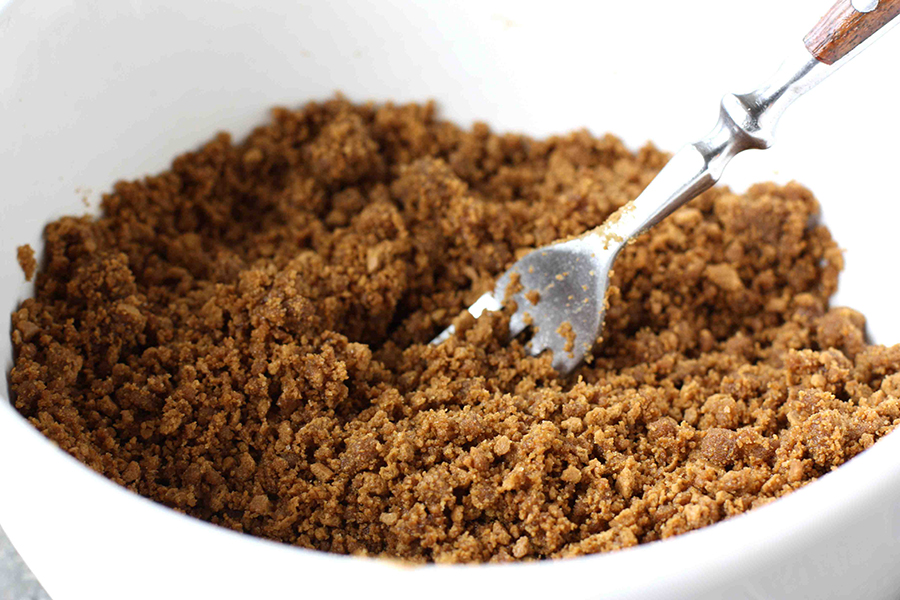
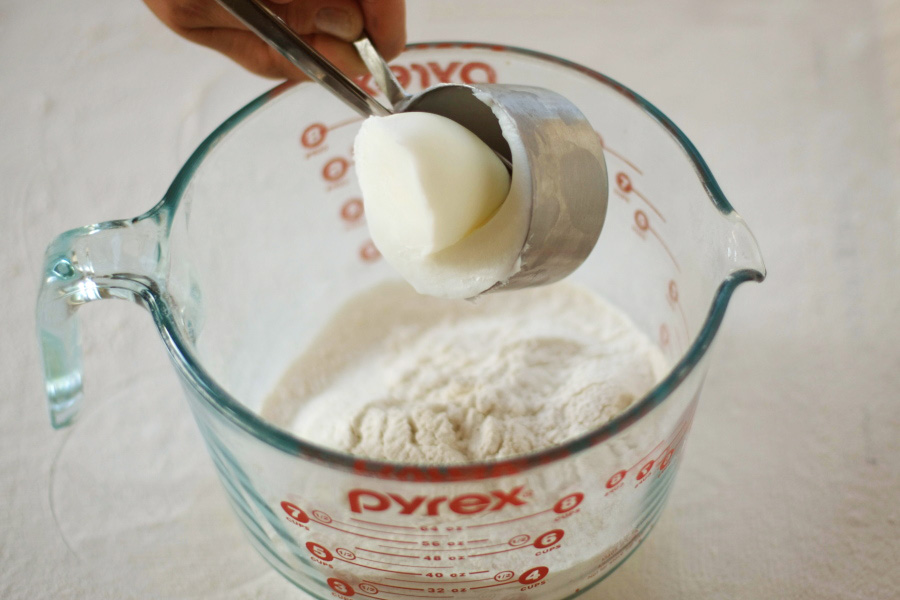
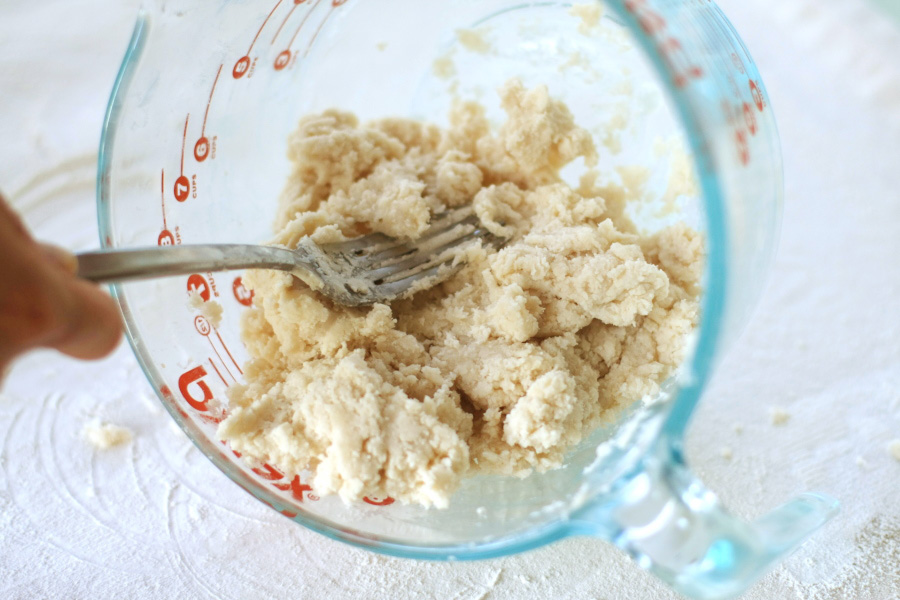
Pour the crumbs into a medium bowl and toss with melted butter.
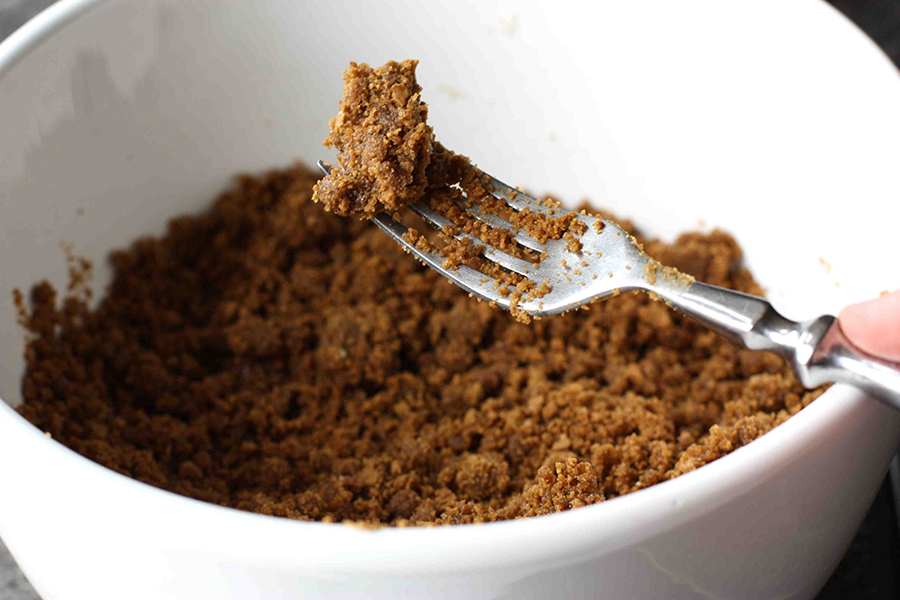
Toss until the mixture is evenly moist and clumps together when squeezed between your fingers. It is dry as the Sahara where I live, so I had to add 2 additional tablespoons of melted butter to coax the crumbs to stick together.
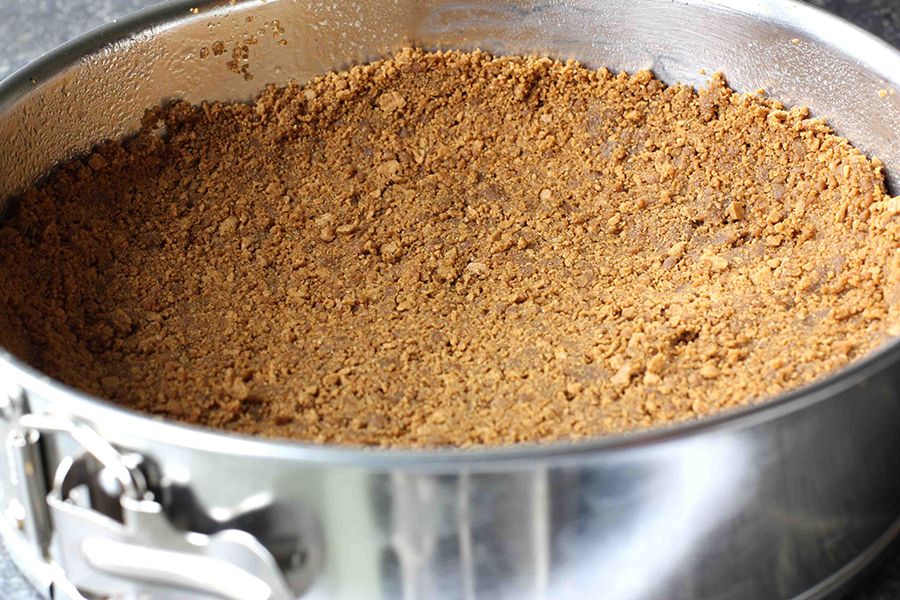
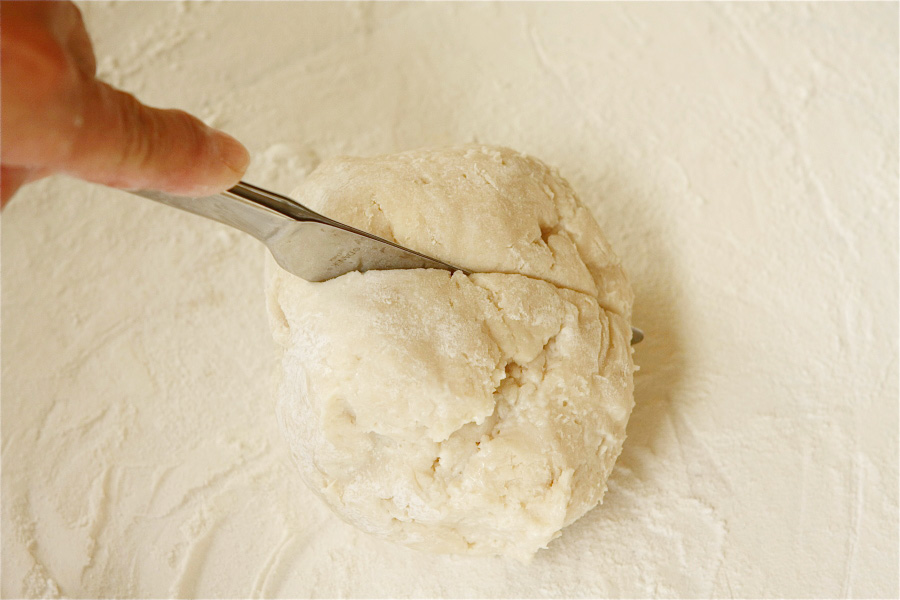
Press the crumbs into the bottom and slightly up the sides of the springform pan. Chill for 5 minutes, then bake for 10 minutes. Cool completely on a wire rack.
While the crust is cooling, prepare a water bath. Bring a pot of water to a gentle boil and have a large baking or roasting pan ready to place the springform pan in when it is time.
When the crust is cooled, place the springform pan on a double thickness of heavy duty aluminum foil and wrap the foil around the outside of the pan.
Now let’s make the filling.
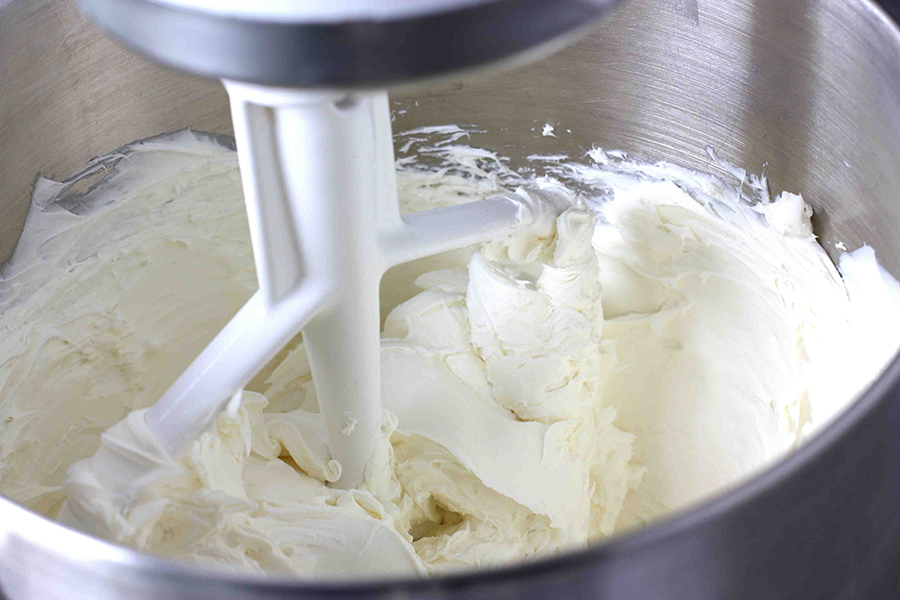
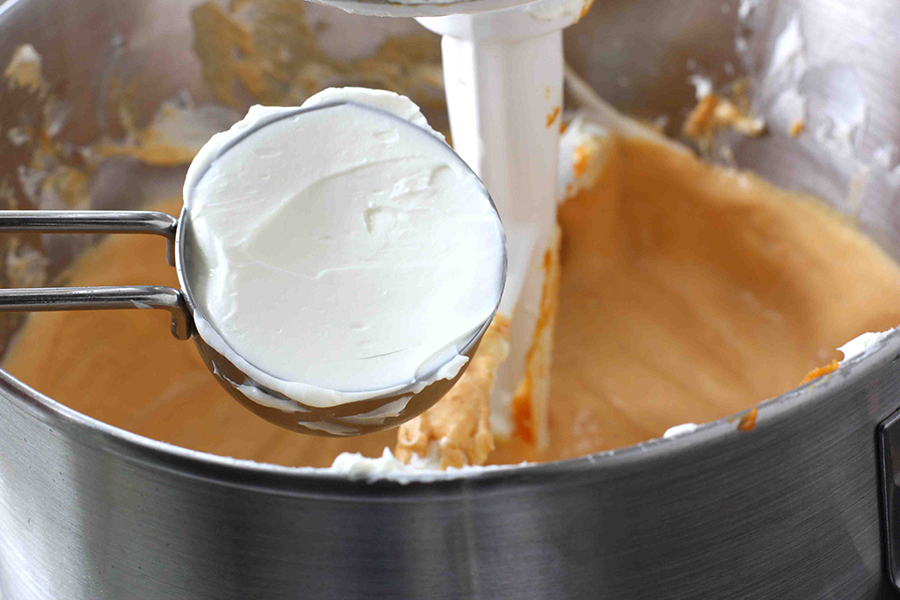
In a large bowl, or the bowl of a mixer, beat the cream cheese until light and smooth.
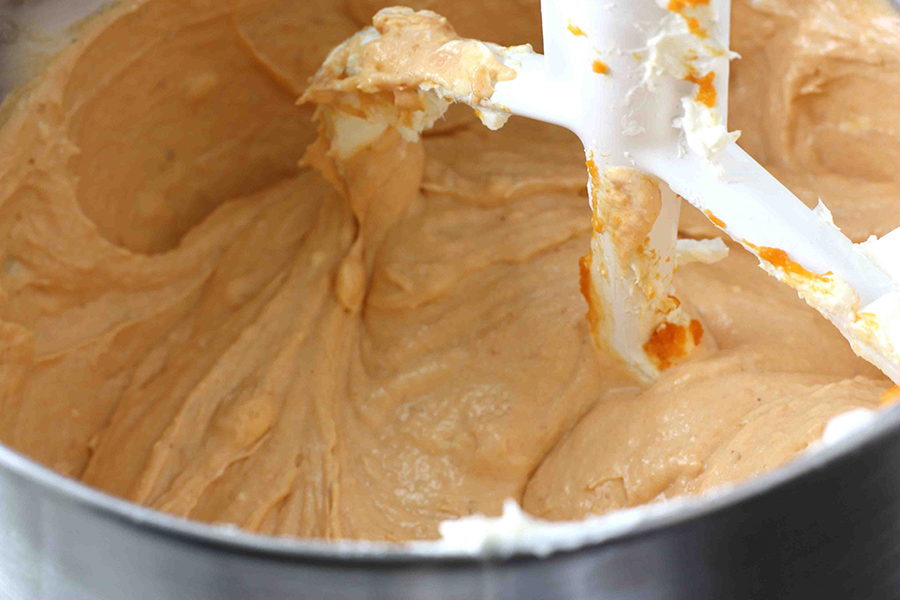
Add pumpkin puree and beat to combine. Is everyone as messy as I am when baking? I could have wiped off the mixer blade for the photo, but I was going for the au naturel look. That’s the story I’m sticking to.
Add eggs and egg yolk, one a time, beating and scraping down the sides between each addition.
Add sour cream and beat to combine.
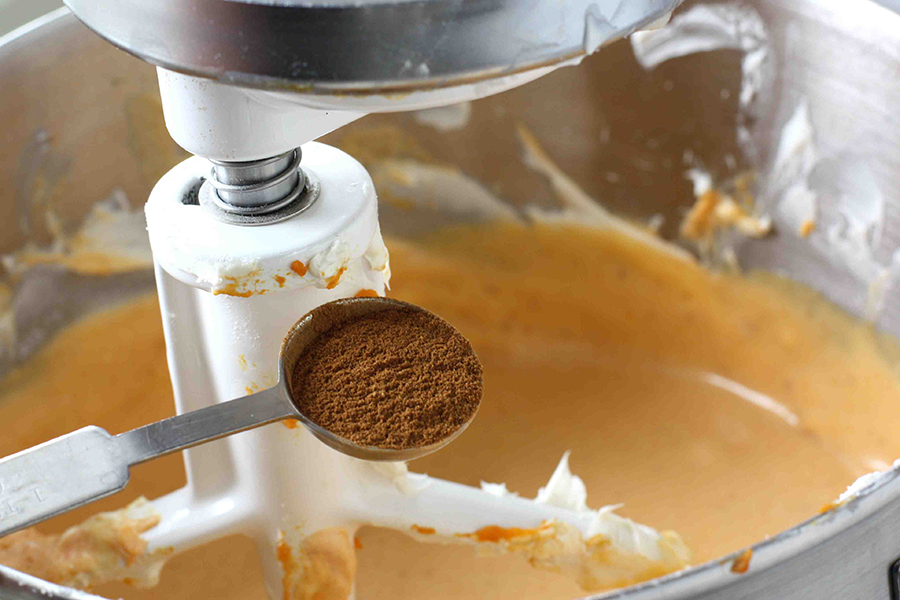
Add sugar, cinnamon, ginger, nutmeg, cloves, salt, and flour. Beat until just combined, then mix in the vanilla.
Scrape the filling into the cooled crust. Do not miss any of this creamy goodness.
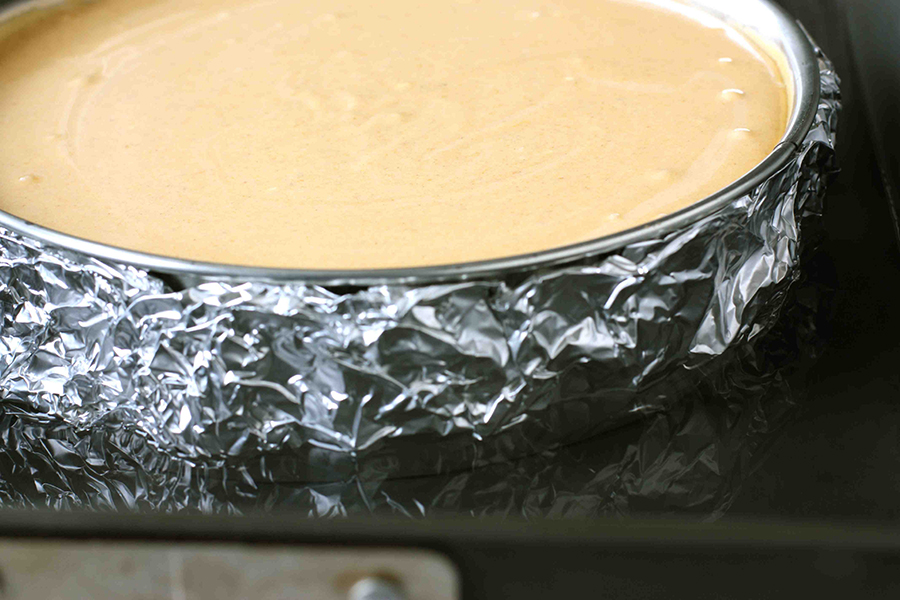
Place the springform pan into the roasting pan and pour hot water into the pan until it reaches halfway up the sides of the springform pan.
Bake until the top of the cheesecake is a deep golden brown and the center is set, about 1 hour 30 minutes to 1 hour 40 minutes. I don’t know if my oven was having issues on this day, but it took an additional 30 minutes to reach this stage. So, focus on the consistency of the filling, rather than the cooking time.
As afarmgirlsdabbles reminds us in the recipe, it is okay if there is still a slight jiggle to the filling. The lady knows what she’s talking about.
Remove the cheesecake from the water bath and run a small, sharp knife between the cheesecake and the pan to avoid cracking. Okay, so I will admit that I had cracking problems while the cheesecake was baking. Cut this first-timer some slack!
Let the cheesecake cool in the pan, set on a wire rack. Cover and chill for at least 4 hours or overnight. Do not skip this step. It is torture to wait, but delayed gratification can be a very good thing.
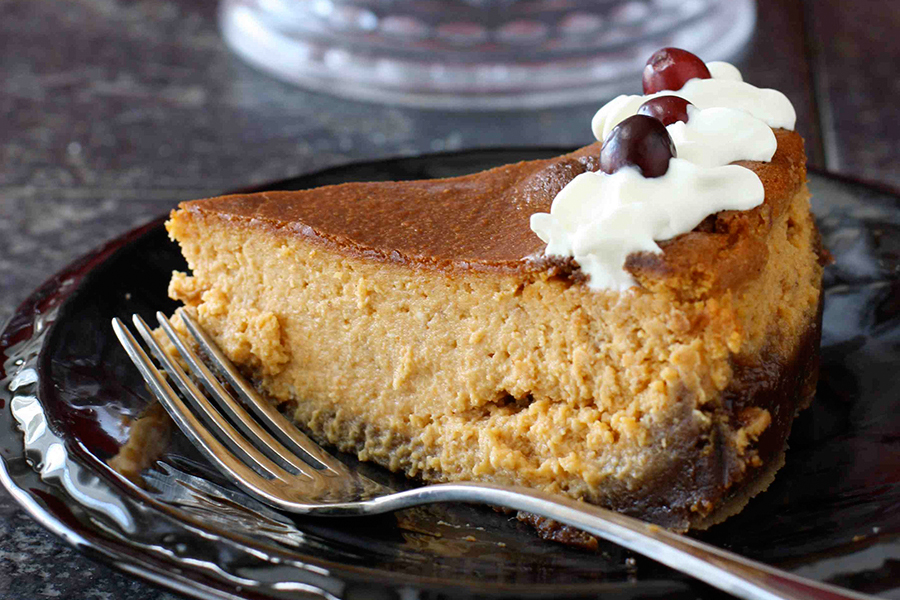
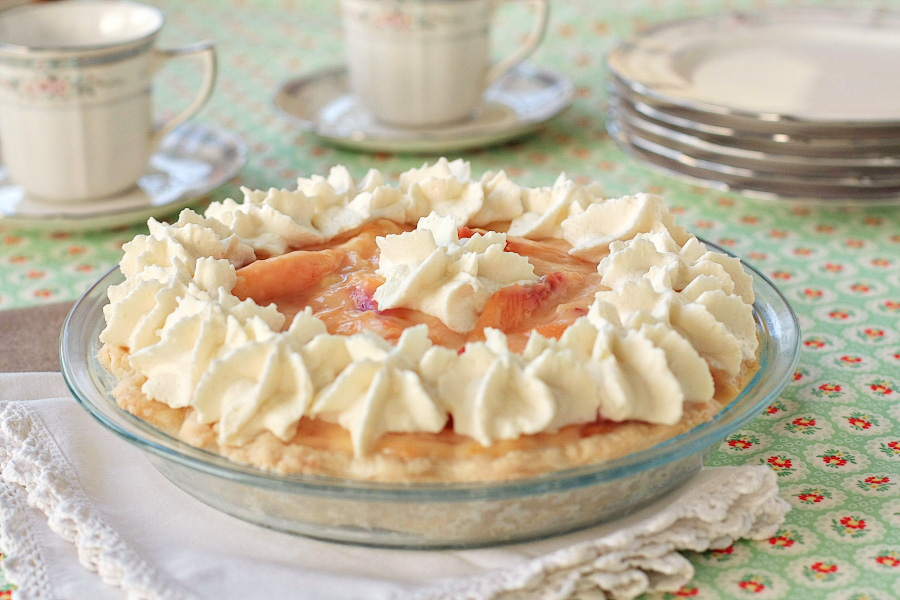
Perfect indeed.
Thank you to Brenda (who blogs at A Farmgirl’s Dabbles) for this truly addictive cheesecake. It will certainly be gracing my Thanksgiving table this year.
Printable Recipe


Print Options
Description
With a crisp gingersnap crust and a creamy pumpkin spice filling, this pumpkin cheesecake is perfectly perfect!
Ingredients
- FOR THE CRUST:
- 1-¾ cup Gingersnap Cookie Crumbs (from About 40 Gingersnap Wafers)
- 3 Tablespoons Brown Sugar
- ½ teaspoons Ground Cinnamon
- ½ teaspoons Salt
- 4 Tablespoons Unsalted Butter, Melted And Slightly Cooled Down
- _____
- FOR THE FILLING:
- 24 ounces, weight Regular Cream Cheese (not Low Fat Or Nonfat), At Room Temperature
- 15 ounces, weight Pureed Pumpkin (not Pumpkin Pie Filling)
- 3 whole Large Eggs
- 1 whole Egg Yolk
- ¼ cups Sour Cream
- 1-½ cup Sugar
- 1 teaspoon Ground Cinnamon
- ½ teaspoons Ground Ginger
- ⅛ teaspoons Ground Nutmeg
- ⅛ teaspoons Ground Cloves
- ¼ teaspoons Salt
- 2 Tablespoons All-purpose Flour
- 1 teaspoon Vanilla
Preparation Instructions
Preheat oven to 350°. Prepare a 9″ springform pan by lightly spraying with cooking spray.
For the crust, pulse the cookies in a food processor until the crumbs are uniform. Add the brown sugar, cinnamon, and salt and pulse to combine. Transfer to a medium bowl and add the melted butter. Combine thoroughly with a fork. When the mixture is evenly moist, crumbly, and holds together when you squeeze a handful, it’s ready. Press the mixture evenly over the bottom, and very slightly up the sides, of your springform pan. Chill for 5 minutes, then bake for 10 minutes. Let cool completely.
Prepare a water bath while the crust cools. Heat a kettle or pan of water to a soft boil. Have a larger baking dish or roasting pan ready to set the springform pan inside it. Once the crust is cooled, set the springform pan on a double layer of heavy duty aluminum foil and wrap the foil up around the outside of the pan.
For the filling, beat the cream cheese until smooth. Add the pumpkin puree and combine. Add the eggs and egg yolk, one at a time, incorporating each egg thoroughly before adding the next, and scraping down the sides of the bowl after each one. Beat in the sour cream. Then add the sugar, cinnamon, ginger, nutmeg, cloves, salt, and flour. Beat just until combined, then beat in the vanilla.
Scrape the filling into the cooled crust and spread evenly. Set the springform pan in the larger roasting pan and add enough hot water from the kettle to come about halfway up the sides of the springform pan.
Bake until the top of the cheesecake is a deep golden color and the center is set, about 1 hour 30 minutes to 1 hour 40 minutes. It’s ok if there is a slight jiggle to the filling. Remove the cheesecake from the oven and run a thin-bladed knife between the crust and the pan sides, to prevent the cake from cracking as it cools. Let the cheesecake cool to room temperature in the pan on a wire rack. Cover and chill for at least four hours or overnight before serving. Top individual slices with fresh whipped cream.
_______________________________________
Dara Michalski is a doll and a sweetheart who clearly knows her way around the kitchen. She blogs at Cookin’ Canuck, where she shares her flavor-packed recipes and fun, engaging writing. The photography’s pretty incredible, too.

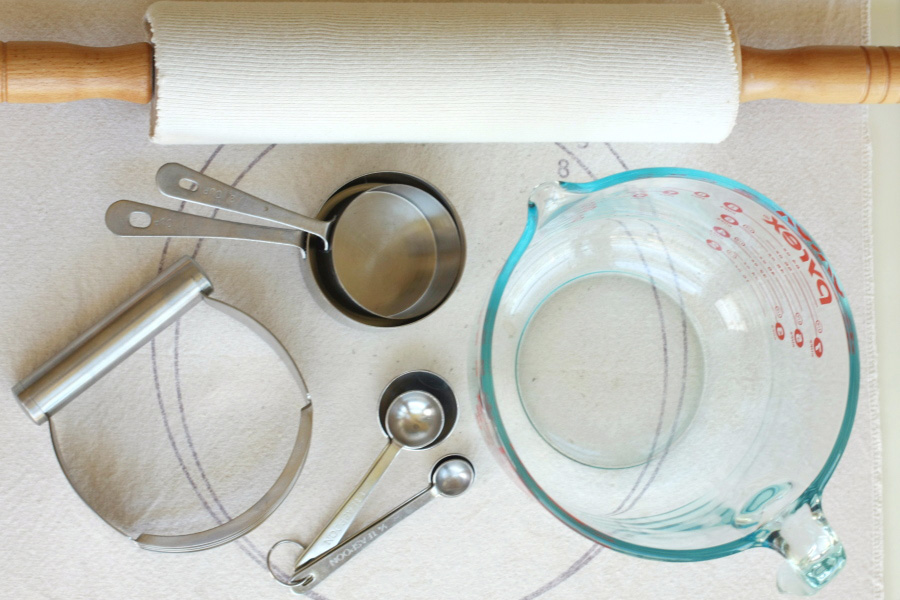

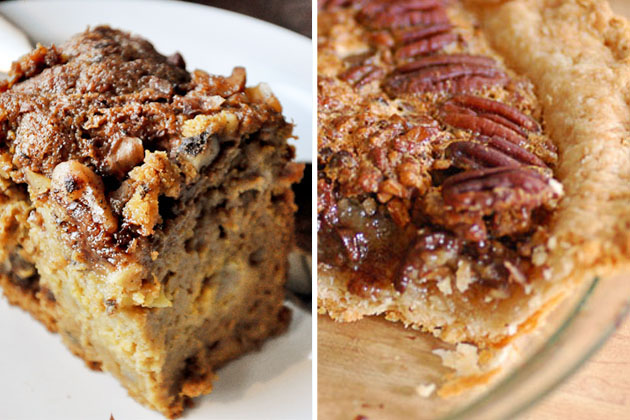
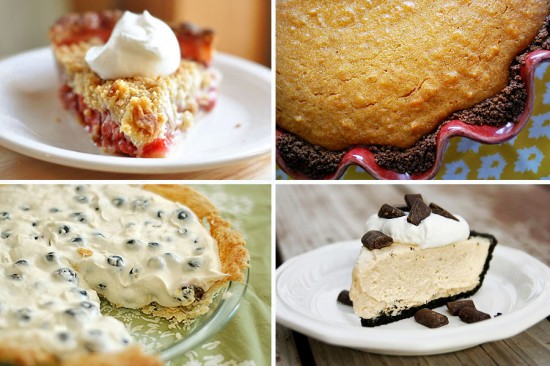
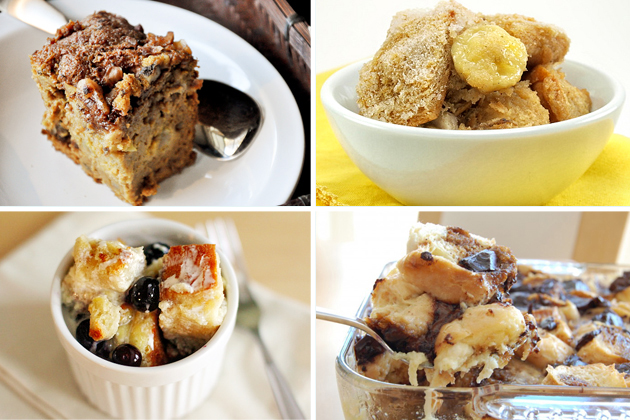 Clockwise from top left:
 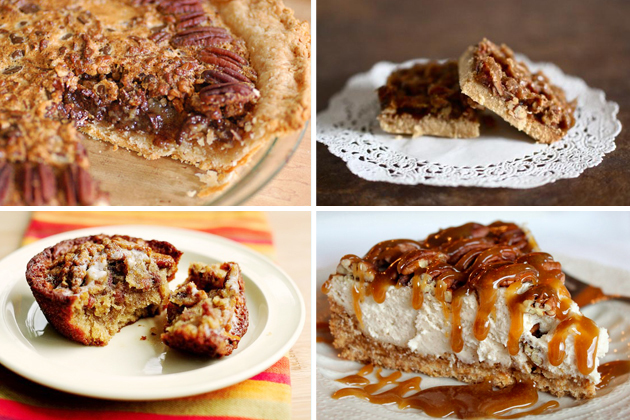 Clockwise from top left: