There are two kinds of people in the world: those who love red wine and those who love white. But when the temperature drops and the snow flies, a whole lot of white lovers turn red. ‘Tis the season for warm, bold, sweet and spicy. And come holiday time, mulled wine amps up the best qualities of a good red.
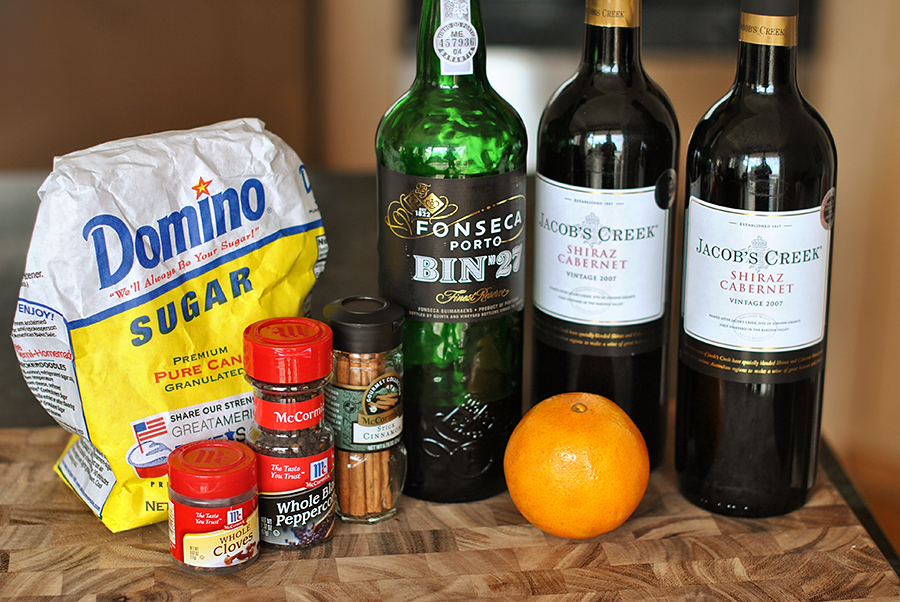
All you need for this hot toddy is cinnamon sticks, whole cloves, whole peppercorns, an orange, sugar, port and two bottles of cheap inexpensive, full-bodied red wine like a cabernet or shiraz (the fact that you can use inexpensive wine and port makes this recipe even more delicious!).
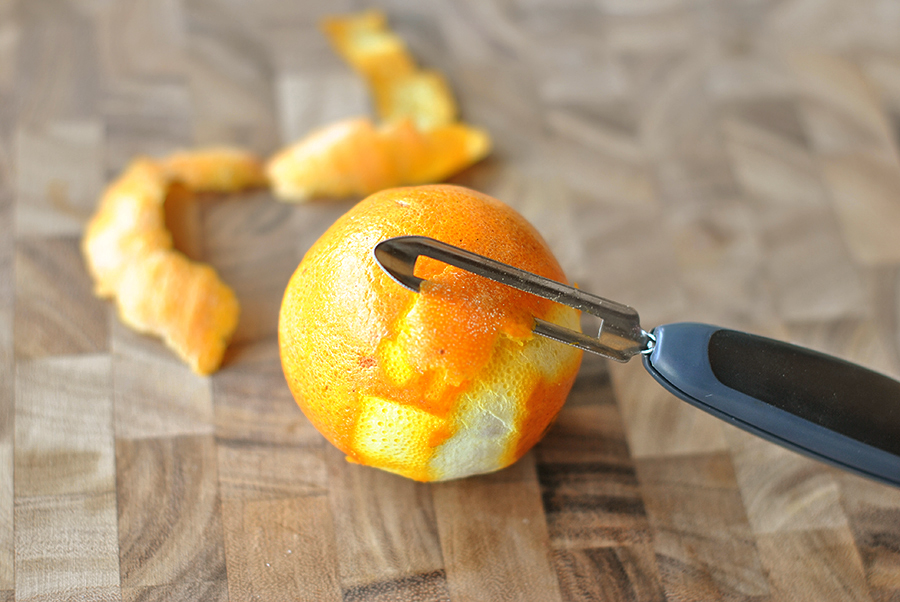
Start by peeling the orange with a vegetable peeler.
Then have a little contest with yourself to see how long you can make the peel before it ends. Just kidding. I didn’t do that.
Okay, I did.
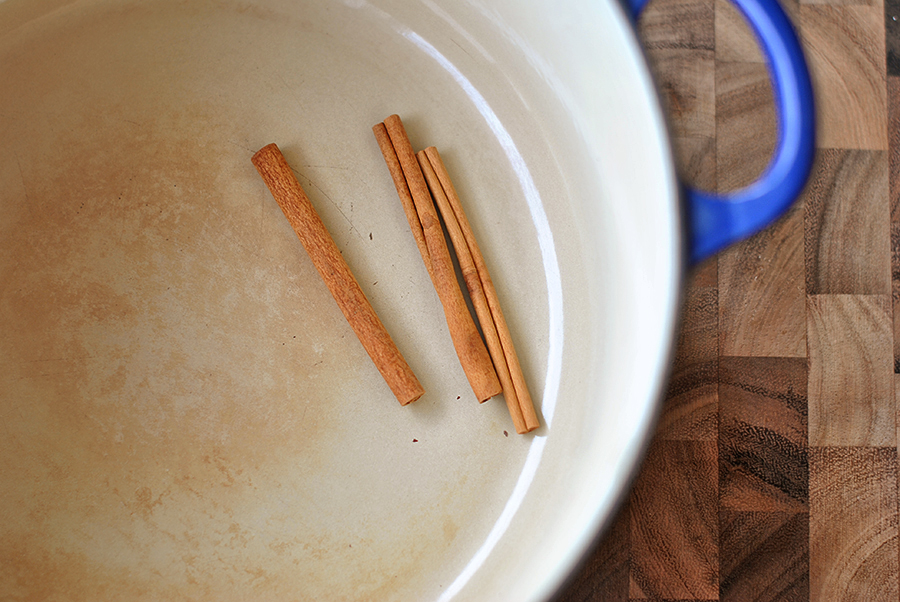
Add three cinnamon sticks. It’s best to do this in a small saucepan, but I don’t have one (crazy, I know) so I just put this all in my Le Creuset and it worked fine.
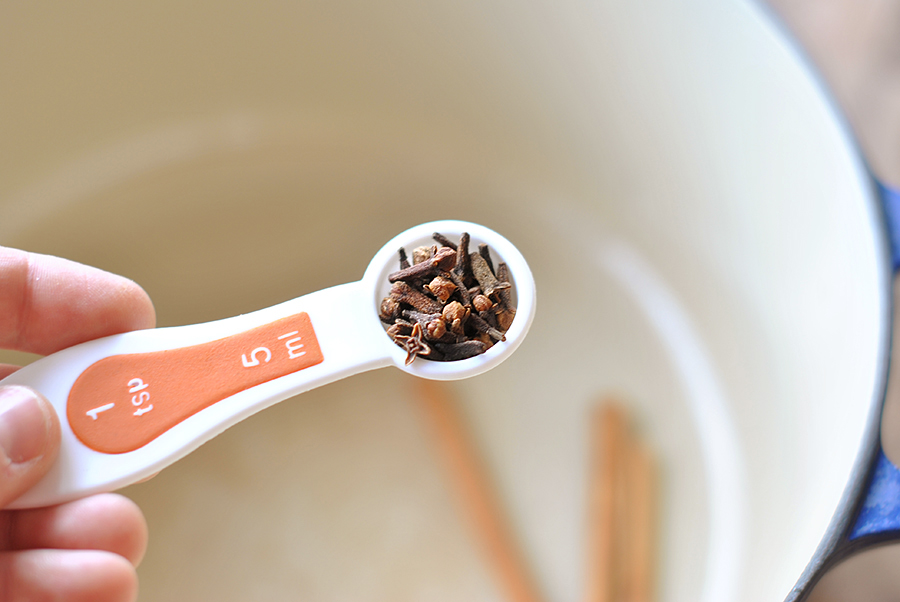
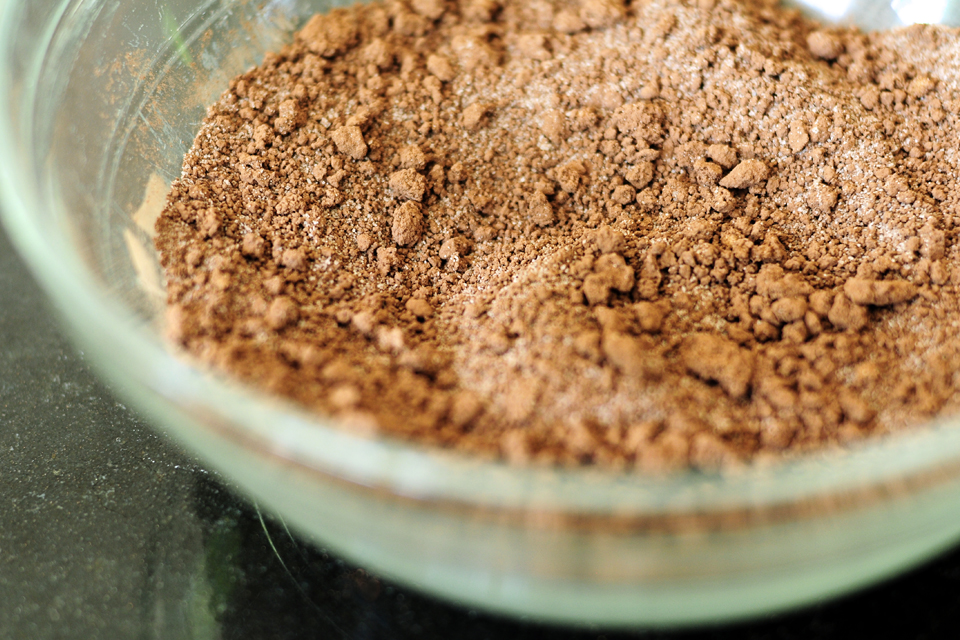
Then add 1 teaspoon of whole cloves.
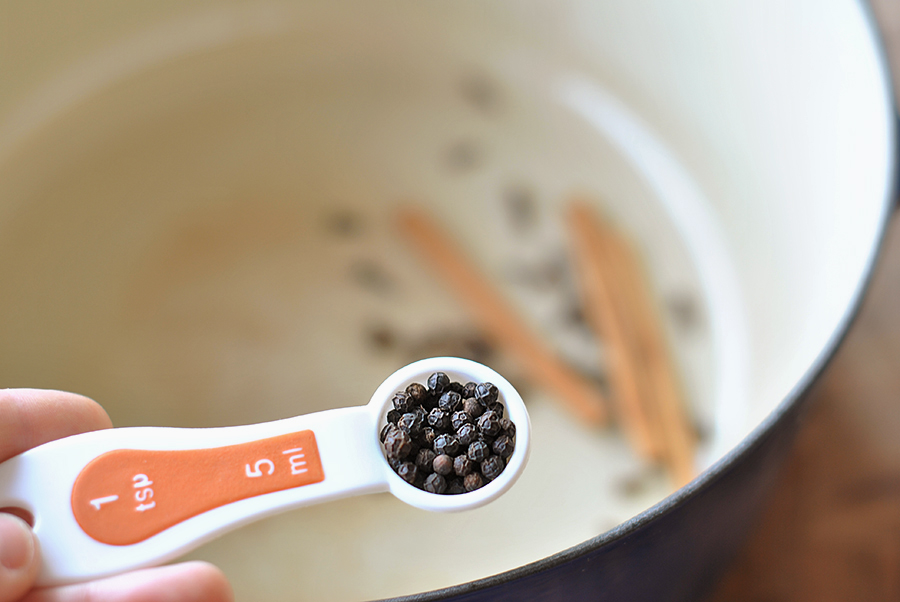
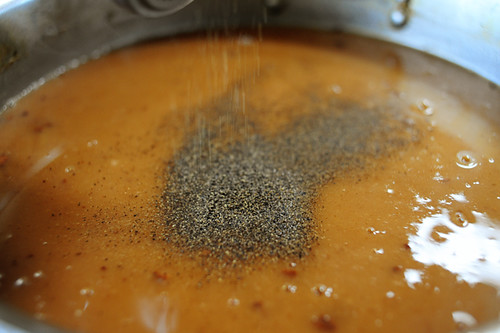
Next add 1 teaspoon of whole peppercorns. You don’t have to add these, but I really like a little spicy heat in my mulled wine. If you like a lot of heat, just add more than a teaspoon.
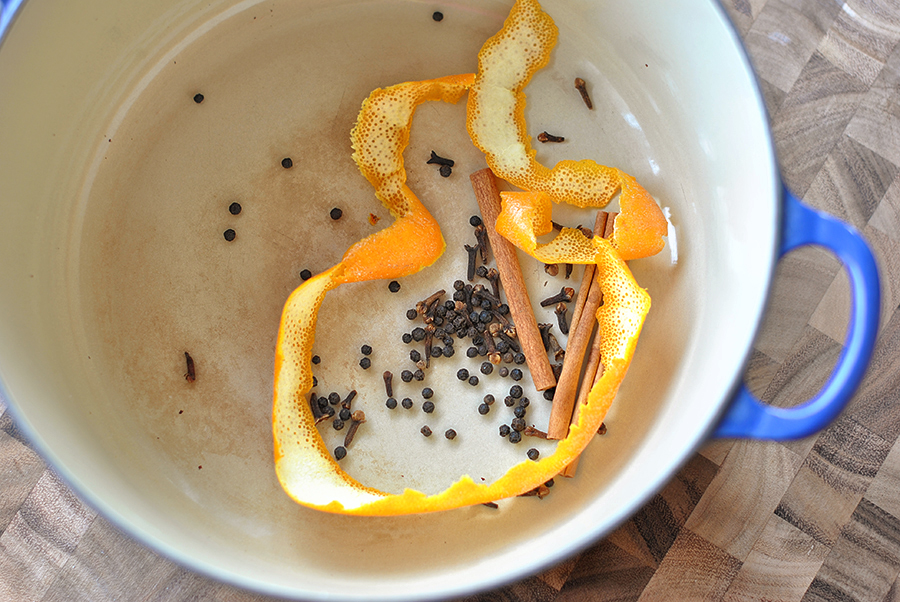
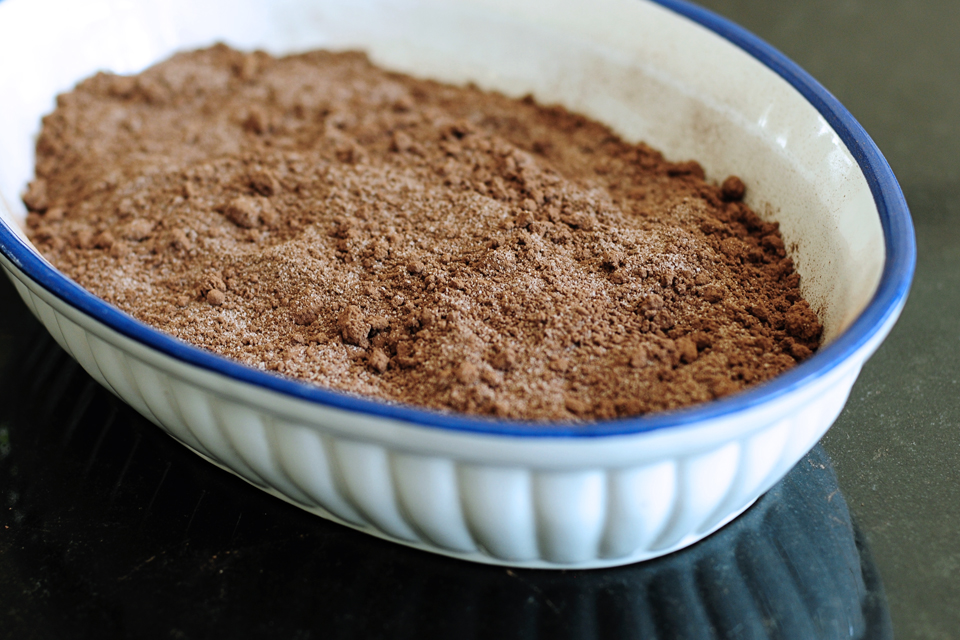
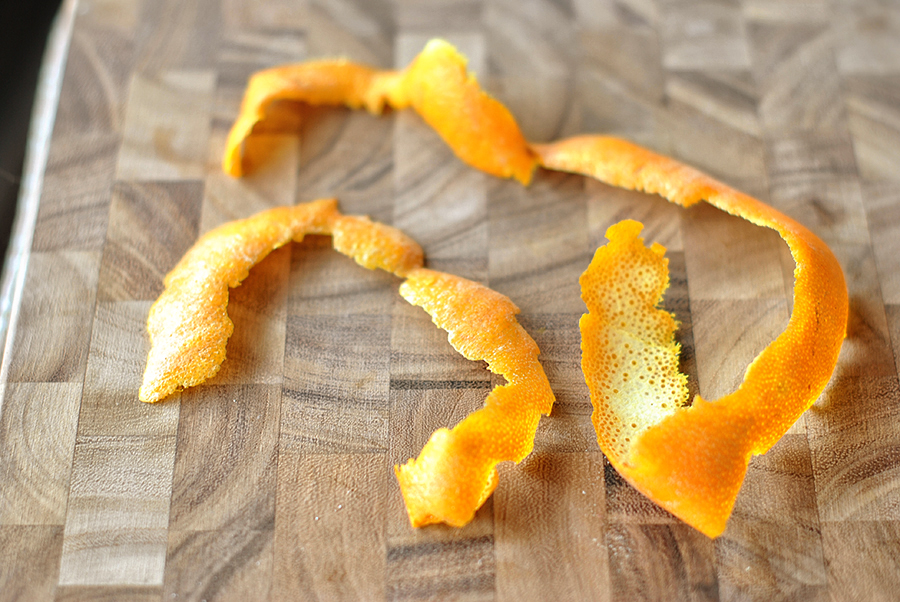
Then put the orange peels into the pot.
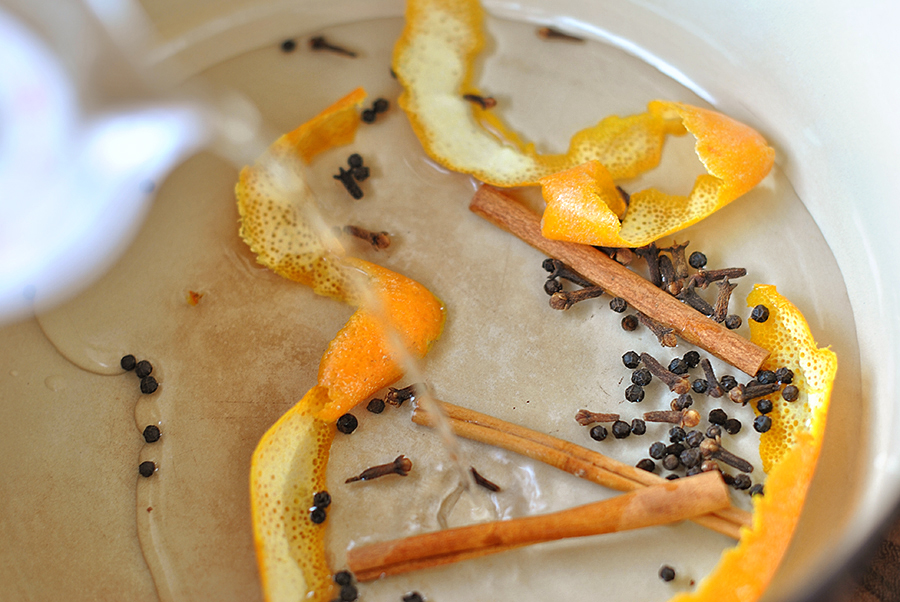
Add 1 cup of water to the spice mix and bring to a boil. Simmering the spices in a little water first means you don’t have to overcook the wine to infuse it with flavor.
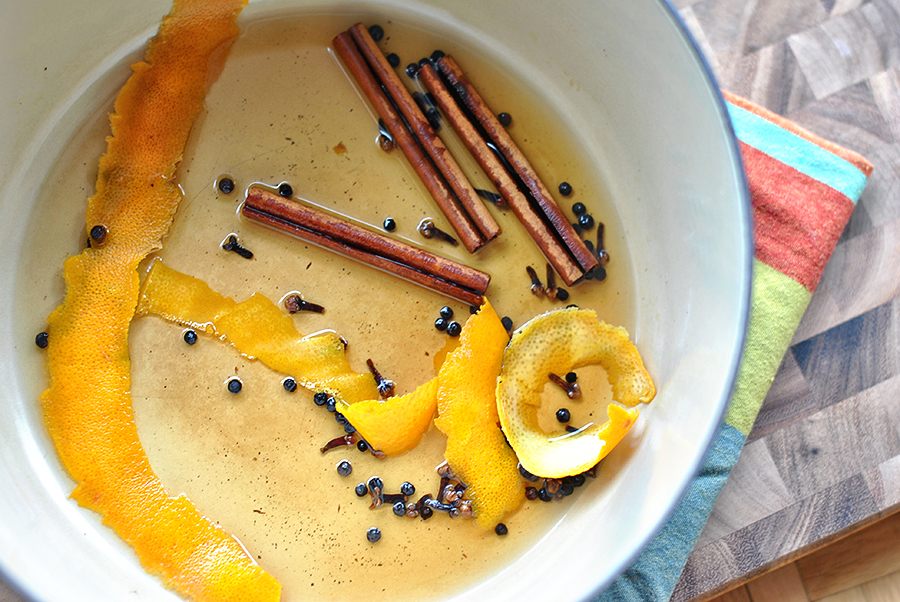
Reduce heat and simmer until cinnamon sticks start to unfurl and spices have released their flavor, about 15 minutes.
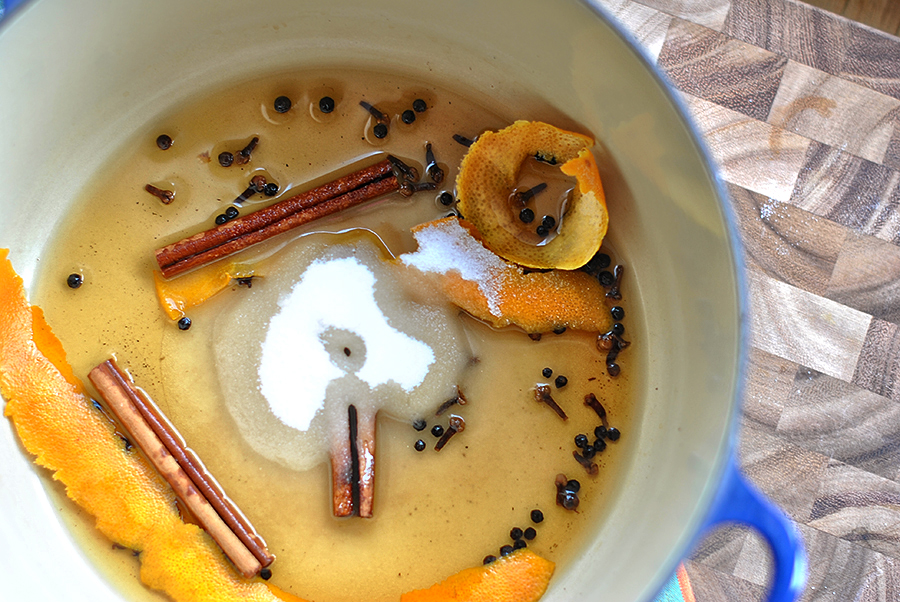
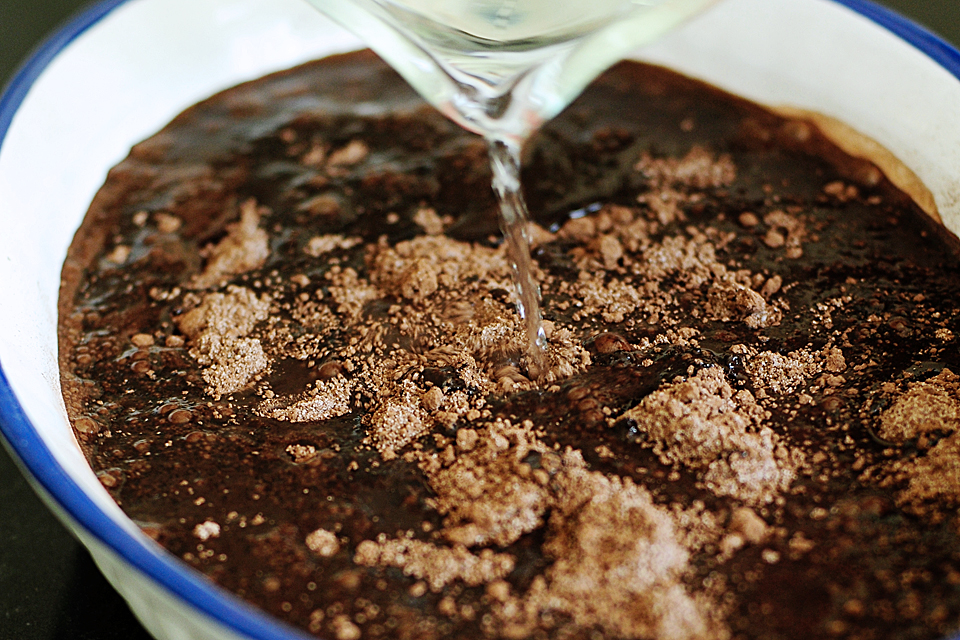
Add 1/2 cup sugar …
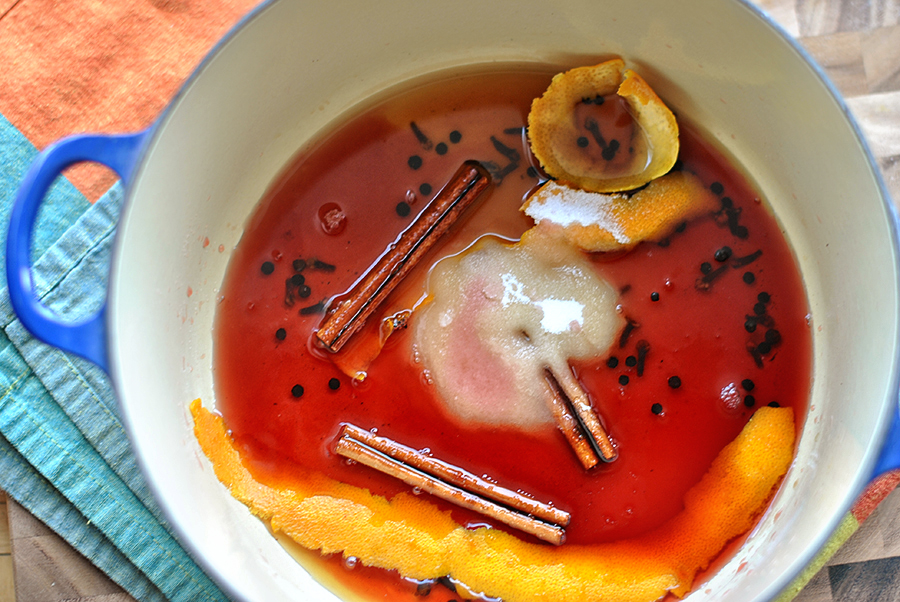
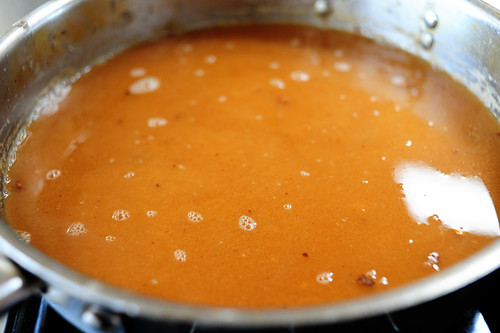
And 1/2 cup port. Doesn’t that look pretty? Makes me feel Christmas-y just lookin’ at it.
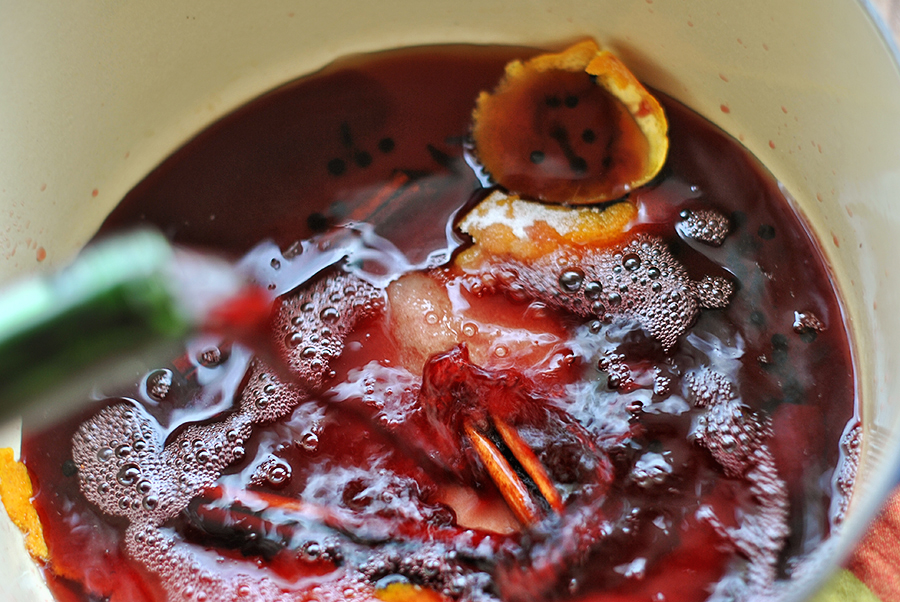
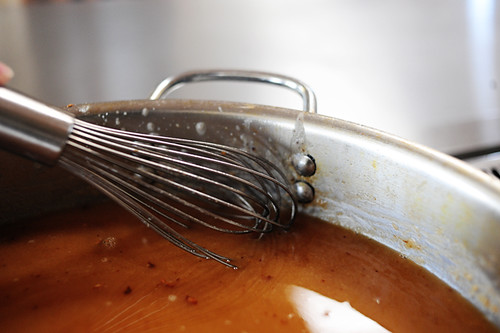
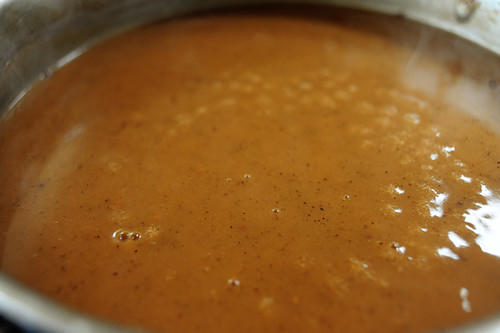
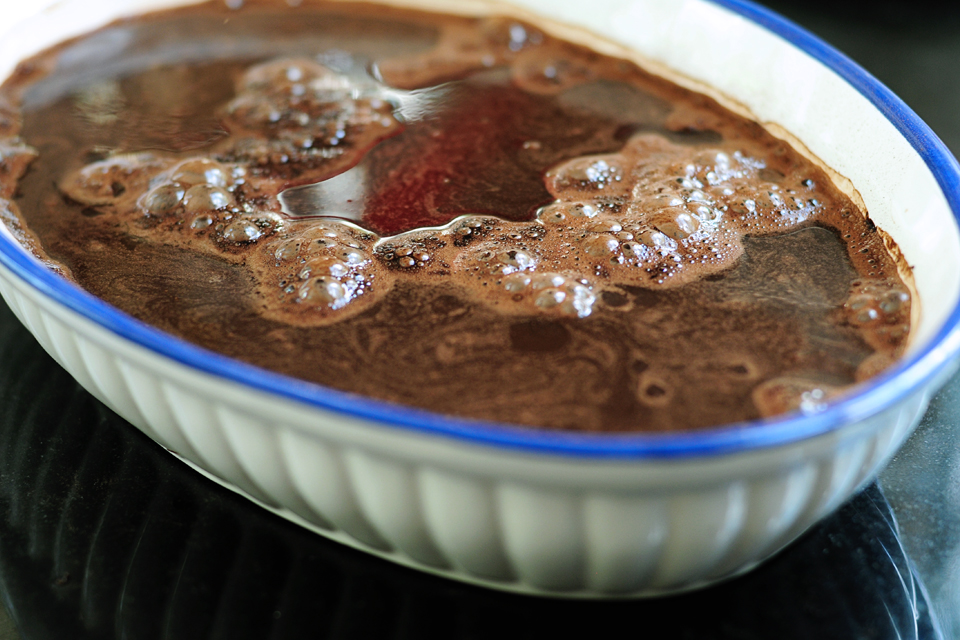
Once you’ve mixed those ingredients together, add the wine. Bring to a simmer over low heat, then turn off heat. At this point, you may strain the mulled wine if you like, but the cinnamon sticks, cloves and peppercorns will fall to the bottom of the pot.
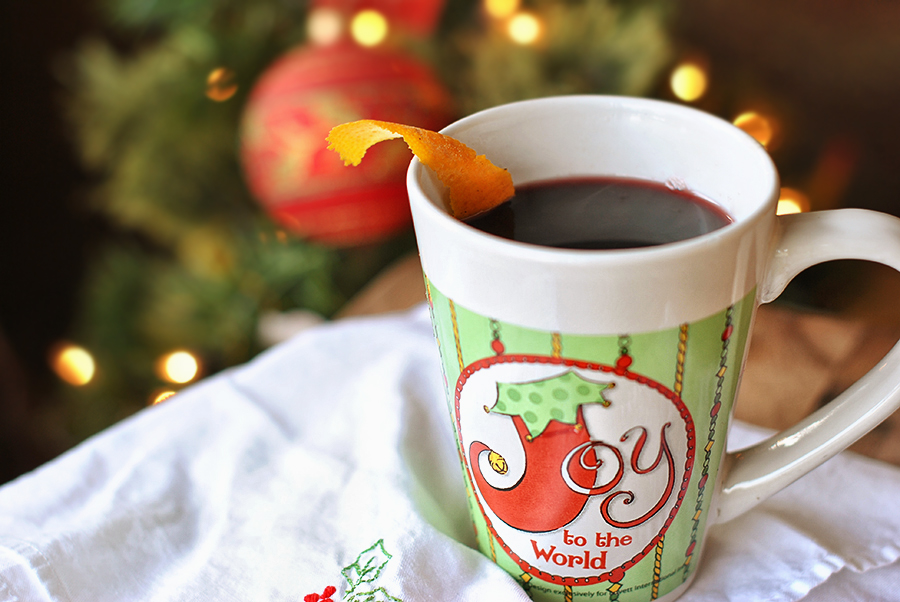
Ladle into mugs and serve immediately (in your Dollar Store Christmas mugs!)
Mulled wine, you bring joy to my world.
Happy Holidays, everyone!
Printable Recipe


Print Options
Description
Quick Mulled Wine.
Ingredients
- 3 sticks Cinnamon (2-3 Inches Long)
- 1 teaspoon Whole Cloves
- 1 teaspoon Whole Peppercorns
- 1 whole Orange Peel, Removed With A Vegetable Peeler
- 1 cup Water
- ½ cups Sugar
- 2 bottles (750ml Bottle) Full-bodied Red Wine, Such As Cabernet Or Shiraz
- ½ cups Port
Preparation Instructions
Bring cinnamon, cloves, peppercorns, orange peel and water to boil in a small saucepan. Reduce heat and simmer until cinnamon sticks start to unfurl and spices have released their flavor, about 15 minutes.
Bring contents of saucepan, sugar, wine, and port to simmer over low heat in a Dutch oven or large saucepan. Turn off heat. Ladle into mugs and serve immediately.
_______________________________________
Three Many Cooks is the always-entertaining food blog of Pam Anderson and her two daughters, Maggy and Sharon. Pam is a well-known and much-respected food writer and author, Maggy is a “hippy adventurer meets 1950s housewife,” and Sharon refers to herself as a recovering food snob learning to survive on a graduate student’s budget. Theirs is a strong relationship both inside and outside the kitchen, and it shows in the food they create and the stories they tell.