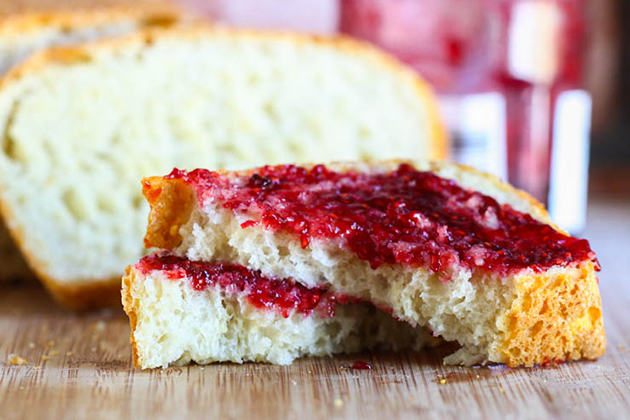
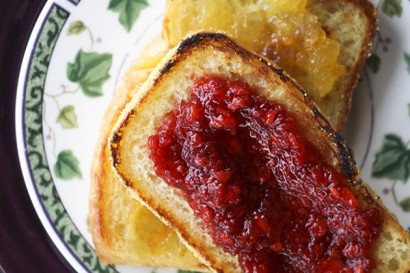
I don’t know about you but I love English muffins in the morning. My favorite way to eat them is toasted with butter and raspberry jam. They are the perfect accompaniment to scrambled eggs. I’m getting hungry just thinking about it!
When I found this recipe for English Muffin Toastable Bread by my friend and fellow TK member Rebecca, I knew I had to try it! We used to bake delicious English muffin bread at the bakery I worked at, and I miss it dearly. It’s so fun to watch this loaf rise up super high in the oven and, I promise, it tastes JUST LIKE English muffins! For real!
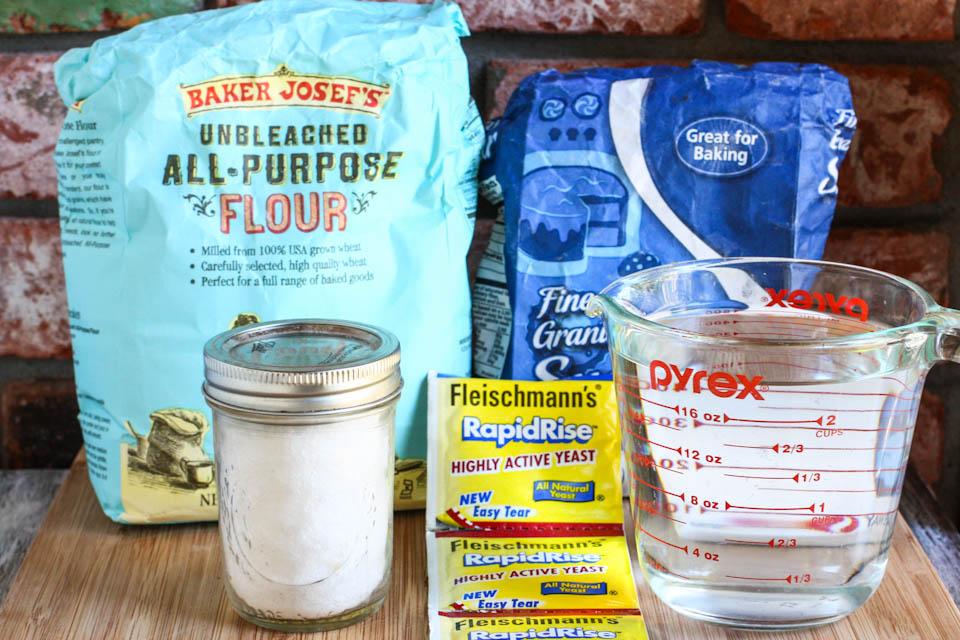
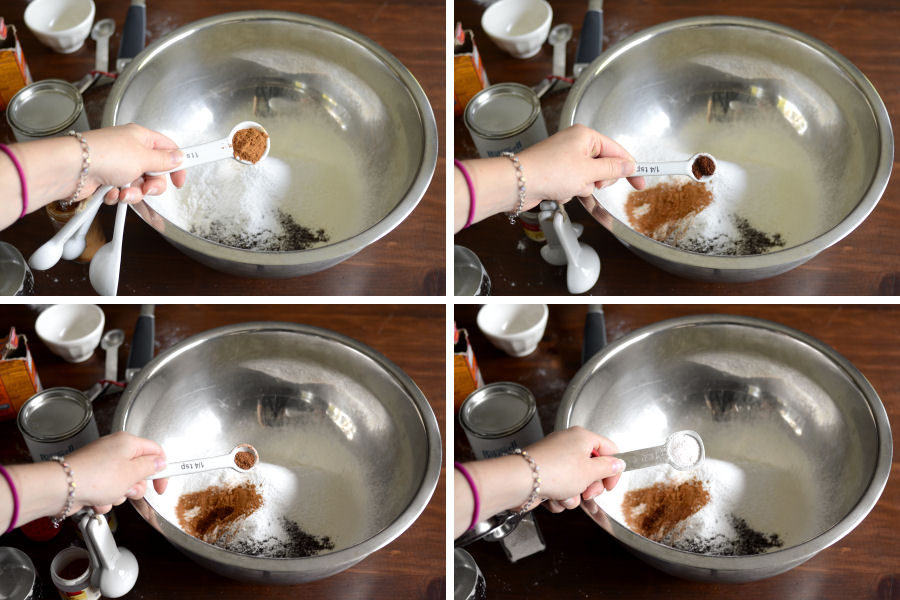
The ingredients are pretty basic for this one—just flour (I used regular, all-purpose), water, salt, sugar and yeast. You’ll also need some cornmeal for dusting, three loaf pans, plastic wrap and nonstick cooking spray.
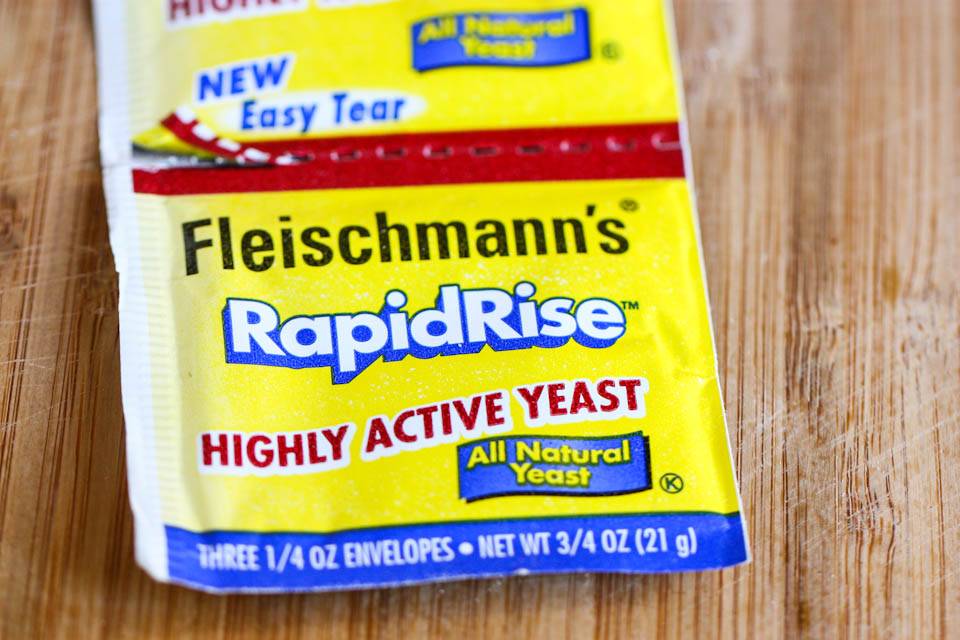
Before we go any further though, I want to make sure you guys get the right yeast. For this recipe, you’ll need instant (or bread machine or “rapid rise” yeast). I want to be sure you guys get it because I searched for about two weeks prior to making this recipe for “instant yeast” and couldn’t find it anywhere! I was getting very discouraged and contemplated ordering online. Finally, I realized that rapid rise yeast was the same thing as instant yeast. It’s different than regular dry active, as you don’t need water to activate it; you can literally just dump it into your dry ingredients and mix!
(End public service announcement.)

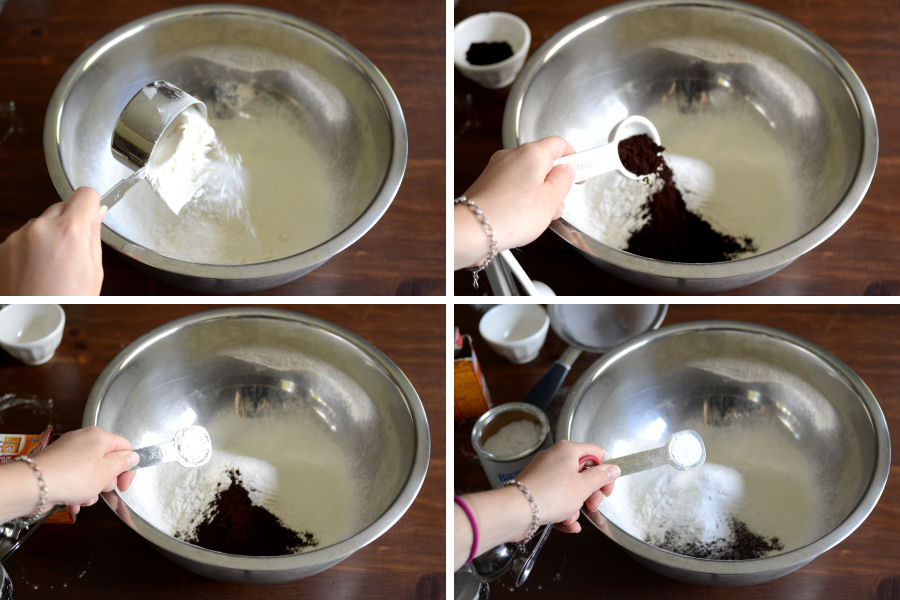
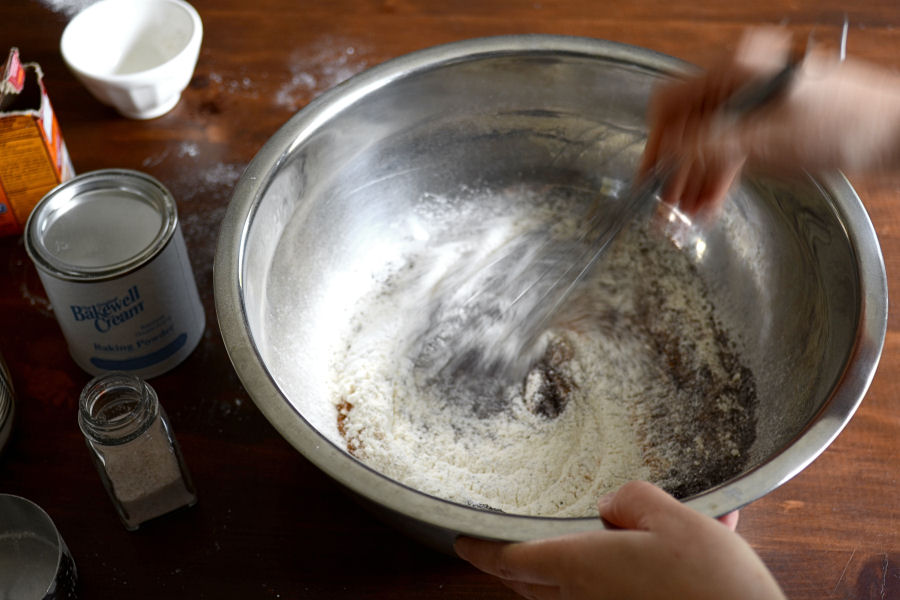
First, make the dough. Mix together your warm water, flour, sugar, salt and yeast in a large mixing bowl. You can use a KitchenAid mixer here or a wooden spoon.
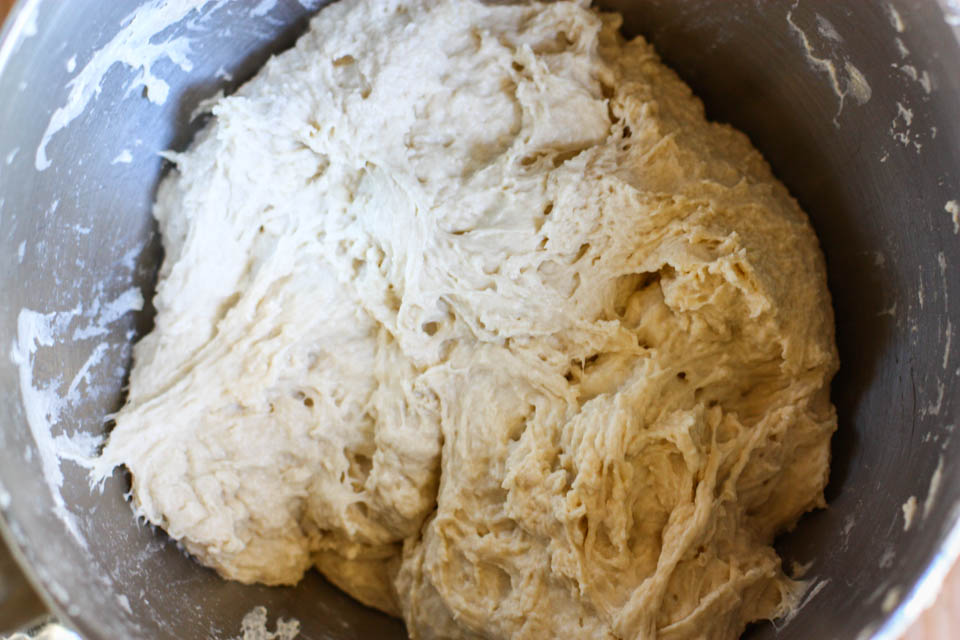
It should look like this after mixing— very wet, sticky and shaggy!
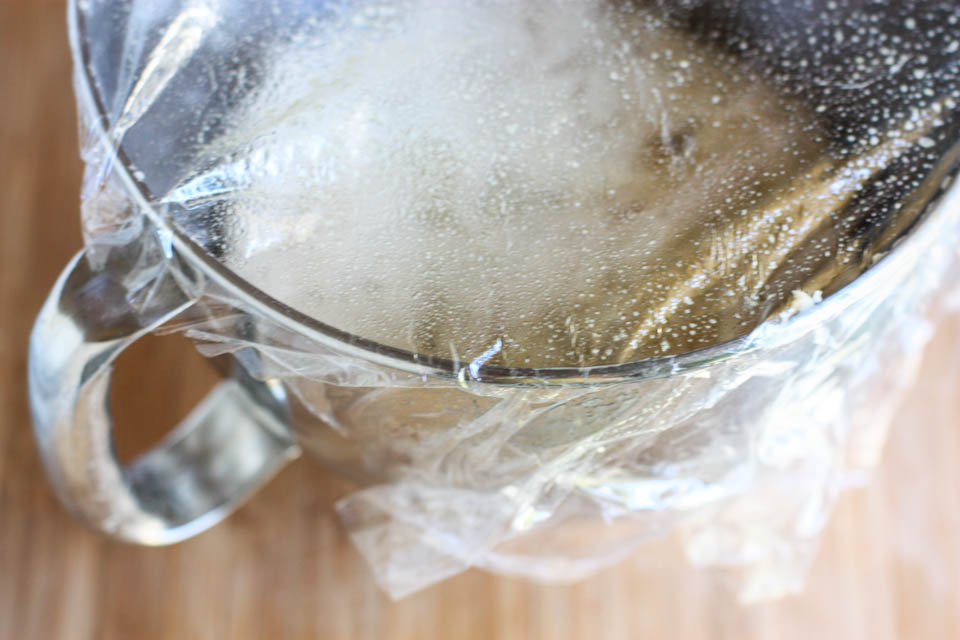
Now spray a piece of plastic wrap with cooking spray and drape it over the bowl. Set in a warm place to rise for one hour.
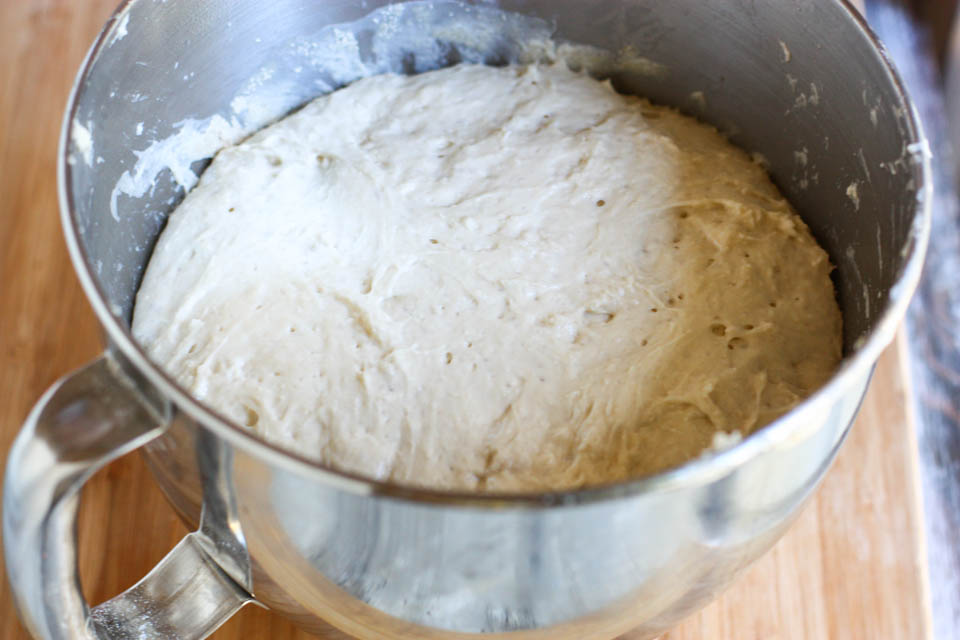
Ta-dah! It rose! I cut the recipe in half when making this, so if you make the full recipe, your dough will rise higher than mine. Be sure to spray your plastic wrap or else it could stick.
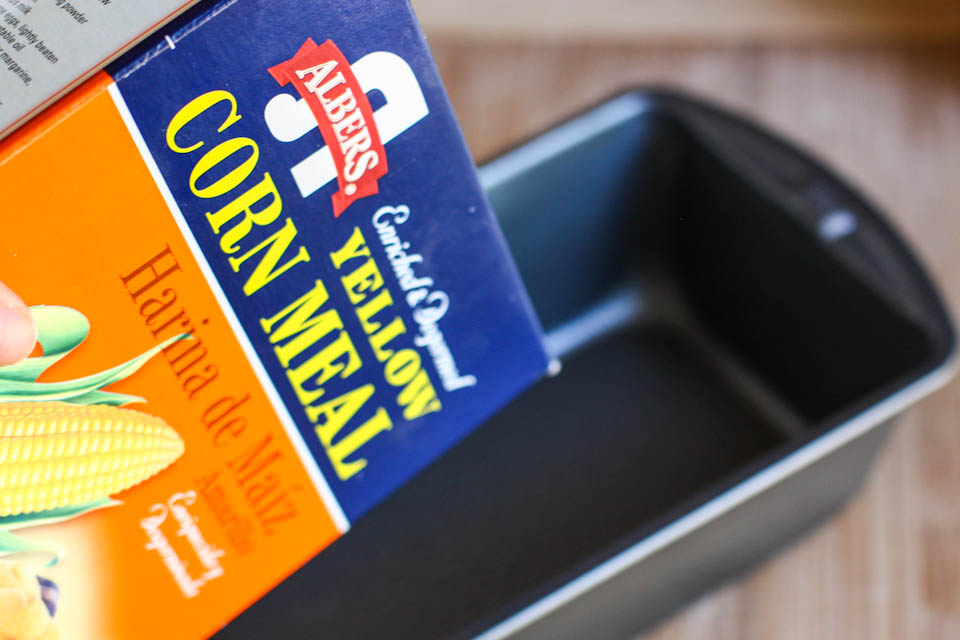
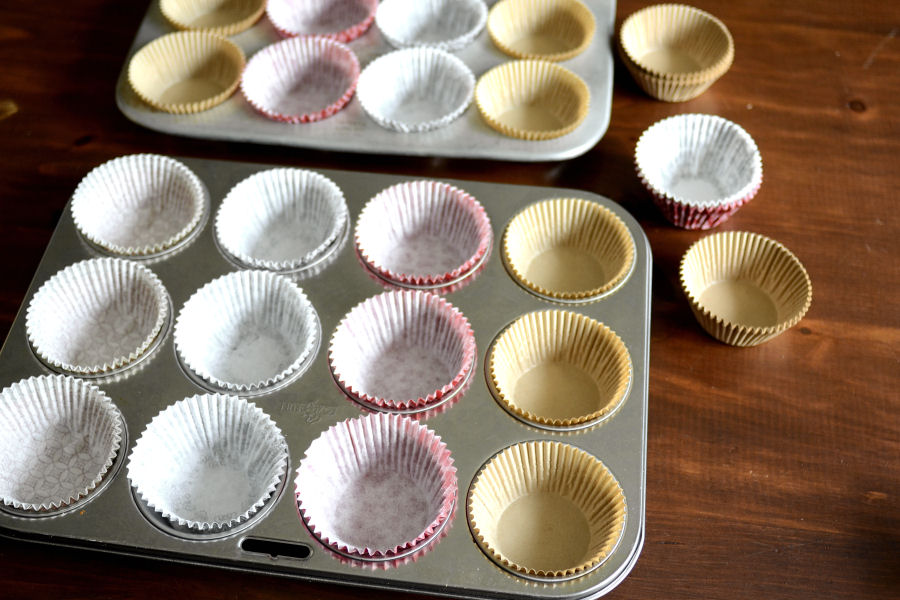
Prepare your loaf pans by sprinkling in some cornmeal then knock the pans against the counter so that all sides have a generous sprinkle. Shake off the excess in the sink or trashcan.
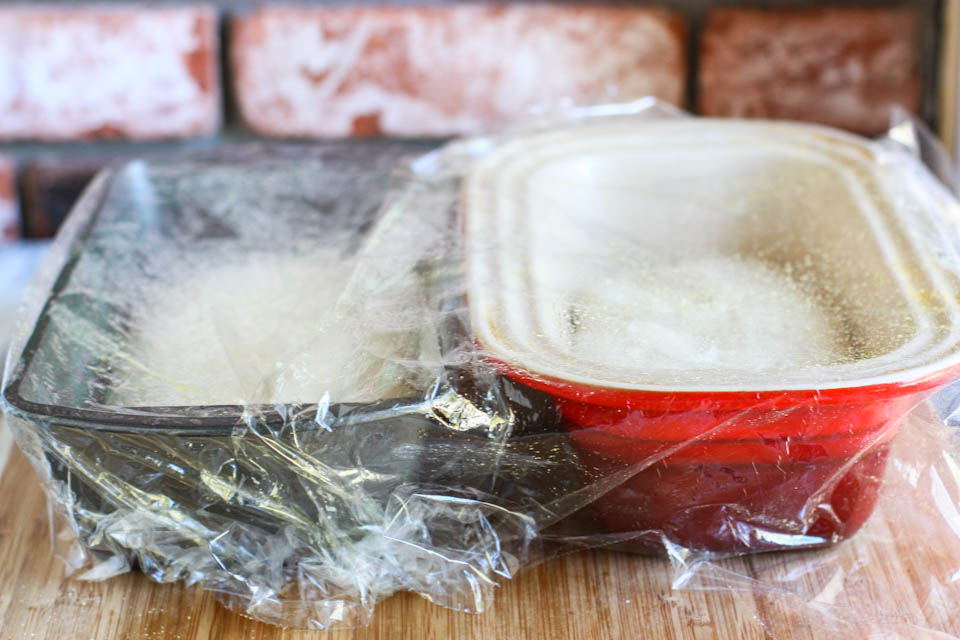
Divide your dough evenly into your loaf pans and cover pans with more plastic wrap that has been generously sprayed with cooking spray. You want to fill the loaf pans no more than halfway full of dough.

Let the bread rise again in a warm spot until it peaks up above the rim of the loaf pans. This took me a little over an hour. Rebecca warned in the original recipe that this bread could possibly over-proof (rise for too long), which would then cause it to crumple when baking. Because of this, you want to make sure you preheat the oven to 350ºF while the loaves are rising so that you don’t have to worry about it once they are ready to be baked.
Bake the loaves for 30 minutes, brush with melted butter, then bake for an additional 10-20 minutes until the tops are golden brown.
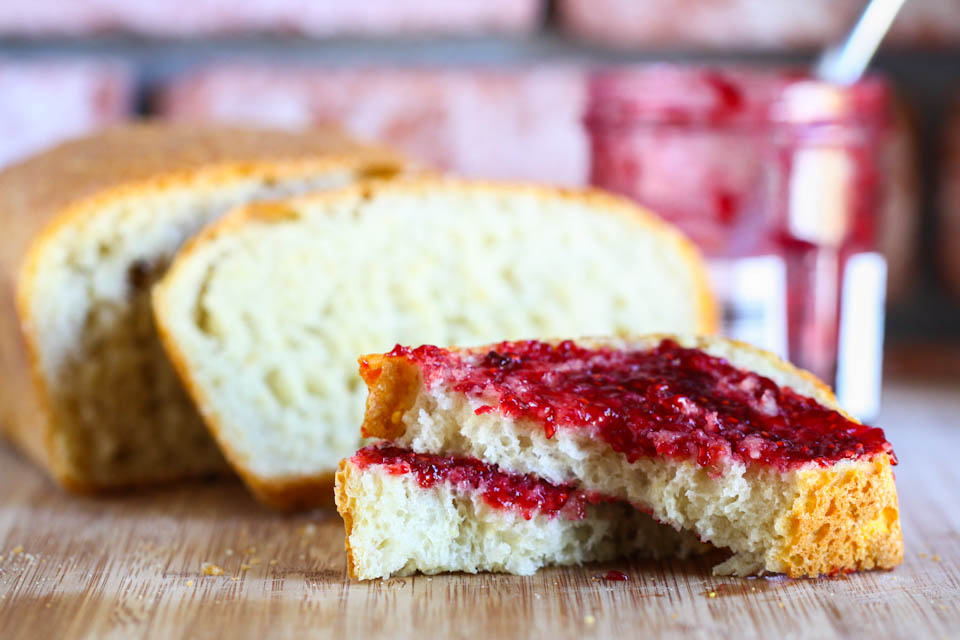
I know it’s best to wait for bread to cool before slicing, but I just couldn’t help myself! I immediately tore into this and slathered it with soft butter and jam. It was amazing and the extra loaf made a lovely gift to a neighbor who will be cat-sitting for me next month.
Thank you, Rebecca! I know what’s for breakfast tomorrow morning. And I know you guys are going to love this bread that tastes just like a big, warm English muffin! Go check out Rebecca’s blog, Foodie with Family. It’s so packed with recipe after recipe of incredible stuff, it’s not even funny.
Printable Recipe


Print Options
Description
This gorgeous, simple, golden brown bread has the crags, the holes, the moistness, the crunchy, toasty bits of cornmeal that transfer to your fingers and the incomparable ability to carry sinful amounts of butter and jam, or sauce and cheese, or egg and hot sauce just like its namesake muffins. This recipe is suitable for novice bakers and is easy on the wallet, to boot!
Ingredients
- 5-½ cups Warm (not Hot) Water
- 2 Tablespoons Kosher Salt
- 2 Tablespoons Sugar
- 3 packages (1/4 Oz. Packet) Instant Yeast
- 11-½ cups All Purpose Or Bread Flour (I Like To Do A Half And Half Blend Most Times.)
- Melted Butter For Brushing The Bread Midway Through Cooking And Then Again After They're Done Cooking
Preparation Instructions
Note: you will also need nonstick cooking spray, plastic wrap, and cornmeal.
To prepare the dough:
Stir water, salt, sugar, yeast, and flour together by hand in a large mixing bowl (or in the bowl of a stand mixer fitted with a paddle) just until combined. The dough will be shaggy and very sticky.
Spray a piece of plastic wrap with nonstick cooking spray and lay it loosely over the mixing bowl. Let the dough rise in a warm, draft-free place for about 1 hour or until it looks bubbly and puffy.
Spray 3 standard loaf pans (8.5″ x 9.5″) with non-stick cooking spray and sprinkle in a fistful of cornmeal. Tilt the pans, tapping gently, until the interiors are coated with a thin layer of cornmeal. Tap out any excess cornmeal.
Spray your hands with nonstick cooking spray and use them to divide the dough evenly between the pans. The pans should be no more than halfway full. If you need to, spray and cornmeal an additional loaf pan for any excess.
Spray more pieces of plastic wrap with nonstick cooking spray and lay them loosely over each loaf pan. Let rise in a warm, draft-free place until the dough looks bubbly and puffy again, and has risen with the top of the dough dome just peeking above the edge of the pan.
While the dough is rising, preheat the oven to 350°F. It is possible to let this dough rise too long, so be sure the oven is waiting for you rather than you waiting for the oven.
Evenly space the loaf pans in the oven and set the timer for 30 minutes. After 30 minutes, take out one bread pan at a time and brush the tops of the loaves with melted butter. When you place the bread pans back in the oven, rotate their positions from front to back. Bake for an additional 10 minutes or until they are just lightly golden brown.
Immediately turn the loaves out onto a cooling rack and brush again with melted butter. Cool completely before slicing.
The bread can be stored, tightly wrapped, at room temperature for up to a week. If you do not think you can eat it in that time, wrap the cooled, unsliced loaves with two layers of plastic wrap and cover that with one layer of foil before storing in the freezer for up to 3 months. They can be thawed or simply sliced from their frozen state before toasting.
_______________________________________
Jenna is a food writer who has worked as a pastry chef and bread baker. Her blog Eat, Live, Run has great recipes, travel stories, and the perfect slogan: “Celebrating life, one crumb at a time.”