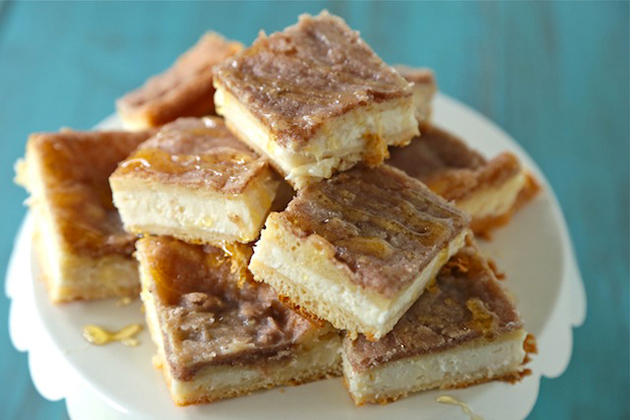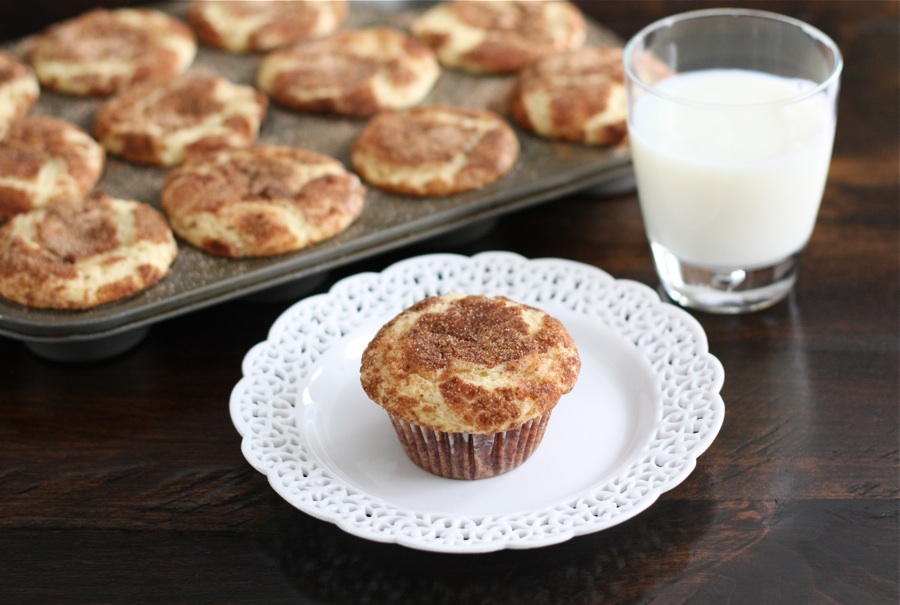
Snickerdoodles have always been one of my favorite cookies. First of all, I love the name. I bet you can’t say snickerdoodle without smiling. It’s such a fun word. I also enjoy eating the sweet, buttery cookies that have a cinnamon sugar crust. When I saw this recipe submitted by Heather Christo for Snickerdoodle Muffins on Tasty Kitchen, I did a little happy dance. A cookie in muffin form? Talk about a dream come true! Heather adapted this from Culinary Concoctions by Peabody. I read over the recipe and checked my pantry and refrigerator. Luckily, I had everything I needed to make the muffins. I love recipes that don’t require a trip to the store. I rolled up my sleeves and got started.
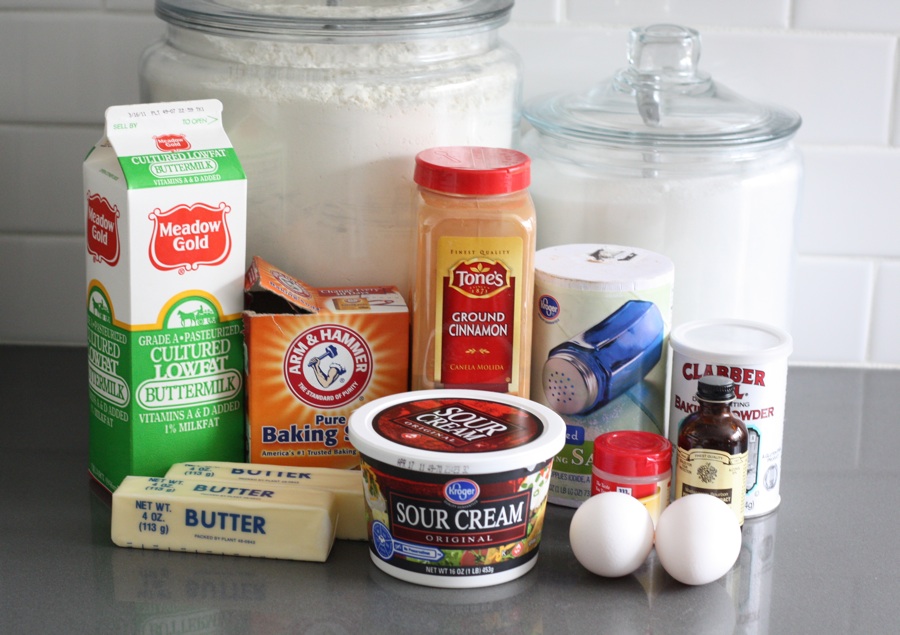
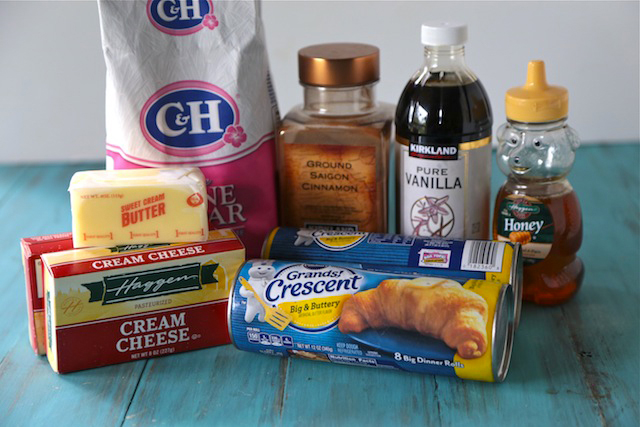
To make the Snickerdoodle Muffins, you will need: butter, sugar, eggs, vanilla, flour, baking powder, baking soda, salt, cream of tartar, sour cream, buttermilk, and cinnamon and sugar for the topping.
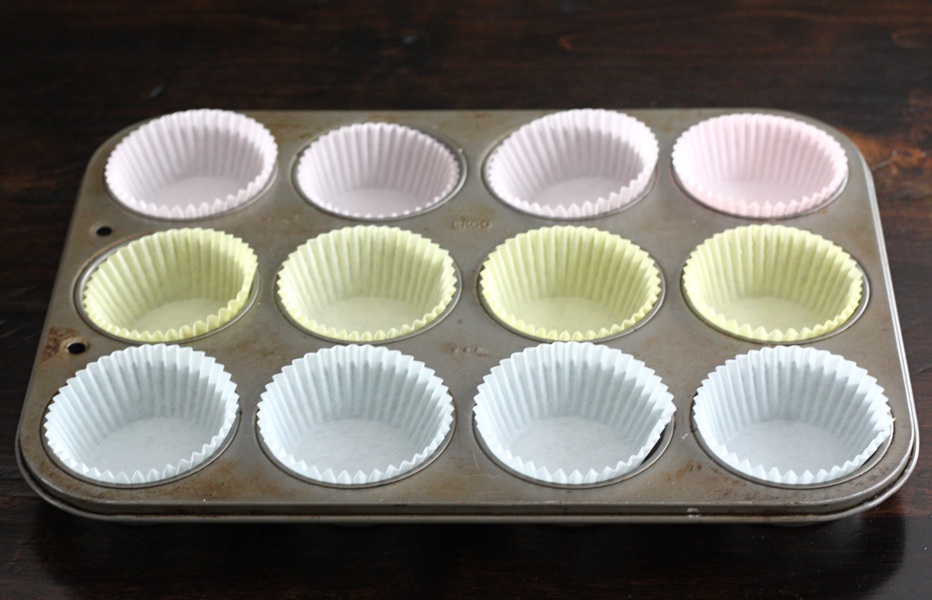
Preheat the oven to 350 degrees F. Prepare a muffin tin with liners and set aside. Make sure you use liners because the muffins are delicate.
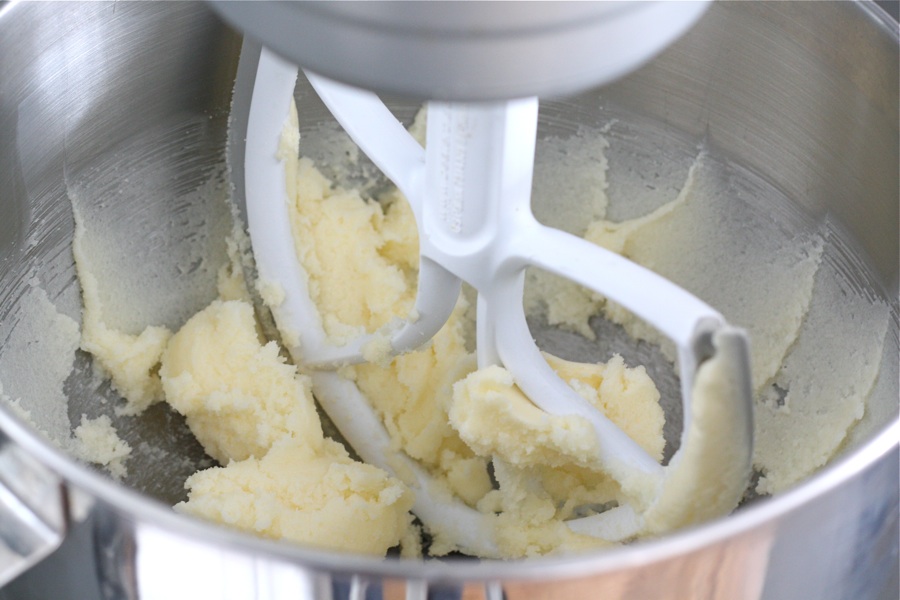
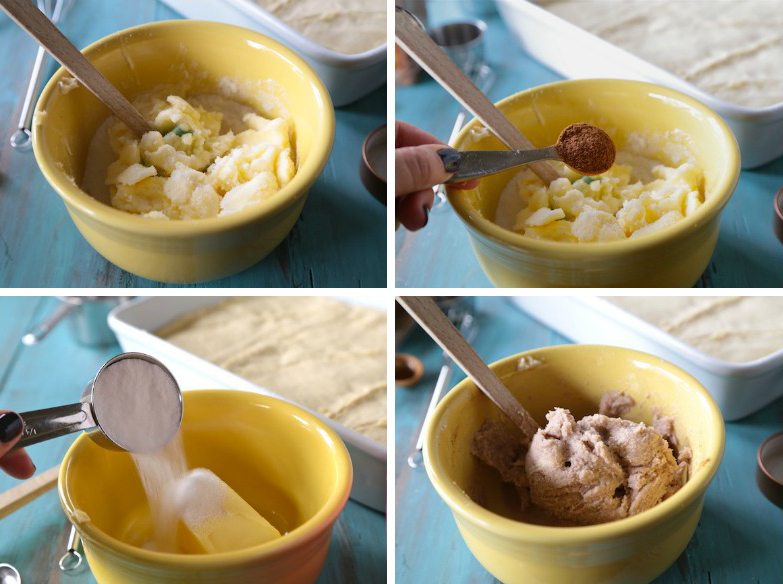
In a mixer, combine the butter and sugar and cream until fluffy.
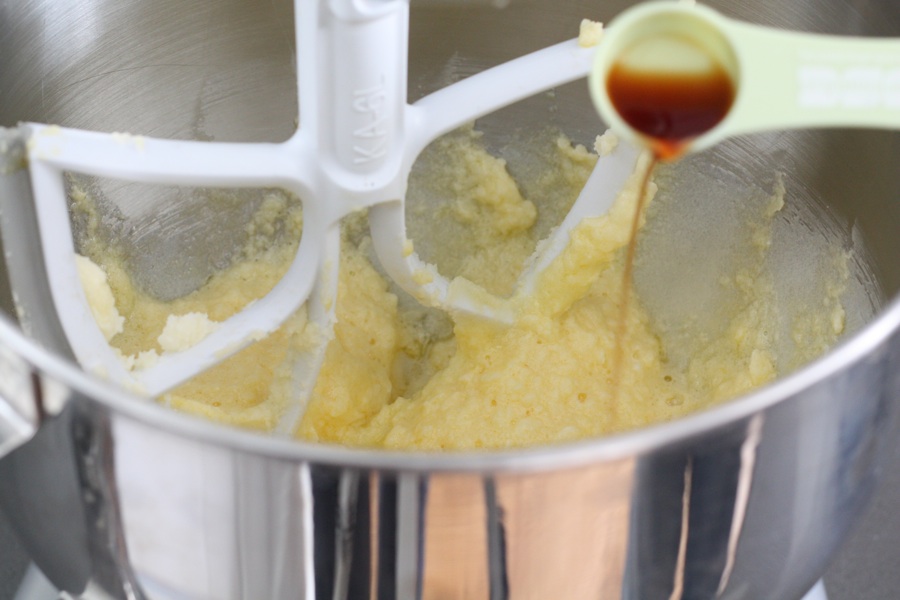
Add the eggs and vanilla extract and beat until smooth.
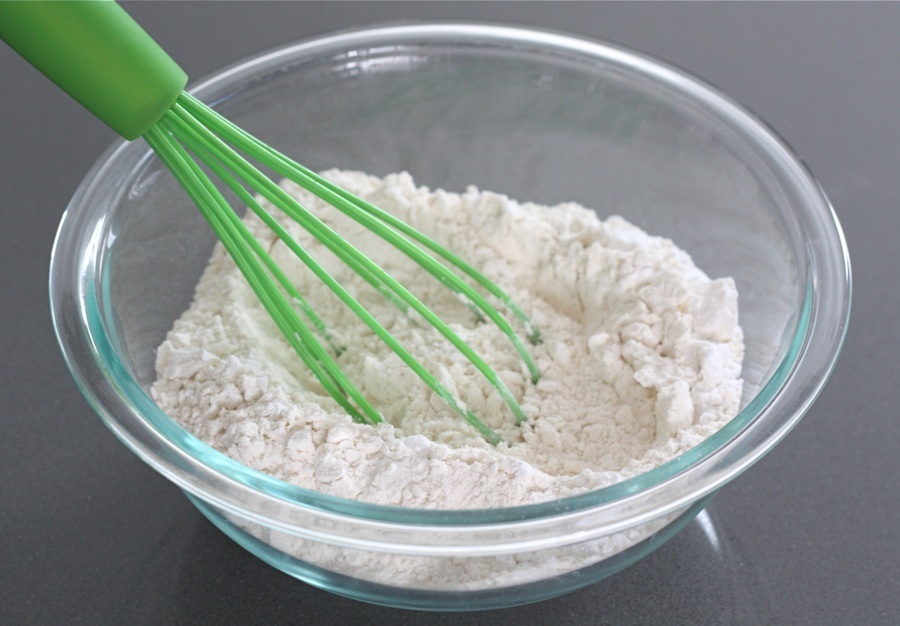
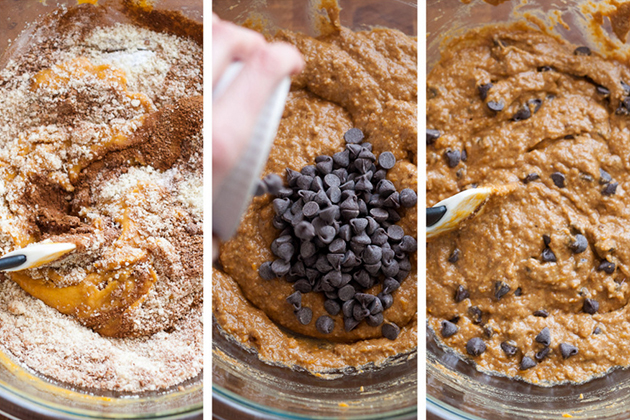
In a separate bowl, whisk together the dry ingredients.
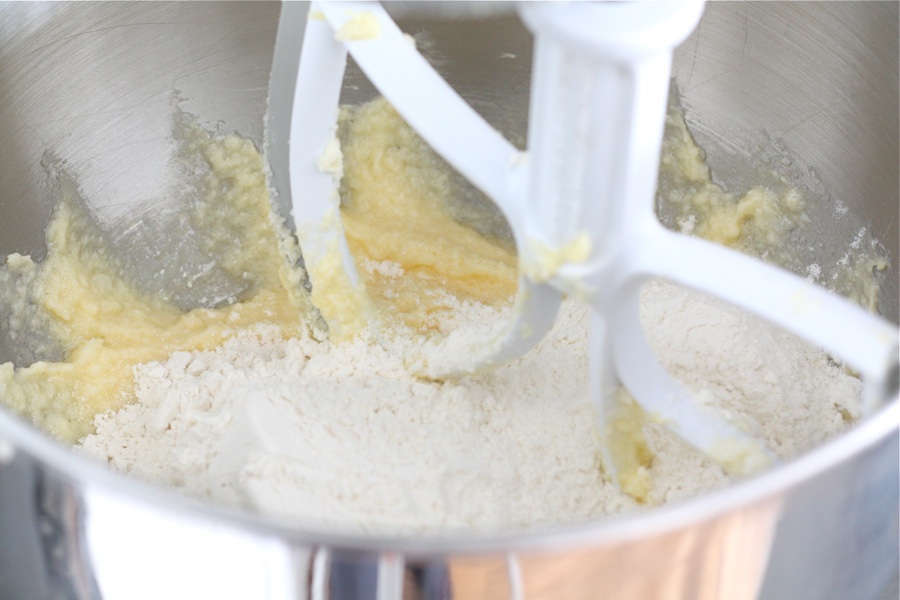
Add half of the dry ingredients to the mixing bowl and stir to combine.
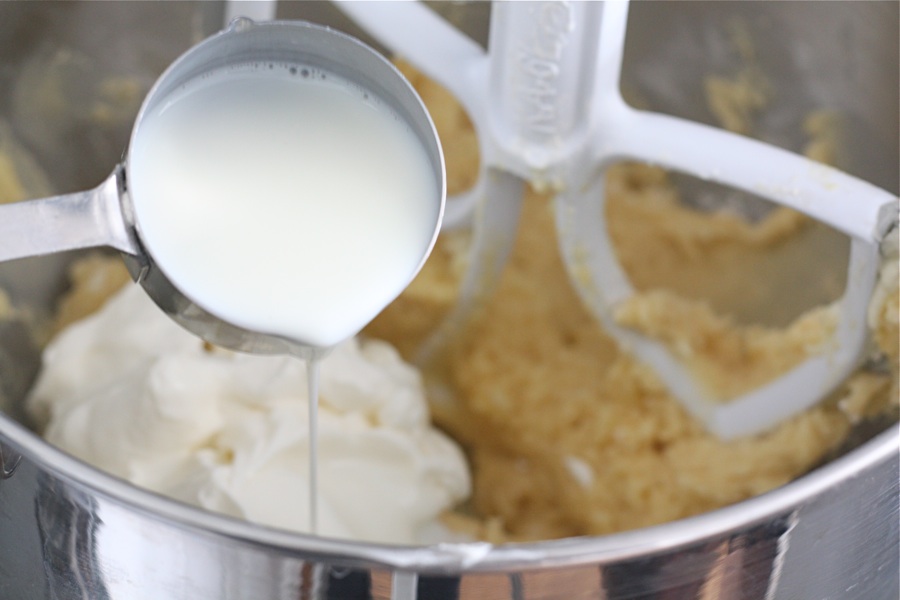
Add the sour cream and buttermilk and mix until combined.
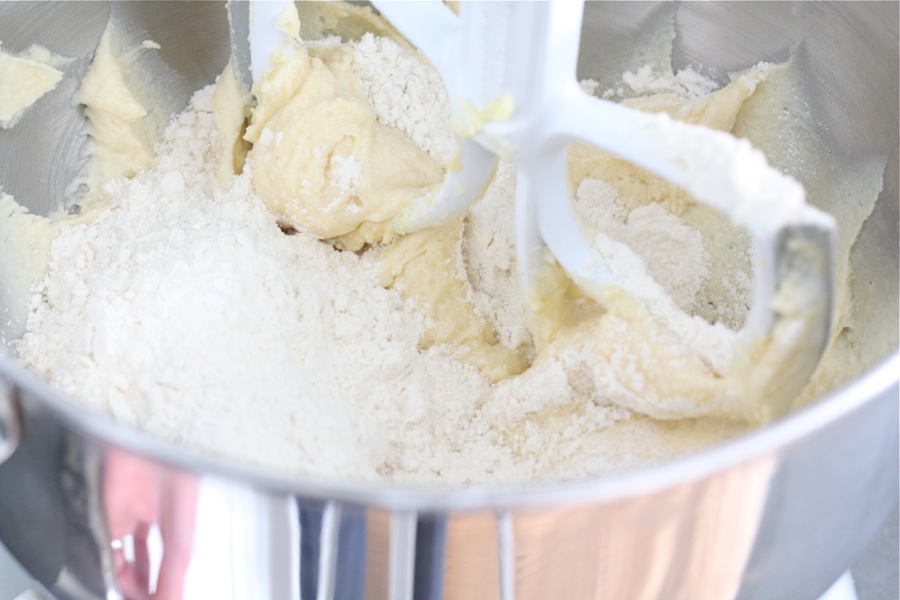
Add the rest of the dry ingredients and mix until batter is smooth.
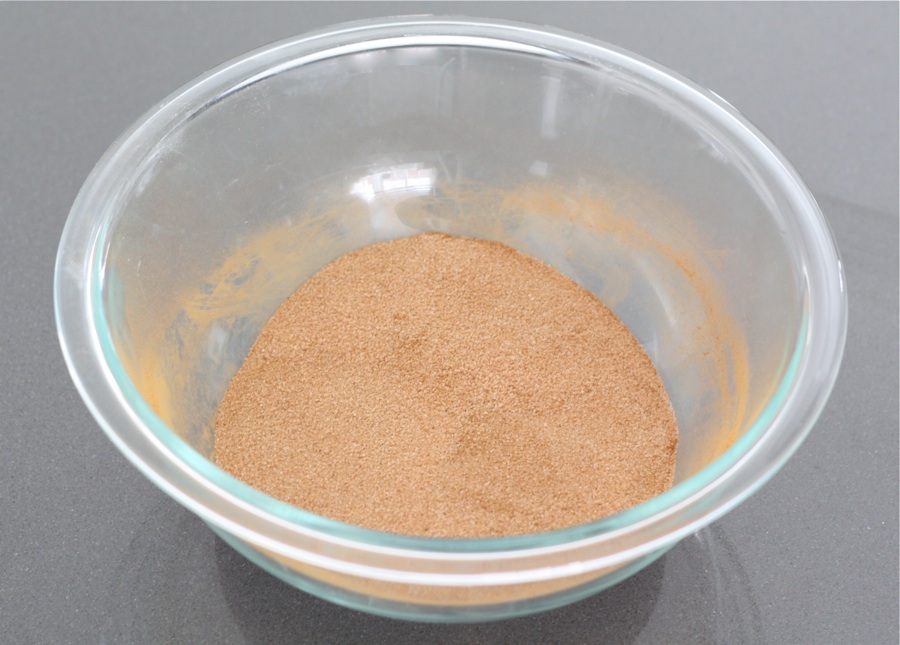
In a small bowl, combine the cinnamon and sugar for the muffin topping.
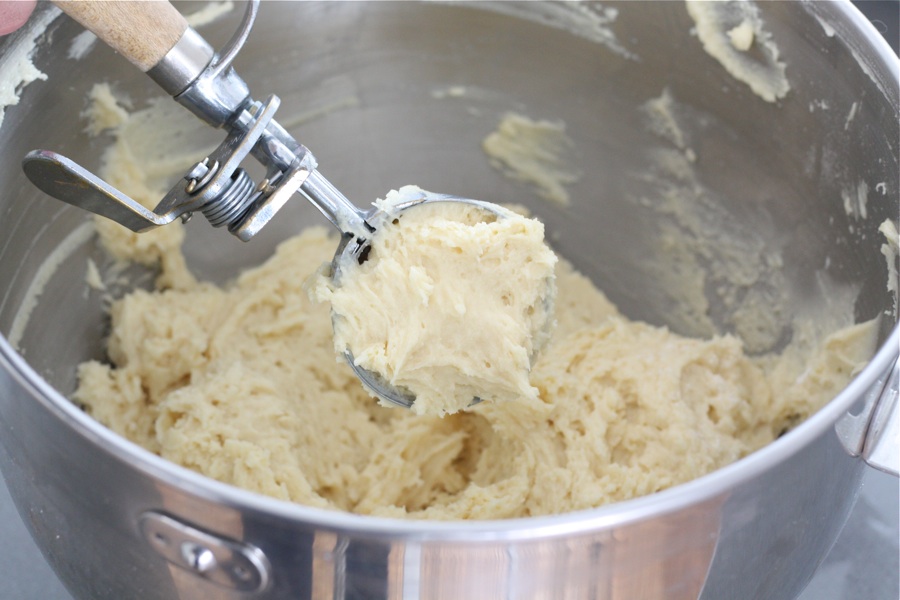
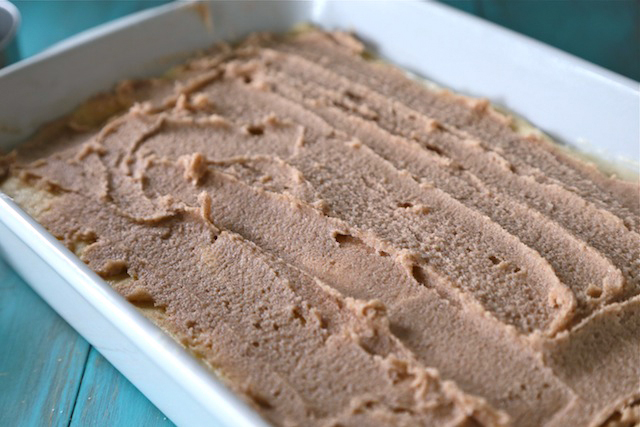
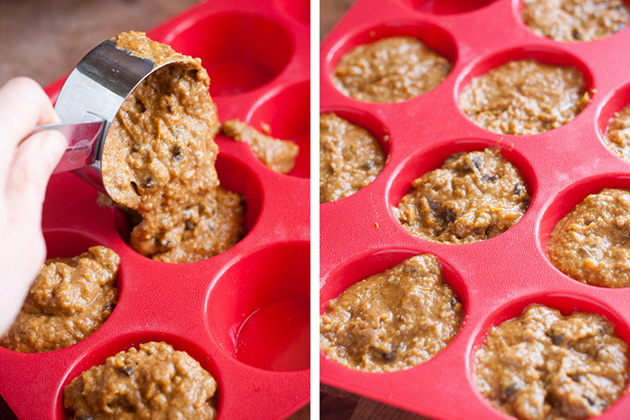
Use an ice cream or large cookie scooper to scoop out the muffin batter.
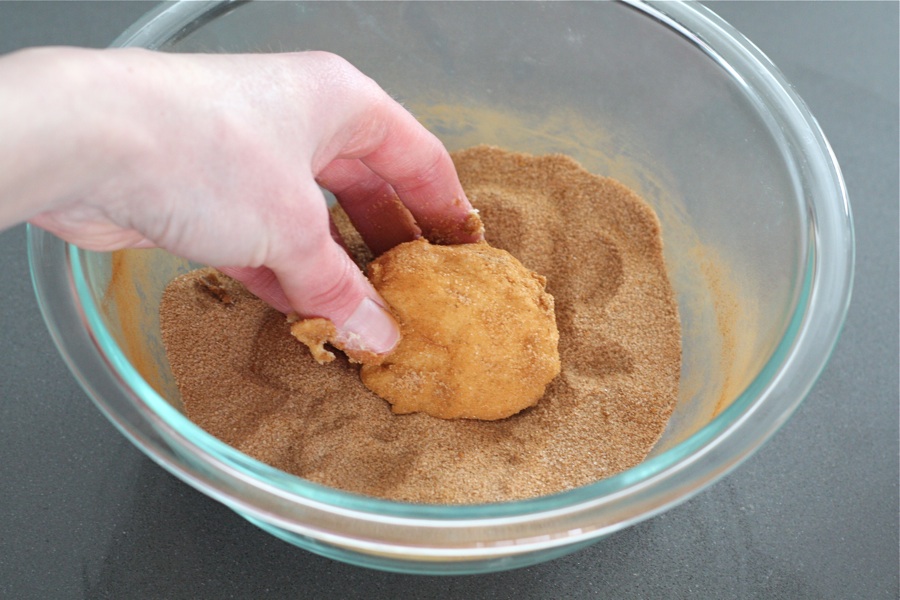
Plop a scoop of batter into the cinnamon and sugar mixture. Gently roll the muffin batter in the cinnamon and sugar, until well coated. Place the ball into a muffin liner.

When you have completed all of the muffins, sprinkle the leftover cinnamon sugar mixture onto the tops of the muffins.
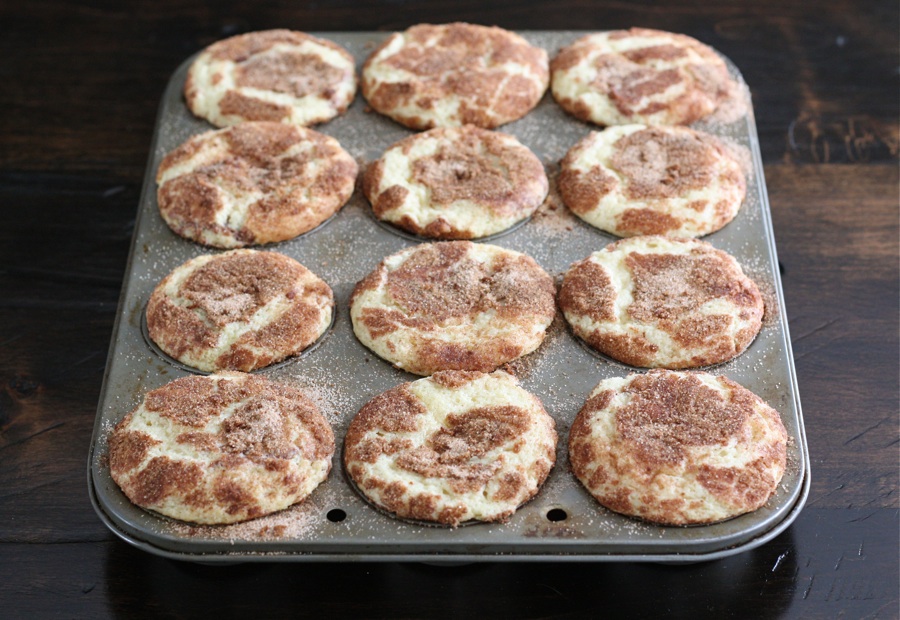
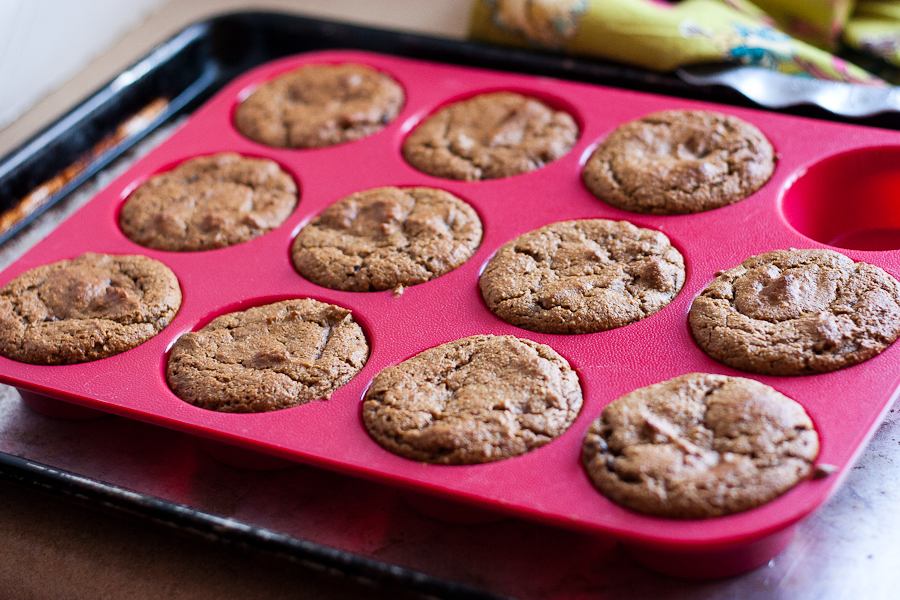
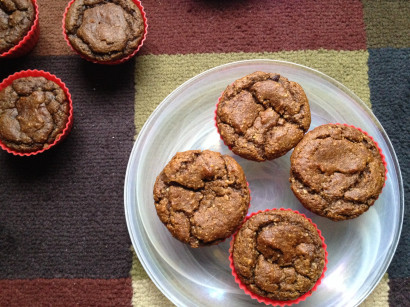
Bake the muffins for 15–18 minutes, or until they are golden brown and baked all the way through.
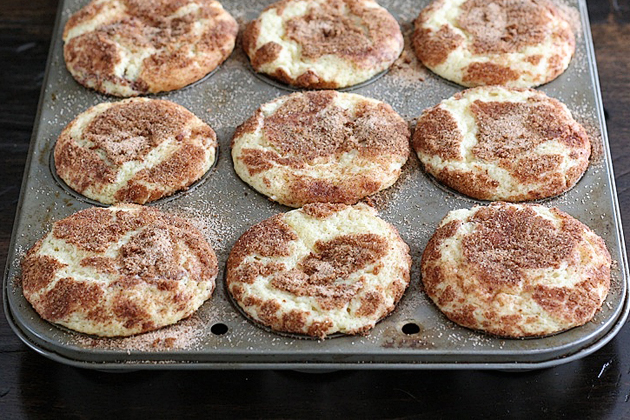
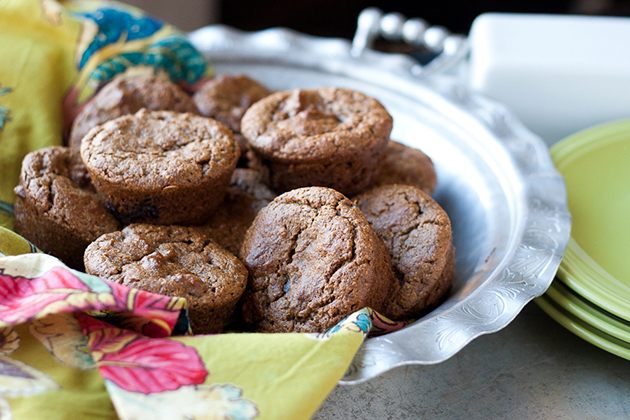
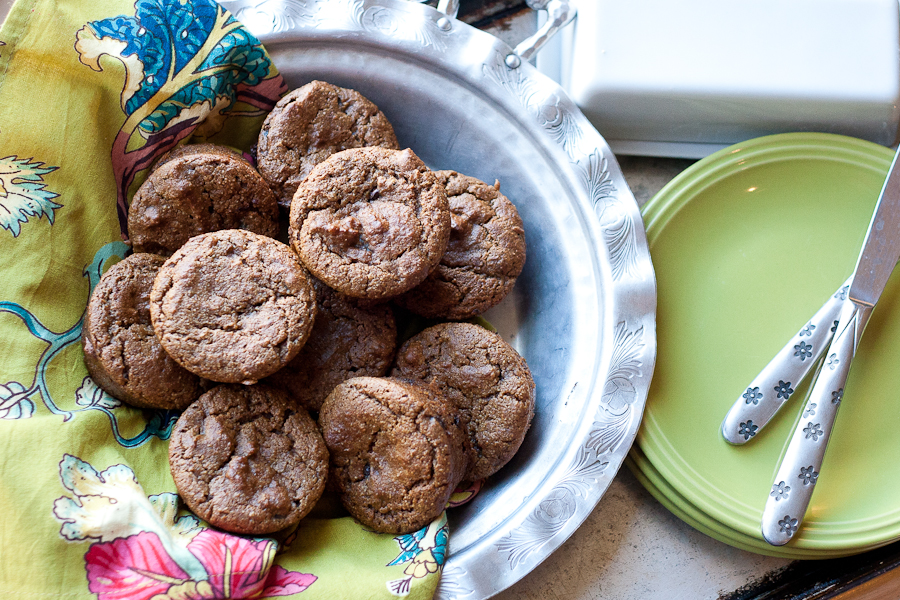
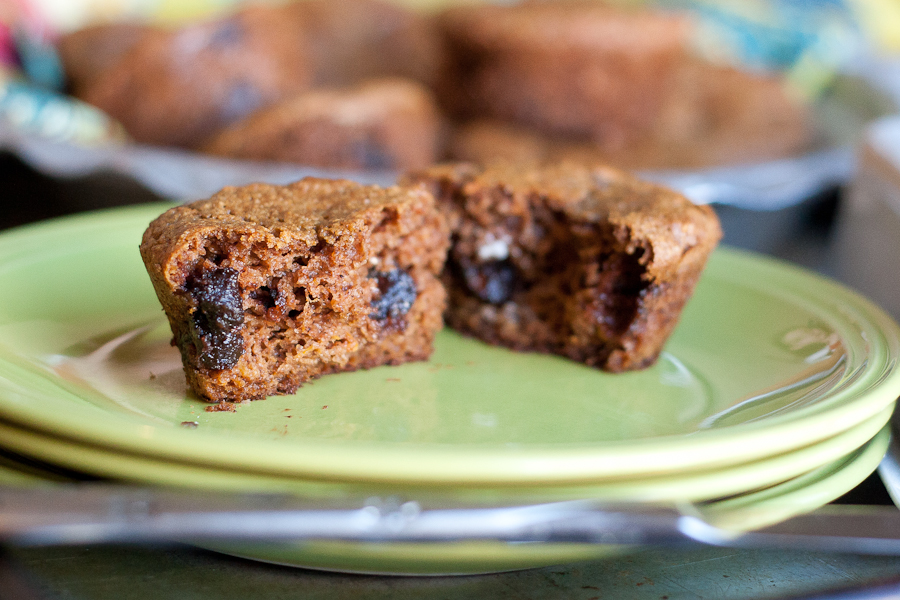
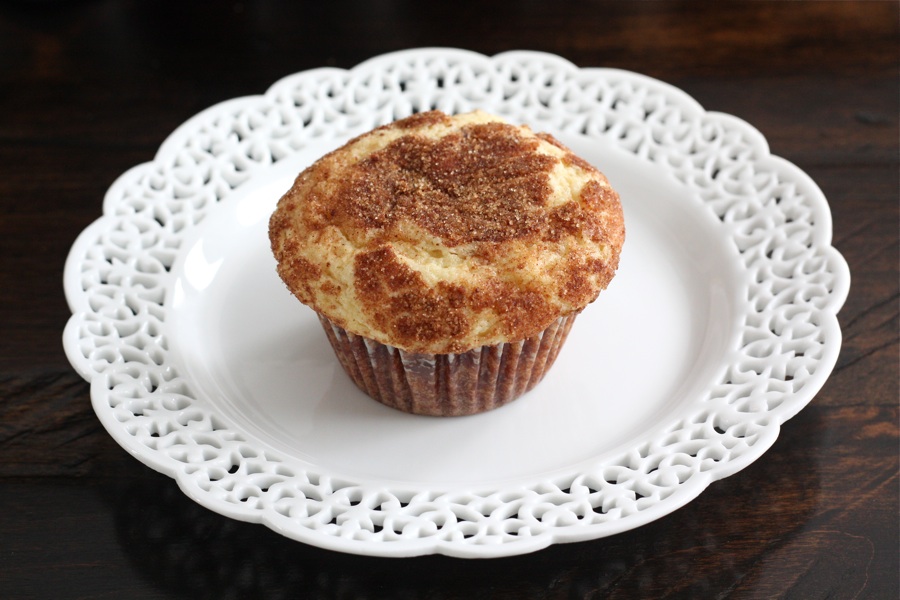
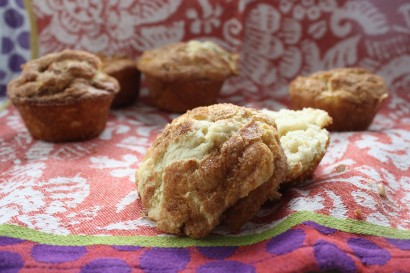
Our house smelled amazing while the muffins were baking. The muffin tops looked exactly like snickerdoodle cookies. I have no will power when it comes to baked goods, so as soon as I removed them from the oven, I unwrapped a muffin and took a big bite. The muffin melted in my mouth. They taste exactly like snickerdoodle cookies, but in muffin form. The muffins are moist, delicate, and oh so delicious. I think the muffins are best when they are warm, so enjoy them straight out of the oven or heat them up in the microwave for a few seconds. These muffins are great for breakfast, a sweet snack, or dessert.
Thanks Heather for sharing this Snickerdoodle Muffin recipe. I know I will be making these muffins on a regular basis. They didn’t last long in our house. (Head on over to Heather’s blog, for more delicious recipes and entertaining tips.)
Printable Recipe


Print Options
Description
Delicious muffins that combines the best of a snickerdoodle cookie with the comfort of a warm muffin, perfect for breakfast or dessert!
Ingredients
- 1 cup Butter, Softened
- 1 cup Sugar
- 2 whole Eggs
- 2 teaspoons Vanilla
- 2-¼ cups Flour
- ¾ teaspoons Baking Powder
- ¾ teaspoons Baking Soda
- ¾ teaspoons Cream Of Tartar
- ½ teaspoons Salt
- 1 cup Sour Cream
- ¼ cups Buttermilk
- _____
- FOR THE TOPPING:
- ⅔ cups Sugar
- 2 Tablespoons Cinnamon
Preparation Instructions
Preheat the oven to 350ºF. Prepare a muffin tin with liners. (I learned the hard way that they are too fragile for just cooking spray.)
In a mixer, combine the butter and sugar and cream until fluffy. Add the eggs and vanilla and combine.
In a separate bowl, combine the dry ingredients. Add half of the dry ingredients to the mixing bowl and stir to combine. Add the sour cream and buttermilk and mix to combine. Add the rest of the dry ingredients and mix until you have a smooth batter.
In a small bowl, combine the sugar and cinnamon for the topping.
Use scooper and plop a scoop of batter into the bowl with the sugar and cinnamon. Gently roll the batter in the sugar and cinnamon. Place the ball into the muffin liner.
When you have completed all of the muffins, sprinkle the leftover cinnamon sugar onto the tops of all of the muffins.
Bake the muffins at 350ºF for about 15-18 minutes or until they are golden on top and just baked through.
Enjoy!
***Adapted from Culinary Concoctions by Peabody***
_______________________________________
Maria and her husband Josh (who she affectionately refers to as her “dough boy”) blog at Two Peas and Their Pod. They’ve been featured on Saveur, Eatocracy, Gourmet Live, Glamour, and the Los Angeles Times, to name just a few. We’re so glad to have them here!