The Pioneer Woman Tasty Kitchen
Profile photo of georgiapellegrini

Asian Pork Tenderloin

Posted by in Step-by-Step Recipes

Tasty Kitchen Blog: Asian Pork Tenderloin. Guest post by Georgia Pellegrini, recipe submitted by TK member Mags of The Other Side of Fifty.

 
I finally made a pork tenderloin that I like! My problem in the past has been that it can be dry and lacking flavor. This Asian Pork Tenderloin recipe from TK member mags7461 (which she adapted from All Recipes) is flavorful and juicy all at once.


Tasty Kitchen Blog: Asian Pork Tenderloin. Guest post by Georgia Pellegrini, recipe submitted by TK member Mags of The Other Side of Fifty.

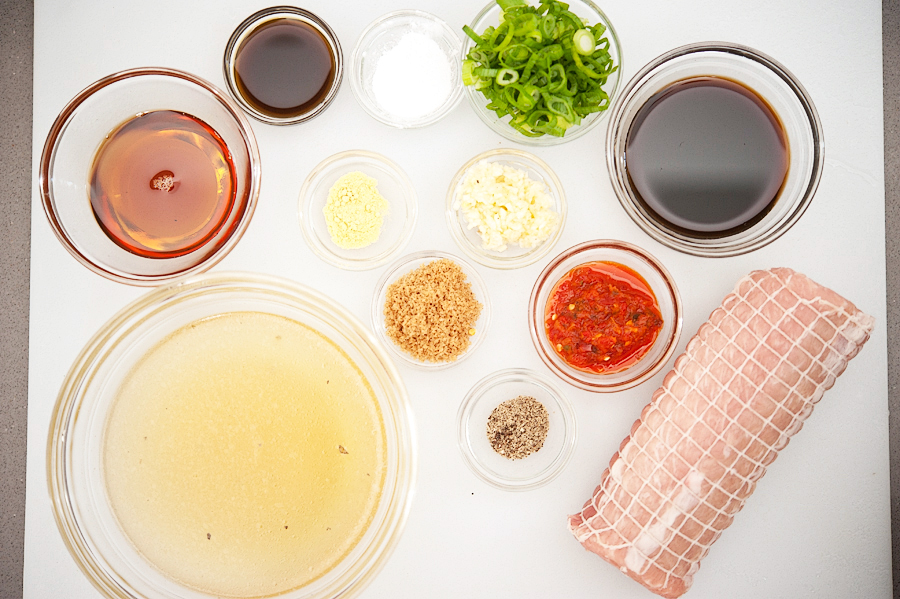
You will need: pork tenderloin, soy sauce, sesame oil, Worcestershire sauce, minced garlic, brown sugar, onion powder, freshly cracked black pepper, chili garlic sauce, cornstarch, chicken broth and green onions.



Tasty Kitchen Blog: Asian Pork Tenderloin. Guest post by Georgia Pellegrini, recipe submitted by TK member Mags of The Other Side of Fifty.

To start, you’ll take a large gallon-sized Ziploc bag and pour in the soy sauce …



Tasty Kitchen Blog: Asian Pork Tenderloin. Guest post by Georgia Pellegrini, recipe submitted by TK member Mags of The Other Side of Fifty.

The Worcestershire sauce …


Tasty Kitchen Blog: Asian Pork Tenderloin. Guest post by Georgia Pellegrini, recipe submitted by TK member Mags of The Other Side of Fifty.

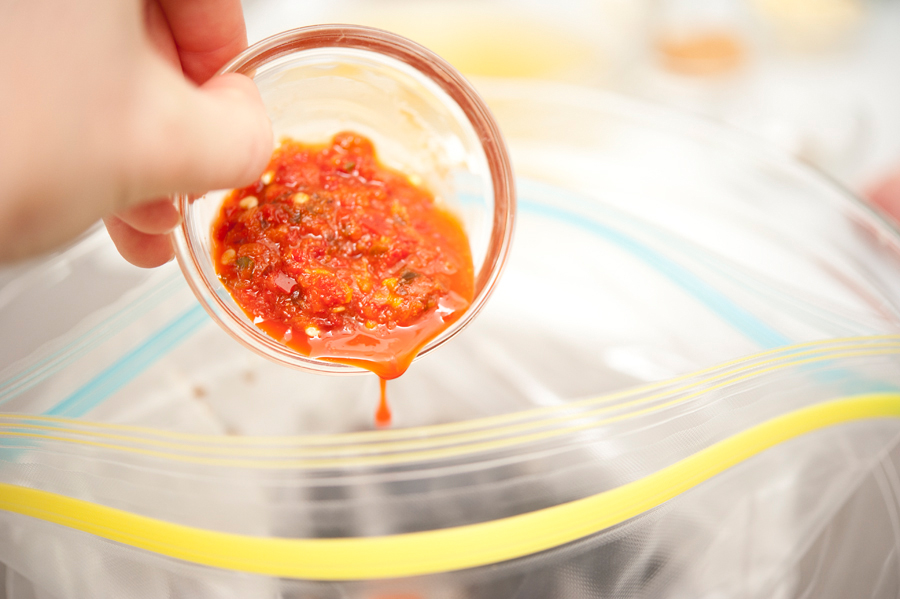
The chili garlic sauce …


Tasty Kitchen Blog: Asian Pork Tenderloin. Guest post by Georgia Pellegrini, recipe submitted by TK member Mags of The Other Side of Fifty.

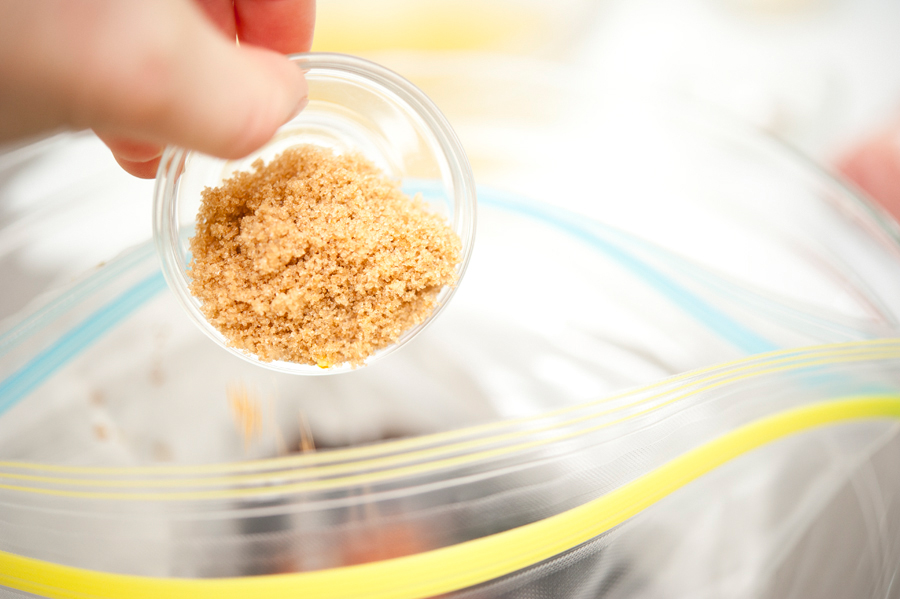
The brown sugar …


Tasty Kitchen Blog: Asian Pork Tenderloin. Guest post by Georgia Pellegrini, recipe submitted by TK member Mags of The Other Side of Fifty.

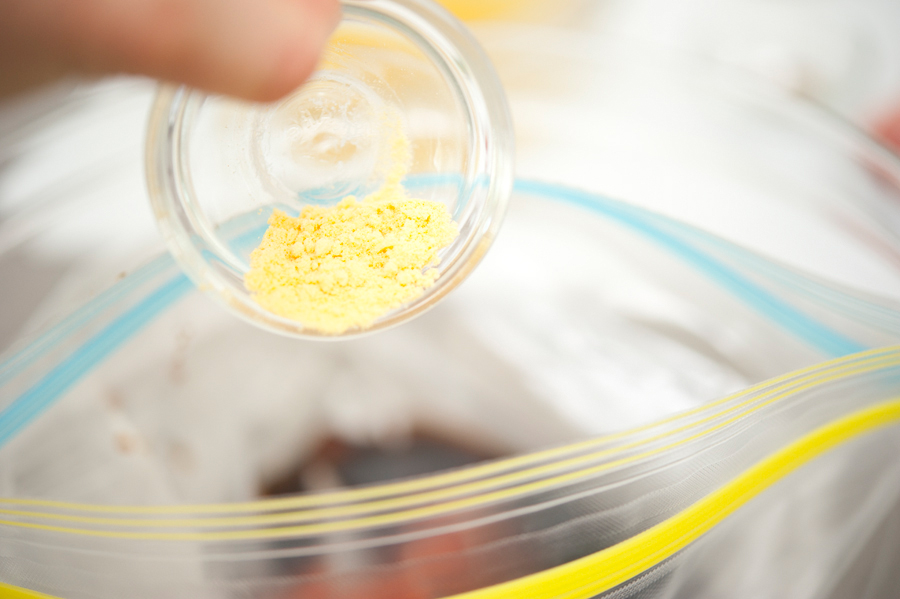
The onion powder …


Tasty Kitchen Blog: Asian Pork Tenderloin. Guest post by Georgia Pellegrini, recipe submitted by TK member Mags of The Other Side of Fifty.

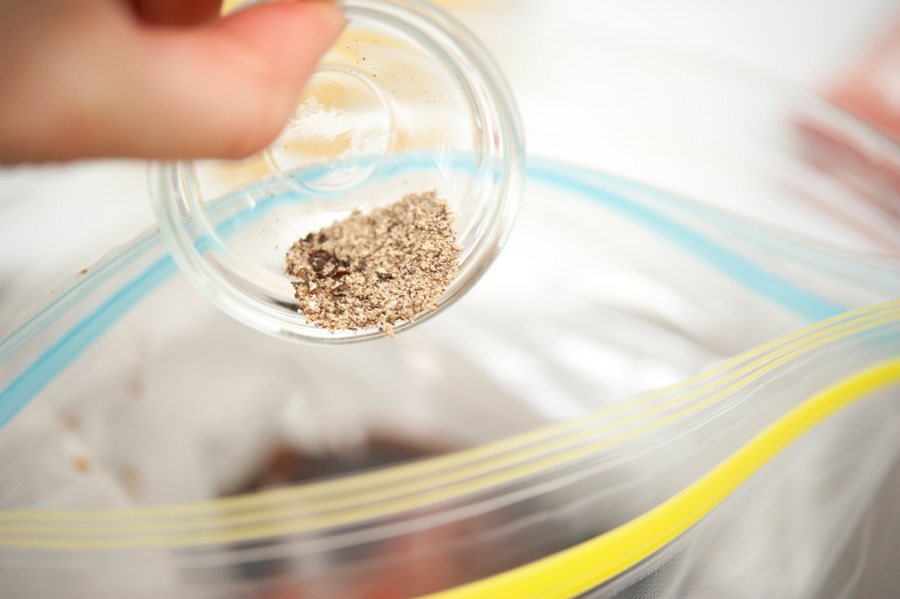
The black pepper …


Tasty Kitchen Blog: Asian Pork Tenderloin. Guest post by Georgia Pellegrini, recipe submitted by TK member Mags of The Other Side of Fifty.

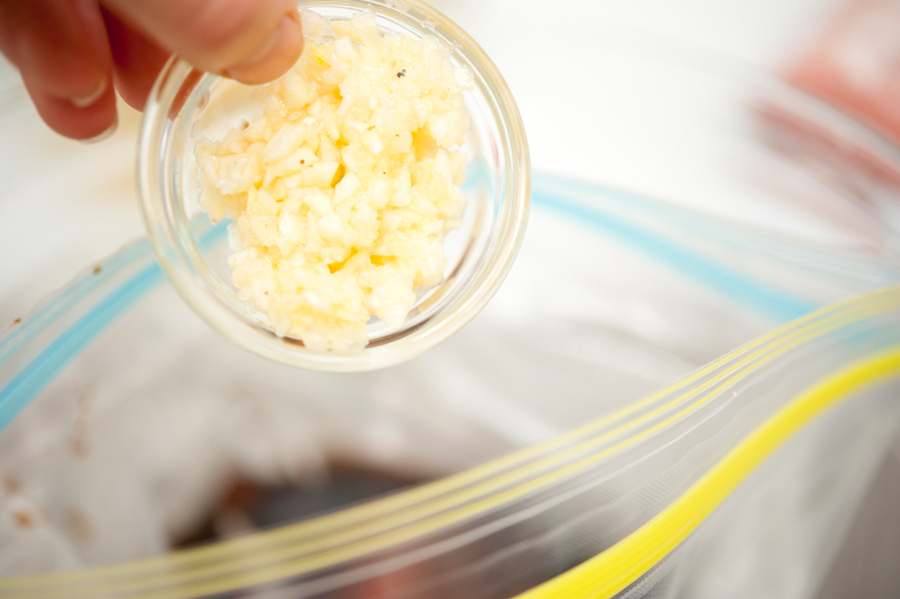
The minced garlic …


Tasty Kitchen Blog: Asian Pork Tenderloin. Guest post by Georgia Pellegrini, recipe submitted by TK member Mags of The Other Side of Fifty.

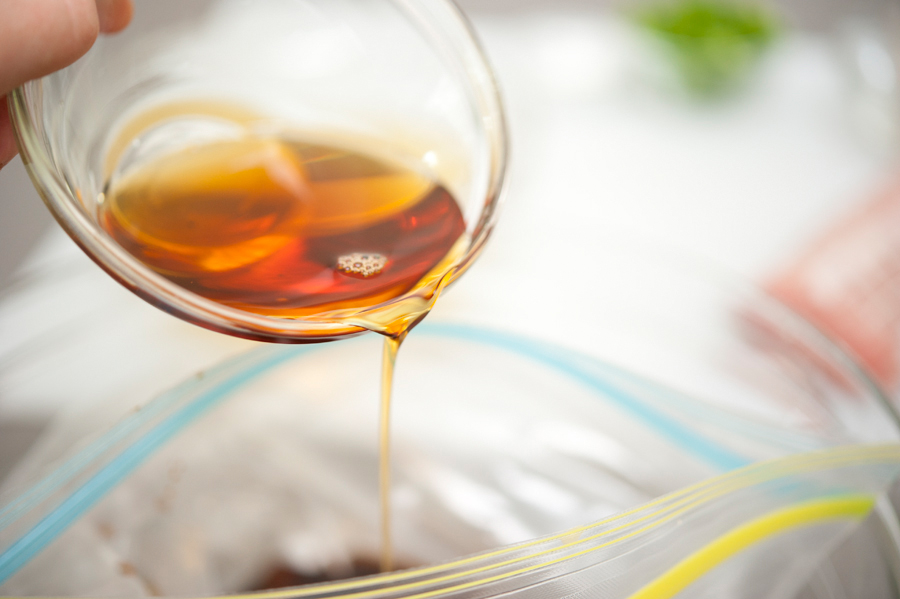
And the sesame oil.


Tasty Kitchen Blog: Asian Pork Tenderloin. Guest post by Georgia Pellegrini, recipe submitted by TK member Mags of The Other Side of Fifty.

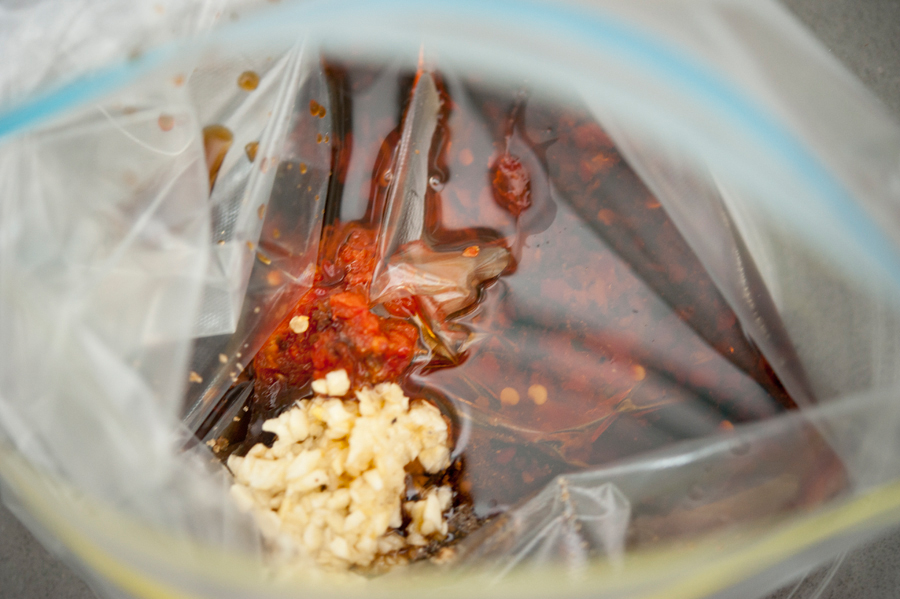
This will be your marinade!


Tasty Kitchen Blog: Asian Pork Tenderloin. Guest post by Georgia Pellegrini, recipe submitted by TK member Mags of The Other Side of Fifty.

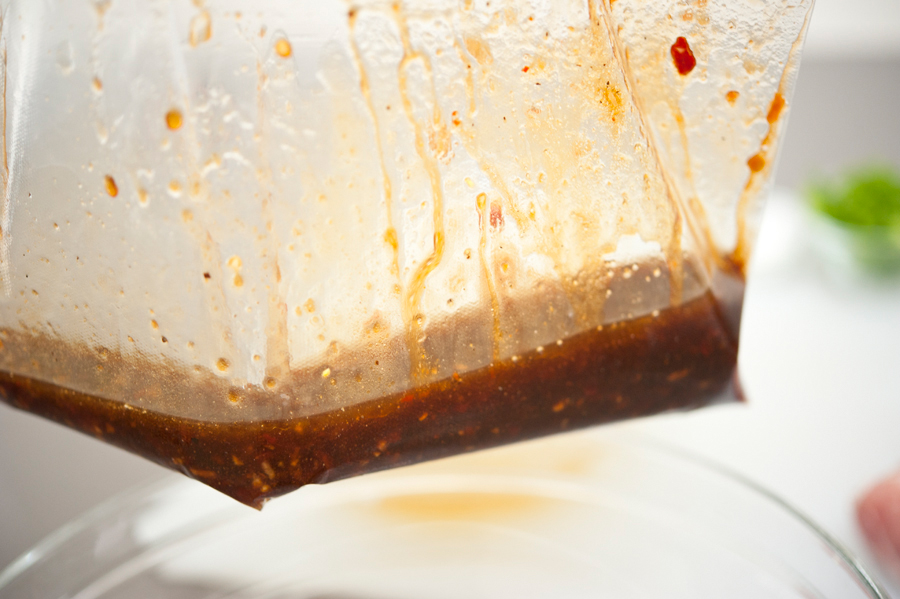
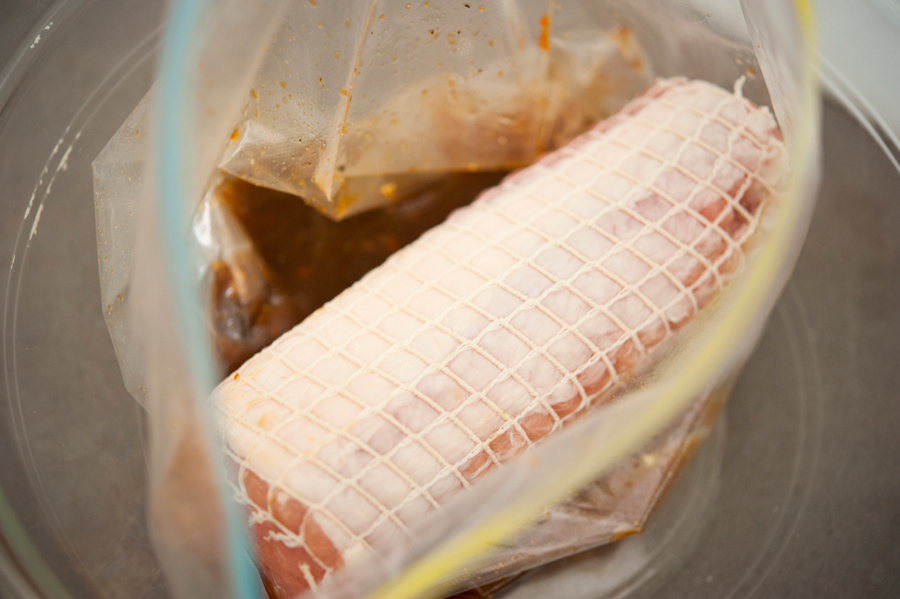
You’ll seal the bag and shake up the contents.


Tasty Kitchen Blog: Asian Pork Tenderloin. Guest post by Georgia Pellegrini, recipe submitted by TK member Mags of The Other Side of Fifty.

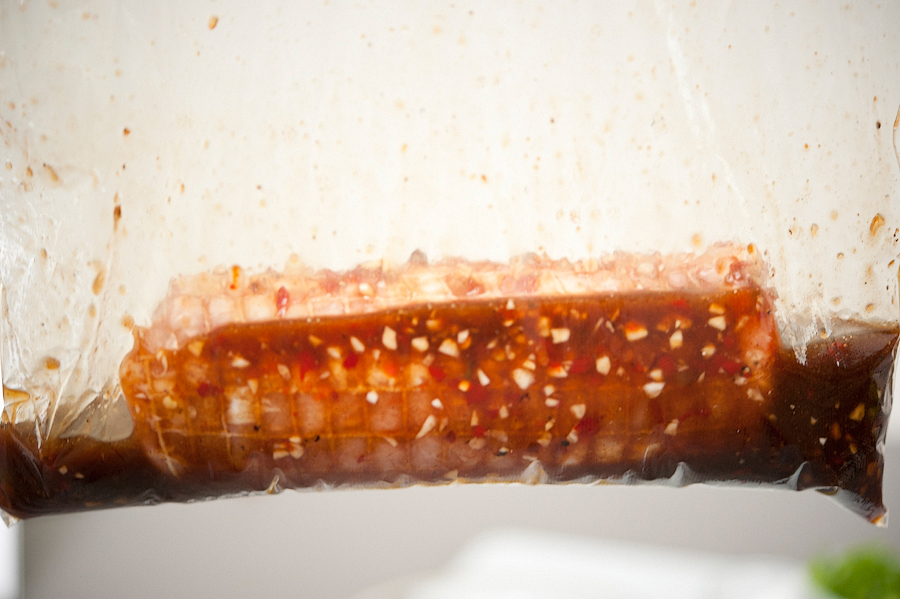
Then you’ll add your pork tenderloin.


Tasty Kitchen Blog: Asian Pork Tenderloin. Guest post by Georgia Pellegrini, recipe submitted by TK member Mags of The Other Side of Fifty.

Shake it around to coat it nicely. Then put it in the refrigerator to marinate for 6 hours or so. It will help if you turn it every so often so that all sides soak evenly.


Tasty Kitchen Blog: Asian Pork Tenderloin. Guest post by Georgia Pellegrini, recipe submitted by TK member Mags of The Other Side of Fifty.

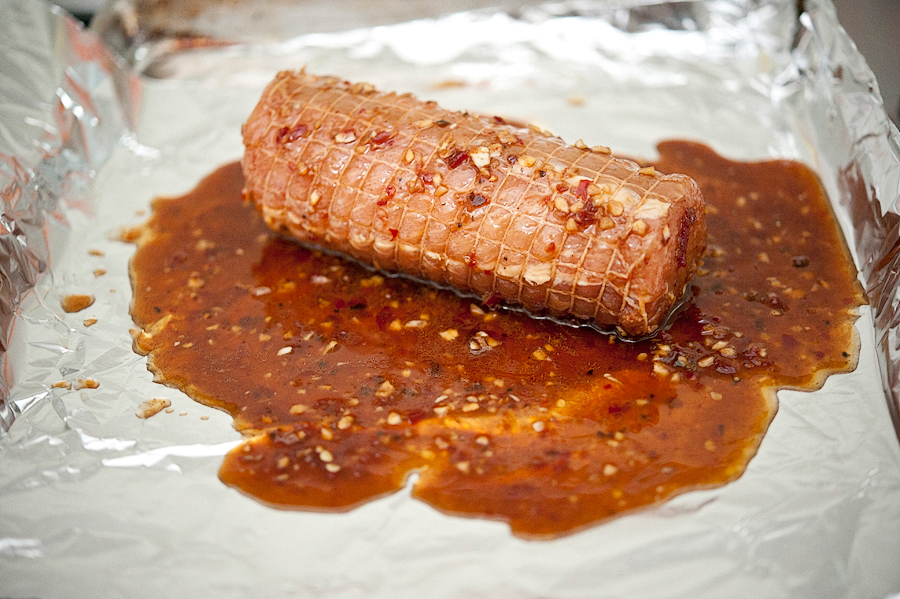
When you’re ready to cook it, line a sheet tray with foil and add the loin and some of the juice. I would recommend holding back some of the juice in order to make the sauce, since you may not end up with enough pan juice after it cooks.


Tasty Kitchen Blog: Asian Pork Tenderloin. Guest post by Georgia Pellegrini, recipe submitted by TK member Mags of The Other Side of Fifty.

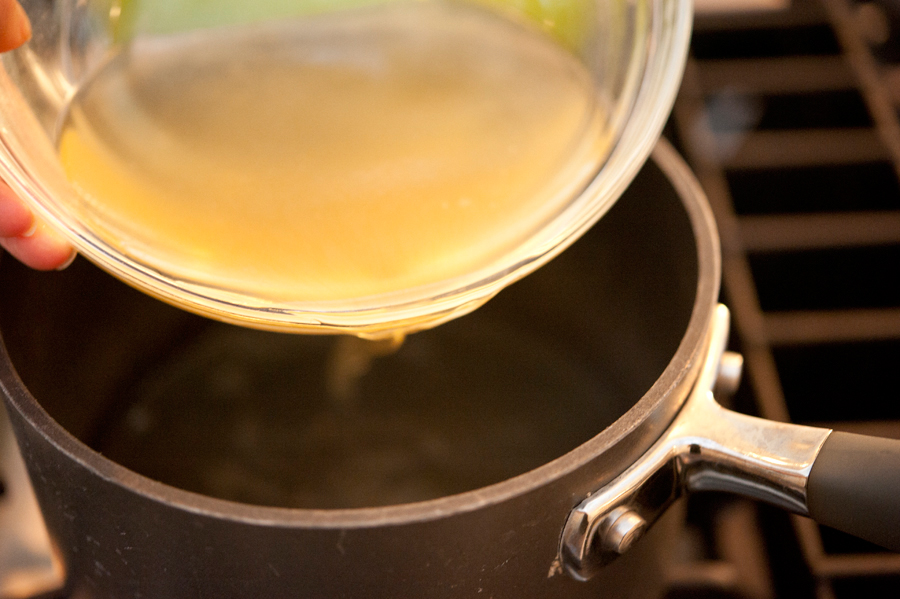
To make the sauce, heat up the chicken broth in a small saucepan.
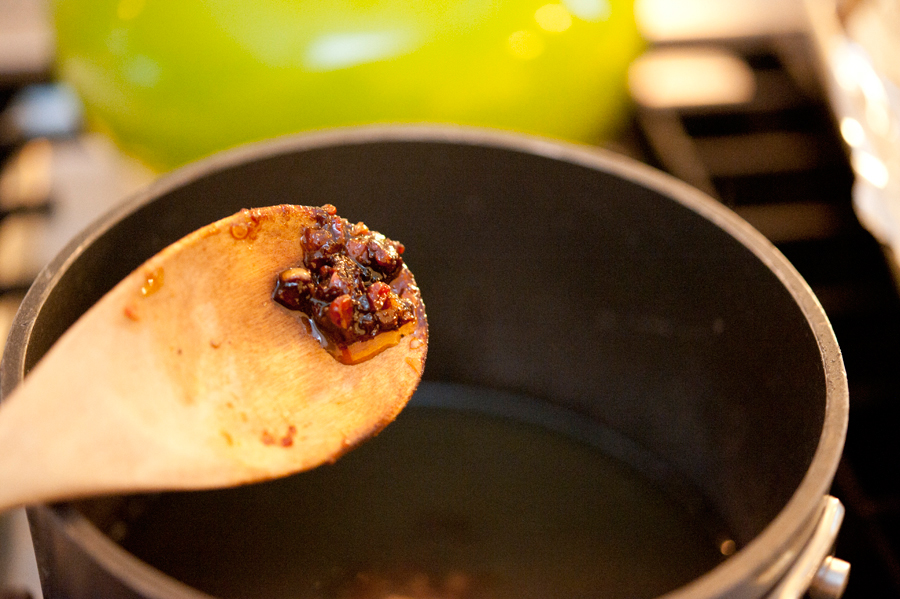


Tasty Kitchen Blog: Asian Pork Tenderloin. Guest post by Georgia Pellegrini, recipe submitted by TK member Mags of The Other Side of Fifty.

Add any pan drippings and leftover marinade.
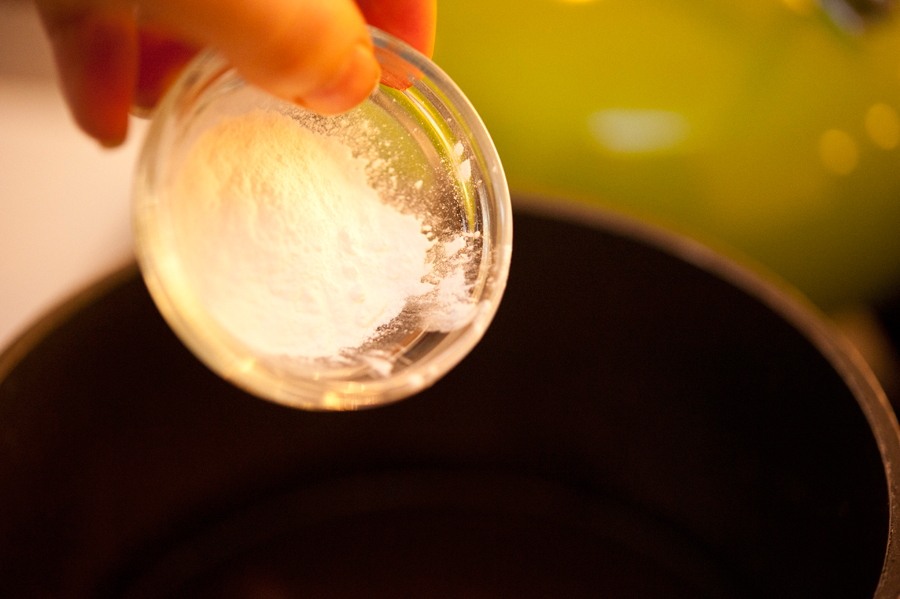


Tasty Kitchen Blog: Asian Pork Tenderloin. Guest post by Georgia Pellegrini, recipe submitted by TK member Mags of The Other Side of Fifty.

And whisk in a bit of cornstarch to help thicken it.
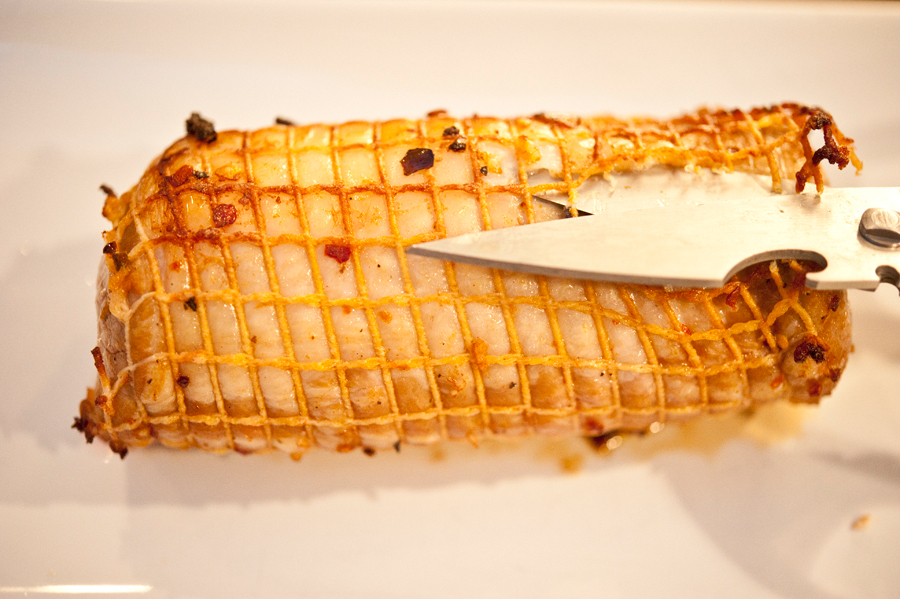


Tasty Kitchen Blog: Asian Pork Tenderloin. Guest post by Georgia Pellegrini, recipe submitted by TK member Mags of The Other Side of Fifty.

Let it bubble and simmer, and whisk it along the way.



Tasty Kitchen Blog: Asian Pork Tenderloin. Guest post by Georgia Pellegrini, recipe submitted by TK member Mags of The Other Side of Fifty.

Remove the pork from the oven and let it rest for 15 minutes or so, covered, to let the juices retreat back into the meat.
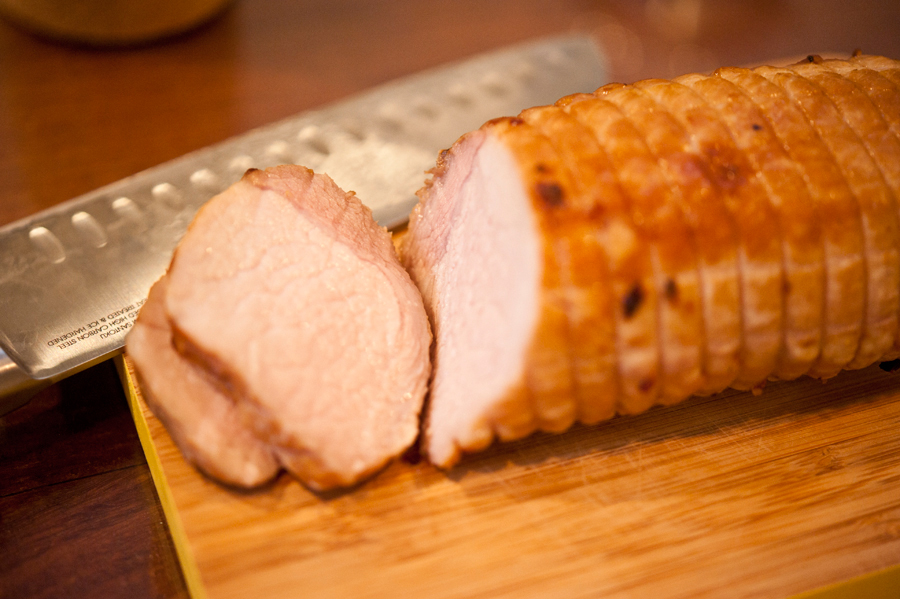


Tasty Kitchen Blog: Asian Pork Tenderloin. Guest post by Georgia Pellegrini, recipe submitted by TK member Mags of The Other Side of Fifty.

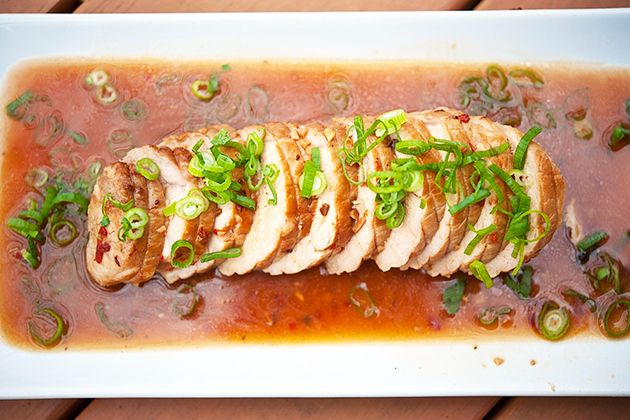
Slice it into juicy pieces …


Tasty Kitchen Blog: Asian Pork Tenderloin. Guest post by Georgia Pellegrini, recipe submitted by TK member Mags of The Other Side of Fifty.

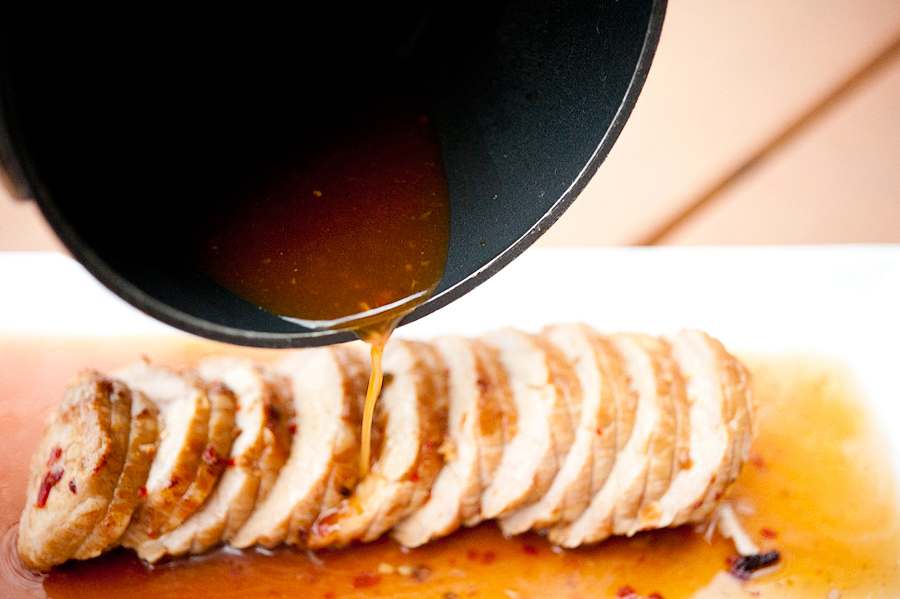
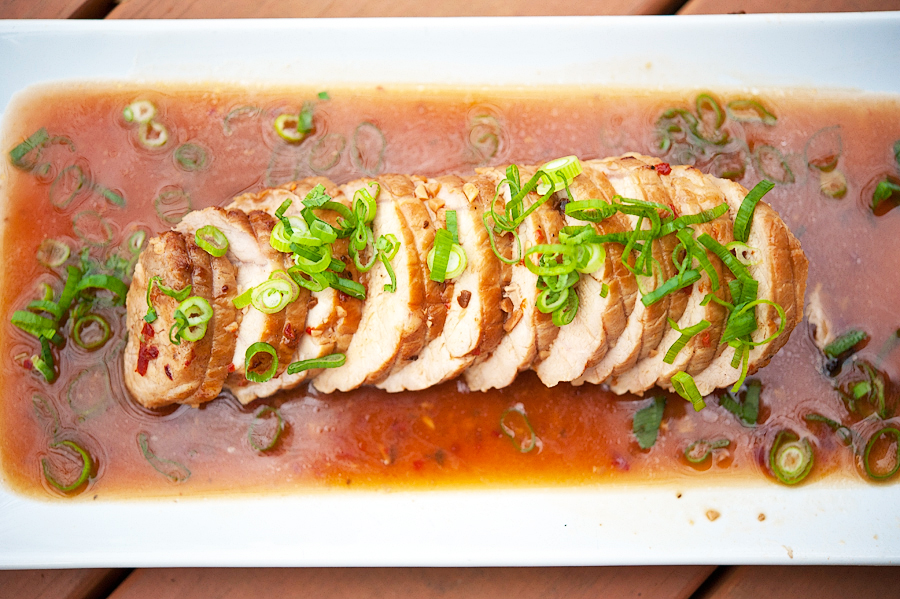
Then lay it out on a platter and drizzle the sauce over it.


Tasty Kitchen Blog: Asian Pork Tenderloin. Guest post by Georgia Pellegrini, recipe submitted by TK member Mags of The Other Side of Fifty.

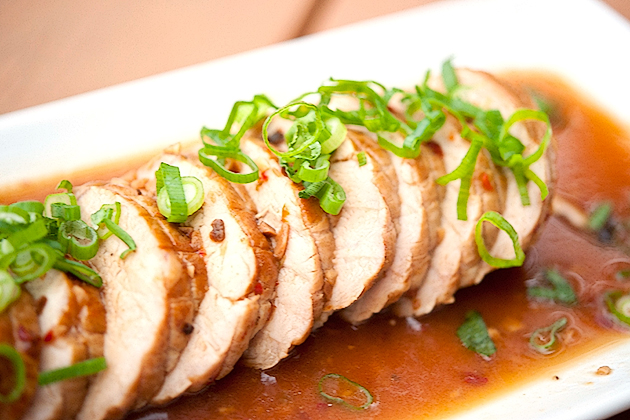
Chop up some green onions as a garnish. This really adds a nice flavor.


Tasty Kitchen Blog: Asian Pork Tenderloin. Guest post by Georgia Pellegrini, recipe submitted by TK member Mags of The Other Side of Fifty.

The dish looks as lovely as it tastes. And it will be a real dinner crowd pleaser. I now have a renewed interest in domestic pork loin! Of course, this would also work wonderfully with wild hog loin. Thanks so much to mags7461 for the recipe! Check out her great blog, The Other Side of Fifty, for more inspiration!


Printable Recipe
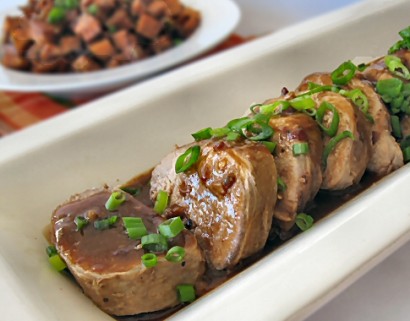
Asian Pork Tenderloin

See post on mags7461’s site!
4.83 Mitt(s) 6 Rating(s)6 votes, average: 4.83 out of 56 votes, average: 4.83 out of 56 votes, average: 4.83 out of 56 votes, average: 4.83 out of 56 votes, average: 4.83 out of 5

Prep Time:

Cook Time:

Difficulty: Easy

Servings: 6

6
x

Print Options

Page size Letter 3x5 4x6
Text Size Small Medium Large
Content Include description
Include prep time, etc.
Show image

Description

This marinated and baked Asian pork tenderloin is from my “lick your plate clean” series. And I’m serious, you WILL literally lick your plate clean.

Ingredients

  • 2-½ pounds Whole Pork Tenderloin
  • ⅓ cups Reduced Sodium Soy Sauce
  • ¼ cups Sesame Oil
  • 2 Tablespoons Worcestershire Sauce
  • 2 cloves Garlic, Minced
  • 2 Tablespoons Light Brown Sugar
  • ½ teaspoons Onion Powder
  • 1 teaspoon Freshly Cracked Black Pepper
  • 2 Tablespoons Chili Garlic Sauce (found In The Asian Ethnic Foods Aisle At Your Grocery Store. If You're Not Into Foods With A Little Bit Of "kick" Cut Back On This Ingredient To 1 TBSP.
  • 1 Tablespoon Cornstarch
  • 1 cup Reduced Sodium Chicken Broth, At Room Temperature
  • 2 whole Green Onions (green Parts Only) Diced, For Garnish

Preparation Instructions

Rinse and pat dry the pork loin.

In a gallon baggie, combine the soy sauce, sesame oil, Worcestershire sauce, garlic, brown sugar, onion powder, pepper and chili garlic sauce. Seal, squeeze and shake the baggie to combine the ingredients well. Place pork loin in baggie, squeeze out air, seal baggie and refrigerate for 6-8 hours.

Preheat oven to 400ºF. Line a 9×11 baking dish with nonstick foil or use regular foil and spray with cooking spray.

Using tongs, transfer the pork loin to the prepared baking dish. Pour the marinade over the pork loin. Bake for 1 hour, turning pork loin every 20 minutes, or until internal temperature reaches 145-150ºF. Remove loin to serving plate, cover with foil, and let rest for 15-20 minutes while you finish the sauce.

Empty the pan drippings into a small sauce pan and heat over medium heat. Combine the cornstarch with room temperature chicken broth and whisk until smooth. Add the broth to the boiling pan drippings and cook for a minute or two. Remove from heat.

Slice pork loin and place on serving platter. Drizzle sauce over all before serving and place any extra sauce in an extra dish on the side. Garnish with sliced green onions if desired.


_______________________________________

There’s so much to say about Georgia, we don’t know where to start. Leaving Wall Street for the French Culinary Institute, followed by a stint at the Gramercy Tavern and La Chassagnette in France, her passion for food and food traditions are evident and inspiring. Visit her site at Georgia Pellegrini, where you’ll find more recipes, photos, learn all about her wonderful books Girl Hunter and Food Heroes, and enjoy her latest adventures.


Profile photo of Amber {Sprinkled With Flour}

Vanilla Crumb Pie

Posted by in Baking, Step-by-Step Recipes

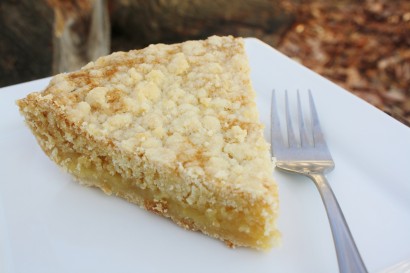
Tasty Kitchen Blog Vanilla Crumb Pie. Guest post by Amber Potter of Sprinkled with Flour, recipe submitted by TK member Tonya of 4 Little Fergusons.

 
When it’s a snow day in my area and I’m trapped in the house with too much time on my hands and nowhere to go, I invariably start drooling over recipes online. Of course, this usually leads to some form of baked good being made, which also leads to way too much of said dessert being eaten by myself in one day. There’s only so much temptation a person can stand, when trapped in the house on a cold, snowy day. Oh, well. That’s what shoveling the driveway is for, right?

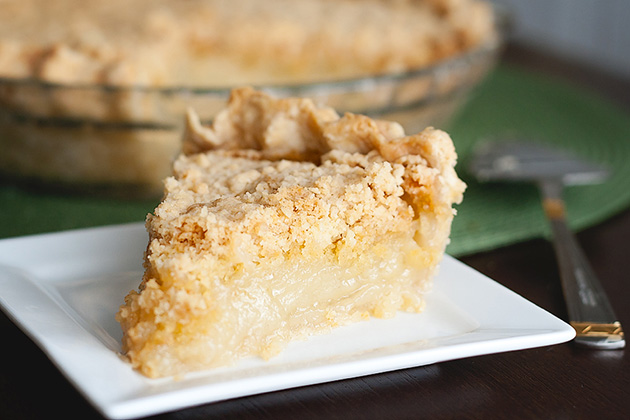
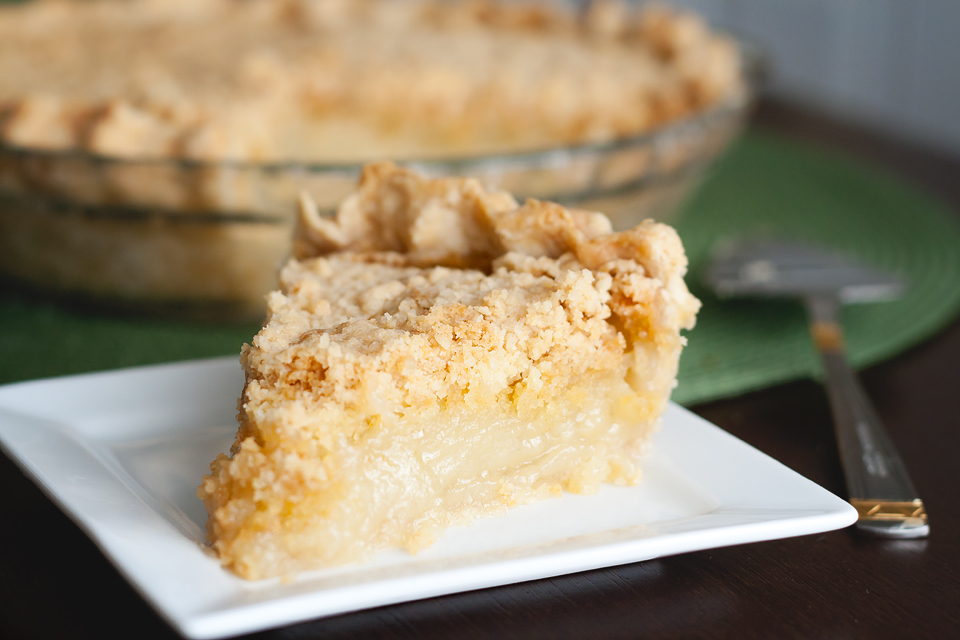
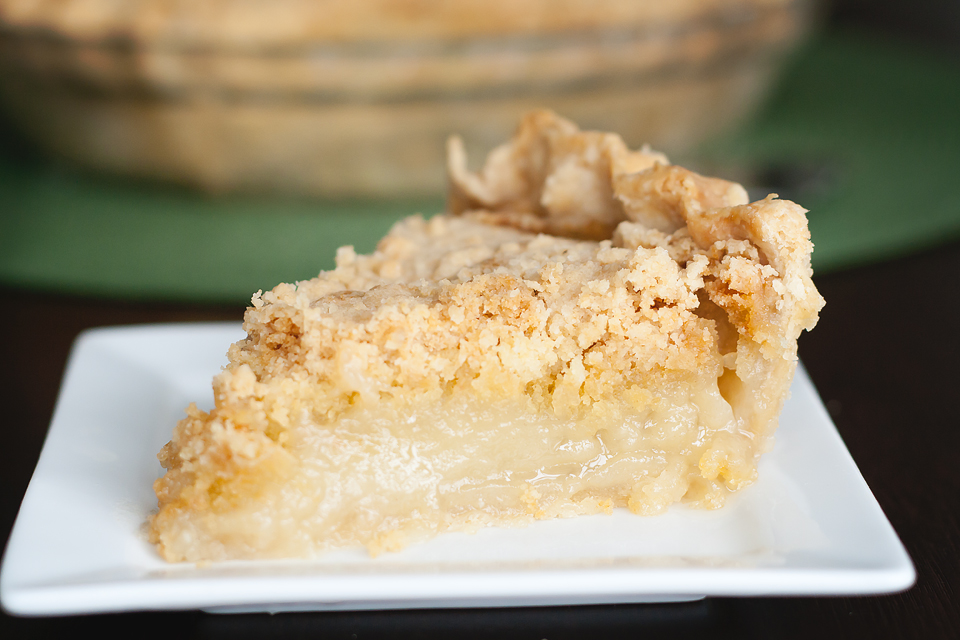
This Vanilla Crumb Pie recipe, submitted by Tonya (Tk member 4littlefergusons), is described as a Snickerdoodle cookie in pie form. I was hooked right away and knew I wanted to try it. I’m so glad I did! This pie is filled with a warm, sweet, vanilla-like pudding, then topped with a delicious, buttery crumble topping. Yes, I’m serious. It is so yummy, and chances are you already have the ingredients in your pantry. Let’s get started.


Tasty Kitchen Blog Vanilla Crumb Pie. Guest post by Amber Potter of Sprinkled with Flour, recipe submitted by TK member Tonya of 4 Little Fergusons.

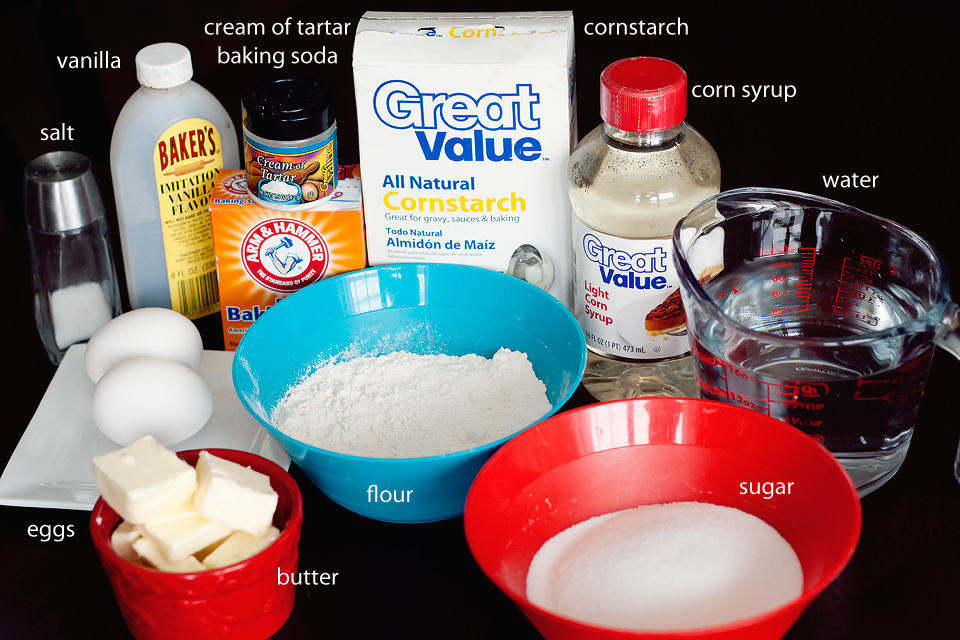
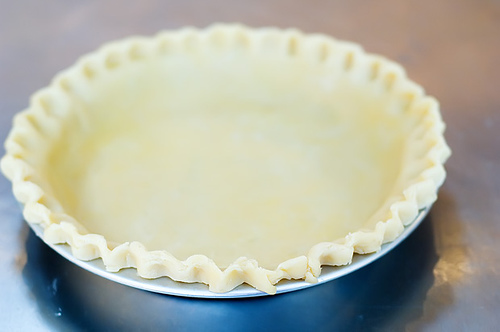
For the filling you’ll need sugar, flour, water, corn syrup, salt, cornstarch, eggs, vanilla, butter, baking soda and cream of tartar. You’ll need 2 whole pie crusts, either store bought or your favorite recipe. I like to use this pie crust recipe. First, prepare your crusts, place crusts in two pie pans and set aside. 


Tasty Kitchen Blog Vanilla Crumb Pie. Guest post by Amber Potter of Sprinkled with Flour, recipe submitted by TK member Tonya of 4 Little Fergusons.

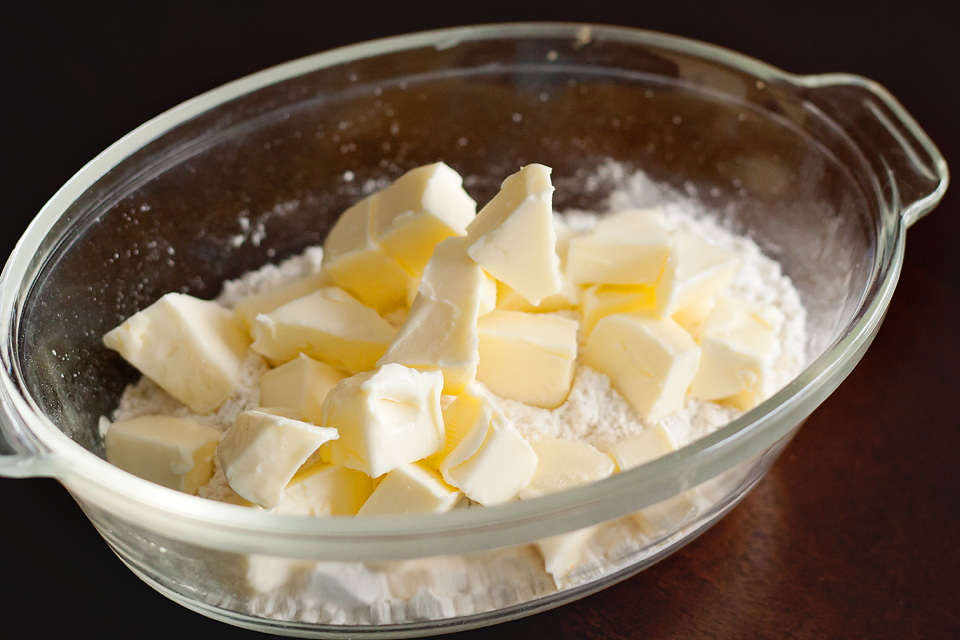
In a medium bowl combine 1 cup of butter, 2 cups of flour and 1/2 cup sugar for the crumb topping.


Tasty Kitchen Blog Vanilla Crumb Pie. Guest post by Amber Potter of Sprinkled with Flour, recipe submitted by TK member Tonya of 4 Little Fergusons.

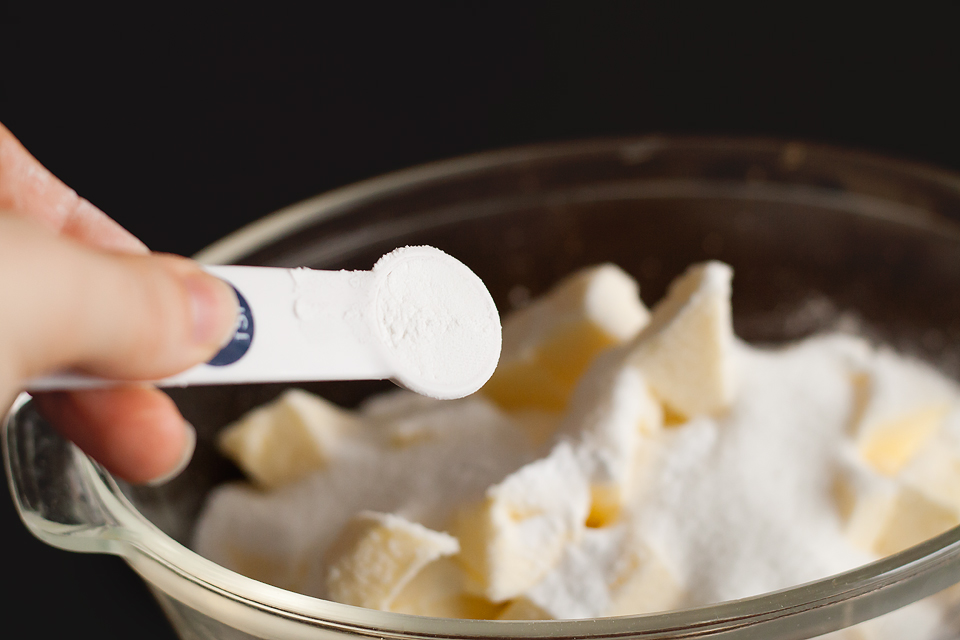
Add the baking soda and cream of tartar.


Tasty Kitchen Blog Vanilla Crumb Pie. Guest post by Amber Potter of Sprinkled with Flour, recipe submitted by TK member Tonya of 4 Little Fergusons.

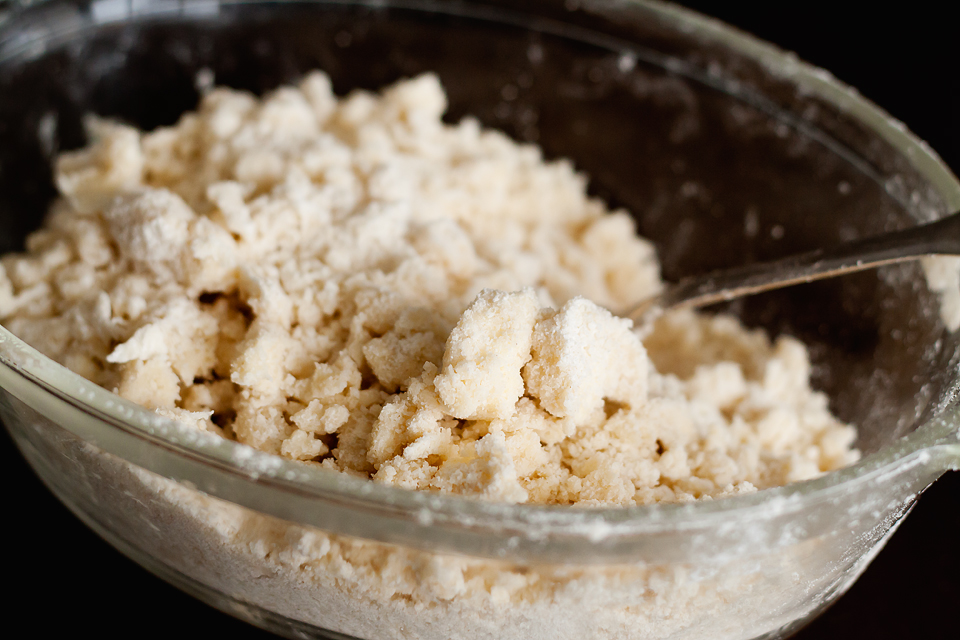
Use a pastry cutter or fork to combine the ingredients, working the butter into the flour until mixture resembles coarse crumbs. Set aside.


Tasty Kitchen Blog Vanilla Crumb Pie. Guest post by Amber Potter of Sprinkled with Flour, recipe submitted by TK member Tonya of 4 Little Fergusons.

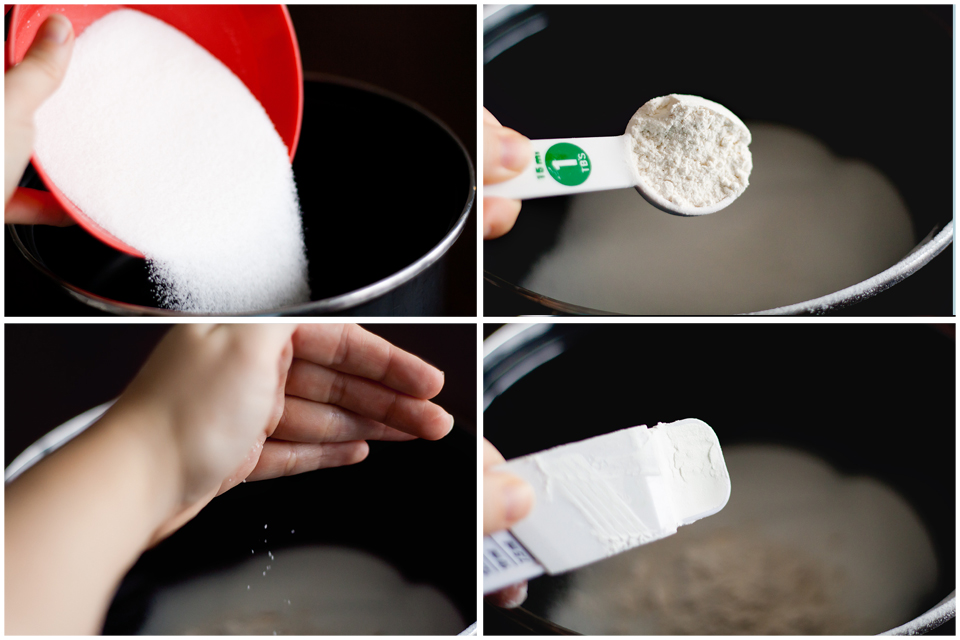
In a saucepan combine 1 cup sugar, 2 tablespoon flour, a pinch of salt and 1 tablespoon cornstarch. 


Tasty Kitchen Blog Vanilla Crumb Pie. Guest post by Amber Potter of Sprinkled with Flour, recipe submitted by TK member Tonya of 4 Little Fergusons.

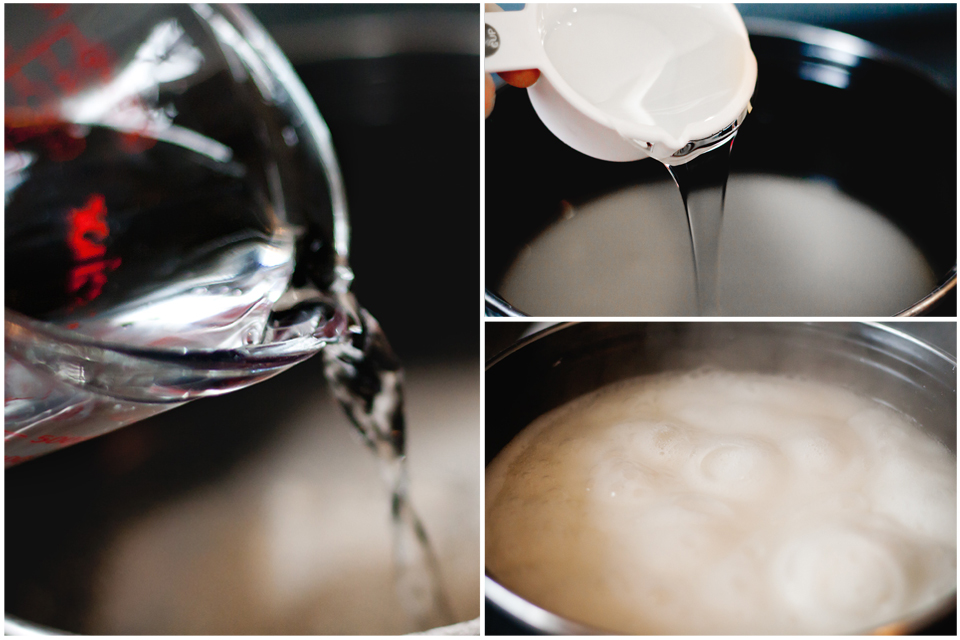
Add 2 cups of water and 1 cup corn syrup. Bring to a boil then remove from heat and allow to cool for a bit.


Tasty Kitchen Blog Vanilla Crumb Pie. Guest post by Amber Potter of Sprinkled with Flour, recipe submitted by TK member Tonya of 4 Little Fergusons.

Once the mixture has cooled down, add the vanilla and eggs to the mixture and combine. Be sure your mixture isn’t still too hot. Scrambled Egg Crumb Pie doesn’t have the same ring to it.


Tasty Kitchen Blog Vanilla Crumb Pie. Guest post by Amber Potter of Sprinkled with Flour, recipe submitted by TK member Tonya of 4 Little Fergusons.

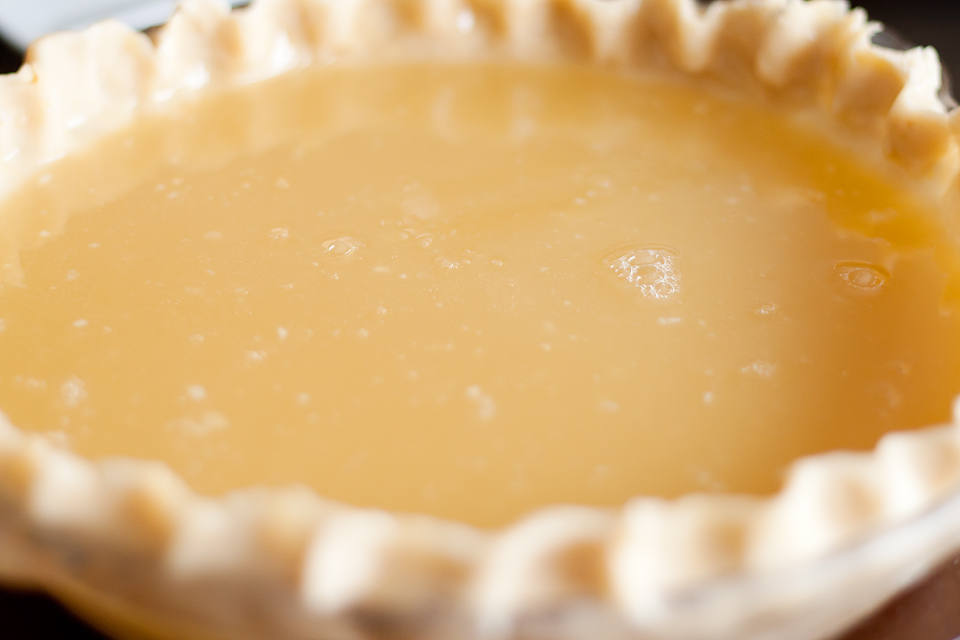
Split the mixture evenly between your two pie crusts.


Tasty Kitchen Blog Vanilla Crumb Pie. Guest post by Amber Potter of Sprinkled with Flour, recipe submitted by TK member Tonya of 4 Little Fergusons.

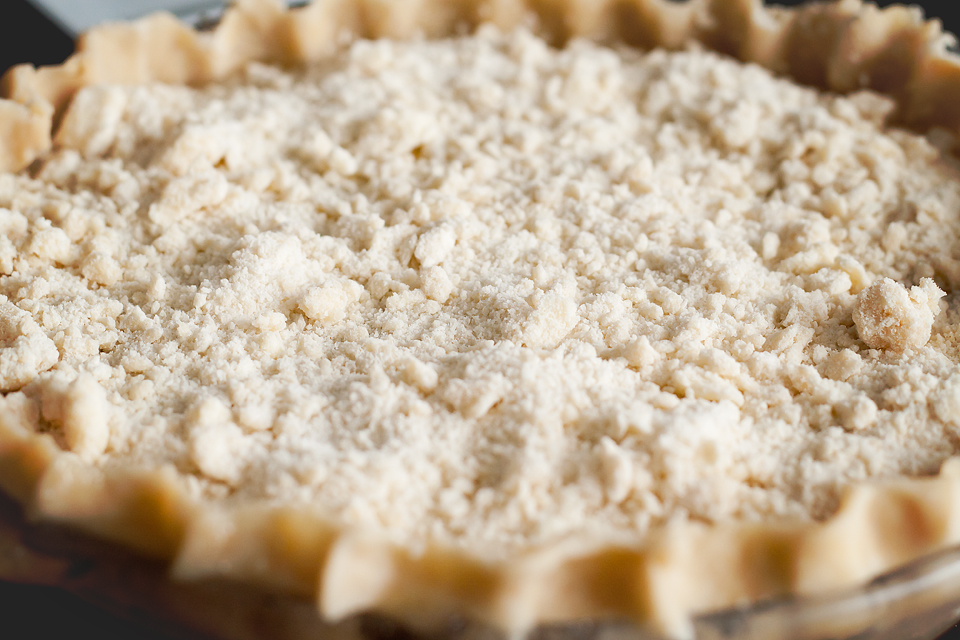
Spread the crumb topping evenly over the top of the pies. Bake at 350ºF for 20-30 minutes, or until the topping is golden and the center of the pie is firm. If the pie still jiggles quite a bit, cook for a bit longer until it is set.


Tasty Kitchen Blog Vanilla Crumb Pie. Guest post by Amber Potter of Sprinkled with Flour, recipe submitted by TK member Tonya of 4 Little Fergusons.
Serve warm and enjoy!


Tasty Kitchen Blog Vanilla Crumb Pie. Guest post by Amber Potter of Sprinkled with Flour, recipe submitted by TK member Tonya of 4 Little Fergusons.
 
Recipe notes: This recipe can easily be cut in half if you only want to make one pie. I actually made one pie crust but the full amount of filling to fill my deeper pie dish. It took about 50 minutes to cook until fully set baking it this way. If your crust starts to get too brown, just cover the edges with some foil.

Thank you so much Tonya for sharing this delicious recipe! You can find many more tempting recipes on Tonya’s blog, 4 Little Fergusons, where she writes about life as a midwest mom.


Printable Recipe

Vanilla Crumb Pie

See post on 4littleFergusons’s site!
5.00 Mitt(s) 7 Rating(s)7 votes, average: 5.00 out of 57 votes, average: 5.00 out of 57 votes, average: 5.00 out of 57 votes, average: 5.00 out of 57 votes, average: 5.00 out of 5

Prep Time:

Cook Time:

Difficulty: Easy

Servings: 12

12
x

Print Options

Page size Letter 3x5 4x6
Text Size Small Medium Large
Content Include description
Include prep time, etc.
Show image

Description

This pie is really simple, has simple flavors and reminds me of a mix between custard, Snickerdoodles and sugar cookies. Recipe makes 2 pies.

Ingredients

  • 2 whole Pie Crusts, Store Bought Or Your Favorite Recipe
  • FOR THE FILLING:
  • 1 cup Sugar
  • 2 cups Water
  • 2 Tablespoons Flour, Heaping
  • 1 cup Corn Syrup
  • 1 pinch Salt
  • 1 Tablespoon Cornstarch
  • 1 Tablespoon Vanilla
  • 2 whole Eggs
  • FOR THE CRUMB TOPPING:
  • 2 cups Flour
  • ½ cups Sugar
  • 1 teaspoon Baking Soda
  • 1 teaspoon Cream Of Tartar
  • 1 cup Butter

Preparation Instructions

First, prepare your crusts. I recommend that you make my Easy Push Crust, found here on Tasty Kitchen. Put crusts into 2 pie pans and set aside.

For the filling, in a saucepan, mix together the sugar, water, flour, corn syrup, salt and cornstarch. Bring to a boil over medium heat. Then immediately remove the pan from heat and allow mixture to cool a bit. Add the vanilla and eggs and mix to combine. Split the mixture evenly between your 2 crusts.

Mix together crumb topping ingredients and evenly divide between the 2 pies.

Bake at 350ºF for 20-30 minutes or until the top is golden brown and the center has firmed up a bit.

Serve warm. Delicious!


Printable Recipe

Sylvia’s Perfect Pie Crust

See post on Ree | The Pioneer Woman’s site!
4.77 Mitt(s) 26 Rating(s)26 votes, average: 4.77 out of 526 votes, average: 4.77 out of 526 votes, average: 4.77 out of 526 votes, average: 4.77 out of 526 votes, average: 4.77 out of 5

Prep Time:

Cook Time:

Difficulty: Easy

Servings: 1

1
x

Print Options

Page size Letter 3x5 4x6
Text Size Small Medium Large
Content Include description
Include prep time, etc.
Show image

Description

I really love flaky pie crust, and it’s always been a difficult quality for me to achieve, despite most people’s claims that their recipe is THE flakiest pie crust in existence. This recipe, sent to me by my friend Sylvia, is absolutely, positively a keeper.

Ingredients

  • 1-½ cup Crisco (vegetable Shortening)
  • 3 cups All-purpose Flour
  • 1 whole Egg
  • 5 Tablespoons Cold Water
  • 1 Tablespoon White Vinegar
  • 1 teaspoon Salt

Preparation Instructions

In a large bowl, with a pastry cutter, gradually work the Crisco into the flour for about 3 or 4 minutes until it resembles a coarse meal. In a small bowl, beat an egg with a fork and then pour it into the flour/shortening mixture. Add 5 tablespoons of cold water, 1 tablespoon of white vinegar and 1 teaspoon of salt. Stir together gently until all of the ingredients are incorporated.

Separate the dough into thirds. ***Note: Separating it into thirds will result in three thin crusts. If you prefer a more substantial crust, separate it in half.*** Form 3 evenly sized balls of dough and place each dough into a large Ziploc bag. Using a rolling pin, slightly flatten each ball of dough (about ½ inch thick) to make rolling easier later. Seal the bags and place them in the freezer until you need them. (If you will be using it immediately it’s still a good idea to put in the freezer for about 15 to 20 minutes to chill.)

When you are ready to use the dough to make a crust, remove from the freezer and allow to thaw for 15 minutes. On a floured surface roll the dough, starting at the center and working your way out. (Sprinkle some flour over top of the dough if it’s a bit too moist.) If the dough is sticking to the countertop use a metal spatula and carefully scrape it up and flip it over and continue rolling until it’s about ½ inch larger in diameter than your pie pan.

With a spatula, lift the dough carefully from the surface of the counter into the pie pan. Gently press the dough against the corner of the pan. Go around the pie pan pinching and tucking the dough to make a clean edge.


_______________________________________

Amber is a stay at home mom who lives in the heart of the Missouri Ozarks. It’s a long way from where she grew up, in Wales (yes, way over in the U.K.). The recipes in her blog Sprinkled with Flour include her original creations as well as her family recipes. Go check them out!


Profile photo of ThreeManyCooks

Meatless BLTs

Posted by in Step-by-Step Recipes

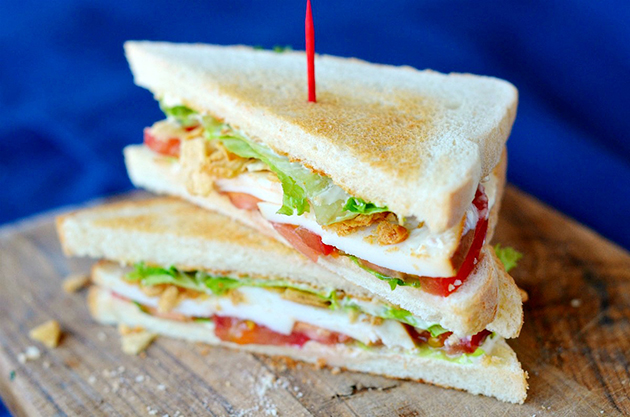
Tasty Kitchen Blog: Meatless BLTs. Guest post by Maggy Keet of Three Many Cooks, recipe by Three Many Cooks.

 
I know what you’re thinking: What’s a BLT without the bacon? But I promise, this sandwich will have you and your meat-loving family members saying, “I don’t miss the meat!” My mom developed this recipe for her latest, Cook without a Book: Meatless Meals and I’m proud to say that I helped on this one.

The combination of the smoked mozzarella and crunchy pita chips almost perfectly mimics the taste and bite of bacon. That genius combination is really the star of this recipe, but if there’s a runner up, it’s the special spread that I learned to make when working at a pub in small-town England. You wouldn’t think that the simple combination of mayonnaise, mustard, and grated red onion could have the power to transform the simple sandwich, but it does. I put it on almost every sandwich I make these days. Combine that smoky mozzarella, those crunchy pita chips, and a creamy, flavorful spread and you’ve got yourself one heck of a meatless sandwich the whole family will love.


Tasty Kitchen Blog: Meatless BLTs. Guest post by Maggy Keet of Three Many Cooks, recipe by Three Many Cooks.

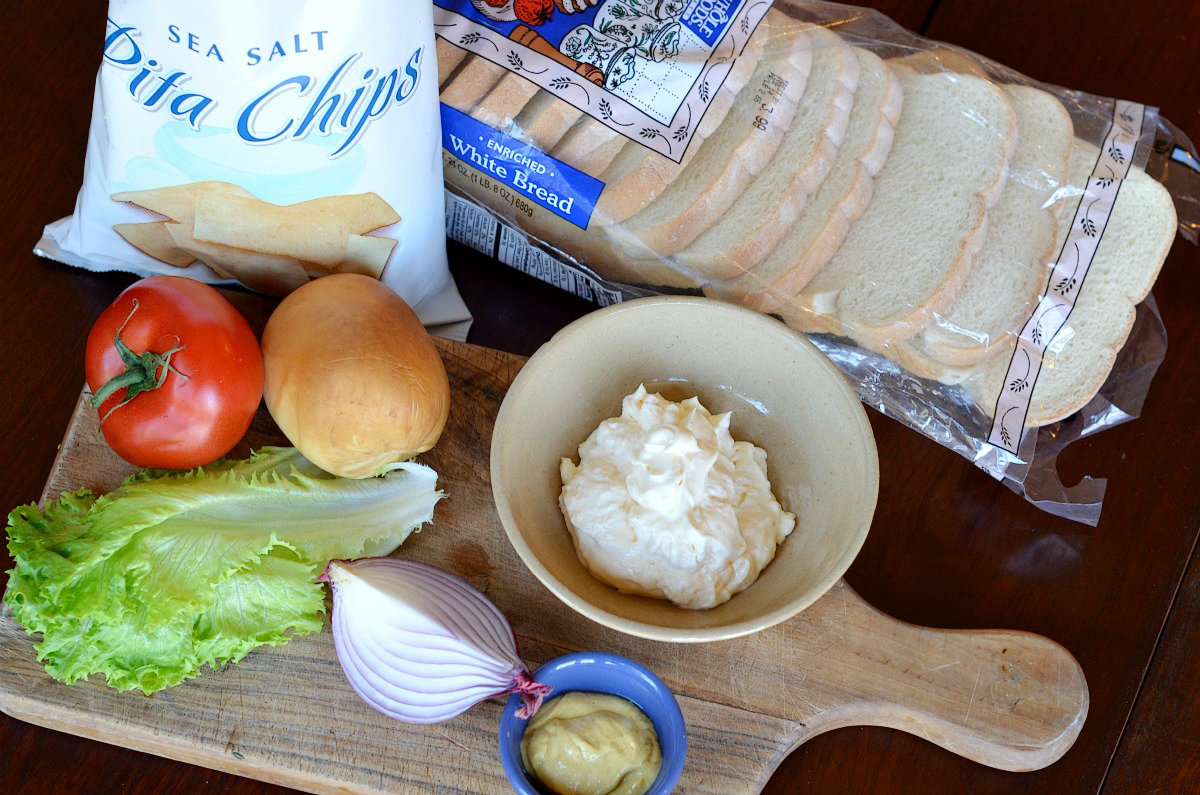
Meatless BLTs start with these humble ingredients: tomato, smoked mozzarella, red onion, mayonnaise, Dijon mustard (whole grain works great too!), sliced white bread, and plain pita chips.


Tasty Kitchen Blog: Meatless BLTs. Guest post by Maggy Keet of Three Many Cooks, recipe by Three Many Cooks.

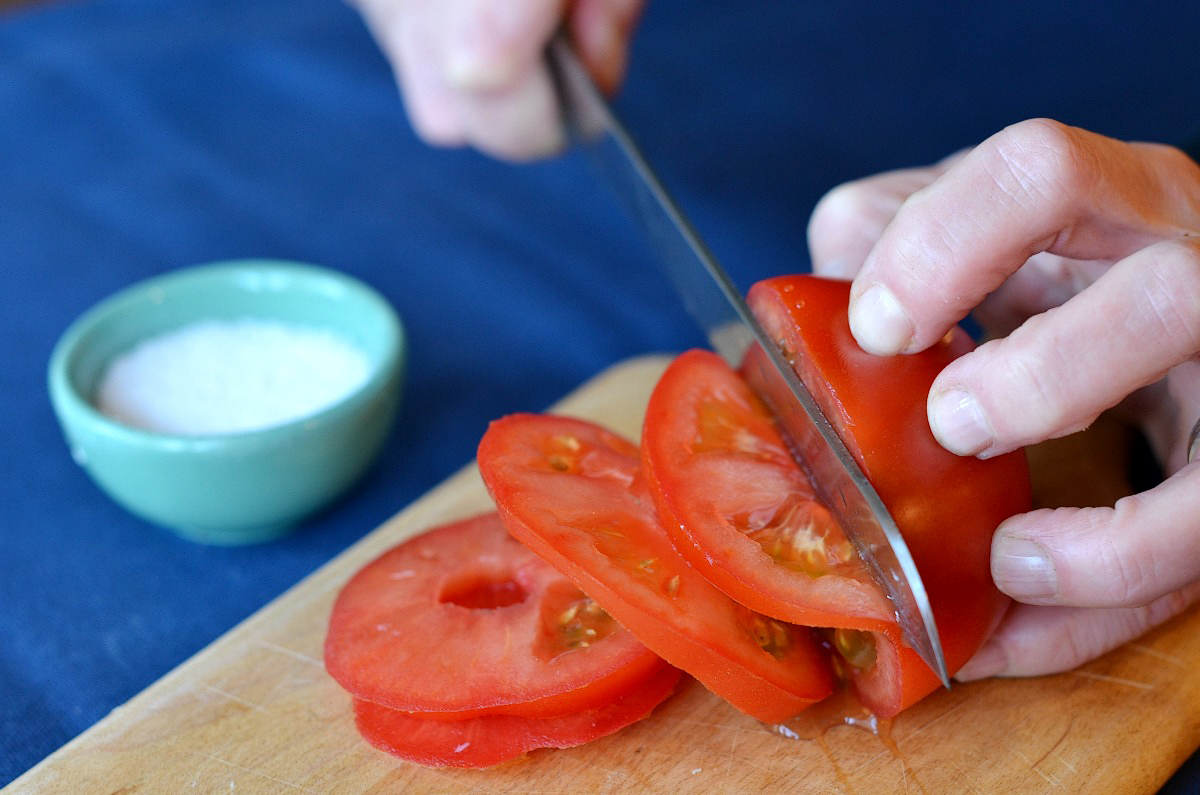
Start by slicing your tomatoes. You want these slices to be pretty thin.


Tasty Kitchen Blog: Meatless BLTs. Guest post by Maggy Keet of Three Many Cooks, recipe by Three Many Cooks.

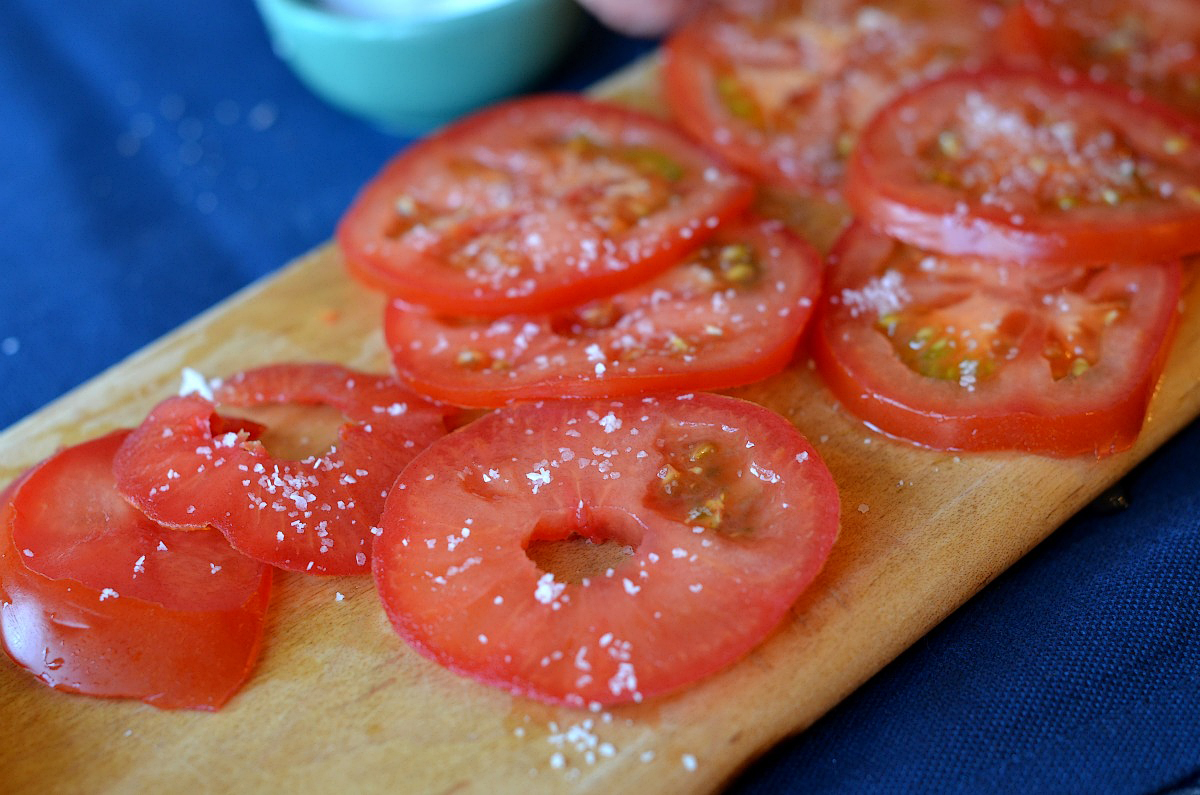
Then, salt your tomatoes (my mother wouldn’t forgive me if I didn’t remind you to salt the tomatoes).


Tasty Kitchen Blog: Meatless BLTs. Guest post by Maggy Keet of Three Many Cooks, recipe by Three Many Cooks.

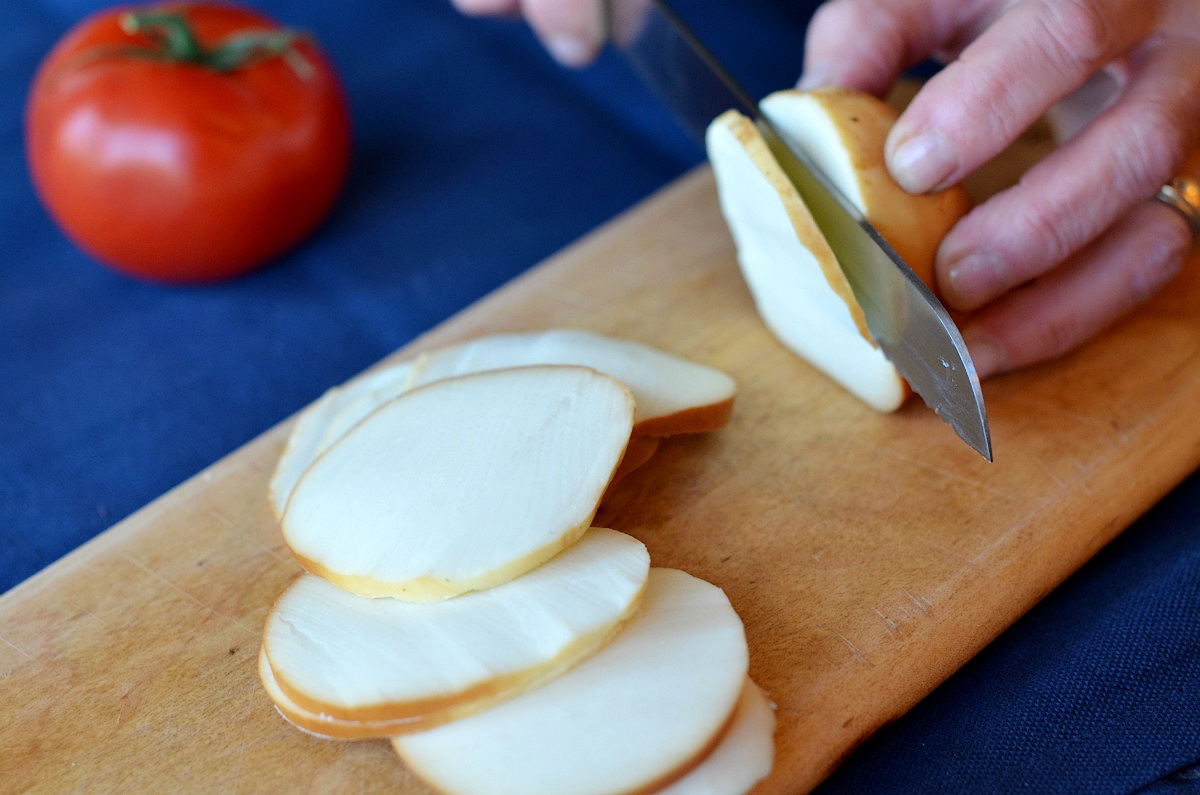
Slice your smoked mozzarella as thin as the tomatoes. If you can’t find mozzarella at your grocery store, any other smoked cheese will work.


Tasty Kitchen Blog: Meatless BLTs. Guest post by Maggy Keet of Three Many Cooks, recipe by Three Many Cooks.

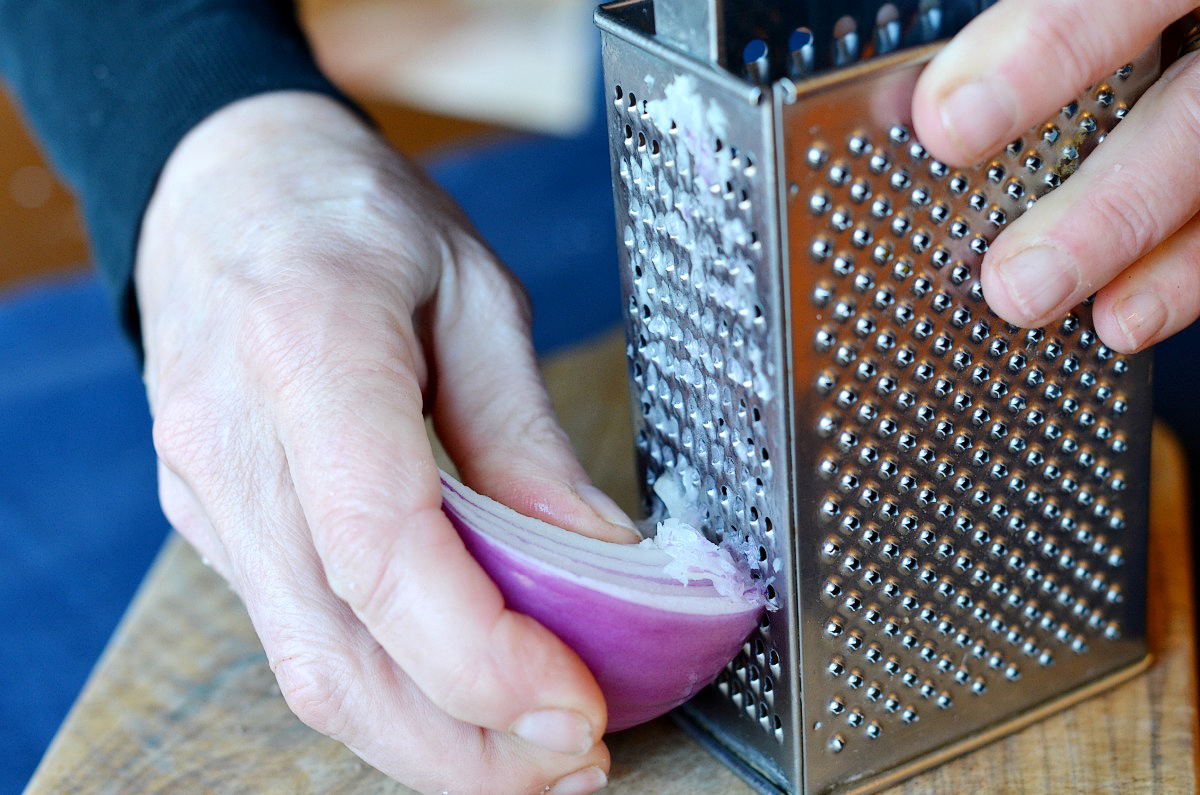
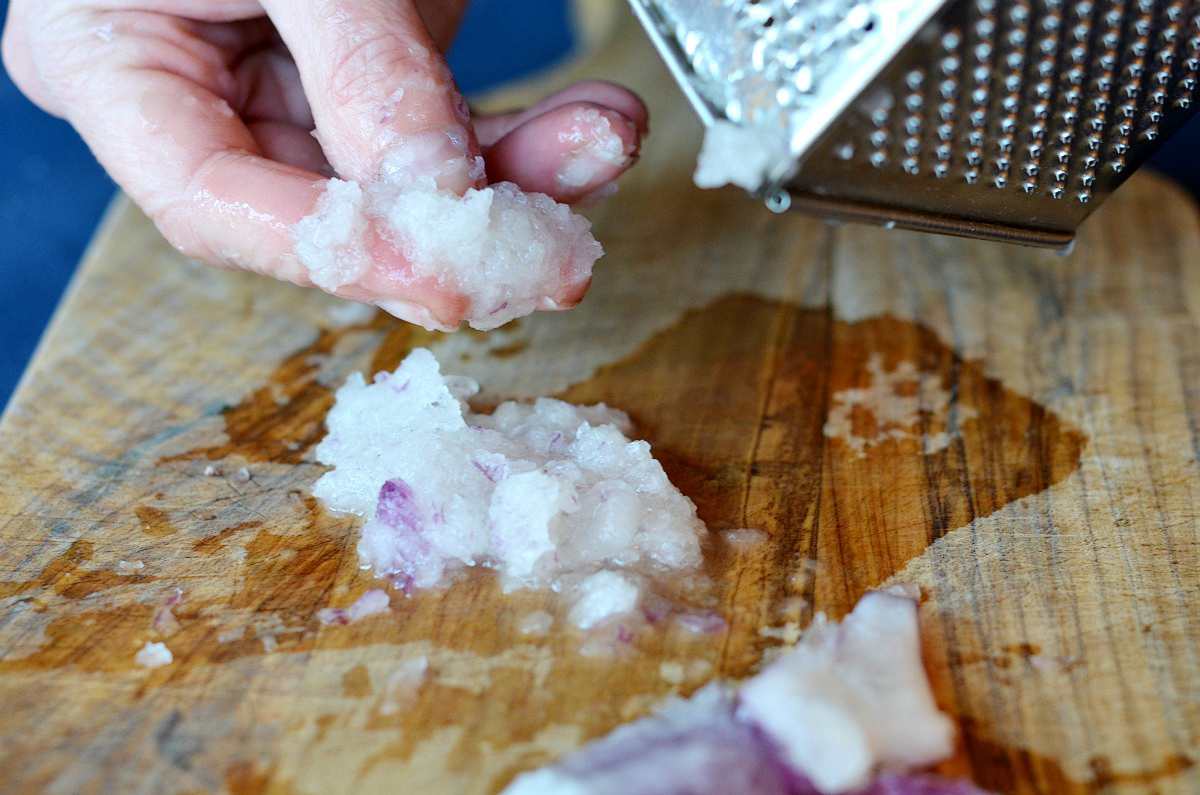
Then finely grate the red onion.


Tasty Kitchen Blog: Meatless BLTs. Guest post by Maggy Keet of Three Many Cooks, recipe by Three Many Cooks.

Your red onion should look something like this.


Tasty Kitchen Blog: Meatless BLTs. Guest post by Maggy Keet of Three Many Cooks, recipe by Three Many Cooks.

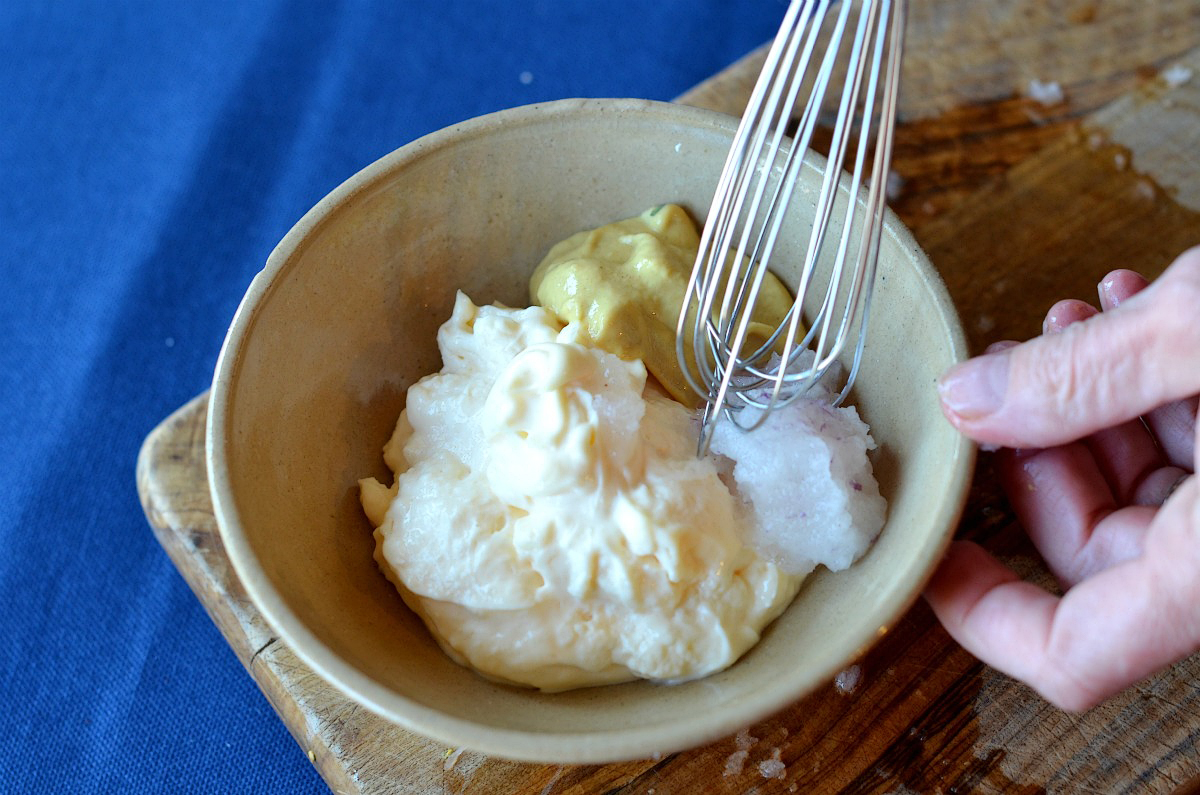
Then mix the mayonnaise, mustard, and red onion together.


Tasty Kitchen Blog: Meatless BLTs. Guest post by Maggy Keet of Three Many Cooks, recipe by Three Many Cooks.

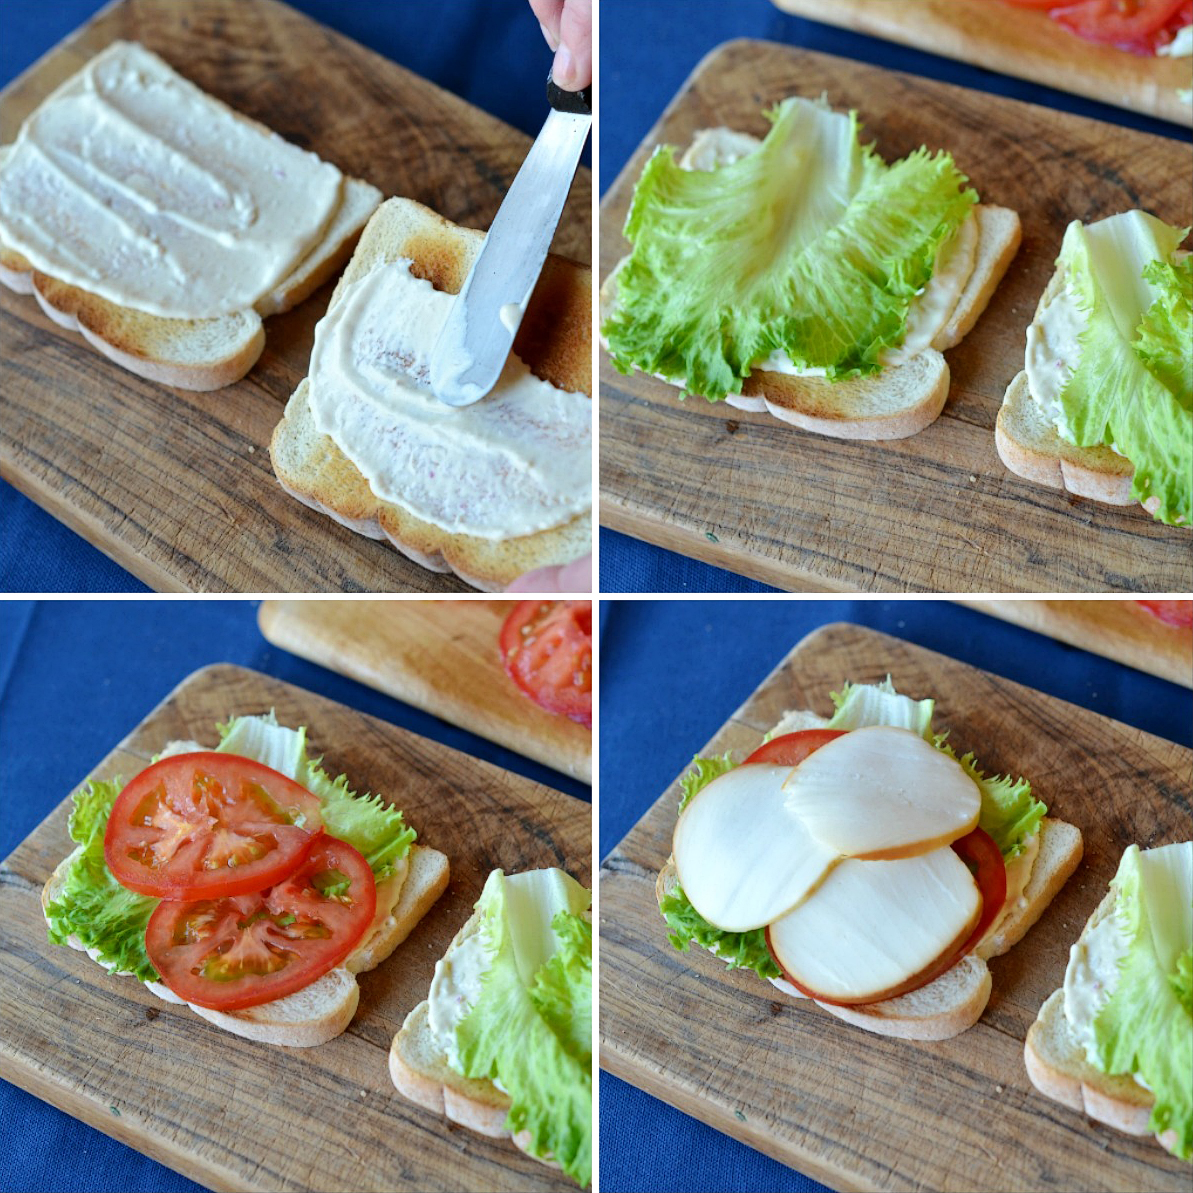
All that’s left now is simple sandwich assembly. Spread each slice of toast with a portion of the mayonnaise mixture and top with a piece of lettuce. Then top four slices of toast with a portion of the tomato, smoked mozzarella.


Tasty Kitchen Blog: Meatless BLTs. Guest post by Maggy Keet of Three Many Cooks, recipe by Three Many Cooks.

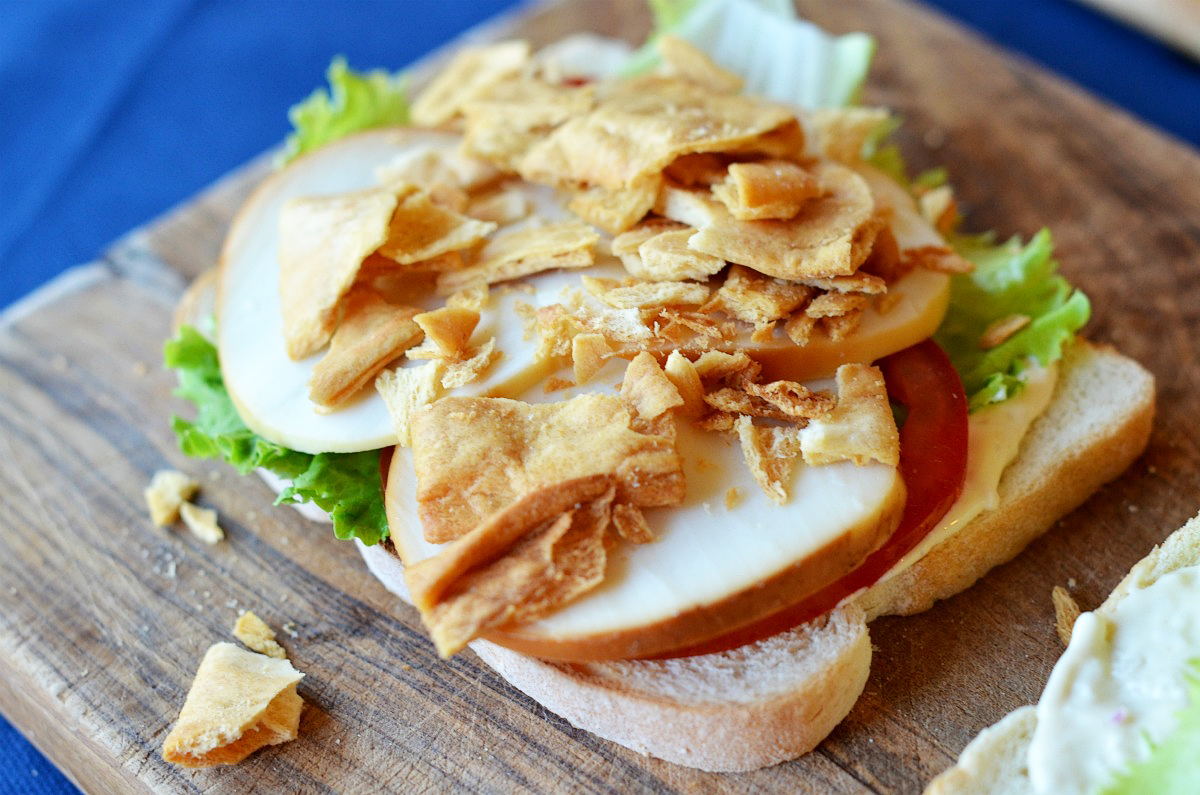
Now add crumbled pita chips for crunch!

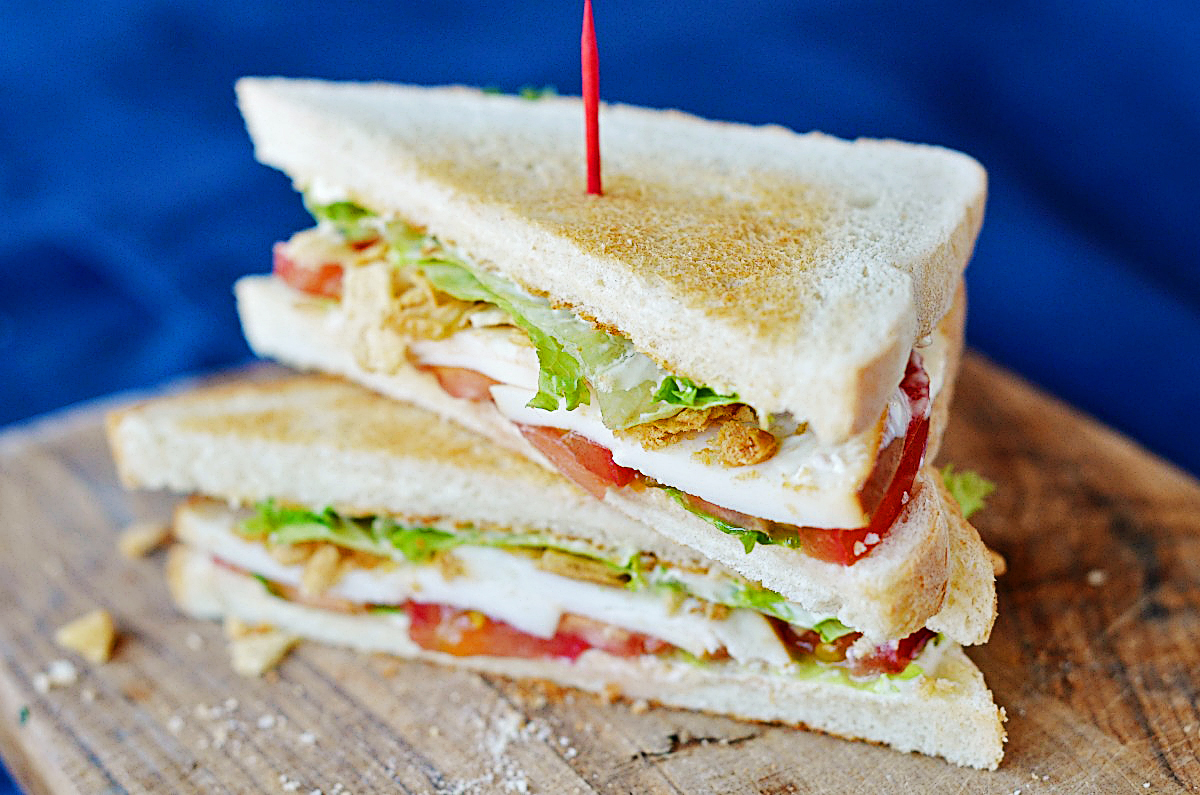
Top this beauty with the other slice of toast. Halve and serve.


Tasty Kitchen Blog: Meatless BLTs. Guest post by Maggy Keet of Three Many Cooks, recipe by Three Many Cooks.

Go ahead, take a bite! You know you wanna.


Printable Recipe

Meatless BLTs

0.00 Mitt(s) 0 Rating(s)0 votes, average: 0.00 out of 50 votes, average: 0.00 out of 50 votes, average: 0.00 out of 50 votes, average: 0.00 out of 50 votes, average: 0.00 out of 5

Prep Time:

Cook Time:

Difficulty: Easy

Servings: 4

4
x

Print Options

Page size Letter 3x5 4x6
Text Size Small Medium Large
Content Include description
Include prep time, etc.
Show image

Description

This is my favorite sandwich: the smoked mozzarella and crumbled pita chips mimic the bacon beautifully. And the special mayo spread is so tasty, I put it on almost all my sandwiches now! This recipe is from my mom’s book, Cook without a Book: Meatless Meals. She suggests that if you can’t find smoked mozzarella, try another smoky cheese.

Ingredients

  • ¼ whole Red Onion, Grated
  • ½ cups Mayonnaise
  • 1 Tablespoon Dijon Mustard, Preferably Whole-grain
  • 8 slices Good-quality Sandwich Bread
  • 8 leaves Romaine Lettuce, Torn Into Large Pieces
  • 2 whole Tomatoes, Thinly Sliced And Lightly Salted
  • 8 ounces, weight Smoked Mozzarella, Thinly Sliced
  • ½ cups Crumbled Plain Pita Chips

Preparation Instructions

Mix the onion, mayonnaise, and mustard in a bowl.

Spread a portion of the mayonnaise mixture on each piece of toast and top with lettuce. Top 4 of the toast slices with tomatoes, cheese, and pita chips; cap with the remaining 4 toast slices. Halve and serve.


_______________________________________

Three Many Cooks is the always-entertaining food blog of Pam Anderson and her two daughters, Maggy and Sharon. Pam is a well-known and much-respected food writer and author, Maggy is a “hippy adventurer meets 1950s housewife,” and Sharon refers to herself as a recovering food snob learning to survive on a graduate student’s budget. Theirs is a strong relationship both inside and outside the kitchen, and it shows in the food they create and the stories they tell.


Profile photo of Erika (TK)

Looks Delicious! Simple Black Beans and Rice

Posted by in Looks Delicious!

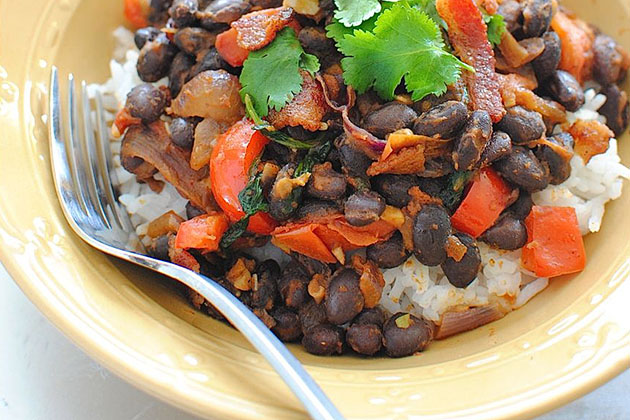
Simple Black Beans and Rice

There’s just something so warm and comforting about beans and rice, and done right, you rarely need anything else to complete the meal. This Simple Black Beans and Rice from Bev is one of those “done right” versions. Plus, she uses Jasmine rice, which scores all kinds of extra points in my book.

Hungry for more? There are all sorts of other great dishes in Bev’s recipe box. Make sure you visit her food blog Bev Cooks, too! And be prepared to want to make just about everything you see in there.

Happy Wednesday, everyone!


Profile photo of Erika (TK)

It’s Pancake Day!

Posted by in The Theme Is...

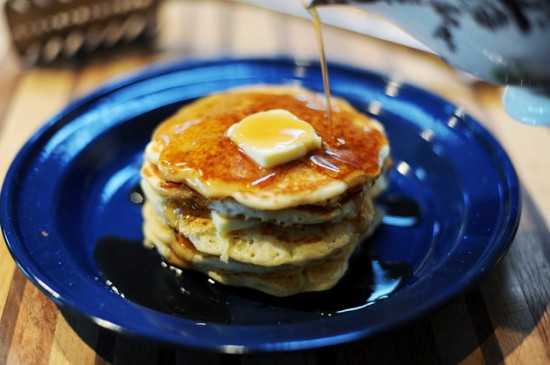
  The day before Ash Wednesday is Shrove Tuesday, also known as Pancake Tuesday. It’s also called Fat Tuesday (Mardi Gras) in some regions of the world, but for some reason that phrase makes me giggle. Or defensive, depending on how many helpings of mac and cheese I just had. Ash Wednesday marks the beginning […]

Profile photo of Erika (TK)

The Theme Is… Pancakes!

Posted by in The Theme Is...

Republished from our original Pancakes theme post circa 2010. If you’re thinking we’re doing this to whet your appetite for a possible part deux tomorrow to celebrate National Pancake Week and Shrove Tuesday, you may or may not be right. (Spread the word! You know, just in case you’re right.)   Ready for another new […]

Profile photo of georgiapellegrini

Oven Baked Wings with Sweet BBQ Sauce

Posted by in Step-by-Step Recipes

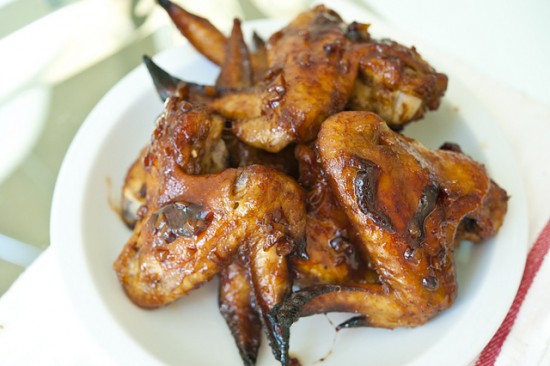
  Eating chicken wings is one of my favorite pastimes. I usually eat the spiciest ones I can get my hands on, but this sweet recipe for Oven Baked Chicken Wings with Sweet BBQ Sauce from Dine & Dish looked so delectable that I decided they must be tasted.       You will need: […]

Profile photo of EatLiveRun

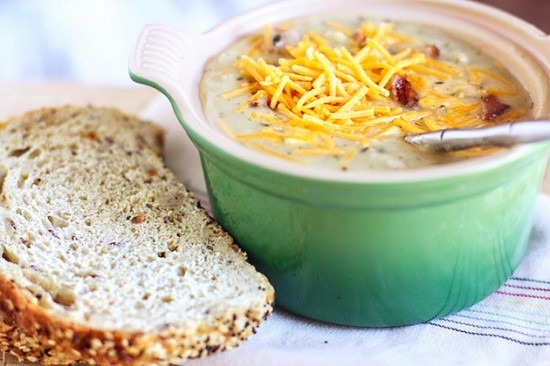
Cowboy Potato Chowder

Posted by in Step-by-Step Recipes

  I love a good old-fashioned potato soup. It has to be thick though! None of that watery broth with potato pieces floating around for me. I like my potato soup rustic and hearty, and perfect for dipping big chunks of warm bread. I have a potato soup recipe that I use fairly often, but […]