The Pioneer Woman Tasty Kitchen
Profile photo of Natalie | Perry's Plate

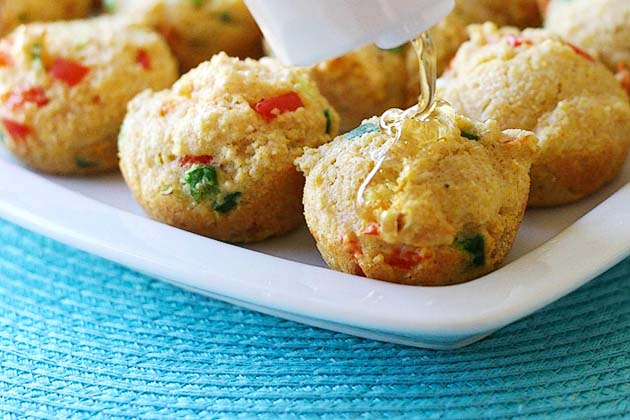
Baked Hushpuppies

Posted by in Baking, Step-by-Step Recipes

Tasty Kitchen Blog: Baked Hushpuppies. Guest post by Natalie Perry of Perry's Plate, recipe submitted by TK member beachbumwannabe.

 
Have you ever had a hushpuppy? A true hushpuppy is a cornmeal-based dough that’s fried into little balls. Sometimes onions and peppers are added, but that’s basically it. Hushpuppies have very strong ties to the American South, like fried dill pickles and fried okra (two more of my favorite fried goodies) and are commonly served as a side dish at seafood restaurants.

Oh, and they’re deliciously addictive. I head straight for these when the competitive BBQ tents go up here in Reno, Nevada. Sorry ribs, I’ll catch you later.

Tasty Kitchen member beachbumwannabe (aren’t we all??) submitted this grease-free version, and I was dying to try it. Baked Hushpuppies are pretty good. They’re not identical to the fried version, but they’re a great, lighter alternative. Plus, they’re a great little dipper for soups and chilis. Or a finger food at a party buffet.

If you happen to be a hushpuppy purist and red flags are going off all over the place, just think of these as mini corn muffins. Ah, better?


Tasty Kitchen Blog: Baked Hushpuppies. Guest post by Natalie Perry of Perry's Plate, recipe submitted by TK member beachbumwannabe.

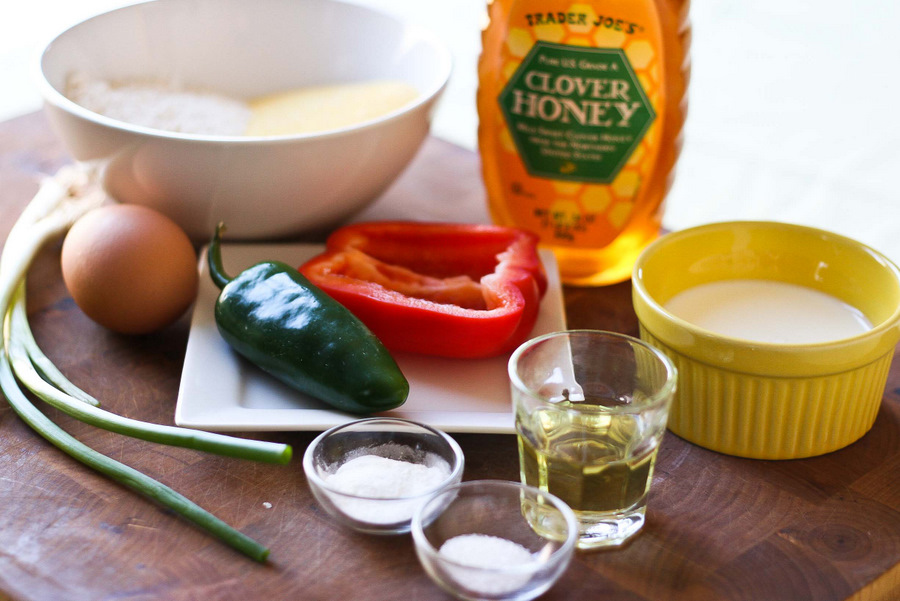
First, gather your ingredients. You’ll need cornmeal, flour, an egg, baking powder, salt, cooking oil, milk, an egg, green onions, peppers, and honey.


Tasty Kitchen Blog: Baked Hushpuppies. Guest post by Natalie Perry of Perry's Plate, recipe submitted by TK member beachbumwannabe.

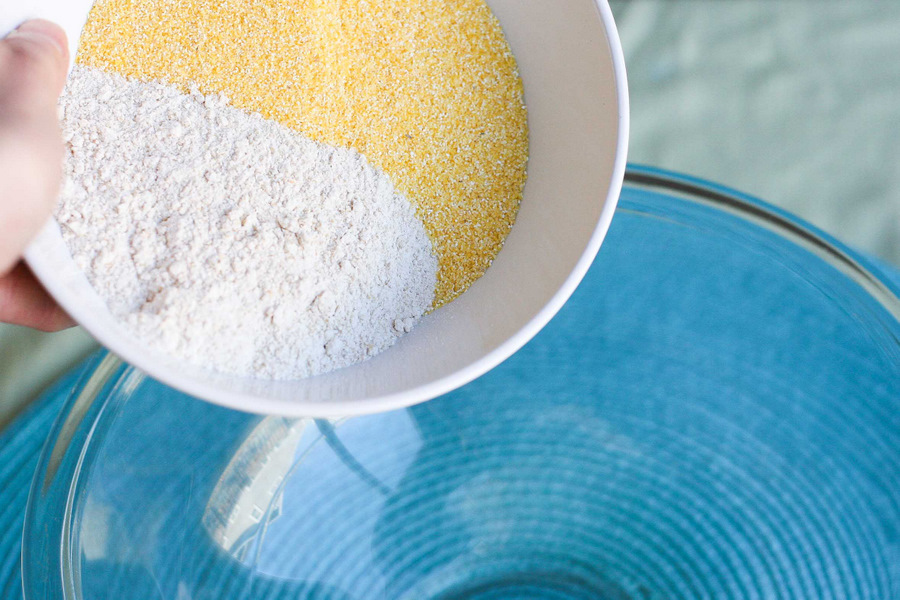
Grab a medium-sized mixing bowl and toss in the cornmeal and flour. For mine, I used whole wheat pastry flour to add some whole grains. It’s a great replacement for all-purpose flour in things like this because you can’t tell the difference.


Tasty Kitchen Blog: Baked Hushpuppies. Guest post by Natalie Perry of Perry's Plate, recipe submitted by TK member beachbumwannabe.

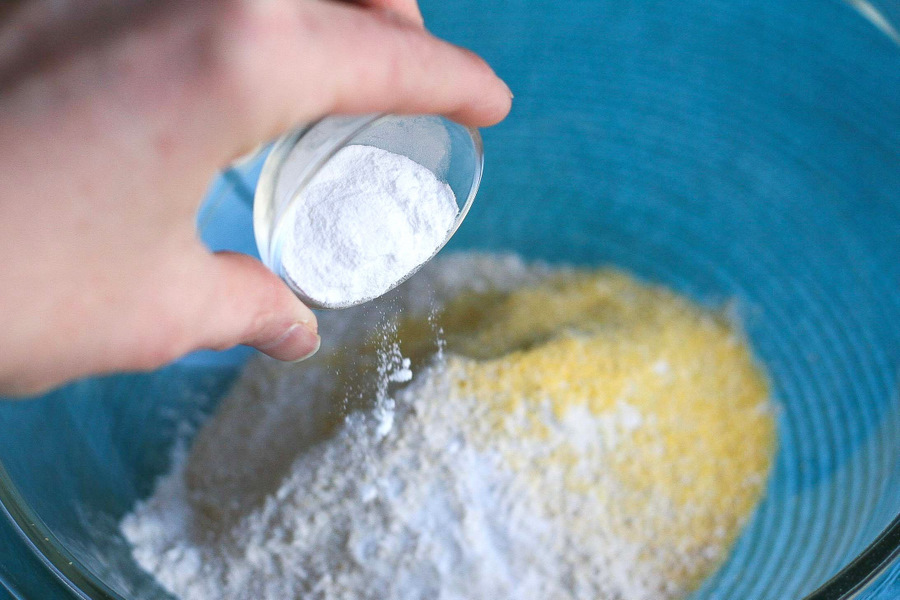
Add the baking powder.


Tasty Kitchen Blog: Baked Hushpuppies. Guest post by Natalie Perry of Perry's Plate, recipe submitted by TK member beachbumwannabe.

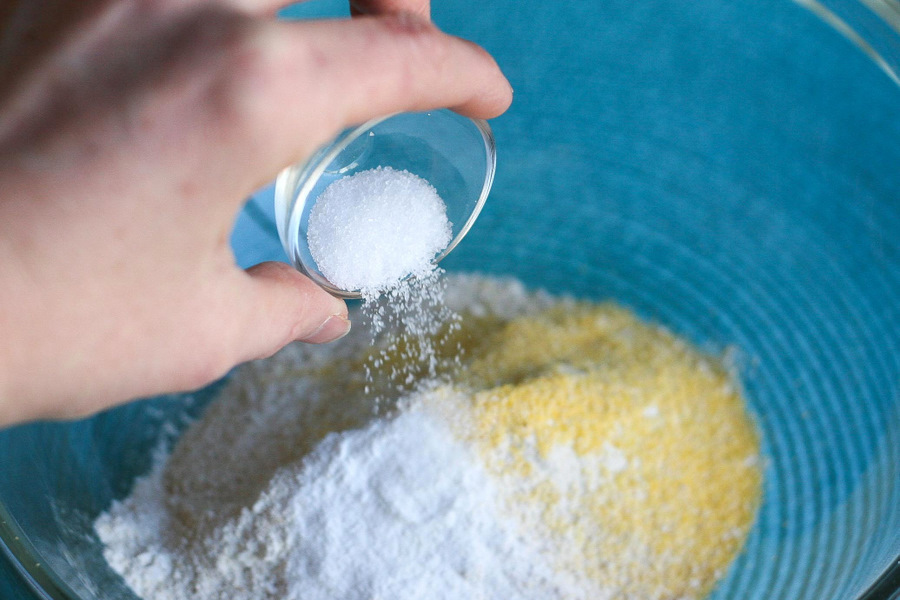
And the salt.


Tasty Kitchen Blog: Baked Hushpuppies. Guest post by Natalie Perry of Perry's Plate, recipe submitted by TK member beachbumwannabe.

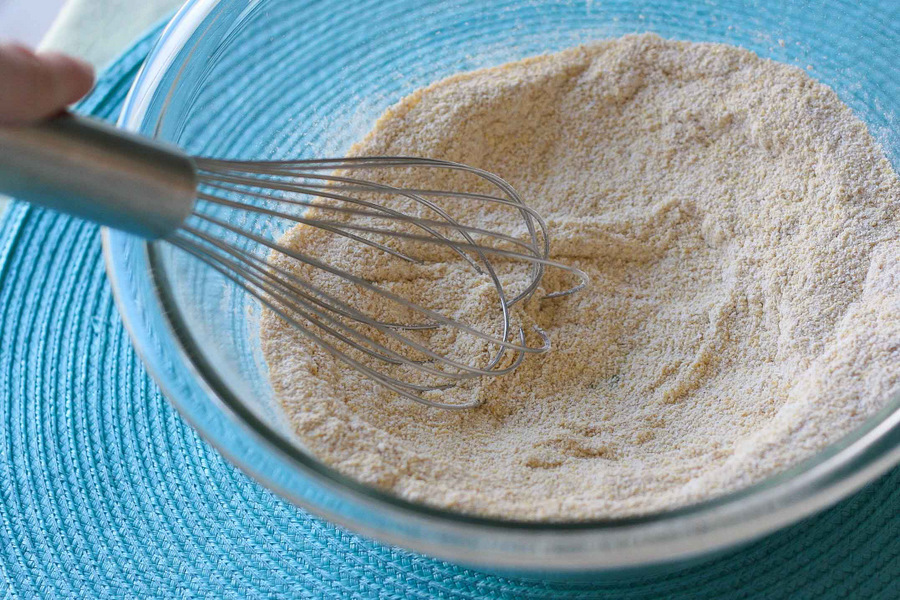
Give it a good whisk.


Tasty Kitchen Blog: Baked Hushpuppies. Guest post by Natalie Perry of Perry's Plate, recipe submitted by TK member beachbumwannabe.

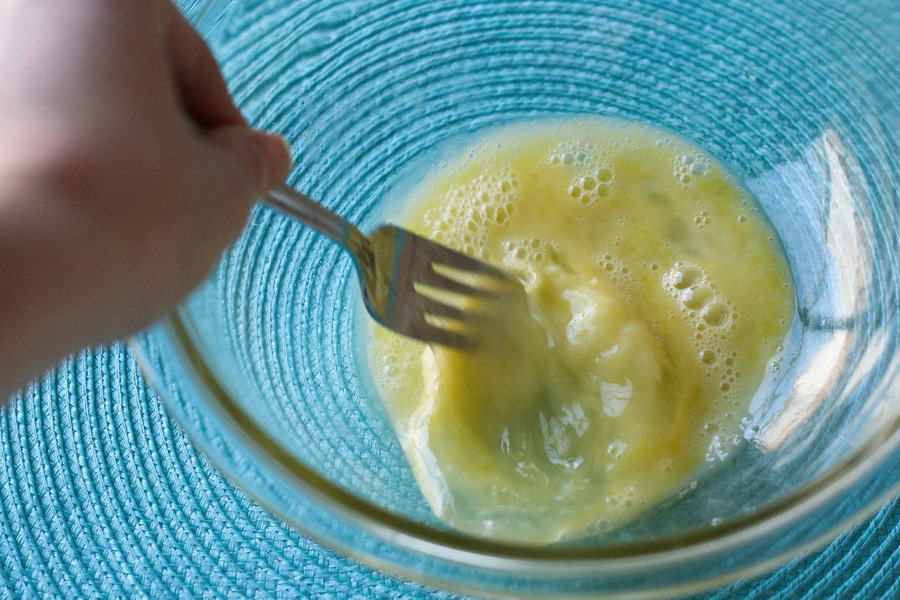
Grab another smaller bowl. Crack the egg into it and shake it up a bit with a fork.


Tasty Kitchen Blog: Baked Hushpuppies. Guest post by Natalie Perry of Perry's Plate, recipe submitted by TK member beachbumwannabe.

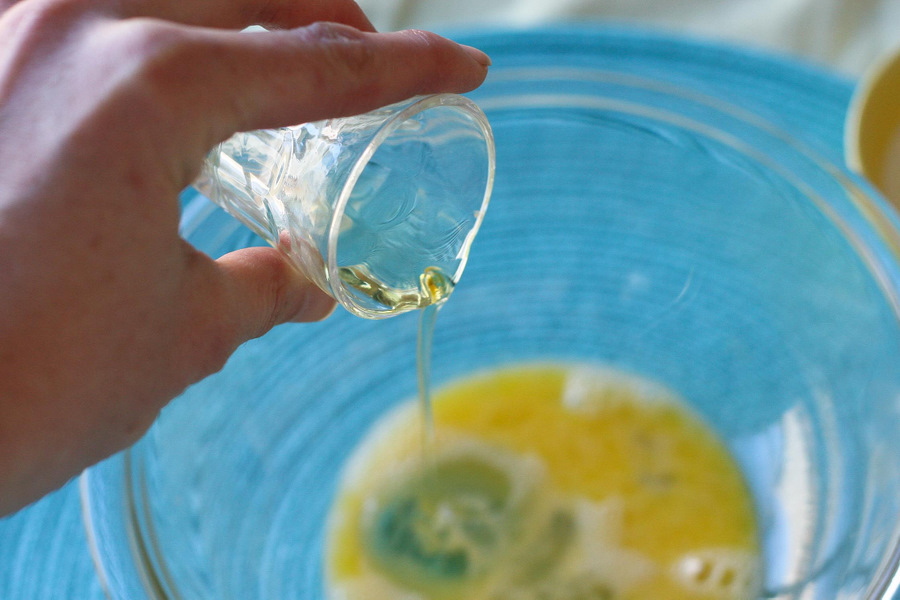
To this, add the oil. I used grapeseed.


Tasty Kitchen Blog: Baked Hushpuppies. Guest post by Natalie Perry of Perry's Plate, recipe submitted by TK member beachbumwannabe.

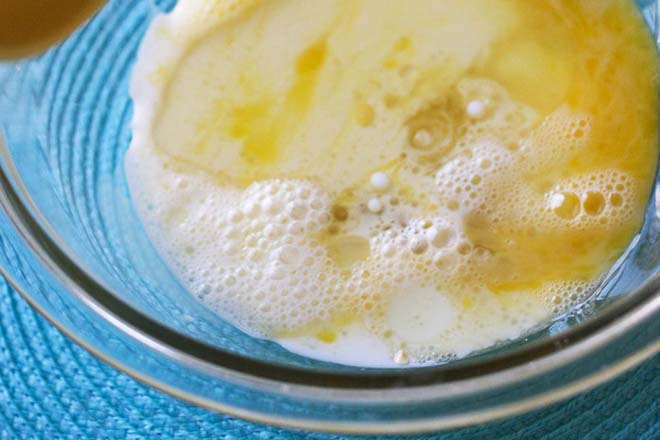
And add the milk.


Tasty Kitchen Blog: Baked Hushpuppies. Guest post by Natalie Perry of Perry's Plate, recipe submitted by TK member beachbumwannabe.

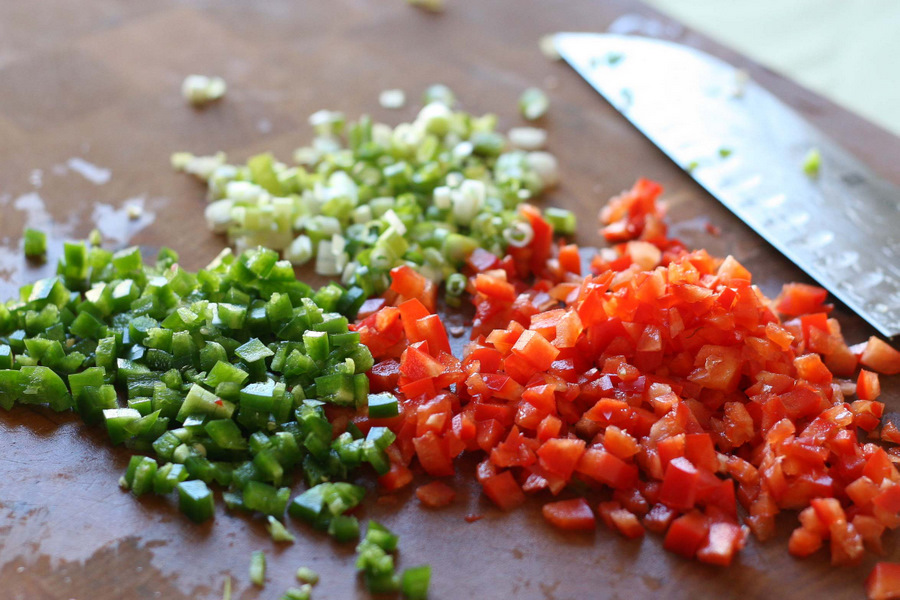
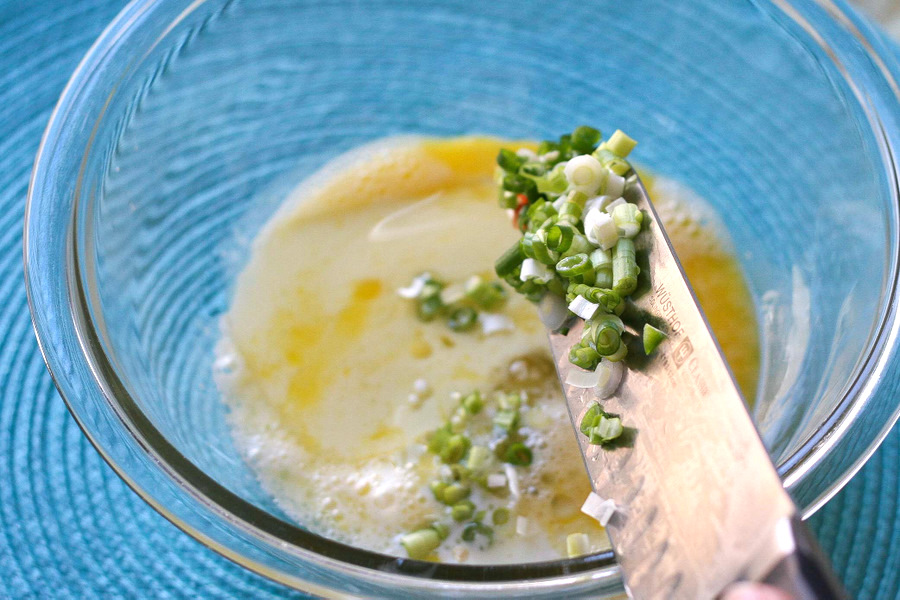
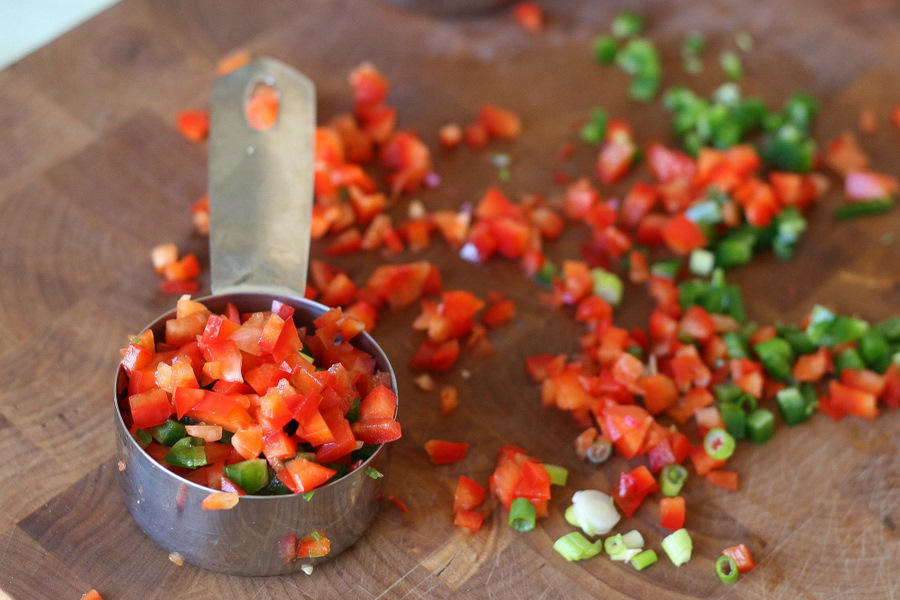
Next, chop the green onion and peppers. The recipe suggested a combination of red bell pepper and jalapeno. I used them, too. I also de-flamed my jalapenos because I have small children, but if you want more heat in these, leave a few seeds in the mix.


Tasty Kitchen Blog: Baked Hushpuppies. Guest post by Natalie Perry of Perry's Plate, recipe submitted by TK member beachbumwannabe.

Add the green onion to the egg mixture.


Tasty Kitchen Blog: Baked Hushpuppies. Guest post by Natalie Perry of Perry's Plate, recipe submitted by TK member beachbumwannabe.

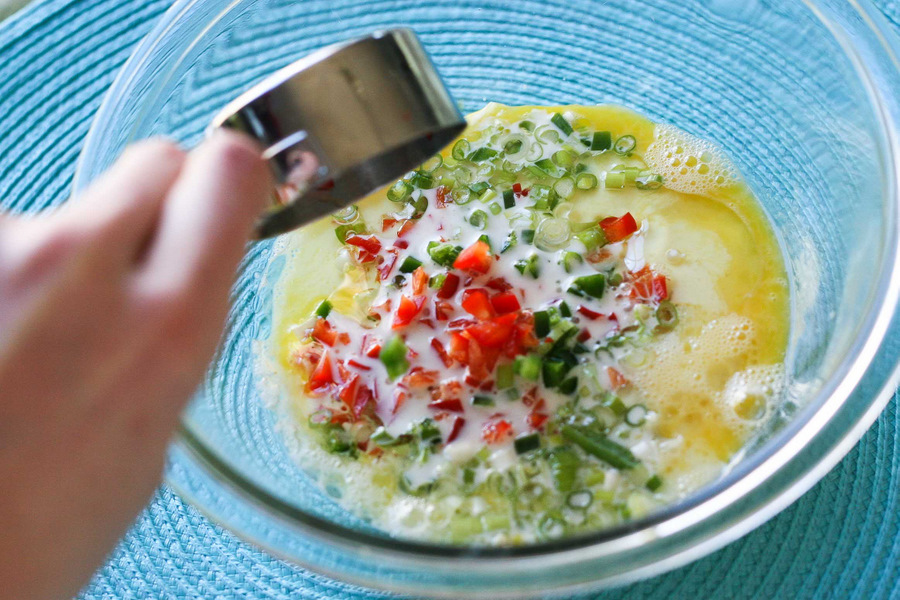
You’ll only need about 1/3 cup of chopped peppers, so combine them how you like into a measuring cup. Save the rest for an omelet. Or a frittata.


Tasty Kitchen Blog: Baked Hushpuppies. Guest post by Natalie Perry of Perry's Plate, recipe submitted by TK member beachbumwannabe.

Add those to the wet mixture, and stir it well.


Tasty Kitchen Blog: Baked Hushpuppies. Guest post by Natalie Perry of Perry's Plate, recipe submitted by TK member beachbumwannabe.

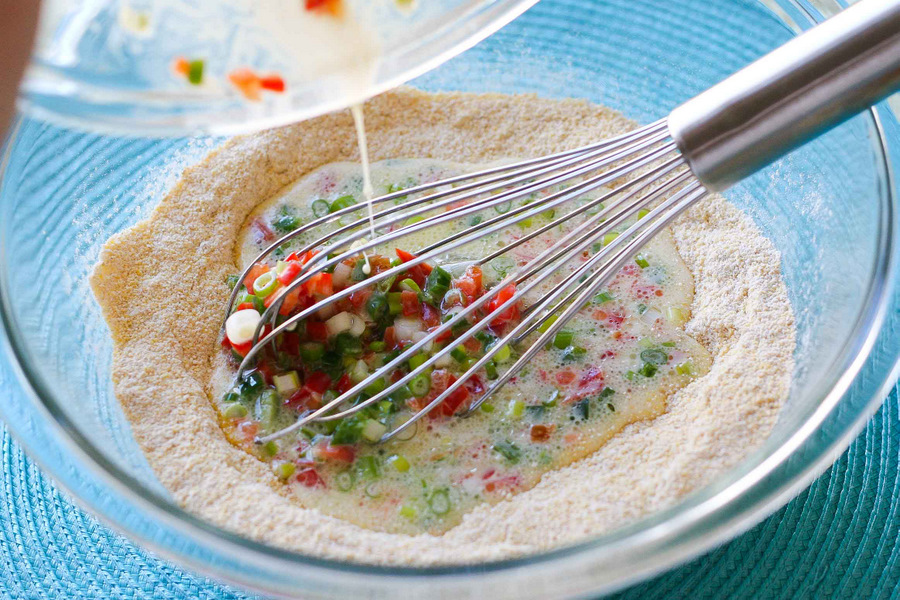
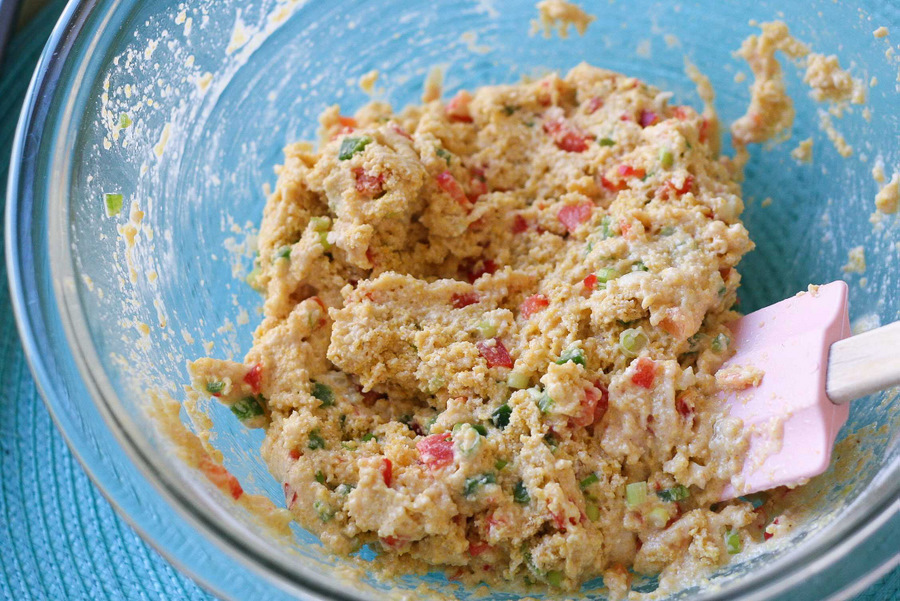
Add the entire egg mixture to the cornmeal mixture. Give it a whisk, but just until it’s moistened.


Tasty Kitchen Blog: Baked Hushpuppies. Guest post by Natalie Perry of Perry's Plate, recipe submitted by TK member beachbumwannabe.

Know what? A whisk wasn’t such a great idea. Use a rubber spatula instead.


Tasty Kitchen Blog: Baked Hushpuppies. Guest post by Natalie Perry of Perry's Plate, recipe submitted by TK member beachbumwannabe.

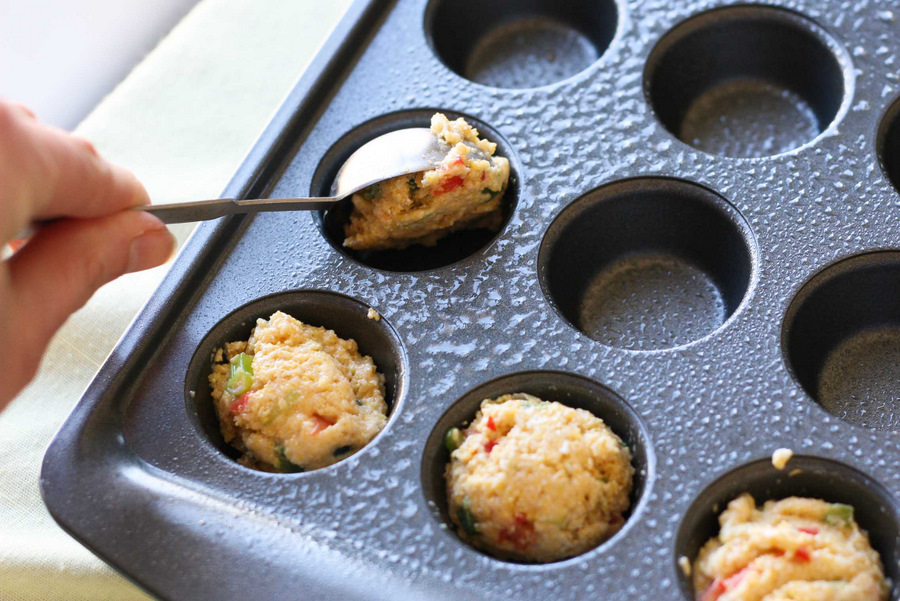
If you’ve got a mini muffin pan, good for you! Add a tablespoon of dough to each cup. If you’re using a regular muffin pan, add 2-3 tablespoons per cup.


Tasty Kitchen Blog: Baked Hushpuppies. Guest post by Natalie Perry of Perry's Plate, recipe submitted by TK member beachbumwannabe.

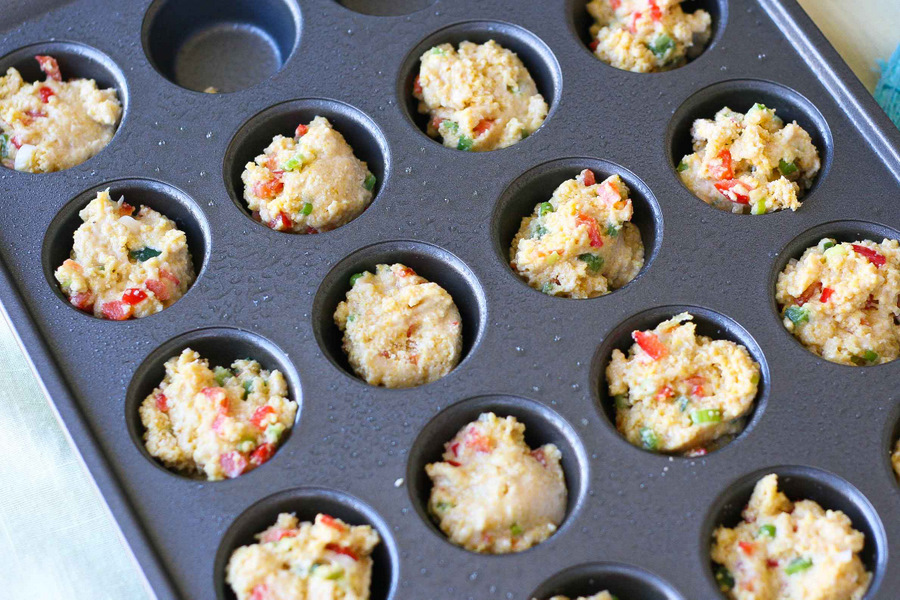
My pan has 24 cups, but I only had enough dough for 21. If you have extra cups, fill them halfway with water. It helps to distribute the heat more evenly on that end of the pan. You wouldn’t want any scorched hushpuppies now.


Tasty Kitchen Blog: Baked Hushpuppies. Guest post by Natalie Perry of Perry's Plate, recipe submitted by TK member beachbumwannabe.

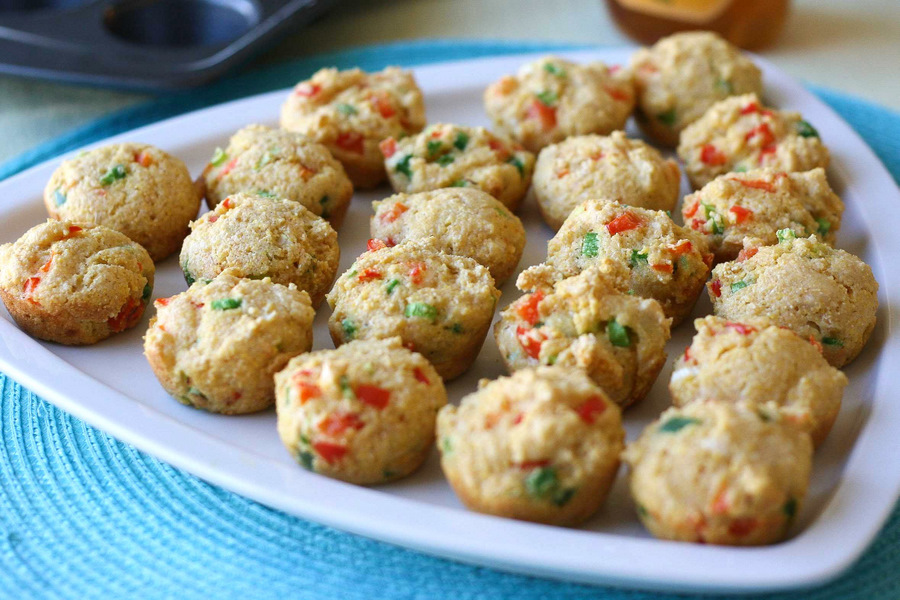
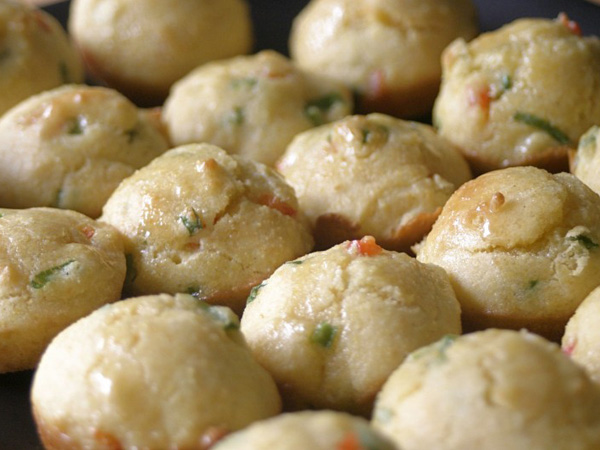
Bake them for about 8-10 minutes (longer for a regular muffin tin) or until they’re firm and a little golden brown on the sides. Pretty, aren’t they? They’re about to get better, though …
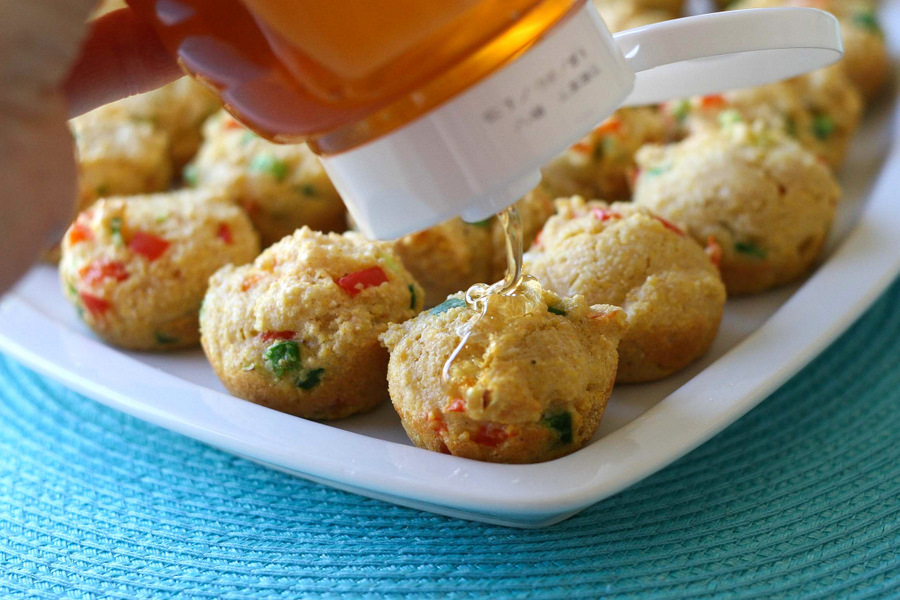


Tasty Kitchen Blog: Baked Hushpuppies. Guest post by Natalie Perry of Perry's Plate, recipe submitted by TK member beachbumwannabe.

Oh yes. Drizzle honey over the warm hushpuppies. Then pop one in your mouth. (Or five. Don’t judge, I’m pregnant.)

Thank you so much, beachbumwannabe!

Notes:
1. I omitted the sugar in the recipe because I like my cornbread on the savory side, but for these, I think I would add a tablespoon next time.
2. I live in Nevada, and I think because of the dry air, my dough turned out drier than it should have. Add a little more milk if you think your dough may be too dry as well.


Printable Recipe
Baked Hushpuppies

4.75 Mitt(s) 4 Rating(s)4 votes, average: 4.75 out of 54 votes, average: 4.75 out of 54 votes, average: 4.75 out of 54 votes, average: 4.75 out of 54 votes, average: 4.75 out of 5

Prep Time:

Cook Time:

Difficulty: Easy

Servings: 24

24
x

Print Options

Page size Letter 3x5 4x6
Text Size Small Medium Large
Content Include description
Include prep time, etc.
Show image

Description

Another great recipe from Grandma Blacknall’s recipe box: baked hushpuppies!

Making a pot of chili for game day? These baked hushpuppies are a great addition to your menu! You can also just add these to a finger food buffet. Everyone will love them!

Ingredients

  • ½ cups Cornmeal
  • ½ cups Flour
  • 1-½ teaspoon Baking Powder
  • ½ teaspoons Salt
  • 3 Tablespoons Sugar
  • 1 whole Egg, Beaten
  • 6 Tablespoons Finely Chopped Red Pepper & Jalapeno
  • ¼ cups Chopped Green Onion
  • ⅓ cups Skim Milk
  • 2 Tablespoons Vegetable Oil
  • 24 teaspoons Honey

Preparation Instructions

Preheat oven to 425F.

Combine cornmeal, flour, baking powder, salt, and sugar in a bowl.

Beat egg in a separate bowl.

Finely chop red pepper, jalapeno, and green onions.

Combine all ingredients and stir until moistened.

Spoon about 1 tablespoonful into greased muffin pans. I used a mini muffin pan to make them more finger friendly. Plus, I just love mini anything!

Bake at 425F for 15 to 20 minutes for regular muffin pans and about 8 to 12 minutes for mini muffin pans.

Although I added more sugar than Grandma Blacknall’s recipe called for, I still thought they needed something sweet. So I after I pulled them out of the oven, I spooned a little bit of honey over the top of each hushpuppy while they were cooling in the muffin pans. This was the perfect touch in my opinion, but experiment and find what’s perfect for your family! I also added in the jalapenos to give it a touch of spiciness. I didn’t really notice it too much, but you could leave it out if needed!


_______________________________________

Be sure to check out Natalie’s own beautiful food blog, Perrys’ Plate, where you can see her growing collection of lovely recipes. There’s always something new to see there. Go visit now!


Profile photo of Natalie | Perry's Plate

Gluten-Free Apple, Ginger and Spice Scones

Posted by in Baking, Step-by-Step Recipes

Tasty Kitchen Blog: Gluten-Free Apple, Ginger and Spice Scones. Guest post by Natalie Perry of Perry's Plate, recipe submitted by TK member Jenni Hulet of The Urban Poser.

 
As far as gluten-free baked goods go, these are seriously the bomb. We’re not an entirely gluten-free household, but occasionally I like to play with almond meal in baked goods. I love the rich, nutty (but not too nutty) flavor it imparts. And you can’t beat the nutritional benefits of almonds. These Gluten-Free Apple, Ginger and Spice Scones, submitted by Jenni Hulet have become a favorite of my family.

Eating one (or four) of these scones is like eating a hearty, moist apple cookie for breakfast. *Swoon*


Tasty Kitchen Blog: Gluten-Free Apple, Ginger and Spice Scones. Guest post by Natalie Perry of Perry's Plate, recipe submitted by TK member Jenni Hulet of The Urban Poser.

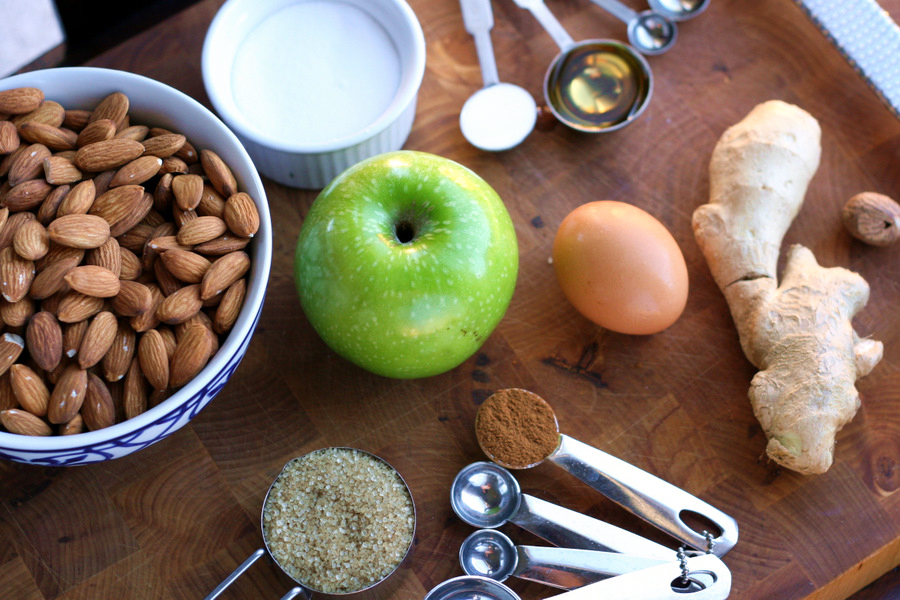
No mysterious ingredients here. You’ll need 3 cups of almond meal/ground almonds (I’ll show you how to make some in a second. Ridiculously easy.), a nice tart apple, an egg, fresh ginger, apple cider vinegar, baking soda, salt, cinnamon, and nutmeg.


Tasty Kitchen Blog: Gluten-Free Apple, Ginger and Spice Scones. Guest post by Natalie Perry of Perry's Plate, recipe submitted by TK member Jenni Hulet of The Urban Poser.

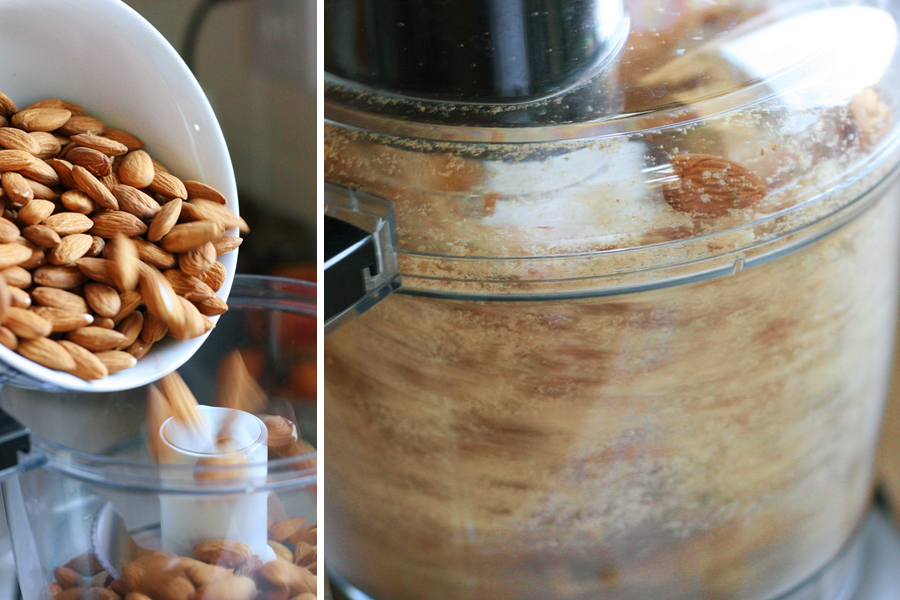
You can find almond meal in health food stores, some well-stocked grocery stores, and always at Trader Joe’s, but if it’s too much trouble to track down you can make your own if you’ve got a food processor. To make three cups of almond meal you’ll need a little over two cups of almonds. For best flavor results in baking, make sure you use raw, unsalted almonds. Buzz them up in your food processor for a minute or two or until no large chunks remain. The mixture may start to stick to the sides. Scrape the sides with a rubber spatula and continue to pulse until you reach the correct consistency.


Tasty Kitchen Blog: Gluten-Free Apple, Ginger and Spice Scones. Guest post by Natalie Perry of Perry's Plate, recipe submitted by TK member Jenni Hulet of The Urban Poser.

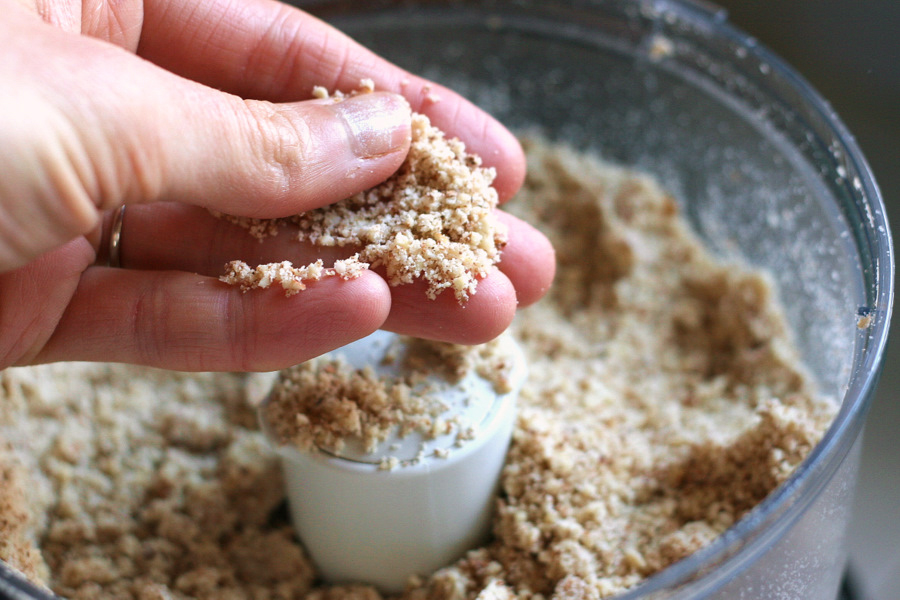
The almond meal should look like this. If you let it run too long, you’ll end up with almond butter. Tasty, but not what we’re looking for here.


Tasty Kitchen Blog: Gluten-Free Apple, Ginger and Spice Scones. Guest post by Natalie Perry of Perry's Plate, recipe submitted by TK member Jenni Hulet of The Urban Poser.

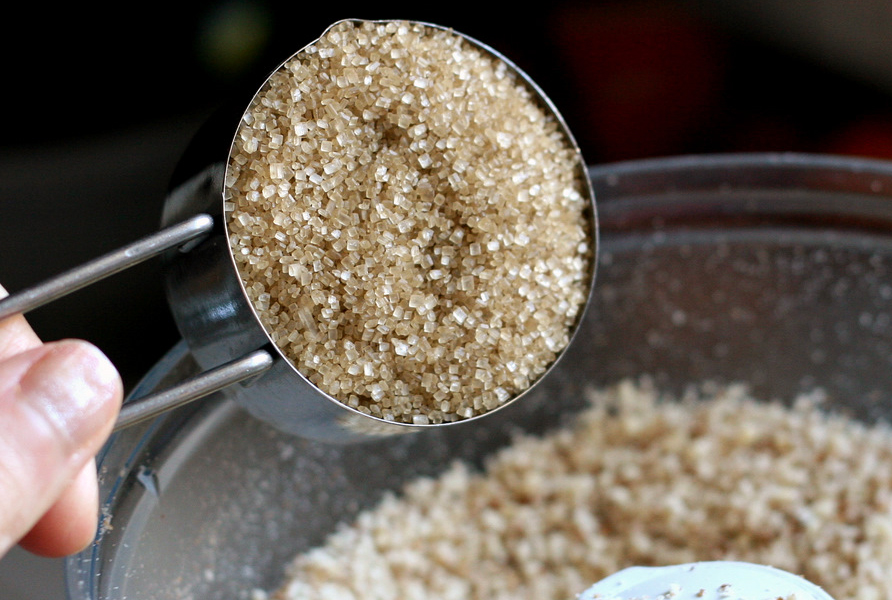
If I were you, I’d dump the almond meal out into a bowl and measure out three cups back into the food processor, just to be sure I had the right amount. Then add the sugar. I used raw turbinado sugar, but you can use any type you want. Run the processor for a few seconds until everything is blended well.


Tasty Kitchen Blog: Gluten-Free Apple, Ginger and Spice Scones. Guest post by Natalie Perry of Perry's Plate, recipe submitted by TK member Jenni Hulet of The Urban Poser.

Transfer the mixture into a medium-sized bowl and add the baking soda, cinnamon, and salt.


Tasty Kitchen Blog: Gluten-Free Apple, Ginger and Spice Scones. Guest post by Natalie Perry of Perry's Plate, recipe submitted by TK member Jenni Hulet of The Urban Poser.

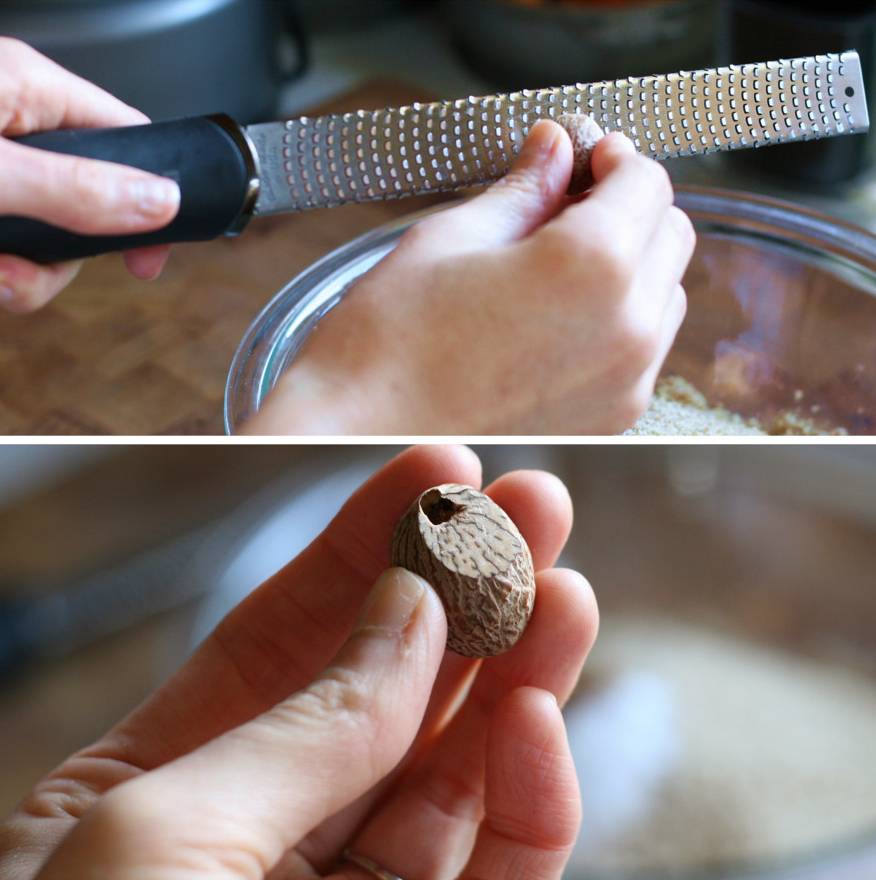
Also add the nutmeg. I’m a big fan of using freshly grated nutmeg (easiest with a Microplane-type grater). I always look at the part I grated. It kind of reminds me of brains.


Tasty Kitchen Blog: Gluten-Free Apple, Ginger and Spice Scones. Guest post by Natalie Perry of Perry's Plate, recipe submitted by TK member Jenni Hulet of The Urban Poser.

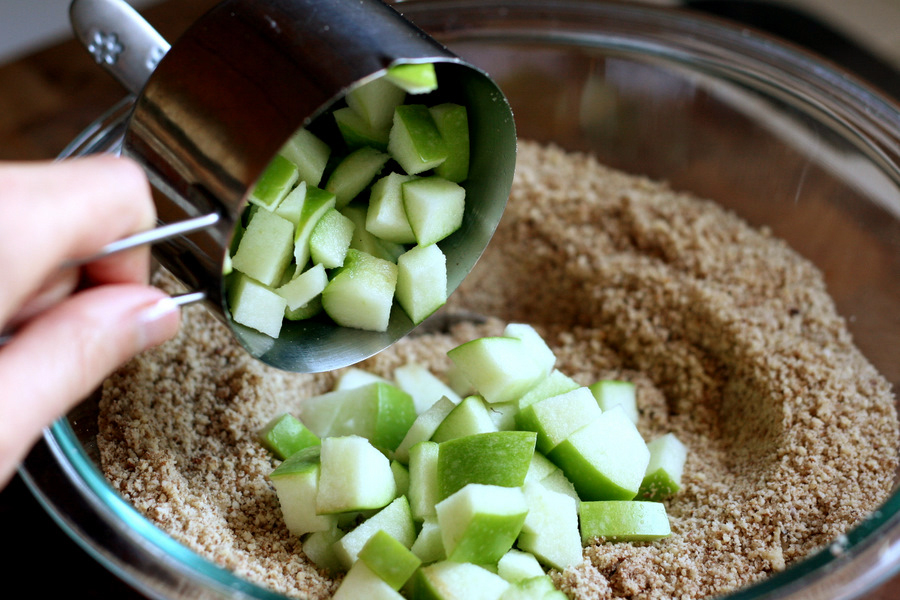
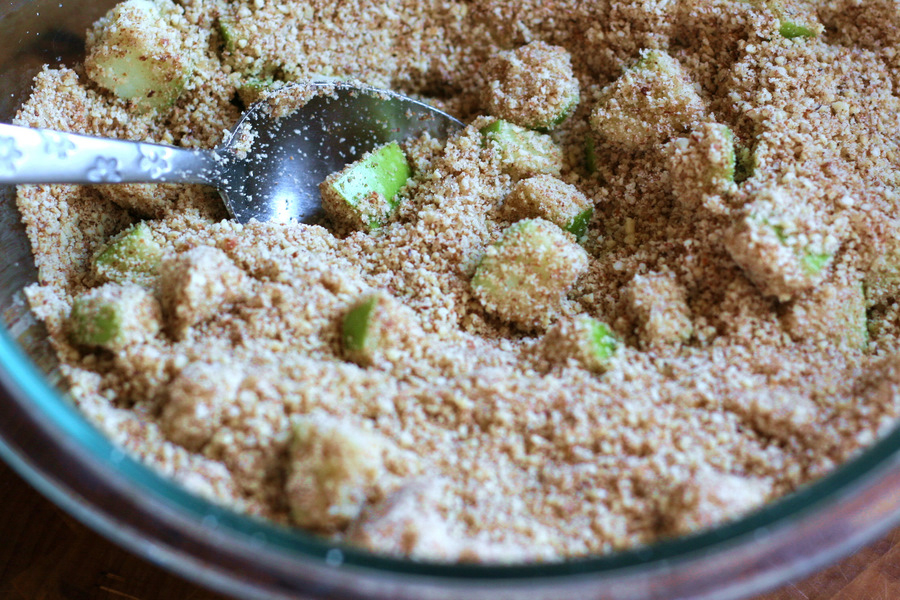
Give it a stir. Chop the apple and add one cup of the cubes. You might not want to add much more than that or the scones will have trouble staying together.


Tasty Kitchen Blog: Gluten-Free Apple, Ginger and Spice Scones. Guest post by Natalie Perry of Perry's Plate, recipe submitted by TK member Jenni Hulet of The Urban Poser.

Mix them well so all the apples are coated.


Tasty Kitchen Blog: Gluten-Free Apple, Ginger and Spice Scones. Guest post by Natalie Perry of Perry's Plate, recipe submitted by TK member Jenni Hulet of The Urban Poser.

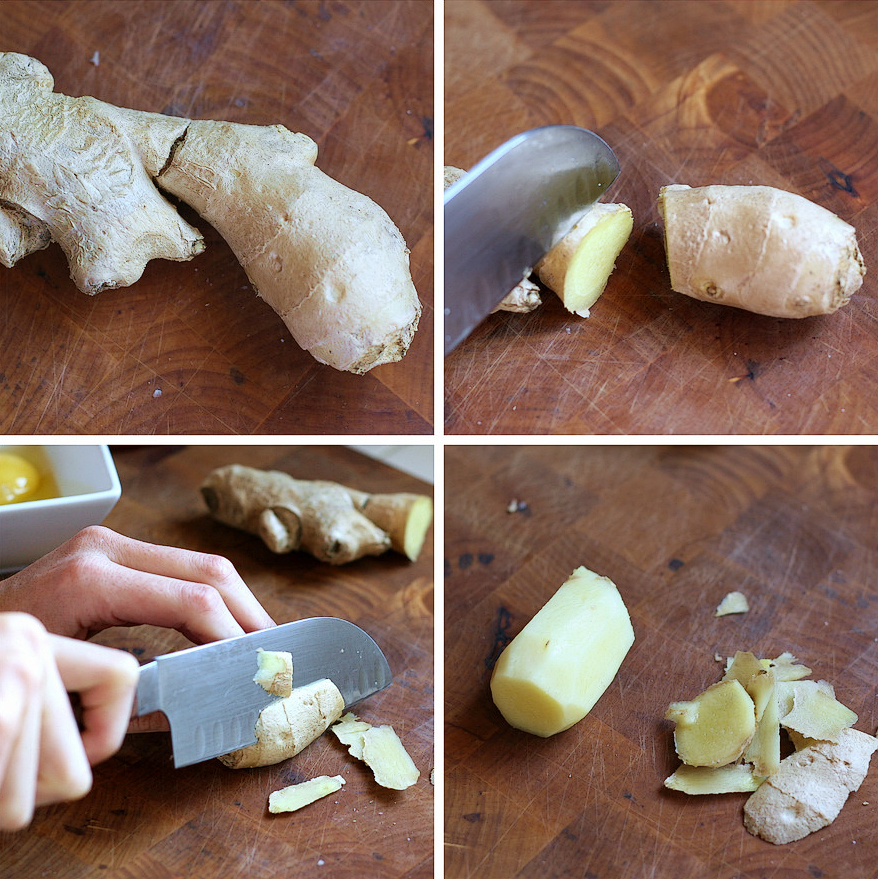
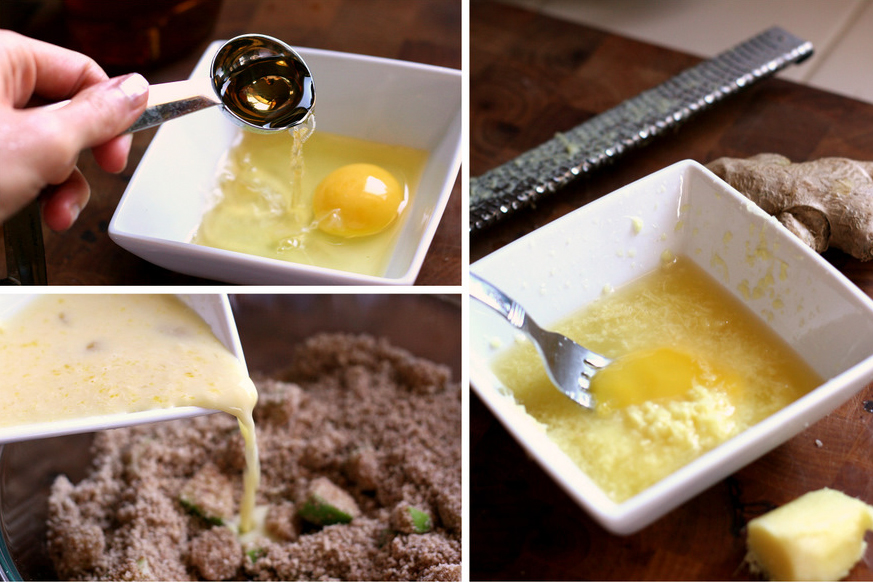
Now for the wet stuff. Prep the ginger by peeling it and grating some into a small bowl.

There are lots of ways to grate ginger, using the back of a spoon and such, but the easiest and fastest way I’ve found is to simply cut it off. Slice as close to the skin as you can, then rotate the knob, slice again, rotate, slice … get my drift?


Tasty Kitchen Blog: Gluten-Free Apple, Ginger and Spice Scones. Guest post by Natalie Perry of Perry's Plate, recipe submitted by TK member Jenni Hulet of The Urban Poser.

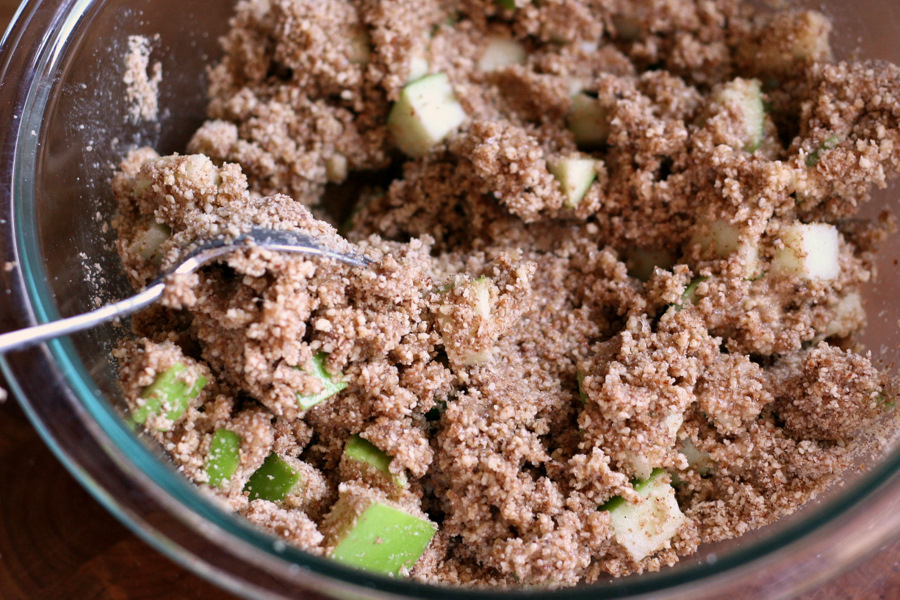
Add the egg and the vinegar to the bowl and beat with a fork. Add the wet mixture to the almond-apple mixture and mix well.


Tasty Kitchen Blog: Gluten-Free Apple, Ginger and Spice Scones. Guest post by Natalie Perry of Perry's Plate, recipe submitted by TK member Jenni Hulet of The Urban Poser.

It may seem, at first, that there’s not enough moisture for the dough to hold together, but keep mixing. It’ll come together. I promise.


Tasty Kitchen Blog: Gluten-Free Apple, Ginger and Spice Scones. Guest post by Natalie Perry of Perry's Plate, recipe submitted by TK member Jenni Hulet of The Urban Poser.

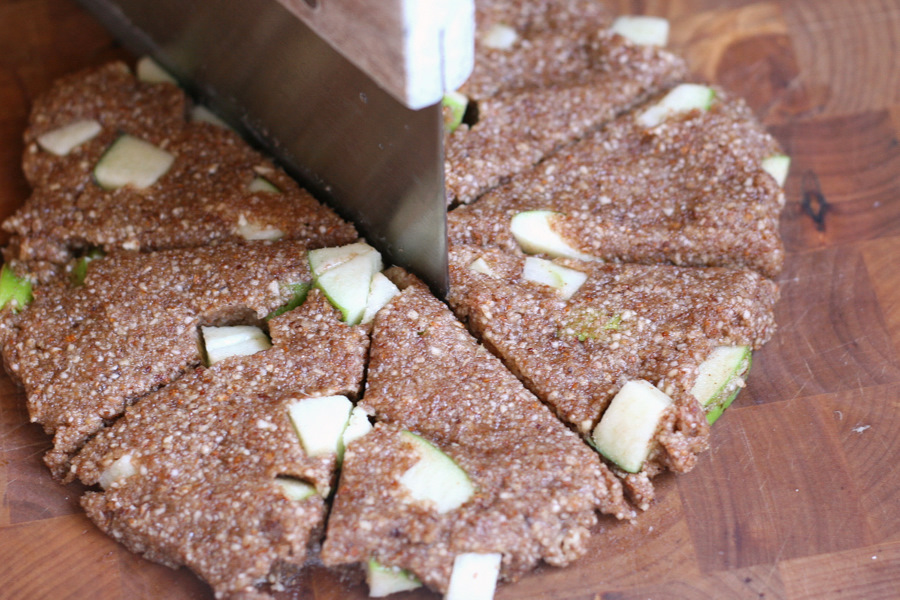
Divide the dough into two balls. Then flatten each ball into a 1/2-inch thick circle and cut into eight segments.

I really, really love my dough cutter. It’s great for cutting dough (of course).


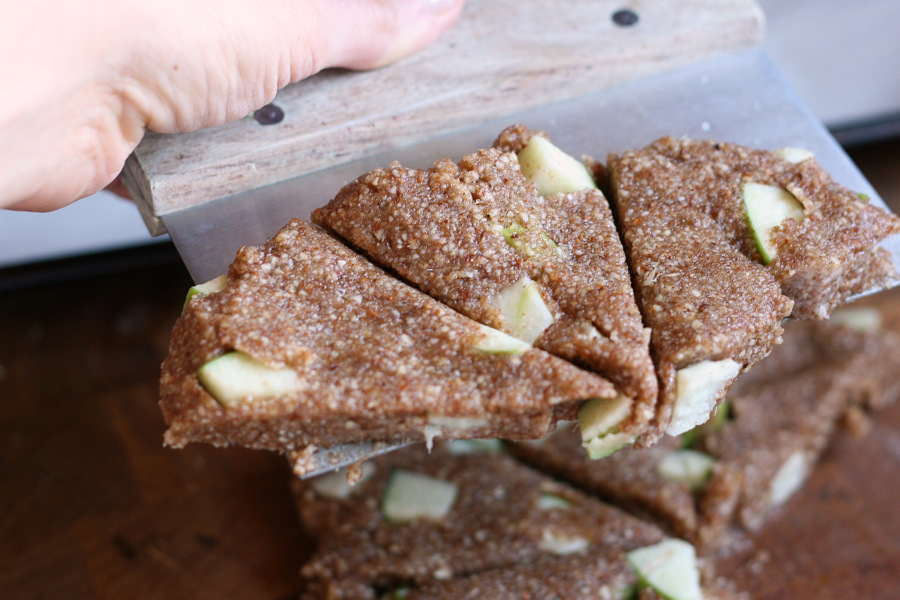
Tasty Kitchen Blog: Gluten-Free Apple, Ginger and Spice Scones. Guest post by Natalie Perry of Perry's Plate, recipe submitted by TK member Jenni Hulet of The Urban Poser.

It’s also great for scooping up pieces of dough, and even scraping your countertops clean after you’ve been working with dough and flour. I love you, dough cutter.


Tasty Kitchen Blog: Gluten-Free Apple, Ginger and Spice Scones. Guest post by Natalie Perry of Perry's Plate, recipe submitted by TK member Jenni Hulet of The Urban Poser.

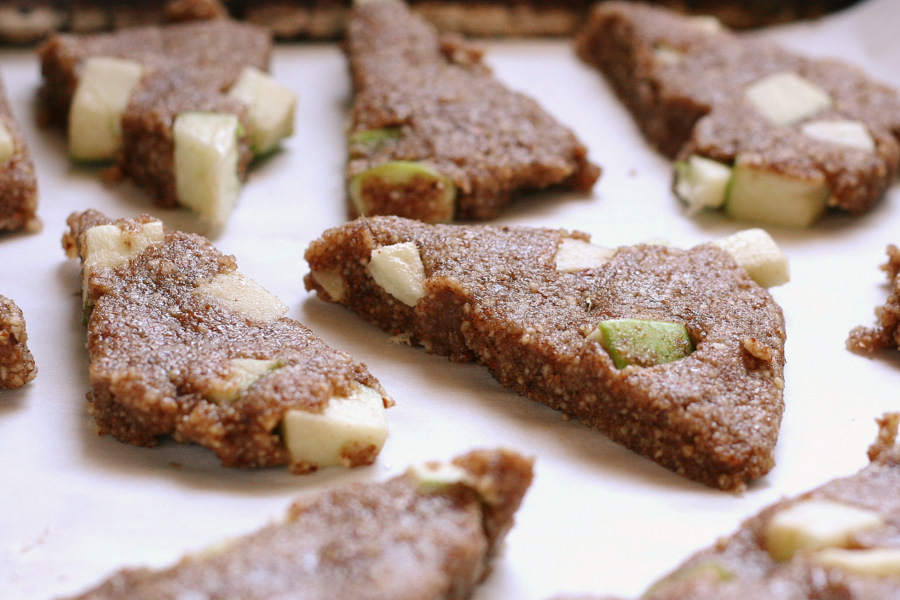
Transfer the scones to parchment-lined stack of baking sheets. Jenni recommended doubling your baking sheets to prevent the bottoms from burning. Nuts tend to burn easily, so this was a great tip.

Bake them for 10-12 minutes or until they just barely start to brown. I wouldn’t bake them longer than that or they’ll be dry.


Tasty Kitchen Blog: Gluten-Free Apple, Ginger and Spice Scones. Guest post by Natalie Perry of Perry's Plate, recipe submitted by TK member Jenni Hulet of The Urban Poser.

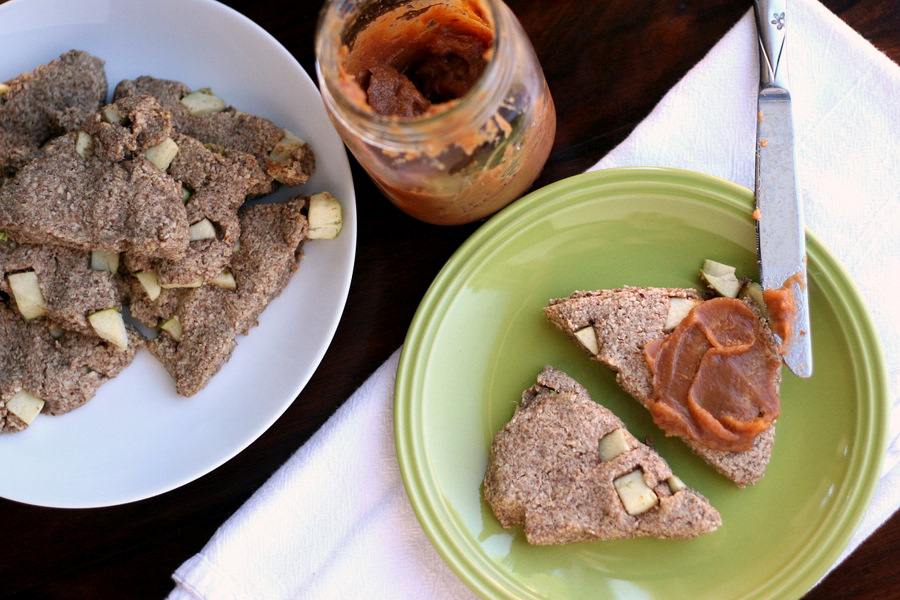
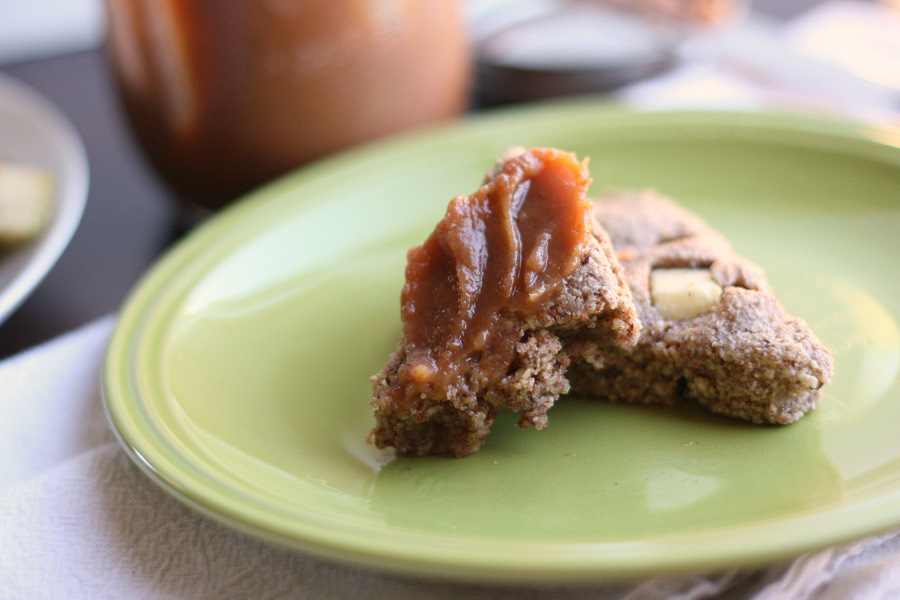
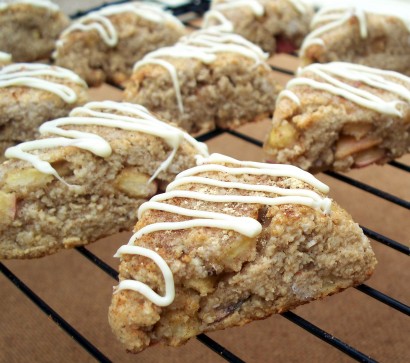
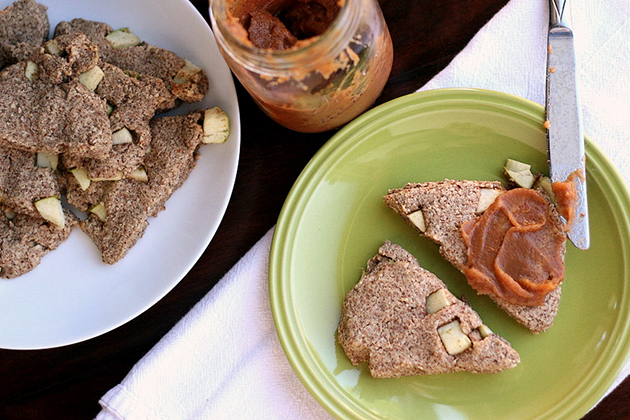
Jenni suggested a drizzle of white chocolate, but we opted for some homemade pear butter. The scones are plenty sweet on their own, more than I thought they’d be with so little sugar. Heck, they’re great with just a smear of regular butter!


Tasty Kitchen Blog: Gluten-Free Apple, Ginger and Spice Scones. Guest post by Natalie Perry of Perry's Plate, recipe submitted by TK member Jenni Hulet of The Urban Poser.

You’ll love these apple-pie-like scones, even if you aren’t on a gluten-free diet. My husband and I and our two small children at the entire batch in one sitting. (Yes, er … all sixteen of them. In our defense, they’re small scones!)

They really are fantastic!

Be sure to visit Jenni’s TK recipe box and her blog The Urban Poser for more natural food recipes!


Printable Recipe

Gluten Free Apple, Ginger, Spice Scones

See post on Jenni Hulet’s site!
5.00 Mitt(s) 1 Rating(s)1 vote, average: 5.00 out of 51 vote, average: 5.00 out of 51 vote, average: 5.00 out of 51 vote, average: 5.00 out of 51 vote, average: 5.00 out of 5

Prep Time:

Cook Time:

Difficulty: Easy

Servings: 16

16
x

Print Options

Page size Letter 3x5 4x6
Text Size Small Medium Large
Content Include description
Include prep time, etc.
Show image

Description

Slightly sweet, reminiscent of apple pie, this gluten free scone will make you want to get up in the morning! Have it with tea or dip it in your coffee. Either way, you won’t care that it’s gluten and grain free! Enjoy.

Ingredients

  • 3 cups Almond Meal
  • 4 Tablespoons Rapunzel Unrefined Cane Sugar
  • ¼ teaspoons Salt
  • 1 teaspoon Baking Soda
  • 1 teaspoon Cinnamon
  • ½ teaspoons Allspice Or Nutmeg
  • 1 cup Chopped Tart Apples
  • 1 whole Egg
  • 1 Tablespoon Apple Cider Vinger
  • 1 Tablespoon Grated Ginger Or Pre-grated Tubed Ginger

Preparation Instructions

First put the almond flour and cane sugar in a blender and blend till fine (a few minuets). You will have to stop and mix a few times as the mixture will get thicker.

Sift the mixture into a large bowl.

Combine the almond flour/sugar mixture with the salt, baking soda, cinnamon, allspice and apples.

In a smaller bowl, combine the egg, vinegar and ginger.

Mix wet ingredients into dry. Lightly knead dough with your hands to ensure proper distribution of ingredients. Don’t worry if it is a bit wet, however you can add a little more almond flour if needed to help bring the dough together.

Form dough into 2 balls and press each one so that each is about ½-inch in thickness. Cut each circle into 8 triangles. Using a metal baking spatula, transfer to parchment paper.

Bake at 375ºF on double or stacked baking sheets (so the bottoms won’t burn). Bake for 10 minutes or till lightly browned.

Mildly destroy the healthy goodness with a drizzle of white chocolate goodness. They even make it dairy free these days.

Notes:
You can get almond meal or flour at your local health food store or make your own by grinding almonds in a blender. You can even use other nut flours in the mix. Even better, use sprouted almonds or sprouted almond flour!

Most often you can find pre-grated tubed ginger in the produce section of your local supermarket. I LOVE this stuff. We put it in everything from morning oatmeal, cookies, stir fry to tea.


_______________________________________

Be sure to check out Natalie’s own beautiful food blog, Perrys’ Plate, where you can see her growing collection of lovely recipes. There’s always something new to see there. Go visit now!


Profile photo of Natalie | Perry's Plate

Ice Cream in a Bag

Posted by in Step-by-Step Recipes

Tasty Kitchen Blog: Ice Cream in a Bag. Guest post by Natalie Perry of Perry's Plate, recipe submitted by TK member Donna of What the Dog Ate.

 
Really quick ice cream. Like, zero to sweet, frozen goodness in under 15 minutes. NOT too good to be true!

When I saw Ice Cream in a Bag by Tasty Kitchen member whatthedogate (Donna) I wondered why I had never tried this before. I thought it might be a fun project to do with my kids, so I gathered up the troops and got started.


Tasty Kitchen Blog: Ice Cream in a Bag. Guest post by Natalie Perry of Perry's Plate, recipe submitted by TK member Donna of What the Dog Ate.

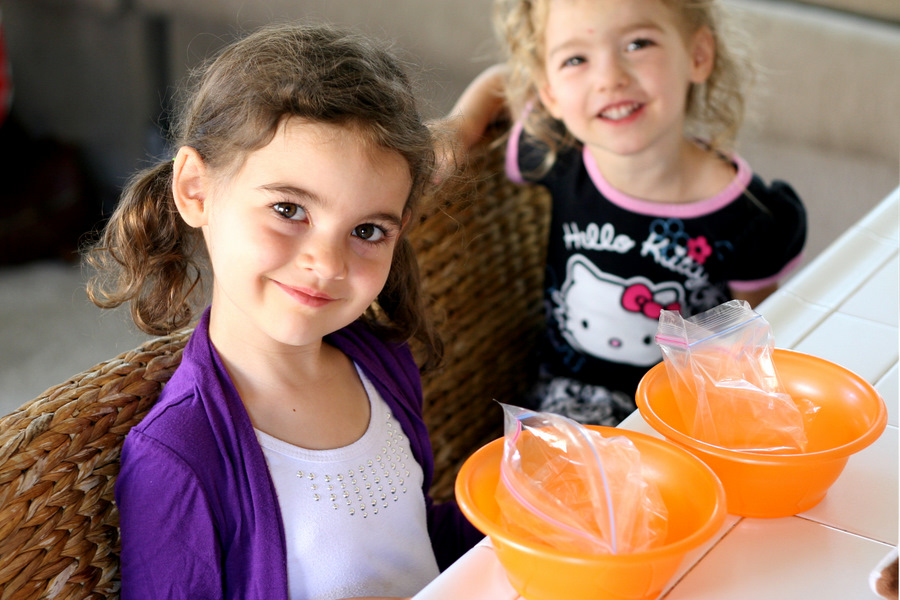
To make two servings of ice cream you’ll need two pint-sized zip top baggies, two bowls, and two willing helpers.


Tasty Kitchen Blog: Ice Cream in a Bag. Guest post by Natalie Perry of Perry's Plate, recipe submitted by TK member Donna of What the Dog Ate.

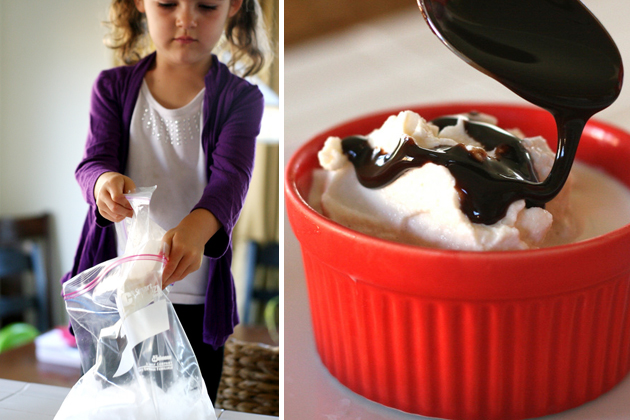
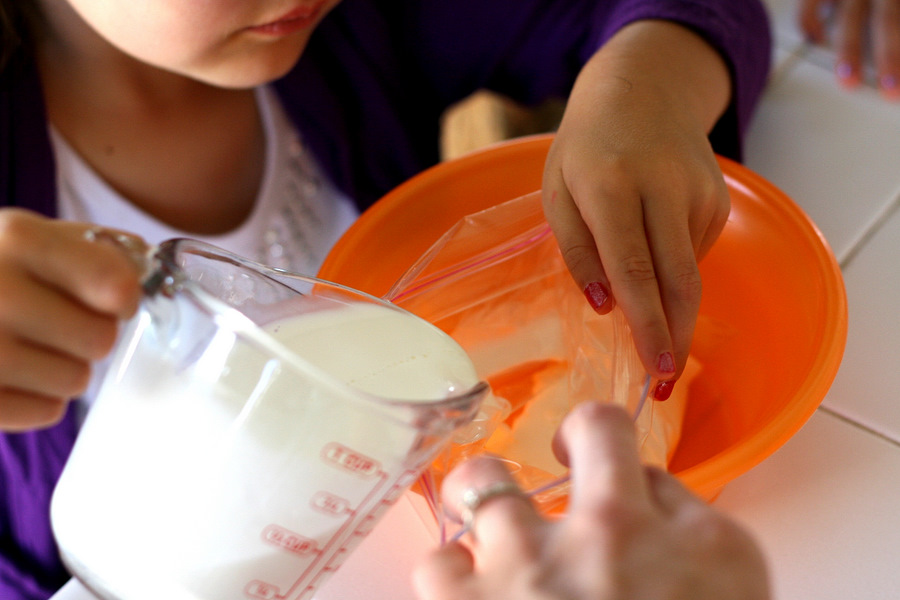
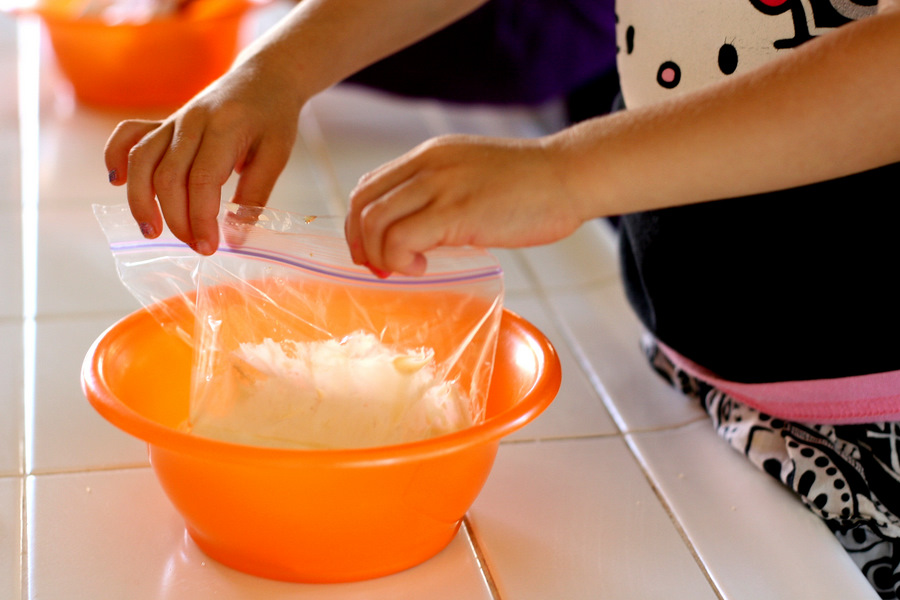
Pour a cup of half-and-half into each baggie. The bowl is there to help the little ones from spilling it all over the place.


Tasty Kitchen Blog: Ice Cream in a Bag. Guest post by Natalie Perry of Perry's Plate, recipe submitted by TK member Donna of What the Dog Ate.

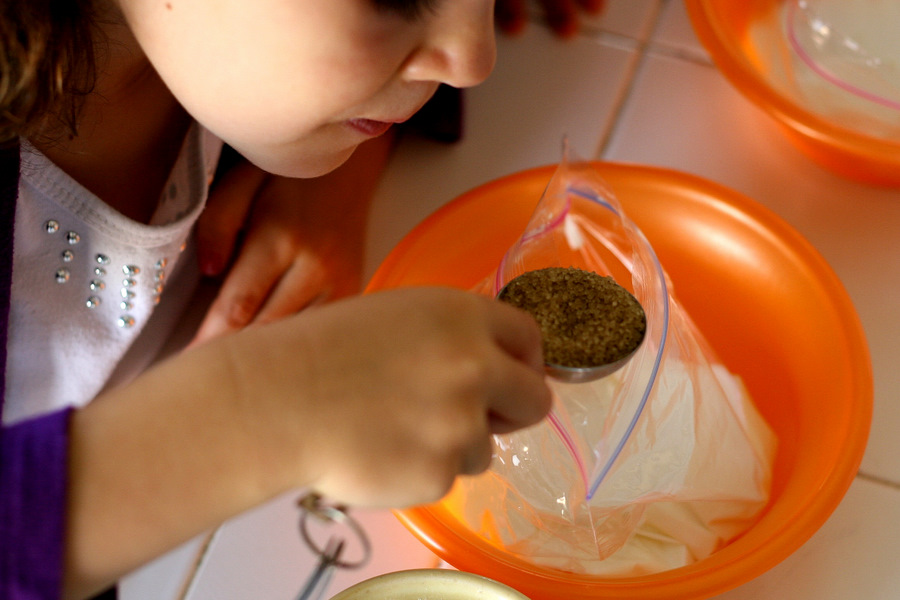
In each bag, add a tablespoon or two of sugar, depending on how sweet you want it. I used raw sugar, which worked nicely.


Tasty Kitchen Blog: Ice Cream in a Bag. Guest post by Natalie Perry of Perry's Plate, recipe submitted by TK member Donna of What the Dog Ate.

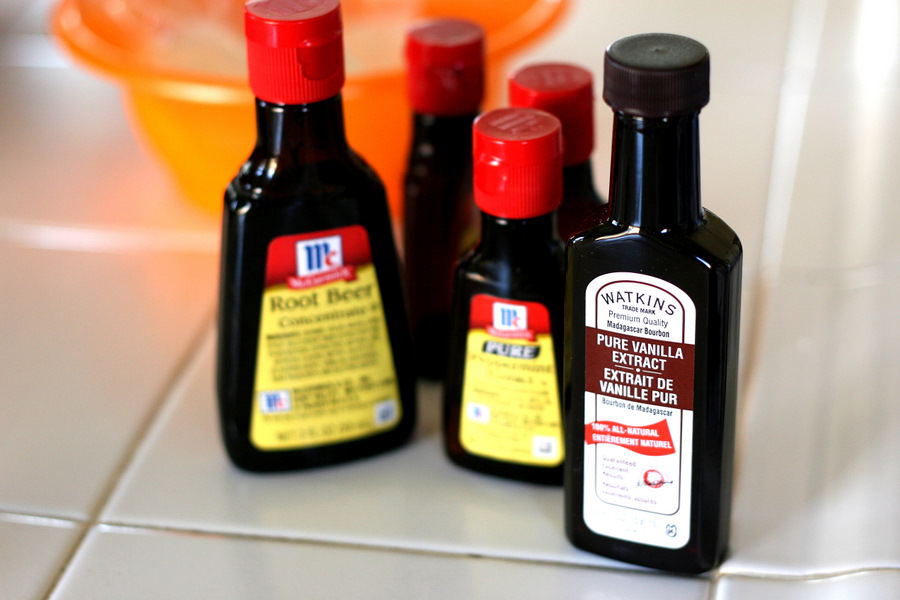
Now pull out all of your fancy extracts and flavorings. Let the kids pick whatever flavor their little hearts desire. (Only to have them both pick vanilla. I swear my kids have more personality than that.)


Tasty Kitchen Blog: Ice Cream in a Bag. Guest post by Natalie Perry of Perry's Plate, recipe submitted by TK member Donna of What the Dog Ate.

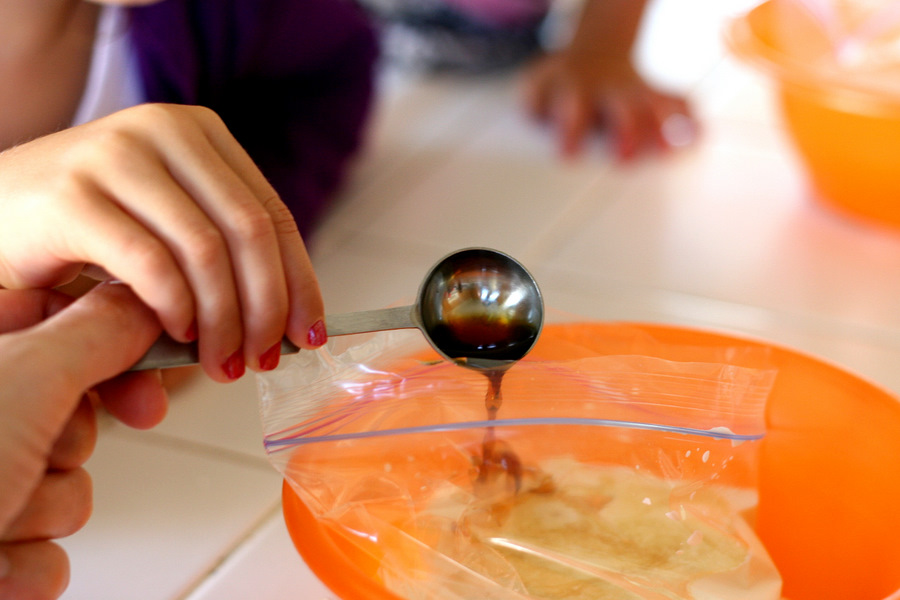
Add about two teaspoons of vanilla extract to the bag. (Measurements may differ depending on the flavor you use.)


Tasty Kitchen Blog: Ice Cream in a Bag. Guest post by Natalie Perry of Perry's Plate, recipe submitted by TK member Donna of What the Dog Ate.

Zip it up tight! (Very important.)


Tasty Kitchen Blog: Ice Cream in a Bag. Guest post by Natalie Perry of Perry's Plate, recipe submitted by TK member Donna of What the Dog Ate.

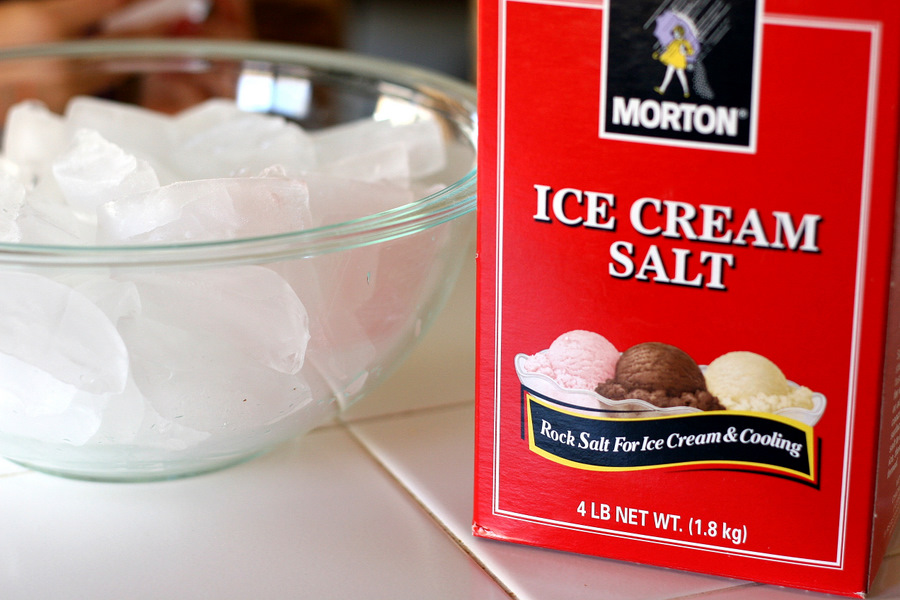
Next pull out a giant bowl of ice and some rock salt. You know, the kind you use in them old-fangled ice cream makers.


Tasty Kitchen Blog: Ice Cream in a Bag. Guest post by Natalie Perry of Perry's Plate, recipe submitted by TK member Donna of What the Dog Ate.

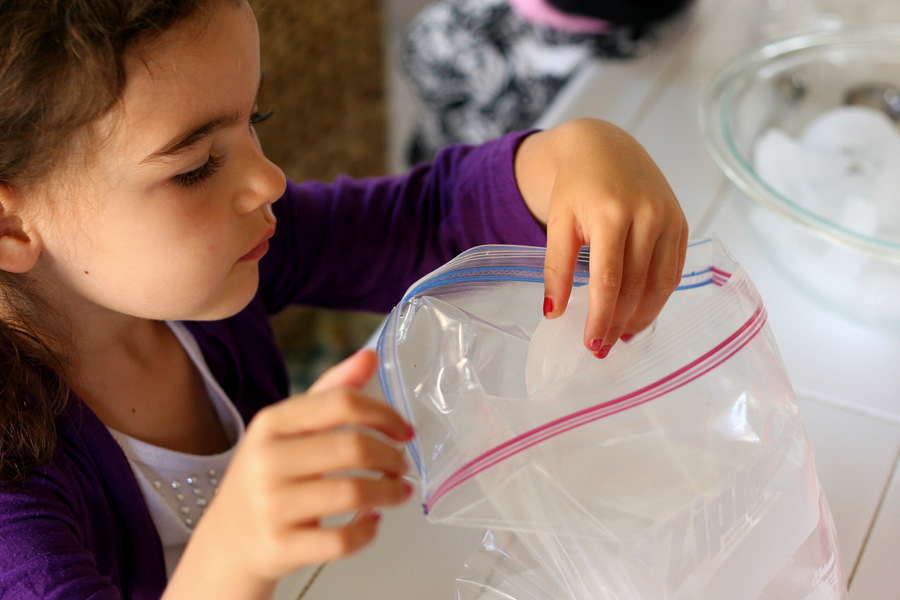
Grab a gallon-sized zip top bag for each small bag and fill them about 1/3 full of ice. (The recipe says 4 cups for each bag.)


Tasty Kitchen Blog: Ice Cream in a Bag. Guest post by Natalie Perry of Perry's Plate, recipe submitted by TK member Donna of What the Dog Ate.

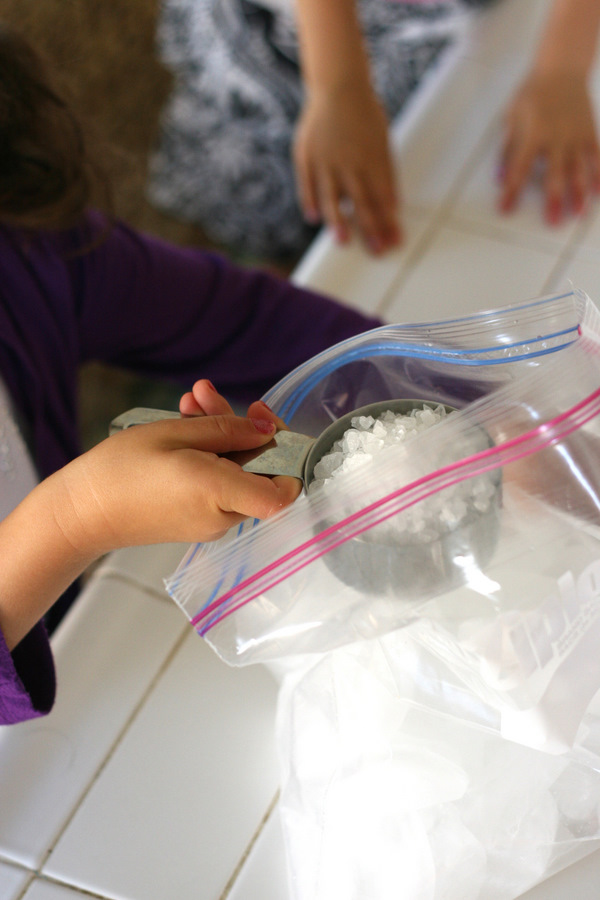
Add 1/2 cup of rock salt to each bag of ice.


Tasty Kitchen Blog: Ice Cream in a Bag. Guest post by Natalie Perry of Perry's Plate, recipe submitted by TK member Donna of What the Dog Ate.

Now place one pint-sized bag into each gallon-sized bag. To go one step further, place that whole thing into another gallon-sized bag. If that seems a little wasteful, I’m sure they can be easily rinsed out and re-used.


Tasty Kitchen Blog: Ice Cream in a Bag. Guest post by Natalie Perry of Perry's Plate, recipe submitted by TK member Donna of What the Dog Ate.

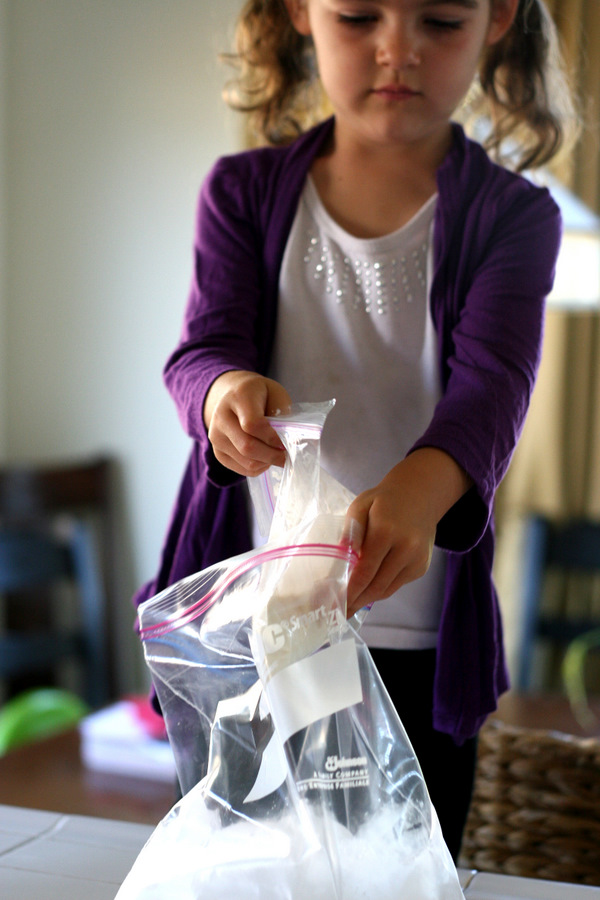
Now let those kids earn their ice cream. Shake, shake, shake! Or carefully kick it around on the floor.

May I take a moment to leave you with a mommy comment? I love my kids. A lot. Becoming a mother is one of the best decisions I’ve ever made. But motherhood has absolutely crushed my pre-baby dreams of being in charge and doing what I want all day long. Oh, and dressing my kids up everyday to look like Gap models. I have very little say in what they wear and how (or if) I do their hair. Luckily you caught them on a good day.

Back to the ice cream. The bag needs to be shaken for about 5 minutes straight.


Tasty Kitchen Blog: Ice Cream in a Bag. Guest post by Natalie Perry of Perry's Plate, recipe submitted by TK member Donna of What the Dog Ate.

If after 45 seconds you start getting looks like this, you might want to step in and help. The recipe suggests sticking the bags in the washing machine through a couple of spin cycles. I tried it and it actually works!


Tasty Kitchen Blog: Ice Cream in a Bag. Guest post by Natalie Perry of Perry's Plate, recipe submitted by TK member Donna of What the Dog Ate.

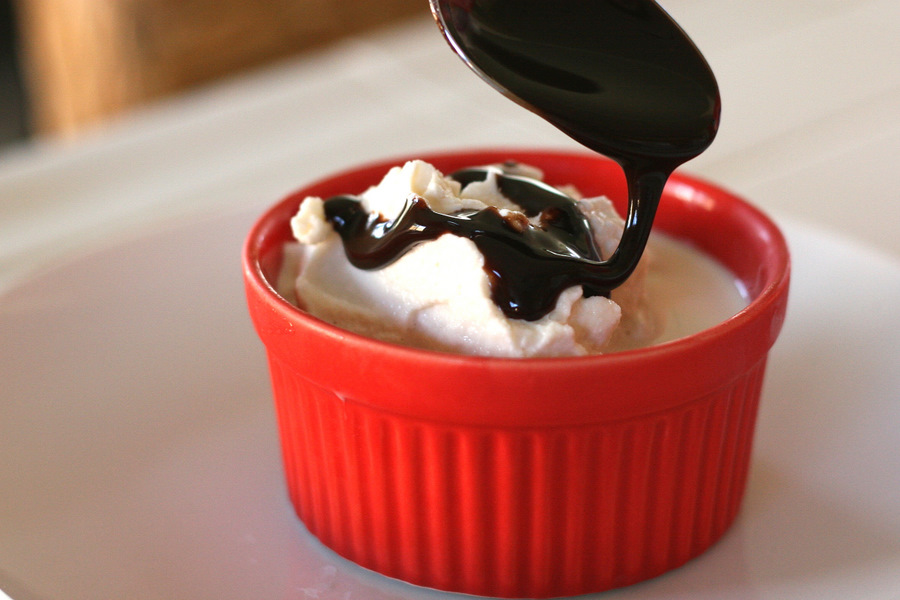
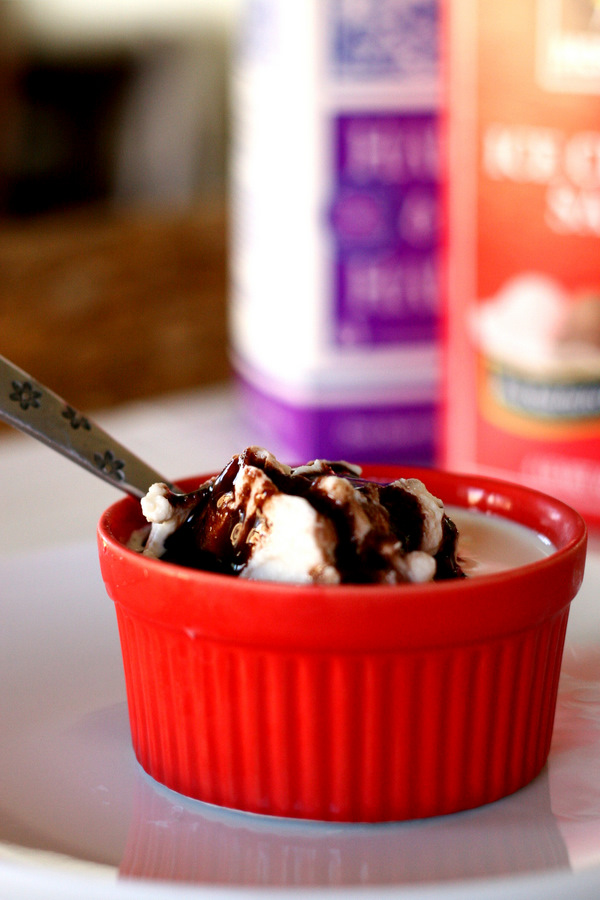
The result? Sweet, creamy, frozen goodness.

If you’re expecting Ben & Jerry’s to come out of that bag, you may be slightly disappointed. The ice cream isn’t gourmet quality, but it’s made with fresh ingredients and tastes like homemade ice cream (which is more than most store-bought brands can claim).

Plus, I have never met a kid who was picky about their ice cream.


Tasty Kitchen Blog: Ice Cream in a Bag. Guest post by Natalie Perry of Perry's Plate, recipe submitted by TK member Donna of What the Dog Ate.

Thank you Donna for a great activity to do with my kids! Check out Donna’s blog What the Dog Ate as well as her recipe box for more great recipes, including Edible Ice Cream Bowls and Homemade Microwave Popcorn!

One note about the recipe: If possible, use freezer bags for the ice cream. Both of my bags leaked a little, and I don’t know if it was due to my daughter kicking it around on the floor, putting it in the washer, or using a flimsy pint-sized bag.


Printable Recipe

Ice Cream in a Bag

See post on whatthedogate’s site!
4.00 Mitt(s) 1 Rating(s)1 vote, average: 4.00 out of 51 vote, average: 4.00 out of 51 vote, average: 4.00 out of 51 vote, average: 4.00 out of 51 vote, average: 4.00 out of 5

Prep Time:

Cook Time:

Difficulty: Easy

Servings: 4

4
x

Print Options

Page size Letter 3x5 4x6
Text Size Small Medium Large
Content Include description
Include prep time, etc.
Show image

Description

In honor of summer, you must, must try Ice Cream in a Bag. It is such a fun, kid friendly activity. And it’s so yummy!

Ingredients

  • 4 cups Half-and-half
  • 8 Tablespoons Sugar
  • 2 teaspoons Vanilla Extract
  • 4 whole Pint Sized Zip Lock Baggies
  • 16 cups Ice
  • 8 whole Gallon Sized Zip Lock Type Baggies
  • 2 cups Salt, Rock Salt Type

Preparation Instructions

Measure out 1 cup half and half into a pint sized baggie. Add 2 tablespoons of sugar and 1/2 teaspoon vanilla extract. Repeat for the remaining three pint sized baggies. I used a loaf pan to hold the baggies while I added the ingredients. No spills! Seal the baggies and place them in the freezer while you assemble the gallon sized baggies.

Fill each of four gallon sized baggies half-way full of ice. For me this was about 4 cups of ice for each of the four gallon sized baggies. Add 1/2 cup of ice cream salt to each gallon sized baggie of ice. Now double bag those puppies. That’s where you get the 8 gallon sized baggies from.

Remove the ice cream mixtures from the freezer. Recheck the seal on the ice cream mixture to make sure they are well sealed, and place one pint sized baggie into one gallon sized ice set up. Seal each of the gallon baggies.

Shake, shake, shake for at least 5 minutes. For my little ones, this proved to be a little challenging, so I helped out. Then it got a bit cold for my hands. You could try wearing oven mitts to insulate your hands from the cold. Me? I put all four set-ups in my front-loader washing machine and set it to spin. Three minutes did the trick!

This project would make a great summer time scientific inquiry for the kiddos. “Which agitation method produces an ice-cream like consistency in the fastest time?” I fully expect everyone to try this out and report your results in the comments section. Now get shakin’!


_______________________________________

Be sure to check out Natalie’s own beautiful food blog, Perrys’ Plate, where you can see her growing collection of lovely recipes. There’s always something new to see there. Go visit now!


Profile photo of Natalie | Perry's Plate

Breakfast Salad

Posted by in Step-by-Step Recipes

Tasty Kitchen Blog Breakfast Salad. Guest post by Natalie Perry of Perry's Plate, recipe submitted by TK member Sommer of A Spicy Perspective.

 
Salad. For breakfast. Sounds a little weird, but we’ve been making breakfast salads in the Perry house for over a year now. If anyone had told me five years ago that I’d be eating salads for breakfast and keeping things like flaxseed and giant containers of coconut oil in my pantry, I would have laughed. And maybe shed a tear or two.

TK member Sommer from A Spicy Perspective is obviously a salad-for-breakfast convert, judging from this amazing creation of hers: Breakfast Salad with Cinnamon Toast Croutons and Maple Vinaigrette. The sound of those croutons and vinaigrette practically clubbed me over the head and forced me to add it to my recipe box. They’ll make anyone a salad-for-breakfast convert. I guarantee it.

I made this salad for my husband’s birthday breakfast. Yes, my husband loves salads. He’s actually the one who got ME to eat salads for breakfast. (How did I luck out?)


Tasty Kitchen Blog Breakfast Salad. Guest post by Natalie Perry of Perry's Plate, recipe submitted by TK member Sommer of A Spicy Perspective.

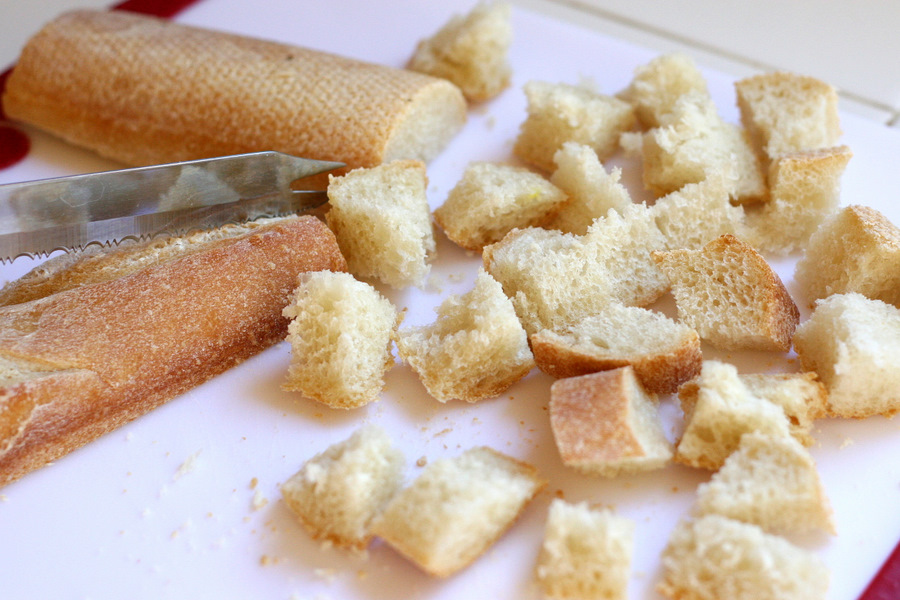
Let’s start on those tasty cinnamon-sugar morsels by preheating the oven and slicing a baguette into 1-inch cubes.


Tasty Kitchen Blog Breakfast Salad. Guest post by Natalie Perry of Perry's Plate, recipe submitted by TK member Sommer of A Spicy Perspective.

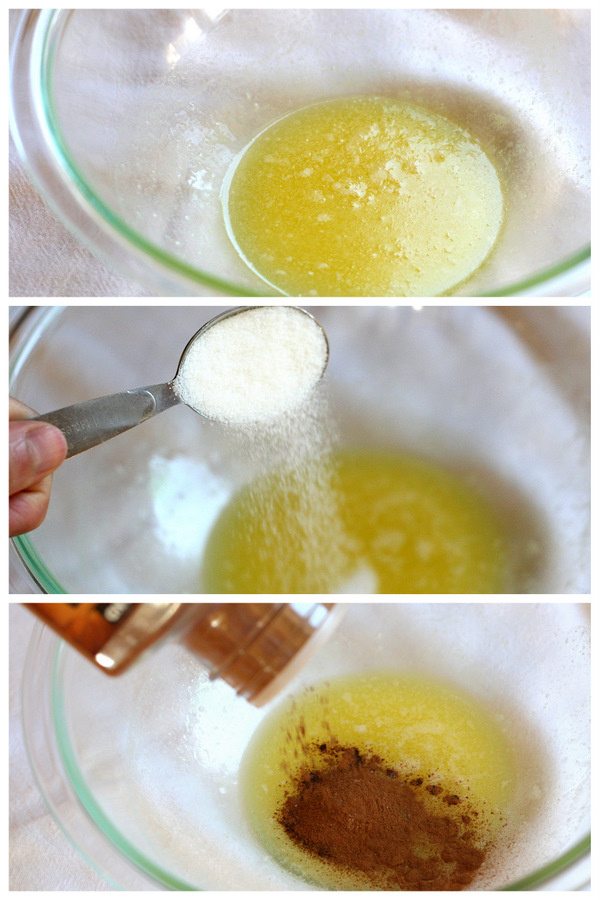
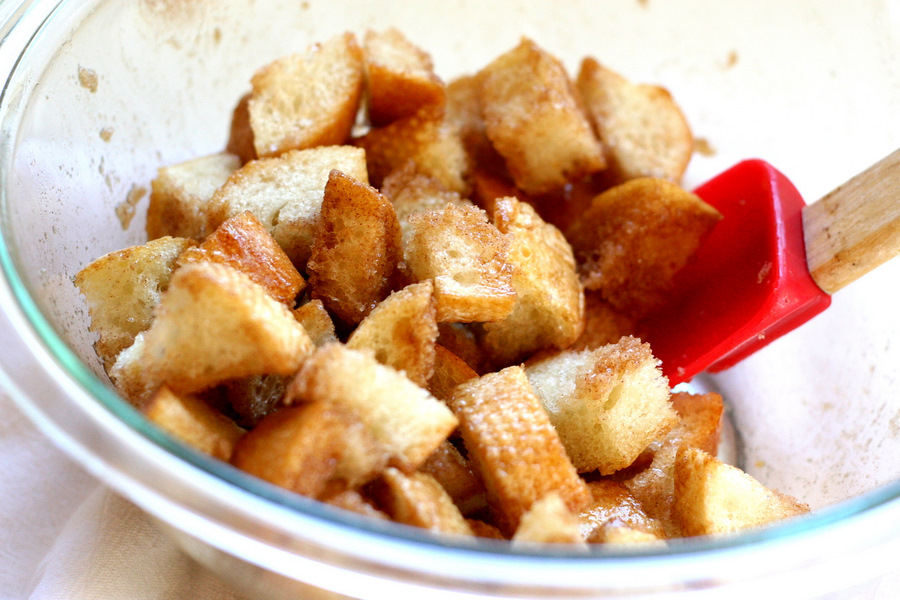
Melt some butter in a bowl and add the sugar and cinnamon. Mix to combine.


Tasty Kitchen Blog Breakfast Salad. Guest post by Natalie Perry of Perry's Plate, recipe submitted by TK member Sommer of A Spicy Perspective.

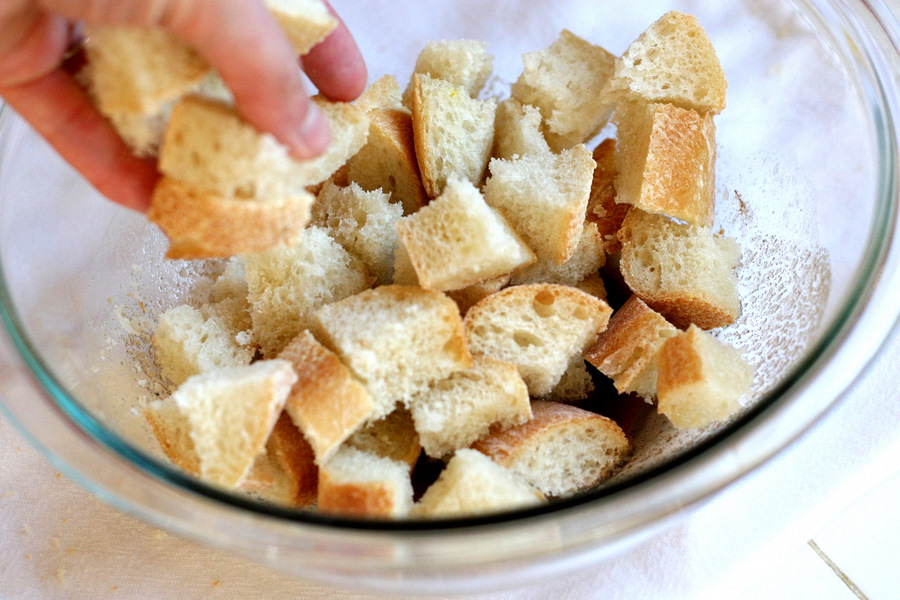
Throw the bread cubes on top.


Tasty Kitchen Blog Breakfast Salad. Guest post by Natalie Perry of Perry's Plate, recipe submitted by TK member Sommer of A Spicy Perspective.

Toss them around to make sure the cubes are coated. Go ahead and eat a few. I ate six.


Tasty Kitchen Blog Breakfast Salad. Guest post by Natalie Perry of Perry's Plate, recipe submitted by TK member Sommer of A Spicy Perspective.

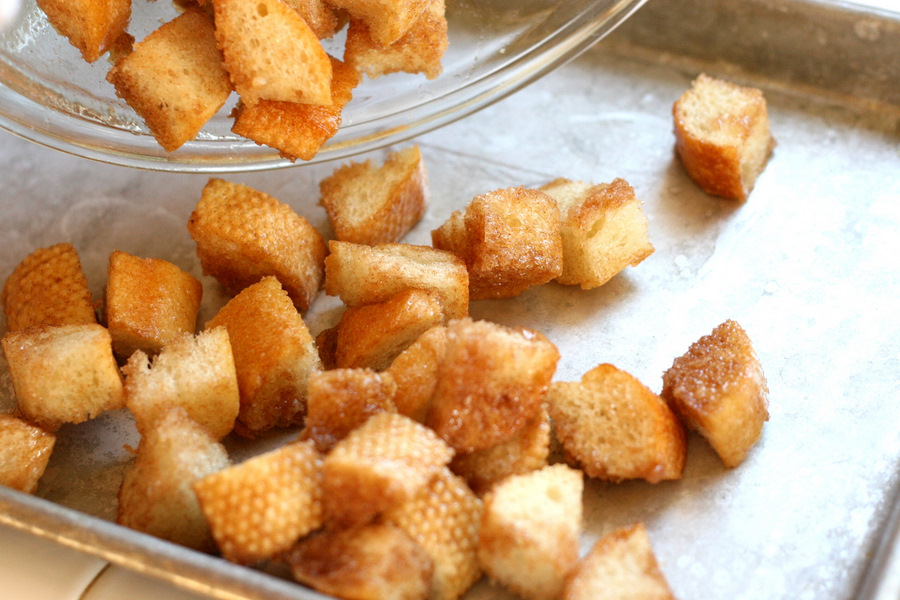
Spread the cubes out on a sheet pan and pop them in the oven for 5-10 minutes until they’re toasty.


Tasty Kitchen Blog Breakfast Salad. Guest post by Natalie Perry of Perry's Plate, recipe submitted by TK member Sommer of A Spicy Perspective.

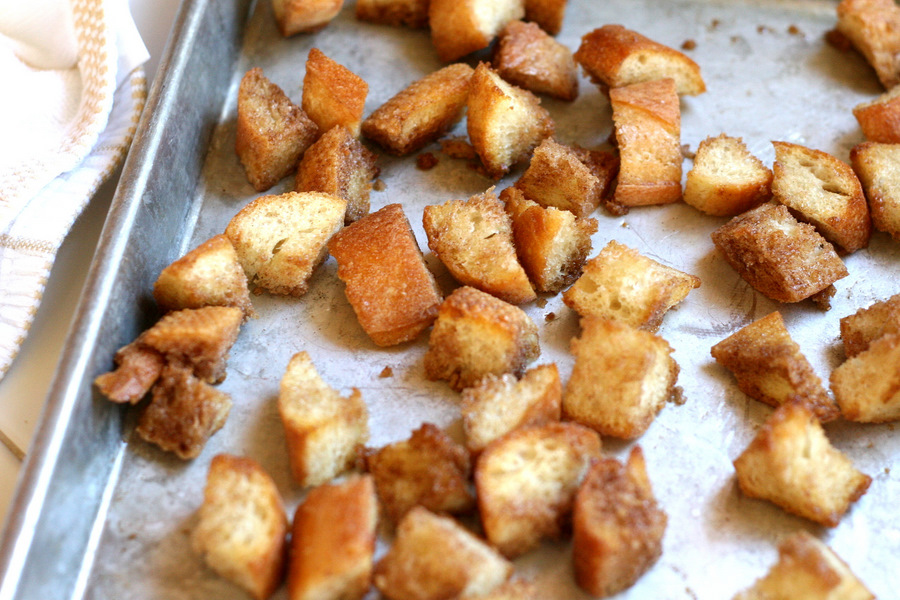
Like this. Okay, so they don’t really look that different when they’re toasted. They sure taste great though. (Six more down the hatch.)


Tasty Kitchen Blog Breakfast Salad. Guest post by Natalie Perry of Perry's Plate, recipe submitted by TK member Sommer of A Spicy Perspective.

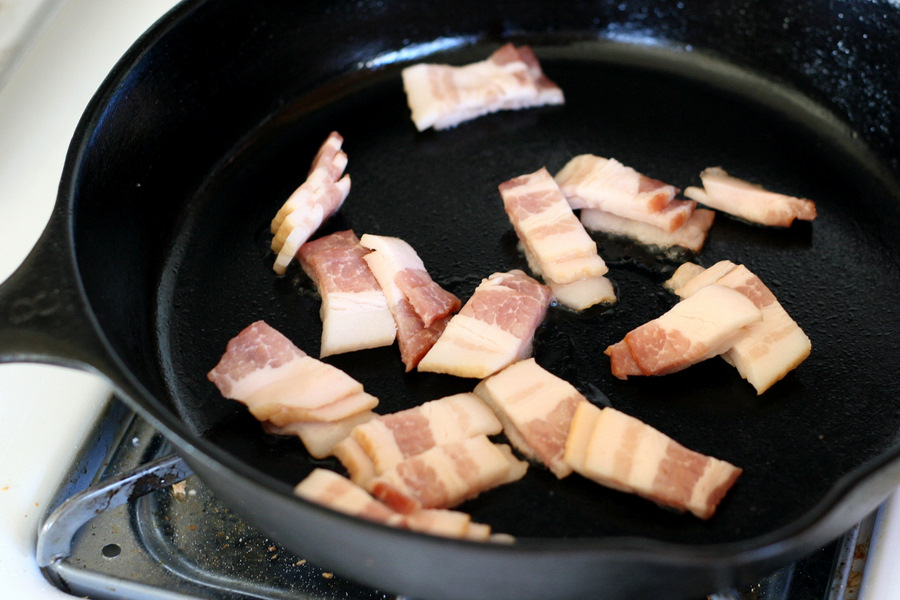
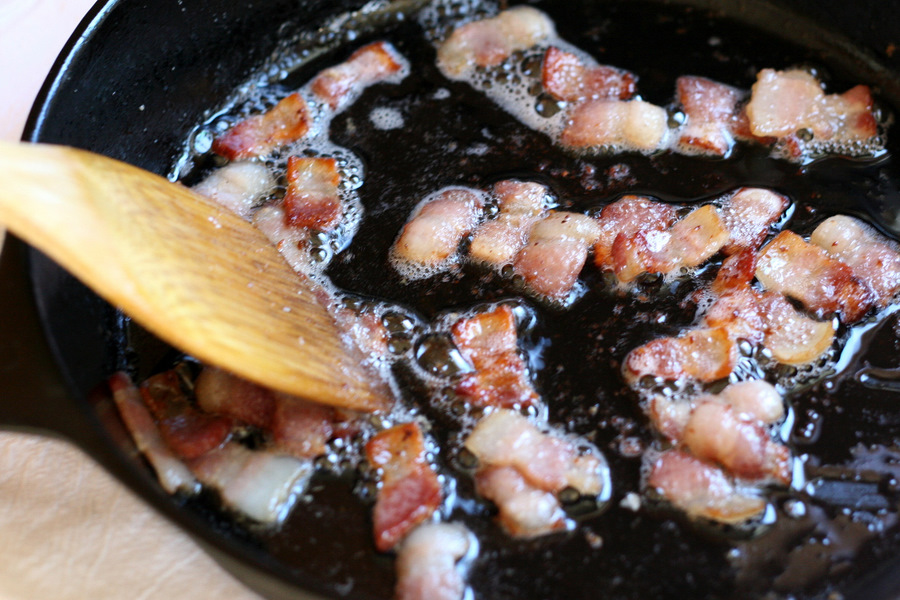
Now on to the bacon. Add the chopped, uncooked bacon to a skillet and cook over medium heat.


Tasty Kitchen Blog Breakfast Salad. Guest post by Natalie Perry of Perry's Plate, recipe submitted by TK member Sommer of A Spicy Perspective.

Keep an eye on it and stir it around frequently. It amazes me that I never knew how to cook bacon for half of my adult life. I’m not sure if that was a good thing or a bad thing.


Tasty Kitchen Blog Breakfast Salad. Guest post by Natalie Perry of Perry's Plate, recipe submitted by TK member Sommer of A Spicy Perspective.

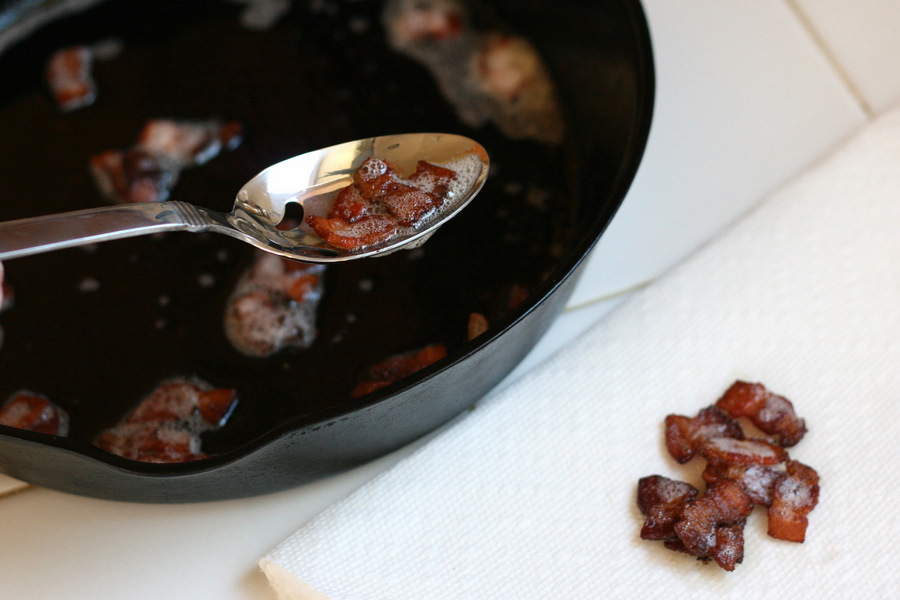
When it’s as crispy as you like it (I like it about 30 seconds away from burned), transfer the bits to a paper towel to drain.


Tasty Kitchen Blog Breakfast Salad. Guest post by Natalie Perry of Perry's Plate, recipe submitted by TK member Sommer of A Spicy Perspective.

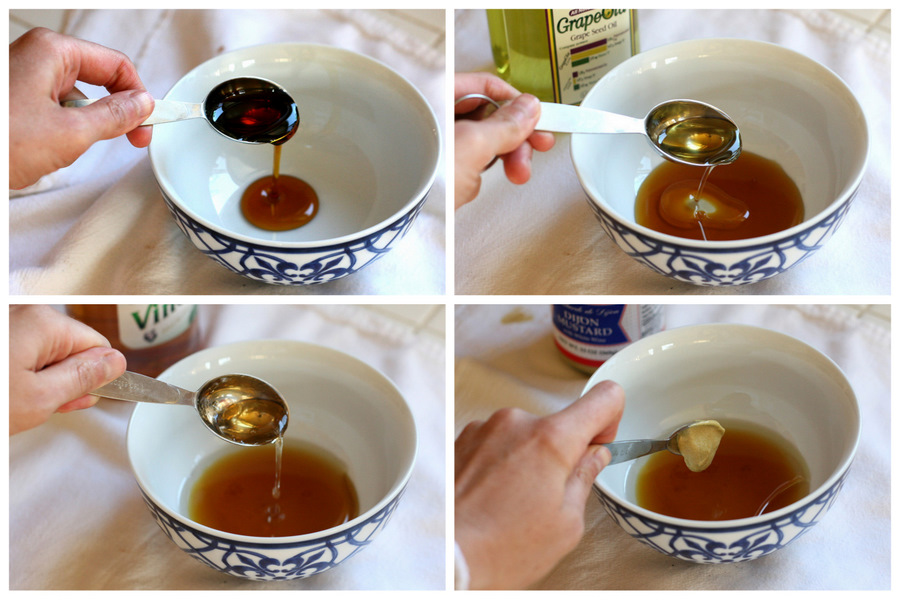
Now for the vinaigrette. This all seems time-consuming, but it really isn’t. You can have the croutons in the oven and the bacon sizzling away while you quickly whisk up the dressing. It’s worth it.

You’ll need (real) maple syrup, a neutral-flavored oil (I used grapeseed), apple cider vinegar, a smidgen of dijon mustard, and a pinch or two of salt and pepper.


Tasty Kitchen Blog Breakfast Salad. Guest post by Natalie Perry of Perry's Plate, recipe submitted by TK member Sommer of A Spicy Perspective.

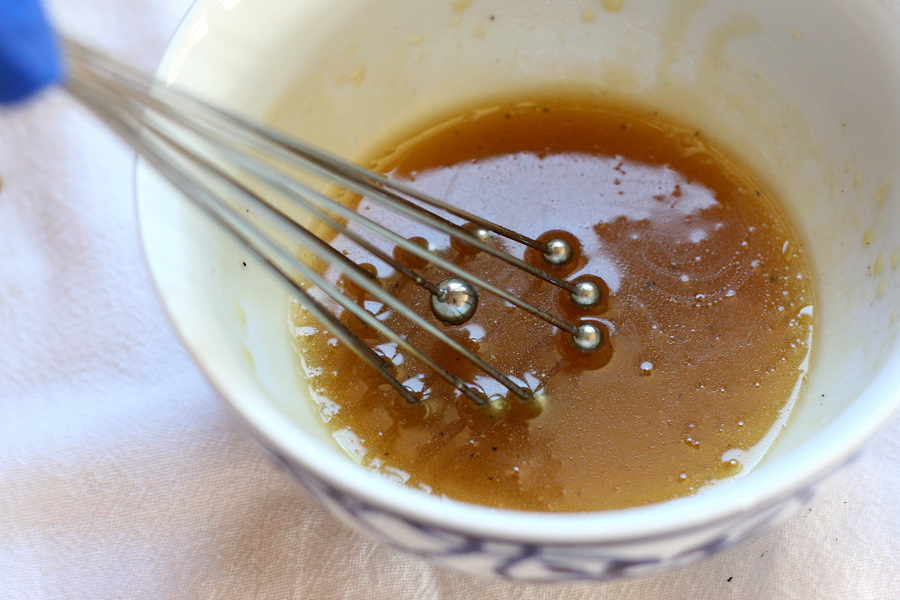
Whisk until the dressing starts to thicken.


Tasty Kitchen Blog Breakfast Salad. Guest post by Natalie Perry of Perry's Plate, recipe submitted by TK member Sommer of A Spicy Perspective.

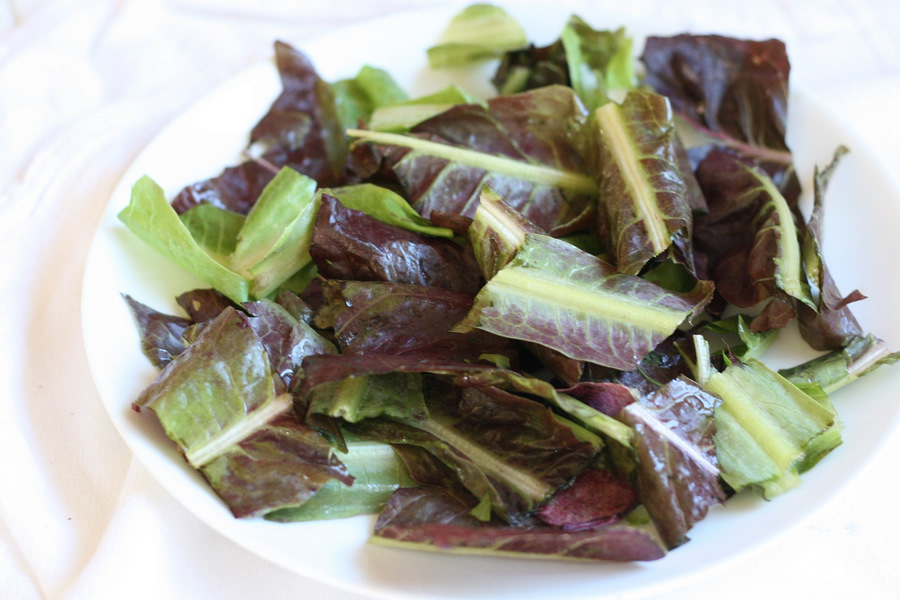
Now put some salad greens on a plate. Sommer used baby spinach. I was fresh out, so I used some lettuce from my CSA box.


Tasty Kitchen Blog Breakfast Salad. Guest post by Natalie Perry of Perry's Plate, recipe submitted by TK member Sommer of A Spicy Perspective.

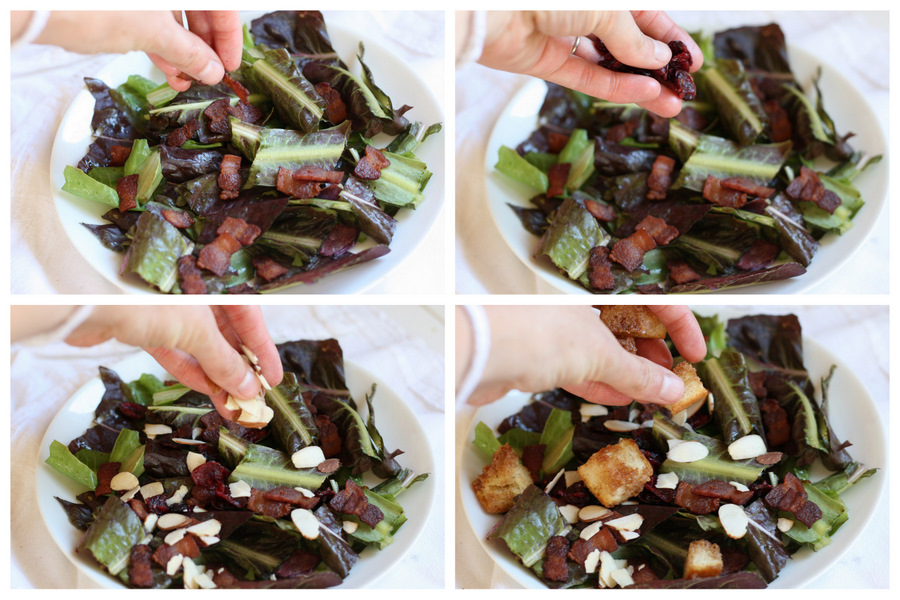
Sprinkle on your toppings: bacon bits, dried cranberries or raisins, nuts (I opted for sliced almonds), and those beautiful croutons.


Tasty Kitchen Blog Breakfast Salad. Guest post by Natalie Perry of Perry's Plate, recipe submitted by TK member Sommer of A Spicy Perspective.

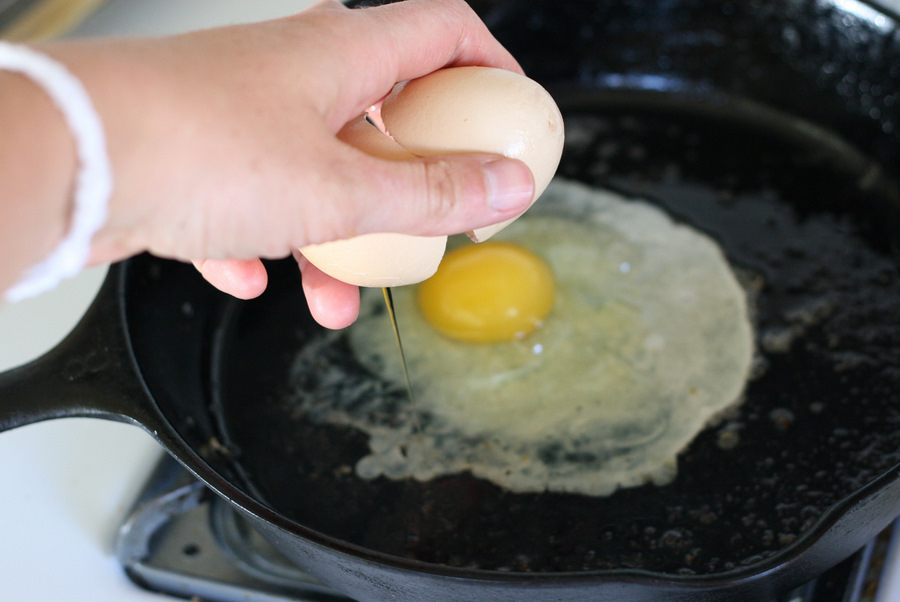
One more time at the stove, then you’re through. Crack an egg into a heated skillet.


Tasty Kitchen Blog Breakfast Salad. Guest post by Natalie Perry of Perry's Plate, recipe submitted by TK member Sommer of A Spicy Perspective.

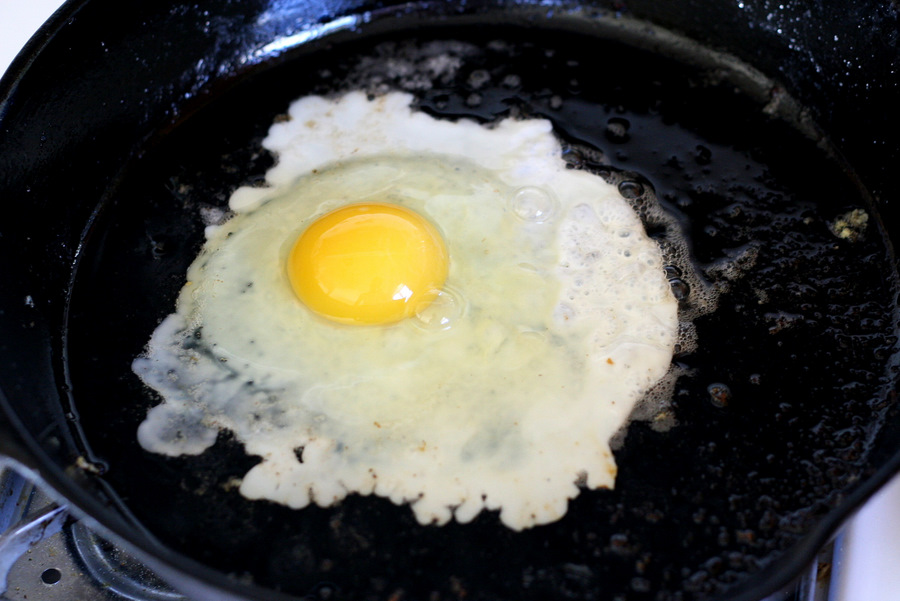
Cook it how you like it—scrambled or sunny side up. You could even poach it in a pan of simmering water. (Don’t ask me how to do that. All of mine end up looking like ragged ghosts, albeit tasty ragged ghosts.)


Tasty Kitchen Blog Breakfast Salad. Guest post by Natalie Perry of Perry's Plate, recipe submitted by TK member Sommer of A Spicy Perspective.

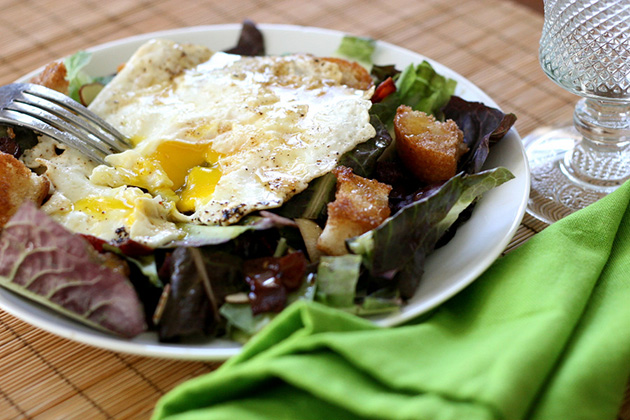
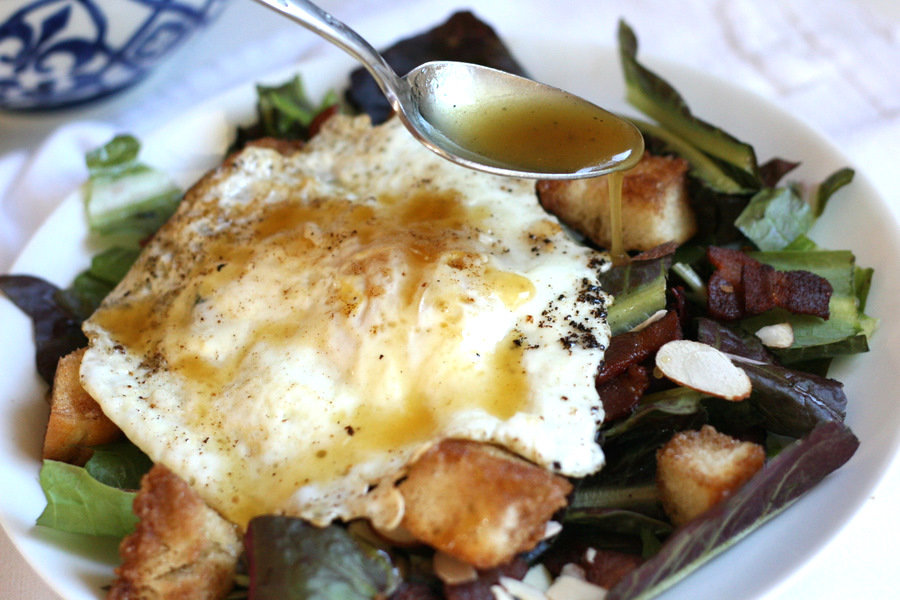
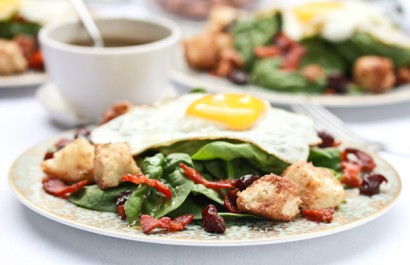
Carefully place the egg over the salad and drizzle some vinaigrette over the whole thing.


Tasty Kitchen Blog Breakfast Salad. Guest post by Natalie Perry of Perry's Plate, recipe submitted by TK member Sommer of A Spicy Perspective.

I used to be a scrambled-only girl, but I’ve grown to love a slightly runny yolk. Especially those found in farm-fresh eggs. I don’t know if there’s anything better than that rich yolk mingling with that sweet vinaigrette. On a crouton. With a piece of bacon stuck to it.

My heavens, Sommer. You’re officially my hero.

Be sure to check out Sommer’s recipe box as well as her beautiful blog A Spicy Perspective for more wonderful recipes!


Printable Recipe

See post on aspicyperspective’s site!
5.00 Mitt(s) 4 Rating(s)4 votes, average: 5.00 out of 54 votes, average: 5.00 out of 54 votes, average: 5.00 out of 54 votes, average: 5.00 out of 54 votes, average: 5.00 out of 5

Prep Time:

Cook Time:

Difficulty: Easy

Servings: 6

6
x

Print Options

Page size Letter 3x5 4x6
Text Size Small Medium Large
Content Include description
Include prep time, etc.
Show image

Description

Get your greens for breakfast, without missing out on your bacon and eggs!

Ingredients

  • 6 cups French Bread Cubes
  • 3 Tablespoons Melted Butter
  • ¼ cups Sugar
  • 1 teaspoon Cinnamon
  • ¼ cups Maple Syrup
  • ¼ cups Vegetable Oil
  • 1 Tablespoon Apple Cider Vinegar
  • 2 teaspoons Dijon Mustard
  • ½ teaspoons Salt
  • Black Pepper To Taste
  • 12 ounces, weight Bacon, Cooked And Crumbled
  • 12 whole Eggs
  • 6 cups Packed Baby Spinach
  • 1 cup Candied Nuts
  • ¾ cups Dried Cherries

Preparation Instructions

For the cinnamon toast croutons: Preheat the oven to 350 degrees F. Lay the bread cubes out on a rimmed baking sheet. Mix the melted butter, sugar, and cinnamon together and drizzle over the bread cubes. Toss and bake for 5-10 minutes until toasted.

For the maple vinaigrette: Whisk the maple syrup, oil, vinegar, mustard, and salt together until smooth. Add pepper to taste. Set aside.

Cook and drain the bacon.

Prepare the eggs to your liking—scrambled, poached, sunny-side-up.

Prepare each salad plate with a heaping cup of baby spinach, topped with cinnamon toast croutons, candied nuts, dried cherries, and crumbled bacon. Then top each with 1-2 eggs and drizzle with maple vinaigrette!


_______________________________________

Be sure to check out Natalie’s own beautiful food blog, Perrys’ Plate, where you can see her growing collection of lovely recipes. There’s always something new to see there. Go visit now!


Profile photo of Natalie | Perry's Plate

Quick and Easy Gyros

Posted by in Step-by-Step Recipes

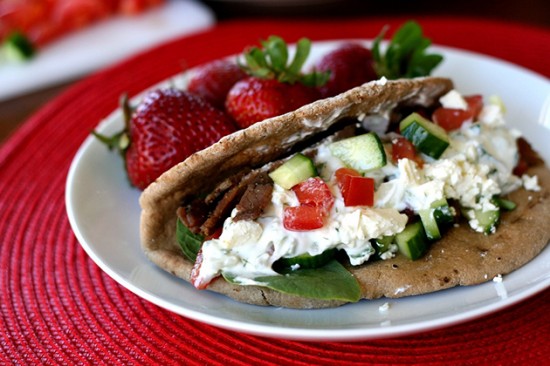
  If there is such a thing as an easy gyro, it must mean that some shortcuts have been made. I’m willing to bet very few of you own a vertical gyro grill. I do not. And if you glanced at the recipe, you might notice that instead of lamb, these gyros are made with […]

Profile photo of Natalie | Perry's Plate

Mango Frozen Yogurt

Posted by in Step-by-Step Recipes

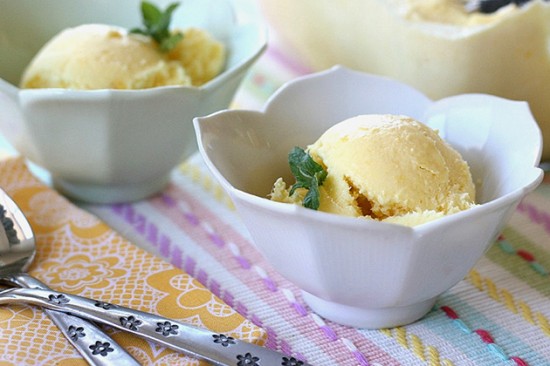
My summertime needs are pretty simple: 1. Flip flops 2. Air-conditioning 3. Lots of fresh fruit 4. An ice cream maker There’s also grilling about 75% of our meals, attempting to tan without burning, and gardening (me=brown, shriveled thumb), but the ones above are absolutely essential. Luckily I was able to combine #3 and #4 […]

Profile photo of Natalie | Perry's Plate

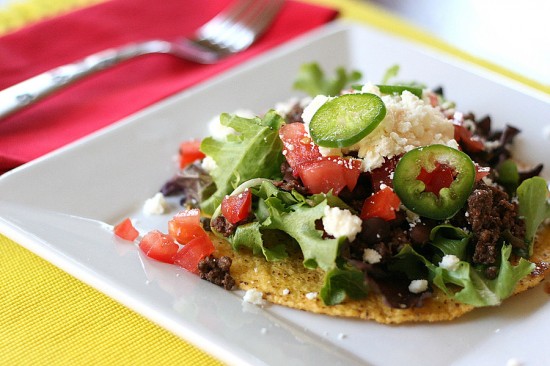
Lamb Tostadas

Posted by in Step-by-Step Recipes

  Ah, lamb. I must admit, I haven’t eaten a lot of lamb in my life. My grandpa was a sheep farmer before he passed away, and my parents ate quite a bit of mutton meals in their home during the early years of marriage. My mom always thought mutton (and lamb) smelled funny, so […]

Profile photo of Natalie | Perry's Plate

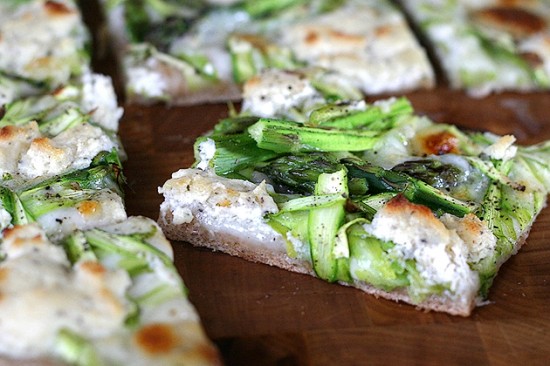
Shaved Asparagus Pizza

Posted by in Step-by-Step Recipes

  Asparagus and I haven’t had the best relationship over the years. I think it was mostly a misunderstanding on my part. Because I really wanted to like asparagus, I did what I usually do with foods I’m trying to get used to: combine it with a food that I absolutely adore. In this case, […]