The Pioneer Woman Tasty Kitchen
Profile photo of Natalie | Perry's Plate

Grandma Inez’s Pineapple Pie

Posted by in Baking, Step-by-Step Recipes

Tasty Kitchen Blog: Pineapple Pie. Guest post and recipe from Natalie Perry of Perry's Plate.

 
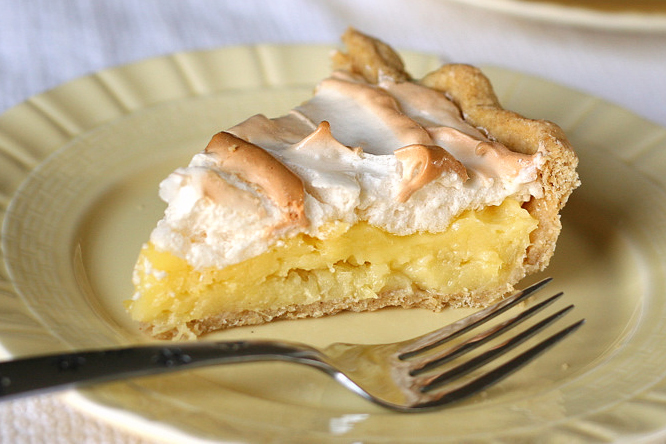
I’m excited to share a recipe from my own box today because it’s one that’s close to my heart. I have a southern grandmother who cooks the best desserts. (I’m guessing many of you are nodding your heads and smiling. You know what I’m talking about, right?) Grandma Inez’s Pineapple Pie is my most favorite pie in the whole world and one of my favorites in her repertoire.

When I tell people my favorite pie is pineapple, I always wonder what kind of images their mind conjures up. A flaky pie crust filled with steaming pineapple rings? Ugh. No wonder they make faces at me. No steaming pineapple rings here. Think of this pie as a pineapple version of lemon meringue. Better now?

Let’s get started!


Tasty Kitchen Blog: Pineapple Pie. Guest post and recipe from Natalie Perry of Perry's Plate.

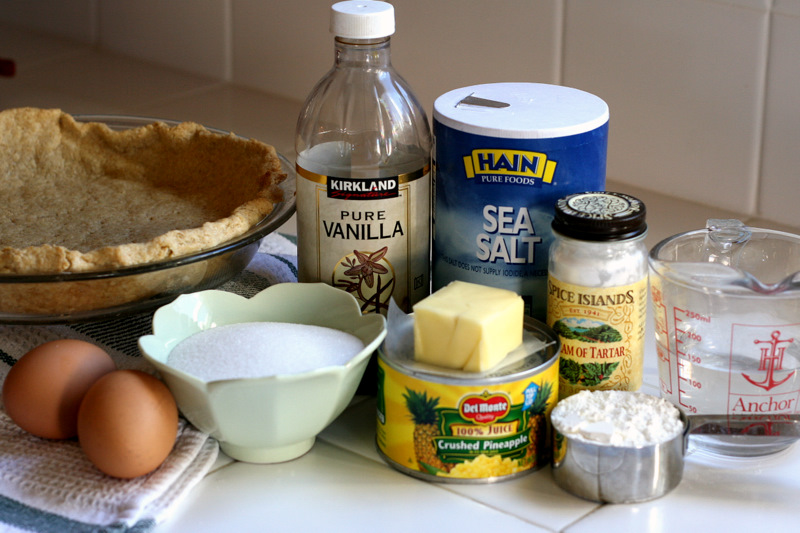
One of the things I love about this pie is that the ingredients are simple and the technique isn’t fussy. You’ll need eggs, sugar, butter, vanilla, salt, cream of tartar, corn starch, water, a can of crushed pineapple, and pre-baked pie crust. A pie crust from scratch is best, especially if it looks like it was made by a three-year-old. (Grandma, don’t look at my crust, please.)


Tasty Kitchen Blog: Pineapple Pie. Guest post and recipe from Natalie Perry of Perry's Plate.

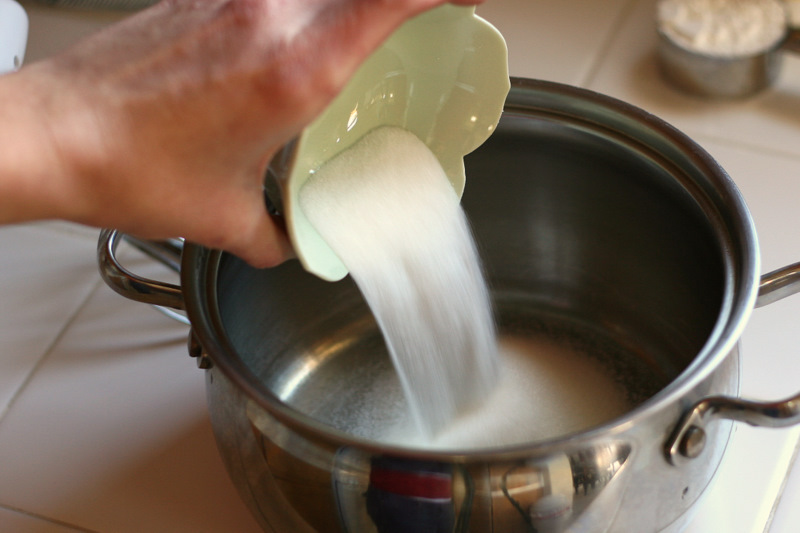
Get a medium saucepan and dump in 3/4 cup sugar …


Tasty Kitchen Blog: Pineapple Pie. Guest post and recipe from Natalie Perry of Perry's Plate.

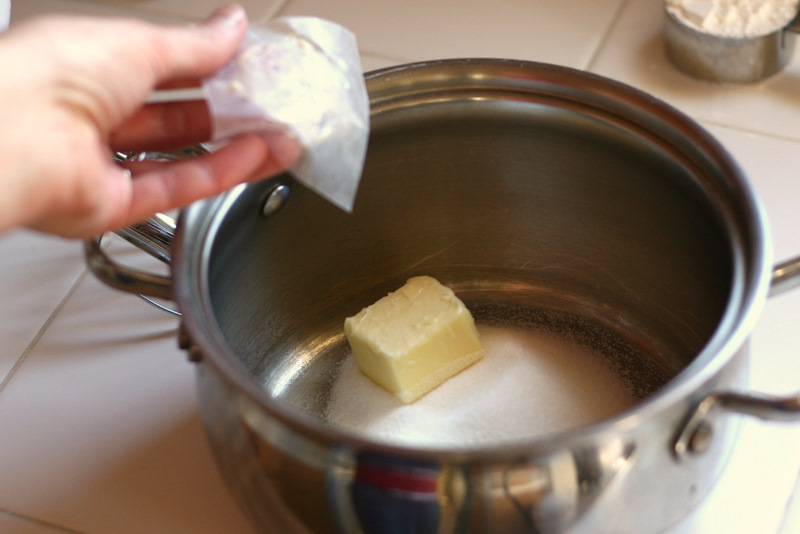
And the butter. Two tablespoons? I know. Pretty weak for a southern recipe, but I’m not going to argue with my grandma.


Tasty Kitchen Blog: Pineapple Pie. Guest post and recipe from Natalie Perry of Perry's Plate.

At this point you’ll need to separate the eggs if you haven’t already. Reserve the whites in a small bowl and set aside.


Tasty Kitchen Blog: Pineapple Pie. Guest post and recipe from Natalie Perry of Perry's Plate.

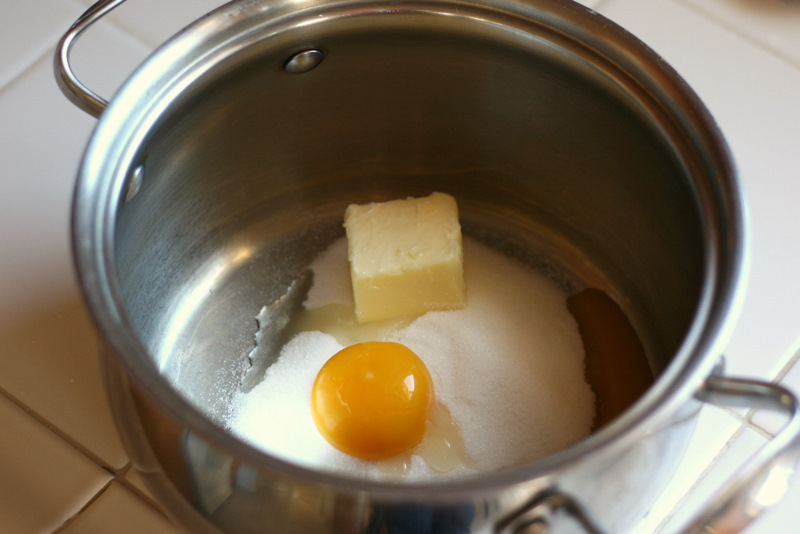
Place the yolks in the saucepan with the sugar and butter.


Tasty Kitchen Blog: Pineapple Pie. Guest post and recipe from Natalie Perry of Perry's Plate.

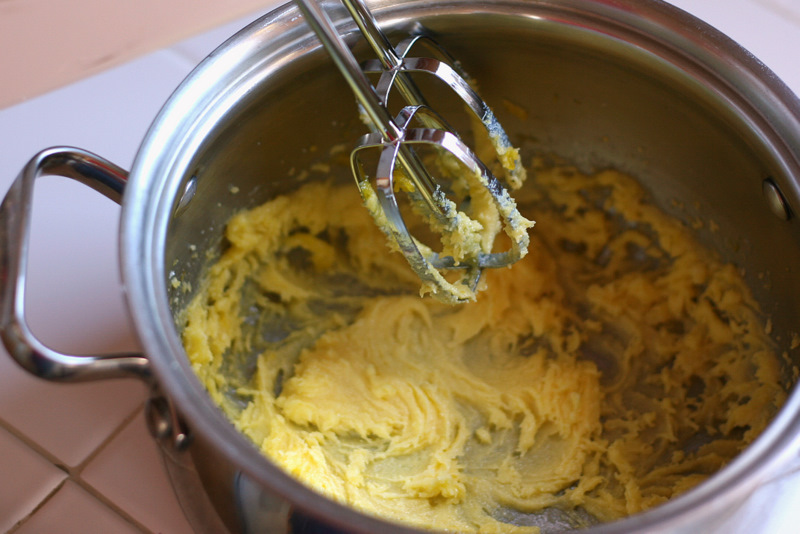
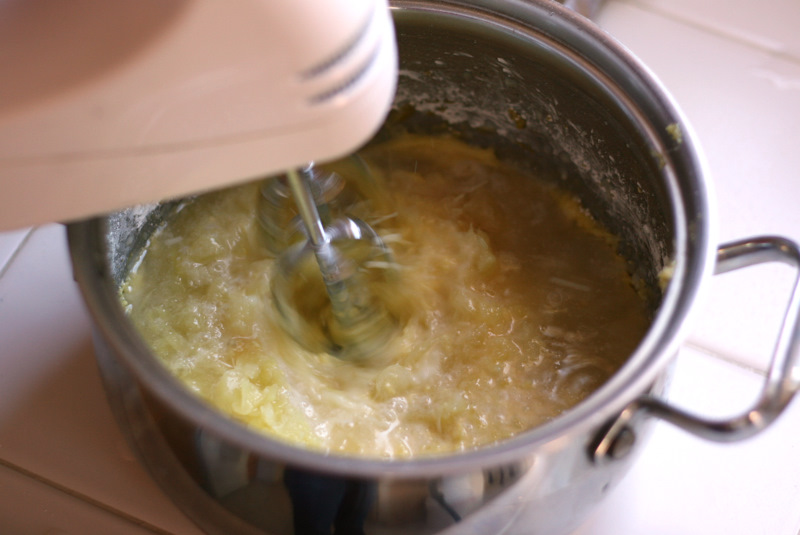
Get out your electric hand-held mixer and beat until everything’s mixed up nicely.


Tasty Kitchen Blog: Pineapple Pie. Guest post and recipe from Natalie Perry of Perry's Plate.

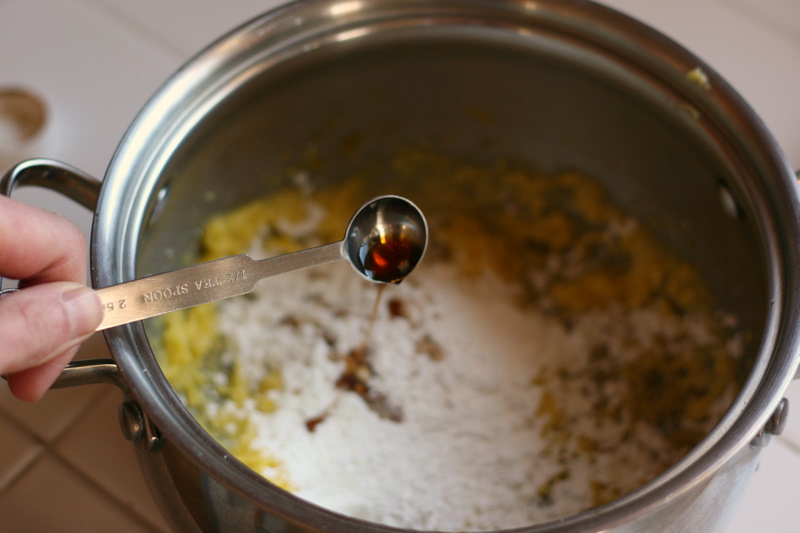
Add the cornstarch and vanilla.


Tasty Kitchen Blog: Pineapple Pie. Guest post and recipe from Natalie Perry of Perry's Plate.

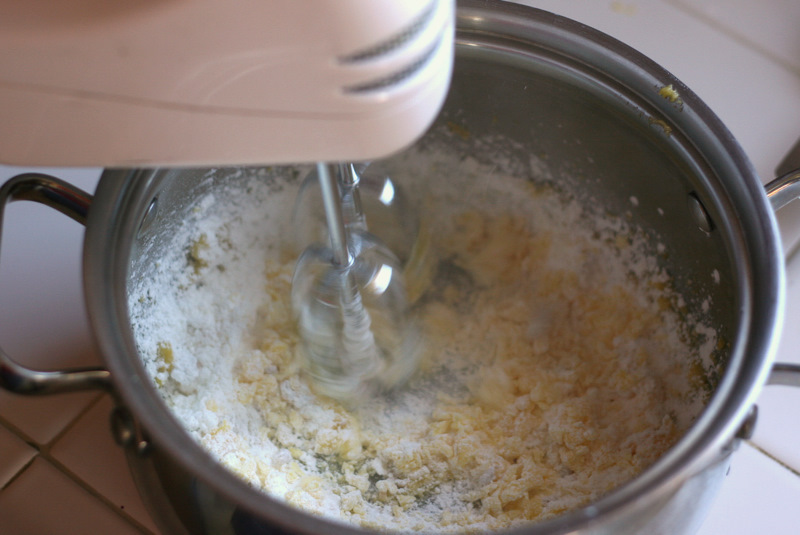
Give it another mix.


Tasty Kitchen Blog: Pineapple Pie. Guest post and recipe from Natalie Perry of Perry's Plate.

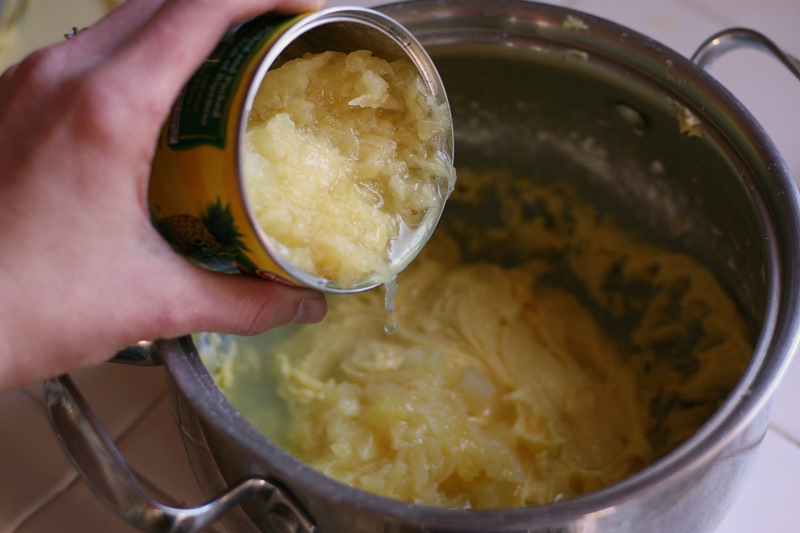
Then add the water and the crushed pineapple, juice and all.


Tasty Kitchen Blog: Pineapple Pie. Guest post and recipe from Natalie Perry of Perry's Plate.

Mix it again. (You could even use a spoon if you want.)


Tasty Kitchen Blog: Pineapple Pie. Guest post and recipe from Natalie Perry of Perry's Plate.

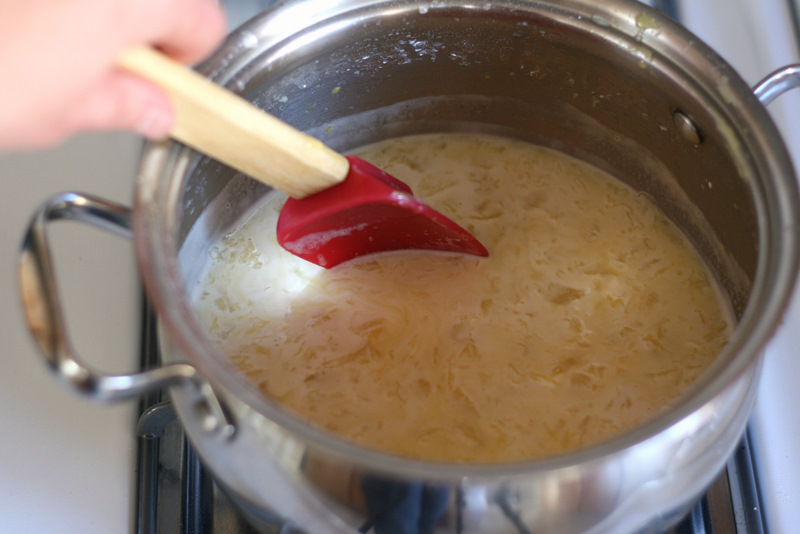
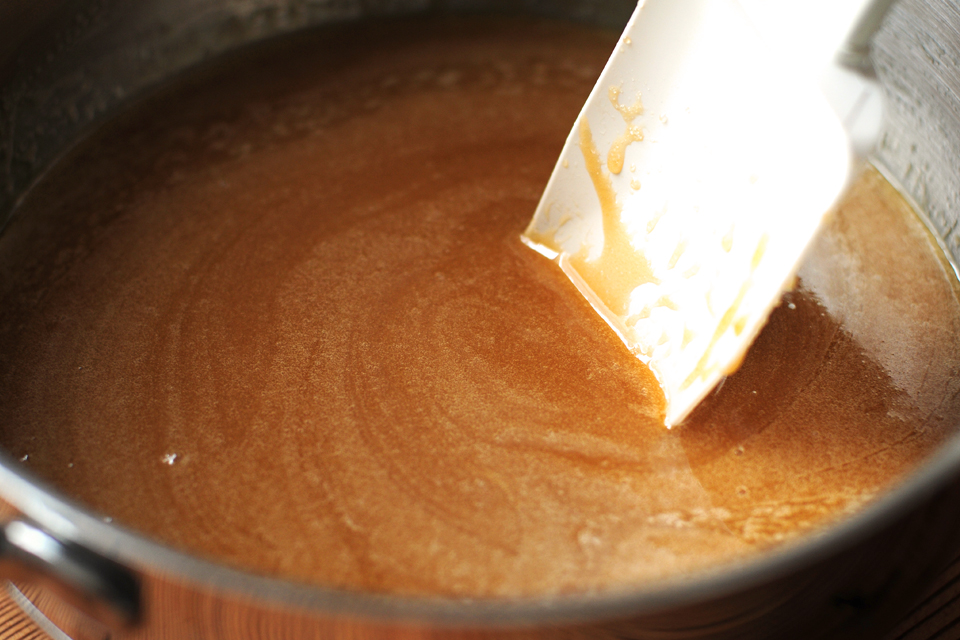
Move the saucepan over to the stove and place it over medium heat. You want it to heat up, but don’t let it boil. If it starts to bubble a lot, turn the heat down. Stir constantly for a few minutes until it starts to thicken.


Tasty Kitchen Blog: Pineapple Pie. Guest post and recipe from Natalie Perry of Perry's Plate.

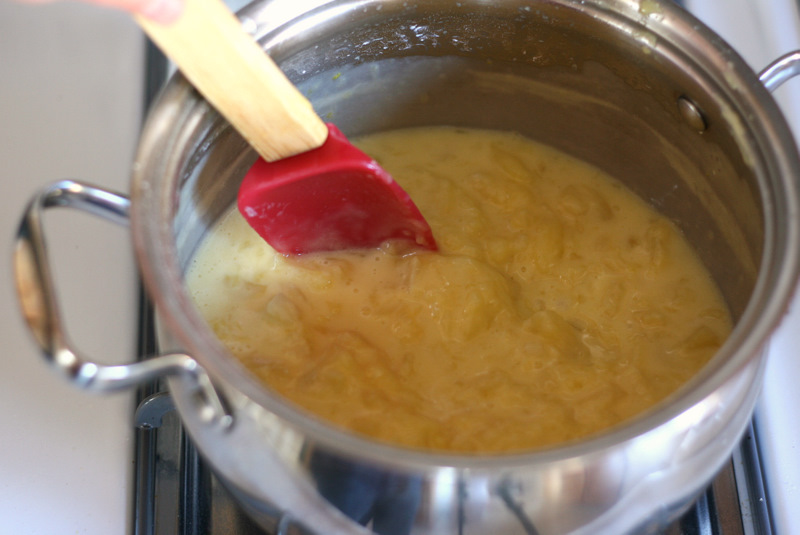
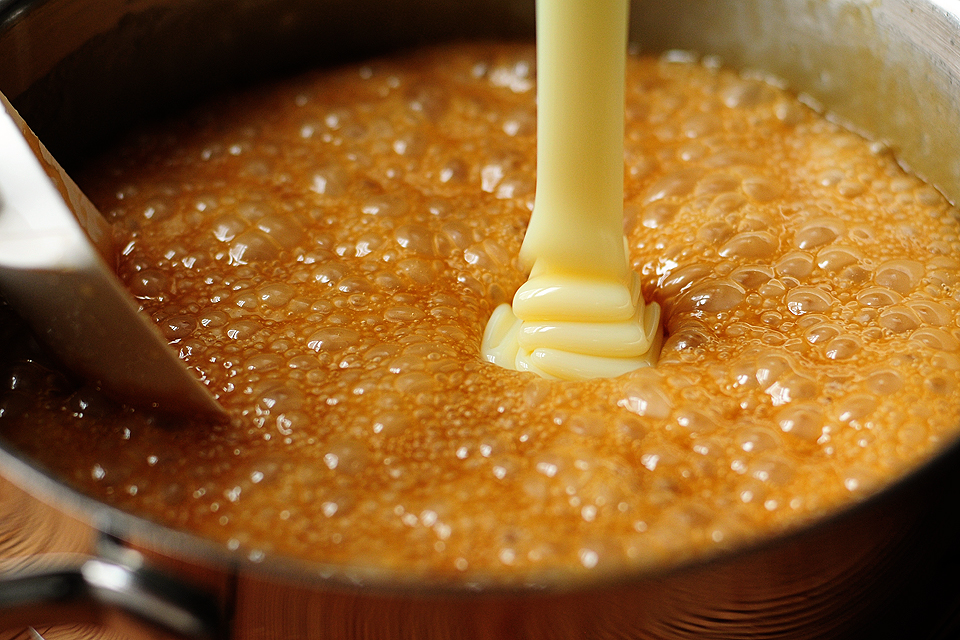
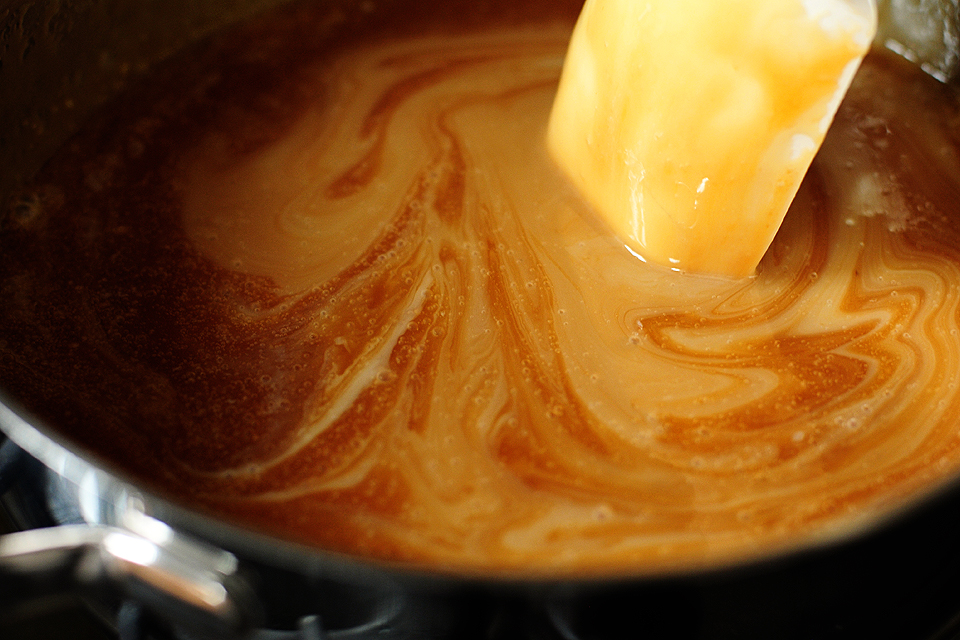
It’ll seem like nothing is happening, and then BAM it’ll thicken up really quickly. When it starts to get clumpy like this, remove it from the heat. Keep stirring.


Tasty Kitchen Blog: Pineapple Pie. Guest post and recipe from Natalie Perry of Perry's Plate.

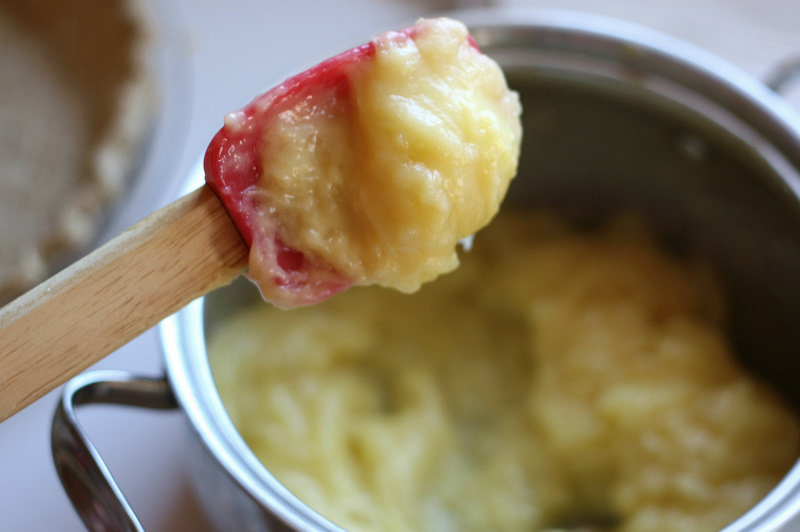
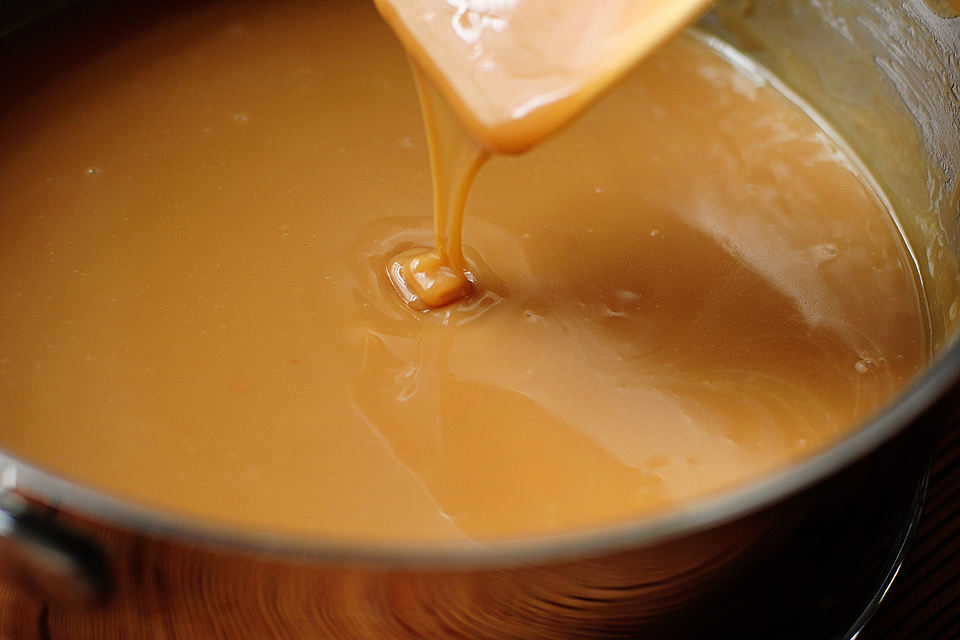
The filling should be really thick. Like this.


Tasty Kitchen Blog: Pineapple Pie. Guest post and recipe from Natalie Perry of Perry's Plate.

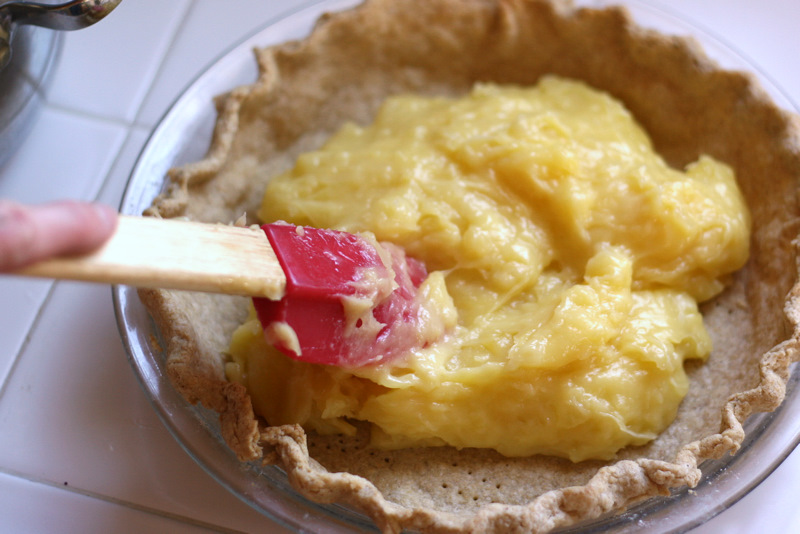
Bring out your perfectly fluted pie crust and dump all of the pineapple filling into it.


Tasty Kitchen Blog: Pineapple Pie. Guest post and recipe from Natalie Perry of Perry's Plate.

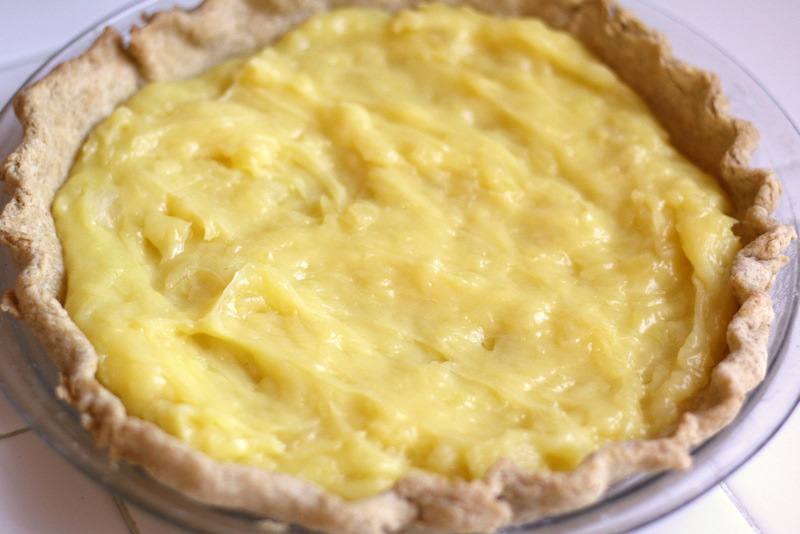
Spread it around evenly and set it aside. If you’re not going to make the meringue right away, you’ll need to cover this with some plastic wrap and put it in the refrigerator.


Tasty Kitchen Blog: Pineapple Pie. Guest post and recipe from Natalie Perry of Perry's Plate.

Preheat your oven to 400 degrees F.

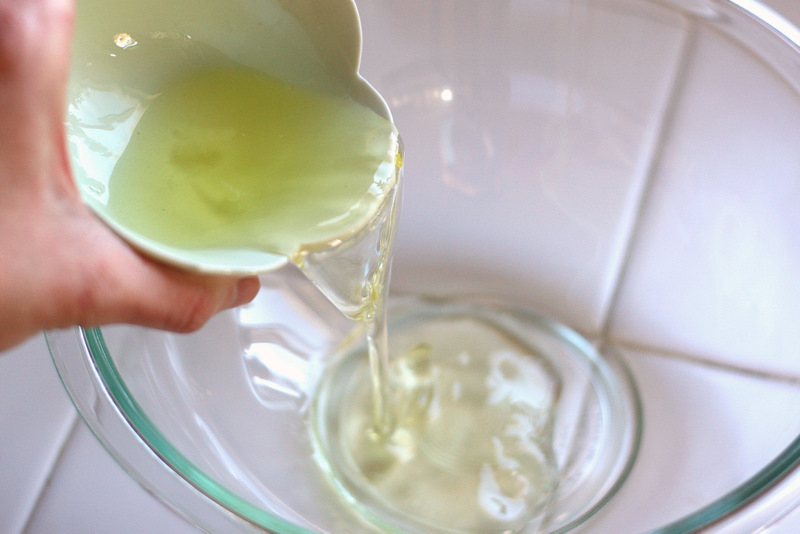
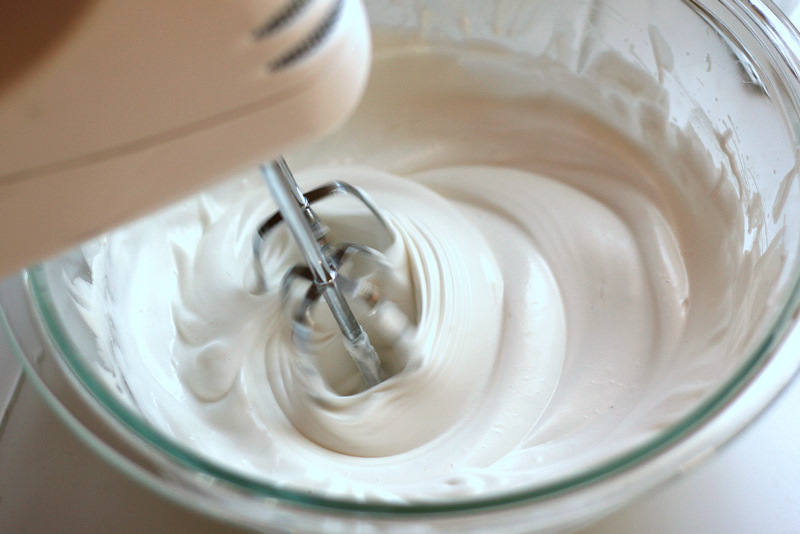
Now for the meringue. Grab a clean, medium-sized mixing bowl and add the egg whites.


Tasty Kitchen Blog: Pineapple Pie. Guest post and recipe from Natalie Perry of Perry's Plate.

Okay, y’all, I have a confession to make. (I like saying “y’all”. And I like people who say “y’all”. But that’s not my confession.)

When I made this meringue for this blog post, I was following my recipe card that I copied from my grandma. She says to put all the meringue ingredients into the bowl at once and beat them. Other meringue recipes will tell you to beat the egg whites for a minute or two before adding in anything else, which is how I wrote the directions when I submitted this recipe to Tasty Kitchen.

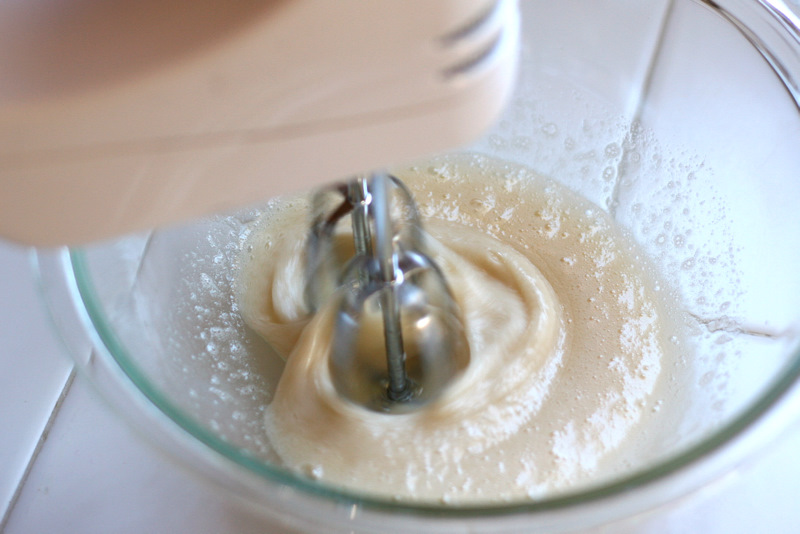
Is there a difference? I think so. I think it takes a lot longer for the whites to whip up if you add everything at the beginning. I swore I’d lost my meringue mojo while I was standing there whipping this. It took FOREVER (forever = about 7 minutes) and there were a few times I was tempted to toss the whole thing and start over.

But …


Tasty Kitchen Blog: Pineapple Pie. Guest post and recipe from Natalie Perry of Perry's Plate.

It worked anyway.


Tasty Kitchen Blog: Pineapple Pie. Guest post and recipe from Natalie Perry of Perry's Plate.

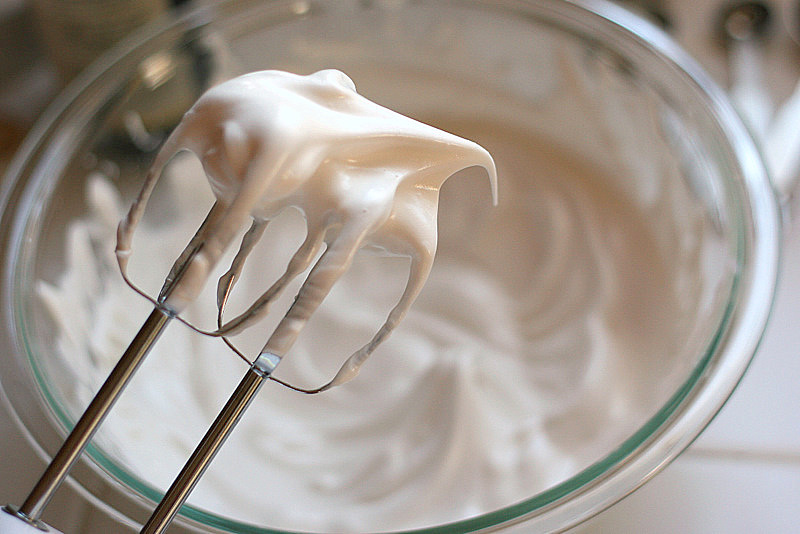
And I ended up with smooth, fluffy, glossy meringue. You can whip this until it reaches stiff peaks (peaks standing straight up), but I like it when they sort of flop over. I think it’s cute.


Tasty Kitchen Blog: Pineapple Pie. Guest post and recipe from Natalie Perry of Perry's Plate.

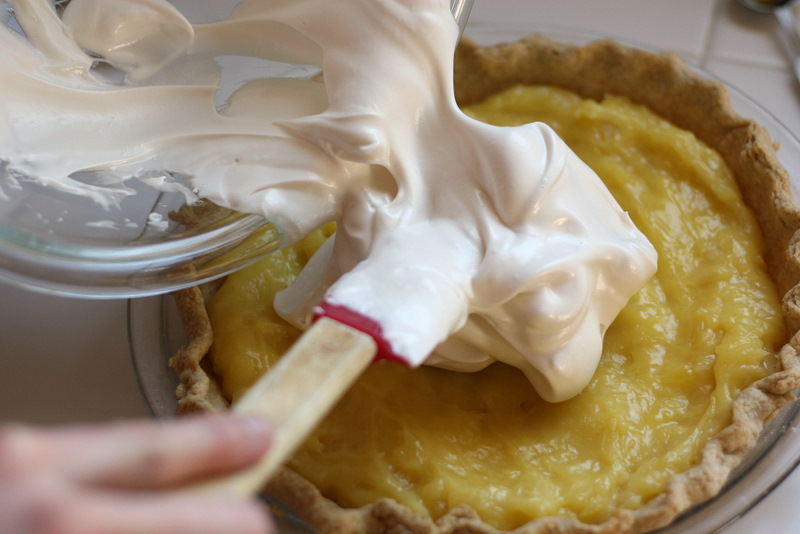
Spread all the meringue over the pineapple filling.


Tasty Kitchen Blog: Pineapple Pie. Guest post and recipe from Natalie Perry of Perry's Plate.

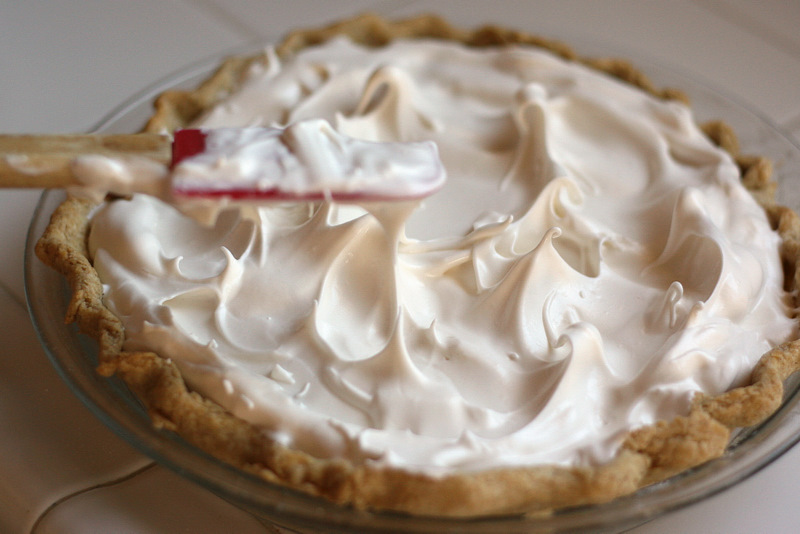
If you want to, make a few little peaks to give the pie some texture. Then put it in your preheated oven for 5-8 minutes or so until it’s golden brown. Keep an eye on it so it doesn’t burn!


Tasty Kitchen Blog: Pineapple Pie. Guest post and recipe from Natalie Perry of Perry's Plate.

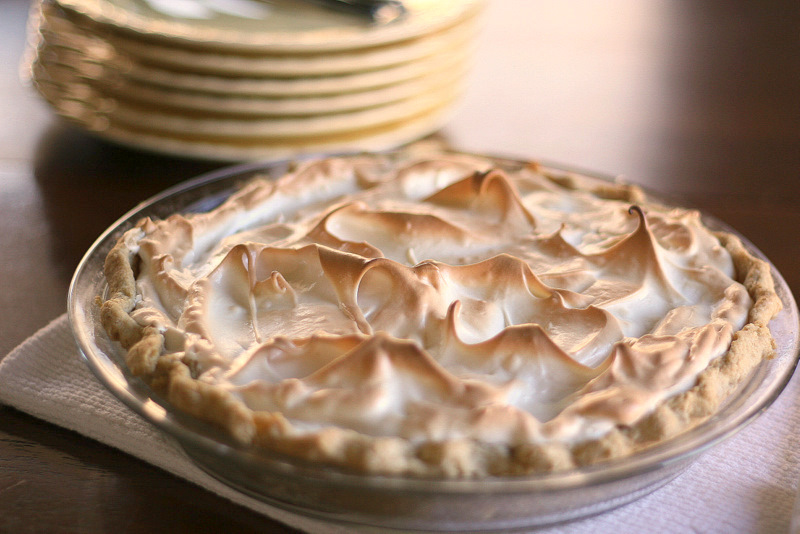
See why I like to make little swirlies on the top? How gorgeous is that?


Tasty Kitchen Blog: Pineapple Pie. Guest post and recipe from Natalie Perry of Perry's Plate.

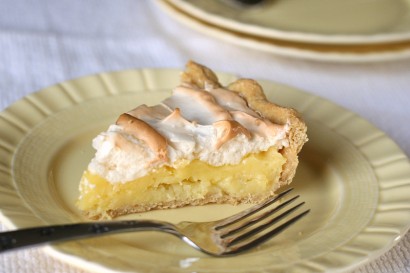
My favorite was this little guy right here. My three-year-old called dibs on him when I was slicing it up.


Tasty Kitchen Blog: Pineapple Pie. Guest post and recipe from Natalie Perry of Perry's Plate.

 
And that, my friends, is a pineapple pie. It’s delicious when it’s still a bit warm from the oven. Or when it’s ice cold. Or when it’s 4 AM. The recipe easily doubles, and making more than one is definitely a good idea. I hope you enjoy this as much as I do!

(And thanks, Grandma! This pie rules.)


Printable Recipe

Grandma Inez’s Pineapple Pie

See post on Natalie | Perry's Plate’s site!
4.75 Mitt(s) 20 Rating(s)20 votes, average: 4.75 out of 520 votes, average: 4.75 out of 520 votes, average: 4.75 out of 520 votes, average: 4.75 out of 520 votes, average: 4.75 out of 5

Prep Time:

Cook Time:

Difficulty: Easy

Servings: 6

6
x

Print Options

Page size Letter 3x5 4x6
Text Size Small Medium Large
Content Include description
Include prep time, etc.
Show image

Description

Similar to lemon meringue, this unique pie features a creamy pineapple filling. It’s also my favorite pie in the whole world. My grandma quit asking me what dessert I want her to make when we visit. She just makes one of these. Sometimes two. One for me and my grandpa and the other one for everyone else.

Ingredients

  • FOR THE PIE:
  • ¾ cups Sugar
  • 2 Tablespoons Butter
  • 2 whole Eggs, Separated
  • ⅓ cups Cornstarch
  • ½ teaspoons Vanilla Extract
  • ½ cups Plus 2 Tablespoons Of Water
  • 8 ounces, weight Canned Crushed Pineapple
  • 1 whole 9-inch Pre-baked Pie Crust
  • _____
  • FOR THE MERINGUE:
  • 2 whole Egg Whites (From Separated Eggs Above)
  • ⅛ teaspoons Salt
  • ¼ teaspoons Cream Of Tartar
  • 6 Tablespoons Sugar
  • 1 teaspoon Vanilla

Preparation Instructions

For the pie, cream sugar, butter, and egg yolks in a saucepan. Add cornstarch and vanilla. Add water and crushed pineapple. Cook over medium heat, stirring constantly until thick. Pour into a 9″ baked pastry.

For the meringue, whip egg whites until they begin to get foamy. Add the remaining ingredients and continue to whip until the meringue has reached soft peak stage and is smooth and glossy. Place the meringue over the cooled pie. Brown at 400ºF for just a few minutes. Store in the fridge until ready to serve. Tastes great warm or cold.


_______________________________________

Be sure to check out Natalie’s own beautiful food blog, Perrys’ Plate, where you can see her growing collection of lovely recipes. There’s always something new to see there. Go visit now!


Profile photo of Erika (TK)

Soup Sidekicks

Posted by in The Theme Is...

Tasty Kitchen Blog: Soup Sidekicks!

 
This has been some kind of winter for many of us. A snow day here and there is nice and pretty but lately, I’ve been noticing the first signs of cabin fever setting in.

Soup is often the most welcoming, soothing quick meal option on a cold day. You typically have enough ingredients in your kitchen to avoid having to venture out in the snow, and it’s also a great way to use up all the little leftover odds and ends in the refrigerator and pantry.

As wonderful and hearty as it is, soup can sometimes use a bit of help from a sidekick. Tomato soup has its grilled cheese, chowder has its oyster crackers, and hot and sour soup has its fried wonton noodles. So today, I thought we’d look at a few recipes that can pair with just about any soup you’re making, and help you turn a simple bowl of soup into a complete meal.

First up, the gorgeous Homemade Naan you see in the photo above, from TK member Prerna of the beautiful blog Indian Simmer. (Love her blog name!) She gives us the basic naan recipe and then you can flavor it to you heart’s content. She suggests cumin naan, garlic naan, butter naan … I think my problem would be choosing which one to make. They all sound incredible!

If your soup has an Italian twist to it, then perhaps some Garlic Knots (also seen above) from TK members Todd and Diane will fit the bill. (You know Todd and Diane, don’t you? Photographers extraordinaire, otherwise known as White in Rice Couple?) You can prepare the dough then let it proof while you’re preparing the soup or watching the snow fall outside. Or trying to find that missing glove because you refuse to admit that you now have four different, un-paired gloves because you keep losing the right one. Not that I would know anything about that.


Tasty Kitchen Blog Soup Sidekicks! (Easy Peasy Bread Sticks, recipe submitted by TK member Calli Taylor of Make It Do)

If you’re short on time or don’t want to bother with proofing, TK member Calli has these Easy Peasy Bread Sticks from her blog Make It Do. Easy peasy is right: These can be on the table in about 40 minutes! As a bonus, they can also be frozen and eaten as a snack later.


Tasty Kitchen Blog Soup Sidekicks! (Rosemary Crackers, recipe submitted by TK member Elana of Elana's Pantry)

Finally, we have these wonderful gluten-free Rosemary Crackers from TK member and resident gluten-free expert Elana of Elana’s Pantry. These crackers will go well with brothy soups and creamy soups alike. The rosemary and olive oil give these such a lovely, earthy flavor. For an extra special treat, serve it with your soup and some soft cheese on the side to spread on the crackers.
 
There you have it! A few dishes that can make your soup extra special. And on cold gray days, every bit of special counts.

Do you have any favorite soups or soup sidekicks to keep you warm during snow days? Come share your favorites! With the way this winter has been going, we’ll be needing lots of those ideas to see us through to spring.

 
Stay warm, everyone!


Profile photo of missamy

Honey Caramel Sauce

Posted by in Step-by-Step Recipes

Tasty Kitchen Blog: Honey Caramel Sauce. Guest post by Amy Johnson of She Wears Many Hats, recipe submitted by TK member Sally Darling of My Homemade Life.

 
Lately I’ve been doing a little reading about honey. It truly is an amazing food, straight from the hive, with no added ingredients or preservatives. There’s a slew of possible health benefits from eating honey, but I just enjoy the taste, one that you just can’t find with other sweeteners. And depending on the time of the year and where the bees gather the pollen, the flavor will change from one batch to the next. All thanks to the handiwork of busy bees all over the world.

I think many people usually reserve honey for adding to tea, or maybe for spreading on a biscuit (which is mighty yummy indeed), but there are so many recipes that use honey as a main ingredient. Here at Tasty Kitchen you’ll find a nice collection of tasty temptations utilizing the sweet, golden nectar, from baked treats to marinades and yummy sauces. One recipe I found is a honey caramel sauce, perfect for dipping apples or pears, or as a topping for ice cream or cake. And with a title like I’ve Been Called Evil Caramel Sauce from Sally Darling, how can you not be a little curious? Plus, it’s right up my ally in the level of difficulty: easy peasy.

Wanna see how easy?


Tasty Kitchen Blog: Honey Caramel Sauce. Guest post by Amy Johnson of She Wears Many Hats, recipe submitted by TK member Sally Darling of My Homemade Life.

For starters, you’ll only need four ingredients: honey, butter, brown sugar and sweetened condensed milk.


Tasty Kitchen Blog: Honey Caramel Sauce. Guest post by Amy Johnson of She Wears Many Hats, recipe submitted by TK member Sally Darling of My Homemade Life.

Begin by adding the honey, butter and brown sugar to a sauce pan.

Hey, while we’re talking about honey, do you know the about the tip for measuring honey? Lightly spray your measuring cup with cooking spray before measuring the honey. It’ll glide right out. Nifty.


Tasty Kitchen Blog: Honey Caramel Sauce. Guest post by Amy Johnson of She Wears Many Hats, recipe submitted by TK member Sally Darling of My Homemade Life.

Over medium to high heat, combine until well mixed, stirring constantly.


Tasty Kitchen Blog: Honey Caramel Sauce. Guest post by Amy Johnson of She Wears Many Hats, recipe submitted by TK member Sally Darling of My Homemade Life.

When the mixture comes to a rolling, bubbling boil, continue to stir for two minutes.


Tasty Kitchen Blog: Honey Caramel Sauce. Guest post by Amy Johnson of She Wears Many Hats, recipe submitted by TK member Sally Darling of My Homemade Life.

Next, add the condensed milk.


Tasty Kitchen Blog: Honey Caramel Sauce. Guest post by Amy Johnson of She Wears Many Hats, recipe submitted by TK member Sally Darling of My Homemade Life.

Continue stirring over medium heat until thoroughly combined. And if you’re like me, have fun making designs in the pot of sweet stuff. Cool.


Tasty Kitchen Blog: Honey Caramel Sauce. Guest post by Amy Johnson of She Wears Many Hats, recipe submitted by TK member Sally Darling of My Homemade Life.

It’ll thicken a bit into a smooth, lovely golden color.


Tasty Kitchen Blog: Honey Caramel Sauce. Guest post by Amy Johnson of She Wears Many Hats, recipe submitted by TK member Sally Darling of My Homemade Life.

Serve right away, or let cool and store in an airtight container in the refrigerator. The sauce will thicken as it cools and can be easily warmed up in the microwave.


Tasty Kitchen Blog: Honey Caramel Sauce. Guest post by Amy Johnson of She Wears Many Hats, recipe submitted by TK member Sally Darling of My Homemade Life.

It was yummy over some sliced pears. Wouldn’t it make a lovely house warming gift, accompanied with a simple pound cake, or basket of pears?

 
And check out these Tasty Kitchen recipes that would also make a good partner for this delicious sauce:
 

Tasty Kitchen Blog: Caramel Sauces
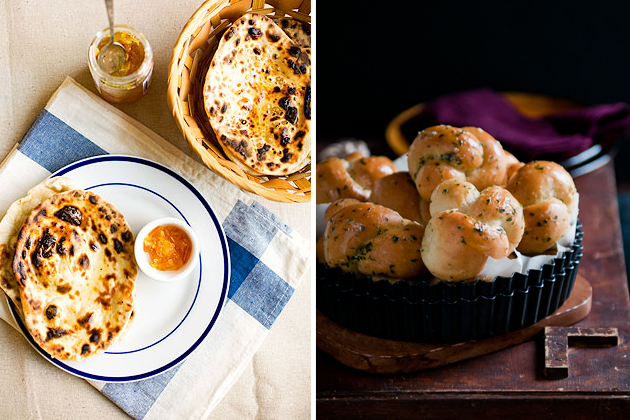
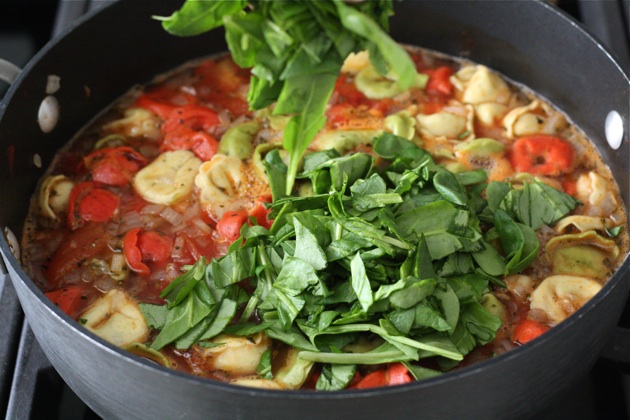
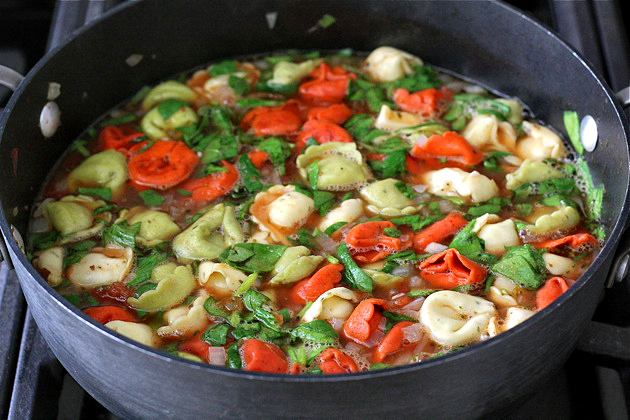
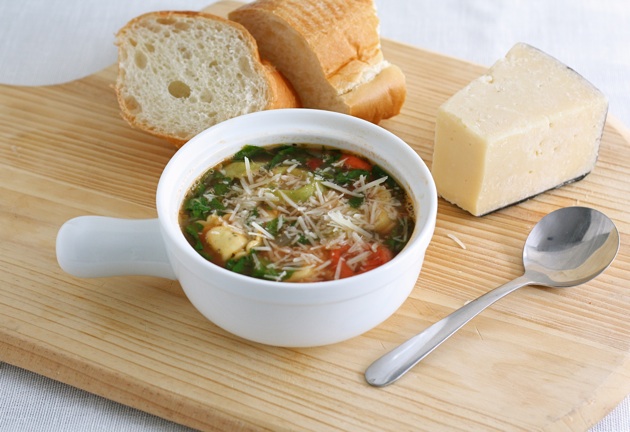
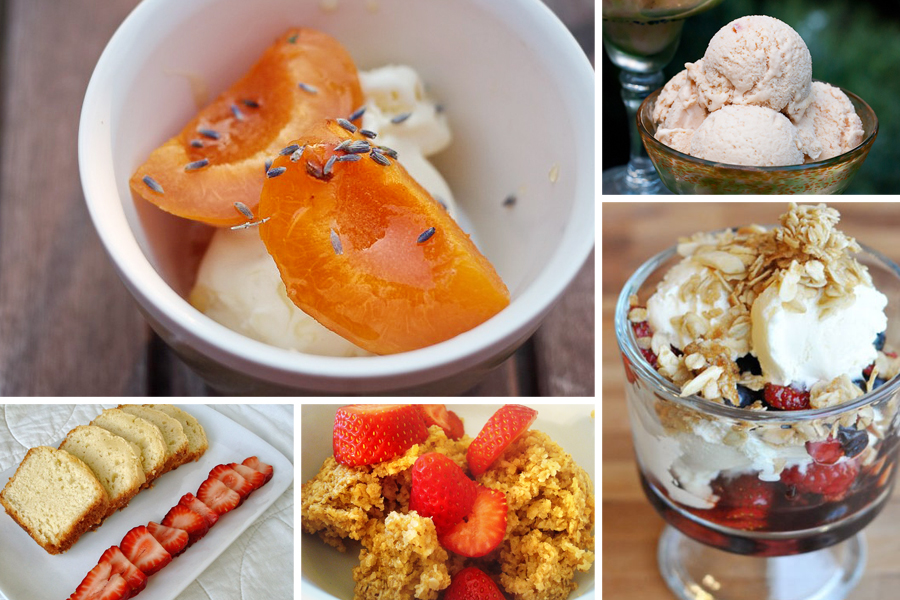
Clockwise from top left:
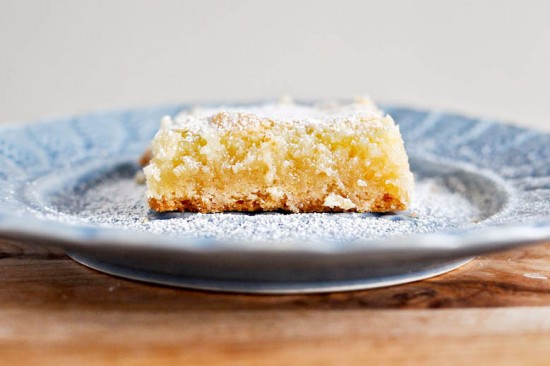
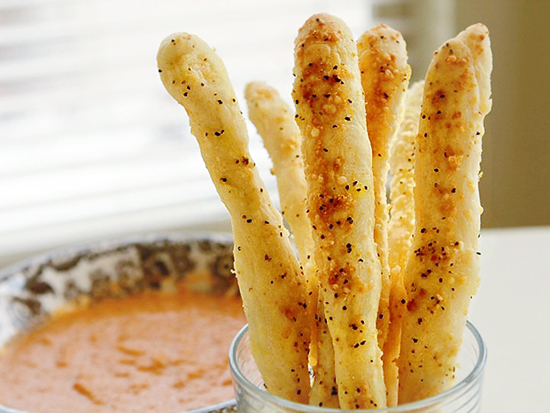
 Roasted Apricots & Ice Cream from runningwithtweezers, Brandied Peach Ice Cream from bunkycooks, Red, White and Blue Ice Cream Granola Parfaits and Baked Oatmeal from Melanie (Mel’s Kitchen), Cream Cheese Pound Cake for Two with Strawberries from tinafromtexas, and (not pictured) Sour Cream Lemon Pie from sklhczech.


Thanks again to Tasty Kitchen member Sally Darling for this tasty temptation. Check out her blog, My Homemade Life, for more of her “evil” recipes!


Printable Recipe

I’ve Been Called Evil Caramel Sauce

See post on Sally Darling’s site!
4.54 Mitt(s) 26 Rating(s)26 votes, average: 4.54 out of 526 votes, average: 4.54 out of 526 votes, average: 4.54 out of 526 votes, average: 4.54 out of 526 votes, average: 4.54 out of 5

Prep Time:

Cook Time:

Difficulty: Easy

Servings: 4

4
x

Print Options

Page size Letter 3x5 4x6
Text Size Small Medium Large
Content Include description
Include prep time, etc.
Show image

Description

I’ve been called “evil” because of this recipe. Finger in my face, “you are Evil for giving me this recipe!” You can make this delicious bit of heaven and dip Honey Crisp apples in it or pour it over vanilla ice cream. Now I know what the cooks on TV mean when they say: “Make your own caramel sauce.” I always would just buy store-bought. No more!

Ingredients

  • ½ cups Honey
  • 1 stick Butter
  • ¾ cups Brown Sugar
  • 1 can (14 Oz. Can) Sweetened Condensed Milk
  • To Serve: Apples Or Vanilla Ice Cream Or Whatever!

Preparation Instructions

Mix together honey, butter and sugar in saucepan. Turn on medium-high heat while stirring constantly. Bring the mixture to a rolling bubbling boil for 2 minutes while continuing to stir constantly. Add condensed milk and mix well, keeping the stirring and heat constant until completely mixed through.

Store in airtight containers in the fridge. To warm up, use a microwave on a low setting.


_______________________________________

Amy Johnson is a blogger who writes about food, travel, the home (both inside and out), and various observations and random musings about anything and everything. Visit her blog She Wears Many Hats for a dose of deliciousness, practicality, hilarity, or just plain fun. She lives in South Carolina with her husband and two children.


Profile photo of twopeasandtheirpod

Tortellini Soup

Posted by in Step-by-Step Recipes

Tasty Kitchen Blog: Tortellini Soup. Guest post by Maria Lichty of Two Peas and Their Pod, recipe submitted by TK member Katie of The Well-Fed Newlyweds.

 
January is not my favorite month. It is hard getting back to “normal” life after the holidays. It is also long, cold, and COLD! I dress in layers, live under my electric blanket, and eat comforting foods to try and stay warm.

My favorite comfort foods are soup and pasta dishes. When I saw The Well-Fed Newlyweds’recipe for Tortellini Soup, I knew I had to try it. My favorite comfort foods in one recipe. This tomato broth soup is loaded with plump cheese tortellini and fresh spinach. It is simple to make and will warm you up in a matter of minutes. 


Tasty Kitchen Blog: Tortellini Soup. Guest post by Maria Lichty of Two Peas and Their Pod, recipe submitted by TK member Katie of The Well-Fed Newlyweds.

For the soup you will need olive oil, garlic, onion, oregano, chicken or vegetable broth, canned whole tomatoes, salt and pepper, cheese tortellini, fresh spinach, and Parmesan cheese. 


Tasty Kitchen Blog: Tortellini Soup. Guest post by Maria Lichty of Two Peas and Their Pod, recipe submitted by TK member Katie of The Well-Fed Newlyweds.

In a large pot, heat the olive oil over medium high heat. Add the onion and garlic. Cook until the onion is softened and the garlic is light golden brown, about five minutes. 


Tasty Kitchen Blog: Tortellini Soup. Guest post by Maria Lichty of Two Peas and Their Pod, recipe submitted by TK member Katie of The Well-Fed Newlyweds.

Add the oregano. 


Tasty Kitchen Blog: Tortellini Soup. Guest post by Maria Lichty of Two Peas and Their Pod, recipe submitted by TK member Katie of The Well-Fed Newlyweds.

Stir in the vegetable broth. (You can use chicken broth.)


Tasty Kitchen Blog: Tortellini Soup. Guest post by Maria Lichty of Two Peas and Their Pod, recipe submitted by TK member Katie of The Well-Fed Newlyweds.

Add the whole tomatoes and season with salt and pepper. Break up the tomatoes with a wooden spoon. 


Tasty Kitchen Blog: Tortellini Soup. Guest post by Maria Lichty of Two Peas and Their Pod, recipe submitted by TK member Katie of The Well-Fed Newlyweds.

Bring the soup to a boil and add the tortellini. Cook according to package directions. 


Tasty Kitchen Blog: Tortellini Soup. Guest post by Maria Lichty of Two Peas and Their Pod, recipe submitted by TK member Katie of The Well-Fed Newlyweds.

One minute before the tortellini is done, stir in the fresh spinach. 


Tasty Kitchen Blog: Tortellini Soup. Guest post by Maria Lichty of Two Peas and Their Pod, recipe submitted by TK member Katie of The Well-Fed Newlyweds.

When the tortellini are cooked, remove the soup from the heat. Season with additional salt and pepper, if necessary. 


Tasty Kitchen Blog: Tortellini Soup. Guest post by Maria Lichty of Two Peas and Their Pod, recipe submitted by TK member Katie of The Well-Fed Newlyweds.

Garnish the soup with Parmesan cheese and serve hot. 

 
We really enjoyed this soup. I love that it is easy to make, but still impressive to serve. It is perfect for a weeknight meal with the family or when you are entertaining company. Each bite of soup is filled with flavor and will warm your heart and soul. Serve with a nice salad and crusty bread. Add Tortellini Soup to your menu right now, it is the perfect soup for a cold day. 

Thanks to Katie for a fantastic recipe! And check out her blog The Well-Fed Newlyweds, too. Lots of great-looking recipes there!


Printable Recipe

Tortellini Soup

See post on The Well-Fed Newlyweds’s site!
4.93 Mitt(s) 45 Rating(s)45 votes, average: 4.93 out of 545 votes, average: 4.93 out of 545 votes, average: 4.93 out of 545 votes, average: 4.93 out of 545 votes, average: 4.93 out of 5

Prep Time:

Cook Time:

Difficulty: Easy

Servings: 4

4
x

Print Options

Page size Letter 3x5 4x6
Text Size Small Medium Large
Content Include description
Include prep time, etc.
Show image

Description

Plump tortellini and fresh spinach in a tomato-y broth. It’s quick and simple to make, and it packs a lot of flavor in every bite.

Ingredients

  • 1 Tablespoon Olive Oil
  • 2 cloves Garlic, Minced
  • ½ whole Small Onion, Minced (about 1/4 Cup)
  • ½ teaspoons Dried Oregano
  • 1 quart Low-sodium Chicken Broth (or Vegetable Broth)
  • 15 ounces, weight Canned Whole Tomatoes
  • Salt And Freshly Ground Black Pepper
  • 9 ounces, weight Package Tortellini, Any Variety, Fresh Or Frozen
  • 3 cups Fresh Spinach, Chopped And Loosely Packed
  • Parmesan Cheese, To Serve

Preparation Instructions

In a large pot, heat the oil over medium heat. Add the garlic and onion. Cook until the onion is softened and the garlic has turned light gold, about 5 minutes.

Add the oregano, broth, tomatoes, and salt and pepper to taste. (You can break up the tomatoes with your fingers as you add them to the pot, or break them up with a spoon once you’ve added them to the soup.)

Bring the soup to a boil and add the tortellini. Cook according to the package directions.

One minute before the tortellini are done, add the spinach. Stir to combine.

When the tortellini are cooked, remove the pot from the heat immediately so they do not overcook. Season with additional salt and pepper, if necessary.

Serve the soup immediately, topped with grated Parmesan cheese.


_______________________________________

Maria and her husband Josh (who she affectionately refers to as her “dough boy”) blog at Two Peas and Their Pod. They’ve been featured on Saveur, Eatocracy, Gourmet Live, Glamour, and the Los Angeles Times, to name just a few. We’re so glad to have them here!


Profile photo of HowSweetEats

Gooey Butter Cake

Posted by in Baking, Step-by-Step Recipes

Note from Ree: I’m so excited to welcome Jessica from HowSweetEats as a new contributor here on Tasty Kitchen. Jessica’s bulging recipe box (149 recipes, anyone?) is a goldmine of deliciousness, and a testament to Jessica’s love for cooking and baking. For her inaugural post, Jessica brings us the step-by-step instructions for this Gooey Butter…

Profile photo of cookincanuck

Red Quinoa and Black Bean Salad

Posted by in Step-by-Step Recipes

  It was many years ago when my mum first set a bowl of quinoa (pronounced keen-wah) in front of me. It didn’t look like rice. To my teenaged self, it resembled something straight out of a hippie-infested Woodstock-ian field. Quinoa is, in fact, a grain that originated in South America and was once known […]

Profile photo of Erika (TK)

Looks Delicious! Baked Spice Doughnuts

Posted by in Looks Delicious!

  Here’s a quick Sunday treat that’ll help ease the pain of bidding another weekend farewell. It takes less than half an hour to make, using ingredients you likely already have in your pantry. Make extra to have as a Monday morning pick-me-up! This Baked Spice Doughnuts recipe is brought to us by Jenna, whose […]

Profile photo of ThreeManyCooks

Amazing Spiced Chai Concentrate

Posted by in Step-by-Step Recipes

Here are the ingredients you’ll need: cinnamon, ginger, cardamom, star anise, cloves, black pepper, nutmeg, orange zest, tea bags, brown sugar, honey, and vanilla. Start by bringing 4 1/2 cups water to the boil on the stove.       The recipe says to use a piece of ginger. For us that meant three large […]