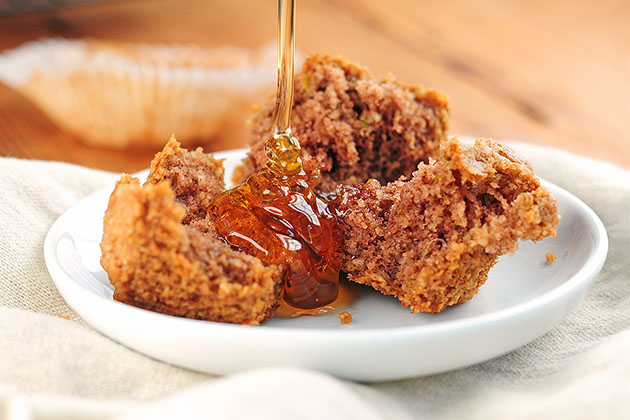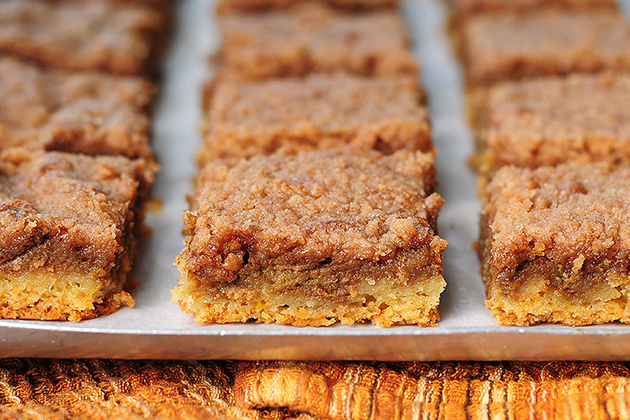
For all of you pumpkin pie fans out there looking for an alternative to the holiday favorite, do I have a recipe for you! The recipe for Pumpkin Pie Bars, submitted by Tasty Kitchen member Sharon from cheesypennies, has been waiting in my TK recipe box for a while. I finally got around to making a batch a few days ago, and then a second batch today. Yep, they were that good. Not sure why I’ve waited so long. They met approval from all who tried them, so you can be sure that they’ll make a few more appearances around here throughout the holiday season.
Wanna see how to make them?
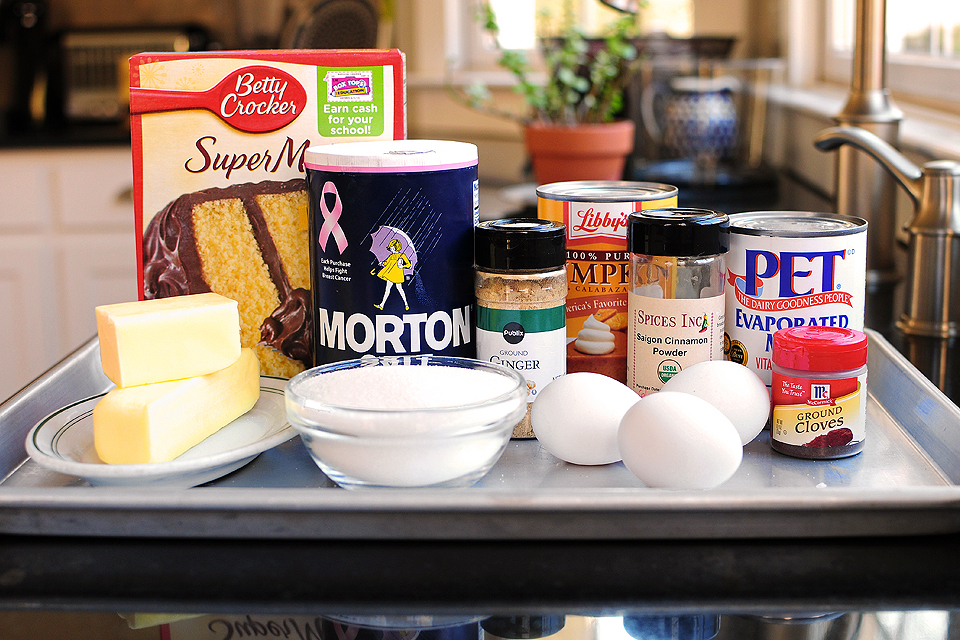
First you’ll need: yellow cake mix, eggs, butter, sugar, cinnamon, ginger, ground cloves, salt, canned pumpkin, and evaporated milk (although I used almond milk the second time around).
There are three steps to the recipe, with different ingredients divided, so be sure to read through the whole recipe first to avoid any confusion. Not that I would know anything about getting confused or anything … no, not me.
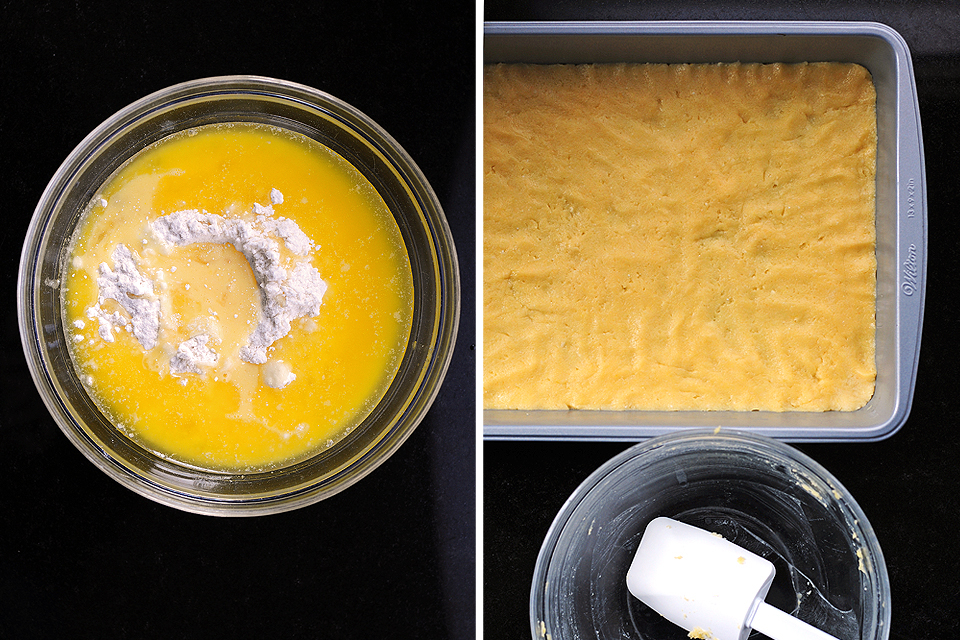
Begin making the crust for the bars by mixing part of the cake mix, with one egg, and some melted butter. Once combined well, spread evenly in 13×9″ pan. I found using my hands to spread out the crust worked much easier, and was much more fun, too.
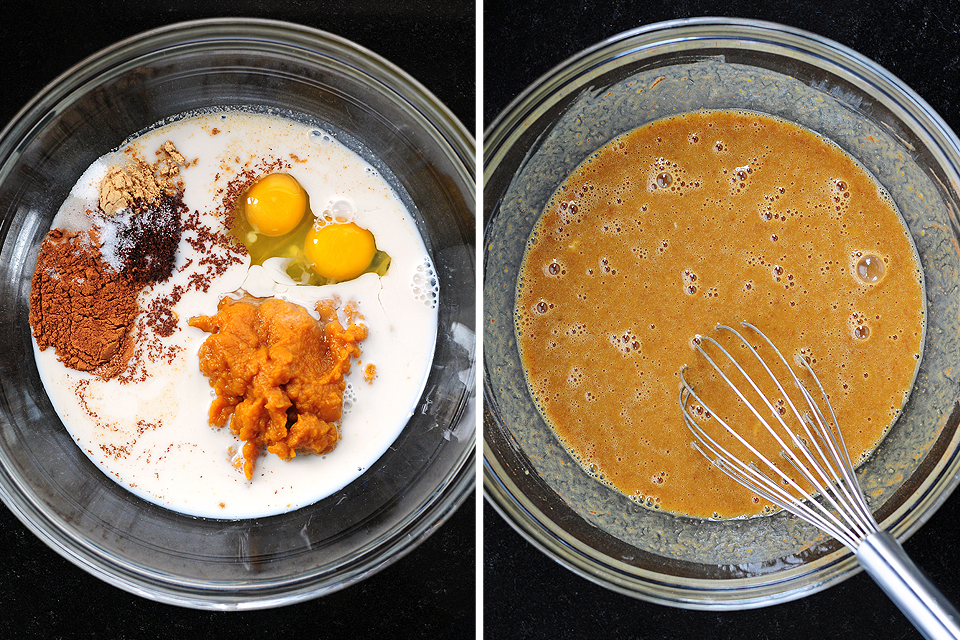
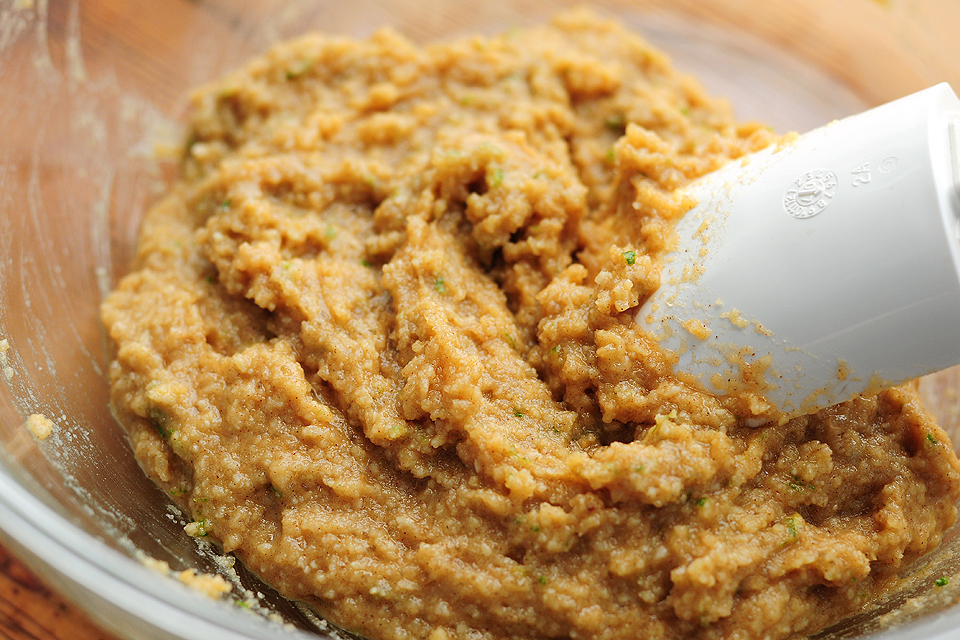
The second step is to make the pumpkin filling for the bars. Whisk together sugar, cinnamon, ginger, cloves, salt, pumpkin, evaporated milk, and eggs.
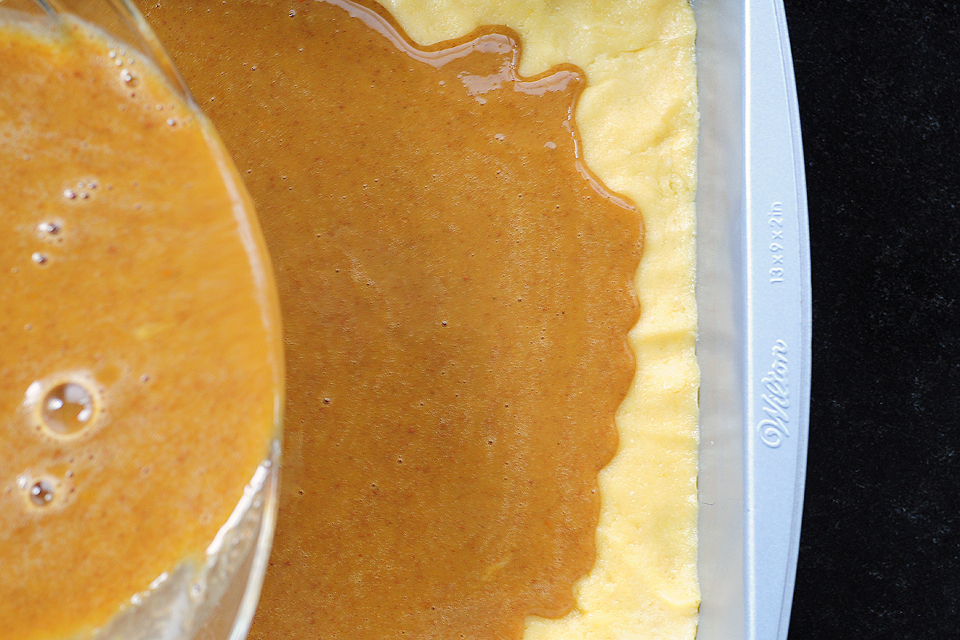
Pour the filling over the crust.
Note: The filling may seem a little thin, but it thickens up during baking just fine. I promise. Also, for the second pan I made, I was out of evaporated milk, so I substituted unsweetened almond milk with no problems whatsoever.
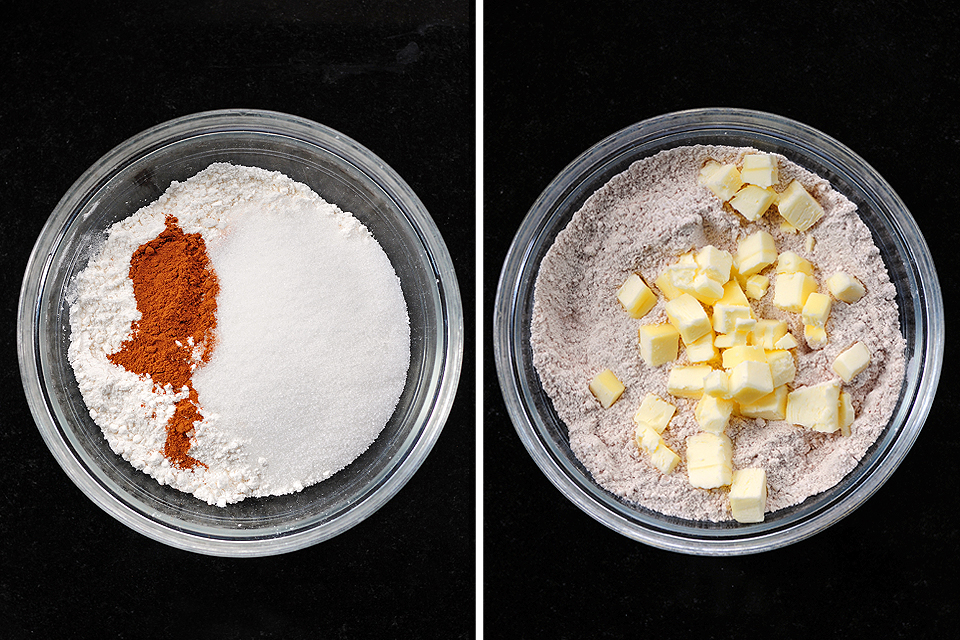
Finally, for the last step, the topping. Stir together the rest of the cake mix, sugar, and cinnamon.
More butter! Toppings need butter, don’t they? Sure they do.
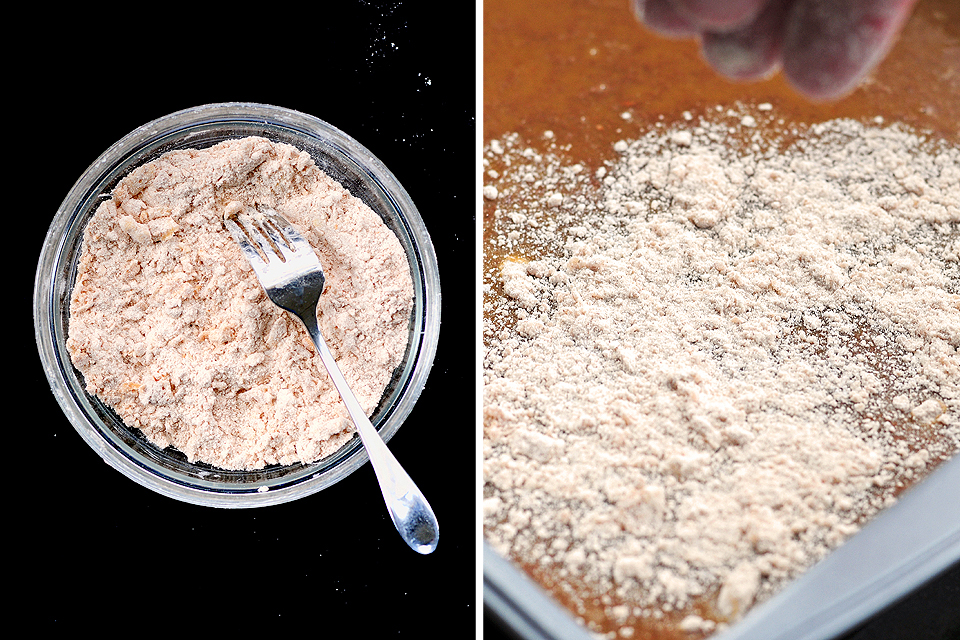
Cut in cold diced up butter. Once incorporated, evenly sprinkle the topping over the filling. Again, I used my hands for sprinkling.
A tip: A pastry cutter is a wonderful tool. I used a fork, but something I remembered while cutting the butter is a tip I learned from my friend Deb over at Smith Bites. She freezes butter and then uses a cheese grater to shred it into biscuits and other doughs when needed. It works wonders. I only wish I would’ve remembered that trick for this recipe. That reminds me, I should stash a pound or two of butter in the freezer now so it’s ready throughout the holiday baking season.
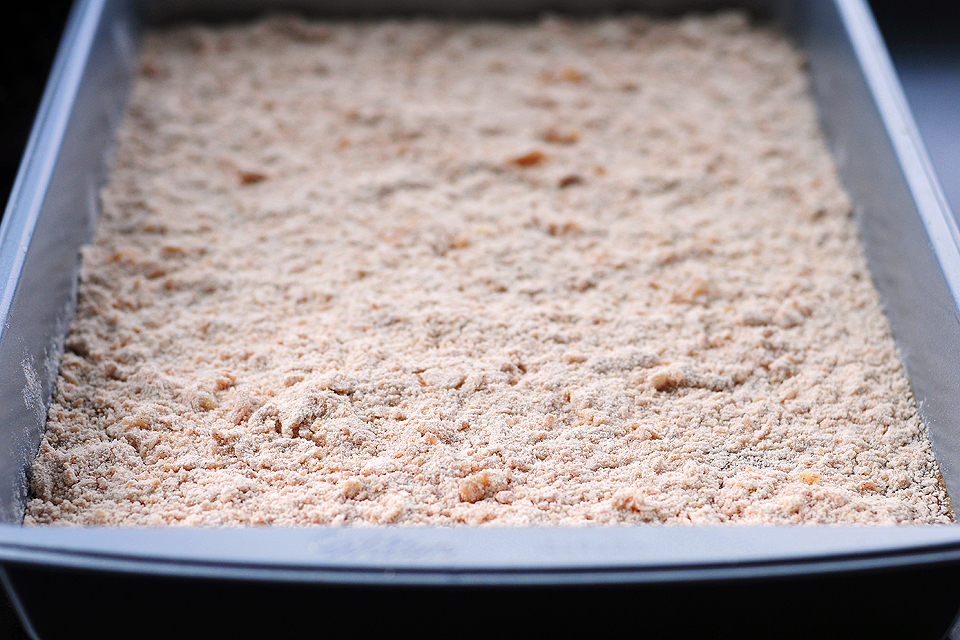
The first time I made these I thought the topping would just sink down into the filling, but it magically sits nicely on top.

Carefully transfer to an oven and bake according to recipe instructions, until golden. Your house will smell divine!
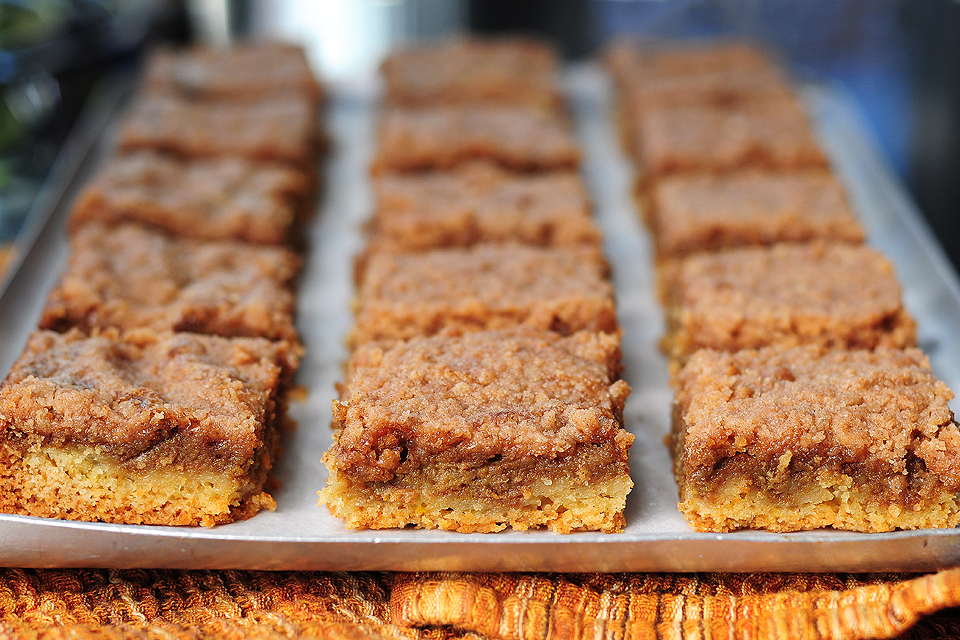
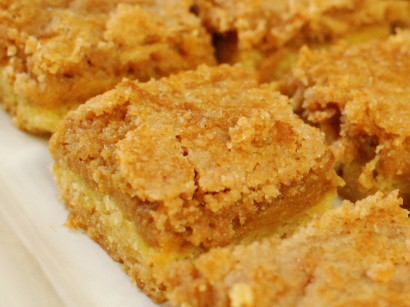
Let cool completely before cutting and serving (if you can wait that long). To push it over the top, serve with a scoop of ice cream, along with a warm cup of coffee. Perfect.
Thanks so much to Sharon from Cheesy Pennies for sharing this delightful recipe with the Tasty Kitchen community. I know it will soon be a new holiday favorite in our home.
Printable Recipe


Print Options
Description
All the yum of pumpkin pie, minus the hassle of a pie crust, plus the bonus of a buttery cinnamon topping. No trick…just an amazing treat!
Ingredients
- 1 box (18 oz. size) Yellow Cake Mix, Divided
- 1 whole Egg, Lightly Beaten
- ½ cups Butter, Melted
- 1 cup Sugar, Divided
- 2 teaspoons Cinnamon, Divided
- ½ teaspoons Ginger
- ¼ teaspoons Ground Cloves
- ¼ teaspoons Salt
- 1 cup Canned Pumpkin
- ⅔ cups Evaporated Milk
- 2 whole Eggs
- ¼ cups Cold Butter, Diced
Preparation Instructions
This recipe has three parts, a crust, a filling and a topping. Before you start anything, preheat your oven to 350F, and get out a 13×9 pan.
For the crust:
Reserve 1 cup of the cake mix for the topping. Pour remaining cake mix into a bowl, then stir in the one beaten egg and the 1/2 cup of melted butter until the mixture is well combined. Press evenly into the 13×9 pan and set aside.
For the filling:
Combine 3/4 cup of sugar, 1 teaspoon of cinnamon, the ginger, cloves, salt, pumpkin, evaporated milk and 2 eggs together. Using a whisk, stir until smooth. Pour over the crust.
For the topping:
Stir together the 1 cup of reserved cake mix, and the remaining 1/4 cup of sugar and 1 teaspoon of cinnamon. Cut in the 1/4 cup of butter dice using a pastry blender or a fork. Sprinkle evenly over the filling.
Bake at 350F for 35-40 minutes, or until filling is set. Allow to cool completely, cut into bars, and serve!
_______________________________________
Amy Johnson is a blogger who writes about food, travel, the home (both inside and out), and various observations and random musings about anything and everything. Visit her blog She Wears Many Hats for a dose of deliciousness, practicality, hilarity, or just plain fun. She lives in South Carolina with her husband and two children.