The Pioneer Woman Tasty Kitchen
Profile photo of georgiapellegrini

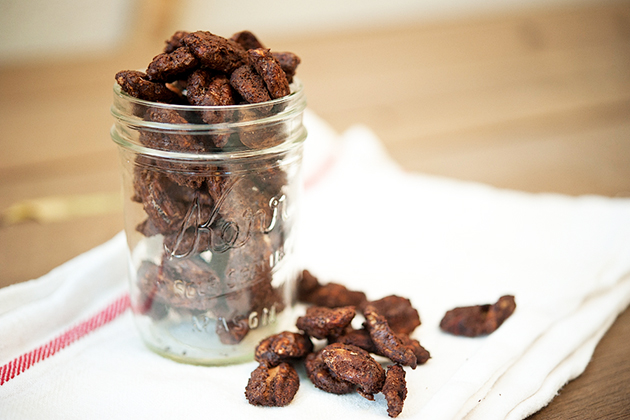
Mexican Hot Chocolate Roasted Pecans

Posted by in Step-by-Step Recipes

Tasty Kitchen Blog: Mexican Hot Chocolate Roasted Pecans. Guest post by Georgia Pellegrini, recipe submitted by TK member Julie of Savvy Eats.

 
These Mexican Hot Chocolate Roasted Pecans may quite possibly be the most addictive food I’ve cooked up in my kitchen in quite a while. It immediately caught my eye when I saw it here by Savvy Julie because I think it would make a great homemade holiday gift. That is, if you can manage not to eat them all yourself first. They are that addictive.


Tasty Kitchen Blog: Mexican Hot Chocolate Roasted Pecans. Guest post by Georgia Pellegrini, recipe submitted by TK member Julie of Savvy Eats.

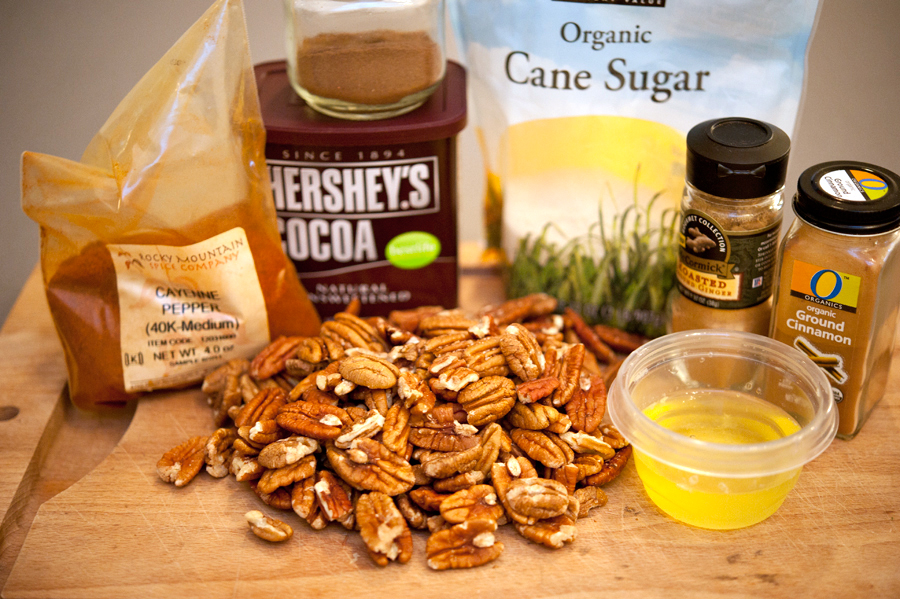
You’ll need: whole raw pecans, cayenne pepper, unsweetened cocoa powder, ground allspice, sugar, ground ginger, ground cinnamon, and egg whites.


Tasty Kitchen Blog: Mexican Hot Chocolate Roasted Pecans. Guest post by Georgia Pellegrini, recipe submitted by TK member Julie of Savvy Eats.

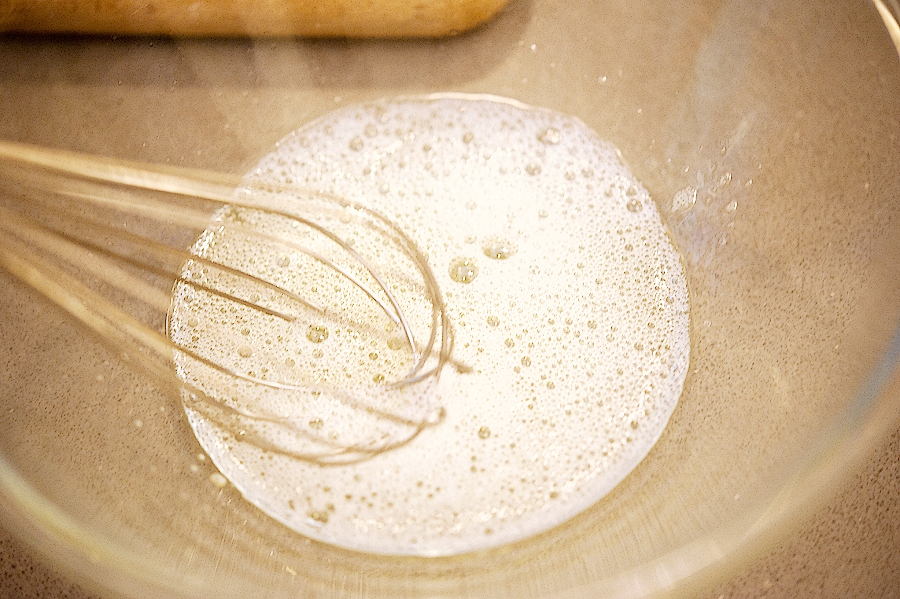
You start by whipping the egg whites in a bowl.


Tasty Kitchen Blog: Mexican Hot Chocolate Roasted Pecans. Guest post by Georgia Pellegrini, recipe submitted by TK member Julie of Savvy Eats.

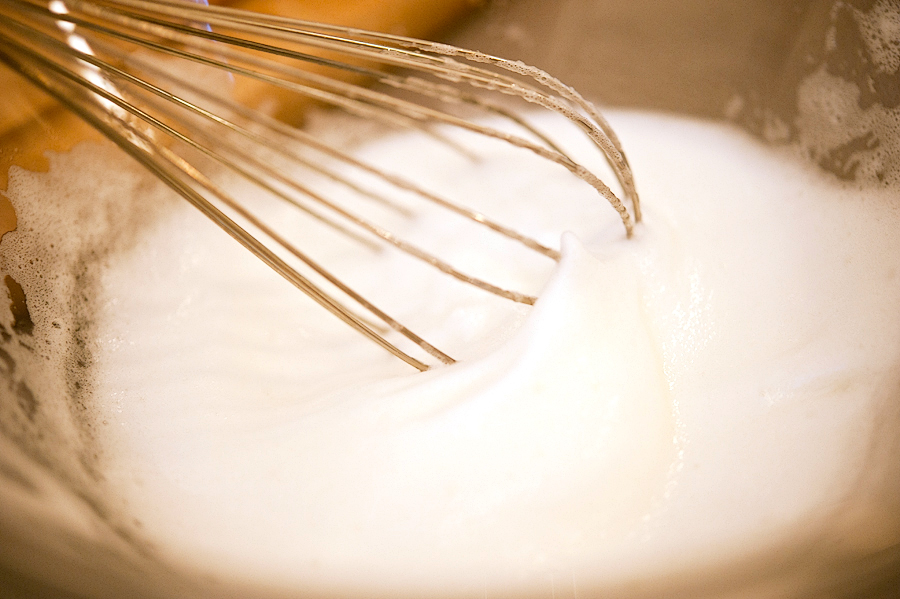
You’ll keep whisking them until they form soft peaks.


Tasty Kitchen Blog: Mexican Hot Chocolate Roasted Pecans. Guest post by Georgia Pellegrini, recipe submitted by TK member Julie of Savvy Eats.

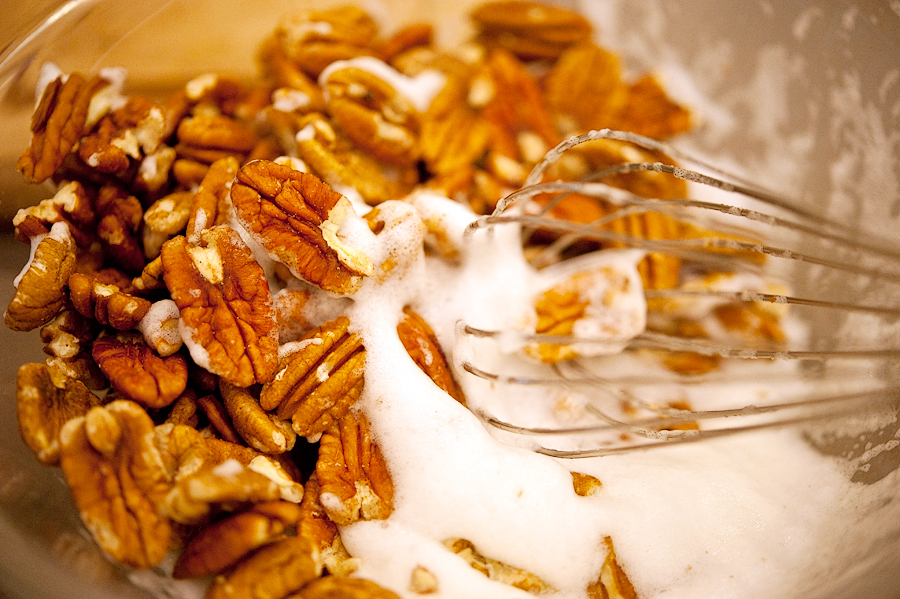
Then add the pecans and coat them evenly.


Tasty Kitchen Blog: Mexican Hot Chocolate Roasted Pecans. Guest post by Georgia Pellegrini, recipe submitted by TK member Julie of Savvy Eats.

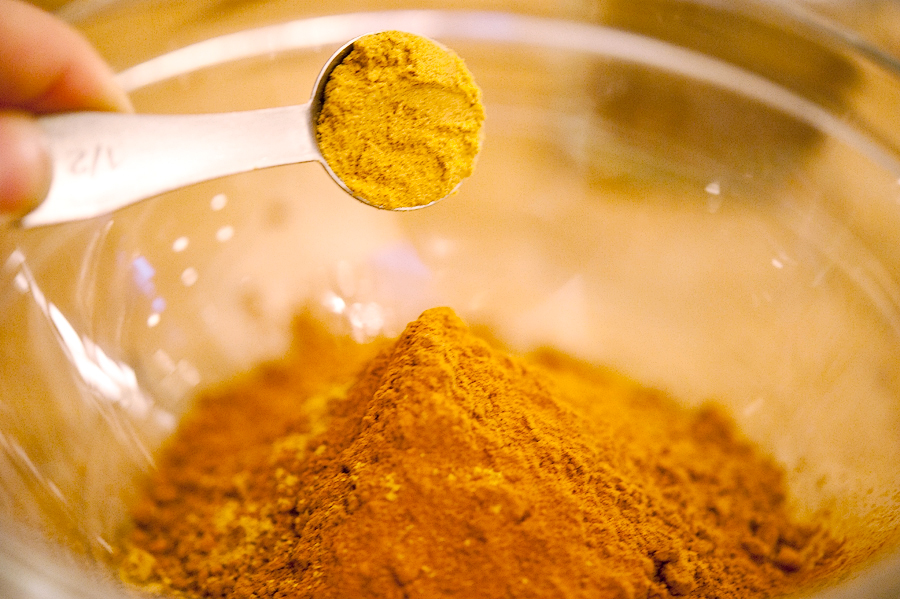
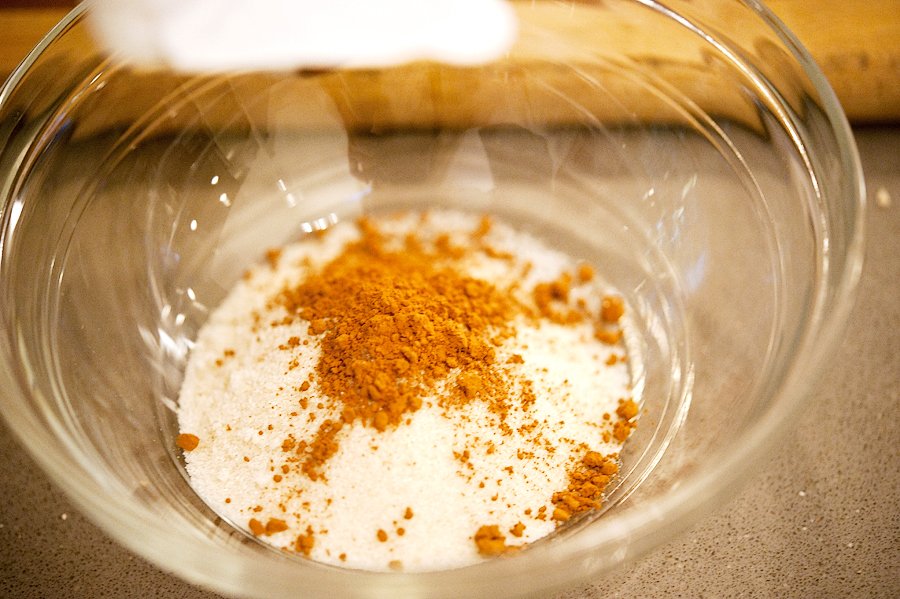
In another bowl, combine the sugar and cocoa powder…


Tasty Kitchen Blog: Mexican Hot Chocolate Roasted Pecans. Guest post by Georgia Pellegrini, recipe submitted by TK member Julie of Savvy Eats.

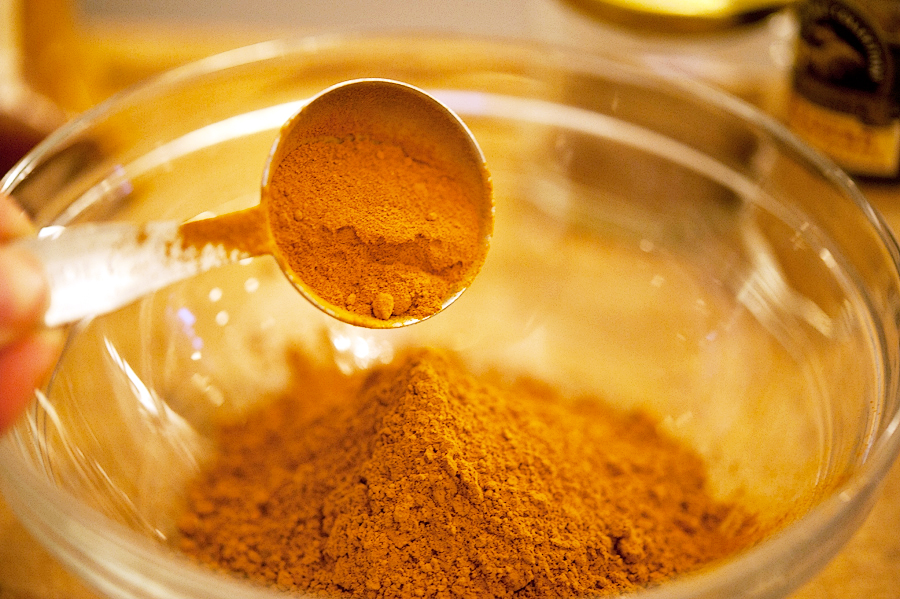
Along with the cinnamon…


Tasty Kitchen Blog: Mexican Hot Chocolate Roasted Pecans. Guest post by Georgia Pellegrini, recipe submitted by TK member Julie of Savvy Eats.

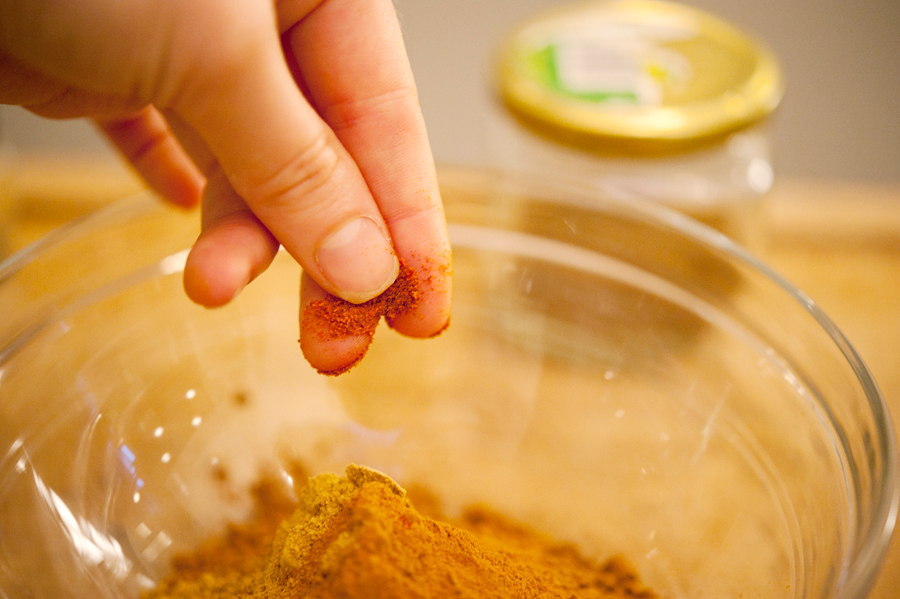
Ground ginger…


Tasty Kitchen Blog: Mexican Hot Chocolate Roasted Pecans. Guest post by Georgia Pellegrini, recipe submitted by TK member Julie of Savvy Eats.

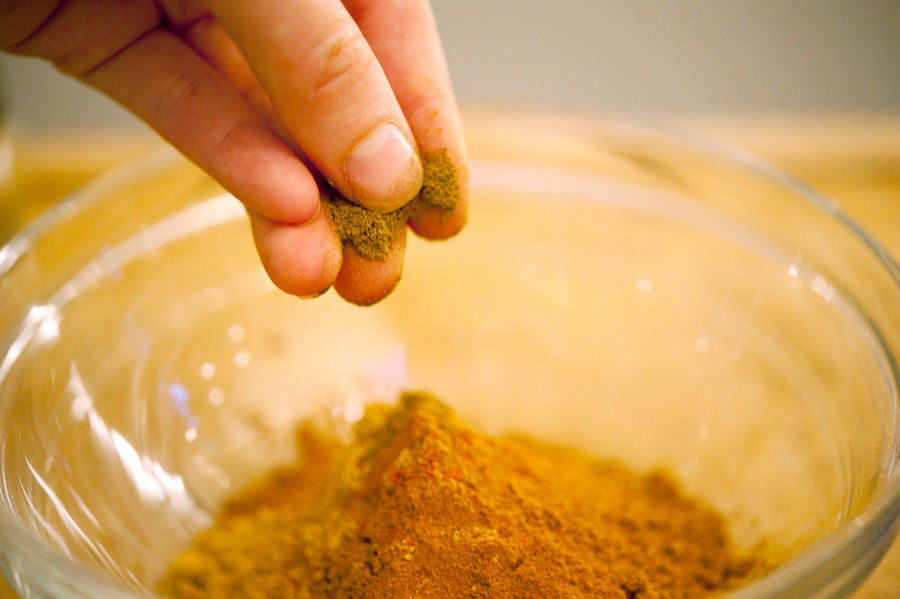
Cayenne…


Tasty Kitchen Blog: Mexican Hot Chocolate Roasted Pecans. Guest post by Georgia Pellegrini, recipe submitted by TK member Julie of Savvy Eats.

And allspice.


Tasty Kitchen Blog: Mexican Hot Chocolate Roasted Pecans. Guest post by Georgia Pellegrini, recipe submitted by TK member Julie of Savvy Eats.

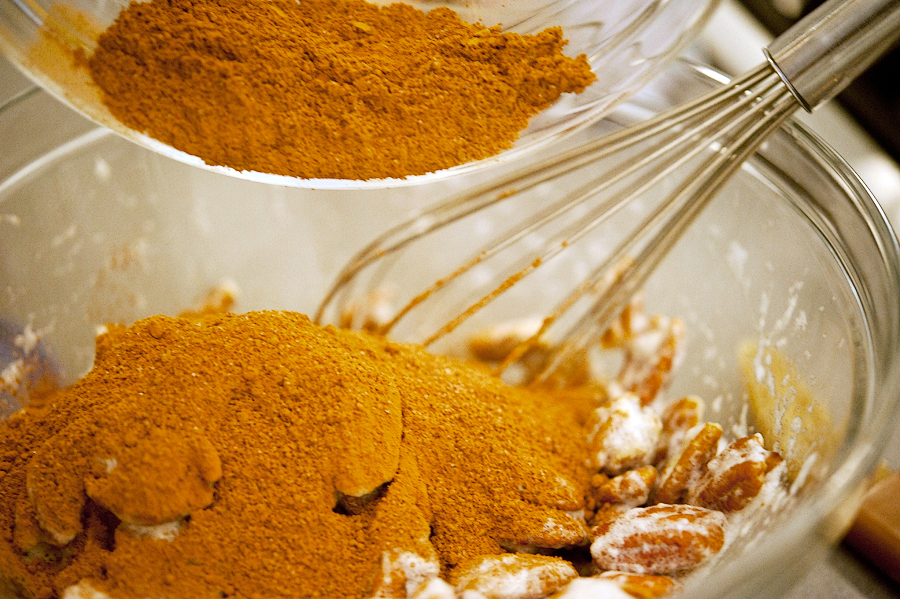
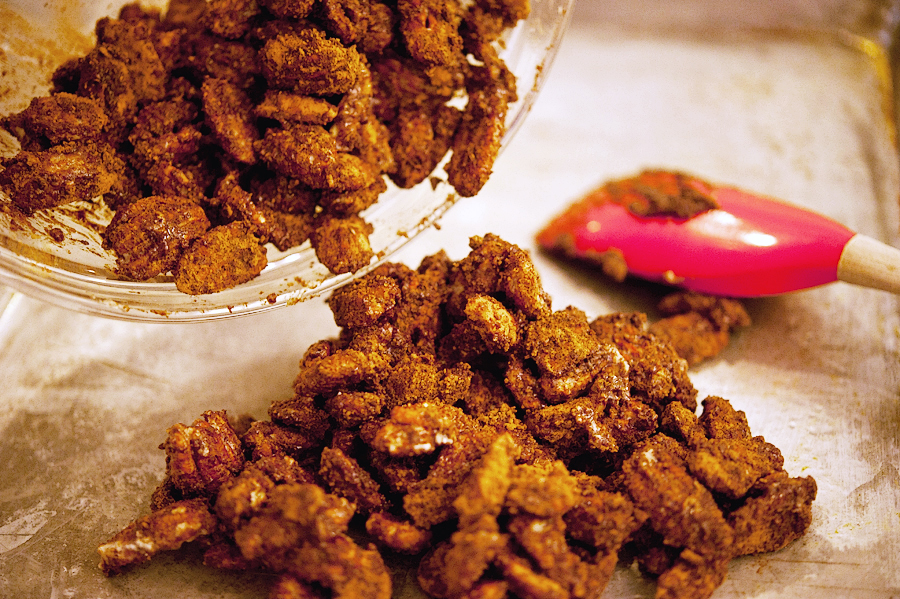
Give it a stir and add that mixture to the bowl of pecans and toss them until they are well coated.


Tasty Kitchen Blog: Mexican Hot Chocolate Roasted Pecans. Guest post by Georgia Pellegrini, recipe submitted by TK member Julie of Savvy Eats.

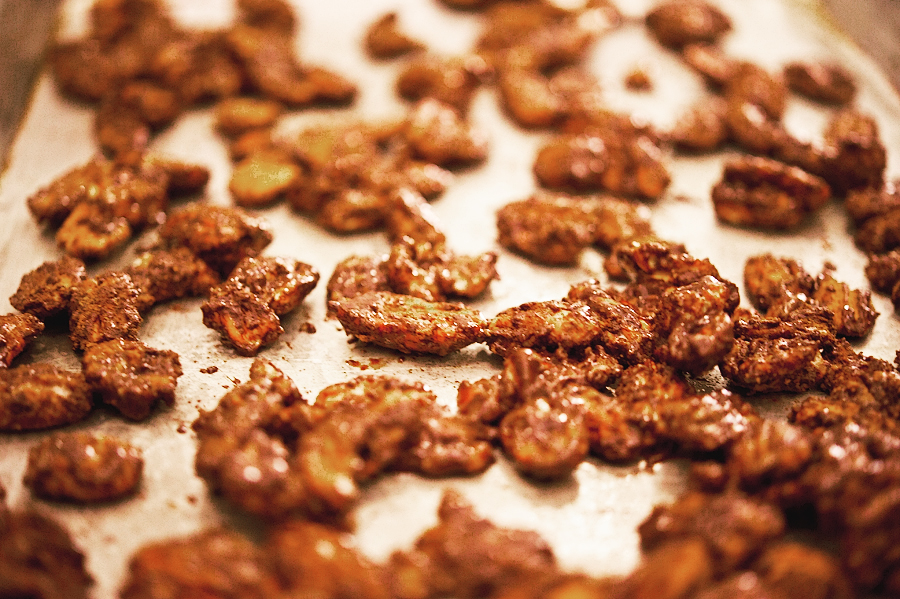
Spread the pecans onto a greased baking sheet.


Tasty Kitchen Blog: Mexican Hot Chocolate Roasted Pecans. Guest post by Georgia Pellegrini, recipe submitted by TK member Julie of Savvy Eats.

Spread them as evenly as possible so they don’t stick together and bake them at 250ºF for one hour, stirring every 15 to 20 minutes, until the pecans are dry.
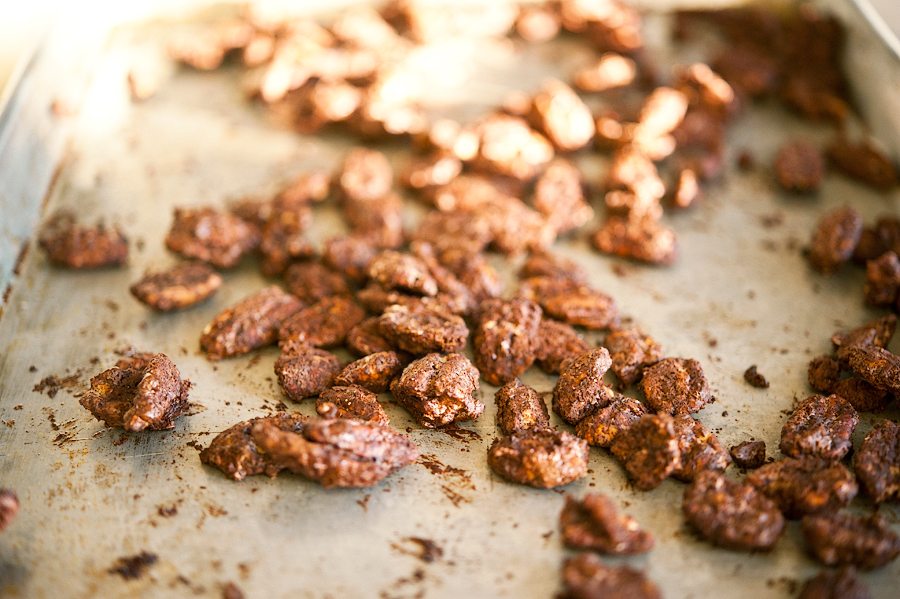


Tasty Kitchen Blog: Mexican Hot Chocolate Roasted Pecans. Guest post by Georgia Pellegrini, recipe submitted by TK member Julie of Savvy Eats.

You’ll notice that there are some missing from this tray—maybe half. They just disappeared somehow between the oven and the table. It’s that spicy sweet savory combination, I tell you! So addictive.
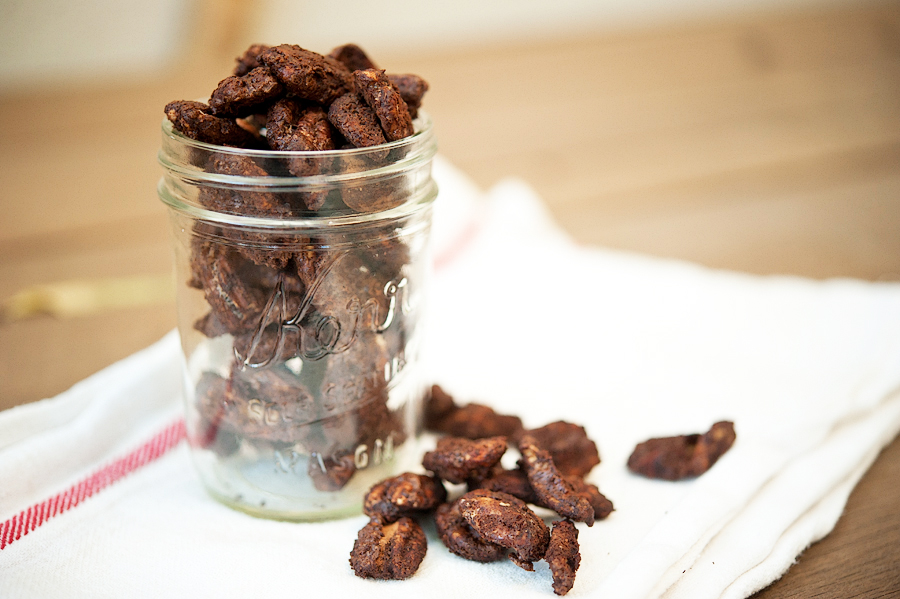


Tasty Kitchen Blog: Mexican Hot Chocolate Roasted Pecans. Guest post by Georgia Pellegrini, recipe submitted by TK member Julie of Savvy Eats.

I served what was left at my holiday party and they were gone in a flash. Thanks so much to Savvy Julie for this amazing recipe! Visit her blog Savvy Eats for more of her great recipes.


Printable Recipe
Mexican Hot Chocolate Roasted Pecans

See post on Savvy Julie’s site!
5.00 Mitt(s) 4 Rating(s)4 votes, average: 5.00 out of 54 votes, average: 5.00 out of 54 votes, average: 5.00 out of 54 votes, average: 5.00 out of 54 votes, average: 5.00 out of 5

Prep Time:

Cook Time:

Difficulty: Easy

Servings: 8

8
x

Print Options

Page size Letter 3x5 4x6
Text Size Small Medium Large
Content Include description
Include prep time, etc.
Show image

Description

These pecans make for a stellar appetizer or snack. Pack them into a glass jar and tie up with a ribbon for a beautiful gift for friends and party hosts. If you’d like, you can use a combination of pecans and almonds here, or replace all of the pecans with 4 cups of almonds.

Ingredients

  • 1  Egg White
  • 3-½ cups Unsalted Raw Pecans
  • ⅔ cups Granulated Sugar
  • ¼ cups Unsweetened Cocoa Powder
  • 1-½ teaspoon Ground Cinnamon
  • ½ teaspoons Ground Ginger
  • 1 pinch Cayenne Pepper
  • 1 pinch Ground Allspice

Preparation Instructions

Preheat the oven to 250F and grease a large rimmed baking sheet.

In a medium-sized mixing bowl, beat the egg white until it is white and frothy with soft peaks. Fold in the pecans, stirring until they are all coated with the egg white.

In a small bowl, whisk together the sugar, cocoa powder and spices. Add the sugar to the pecans and stir until all of the sugar is sticking to the nuts.

Spread the pecans onto the baking sheet. Bake at 250F for one hour, stirring every 15 to 20 minutes, until the pecans are dry and the sugar doesn’t come off on your fingers when you touch them.


_______________________________________

There’s so much to say about Georgia, we don’t know where to start. Leaving Wall Street for the French Culinary Institute, followed by a stint at the Gramercy Tavern and La Chassagnette in France, her passion for food and food traditions are evident and inspiring. Visit her site at Georgia Pellegrini, where you’ll find more recipes, photos, learn all about her wonderful books Girl Hunter and Food Heroes, and enjoy her latest adventures.



Profile photo of georgiapellegrini

Scottish Oat Cakes

Posted by in Baking, Step-by-Step Recipes

Tasty Kitchen Blog: Scottish Oat Cakes. Guest post by Georgia Pellegrini, recipe submitted by TK member Movita Beaucoup.

 
This is my second recipe post here inspired by someone’s grandmother. I just love it, I could cook this way all day long. Before I realized these Scottish Oat Cakes were from Movita’s grammie, I thought to myself, “These remind me so much of my great-aunt’s cookies.” It is simple rolled oats combined with that very simple texture and crunch—the pure, understated oat cookie of that generation. I was so excited to make these.


Tasty Kitchen Blog: Scottish Oat Cakes. Guest post by Georgia Pellegrini, recipe submitted by TK member Movita Beaucoup.

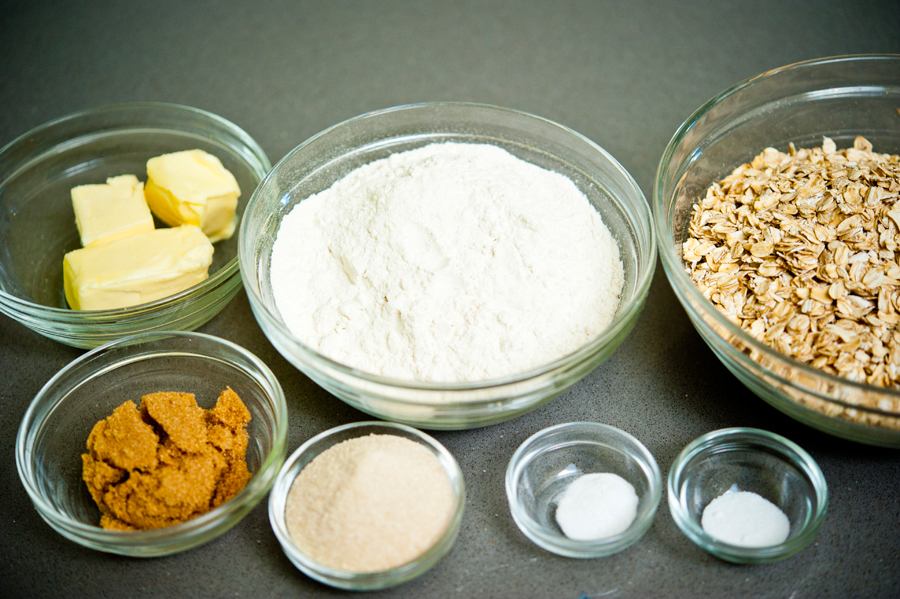
To make these yourself, you’ll need: flour, rolled oats, baking soda, salt, white sugar, brown sugar, and cold butter (or lard! Mmm).


Tasty Kitchen Blog: Scottish Oat Cakes. Guest post by Georgia Pellegrini, recipe submitted by TK member Movita Beaucoup.

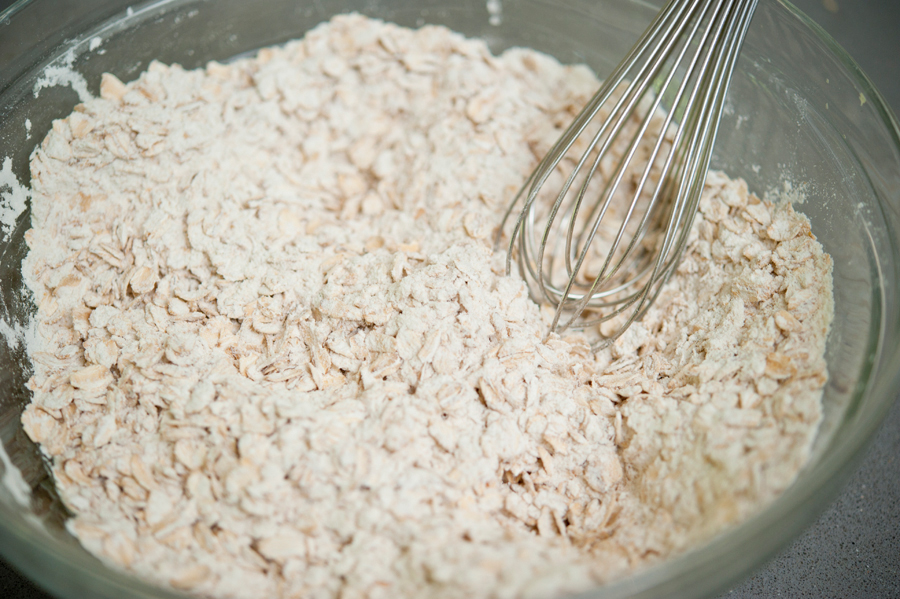
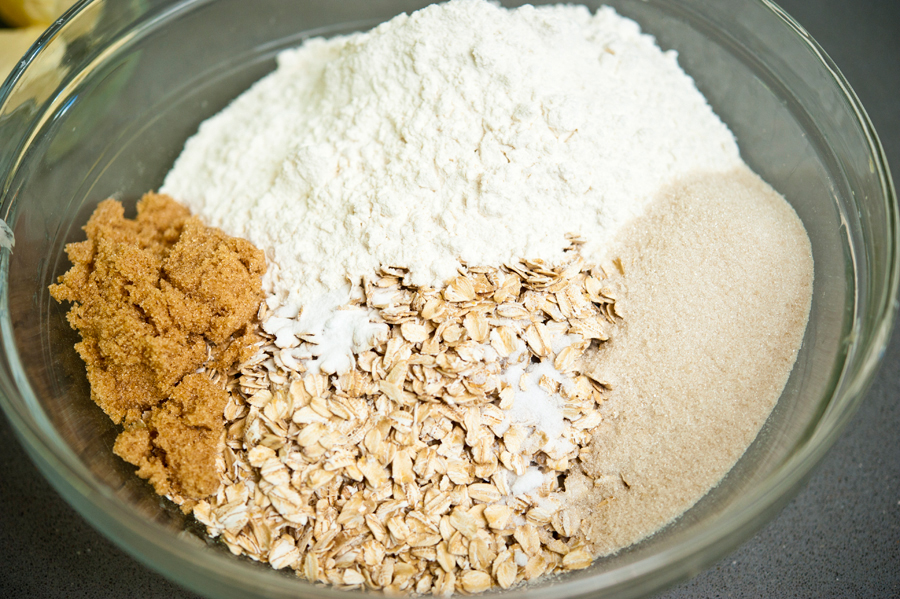
Start by combining all of the dry ingredients in a bowl, everything but the butter.


Tasty Kitchen Blog: Scottish Oat Cakes. Guest post by Georgia Pellegrini, recipe submitted by TK member Movita Beaucoup.

Mix it thoroughly with a whisk, or my favorite tool: your hands!


Tasty Kitchen Blog: Scottish Oat Cakes. Guest post by Georgia Pellegrini, recipe submitted by TK member Movita Beaucoup.

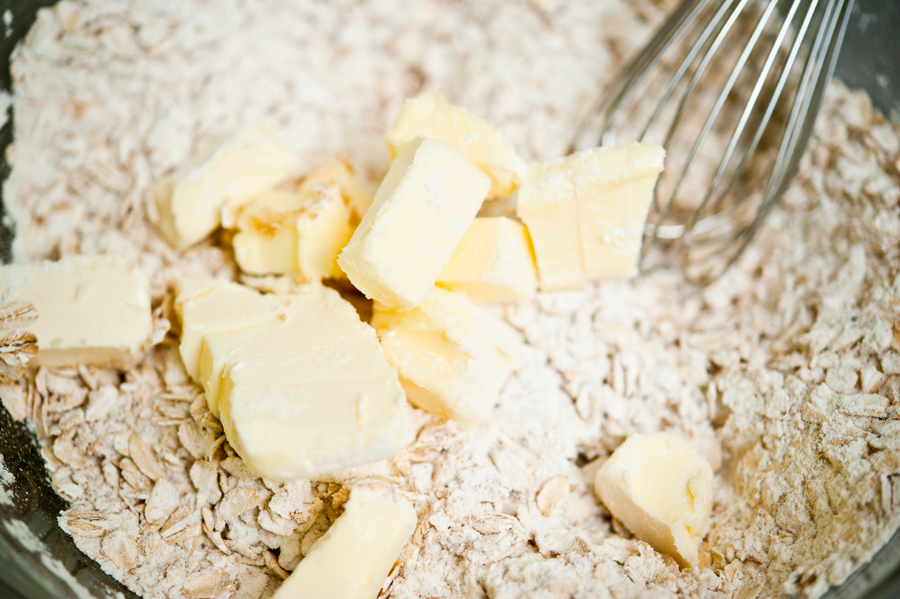
Add the butter and incorporate that as well.


Tasty Kitchen Blog: Scottish Oat Cakes. Guest post by Georgia Pellegrini, recipe submitted by TK member Movita Beaucoup.

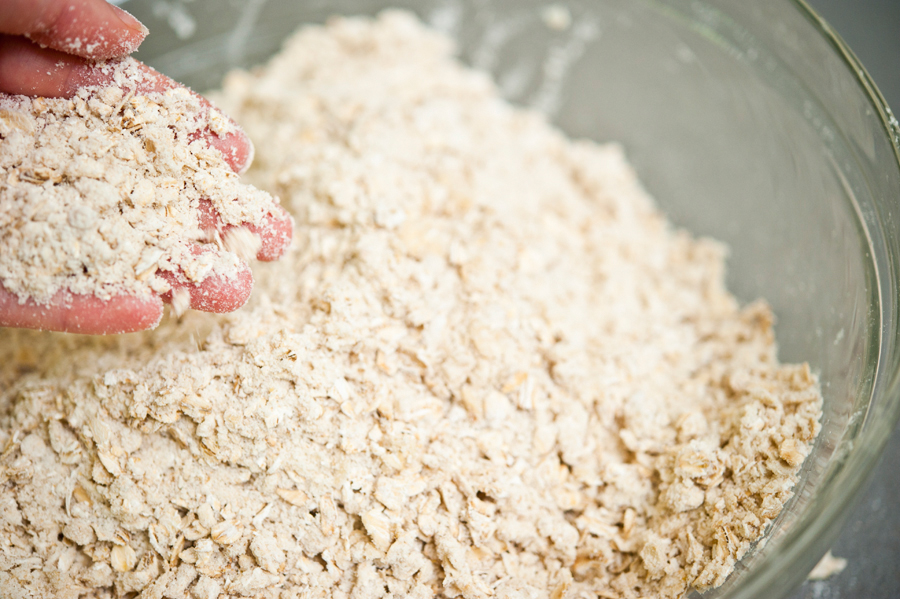
This is where your hands are especially useful because you want to mix this butter in quickly and create a sandy texture.


Tasty Kitchen Blog: Scottish Oat Cakes. Guest post by Georgia Pellegrini, recipe submitted by TK member Movita Beaucoup.

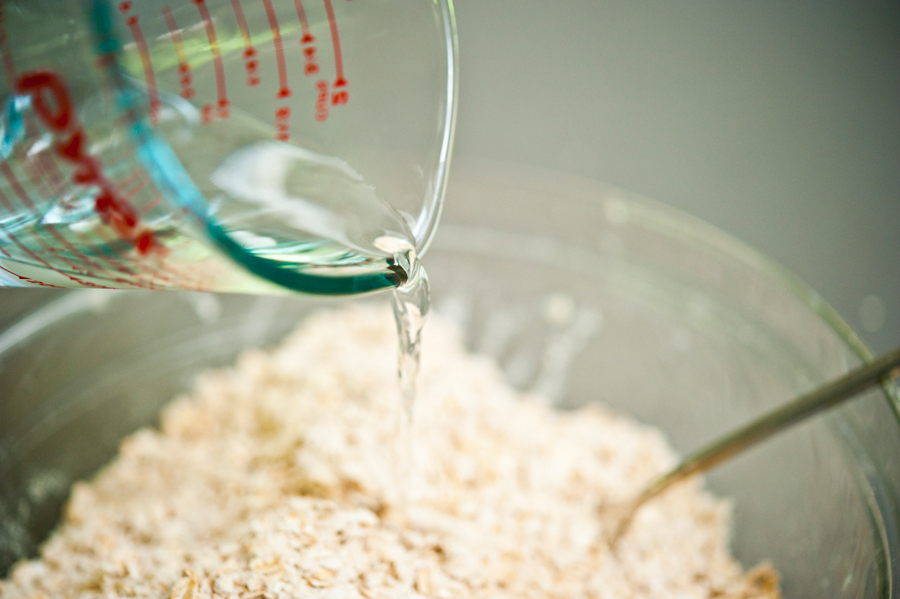
Once that is nice and sandy, pour in water a little at a time, about 1/2 cup.


Tasty Kitchen Blog: Scottish Oat Cakes. Guest post by Georgia Pellegrini, recipe submitted by TK member Movita Beaucoup.

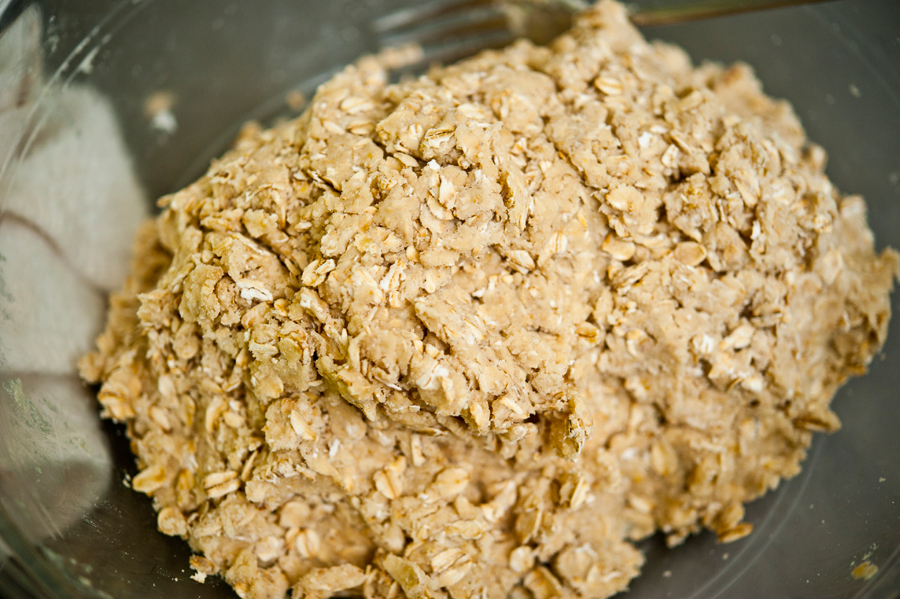
You just want to moisten it enough until it gathers together and there isn’t any dry matter on the bottom of the bowl straggling behind.


Tasty Kitchen Blog: Scottish Oat Cakes. Guest post by Georgia Pellegrini, recipe submitted by TK member Movita Beaucoup.

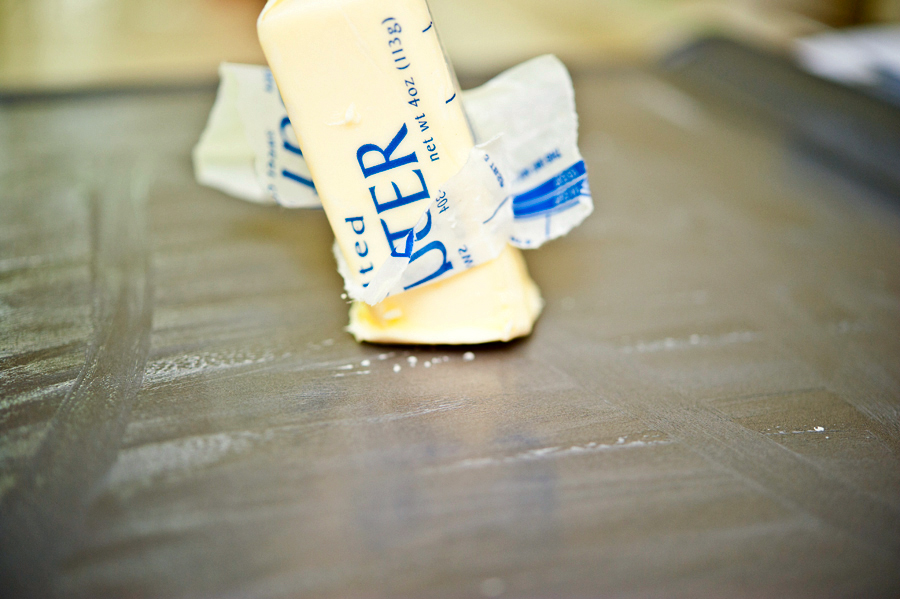
Grease a baking sheet with spray or be like me—smear around a big stick of butter. I’m very precise that way.


Tasty Kitchen Blog: Scottish Oat Cakes. Guest post by Georgia Pellegrini, recipe submitted by TK member Movita Beaucoup.

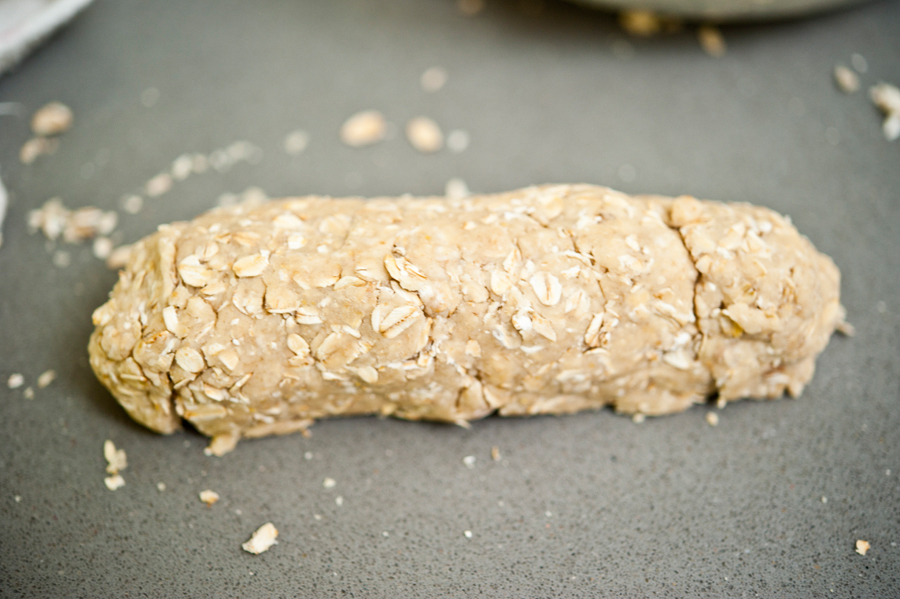
Then on a clean, lightly floured surface, separate the dough into smaller batches.


Tasty Kitchen Blog: Scottish Oat Cakes. Guest post by Georgia Pellegrini, recipe submitted by TK member Movita Beaucoup.

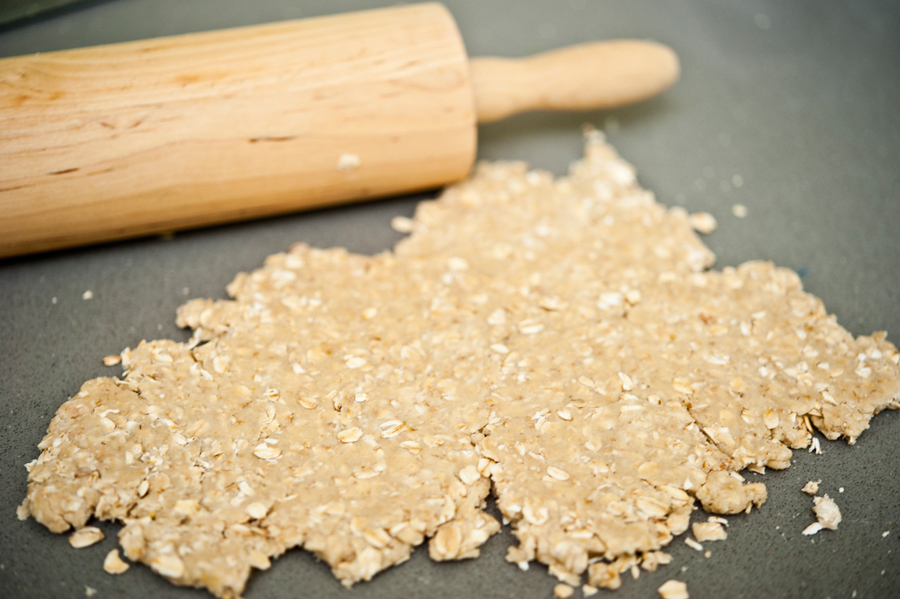
Roll out the dough.


Tasty Kitchen Blog: Scottish Oat Cakes. Guest post by Georgia Pellegrini, recipe submitted by TK member Movita Beaucoup.

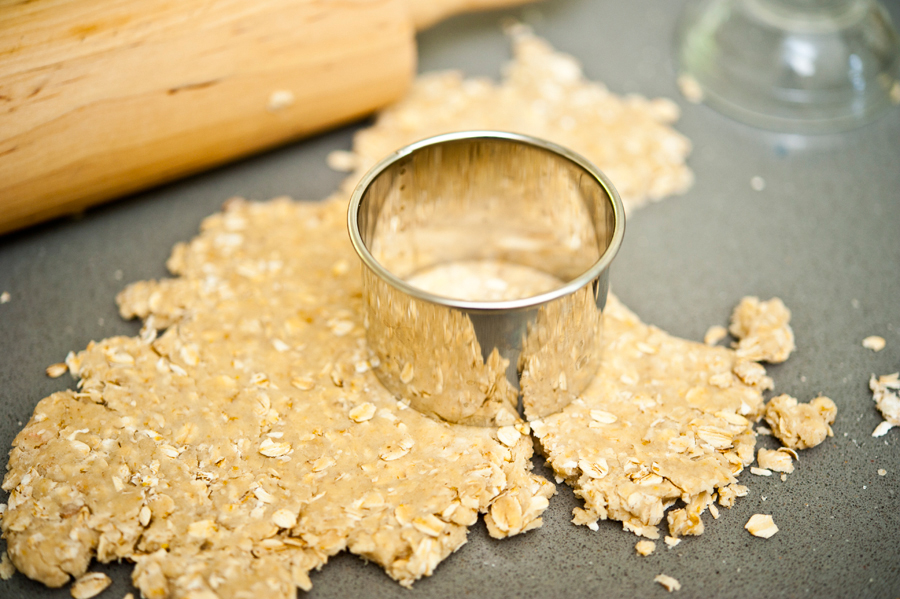
Use a ring cutter or the rim of a glass to cut ¼ inch thick circles.


Tasty Kitchen Blog: Scottish Oat Cakes. Guest post by Georgia Pellegrini, recipe submitted by TK member Movita Beaucoup.

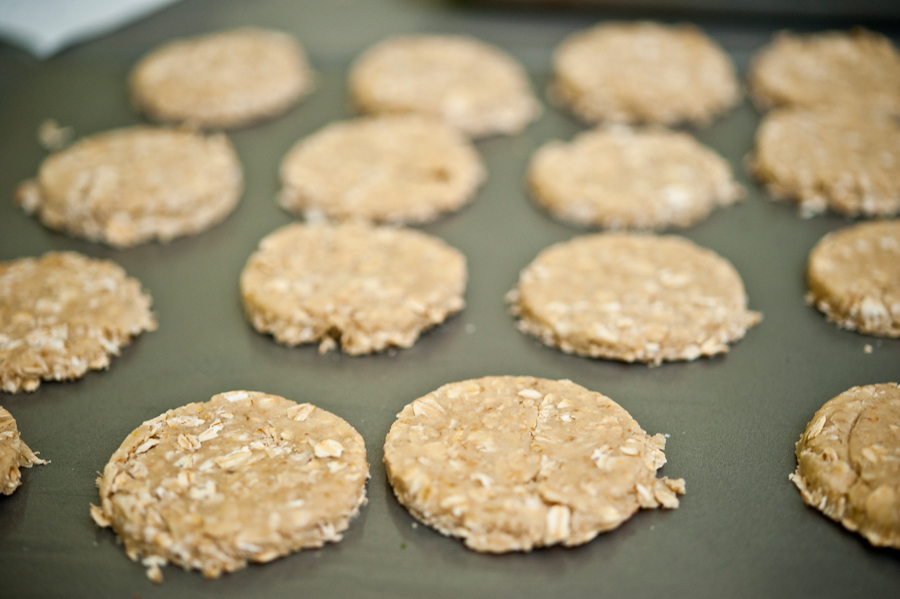
Lay them in rows on a baking sheet and pop them in the oven!


Tasty Kitchen Blog: Scottish Oat Cakes. Guest post by Georgia Pellegrini, recipe submitted by TK member Movita Beaucoup.

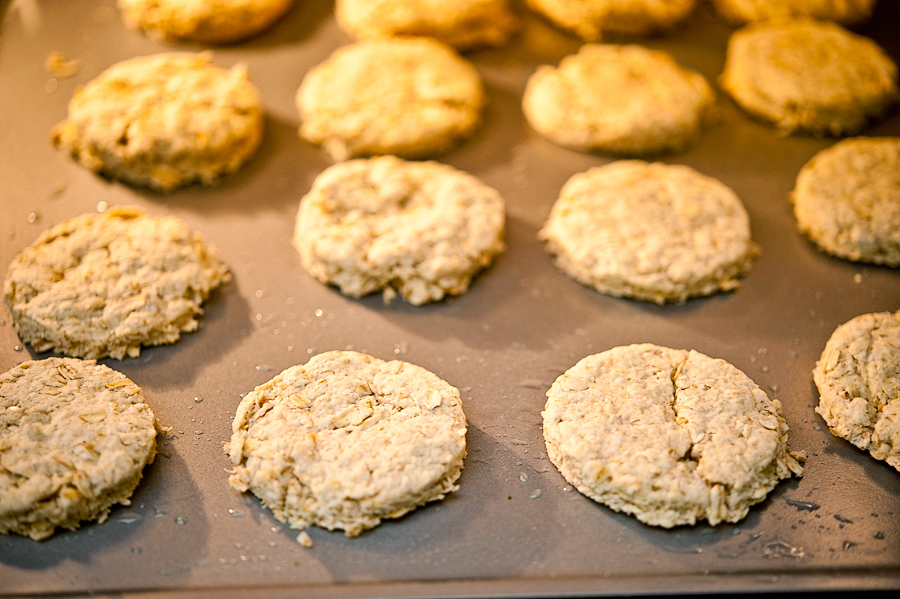
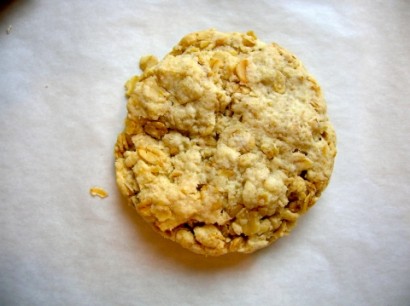
What is interesting about these is that they don’t change their shape much. They just simply firm up a bit. It’s a fun combination between a true cookie and a scone.


Tasty Kitchen Blog: Scottish Oat Cakes. Guest post by Georgia Pellegrini, recipe submitted by TK member Movita Beaucoup.

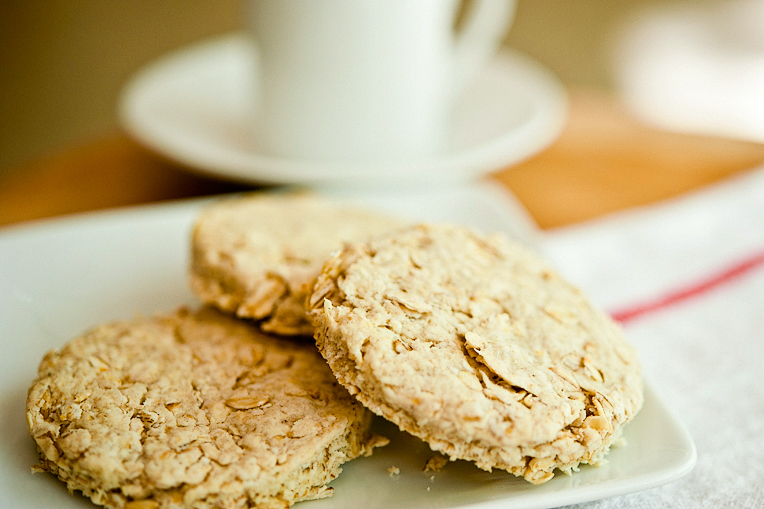
In fact, they seemed very British to me … or Scottish. They would be so perfect for a traditional afternoon tea. And they made me want to have a tea party instantly. Thank you to Movita for this wonderful recipe and for making me want to have a tea party! Be sure to check out her website Movita Beaucoup for more inspiration.


Printable Recipe

Elsa’s Scottish Oat Cakes

See post on movita beaucoup’s site!
5.00 Mitt(s) 1 Rating(s)1 vote, average: 5.00 out of 51 vote, average: 5.00 out of 51 vote, average: 5.00 out of 51 vote, average: 5.00 out of 51 vote, average: 5.00 out of 5

Prep Time:

Cook Time:

Difficulty: Easy

Servings: 24

24
x

Print Options

Page size Letter 3x5 4x6
Text Size Small Medium Large
Content Include description
Include prep time, etc.
Show image

Description

A yummy family favourite.

Ingredients

  • 2 cups Flour, All Purpose
  • 3 cups Rolled Oats
  • ¼ cups Brown Sugar
  • ¼ cups White Sugar
  • ½ teaspoons Salt
  • ½ teaspoons Baking Soda
  • ½ cups Lard Or Butter
  • ½ cups Ice Cold Water

Preparation Instructions

Combine dry ingredients in large bowl. Cut in butter with a knife or pastry cutter until coarse, mealy crumbs form. Add the ice cold water and stir vigorously with a fork until dough comes together. (The process is very similar to making biscuits, shortcakes and the like—don’t overwork the dough.) Transfer to a lightly floured surface, and shape dough into a ball. Take about a quarter of the dough from the ball, and roll it out to be 1/4 to 1/2 inch thick. (Grammie emphasized that you don’t want to over-handle the dough, thus she only rolled and cut a quarter of the dough at a time.) Cut into circles with a biscuit/cookie cutter or inverted drinking glass, or cut into strips with a pizza cutter. Place on parchment-lined baking sheets for baking. Repeat with remaining dough.

Bake at 350°F until golden (check at 8 minutes). Makes about 2 dozen.

Adapted from a family recipe handed down to me by Elsa and Christy Hodder.


_______________________________________

There’s so much to say about Georgia, we don’t know where to start. Leaving Wall Street for the French Culinary Institute, followed by a stint at the Gramercy Tavern and La Chassagnette in France, her passion for food and food traditions are evident and inspiring. Visit her site at Georgia Pellegrini, where you’ll find more recipes, photos, learn all about her wonderful book Food Heroes, and enjoy her latest adventures.


Profile photo of georgiapellegrini

Homemade Almond Milk

Posted by in Step-by-Step Recipes

Tasty Kitchen Blog: Homemade Almond Milk. Guest post by Georgia Pellegrini, recipe submitted by TK member Jennifer Guitard (jguitard).

 
One thing that is pretty much always in my refrigerator is almond milk. I love the nuttiness of the plain and vanilla flavors. And the chocolate almond milk? There’s just nothing like it in a tall glass of iced coffee.

And even though I love making many things from scratch, it just never occurred to me to make homemade almond milk until I saw Jennifer’s recipe here on Tasty Kitchen!


Tasty Kitchen Blog: Homemade Almond Milk. Guest post by Georgia Pellegrini, recipe submitted by TK member Jennifer Guitard (jguitard).

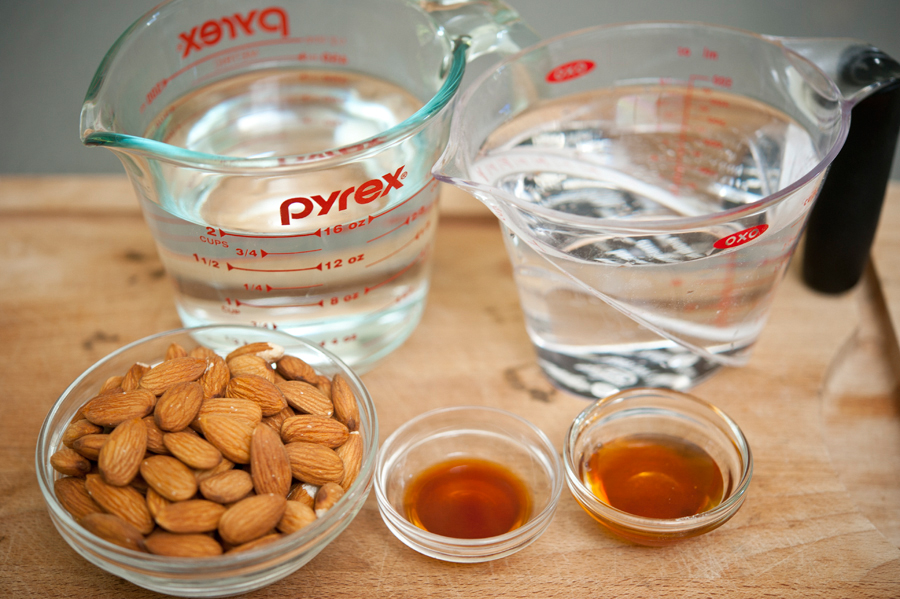
It also never occurred to me how simple it is to make it. Literally all you need is almonds and filtered water, along with any flavorings you’d like. In this case, I tried vanilla and a bit of honey.


Tasty Kitchen Blog: Homemade Almond Milk. Guest post by Georgia Pellegrini, recipe submitted by TK member Jennifer Guitard (jguitard).

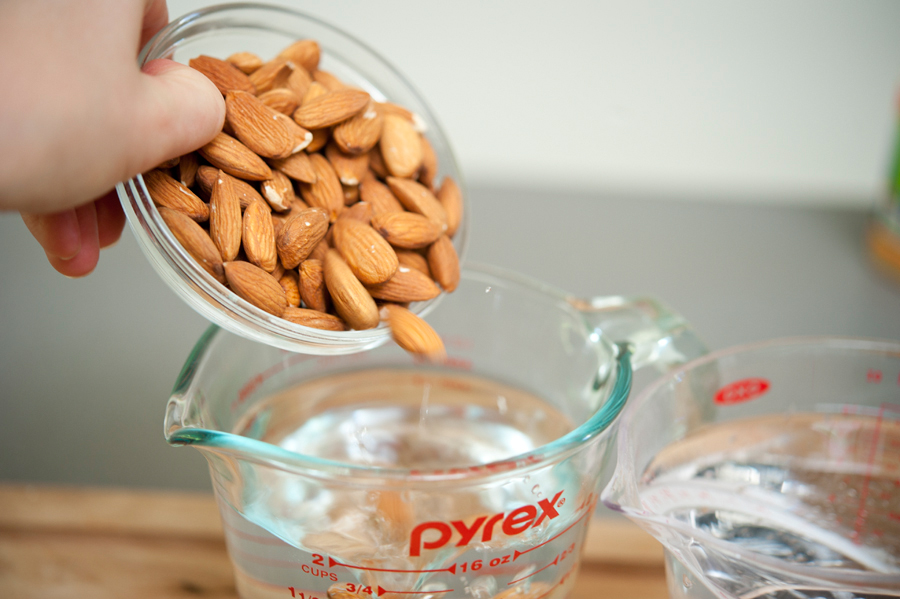
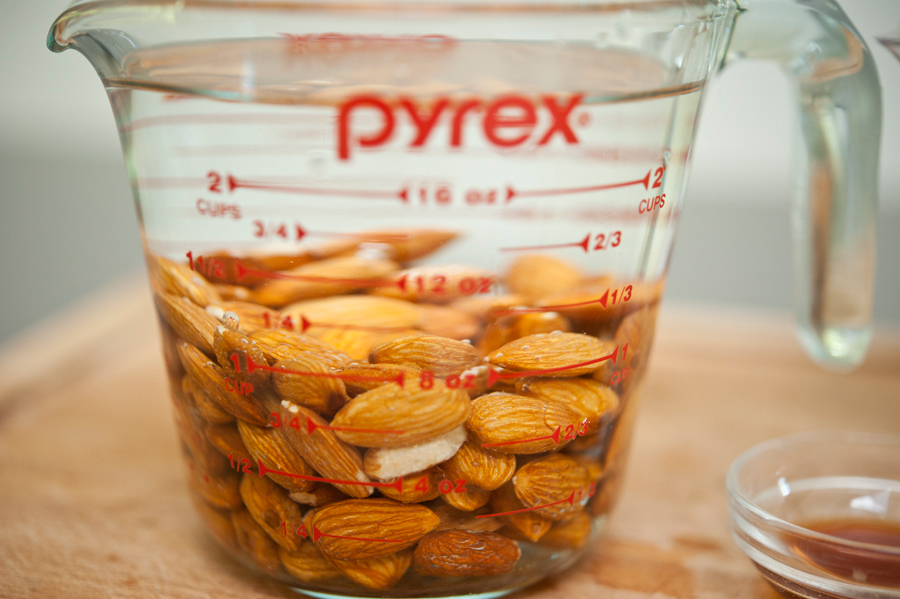
The main thing is to soak the almonds in water for up to 6 hours, which will soften them and make it easier to extract the flavor from them once they are blended.


Tasty Kitchen Blog: Homemade Almond Milk. Guest post by Georgia Pellegrini, recipe submitted by TK member Jennifer Guitard (jguitard).

But since I’m not a very good planner, I only soaked them for an hour and the recipe still worked very well.

One other option is to use blanched almonds without skins for a very pure color. But hey, I don’t mind beige almond milk myself.


Tasty Kitchen Blog: Homemade Almond Milk. Guest post by Georgia Pellegrini, recipe submitted by TK member Jennifer Guitard (jguitard).

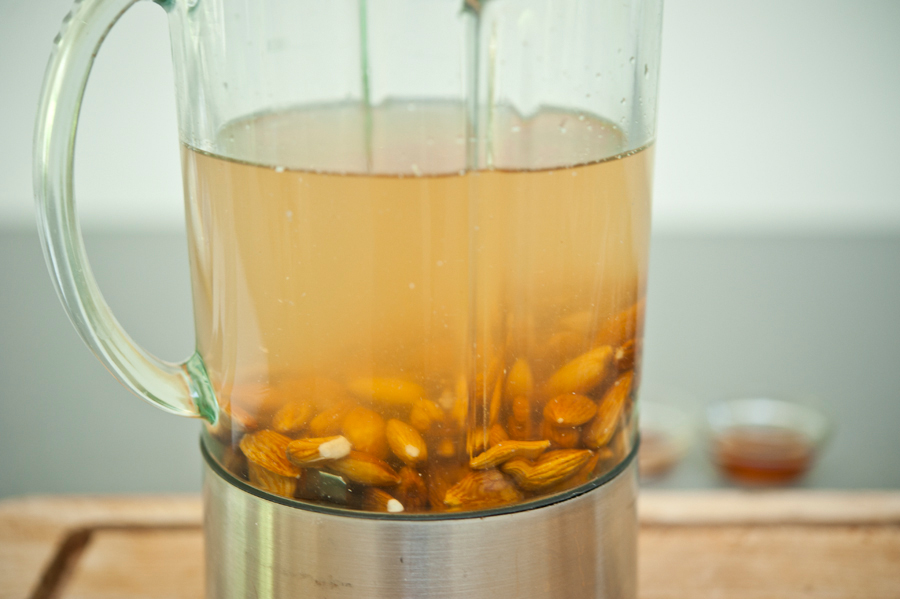
Once your almonds have soaked, combine them along with filtered water in a blender and give them a whirl for a few minutes.


Tasty Kitchen Blog: Homemade Almond Milk. Guest post by Georgia Pellegrini, recipe submitted by TK member Jennifer Guitard (jguitard).

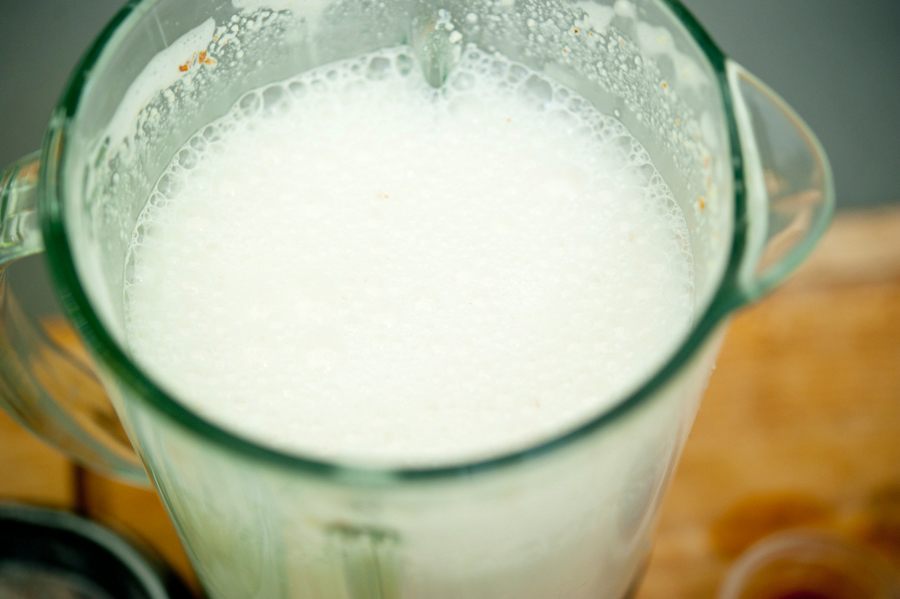
A nice head of foam will start to form and that’s when you can stop and add the flavorings.


Tasty Kitchen Blog: Homemade Almond Milk. Guest post by Georgia Pellegrini, recipe submitted by TK member Jennifer Guitard (jguitard).

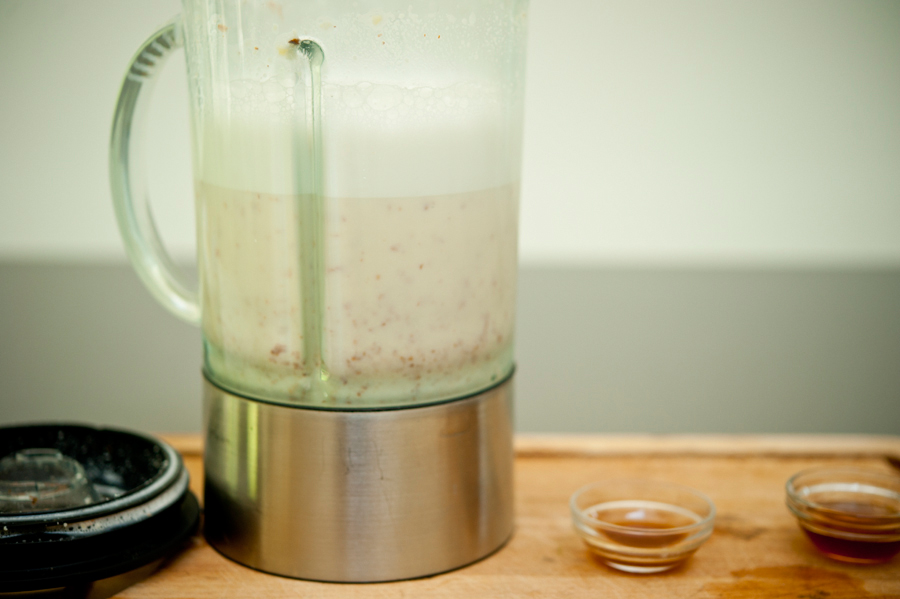
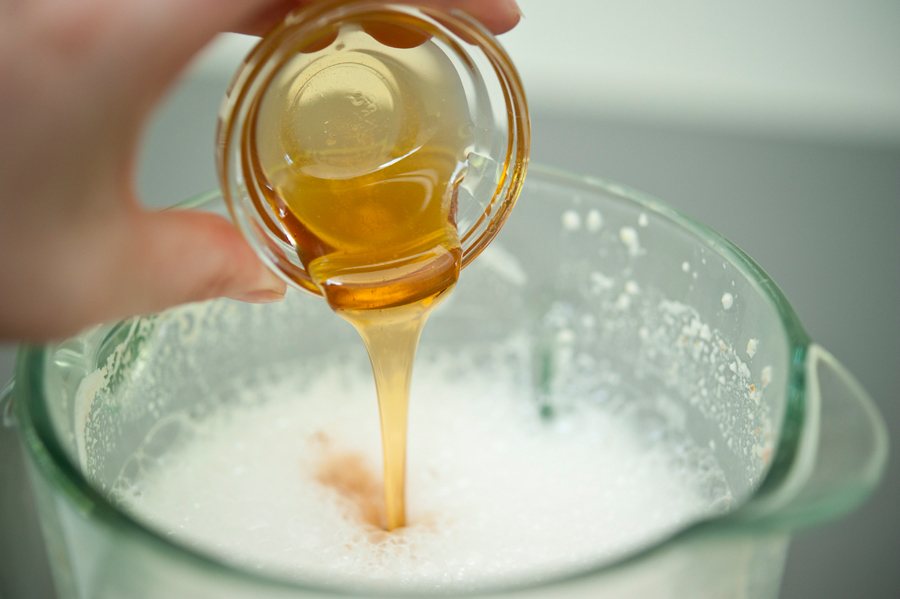
I added some honey from my bees here. But you could try stevia or maple syrup or leave it plain too.


Tasty Kitchen Blog: Homemade Almond Milk. Guest post by Georgia Pellegrini, recipe submitted by TK member Jennifer Guitard (jguitard).

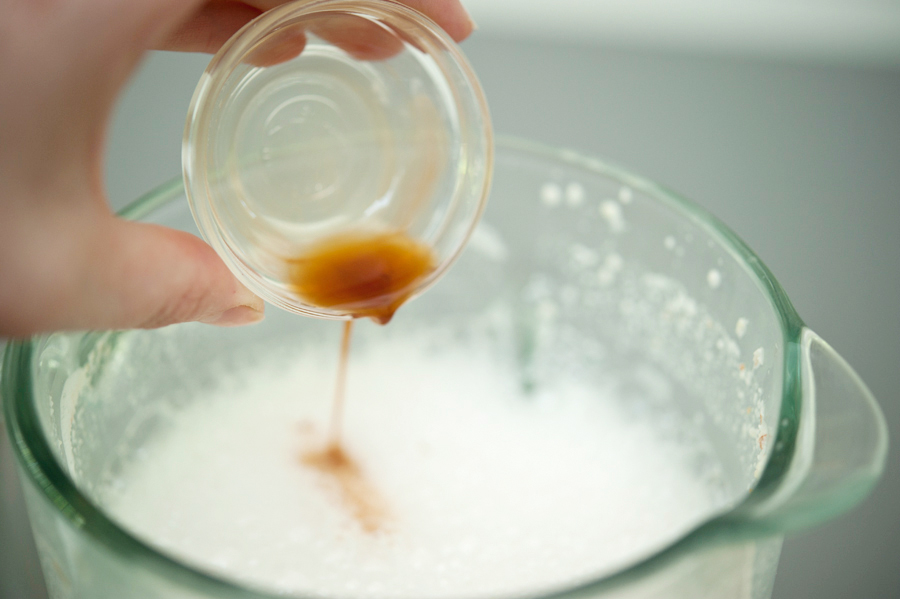
Then I added vanilla. Once again, you could skip this or add cocoa powder, chocolate syrup, cinnamon, and so many other things.


Tasty Kitchen Blog: Homemade Almond Milk. Guest post by Georgia Pellegrini, recipe submitted by TK member Jennifer Guitard (jguitard).

Blend these ingredients together for another 30 seconds and then get ready for the filtering process.


Tasty Kitchen Blog: Homemade Almond Milk. Guest post by Georgia Pellegrini, recipe submitted by TK member Jennifer Guitard (jguitard).

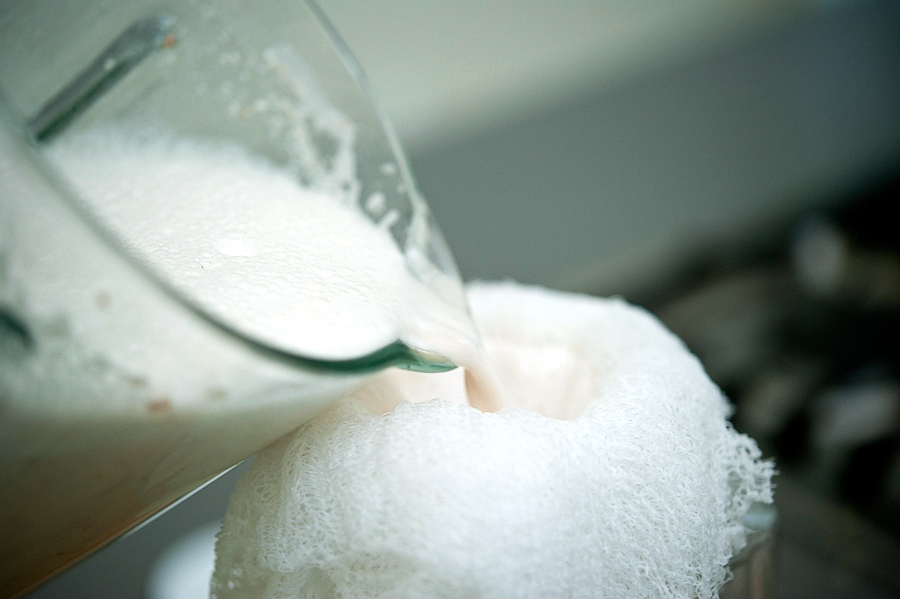
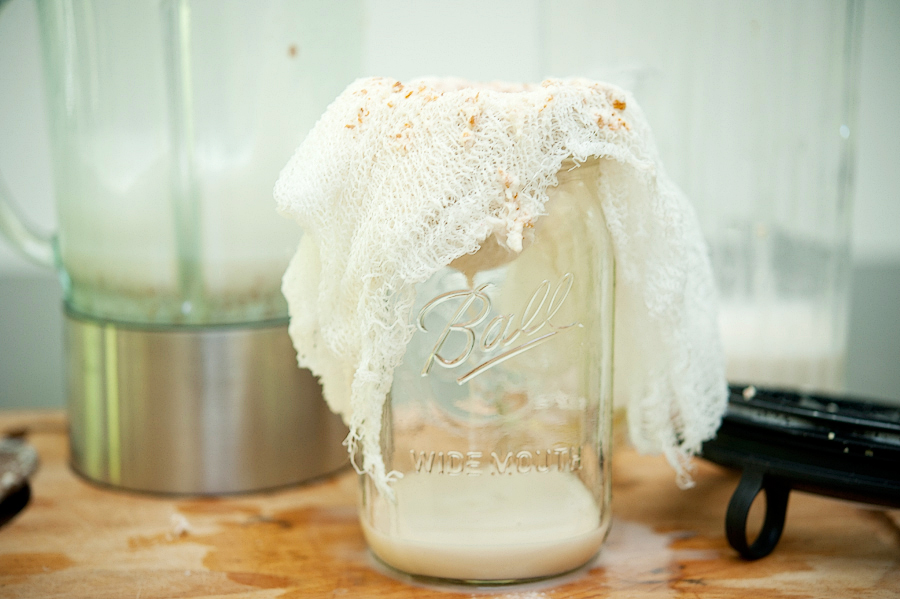
Cut a swatch of cheesecloth and layer it into about four layers. Give it a rinse under cold water and squeeze out the excess. Then drape it over the mouth of a pitcher or Mason jar. If you want to help yourself out you can secure it with a rubber band. Pour in the liquid a little at a time, pressing the excess ground almond that gathers as you go.


Tasty Kitchen Blog: Homemade Almond Milk. Guest post by Georgia Pellegrini, recipe submitted by TK member Jennifer Guitard (jguitard).

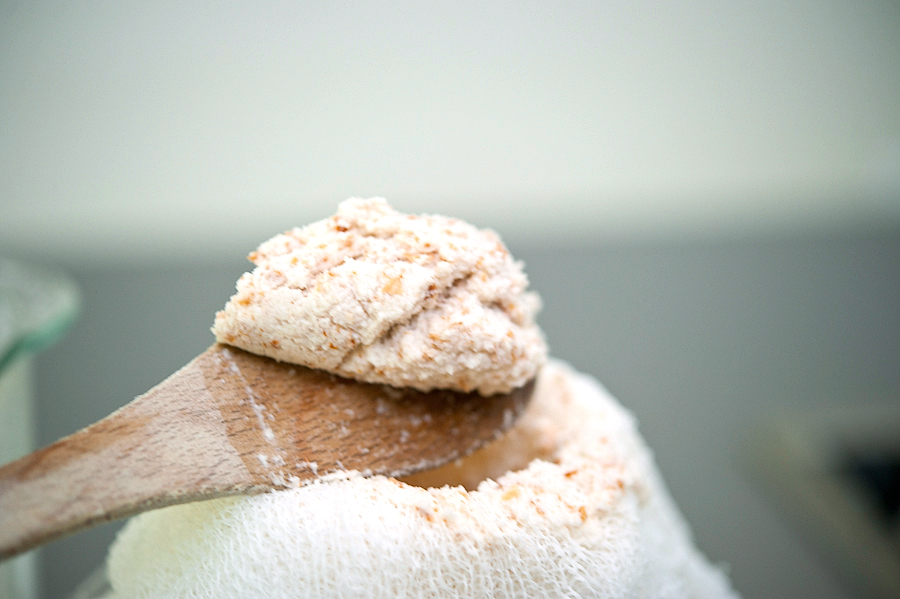
It will help to scoop away some of the ground almond if it builds up too much.


Tasty Kitchen Blog: Homemade Almond Milk. Guest post by Georgia Pellegrini, recipe submitted by TK member Jennifer Guitard (jguitard).

Your contraption will look something like this. Keep adding until you’ve pressed in all of the liquid.


Tasty Kitchen Blog: Homemade Almond Milk. Guest post by Georgia Pellegrini, recipe submitted by TK member Jennifer Guitard (jguitard).

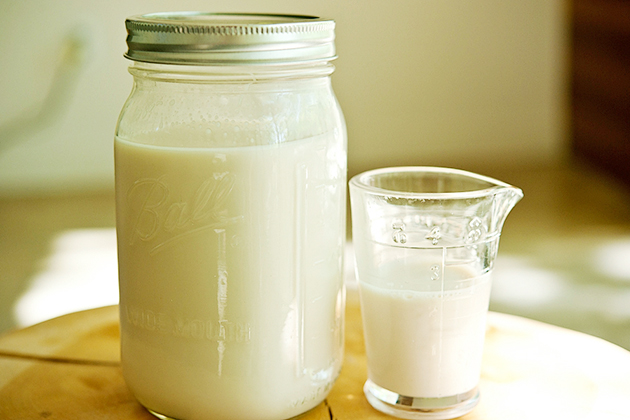
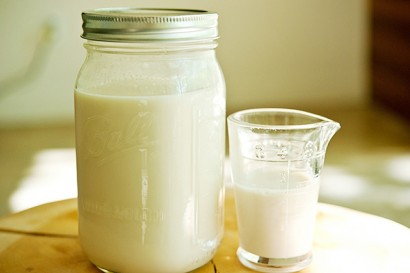
And there you will have homemade almond milk!

Thanks so much to Jennifer’s for this great recipe! I’ll never have to buy it again.


Printable Recipe

Homemade Almond Milk

4.00 Mitt(s) 2 Rating(s)2 votes, average: 4.00 out of 52 votes, average: 4.00 out of 52 votes, average: 4.00 out of 52 votes, average: 4.00 out of 52 votes, average: 4.00 out of 5

Prep Time:

Cook Time:

Difficulty: Easy

Servings: 6

6
x

Print Options

Page size Letter 3x5 4x6
Text Size Small Medium Large
Content Include description
Include prep time, etc.
Show image

Description

Almond milk is so easy to make, and so sweet. It’s a beautiful addition to cereal or your morning coffee.

For this recipe, you need cheesecloth, a big pitcher, and a blender.

Ingredients

  • 1 cup Almonds, Unsalted (preferably Without Skin On)
  • 4 cups Cold, Filtered Water
  • 1 teaspoon Vanilla Extract
  • 1 Tablespoon Honey
  • Optional Add-ins (a Few Are Listed Below) As Desired

Preparation Instructions

1. Soak the raw almonds covered in water for at least 6 hours, and then drain them.
2. Pour the almonds into a blender and add the cold filtered water.
3. Blend well. When you see a froth on the top, stop blending.
4. Add the vanilla and honey.
5. Blend again for another 20-30 seconds.
6. Take the cheesecloth, and fold to ensure it is at least 4 layers thick.
7. Put the cheesecloth on the top of the pitcher and secure it with a big elastic band. Use your fist to push some of the cheesecloth down into the pitcher so that it is not tight on top.
8. Pour the almond mix through the cheesecloth into the pitcher.
9. Use a big spoon to help push the milk through the mass of almond and into the pitcher.

And voila, you have Almond Milk!

Once you cinch the basic recipe, you’ll be eager to try the many possible variations:

For a chocolate fix, add 2 tablespoons unsweetened cocoa powder.
For sweeter milk, throw in a 1/2 cup of dates.
For cinnamon milk, add 1 teaspoon cinnamon and a dash of nutmeg.
For maple flavour, add 1 tablespoon pure maple syrup.
For a sugar-free option, eliminate the honey and add Stevia to taste.


_______________________________________

There’s so much to say about Georgia, we don’t know where to start. Leaving Wall Street for the French Culinary Institute, followed by a stint at the Gramercy Tavern and La Chassagnette in France, her passion for food and food traditions are evident and inspiring. Visit her site at Georgia Pellegrini, where you’ll find more recipes, photos, learn all about her wonderful books Girl Hunter and Food Heroes, and enjoy her latest adventures.


Profile photo of georgiapellegrini

Nonnie’s Persimmon Pudding

Posted by in Step-by-Step Recipes

Tasty Kitchen Blog: Nonnie's Persimmon Pudding. Guest post by Georgia Pellegrini, recipe submitted by TK member Maria (mariahs).

 
There is something so comforting about recipes made by grandmothers. Why do we like them so much? I think for me it is the nostalgia that comes with a recipe from her but also those good kitchen smells and the fact that no matter how hard I try, it never comes out quite like hers. I also love that grandmas rarely cook with recipes. They just seem to know what to do. They have an intuition in the kitchen that I strive for but seems to be part of that generation’s DNA. So of course this recipe called Nonnie’s Persimmon Pudding and submitted by MariahS was one I absolutely had to try.


Tasty Kitchen Blog: Nonnie's Persimmon Pudding. Guest post by Georgia Pellegrini, recipe submitted by TK member Maria (mariahs).

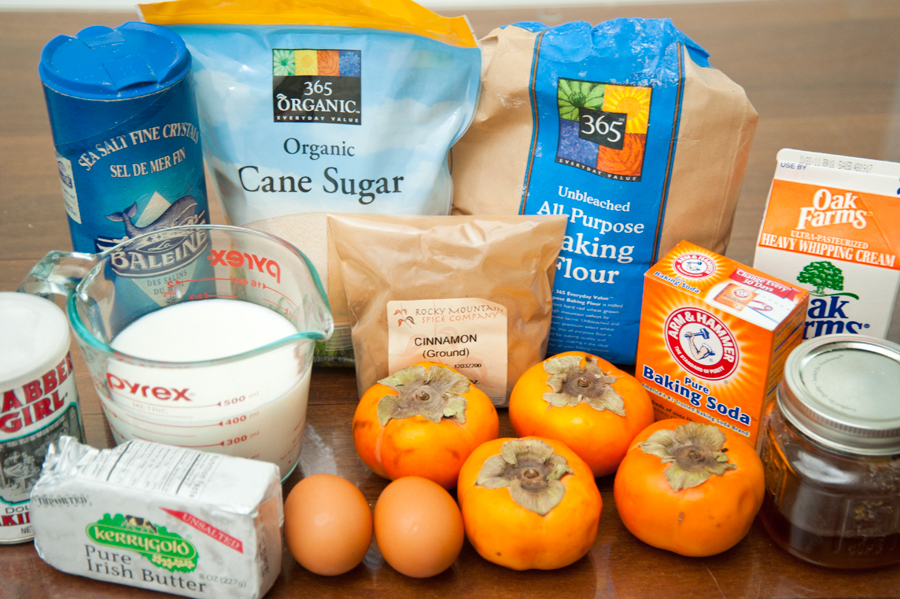
You’ll need: soft ripe persimmons, eggs, butter, buttermilk, baking powder, salt, sugar, cinnamon, flour, baking soda, heavy cream, and honey.

All of the good things life is made of.


Tasty Kitchen Blog: Nonnie's Persimmon Pudding. Guest post by Georgia Pellegrini, recipe submitted by TK member Maria (mariahs).

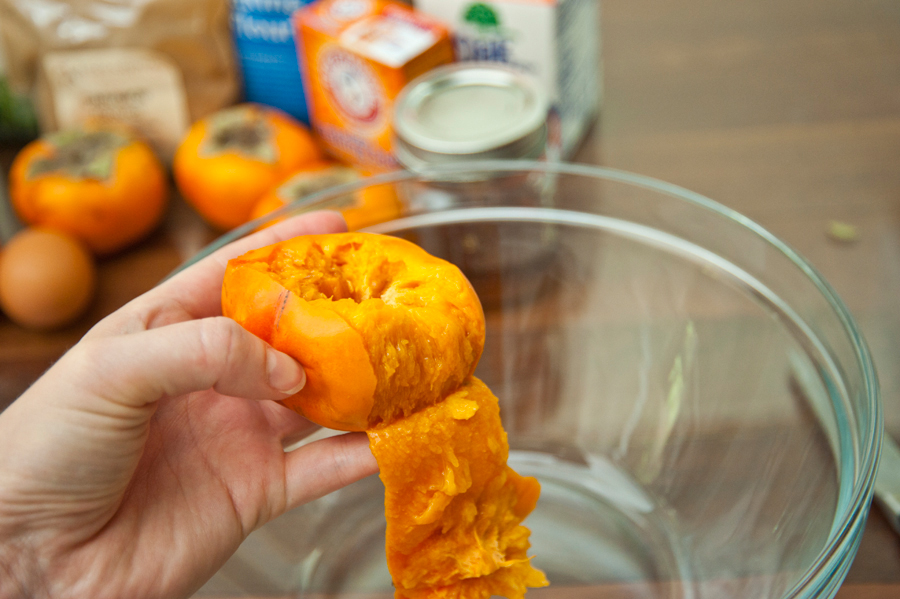
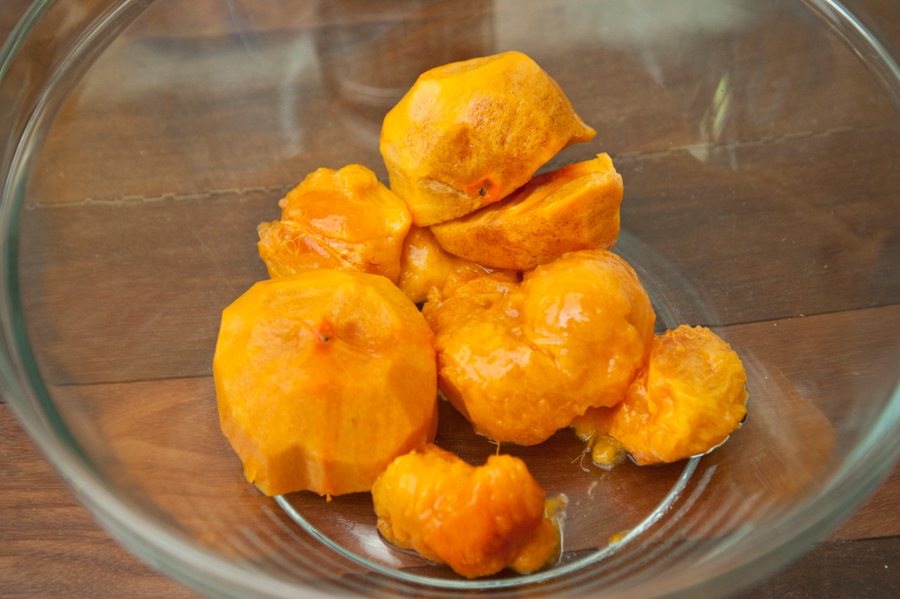
If your persimmons are really soft you can easily peel the skin off with a paring knife and mash them with a fork.


Tasty Kitchen Blog: Nonnie's Persimmon Pudding. Guest post by Georgia Pellegrini, recipe submitted by TK member Maria (mariahs).

But some varieties of persimmons are a bit harder so it would be worthwhile to puree them in a blender for a few seconds.


Tasty Kitchen Blog: Nonnie's Persimmon Pudding. Guest post by Georgia Pellegrini, recipe submitted by TK member Maria (mariahs).

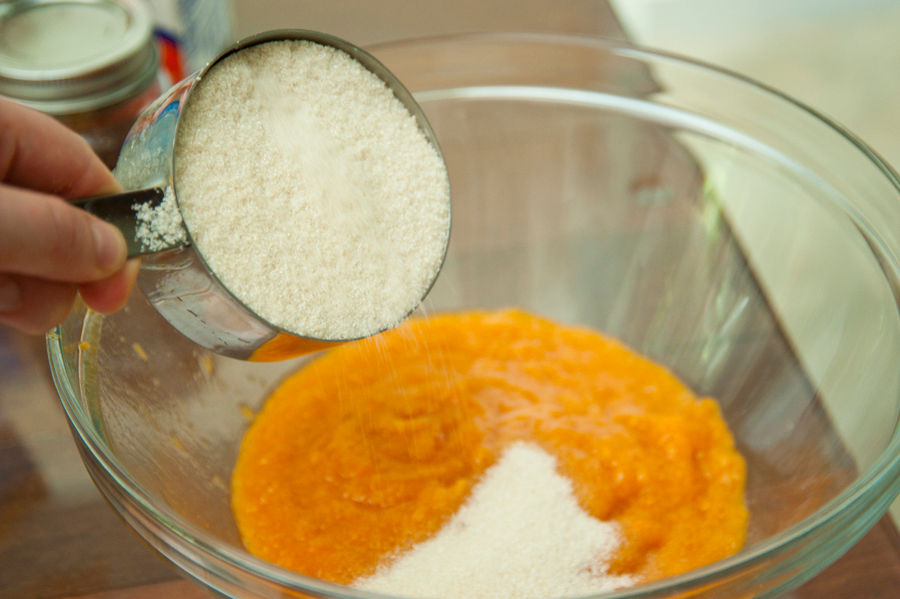
Next add your sugar.


Tasty Kitchen Blog: Nonnie's Persimmon Pudding. Guest post by Georgia Pellegrini, recipe submitted by TK member Maria (mariahs).

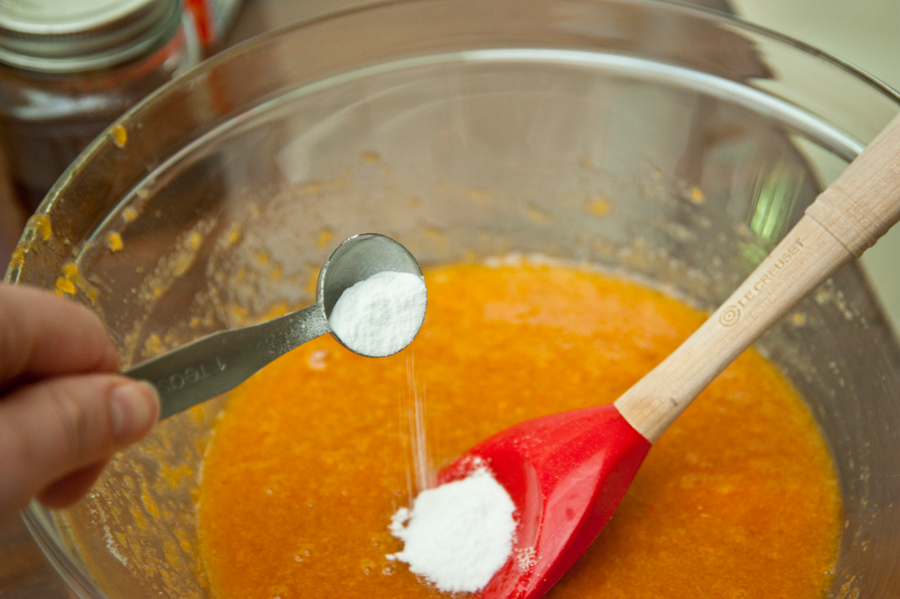
Then your baking soda…


Tasty Kitchen Blog: Nonnie's Persimmon Pudding. Guest post by Georgia Pellegrini, recipe submitted by TK member Maria (mariahs).

And your eggs. Now you could do it the “proper” way and beat the eggs first, but I was trying to channel my grandmother and defy the rules so I mixed mine once I added them to the puree.


Tasty Kitchen Blog: Nonnie's Persimmon Pudding. Guest post by Georgia Pellegrini, recipe submitted by TK member Maria (mariahs).

In a separate bowl combine the flour and cinnamon.


Tasty Kitchen Blog: Nonnie's Persimmon Pudding. Guest post by Georgia Pellegrini, recipe submitted by TK member Maria (mariahs).

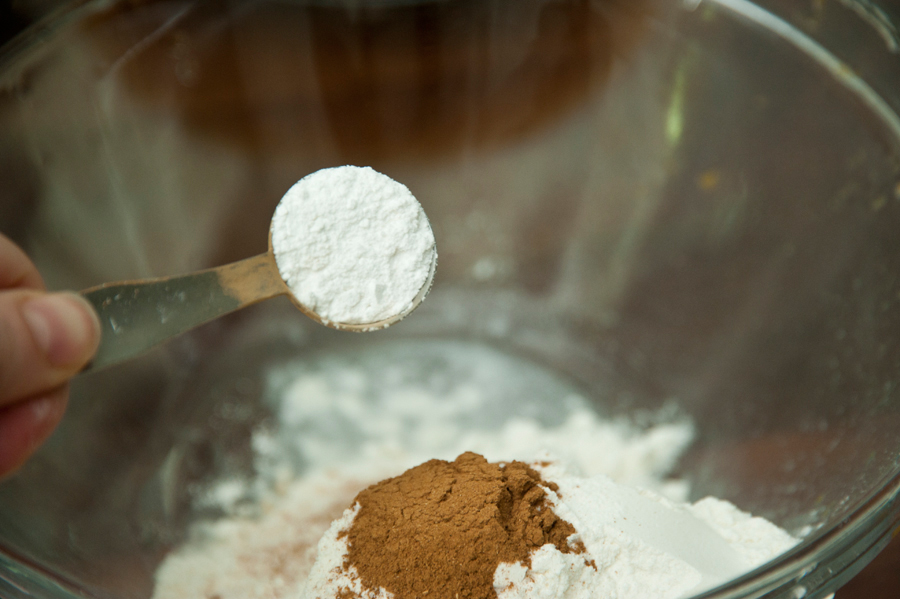
Then add the baking powder.


Tasty Kitchen Blog: Nonnie's Persimmon Pudding. Guest post by Georgia Pellegrini, recipe submitted by TK member Maria (mariahs).

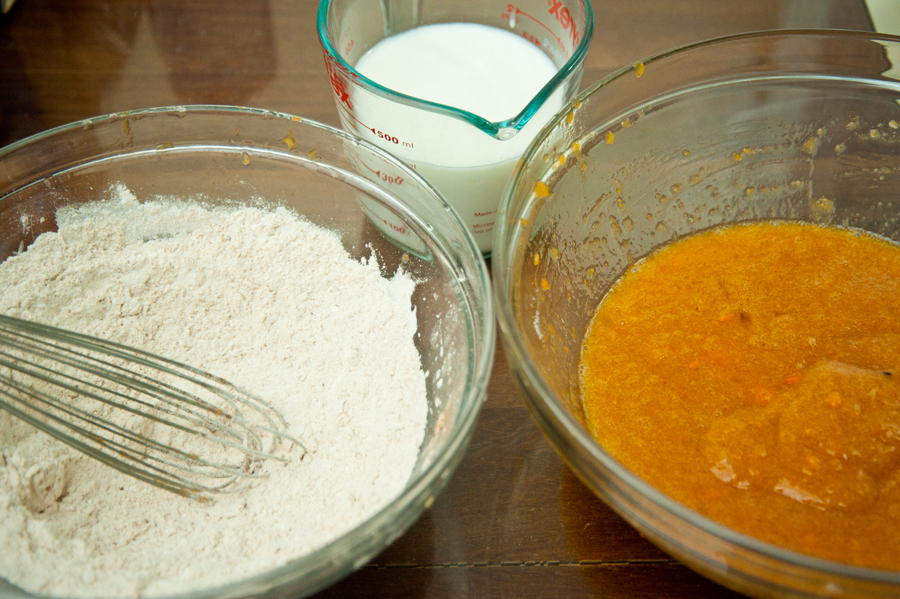
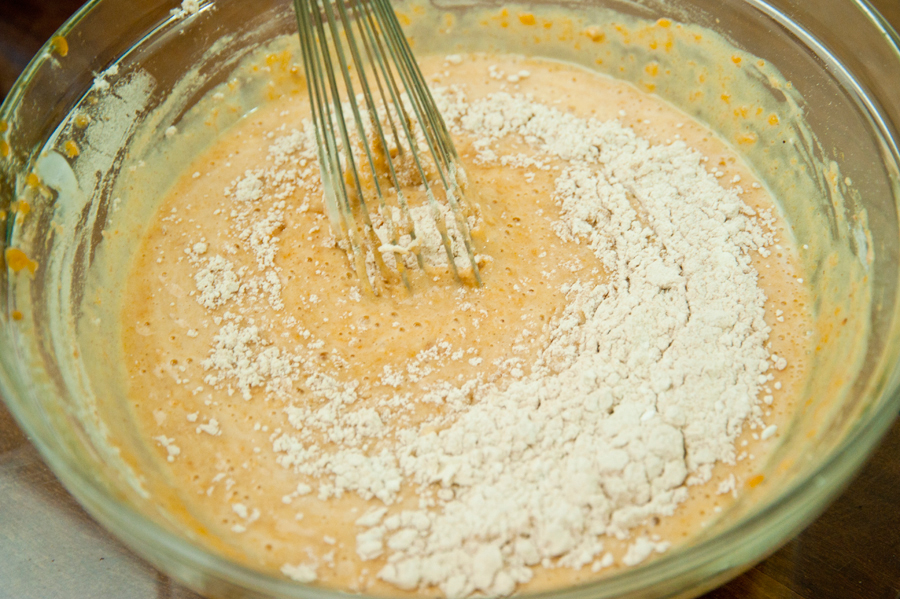
Give it a nice stir and gather your bowls side by side.


Tasty Kitchen Blog: Nonnie's Persimmon Pudding. Guest post by Georgia Pellegrini, recipe submitted by TK member Maria (mariahs).

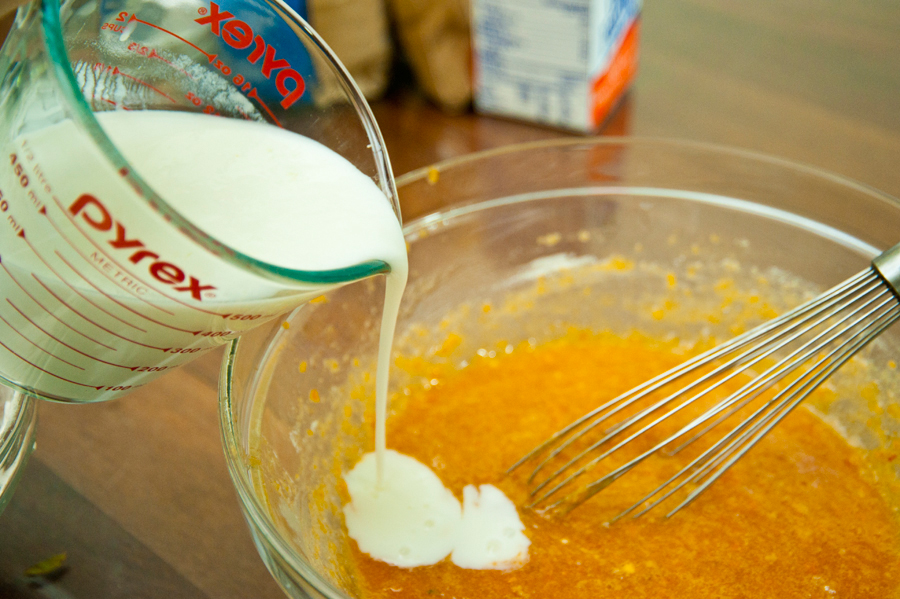
Incorporate part of the buttermilk and whisk as you go…


Tasty Kitchen Blog: Nonnie's Persimmon Pudding. Guest post by Georgia Pellegrini, recipe submitted by TK member Maria (mariahs).

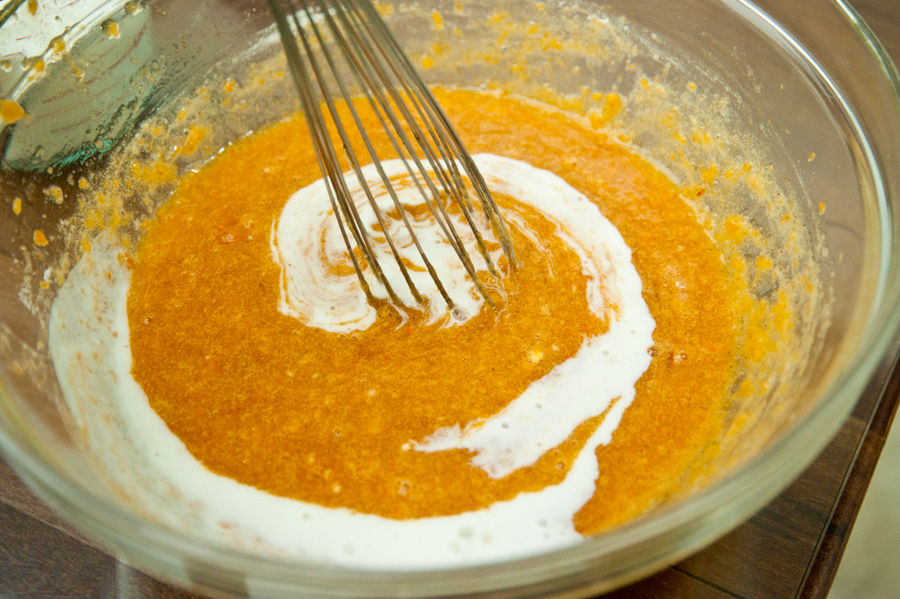
It will make a rather mesmerizing art piece as you swirl. At least it did for me but I’m easily entertained.


Tasty Kitchen Blog: Nonnie's Persimmon Pudding. Guest post by Georgia Pellegrini, recipe submitted by TK member Maria (mariahs).

Next mix in part of the dry ingredients… and go back and forth between the dry and the buttermilk until it’s all incorporated.


Tasty Kitchen Blog: Nonnie's Persimmon Pudding. Guest post by Georgia Pellegrini, recipe submitted by TK member Maria (mariahs).

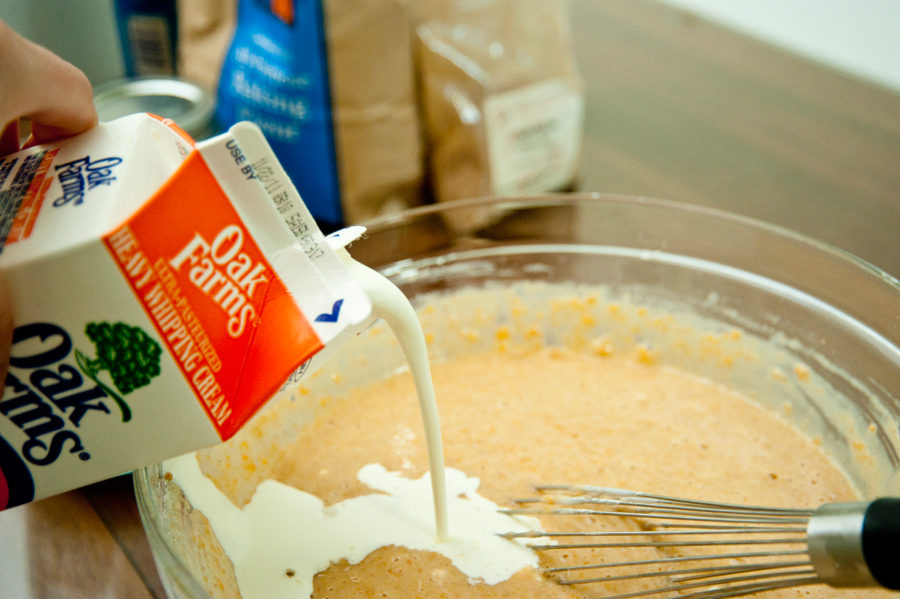
Next whisk in the cream.


Tasty Kitchen Blog: Nonnie's Persimmon Pudding. Guest post by Georgia Pellegrini, recipe submitted by TK member Maria (mariahs).

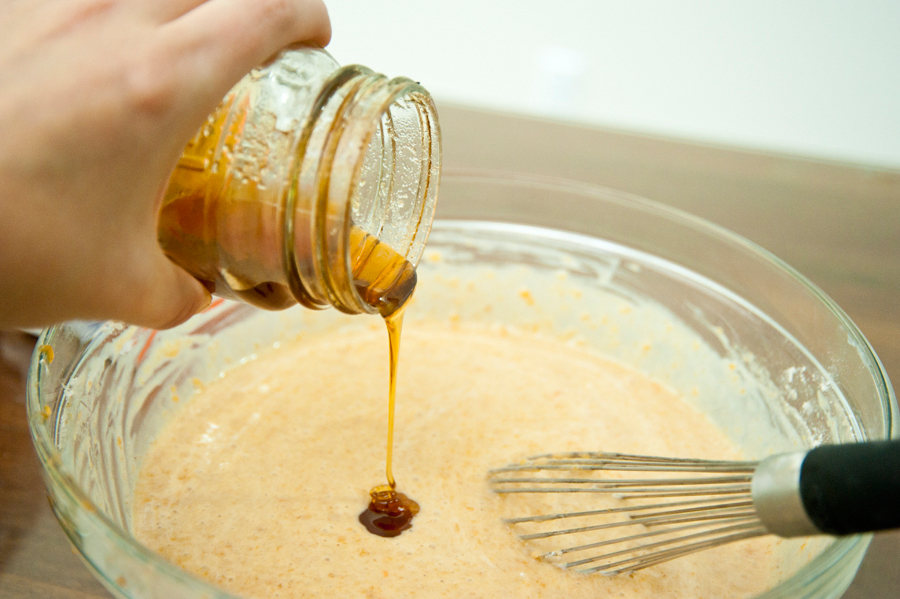
Then the honey. This was the last of a batch from my honeybees!


Tasty Kitchen Blog: Nonnie's Persimmon Pudding. Guest post by Georgia Pellegrini, recipe submitted by TK member Maria (mariahs).

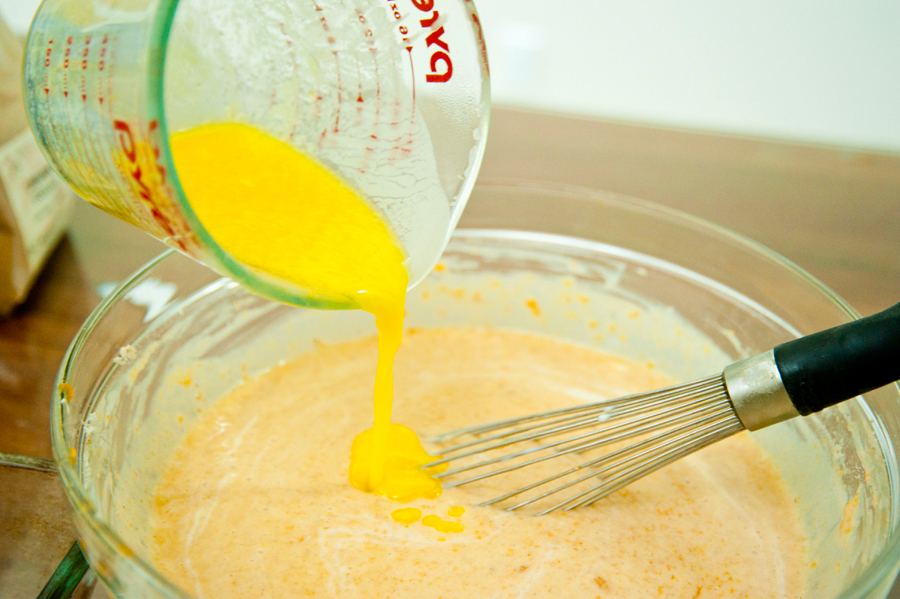
Next you’ll pour in the melted butter.


Tasty Kitchen Blog: Nonnie's Persimmon Pudding. Guest post by Georgia Pellegrini, recipe submitted by TK member Maria (mariahs).

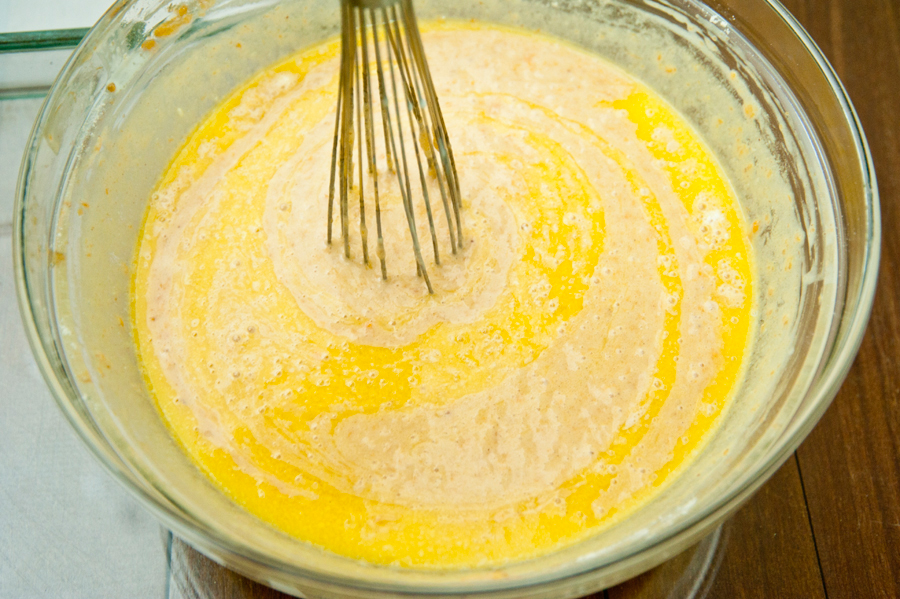
Give it a good whisk until it’s well incorporated.


Tasty Kitchen Blog: Nonnie's Persimmon Pudding. Guest post by Georgia Pellegrini, recipe submitted by TK member Maria (mariahs).

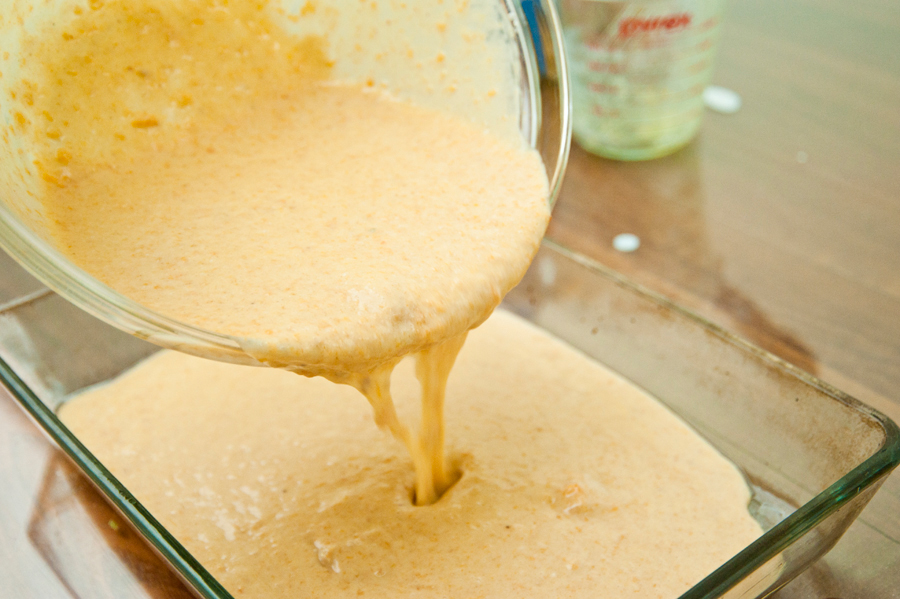
Pour the batter into a greased baking pan and pop it in the oven for 1 hour.


Tasty Kitchen Blog: Nonnie's Persimmon Pudding. Guest post by Georgia Pellegrini, recipe submitted by TK member Maria (mariahs).

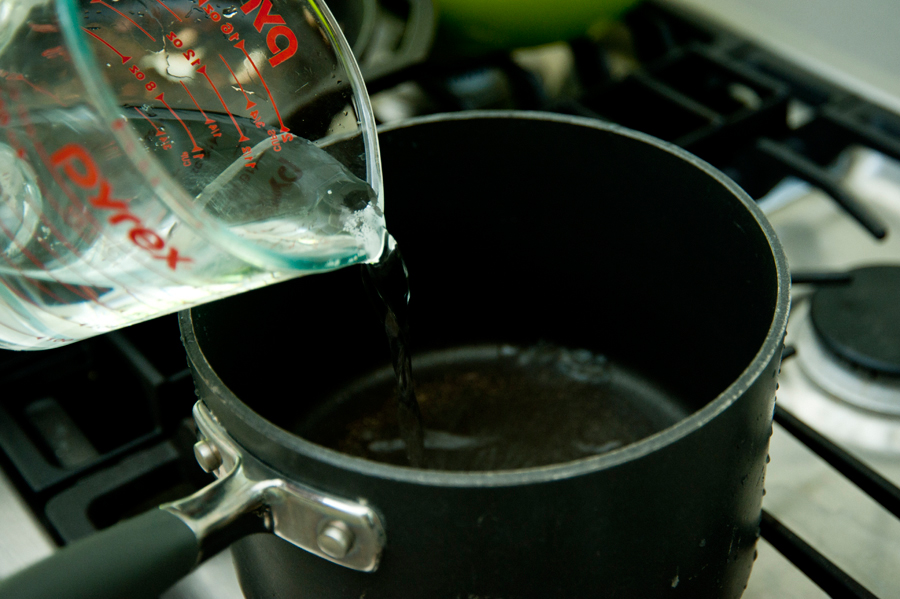
While it cooks you’ll make the glaze for the pudding. Get some water simmering on the stovetop.


Tasty Kitchen Blog: Nonnie's Persimmon Pudding. Guest post by Georgia Pellegrini, recipe submitted by TK member Maria (mariahs).

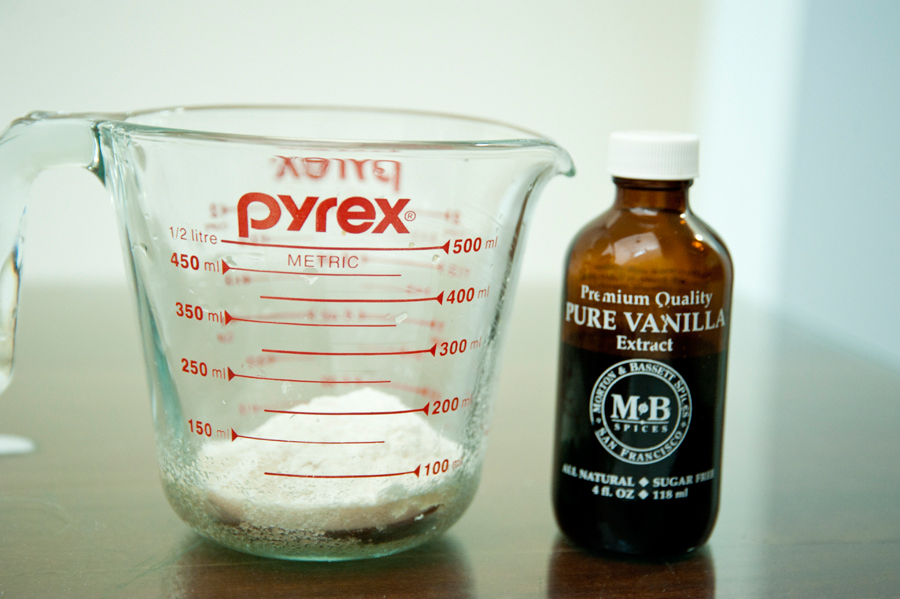
Then gather vanilla and a combination of sugar and flour.


Tasty Kitchen Blog: Nonnie's Persimmon Pudding. Guest post by Georgia Pellegrini, recipe submitted by TK member Maria (mariahs).

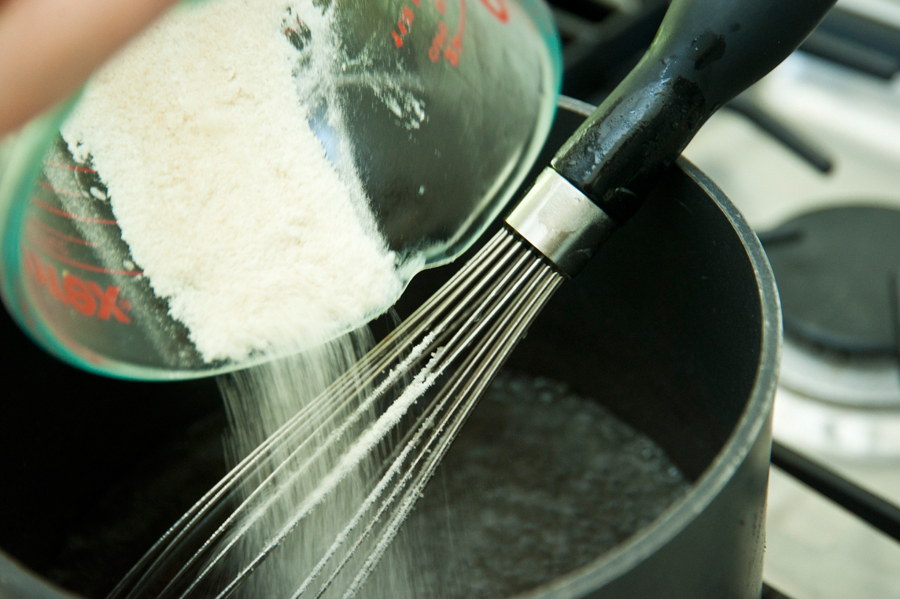
Once the water is simmering add the sugar and flour mixer a little at a time, whisking while you do.


Tasty Kitchen Blog: Nonnie's Persimmon Pudding. Guest post by Georgia Pellegrini, recipe submitted by TK member Maria (mariahs).

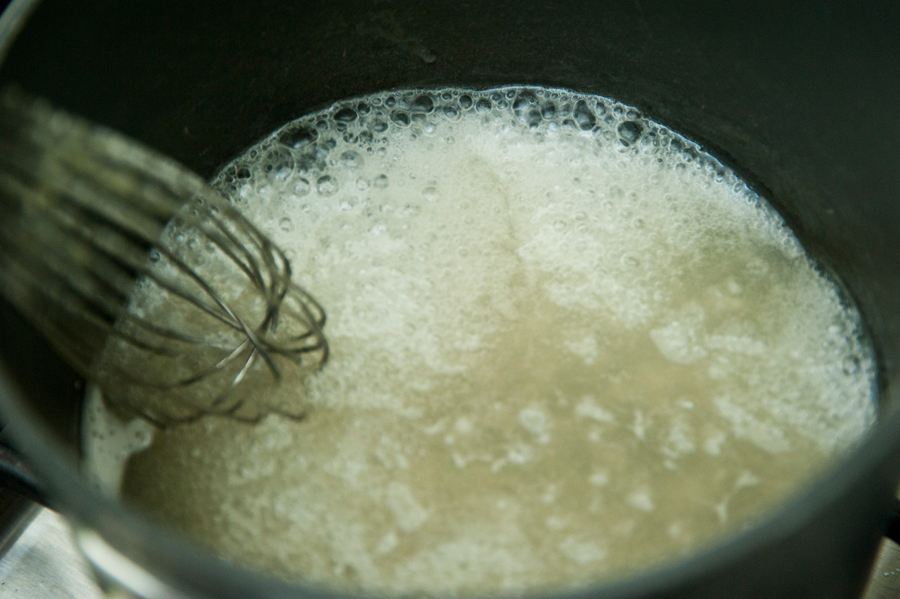
The mixture will begin to bubble and thicken so that it becomes viscous. Once it does you can turn the heat off and let it sit.


Tasty Kitchen Blog: Nonnie's Persimmon Pudding. Guest post by Georgia Pellegrini, recipe submitted by TK member Maria (mariahs).

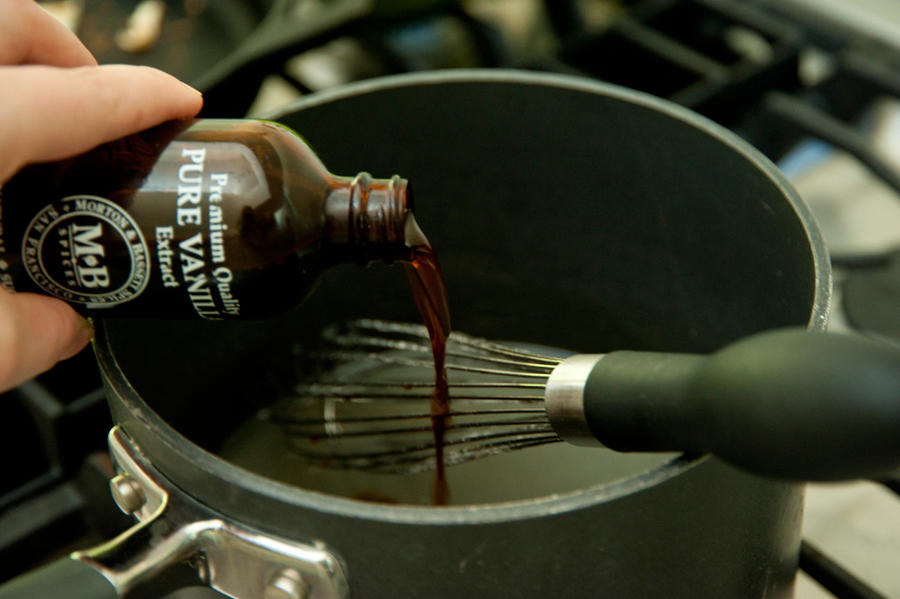
After it’s cooled for a few minutes you add the vanilla and whisk it in.


Tasty Kitchen Blog: Nonnie's Persimmon Pudding. Guest post by Georgia Pellegrini, recipe submitted by TK member Maria (mariahs).

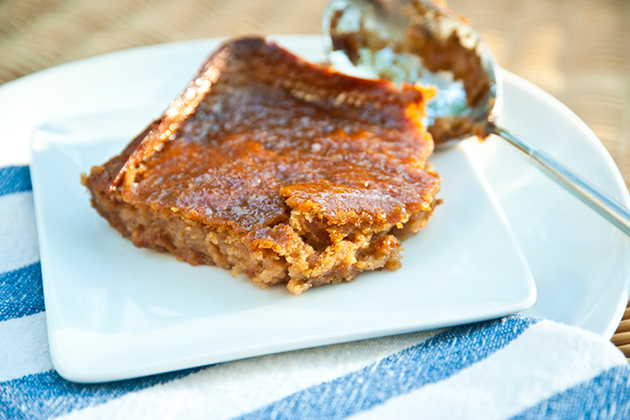
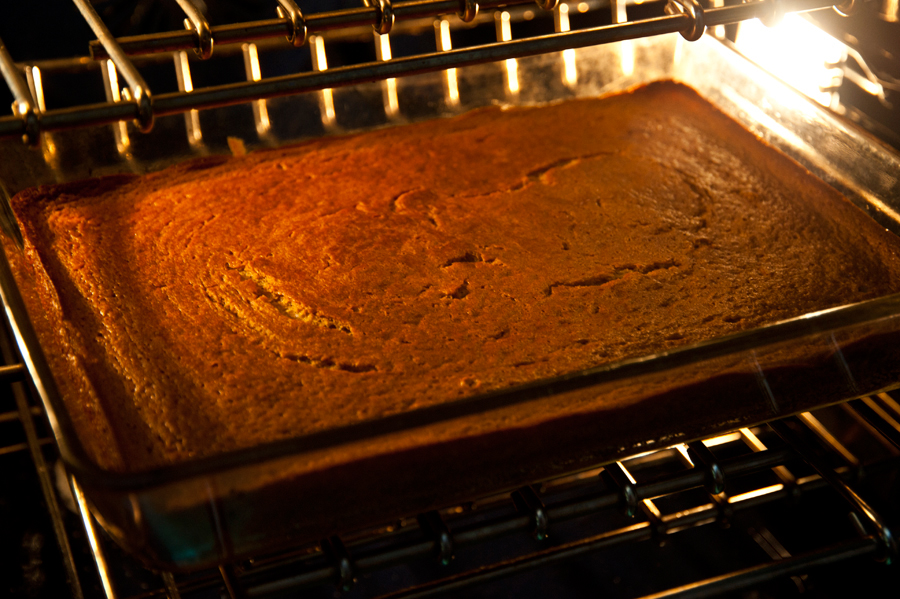
After the batter has baked, open the oven just briefly. It will be golden brown and wonderfully moist.


Tasty Kitchen Blog: Nonnie's Persimmon Pudding. Guest post by Georgia Pellegrini, recipe submitted by TK member Maria (mariahs).

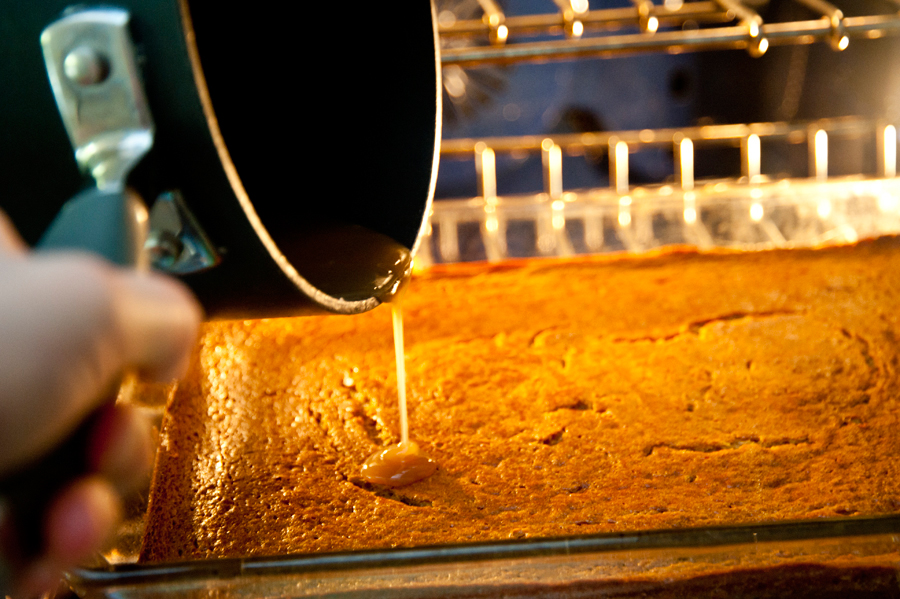
But you’re going to make it even more moist by pouring the syrup all over the top!


Tasty Kitchen Blog: Nonnie's Persimmon Pudding. Guest post by Georgia Pellegrini, recipe submitted by TK member Maria (mariahs).

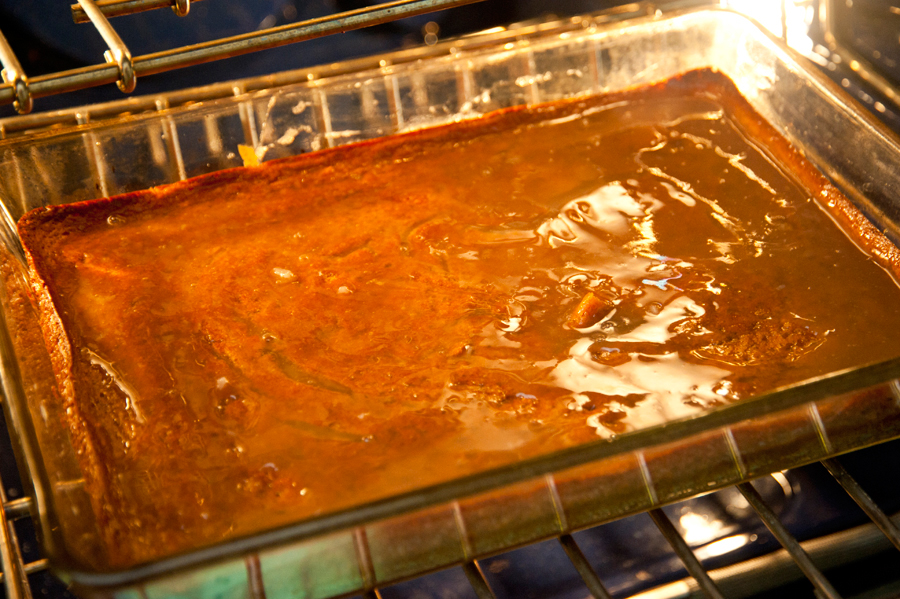
Look at that glossy goodness!

Close the oven door and let it all soak in while keeping it warm.

I was amazed at just how warm is stayed for hours just by leaving it in there.


Tasty Kitchen Blog: Nonnie's Persimmon Pudding. Guest post by Georgia Pellegrini, recipe submitted by TK member Maria (mariahs).

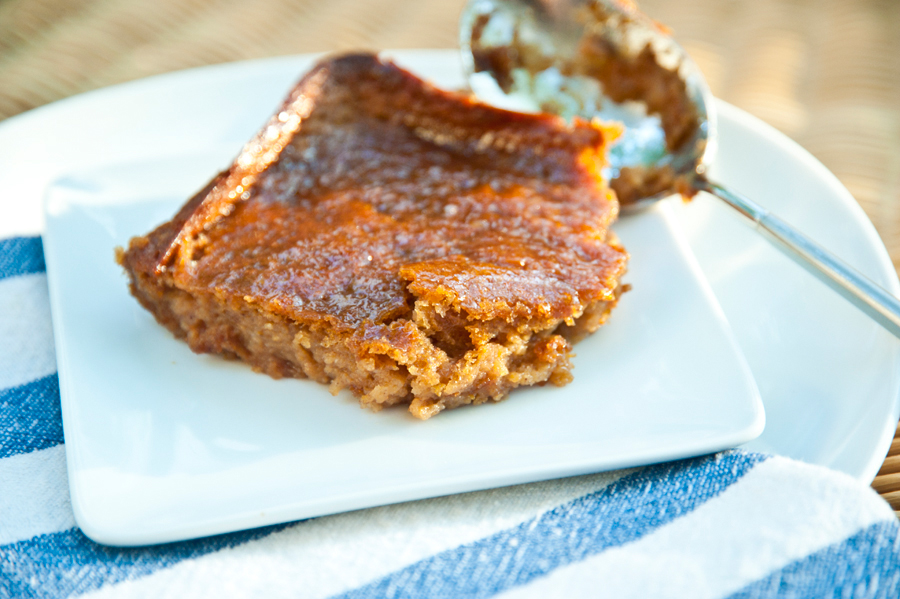
When you’re ready to eat it simply scoop it out and serve. It would be wonderful with a scoop of ice cream as well. I took this to a pumpkin carving party and it was a total hit. Everyone said it tasted like fall.

Thanks so much to Mariah for sharing this tasty recipe!


Printable Recipe

Nonnie’s Persimmon Pudding

4.00 Mitt(s) 1 Rating(s)1 vote, average: 4.00 out of 51 vote, average: 4.00 out of 51 vote, average: 4.00 out of 51 vote, average: 4.00 out of 51 vote, average: 4.00 out of 5

Prep Time:

Cook Time:

Difficulty: Intermediate

Servings: 12

12
x

Print Options

Page size Letter 3x5 4x6
Text Size Small Medium Large
Content Include description
Include prep time, etc.
Show image

Description

My husband’s grandmother, Nonnie, used to make her really unique version of Persimmon Pudding every Thanksgiving. When she wasn’t able to make it anymore, I took over making it each fall. You can serve this warm or let it cool; my family loves it both ways. Nonnie passed away this year, but you can be sure that this will be on the Thanksgiving menu. Nonnie would have loved to have her recipe shared with others.

Ingredients

  • FOR THE PUDDING:
  • 2 cups Persimmon Pulp
  • 2 cups White Sugar
  • 2  Eggs, Beaten
  • 1 teaspoon Baking Soda
  • 1 cup All-purpose Flour
  • 1 pinch Salt
  • 1 teaspoon Baking Powder
  • 1 teaspoon Ground Cinnamon
  • 1-½ cup Buttermilk
  • ¼ cups Heavy Cream
  • 1 Tablespoon Honey
  • 4 Tablespoons Butter, Melted
  • FOR THE SAUCE:
  • 1 cup Water
  • ½ cups White Sugar
  • 1 Tablespoon All-purpose Flour
  • 4 teaspoons Vanilla Extract

Preparation Instructions

Note: Prepare the sauce while the pudding is baking.

Preheat the oven to 350 degrees F (175 degrees C). Spray a 9×13 inch baking pan lightly with nonstick spray; set aside.

For the pudding, mix the persimmon pulp with the sugar in a large bowl; set aside.

Whisk together the eggs and baking soda in a small bowl. Add the egg mixture to the persimmon mixture and beat well; set aside.

Whisk together the flour, salt, baking powder, and cinnamon in a bowl. Stir 1/4 of the flour mixture into the persimmon mixture. Add 1/4 of the buttermilk and mix well. Continue alternating flour and buttermilk, adding 1/4 each time, and mixing well after each addition, until all of the flour mixture and buttermilk are incorporated. Stir in cream, honey, and melted butter until well combined. Pour the pudding batter into the prepared pan.

Bake in the preheated oven until set, about 1 hour. While baking, do not stir; Turn off the oven at the end of the baking time, but do not remove the pudding from the oven.

Meanwhile, when the pudding has about 10 minutes of baking time left, make the sauce. Boil the water in a small saucepan. Whisk the sugar and flour together, and whisk the sugar mixture into the boiling water, whisking until smooth. Boil the sauce for 5 minutes and remove from heat. Stir in vanilla.

Pour the sauce mixture evenly over the pudding and leave the pudding to cool in the warm oven for 20 more minutes, being sure that the oven is off so that the pudding does not continue to cook.


_______________________________________

There’s so much to say about Georgia, we don’t know where to start. Leaving Wall Street for the French Culinary Institute, followed by a stint at the Gramercy Tavern and La Chassagnette in France, her passion for food and food traditions are evident and inspiring. Visit her site at Georgia Pellegrini, where you’ll find more recipes, photos, learn all about her wonderful book Food Heroes, and enjoy her latest adventures.


Profile photo of georgiapellegrini

Beer-Battered Fried Pickles

Posted by in Step-by-Step Recipes

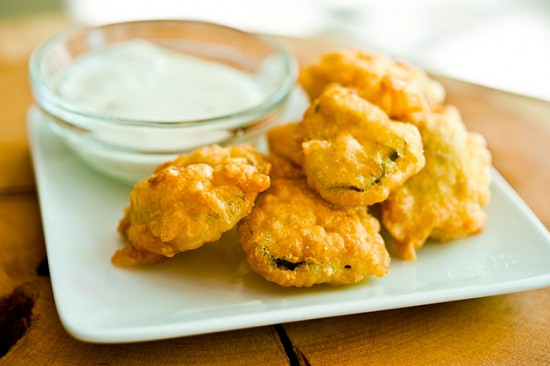
  I’m fairly certain there is nothing more satisfying to eat than a fried pickle. The sad part is that it took me 29 years to discover this. Last year I tasted my first fried pickle in an Irish pub in California and I was forever transformed. I crossed the threshold into a new phase […]
Profile photo of georgiapellegrini

Blueberry Brie Galette

Posted by in Step-by-Step Recipes

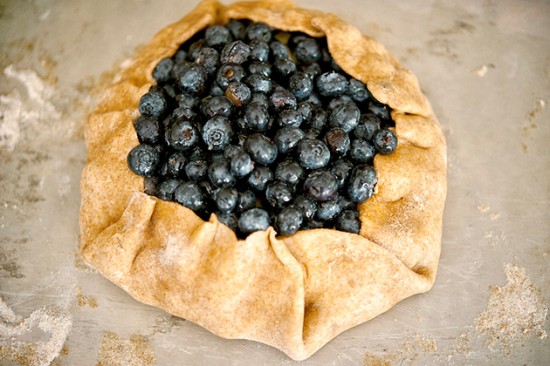
I love brie and fruit baked together into a warm, oozing plate of wonderfulness. Blueberries and brie in particular are meant to be together; it is their destiny. The saltiness of the brie and the sweetness of the blueberries can be scooped up with some crusty bread, or even better, you can give them their own crust the way fellow Tasty Kitchen contributor Natalie…

Profile photo of georgiapellegrini

Fried Green Tomatoes

Posted by in Step-by-Step Recipes

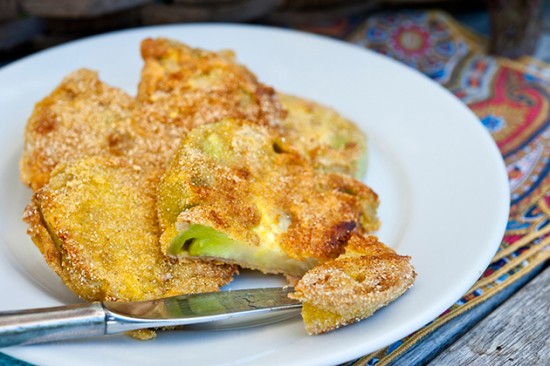
Every September I always have at least a few green tomatoes dangling in the garden. This is always a good thing because while ripe juicy red tomatoes are wonderful, green tomatoes are much more of a delicacy for me and hard to come by any other time of year. This was the perfect time for me to make this Fried Green Tomato recipe by Stephanie of Cookin' Cowgirl.

Profile photo of georgiapellegrini

Quinoa Salad

Posted by in Step-by-Step Recipes

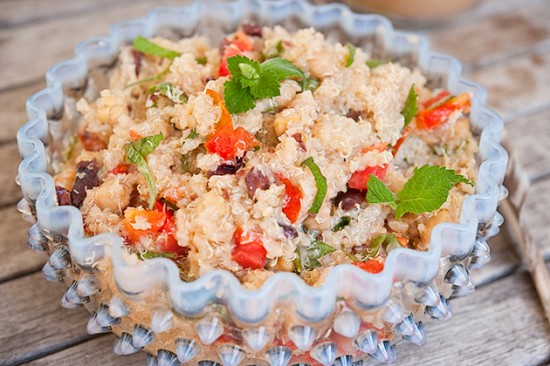
Quinoa has always been one of my favorite grains. I love the subtle crunch that it has when cooked and that it is so high in protein. It’s been slowly rising to stardom recently. It’s a grain-like crop grown for its edible seeds. It’s considered a “pseudocereal,” whatever that means—not a true cereal, not a […]