The Pioneer Woman Tasty Kitchen
Profile photo of Laurie - Simply Scratch

Bacon Jam (Ooh Mommy!)

Posted by in Step-by-Step Recipes

Did someone say International Bacon Day? You mean that’s just one special day and not every single pork-loving day? Celebrate with this blast from the past: Bacon Jam. It’s spreadable bacon, friends. Yes. We know. You’re welcome.
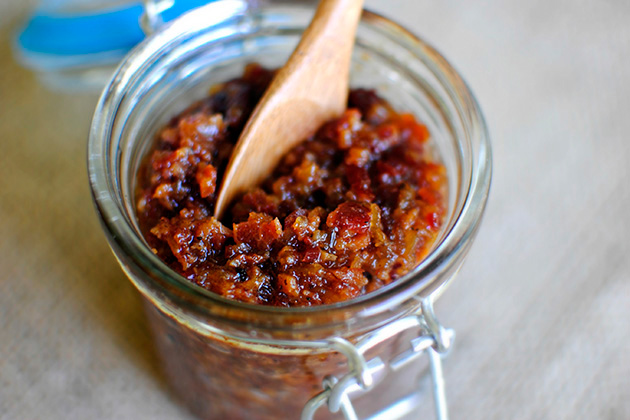
 
Tasty Kitchen Blog: Bacon Jam. Guest post by Laurie McNamara of Simply Scratch, recipe submitted by TK member Rebecca of Foodie with Family.

 
From the very second my eyes laid upon Rebecca’s recipe for Bacon Jam aka “Ooh Mommy” Jam, I was extremely curious and extremely hungry. Over a few days I found myself always coming back to her recipe wondering what it could possibly taste like. Is it an overly sweet jam with chunks of chewy bacon? Is a savory jam that would work slathered on cornbread or smeared on toast with a fried egg on top?

So I told myself to get on with it and make it already, and I’m so glad I did. In Rebecca’s recipe, bacon is slowly cooked with onions and garlic in a delicious concoction of coffee, maple syrup and brown sugar with some tang from cider vinegar until the sauce is thick and the bacon and onions melt in your mouth (just be careful not to burn your tongue when taste testing). After it’s quickly blitzed in a food processor, it’s ready to be served or spread!


Tasty Kitchen Blog: Bacon Jam. Guest post by Laurie McNamara of Simply Scratch, recipe submitted by TK member Rebecca of Foodie with Family.

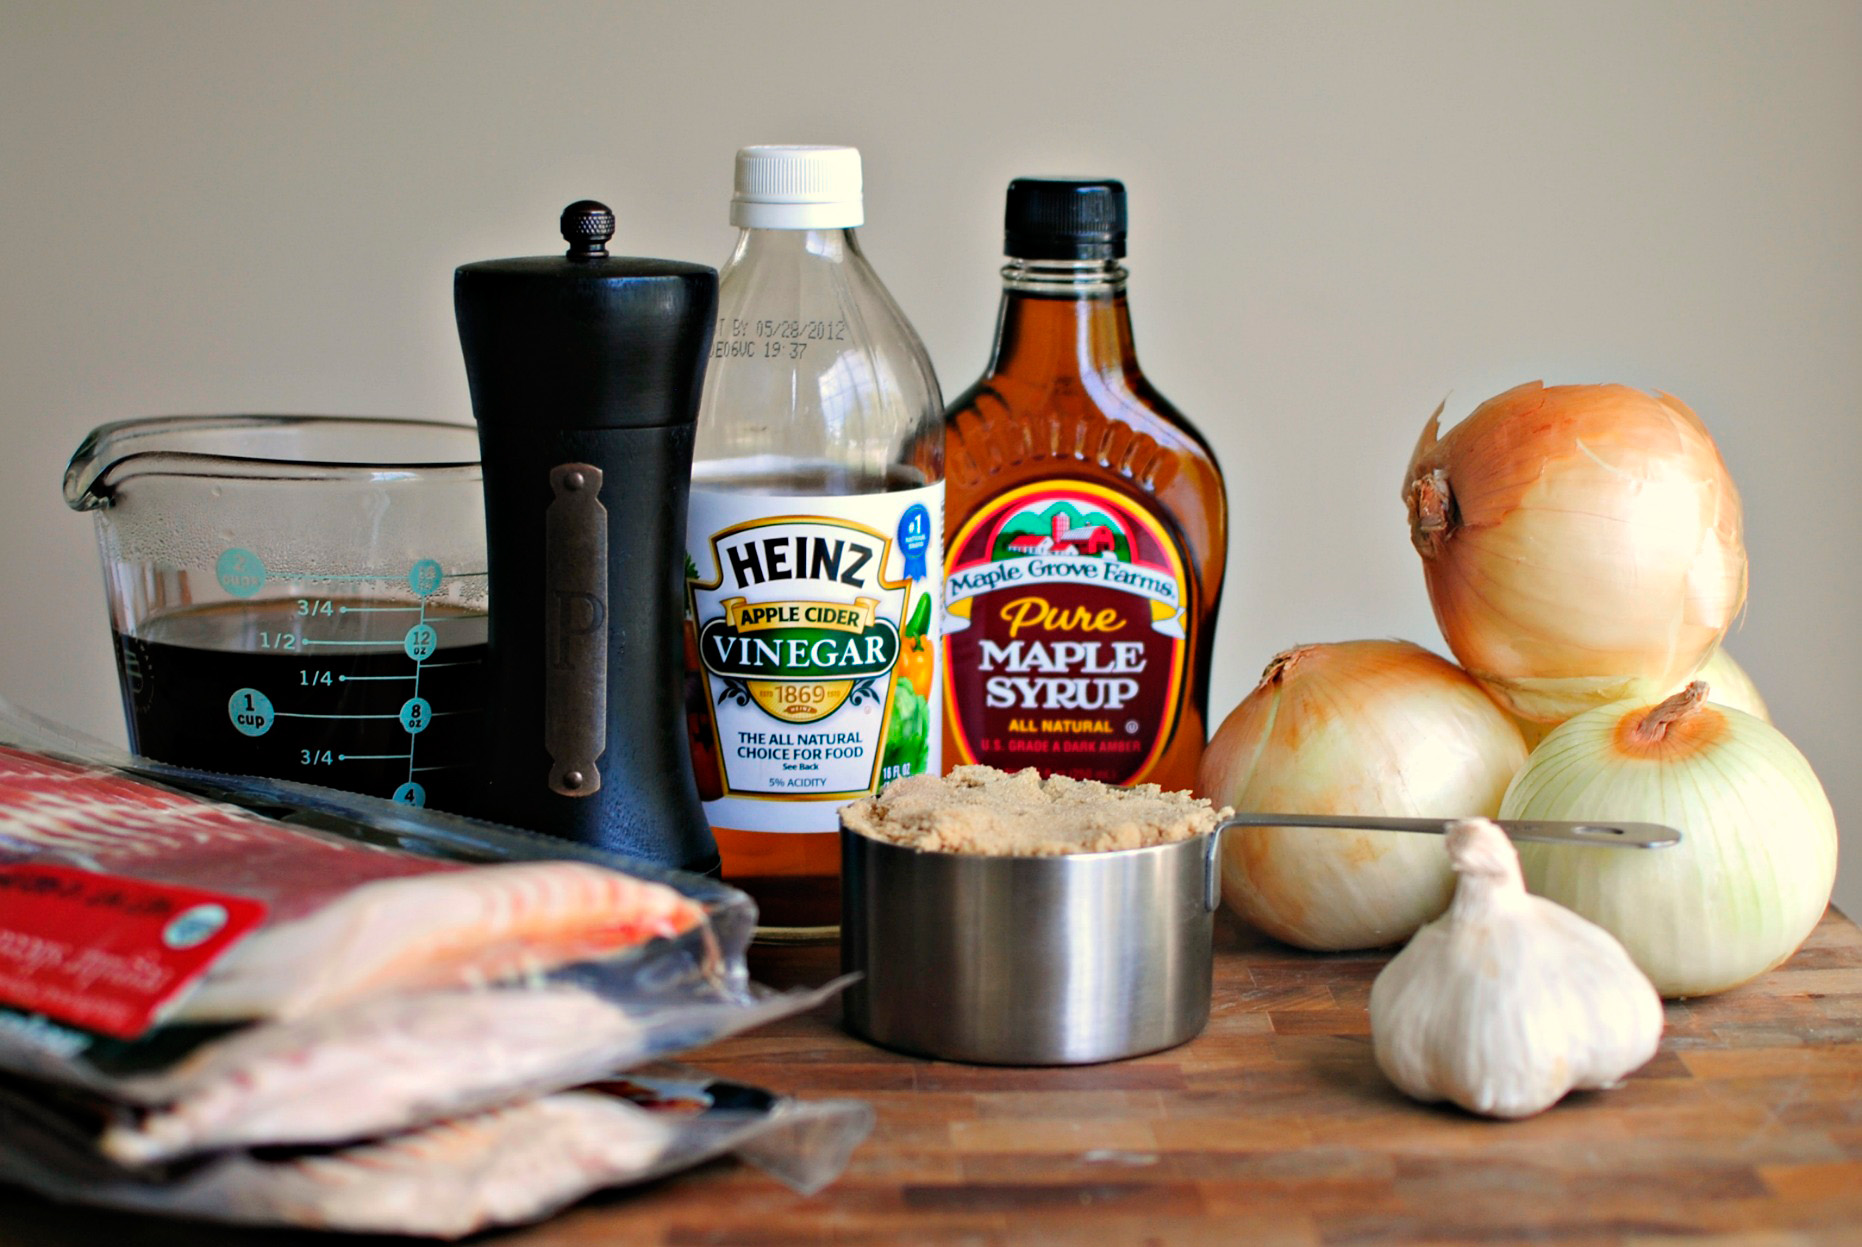
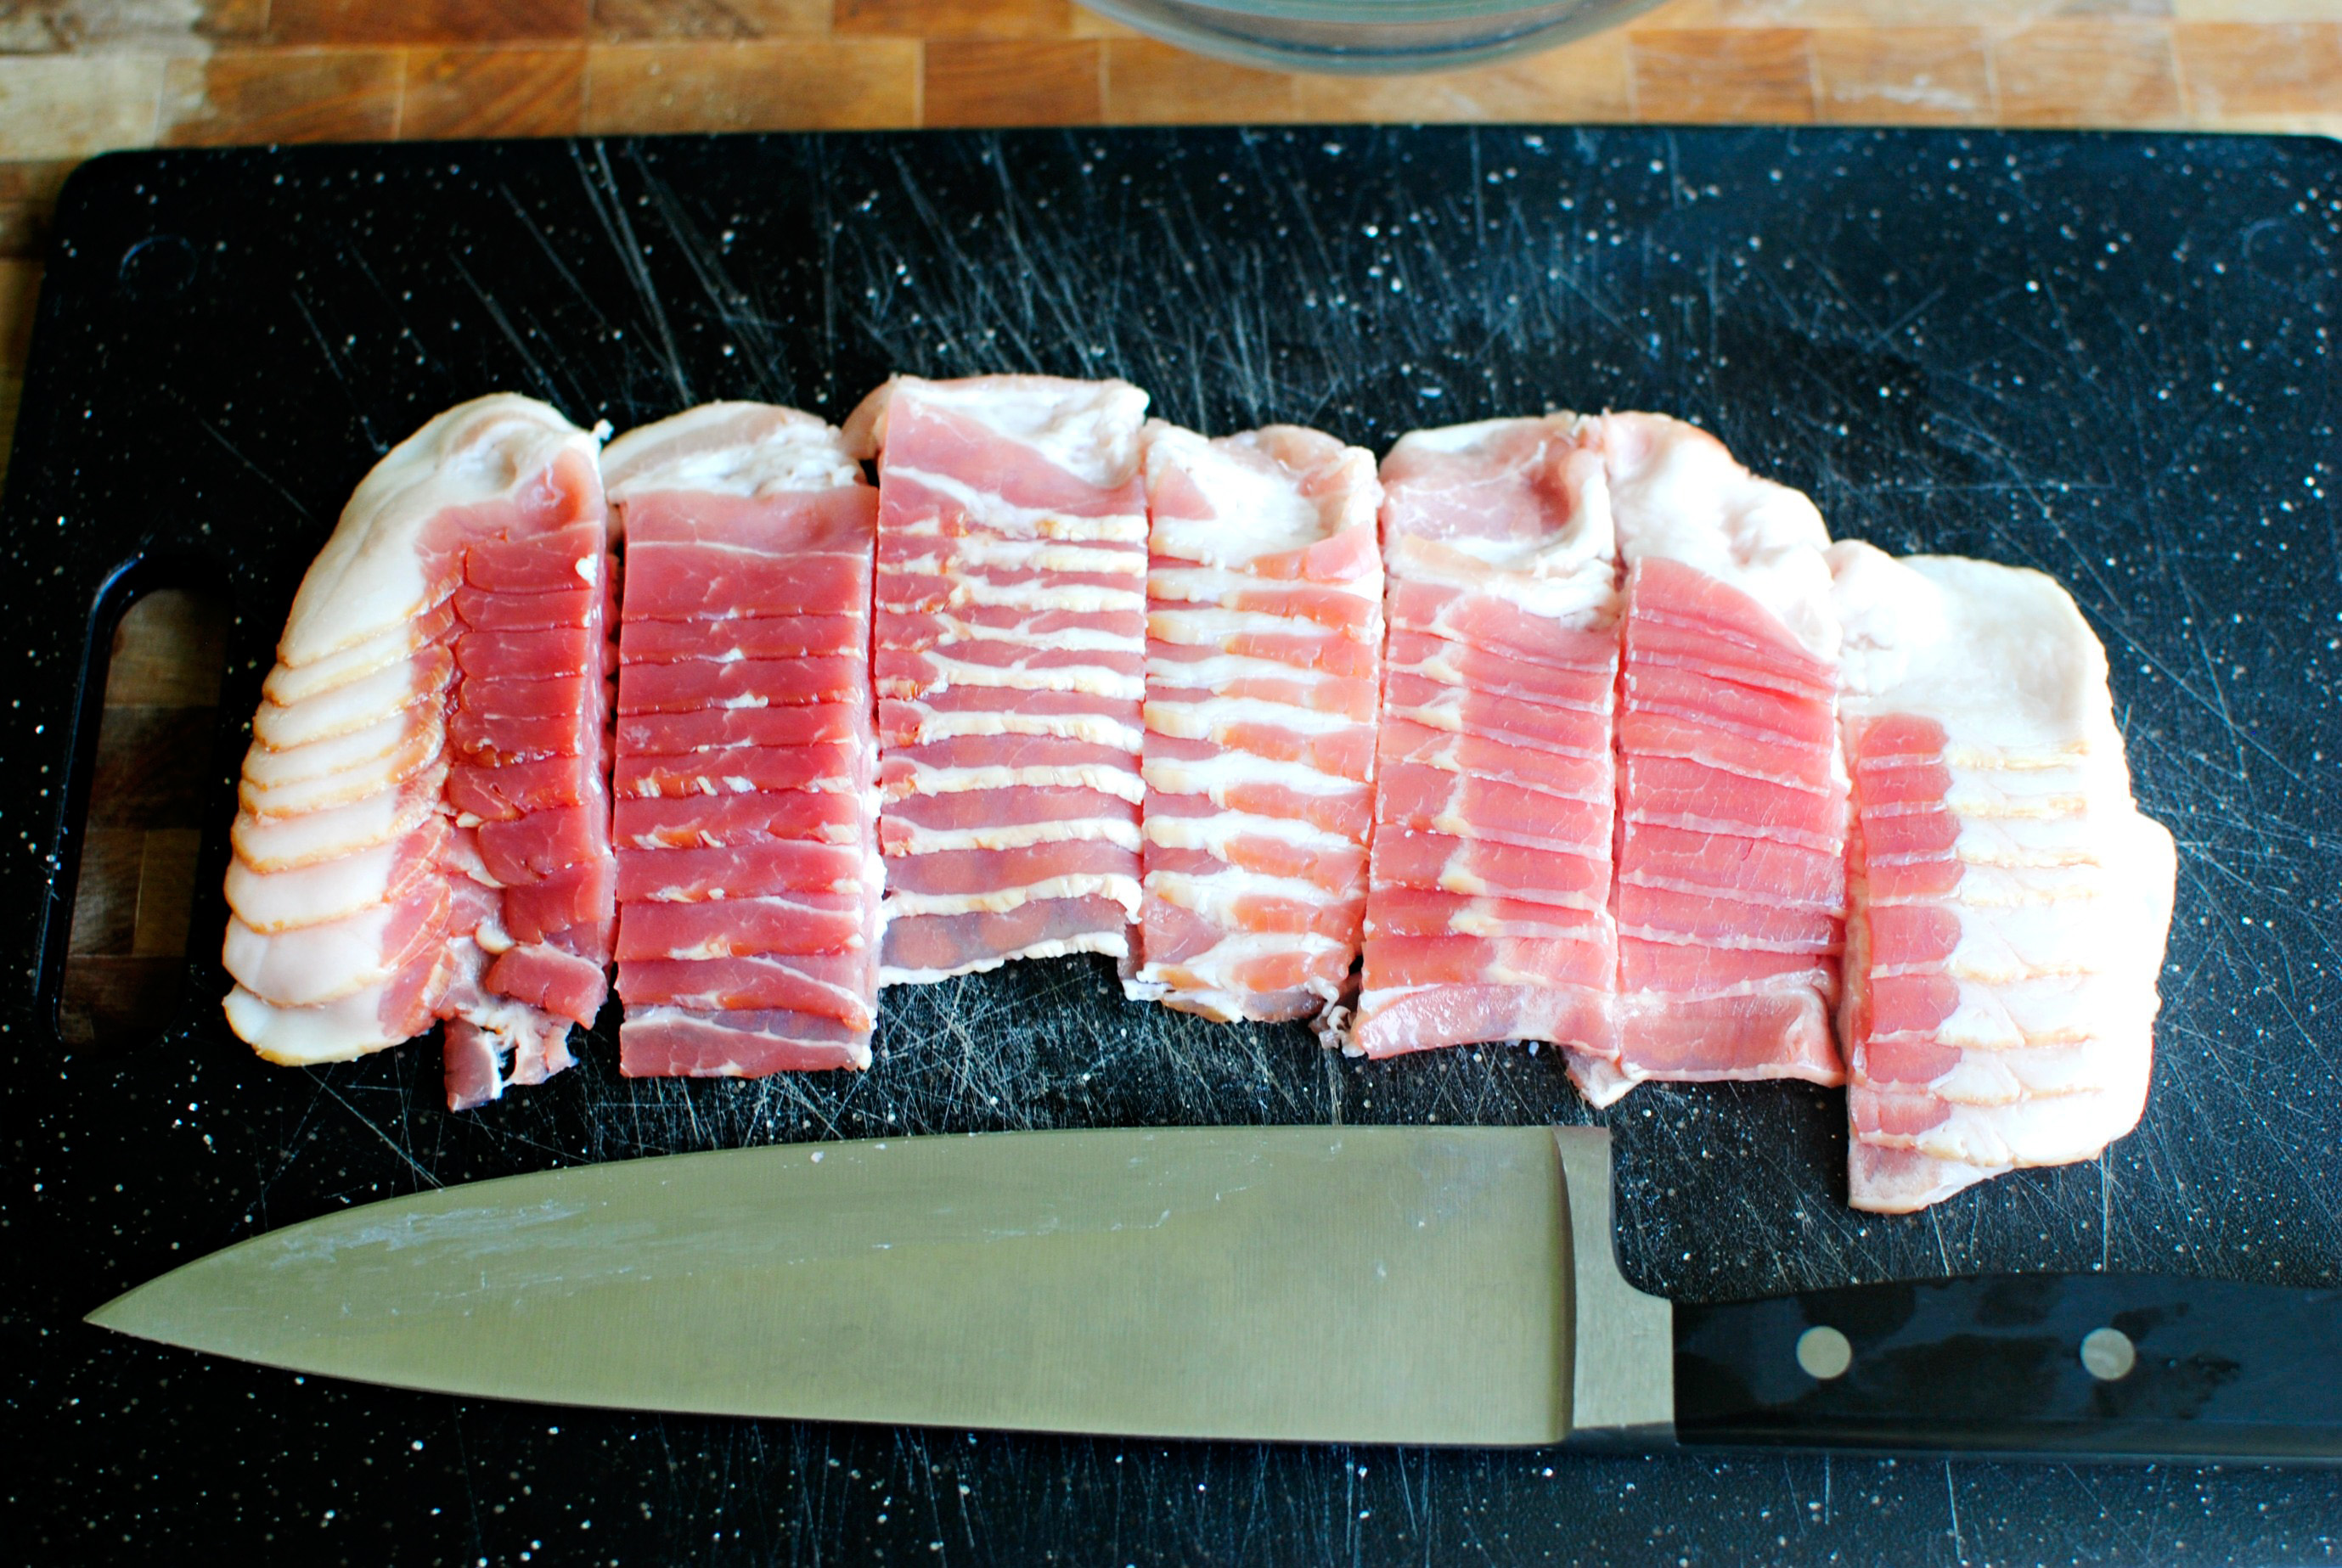
The recipe calls for onions, garlic, brown sugar, maple syrup, cider vinegar, pepper, some strong coffee, and of course, bacon. Three whopping pounds of bacon will be needed. It sounds like a lot but this makes a lot of jam!


Tasty Kitchen Blog: Bacon Jam. Guest post by Laurie McNamara of Simply Scratch, recipe submitted by TK member Rebecca of Foodie with Family.

With a sharp knife, slice the bacon into one-inch pieces.


Tasty Kitchen Blog: Bacon Jam. Guest post by Laurie McNamara of Simply Scratch, recipe submitted by TK member Rebecca of Foodie with Family.

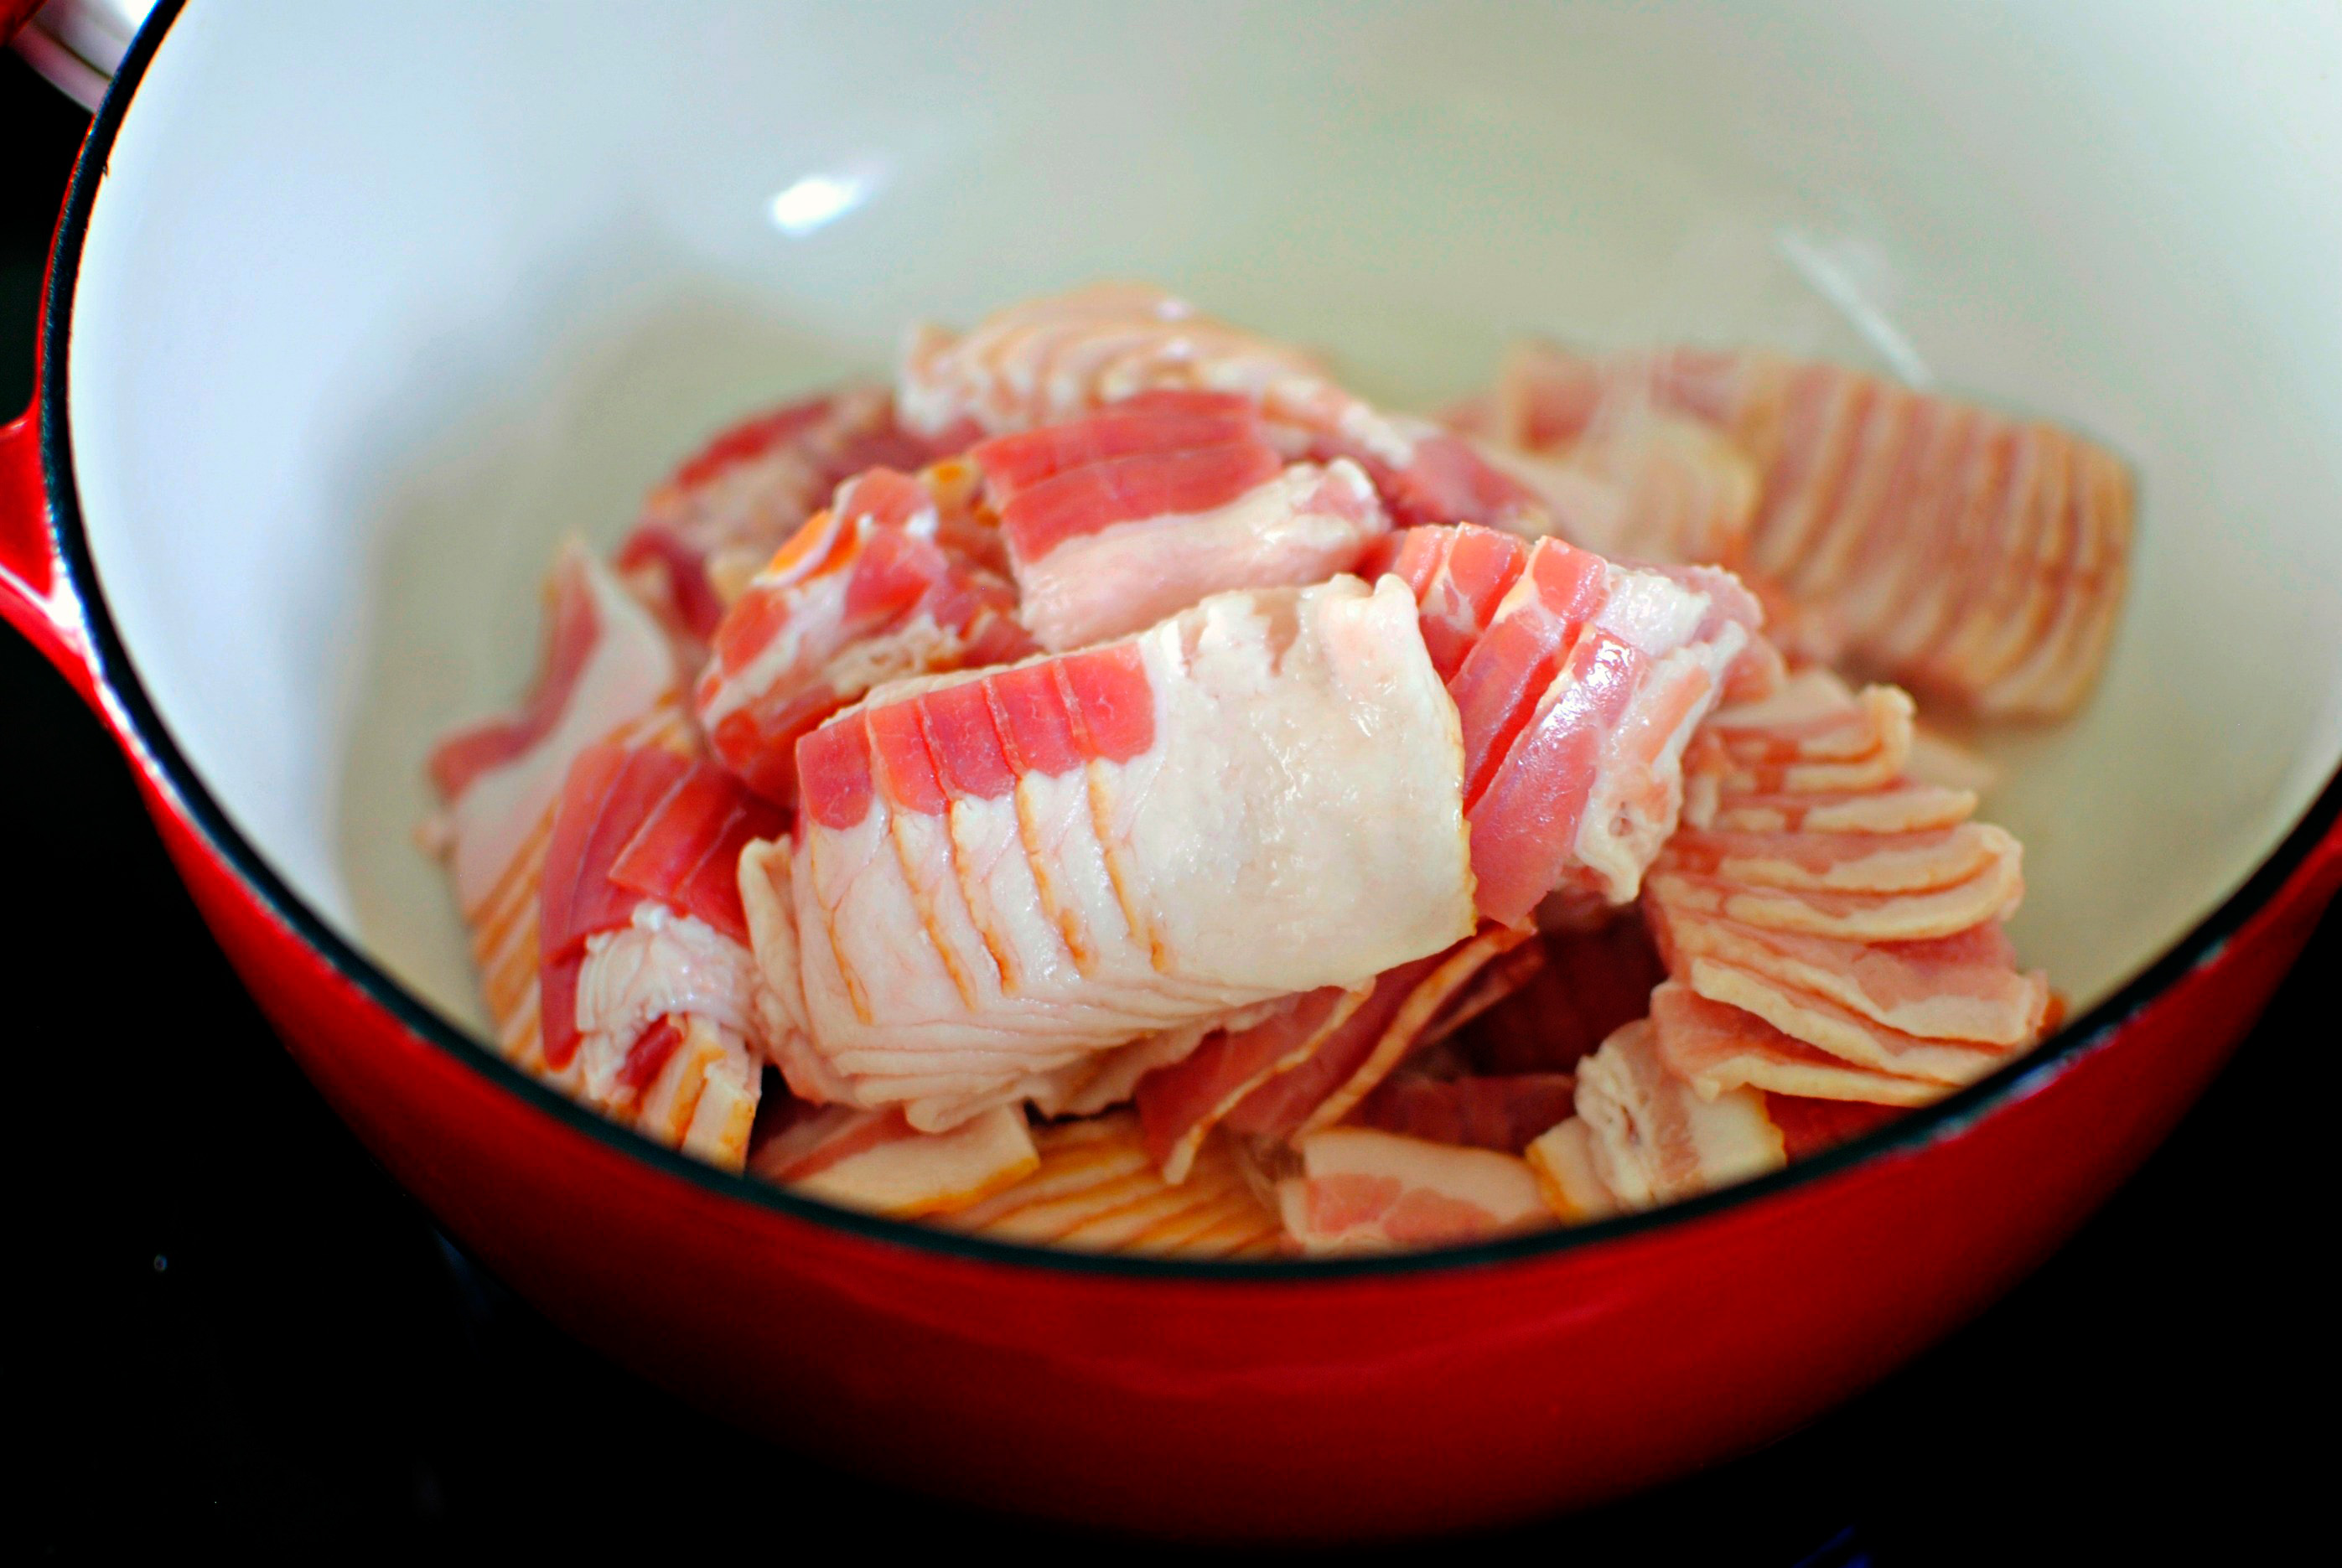
In a large pot or Dutch oven, cook the bacon in its own drippings until crispy and fully cooked.


Tasty Kitchen Blog: Bacon Jam. Guest post by Laurie McNamara of Simply Scratch, recipe submitted by TK member Rebecca of Foodie with Family.

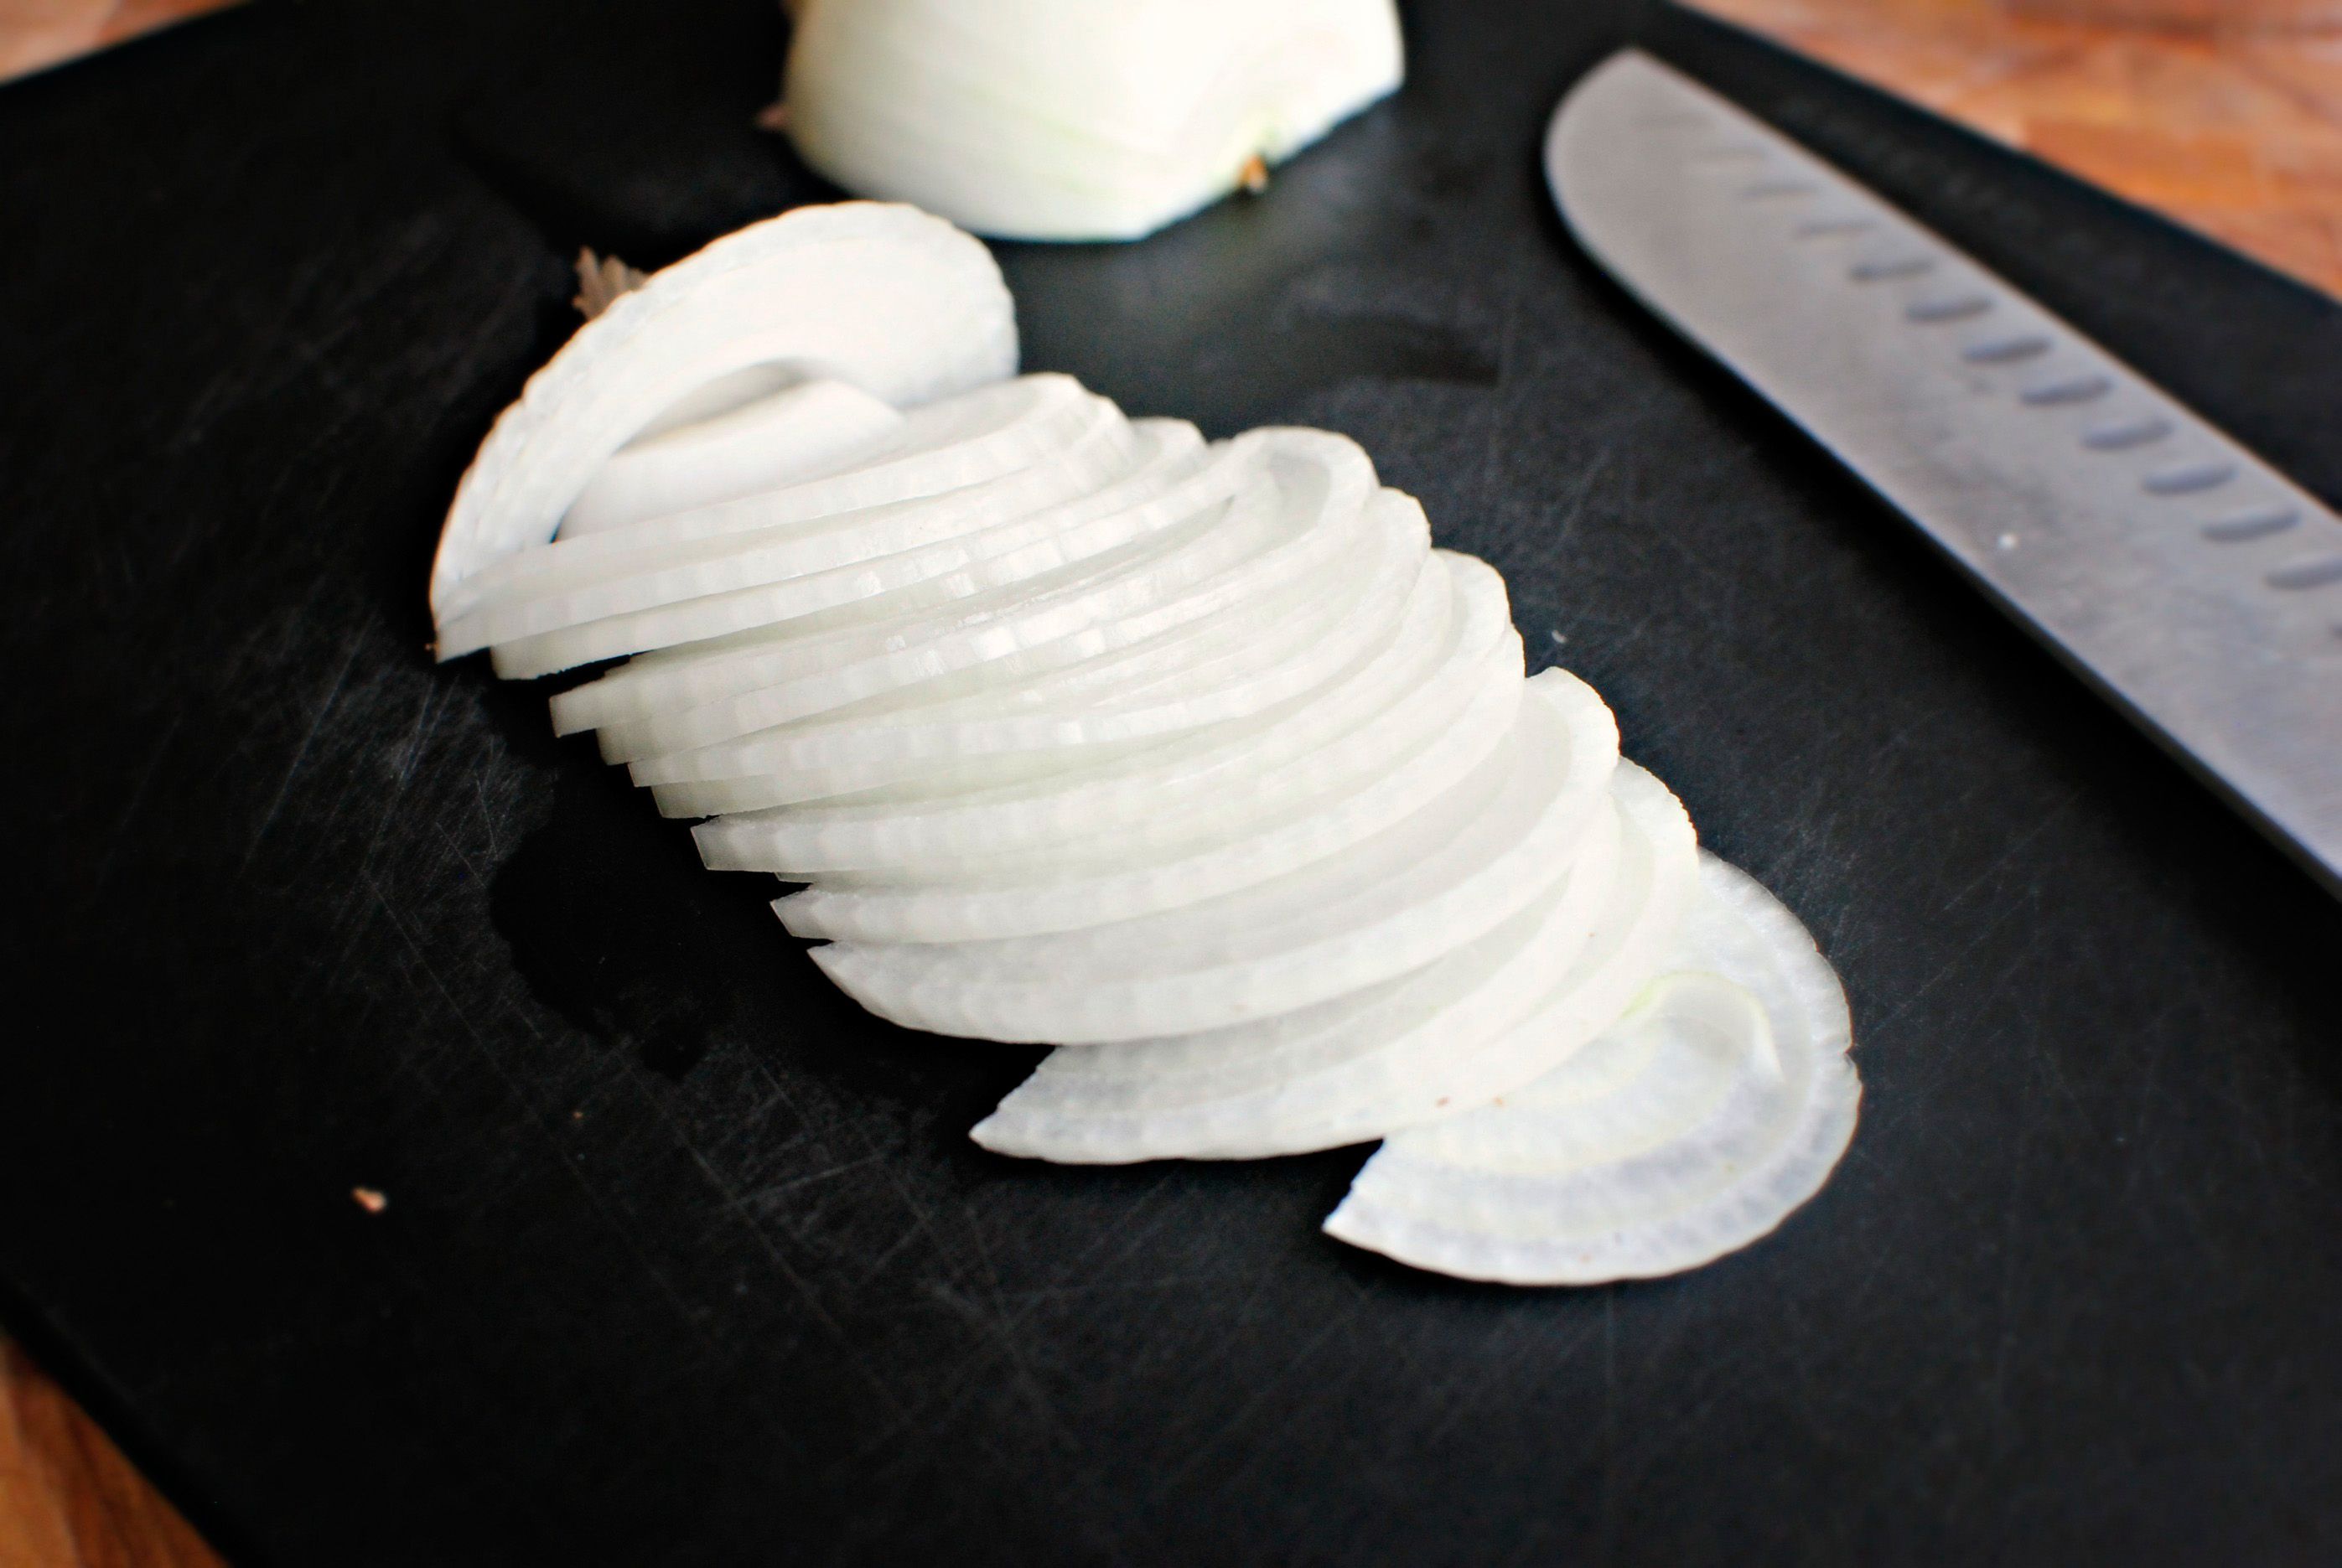
In the meantime, thinly slice up the four onions. Rebecca’s recipe calls for yellow onions, but I had a big sack of sweet onions so I used those instead. But either type of onions will work in this recipe.


Tasty Kitchen Blog: Bacon Jam. Guest post by Laurie McNamara of Simply Scratch, recipe submitted by TK member Rebecca of Foodie with Family.

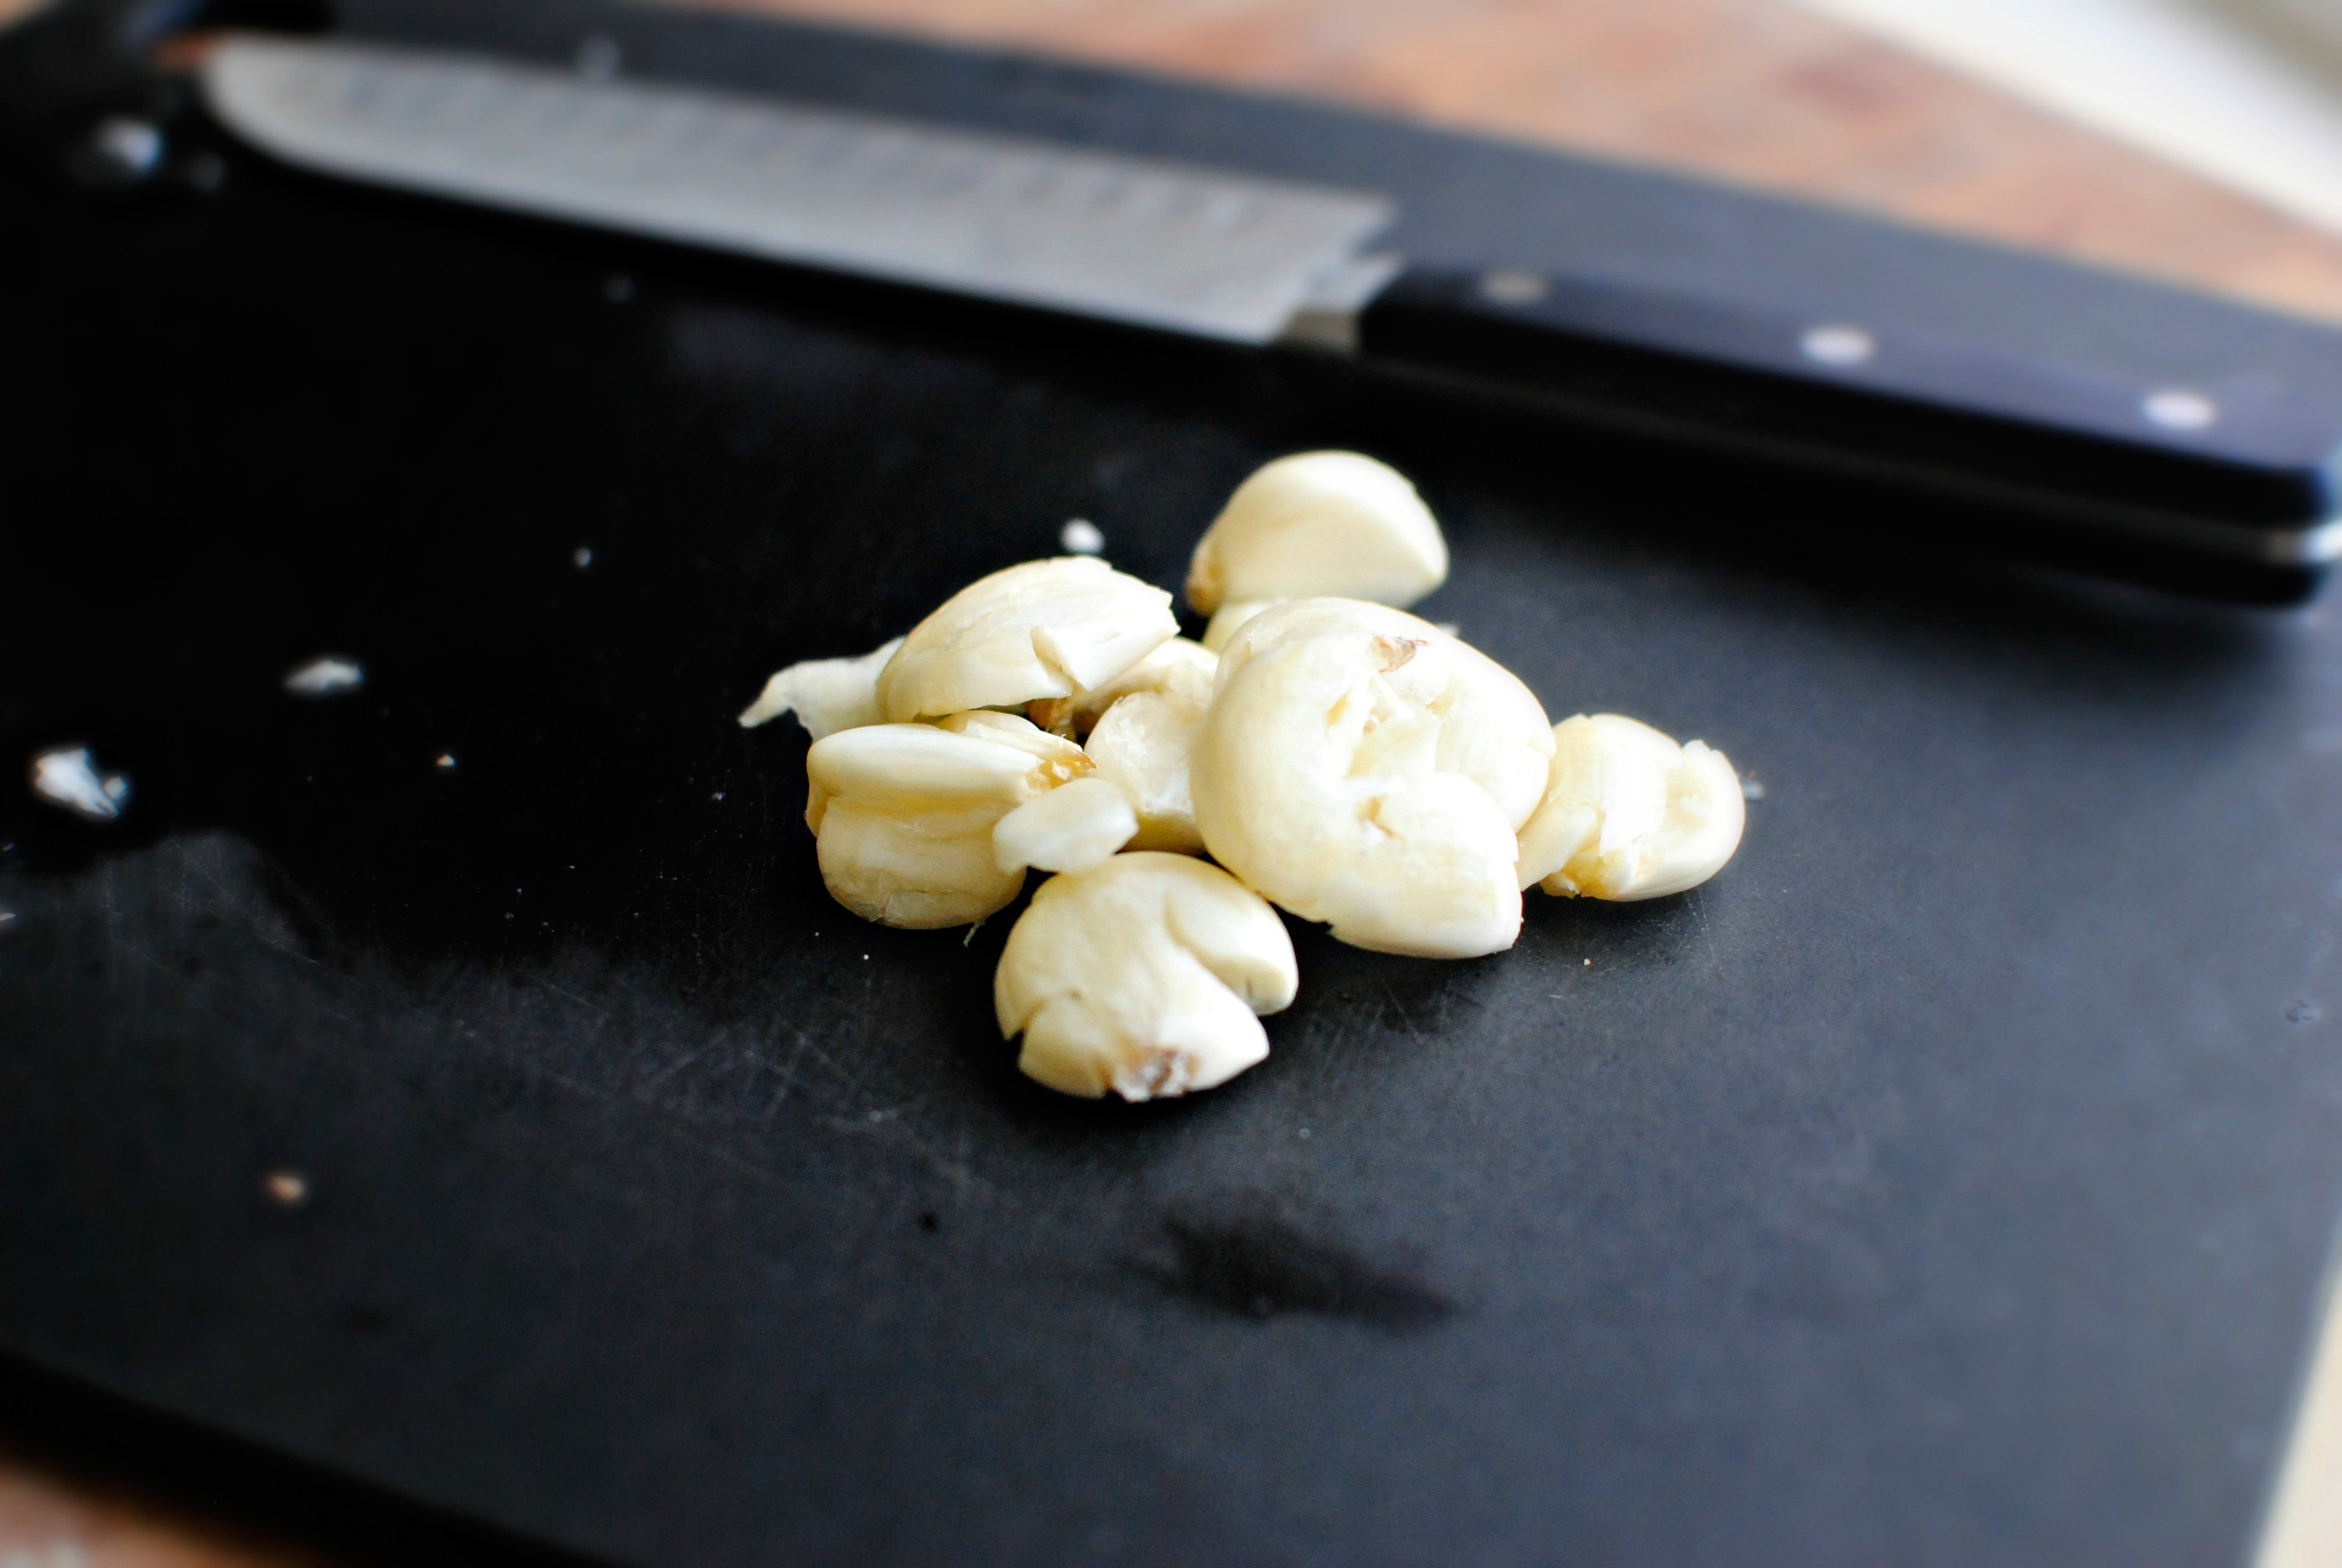
Smash and peel eight cloves and garlic. Lots of garlic equals lots of flavor!


Tasty Kitchen Blog: Bacon Jam. Guest post by Laurie McNamara of Simply Scratch, recipe submitted by TK member Rebecca of Foodie with Family.

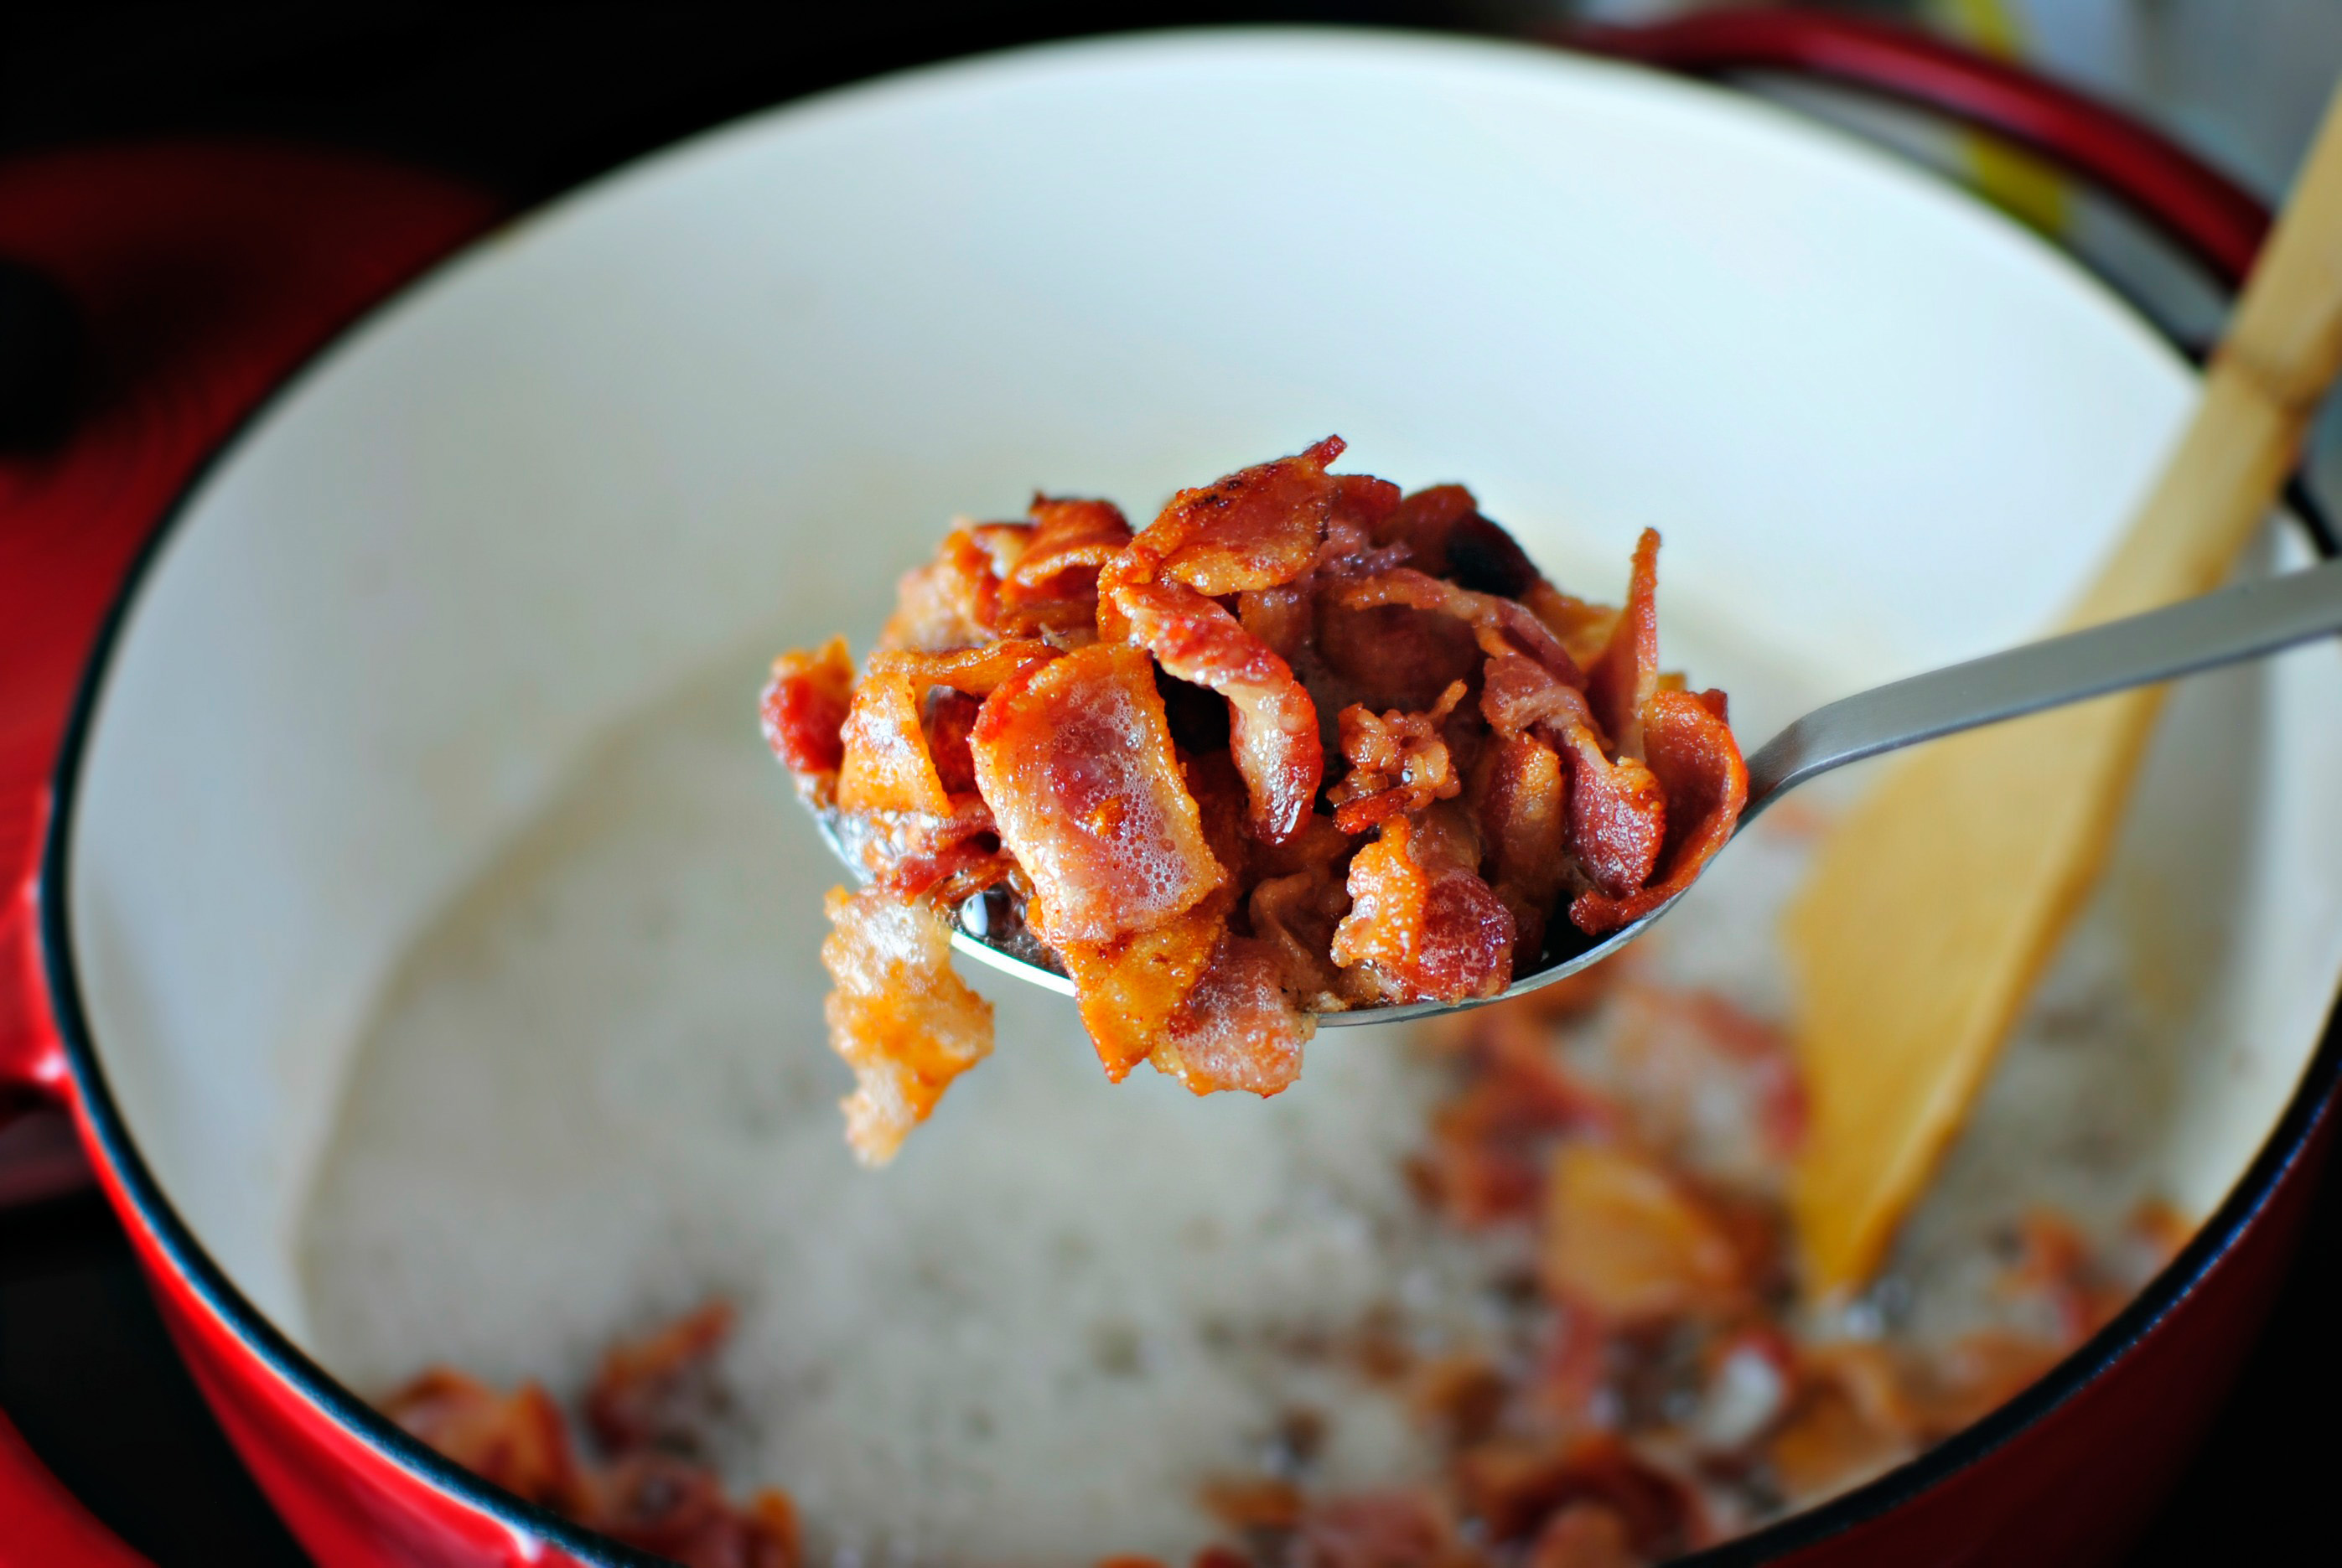
Remove the bacon with a slotted spoon once it’s golden.


Tasty Kitchen Blog: Bacon Jam. Guest post by Laurie McNamara of Simply Scratch, recipe submitted by TK member Rebecca of Foodie with Family.

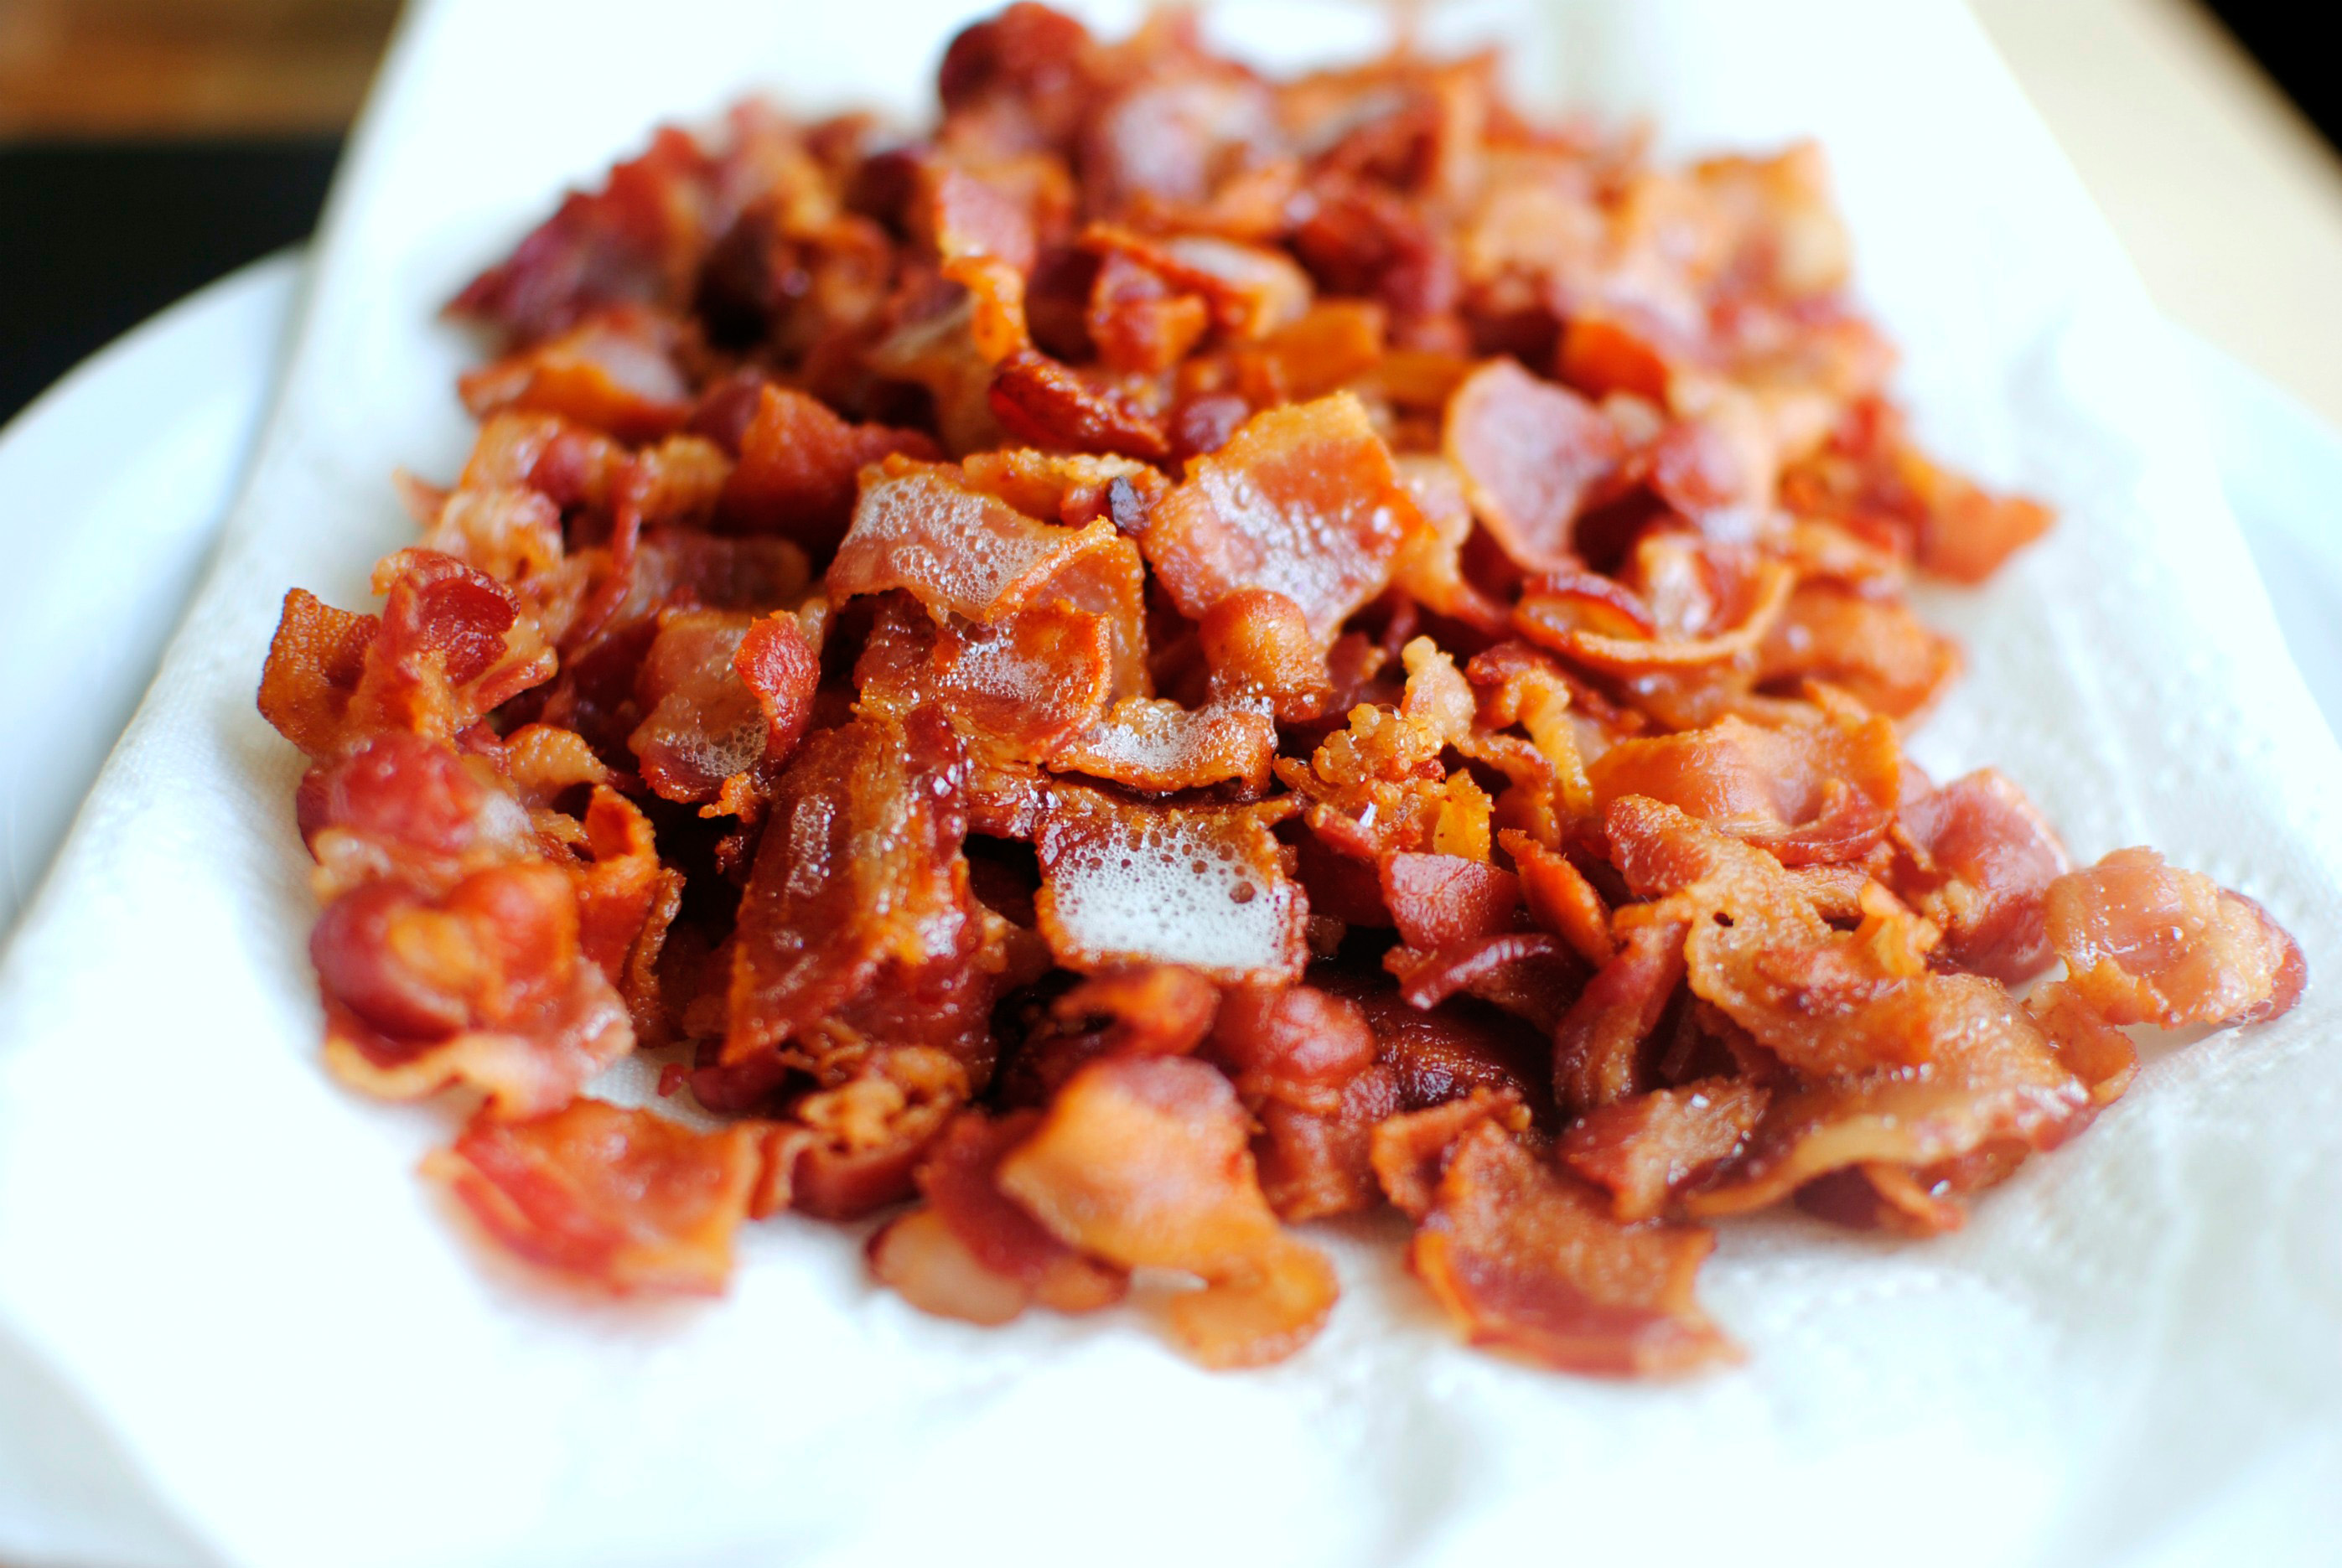
Drain it on a plate lined with paper towel.


Tasty Kitchen Blog: Bacon Jam. Guest post by Laurie McNamara of Simply Scratch, recipe submitted by TK member Rebecca of Foodie with Family.

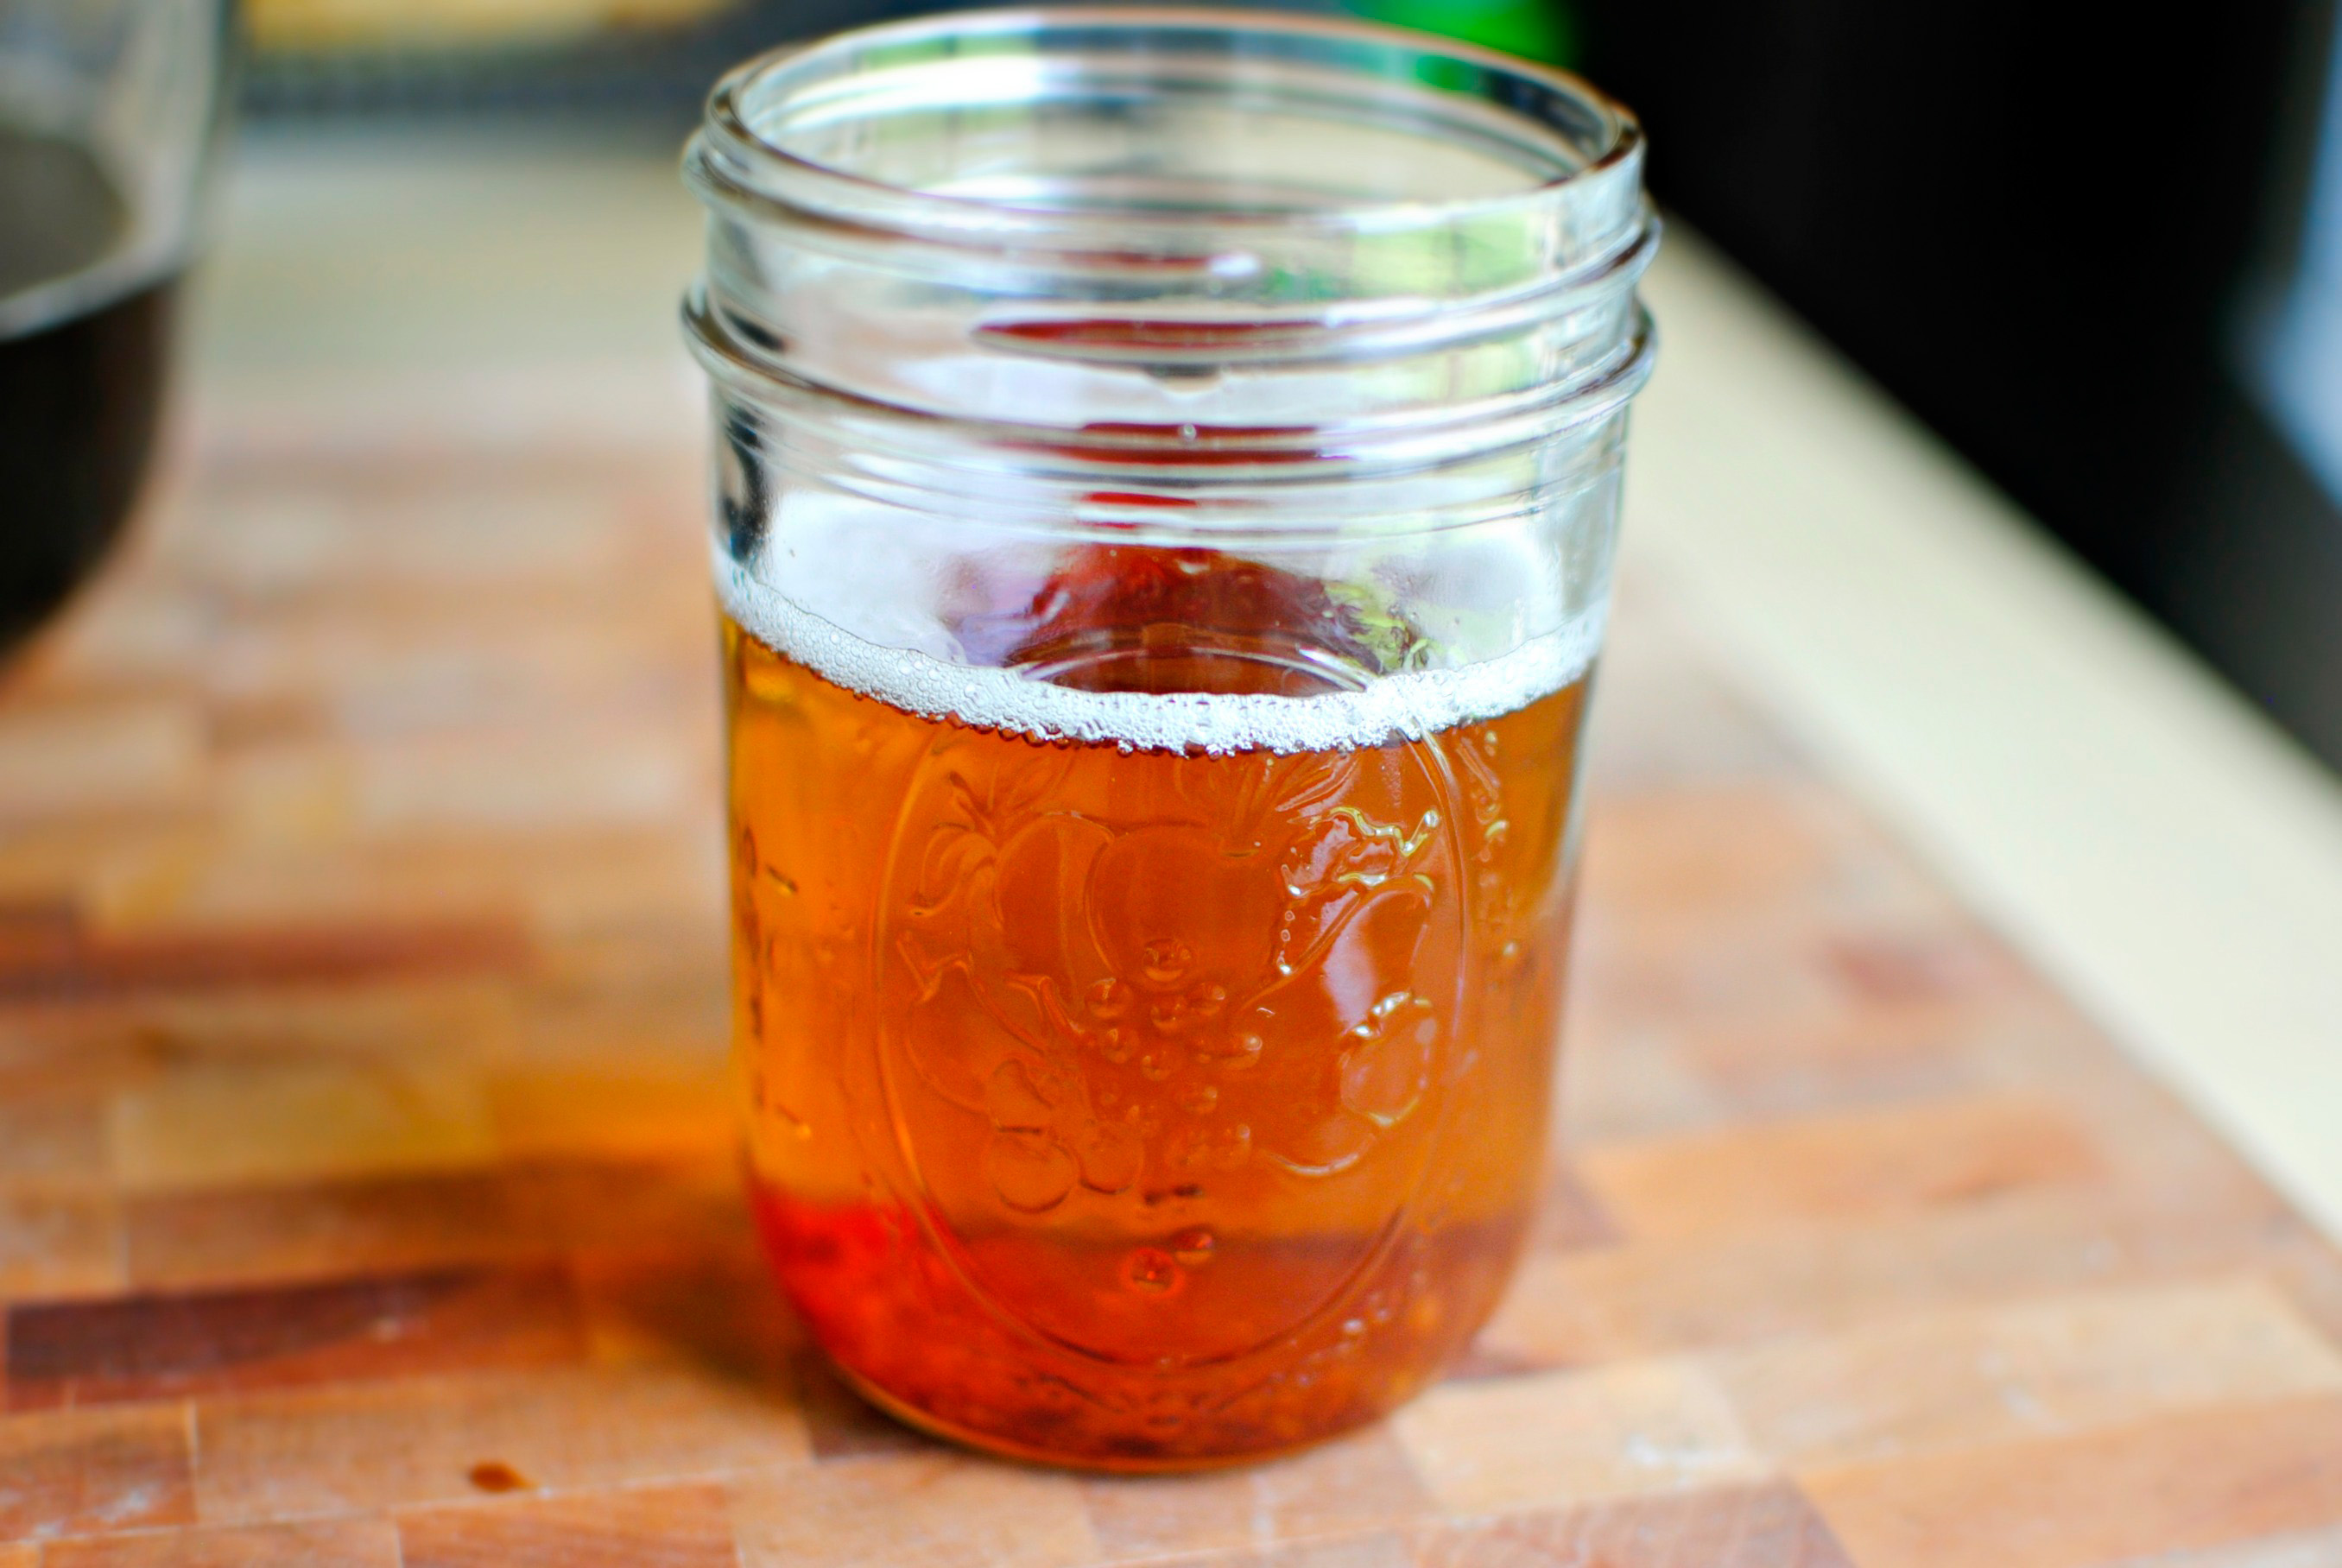
Spoon most of the bacon fat into a heat-safe container with a tight-fitting lid and once the drippings have cooled, store it in the fridge. To quote Rebecca, “That’s too much flavor to trash!” Agreed!


Tasty Kitchen Blog: Bacon Jam. Guest post by Laurie McNamara of Simply Scratch, recipe submitted by TK member Rebecca of Foodie with Family.

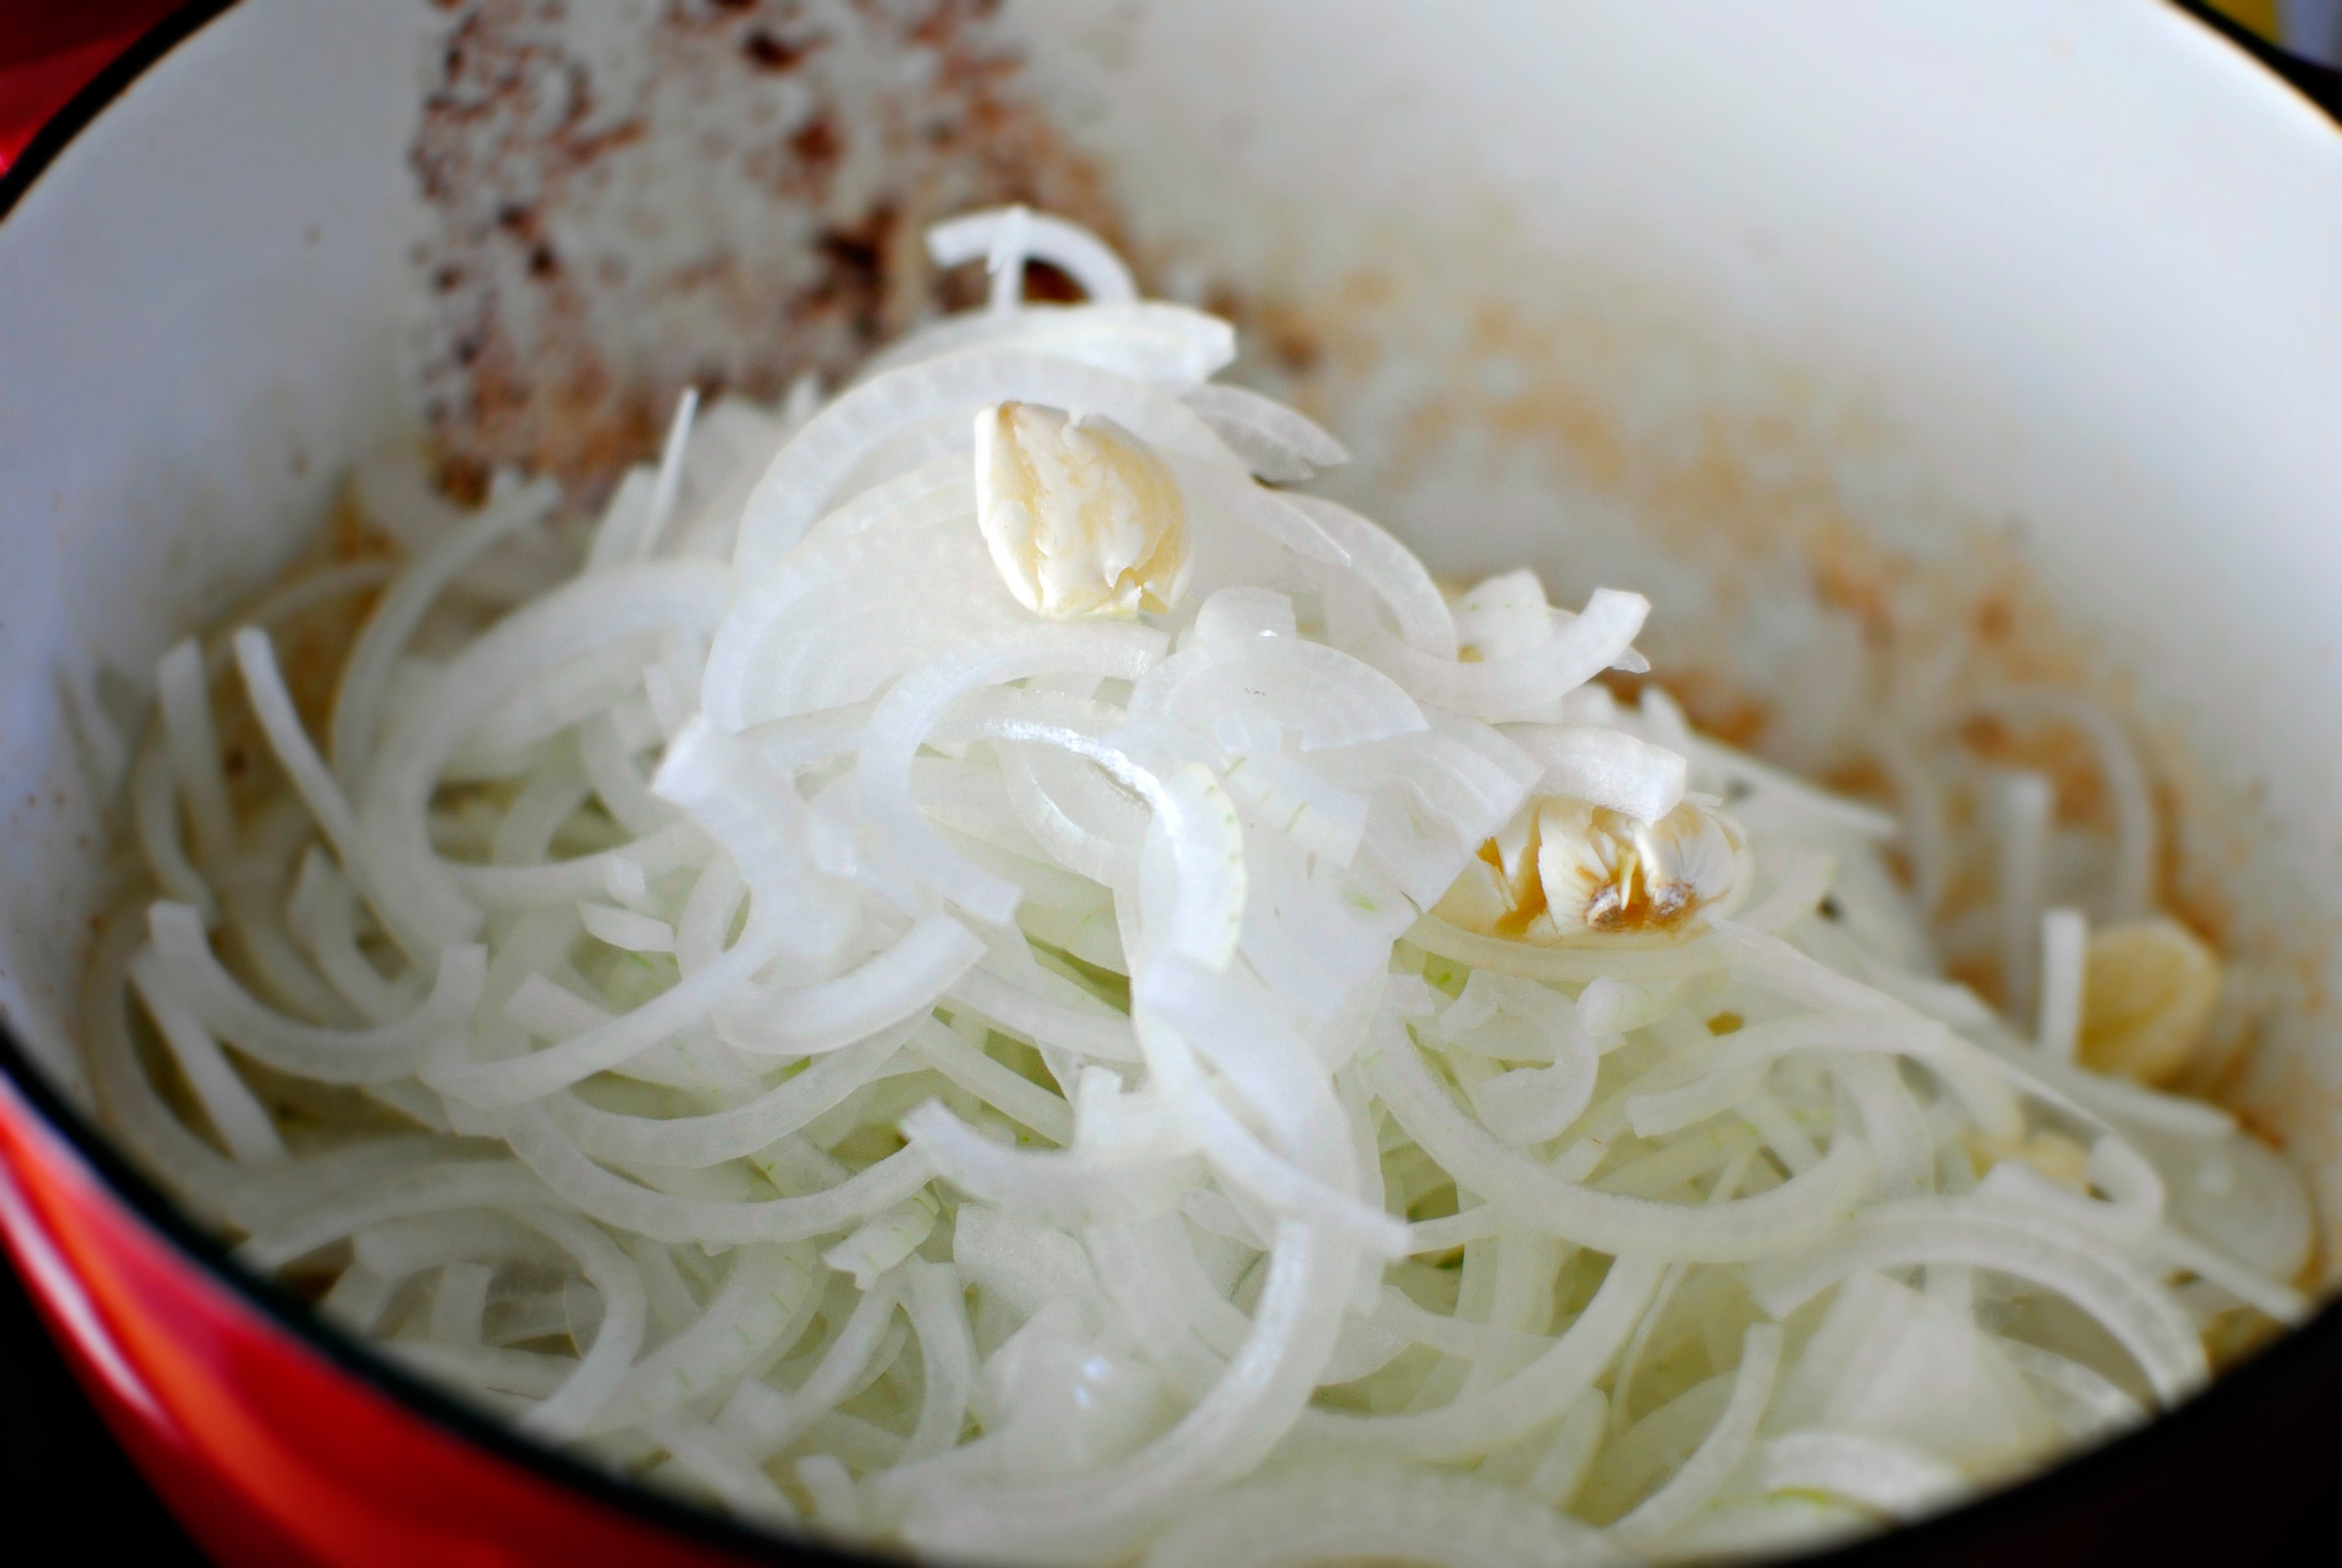
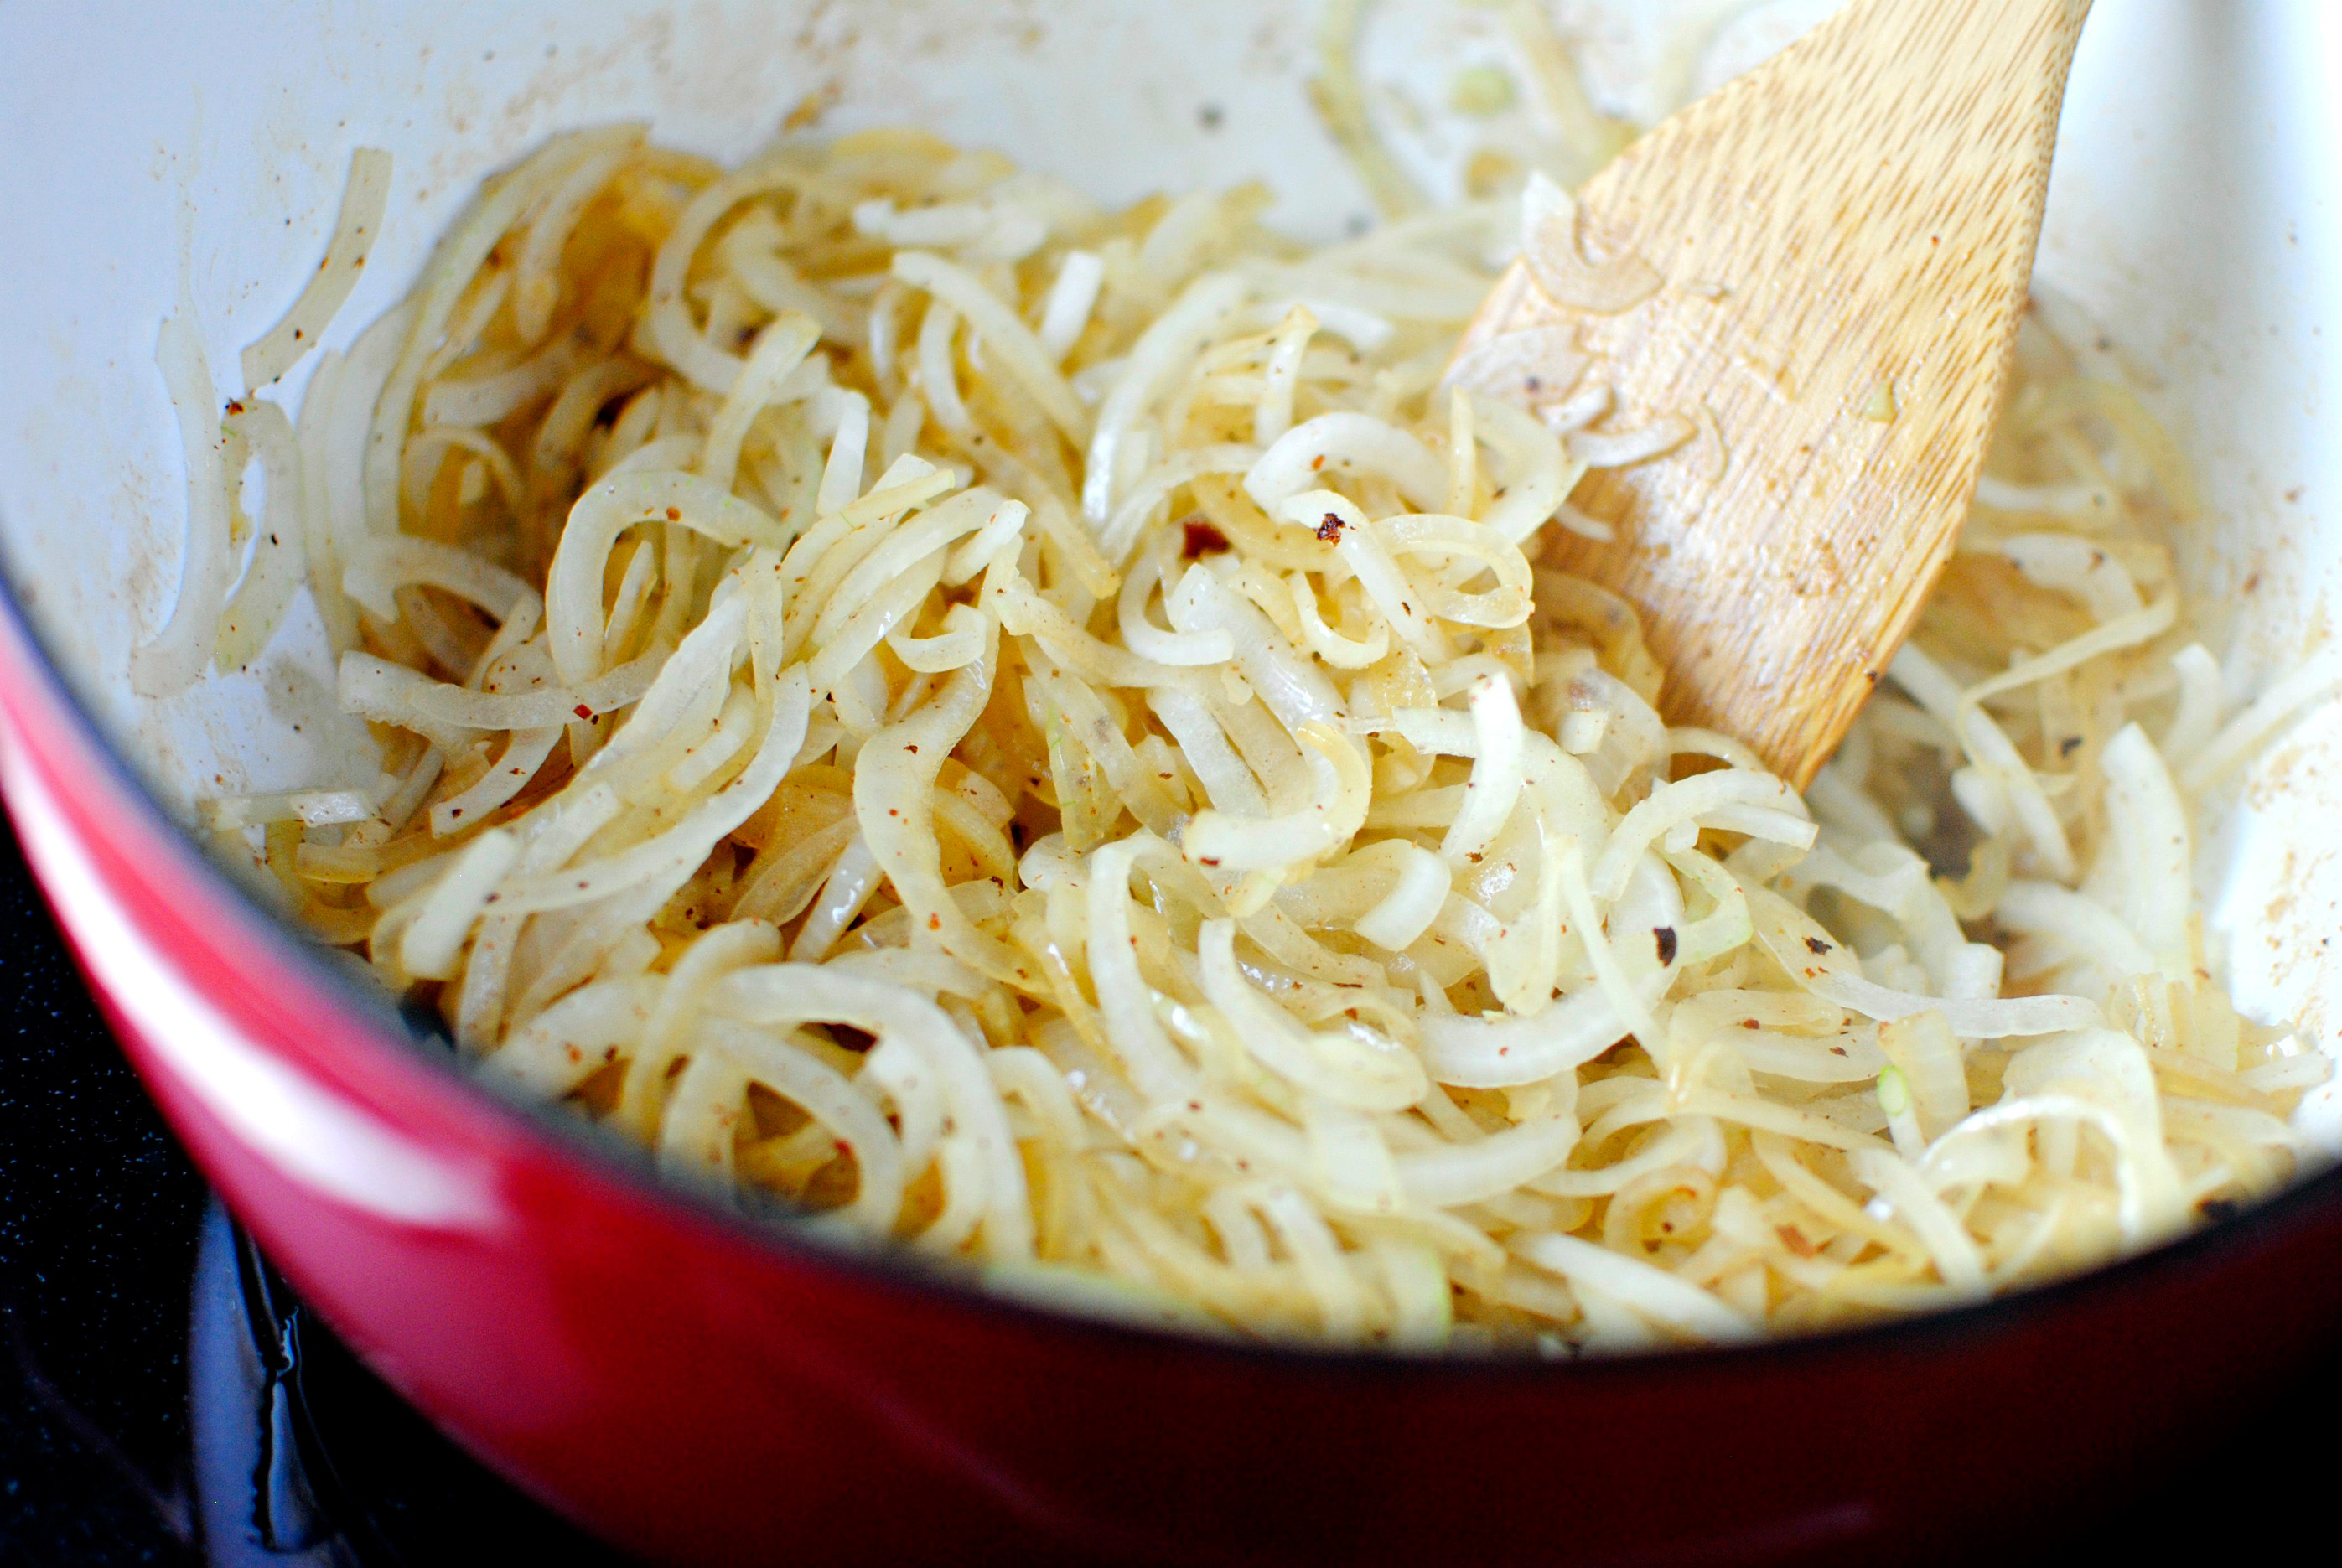
After most of the bacon fat has been removed, place the Dutch oven back over medium-high heat and add in the sliced onions and smashed garlic. Reduce the heat to medium and continue to cook low and slow, stirring occasionally.


Tasty Kitchen Blog: Bacon Jam. Guest post by Laurie McNamara of Simply Scratch, recipe submitted by TK member Rebecca of Foodie with Family.

You’ll want to continue to cook the onions down until they are pretty translucent and soft. While that was going on, I made the glorious cooking liquids.


Tasty Kitchen Blog: Bacon Jam. Guest post by Laurie McNamara of Simply Scratch, recipe submitted by TK member Rebecca of Foodie with Family.

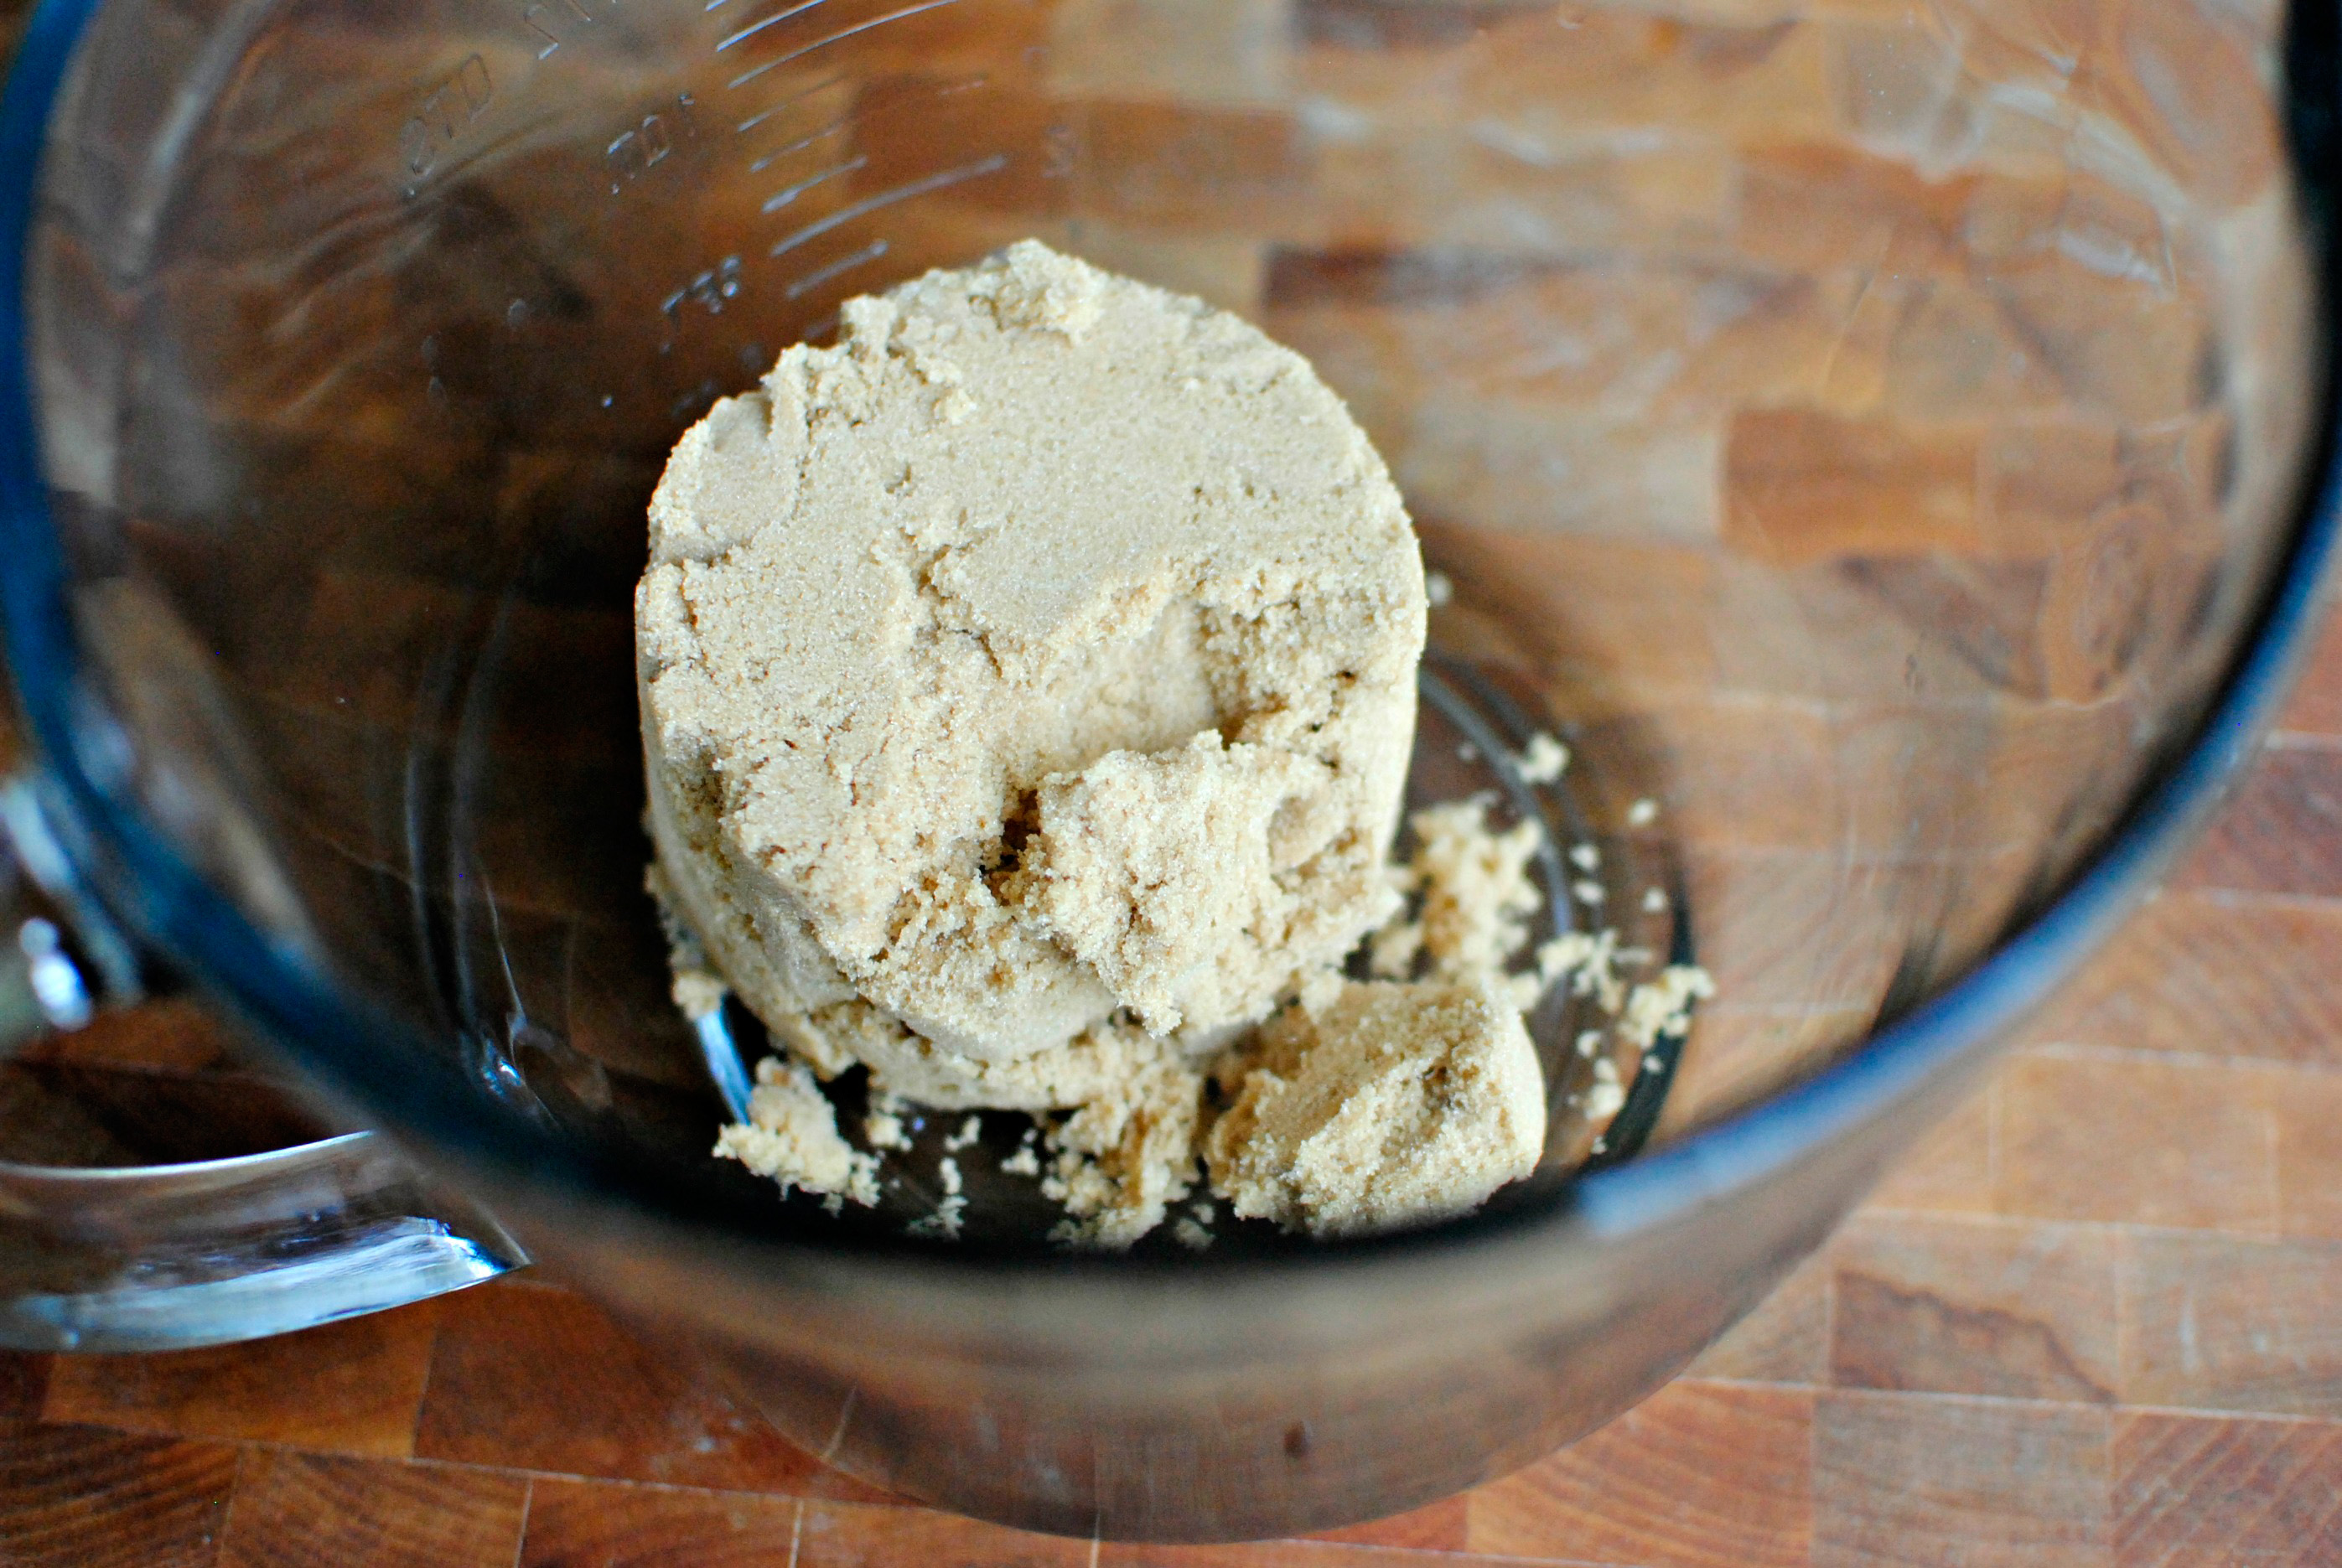
In a large bowl measure and add in the cup of brown sugar.


Tasty Kitchen Blog: Bacon Jam. Guest post by Laurie McNamara of Simply Scratch, recipe submitted by TK member Rebecca of Foodie with Family.

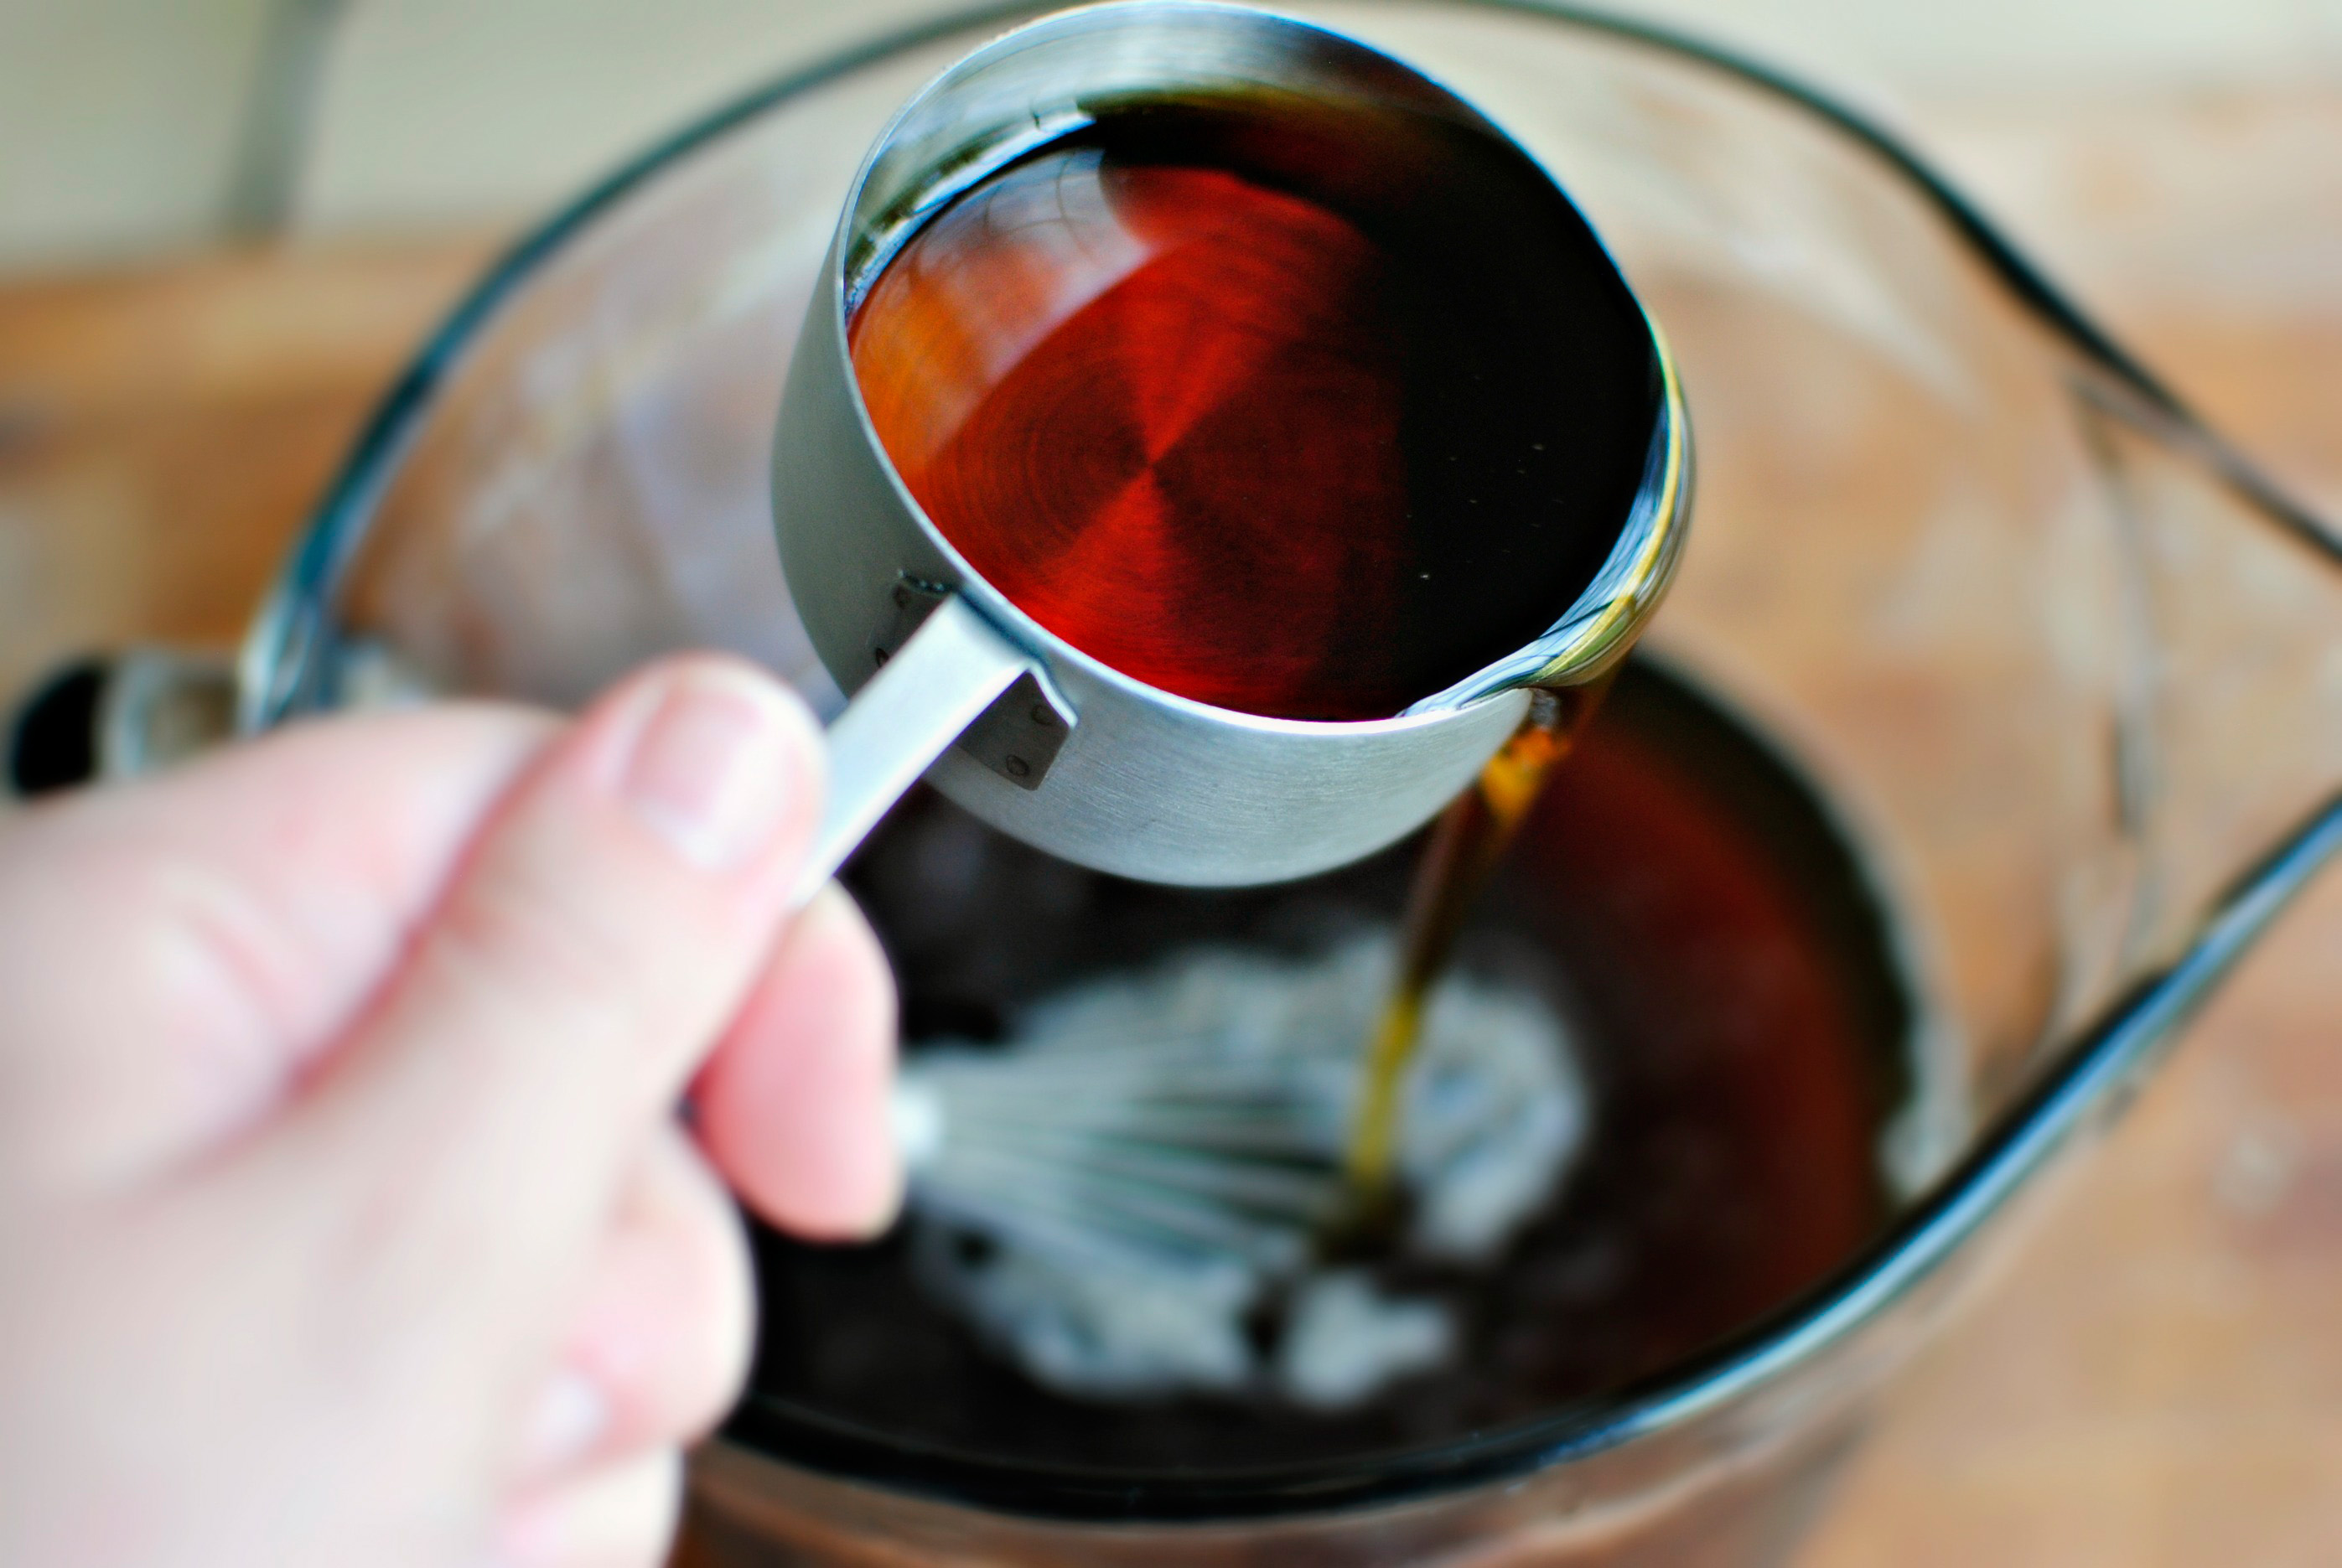
Pour in a cup and a half of strong coffee.



Tasty Kitchen Blog: Bacon Jam. Guest post by Laurie McNamara of Simply Scratch, recipe submitted by TK member Rebecca of Foodie with Family.

Then the cup of cider vinegar.


Tasty Kitchen Blog: Bacon Jam. Guest post by Laurie McNamara of Simply Scratch, recipe submitted by TK member Rebecca of Foodie with Family.

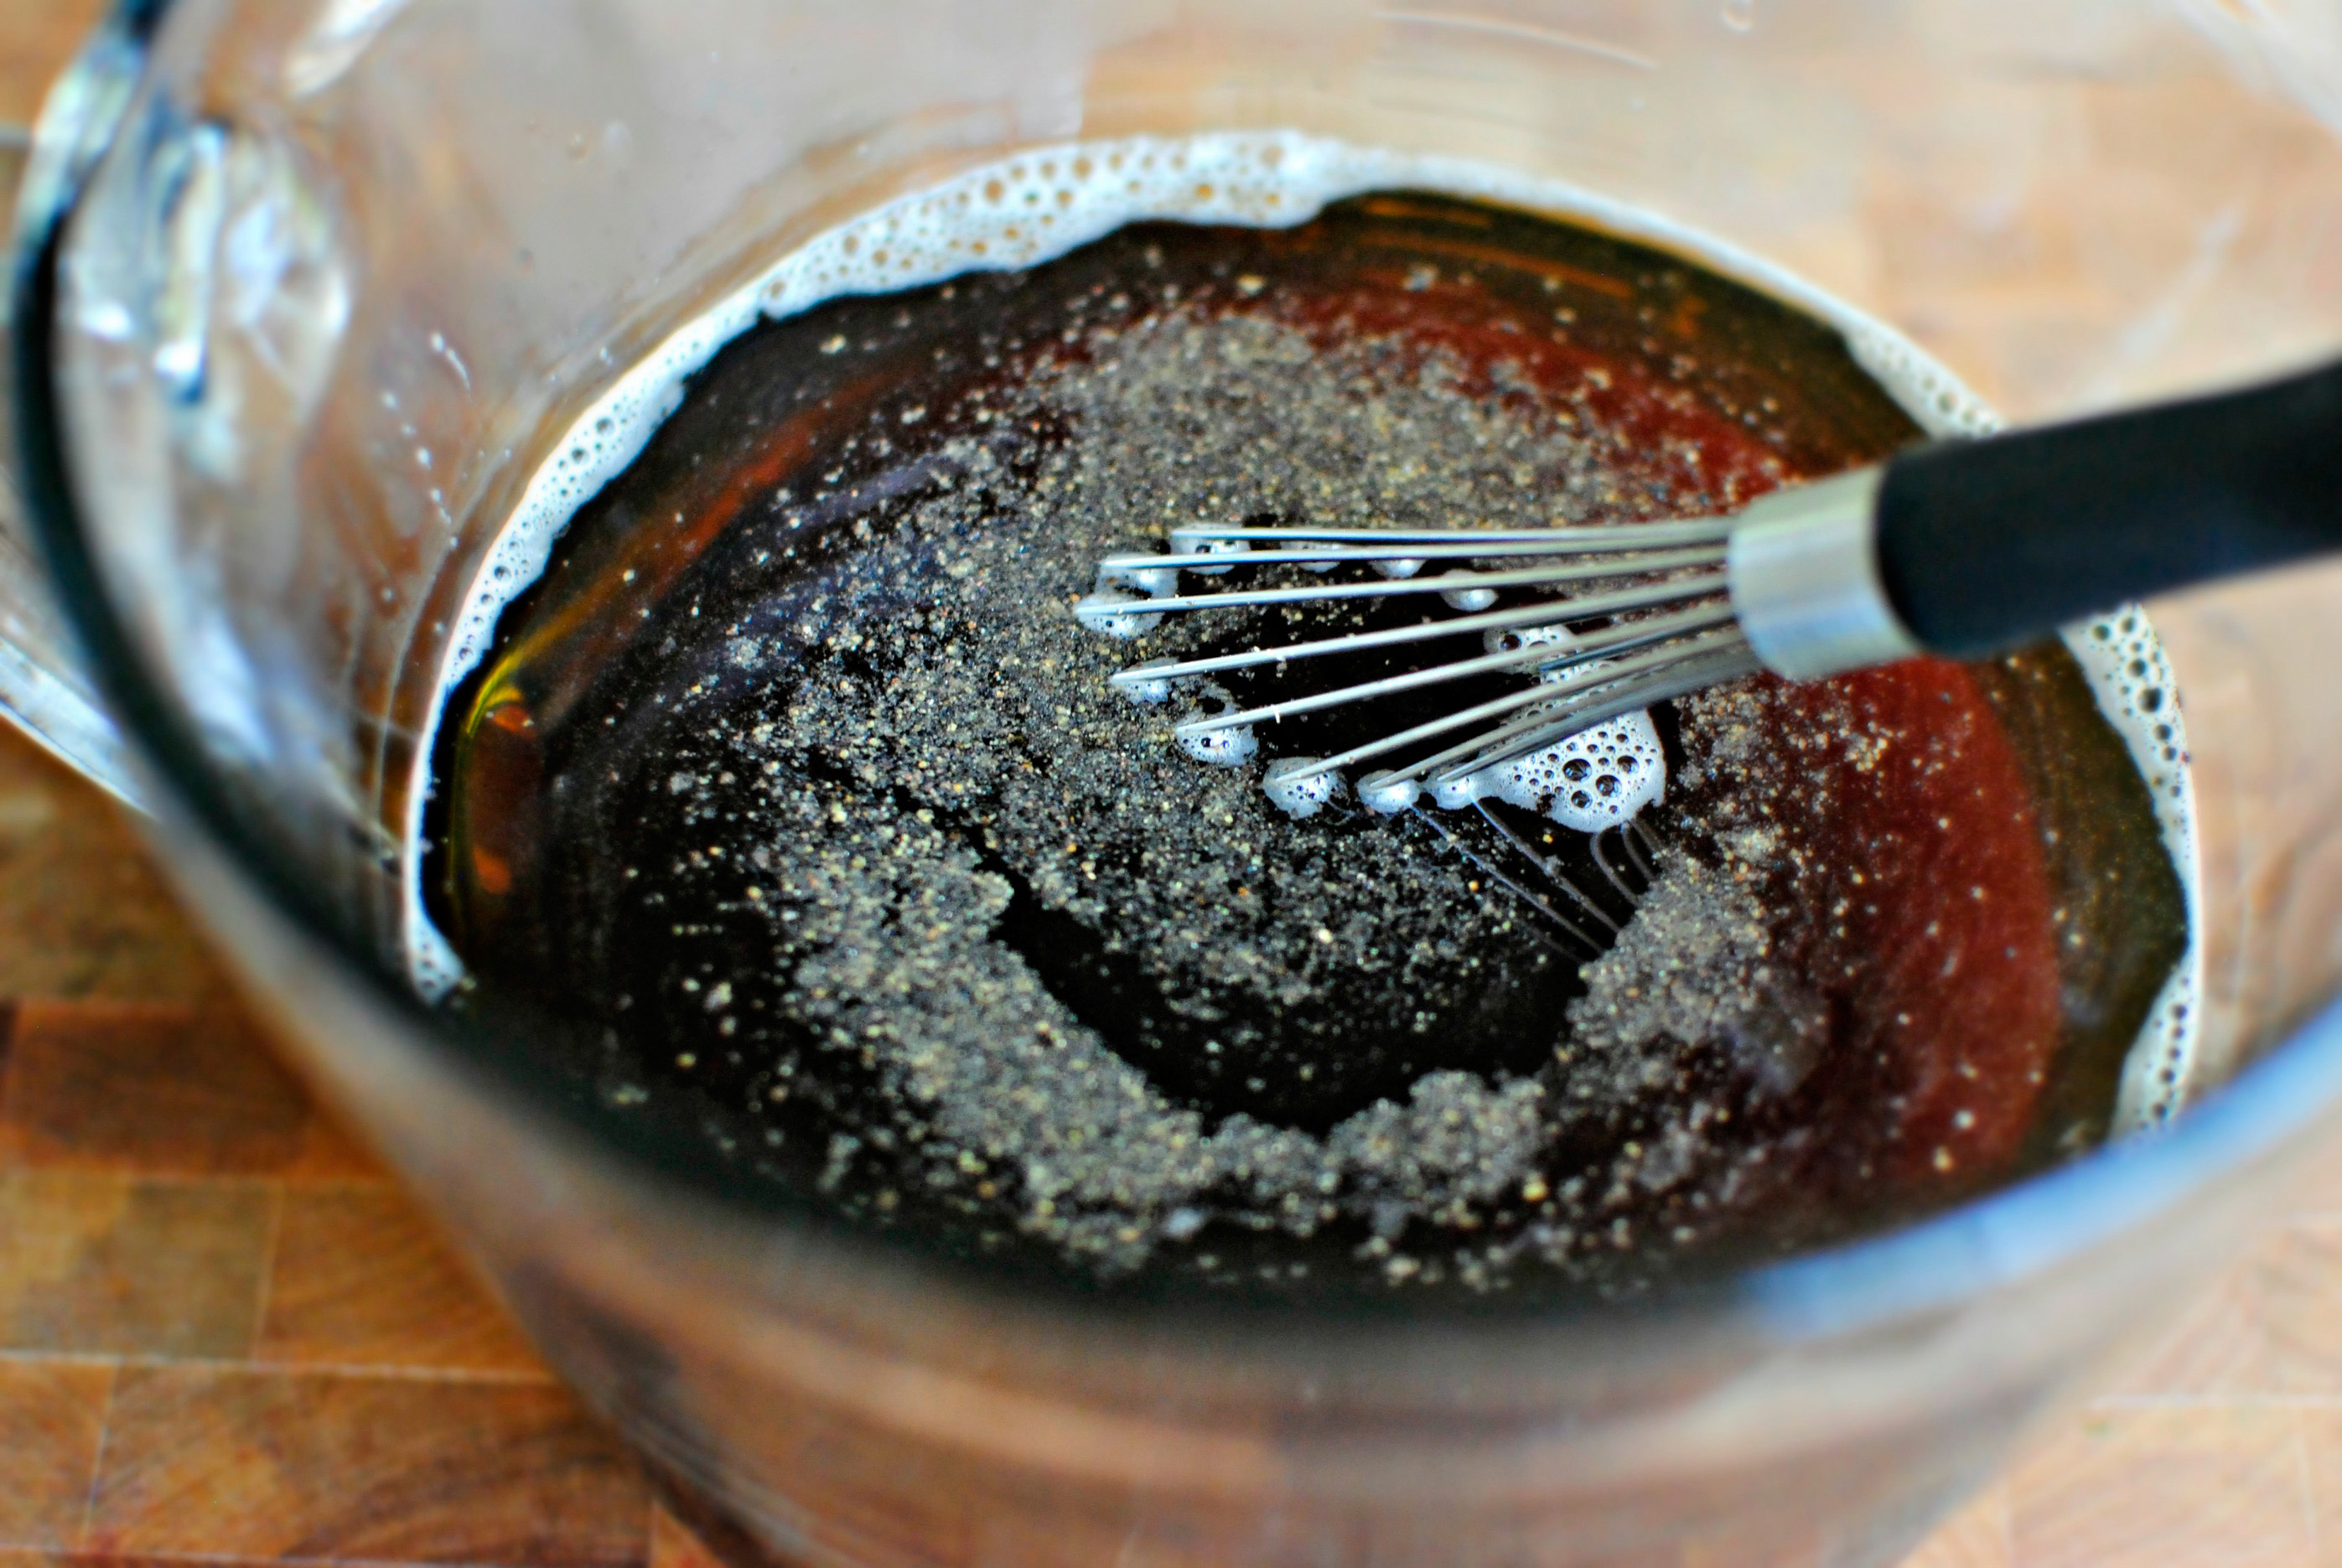
Measure and add in the 1/2 cup of pure maple syrup. This is the real-deal PURE maple syrup kind, so please none of that artificial stuff!


Tasty Kitchen Blog: Bacon Jam. Guest post by Laurie McNamara of Simply Scratch, recipe submitted by TK member Rebecca of Foodie with Family.

Season with a teaspoon of black pepper. And that’s it!


Tasty Kitchen Blog: Bacon Jam. Guest post by Laurie McNamara of Simply Scratch, recipe submitted by TK member Rebecca of Foodie with Family.

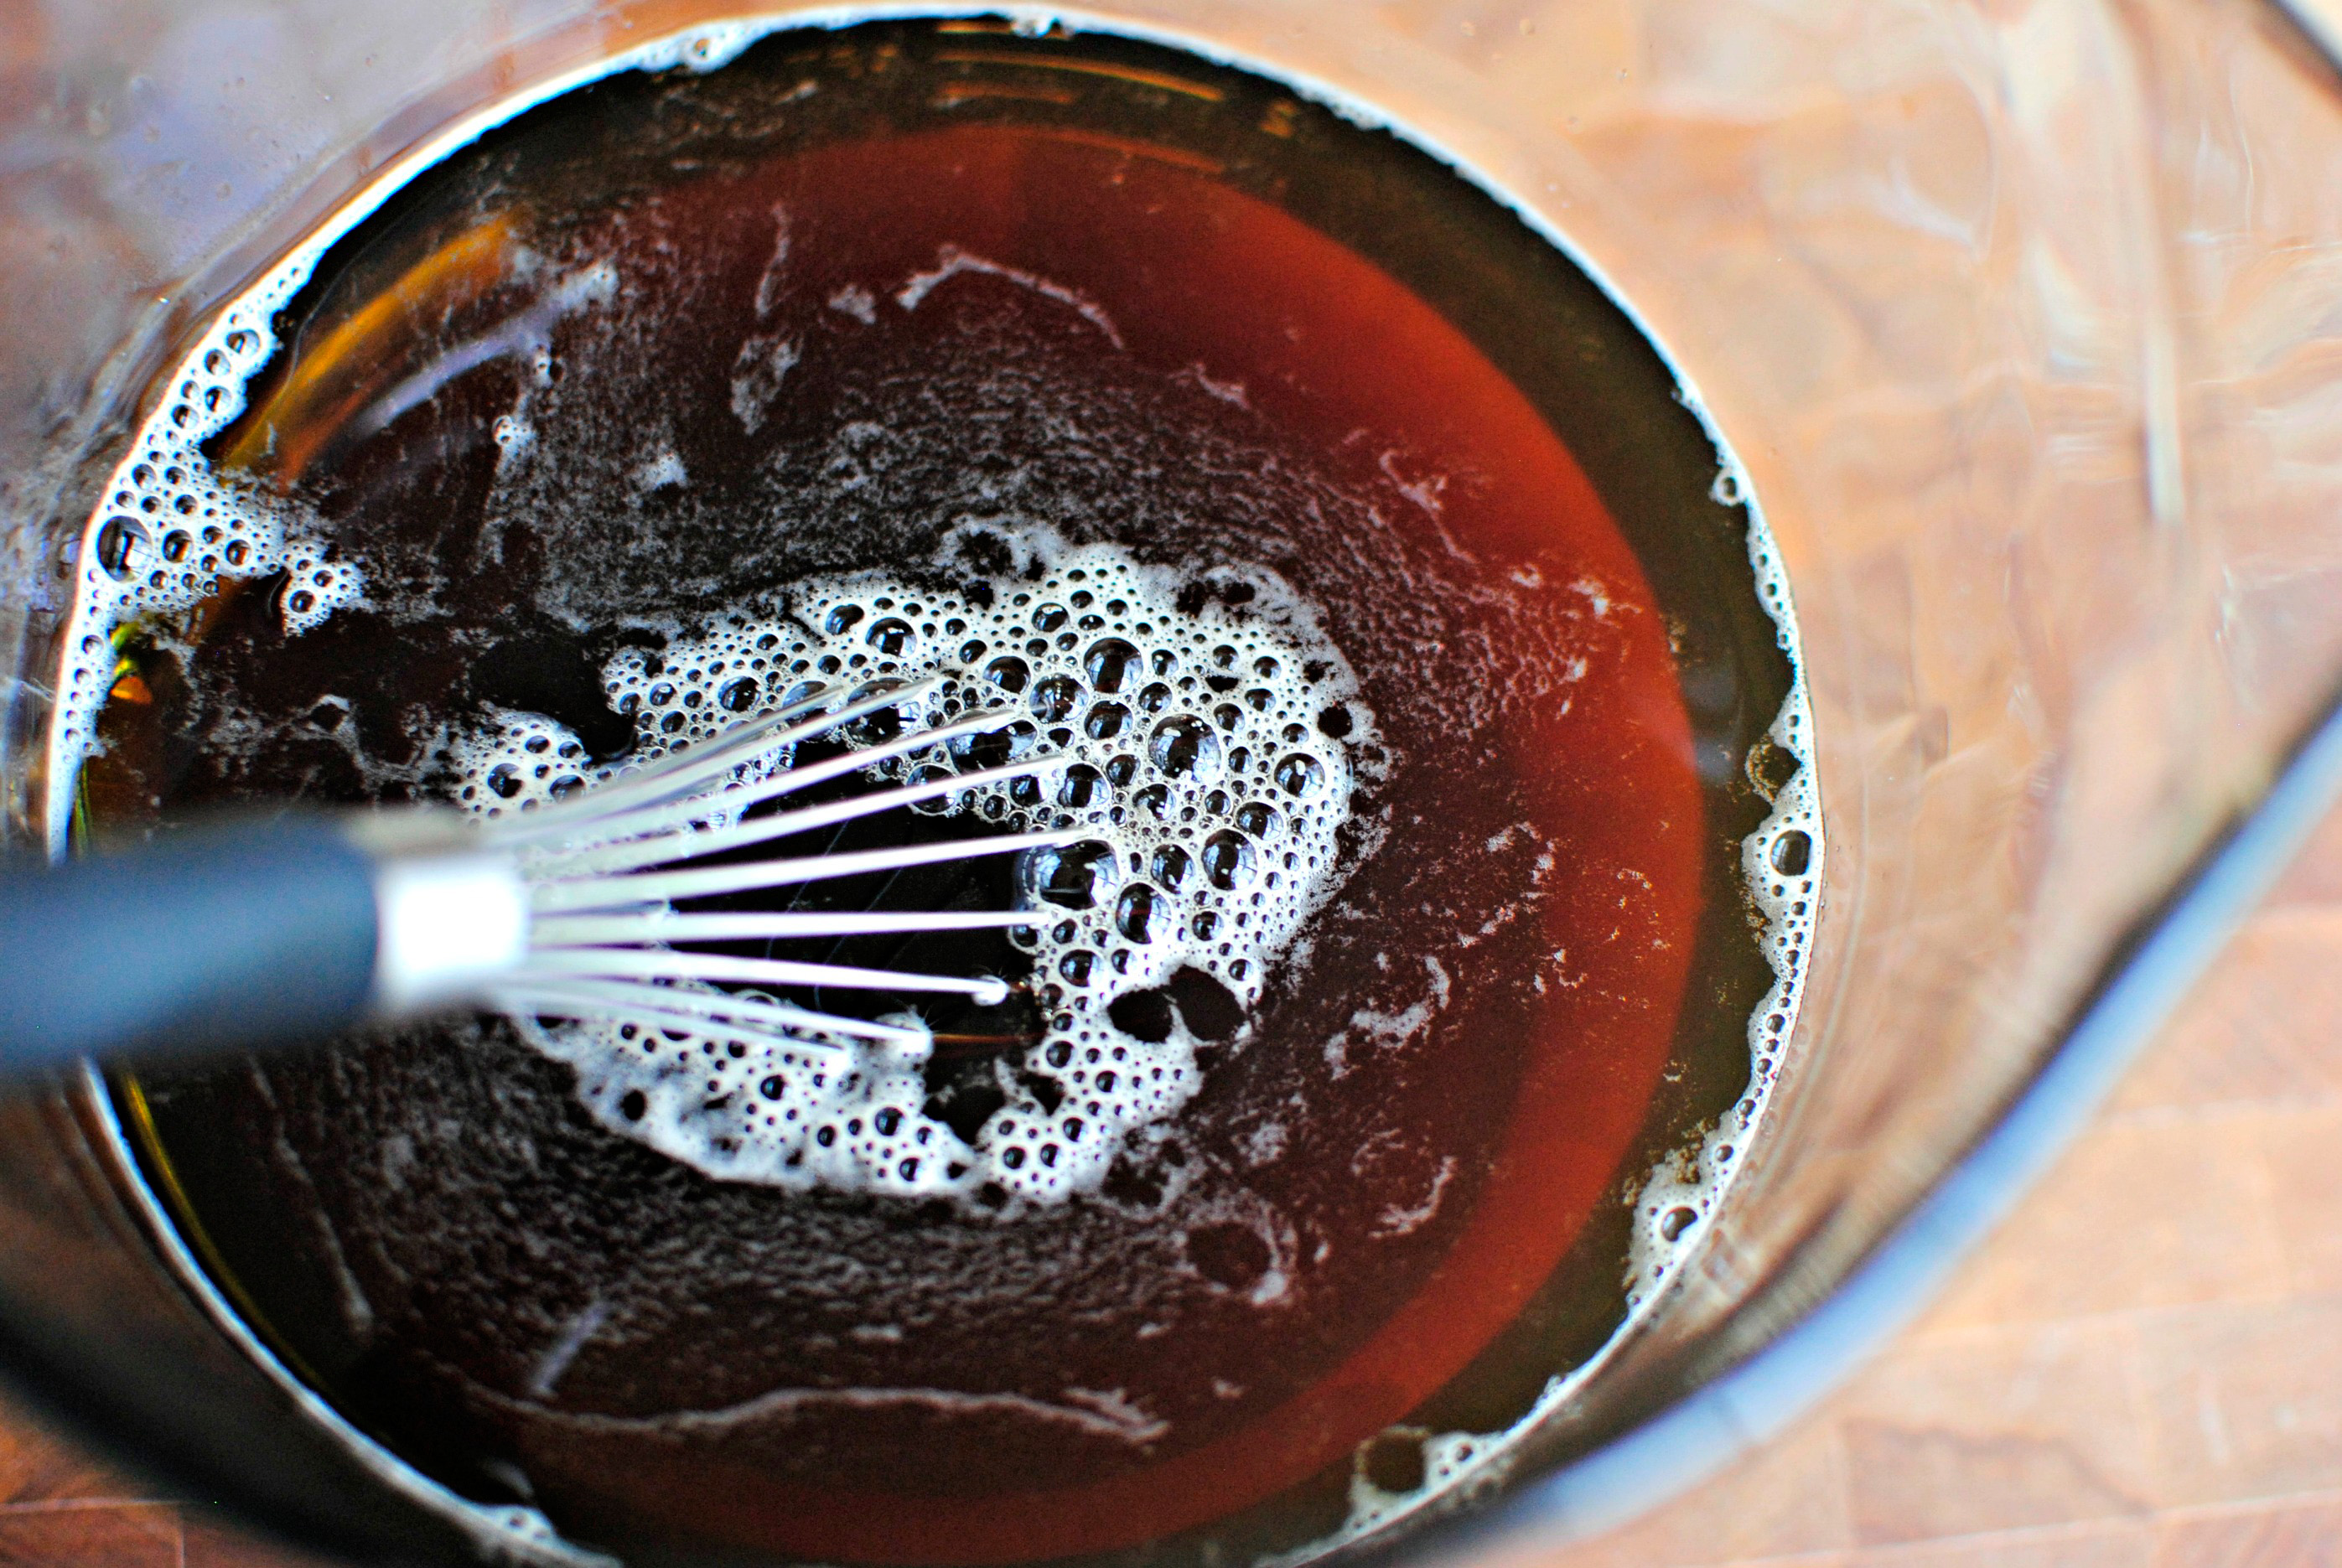
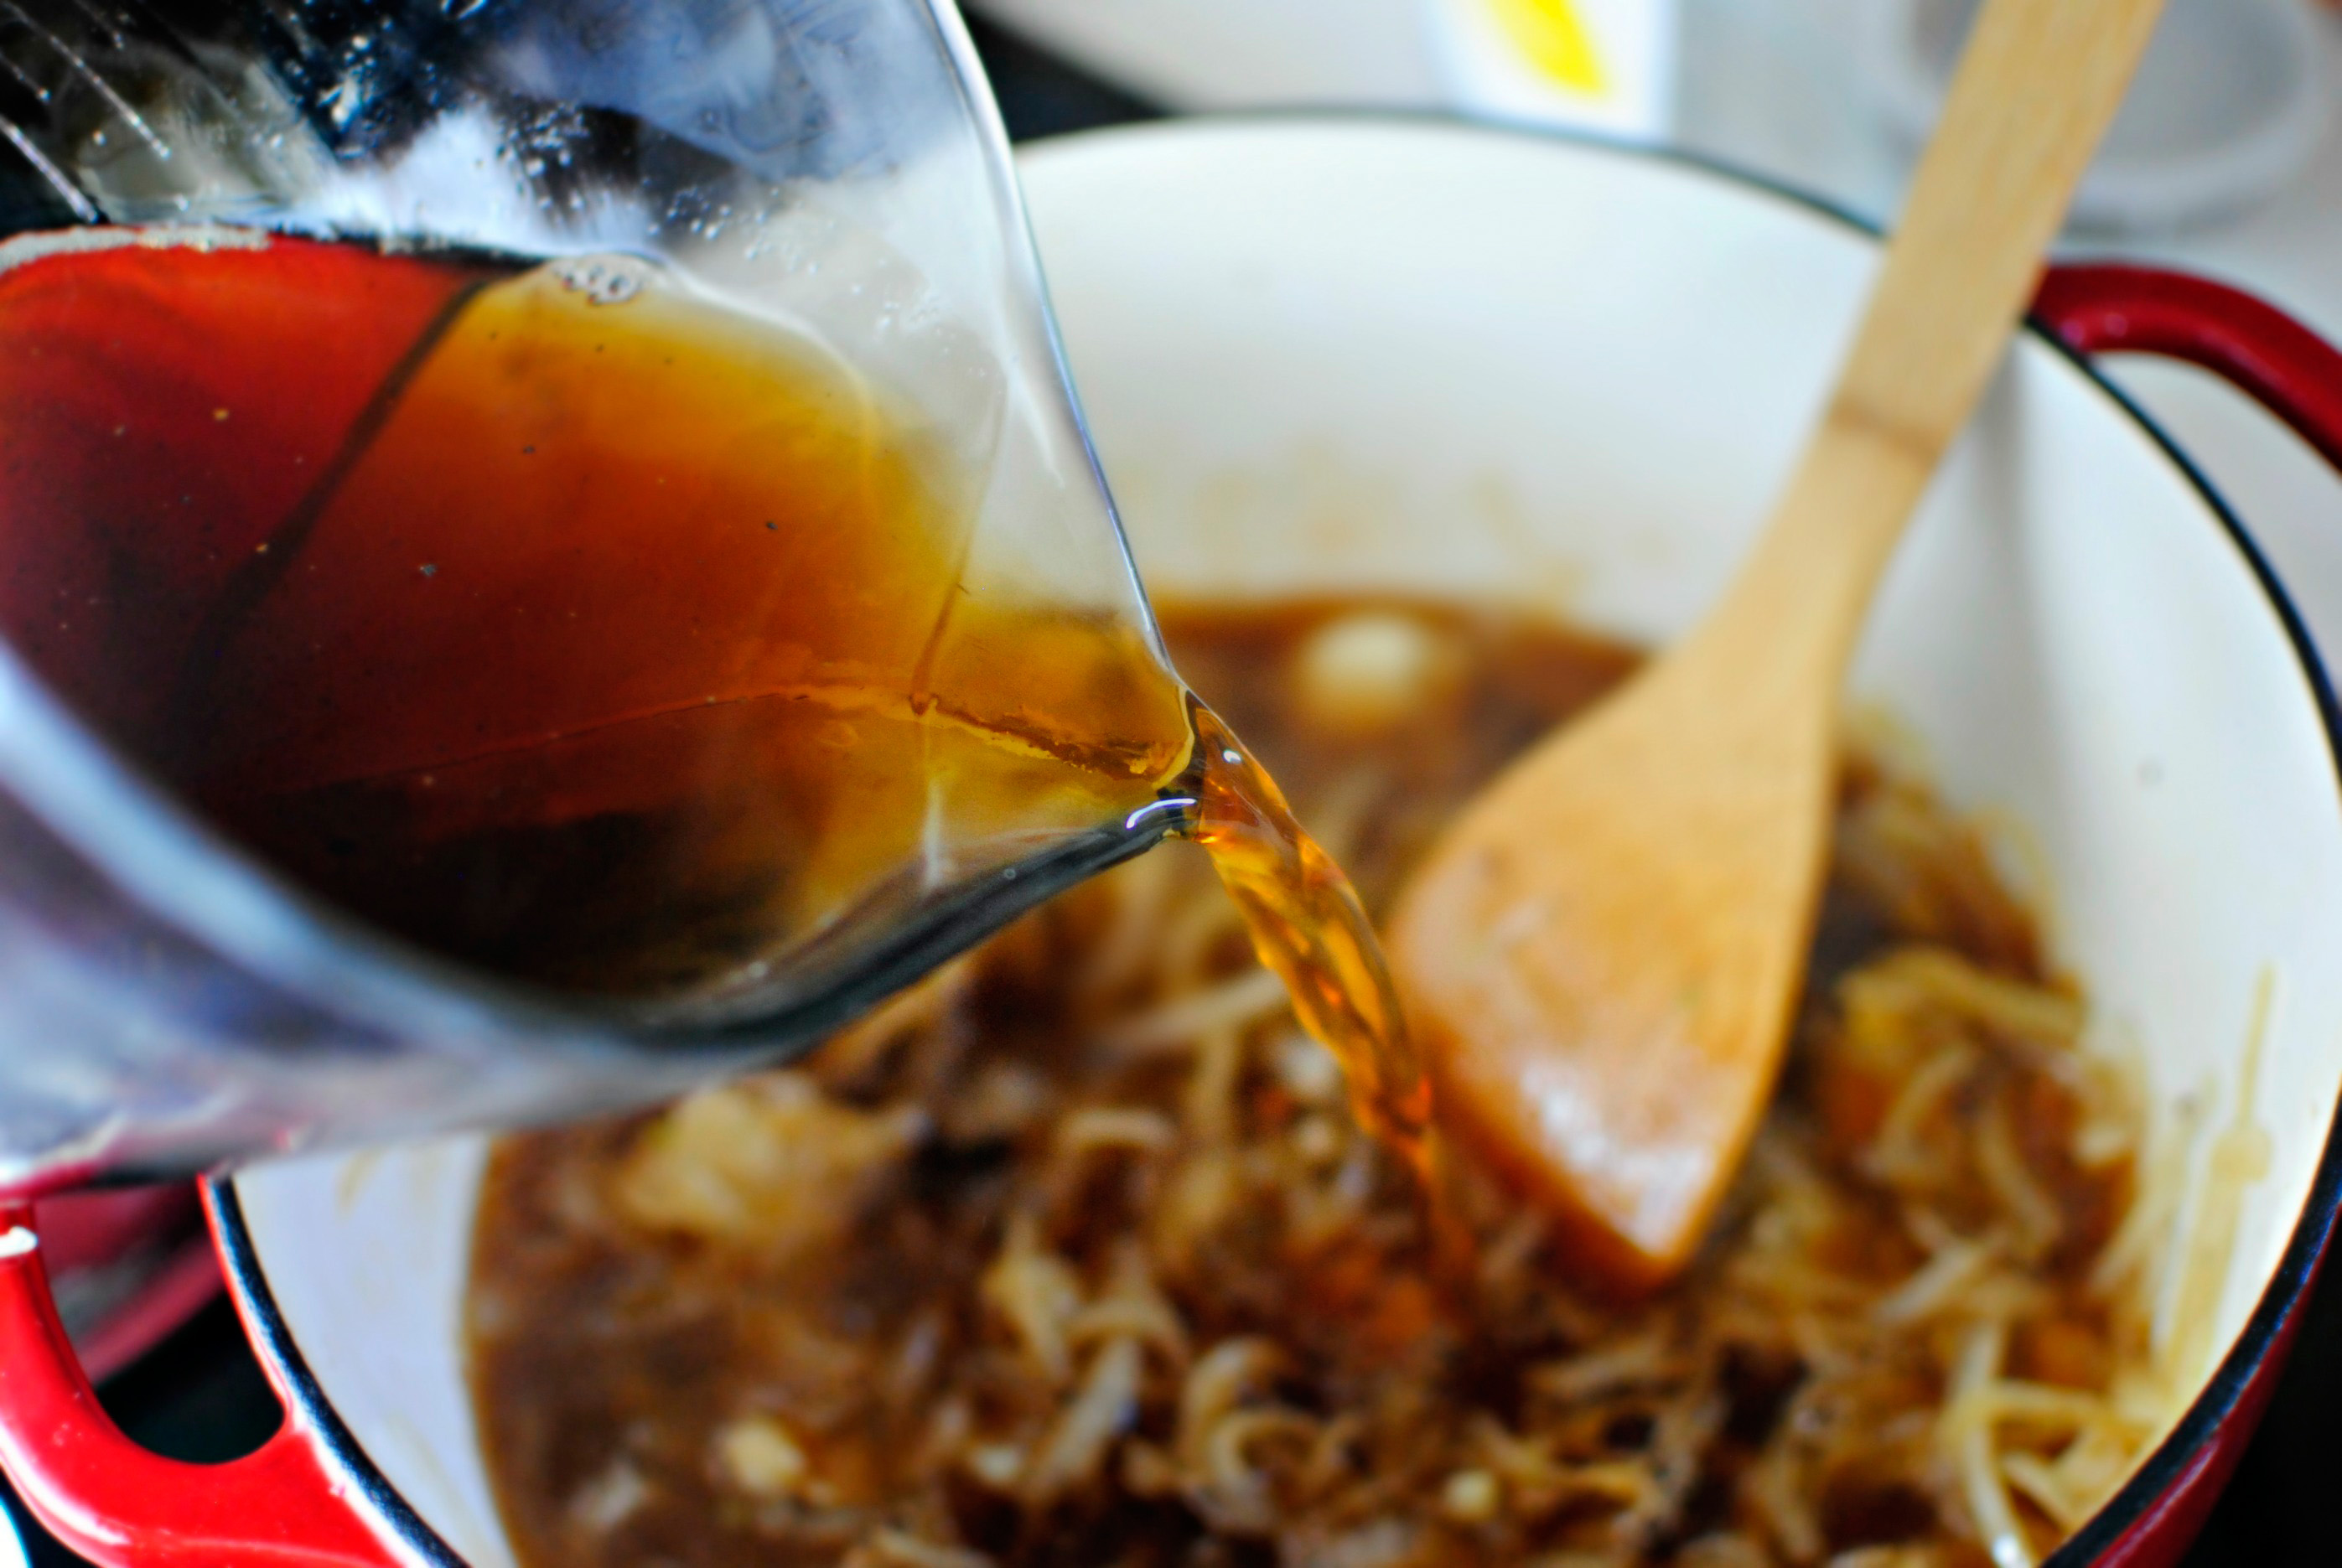
Give it a good stir to get the maple syrup and brown sugar mixed well together.


Tasty Kitchen Blog: Bacon Jam. Guest post by Laurie McNamara of Simply Scratch, recipe submitted by TK member Rebecca of Foodie with Family.

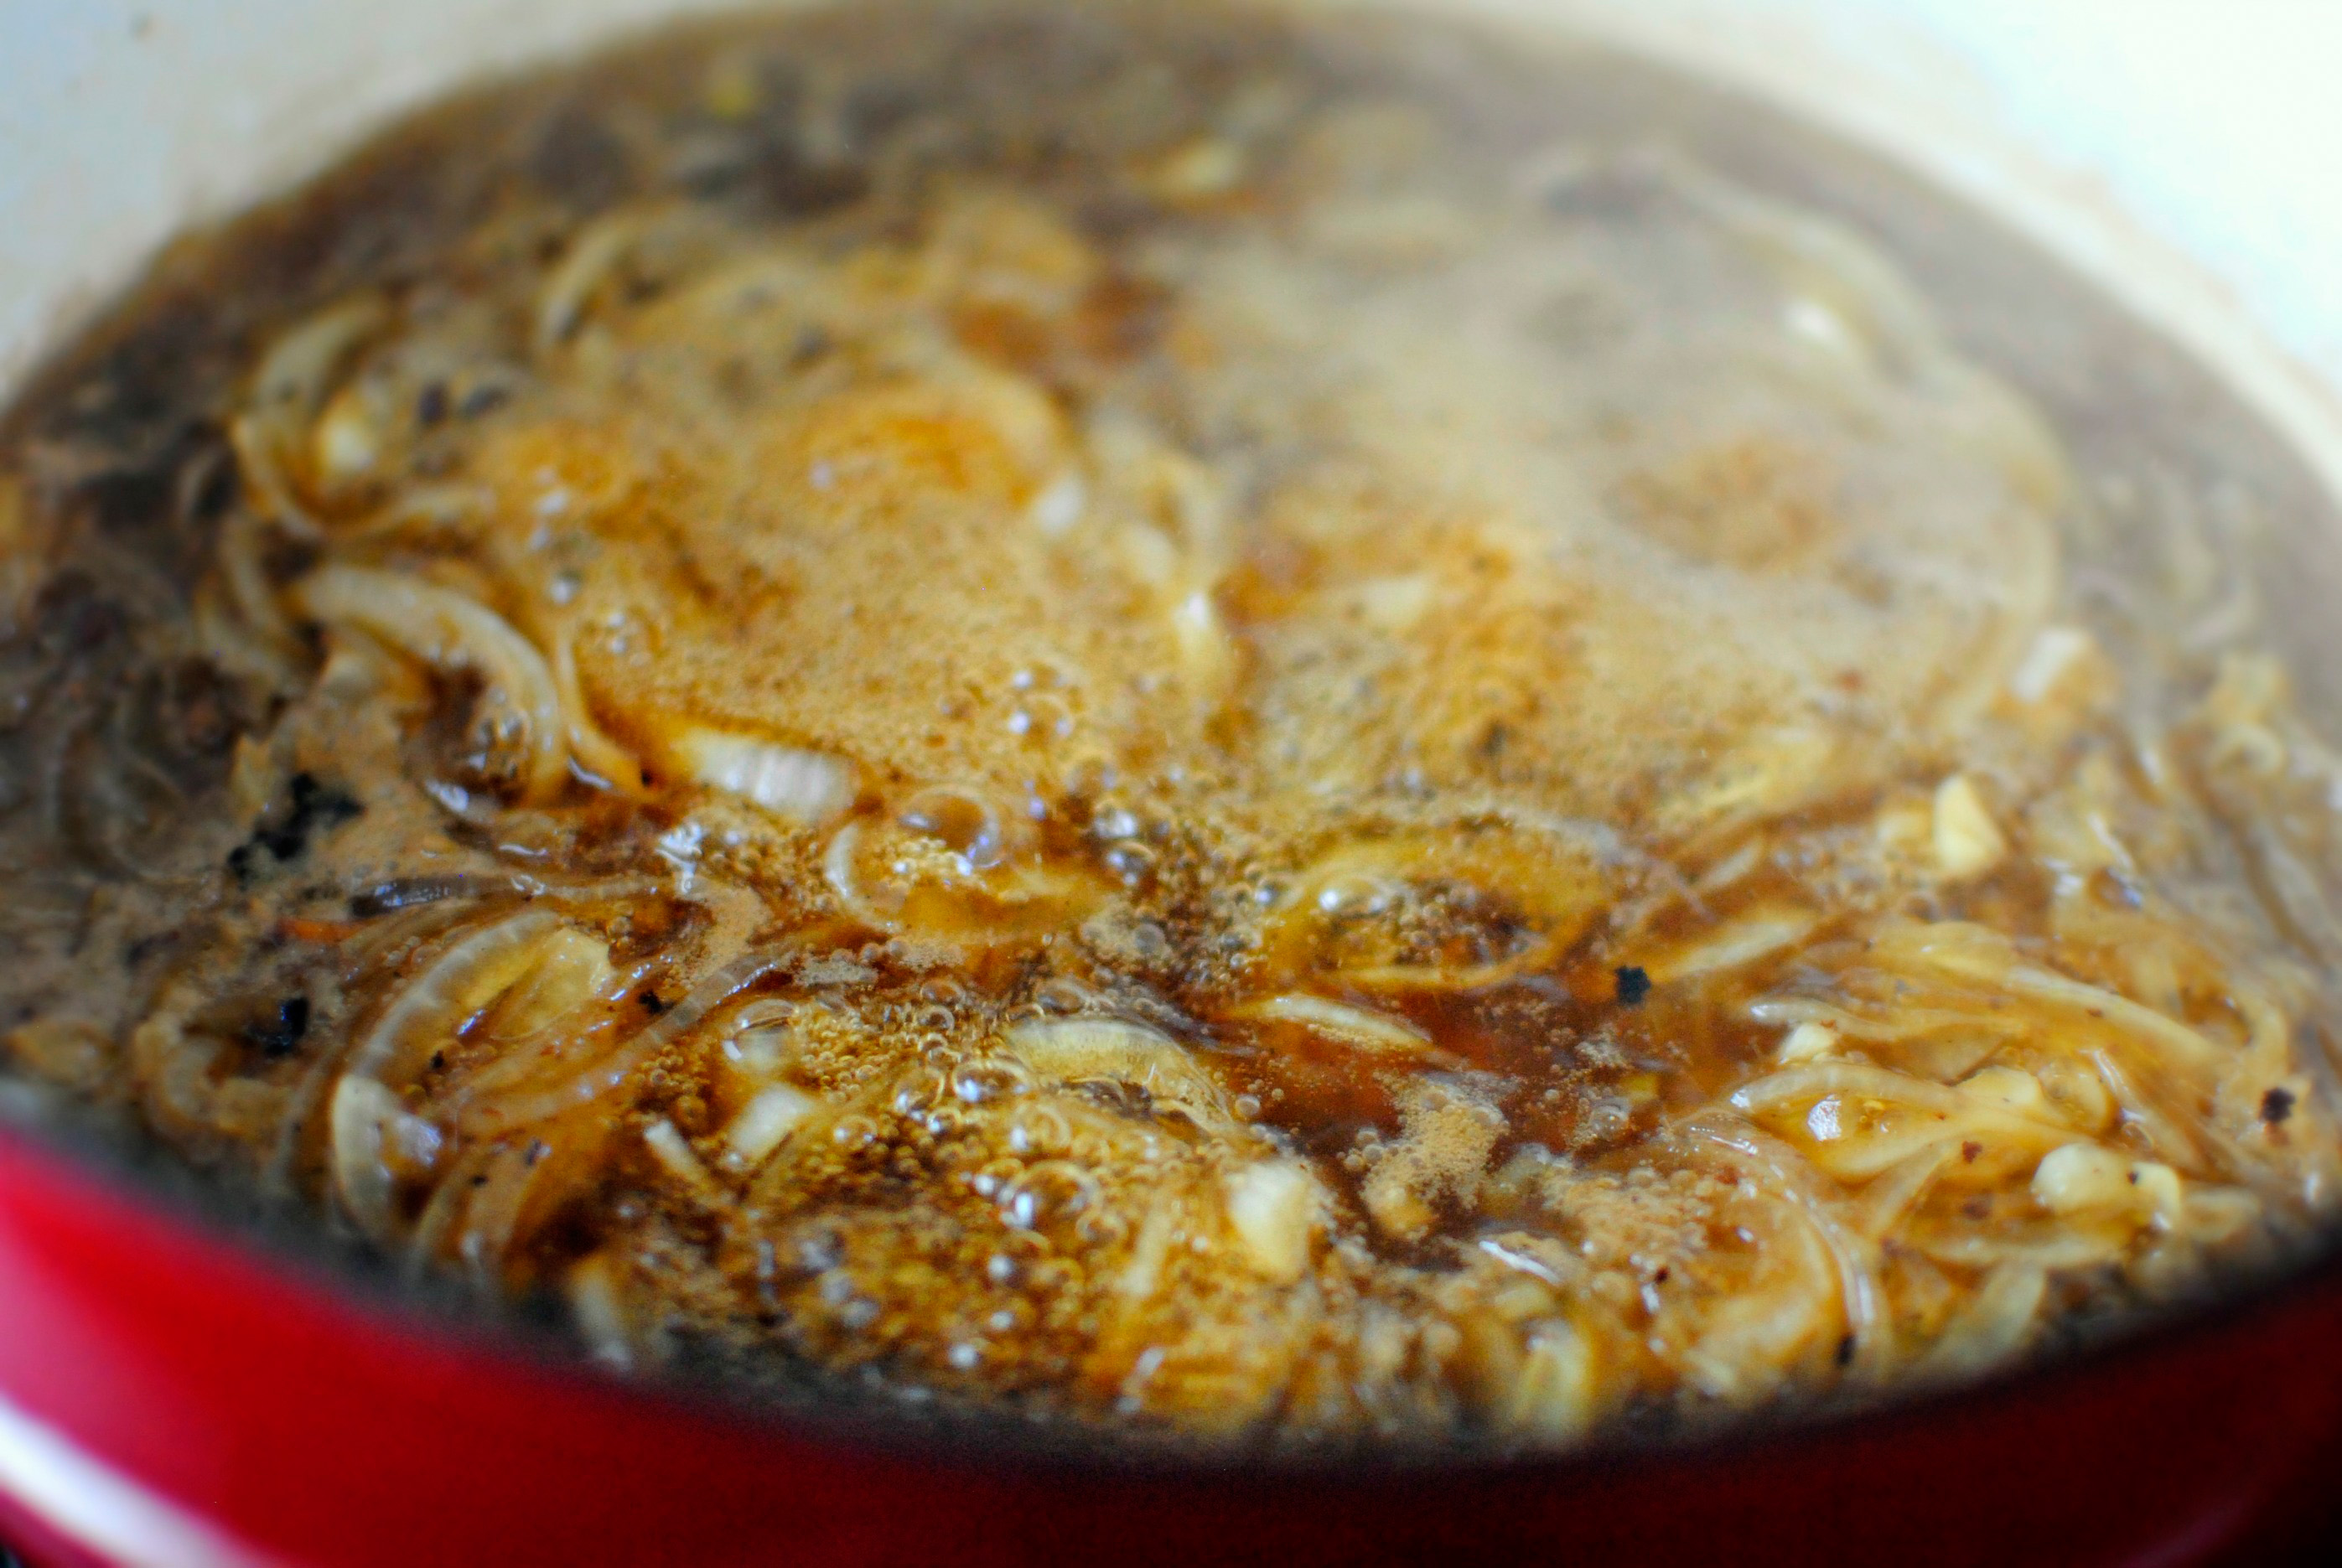
And then just pour it over the onions and garlic and give it a good stir as well.


Tasty Kitchen Blog: Bacon Jam. Guest post by Laurie McNamara of Simply Scratch, recipe submitted by TK member Rebecca of Foodie with Family.

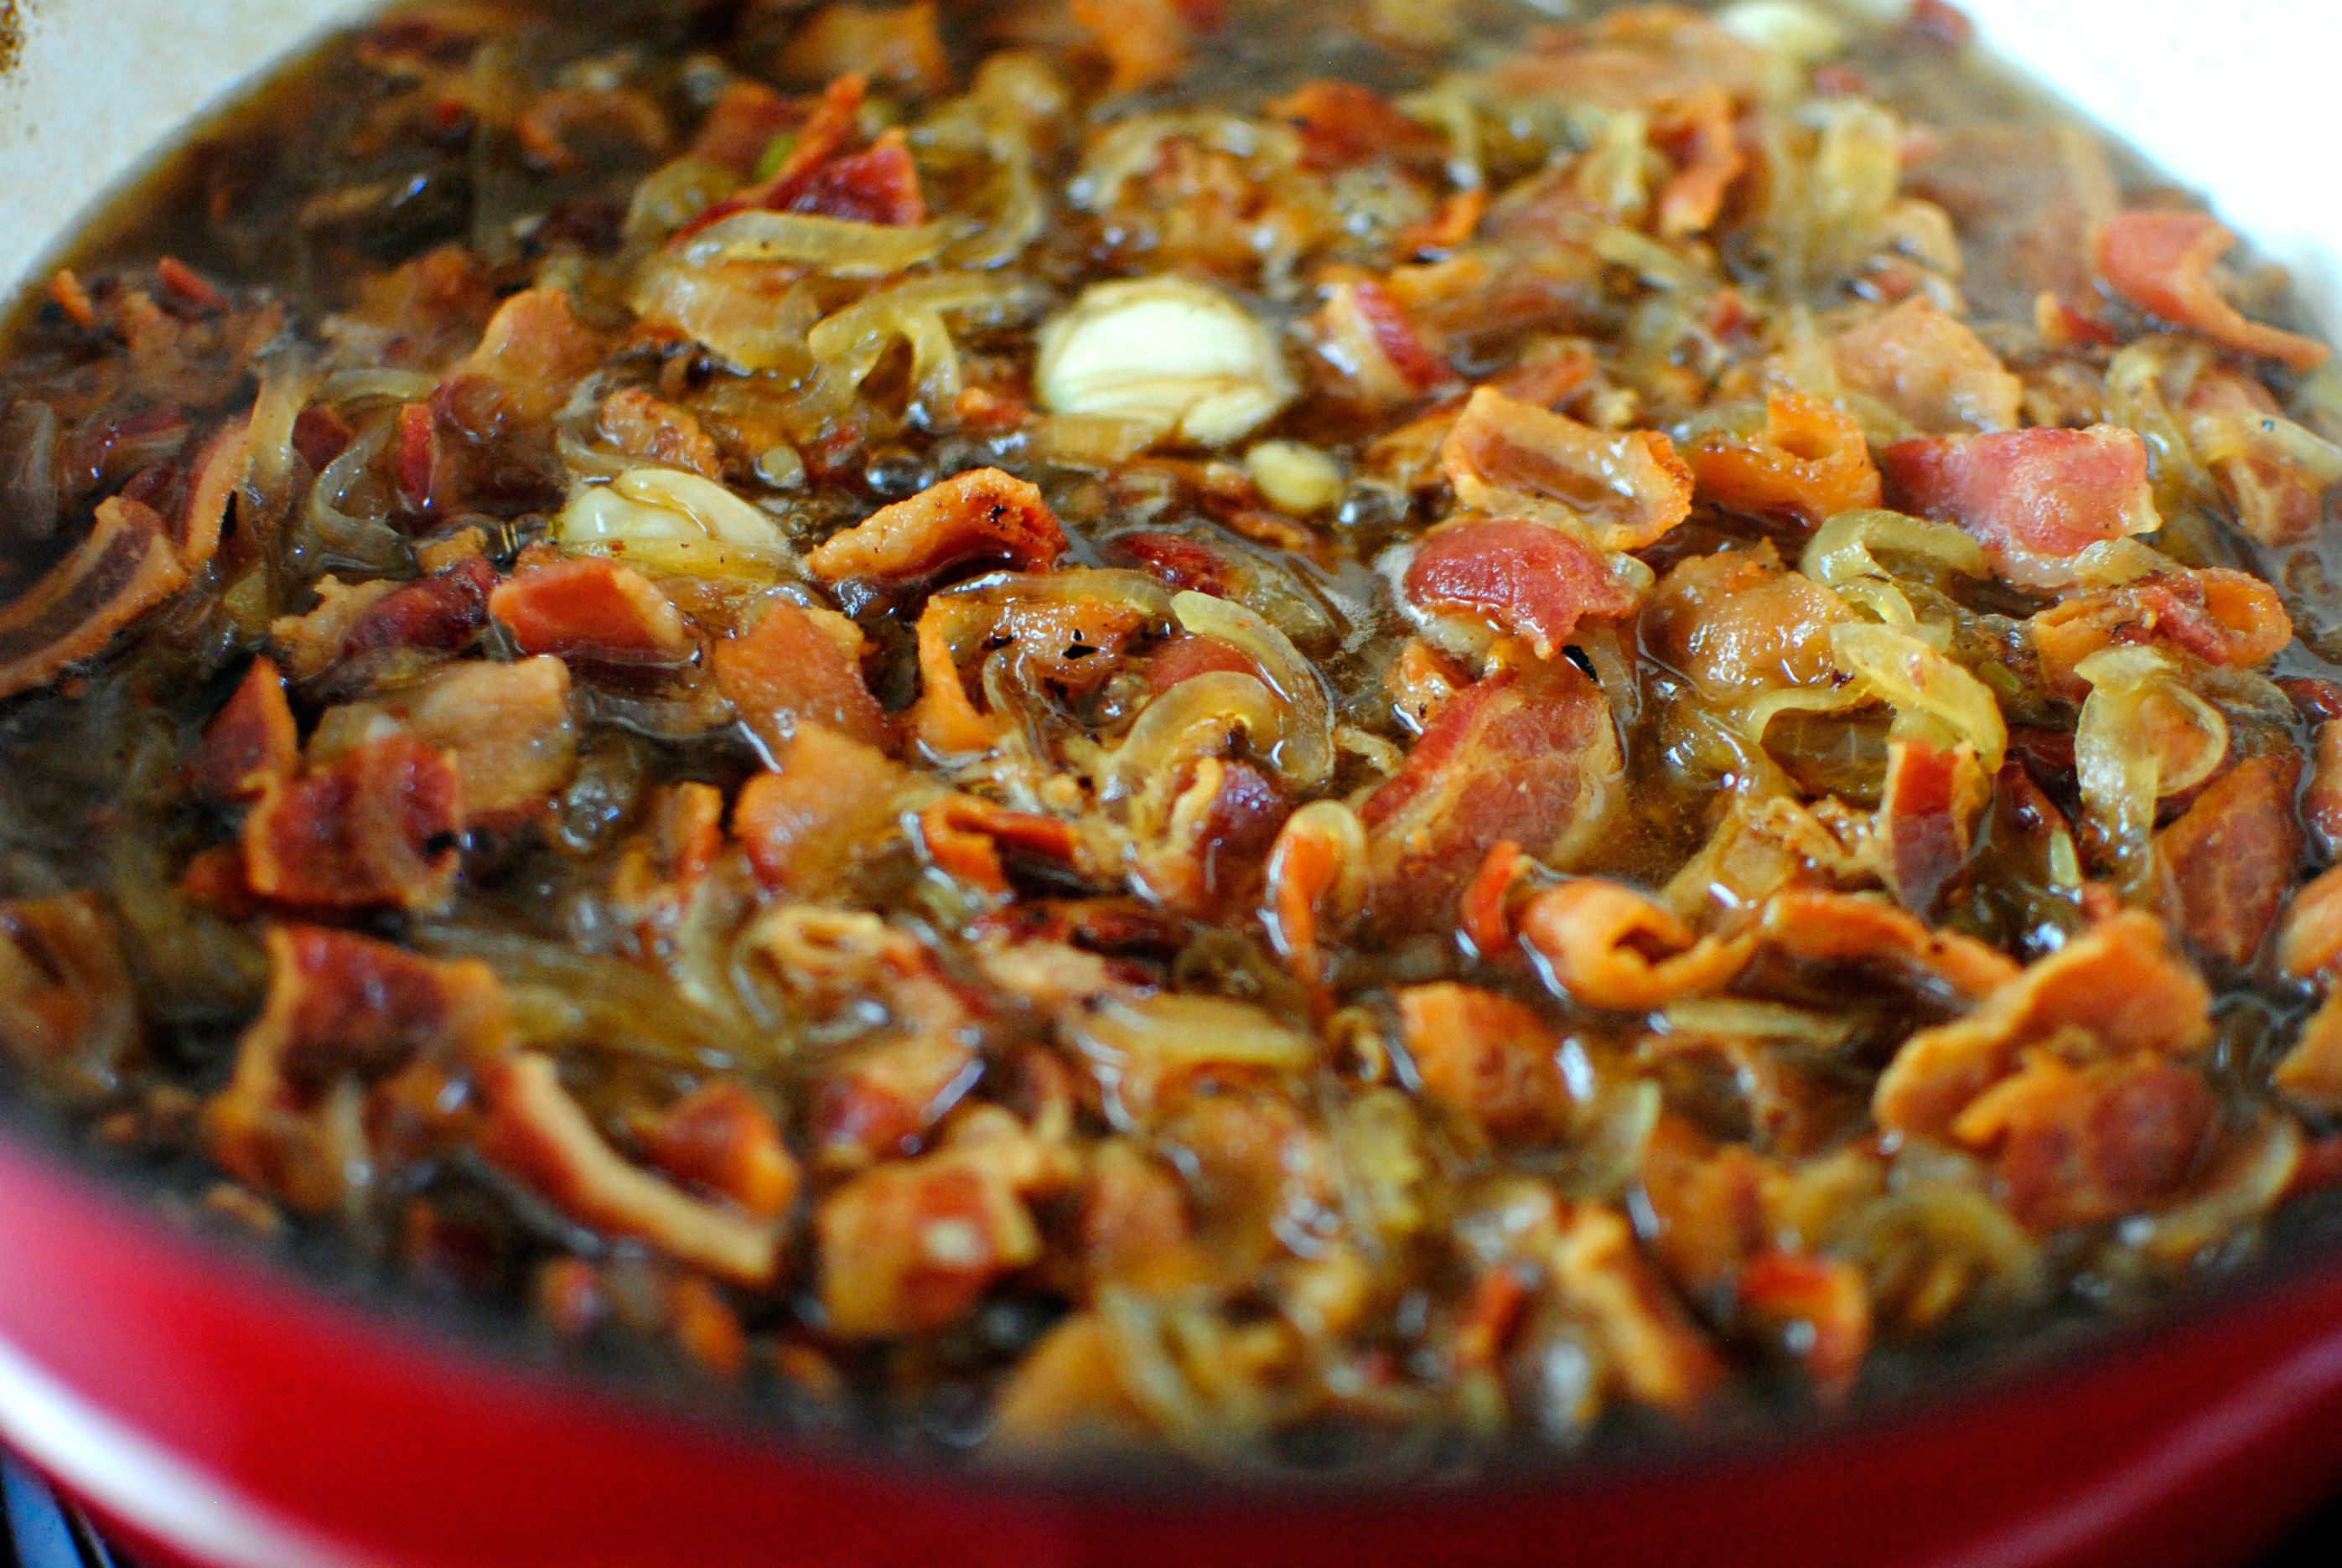
Then I just brought the mixture up to a hard boil for about two to four minutes before adding in the bacon.


Tasty Kitchen Blog: Bacon Jam. Guest post by Laurie McNamara of Simply Scratch, recipe submitted by TK member Rebecca of Foodie with Family.

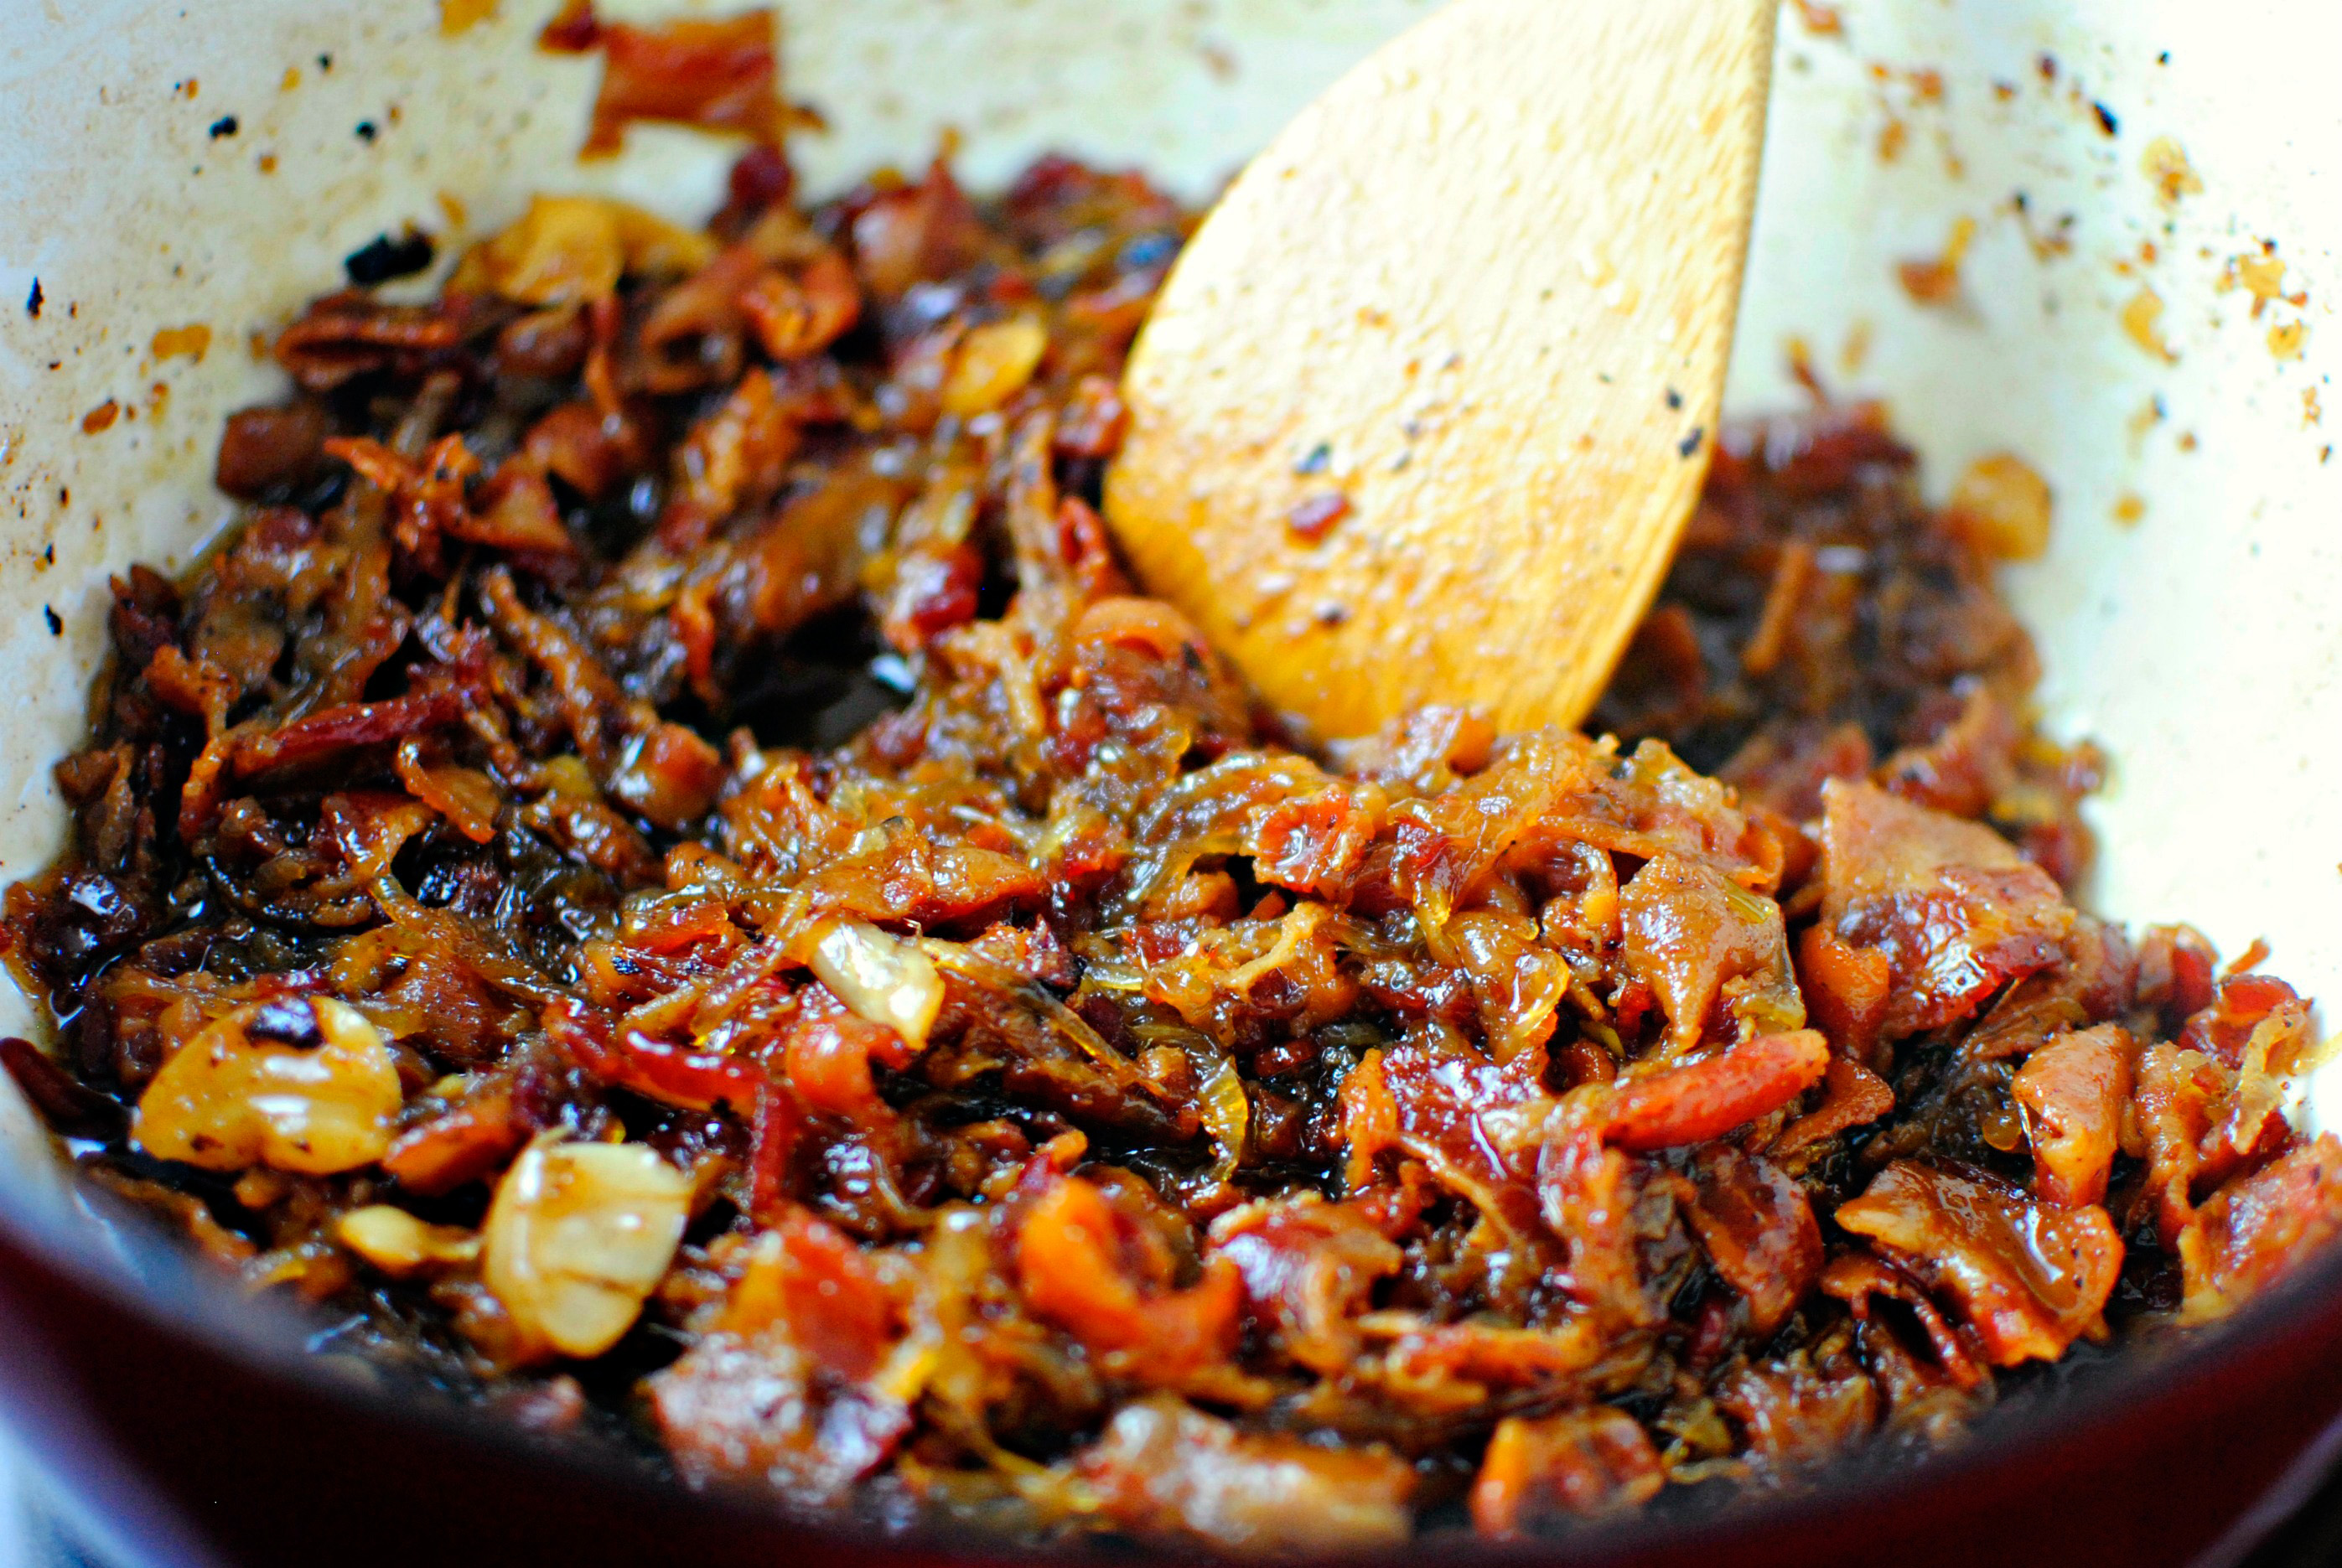
Then I reduced the heat down to low to simmer, with the lid off, until the sauce was thick and the onions started melting. It takes a good hour to an hour and a half for this all to happen. But my house filled with a smell I can only describe as a bacon-y barbecue smell which I hope heaven will smell like.


Tasty Kitchen Blog: Bacon Jam. Guest post by Laurie McNamara of Simply Scratch, recipe submitted by TK member Rebecca of Foodie with Family.

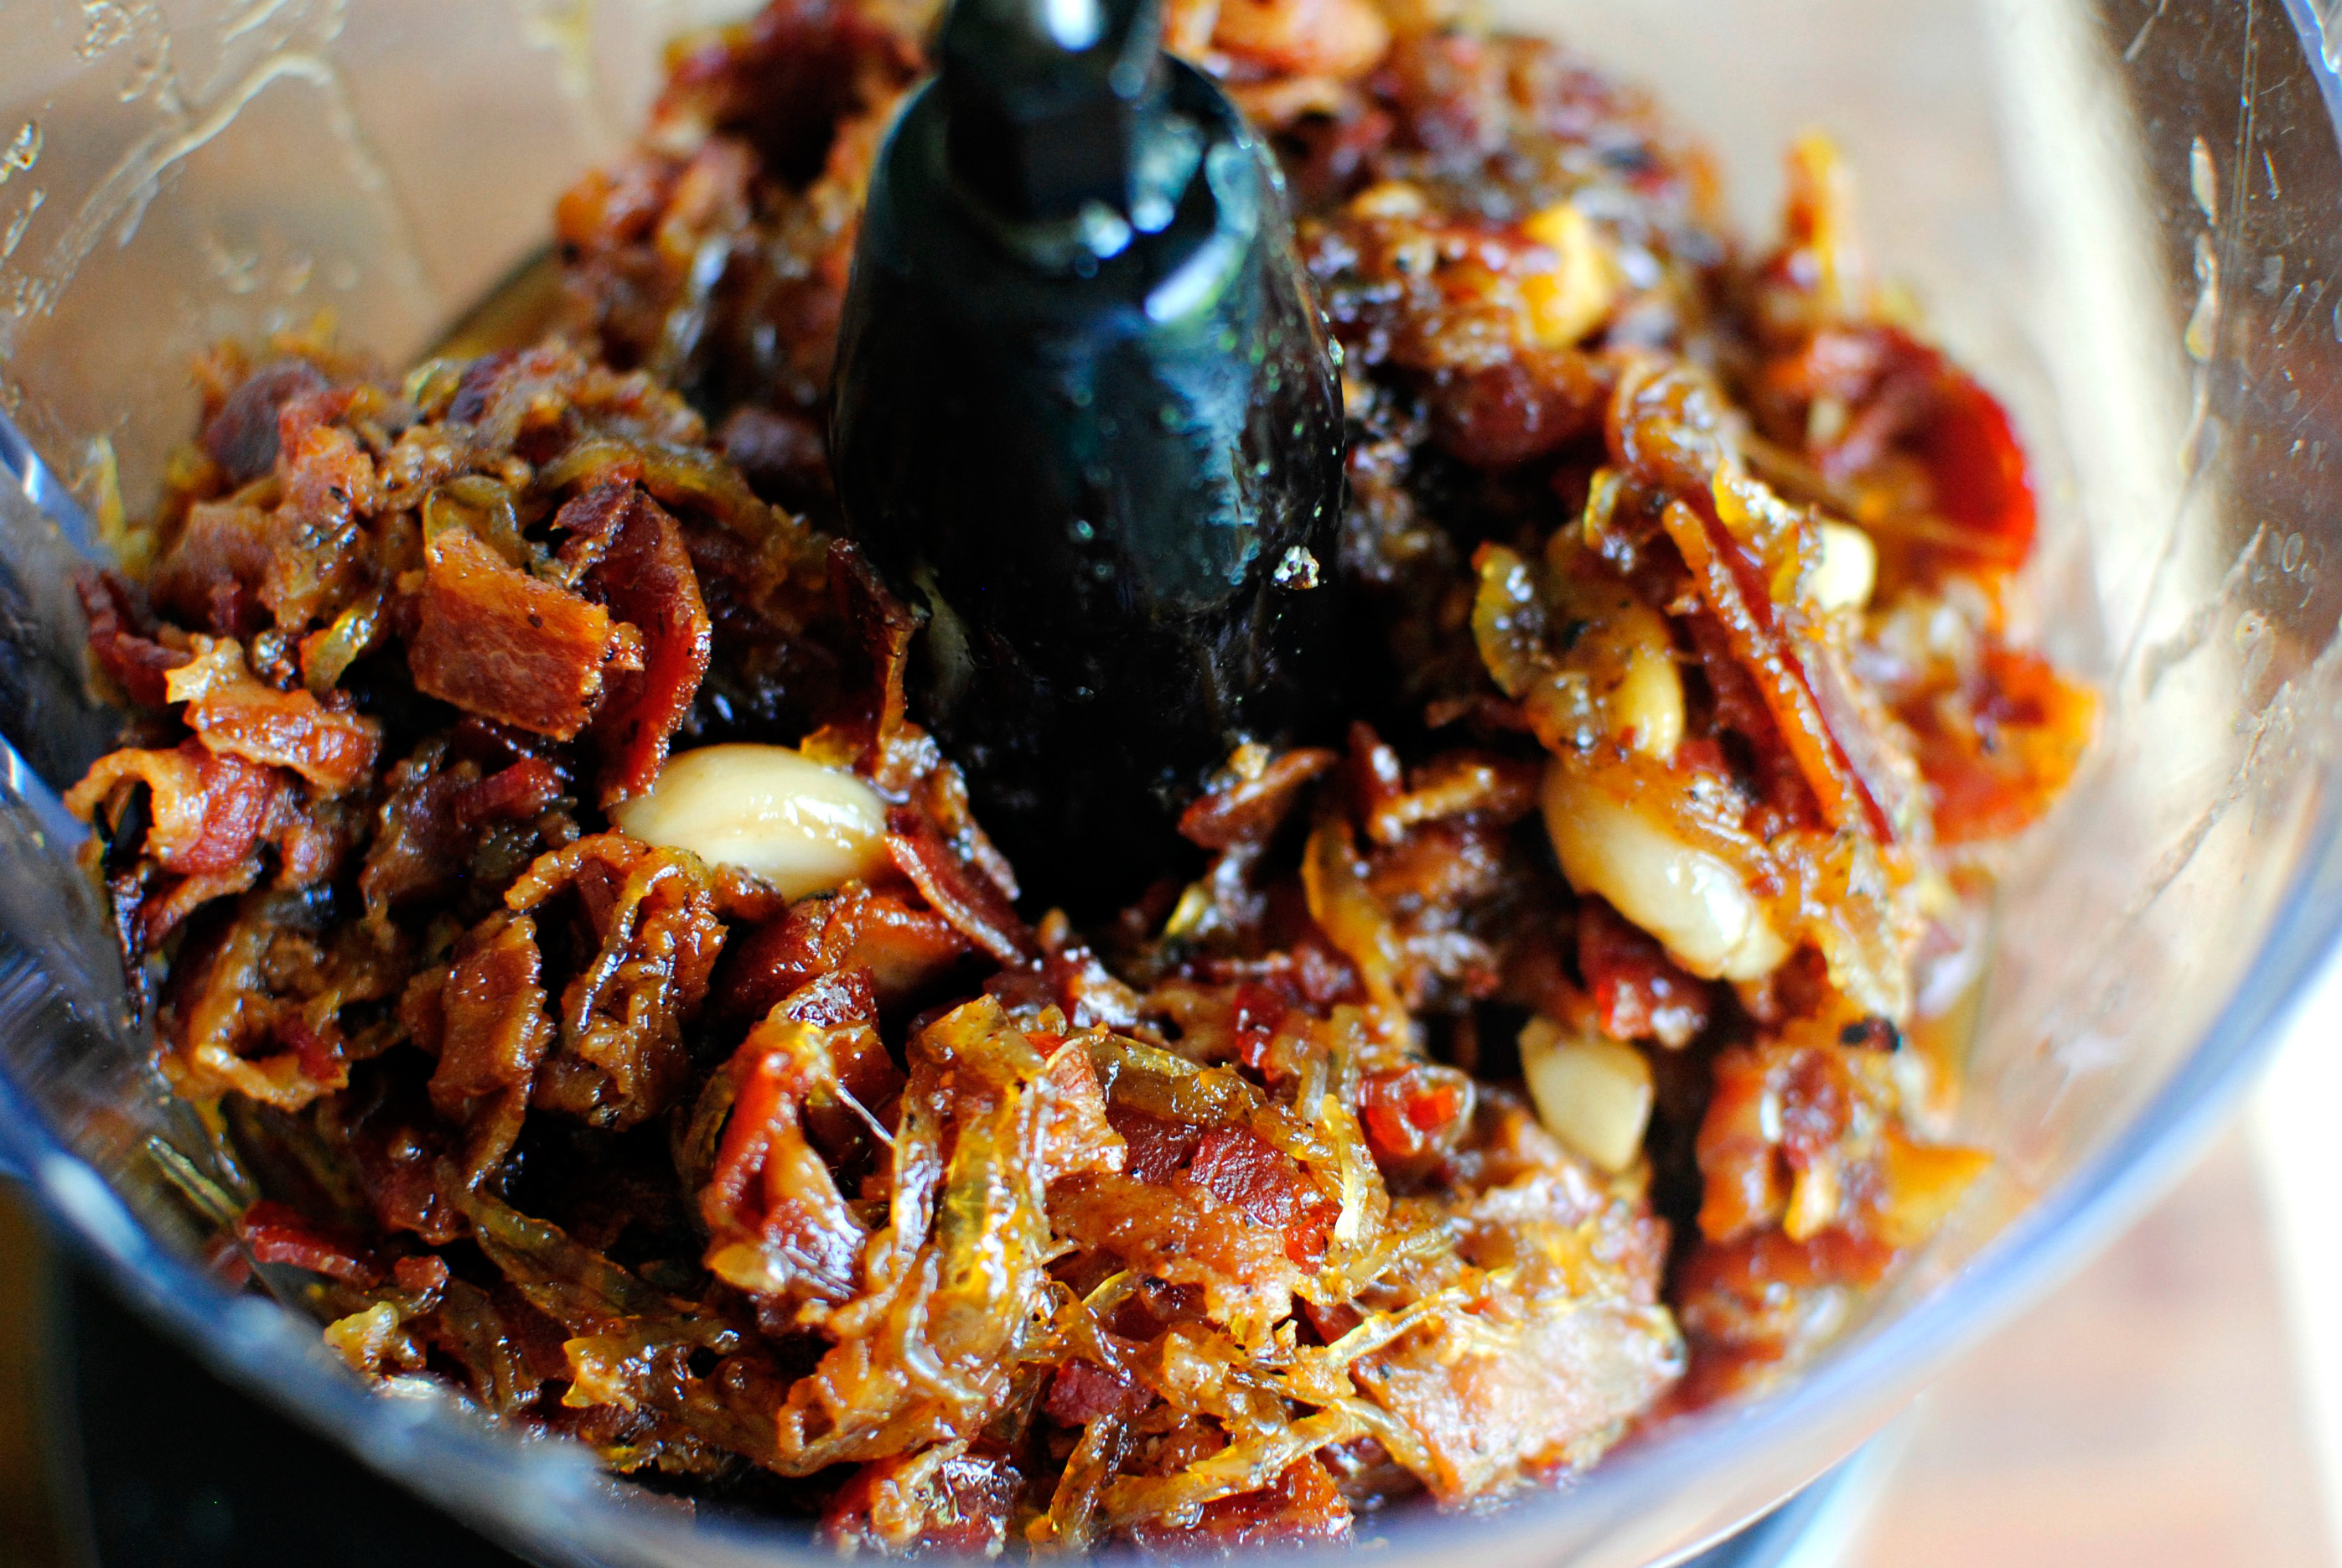
When all is said and done and the liquid has reduced, this is what it should look like. Fabulous! I could’ve stopped here and ate it all by spoonful.


Tasty Kitchen Blog: Bacon Jam. Guest post by Laurie McNamara of Simply Scratch, recipe submitted by TK member Rebecca of Foodie with Family.

But instead I added it all into my food processor, placed the lid on tight, and pulsed it until it resembled jam.
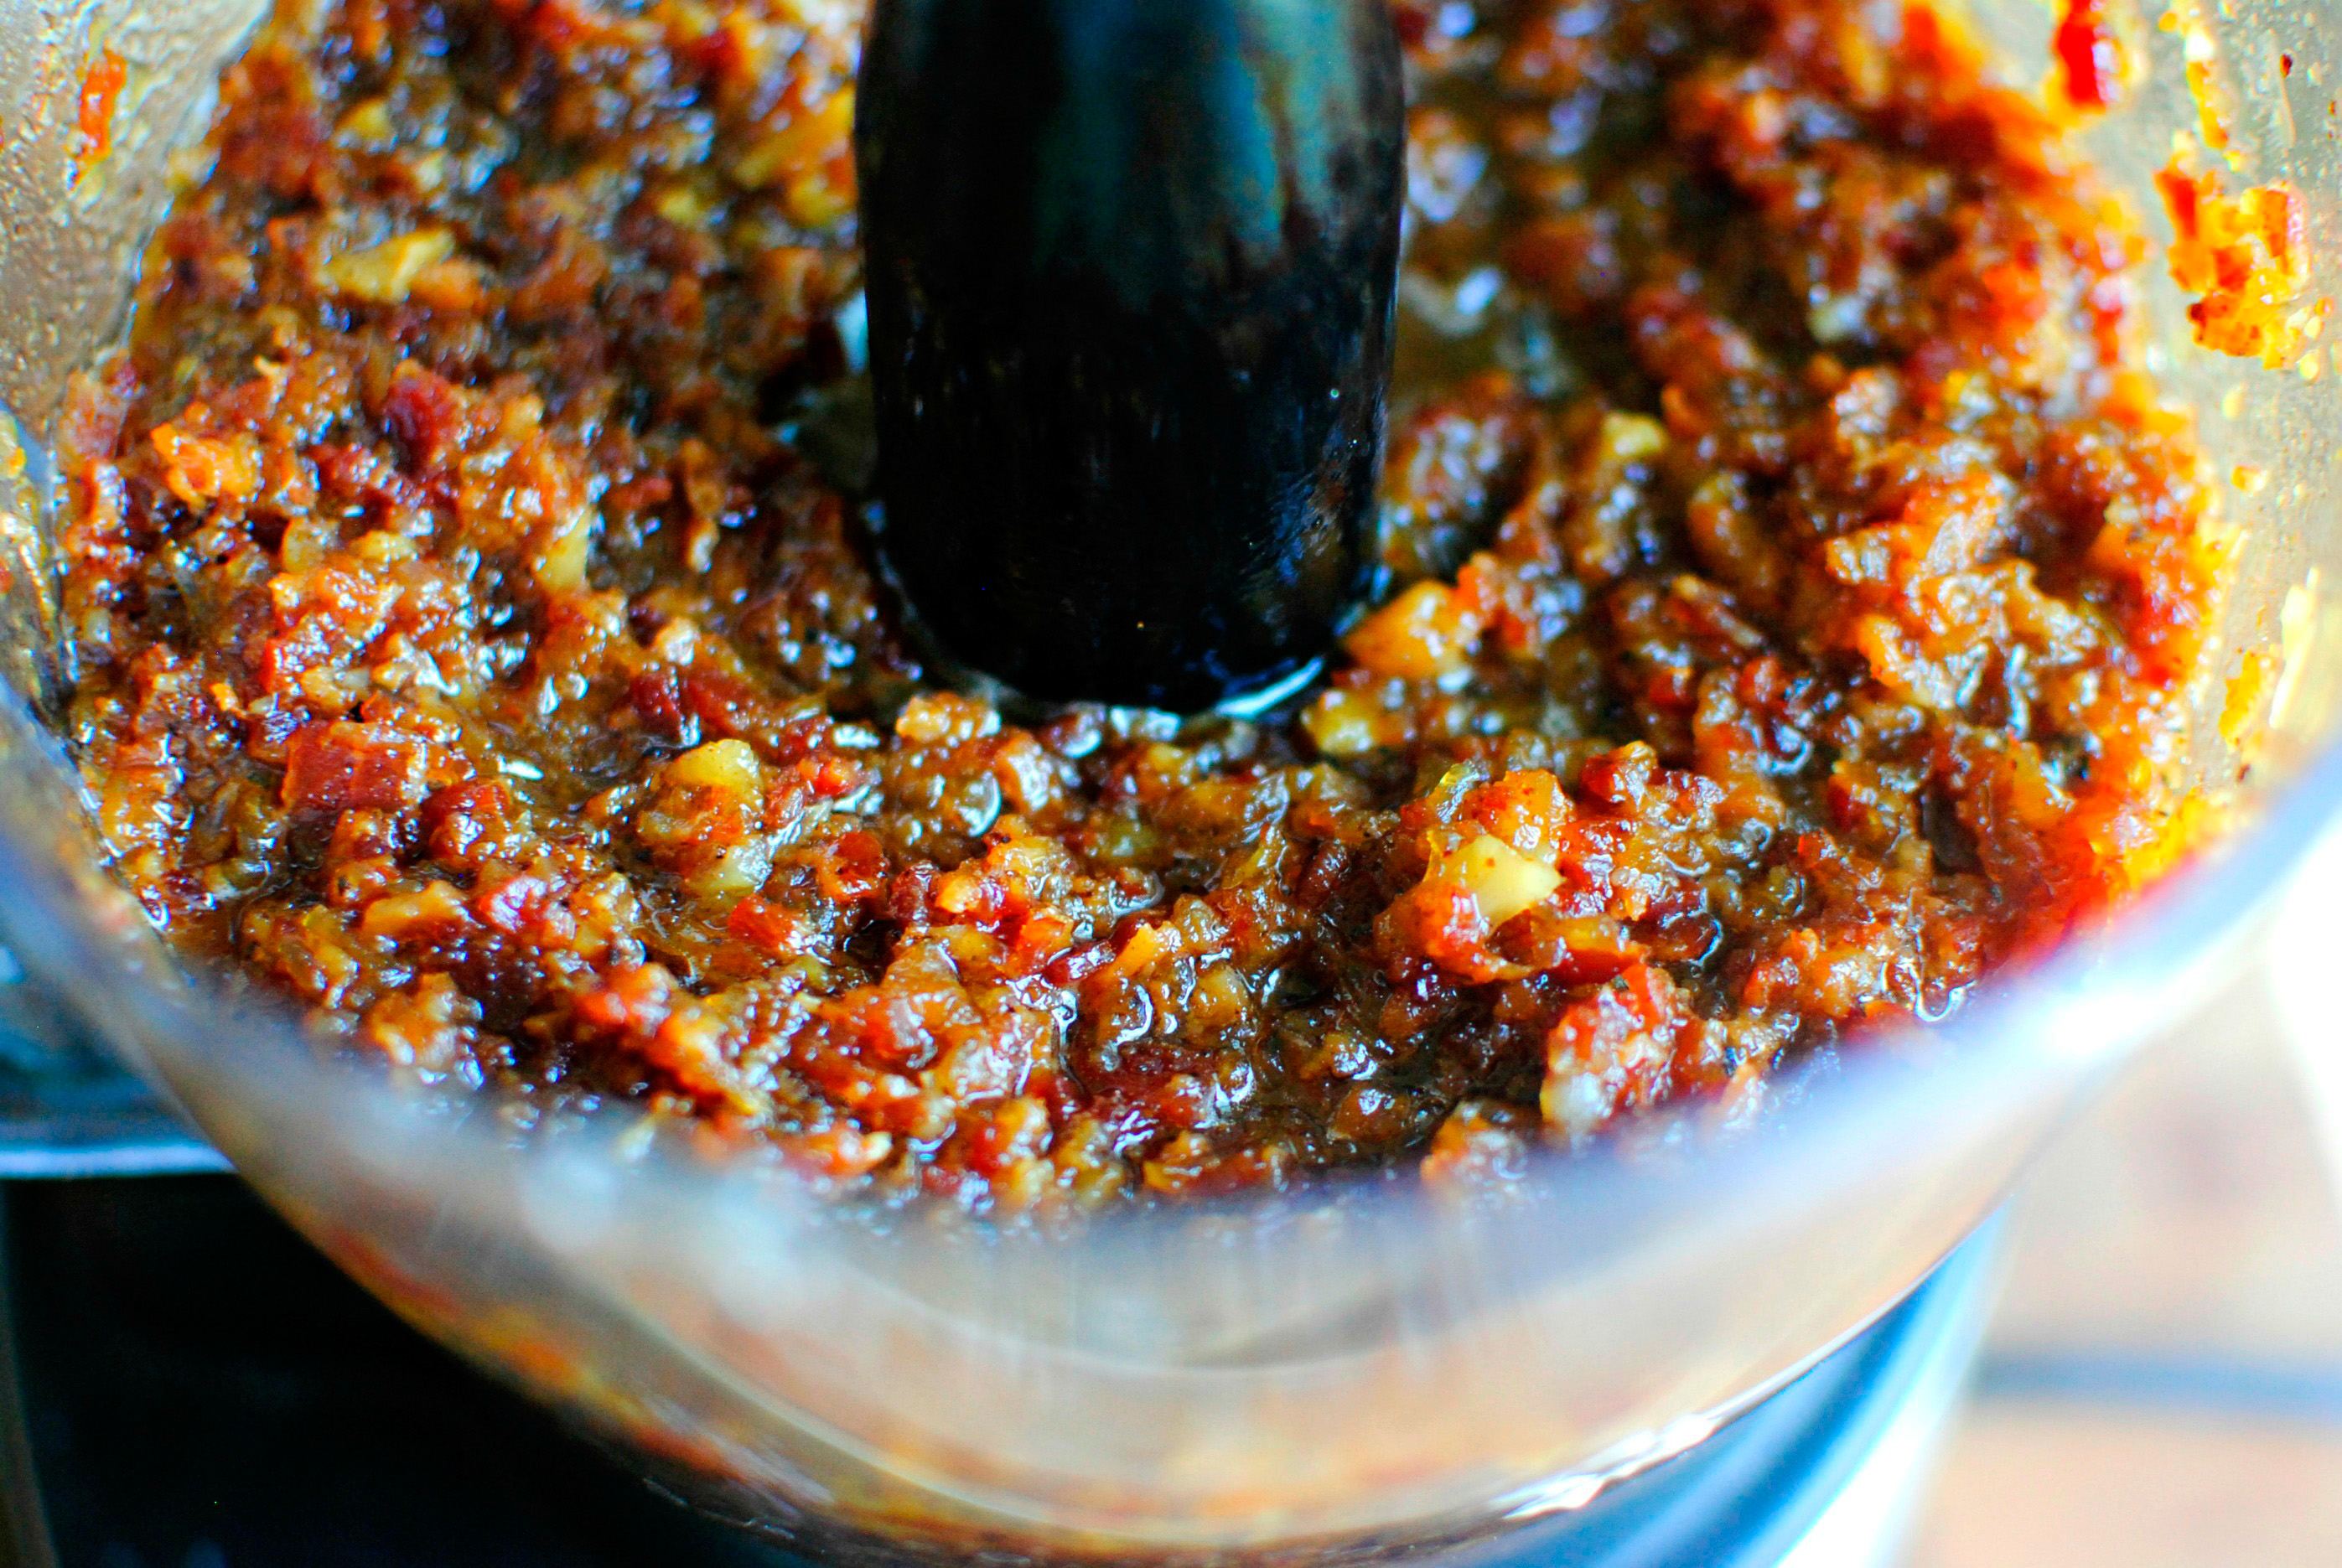


Tasty Kitchen Blog: Bacon Jam. Guest post by Laurie McNamara of Simply Scratch, recipe submitted by TK member Rebecca of Foodie with Family.

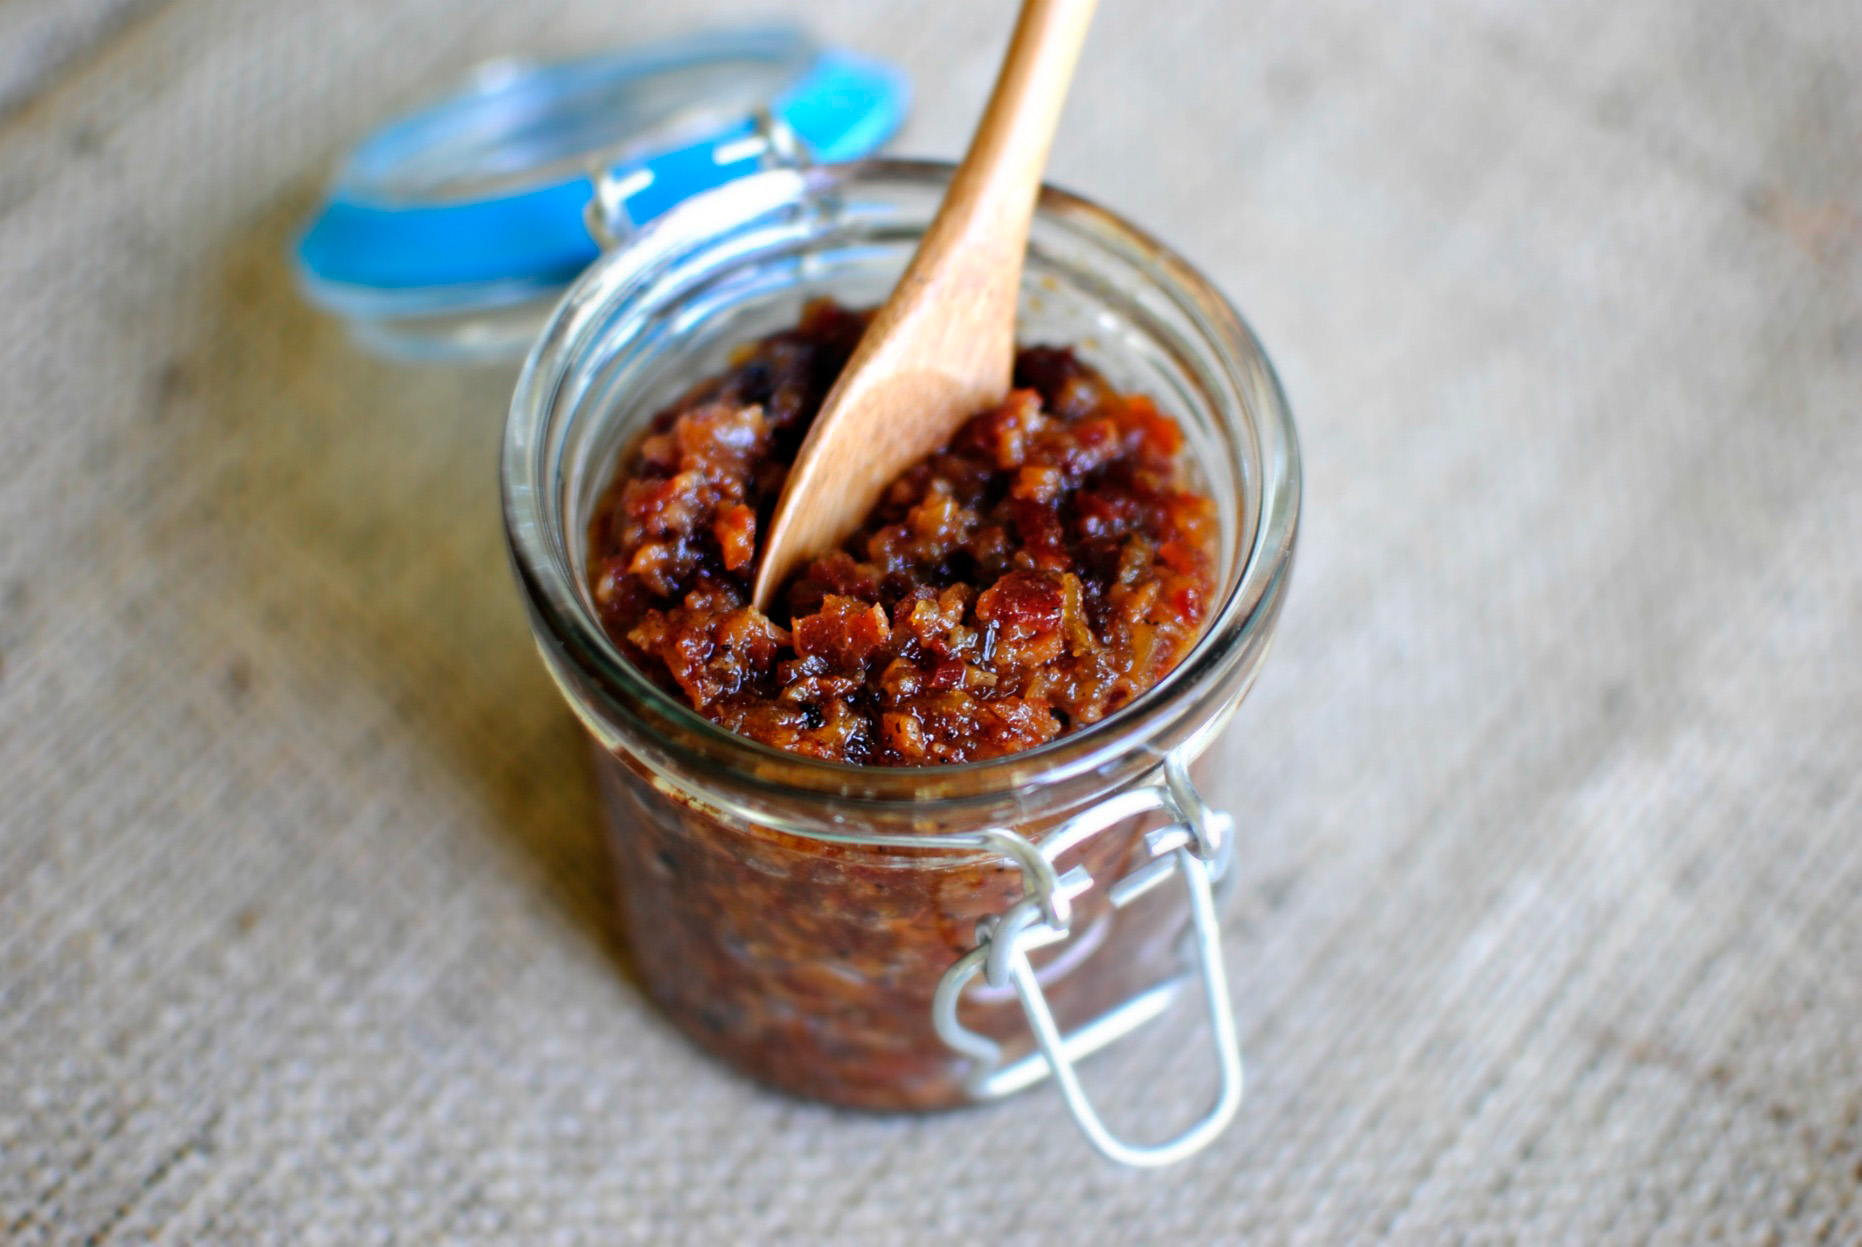
You could keep going for a smoother consistency but I like texture. So I stopped right here.


Tasty Kitchen Blog: Bacon Jam. Guest post by Laurie McNamara of Simply Scratch, recipe submitted by TK member Rebecca of Foodie with Family.

After it cooled, I stored it in jars in my fridge.


Tasty Kitchen Blog: Bacon Jam. Guest post by Laurie McNamara of Simply Scratch, recipe submitted by TK member Rebecca of Foodie with Family.

And sometimes I sneak and take a spoonful out at night. But that’s our secret, k?



Tasty Kitchen Blog: Bacon Jam. Guest post by Laurie McNamara of Simply Scratch, recipe submitted by TK member Rebecca of Foodie with Family.

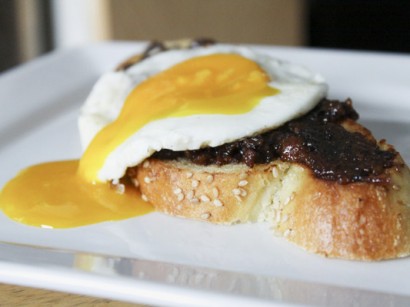
My favorite way to eat bacon jam (besides by the spoonful) is to heat a little up and spread it over whole grain toast with a fried egg (over medium) on top. Oh, it’s to die for! Really, my life is forever changed!

A big ‘Thank you’ to Rebecca for sharing this recipe with all of us here on Tasty Kitchen. With over a hundred recipes on TK alone, Rebecca has even more amazing stuff on her blog Foodie with Family. So be sure to stop by her TK recipe box and her website to check it all out! I promise you won’t be disappointed.

This jam also makes for an excellent gift, so go on and share the deliciousness!

Also check out these versions of bacon jam, like Beer & Bacon Jam by Jackie Dodd or, for a spicy version, try Dax Phillip’s Bacon Jam! You can also check out cookincanuck’s TK Blog post where she makes fellow contributor patiodaddio’s amazing Onion and Bacon Marmalade. All of these are on my list to try as well!


Printable Recipe
Bacon Jam (a.k.a. Ooh Mommy! Jam)

See post on Rebecca’s site!
4.46 Mitt(s) 13 Rating(s)13 votes, average: 4.46 out of 513 votes, average: 4.46 out of 513 votes, average: 4.46 out of 513 votes, average: 4.46 out of 513 votes, average: 4.46 out of 5

Prep Time:

Cook Time:

Difficulty: Easy

Servings: 30

30
x

Print Options

Page size Letter 3x5 4x6
Text Size Small Medium Large
Content Include description
Include prep time, etc.
Show image

Description

Salty, sweet, meaty, and pure umami (or “Ooh Mommy!”), this is going to make you rethink breakfast. Smoky with bacon flavor, tinged with coffee and maple syrup, this spread transforms toast or sandwiches with very little effort.

Ingredients

  • 3 pounds Bacon
  • 4 whole Large Yellow Onions, Peeled And Thinly Sliced
  • 8 cloves Garlic, Smashed And Peeled
  • 1 cup Cider Vinegar
  • 1 cup Packed Light Brown Sugar
  • 1-½ cup Very Strong Brewed Black Coffee
  • ½ cups Pure Maple Syrup
  • 1 teaspoon Freshly Ground Black Pepper

Preparation Instructions

Cut the bacon slices into 1-inch strips. Add the bacon to a Dutch oven over medium-high heat. Cook the bacon, stirring frequently, until the bacon is browned. Use a slotted spoon to transfer the bacon to a paper-towel lined plate. Drain all but 2 tablespoons of the bacon drippings into a heat-proof jar with a tight-fitting lid. (Save the bacon drippings in the refrigerator. That’s too much flavor to trash!)

Place the Dutch oven back over the medium-high heat and add the onions and garlic. Stir well and reduce heat to medium. Continue to cook for about 8 minutes, or until the onions are mostly translucent. Add the remaining ingredients, stir well, and drop heat again, this time to low.

Bring to a boil, stirring frequently, and boil hard for 2 minutes. After 2 minutes, stir the browned bacon into the onions and liquid.

Simmer uncovered, stirring occasionally to make sure things aren’t sticking, adding 1/4 cup of water if it seems to be drying out. When the onions are meltingly soft and the liquid is thick and syrupy, remove the Dutch oven from the heat and let stand for 5 minutes.

Transfer the contents of the Dutch oven to the work bowl of a food processor that has been fitted with a blade. Fit the lid in place and pulse several times or until the bacon jam is a spreadable consistency. Scrape into a jar (or jars) or a container with a tight fitting lid. Store in the refrigerator for up to one month.

Can be served cold, room temperature or warmed.


_______________________________________

Laurie is the force behind Simply Scratch, a blog that documents her efforts to find and create recipes that are made simply from scratch. (We think it’s sweet that her mother-in-law helped her set up her blog and get started.) We love her recipes; they’re not just tried and true, but they look gorgeous as well. Check out her blog and you’ll become a fan too.


Profile photo of Erika (TK)

Announcing Food & Friends!

Posted by in Looks Delicious!

PW Food & Friends: Spinach Basil Pesto Risotto

It’s Friday! Wow, this week has flown. Partly because we’re trying to do all we can to hold on to the last days of summer, and partly because we’ve been busy with a pretty big surprise for you. “What? A surprise?” We’re glad you asked!

If you haven’t seen it yet, there was some extensive remodeling done over at The Pioneer Woman. Lots of bright and shiny new things going on there. One of those shiny new things is something a little extra special for us here at Tasty Kitchen: a section called Food & Friends. There, you’ll find recipes and tips and food-related posts from Ree’s friends, many of whom you’ve already met as Tasty Kitchen members.

We hope you’ll pop over, say hi, and make yourself at home. We’ve also created a Food & Friends Tasty Kitchen account, so you can find all the posted recipes right here on TK. (Instagram, too!) And don’t you worry, Tasty Kitchen is here to stay, and will continue as the happy recipe sharing community that we’ve all come to love.

Here’s what you’ll find there!


PW Food & Friends: How to Make Simple Syrup

How to Make Simple Syrup. There’s a reason it’s called simple syrup. Up your cocktail game by making flavored versions!


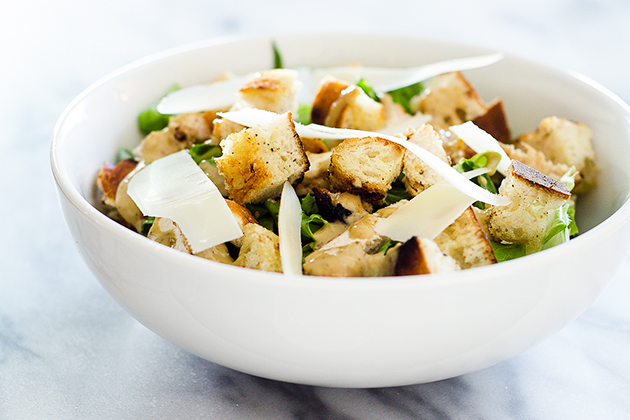
PW Food & Friends: Grilled Chicken Caesar Salad

Grilled Chicken Caesar Salad. Grilled croutons for the win!


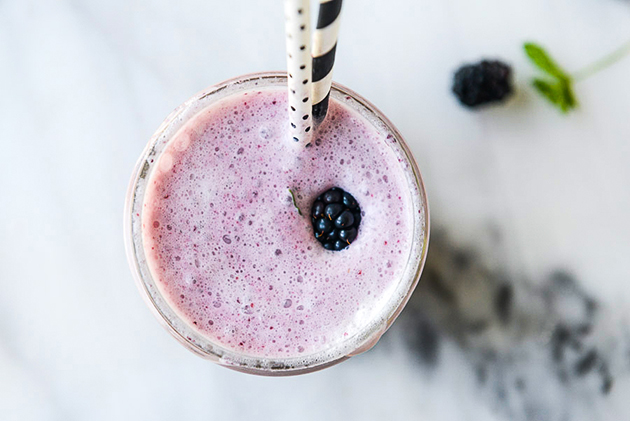
PW Food & Friends: Blackberry Soda Floats

Blackberry Soda Floats. Creamy and fruity and bubbly. Play around with different combinations!


PW Food & Friends: You Rule! Cookies

You Rule Cookies. How cute are these. Perfect back-to-school treats!


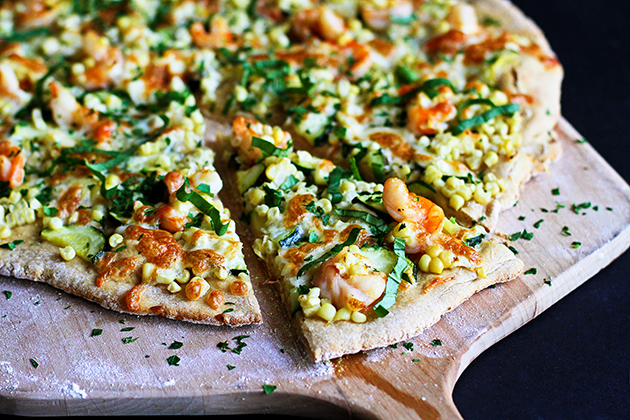
PW Food & Friends: Summertime Shrimp Pizza

Summertime Shrimp Pizza. Hang on to summer just a little bit longer with this pizza. Sweet and crunchy corn, sweet and briny shrimp. Throw in extra summer veggies and dig in!


PW Food & Friends: Peach Pistachio Galette

Peach Pistachio Galette. So easy and beautifully rustic. The peaches really shine here!


PW Food & Friends: Spinach Basil Pesto Risotto

Spinach Basil Pesto Risotto. I’m sorry, you said something? I was too busy staring at the bowl of lusciousness.

We’re blown away by talents of the contributors there, and we know you will be too. So come say hi! Here’s the link to take you there directly: Pioneer Woman: Food & Friends.

Have a great weekend, friends!


Profile photo of Erica Lea

No-Bake Granola Bars

Posted by in Step-by-Step Recipes

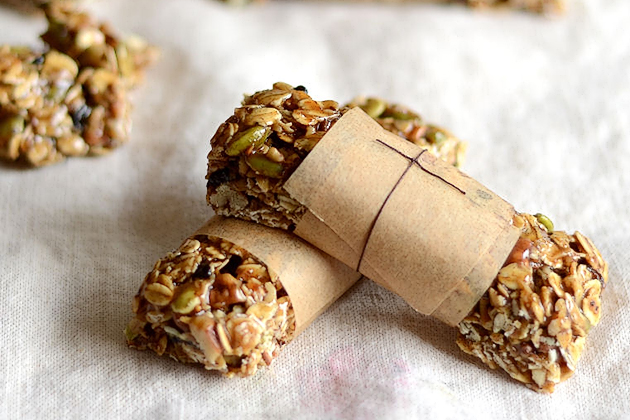
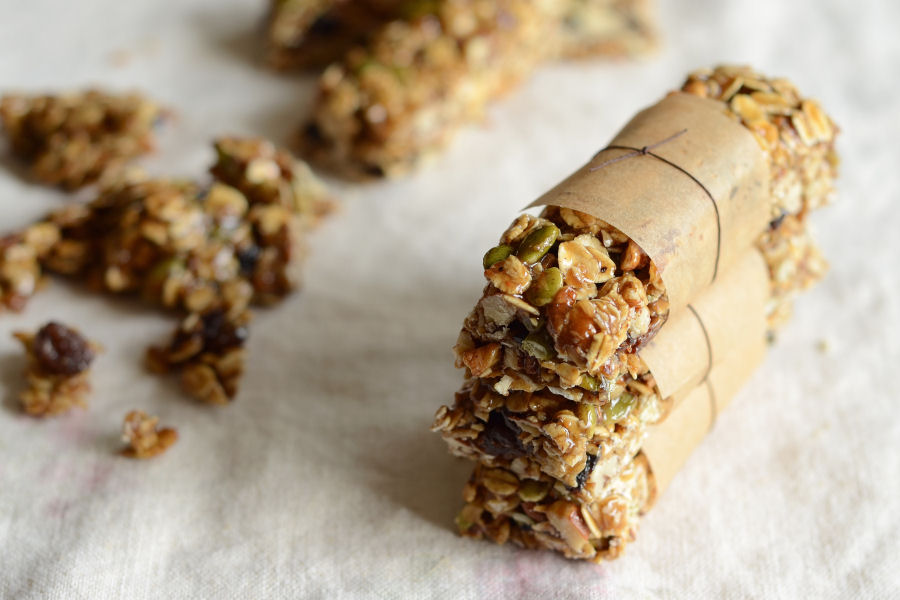
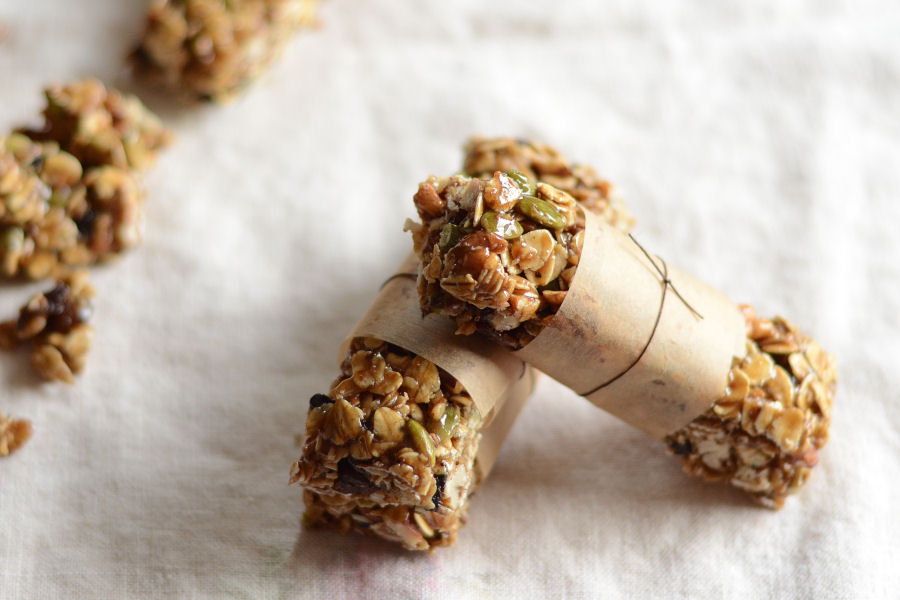
Here’s a great idea for a grab-and-go breakfast, school snack, or after-school treat. It’s no-bake too, perfect for those of you still battling summer heat. Enjoy this post from our archives!

 
Tasty Kitchen Blog: No-Bake Granola Bars. Guest post by Erica Kastner of Cooking for Seven, recipe submitted by TK member Cheri of Kitchen Simplicity.

 
I’m the type of person that, when I get hungry, I need to eat something immediately. Perhaps it’s just my imagination, but if I go too long without eating I start to feel sick. And cranky. So it helps if I stuff handy snacks into my purse to ensure I’m never in an emergency food situation.

These No-Bake Granola Bars, brought to us by Cheri, are a wonderful power snack for on-the-go. They’re filled with nutritious oats, nuts, dried fruit and honey. Plus they’re pretty tasty little treats.

Let me show you how to make them!


Tasty Kitchen Blog: No-Bake Granola Bars. Guest post by Erica Kastner of Cooking for Seven, recipe submitted by TK member Cheri of Kitchen Simplicity.

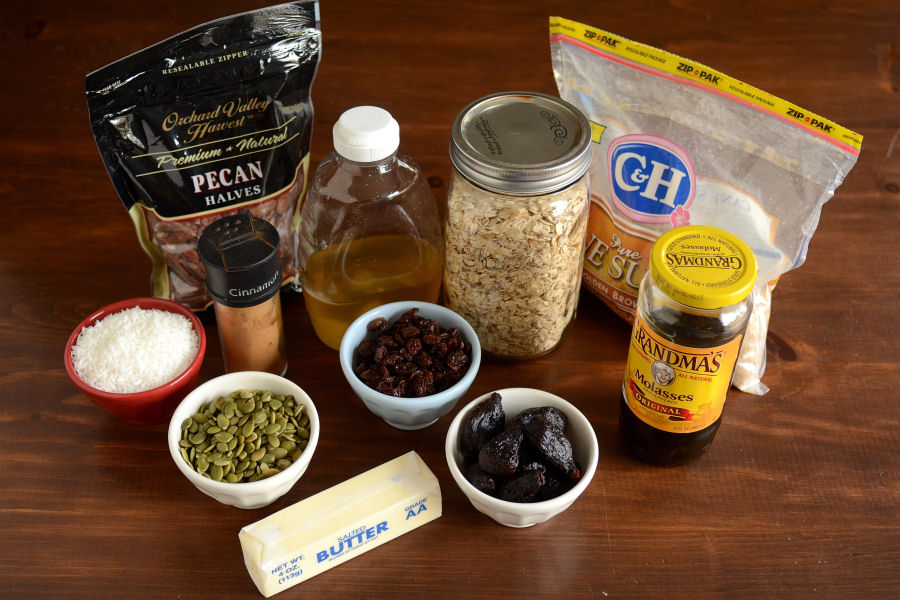
Here’s the ingredients you’ll need: rolled oats, nuts (I used pecans and pumpkin seeds), shredded coconut, dried fruit (I used raisins and figs), butter, brown sugar, cinnamon, honey and molasses.


Tasty Kitchen Blog: No-Bake Granola Bars. Guest post by Erica Kastner of Cooking for Seven, recipe submitted by TK member Cheri of Kitchen Simplicity.

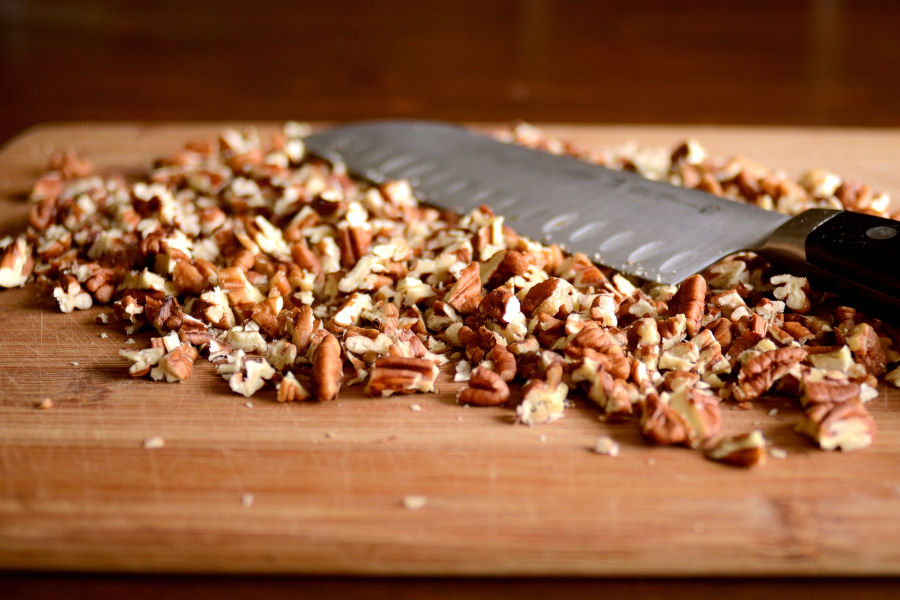
Begin by chopping your nuts. The pumpkin seeds are nice and small so I didn’t chop them.


Tasty Kitchen Blog: No-Bake Granola Bars. Guest post by Erica Kastner of Cooking for Seven, recipe submitted by TK member Cheri of Kitchen Simplicity.

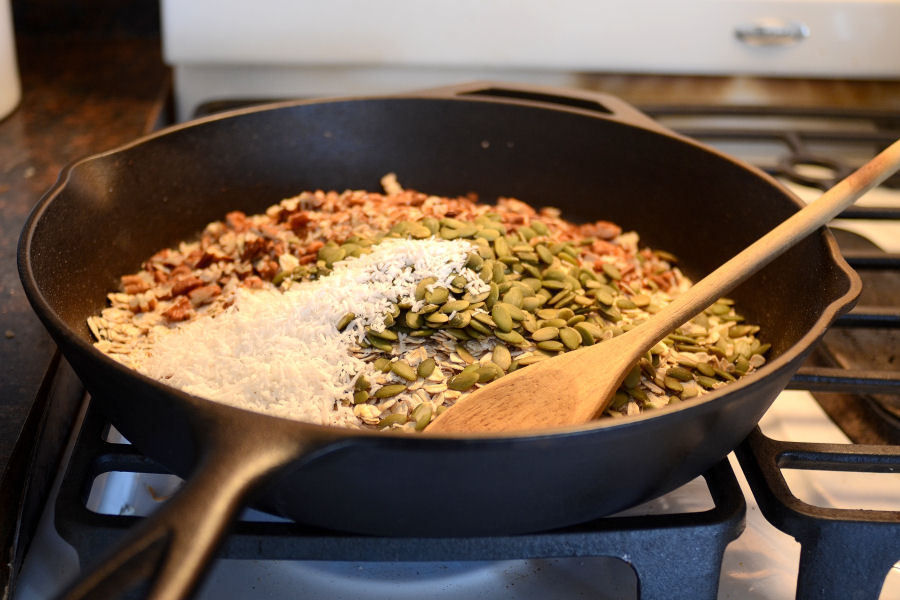
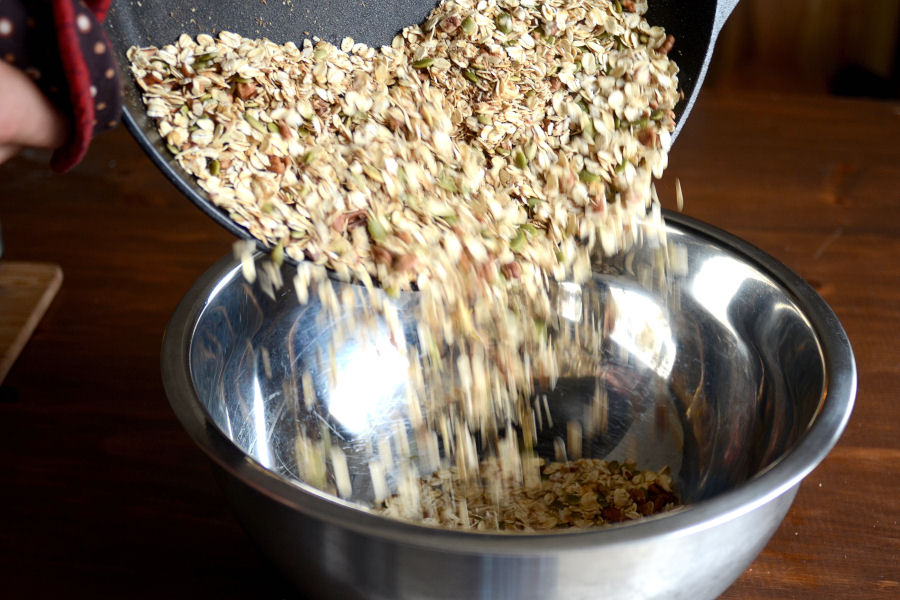
In a large skillet set over medium-high heat, toast the oats, nuts and coconut until fragrant. Make sure to stir often so it doesn’t burn!


Tasty Kitchen Blog: No-Bake Granola Bars. Guest post by Erica Kastner of Cooking for Seven, recipe submitted by TK member Cheri of Kitchen Simplicity.

Pour the toasted oat mixture into a large bowl.


Tasty Kitchen Blog: No-Bake Granola Bars. Guest post by Erica Kastner of Cooking for Seven, recipe submitted by TK member Cheri of Kitchen Simplicity.

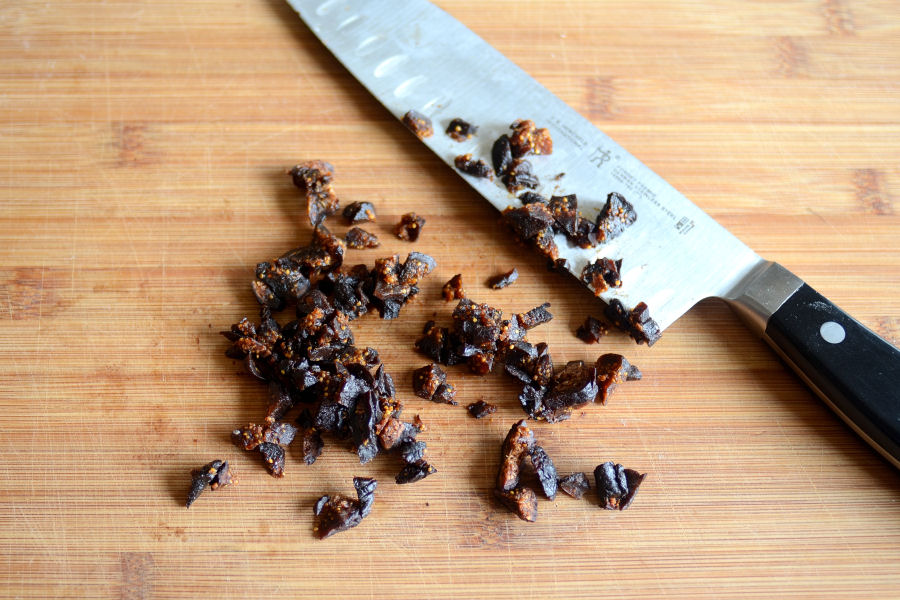
If you’re using larger dried fruit you’ll want to chop it up as well.


Tasty Kitchen Blog: No-Bake Granola Bars. Guest post by Erica Kastner of Cooking for Seven, recipe submitted by TK member Cheri of Kitchen Simplicity.

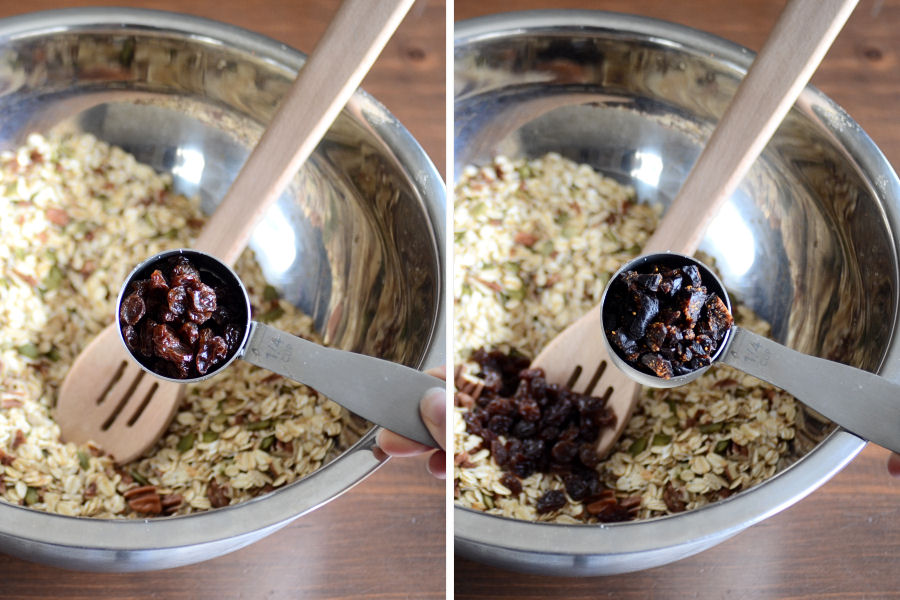
Add the dried fruit to the oat mixture.


Tasty Kitchen Blog: No-Bake Granola Bars. Guest post by Erica Kastner of Cooking for Seven, recipe submitted by TK member Cheri of Kitchen Simplicity.

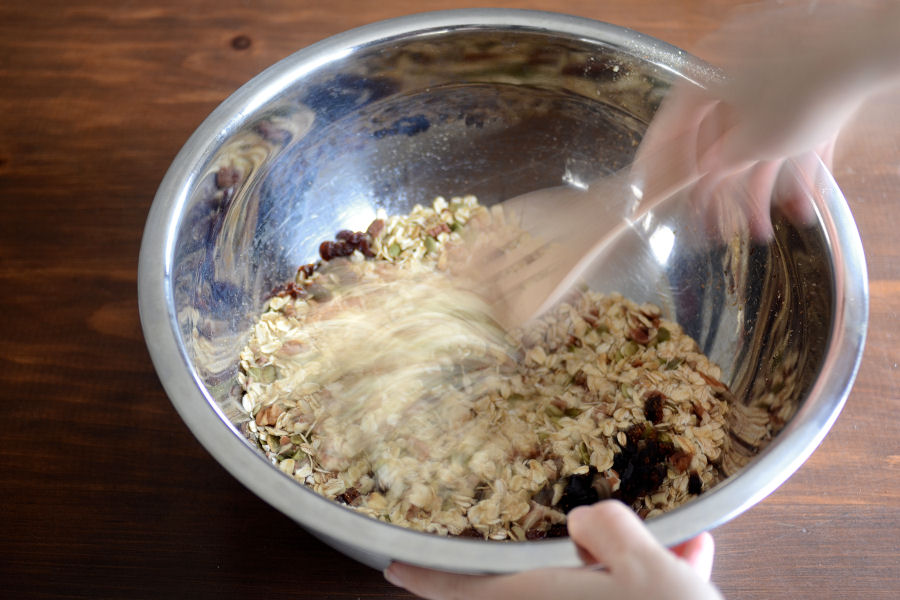
Stir to combine.


Tasty Kitchen Blog: No-Bake Granola Bars. Guest post by Erica Kastner of Cooking for Seven, recipe submitted by TK member Cheri of Kitchen Simplicity.

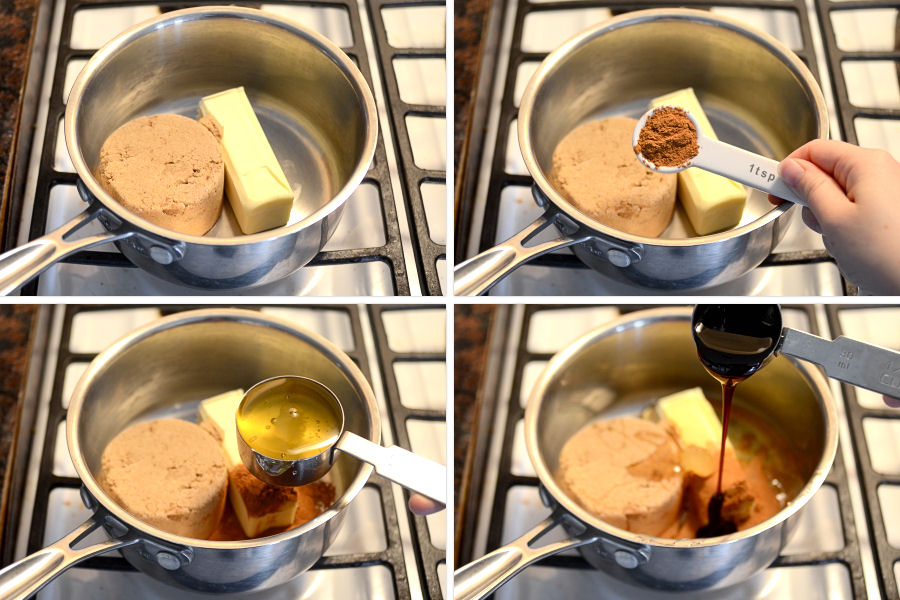
Place the butter, brown sugar, cinnamon, honey and molasses in a small saucepan.


Tasty Kitchen Blog: No-Bake Granola Bars. Guest post by Erica Kastner of Cooking for Seven, recipe submitted by TK member Cheri of Kitchen Simplicity.

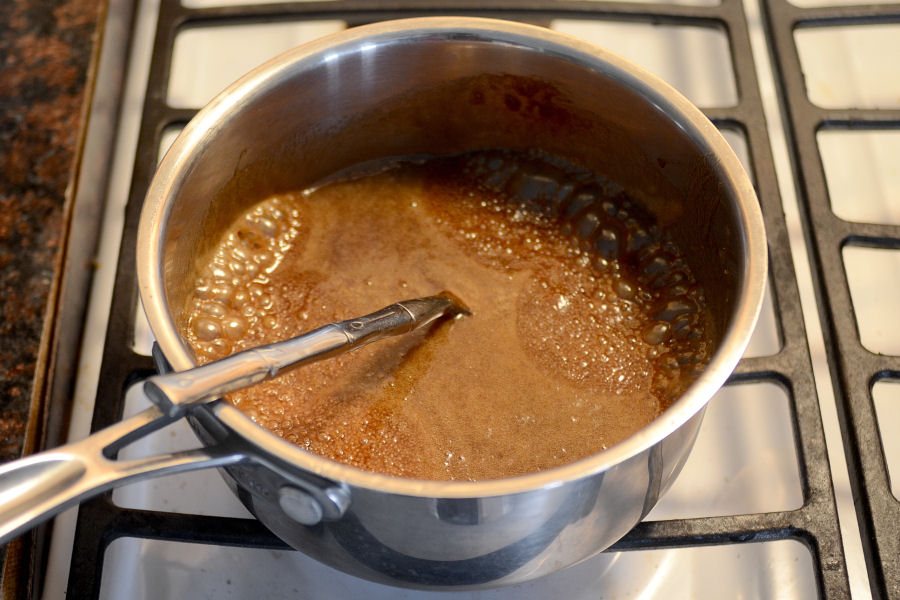
Bring to a boil over medium heat, stirring occasionally.


Tasty Kitchen Blog: No-Bake Granola Bars. Guest post by Erica Kastner of Cooking for Seven, recipe submitted by TK member Cheri of Kitchen Simplicity.

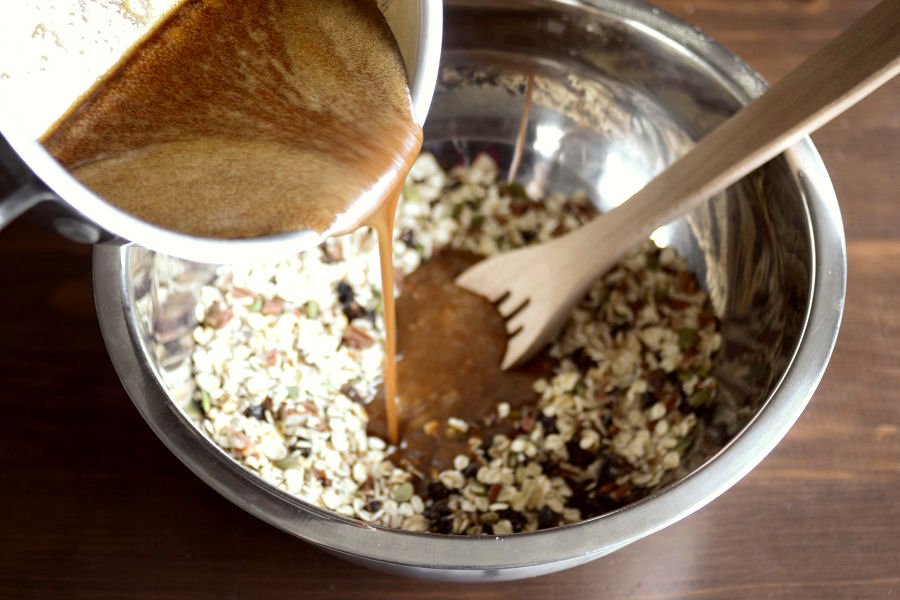
Pour the butter mixture over the oat mixture.


Tasty Kitchen Blog: No-Bake Granola Bars. Guest post by Erica Kastner of Cooking for Seven, recipe submitted by TK member Cheri of Kitchen Simplicity.

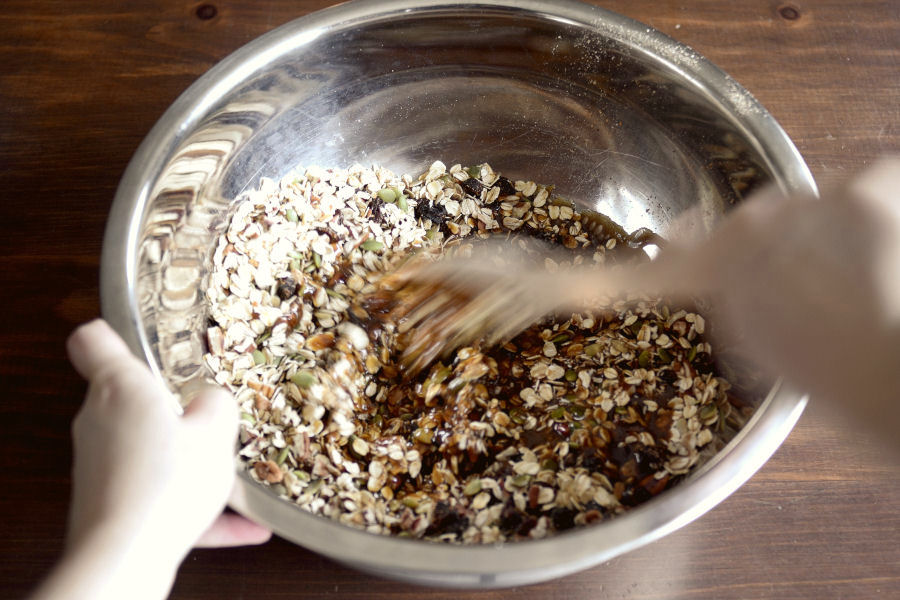
Stir until the oat mixture is evenly coated with the butter mixture. Set aside to cool a little.


Tasty Kitchen Blog: No-Bake Granola Bars. Guest post by Erica Kastner of Cooking for Seven, recipe submitted by TK member Cheri of Kitchen Simplicity.

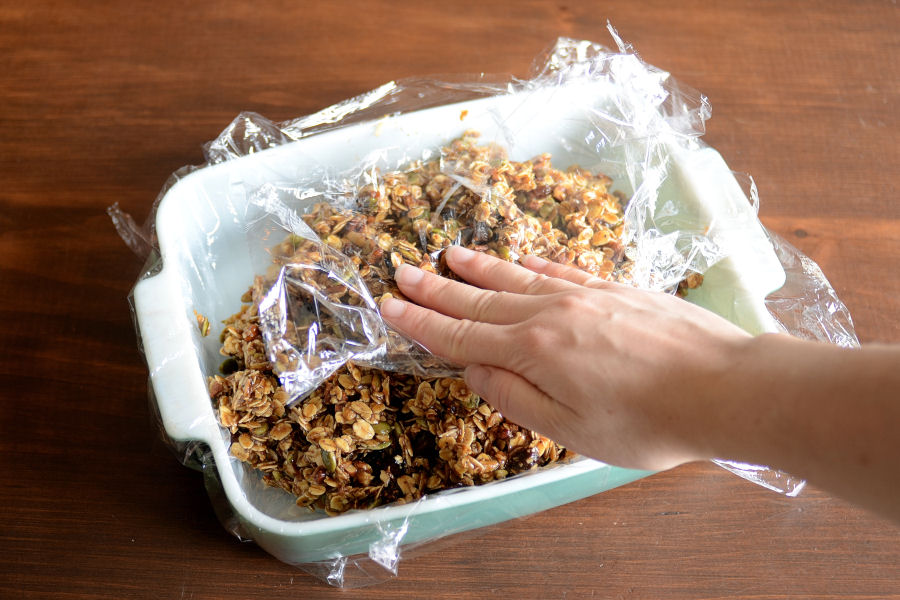
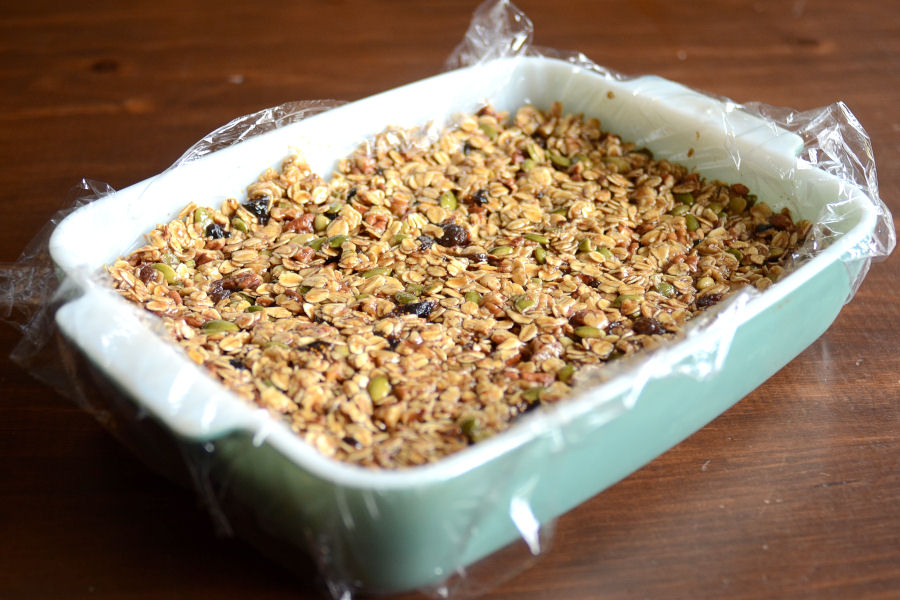
Line a dish with plastic wrap. Spoon mixture into pan and press down to compact. I used an extra piece of plastic wrap to keep my hands clean.


Tasty Kitchen Blog: No-Bake Granola Bars. Guest post by Erica Kastner of Cooking for Seven, recipe submitted by TK member Cheri of Kitchen Simplicity.

Place in the refrigerator to firm up, about 30 minutes.


Tasty Kitchen Blog: No-Bake Granola Bars. Guest post by Erica Kastner of Cooking for Seven, recipe submitted by TK member Cheri of Kitchen Simplicity.

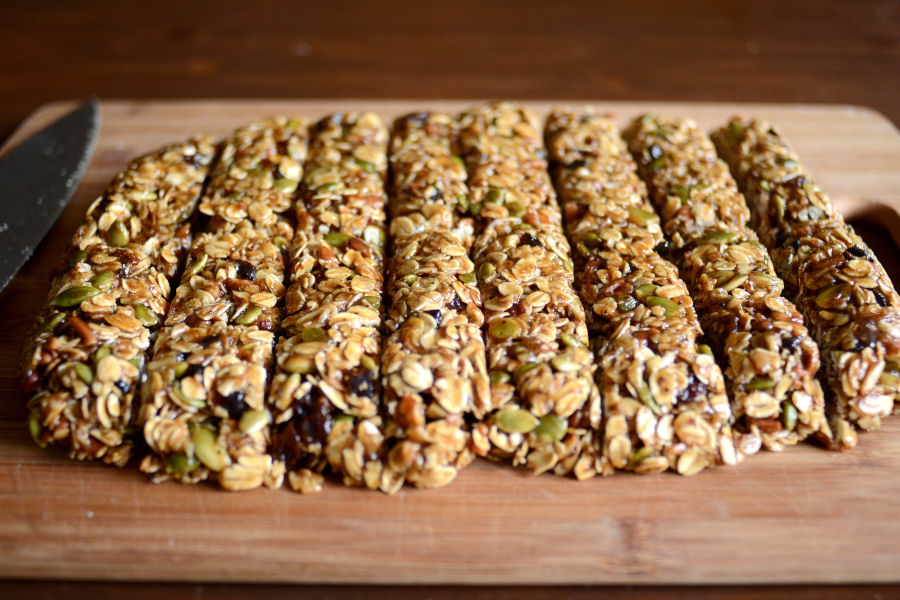
Once firmed, turn out onto a cutting board and cut into bars.


Tasty Kitchen Blog: No-Bake Granola Bars. Guest post by Erica Kastner of Cooking for Seven, recipe submitted by TK member Cheri of Kitchen Simplicity.

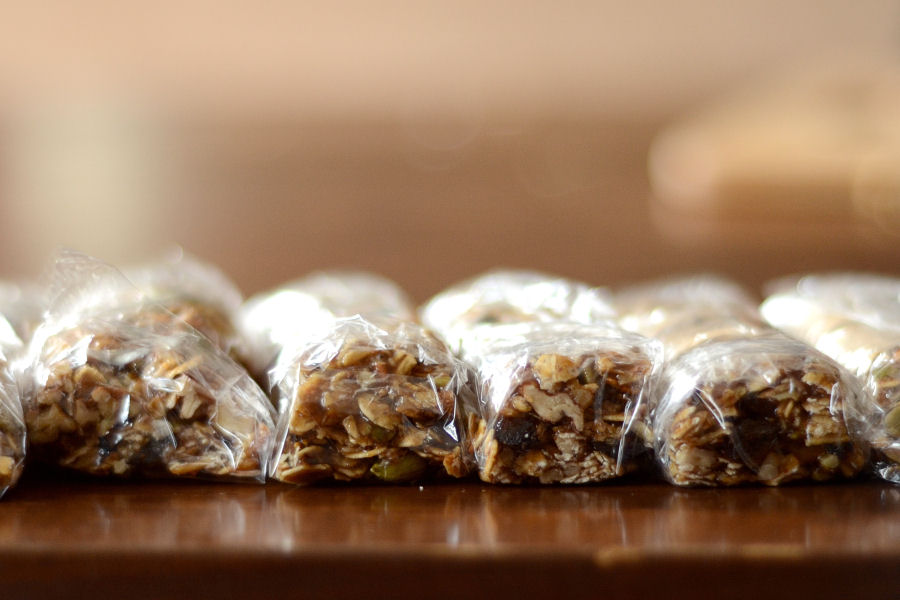
Wrap the bars individually with plastic wrap, parchment paper or wax paper. Now they’re grab-and-go ready!


Tasty Kitchen Blog: No-Bake Granola Bars. Guest post by Erica Kastner of Cooking for Seven, recipe submitted by TK member Cheri of Kitchen Simplicity.

Recipe notes:

1. These bars are just a hair too sweet for my taste. I cut the amount of sugar down to 3/4 cup, so next time I’ll try going down to 1/2 cup and using a full stick of butter. If you like your treats nice and sweet, this shouldn’t be an issue for you.

2. I might add a pinch of salt next time as well.

3. I love how customizable these are. You could come up with so many different flavor combinations by switching up the nuts and fruits you use.


Tasty Kitchen Blog: No-Bake Granola Bars. Guest post by Erica Kastner of Cooking for Seven, recipe submitted by TK member Cheri of Kitchen Simplicity.

Thanks so much to Cheri for sharing her recipe with us! Make sure to check out her blog, Kitchen Simplicity, where she writes many more delicious recipes. I may have to make her Quick & Cheesy Chicken Pot Pie for supper sometime.


Printable Recipe

No-Bake Granola Bars

See post on Cheri | Kitchen Simplicity’s site!
4.50 Mitt(s) 6 Rating(s)6 votes, average: 4.50 out of 56 votes, average: 4.50 out of 56 votes, average: 4.50 out of 56 votes, average: 4.50 out of 56 votes, average: 4.50 out of 5

Prep Time:

Cook Time:

Difficulty: Easy

Servings: 16

16
x

Print Options

Page size Letter 3x5 4x6
Text Size Small Medium Large
Content Include description
Include prep time, etc.
Show image

Description

Chewy No-Bake Granola Bars that are perfect to make with the kiddos. Prepare to never buy store-bought granola bars again.

Ingredients

  • 2-½ cups Rolled Oats
  • 1-½ cup Nuts, Chopped, I Used Walnuts And Pecans
  • ¼ cups Shredded Coconut
  • ½ cups Raisins
  • 6 Tablespoons Salted Butter
  • 1 cup Brown Sugar
  • 1-½ teaspoon Ground Cinnamon
  • 6 Tablespoons Liquid Honey
  • 2 Tablespoons Molasses

Preparation Instructions

1. Toast oats, nuts and coconut in a large skillet over medium-high heat until fragrant, stirring often. Remove to a large bowl and toss with raisins.

2. Place butter, sugar, cinnamon, honey and molasses in a small saucepan. Cook over medium heat, stirring occasionally, until it comes to a boil. Remove from heat and stir into oat mixture until evenly coated. Let sit just until cool enough to handle.

3. In the meantime, line a 7×11 inch pan with plastic wrap. Spoon mixture into pan, pressing down to compact. Place in the fridge for 30 minutes to firm up. Once firmed, remove from pan, peel away plastic wrap and slice into 16 bars (half lengthwise and then into 8). Wrap individually in plastic wrap or parchment paper, if desired. Store covered at room temperature.


_______________________________________

Newly-married Erica Kastner shares her wonderful recipes and amazing food photography on her blog, Cooking for Seven. She also writes about crafts and posts more of her beautiful photography in her personal blog, EricaLea.com. There really isn’t much that this amazing young lady can’t do, and we’re thrilled she does some of it here.


Profile photo of Erika (TK)

Let’s Talk Corn!

Posted by in Kitchen Talk

Tasty Kitchen Blog: Kitchen Talk (Corn)

Hi everyone! Do you see that bright golden haze in the meadow? No, really. There’s a bright golden haze on the meadow. And the corn is as high as an elephant’s eye! It looks like it’s climbing clear up to the sky. Oh what a beautiful morning …

Ahem. Sorry. Kinda got carried away there.

I’ve been singing that song to myself these past few days every time we drive past a meadow or any patch of land that resembles a corn field. I’ve been singing it in grocery stores and farmers markets too, as I walk past the beautiful ears of corn for sale. I apologize if you live in my area and have had to endure my shameless humming, but I can’t help myself. Because mmmm. Corn. It makes me happy.

For me, corn and summer go together like pumpkin and fall. Throwing a few ears of corn on the grill makes for an instant, easy BBQ side dish, and frankly, often I’m quite content with just that and some butter. But I also love corn kernels in cornbread, mixed in with grits, polenta, rice pudding, or just about any kind of stir fry. I even love corn ice cream, which might sound weird to some, but try it and you’ll know what I mean.

Corn is plentiful during the summer, and before the season ends, let’s try a few new ways to enjoy it! Tell us:

What’s your favorite way to enjoy corn?

I shared my favorites above, which can be summarized in one simple statement: “I’ll eat corn with everything.” But I’m always open to new ideas! So share your corn recipes, your tips and tricks for buying or shucking or cooking corn. Or maybe you have a preferred kind of corn (white? yellow? bi-color?) that you seek out at the market. Tell us all about it below!


Profile photo of EatLiveRun

Chocolate Zucchini Cookies

Posted by in Step-by-Step Recipes

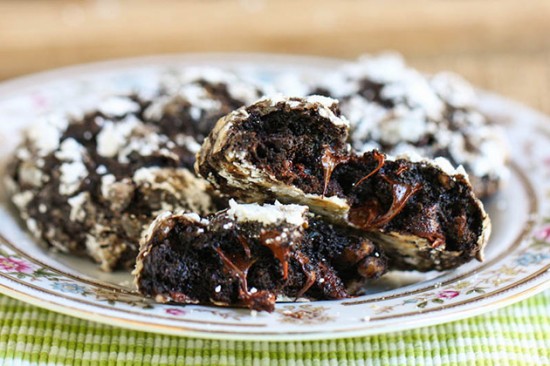
It’s back-to-school season, and zucchini season too! Take care of both with this blast from the past: chocolate zucchini cookies. They’re a hit with kids, and adults will love you for them too.     Are you looking for a delicious way to use up the rest of your zucchini harvest? Or do you just […]

Profile photo of Erika (TK)

Let’s Talk Peaches!

Posted by in Kitchen Talk

Peaches at the local markets here have been quite excellent. They pile them in bins close to the doors, hitting you with a wave of that heady scent of sweet summer nectar. They look so inviting with their earthy red and orange hues, and I haven’t been able to resist bringing home a bag or […]

Profile photo of Betsy (TK)

Looks Delicious! Roasted Summer Vegetable Ragout

Posted by in Looks Delicious!

At the beginning of the week, I always need some inspiration for healthy weeknight meals that aren’t too difficult to throw together. It’s also about this time of year that I realize I need to enjoy as much delicious summer produce as possible while it’s still available. More fresh garden tomatoes, please! This Roasted Summer […]

Profile photo of Erika (TK)

$150 Gift Card Giveaway (Winner Announced!)

Posted by in Miscellaneous

We're giving away a $150 gift card to Chef's Catalog. Enter to win!