The Pioneer Woman Tasty Kitchen
Profile photo of Erika (TK)

Looks Delicious! Italian-inspired Mac & Cheese

Posted by in Looks Delicious!

Tasty Kitchen Blog: Looks Delicious! (Italian Mac and Cheese, submitted by TK member Raquel of Horses and Heels)

 
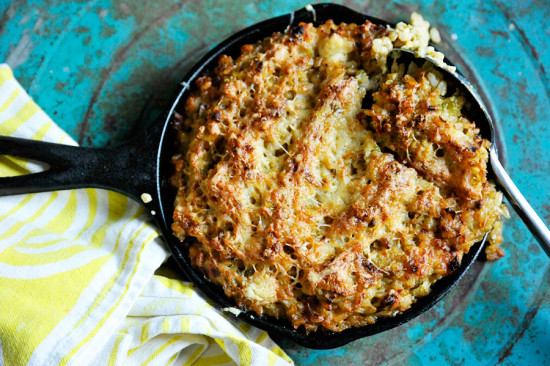
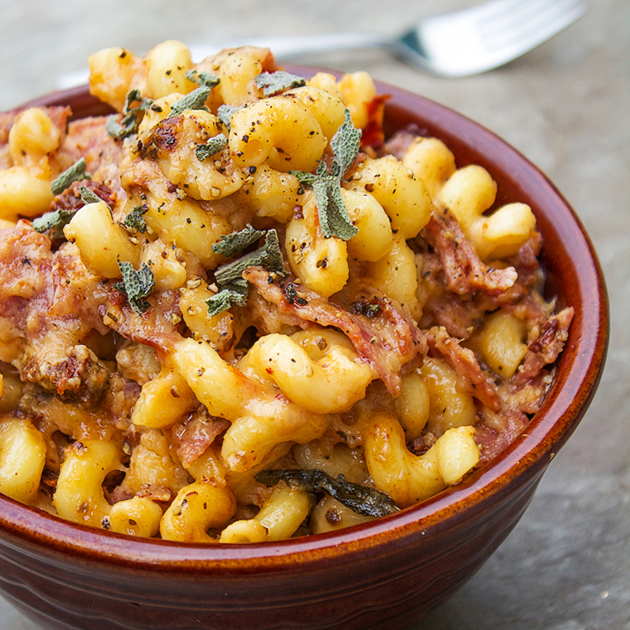
Look at that beautiful bowl of creamy comfort. I love mac & cheese in just about every form, and this Italian Mac & Cheese from TK member Raquel just about stopped me in my tracks. Salami, sun-dried tomatoes, and a combination of gooey white cheeses. And if you have any fresh sage leaves handy, you can fry them until they’re crisp and use that as a garnish. What’s not to love?

Thanks for sharing your recipe, Raquel! You can find the printable recipe here in Tasty Kitchen. Don’t forget to check out Raquel’s blog, Horses & Heels, where she writes about food, fashion, life in general, and of course, horses!


Profile photo of georgiapellegrini

PB&J Sandwich Cookies

Posted by in Baking, Step-by-Step Recipes

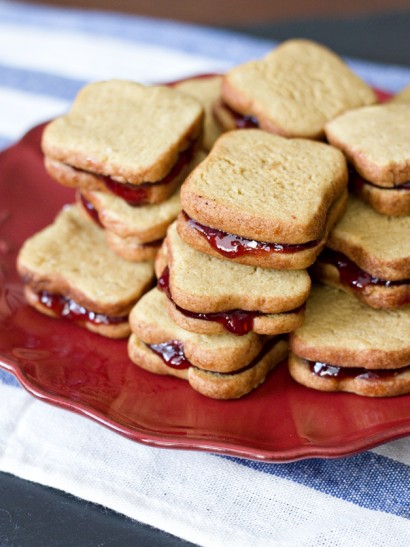
Tasty Kitchen Blog: Peanut Butter and Jelly Sandwich Cookies. Guest post by Georgia Pellegrini, recipe submitted by TK member Erica of Sweet Tooth.

 
I’m not much of a baker but these Peanut Butter and Jelly Sandwich Cookies made me smile when I saw them posted here by Erica.

I’ve seen a similar recipe posted in an Australian blog Raspberri Cupcakes that uses sugar cookie dough and peanut butter and jelly sandwiched in between; Erica’s recipe incorporates the peanut butter into the dough, making one delicious peanut butter sandwich cookie.

Peanut butter and jelly sandwich cookies are such a playful sweet treat to serve. They are delicious and, best of all, they are easy to make.


Tasty Kitchen Blog: Peanut Butter and Jelly Sandwich Cookies. Guest post by Georgia Pellegrini, recipe submitted by TK member Erica of Sweet Tooth.

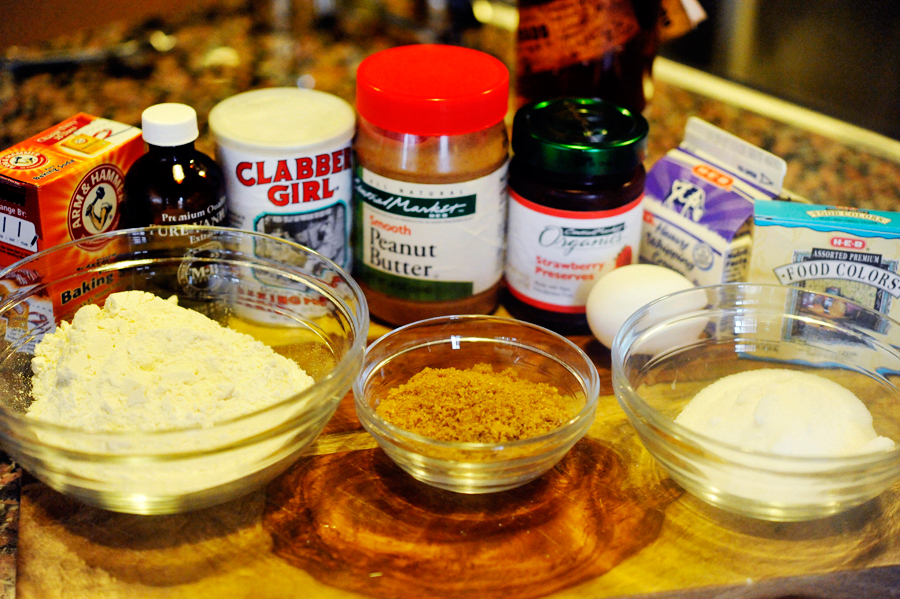
You will need: peanut butter, granulated sugar, light brown sugar, an egg, milk, vanilla extract, flour, baking powder, baking soda, vodka (or some alcohol), brown food coloring (you can mix red, green, and yellow), and your favorite jelly.


Tasty Kitchen Blog: Peanut Butter and Jelly Sandwich Cookies. Guest post by Georgia Pellegrini, recipe submitted by TK member Erica of Sweet Tooth.

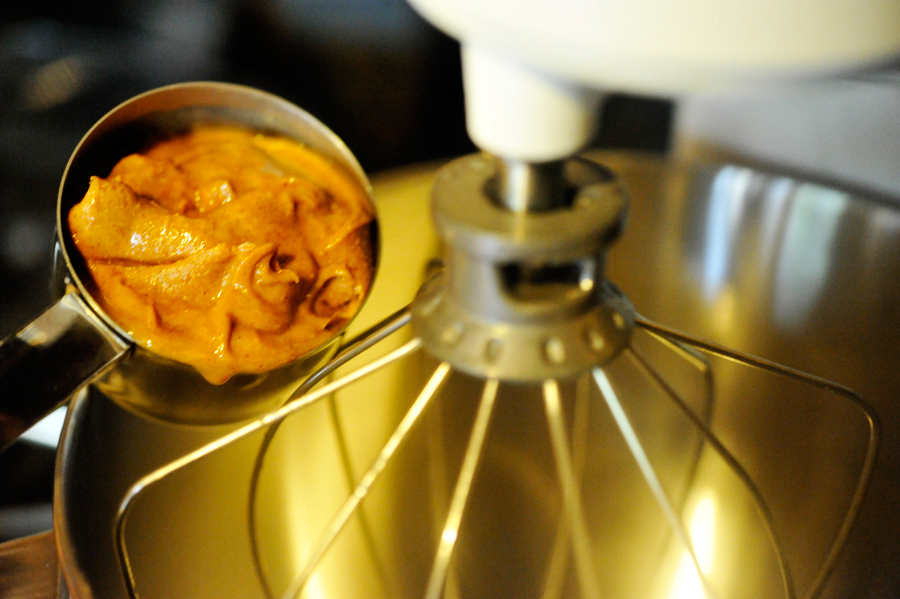
In an electric mixer, add the peanut butter.


Tasty Kitchen Blog: Peanut Butter and Jelly Sandwich Cookies. Guest post by Georgia Pellegrini, recipe submitted by TK member Erica of Sweet Tooth.

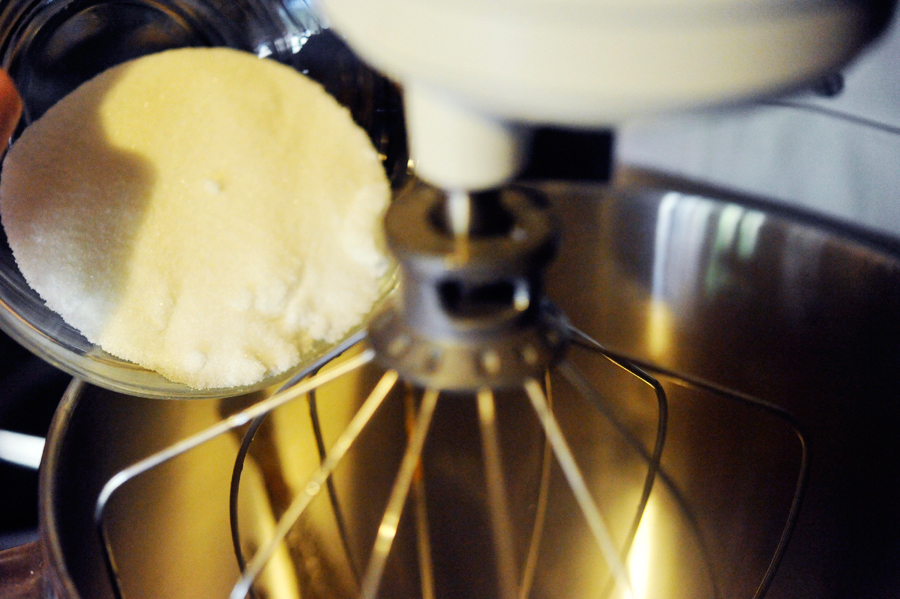
Next add the white sugar …


Tasty Kitchen Blog: Peanut Butter and Jelly Sandwich Cookies. Guest post by Georgia Pellegrini, recipe submitted by TK member Erica of Sweet Tooth.

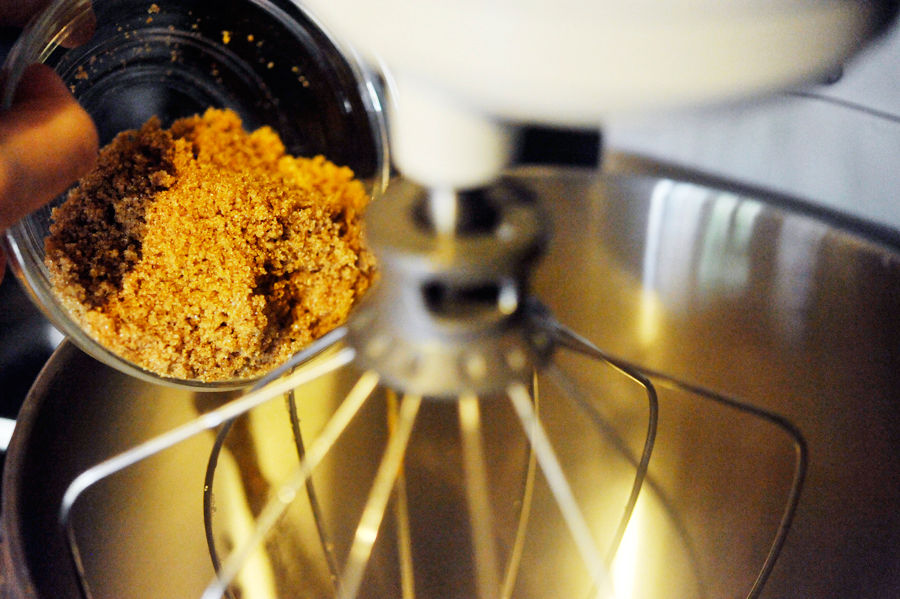
Then the brown sugar.


Tasty Kitchen Blog: Peanut Butter and Jelly Sandwich Cookies. Guest post by Georgia Pellegrini, recipe submitted by TK member Erica of Sweet Tooth.

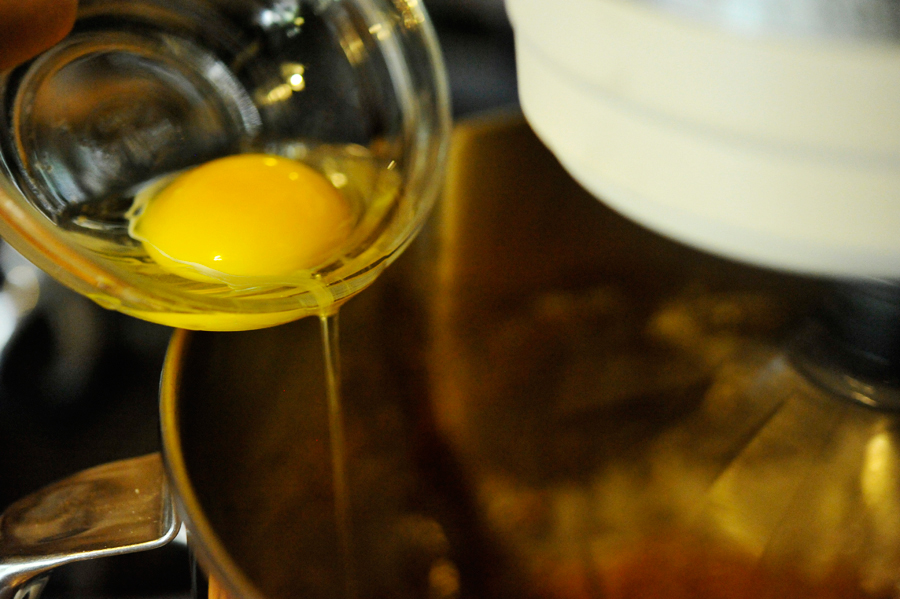
Then slowly add a combination of the milk and vanilla, along with the egg.


Tasty Kitchen Blog: Peanut Butter and Jelly Sandwich Cookies. Guest post by Georgia Pellegrini, recipe submitted by TK member Erica of Sweet Tooth.

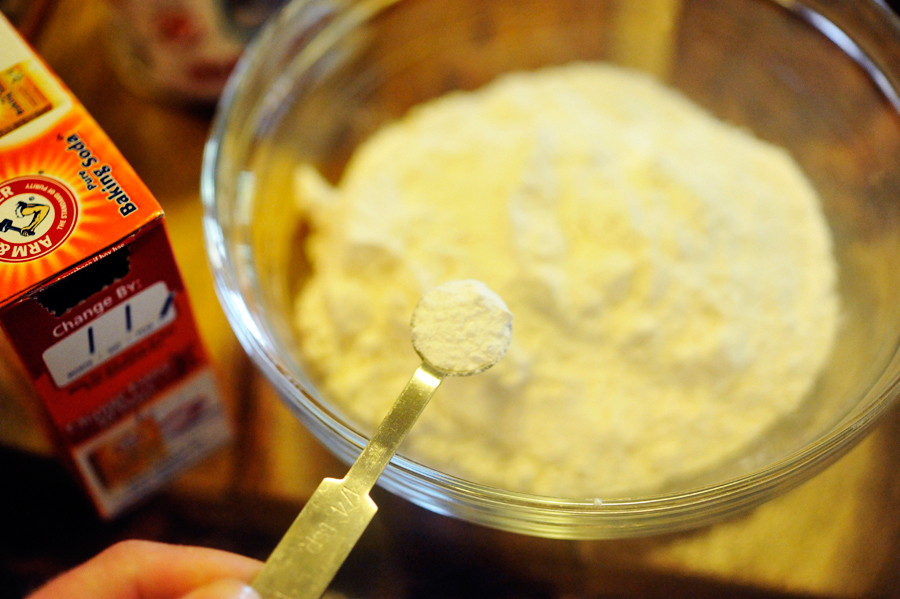
While the wet ingredients mix together, combine your dry ingredients in a separate bowl: the flour, baking soda, and baking powder.


Tasty Kitchen Blog: Peanut Butter and Jelly Sandwich Cookies. Guest post by Georgia Pellegrini, recipe submitted by TK member Erica of Sweet Tooth.

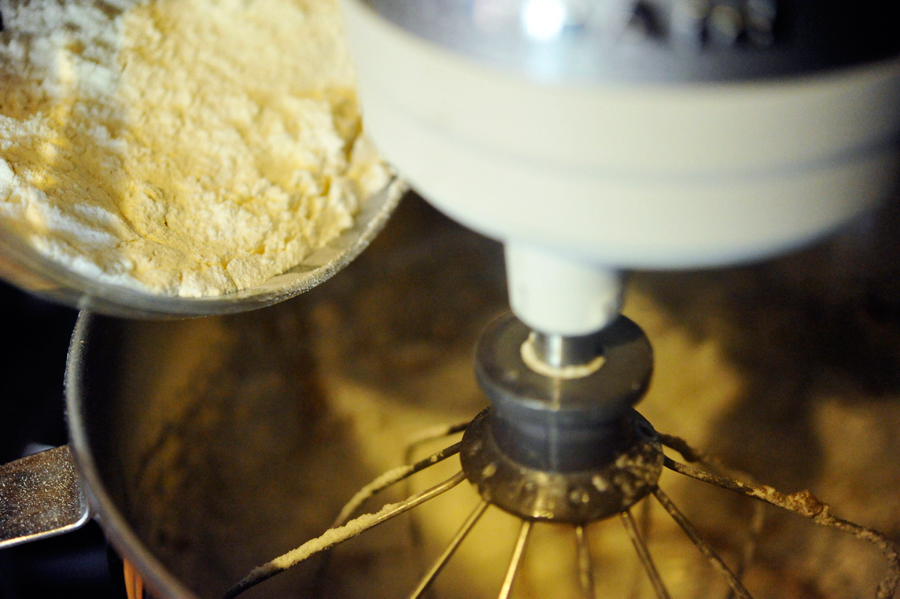
Slowly add it to the mixer as it blends with the wet ingredients. Use a spatula to scrape the sides so that it mixes evenly until you have a uniform cookie dough.


Tasty Kitchen Blog: Peanut Butter and Jelly Sandwich Cookies. Guest post by Georgia Pellegrini, recipe submitted by TK member Erica of Sweet Tooth.

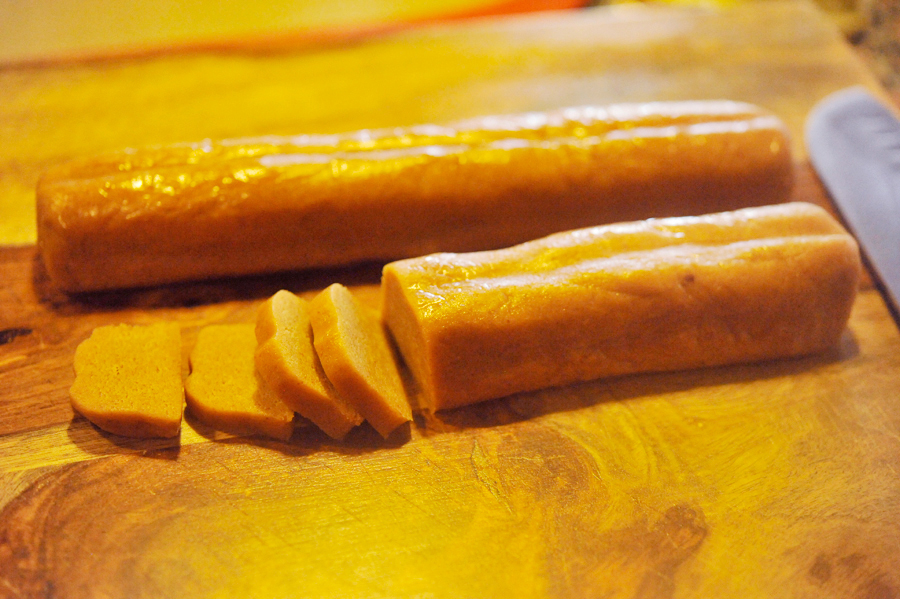
Divide the dough in half and roll it into logs. Make an indentation along the top as well as along the sides, so that it looks like a very long loaf of bread. Wrap it in plastic wrap and put it in the refrigerator for an hour or overnight.

Once it is cold, remove it from the plastic and with a sharp knife slice ¼-inch pieces of “bread.”


Tasty Kitchen Blog: Peanut Butter and Jelly Sandwich Cookies. Guest post by Georgia Pellegrini, recipe submitted by TK member Erica of Sweet Tooth.

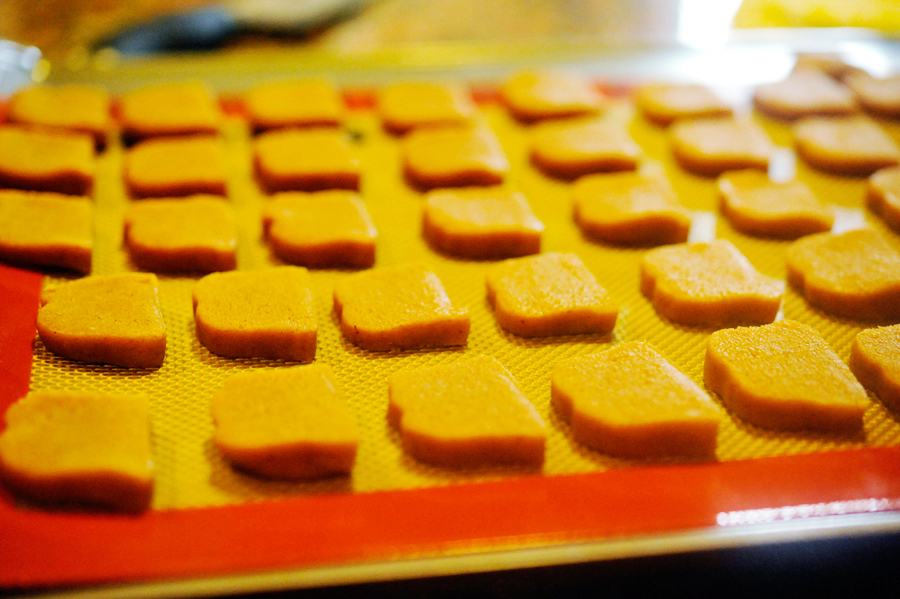
Lay them on a silicone baking pad or greased parchment over a sheet tray. Bake them in the oven at 350 degrees F for 7-9 minutes.


Tasty Kitchen Blog: Peanut Butter and Jelly Sandwich Cookies. Guest post by Georgia Pellegrini, recipe submitted by TK member Erica of Sweet Tooth.

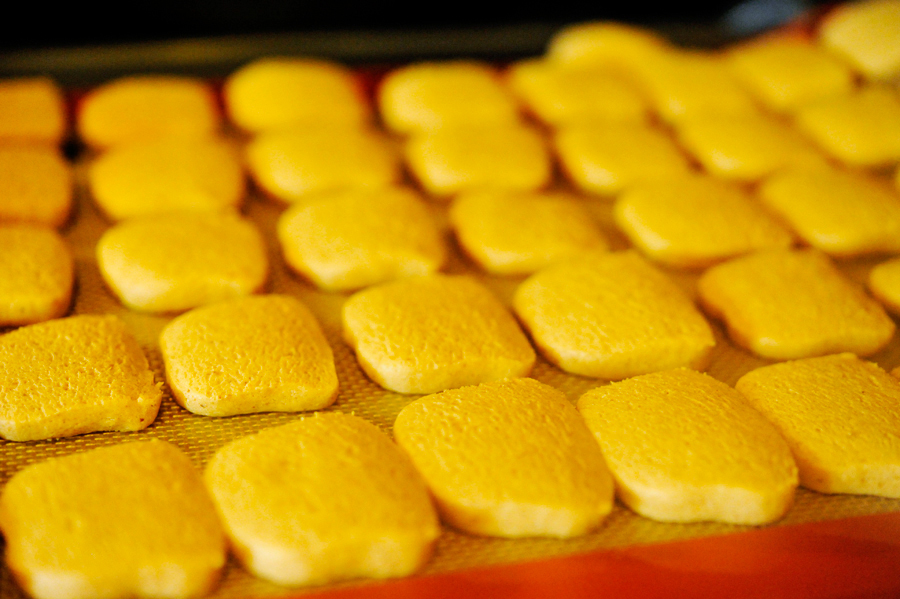
They will be slightly puffy when they first come out but will deflate as they cool.


Tasty Kitchen Blog: Peanut Butter and Jelly Sandwich Cookies. Guest post by Georgia Pellegrini, recipe submitted by TK member Erica of Sweet Tooth.

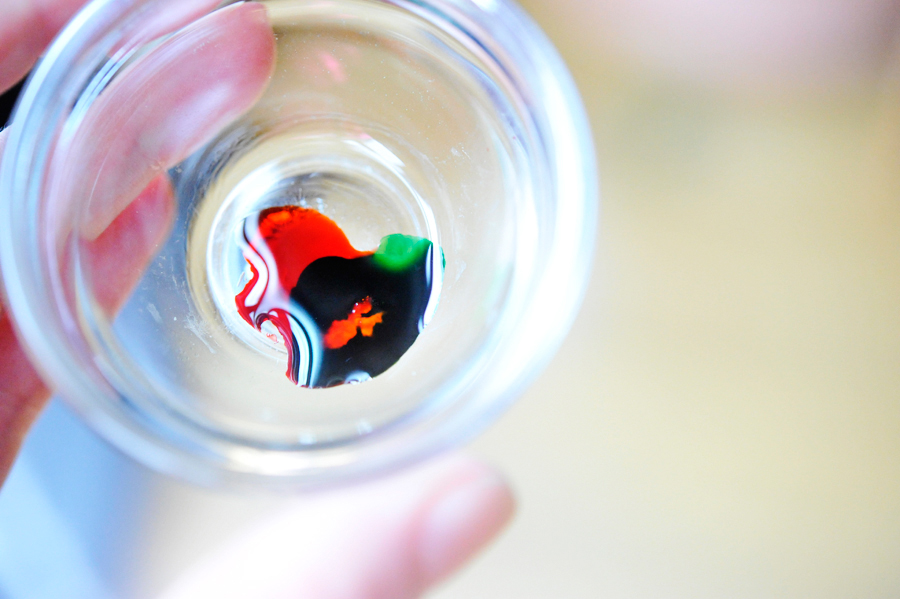
Meanwhile, mix your food coloring to make brown paint for the crust. I used 2 drops of red, 1 drop of green and 1 drop of yellow.

And then I mixed it with a touch of whiskey. You could also use any other alcohol. This works better than water because it evaporates rather than turns soggy the way water would!


Tasty Kitchen Blog: Peanut Butter and Jelly Sandwich Cookies. Guest post by Georgia Pellegrini, recipe submitted by TK member Erica of Sweet Tooth.

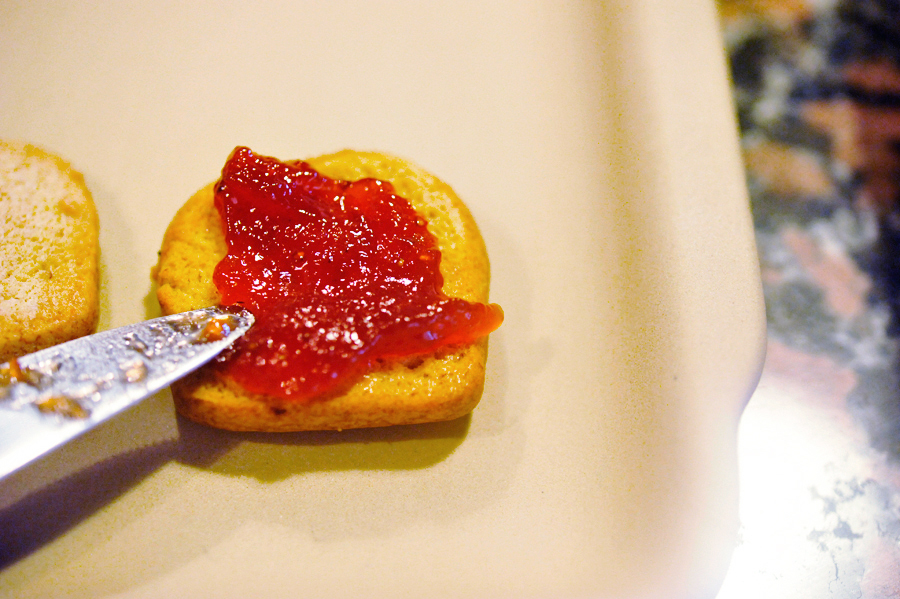
After you paint the edges of the cookies with brown food coloring, lay one piece on a dish and spread it with jelly. Then add another half on top.


Tasty Kitchen Blog: Peanut Butter and Jelly Sandwich Cookies. Guest post by Georgia Pellegrini, recipe submitted by TK member Erica of Sweet Tooth.

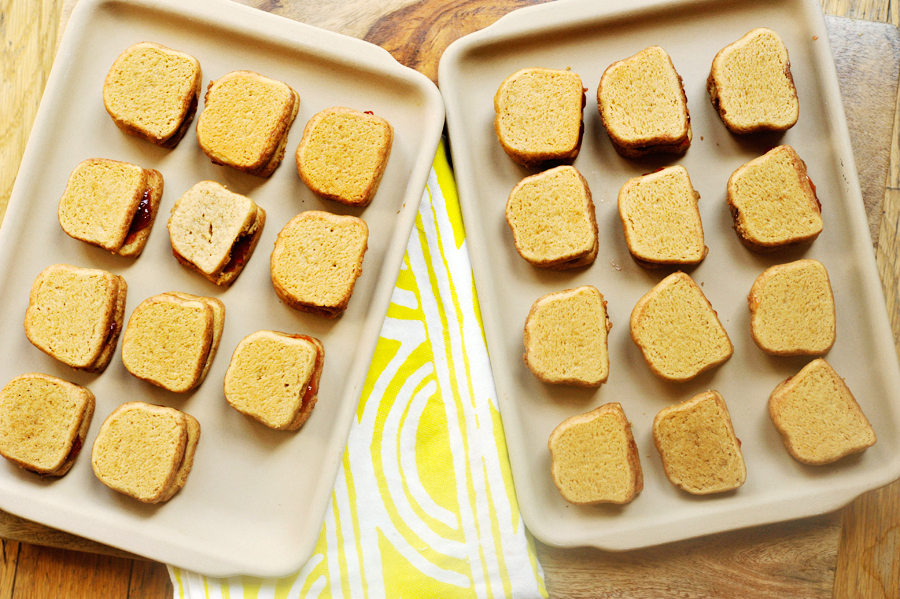
Keep making your cookie sandwiches until all of your pairs have been assembled.


Tasty Kitchen Blog: Peanut Butter and Jelly Sandwich Cookies. Guest post by Georgia Pellegrini, recipe submitted by TK member Erica of Sweet Tooth.

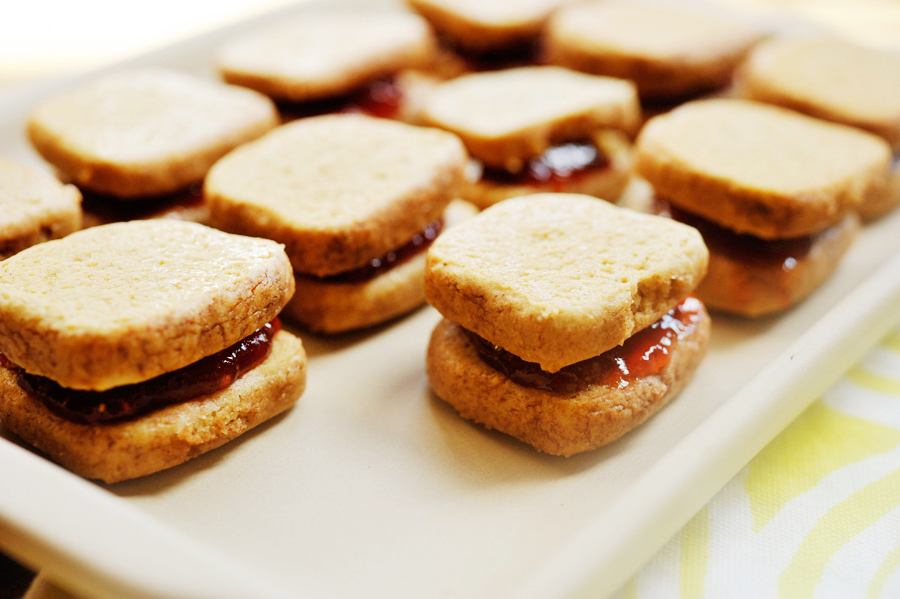
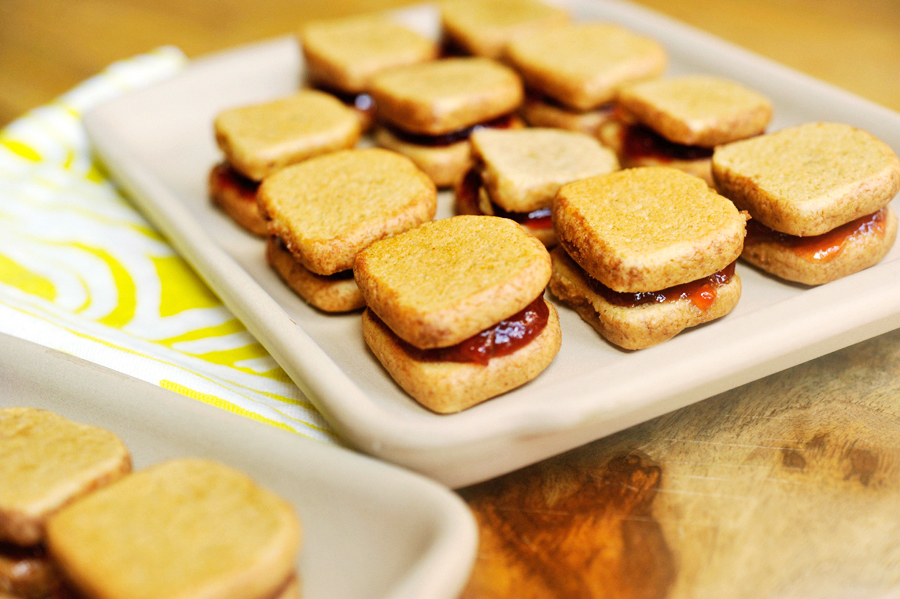
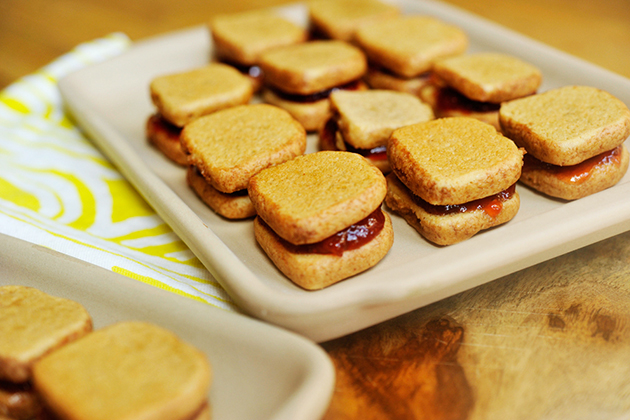
It will be a tray of beautiful sandwiches that may look like savory finger foods but are really sweet treats. These will trick your guests in a delightful way, and will thrill your kids when they see these in their lunch boxes.


Tasty Kitchen Blog: Peanut Butter and Jelly Sandwich Cookies. Guest post by Georgia Pellegrini, recipe submitted by TK member Erica of Sweet Tooth.

This was such an easy, whimsical, and delicious recipe. It made me happy. Thank you to Erica for sharing it with us! Be sure to check out her website Erica’s Sweet Tooth for other sweet treats.


Printable Recipe

Peanut Butter and Jelly Sandwich Cookies

See post on sweettooth’s site!
4.00 Mitt(s) 1 Rating(s)1 vote, average: 4.00 out of 51 vote, average: 4.00 out of 51 vote, average: 4.00 out of 51 vote, average: 4.00 out of 51 vote, average: 4.00 out of 5

Prep Time:

Cook Time:

Difficulty: Easy

Servings: 20

20
x

Print Options

Page size Letter 3x5 4x6
Text Size Small Medium Large
Content Include description
Include prep time, etc.
Show image

Description

Peanut butter sugar cookies made to look like slices of bread and filled with jelly—the perfect back to school treat!

Ingredients

  • FOR THE PEANUT BUTTER COOKIES:
  • ½ cups Creamy Peanut Butter
  • ¼ cups Plus 2 Tablespoons, Granulated Sugar
  • ¼ cups Plus 2 Tablespoons Light Brown Sugar
  • 1 whole Egg
  • 2-½ Tablespoons Milk
  • ½ teaspoons Vanilla Extract
  • 1-¼ cup All-purpose Flour
  • ¼ teaspoons Baking Powder
  • ¼ teaspoons Baking Soda
  • FOR THE CRUST:
  • 2 Tablespoons Vodka
  • 2 drops Brown Food Coloring
  • FOR THE FILLING:
  • ¼ cups Jelly (flavor Of Your Choice)

Preparation Instructions

In the bowl of an electric mixer, beat together the peanut butter and sugars until light and fluffy, 2-3 minutes. Beat in the egg, milk, and vanilla until well combined.

In a separate bowl, whisk together the flour, baking powder, and baking soda. With the mixer on low, gradually add the flour mixture to the peanut butter mixture and beat until just combined.

Divide dough in half and roll each half into a rectangular block. Using your fingers, pinch along the middle of the top and along the two sides to form indentations along the length of the block so the dough looks like a bread loaf. Wrap each half in Saran wrap and refrigerate at least 1 hour or overnight.

When dough is chilled, unwrap the dough and use a sharp knife to cut slices of “bread” in 1/4″ thickness. Place 1″ apart on a parchment paper or Silpat-lined cookie sheet and bake for 7-9 minutes, or until edges just begin to brown. Cool for 5 minutes on the pan, then transfer to a wire rack to cool completely.

To paint crusts onto the baked cookies, combine vodka and brown food coloring. Use a clean paint brush to brush mixture on the sides of all the cookies. Using vodka instead of water will prevent the cookies from getting soggy since the alcohol will evaporate!

To make the sandwiches, take one cookie slice and spread with jelly. Match cookie with another slice of similar size and make your PB&J sandwich!


_______________________________________

There’s so much to say about Georgia, we don’t know where to start. Leaving Wall Street for the French Culinary Institute, followed by a stint at the Gramercy Tavern and La Chassagnette in France, her passion for food and food traditions are evident and inspiring. Visit her site at Georgia Pellegrini, where you’ll find more recipes, photos, learn all about her wonderful books Girl Hunter and Food Heroes, and enjoy her latest adventures.


Profile photo of Erika (TK)

Looks Delicious! Limoncello and Ricotta Cake

Posted by in Baking, Looks Delicious!

Tasty Kitchen Blog: Looks Delicious! (Limoncello and Ricotta Cake, submitted by TK member Melanie of A Beautiful Bite)

 
Well. I remember just about falling off my chair when I first saw this Limoncello and Ricotta Cake from TK member Melanie. It’s like tiramisu except, instead of espresso, you use summery Limoncello.

I’ve seen a few versions of Limoncello tiramisu floating around online, but this one uses ricotta instead of mascarpone. I don’t know about you but I find ricotta so much easier to find than mascarpone. It’s a lot easier on the wallet, too. This cake looks so moist and lemony and I can imagine how creamy it is in the middle with the ricotta and lemon curd. Genius!

Thanks for sharing this, Melanie! Melanie blogs at A Beautiful Bite, and believe me, her food definitely lives up to that. Go check it out!


Profile photo of HowSweetEats

Cauliflower Crust Pizza

Posted by in Step-by-Step Recipes

Tasty Kitchen Blog: Cauliflower Crust Pizza. Guest post by Jessica Merchant of How Sweet It Is, recipe submitted by TK member Michelle of The Lucky Penny.

 
Oh cauliflower pizza crust, I have been skeptical of you for so long. So, so long. The first time I attempted a cauliflower crust was back in the day, long before Pinterest existed or I knew what a blog was, after getting a recipe from someone in my local gym. I didn’t love cauliflower at the time but I didn’t loathe it either. Plus, it came loaded with lots of cheese, so it had to be a win. Right?

Wrong. It was pretty terrible. So terrible in fact that, until I found this recipe—this recipe for The Best Cauliflower Crust Pizza ever—I vowed that I wouldn’t succumb to the trend once again.

Now, I’m so glad that I did. Michelle is one smart cookie.

Not only is the crust simple, it is FAST. That’s the key for me. Now, let me say that I don’t think I will ever replace my favorite pizza crust. I make a mean whole-wheat dough and love it all up. But this is an awesome recipe for when you want pizza and you are short on time, or when you want pizza but are willing to draw outside the lines a bit, or when you want pizza but need to stay away from gluten. Or maybe you’re trying to sneak in some extra veg. Story of my life.

This gets even better with an array of toppings. I am boring in my pizza choices so I kept it simple with some cheese and sauce. But now, all I’m envisioning is buffalo chicken, grilled vegetables, cheeseburger pizza, and other endless options. So excited. Let’s get started!


Tasty Kitchen Blog: Cauliflower Crust Pizza. Guest post by Jessica Merchant of How Sweet It Is, recipe submitted by TK member Michelle of The Lucky Penny.

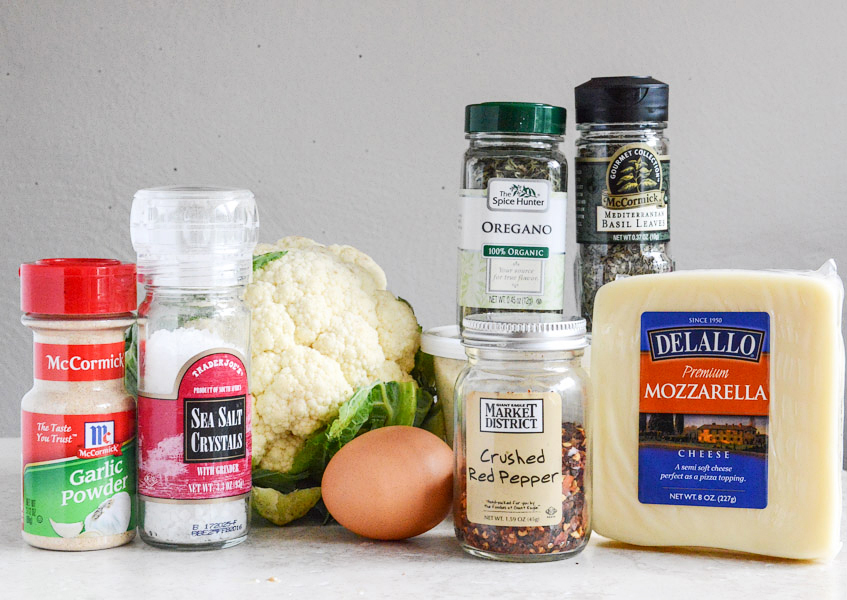
This is all you need for your crust: a small (emphasis on small!) head of cauliflower, one egg, some mozzarella and Parmesan cheese, salt, pepper, garlic powder, oregano, basil and crushed red pepper flakes. That’s it! Plus, whatever toppings you choose.

This specific method uses a pizza stone or baking sheet. Begin by adding the stone or sheet to the oven and preheating your oven. Having a pizza peel is ideal, but if you have another object (like a cutting board) that you can flour, it will work too.


Tasty Kitchen Blog: Cauliflower Crust Pizza. Guest post by Jessica Merchant of How Sweet It Is, recipe submitted by TK member Michelle of The Lucky Penny.

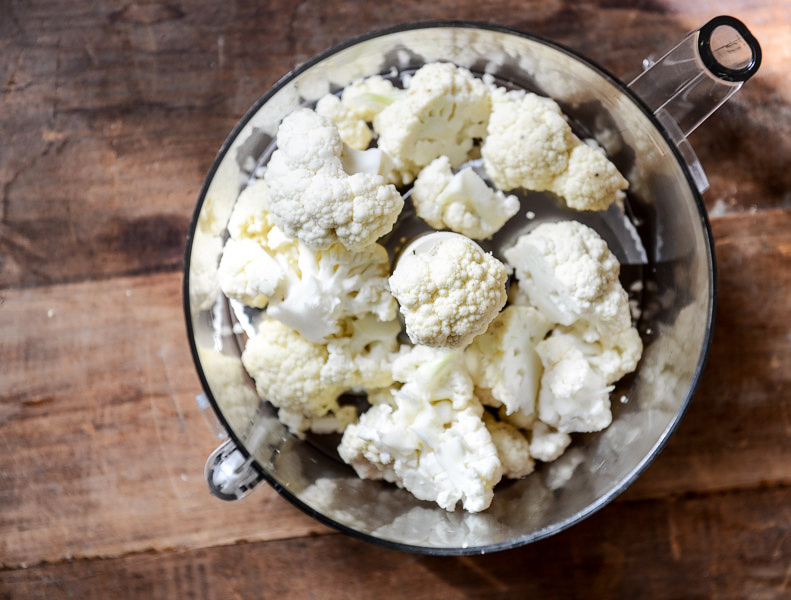
First up, add the cauliflower to your food processor and pulse.


Tasty Kitchen Blog: Cauliflower Crust Pizza. Guest post by Jessica Merchant of How Sweet It Is, recipe submitted by TK member Michelle of The Lucky Penny.

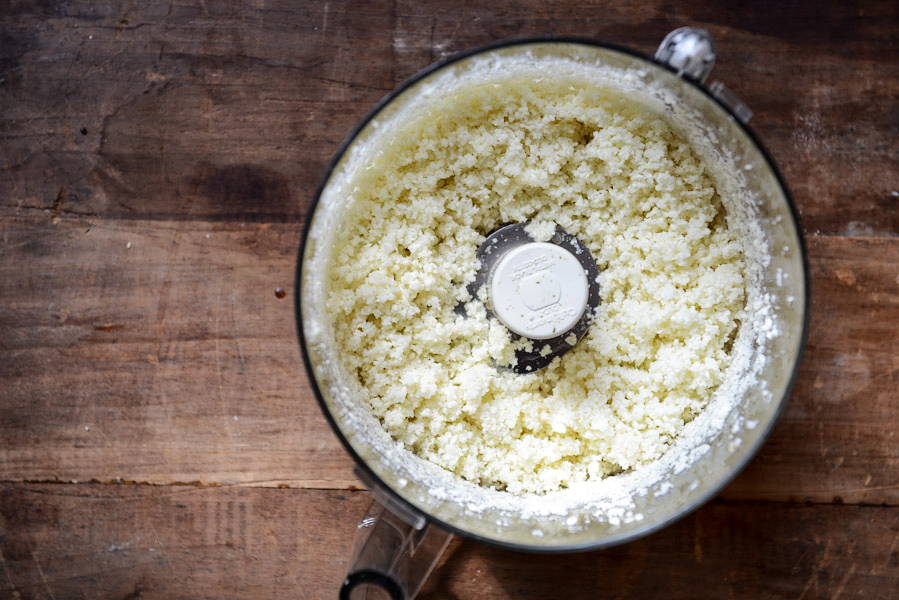
You want it to look like cauliflower “snow.” That expression made me so happy.


Tasty Kitchen Blog: Cauliflower Crust Pizza. Guest post by Jessica Merchant of How Sweet It Is, recipe submitted by TK member Michelle of The Lucky Penny.

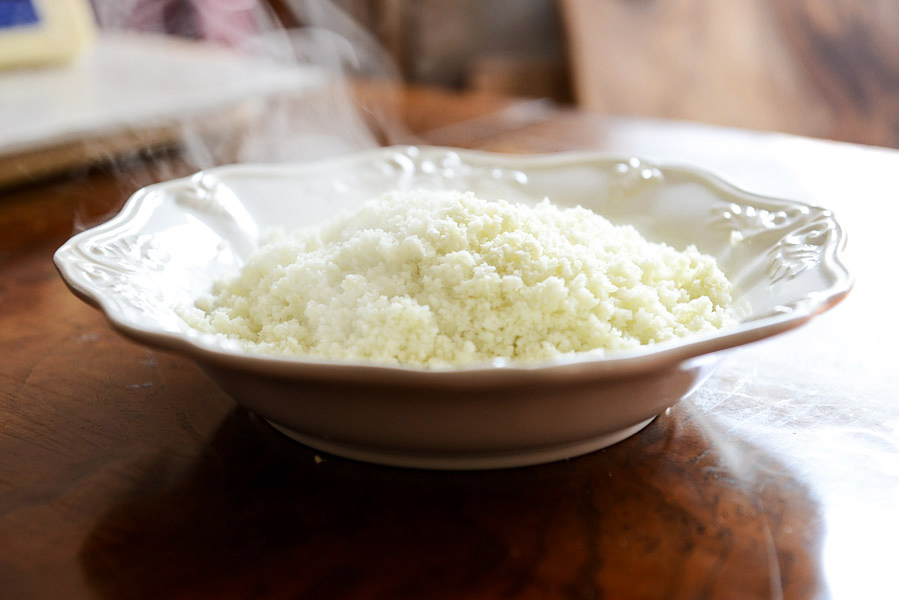
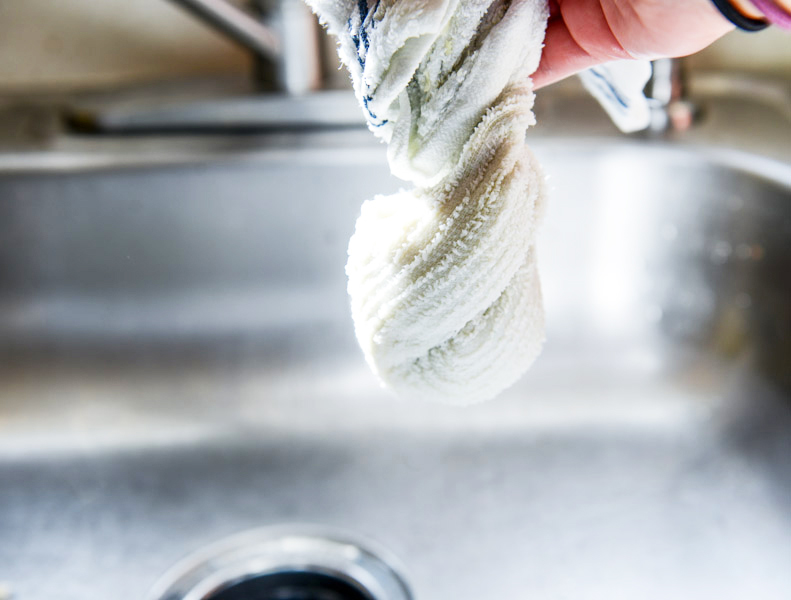
Once your cauliflower is pulsed into tiny crumbs, you want to microwave it. Let it cool completely or else you’ll burn the heck out of your hands.


Tasty Kitchen Blog: Cauliflower Crust Pizza. Guest post by Jessica Merchant of How Sweet It Is, recipe submitted by TK member Michelle of The Lucky Penny.

After the cauliflower has cooled, place it in a towel and ring the heck out of it to remove as much liquid as possible.


Tasty Kitchen Blog: Cauliflower Crust Pizza. Guest post by Jessica Merchant of How Sweet It Is, recipe submitted by TK member Michelle of The Lucky Penny.

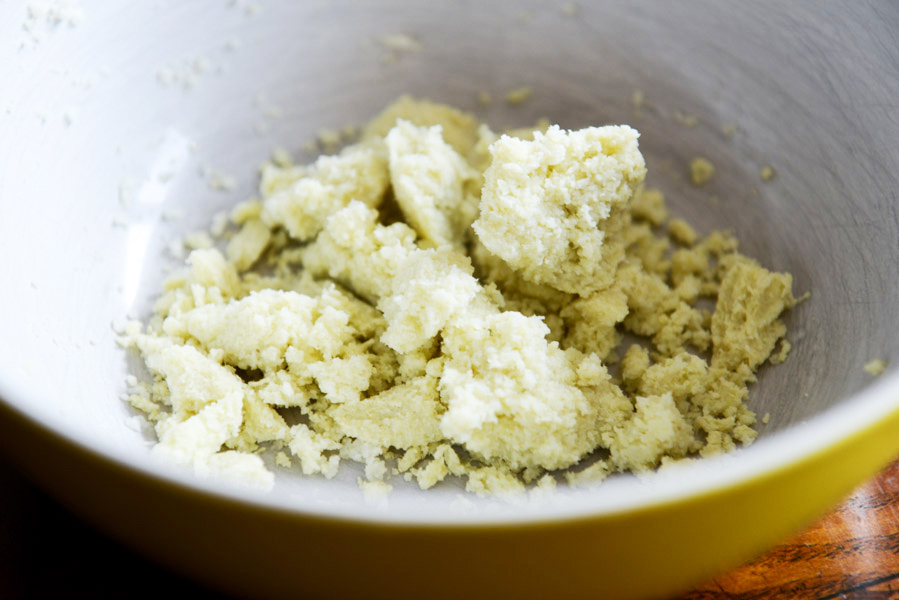
You will be left with something like this—a sort of cauliflower “pulp,” if you will.


Tasty Kitchen Blog: Cauliflower Crust Pizza. Guest post by Jessica Merchant of How Sweet It Is, recipe submitted by TK member Michelle of The Lucky Penny.

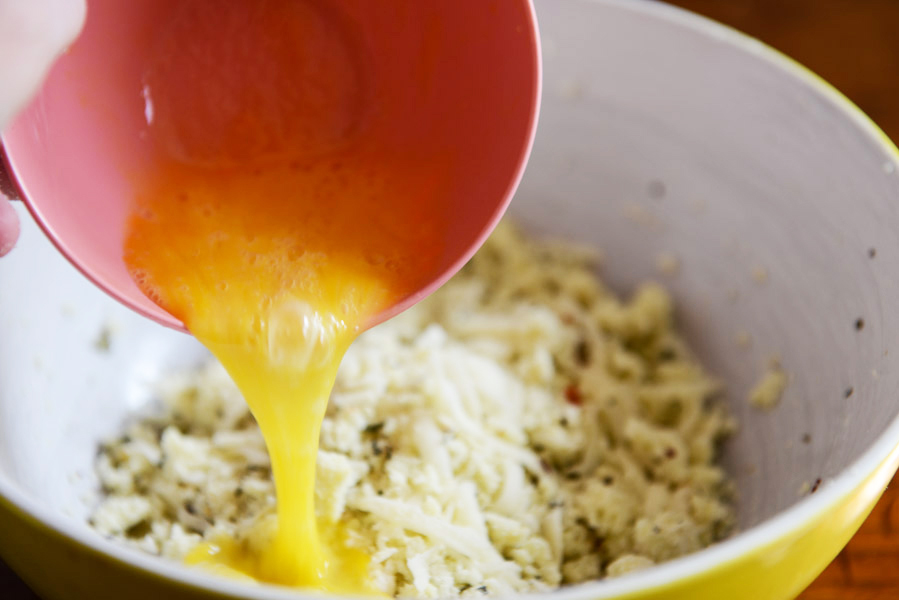
Add in the cheeses and the spices and mix the mixture until combined. Then add in your egg.


Tasty Kitchen Blog: Cauliflower Crust Pizza. Guest post by Jessica Merchant of How Sweet It Is, recipe submitted by TK member Michelle of The Lucky Penny.

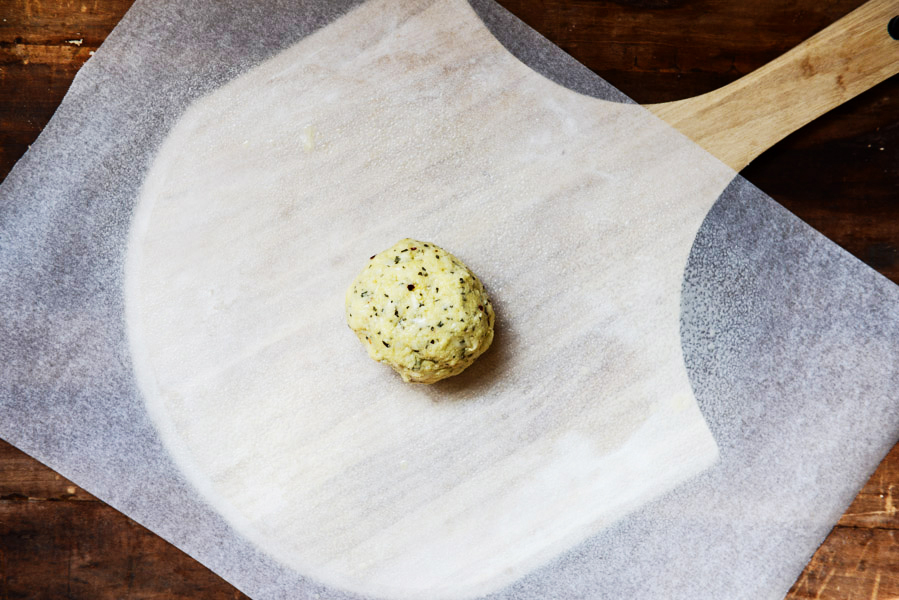
Using your hands to bring the dough together is necessary, and it happens easily. Form the dough into a ball. Spray a sheet of parchment paper with nonstick spray and place it on top of a pizza peel. Add the dough ball on top.
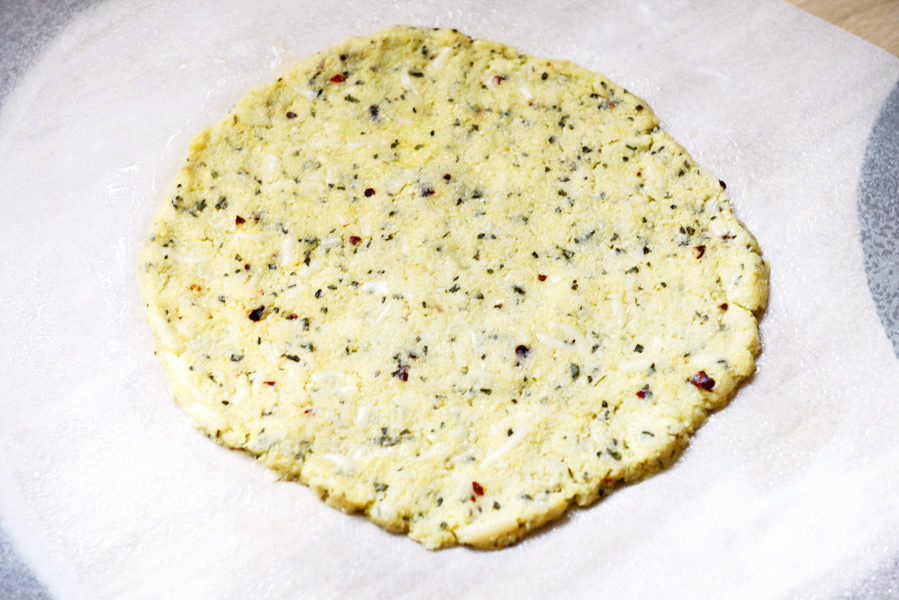


Tasty Kitchen Blog: Cauliflower Crust Pizza. Guest post by Jessica Merchant of How Sweet It Is, recipe submitted by TK member Michelle of The Lucky Penny.

Form the dough into a thin circle and bake it for a few minutes until golden.
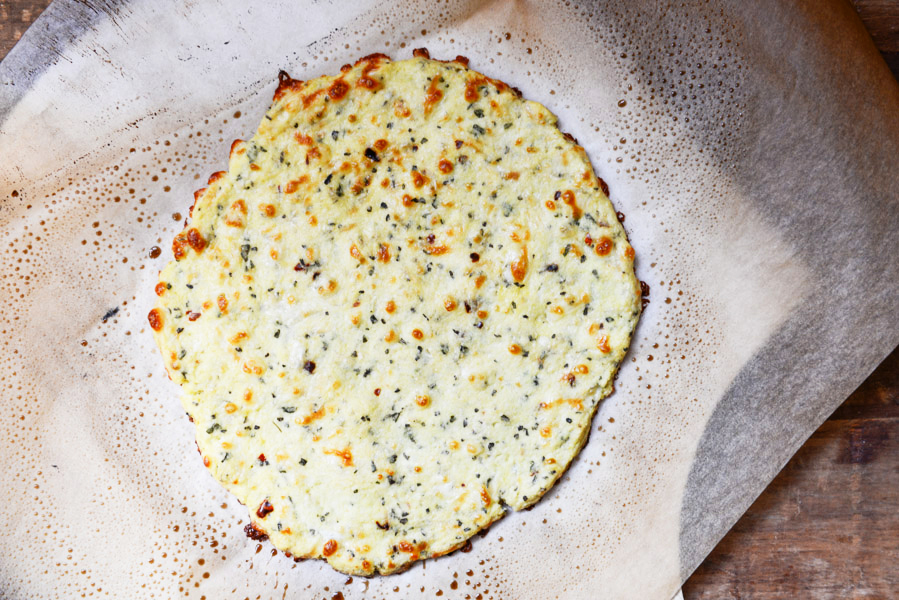


Tasty Kitchen Blog: Cauliflower Crust Pizza. Guest post by Jessica Merchant of How Sweet It Is, recipe submitted by TK member Michelle of The Lucky Penny.

It will look like this! At this point, it smells freaking delicious. Definitely good enough to eat. So much cheeeeeeese.
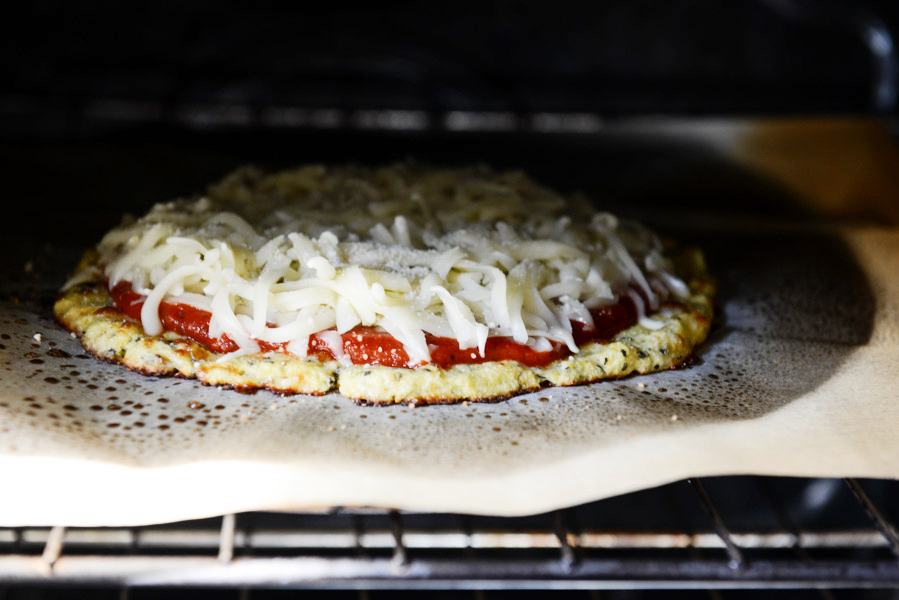


Tasty Kitchen Blog: Cauliflower Crust Pizza. Guest post by Jessica Merchant of How Sweet It Is, recipe submitted by TK member Michelle of The Lucky Penny.

But clearly not enough cheese, as you add your toppings and bake it a bit longer. Uh huh.
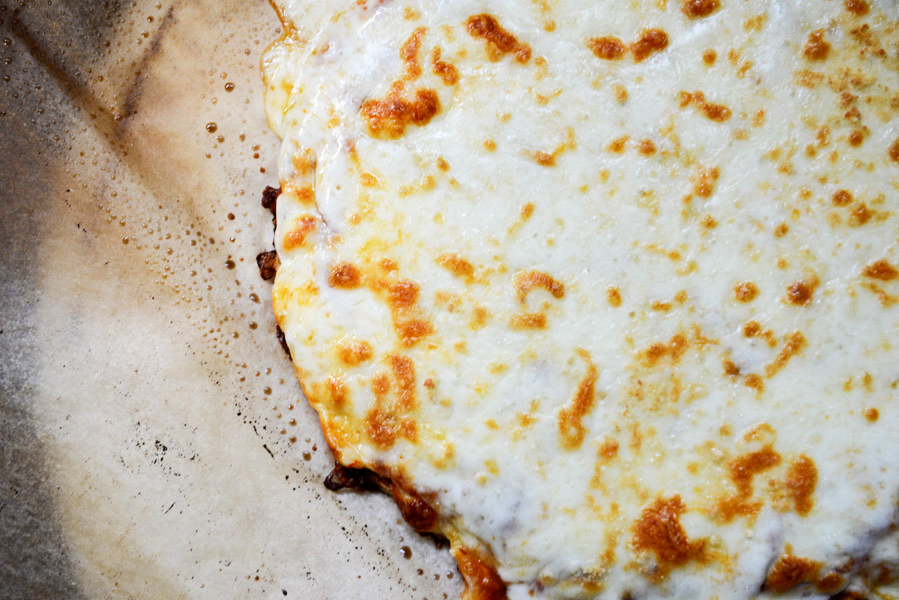


Tasty Kitchen Blog: Cauliflower Crust Pizza. Guest post by Jessica Merchant of How Sweet It Is, recipe submitted by TK member Michelle of The Lucky Penny.

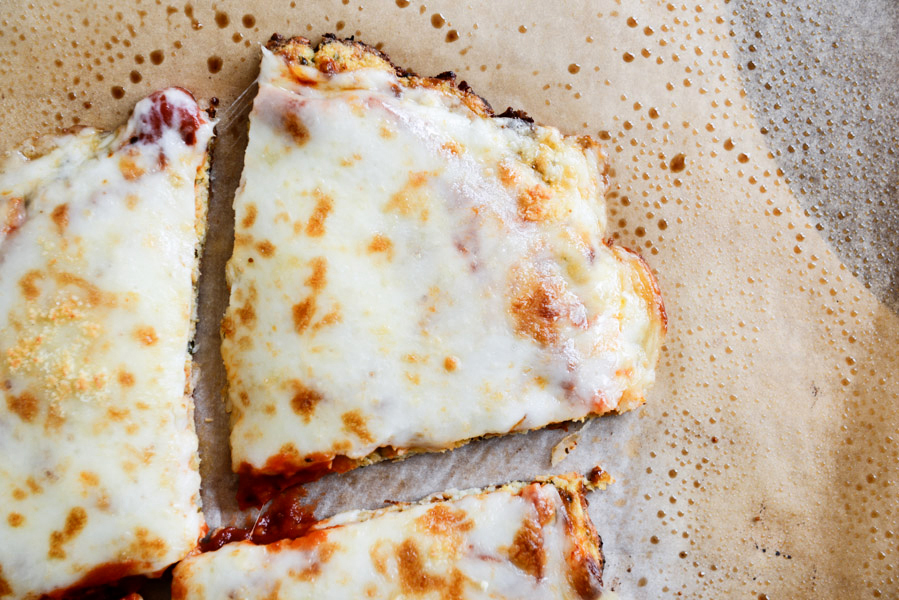
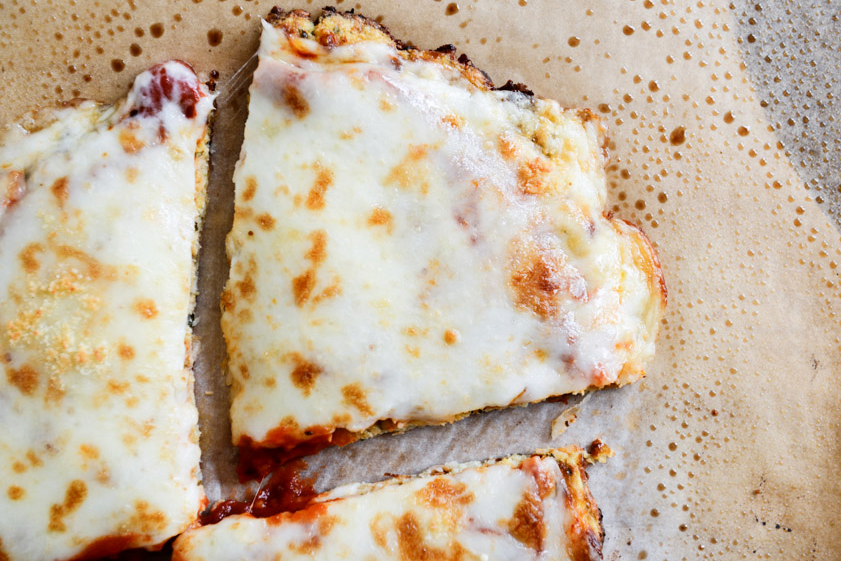
Cheesy goodness. All the way.


Tasty Kitchen Blog: Cauliflower Crust Pizza. Guest post by Jessica Merchant of How Sweet It Is, recipe submitted by TK member Michelle of The Lucky Penny.

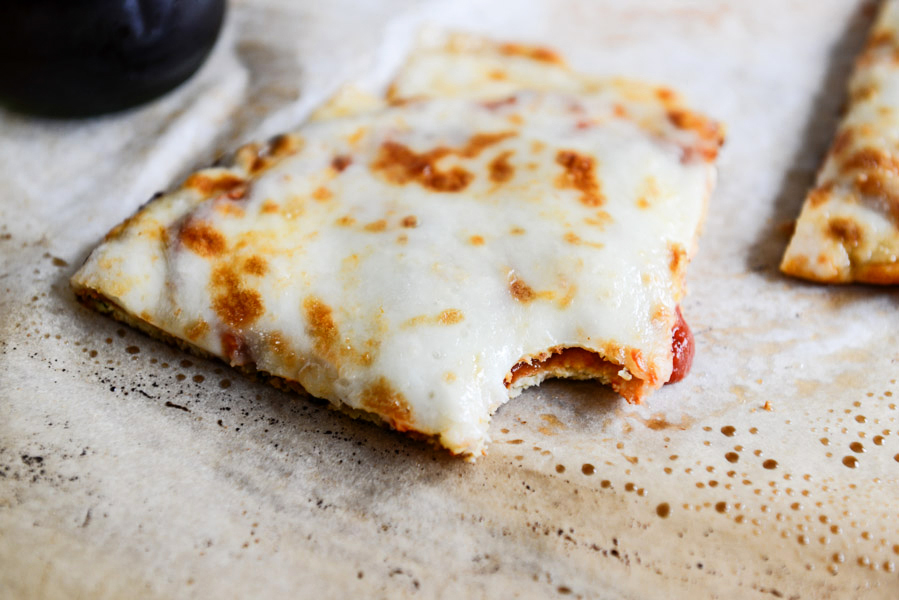
Let the pizza cool slightly before cutting. By doing this, the crust remains intact.


Tasty Kitchen Blog: Cauliflower Crust Pizza. Guest post by Jessica Merchant of How Sweet It Is, recipe submitted by TK member Michelle of The Lucky Penny.

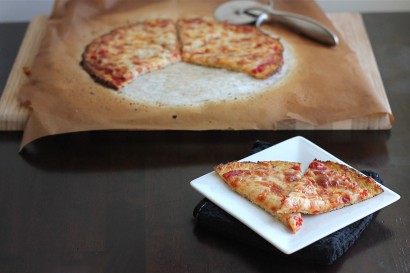
Serve it up. Savor the cheese. So, so good.

I am so glad I took another shot at the cauliflower crust because my mind has changed. It’s totally a winner in my book. Thanks so much to Michelle for the fabulous recipe. Be sure to check out her blog, The Lucky Penny, for more delicious recipes.


Printable Recipe

The Best Cauliflower Crust Pizza

See post on The Lucky Penny Blog’s site!
5.00 Mitt(s) 8 Rating(s)8 votes, average: 5.00 out of 58 votes, average: 5.00 out of 58 votes, average: 5.00 out of 58 votes, average: 5.00 out of 58 votes, average: 5.00 out of 5

Prep Time:

Cook Time:

Difficulty: Easy

Servings: 2

2
x

Print Options

Page size Letter 3x5 4x6
Text Size Small Medium Large
Content Include description
Include prep time, etc.
Show image

Description

This cauliflower crust pizza is so good it’s hard to believe it is gluten and grain-free! You can even pick it up like a regular slice of pizza.

Ingredients

  • 1 head (Small Head) Cauliflower
  • ¼ cups Parmesan Cheese
  • ¼ cups Mozzarella Cheese
  • ¼ teaspoons Kosher Salt
  • ½ teaspoons Dried Basil
  • ½ teaspoons Dried Oregano
  • ½ teaspoons Garlic Powder
  • Red Pepper Flakes (optional)
  • 1 Tablespoon Almond Meal (optional)
  • 1 whole Egg

Preparation Instructions

Place a pizza stone in the oven, or baking sheet if you don’t have a pizza stone. Preheat oven to 450ºF. On a cutting board, place a large piece of parchment paper and spray it with nonstick cooking oil.

Wash and throughly dry a small head of cauliflower. Don’t get one the size of your head unless you are planning on making 2 pizzas. Cut off the florets—you don’t need much stem, just stick with the florets. Pulse in your food processor for about 30 seconds, until you get powdery snow like cauliflower. You should end up with 2 to 3 cups cauliflower “snow”. Place the cauliflower in a microwave safe bowl and cover. Cook for 4 minutes. Dump cooked cauliflower onto a clean tea towel and allow to cool for a bit before attempting the next step.

Once cauliflower is cool enough to handle, wrap it up in the dish towel and wring the heck out of it. You want to squeeze out as much water as possible. This will ensure you get a chewy pizza like crust instead of a crumbly mess.

Dumped squeezed cauliflower into a bowl. Now add Parmesan cheese, mozzarella cheese, kosher salt, dried basil (crush up the leaves even more between your fingers before adding), dried oregano (crush up the leaves even more between your fingers before adding), garlic powder (not garlic salt), and a dash of red pepper if you want. I also added 1 tablespoon almond meal because my cauliflower yielded closer to 2 cups of cauli snow; this is optional and I would not add the almond meal if you have closer to 3 cups of cauli snow. Now add the egg and mix away. Hands tend to work best.

Once mixed together, use your hands to form the dough into a crust on your oiled parchment paper. Pat it down throughly, you want it nice and tightly formed together. Don’t make it too thick or thin either.

Using a cutting board, slide the parchment paper onto your hot pizza stone or baking sheet in the oven. Bake for 8-11 minutes, until it starts to turn golden brown. Remove from oven.

Add however much sauce, cheese, and toppings you want. I’m not gonna give you measurements for this. You know how you like your pizza—so go for it! Slide parchment with topped pizza back in the hot oven and cook for another 5 to 7 minutes until the cheese is melted, bubbly, and slightly golden.

Test your patience and allow it to cool for a minute or two. Probably closer to two. Then using a pizza cutter and a spatula, serve up your delicious grain-free cauliflower crust pizza!


_______________________________________

Jessica Merchant is a personal trainer turned food writer and blogger. Her blog, How Sweet Eats, is where she proclaims her love for all things sweet, all things bacon, and everything else in between. She works her magic in her Pittsburgh kitchen, which she shares with her husband of 2 years.
 

Profile photo of georgiapellegrini

Greek Roasted Shrimp with Olives and Feta

Posted by in Step-by-Step Recipes

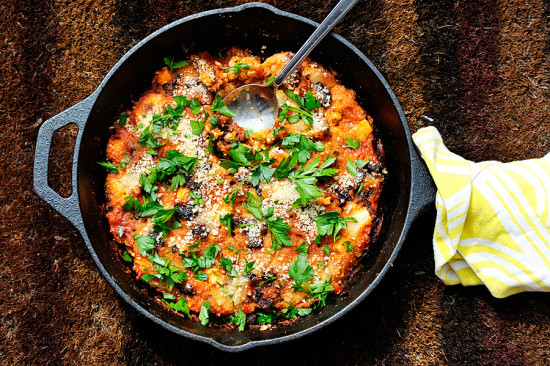
  I love a good one dish meal—so many fewer dishes to clean! Plus there is something lovely about making something in a skillet and casserole and serving is tableside. This Greek Roasted Shrimp with Olives and Feta from TK member Marie was to die for. The tomatoes became richer and sweeter as they cooked […]

Profile photo of Erica Lea

Frozen Thai Iced Coffee

Posted by in Step-by-Step Recipes

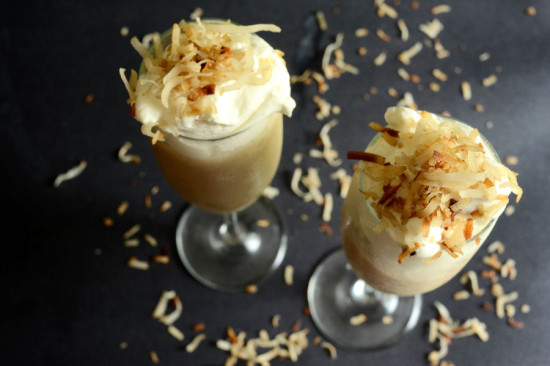
  Let’s all take a moment of silence and respect for whoever first invented iced coffee. It’s about the best summertime treat (root beer floats are a close second). In fact, it’s one of my favorite drinks any time of the year. Today’s recipe—Frozen Thai Iced Coffee—-is brought to us by Stephanie, adapted from King Arthur…

Profile photo of Faith (An Edible Mosaic)

(Coconut Flour) Cake Donuts

Posted by in Baking, Step-by-Step Recipes

  I’ve been dabbling with paleo for about a year now, and one of my favorite things to do is re-make not-so-healthy desserts into healthier paleo versions. Any time I see a paleo treat, I can’t help but take a closer look. When I saw Tasty Kitchen member Traci’s recipe for (Coconut Flour) Cake Donuts, […]
Profile photo of georgiapellegrini

Cheesy Baked Green Chile Rice

Posted by in Step-by-Step Recipes

  This recipe for Cheesy Baked Green Chile Rice from TK member Lindsay made my house smell so amazing that those passing by begged for a bite. It is a wonderful combination of cheesy, spicy, crunchy deliciousness. And you can make it in small or large skillets or a baking dish and serve it tableside. […]