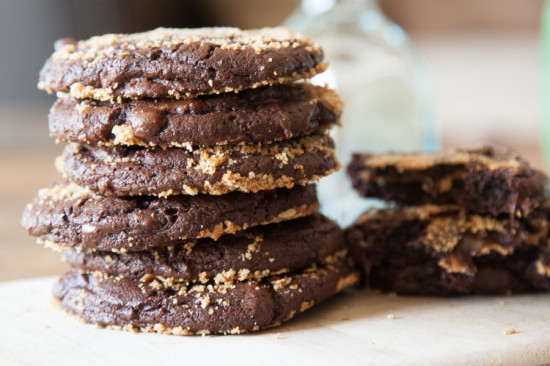
I am absolutely thrilled to be sharing this recipe with you today. Not only because these cookies are delicious and sure to impress whoever you share them with but also because for me, they hold a deeper, much more special meaning: I learned how to make them from my Syrian mother-in-law Sahar in her tiny kitchen in Damascus.
Although small, Sahar’s kitchen is efficient and she moves around it with all the grace and ease that a ballerina would dance onstage. Being in Sahar’s kitchen is an experience in itself: there are bright stacks of apricot leather waiting to be made into creamy puddings or refreshing drinks; jars of homemade pickled vegetables (like cucumber, olives, radish, and cauliflower); huge containers of homemade vinegar; a rainbow of homemade jams; tins of cookies just begging for a neighbor to stop by for an impromptu visit so they can be brought out; and all manner of dried herbs and spices. The scent of fresh ground Turkish coffee picked up at the market and baharat (spice) lingers in the air and mingles with the aroma of jasmine that wafts in through the open, but curtained window.
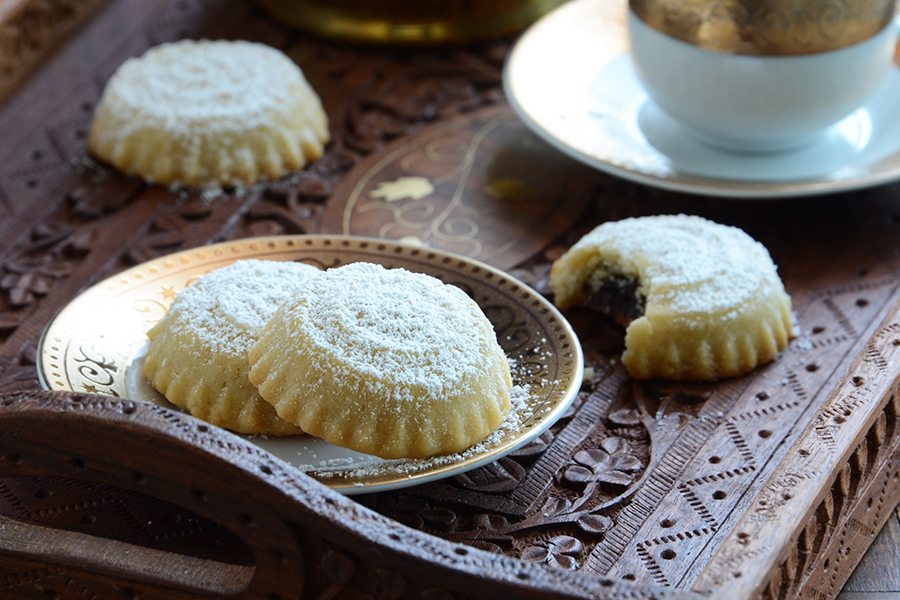
Sahar is an artist; her kitchen is her studio and food is her medium. These cookies remind me of the time I spent learning from her, watching intently and scrawling detailed notes as she lovingly taught me the secrets of Syrian cooking, which is more about the sensory experience it induces than about following an exact recipe or measurement. It’s about making something you can be proud to serve your loved ones. This recipe for Middle Eastern Date-Filled Cookies (Ma’amoul) is one of the many that I had the honor of collecting from Sahar, and it can be found in my cookbook An Edible Mosaic: Middle Eastern Fare with Extraordinary Flair (Tuttle; 2012).
Ma’amoul means “stuffed” in Arabic, and these cookies can be stuffed with a number of different fillings. Date filling is traditional for celebrating Eid, but walnuts (flavored either with orange blossom syrup or cinnamon) and pistachios (flavored with rose water and orange blossom water) are also common. These cookies are easiest to make using a ma’amoul mold (which can be purchased online or at Middle Eastern grocery stores), but below I also show how to make them without one.
While these cookies are a bit time-consuming, if you have a free afternoon they really are worth every effort. As a bonus, they will keep nicely for up to a month stored in an airtight container at room temperature. Another nice thing is that it’s an easy recipe to double, which I often do because the cookies keep so well.
Ready to start? I wish we could take a step into my mother-in-law’s kitchen together, but for now mine will have to do.
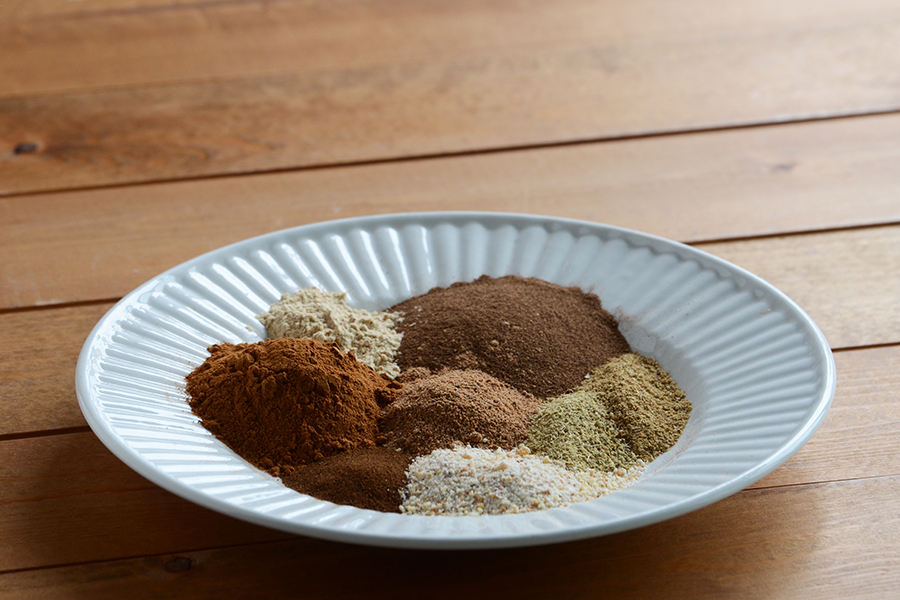
The first thing to do is mix up the cake spice mix, which is a combination of ground cinnamon, allspice, mahlab (which is ground seed kernels from St. Lucie cherries), nutmeg, ginger, fennel seed, anise, and cloves. I usually make a double or triple batch because I use it pretty frequently, but even a single batch is more spice mix than what you’ll need for this recipe. Store the extra mix in an airtight jar in the pantry or spice cupboard.
Mahlab is a lovely spice—it smells like a cross between almonds and cherries, and can be found at specialty spice shops or Middle Eastern grocery stores. If you can’t find it, although it won’t be quite the same, for a similar flavor you can add a couple drops of pure almond extract instead.
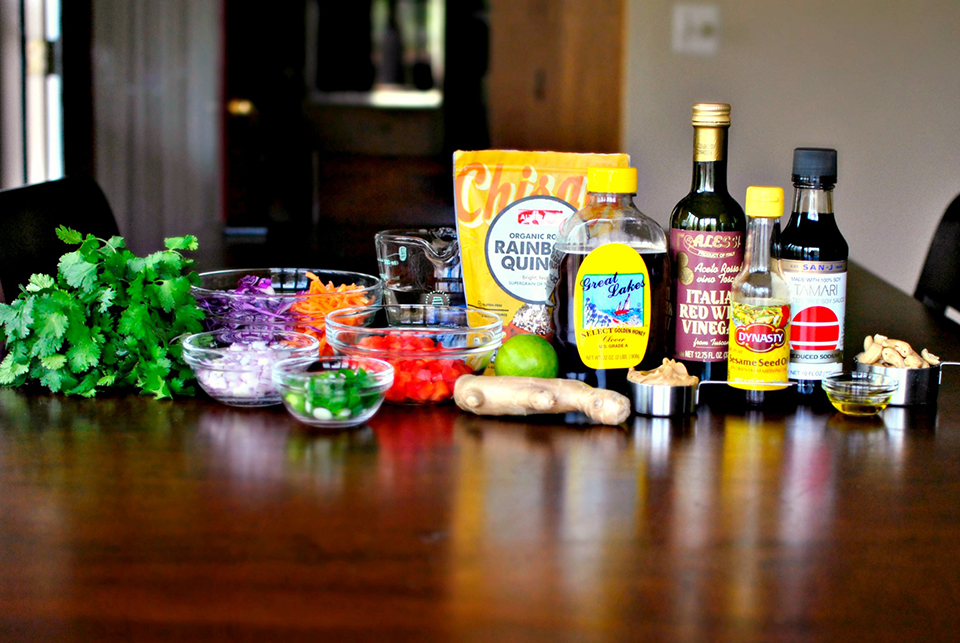
Then once you mix up the cake spice mix, get out everything else you’ll need.

Here we have ghee or clarified butter (in the green tub with the cow on it), granulated sugar, flour, canola oil, water, powdered sugar, yeast, date paste, and the cake spice mix.
I’m going to let you in on a little secret about the dates for the filling in this recipe: if you use a really high-quality date paste, it might not need to be processed using the grinder attachment on a stand mixer or using a heavy-duty food processor (just use the same amount of date paste as you would use of pitted, chopped dates). The brand of date paste I show pictured above (Onaizah Dates Factory) is great; it’s very smooth and well-pureed. I ran it through the grinder attachment on my stand mixer once just to show how it looks when it comes out but it really was smooth enough that it didn’t need it. If you’re using pitted, chopped dates or date paste that isn’t completely smooth, you’ll need to grind it yourself.
Speaking of grinding dates yourself, I have to warn you, this next set of pictures isn’t pretty on any level.

Here’s the ground date paste (left), the date paste with spice (center), and the date paste after kneading the spice in. (That might look like a lot of date filling, but it is enough for 2 ½ batches of cookies.)
If you need to grind the date paste yourself, a stand mixer fitted with a food grinding attachment (fine grind) really is the best way to go, but a super heavy-duty food processor will also work—just be sure to use canola oil to oil the blade well first.
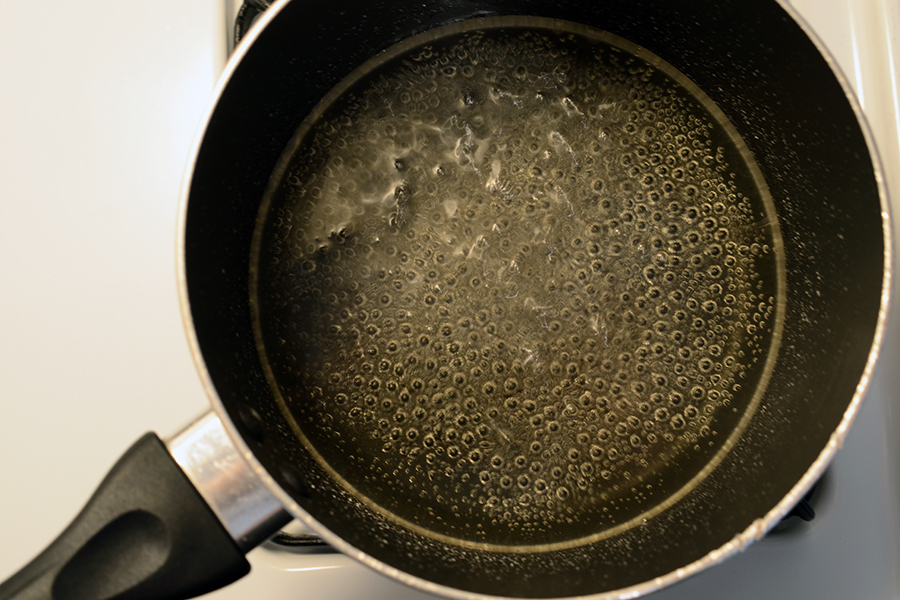
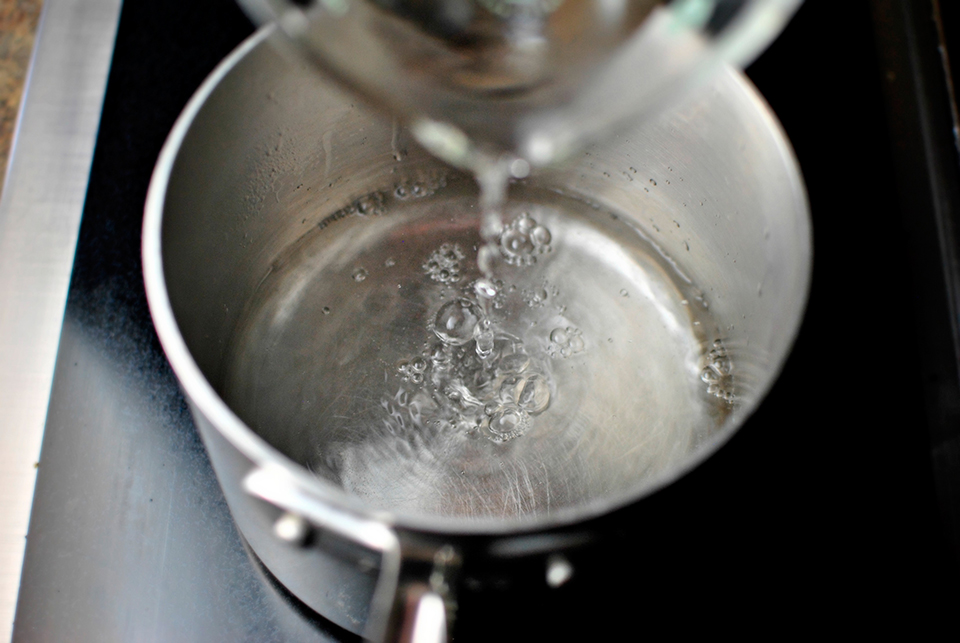
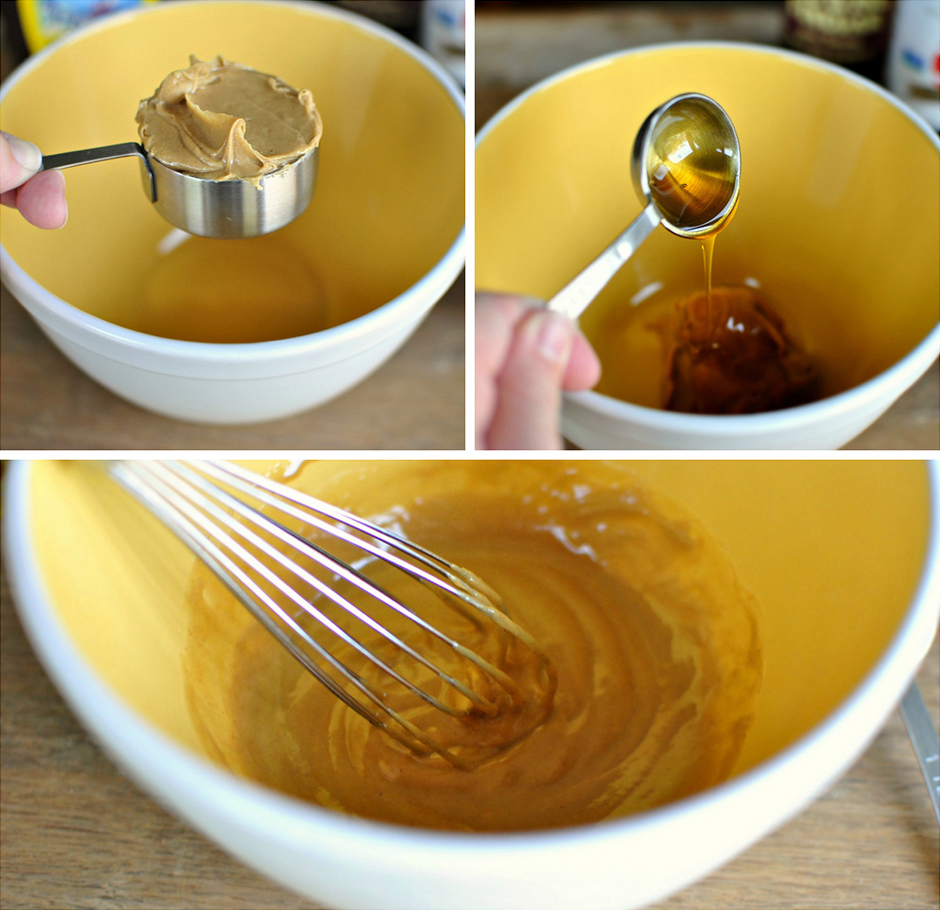
The dough is sweetened with simple sugar syrup, so add the sugar and water to a small saucepan over medium heat. Bring to a boil (swirling the pan, but not stirring), boil for 1 minute, and then turn the heat off and cool slightly.
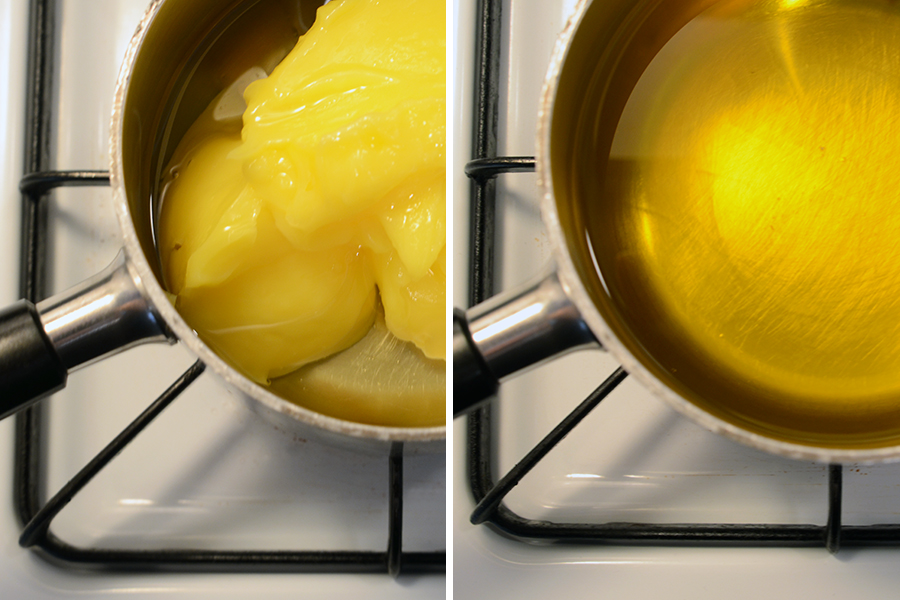
Melt the ghee and oil together in a small saucepan.
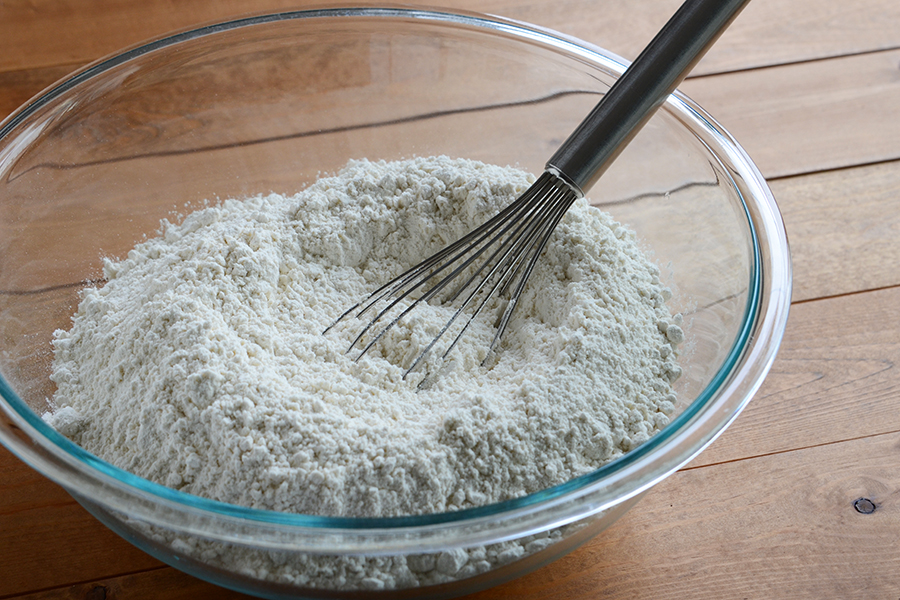
Put the flour into a large bowl and whisk in the yeast.
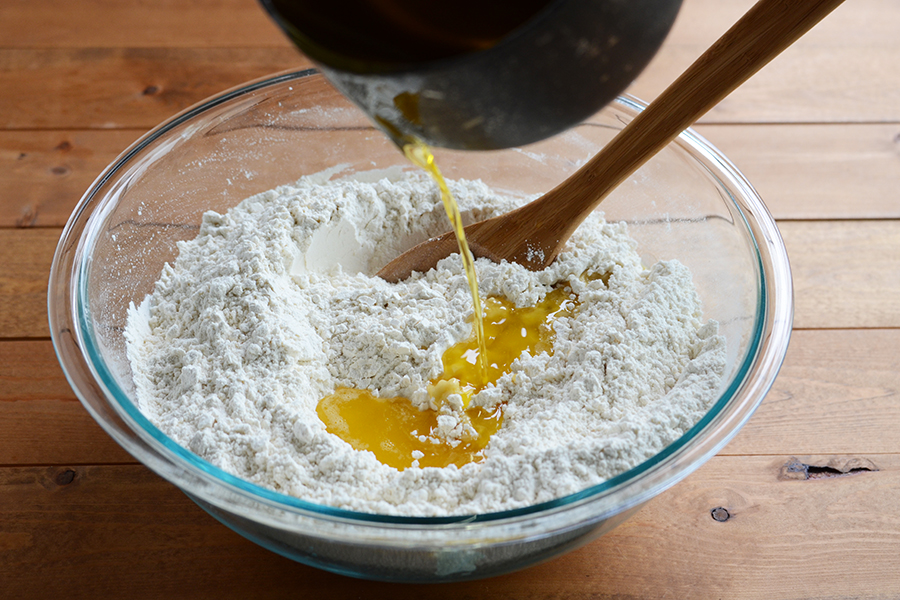
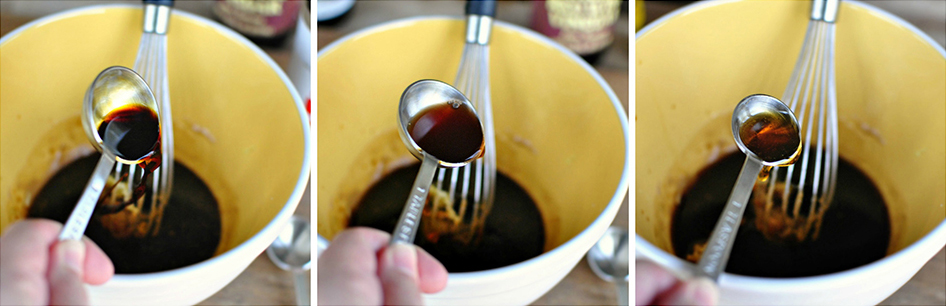
Gradually stir the oil mixture into the flour …
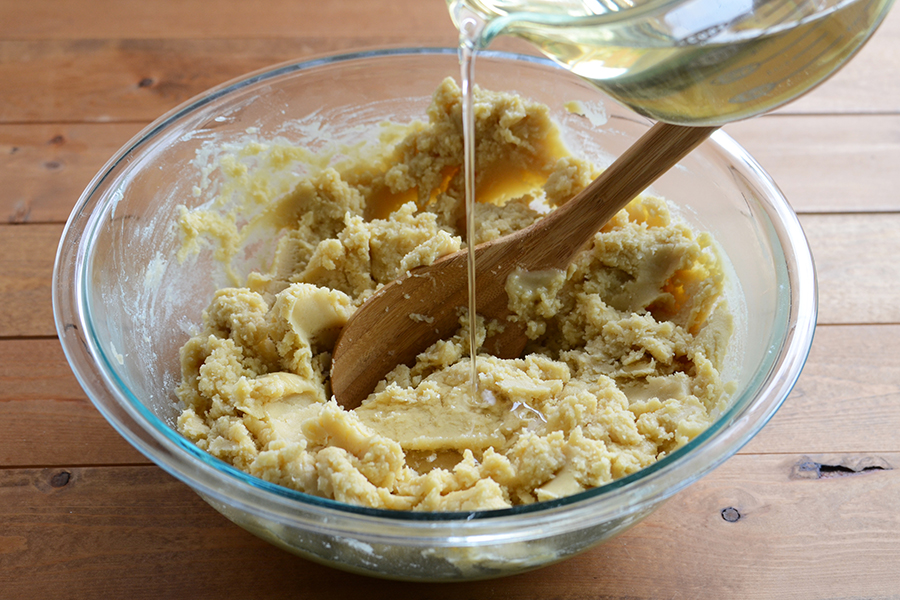
And then gradually stir in the sugar syrup.
Knead the dough a bit so it comes together into dough that’s somewhat soft and shaggy (it will be oily). (Just an FYI, my mother-in-law doesn’t knead this dough the way you’d knead normal bread dough; instead of using the heels of her palms, she uses her fingers to run them through the dough, moving one hand in one direction and the other hand in the other direction at the same time, which gives the dough its shaggy look. Practice a bit and you’ll easily get the hang of it.)
At some point while incorporating the oil and the sugar syrup, you will probably think that there is absolutely no way the dough will take any more liquid. But it will. The key is to add everything gradually and fully stir it in between each addition. You can add up to 4 tablespoons more flour if your dough seems too wet, but you probably won’t need it—and no matter what you do, don’t add more flour than that!
Cover the dough with plastic wrap and put it in the freezer to cool and stiffen slightly, about 10 minutes, then take it out and knead it for a couple minutes more.
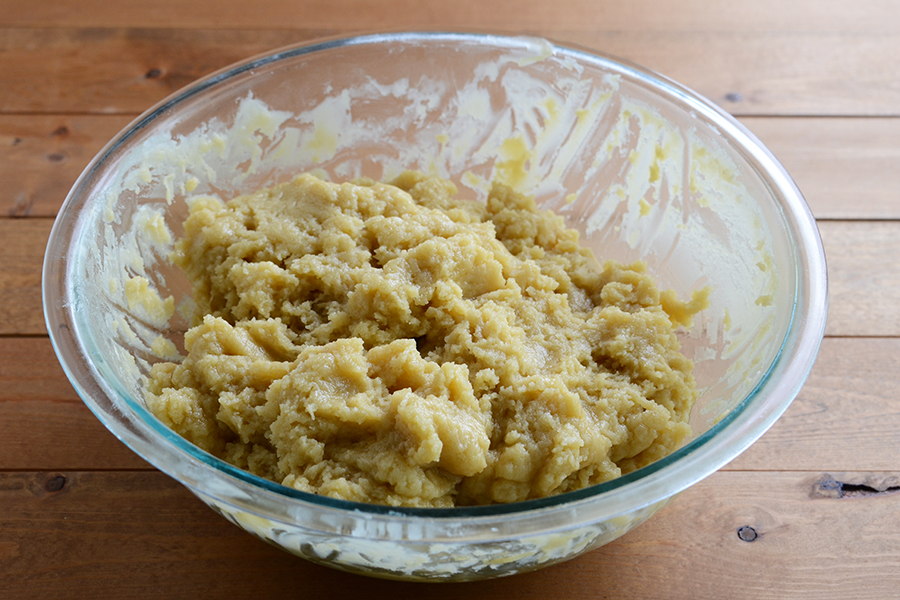
Here’s the dough after a brief chill in the freezer.
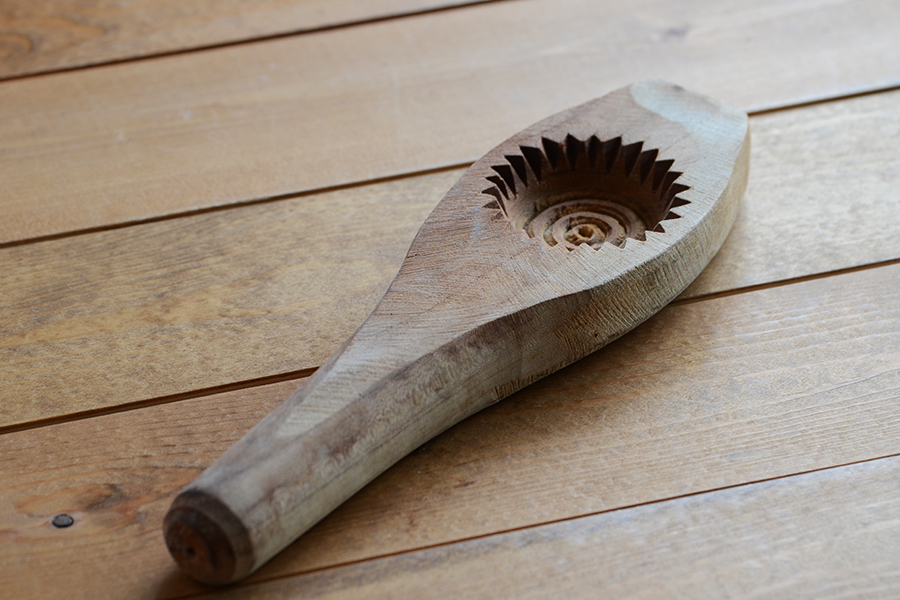
If you have a ma’amoul mold, get it out now. (If not, I’ll show you how to shape the cookies by hand in a second.)
Measure out the dough and the dates for shaping. For the dough, you’ll need to measure out an equal amount of 2 sizes: 1 slightly scant tablespoon of dough (those are the larger balls on the left in the picture below), and 1 slightly scant teaspoon of dough (those are the smaller balls on the right in the picture below); roll each piece into a ball. For the dates, measure 1 teaspoon of the date mixture and roll it into a ball. (You will need the same amount of date balls as you have of large dough balls and small dough balls, so a 1:1:1 ratio of each.) Once you have everything measured out, using the mold is quick, methodical work like shelling peas. Grab a cup of coffee (iced for me, please!) and put on some good music (or grab a friend) and you’ll be done before you realize it.
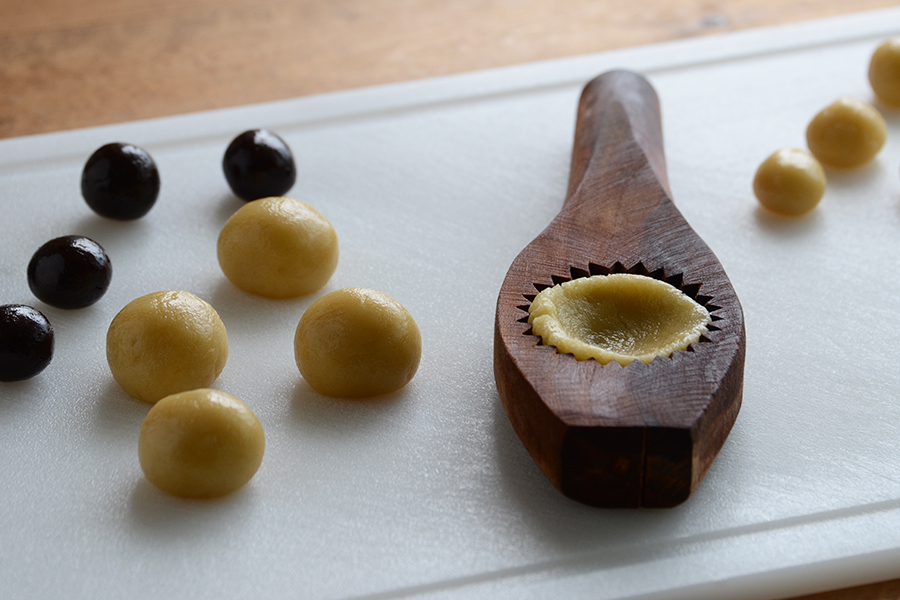
Take 1 piece of the larger balls of dough, slightly flatten it, and then press it into the bottom and up the sides of the mold.
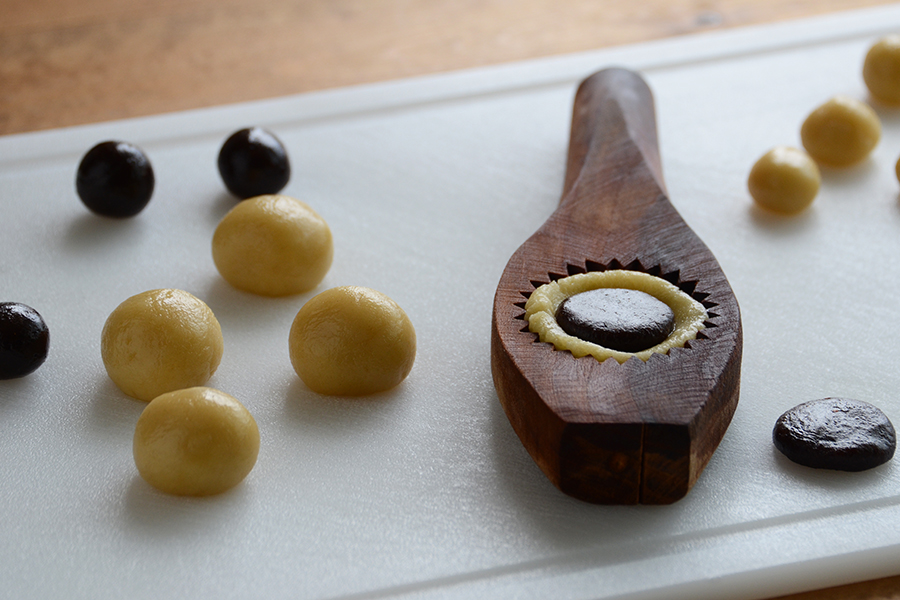
Take 1 of the measured date balls, slightly flatten it, and then gently press it into the dough in the mold.
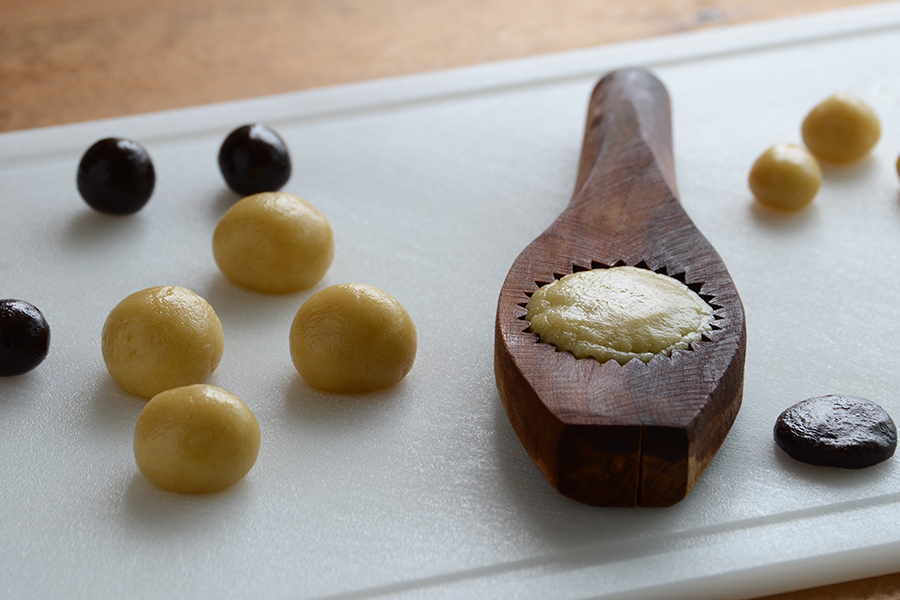
Take 1 piece of the smaller dough balls, slightly flatten it, and put it on top of the date mixture in the mold. Use your fingers to press the dough on top into the dough on the sides.
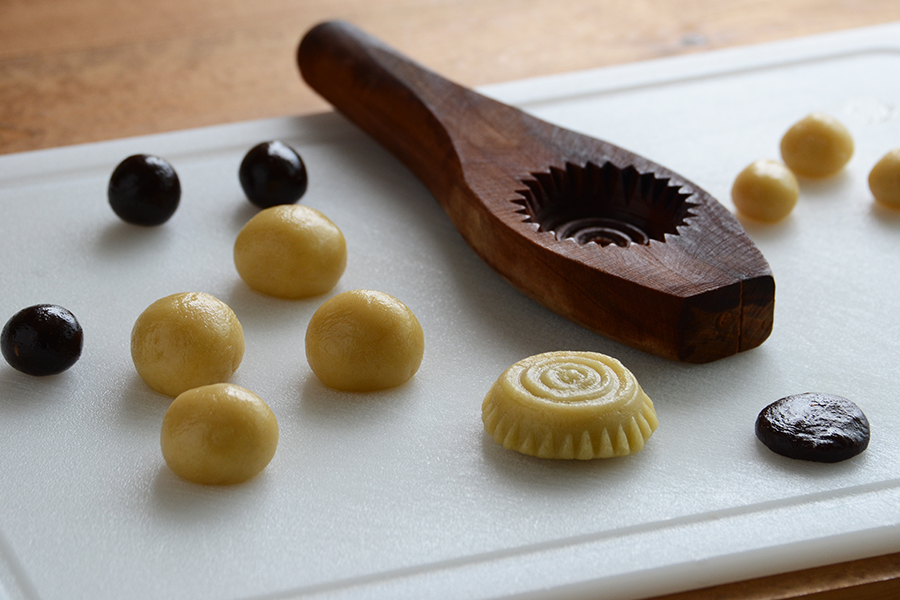
To remove the cookie from the mold, hold the mold by the handle and tap the flat rim on a secure surface a couple times; the cookie will drop right out. Continue this way until you run out of dough and/or date filling.
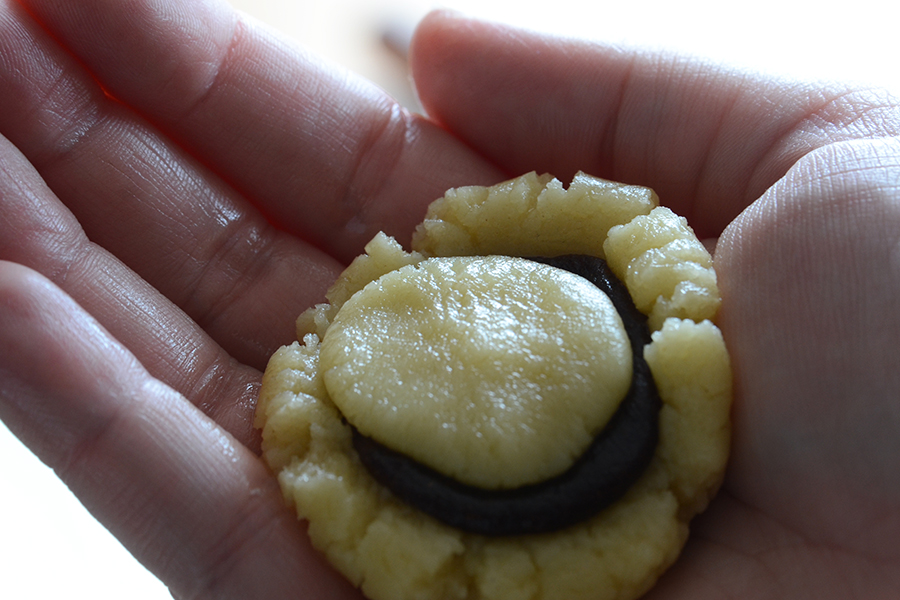
To shape the cookies by hand, take a larger dough ball, flatten it slightly, and lay in it the palm of one hand. Take a date ball, flatten it slightly, and lay it on top of the dough in your hand. Finally, take a smaller dough ball, flatten it slightly, and place it on top of the date filling. (Basically, the palm of your hand becomes the mold.) Gently press the dough on top into the dough on the bottom so the date filling is completely covered. Shape the cookie into a slightly flattened circle.
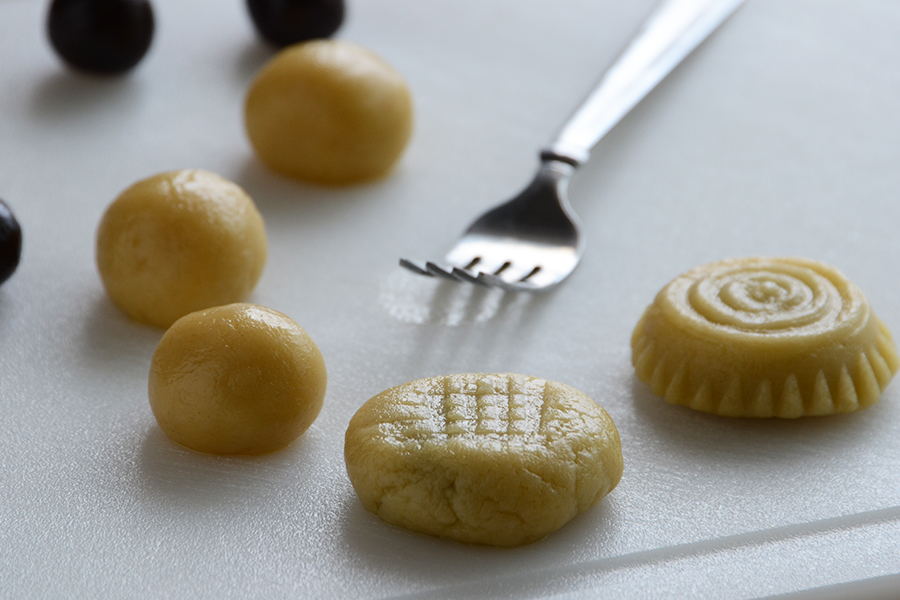
Use a fork to make a decorative cross-hatch pattern on the top. (This method isn’t quite as pretty as using a mold, but it’s still functional!)
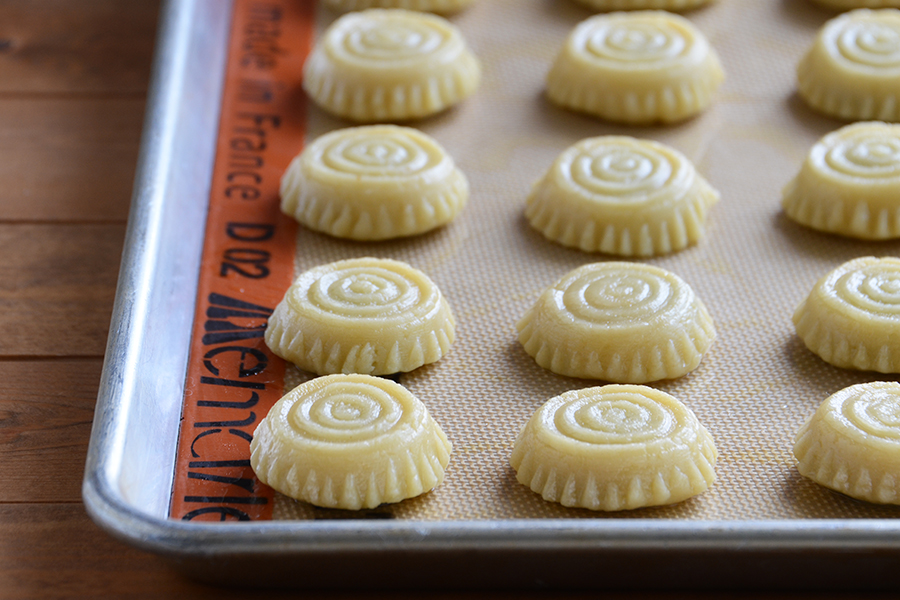
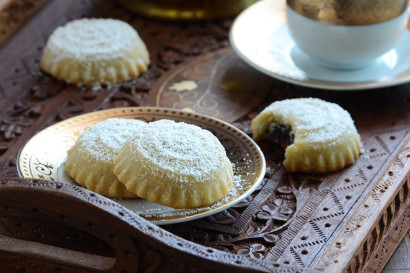
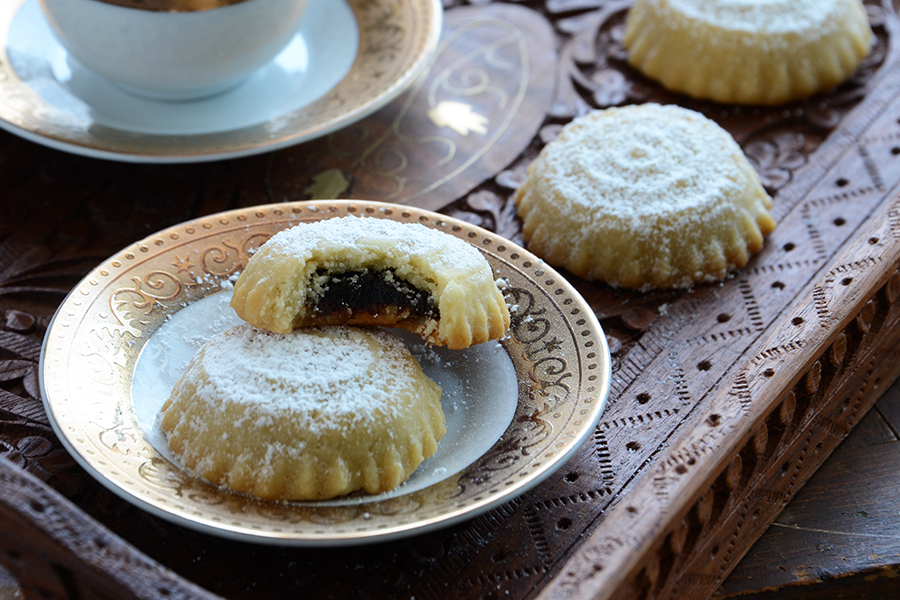
Arrange the cookies about ½ to 1 inch apart on Silpat or parchment paper-lined large baking sheets. Gosh, they’re pretty, aren’t they?
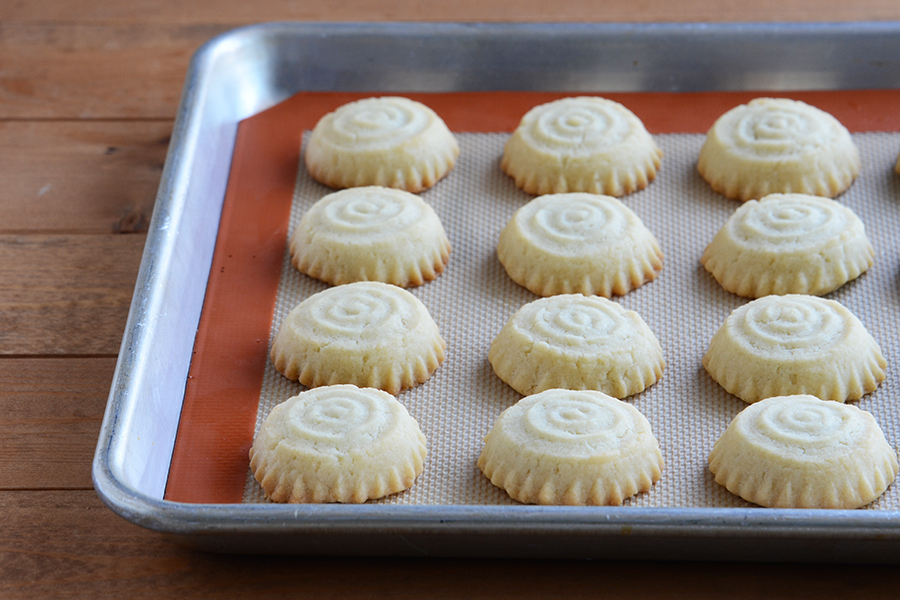
Bake them (at 350ºF) until they look like this (about 20 to 25 minutes, rotating the trays once)—gorgeously golden on the bottom.
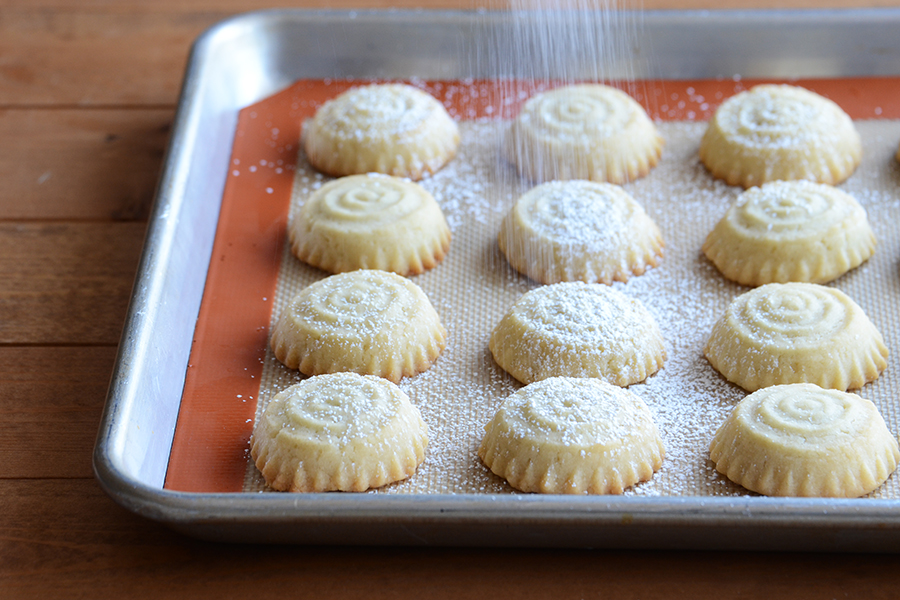
Let them cool completely, and then rain a little powdered sugar on top.
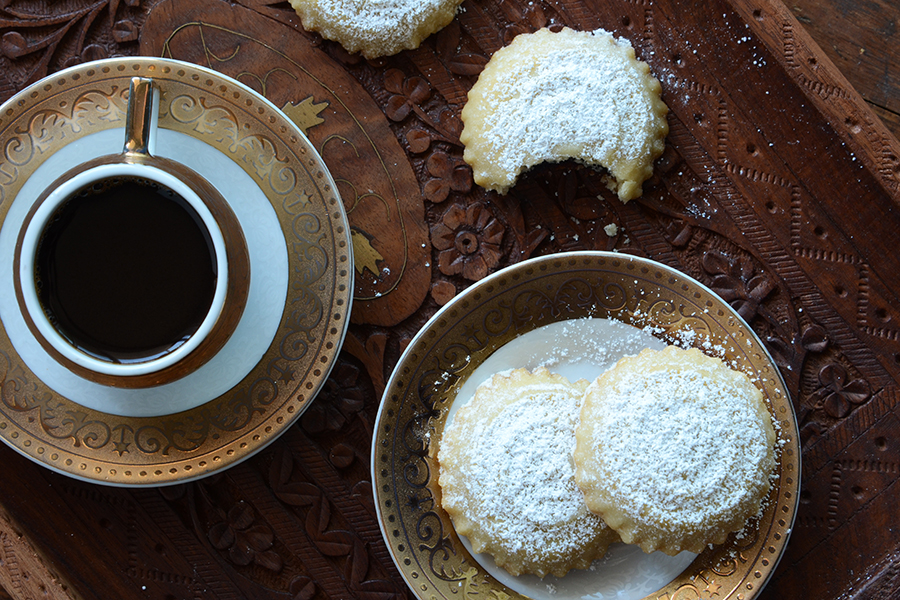
You can store these beauties for up to a month in an airtight container at room temperature (their flavor actually improves as the spices in the filling have the chance to mingle). But at this point I highly recommend brewing up a pot of Turkish coffee and sampling the fruit of your labor. Or a couple of the fruits of your labor.
It’s the perfect way to spend a perfectly sweet afternoon (pun intended).

I hope you enjoy this recipe as much as I do. It truly is like being transported to an exotic place. And feel free to share (if you want).
Description
These beautiful cookies are perfect for any special occasion. While they are a bit time-consuming to make, if you have an afternoon free they’re definitely worth the effort. Ma’amoul means “stuffed” and these cookies can be stuffed with a number of different fillings; date filling is traditional for holidays, but walnut and pistachio are common too. My Syrian mother-in-law taught me this recipe and it’s found in my cookbook.
Ingredients
- FOR THE CAKE SPICE MIX:
- ½ Tablespoons Ground Cinnamon
- 1-¼ teaspoon Ground Allspice
- ½ teaspoons Ground Mahlab (ground Seed Kernel From St Lucie Cherries)
- ½ teaspoons Ground Nutmeg
- ¼ teaspoons Ground Ginger
- ¼ teaspoons Ground Anise
- ¼ teaspoons Ground Fennel Seed
- ¼ teaspoons Ground Cloves
- FOR THE DATE FILLING:
- ¾ pounds Pitted Dates, Coarsely Chopped (or Date Paste)
- 2 Tablespoons Canola Oil
- 1-½ teaspoon Cake Spice Mix (recipe Above)
- FOR THE DOUGH:
- 1 cup Sugar
- ¾ cups Water
- ¼ cups Canola Oil
- ¾ cups Clarified Butter (Ghee)
- 4 cups All-purpose flour, Plus Up To 4 Tablespoons More For Kneading
- ½ teaspoons Instant Yeast
- FOR DUSTING ON TOP (optional):
- ¼ cups Powdered Sugar
Preparation Instructions
1. Mix together the spices for the cake spice mix. You will only need 1 ½ teaspoons of the spice mix for recipe; store the remaining spice mix in an airtight container at room temperature for up to 6 months.
2. To make the date filling, grind the dates and oil in a stand mixer fitted with a food grinding attachment (fine grind) or in a heavy-duty food processor. If using a stand mixer, alternate between adding the dates and oil. If you’re using a food processor, before you add any dates, rub oil on the blade and inside of the bowl. Once processed, oil your hands and knead the cake spice mix into the dates.
3. To make the dough, combine the sugar and water in a small saucepan over medium heat. Bring to a full, rolling boil (occasionally giving the pan a swirl); boil 1 minute and then turn off the heat. Cool 5 to 10 minutes.
4. Combine the oil and clarified butter in a separate small saucepan and cook over medium heat until the butter is just melted, about 2 minutes; cool slightly.
5. Put the flour in a large bowl and whisk in the yeast. Use a wooden spoon to gradually incorporate the oil mixture, then gradually incorporate the sugar syrup. Knead the dough until it comes together nicely into a shaggy dough, adding up to 4 tablespoons more flour as needed (when done, the dough will be soft and should look smooth, shiny, and slightly oily). Cover the dough, put it in the freezer to stiffen slightly, about 5 to 10 minutes, and then knead it again for a couple minutes.
6. Preheat oven to 350°F (175°C); line 2 large baking sheets with parchment paper or Silpat liners.
7. To shape the cookies with a ma’amoul mold (see note below), measure 1 slightly scant tablespoon of dough and roll it into a ball; slightly flatten it with your hands, then press it into the bottom and up the sides of the mold. Measure 1 teaspoon of the date mixture and roll it into a ball; slightly flatten it and gently press it into the dough in the mold. Measure 1 slightly scant teaspoon of dough, roll it into a ball, slightly flatten it, then put it on top of the date mixture in the mold; use your fingers to press the dough on the top into the dough on the sides. To remove the cookie from the mold, hold the mold by the handle and tap the flat rim on a secure surface; the cookie will drop right out.
8. Arrange the cookies on the baking sheets about ½ to 1 inch (1 ¼ to 2 ½ cm) apart (if you use 2 half-sheet pans, the cookies should all fit on 2 pans; if you use smaller pans you will need to cook them in 2 batches). Bake until light golden brown on the bottom, about 20 to 25 minutes, rotating the trays once.
9. Cool completely, and then dust with the powdered sugar. To store the cookies, package them layered between parchment paper in an airtight container.
Notes:
Ma’amoul mold: In this recipe I give directions for how to shape these cookies with a ma’amoul mold, which can be purchased at Middle Eastern grocery stores or online. However, these cookies can also be shaped by hand. To do so, measure 1 slightly scant tablespoon of dough and roll it into a ball; slightly flatten it with your hands, then hold it in the palm of 1 hand. Measure 1 teaspoon of the date mixture and roll it into a ball; slightly flatten it and gently press it into the dough in your hand. Measure 1 slightly scant teaspoon of dough, roll it into a ball, slightly flatten it, then put it on top of the date mixture; use your fingers to press the dough on the top into the dough on the sides. Use your hands to gently shape it into a circle, and then use a fork to make a decorative cross-hatch pattern on the top.
Mahlab: This spice is the seed kernel that comes from the center of St. Lucie Cherry pits; it has a lovely aroma and tastes like a cross between almonds and cherries. You can usually find mahlab at specialty spice stores or Middle Eastern grocery stores. If you can’t find it, although the flavor won’t be quite the same, for a similar flavor you could add a couple drops of pure almond extract.
Extra date filling: If you have extra date filling, wrap it well and freeze for up to 6 months. When you’re ready to use it, let it thaw in the fridge overnight, then knead a little bit of canola oil into it until smooth.
Clarified butter (ghee): I don’t recommend replacing the ghee in this recipe with regular butter because of the different water content. Clarified butter can commonly be found at regular grocery stores or easily made at home.
Recipe reprinted with permission from An Edible Mosaic: Middle Eastern Fare with Extraordinary Flair by Faith Gorsky; Tuttle Publishing (2012).
_______________________________________
Faith Gorsky is the writer, recipe developer, photographer, and food stylist behind the blog An Edible Mosaic. She lives in Upstate New York and loves to travel, especially to places steeped in rich culture and history. She also enjoys reading, vintage shopping, watching movies, and is enamored with ancient cultures. She just released her first cookbook, “An Edible Mosaic: Middle Eastern Fare with Extraordinary Flair” (Tuttle Publishing), a collection of authentic Middle Eastern recipes handed down to her from her husband’s family.