The Pioneer Woman Tasty Kitchen
Profile photo of missamy

Apple Bourbon French Toast Casserole

Posted by in Baking, Step-by-Step Recipes

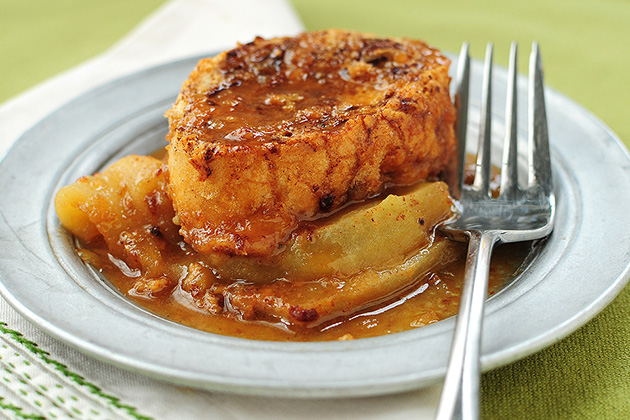
Tasty Kitchen Blog: Apple Bourbon French Toast Casserole. Guest post by Amy Johnson of She Wears Many Hats, recipe submitted by TK member Courtney of Bake. Eat. Repeat.

 
Holidays are here and while we’re all planning for the big meals, what about breakfast? I don’t know about you, but I think about lunch and supper menus and then totally forget about breakfast until the last minute. And breakfast is important, especially if your family tends to eat a late lunch like mine does. This Apple Bourbon French Toast Casserole recipe, submitted by Tasty Kitchen member Courtney, caught my eye as perfect breakfast option for those busy holiday mornings, because it can easily be made ahead and popped in the oven when the sun comes up.

It’s a wonderful mix of apples, brown sugar, cinnamon, with a splash of bourbon. Quite honestly though, it would make a perfect dessert. Or just think, leftovers from breakfast can be enjoyed for dessert later that evening. So is it breakfast or dessert? Breakfast? Or dessert? Or maybe a new Tasty Kitchen category altogether: Bressert. I’m going to talk to those in charge around here about it. I think Ree would agree. Bressert. It’s a good thing.

So let’s get started on this bressert thing.


Tasty Kitchen Blog: Apple Bourbon French Toast Casserole. Guest post by Amy Johnson of She Wears Many Hats, recipe submitted by TK member Courtney of Bake. Eat. Repeat.

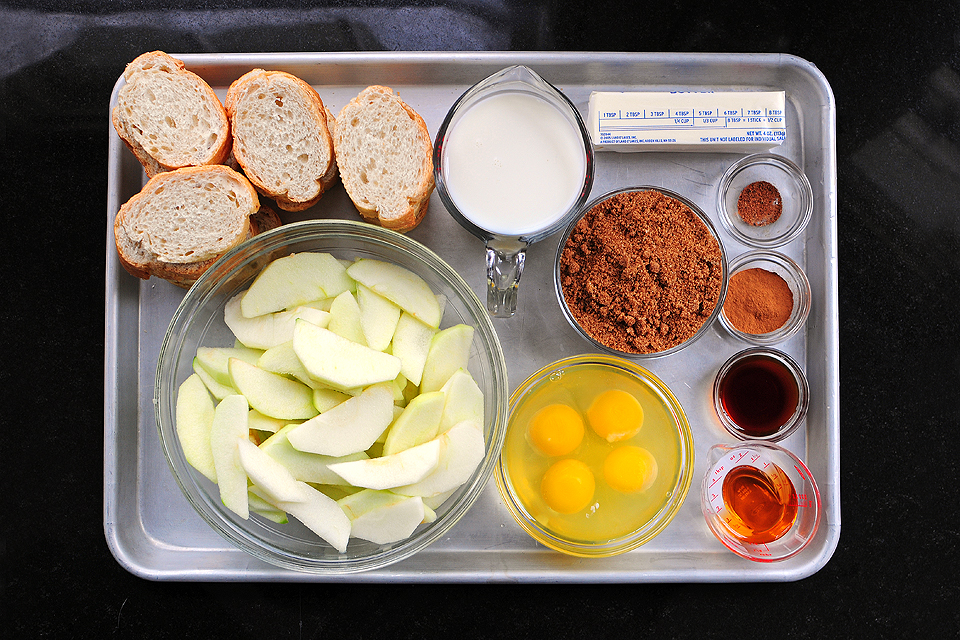
You’ll need butter, brown sugar, bourbon, apples, thick, day old bread, eggs, milk, vanilla, cinnamon, and nutmeg. Courtney’s recipe calls for 6 thick slices of day old bread, but I substituted a crusty French baguette and sliced them thick.


Tasty Kitchen Blog: Apple Bourbon French Toast Casserole. Guest post by Amy Johnson of She Wears Many Hats, recipe submitted by TK member Courtney of Bake. Eat. Repeat.

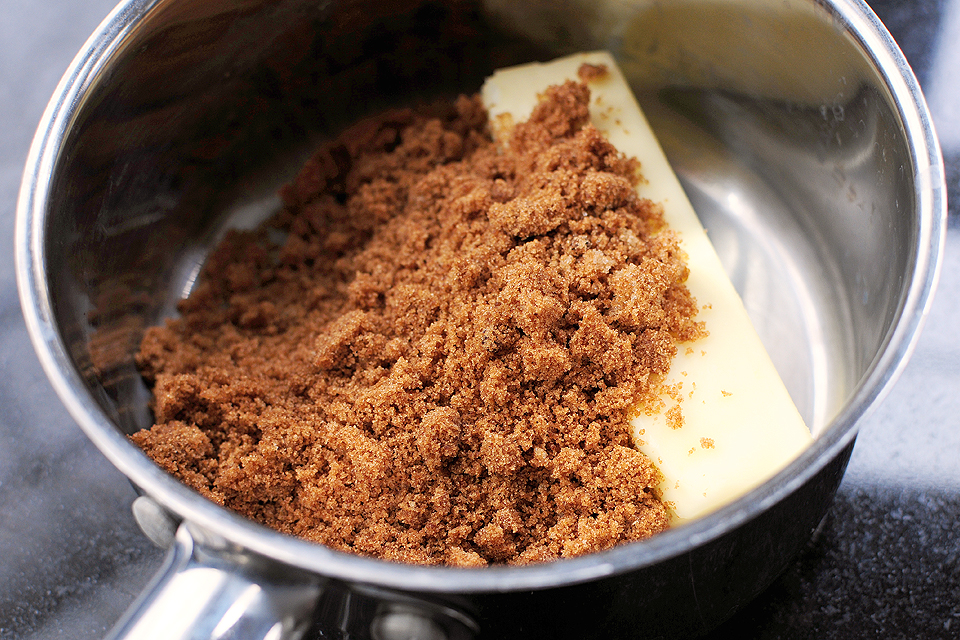
Begin by melting the butter and sugar together in a small pan.


Tasty Kitchen Blog: Apple Bourbon French Toast Casserole. Guest post by Amy Johnson of She Wears Many Hats, recipe submitted by TK member Courtney of Bake. Eat. Repeat.

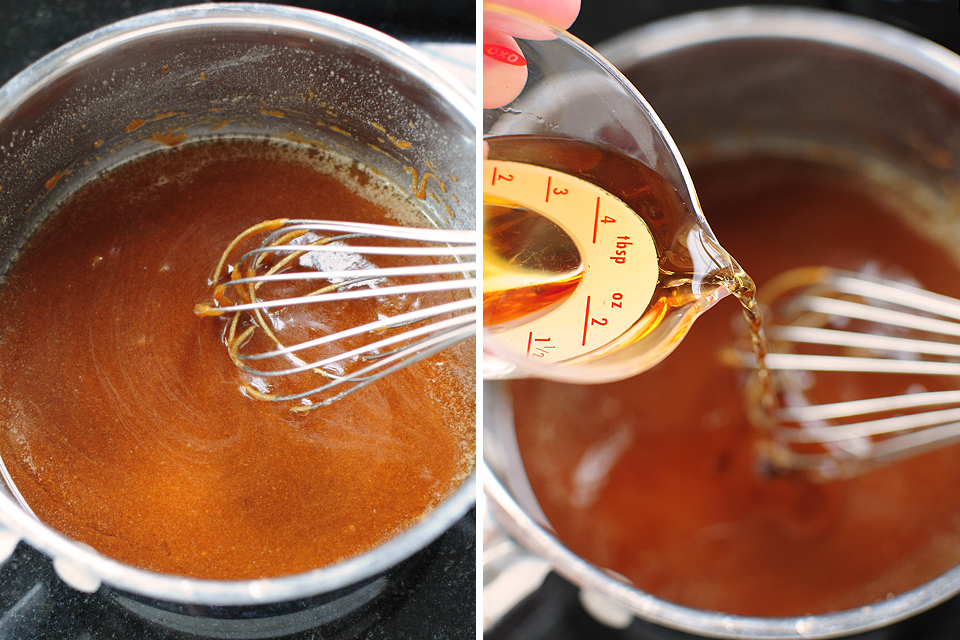
Whisk it together to combine. Whisk in the bourbon and cook until slightly thickened.
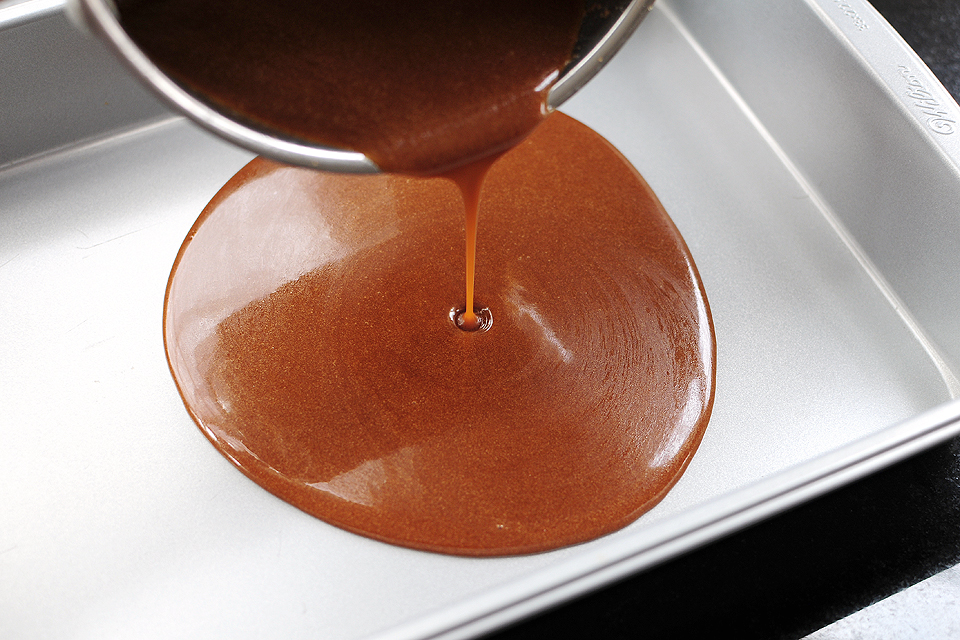


Tasty Kitchen Blog: Apple Bourbon French Toast Casserole. Guest post by Amy Johnson of She Wears Many Hats, recipe submitted by TK member Courtney of Bake. Eat. Repeat.

Pour the butter/bourbon mixture (otherwise known as delicious goodness) into a baking pan.
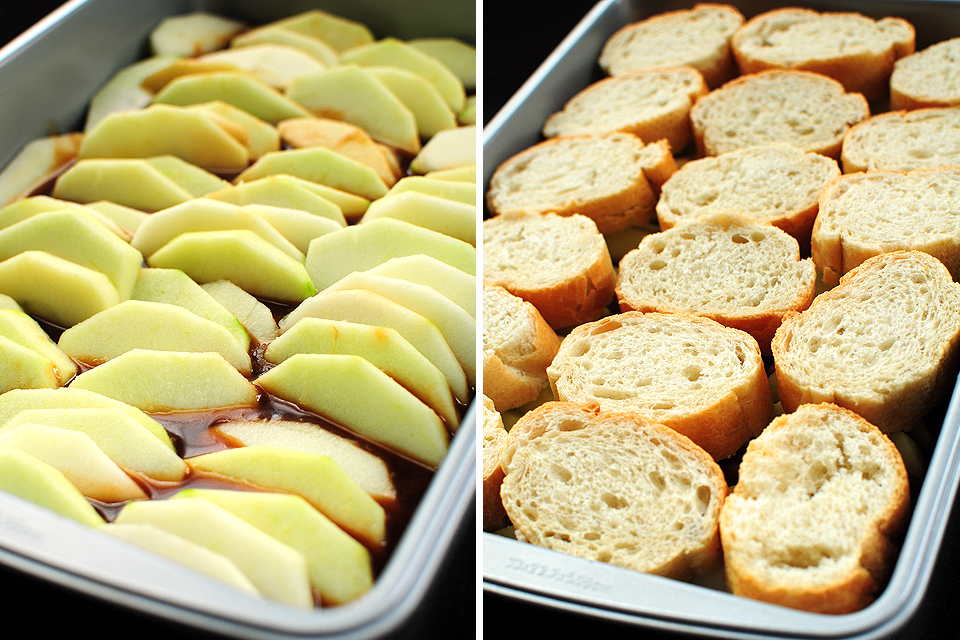


Tasty Kitchen Blog: Apple Bourbon French Toast Casserole. Guest post by Amy Johnson of She Wears Many Hats, recipe submitted by TK member Courtney of Bake. Eat. Repeat.

Top with sliced apples. I cut my apples pretty thin, but you can do whatever you like. Diced apples would be nice too. Add the sliced bread in a single layer on top of the apples.

Almost finished!
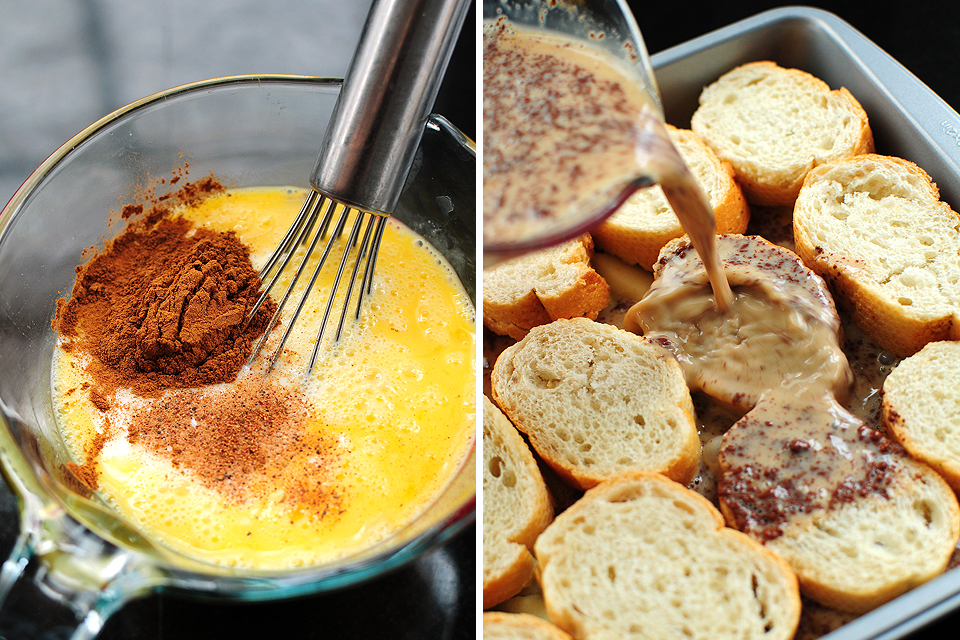


Tasty Kitchen Blog: Apple Bourbon French Toast Casserole. Guest post by Amy Johnson of She Wears Many Hats, recipe submitted by TK member Courtney of Bake. Eat. Repeat.

Beat together the eggs, milk, vanilla, cinnamon and nutmeg. Pour the egg mixture evenly over the bread and let it soak in.

You can either cover the dish and refrigerate it overnight. Or, if you are not making it ahead of time, dip bread slices in the egg mixture before laying them in the pan, then pour the remaining egg mixture over the casserole.
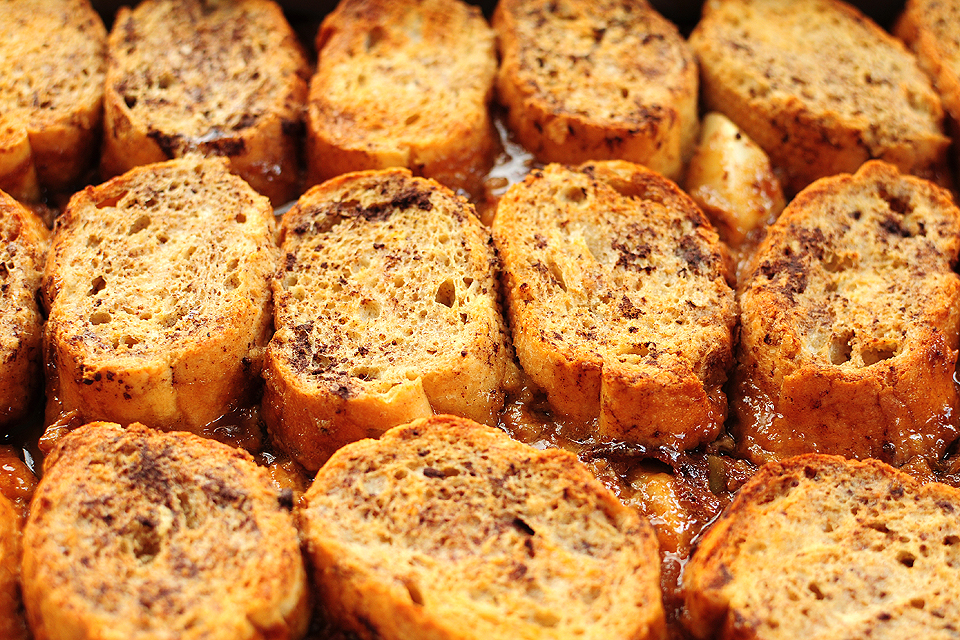


Tasty Kitchen Blog: Apple Bourbon French Toast Casserole. Guest post by Amy Johnson of She Wears Many Hats, recipe submitted by TK member Courtney of Bake. Eat. Repeat.

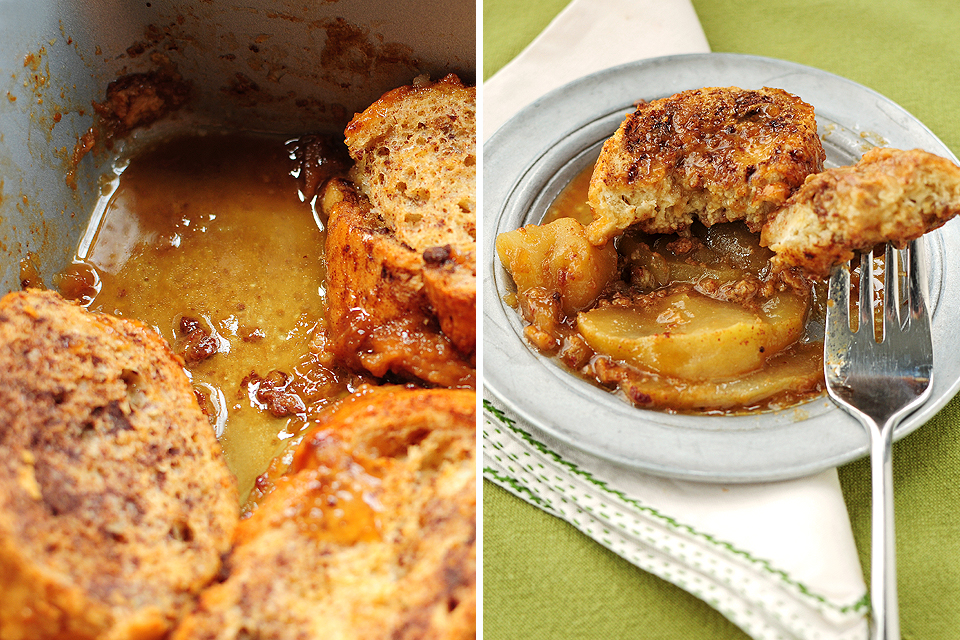
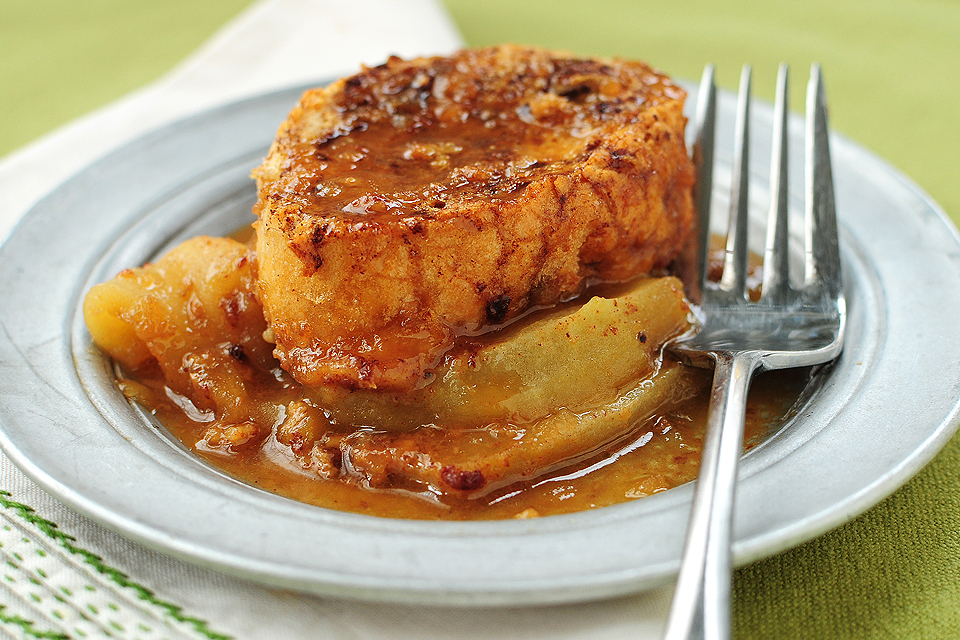
Bake it up! It turns a lovely golden brown, with a crusty top, and an ooey, gooey, sweet bottom.


Tasty Kitchen Blog: Apple Bourbon French Toast Casserole. Guest post by Amy Johnson of She Wears Many Hats, recipe submitted by TK member Courtney of Bake. Eat. Repeat.

Look at the delicious goodness at the bottom. YUM! What better way to start—or end—the day. The perfect bressert, I’d say.


Tasty Kitchen Blog: Apple Bourbon French Toast Casserole. Guest post by Amy Johnson of She Wears Many Hats, recipe submitted by TK member Courtney of Bake. Eat. Repeat.

A big thanks to Courtney for submitting this recipe. It’s going in my bressert file for ever and ever. Which pretty much is in keeping with the name of Courtney’s blog: Bake. Eat. Repeat.


Printable Recipe
Apple Bourbon French Toast Casserole

See post on Courtney’s site!
4.75 Mitt(s) 4 Rating(s)4 votes, average: 4.75 out of 54 votes, average: 4.75 out of 54 votes, average: 4.75 out of 54 votes, average: 4.75 out of 54 votes, average: 4.75 out of 5

Prep Time:

Cook Time:

Difficulty: Easy

Servings: 6

6
x

Print Options

Page size Letter 3x5 4x6
Text Size Small Medium Large
Content Include description
Include prep time, etc.
Show image

Description

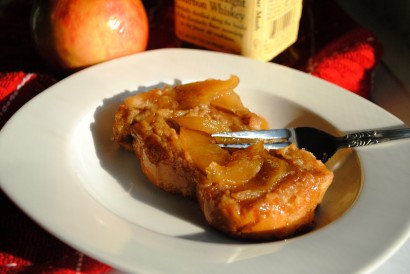
Bourbon caramel coated apples and cinnamon spiked French toast make for a quick and decadent make-ahead breakfast!

Ingredients

  • ½ cups Butter
  • 1 cup Brown Sugar
  • 2 Tablespoons Bourbon
  • 3  Large Baking Apples, Cored, Peeled, And Sliced
  • 6 slices Day Old Bread, Sliced Thick
  • 4  Eggs
  • 1 cup Milk
  • 1 Tablespoon Vanilla Extract
  • 1-½ teaspoon Cinnamon
  • 1 dash Nutmeg

Preparation Instructions

1. In a small pan melt butter and sugar together. Whisk to combine. Cook until slightly thickened. Add bourbon and whisk again. Continue to cook for about 1 minute.
2. Pour butter mixture into a 9″ x13″ pan. Arrange sliced apples on top.
3. Arrange slices of bread on top of apples.
4. In a large bowl, beat together eggs, milk, vanilla, cinnamon, and nutmeg. Pour mixture over bread.
5. Cover dish and refrigerate overnight (see note below). In the morning, place casserole dish in the oven. Heat to 350ºF. Bake for 45 minutes to 1 hour, or until apple slices have softened and bread is golden brown.

Note: If you are preparing the casserole the morning you are serving it, dip bread slices in egg mixture before putting them in the pan. Pour remaining egg mixture over the top of bread slices. Bake at 350ºF for 40-45 minutes.


_______________________________________

Amy Johnson is a blogger who writes about food, travel, the home (both inside and out), and various observations and random musings about anything and everything. Visit her blog She Wears Many Hats for a dose of deliciousness, practicality, hilarity, or just plain fun. She lives in South Carolina with her husband and two children.


Profile photo of twopeasandtheirpod

Chocolate Chip Cookie Bars with a Salty Pretzel Crust

Posted by in Baking, Step-by-Step Recipes

Tasty Kitchen Blog: Chocolate Chip Cookie Bars with a Salty Pretzel Crust. Guest post by Maria Lichty of Two Peas and Their Pod, recipe submitted by TK member Laurie McNamara of Simply Scratch.

 
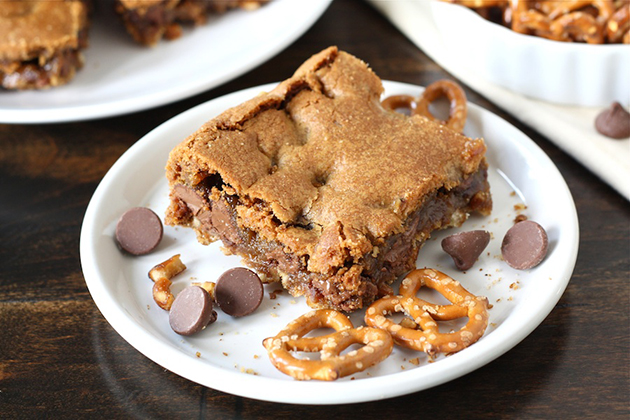
When it comes to snacking, I am usually a sweet kind of gal, but once in awhile I do get a mad craving for something salty. There are also times when I crave both, it just depends on the day and my mood. Laurie (Tasty Kitchen user and fellow blog contributor Simply Scratch) created a cookie bar that solves all of my craving issues. These Chocolate Chip Cookie Bars with a Salty Pretzel Crust make life easy when you want the best of both worlds. If you have a sweet tooth, these bars are for you. If you are in the mood for a little salt, these bars are also for you. These cookie bars will put a smile on everyone’s face. 


Tasty Kitchen Blog: Chocolate Chip Cookie Bars with a Salty Pretzel Crust. Guest post by Maria Lichty of Two Peas and Their Pod, recipe submitted by TK member Laurie McNamara of Simply Scratch.

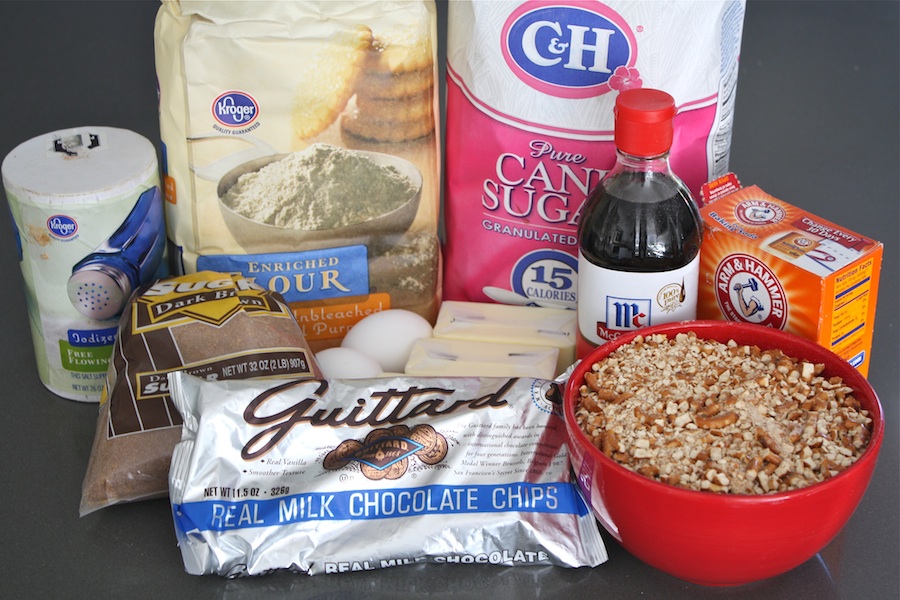
To make the bars, you will need: butter, granulated sugar, dark brown sugar, eggs, vanilla, flour, baking soda, salt, chocolate chips, and crushed pretzels. 


Tasty Kitchen Blog: Chocolate Chip Cookie Bars with a Salty Pretzel Crust. Guest post by Maria Lichty of Two Peas and Their Pod, recipe submitted by TK member Laurie McNamara of Simply Scratch.

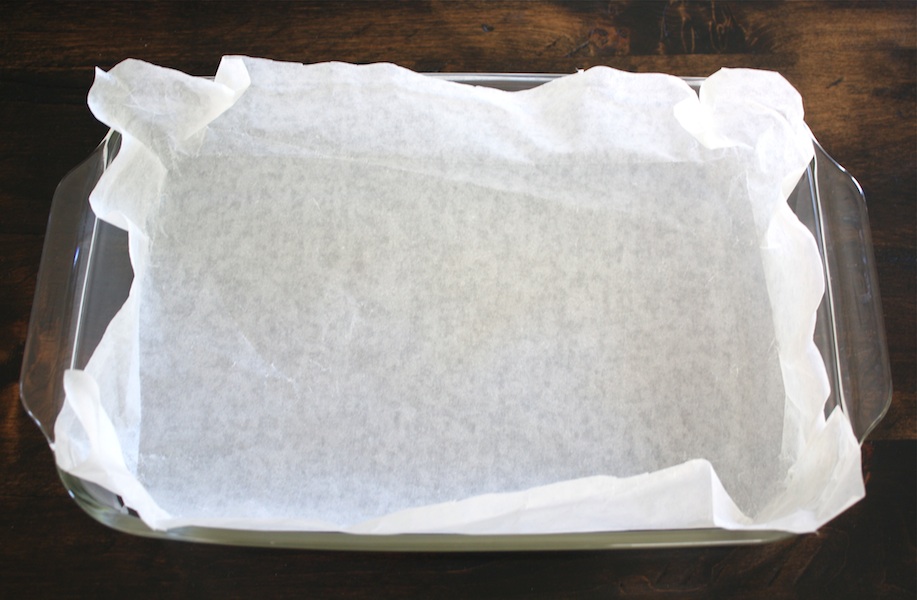
Preheat the oven to 350 degrees F and line a 9 x 13 baking dish with parchment paper. 


Tasty Kitchen Blog: Chocolate Chip Cookie Bars with a Salty Pretzel Crust. Guest post by Maria Lichty of Two Peas and Their Pod, recipe submitted by TK member Laurie McNamara of Simply Scratch.

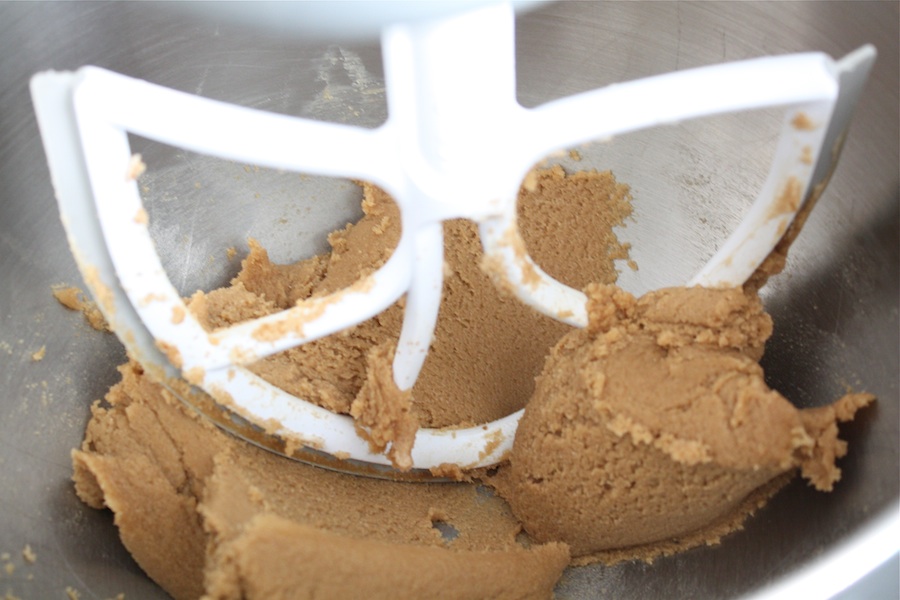
Beat butter and sugars together until creamy. 


Tasty Kitchen Blog: Chocolate Chip Cookie Bars with a Salty Pretzel Crust. Guest post by Maria Lichty of Two Peas and Their Pod, recipe submitted by TK member Laurie McNamara of Simply Scratch.

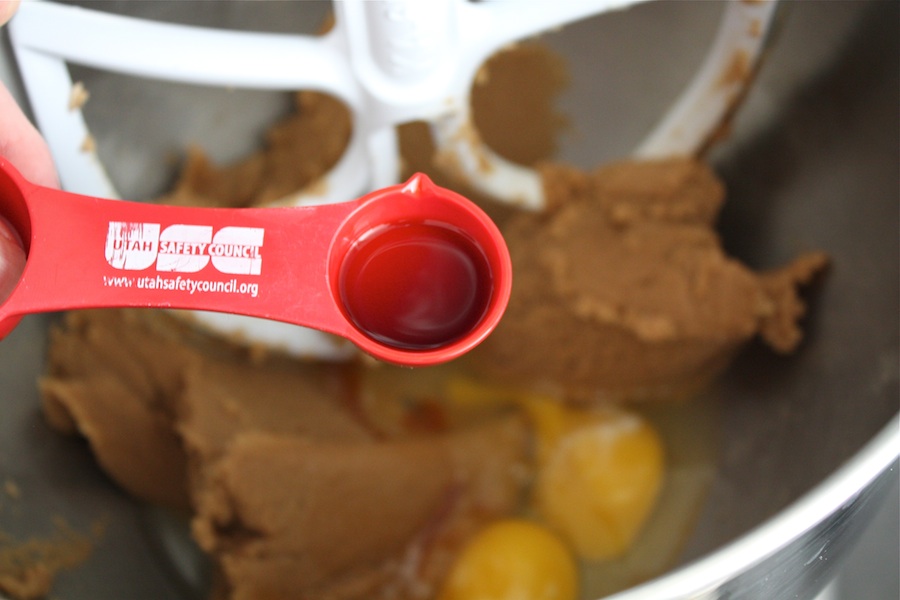
Add the eggs and vanilla extract and beat until just blended. 


Tasty Kitchen Blog: Chocolate Chip Cookie Bars with a Salty Pretzel Crust. Guest post by Maria Lichty of Two Peas and Their Pod, recipe submitted by TK member Laurie McNamara of Simply Scratch.

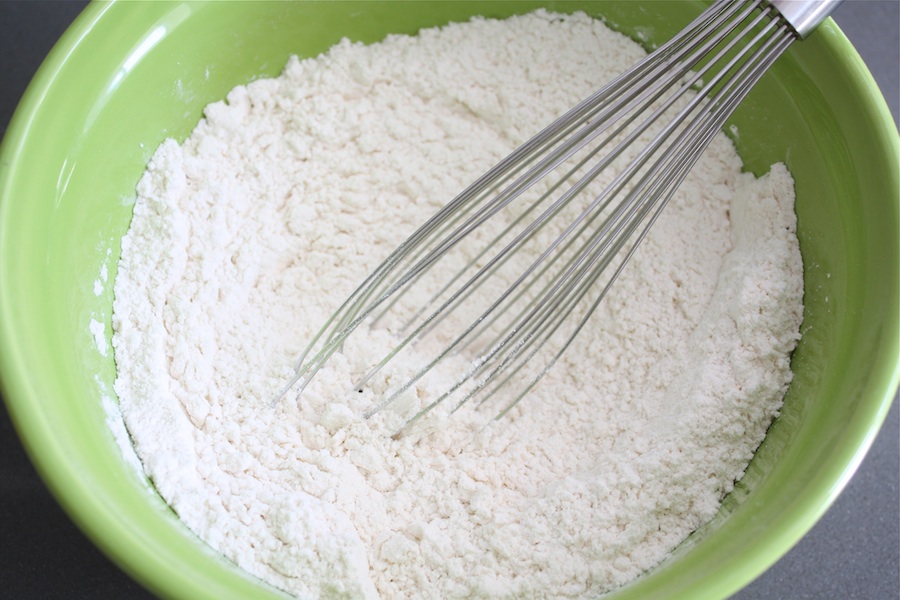
In a medium bowl, combine flour, baking soda, and salt. Whisk together until airy.


Tasty Kitchen Blog: Chocolate Chip Cookie Bars with a Salty Pretzel Crust. Guest post by Maria Lichty of Two Peas and Their Pod, recipe submitted by TK member Laurie McNamara of Simply Scratch.

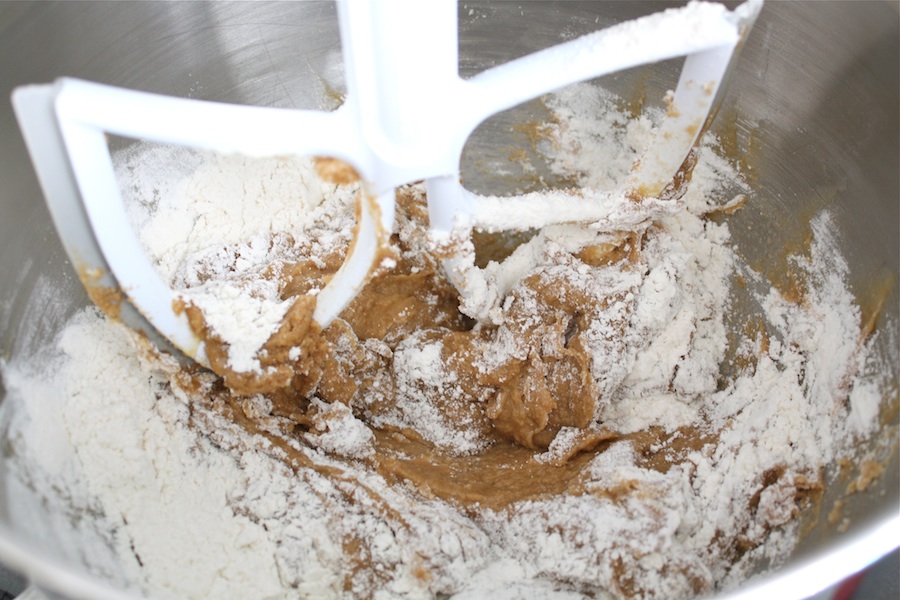
Gradually add the flour mixture to the wet ingredients, mixing well after each addition. 


Tasty Kitchen Blog: Chocolate Chip Cookie Bars with a Salty Pretzel Crust. Guest post by Maria Lichty of Two Peas and Their Pod, recipe submitted by TK member Laurie McNamara of Simply Scratch.

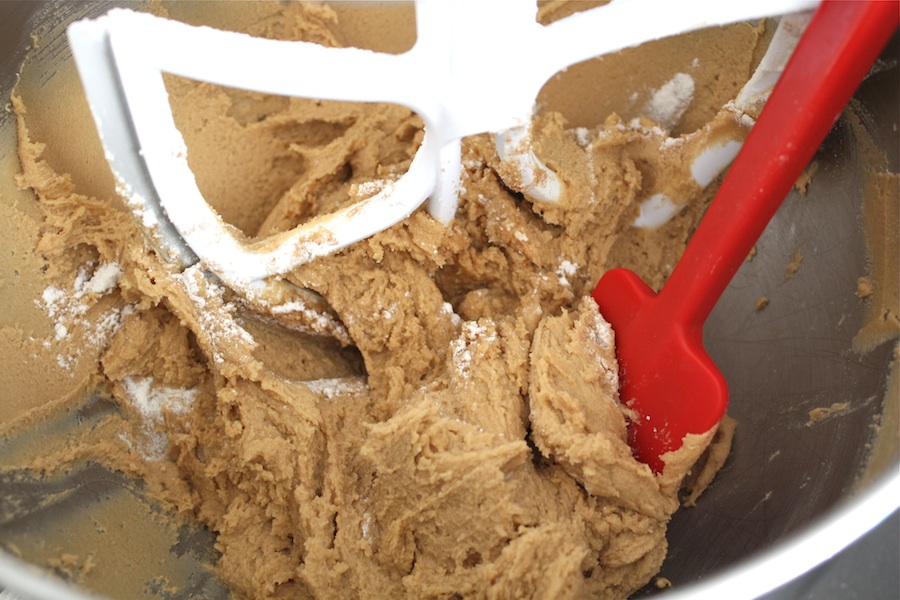
Scrape down the sides of the bowl with a rubber spatula. 


Tasty Kitchen Blog: Chocolate Chip Cookie Bars with a Salty Pretzel Crust. Guest post by Maria Lichty of Two Peas and Their Pod, recipe submitted by TK member Laurie McNamara of Simply Scratch.

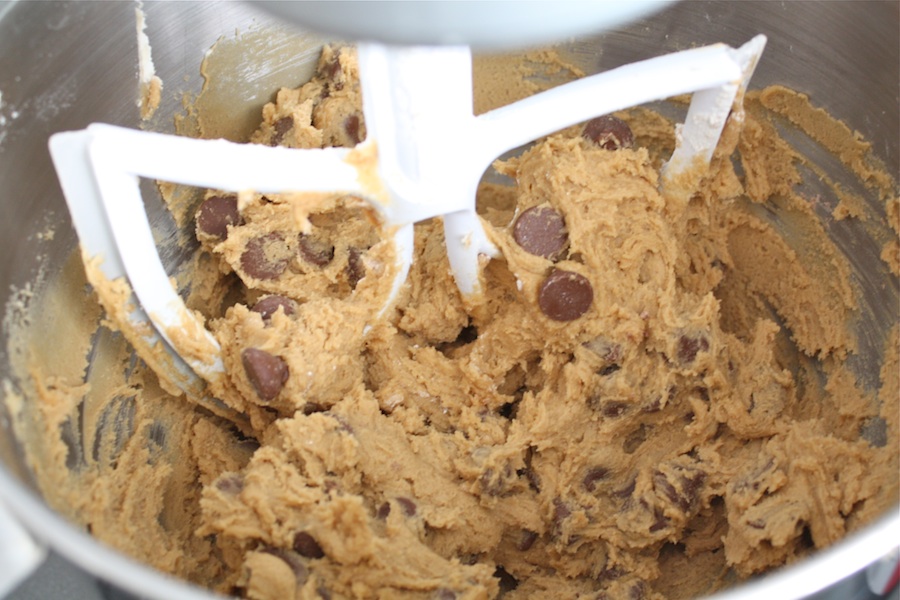
Add in the chocolate chips and mix one last time. 


Tasty Kitchen Blog: Chocolate Chip Cookie Bars with a Salty Pretzel Crust. Guest post by Maria Lichty of Two Peas and Their Pod, recipe submitted by TK member Laurie McNamara of Simply Scratch.

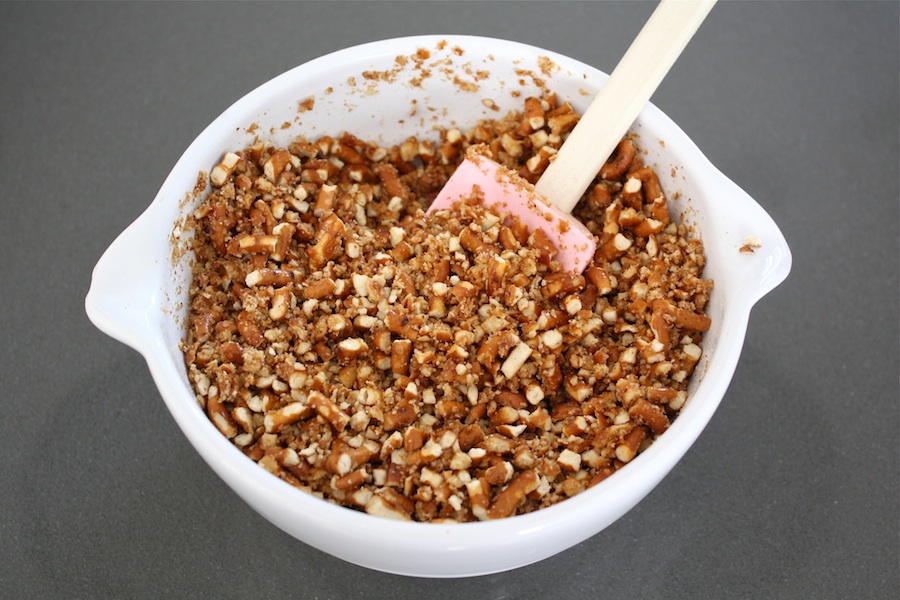
For the crust, combine the crushed pretzels and melted butter in a large bowl. 


Tasty Kitchen Blog: Chocolate Chip Cookie Bars with a Salty Pretzel Crust. Guest post by Maria Lichty of Two Peas and Their Pod, recipe submitted by TK member Laurie McNamara of Simply Scratch.

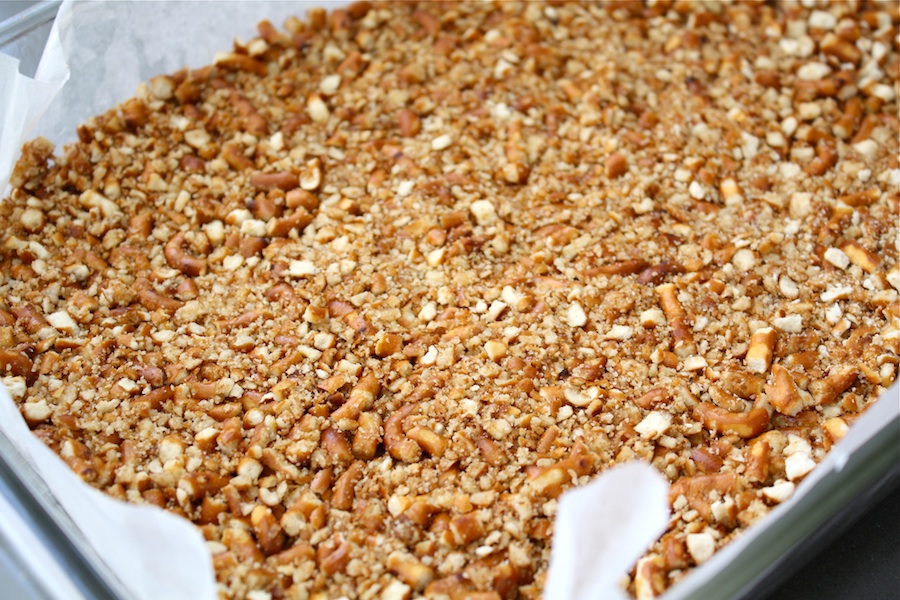
Spread the pretzel mixture evenly into the prepared pan and bake for 8 minutes. 


Tasty Kitchen Blog: Chocolate Chip Cookie Bars with a Salty Pretzel Crust. Guest post by Maria Lichty of Two Peas and Their Pod, recipe submitted by TK member Laurie McNamara of Simply Scratch.

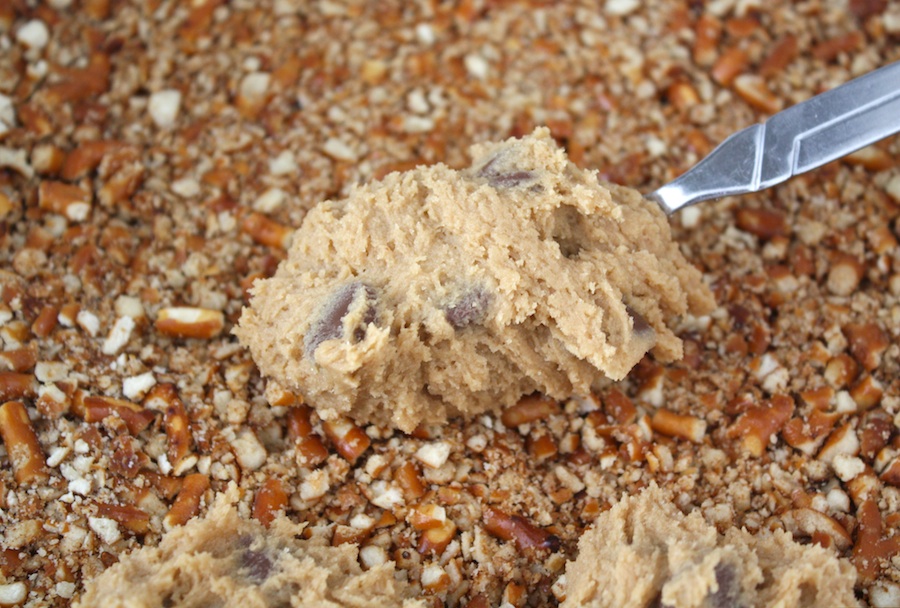
Drop spoonfuls of cookie dough over the pretzel crust. 


Tasty Kitchen Blog: Chocolate Chip Cookie Bars with a Salty Pretzel Crust. Guest post by Maria Lichty of Two Peas and Their Pod, recipe submitted by TK member Laurie McNamara of Simply Scratch.

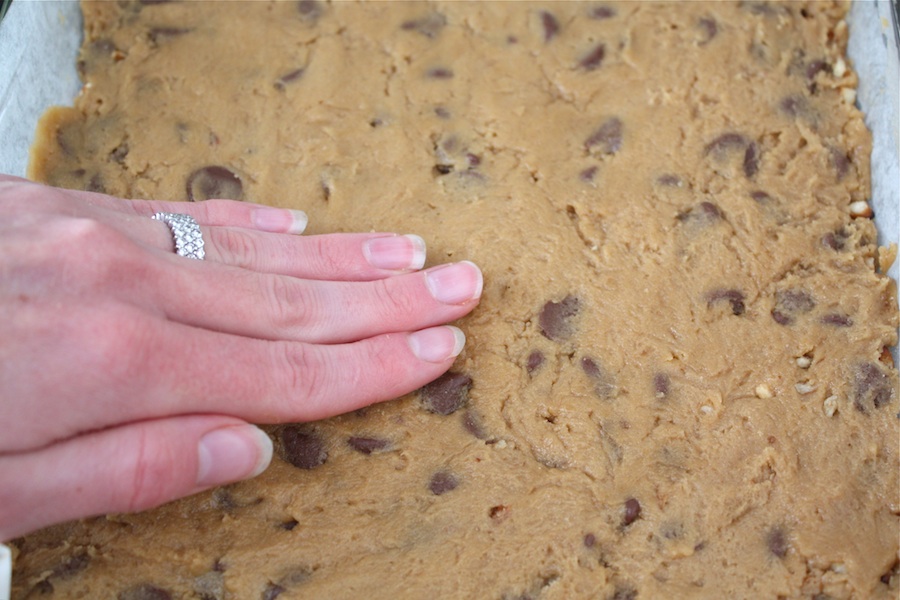
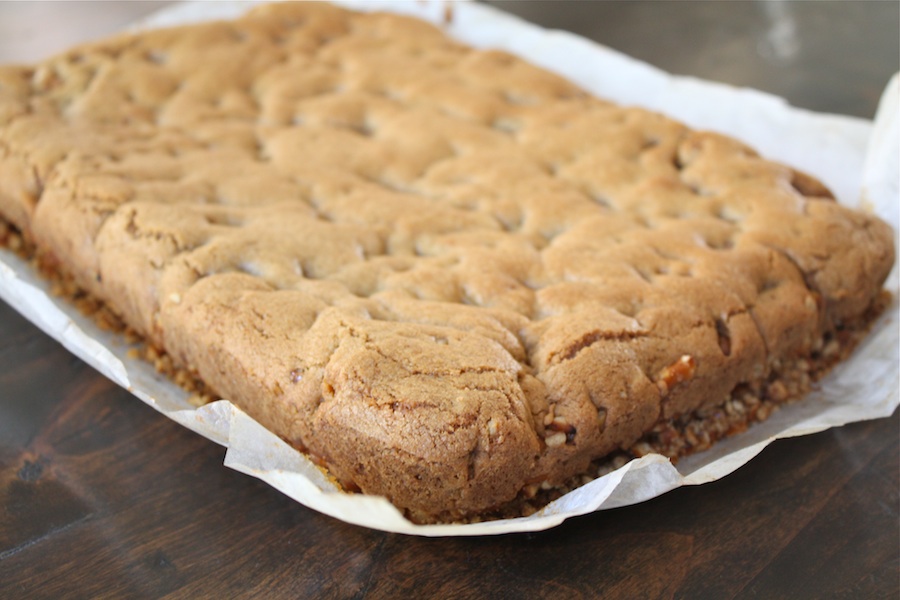
Carefully spread the dough evenly over the crust and press the dough into the crust with your fingers. Bake for 20-24 minutes, rotating the pan halfway through the baking time. Remove from the oven when the bars are golden brown and a toothpick comes out clean. 


Tasty Kitchen Blog: Chocolate Chip Cookie Bars with a Salty Pretzel Crust. Guest post by Maria Lichty of Two Peas and Their Pod, recipe submitted by TK member Laurie McNamara of Simply Scratch.

When the bars have cooled, remove from the pan, using the parchment paper. Cut into bars and serve. 


Tasty Kitchen Blog: Chocolate Chip Cookie Bars with a Salty Pretzel Crust. Guest post by Maria Lichty of Two Peas and Their Pod, recipe submitted by TK member Laurie McNamara of Simply Scratch.

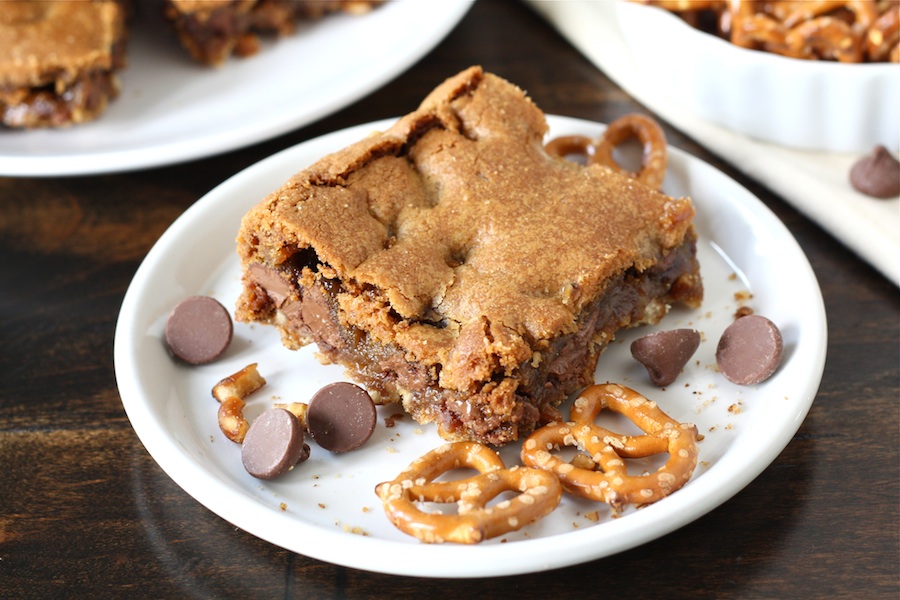
These chocolate chip cookie bars are sweet, rich, and full of chocolate. The crushed pretzel crust adds a nice crunch and kick of salt. They really are the perfect cookie bar treat. If you are not sure what you are craving, make these Chocolate Chip Cookie Bars with a Salty Pretzel Crust. They will definitely cure your craving! Thanks Laurie for sharing your cookie bar recipe. Make sure you visit Laurie’s blog, Simply Scratch, for other tasty recipes and fabulous food photos. 


Printable Recipe

Chocolate Chip Cookie Bars with a Salty Pretzel Crust

See post on Laurie - Simply Scratch’s site!
4.62 Mitt(s) 8 Rating(s)8 votes, average: 4.62 out of 58 votes, average: 4.62 out of 58 votes, average: 4.62 out of 58 votes, average: 4.62 out of 58 votes, average: 4.62 out of 5

Prep Time:

Cook Time:

Difficulty: Easy

Servings: 15

15
x

Print Options

Page size Letter 3x5 4x6
Text Size Small Medium Large
Content Include description
Include prep time, etc.
Show image

Description

Chocolate chip cookies meets salty pretzels. My favorite cookie bar recipe to date!

Ingredients

  • FOR THE COOKIE DOUGH:
  • ¾ cups Unsalted Butter, At Room Temperature
  • ¾ cups Granulated Sugar
  • ¾ cups Dark Brown Sugar
  • 2 whole Large Eggs
  • 1-½ teaspoon Real Vanilla Extract
  • 2-¼ cups All-purpose Flour
  • 1 teaspoon Baking Soda
  • ¾ teaspoons Kosher Salt
  • 1 bag (11 Oz. Size) Milk Chocolate Chips (I Like Ghirardelli)
  • FOR THE CRUST:
  • 3-½ cups Pretzel Sticks, Crushed Into Tiny Pieces
  • ¾ cups Unsalted Butter, melted

Preparation Instructions

Preheat your oven to 350ºF. Line a 9x13x2 baking pan with parchment paper (for easy removal).

Beat butter and sugars at medium speed until creamy. Add eggs and the vanilla, beating until just blended.

Combine flour, baking soda, and salt in a small bowl. Whisk until airy and gradually add the flour mixture to the sugar/egg mixture, mixing well after each addition. Scrape down the sides and add in the chocolate chips. Mix one last time for a second then set aside.

For the crust, combine the crushed pretzel pieces with the melted butter, stir to combine. Spread pretzel mixture over the bottom of your prepared pan and bake for 8 minutes.

Drop large spoonfuls of the cookie dough and scatter it over the pretzel crust. Carefully and evenly spread the batter over the warm pretzels. With your (clean) fingers, press the dough into the pretzels. Place the pan in your preheated oven and bake for 20-24 minutes, rotating the pan halfway through the cooking time. Remove when the bars are golden and a tester comes out clean.

When bars have cooled, remove (using the parchment paper) and cut into 15 bars. Enjoy!


_______________________________________

Maria and her husband Josh (who she affectionately refers to as her “dough boy”) blog at Two Peas and Their Pod. They’ve been featured on Saveur, Eatocracy, Gourmet Live, Glamour, and the Los Angeles Times, to name just a few. They’d also just recently added a little pea to their pod. We’re so glad to have them here!


Profile photo of georgiapellegrini

Homemade Almond Milk

Posted by in Step-by-Step Recipes

Tasty Kitchen Blog: Homemade Almond Milk. Guest post by Georgia Pellegrini, recipe submitted by TK member Jennifer Guitard (jguitard).

 
One thing that is pretty much always in my refrigerator is almond milk. I love the nuttiness of the plain and vanilla flavors. And the chocolate almond milk? There’s just nothing like it in a tall glass of iced coffee.

And even though I love making many things from scratch, it just never occurred to me to make homemade almond milk until I saw Jennifer’s recipe here on Tasty Kitchen!


Tasty Kitchen Blog: Homemade Almond Milk. Guest post by Georgia Pellegrini, recipe submitted by TK member Jennifer Guitard (jguitard).

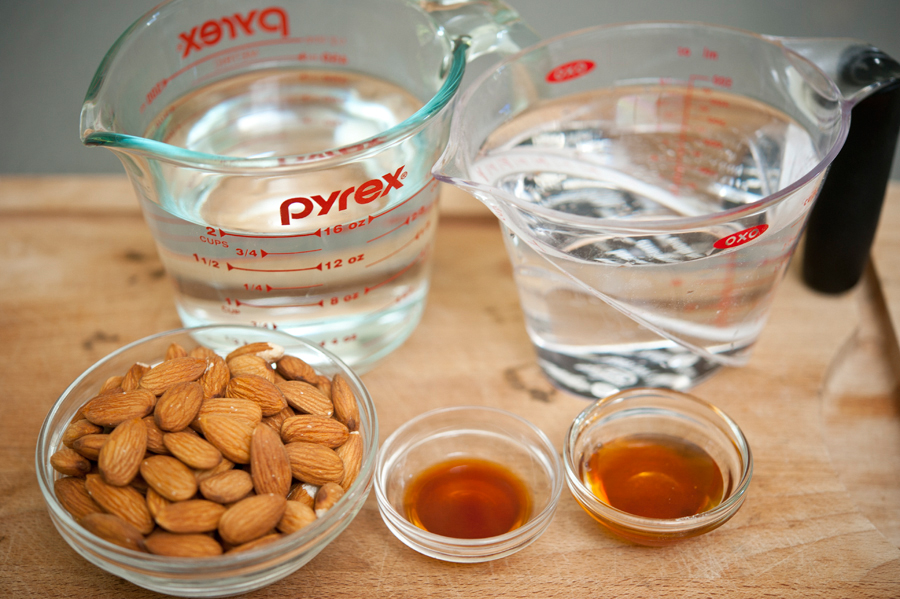
It also never occurred to me how simple it is to make it. Literally all you need is almonds and filtered water, along with any flavorings you’d like. In this case, I tried vanilla and a bit of honey.


Tasty Kitchen Blog: Homemade Almond Milk. Guest post by Georgia Pellegrini, recipe submitted by TK member Jennifer Guitard (jguitard).

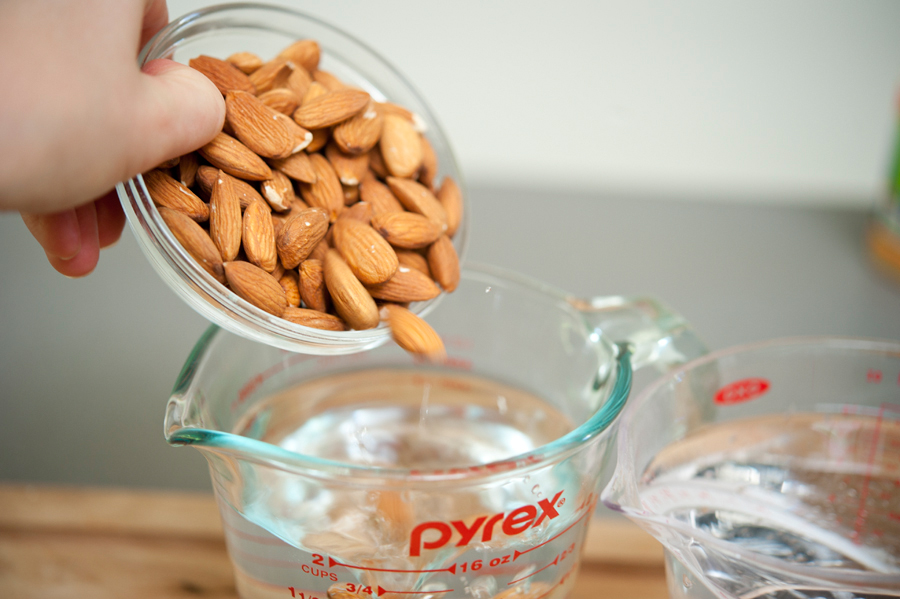
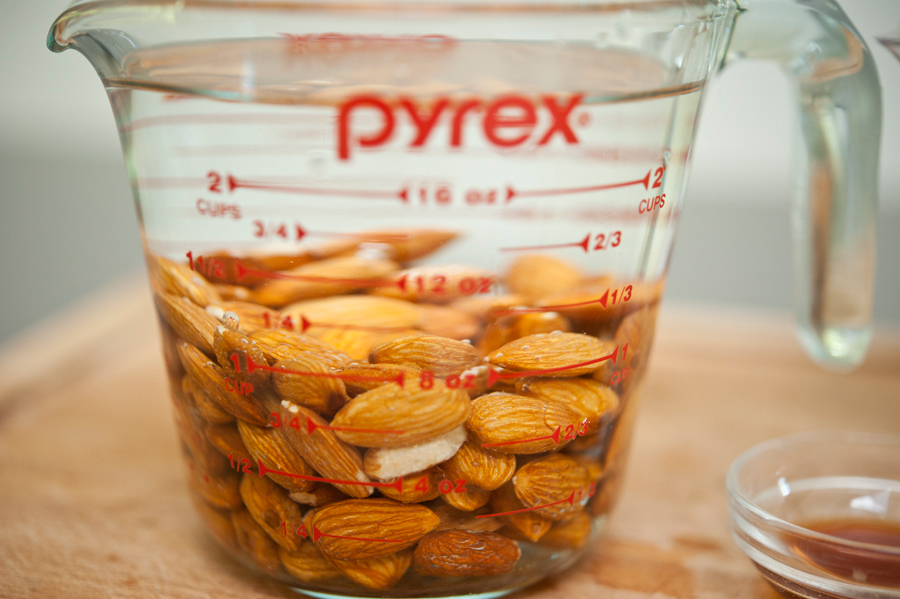
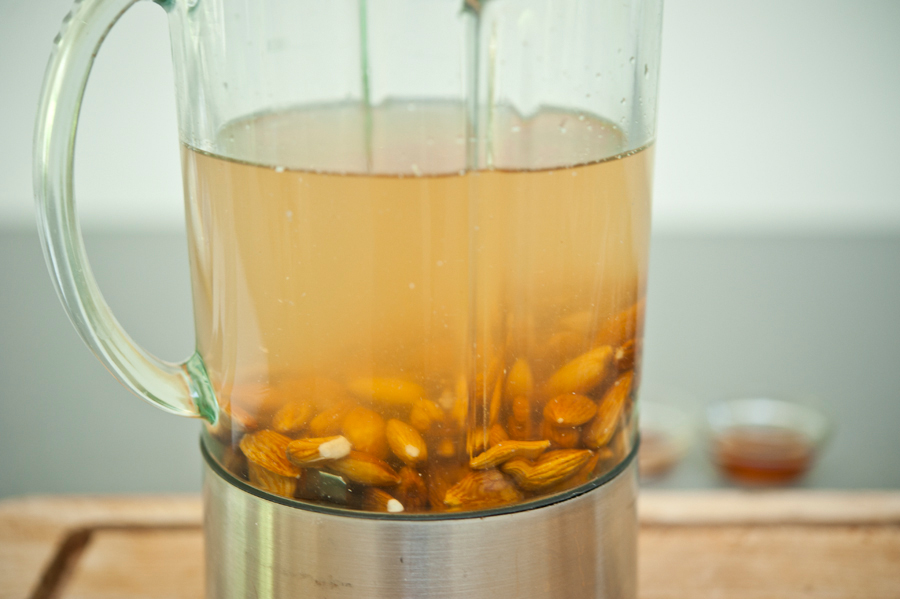
The main thing is to soak the almonds in water for up to 6 hours, which will soften them and make it easier to extract the flavor from them once they are blended.


Tasty Kitchen Blog: Homemade Almond Milk. Guest post by Georgia Pellegrini, recipe submitted by TK member Jennifer Guitard (jguitard).

But since I’m not a very good planner, I only soaked them for an hour and the recipe still worked very well.

One other option is to use blanched almonds without skins for a very pure color. But hey, I don’t mind beige almond milk myself.


Tasty Kitchen Blog: Homemade Almond Milk. Guest post by Georgia Pellegrini, recipe submitted by TK member Jennifer Guitard (jguitard).

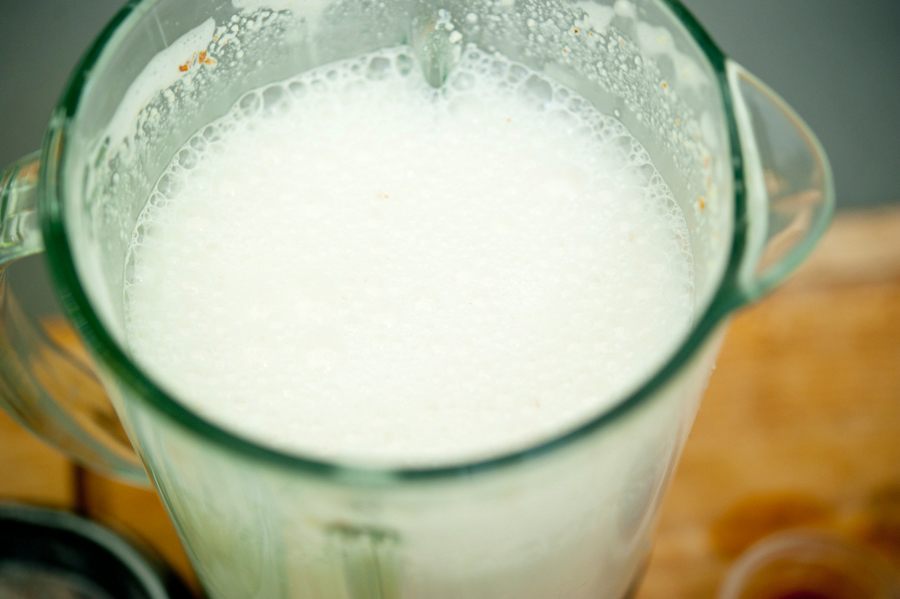
Once your almonds have soaked, combine them along with filtered water in a blender and give them a whirl for a few minutes.


Tasty Kitchen Blog: Homemade Almond Milk. Guest post by Georgia Pellegrini, recipe submitted by TK member Jennifer Guitard (jguitard).

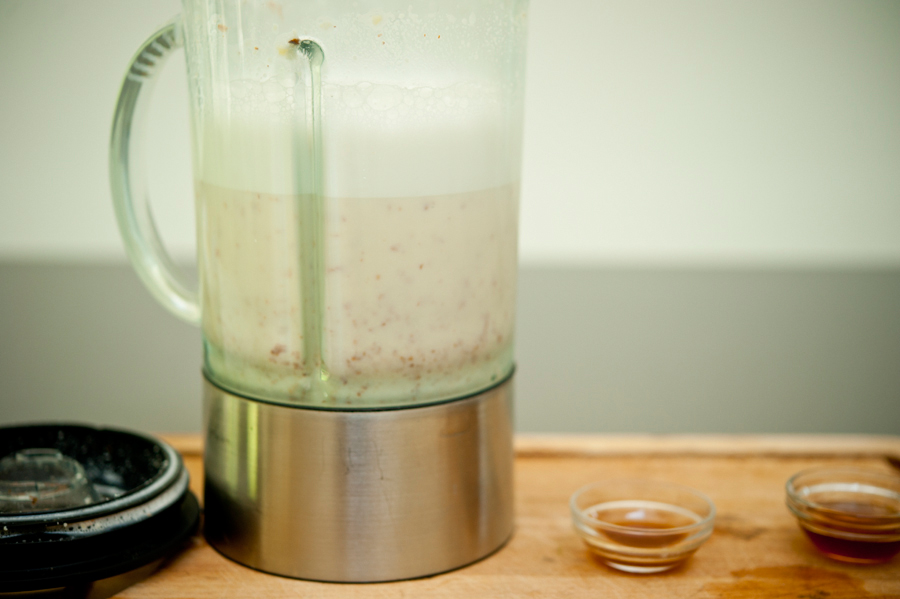
A nice head of foam will start to form and that’s when you can stop and add the flavorings.


Tasty Kitchen Blog: Homemade Almond Milk. Guest post by Georgia Pellegrini, recipe submitted by TK member Jennifer Guitard (jguitard).

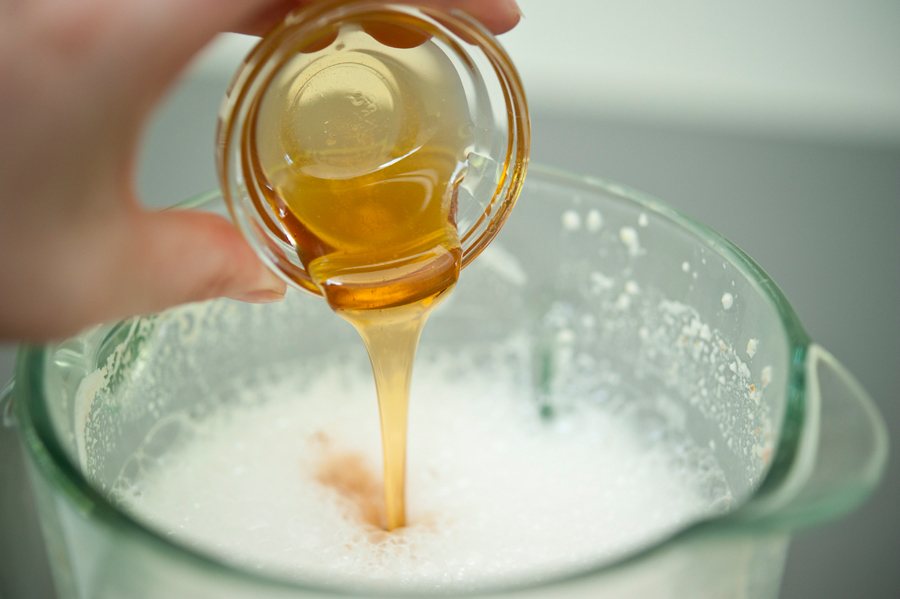
I added some honey from my bees here. But you could try stevia or maple syrup or leave it plain too.


Tasty Kitchen Blog: Homemade Almond Milk. Guest post by Georgia Pellegrini, recipe submitted by TK member Jennifer Guitard (jguitard).

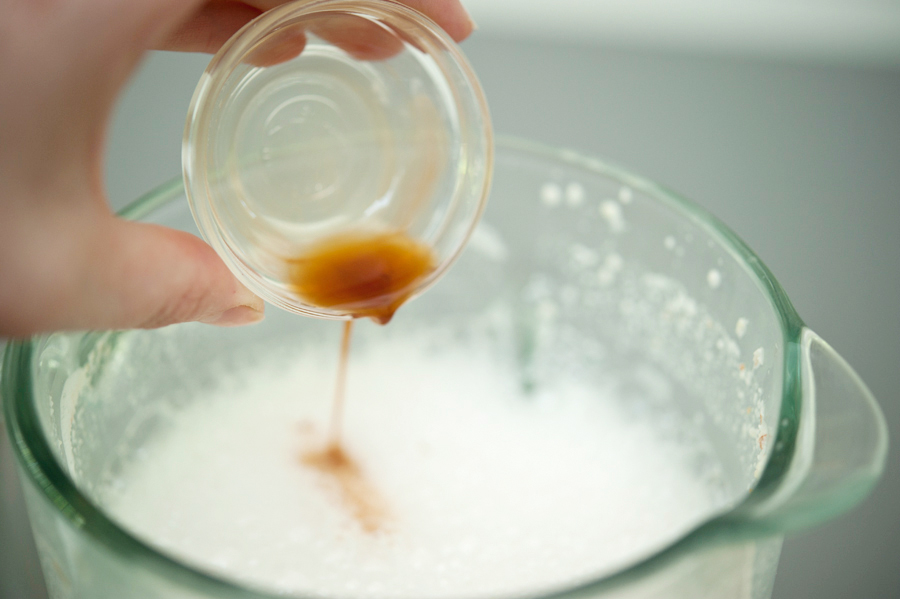
Then I added vanilla. Once again, you could skip this or add cocoa powder, chocolate syrup, cinnamon, and so many other things.


Tasty Kitchen Blog: Homemade Almond Milk. Guest post by Georgia Pellegrini, recipe submitted by TK member Jennifer Guitard (jguitard).

Blend these ingredients together for another 30 seconds and then get ready for the filtering process.


Tasty Kitchen Blog: Homemade Almond Milk. Guest post by Georgia Pellegrini, recipe submitted by TK member Jennifer Guitard (jguitard).

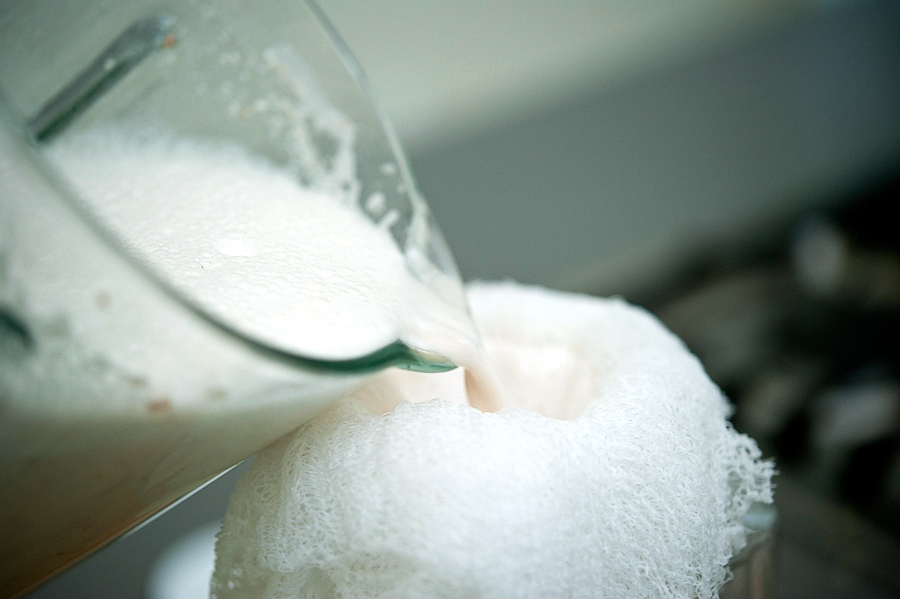
Cut a swatch of cheesecloth and layer it into about four layers. Give it a rinse under cold water and squeeze out the excess. Then drape it over the mouth of a pitcher or Mason jar. If you want to help yourself out you can secure it with a rubber band. Pour in the liquid a little at a time, pressing the excess ground almond that gathers as you go.


Tasty Kitchen Blog: Homemade Almond Milk. Guest post by Georgia Pellegrini, recipe submitted by TK member Jennifer Guitard (jguitard).

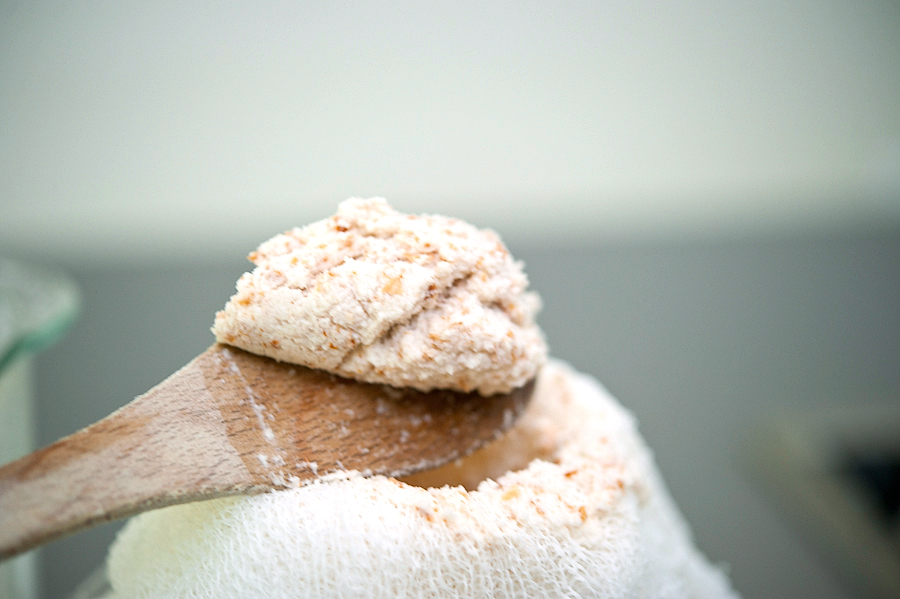
It will help to scoop away some of the ground almond if it builds up too much.


Tasty Kitchen Blog: Homemade Almond Milk. Guest post by Georgia Pellegrini, recipe submitted by TK member Jennifer Guitard (jguitard).

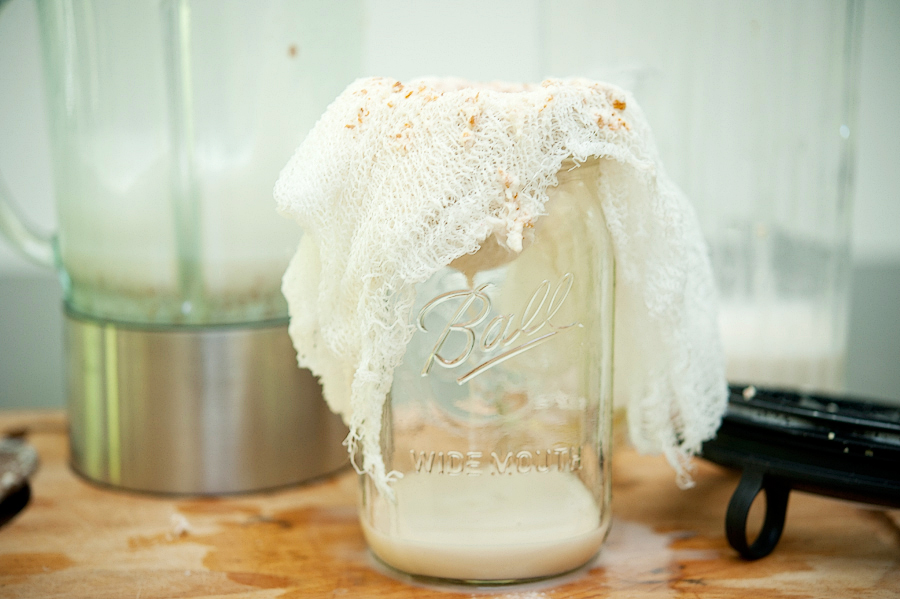
Your contraption will look something like this. Keep adding until you’ve pressed in all of the liquid.


Tasty Kitchen Blog: Homemade Almond Milk. Guest post by Georgia Pellegrini, recipe submitted by TK member Jennifer Guitard (jguitard).

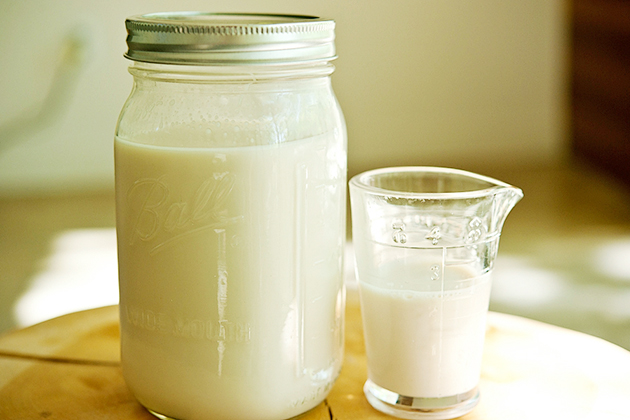
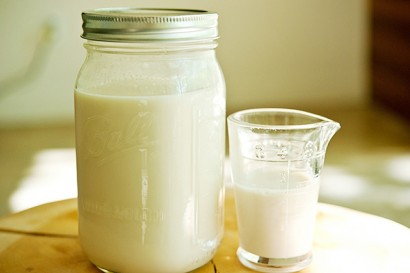
And there you will have homemade almond milk!

Thanks so much to Jennifer’s for this great recipe! I’ll never have to buy it again.


Printable Recipe

Homemade Almond Milk

4.00 Mitt(s) 2 Rating(s)2 votes, average: 4.00 out of 52 votes, average: 4.00 out of 52 votes, average: 4.00 out of 52 votes, average: 4.00 out of 52 votes, average: 4.00 out of 5

Prep Time:

Cook Time:

Difficulty: Easy

Servings: 6

6
x

Print Options

Page size Letter 3x5 4x6
Text Size Small Medium Large
Content Include description
Include prep time, etc.
Show image

Description

Almond milk is so easy to make, and so sweet. It’s a beautiful addition to cereal or your morning coffee.

For this recipe, you need cheesecloth, a big pitcher, and a blender.

Ingredients

  • 1 cup Almonds, Unsalted (preferably Without Skin On)
  • 4 cups Cold, Filtered Water
  • 1 teaspoon Vanilla Extract
  • 1 Tablespoon Honey
  • Optional Add-ins (a Few Are Listed Below) As Desired

Preparation Instructions

1. Soak the raw almonds covered in water for at least 6 hours, and then drain them.
2. Pour the almonds into a blender and add the cold filtered water.
3. Blend well. When you see a froth on the top, stop blending.
4. Add the vanilla and honey.
5. Blend again for another 20-30 seconds.
6. Take the cheesecloth, and fold to ensure it is at least 4 layers thick.
7. Put the cheesecloth on the top of the pitcher and secure it with a big elastic band. Use your fist to push some of the cheesecloth down into the pitcher so that it is not tight on top.
8. Pour the almond mix through the cheesecloth into the pitcher.
9. Use a big spoon to help push the milk through the mass of almond and into the pitcher.

And voila, you have Almond Milk!

Once you cinch the basic recipe, you’ll be eager to try the many possible variations:

For a chocolate fix, add 2 tablespoons unsweetened cocoa powder.
For sweeter milk, throw in a 1/2 cup of dates.
For cinnamon milk, add 1 teaspoon cinnamon and a dash of nutmeg.
For maple flavour, add 1 tablespoon pure maple syrup.
For a sugar-free option, eliminate the honey and add Stevia to taste.


_______________________________________

There’s so much to say about Georgia, we don’t know where to start. Leaving Wall Street for the French Culinary Institute, followed by a stint at the Gramercy Tavern and La Chassagnette in France, her passion for food and food traditions are evident and inspiring. Visit her site at Georgia Pellegrini, where you’ll find more recipes, photos, learn all about her wonderful books Girl Hunter and Food Heroes, and enjoy her latest adventures.


Profile photo of whatsgabycooking

Coconut Granola

Posted by in Step-by-Step Recipes

Tasty Kitchen Blog: Coconut Granola. Guest post and recipe from Gaby Dalkin of What's Gaby Cooking.

 
I’m the kind of person who really likes to snack. I’m talking about a handful of something fabulous every 30 minutes or so. I keep telling myself it’s because I get grumpy if I don’t eat, but really, I just like snacking. There’s nothing wrong with that right?

Granola is one of those snacks that I always have on hand. This recipe is hands down my all-time favorite granola recipe. The coconut seriously takes it to the next level and the occasional bite that contains a piece of dark chocolate is enough to make anyone come crawling back for more.

Here’s the step by step.


Tasty Kitchen Blog: Coconut Granola. Guest post and recipe from Gaby Dalkin of What's Gaby Cooking.

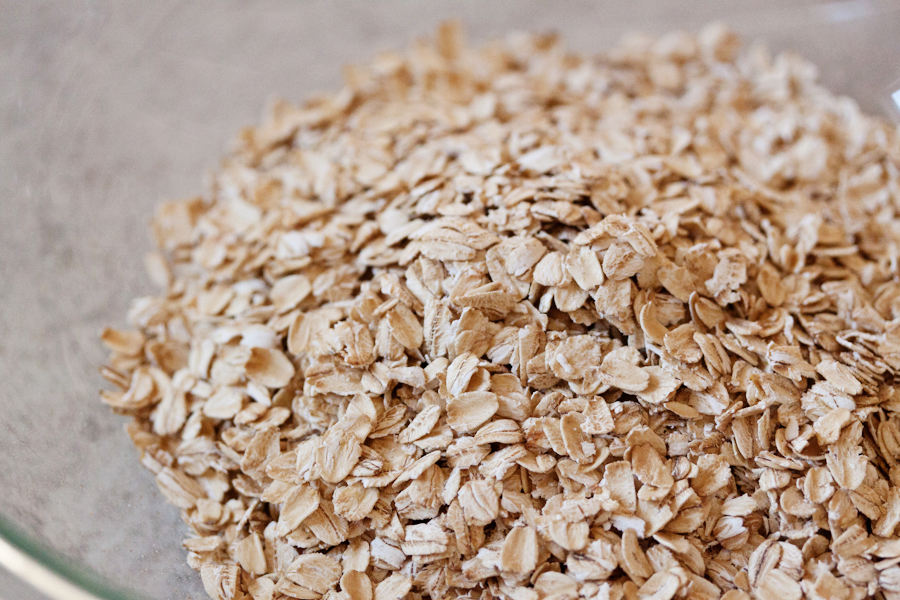
First we are going to start with a big bowl of oats.


Tasty Kitchen Blog: Coconut Granola. Guest post and recipe from Gaby Dalkin of What's Gaby Cooking.

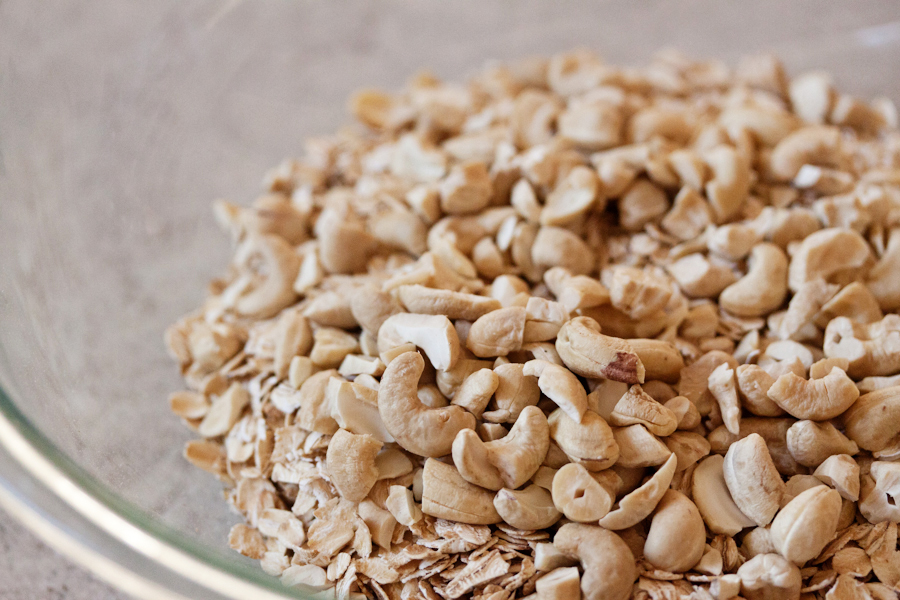
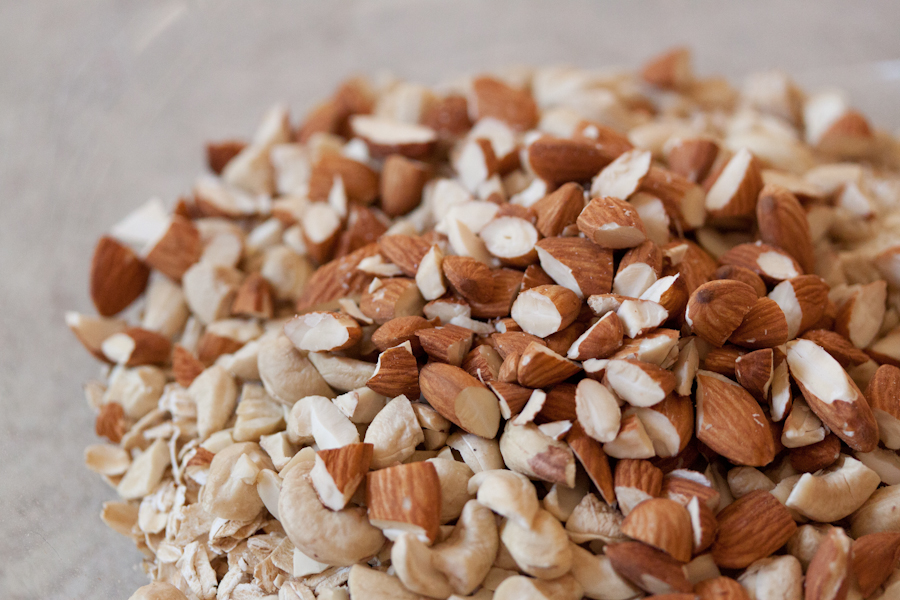
Chop up some raw cashews into rough pieces and throw them into the bowl of oats.


Tasty Kitchen Blog: Coconut Granola. Guest post and recipe from Gaby Dalkin of What's Gaby Cooking.

Chop up some almonds too, and add them into the mix.


Tasty Kitchen Blog: Coconut Granola. Guest post and recipe from Gaby Dalkin of What's Gaby Cooking.

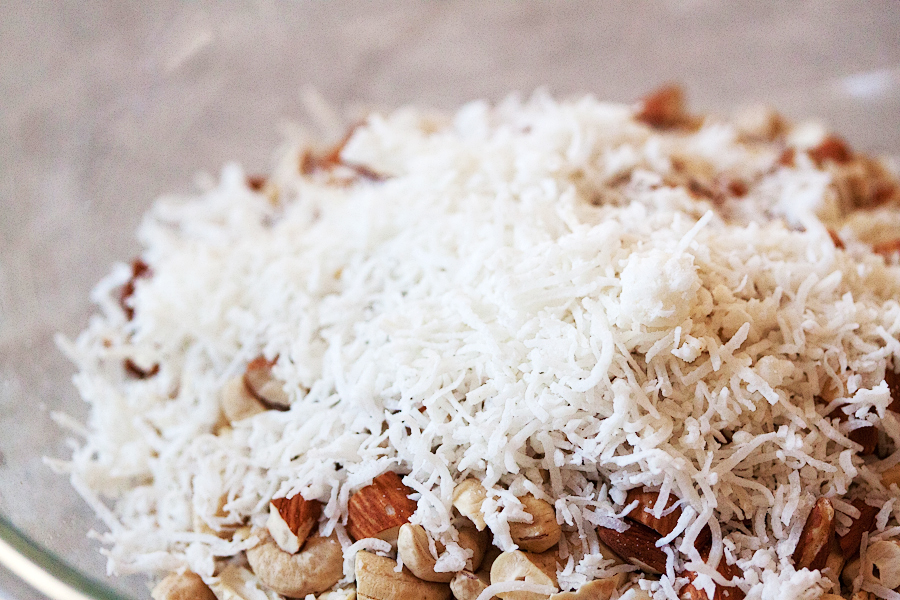
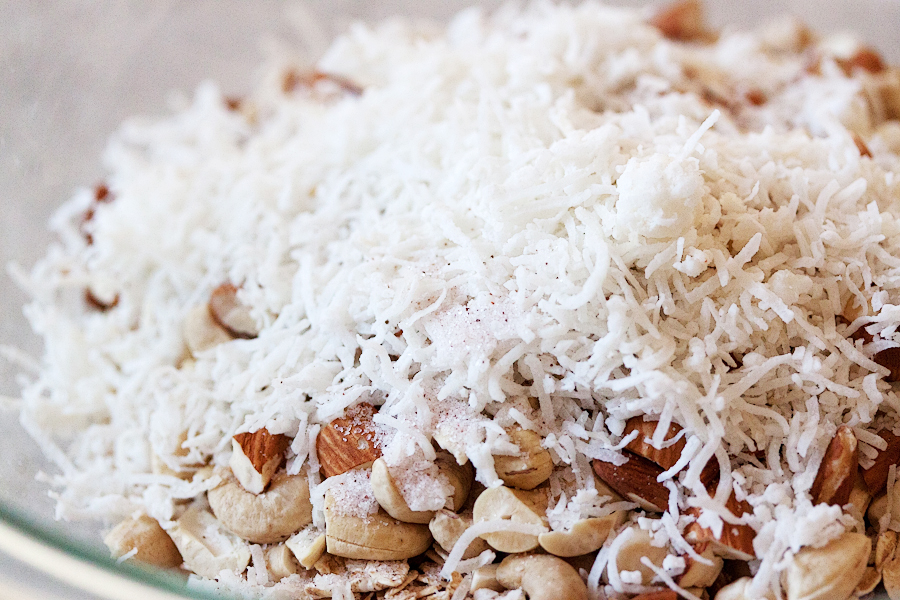
Next comes the shredded coconut. If you happen to throw in an extra ½ cup, no need to worry! The more the better.


Tasty Kitchen Blog: Coconut Granola. Guest post and recipe from Gaby Dalkin of What's Gaby Cooking.

Next, add a pinch of salt. This will make all the flavors come alive when it’s time to eat!


Tasty Kitchen Blog: Coconut Granola. Guest post and recipe from Gaby Dalkin of What's Gaby Cooking.

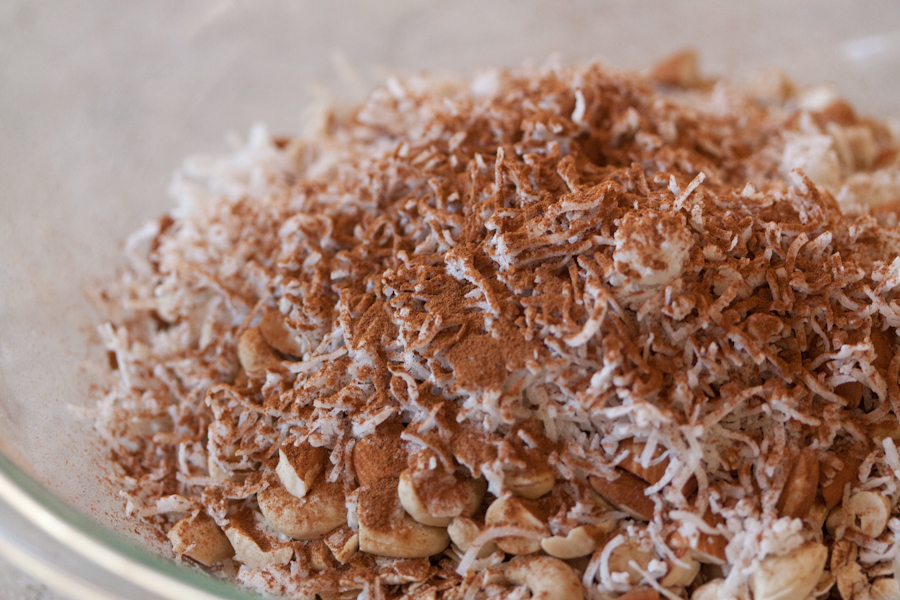
After the salt, we are going to add some cinnamon. (Doesn’t it look pretty?) Once the cinnamon has been added, go ahead and give it a quick stir with a fork and set it aside.


Tasty Kitchen Blog: Coconut Granola. Guest post and recipe from Gaby Dalkin of What's Gaby Cooking.

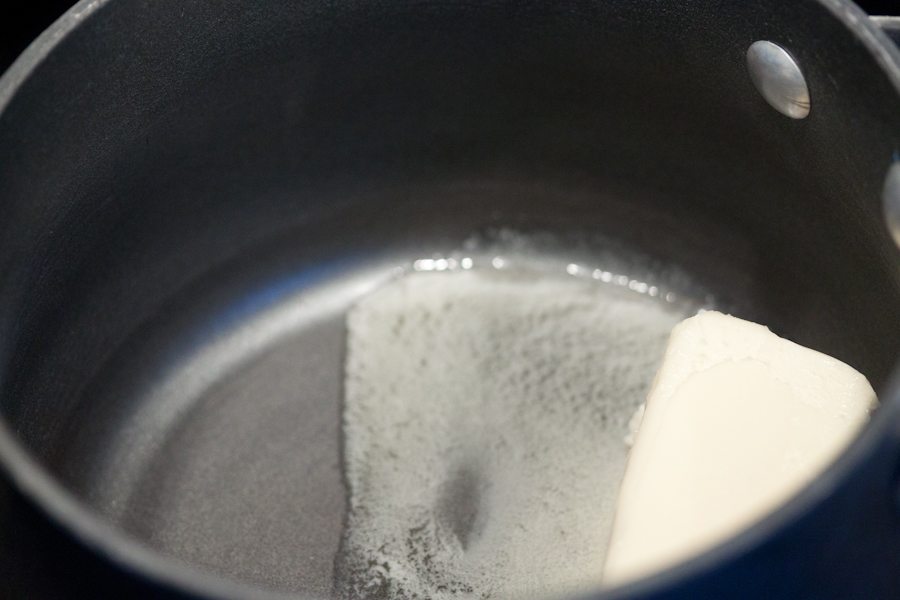
In a medium-sized sauce pan melt the butter.


Tasty Kitchen Blog: Coconut Granola. Guest post and recipe from Gaby Dalkin of What's Gaby Cooking.

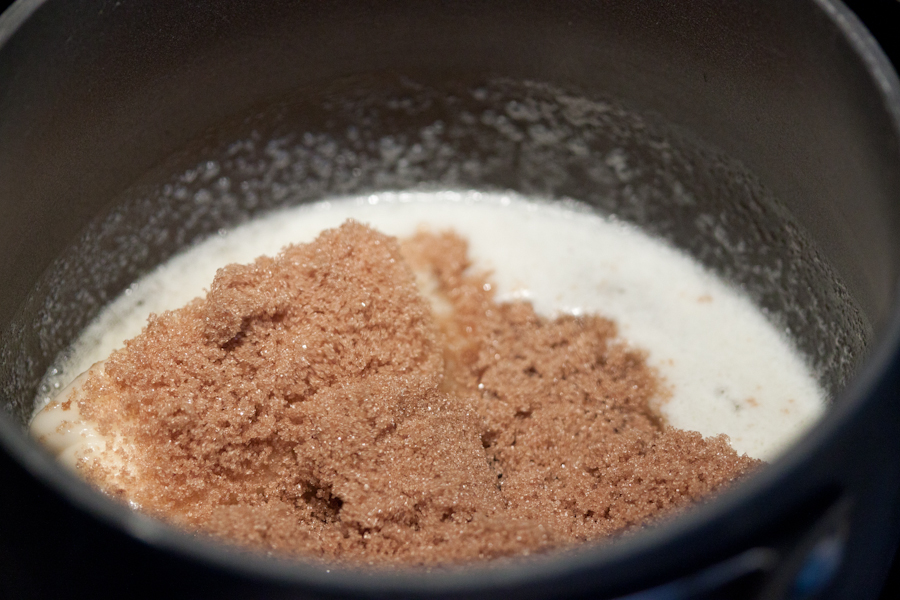
Once the butter starts to melt, add the brown sugar and mix it around.


Tasty Kitchen Blog: Coconut Granola. Guest post and recipe from Gaby Dalkin of What's Gaby Cooking.
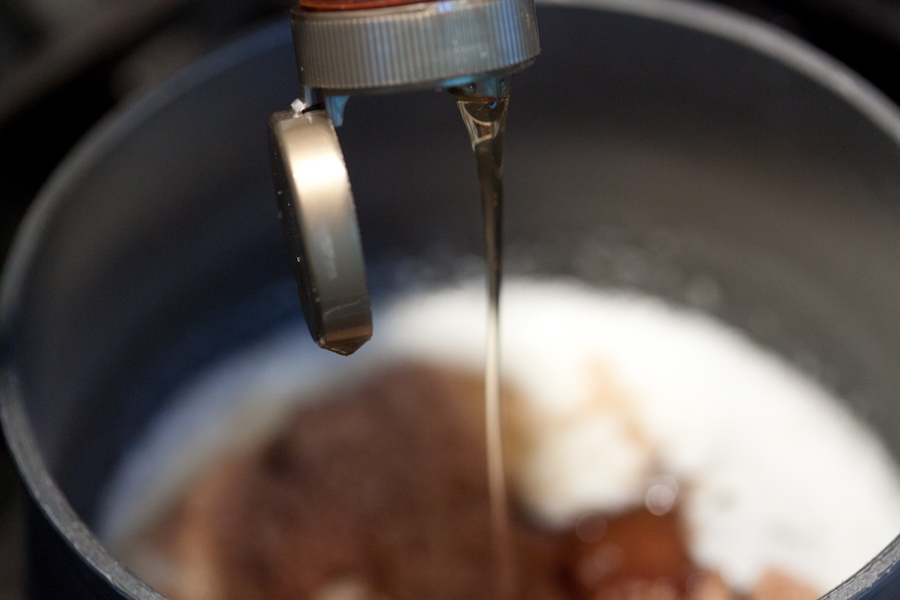
Drizzle in your agave nectar. You could easily use honey, too. Whatever you have on hand. Once you’ve added the honey, give the mixture a good stir and continue to cook over medium heat until the brown sugar dissolve. Once it’s dissolved, remove the saucepan from the heat and add the vanilla while giving it a whisk.


Tasty Kitchen Blog: Coconut Granola. Guest post and recipe from Gaby Dalkin of What's Gaby Cooking.

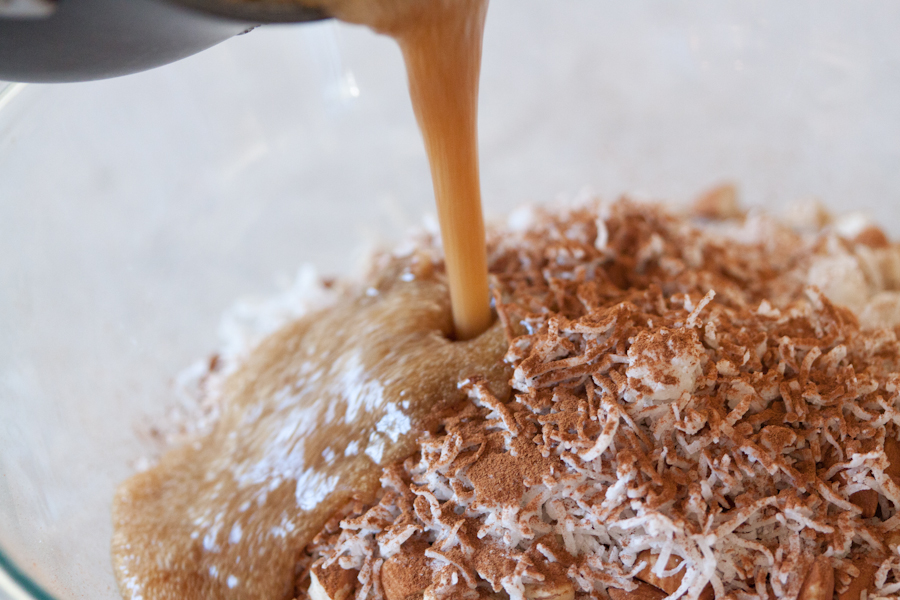
Pour the sugar and butter mixture over the bowl of oats and nuts.


Tasty Kitchen Blog: Coconut Granola. Guest post and recipe from Gaby Dalkin of What's Gaby Cooking.

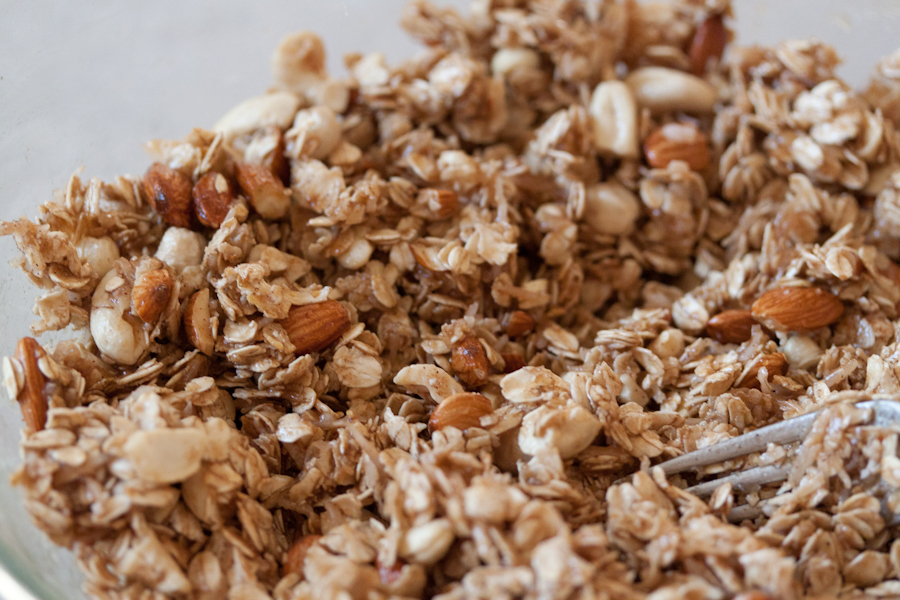
Using a spoon, stir everything together, making sure to try and coat each piece of the oat mixture.


Tasty Kitchen Blog: Coconut Granola. Guest post and recipe from Gaby Dalkin of What's Gaby Cooking.

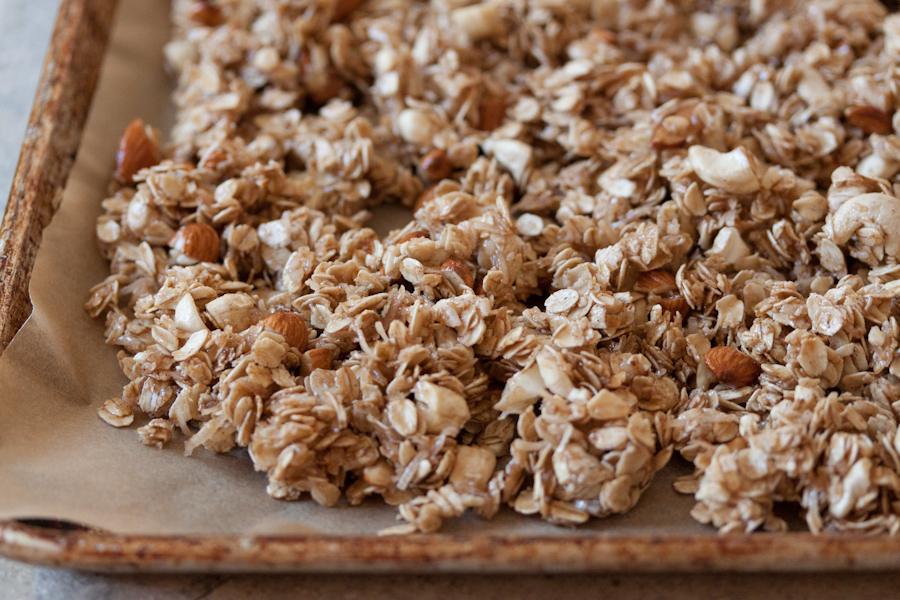
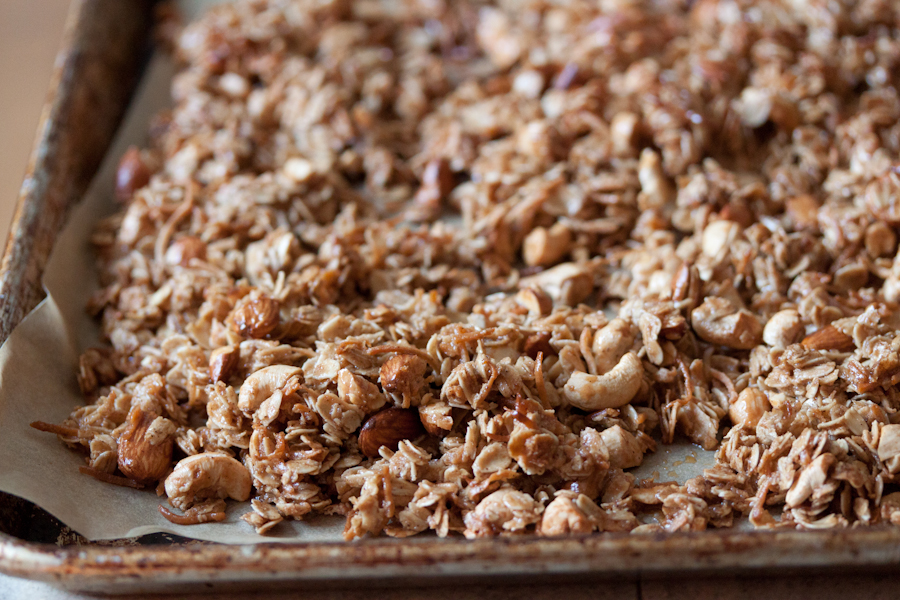
Place the mixture onto a parchment-lined baking sheet and spread out with a fork. Leave little parts in clumps to vary the texture.


Tasty Kitchen Blog: Coconut Granola. Guest post and recipe from Gaby Dalkin of What's Gaby Cooking.

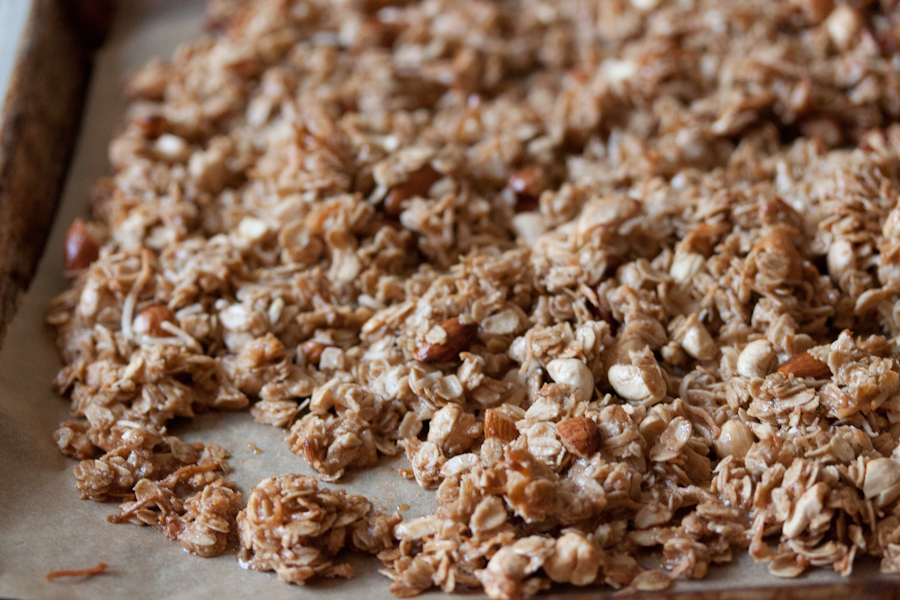
Place the mixture into a 325ºF oven and let it bake for 15 minutes. Remove it from the oven and give it a little mix with a fork. This is going to make sure that everything is baking evenly. Go ahead and place it back into the oven.


Tasty Kitchen Blog: Coconut Granola. Guest post and recipe from Gaby Dalkin of What's Gaby Cooking.

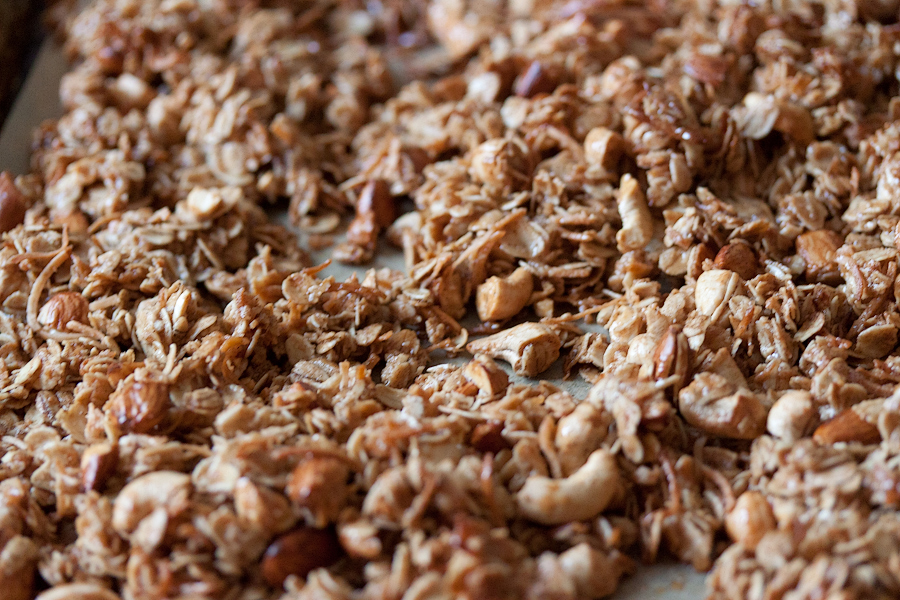
After another 15 minutes, remove the granola from the oven and give it another stir, making sure to leave some big clumps intact. Place it back into the oven and let it bake for another 10 minutes.


Tasty Kitchen Blog: Coconut Granola. Guest post and recipe from Gaby Dalkin of What's Gaby Cooking.

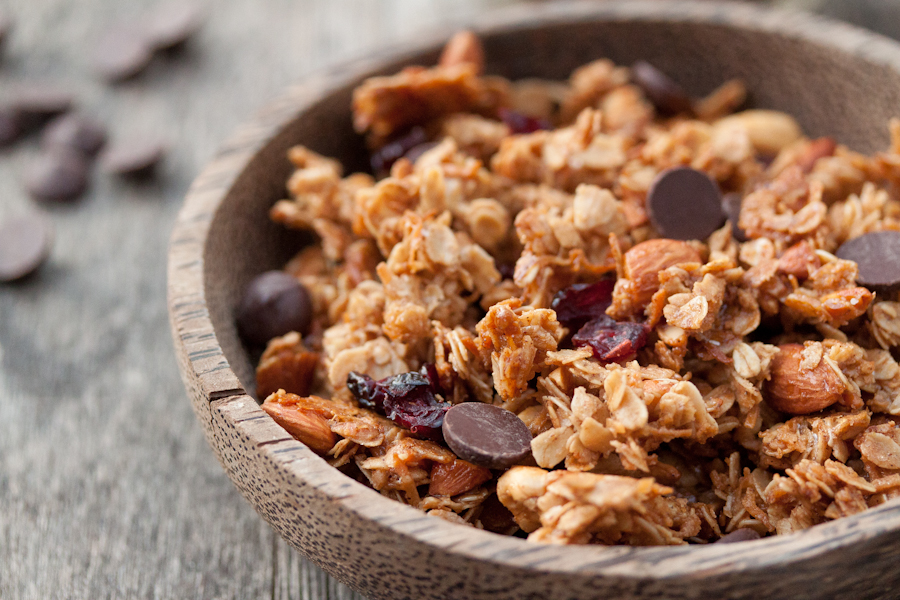
Once it’s baked for the full 40 minutes, remove the granola and let it completely cool. Once it’s cooled, toss in the dried cranberries and dark chocolate chips.


Tasty Kitchen Blog: Coconut Granola. Guest post and recipe from Gaby Dalkin of What's Gaby Cooking.

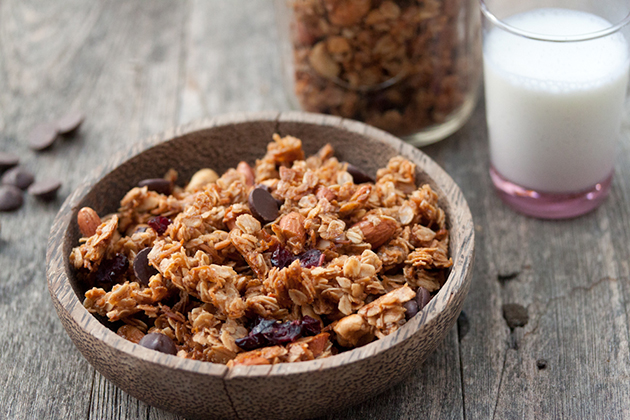
And then go put some into a big bowl, because you’re for sure going to want seconds or thirds.

And there you have it, a recipe for Coconut Granola with lots of fabulous mix-ins that you’ll love. I love this recipe so much, all my friends can expect to get a cute little jar of this as part of their gift this holiday season. And then of course, I’ll make a huge batch as a gift to myself!


Printable Recipe

Coconut Granola

5.00 Mitt(s) 13 Rating(s)13 votes, average: 5.00 out of 513 votes, average: 5.00 out of 513 votes, average: 5.00 out of 513 votes, average: 5.00 out of 513 votes, average: 5.00 out of 5

Prep Time:

Cook Time:

Difficulty: Easy

Servings: 10

10
x

Print Options

Page size Letter 3x5 4x6
Text Size Small Medium Large
Content Include description
Include prep time, etc.
Show image

Description

Hands down the best granola ever!

Ingredients

  • 3 cups Old Fashion Oats
  • ¾ cups Raw Cashews, Roughly Chopped
  • ¾ cups Almond, Roughly Chopped
  • 1 cup Unsweetened Shredded Coconut
  • 1 teaspoon Salt
  • 1 teaspoon Cinnamon
  • 1 stick Unsalted Butter
  • ¼ cups Agave Nectar (or Honey)
  • ⅔ cups Brown Sugar
  • 2 teaspoons Vanilla Extract
  • ½ cups Dark Chocolate Chips
  • ½ cups Dried Cranberries

Preparation Instructions

Preheat oven to 325 degrees F.

In a large bowl, combine the oats, cashews, almonds, coconut, salt and cinnamon and set aside.

In a medium saucepan, melt the butter, agave and brown sugar until the sugar has completely dissolved. Remove the mixture from the heat and stir in the vanilla extract.

Pour the butter mixture over the oat mixture and stir to combine until everything is well coated.

Spread the granola mixture onto a parchment-lined baking sheet, leaving a few large clumps.

Bake the granola for 15 minutes. Remove from the oven and break up the pieces to ensure even baking. Place the baking sheet back into the oven for another 15 minutes.

Remove the sheet pan from the oven and give it one more toss to break up some of the pieces and place back into the oven for the last 10 minutes.

Remove the baking sheet from the oven and let it cool completely. Once cooled, add the chocolate chips and the dried cranberries. Give it a quick toss with a spoon and then package into mason jars or brown paper bags to store.


_______________________________________

Gaby Dalkin is the young lady behind What’s Gaby Cooking, a food blog that’s bursting at the seams with incredible recipes and food photography. She’s a personal chef and professional recipe developer, and if you follow her on Twitter, you’ll soon discover her two-fold obsession: guacamole and cheese. She has small feet, a large heart, and a smile that can light up the whole building. We’re pretty stoked to have her here.


Profile photo of georgiapellegrini

Nonnie’s Persimmon Pudding

Posted by in Step-by-Step Recipes

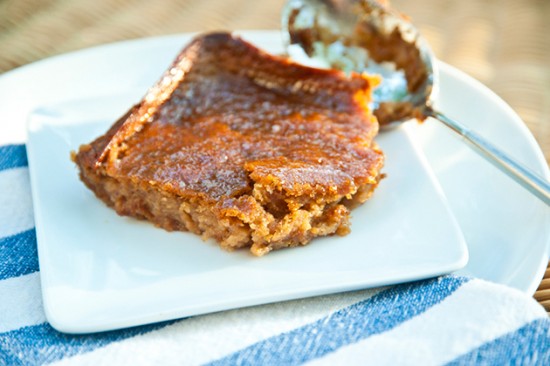
  There is something so comforting about recipes made by grandmothers. Why do we like them so much? I think for me it is the nostalgia that comes with a recipe from her but also those good kitchen smells and the fact that no matter how hard I try, it never comes out quite like […]

Profile photo of Amber {Sprinkled With Flour}

Ozark Apple Pudding

Posted by in Baking, Step-by-Step Recipes

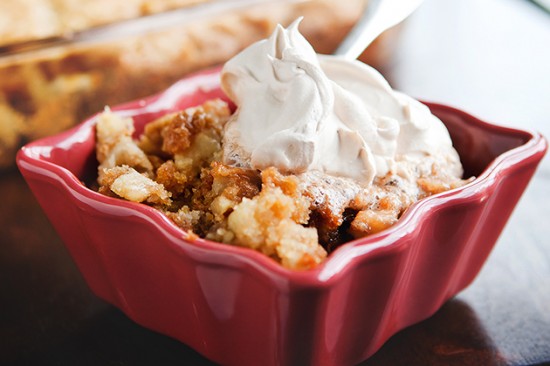
  Here in the Missouri Ozarks, the leaves have just passed their colorful prime, scattering across the ground leaving their tell-tale message. Winter is coming. “Boo!” I say! If I lived in a perfect world, it would be fall every day of the year, except for one snowy day on Christmas. I do not like […]

Profile photo of cookincanuck

Zuppa di Gnocchi e Pesto

Posted by in Step-by-Step Recipes

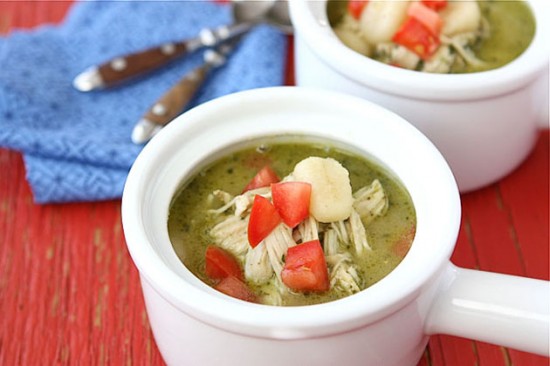
  If I had an Italian grandmother, I am sure this is the chicken soup she would make for my seven brothers and sisters and me. Okay, I don’t actually have seven siblings. In fact, I’m an only child. However, I always imagine Italian meals as large family affairs, so I have to conjure up […]

Profile photo of georgiapellegrini

Beer-Battered Fried Pickles

Posted by in Step-by-Step Recipes

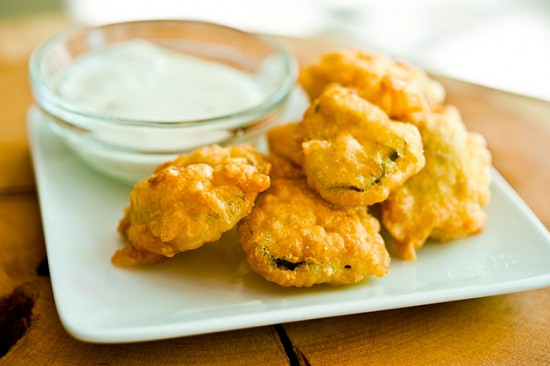
  I’m fairly certain there is nothing more satisfying to eat than a fried pickle. The sad part is that it took me 29 years to discover this. Last year I tasted my first fried pickle in an Irish pub in California and I was forever transformed. I crossed the threshold into a new phase […]