This is hot chocolate (or drinking chocolate), not hot cocoa. What’s the difference, you ask? Hot cocoa is made by adding hot water or hot milk to a powdered mix of cocoa, often containing sweeteners, dried milk, and flavoring. Hot chocolate is created by melting chocolate (either from a bar or chips) in milk.
The difference between hot chocolate and hot cocoa is not only in the method and ingredients, it’s in the flavor and texture as well. I find many of the hot cocoa mixes to be quite sweet and lacking in good flavor and somewhat thin. Hot chocolate, on the other hand, is rich and creamy and deep. The chocolate flavor takes center stage, not the sweetener or artificial flavorings. It’s so rich that I find that I can’t drink very much of it! Granted, you can make some excellent hot cocoa by mixing it yourself. But it lacks the depth of flavor and wonderful texture of hot chocolate.
Last winter I tried hot chocolate for the first time. I was won over instantly. It was so thick and smooth that it felt like I was drinking chocolate pudding.
Now get into your kitchen and try it out! It’s so easy to make.
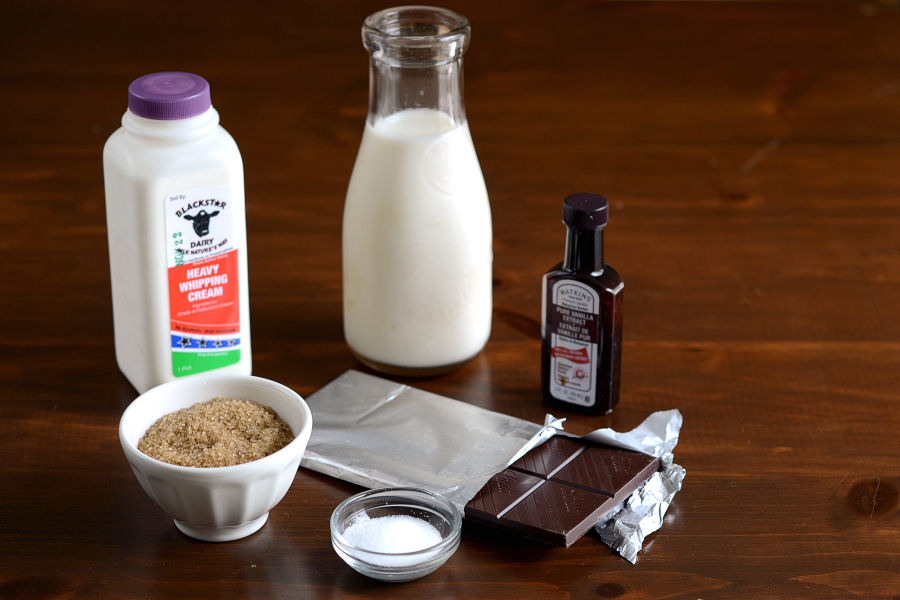
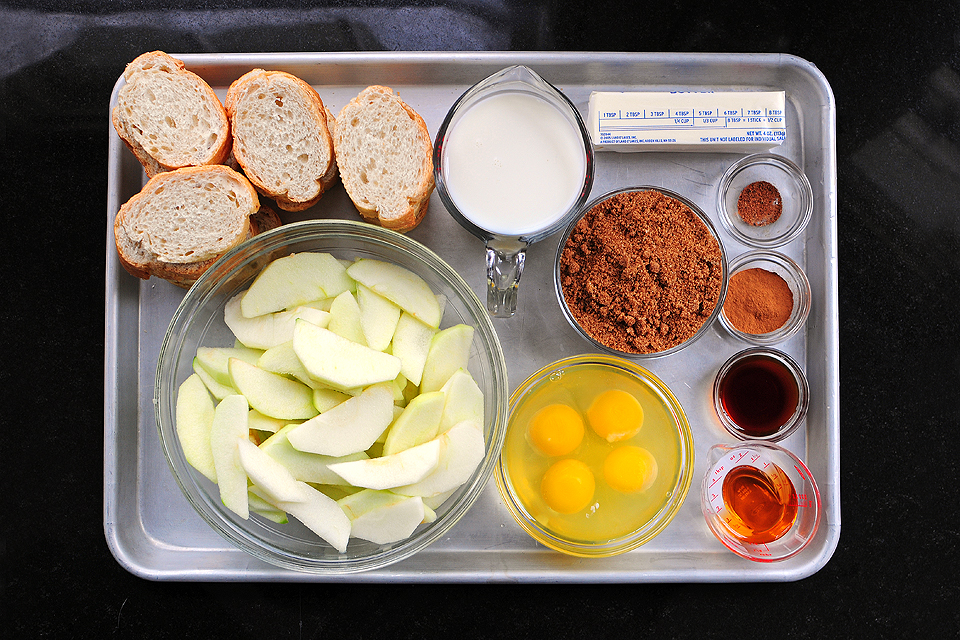
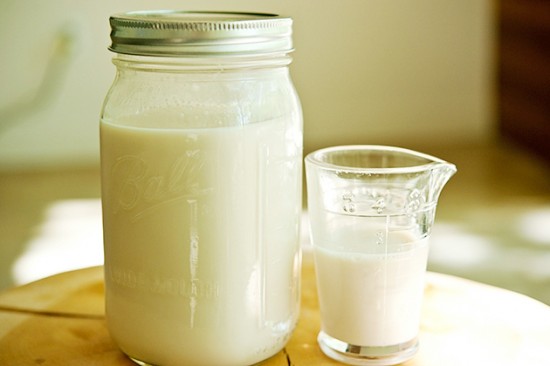
You’ll need 6 simple ingredients: whole milk, cream, a little sweetener (I used demerara, but you can use anything you like), a bit of salt, pure vanilla extract, and some good-quality chocolate (I used 70% cacao, but you could use something sweeter if you prefer).
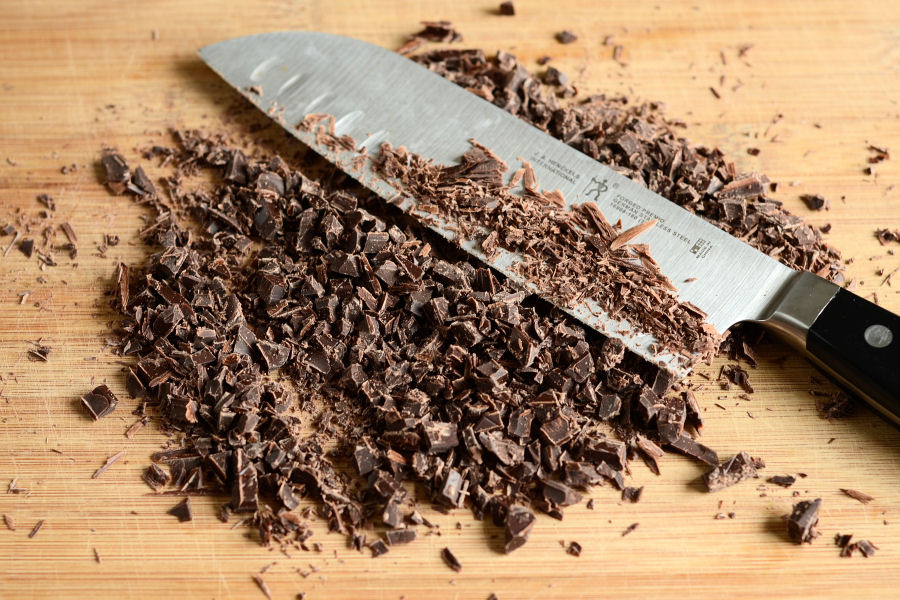
Begin by chopping up your favorite chocolate nice and fine. You want to chop it up quite a bit so it melts easily.
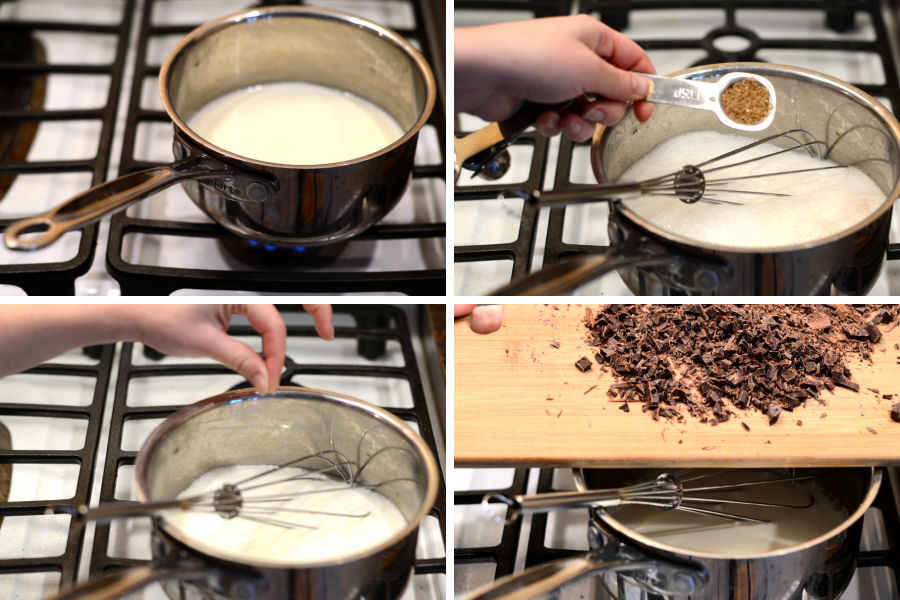
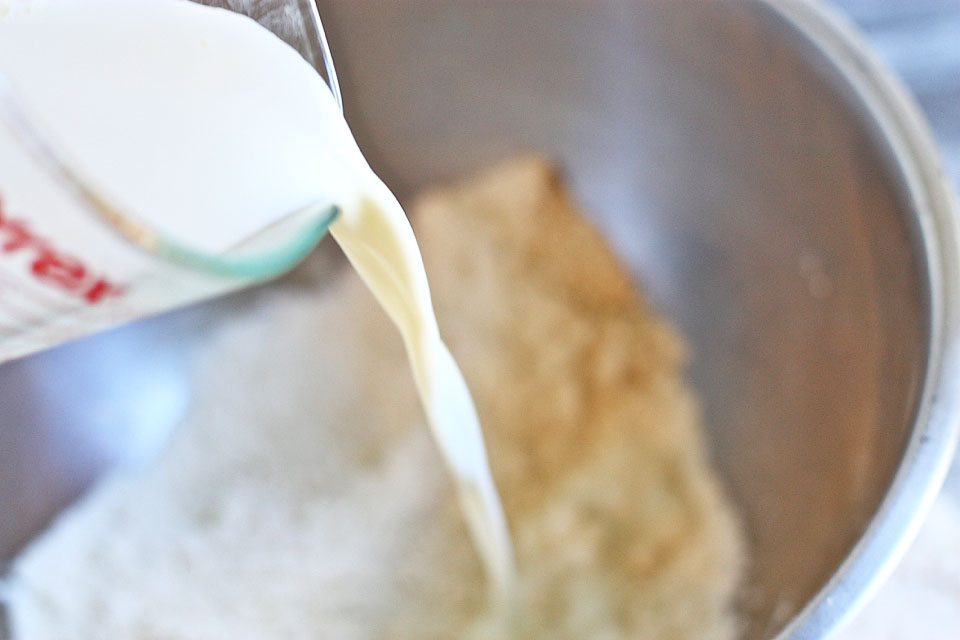
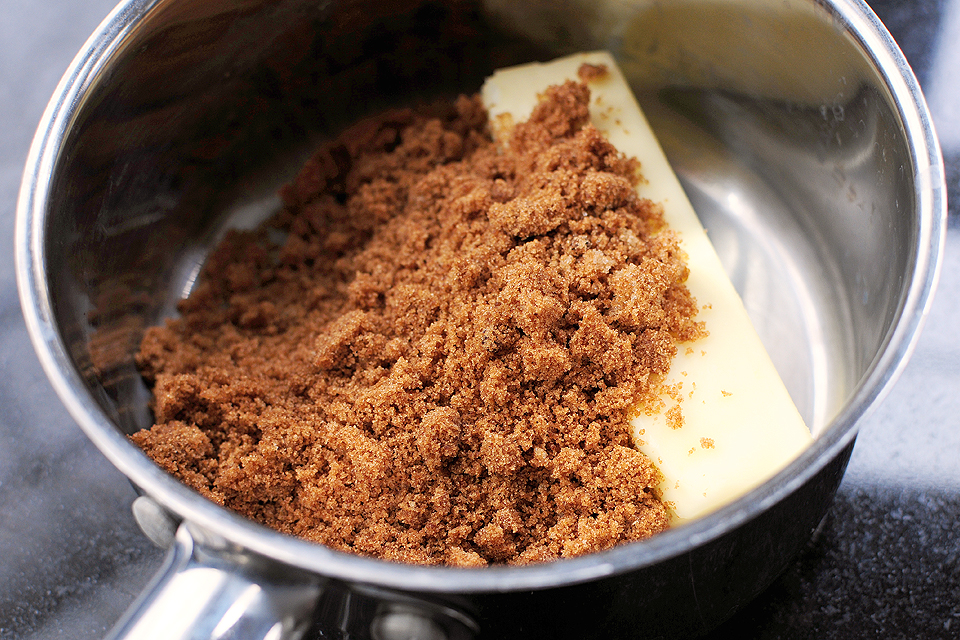
Heat the milk and cream to a low simmer, whisking occasionally. You don’t want to scorch your milk. Add your sweetener, salt, and chocolate.
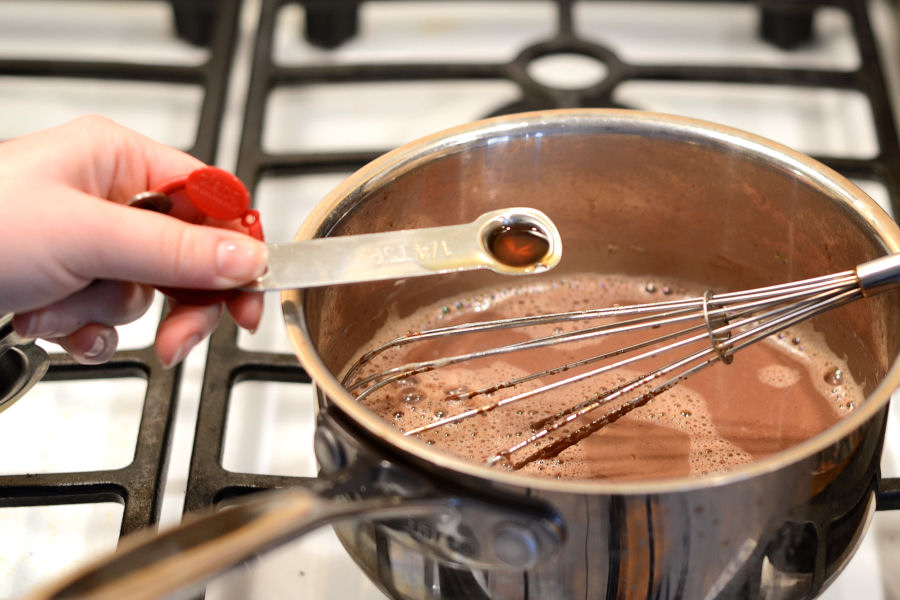
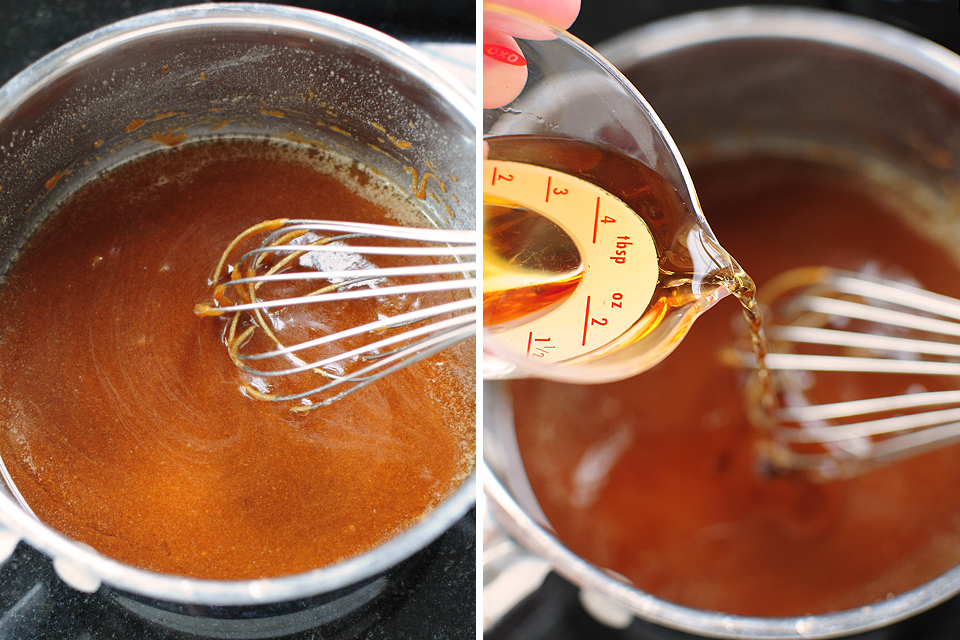
Whisk in the vanilla extract.
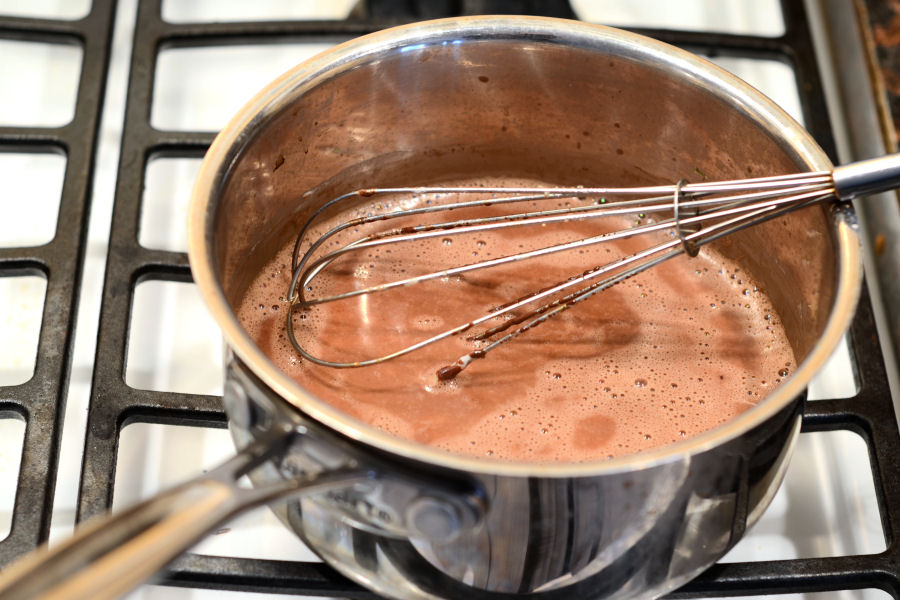
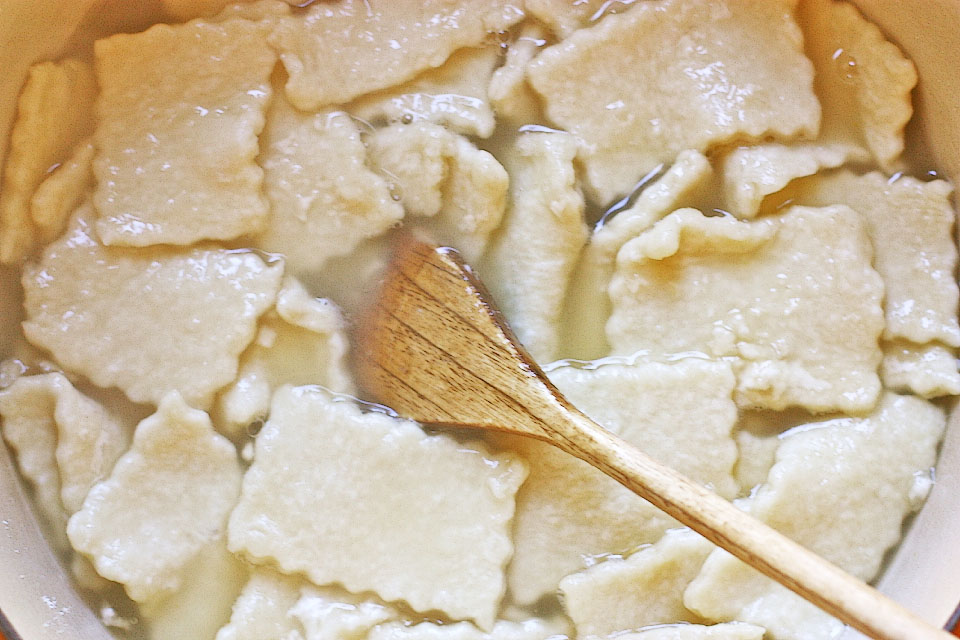
Whisk vigorously until all of the chocolate has melted. Cook for an additional 4 minutes, whisking constantly. The hot chocolate will thicken a bit as it cooks.
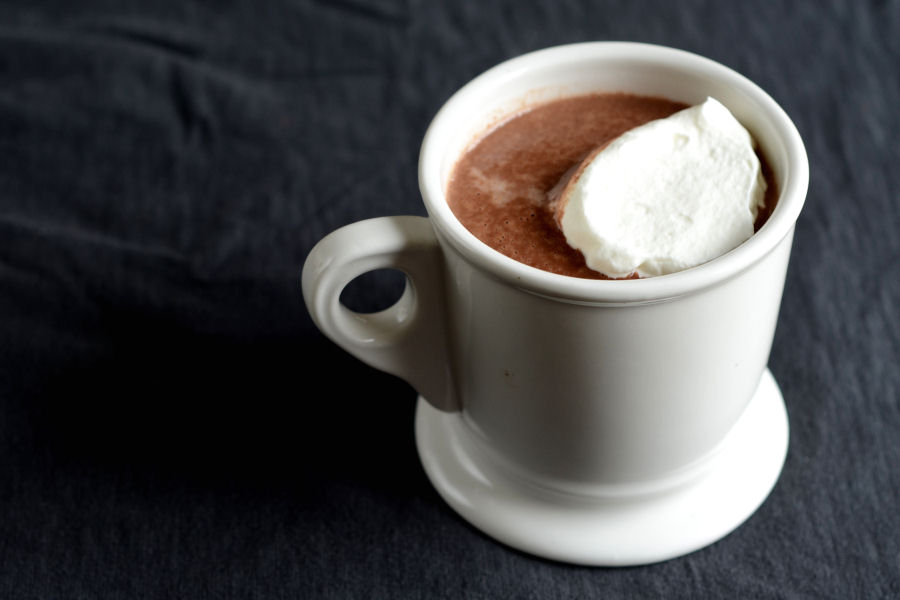
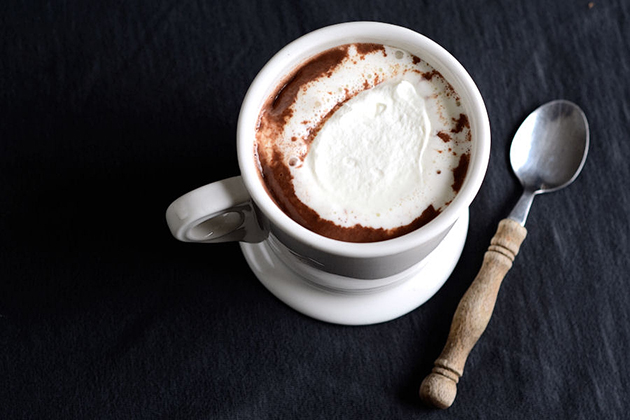
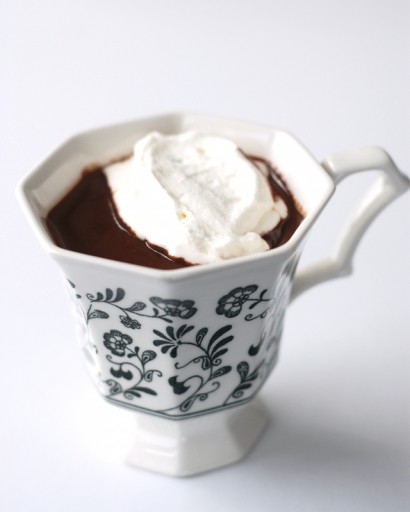
Pour into your favorite mug and enjoy all by itself or with a dollop of whipped cream or some good marshmallows. Prepare for some major enjoyment!
Note: If you find this hot chocolate to be too rich, you could try replacing the cream with milk.
You can check out my original post on my blog, or view the recipe below.
Printable Recipe


Print Options
Description
Real hot chocolate, made with dark chocolate and whole milk. It’s like drinking chocolate pudding.
Ingredients
- 8 ounces, weight Chocolate (preferably Dark)
- 3-½ cups Whole Milk
- ½ cups Heavy Cream
- 3 teaspoons Maple Syrup Or Natural Sweetener Of Choice
- 1 teaspoon Vanilla Extract
- ⅛ teaspoons Salt
Preparation Instructions
1. Chop chocolate very finely.
2. In a medium saucepan, bring milk and cream to a low simmer over medium heat, whisking occasionally.
3. Add chocolate, maple syrup, vanilla, and salt. Whisk vigorously until all of the chocolate has melted. Cook for an additional 4 minutes, whisking constantly.
4. Serve with whipped cream, if desired.
_______________________________________
Newly-married Erica Kastner shares her wonderful recipes and amazing food photography on her blog, Cooking for Seven. She also writes about crafts and posts more of her beautiful photography in her personal blog, EricaLea.com. There really isn’t much that this amazing young lady can’t do, and we’re thrilled she does some of it here.