Our good friend Alice of Sweet Savory Life is back with another fun recipe, this time from Tasty Kitchen member Miss Mischief. She also patiently shows us how to properly fill, seal and fry wontons, so you can take this idea and run with it! But please listen to Alice and don’t run where there’s a pot of hot oil. Take it away, Alice!
I love the versatility of wonton wrappers. Most commonly used in Chinese cuisine, wontons are often filled with a savory pork and cabbage filling then boiled as part of a delicious soup or deep fried as an appetizer. However, I’m seeing wonton wrappers being creatively used as an alternative to traditional ravioli pasta dough or fried in strips to use as crunchy croutons on tops of salads. This time, we’re going to fill them as a sweet bite-sized treat. Today I’m happy to share with you an easy chocolate-hazelnut-filled dessert everyone will love.
If you’ve ever been to a crepe bar/restaurant, one of the most popular fillings is Nutella and bananas. There is something irresistible about a chocolaty hazelnut spread as smooth as creamy peanut butter but as decadent as chocolate ganache. Now imagine this filling paired with the wonderful flavor of banana then deep fried in a paper thin shell. What you have is a crispy golden brown morsel filled with heavenly goodness.
This recipe by TK member Miss Mischief (Meredith) for Nutella Banana Wontons is so easy and yet it is a crowd pleaser guaranteed to disappear quickly! So let’s get started!
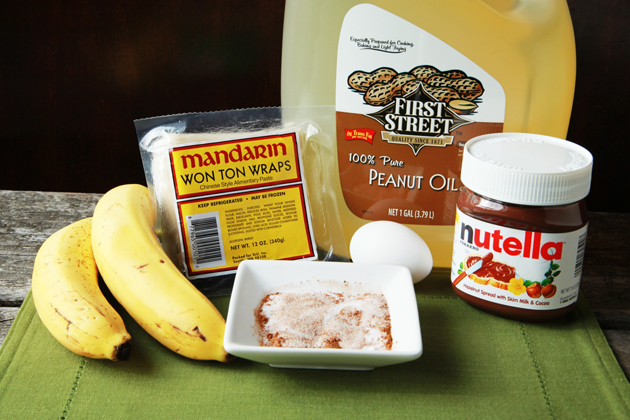
Here is what you’ll need: wonton wrappers, canola oil or peanut oil, Nutella hazelnut spread, bananas, egg, cinnamon sugar or powdered sugar.
This recipe works best if you streamline each step.
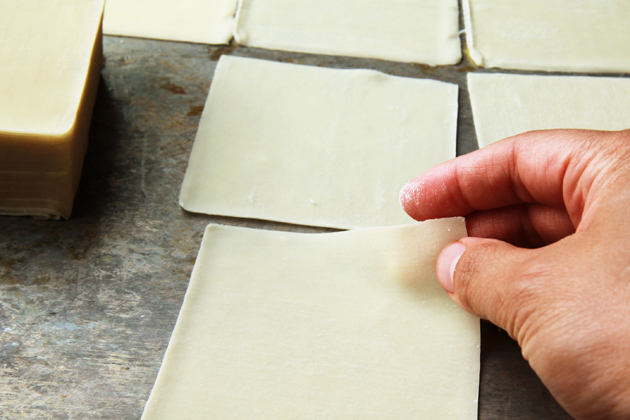
Line a few cookie sheets with wonton wrappers.
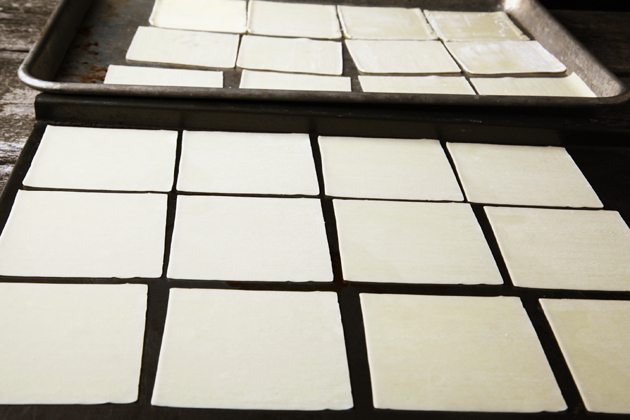
Lay them side by side in single file rows.
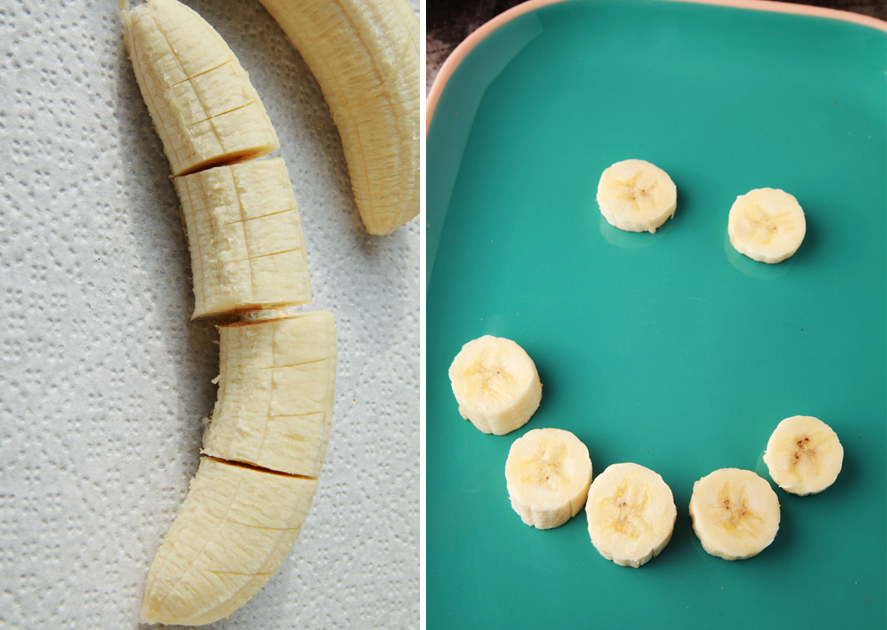
Thinly slice bananas so each banana makes approximately 24 pieces. The best way to do this is by scoring the tops of each banana but making dent marks with your knife. Keep dividing and marking the banana in successively smaller halves, repeating the process until you have 24 pieces. After you’ve scored each one, cut along your marks. The picture above shows I’ve scored 12 pieces on each banana which were approximately ¼” thick. But I found these were too big and realized I should have cut them even smaller. Ideally, each slice should be about 1/8″ thick (.3 cm).

Open up a ziplock bag and fold the top over itself.
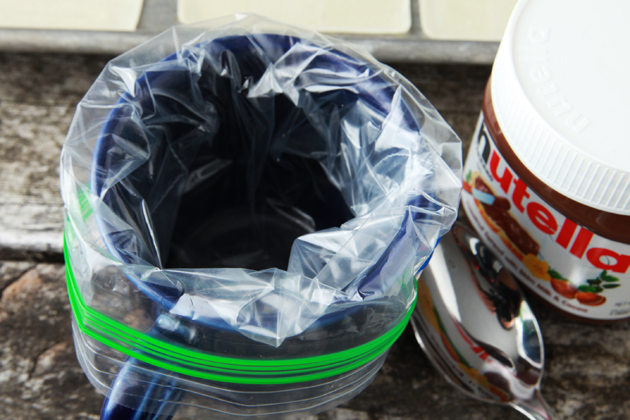
Place the bag in a cup with the edges overlapping the rim of your mug. Spoon approximately ½ cup of Nutella into the mug.
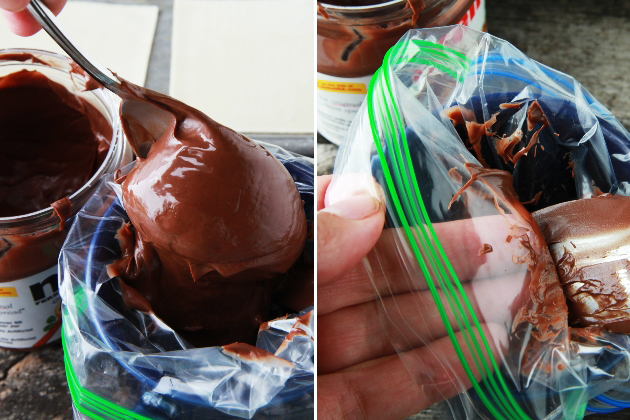
Tip: To remove as much Nutella as possible from the spoon, place your fingertips on the outside of the bag and use them to scrape off as much spread as you can against the spoon as you lift it up and out of the bag.
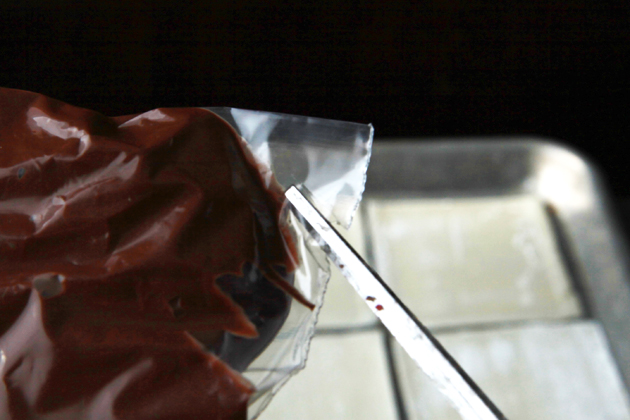
Snip one of the bottom corners of the ziplock bag. This will become a make-shift pastry bag. Seal the top edge. Point the bag with the cut tip facing down and twist the top of the bag so most of the Nutella is pushed downward until the spread meets the opening (think toothpaste).
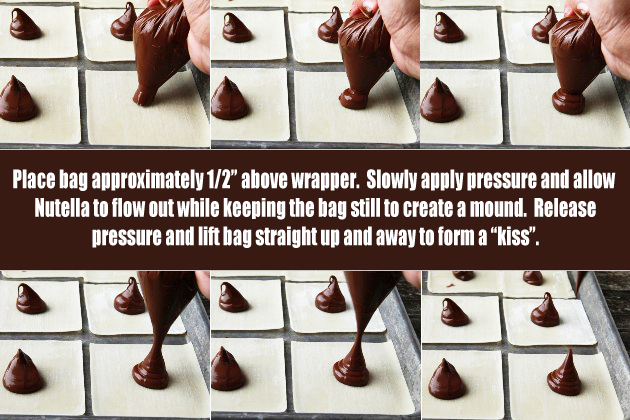
Pipe a small Hershey Kiss sized dollop in the center of each wonton wrapper.
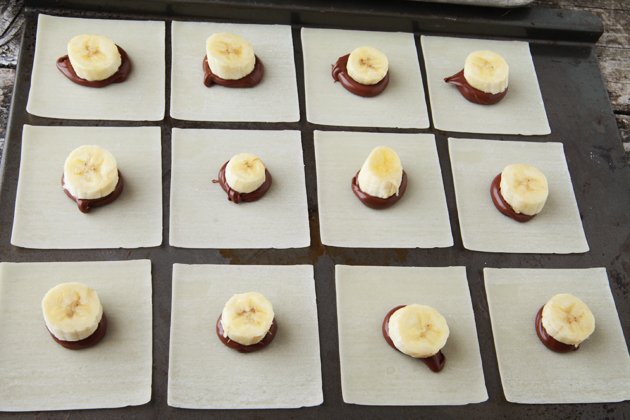
Place a banana slice over each dollop and press down slightly.

Prepare the egg mixture by beating the egg. This will be the glue which will hold the wrapper together.
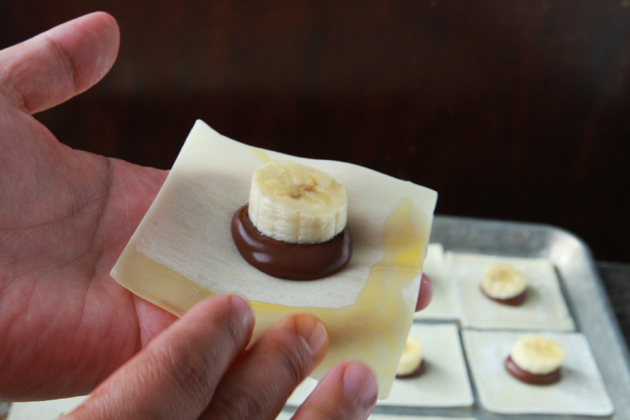
Place a filled wonton in the palm of your least-used (non-writing) hand. With your other hand, dip your pointer or middle finger in the egg mixture and use it like a paint brush to wet two adjoining sides of the wrapper.
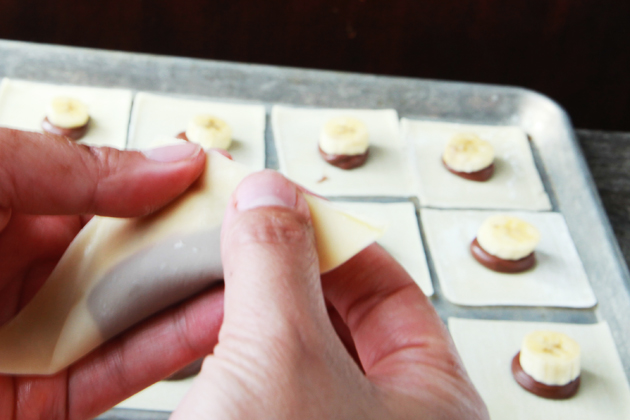
Fold the wet sides over the dry ones to form a triangle. Using both hands, pointer fingers, and thumbs, glue the wonton sides together by placing the edges between your fingers and pressing down along the seams to seal them.
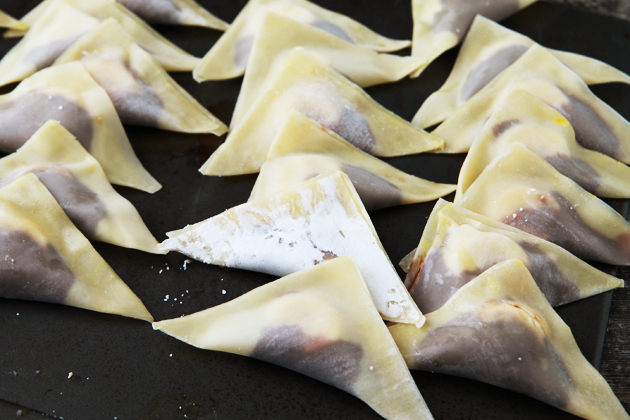
Place completed wontons back on a cookie sheet.
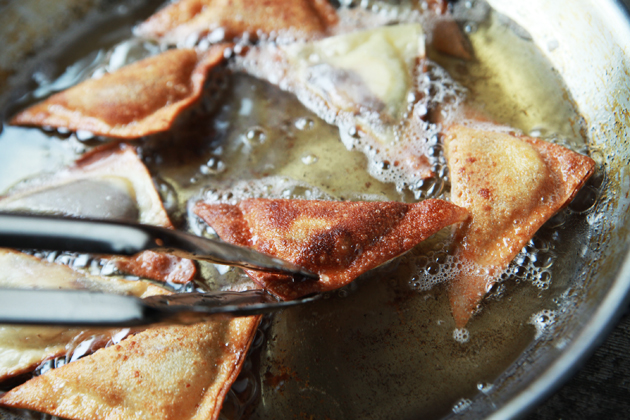
Pour oil in a medium-large, non-reactive frying pan, skillet, or pot and set burner to high heat. To check if your oil is ready to use, carefully flick a drop of water in the pan. If it starts sizzling upon contact, your oil is ready.
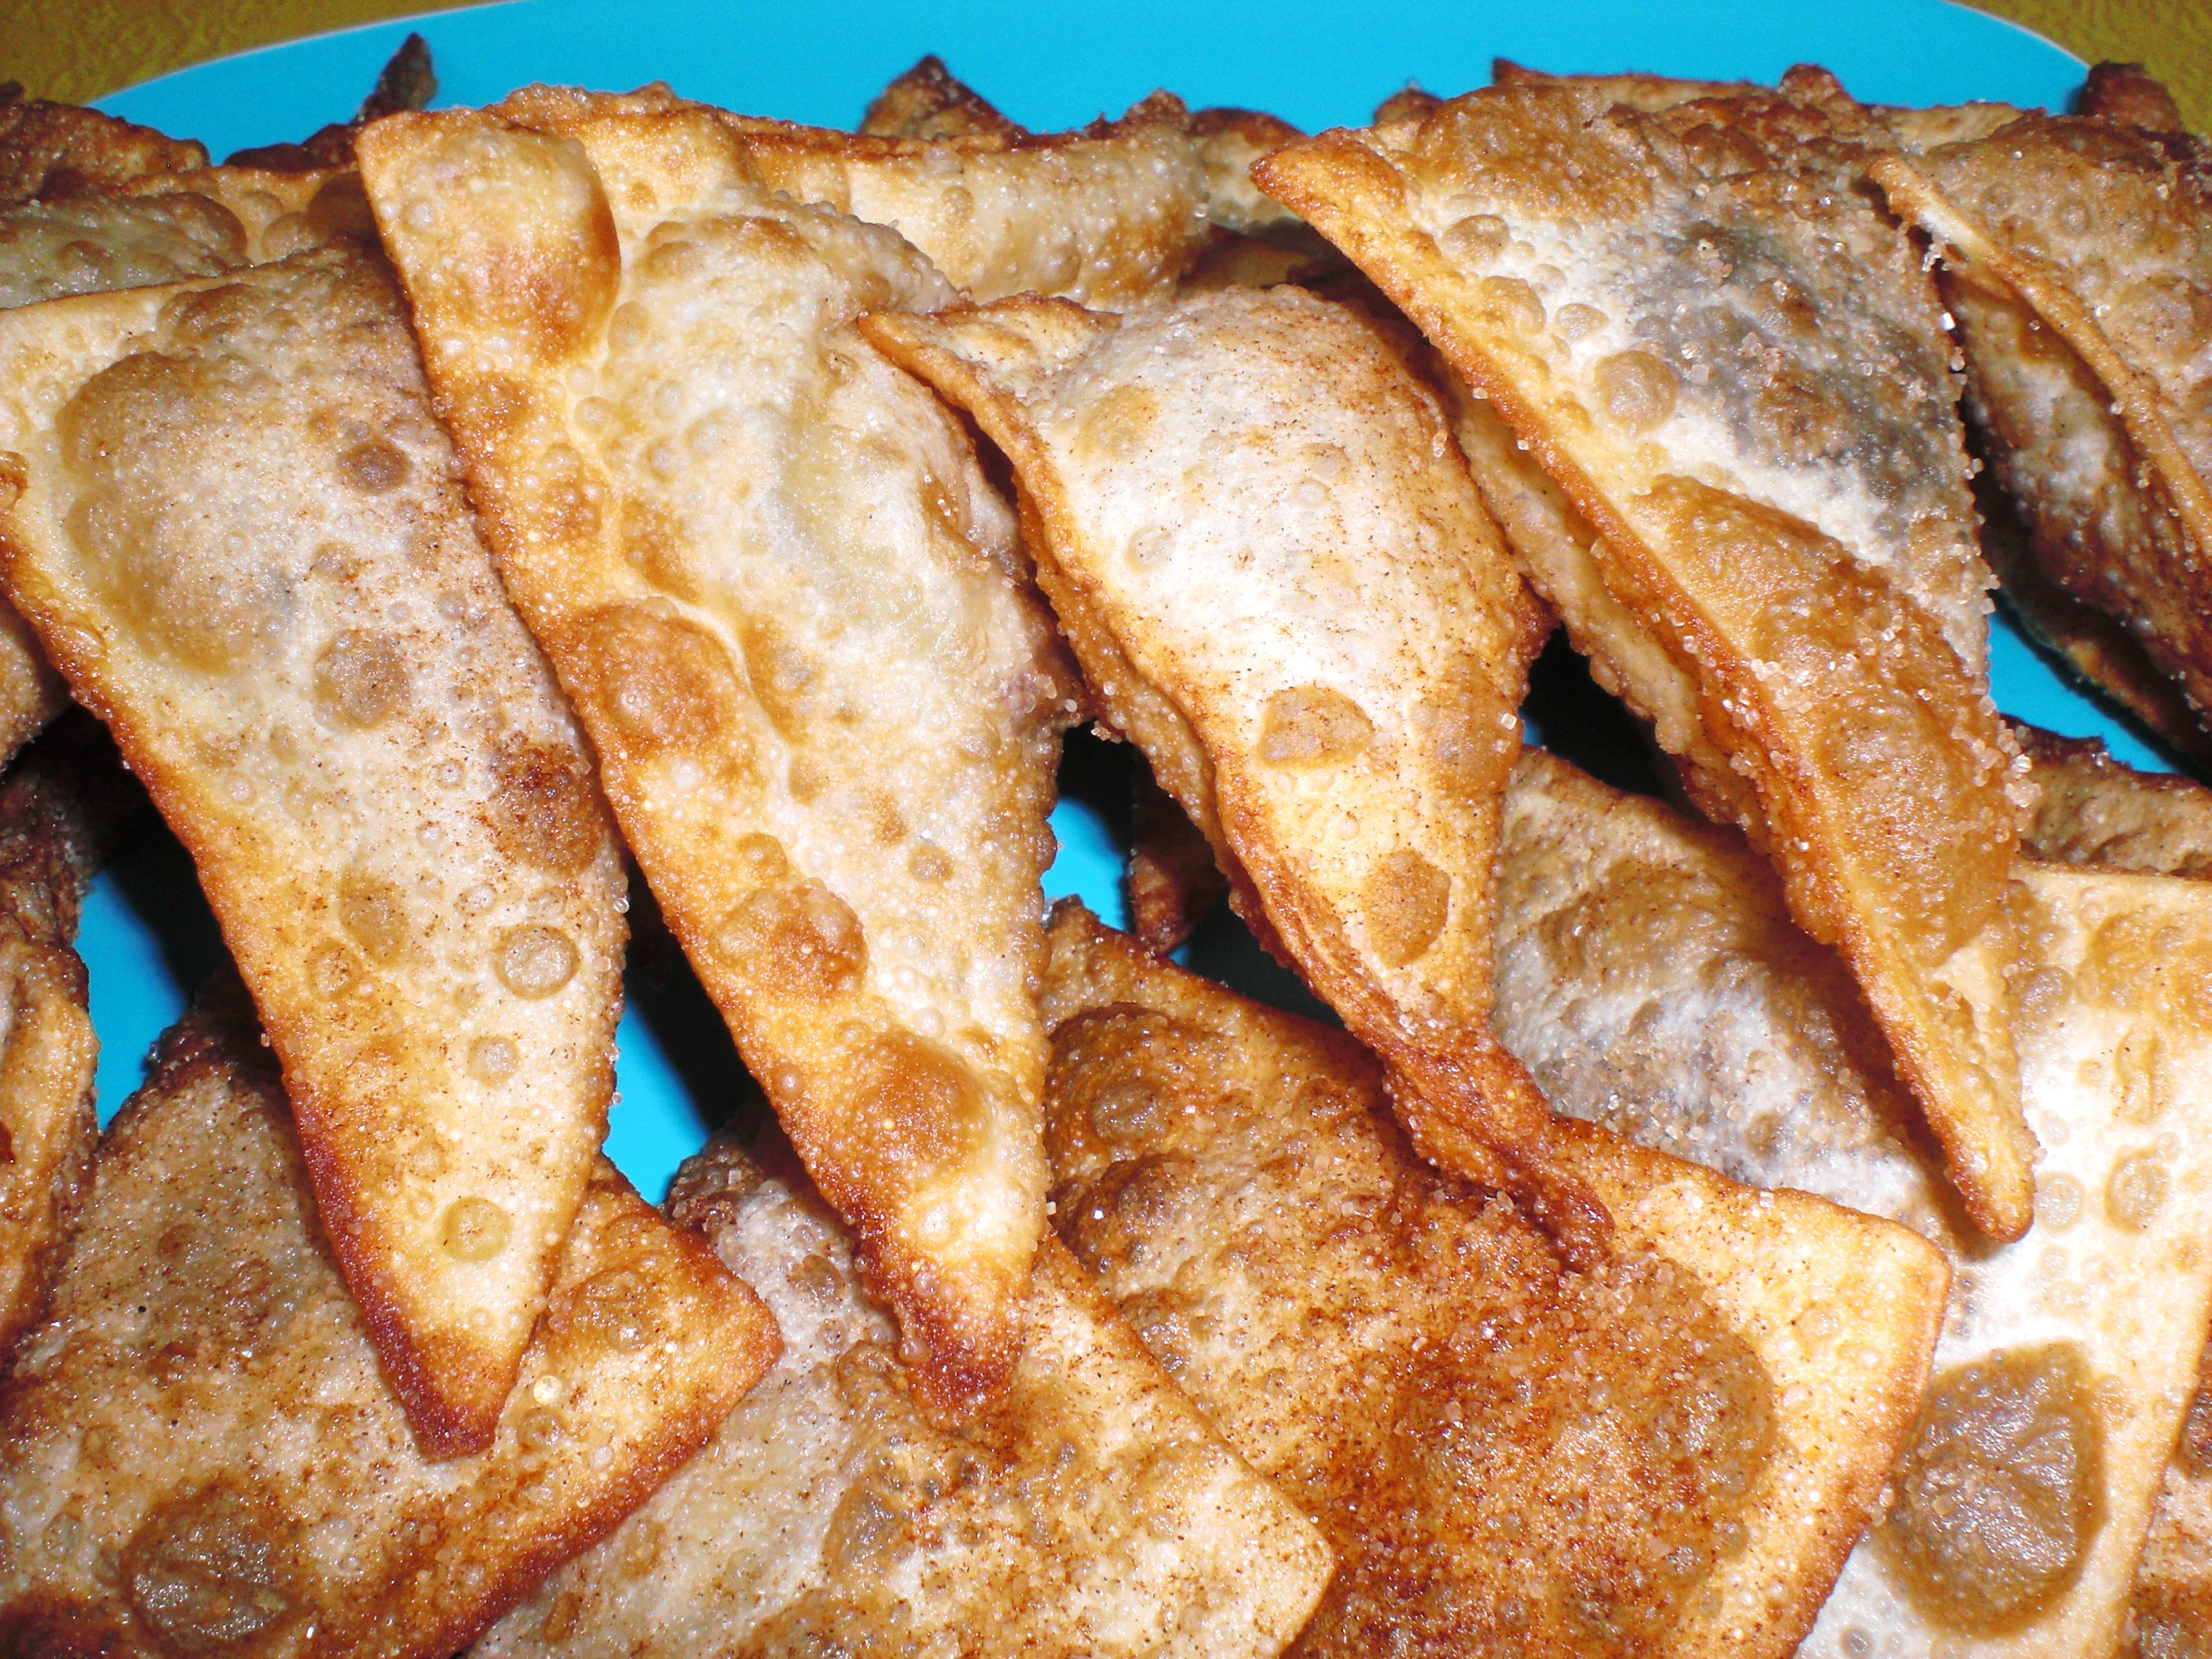
Using a metal spatula or a large spoon, place as many wontons into the hot oil as your pan will fit without them overlapping. Fry each side until golden brown. It only took me about 15 seconds per side so be sure to not leave your pan unattended. Because we’re not cooking raw meat like a traditional wonton, what you’re really looking for is a golden crispy color when frying these. Your cooking times will vary and it’s best to eyeball your wontons by color as a time measure.
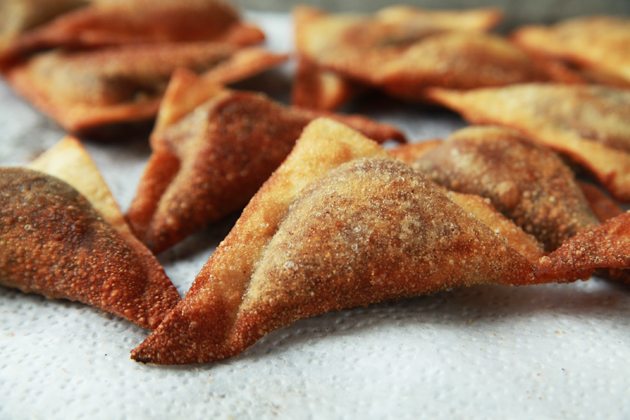
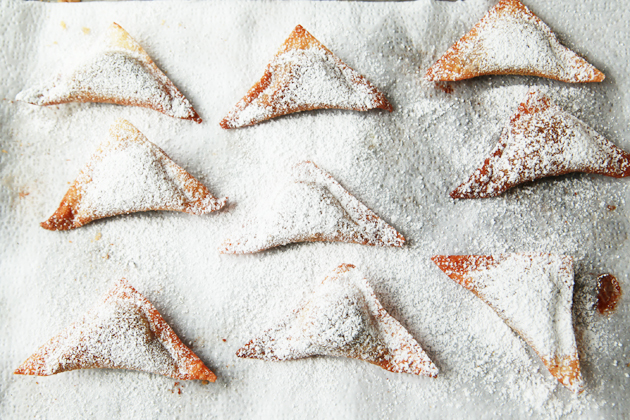
When wontons are done frying, carefully remove them and place them on a cooking sheet lined with paper towels. Repeat the frying process until all the wontons are cooked.
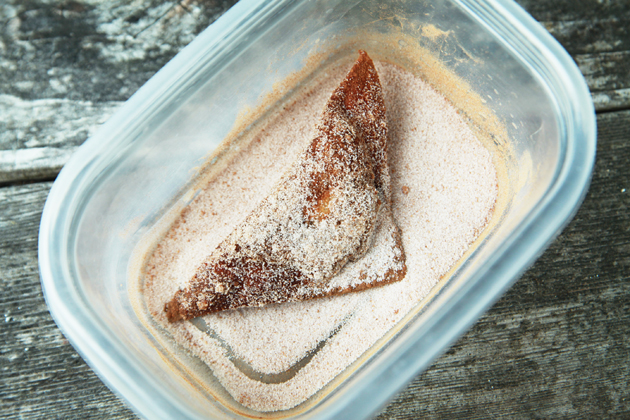
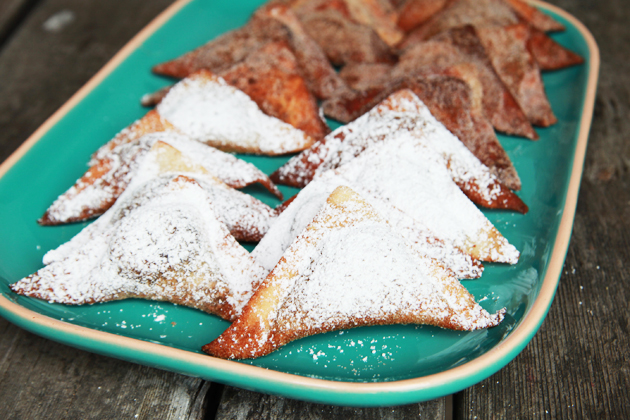
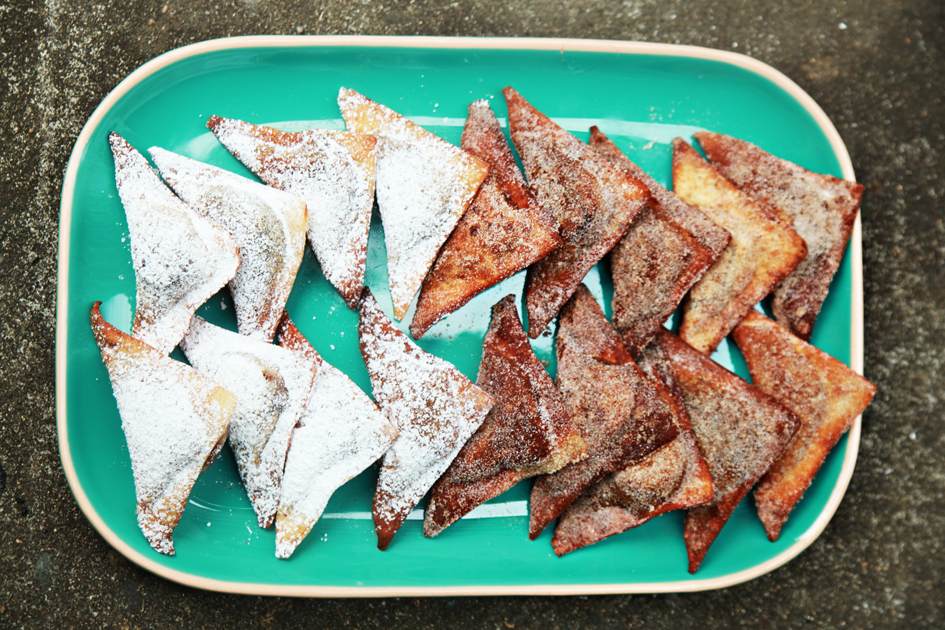
To finish these wontons off, coat them in cinnamon sugar. The best way to do this is by placing cinnamon sugar in a small bowl with tall sides. Place each wonton inside the bowl and give it a gentle shake back and forth. Turn the wonton over and repeat.
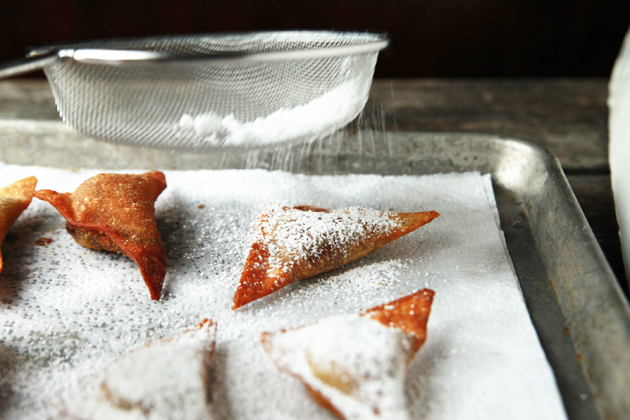
Or you can sprinkle powdered sugar over the tops of each wonton for a beautiful effect on one side.
Pretty!
Allow wontons to slightly cool for a few minutes before serving them.
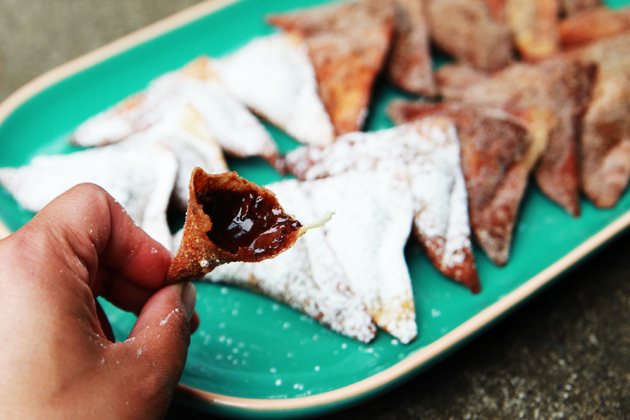
Didn’t I tell you you’d have a crispy golden brown morsel filled with heavenly goodness?
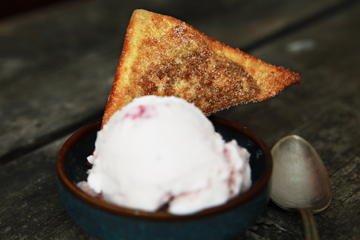
Just for fun, place one wonton in a bowl of ice cream for a fancy treat.
A few tips and suggestions:
1. When deep frying anything, be sure to use a cooking oil such as peanut, canola, or safflower which can handle high heat and has a high smoking point.
2. Do not use too much Nutella or thick banana slices. It’s difficult to fold the wrapper over itself and seal the edges if there is too much filling.
3. Always attend the stove while deep frying. These wontons cook very fast (under 30 seconds each side) and will burn if left unattended.
4. Never use wet utensils when frying. If water droplets come into contact with hot oil, it will splatter and you may get burned or your clothes may become oil-stained.
5. Recipe makes 48 pieces. Serving suggestion is 2 wontons per person. Realistically, a person could easily eat between 3-5 of these, so plan accordingly.
6. Coating these with powdered sugar looks better but the cinnamon-sugar mix tastes better.
Many thanks to Tasty Kitchen member Miss Mischief for this fabulous recipe!
Printable Recipe

Print Options
Description
I made these the other day for a party and they were a HUGE hit with both the kids and adults!
Ingredients
- 1 package (12 Oz. Package) Wonton Wrappers
- 2 cups Canola Oil
- 1 jar (13 Oz. Jar) Nutella Hazelnut Spread
- 2 whole Bananas, Cut Into Pieces
- 1 whole Egg, Beaten
- 2 Tablespoons Cinnamon Sugar
Preparation Instructions
Defrost wonton wrappers in the refrigerator at least a day in advance. Heat canola oil over medium-high heat in a small fry pan (just big enough for 1 wonton at a time). I had about 3/4 of an inch of oil in my pan, just enough to suspend the wonton while frying. Make an assembly line with the Nutella, bananas, and egg wash. Place about 1 teaspoon of Nutella in the center of a wonton wrapper then put a banana on top. Wet all four edges of the wrapper with the egg wash and seal into a triangle shape. Fry until golden brown on each side, remove from the oil and place on a paper towel to drain. Sprinkle each side with cinnamon sugar. Recipe makes about 40 wontons.
_______________________________________
Alice Currah is the force behind Sweet Savory Life and Everyday Alice. She and her husband Rob are the proud parents of three children: Abbi, Mimi, and Elli. Alice is the winner of Saveur’s Cover Contest and is on the Forbes.com list of Eight of The Very Best Food Bloggers. She’s the best-est.
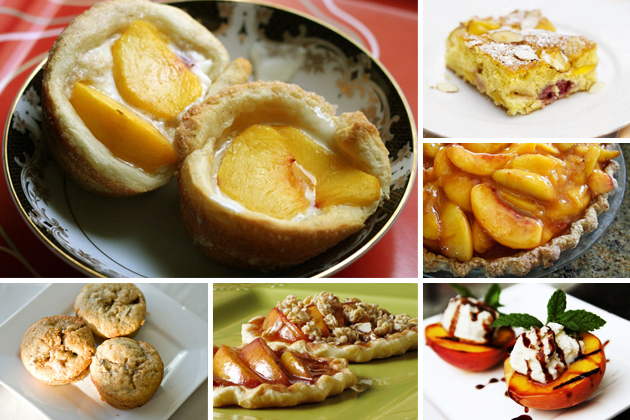
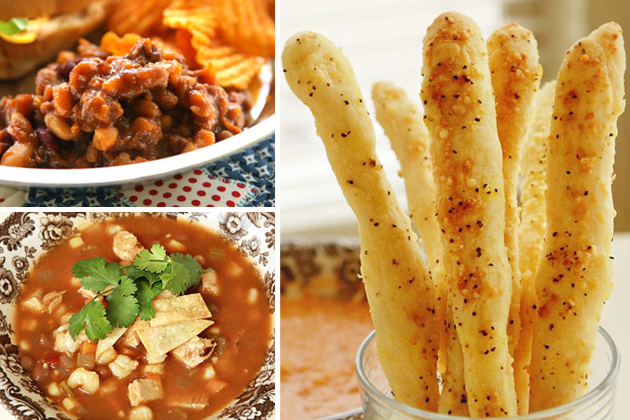
 Clockwise from top left:
  Clockwise from top left:
 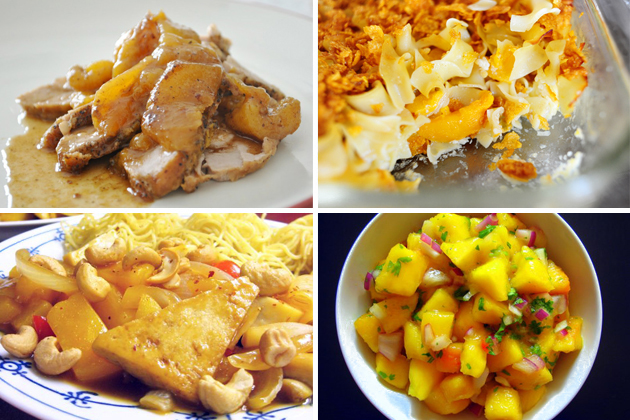 Clockwise from top left:
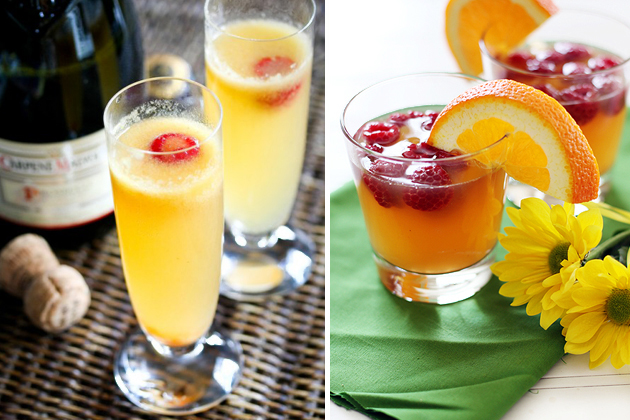
 Clockwise from top left:
 Clockwise from top left:
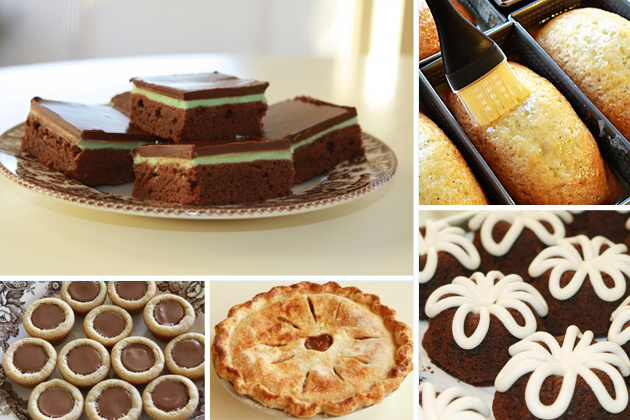
 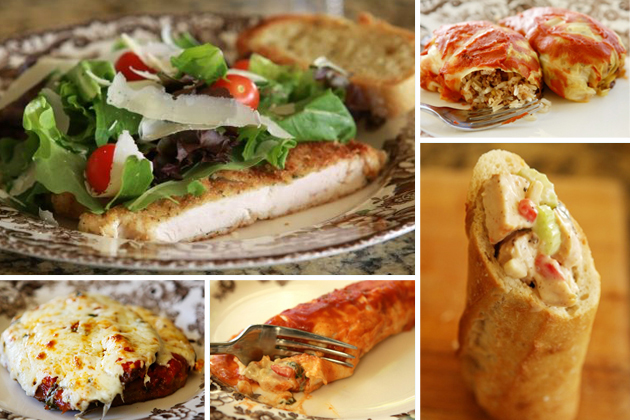 Clockwise from top left:
 Clockwise from top left: