The Pioneer Woman Tasty Kitchen
Profile photo of Erika (TK)

How Do You Like Your Popcorn?

Posted by in Kitchen Talk

Tasty Kitchen Blog: Kitchen Talk (Popcorn)

‘Tis the season for movies! Are you ready for summer and all its much-anticipated blockbusters? Do you have a long Netflix (or Hulu or iTunes) queue or a hold request list at your local library for all the movies you want to see over the next couple of months? I know I do. I rarely have time to go to the cinema anymore, so I have a lot of catching up to do. (Also, does anyone call them ‘cinemas’ anymore? Or is my age showing?)

Everyone knows popcorn and movies go together like eggs and bacon, and as much as I love popcorn at the multiplex (ha! You thought I was going to say ‘cinema’ again, didn’t you?), I much prefer the comfort of my own home where I can recline on the couch, drape an old throw over my legs, and munch on homemade flavored popcorn. I can heckle the screen if I want to and attempt to solve the mysteries out loud (The neighbor did it!), and no one will shush me. My husband may just shoot me an exasperated look, but nope, no shushing.

Kettle corn is my favorite popcorn flavor to make at home if I’m going for something other than the simple butter-and-salt kind. I have a serious weakness for that salty-and-sweet flavor. But I also love showering popcorn with Parmesan cheese, or using herbed butter with a touch of honey. Popcorn lends itself to so much customization and the possibilities are endless! So, while it’s early in summer, let’s start dreaming up new ways to do popcorn. Tell us:

What’s your favorite way to dress up a bowl of popcorn?

Do you like it sweet with caramel? Spicy? Cheesy? With added nuts and chocolate? As popcorn balls? Do you like it super fancy with truffle oil? Or maybe you use popcorn in new and creative ways, like as croutons for salad, or in granola? Perhaps you don’t necessarily have a favorite flavor but have a special way of popping the popcorn. If it’s popcorn-related, we want to hear it. Come share below!


Profile photo of steamykitchen

How to Bake Spaghetti Squash

Posted by in Kitchen Talk

Tasty Kitchen Blog: How To Bake Spaghetti Squash. Guest post by Jaden Hair of Steamy Kitchen.

 
I just came back from a week of blissdom at the famous Rancho La Puerta spa in Tecate, Mexico, where they’re known for their invigorating hikes and healthy, low-calorie, mostly vegetarian gourmet meals. It’s a place where you go to recharge, restore and get back in touch with how wonderful nourishing food tastes and feels.

Don’t get me wrong, I missed my meats like crazy (a few of my co-conspirators and I snuck out for a beer and taco run … twice).

Since I’ve been home, I’ve been trying to keep a little of that Rancho La Puerta experience with me, and I’m specifically talking about enjoying healthy vegetarian dishes.

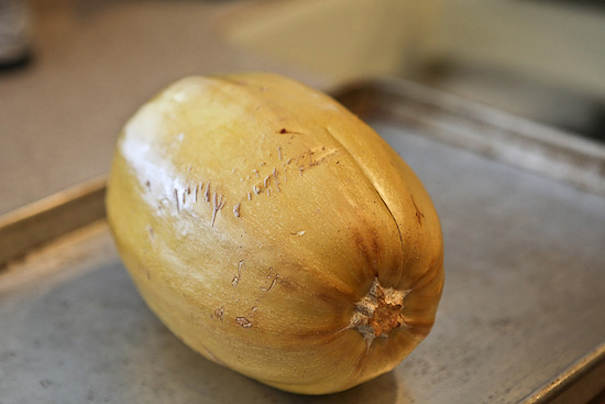
A spaghetti squash is a pretty intimidating pain. It’s large, heavy and when uncooked, you’d need a hack saw to pierce through its thick skin. But pop that baby in a 375F oven for 40 minutes to 1 hour (until you can easily pierce it with a paring knife) and it will look like this:

Tasty Kitchen Blog: How To Bake Spaghetti Squash. Guest post by Jaden Hair of Steamy Kitchen.


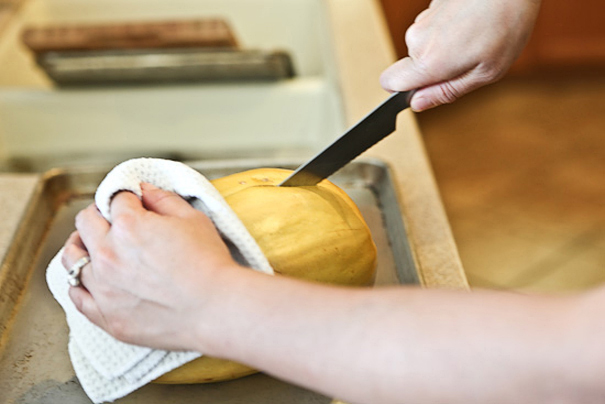
Grab knife and cut it all the way around:

Tasty Kitchen Blog: How To Bake Spaghetti Squash. Guest post by Jaden Hair of Steamy Kitchen.


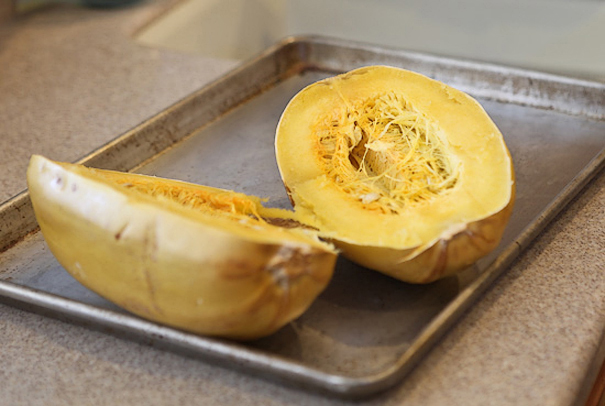
Then open it up:

Tasty Kitchen Blog: How To Bake Spaghetti Squash. Guest post by Jaden Hair of Steamy Kitchen.


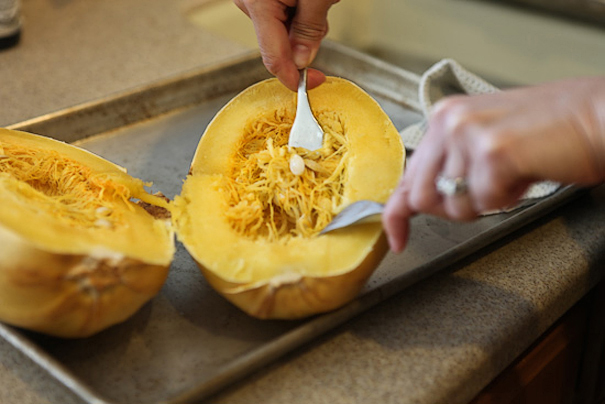
Scoop out the seeds:

Tasty Kitchen Blog: How To Bake Spaghetti Squash. Guest post by Jaden Hair of Steamy Kitchen.


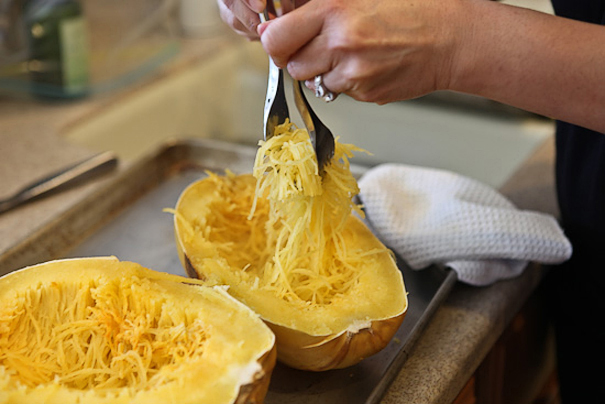
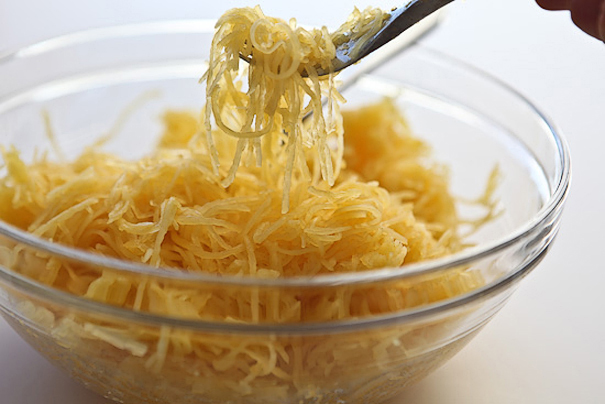
Then use two forks to lift the strands out:

Tasty Kitchen Blog: How To Bake Spaghetti Squash. Guest post by Jaden Hair of Steamy Kitchen.


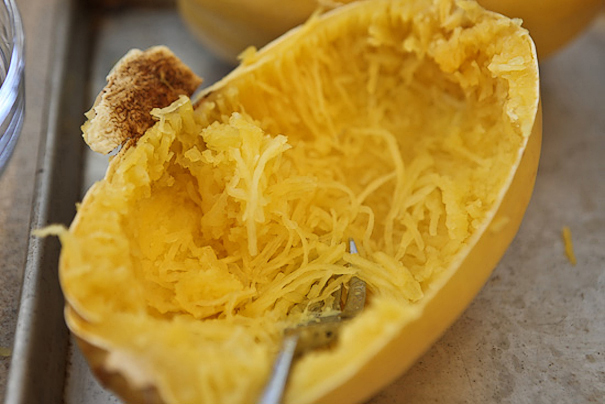
Oops. I must’ve forgotten to take off the sticker on the squash:

Tasty Kitchen Blog: How To Bake Spaghetti Squash. Guest post by Jaden Hair of Steamy Kitchen.


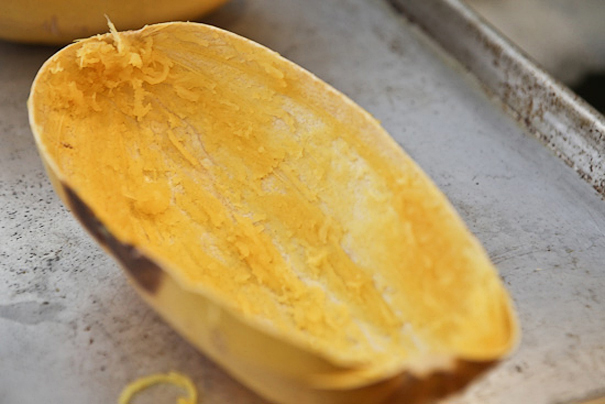
Gently scrape until all the squash is gone:

Tasty Kitchen Blog: How To Bake Spaghetti Squash. Guest post by Jaden Hair of Steamy Kitchen.


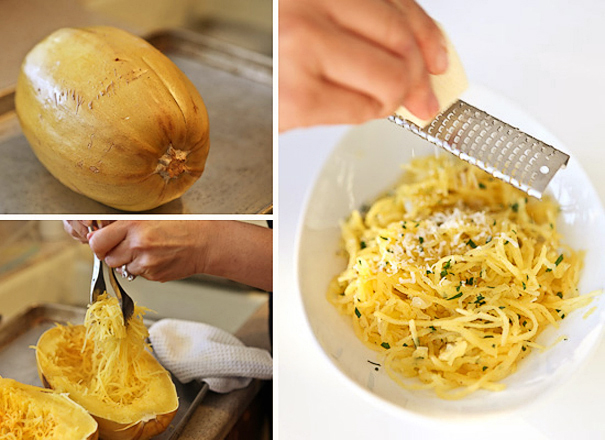
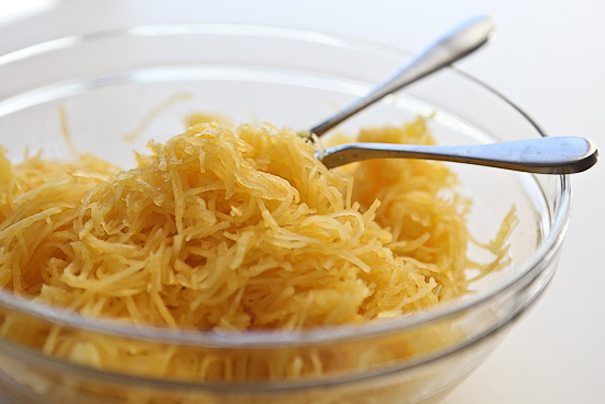
And now you’ve got a mound of golden, tender strands, ready to do whatever you please.

Tasty Kitchen Blog: How To Bake Spaghetti Squash. Guest post by Jaden Hair of Steamy Kitchen.


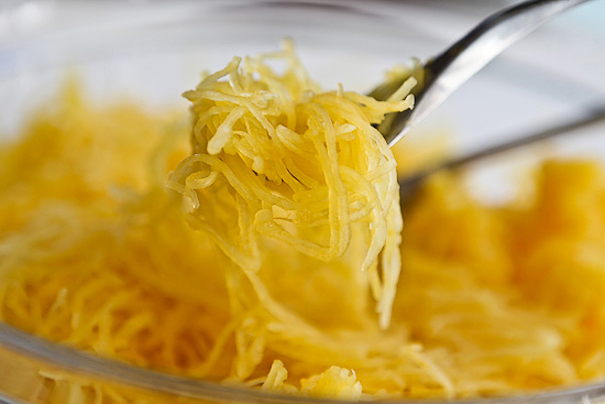
You can simply toss it with a little bit of butter or olive oil, and season with salt and pepper.

Tasty Kitchen Blog: How To Bake Spaghetti Squash. Guest post by Jaden Hair of Steamy Kitchen.


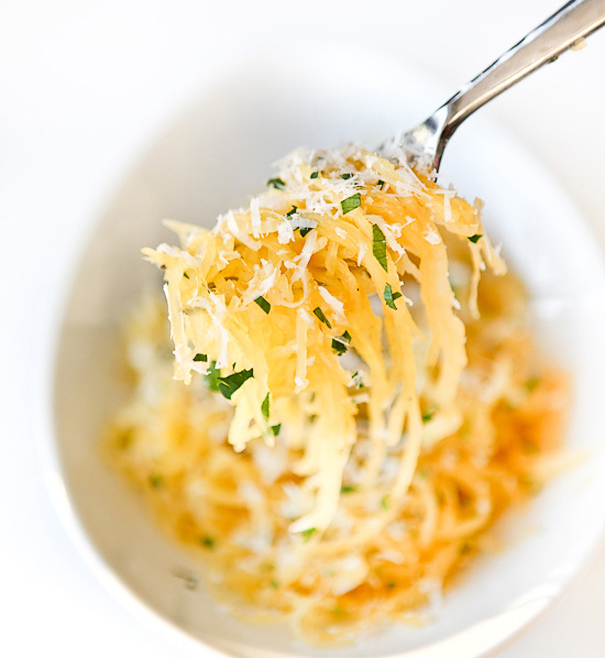
Or, you can sauté some chopped onions until softened in a bit of olive oil. Then add the spaghetti squash, season with salt, minced parsley, a quick squeeze of lemon and just toss until warmed through.

Tasty Kitchen Blog: How To Bake Spaghetti Squash. Guest post by Jaden Hair of Steamy Kitchen.


Add just a sprinkling of grated cheese, and feel good knowing that you’re doing good for your body.

Tasty Kitchen Blog: How To Bake Spaghetti Squash. Guest post by Jaden Hair of Steamy Kitchen.


_______________________________________

Jaden Hair is a food writer, television personality, and food photographer based in Tampa Bay, Florida. Find more of her recipes on her blog, Steamy Kitchen, where you can also read more about Jaden’s new book, The Steamy Kitchen Cookbook, and the rave reviews it’s received!


Profile photo of Ree | The Pioneer Woman

How to Chop an Onion

Posted by in Kitchen Talk

The only reason I’m going to show you how to dice an onion is that I was an embarrassingly advanced age (relatively speaking) before I finally figured it out myself. And I want to share that with humanity! I don’t want you to be clueless like I was for so many wretched years.

 
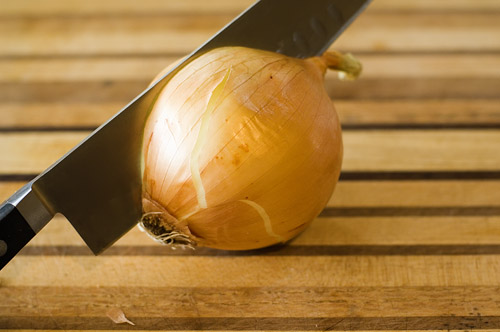
DSC_0073Start by cutting the onion in half from root to tip.

 
DSC_0074Then lop off the top end.

 
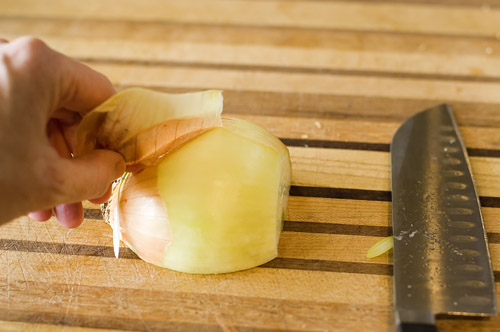
DSC_0075Then peel off the outer layer.

 
DSC_0076Then make several small, vertical slices all the way through the onion.

 
DSC_0078Next, rotate the onion 90 degrees and slice again, creating a dice.

Rocket Science: that’s what I have to offer the world.

______________________

Republished from The Pioneer Woman Cooks’ archives.

Profile photo of steamykitchen

How to Flatten a Chicken for Grilling

Posted by in Kitchen Talk

Tasty Kitchen Blog: How To Flatten a Chicken for Grilling. Guest post by Jaden Hair of Steamy Kitchen.

 
It’s Memorial Weekend, and do you know what that means? Time to lounge at the pool and hang out by the BBQ. We’re grilling this entire weekend; the weather is perfectly straddling between warm and hot (when it gets hot we jump in the pool … when it gets warm, we EAT!).

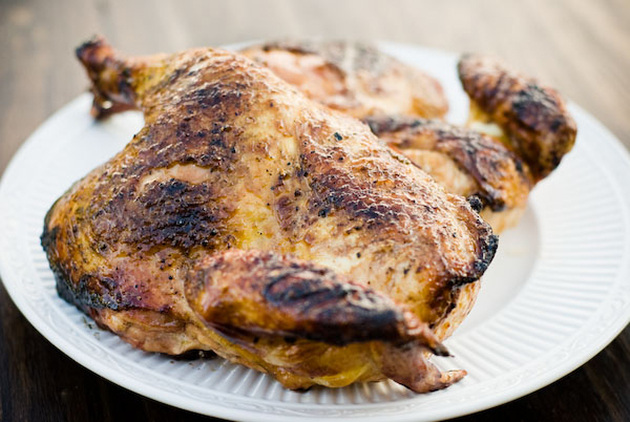
This week, I asked my friend, Steve, to share a grilling tip and recipe. He’s the publisher of Grilling Companion recipe site and developer of the brand new iPad app. Steve is sharing a recipe for a Grilled Whole Chicken with Balsamic Glaze and will show us how to spatchcock a chicken (i.e. flatten that sucker for even cooking!).

 
Grilled Whole Chicken with Balsamic Glaze

I have nothing against a whole chicken. It still cracks me up when I open the lid of the grill and see a bird perched up on a beer can. I just find it easier to handle a flattened chicken on the grill. A flat chicken cooks quicker and more evenly, and has the added benefit of not rolling off the platter on your way to the table (yeah, been there and cleaned up the mess). So today’s recipe is a bonus, with equal parts Chicken Butchering 101 and recipe for a delicious and simple honey balsamic glazed whole chicken. Grab a bird and a cutting board and let’s get started!

 
Ingredients:

1 whole chicken (around 4 – 5 pounds)
1/2 cup honey
6 tablespoons balsamic vinegar
Kosher salt
Fresh ground black pepper

Directions:

1. Let’s disassemble a bird. Lay the whole chicken breast side down on your cutting board.

2. Feel around his (or her) back until you feel the backbone running straight down the middle. I haven’t read about any cases of scoliosis in chickens, so it should be straight down the center of the back.

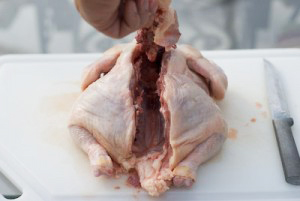
3. Using kitchen shears or a knife, cut down both sides of the backbone. The bones are pretty thin in this area, so you should be able to cut through with little effort.
Tasty Kitchen Blog: How To Flatten a Chicken for Grilling. Guest post by Jaden Hair of Steamy Kitchen.

4. Remove the backbone completely and trim off any excess fat around where the tail used to be.

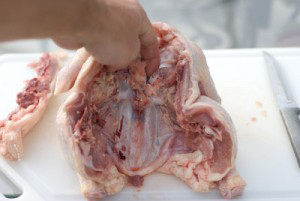
5. Ok, here’s where it’s a little tricky the first time. Spread the chicken open and locate the white piece of grissel you see here just to the right of my finger? Cut through it with the knife.
Tasty Kitchen Blog: How To Flatten a Chicken for Grilling. Guest post by Jaden Hair of Steamy Kitchen.

6. There is a bone starting under that piece of grissel called the keel bone and it runs down the length of the breasts. If you bend the chicken back a little farther, you’ll start to see the keel bone poke out between the breasts.
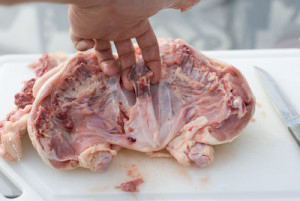
Tasty Kitchen Blog: How To Flatten a Chicken for Grilling. Guest post by Jaden Hair of Steamy Kitchen.

7. Work your fingers down each side of the keel bone to loosen and then pull it out. See why they call it a keel bone (boat reference)?
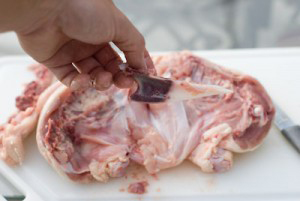
Tasty Kitchen Blog: How To Flatten a Chicken for Grilling. Guest post by Jaden Hair of Steamy Kitchen.

8. Now you can either leave the chicken flat or cut all the way through where the keel bone used to be to form two half chickens. I prefer to work with two halves; they’re easier to move around the grill.

9. Light your grill for a two zone, indirect grilling session. If you are using gas, you’ve got it easy—just light half of your burners to medium high and leave the other half off (preferably the center burners should be off). For you charcoal folks, pile up a chimney full of charcoal on one side of the grill.

10. Combine the honey and balsamic vinegar in a bowl and whisk thoroughly to form our glaze.

11. Generously salt and pepper both sides of your chicken.

12. Once the grill is ready, place the chicken skin side down on the hot side of the grill. Stay close by, the fat from the skin is going to flare up! When it does, just move your chicken off the flame until the flare up goes out.

13. Sear the chicken for 5 – 10 minutes (depending on the temperature of your grill). We are looking to crisp up the skin and create a little char, but not burn the entire skin.

14. Once you are done searing, flip the chicken over skin side up and move the chicken to the cool side of the grill.

15. Using a mop or brush, baste the chicken with the honey balsamic glaze and close the grill’s lid.
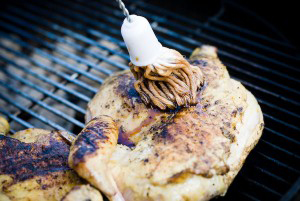
Tasty Kitchen Blog: How To Flatten a Chicken for Grilling. Guest post by Jaden Hair of Steamy Kitchen.

16. We want to keep the grill at as close to 350 degrees as possible and only open the lid to baste the chicken. Just like your oven, the grill loses all of the heat each time you open the lid.

17. Continue to baste the chicken with the glaze every 10 minutes or so and keep the lid closed in between basting.

18. Grill the chicken until a thermometer inserted into the deepest part of the breast reads around 160 degrees and the outside skin has darkened.

Tasty Kitchen Blog: How To Flatten a Chicken for Grilling. Guest post by Jaden Hair of Steamy Kitchen.

19. Hit the chicken with a little more glaze and place on a platter to serve.

20. Allow the chicken to rest for about 10 minutes before you carve.

Tasty Kitchen Blog: How To Flatten a Chicken for Grilling. Guest post by Jaden Hair of Steamy Kitchen.

See? Told you this was easy! Sure, you can buy half chickens, but they are little more expensive and you won’t be able to impress your family with your new butchering skills. With a little practice, you’ll disassemble that bird in no time flat. (Get it?)


Along with that grilled chicken, I’d love to top it with some Fresh Watermelon Salsa from HowSweetEats.
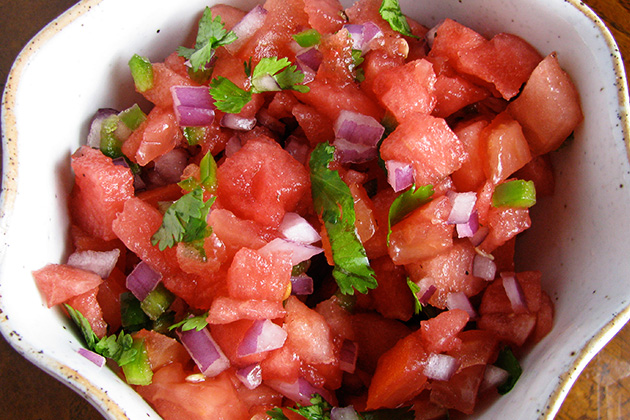
Tasty Kitchen Blog: How To Flatten a Chicken for Grilling (Fresh Watermelon Salsa, recipe submitted by TK member Jessica of How Sweet It Is)


And then we move on to BLT Bites from LanaAnn. How cute are these! I’ll take 4 of them please!
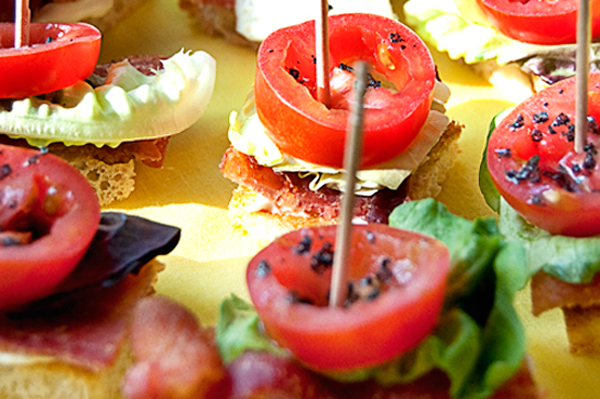
Tasty Kitchen Blog: How To Flatten a Chicken for Grilling (BLT Bites, recipe submitted by TK member LanaAnn)


Another summery side perfect for this weekend is Karly’s Corn with Bacon and Green Onions. Because how can you have a celebration without bacon? Love it.
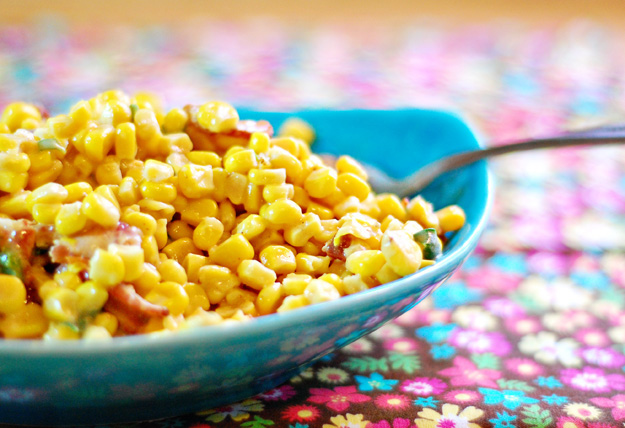
Tasty Kitchen Blog: How To Flatten a Chicken for Grilling (Corn with Bacon and Green Onions, recipe submitted by TK member Karly of Buns in My Oven)


And for dessert, to top it all off, Mangiodasola’s Chocolate Crumb Cheesecake Bars. Truly decadent.
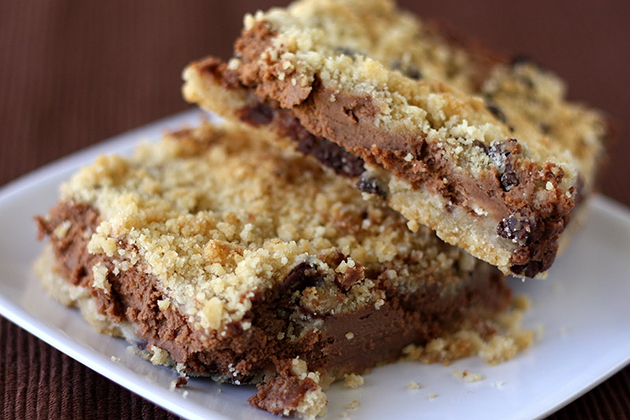
Tasty Kitchen Blog: How To Flatten a Chicken for Grilling (Chocolate Crumb Cheesecake Bars, recipe submitted by TK member Mangiodasola)


_______________________________________

Jaden Hair is a food writer, television personality, and food photographer based in Tampa Bay, Florida. Find more of her recipes in her blog, Steamy Kitchen, where you can also read more about Jaden’s new book, The Steamy Kitchen Cookbook, and the rave reviews it’s received!
 

Profile photo of Ree | The Pioneer Woman

How to Make Blender Hollandaise Sauce

Posted by in Kitchen Talk

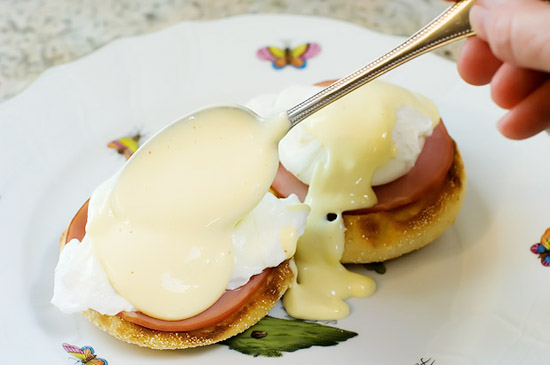
Have you ever tasted Hollandaise Sauce, and I’m not talkin’ the stuff in the paper packet? It’s dreamy. It’s a triumph. And it’s made with a lot of butter. Hollandaise sauce begins with a lemon juice and butter base, and is emulsified with the addition of egg yolks. Hollandaise is the chief ingredient in Eggs […]

Profile photo of Ree | The Pioneer Woman

How To Make Chocolate Curls

Posted by in Kitchen Talk

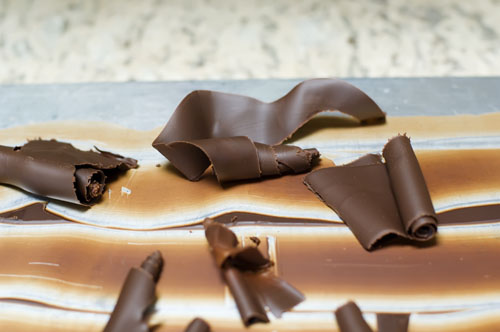
Here’s how I make chocolate curls. I put them on pies, cakes, and ice cream sundaes. They make me feel frilly and fancy. Try them sometime!     Grab some Crisco and some semi-sweet baking chocolate. (Any brand will do, and you can even use semi-sweet chocolate chips if you’d like!)     Place three […]

Profile photo of patiodaddio

How to Make Pressure Cooker Stock

Posted by in Kitchen Talk

  Stock is an essential ingredient and a secret to great cooking. A good stock is necessary to make soups, sauces, gravies (among many other things) that really shine. Sure, you can grab a box or can of “stock” or broth from your local grocer, but it seriously pales in comparison to the real thing. […]

Profile photo of missamy

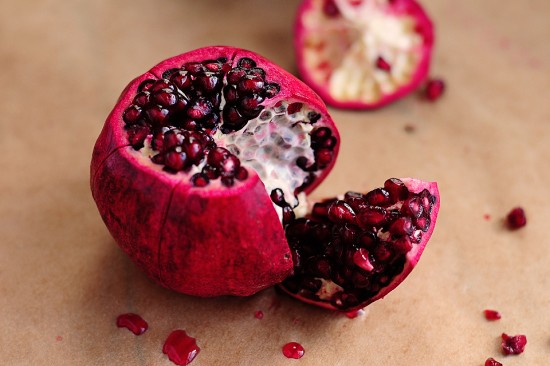
How to Open a Pomegranate

Posted by in Kitchen Talk

Maybe you’ve passed by pomegranates in the grocery thinking they’re much too exotic and pricey for your tastes. A couple of years ago, I found my friend Sallie munching on the bright red arils, or seeds, from the pomegranate. Since I’d only used pomegranate juice in teas and recipes, I talked to her for a […]