The Pioneer Woman Tasty Kitchen
Profile photo of georgiapellegrini

Crispy Tofu Tacos

Posted by in Step-by-Step Recipes

Tasty Kitchen Blog: Crispy Tofu Tacos. Guest post by Georgia Pellegrini, recipe submitted by TK member Lindsay of FunnyLove.

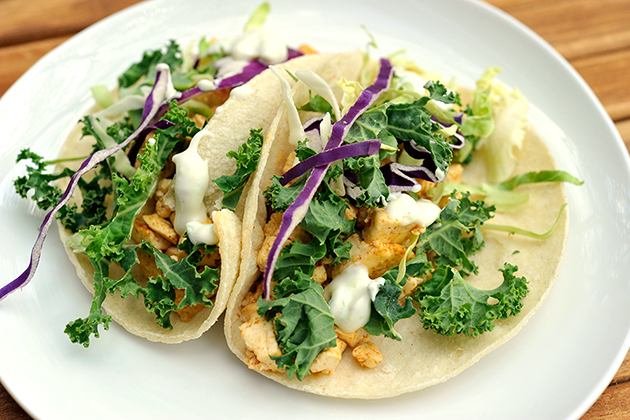
Now I know I’m the “meat girl,” but I do actually enjoy the versatility that tofu offers as an ingredient. Tofu will absorb any flavor you add to it, so an ingredient that most people may think is bland can actually be made to pack a powerful flavor punch when cooked right. One of my favorite go-to recipes is a taco. I love how easy it is to customize a taco recipe to include everything you love and nothing more. So, it only made sense to try out these Crispy Tofu Tacos from Tk member Lindsay. The flavors of this taco are light and fresh, all while coming together to create the most delicious bite.


Tasty Kitchen Blog: Crispy Tofu Tacos. Guest post by Georgia Pellegrini, recipe submitted by TK member Lindsay of FunnyLove.

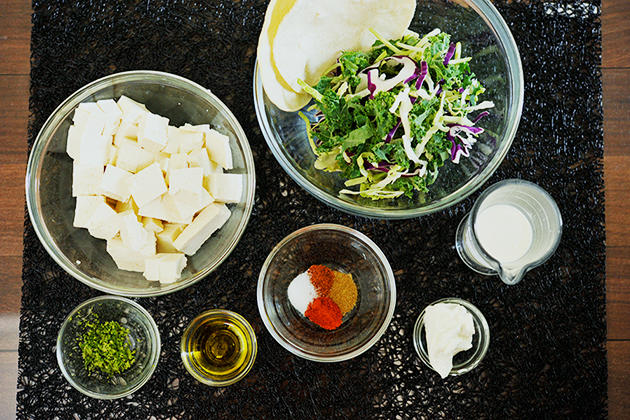
To make these you will need: firm tofu, olive oil, salt, cumin, chili pepper, cayenne, lime zest, softened goat cheese, half and half, corn tortillas, and cabbage, lime and other favorite garnishes.


Tasty Kitchen Blog: Crispy Tofu Tacos. Guest post by Georgia Pellegrini, recipe submitted by TK member Lindsay of FunnyLove.

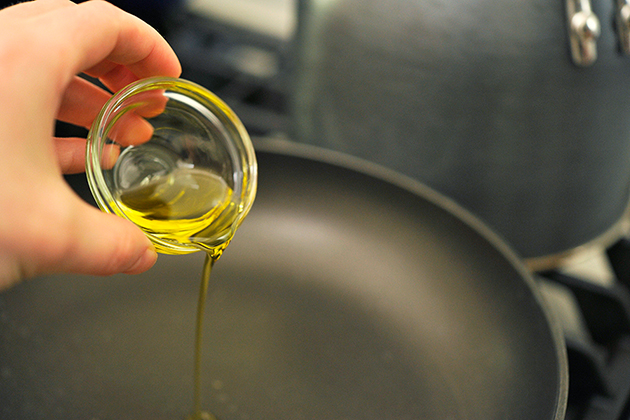
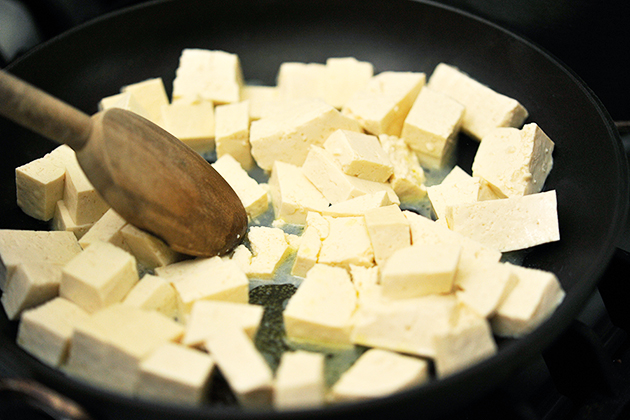
To start, add your olive oil into cold pan.


Tasty Kitchen Blog: Crispy Tofu Tacos. Guest post by Georgia Pellegrini, recipe submitted by TK member Lindsay of FunnyLove.

Add sliced and drained tofu into the pan and turn the pan to a medium heat. (Tip: Just like meat, make sure you pat your tofu dry with a paper towel so it will crisp up better!)


Tasty Kitchen Blog: Crispy Tofu Tacos. Guest post by Georgia Pellegrini, recipe submitted by TK member Lindsay of FunnyLove.

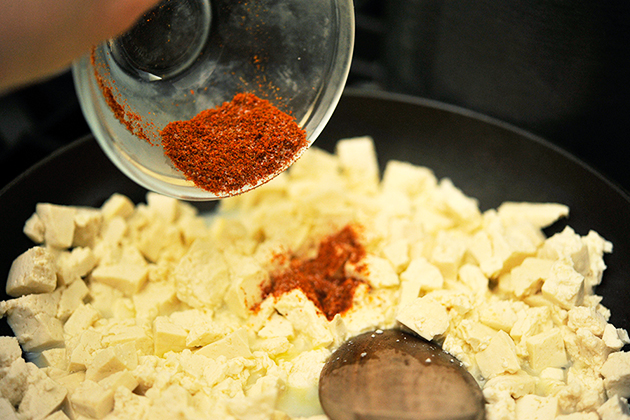
When the tofu starts to sizzle and slightly change color, add the cumin, chili powder, salt, and cayenne pepper.


Tasty Kitchen Blog: Crispy Tofu Tacos. Guest post by Georgia Pellegrini, recipe submitted by TK member Lindsay of FunnyLove.

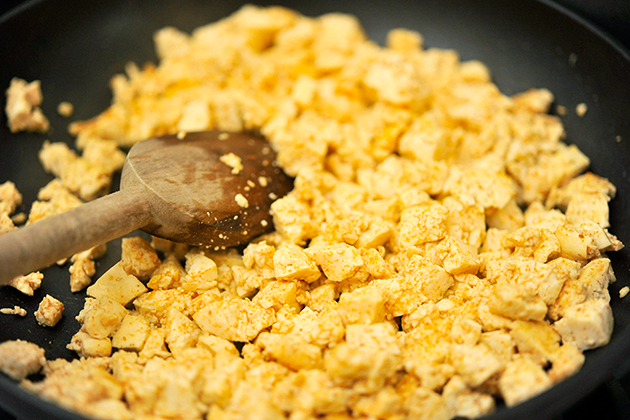
Mix the ingredients together while breaking up the tofu into smaller pieces. Let it sit on the stove and stir occasionally until the tofu is browned and crispy on all sides.


Tasty Kitchen Blog: Crispy Tofu Tacos. Guest post by Georgia Pellegrini, recipe submitted by TK member Lindsay of FunnyLove.

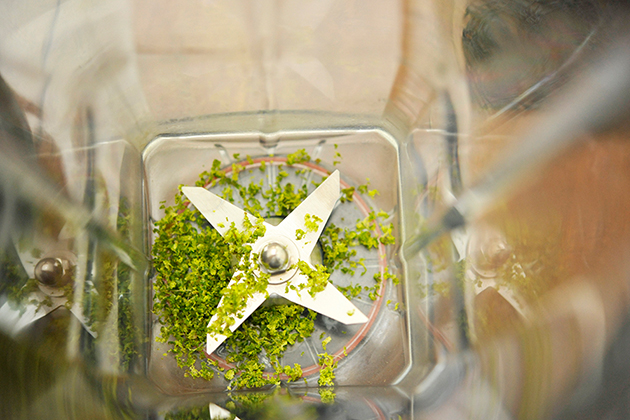
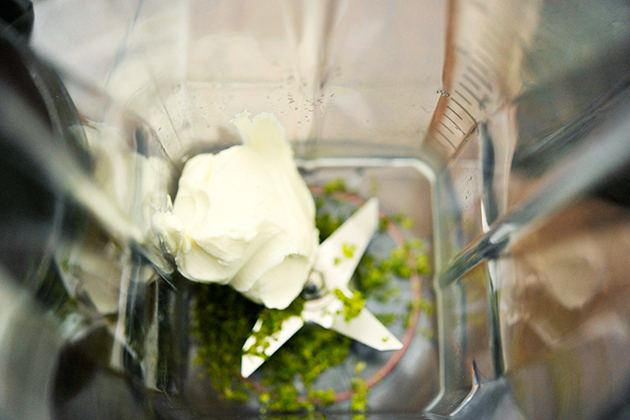
In a separate bowl, mix together the lime zest …


Tasty Kitchen Blog: Crispy Tofu Tacos. Guest post by Georgia Pellegrini, recipe submitted by TK member Lindsay of FunnyLove.

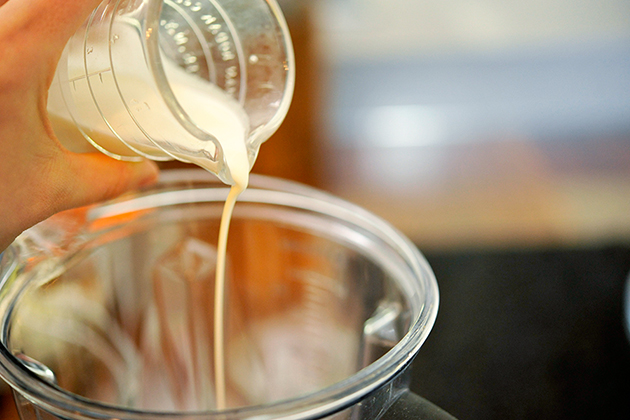
… goat cheese, half-and-half, and salt. You can use a food processor/blender or just a whisk.


Tasty Kitchen Blog: Crispy Tofu Tacos. Guest post by Georgia Pellegrini, recipe submitted by TK member Lindsay of FunnyLove.

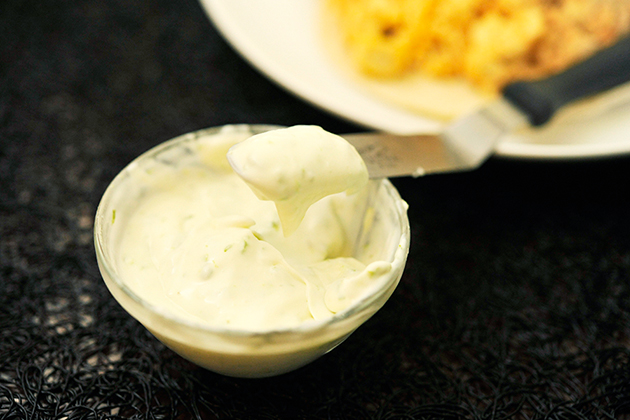
Mix all of the ingredients together until smooth, adding a little more half-and-half if the sauce needs to be thinned out.


Tasty Kitchen Blog: Crispy Tofu Tacos. Guest post by Georgia Pellegrini, recipe submitted by TK member Lindsay of FunnyLove.

It’s the perfect sauce for these tacos.


Tasty Kitchen Blog: Crispy Tofu Tacos. Guest post by Georgia Pellegrini, recipe submitted by TK member Lindsay of FunnyLove.

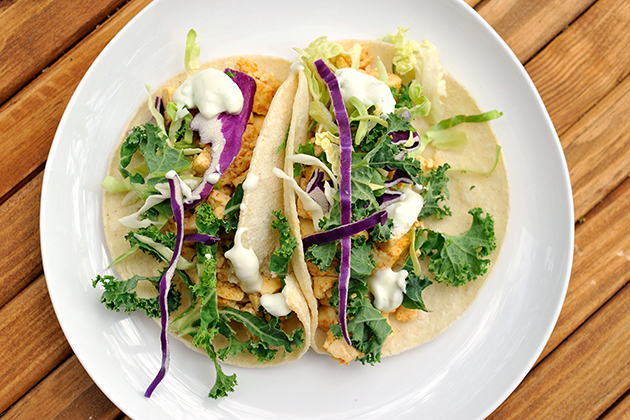
Add some fresh greens for some extra texture and your favorite taco toppings, and voila! You’ve got a quick and delicious taco that anyone will love.

Check out more delicious recipes just like this one at Lindsay’s blog, FunnyLove!


Printable Recipe
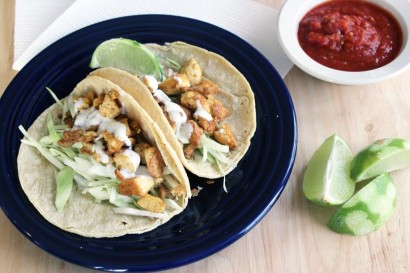
Crispy Tofu Tacos with Goat Cheese Lime Cream

See post on Lindsay @ My Therapist Cooks’s site!
0.00 Mitt(s) 0 Rating(s)0 votes, average: 0.00 out of 50 votes, average: 0.00 out of 50 votes, average: 0.00 out of 50 votes, average: 0.00 out of 50 votes, average: 0.00 out of 5

Prep Time:

Cook Time:

Difficulty: Easy

Servings: 2

2
x

Print Options

Page size Letter 3x5 4x6
Text Size Small Medium Large
Content Include description
Include prep time, etc.
Show image

Description

Vegetarian! Healthy! Delicious!

Ingredients

  • 1 block Firm Tofu, 14-16 Ounce Block (Drained And Sliced Into Thick Slices)
  • 1 Tablespoon Olive Oil
  • ½ teaspoons Each Seasoned Salt, Cumin, And Chili Powder
  • ½ teaspoons Cayenne Pepper
  • 1 whole Lime, Zested
  • 2 ounces, weight Softened Goat Cheese
  • 2 Tablespoons Half And Half, Plus A Bit More If Needed
  • 1 pinch Salt
  • Flour Or Corn Tortillas, For Serving
  • Shredded Cabbage, Lime Wedges, Cilantro, Or Any Other Taco Toppings You Like

Preparation Instructions

Add the slices of drained tofu into a cold pan with the olive oil. Turn the pan to medium heat, and break up the tofu a bit with a spatula. When the tofu starts to sizzle, sprinkle the cumin, chili powder, seasoned salt, and cayenne pepper over the tofu. Continue to break it into little bits, stirring every few minutes, until the tofu is browned and crispy on all sides.

Meanwhile, combine the lime zest, goat cheese, half-and-half, and salt in a small food processor or blender. Pulse to combine, adding a splash more of the half-and-half if needed to form a smooth sauce.

Assemble the tofu and any desired toppings in taco shells, then drizzle with the goat cheese cream. Eat!


_______________________________________

There’s so much to say about Georgia, we don’t know where to start. Leaving Wall Street for the French Culinary Institute, followed by a stint at the Gramercy Tavern and La Chassagnette in France, her passion for food and food traditions are evident and inspiring. Visit her site at Georgia Pellegrini, where you’ll find more recipes, photos, learn all about her wonderful books (including her latest one, Modern Pioneering, and enjoy her latest adventures.


Profile photo of Betsy (TK)

Packing Lunches

Posted by in Kitchen Talk

Tasty Kitchen Blog: Kitchen Talk (Packing Lunches)

If you’re like me, making lunches in the morning does not represent the height of your culinary creativity. I have been known to let out a pitiful sigh while staring uninspired into the fridge, only to end up grabbing the same few items: fruit, deli meat, cheese. And then, of course, there’s the inevitable mining of the veggie drawer for items my child will actually eat. This time of year, we can really get into autopilot mode, packing the same old lunch every day. So today, we want to pick your brains for ways to pack delicious lunches (for kids or grown-ups!) while keeping the morning sane in the process. So tell us:

What are your tips for packing healthy and interesting lunches?

I’m short on lunch ideas these days, but I do have one simple one that’s tried and true. Veggies and dip! It always feels like a bit of a defeat to open the lunch box at the end of the day and find containers still full of food. Often it’s the vegetables that get left behind, so one of my reliable solutions has been to pack dressing or dip with the vegetables. I have a child who loves foods he can dip, so this encourages him to eat up the healthy stuff, too. I like to use homemade salad dressing I made for dinner the night before, or just hummus, guacamole or yogurt dip, like tzatziki.

Erika has a good system. She says: “I like packing pasta or grain salads because I can easily make them the night before and store them in the refrigerator already packed in a lunch container. Then I can just quickly heat it up in the morning as I make coffee or steep tea. I sometimes make big batch of the pasta or grain base and the protein so I can whip up different versions, like Italian, Greek, Mexican, or Asian.”

Nanci always has whole wheat tortillas handy to throw whatever leftovers from weeknight dinners into a super quick wrap (brisket, fajitas, lunch meat, Philly cheese steak, chicken Caesar salad, pinto beans, etc.). She also has a yogurt maker and makes yogurt each week. So a cup of homemade Greek yogurt with some jam in it is always on her lunch menu. Other than that, she makes big batches of whatever she makes for dinner and typically throws a small container or two of the leftovers into the freezer for a super quick toss into a lunch bag.

Now for your tips! Tell us about your favorite items to pack and/or your brilliant lunch-planning tricks below. We’re ready for our brown bag attitude adjustment!


Profile photo of Natalie | Perry's Plate

Spiced Sweet Potato Muffins

Posted by in Baking

Tasty Kitchen Blog: Paleo-friendly Cauliflower Fried Rice. Guest post by Natalie Perry of Perry's Plate, recipe submitted by TK member Dani of Expat Cucina.

We’re huge fans of sweet potatoes at our house. And muffins. And Indian food.

When I saw this muffin recipe and noticed it had garam masala in it, I made a weird face. That’s the honest truth.

If you’re not familiar with Indian spices, garam masala is a spice blend commonly used in curries and other Indian dishes. Not something you’d find in a muffin, that’s for sure.

It sounded odd to me, but I really, really wanted to try it. (Story of my cooking life, much to my kids’ dismay.)

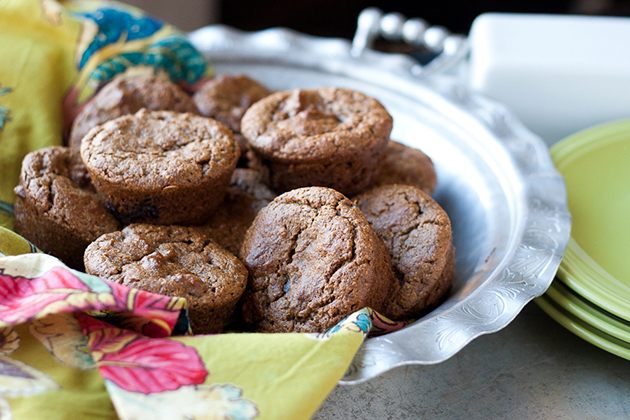
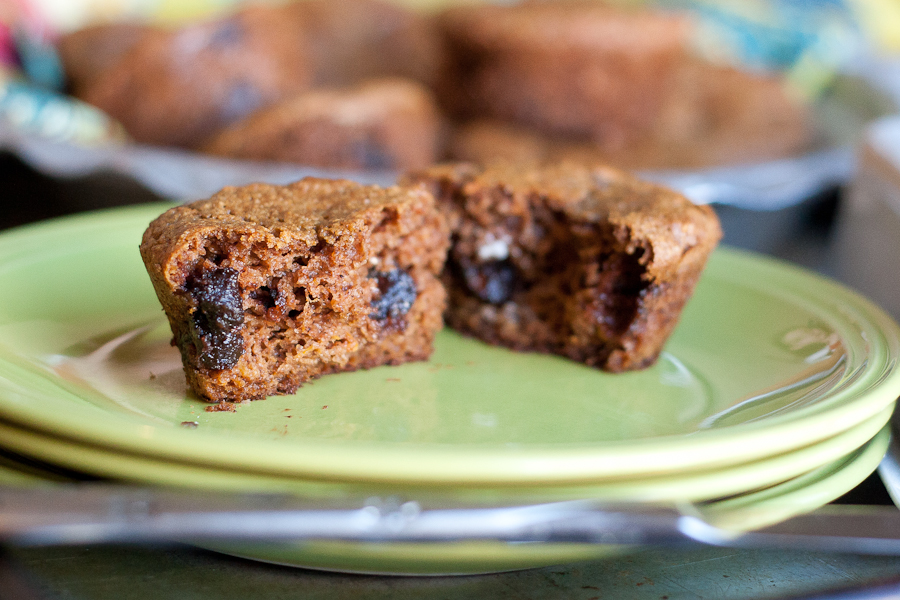
I won over all three of my picky little girls with these muffins, though! Spiced Sweet Potato Muffins, submitted by Tasty Kitchen member Kristin, are an exotic spin on a simple sweet potato muffin. They’re not only gluten-free, but they’re grain-free as well and easily made dairy-free!

And they have chocolate chips. Maybe that’s why they liked them so much?


Tasty Kitchen Blog: Paleo-friendly Cauliflower Fried Rice. Guest post by Natalie Perry of Perry's Plate, recipe submitted by TK member Dani of Expat Cucina.

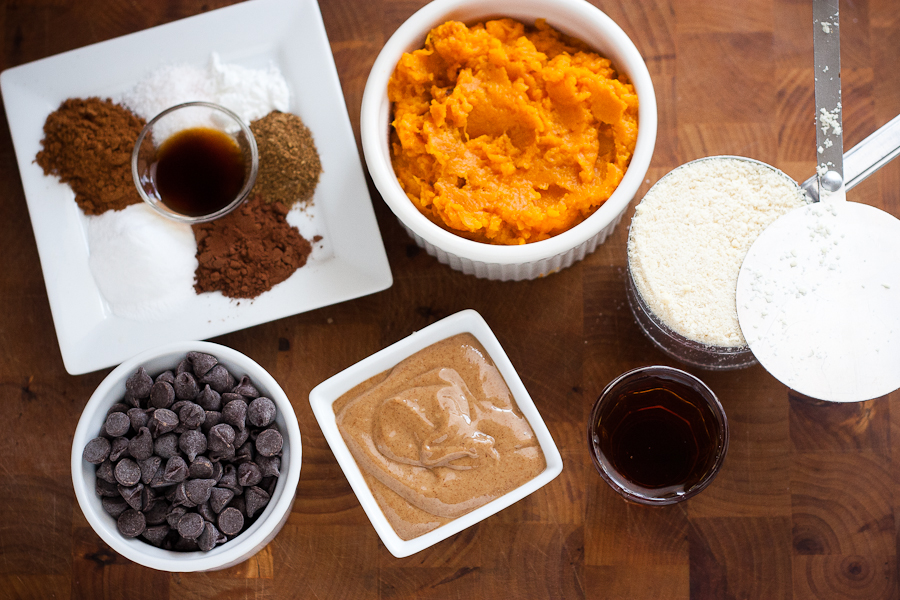
OK, let’s gather ingredients. You’ll need cold, mashed sweet potatoes, almond flour, real maple syrup, nut butter (I used almond), chocolate chips, cinnamon, cocoa powder, garam masala, baking powder, baking soda, salt, and vanilla extract.


Tasty Kitchen Blog: Paleo-friendly Cauliflower Fried Rice. Guest post by Natalie Perry of Perry's Plate, recipe submitted by TK member Dani of Expat Cucina.

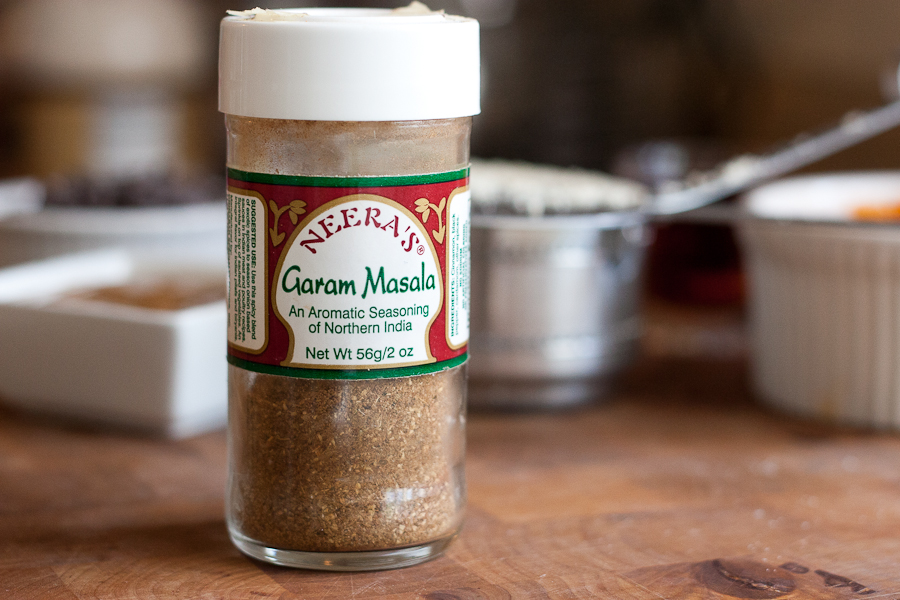
Here’s my garam masala. You can find it in most grocery stores nowadays in the spice section. I ordered mine online a while back and have been refilling this bottle with a homemade blend.


Tasty Kitchen Blog: Paleo-friendly Cauliflower Fried Rice. Guest post by Natalie Perry of Perry's Plate, recipe submitted by TK member Dani of Expat Cucina.

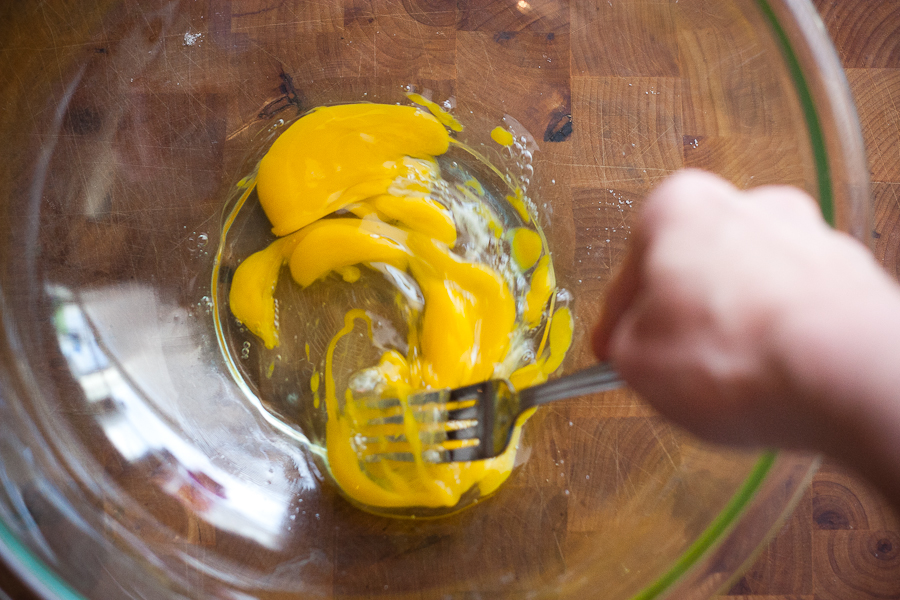
First crack the eggs into a large mixing bowl and loosen them up with a fork.


Tasty Kitchen Blog: Paleo-friendly Cauliflower Fried Rice. Guest post by Natalie Perry of Perry's Plate, recipe submitted by TK member Dani of Expat Cucina.

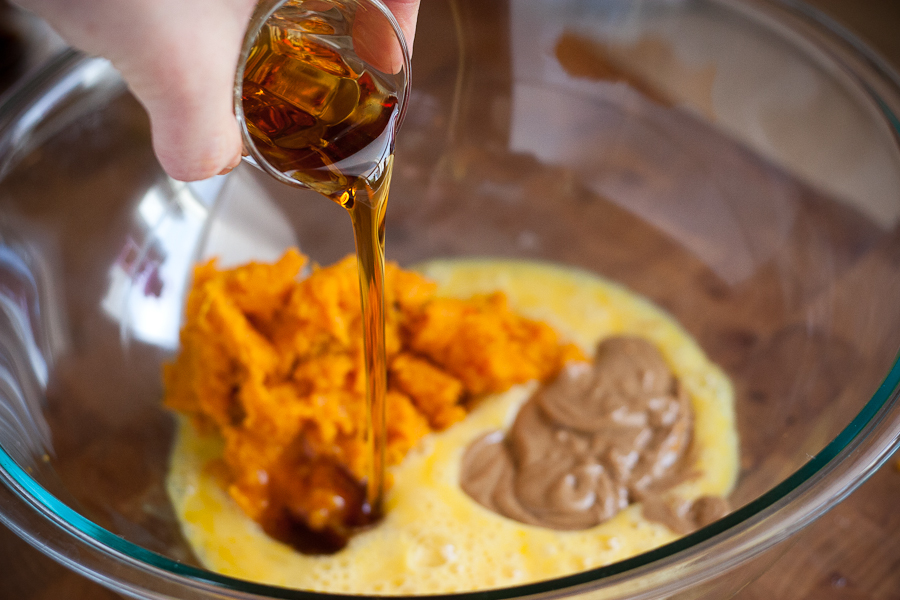
Add the sweet potatoes, nut butter, and maple syrup.


Tasty Kitchen Blog: Paleo-friendly Cauliflower Fried Rice. Guest post by Natalie Perry of Perry's Plate, recipe submitted by TK member Dani of Expat Cucina.

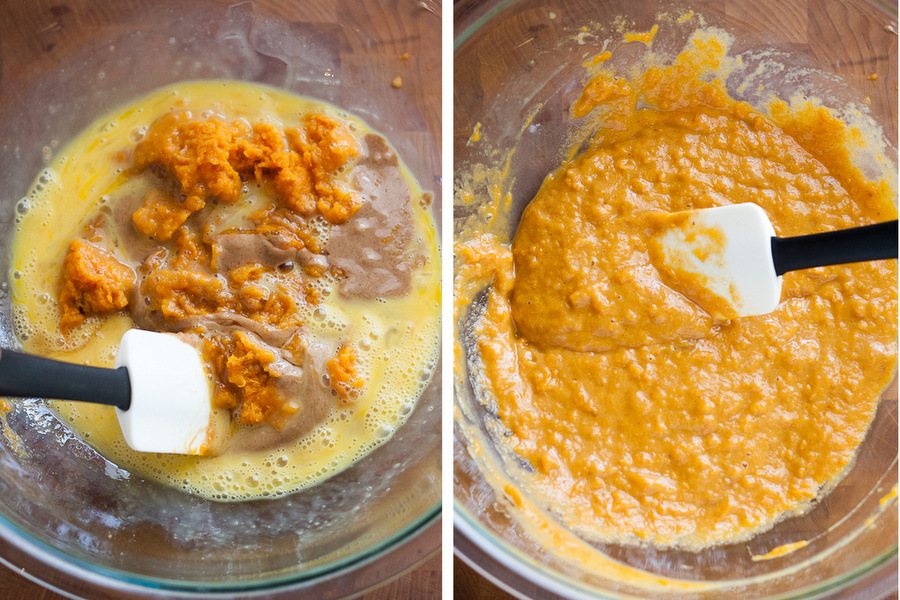
Mix it up until you get something that resembles pumpkin pie filling. Speaking of pumpkin, you could totally use canned pumpkin in place of sweet potatoes in this! Just add an extra splash or two of maple syrup.


Tasty Kitchen Blog: Paleo-friendly Cauliflower Fried Rice. Guest post by Natalie Perry of Perry's Plate, recipe submitted by TK member Dani of Expat Cucina.

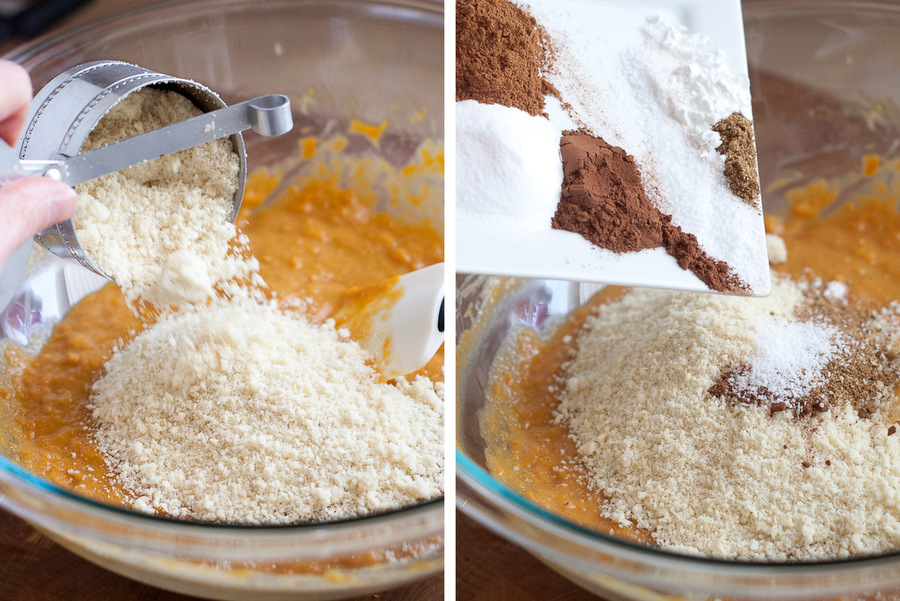
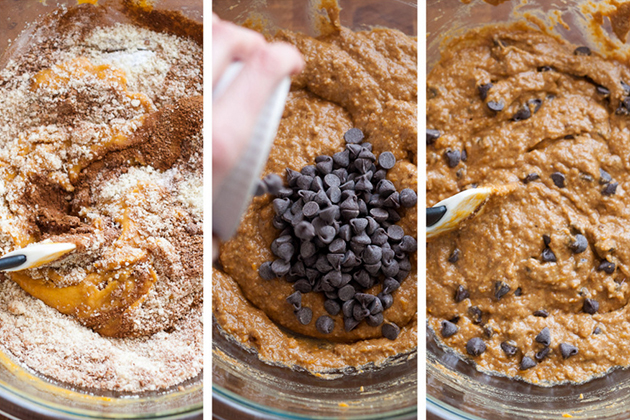
Add the almond flour and the rest of the dry ingredients.


Tasty Kitchen Blog: Paleo-friendly Cauliflower Fried Rice. Guest post by Natalie Perry of Perry's Plate, recipe submitted by TK member Dani of Expat Cucina.

Mix it well, and then fold the chocolate chips into the batter. The nice thing about not using wheat flour is that you don’t have to worry as much about over-mixing and ending up with cone-head muffins!


Tasty Kitchen Blog: Paleo-friendly Cauliflower Fried Rice. Guest post by Natalie Perry of Perry's Plate, recipe submitted by TK member Dani of Expat Cucina.

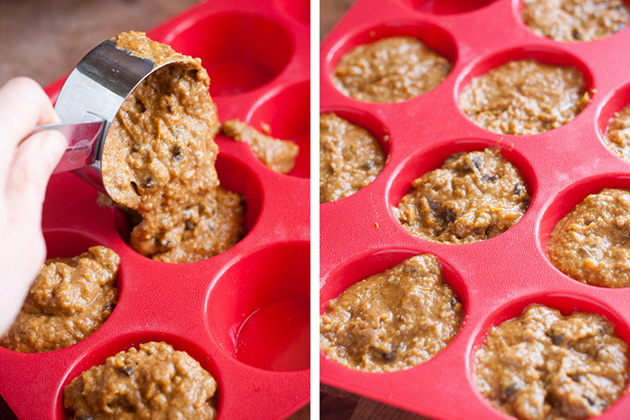
Scoop the batter into muffin molds. I used a silicone muffin pan, but you can use any type you like. I would recommend using paper liners if you don’t use a silicone pan so they come out easier. And in one piece.

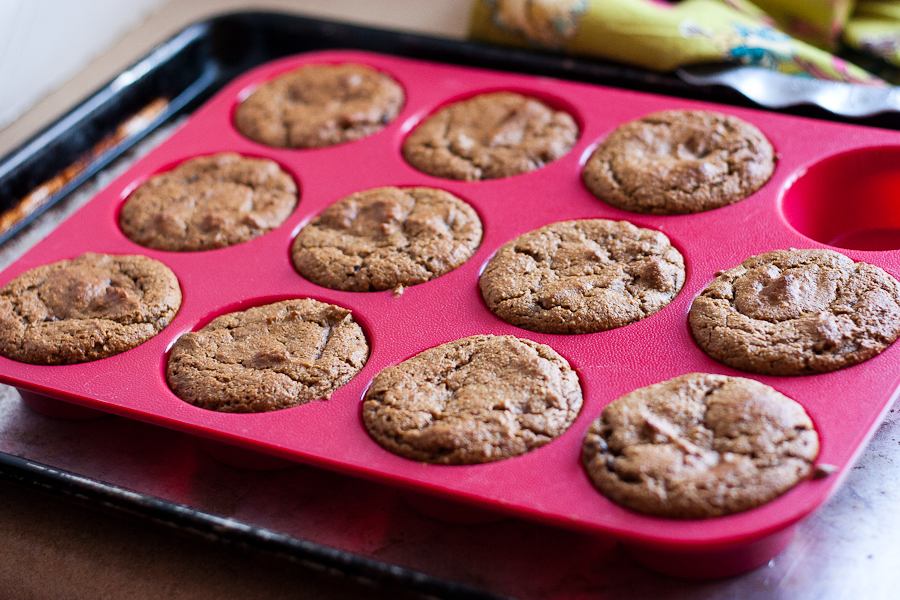
Throw them in the oven …


Tasty Kitchen Blog: Paleo-friendly Cauliflower Fried Rice. Guest post by Natalie Perry of Perry's Plate, recipe submitted by TK member Dani of Expat Cucina.

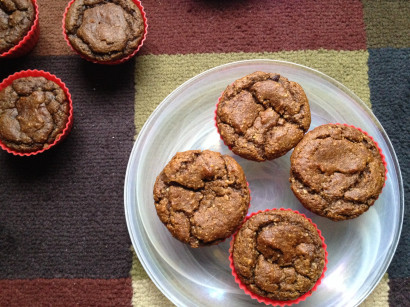
… and out they come! I’ve consistently gotten 11 muffins out of this batch, and I’ve also double and tripled this recipe before with success. They also freeze and reheat nicely!


Tasty Kitchen Blog: Paleo-friendly Cauliflower Fried Rice. Guest post by Natalie Perry of Perry's Plate, recipe submitted by TK member Dani of Expat Cucina.

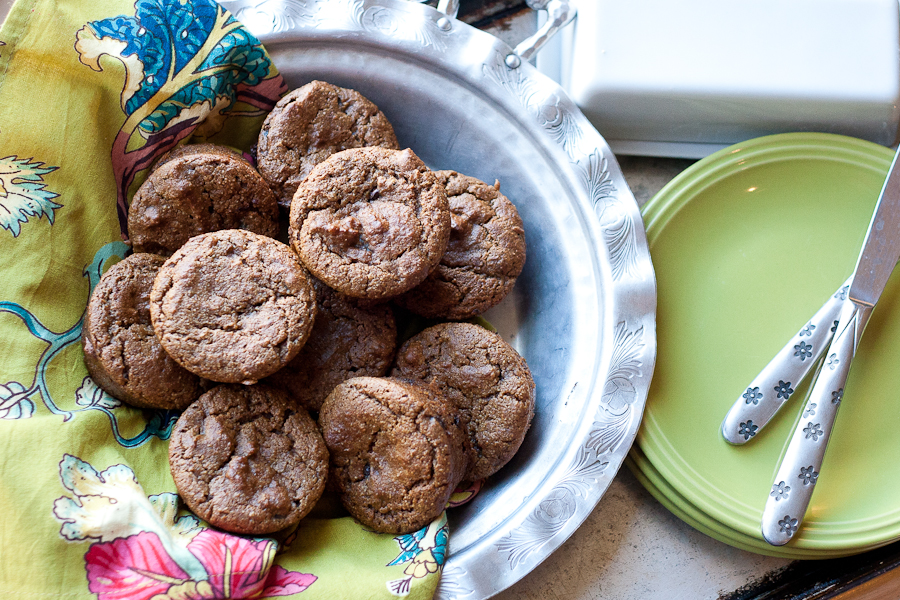
These tasty little grain-free morsels have become a staple in our muffin collection! I thought the spices blended beautifully with the sweet potatoes. And the chocolate chips were a nice touch. (They usually are.)


Tasty Kitchen Blog: Paleo-friendly Cauliflower Fried Rice. Guest post by Natalie Perry of Perry's Plate, recipe submitted by TK member Dani of Expat Cucina.

Before you go, stop by Kristin’s TK Recipe Box as well as her blog, Tastefully Gluten Free, for more delicious recipes!

Notes:
1. I omitted the yogurt to make them dairy free. Because it was only one tablespoon, I didn’t think it would make a big difference if I left it out.
2. Garam masala is a potent blend, and after making this recipe several times, I decided to cut the amount down by two-thirds. Any more than a 1/2 teaspoon gave the muffins a strange, “am I eating curry or a muffin” flavor. Perhaps my spice blend is more potent because I make it myself? Try it and see what you think!


Printable Recipe

Spiced Sweet Potato Muffins

See post on Kristin @ Tastefully GF’s site!
4.67 Mitt(s) 3 Rating(s)3 votes, average: 4.67 out of 53 votes, average: 4.67 out of 53 votes, average: 4.67 out of 53 votes, average: 4.67 out of 53 votes, average: 4.67 out of 5

Prep Time:

Cook Time:

Difficulty: Easy

Servings: 12

12
x

Print Options

Page size Letter 3x5 4x6
Text Size Small Medium Large
Content Include description
Include prep time, etc.
Show image

Description

A healthy and gluten free baked good that’s perfect for fall.

Ingredients

  • 2 whole Eggs
  • 1 cup Sweet Potato Puree (fresh Is Best, Or Canned)
  • ¼ cups Creamy Peanut Butter
  • 1 Tablespoon Plain Greek Yogurt
  • 3 Tablespoons Pure Maple Syrup
  • 1 cup Almond Meal
  • 2 teaspoons Baking Soda
  • ½ teaspoons Baking Powder
  • 2 teaspoons Cinnamon
  • 1-½ teaspoon Garam Masala
  • 1 teaspoon Cocoa Powder
  • 1 teaspoon Salt
  • 1 teaspoon Vanilla Extract
  • ½ cups Chocolate Chips Or Cacao Chips

Preparation Instructions

1. Preheat oven to 350°F.

2. In a large bowl, whisk the two eggs with a fork until they are a bit frothy.

3. Stir in sweet potato puree, peanut butter, yogurt and maple syrup.

4. Add all of the remaining ingredients except the chocolate/cacao chips. Once all the dry ingredients are combined stir in the chips.

5. Line a 12-count standard size muffin pan with muffin liners (I used silicone muffin liners, which I love), and fill each muffin tin. These muffins expand some, but not a lot, so you can fill them almost to the top.

6. Bake for 20-25 minutes, or until a toothpick comes out clean. I rotate the pan once, halfway through the cooking. Remove pan from oven and set on a rack.

7. Let muffins cool in the pan before serving.


_______________________________________

Be sure to check out Natalie’s own beautiful food blog, Perrys’ Plate, where you can see her growing collection of lovely recipes. There’s always something new to see there. Go visit now!


Profile photo of georgiapellegrini

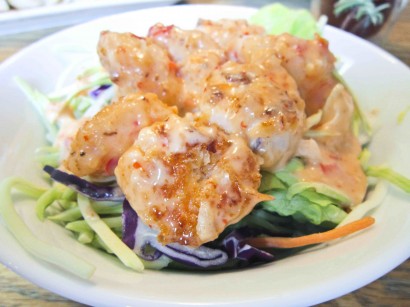
Lightened-Up Bang Bang Shrimp Salad

Posted by in Step-by-Step Recipes

Tasty Kitchen Blog: Lightened-Up Bang Bang Shrimp Salad. Guest post by Georgia Pellegrini, recipe submitted by TK member Sarah of The Coffee Breaker.

Before you go back to Bonefish Grill and spend $5 on Bang Bang Wednesdays, take a look at how simply you can make Lightened-Up Bang Bang Shrimp at home! TK member Sarah adapted this recipe and even lightened it up by turning the famous appetizer into a salad!


Tasty Kitchen Blog: Lightened-Up Bang Bang Shrimp Salad. Guest post by Georgia Pellegrini, recipe submitted by TK member Sarah of The Coffee Breaker.

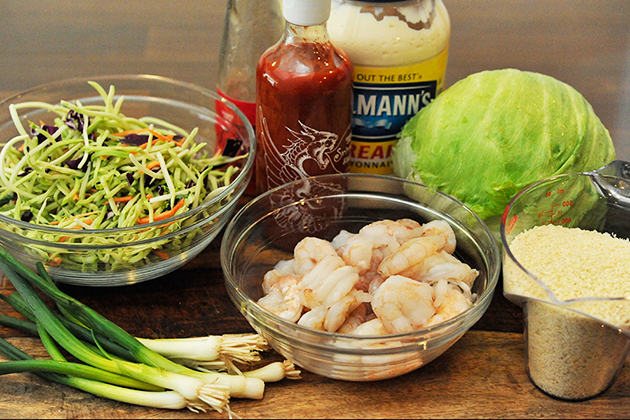
You’re going to need a pound of uncooked shrimp (we purchased it already cleaned and deveined), a head of iceberg lettuce, a bag of broccoli slaw, chopped green onions, mayonnaise, Thai sweet chili sauce, Sriracha, oil, and panko bread crumbs.


Tasty Kitchen Blog: Lightened-Up Bang Bang Shrimp Salad. Guest post by Georgia Pellegrini, recipe submitted by TK member Sarah of The Coffee Breaker.

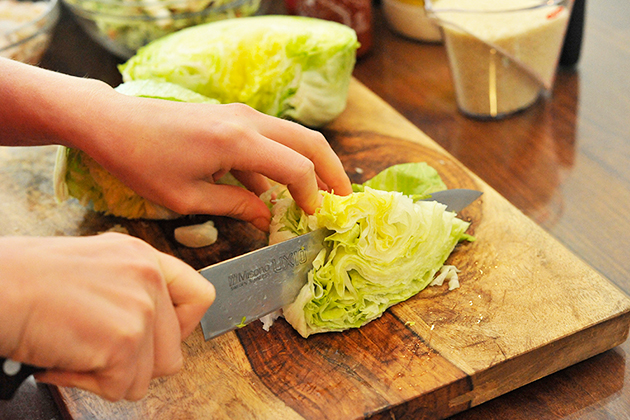
Start by chopping the lettuce into strips.


Tasty Kitchen Blog: Lightened-Up Bang Bang Shrimp Salad. Guest post by Georgia Pellegrini, recipe submitted by TK member Sarah of The Coffee Breaker.

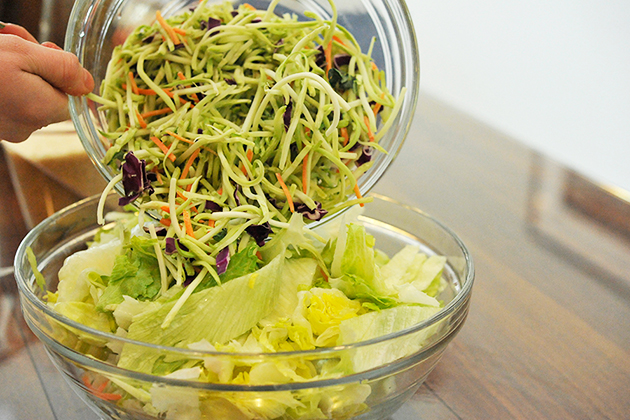
Top the lettuce with the broccoli slaw.


Tasty Kitchen Blog: Lightened-Up Bang Bang Shrimp Salad. Guest post by Georgia Pellegrini, recipe submitted by TK member Sarah of The Coffee Breaker.

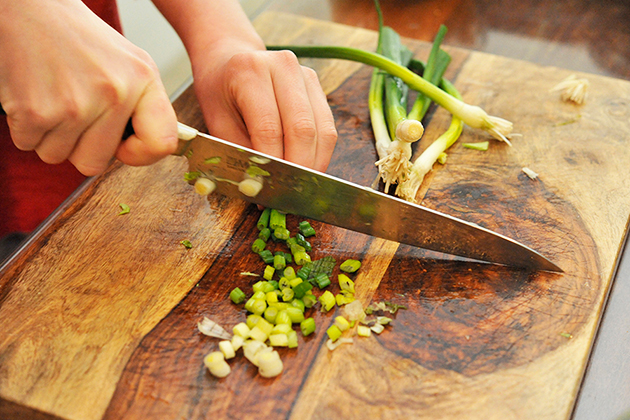
Chop the green onions.


Tasty Kitchen Blog: Lightened-Up Bang Bang Shrimp Salad. Guest post by Georgia Pellegrini, recipe submitted by TK member Sarah of The Coffee Breaker.

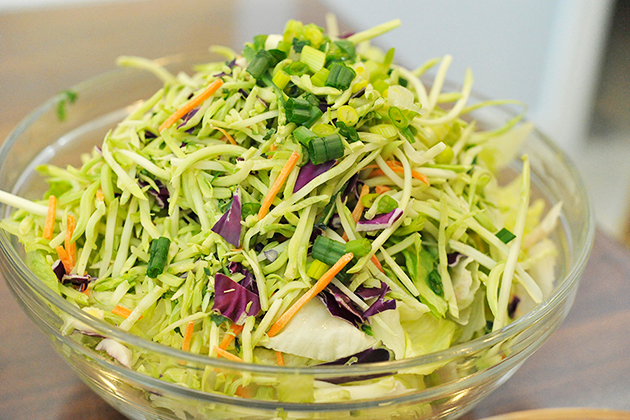
And the salad portion of the meal is now complete!


Tasty Kitchen Blog: Lightened-Up Bang Bang Shrimp Salad. Guest post by Georgia Pellegrini, recipe submitted by TK member Sarah of The Coffee Breaker.

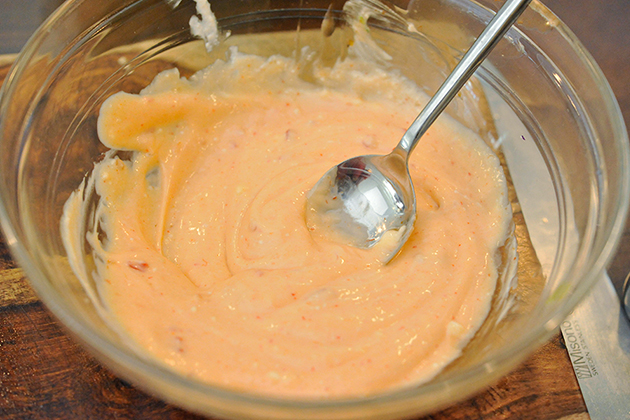
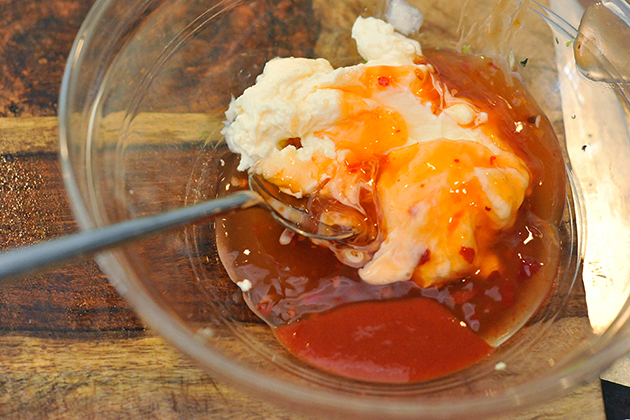
Next you’re going to make the Bang Bang sauce by putting the mayonnaise, Sriracha, and Thai sweet chili sauce in a bowl.


Tasty Kitchen Blog: Lightened-Up Bang Bang Shrimp Salad. Guest post by Georgia Pellegrini, recipe submitted by TK member Sarah of The Coffee Breaker.

Mix these ingredients together thoroughly.


Tasty Kitchen Blog: Lightened-Up Bang Bang Shrimp Salad. Guest post by Georgia Pellegrini, recipe submitted by TK member Sarah of The Coffee Breaker.

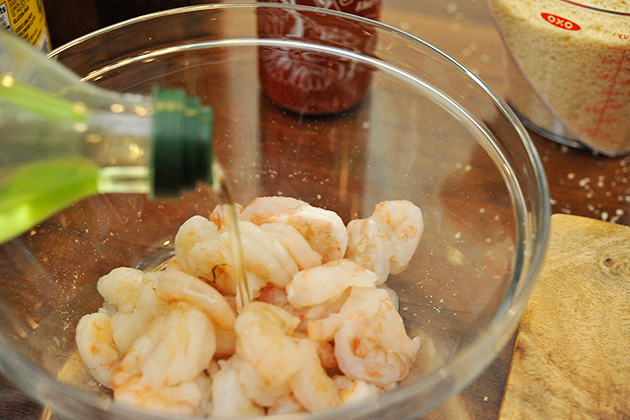
Before pan-frying the shrimp, pour a tablespoon or two of oil into the bowl.


Tasty Kitchen Blog: Lightened-Up Bang Bang Shrimp Salad. Guest post by Georgia Pellegrini, recipe submitted by TK member Sarah of The Coffee Breaker.

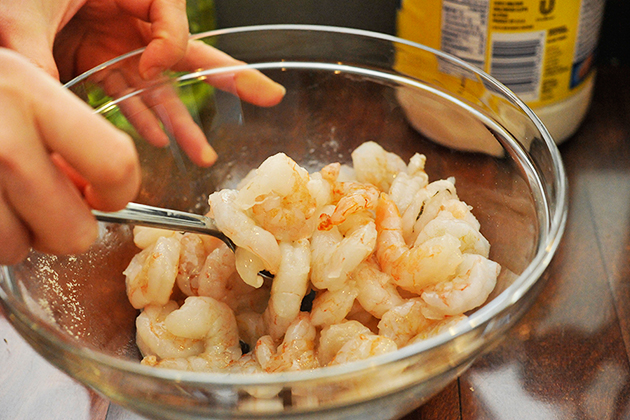
Coat the shrimp thoroughly with the oil.


Tasty Kitchen Blog: Lightened-Up Bang Bang Shrimp Salad. Guest post by Georgia Pellegrini, recipe submitted by TK member Sarah of The Coffee Breaker.

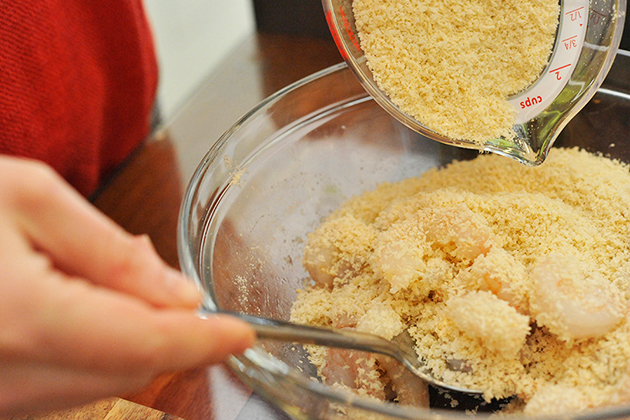
Cover the shrimp in panko bread crumbs, making sure they are evenly coated.


Tasty Kitchen Blog: Lightened-Up Bang Bang Shrimp Salad. Guest post by Georgia Pellegrini, recipe submitted by TK member Sarah of The Coffee Breaker.

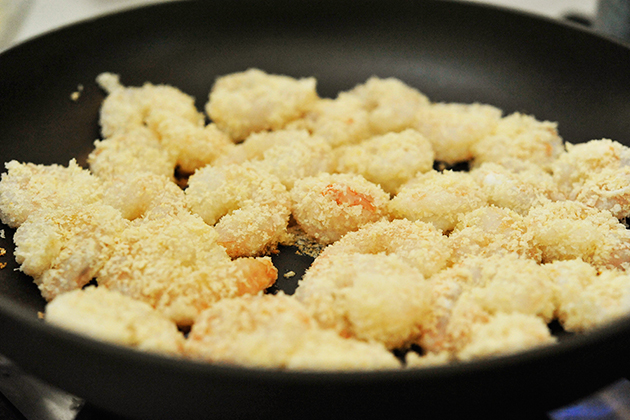
Carefully remove the shrimp from the bowl and place them in a slightly oiled pan on high heat.


Tasty Kitchen Blog: Lightened-Up Bang Bang Shrimp Salad. Guest post by Georgia Pellegrini, recipe submitted by TK member Sarah of The Coffee Breaker.

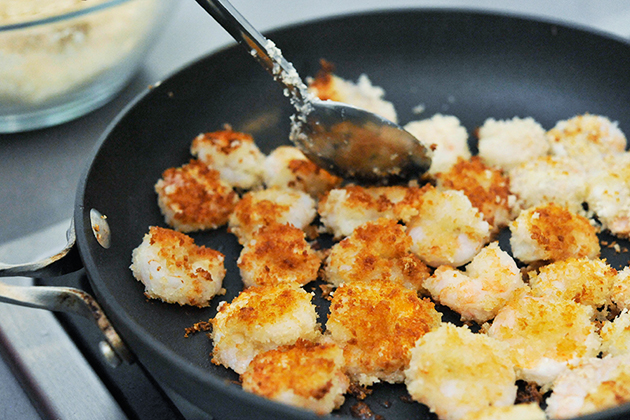
Let each side cook for about 3 minutes (or slightly browned).


Tasty Kitchen Blog: Lightened-Up Bang Bang Shrimp Salad. Guest post by Georgia Pellegrini, recipe submitted by TK member Sarah of The Coffee Breaker.

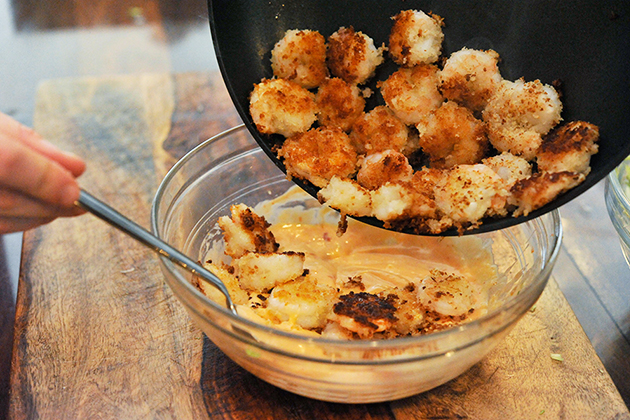
Now pour the shrimp into the Bang Bang sauce.


Tasty Kitchen Blog: Lightened-Up Bang Bang Shrimp Salad. Guest post by Georgia Pellegrini, recipe submitted by TK member Sarah of The Coffee Breaker.

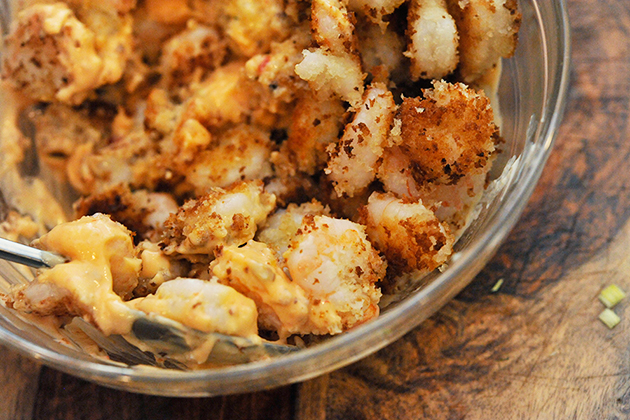
Generously spread the sauce over the hot shrimp.


Tasty Kitchen Blog: Lightened-Up Bang Bang Shrimp Salad. Guest post by Georgia Pellegrini, recipe submitted by TK member Sarah of The Coffee Breaker.

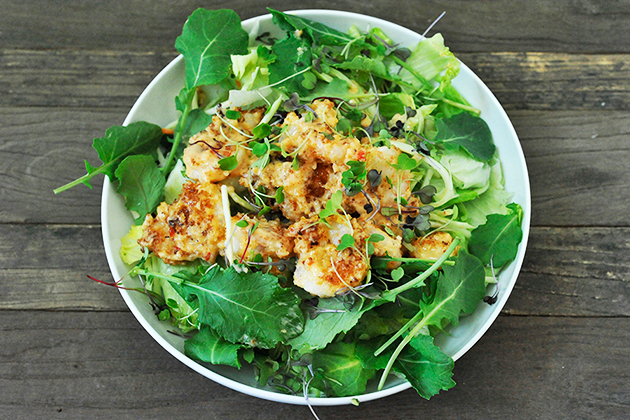
All you have to do now is scoop the shrimp onto the bed of greens and you’re ready to eat! The best part of this process is that the excess sauce from the shrimp will seep into the salad and act as a spicy dressing.

For more restaurant adaptations along with original recipes, visit Sarah’s blog, The Coffee Breaker.


Printable Recipe

Lightened-Up Bang Bang Shrimp Salad

See post on Sarah’s site!
4.00 Mitt(s) 1 Rating(s)1 vote, average: 4.00 out of 51 vote, average: 4.00 out of 51 vote, average: 4.00 out of 51 vote, average: 4.00 out of 51 vote, average: 4.00 out of 5

Prep Time:

Cook Time:

Difficulty: Easy

Servings: 4

4
x

Print Options

Page size Letter 3x5 4x6
Text Size Small Medium Large
Content Include description
Include prep time, etc.
Show image

Description

The Bonefish Grill’s delicious Bang Bang Shrimp appetizer has been redone as a salad. Lighter, fresher, but just as delicious. Give it a try!

Ingredients

  • 1 pound Uncooked Shrimp
  • 1 whole Head Iceberg Lettuce
  • 1 bag Broccoli Slaw, 12 Ounce Bag
  • ⅓ cups Chopped Green Onions
  • ¾ cups Mayonnaise
  • ⅜ cups Thai Sweet Chili Sauce
  • 1 teaspoon Sriracha
  • 4 Tablespoons Oil, Divided
  • 2 cups Panko Bread Crumbs

Preparation Instructions

Start by washing, peeling, and deveining all of your little shrimp.
I know this part can be gross, but really, would you rather risk eating feces? Once your shrimp are all cleaned, inside and out, put them in a bowl, cover them and place them in the fridge.

Next, gather all of your greens. Start by chopping the entire head of lettuce into strips, making sure to remove the yellow leaves (you don’t want your salad to be bitter!). Place all of your lettuce into a large serving bowl. Top with the broccoli slaw mixture, then add your chopped green onions sprinkling them onto the very top.

Next, you’ll make your Bang Bang sauce. Side note: the Thai sweet chili sauce was fairly difficult to find, so don’t get it mixed up with Thai chili oil, or any other chili condiments that don’t include the word ‘sweet’ in the title. Sweetness is the key to this recipe!

Mix your mayo, sweet chili sauce and Sriracha together in a small bowl until smooth and creamy. Put it in the refrigerator until you are ready.

Next, gab a large frying pan, add 2 tablespoons of oil, and heat on medium.

Place your panko crumbs into a shallow dish or pan and set aside. Toss your shrimp in 1-2 tablespoons of oil. Dredge your shrimp in the panko crumbs, tossing to coat. Carefully remove each one (I recommend using tongs for this part) and place them onto the hot pan. Allow the shrimp to cook about 3 minutes on each side, or until the breading is browned and the shrimp are no longer translucent (they should have a nice pink color to them).

Next, remove the shrimp from the oil and stack them in a bowl and pour the Bang Bang Sauce all over them, tossing well to coat evenly.

Scoop yourself (and everyone else, if you’re willing to share) a heaping bowl of the salad mixture and top with generous amounts of the hot shrimp and sauce.

And there you go! No need to muscle past patrons on Bang Bang Wednesdays anymore, you’ve got the means to make your own at home (and impress your friends).


_______________________________________

There’s so much to say about Georgia, we don’t know where to start. Leaving Wall Street for the French Culinary Institute, followed by a stint at the Gramercy Tavern and La Chassagnette in France, her passion for food and food traditions are evident and inspiring. Visit her site at Georgia Pellegrini, where you’ll find more recipes, photos, learn all about her wonderful books (including her latest one, Modern Pioneering, and enjoy her latest adventures.


Profile photo of Erika (TK)

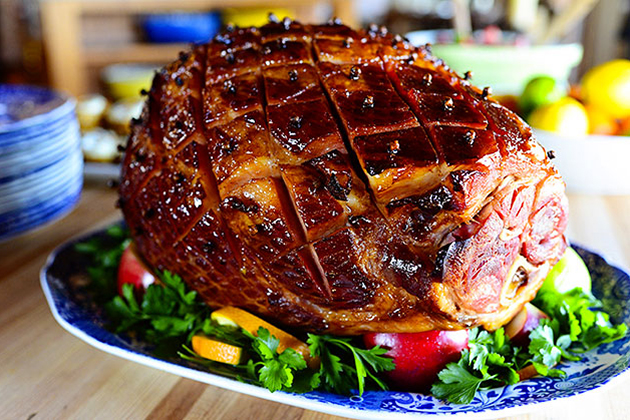
Favorite Ways to Use Leftover Ham

Posted by in Kitchen Talk

There are so many creative uses for ham. So let's talk about all the wonderful ways to use every little bit of that lovely hunk of meaty goodness from this weekend! Tell us:
What's your favorite way to use leftover ham?

Profile photo of HowSweetEats

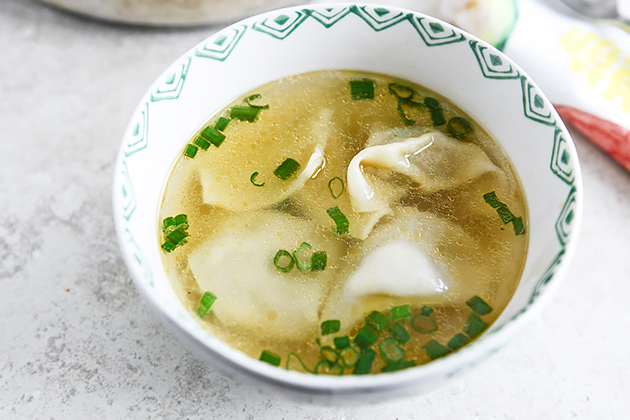
Simple Wonton Soup

Posted by in Step-by-Step Recipes

Oh my gosh. Today we’re going to make some easy comfort food and it’s like a giant hug in a bowl. So much flavor, so much punch! I’ve loved wonton soup forever and a day, but I never thought it was something that was doable at home. Being totally uneducated about it, I was clueless […]

Profile photo of Betsy (TK)

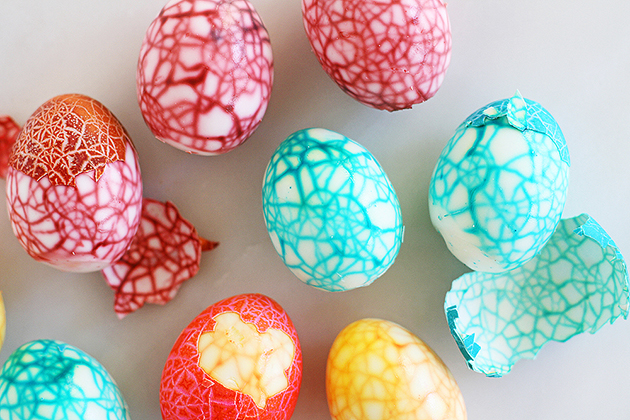
Looks Lovely! Crackled Easter Eggs

Posted by in Looks Delicious!

Dyeing eggs is a magical experience, whether you’re a little or big kid … or a forty-year-old one. There’s the vinegar smell of the bowls of dye, the delicate balance of the egg on the wire holder and the thrill of hunting for and finding your specially decorated egg. And let us not forget all […]

Profile photo of Erika (TK)

Growing Herbs

Posted by in Kitchen Talk

The birds are chirping, mornings come a little bit earlier each day, and that tickle in my throat is telling me that pollen is floating around in the air, bringing with it the promise of new life. Spring is finally here! Many winter-weary folks have started flocking to garden centers, eager to begin work on […]